My family loves chili. Chili with rice, chili dogs, chili with Frito’s corn chips, or Chili with Doritos chips — you name it, we love it.
Lately, however, I’ve noticed that I get heartburn when I eat foods that contain too much tomatoes, and most chili recipes (mine included) are tomato-based.
I created this recipe for two specific reasons. First, I wanted to create a tomato-less chili recipe to keep the heartburn at bay. Second, as you’ll read below, I wanted to create a healthier recipe that is right in line with my attempt at eating “cleaner”.
You’ll see my basic recipe below, but scroll down a bit for some ingredient substitutions that make this a better choice when you feel like indulging in this, a typically UNhealthy (but oh-so-delicious) menu option.
Give my recipe a try, and if you can, swap out the usual ingredients for the healthier options. I think you’ll like it, and your body will thank you for it too. 😉
No Tomato Chili

Ingredients:
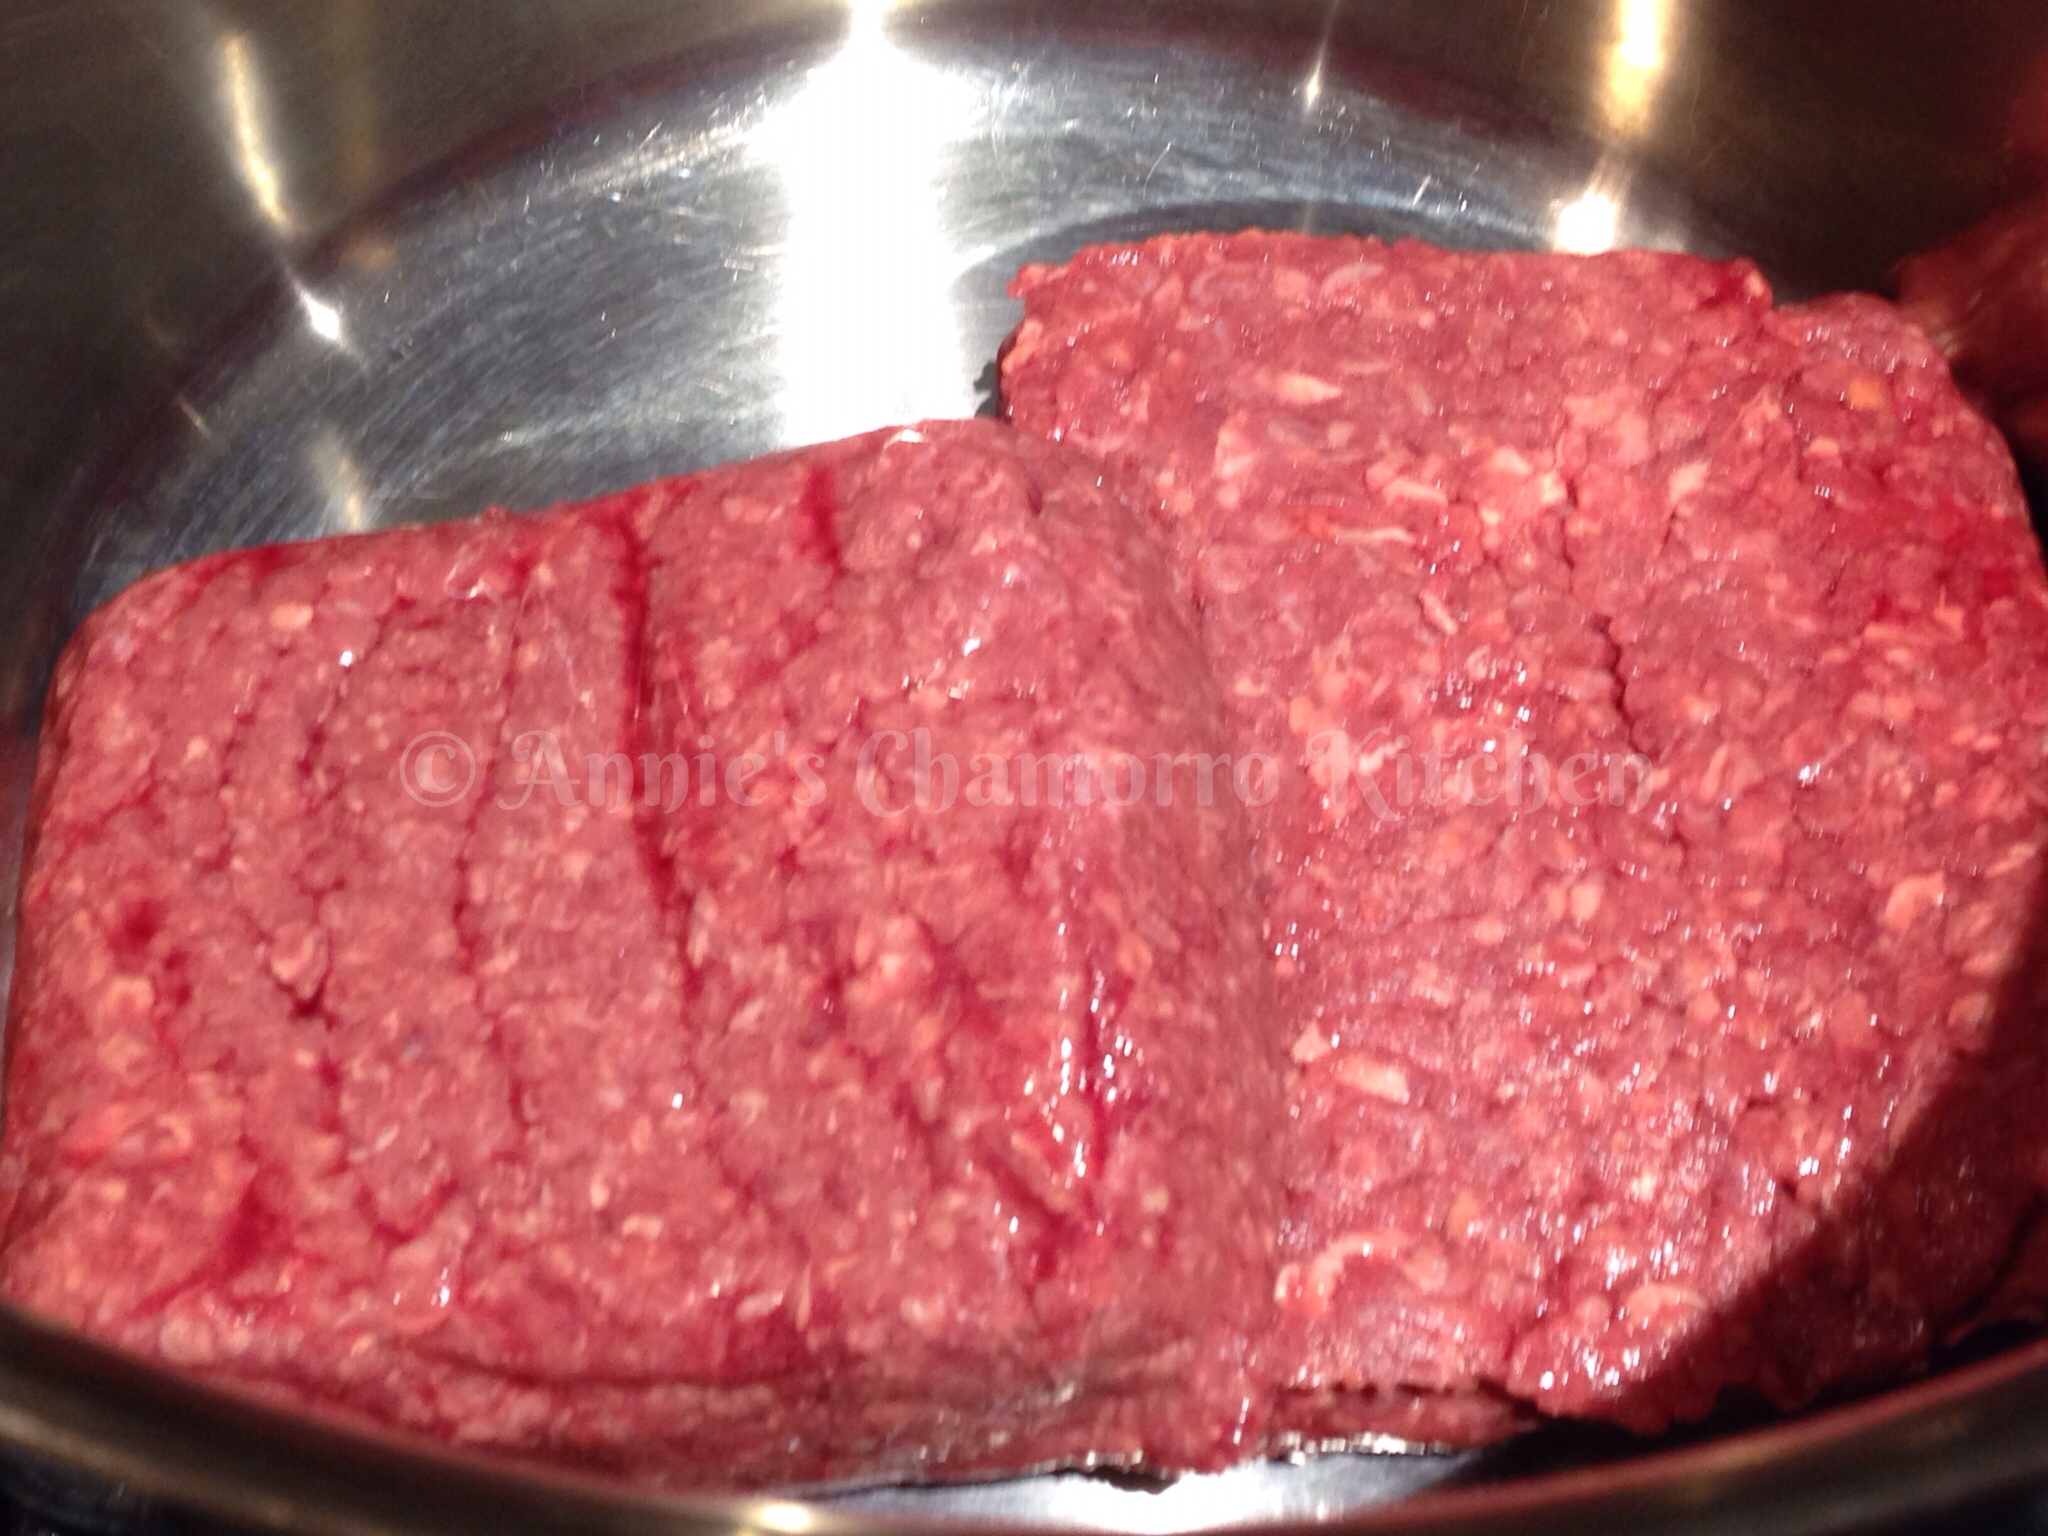
- 2 pounds ground beef *(see note 1 below)
- 2 tablespoons ground cumin
- 2 tablespoons chili powder
- 1 teaspoon dried oregano
- 1 1/2 tablespoons sea salt (more or less, to taste)
- 1/2 teaspoon black pepper
- 1 medium onion, diced
- 1 tablespoon chopped garlic
- 2 roasted poblano chilies, diced
- 1/2 cup all-purpose flour *(see note 2 below)
- 1 box (32 ounces) chicken stock *(see note 3 below)
- 3 cans (15 ounces) pinto beans, drained and rinsed *(see note 4 below)
- 3/4 cup tomatillo salsa
- Optional: 2 smoked chipotles in adobo sauce, chopped
- Optional: 1 tablespoon chipotle flavored Tabasco sauce
- Optional: 1/4 cup sour cream *(see note 5 below)
*Ingredient Substitutions for a Healthy Version of my Chili Recipe:
Note 1: Instead of ground beef, opt for ground turkey, or boneless, skinless chicken breast. Look for free-range chickens (and turkeys too, for that matter) if you can find it (read more about this below).
If you have a husband like mine who prefers ground beef chili, buy good quality beef that’s relatively low in fat.
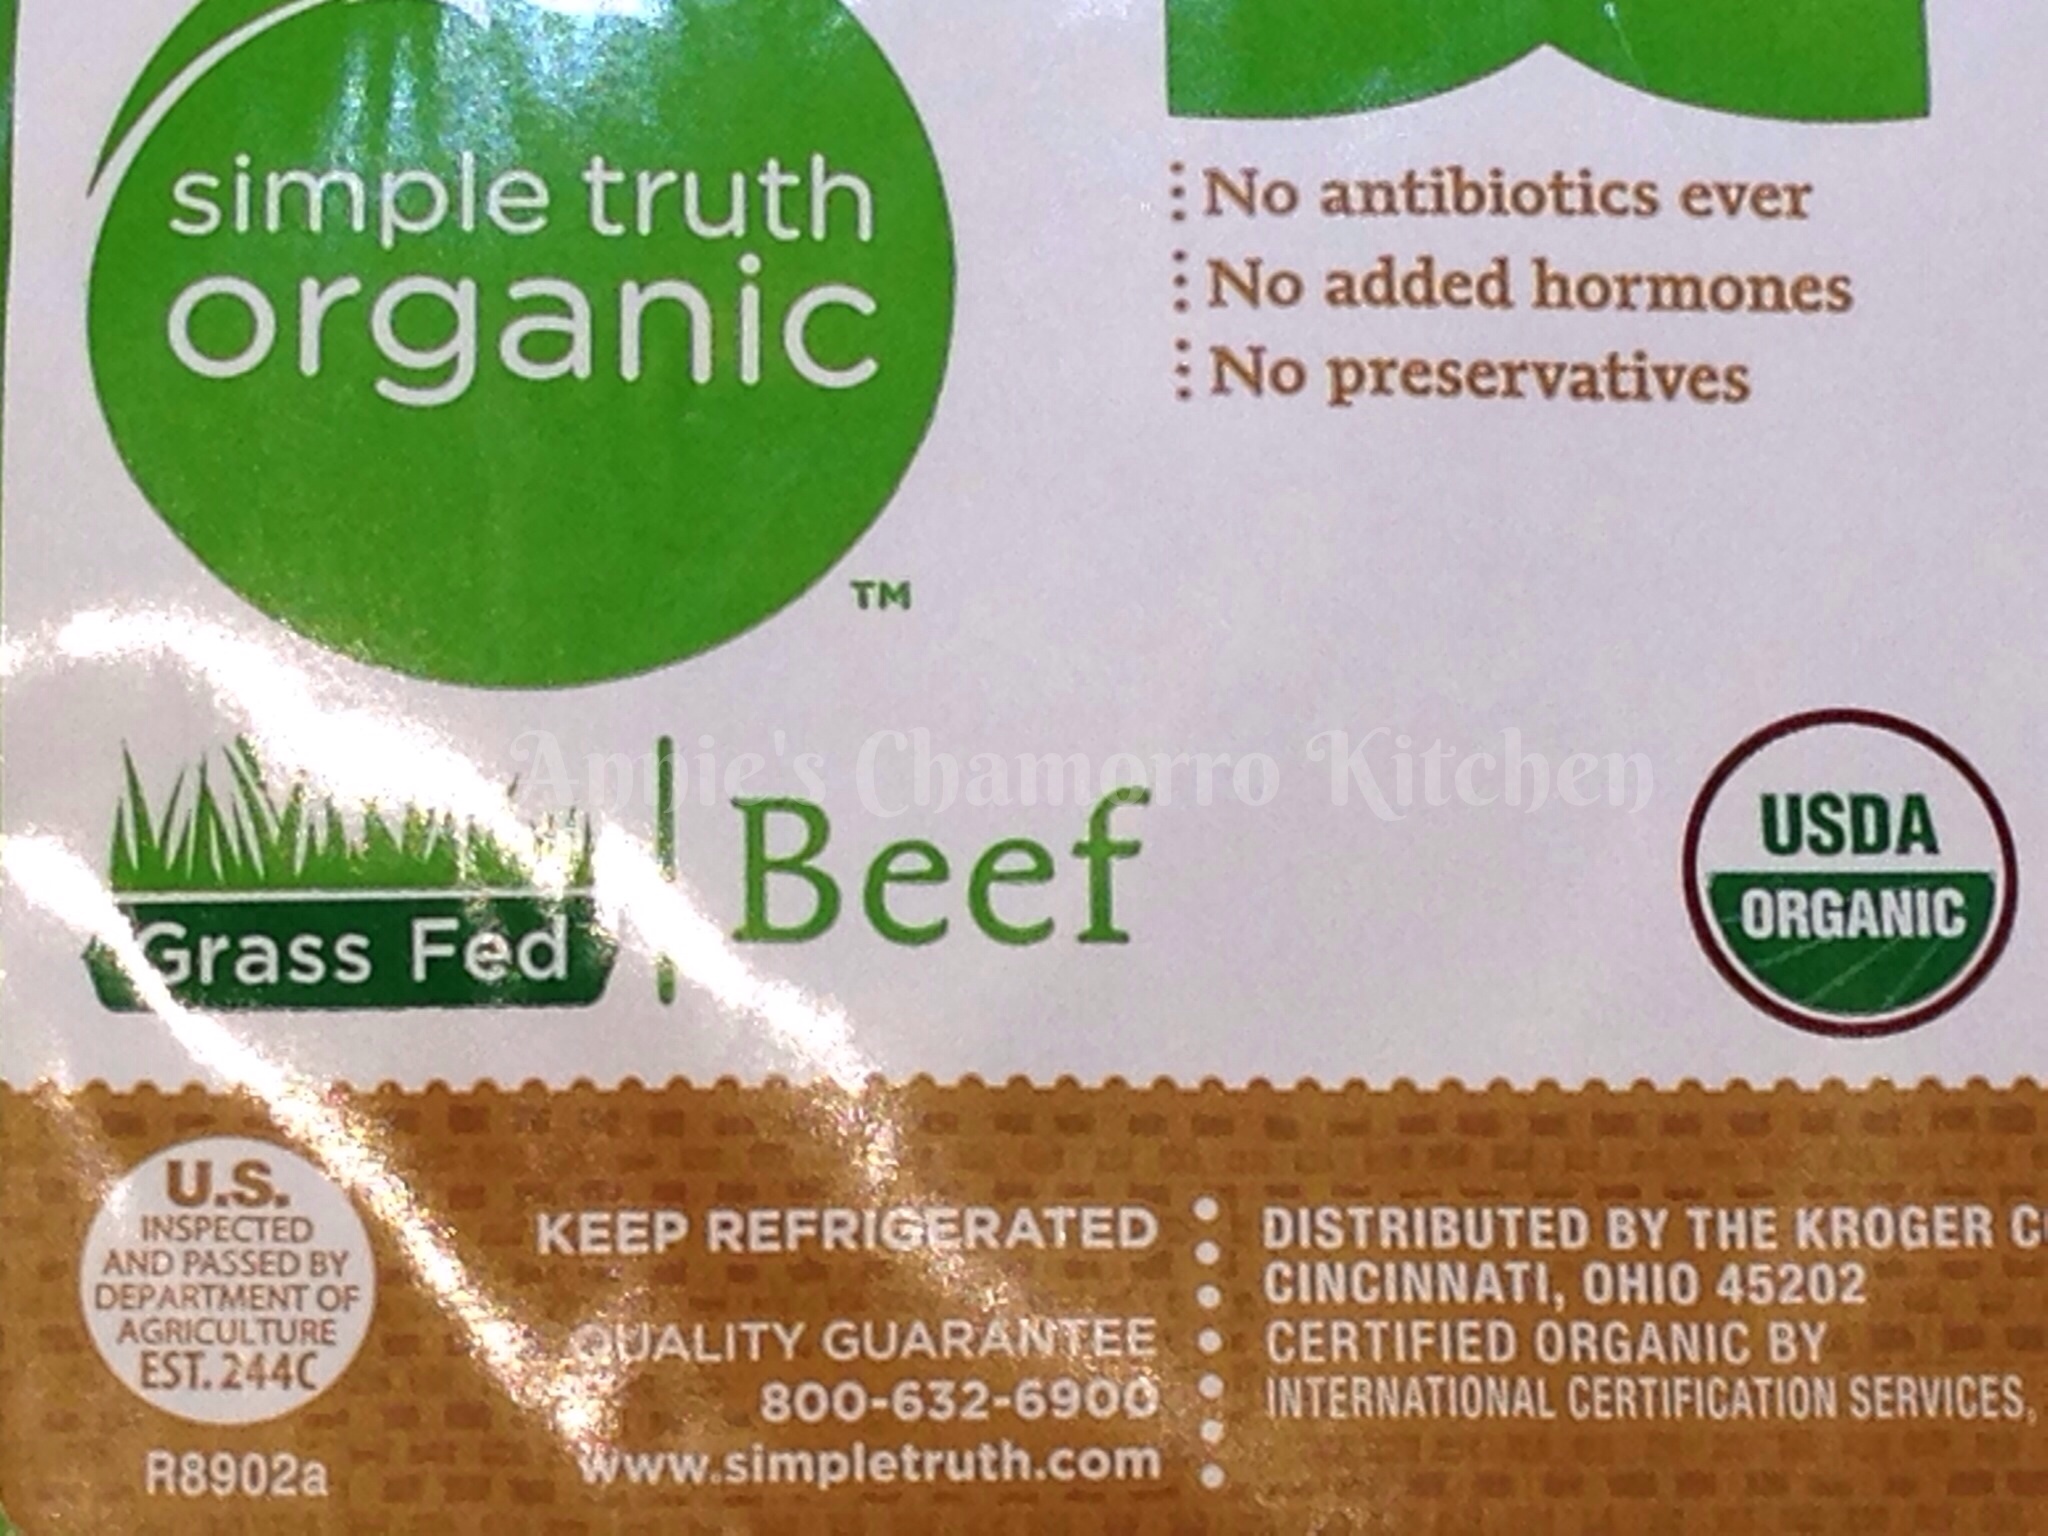
An even better choice is to buy grass-fed beef, if you can find any in your grocery store. Cows that are NOT grass-fed are typically fed a mixture of grains and animal byproducts. Now what cows do you know of that naturally feeds on animals? The photo below shows an example of a label for grass-fed beef. There is a stamp on the label that states it was inspected and passed by the USDA. You should also look for a USDA Organic stamp on the label. Most importantly, in addition to seeing “Grass Fed” on the label, you should also see that there are no antibiotics, hormones or preservatives in the meat.
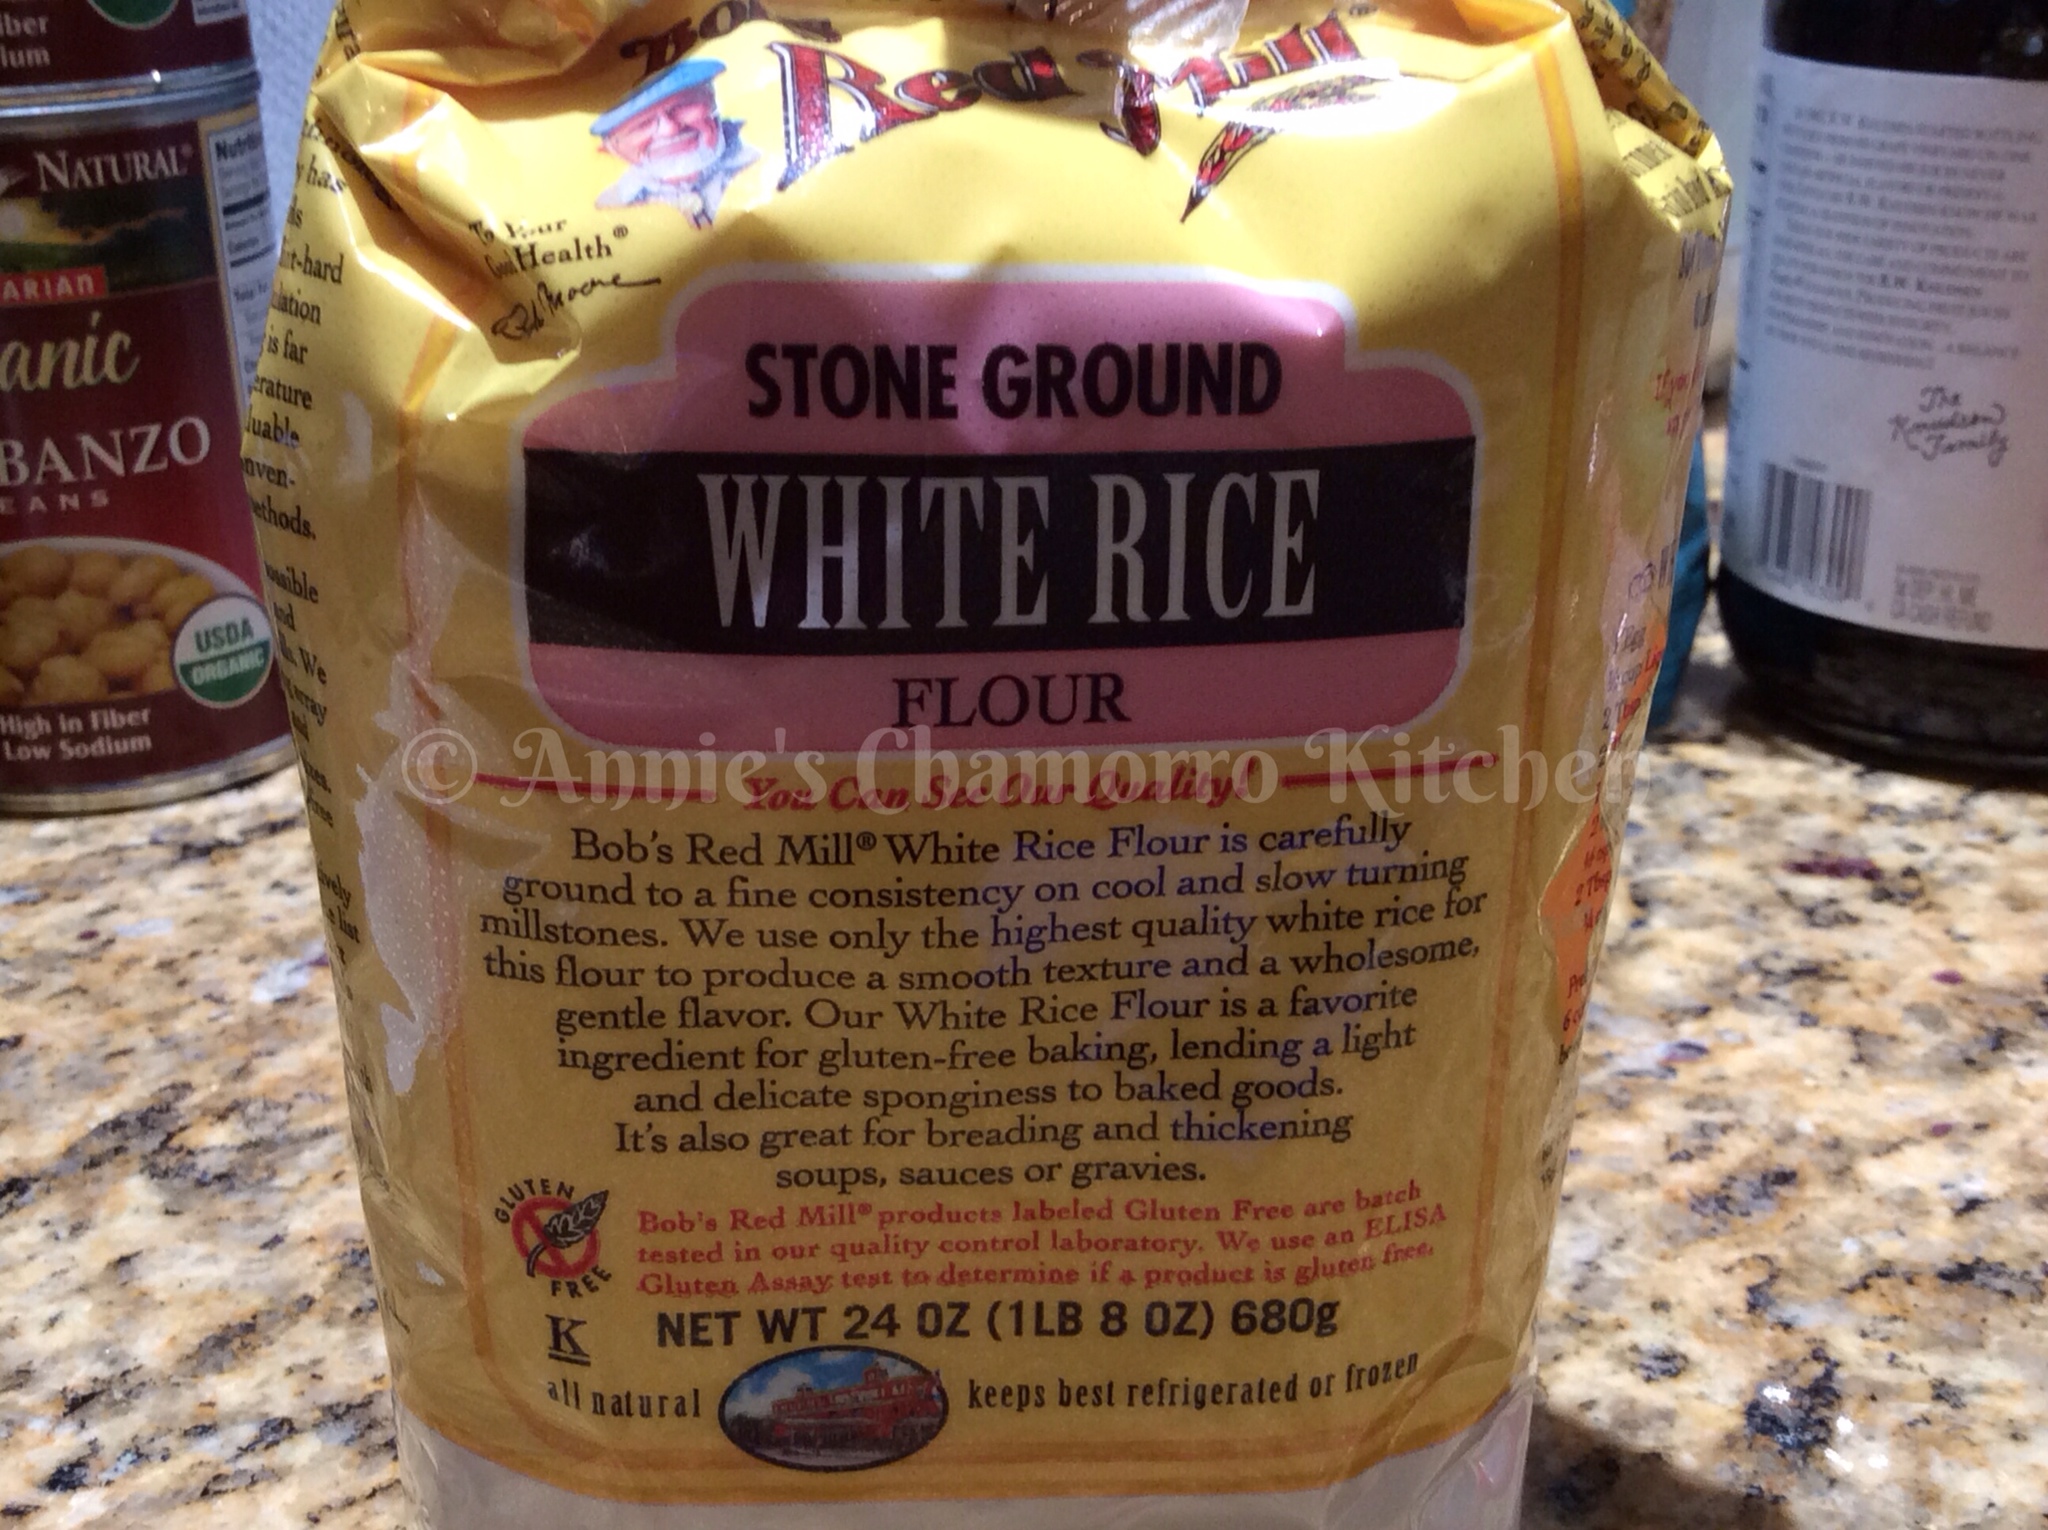
Note 2: I’m not gluten-intolerant, but for the next few weeks, I’m going gluten-free AND corn-free. If you recall my recipe for Beer Chili, I add crushed corn tortilla chips to serve as both a flavoring as well as a thickening agent. I had to figure out what type of non-wheat or non-corn flour would serve the purpose of thickening the chili without adding contrasting/offending flavors.
This substitution nixes the all-purpose flour and tortilla chips and uses stone-ground rice flour instead. The rice flour thickens the chili nicely without masking the traditional chili flavors.
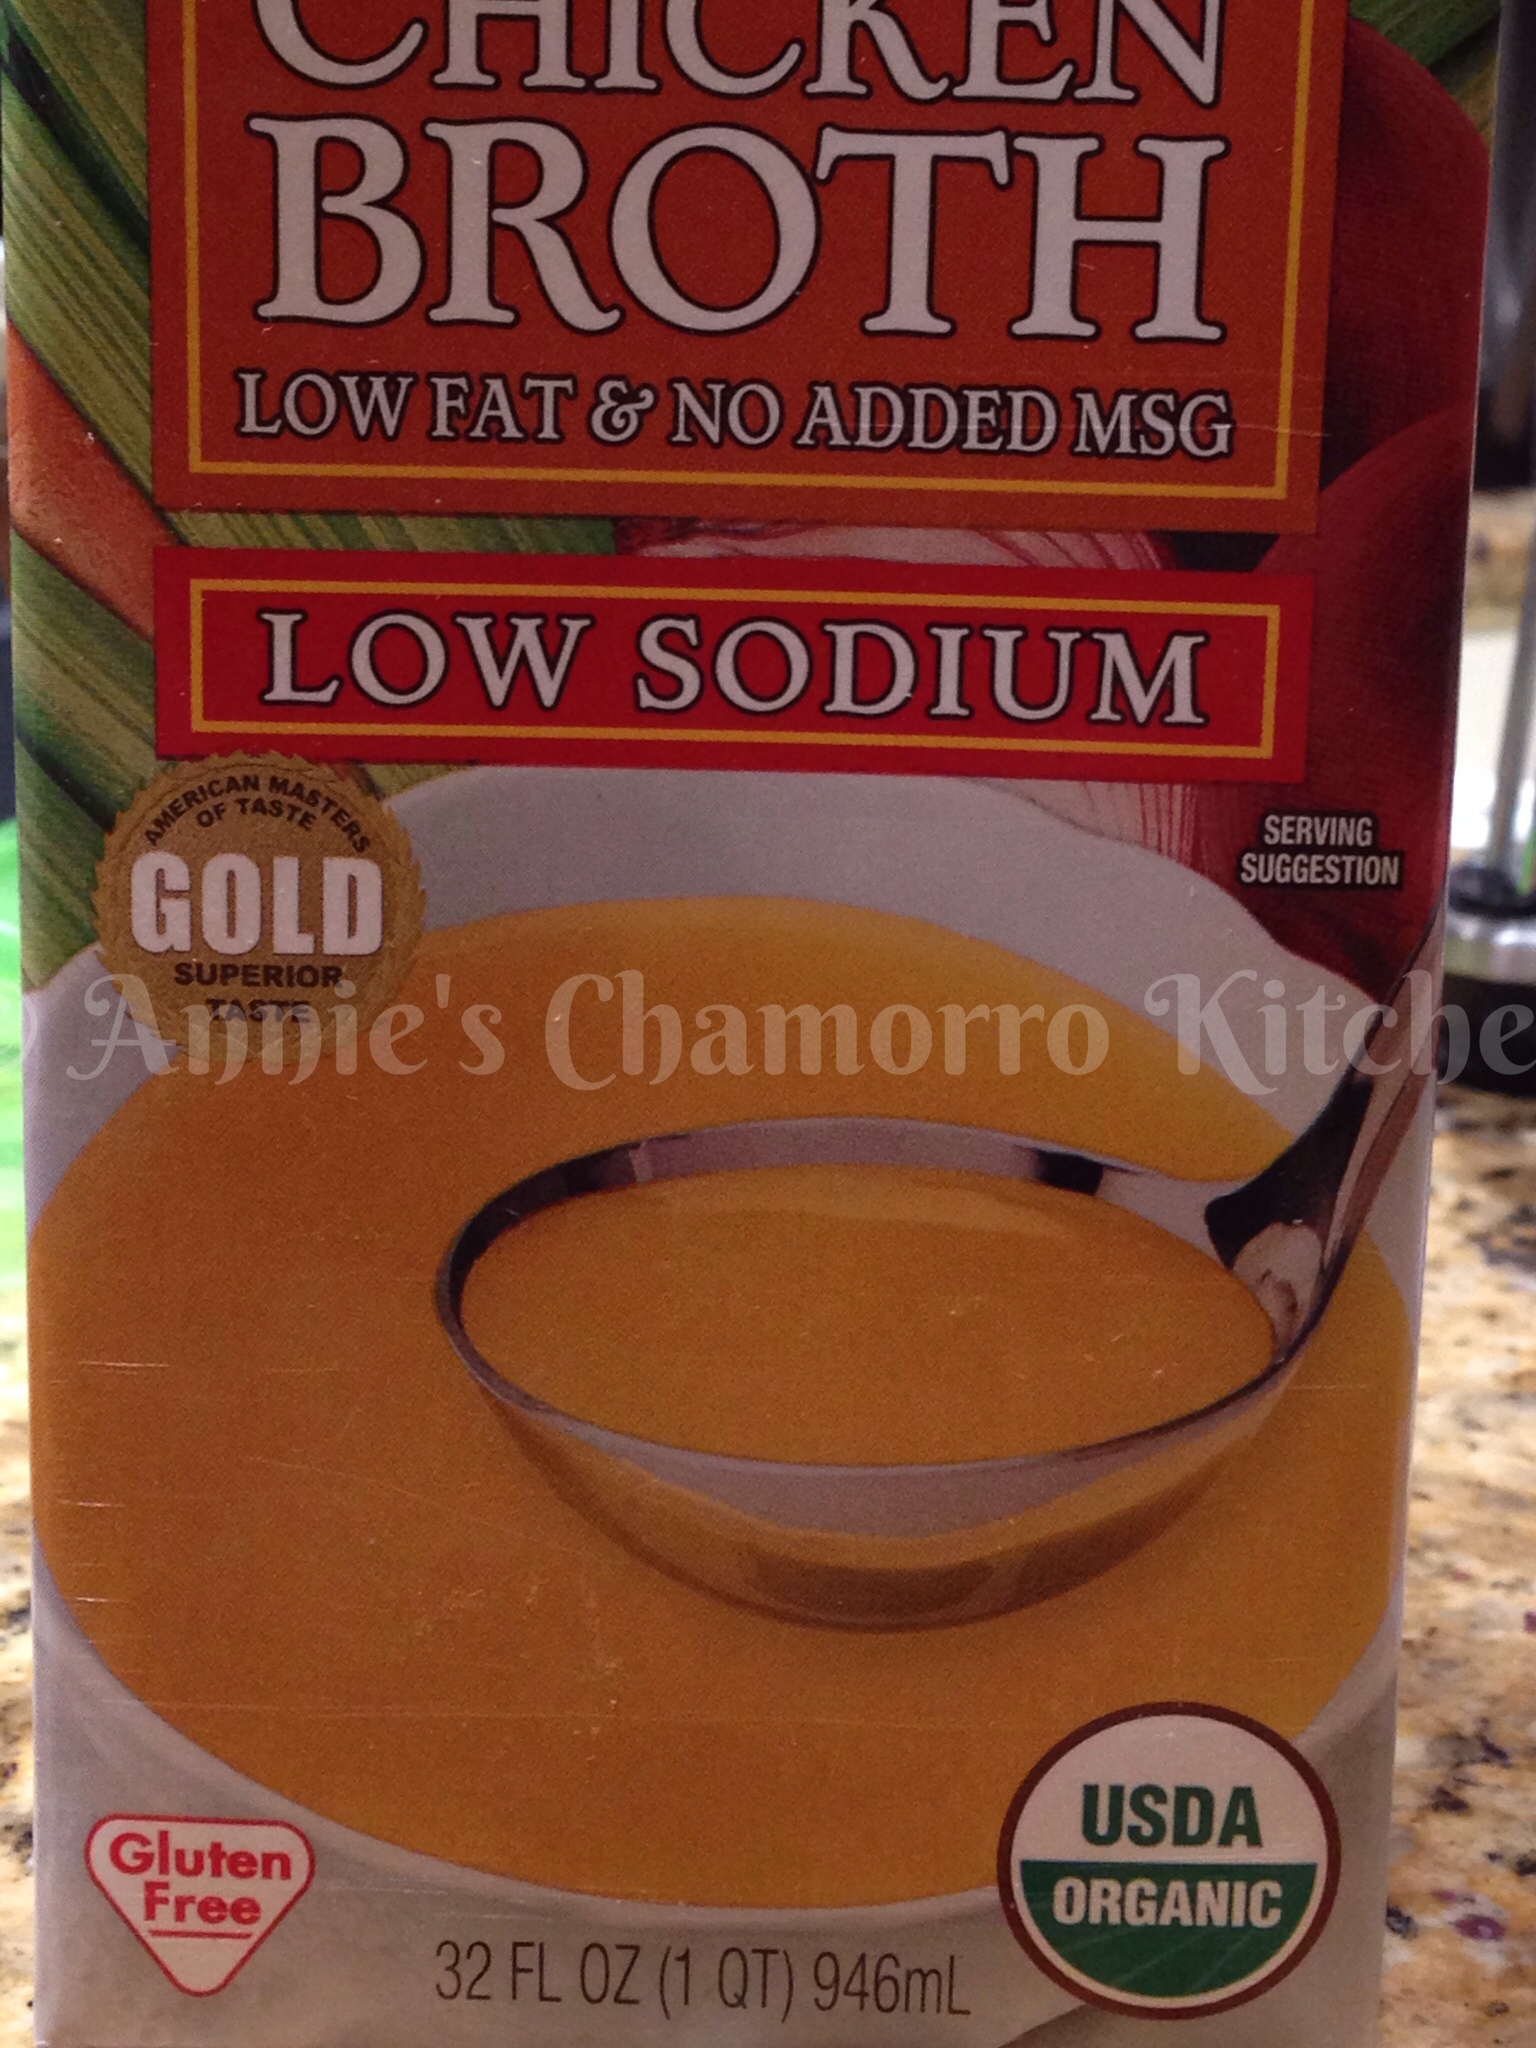
Note 3: The best chicken stock in my view is homemade stock…if you have the time to make some, that is. I’m usually looking for time-savers in the kitchen, so I buy chicken stock most of the time. This substitution calls for organic chicken stock made from free-range chickens. Like grass-fed beef, free-range chickens are just that–chickens allowed to roam free and eat what they naturally eat, not a feed mixture that also usually contains animal byproducts, hormones and antibiotics.
Look for broth that is low in sodium. You also want to see that USDA Ogranic stamp on the packaging.
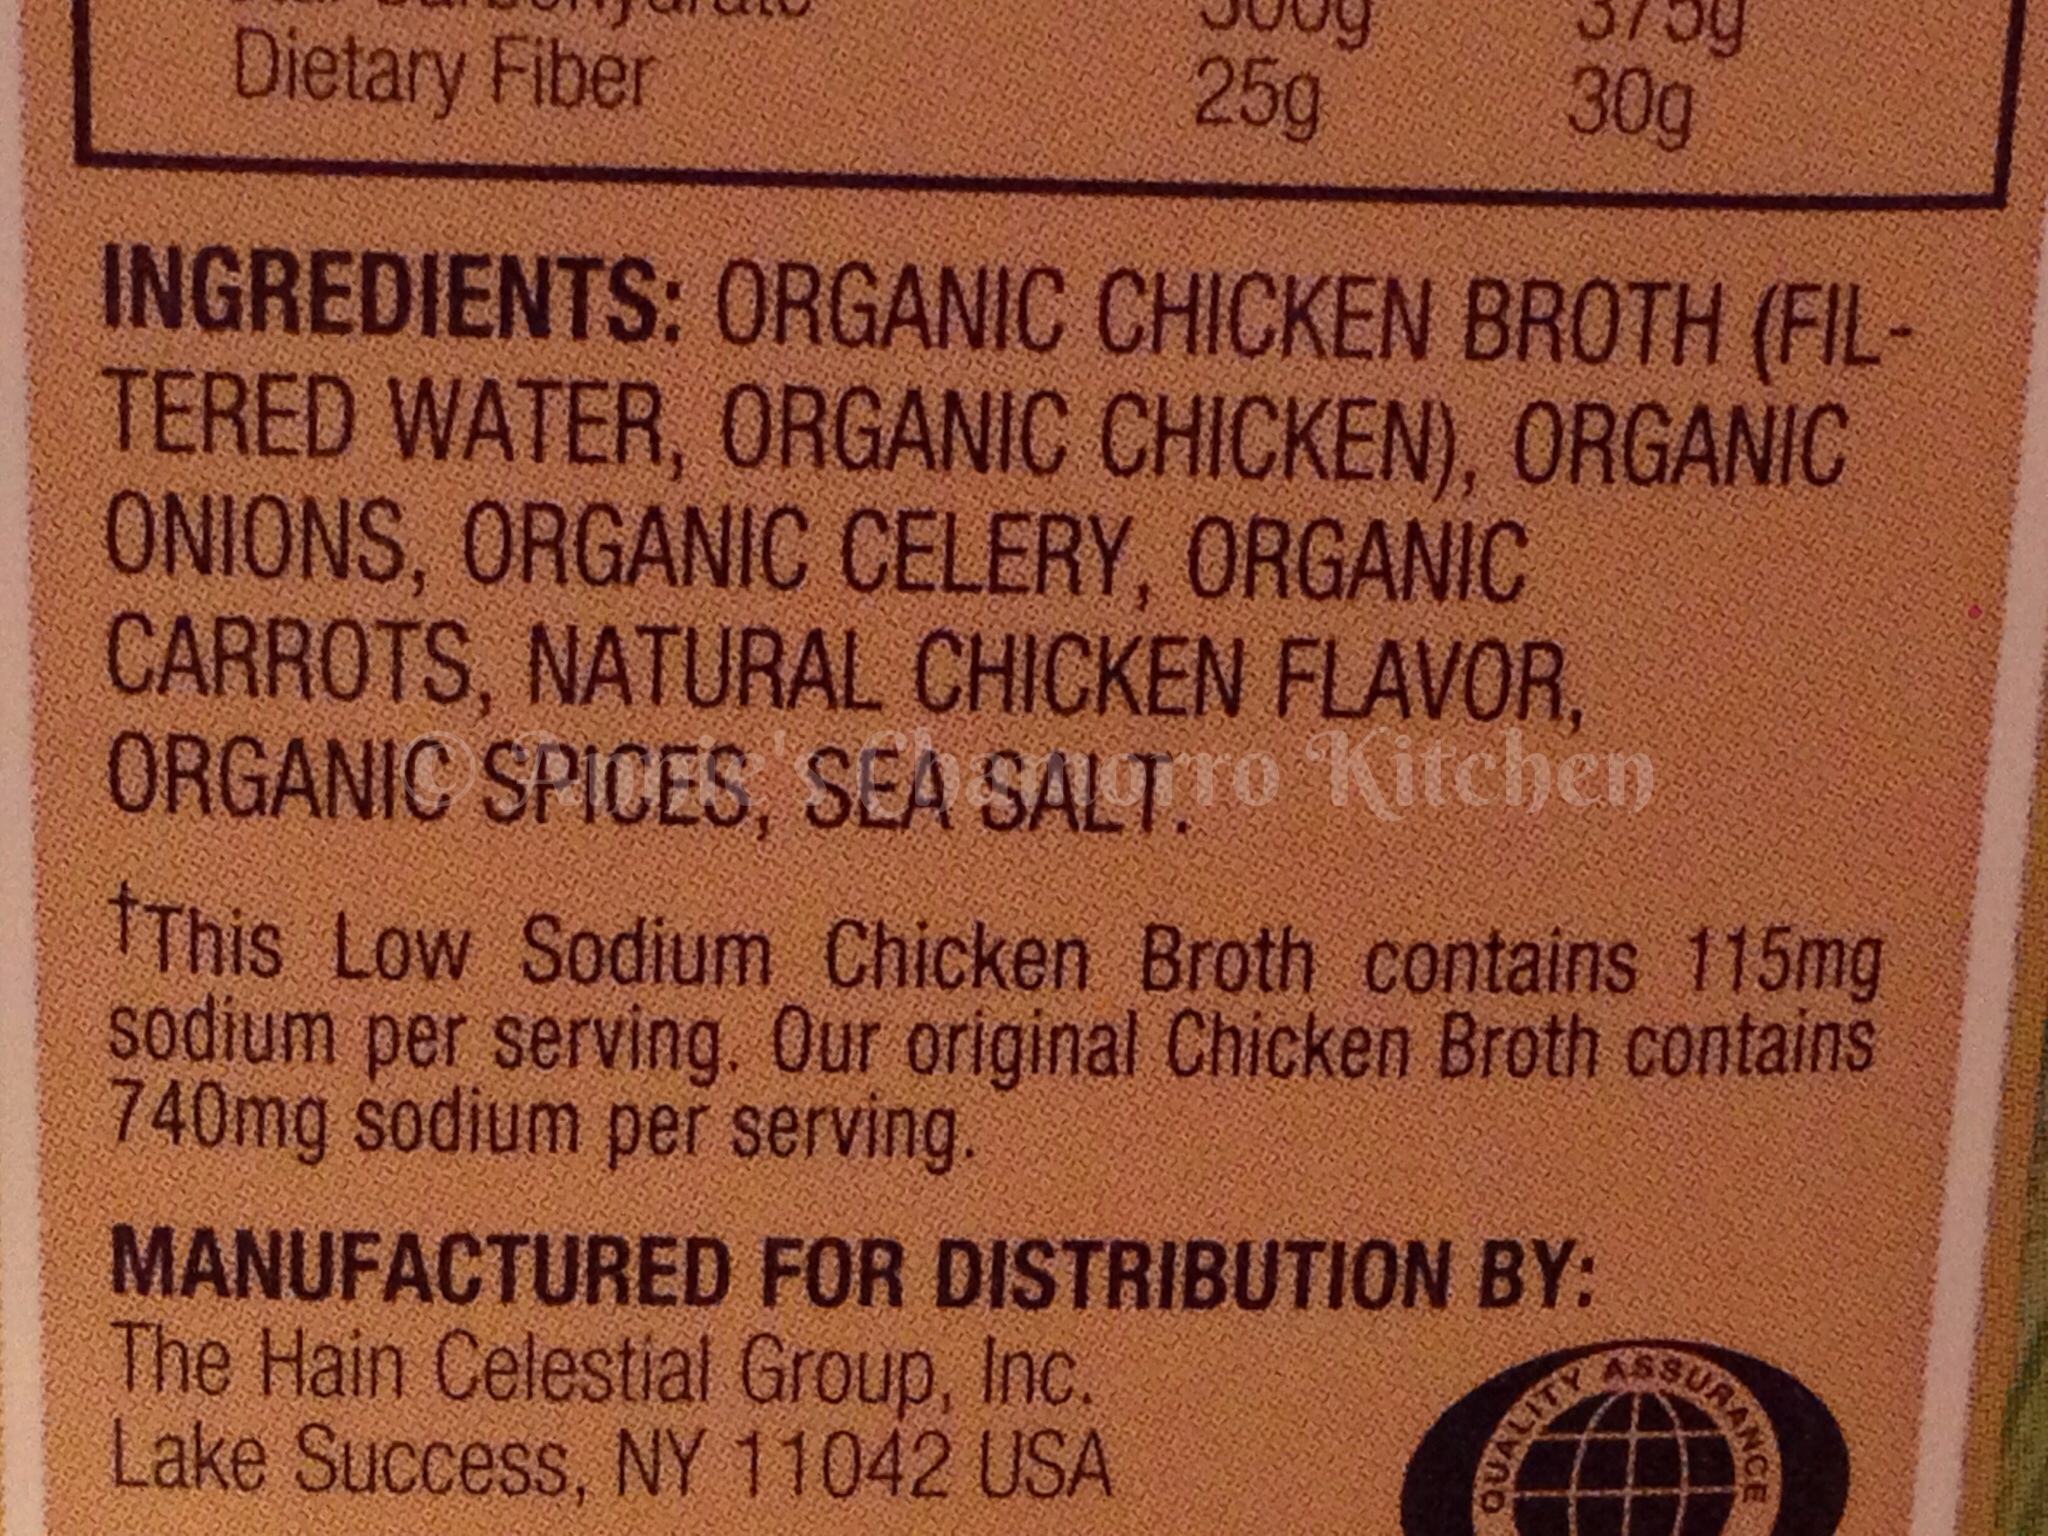
I’m a big fan of reading ingredient labels too. Not all organic and free-range broths are all that healthy. Most contain added sugar (to compensate for the decreased sodium). I’ve also found several brands that claim to be organic, but when you read the ingredient list, there is not one (or very few) ingredient that is organic! This is what you should see when you turn the box over and read the ingredient list. Organic…organic…organic…and no sugar added.
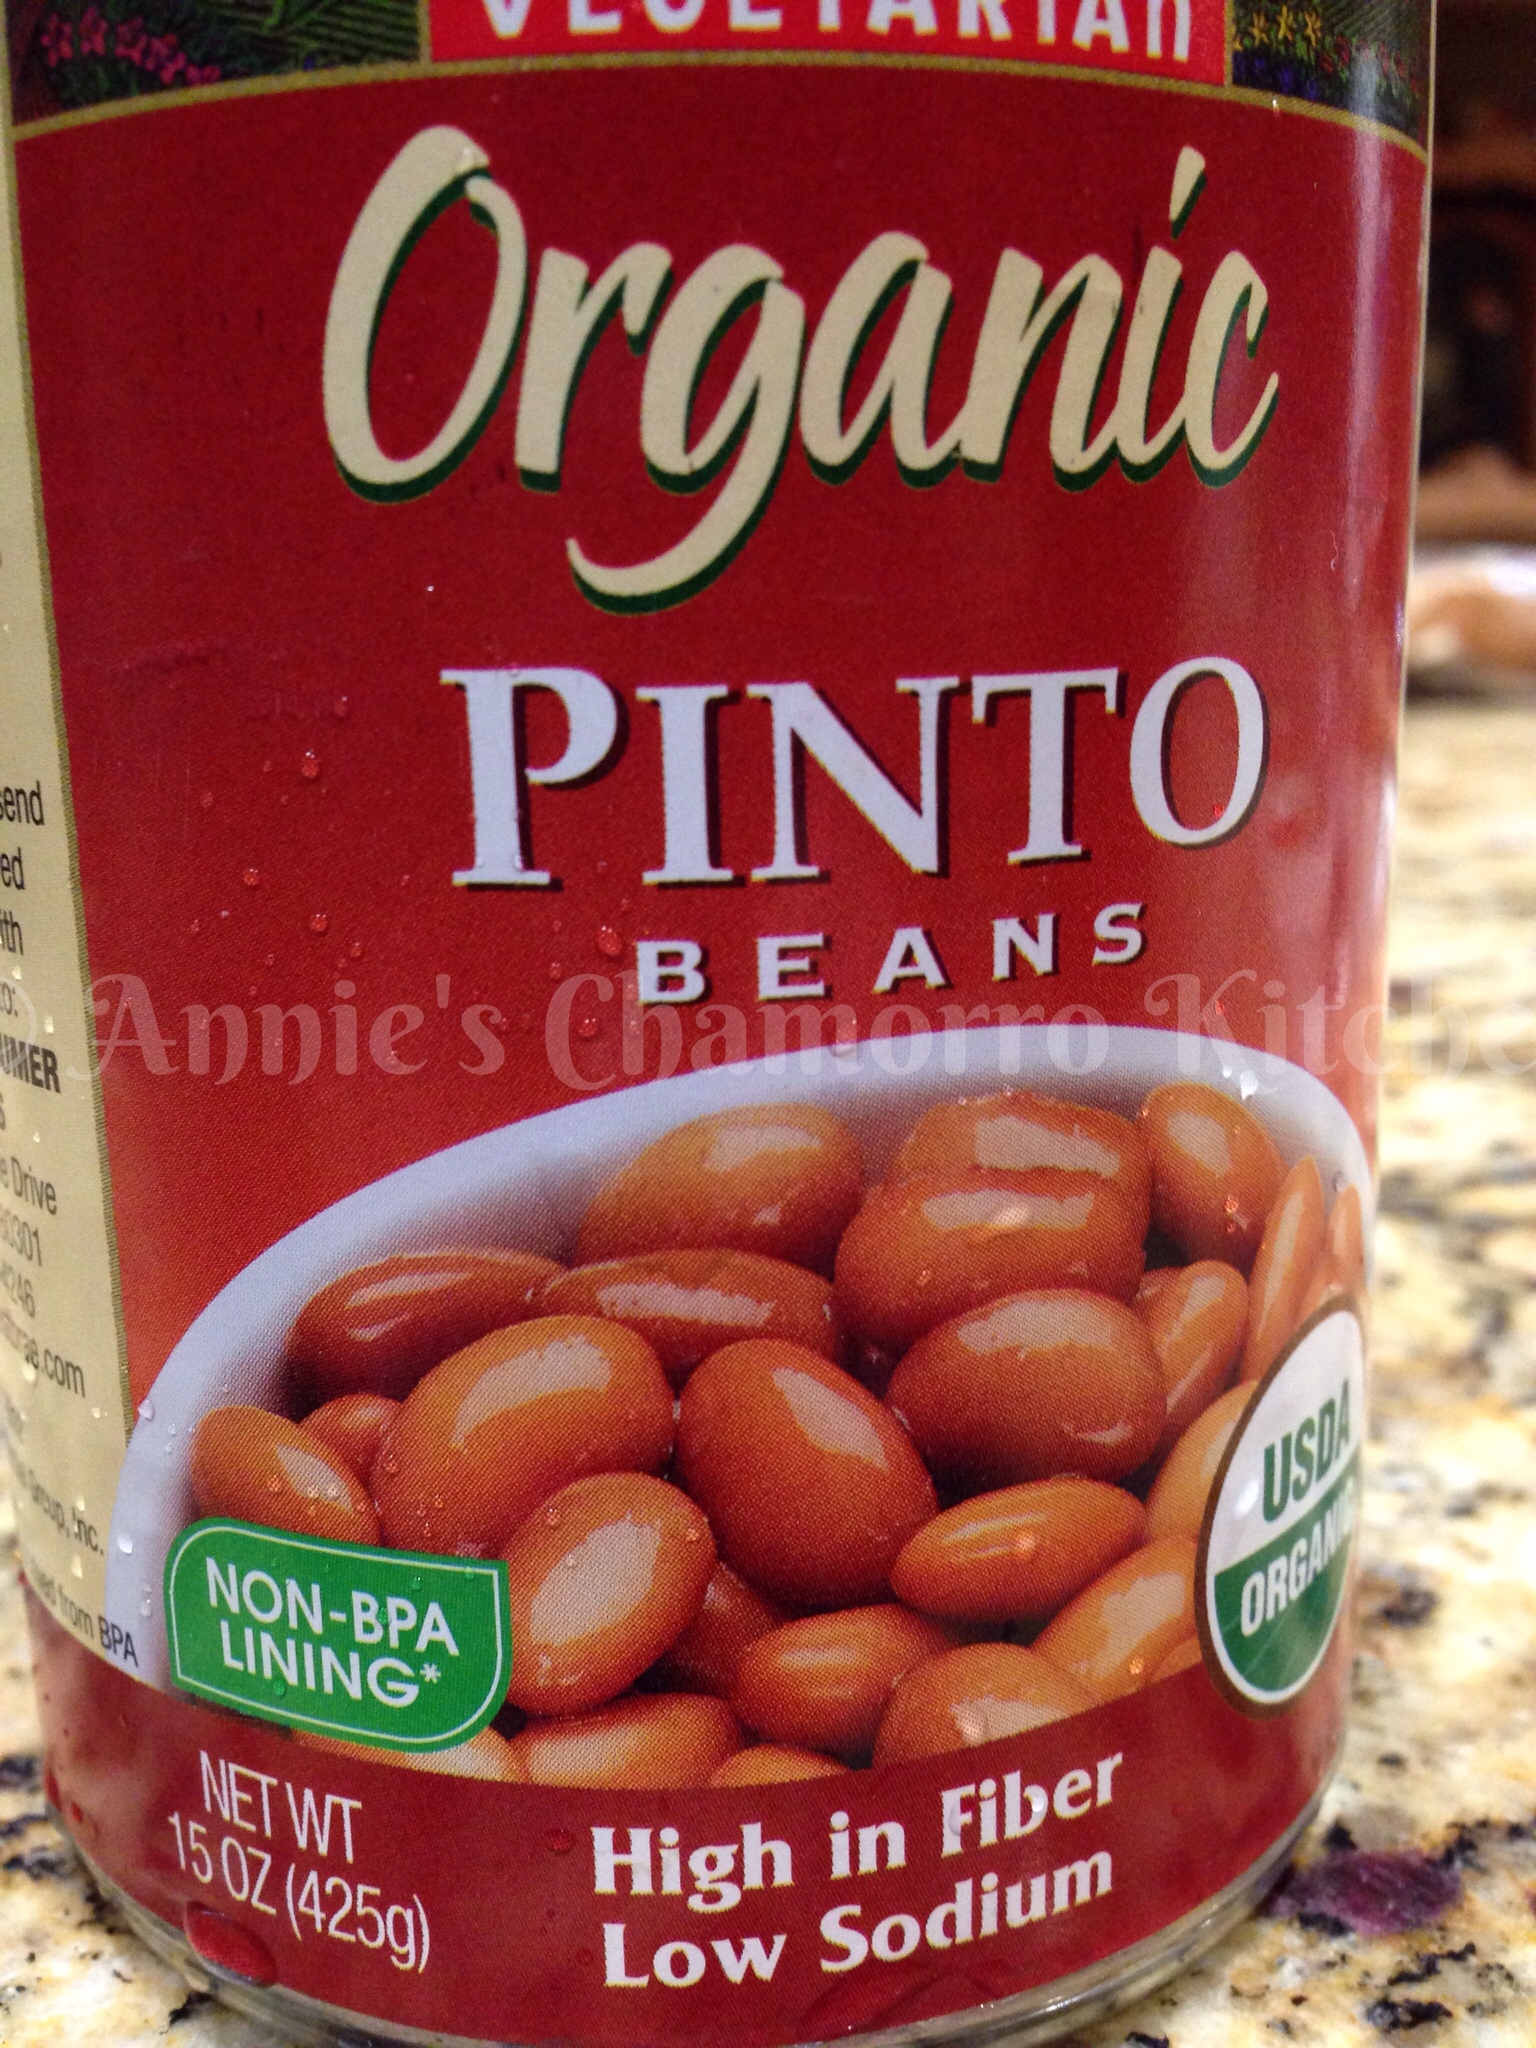
Note 4: Now there’s not much you can do to substitute pinto beans, aside from choosing to soak and cook dry beans or buying canned beans. Remember when I stated earlier that I’m all for saving time in the kitchen? Well, that means soaking and cooking dried beans are out–I buy canned beans all the time.
The substitution I’m advocating for here is to look for cans that claim to have a Non-BPA lining. This photo shows what I’m talking about.
BPA is the common acronym for the industrial chemical, bisphenol A, found in thousands of commercial products. BPA has been linked with reproductive problems, brain impairments, cancer, obesity and more. Eliminating exposure to BPA is probably not possible, but you can take measures to reduce your exposure.
For example, rinse food (like canned beans) from cans before eating or cooking. Choose ceramic, glass or other microwave-friendly dishes, instead of plastic. Don’t use plastic containers with recycle codes 3 or 7 (look on the bottom of the container for the number) and look for (and don’t use) plastic bottles with scratches on them.
Note 5: Adding sour cream is completely optional in this recipe. I do like the tang that you get by adding sour cream. To go (cow) dairy free, substitute with sheep’s milk plain yogurt, or omit the sour cream altogether.
I hope I didn’t scare you off trying my recipe. It’s really delicious even if you DON’T make these substitutions, I promise!
With these 5 simple substitutions, you can turn this recipe into a healthy version of traditional chili. At the risk of being repetitively redundant (get it? 🙂 ), give my recipe a try. I think you’ll like it. 🙂
Directions:
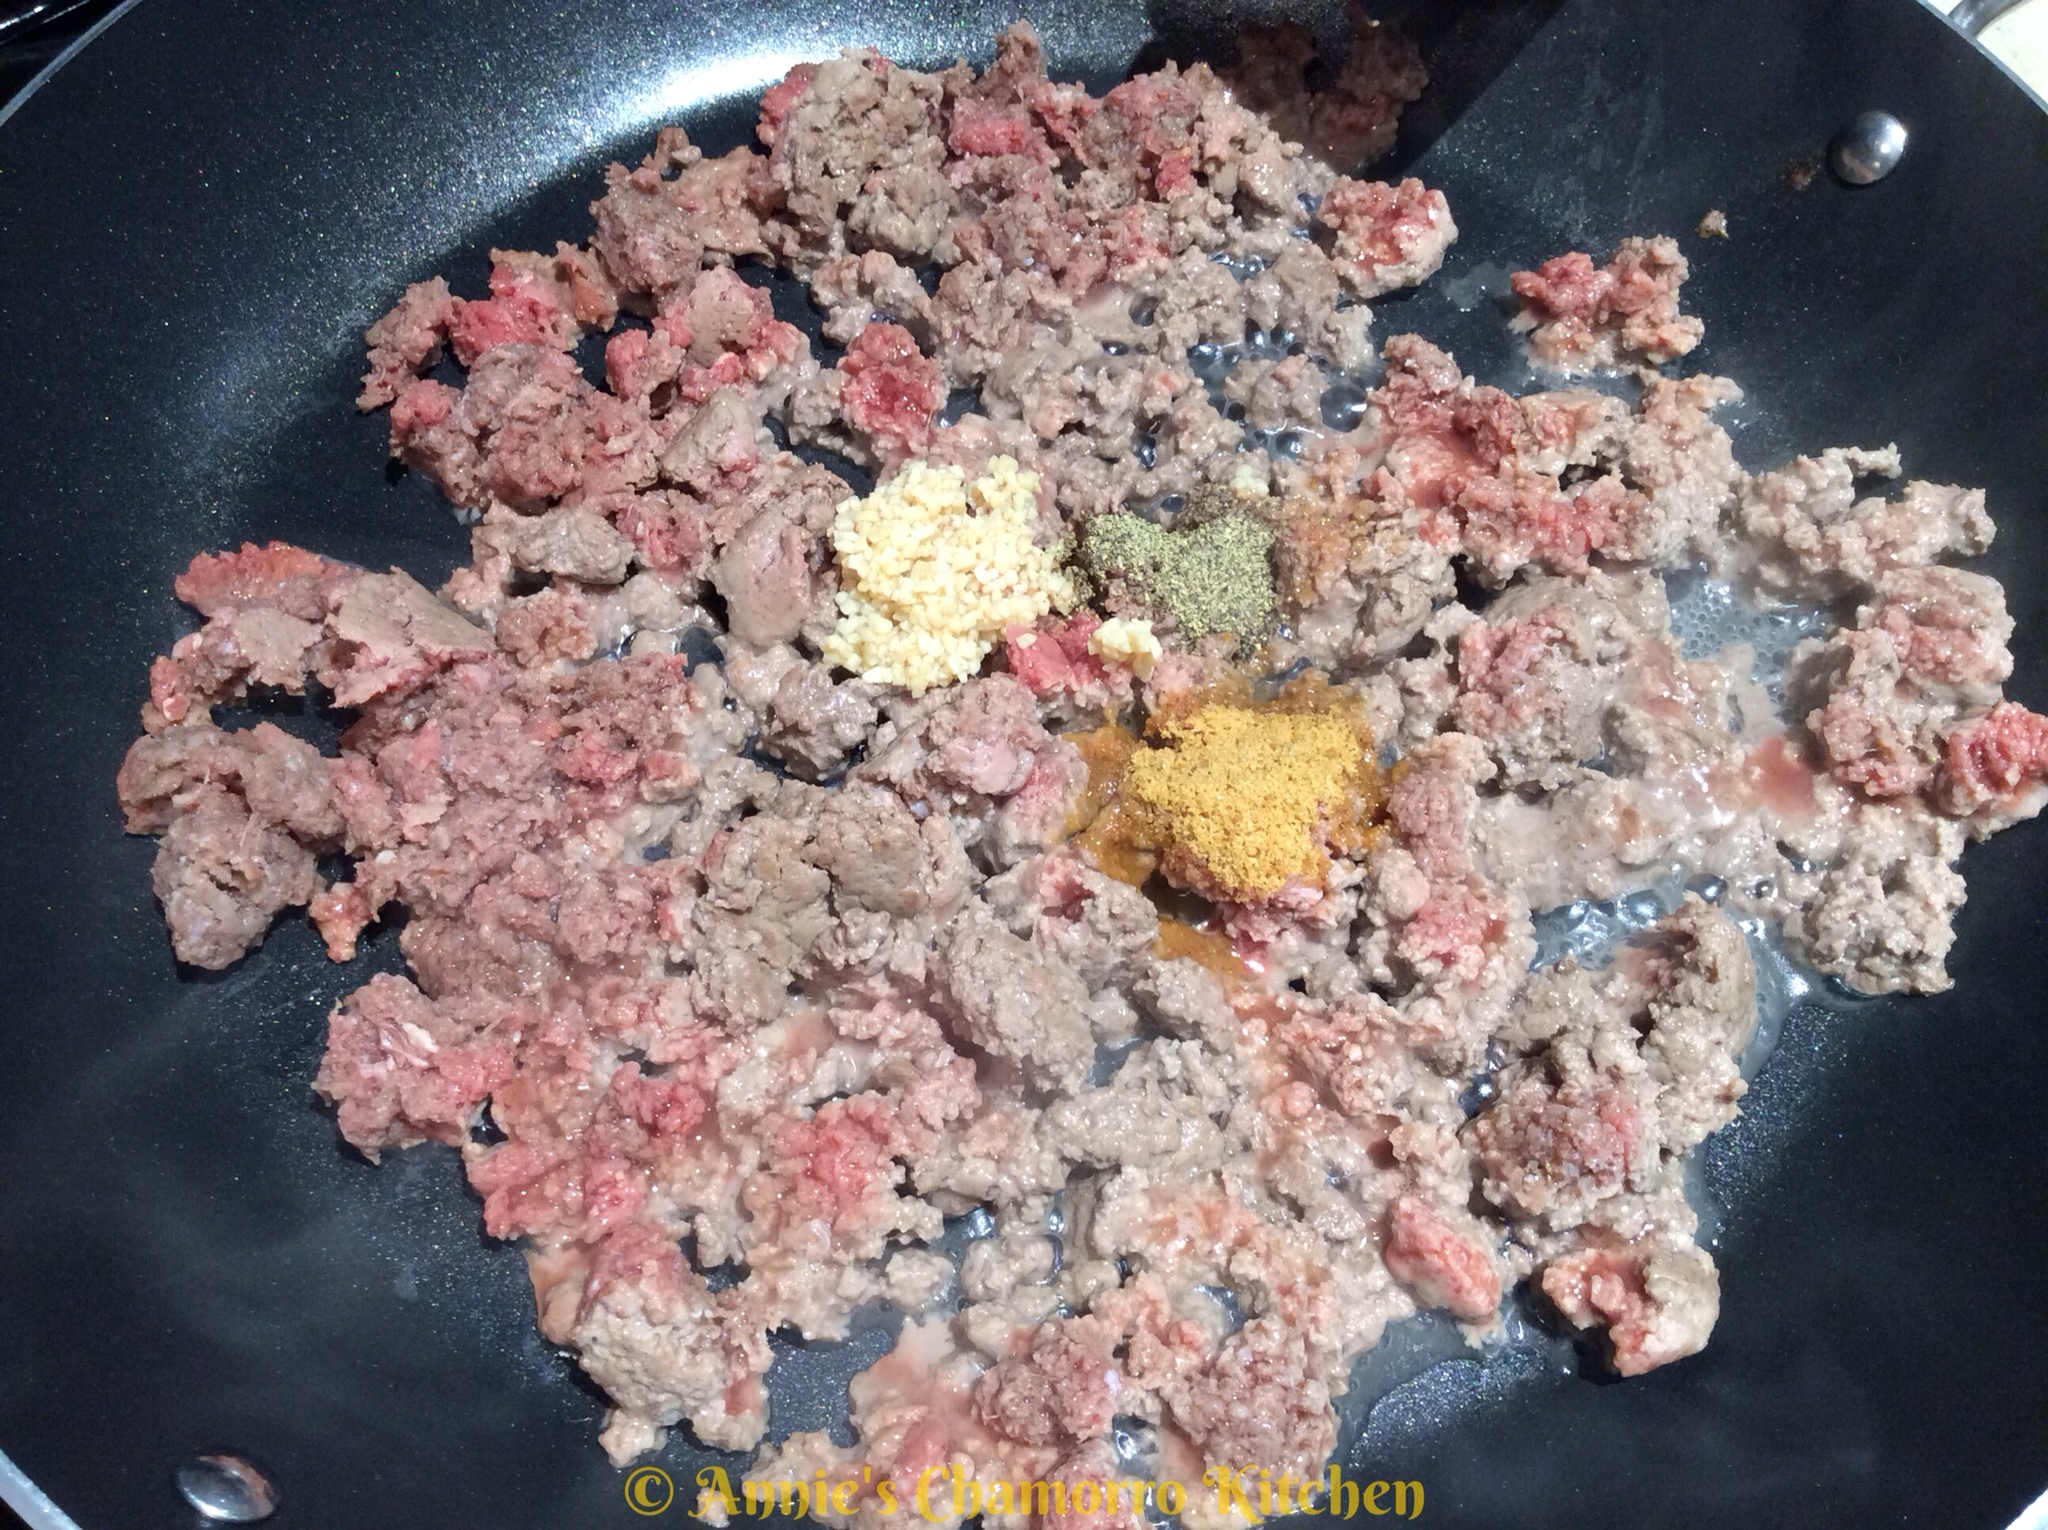
1. Place a large pot over medium high heat. Add the ground beef (or ground turkey or chicken pieces).
2. Add the cumin, chili powder, oregano, sea salt and black pepper to the pot.
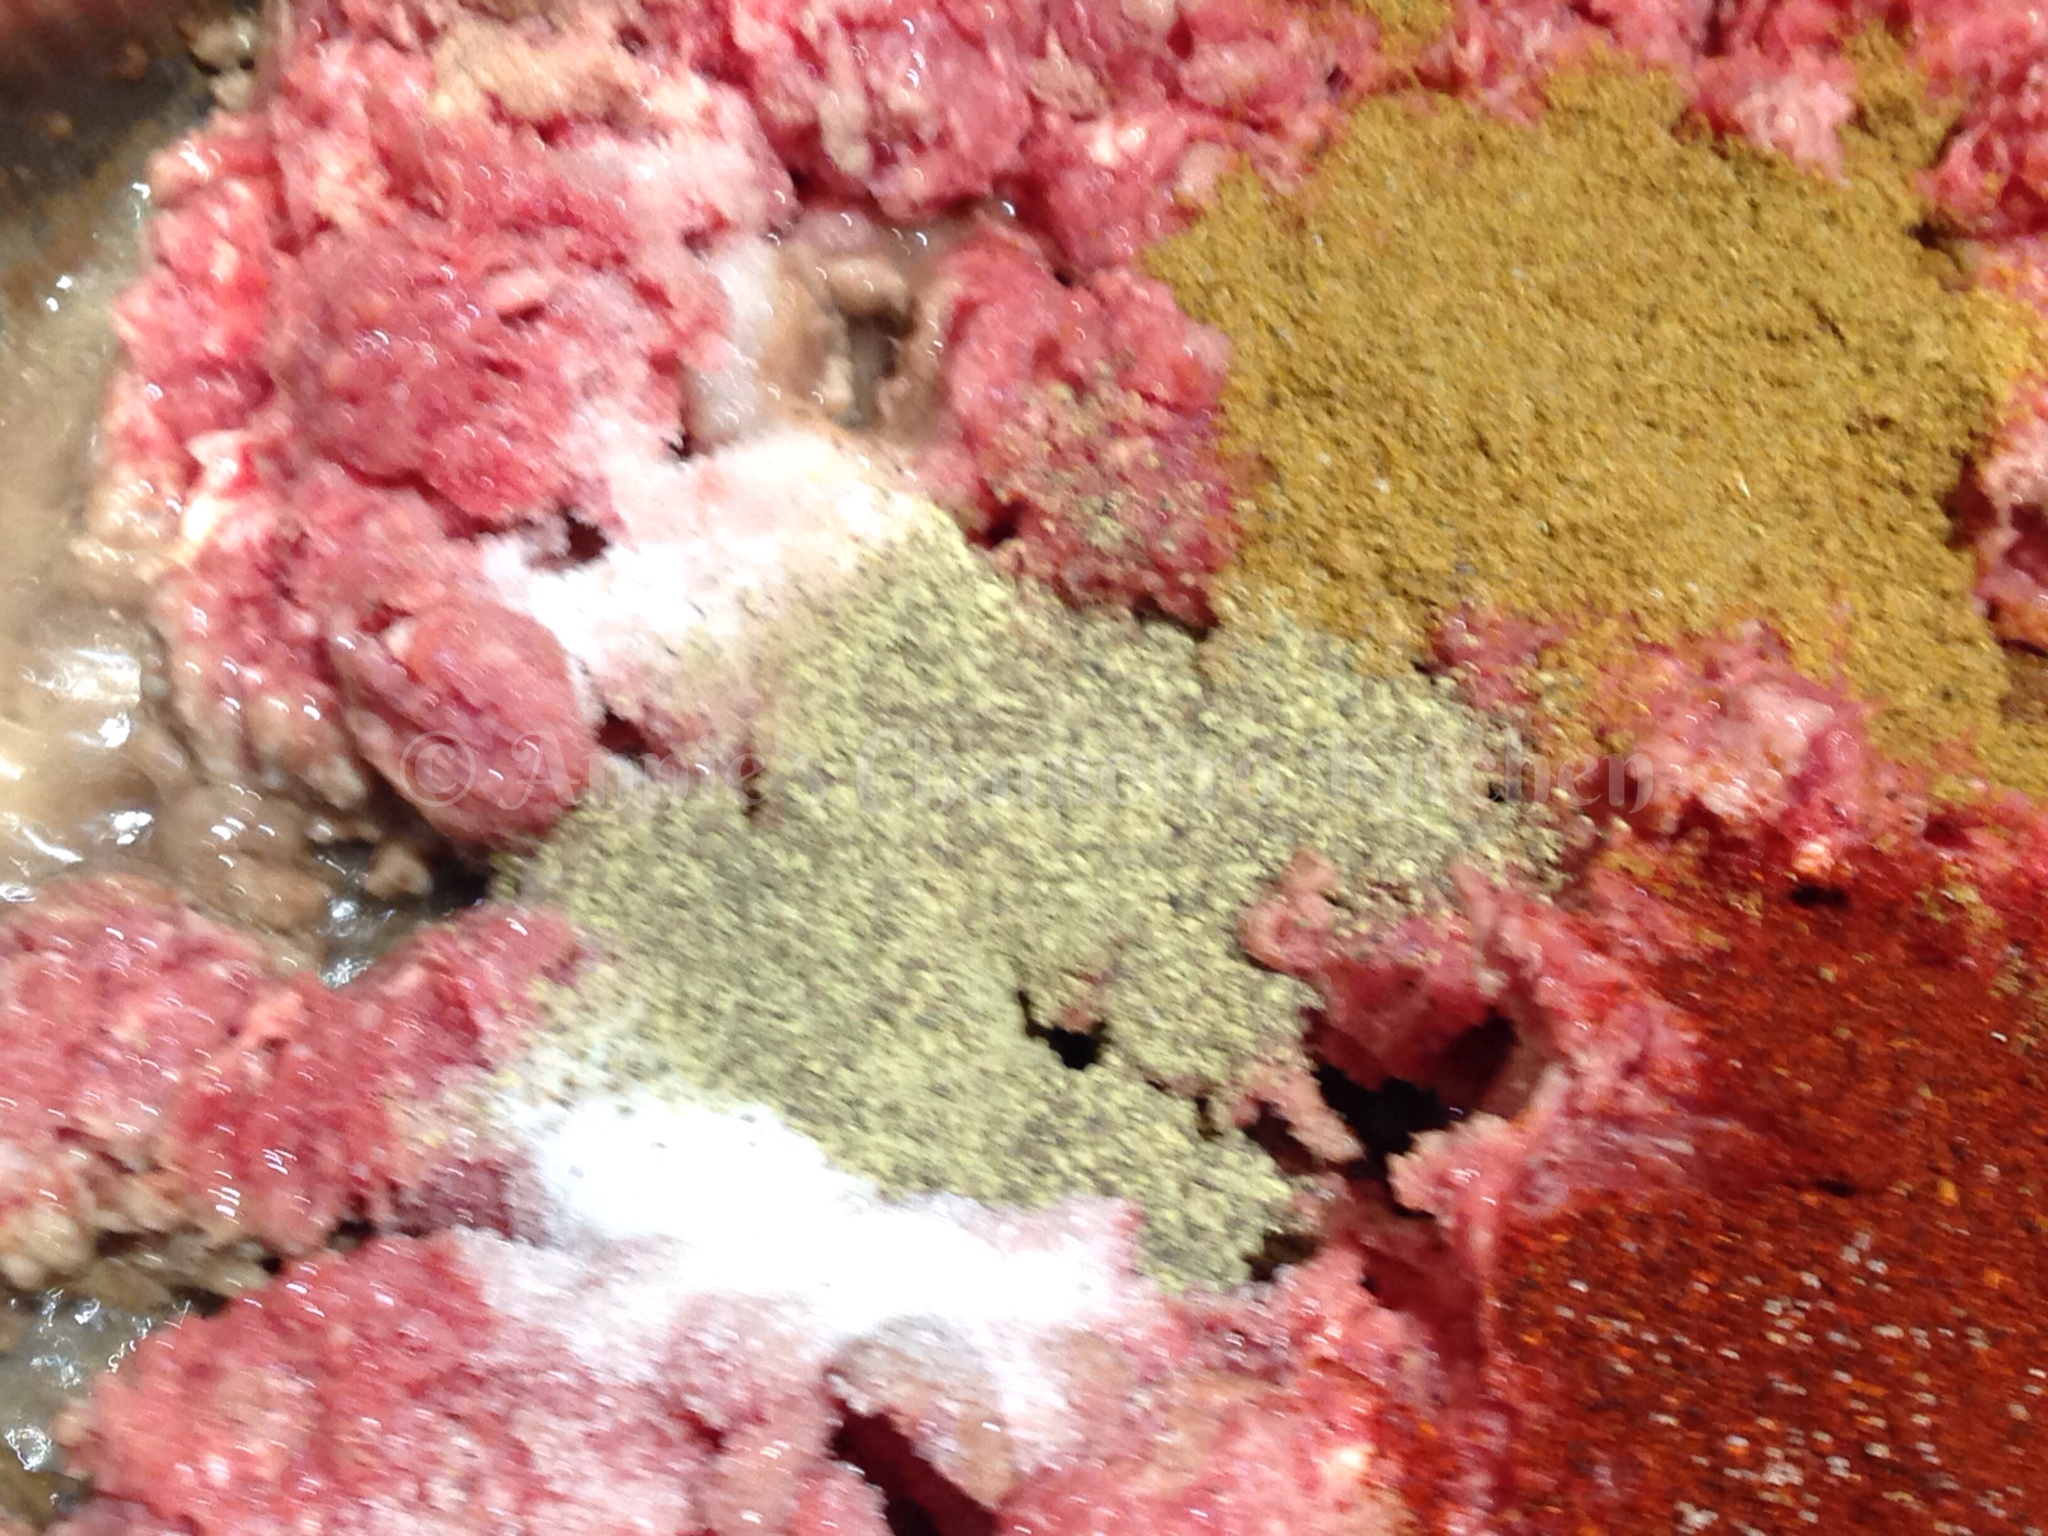
3. Stir well; cook until the meat is browned.
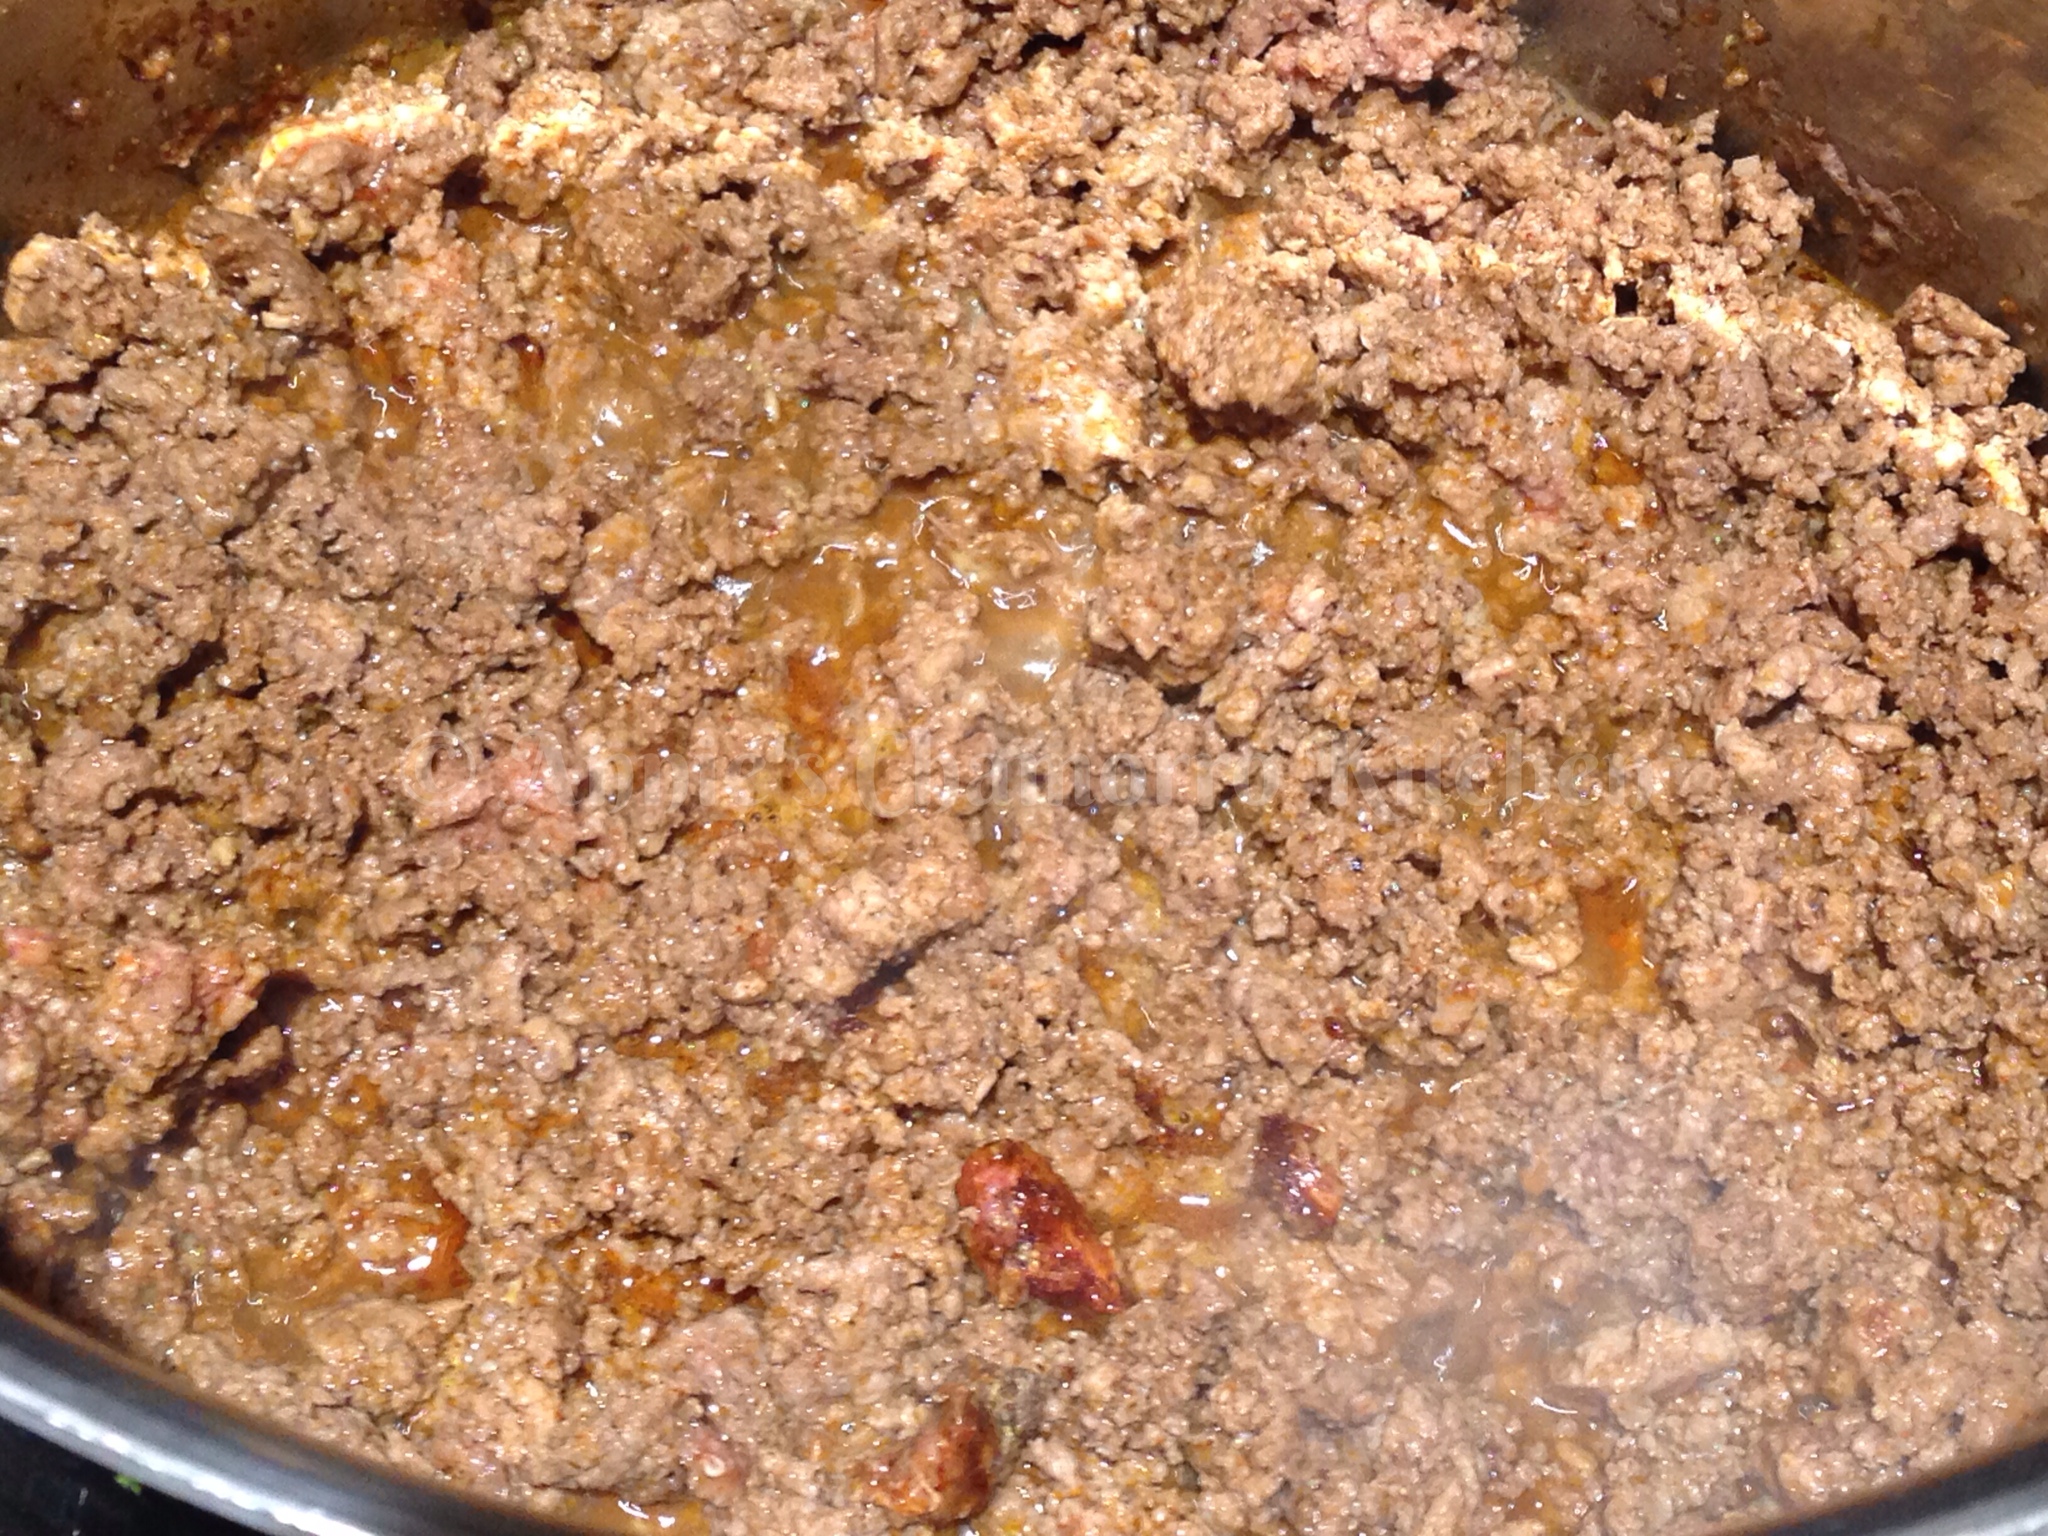
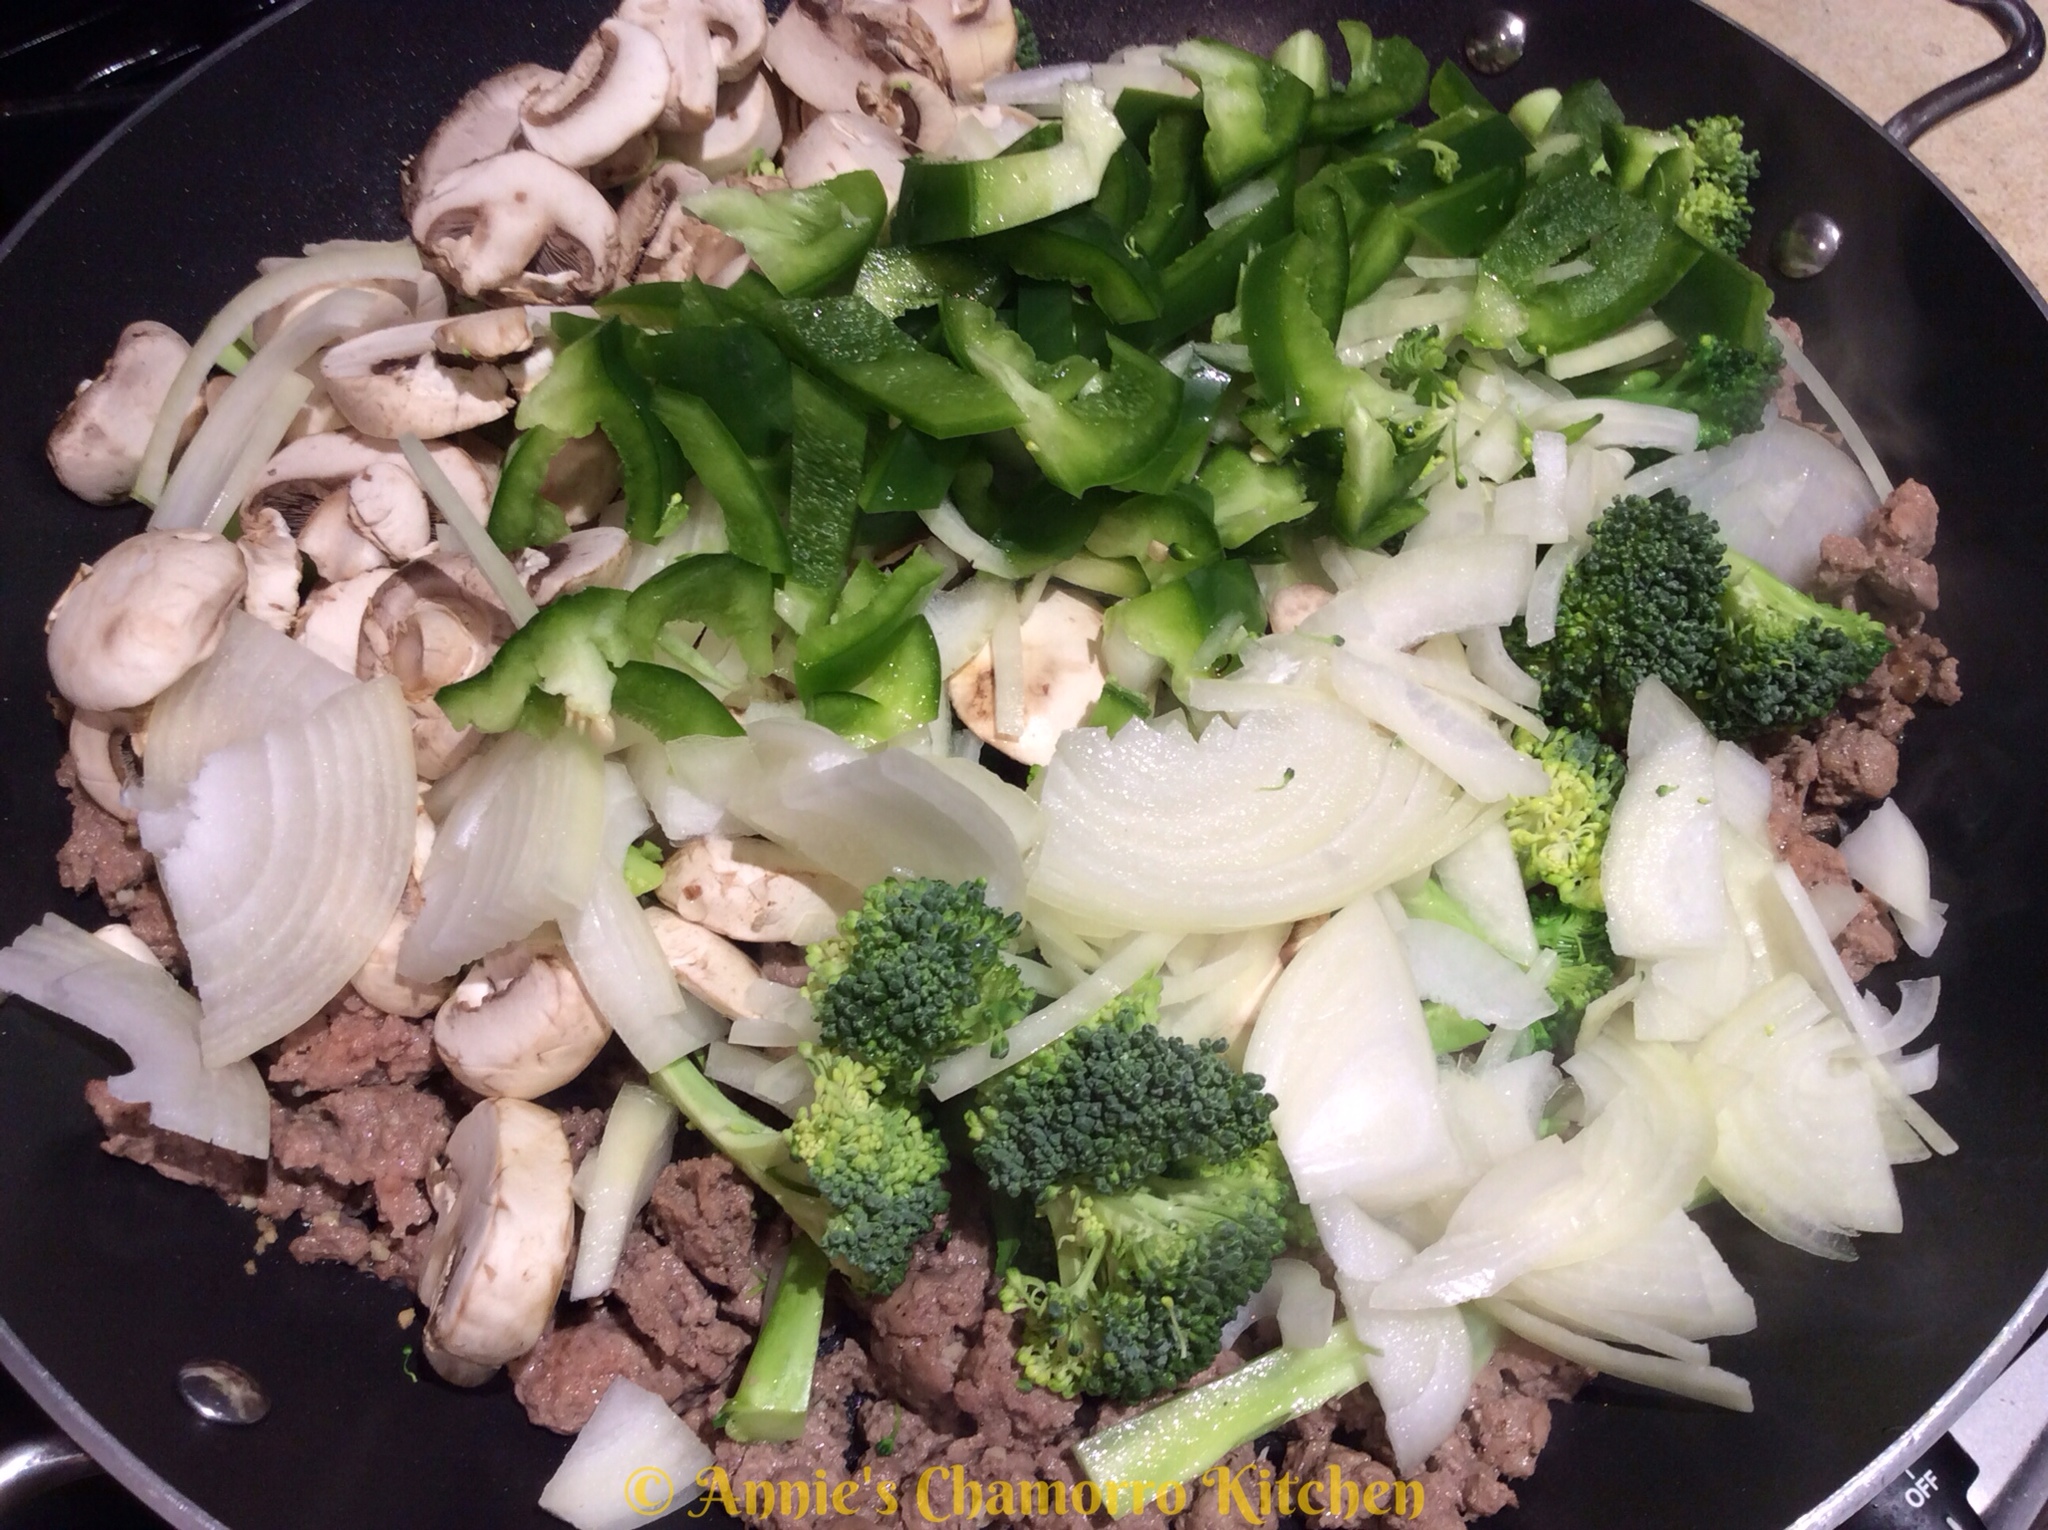
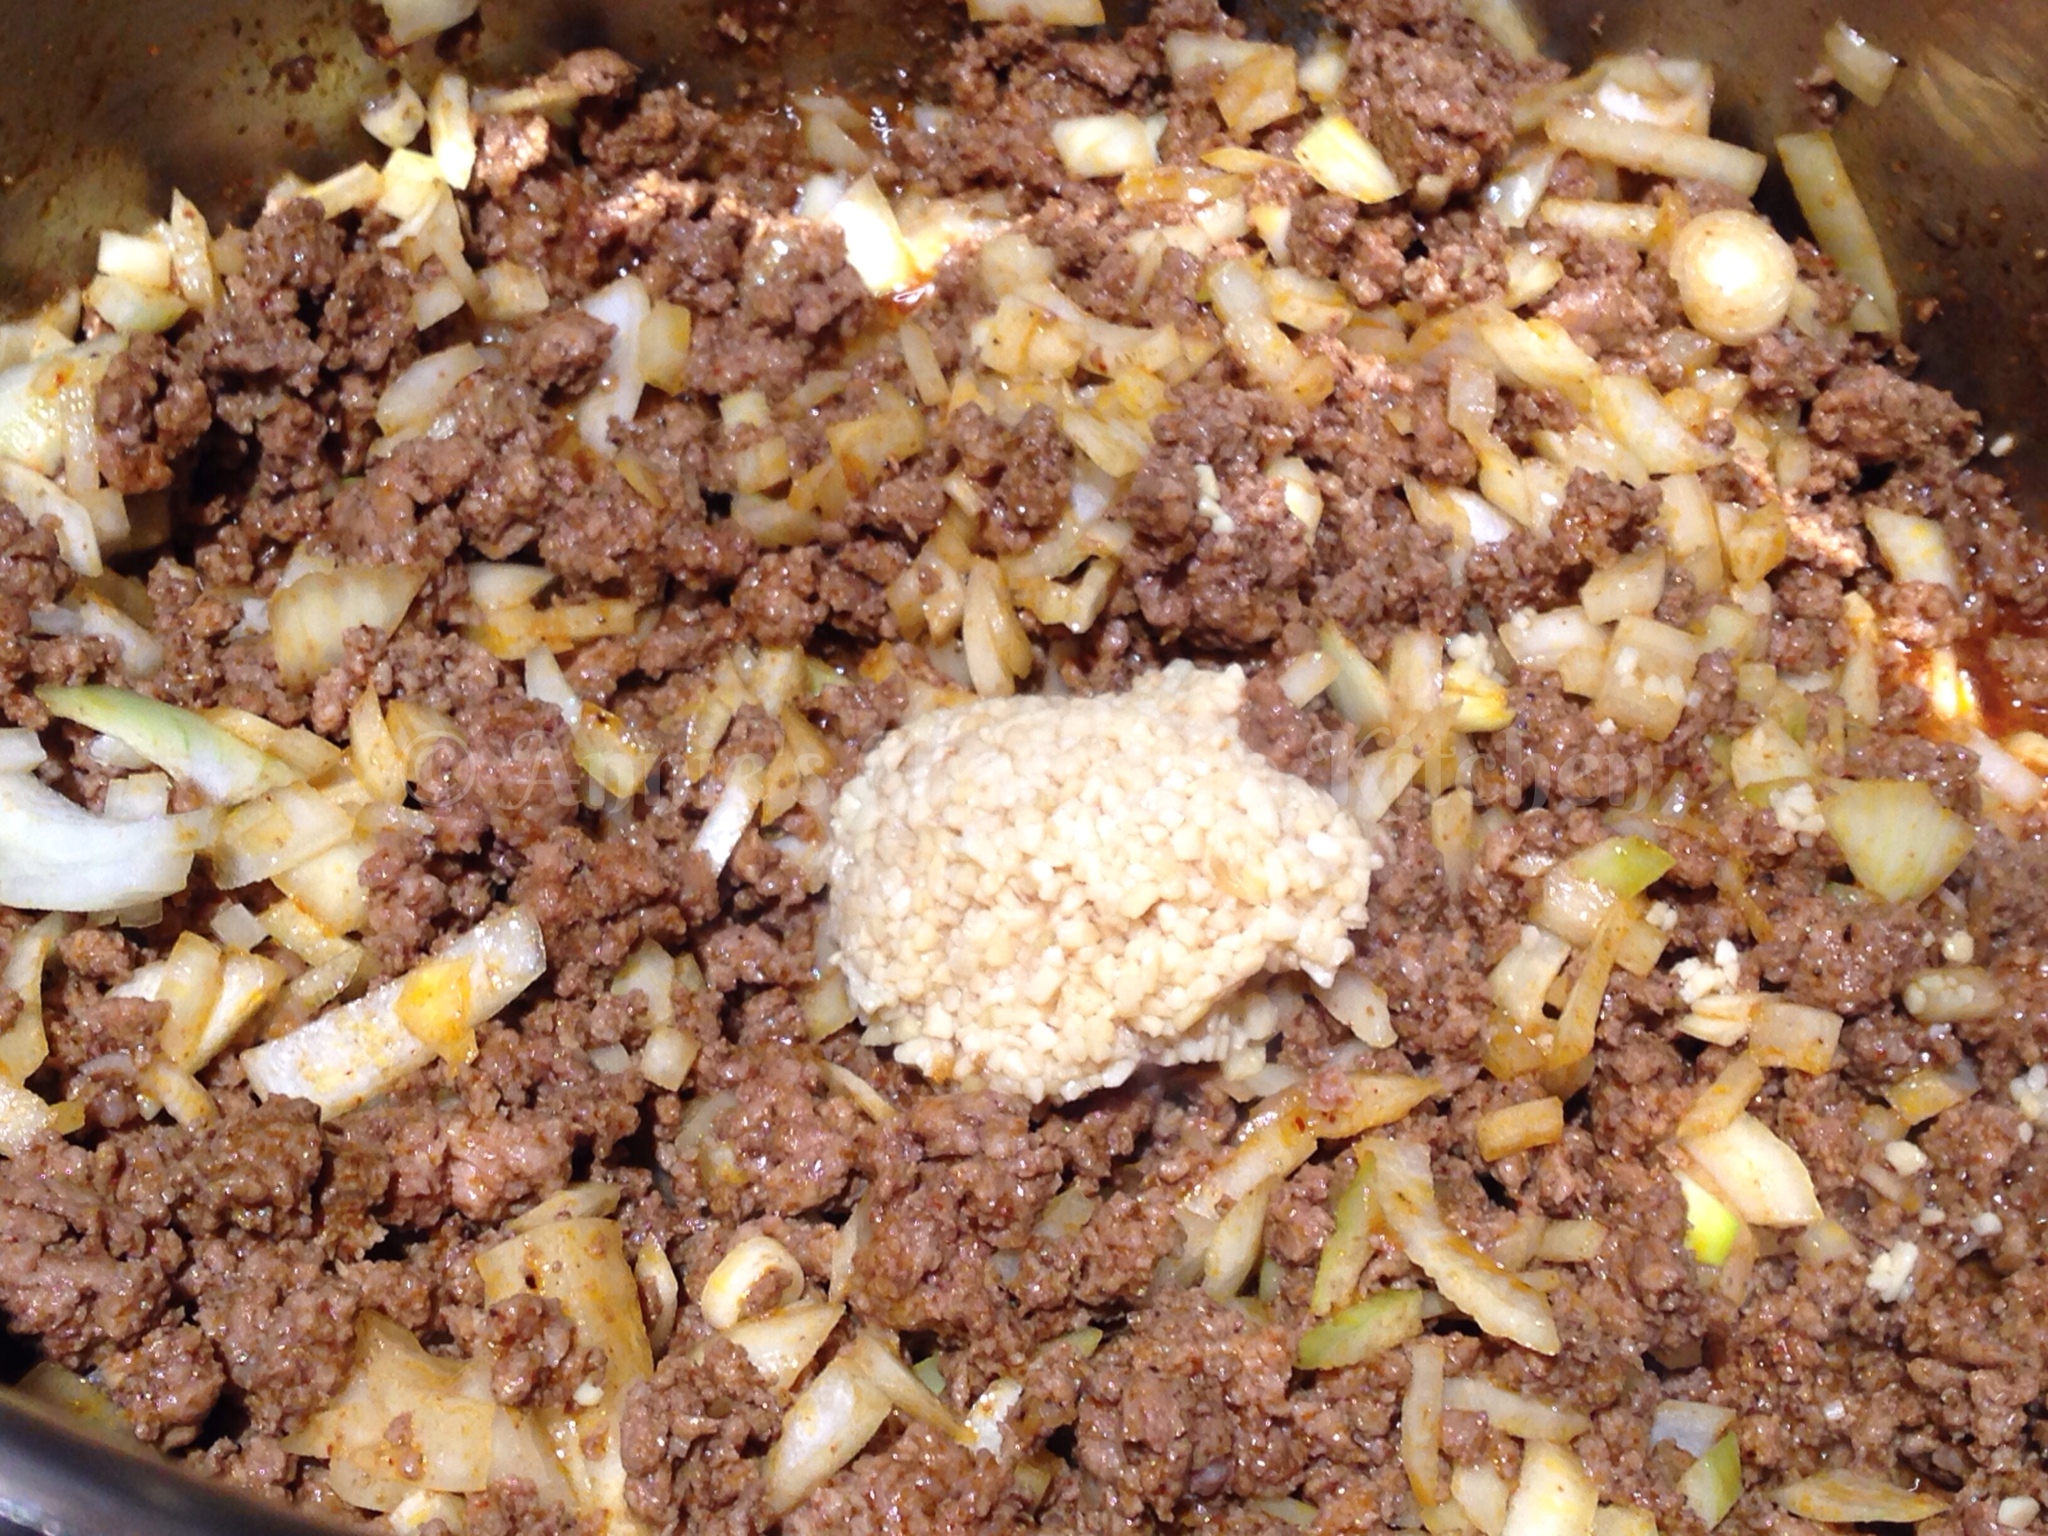
4. Add the onions to the pot; stir to combine the ingredients.
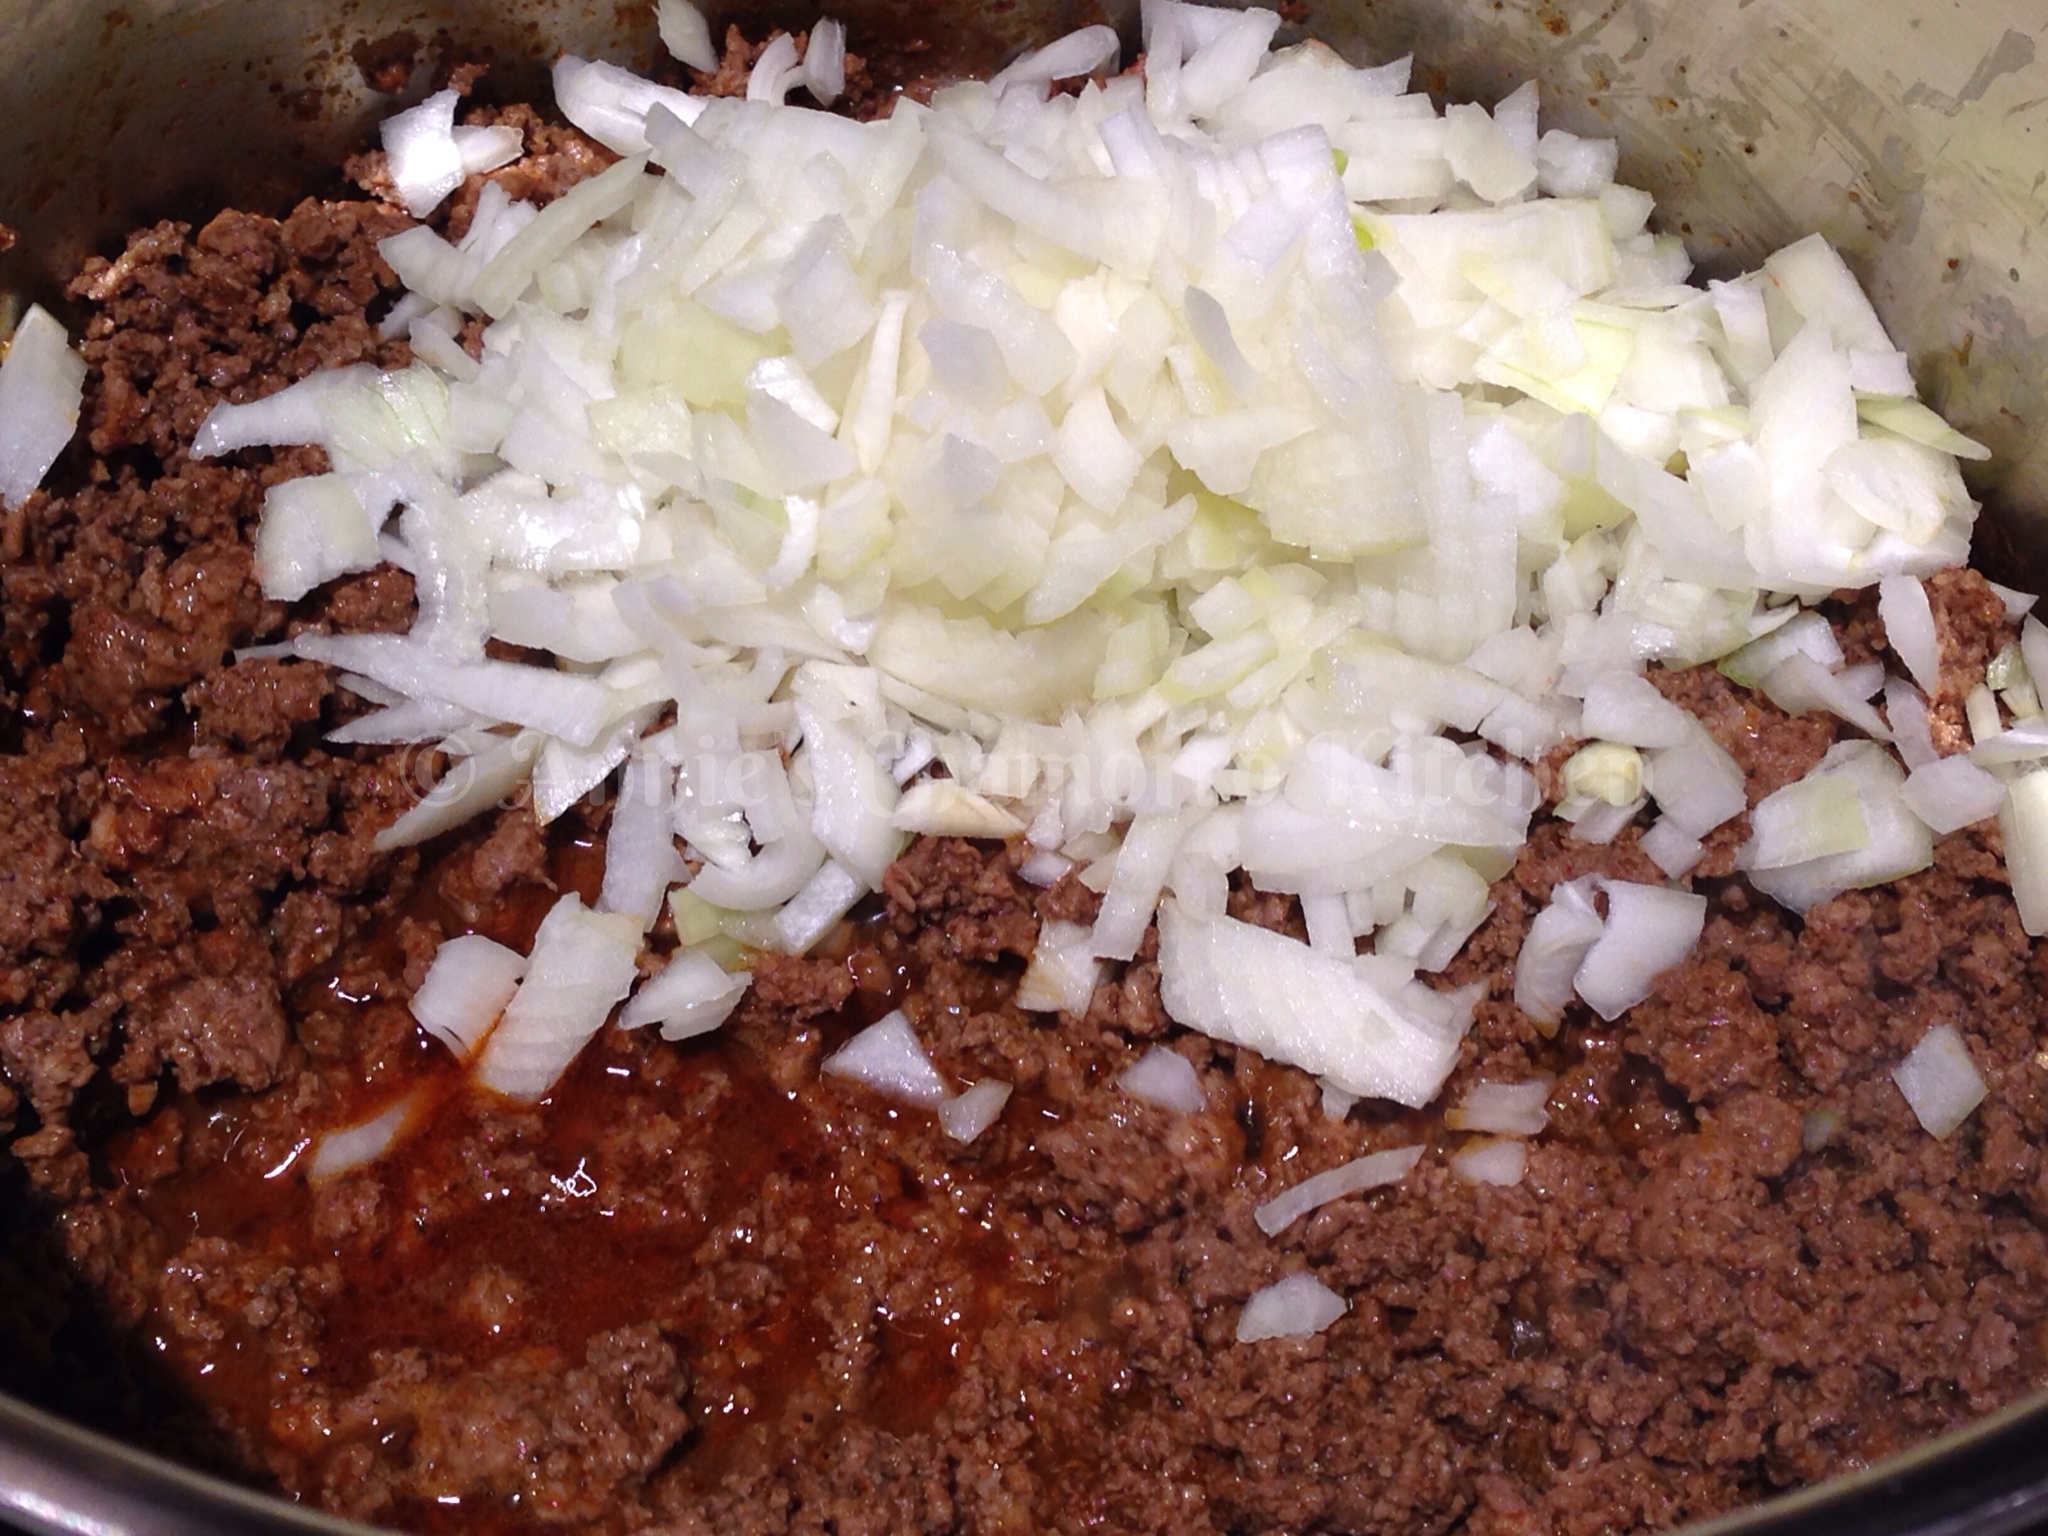
5. Cook until the onions are translucent. Add the garlic to the pot; stir to combine the ingredients. Cook for about a minute.
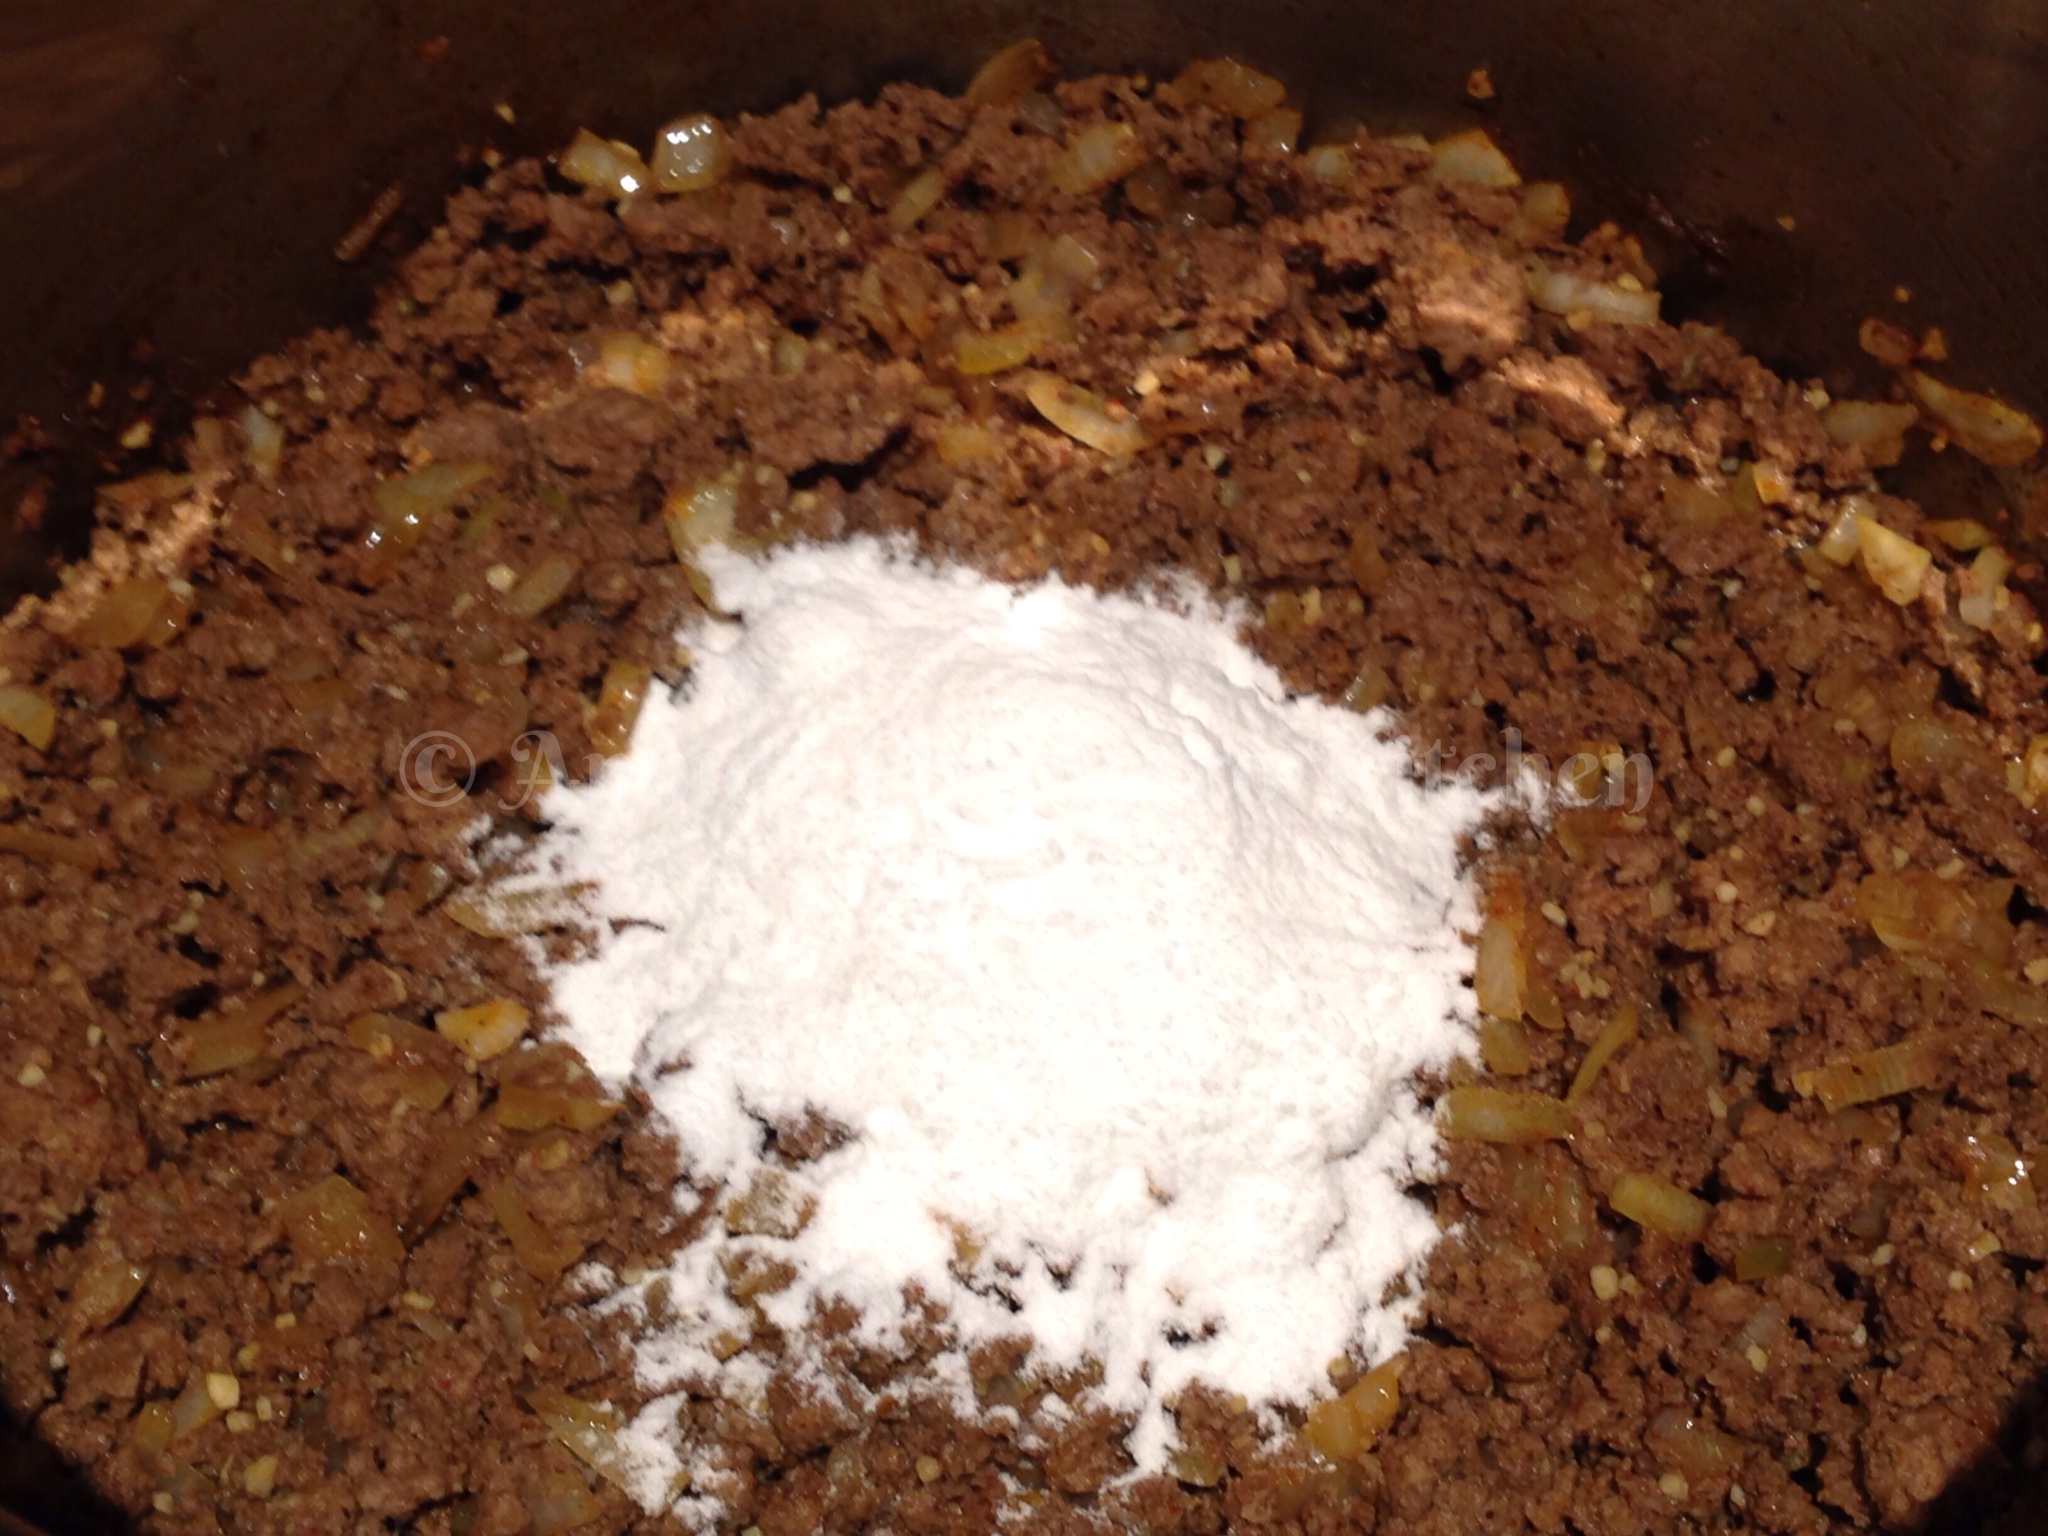
6. Add the flour to the pot. Stir to thoroughly mix the flour into the meat mixture.
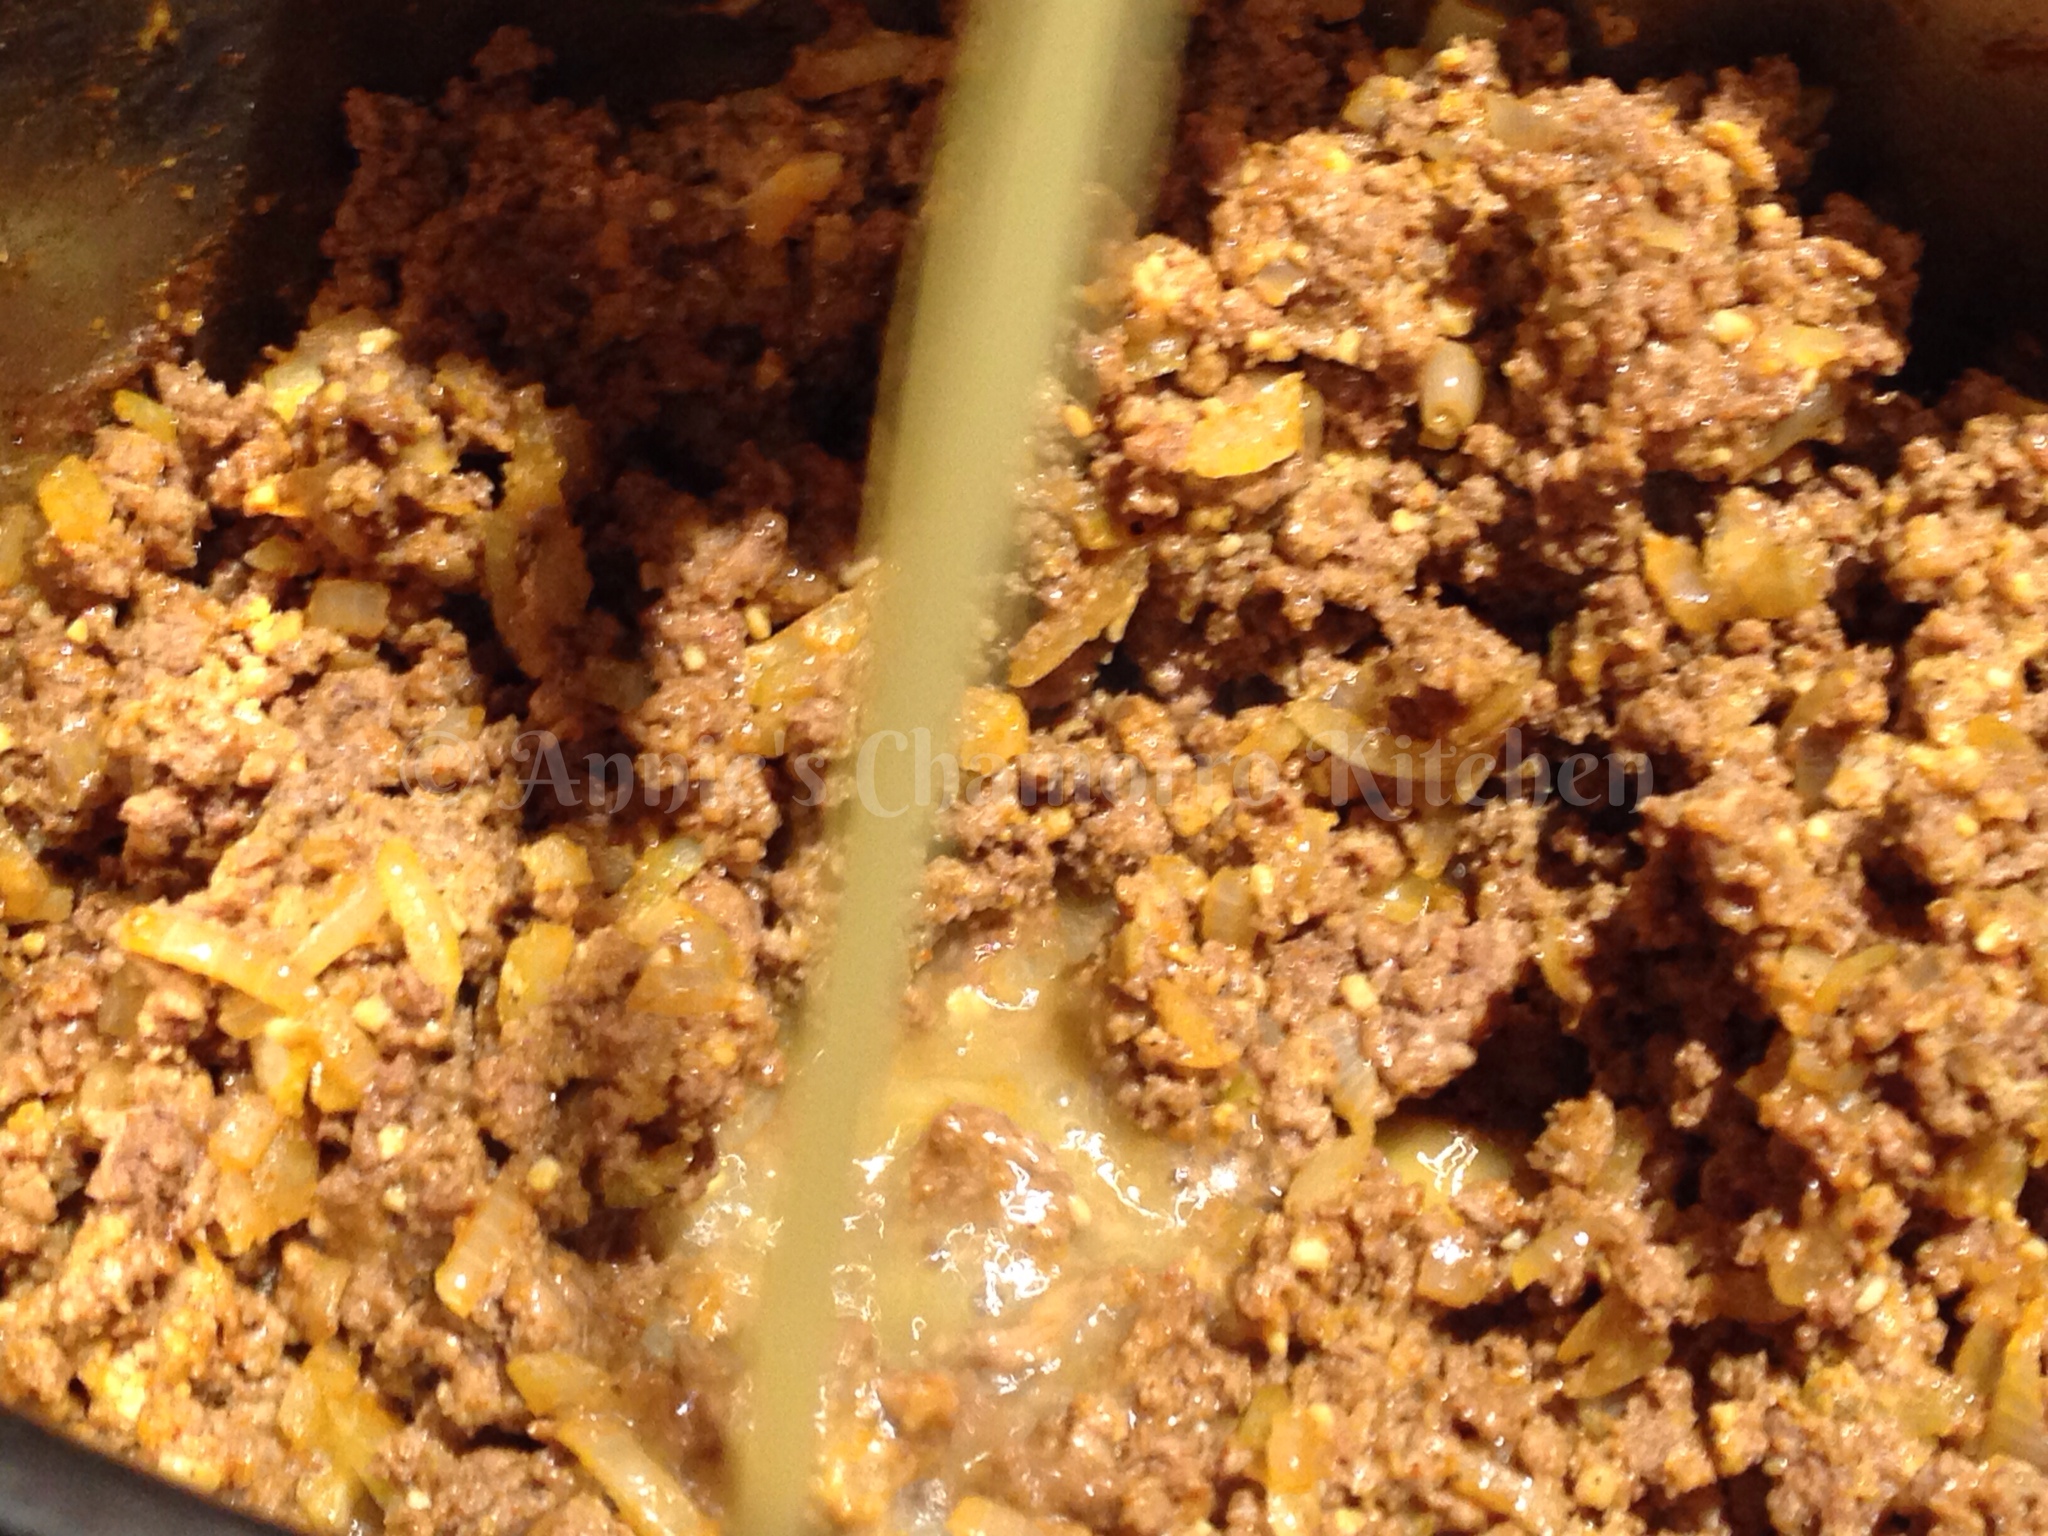
7. Pour the chicken stock into the pot, stirring the mixture as you add the liquid. Turn the heat up to high. Continue cooking, stirring occasionally. The mixture will thicken as it cooks.
8. While the chili is cooking, roast the poblano chilies. I just place the peppers over one of the burners on my gas stove.
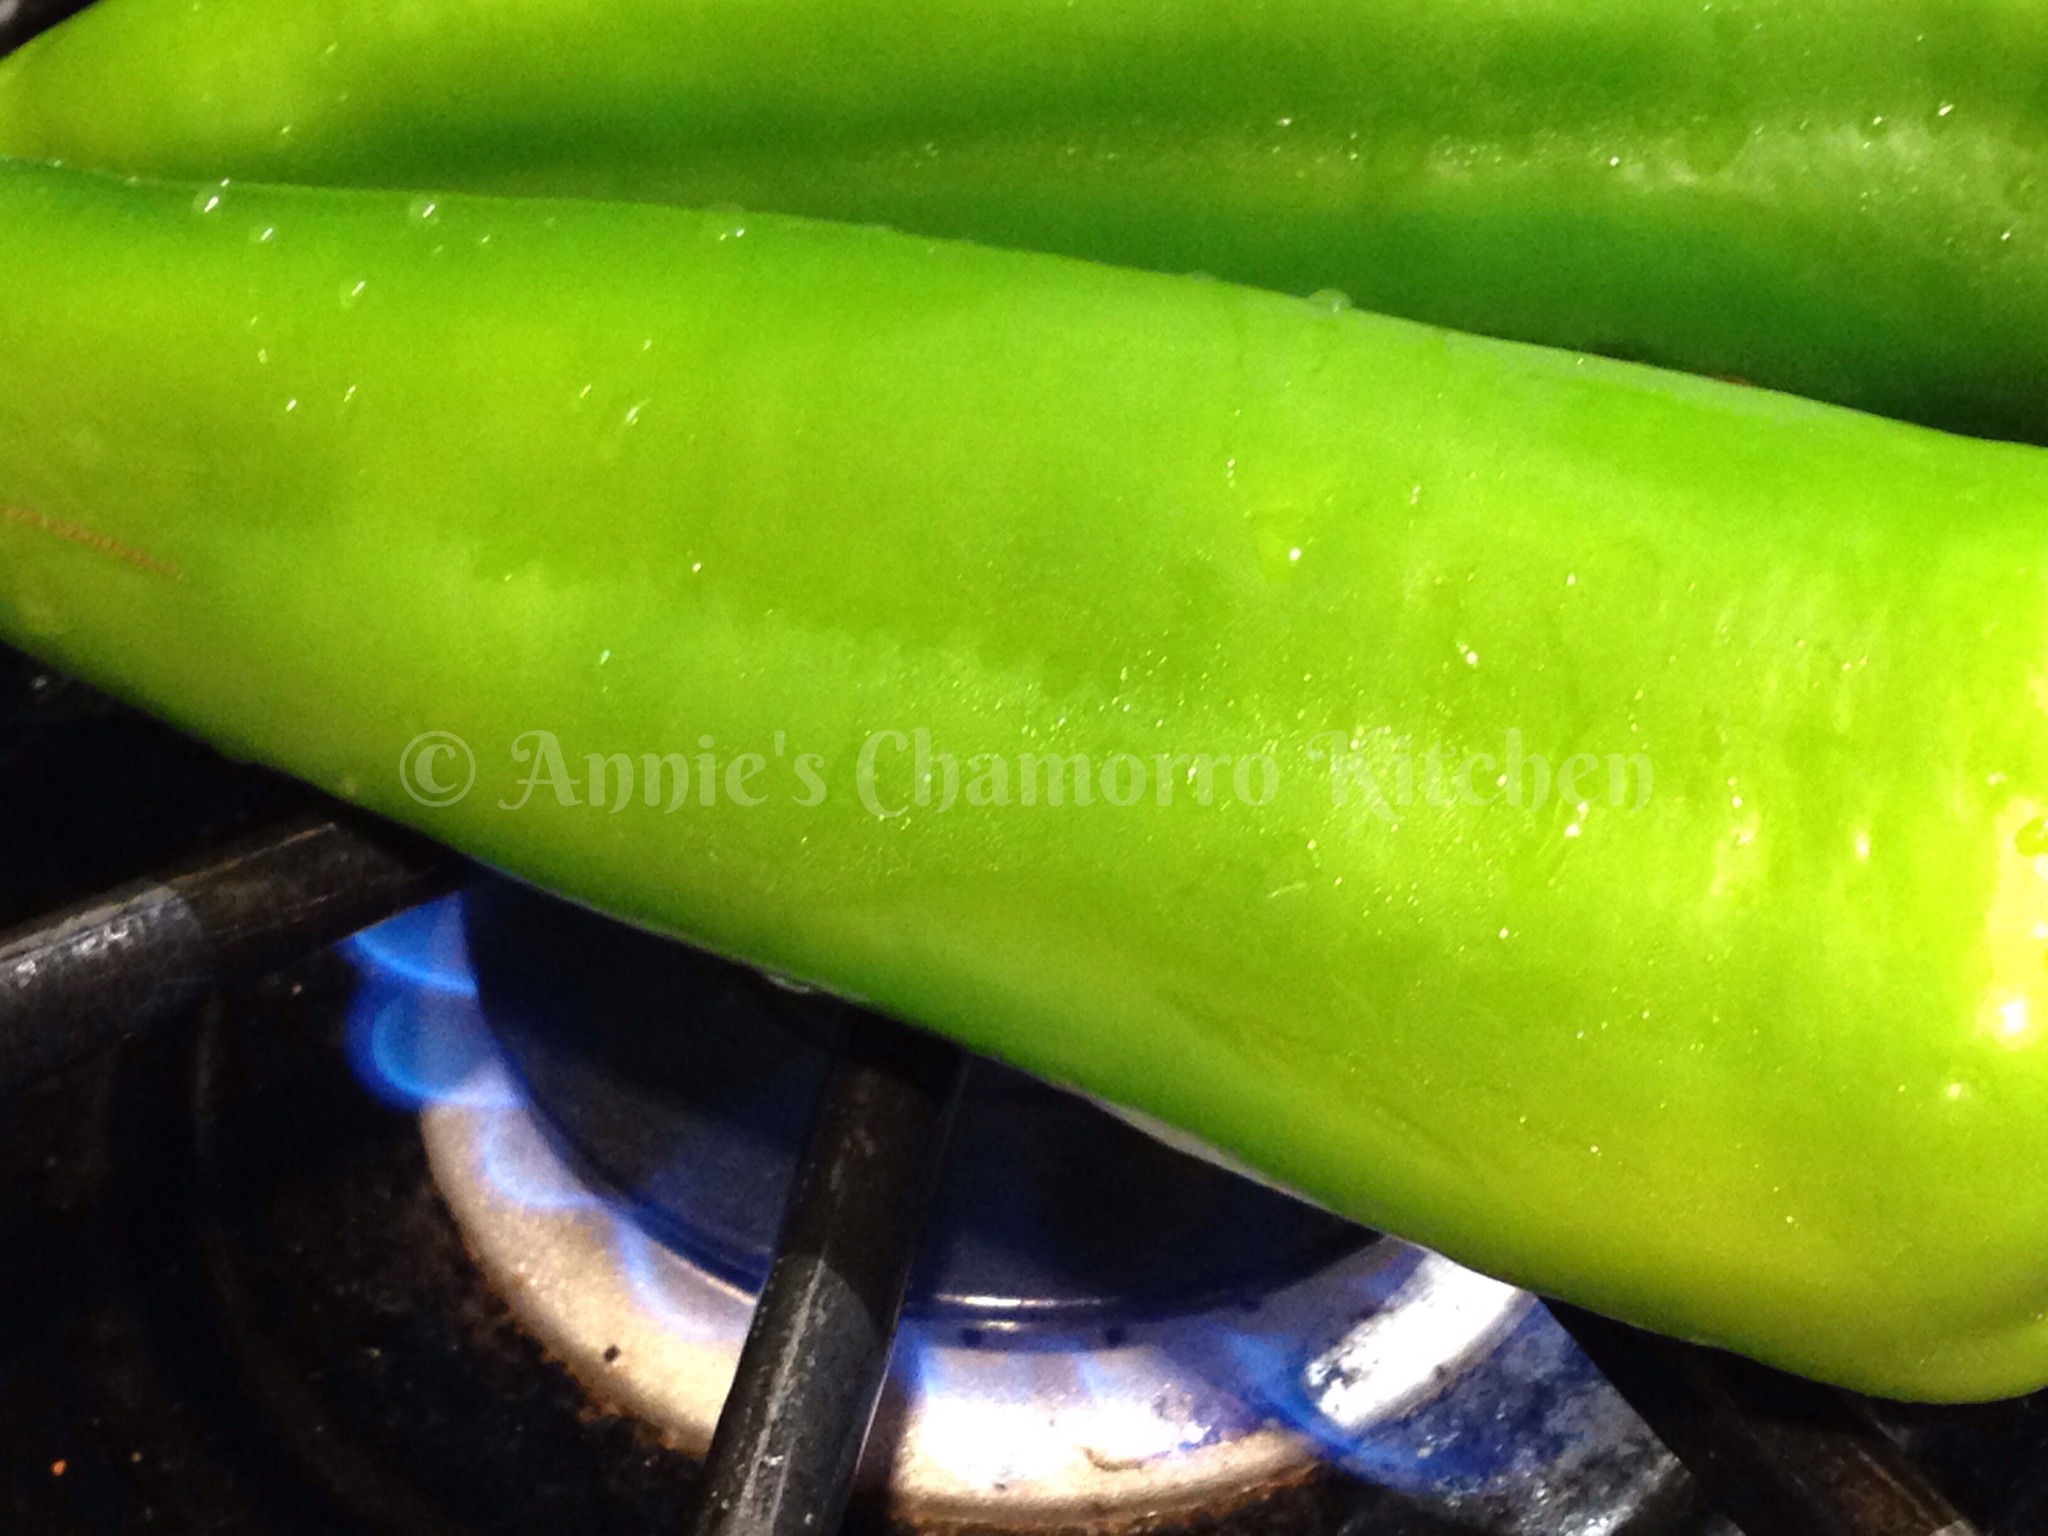
9. Rotate the pepper as it grills to ensure even cooking.

***Don’t do what I did and forget to peel off the charred skin! Or, you can forget, like I did, but then you’ll be fishing blackened pepper skin out of your chili. 😉
To remove the charred skin, let the peppers cool slightly. After the peppers cool, use a damp paper towel to rub the charred skin off the peppers.
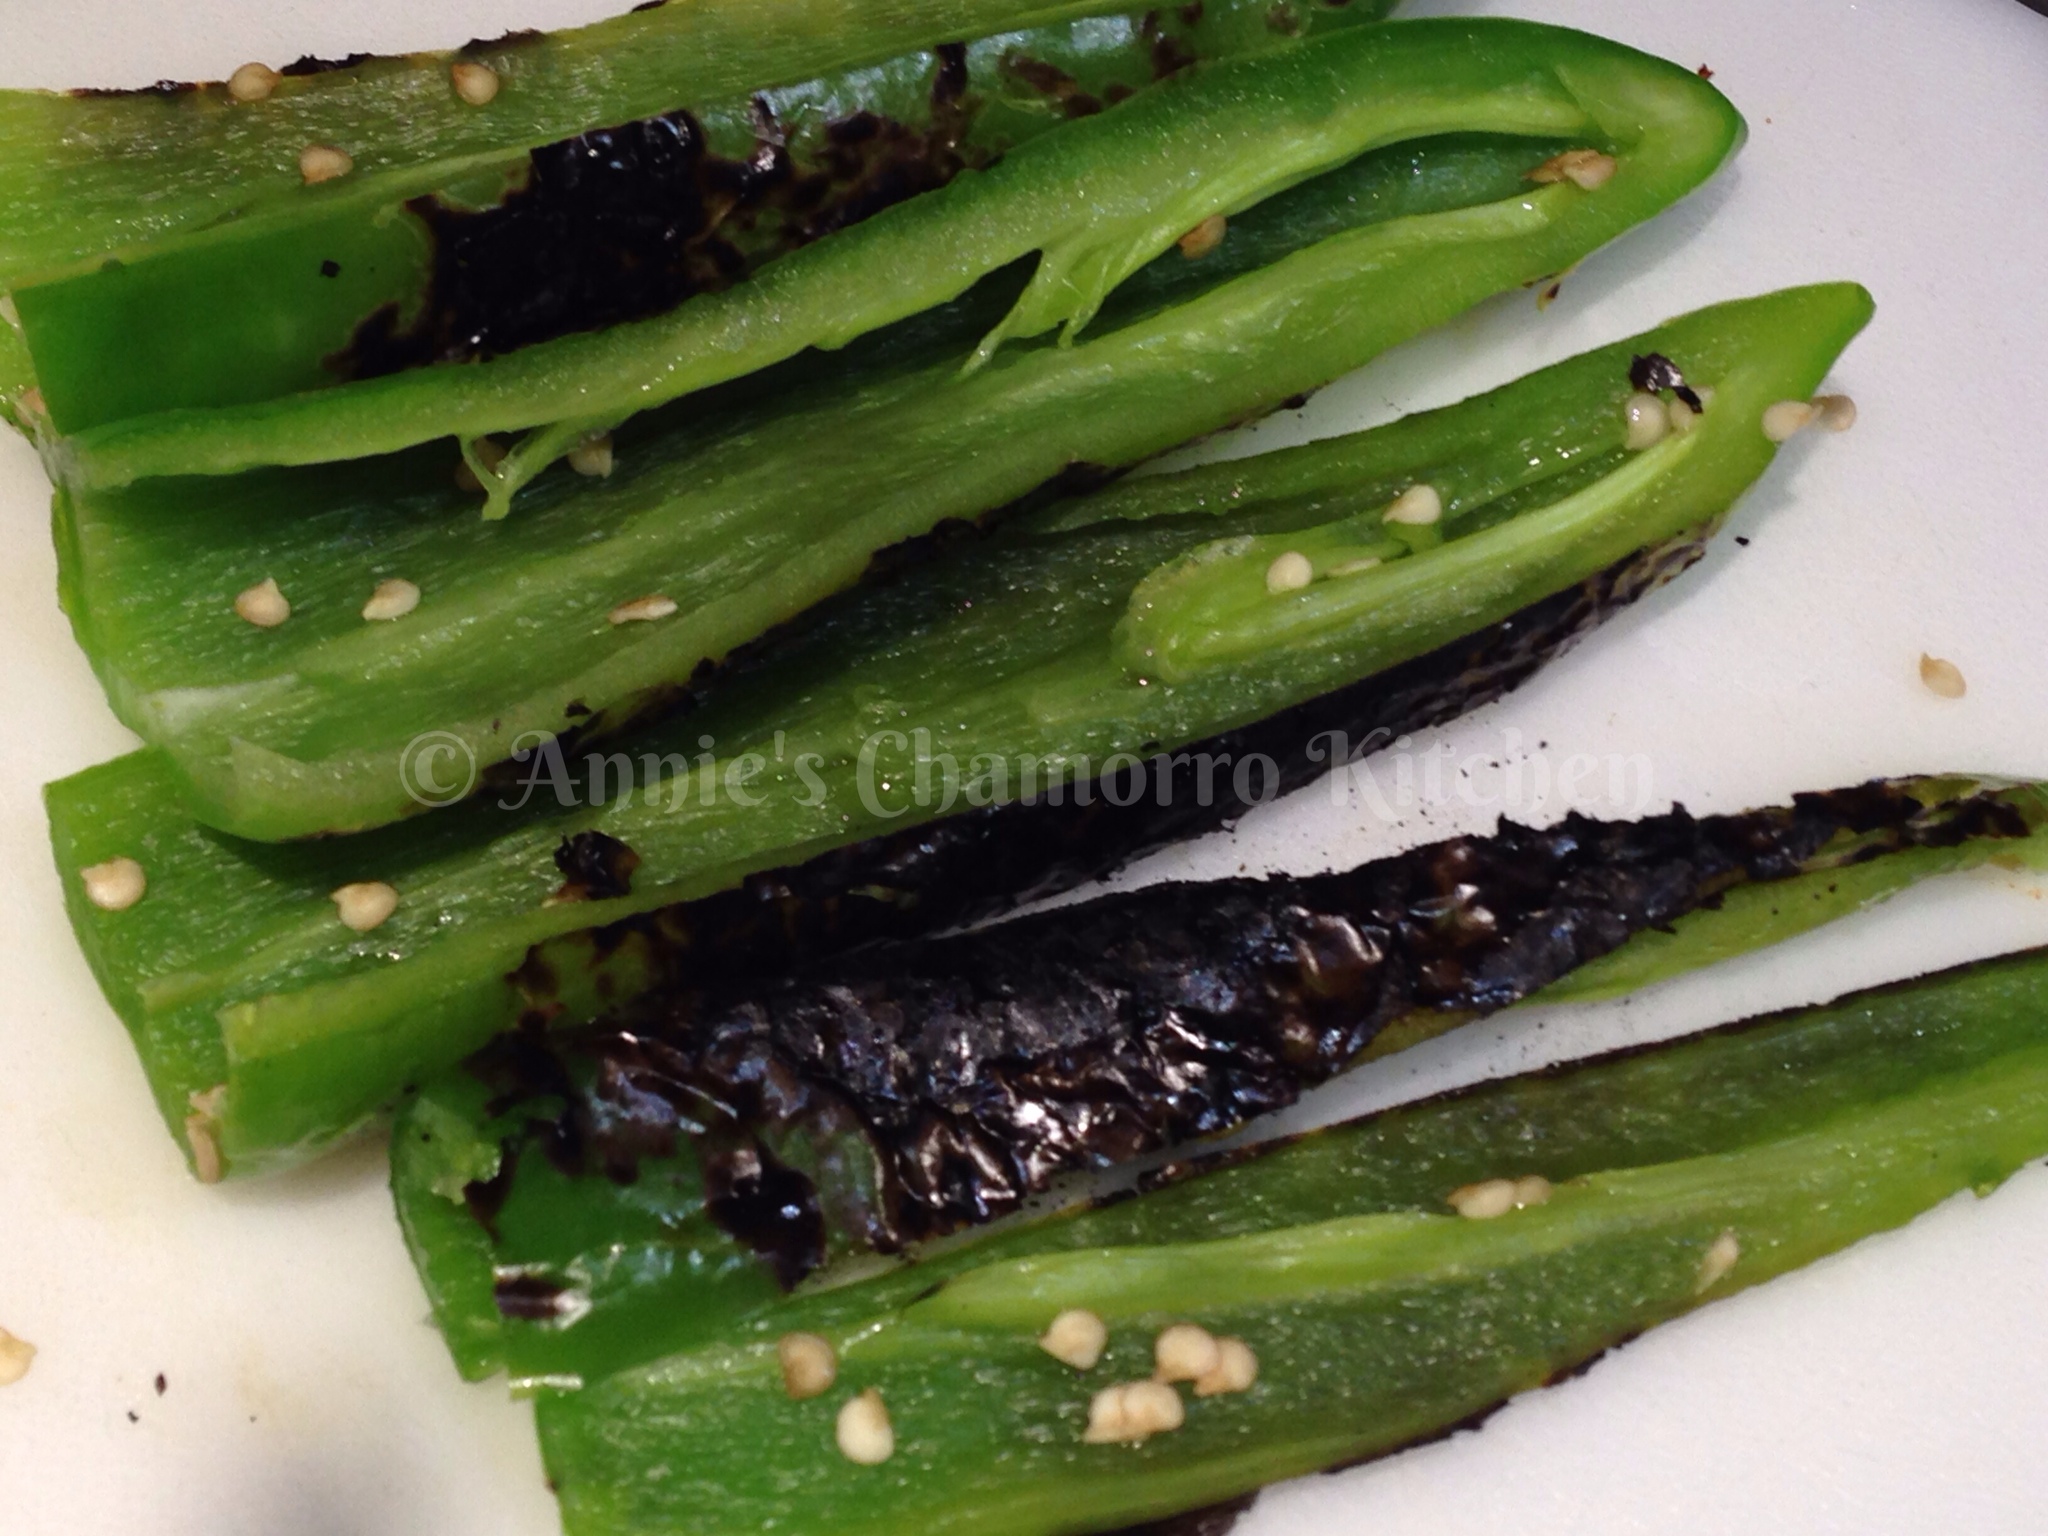
10. Cut the peppers in strips, lengthwise, then dice them into small pieces.
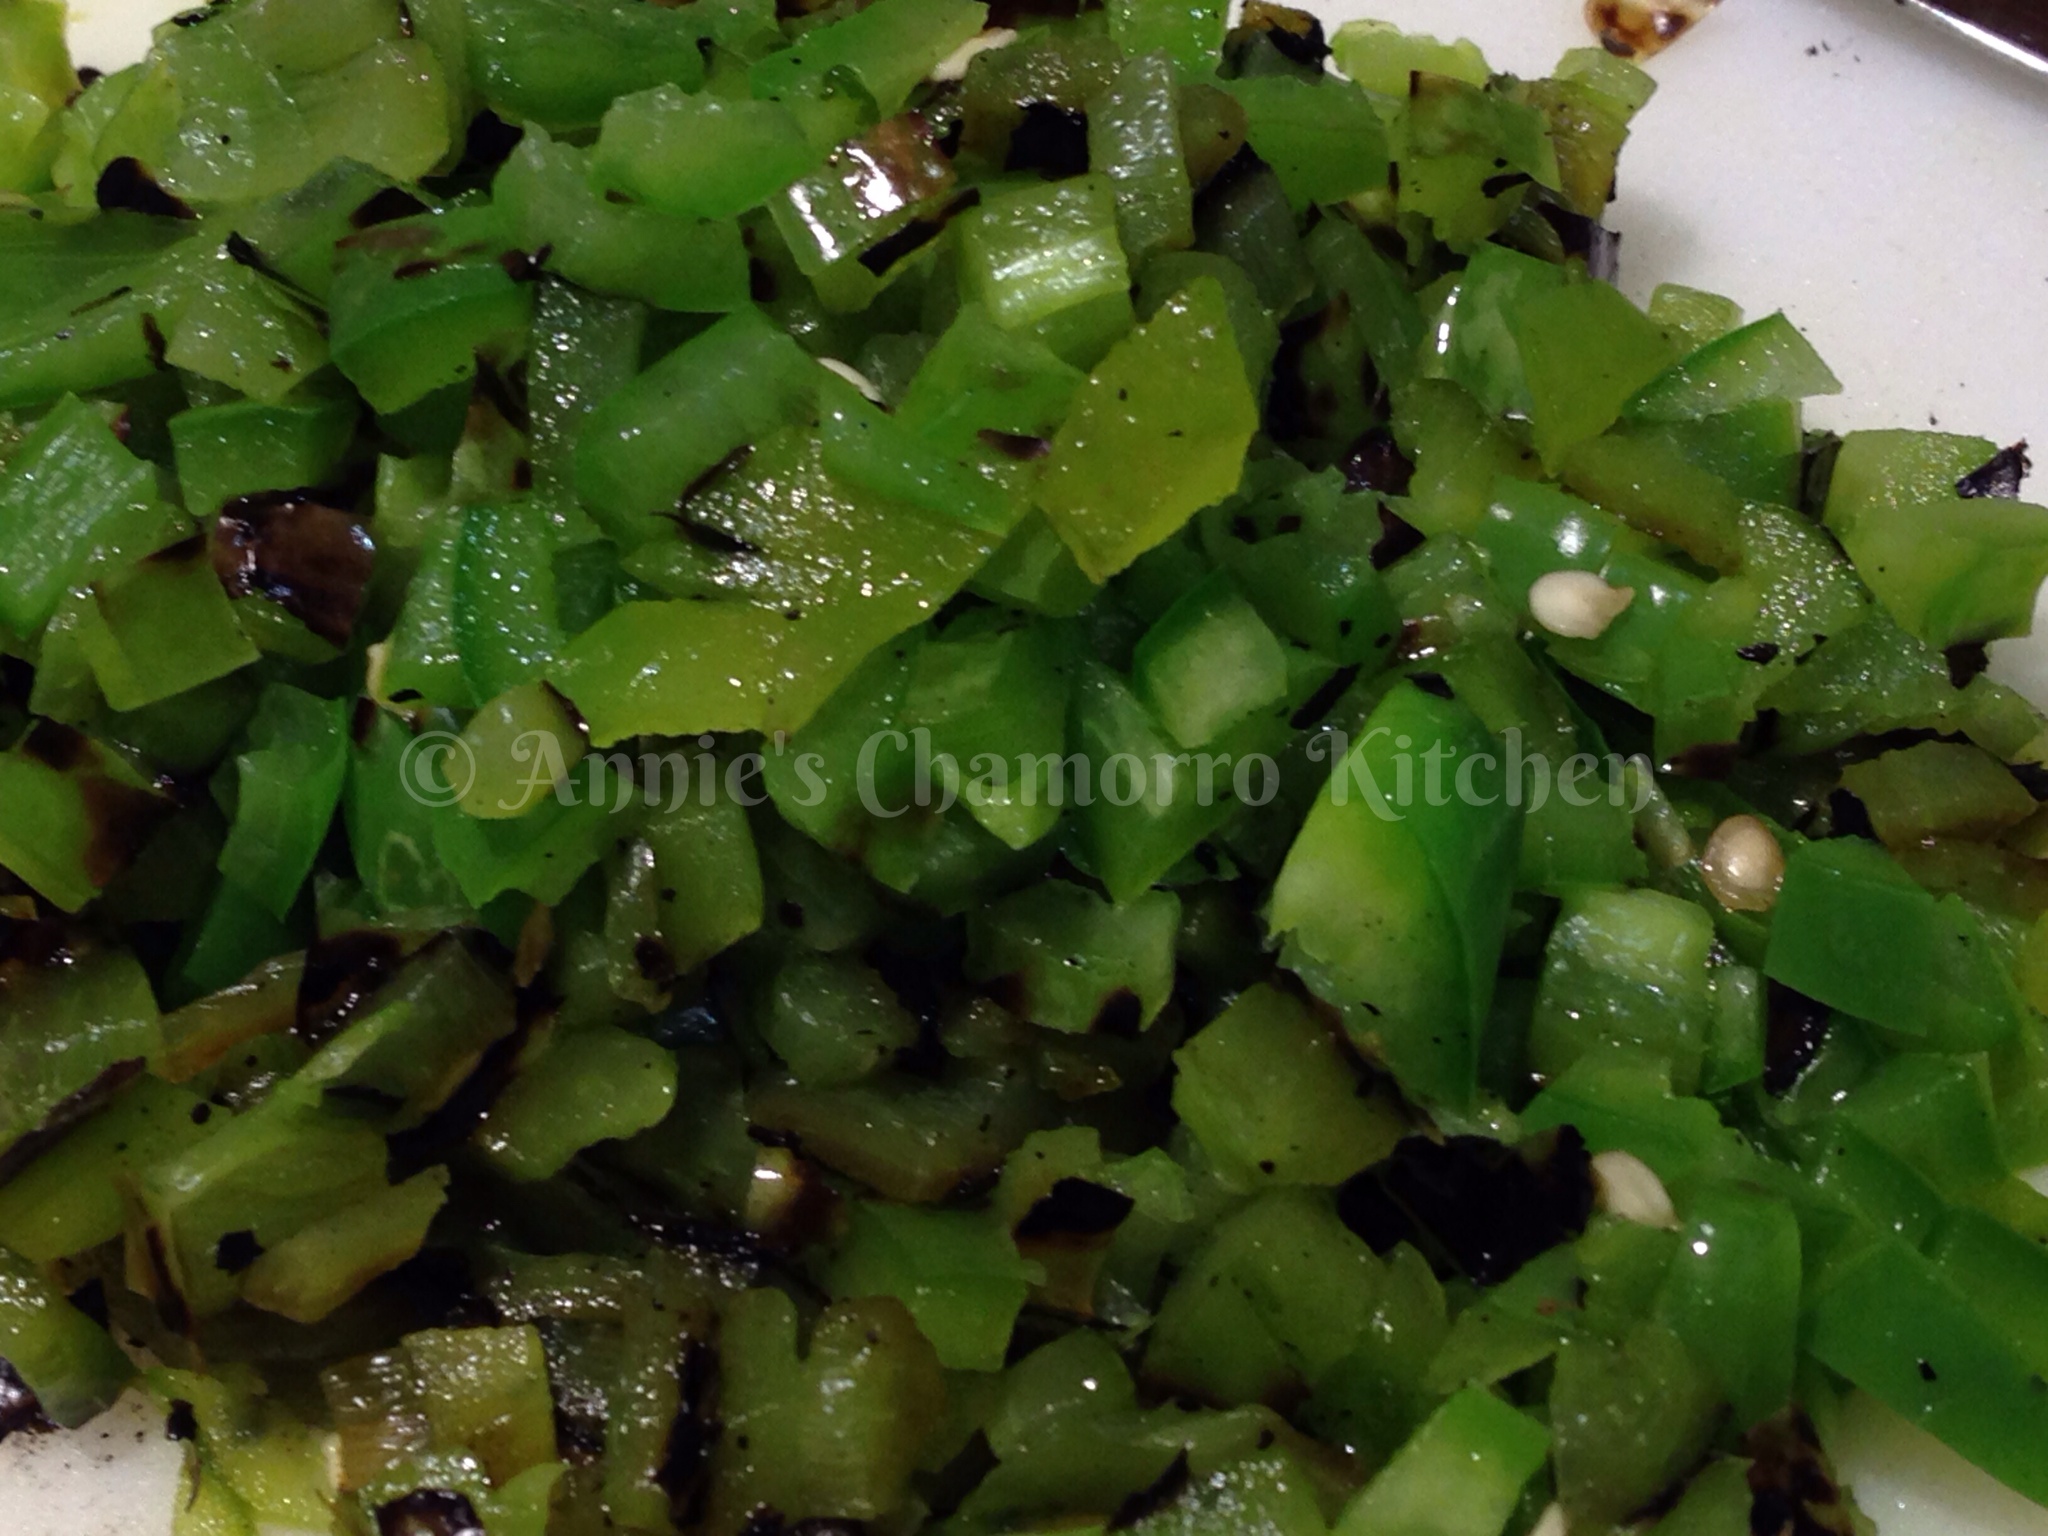
11. Add the peppers to the pot. If you want to add the optional chipotle peppers and chipotle Tabasco, add them to the pot now.
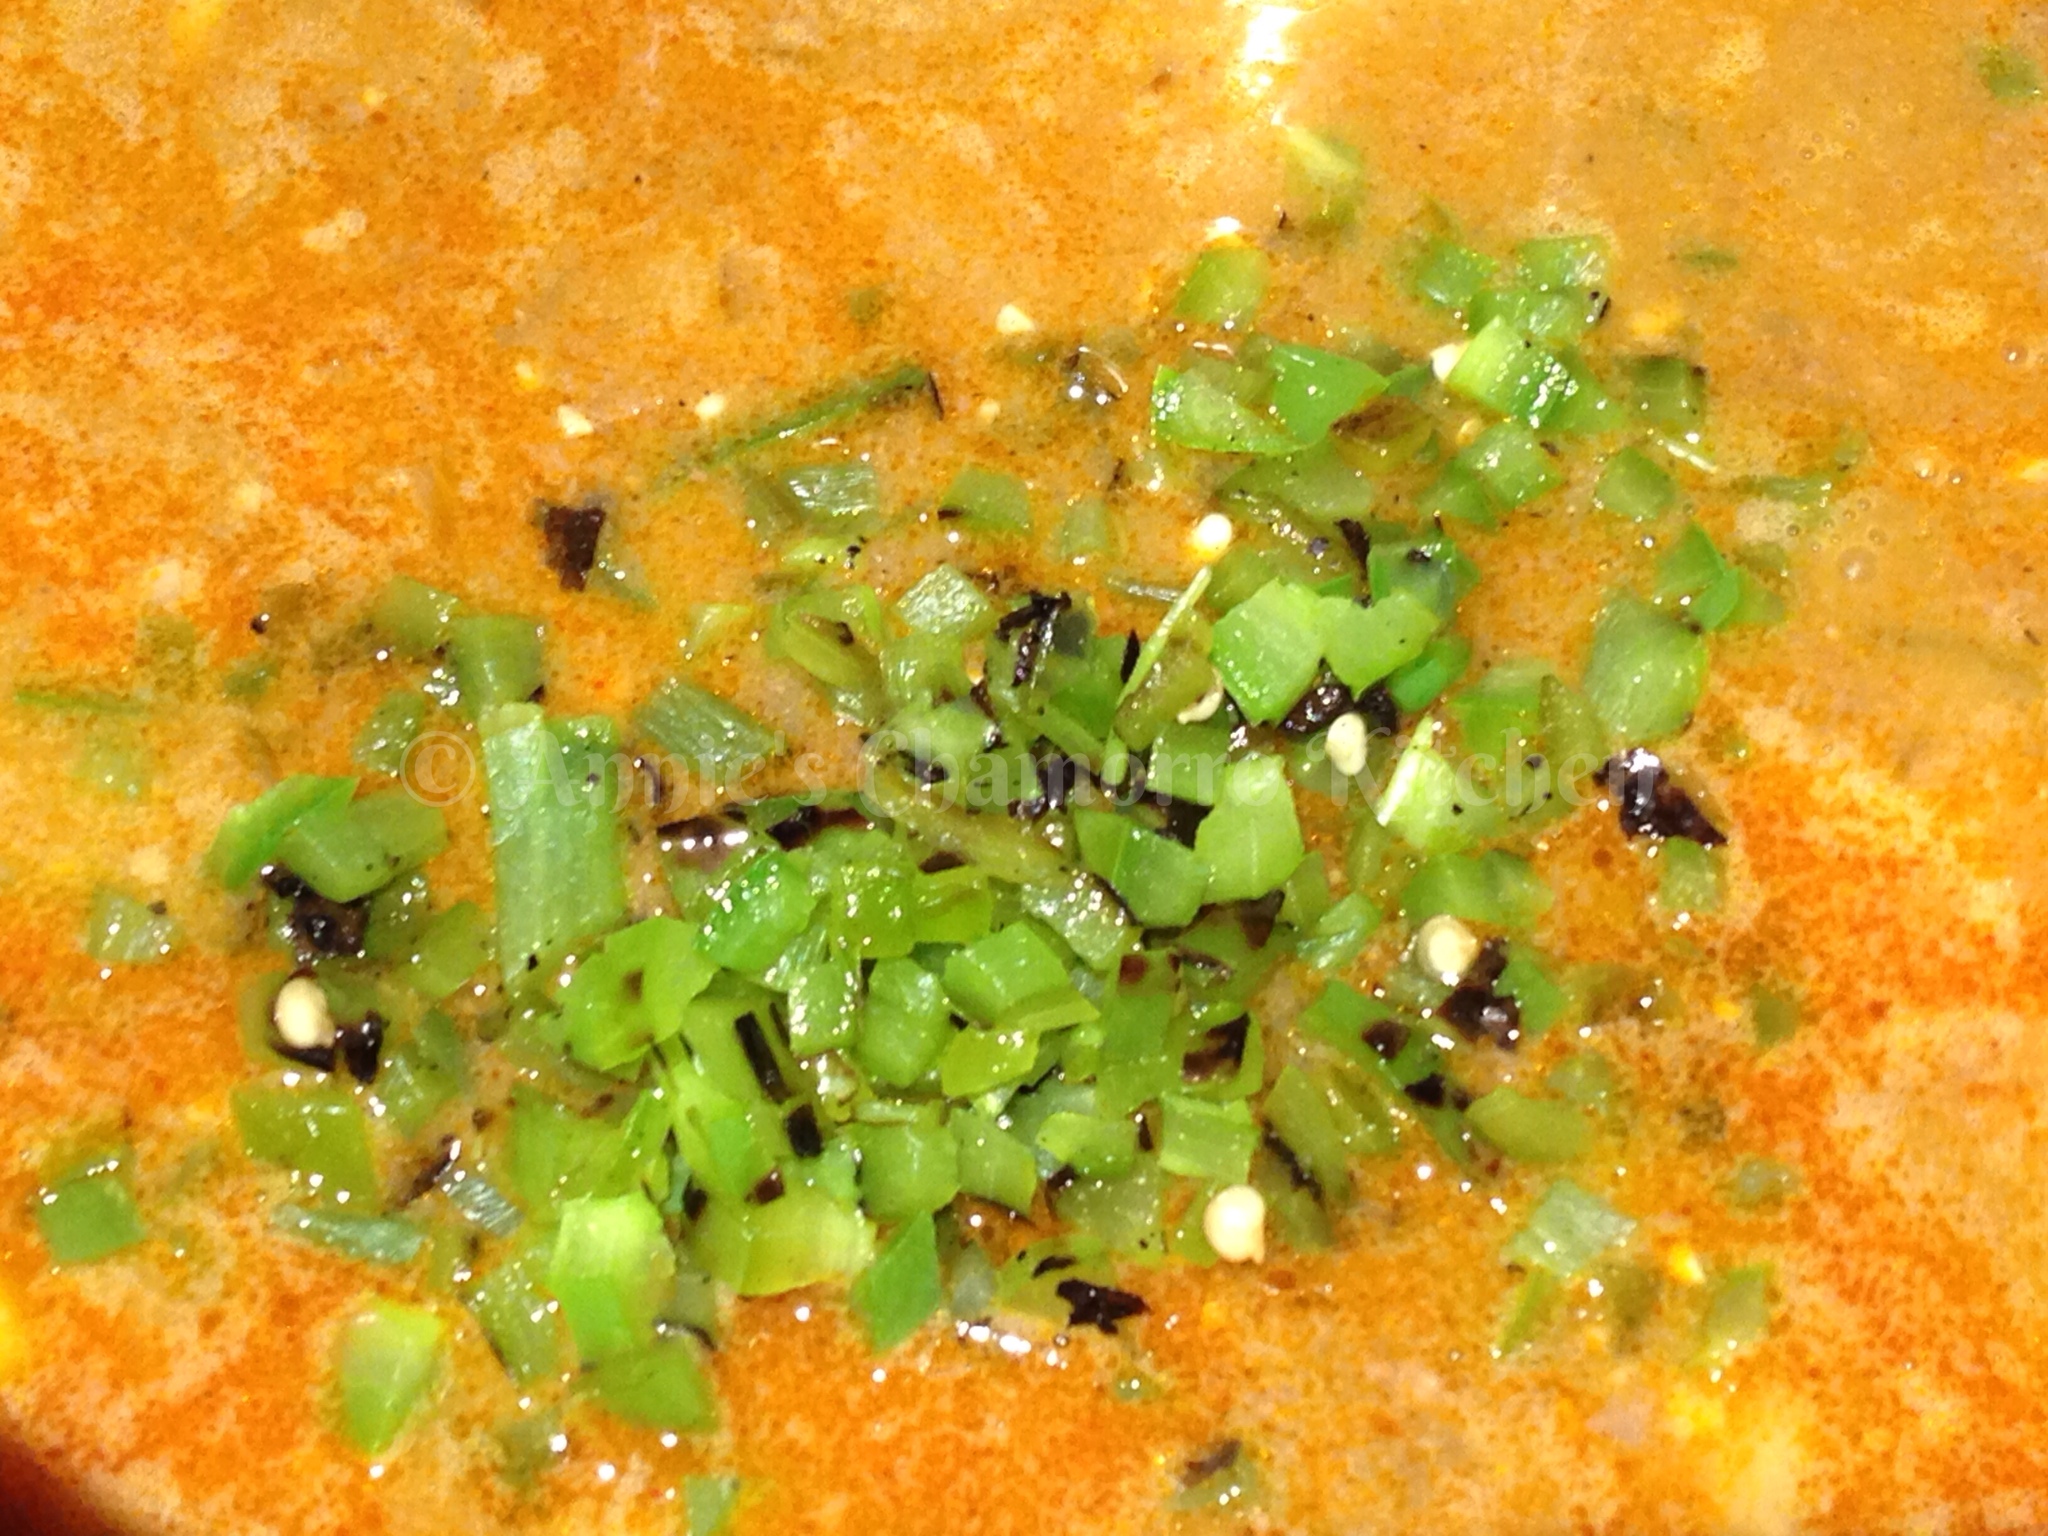
12. Add the drained and rinsed beans to the pot.
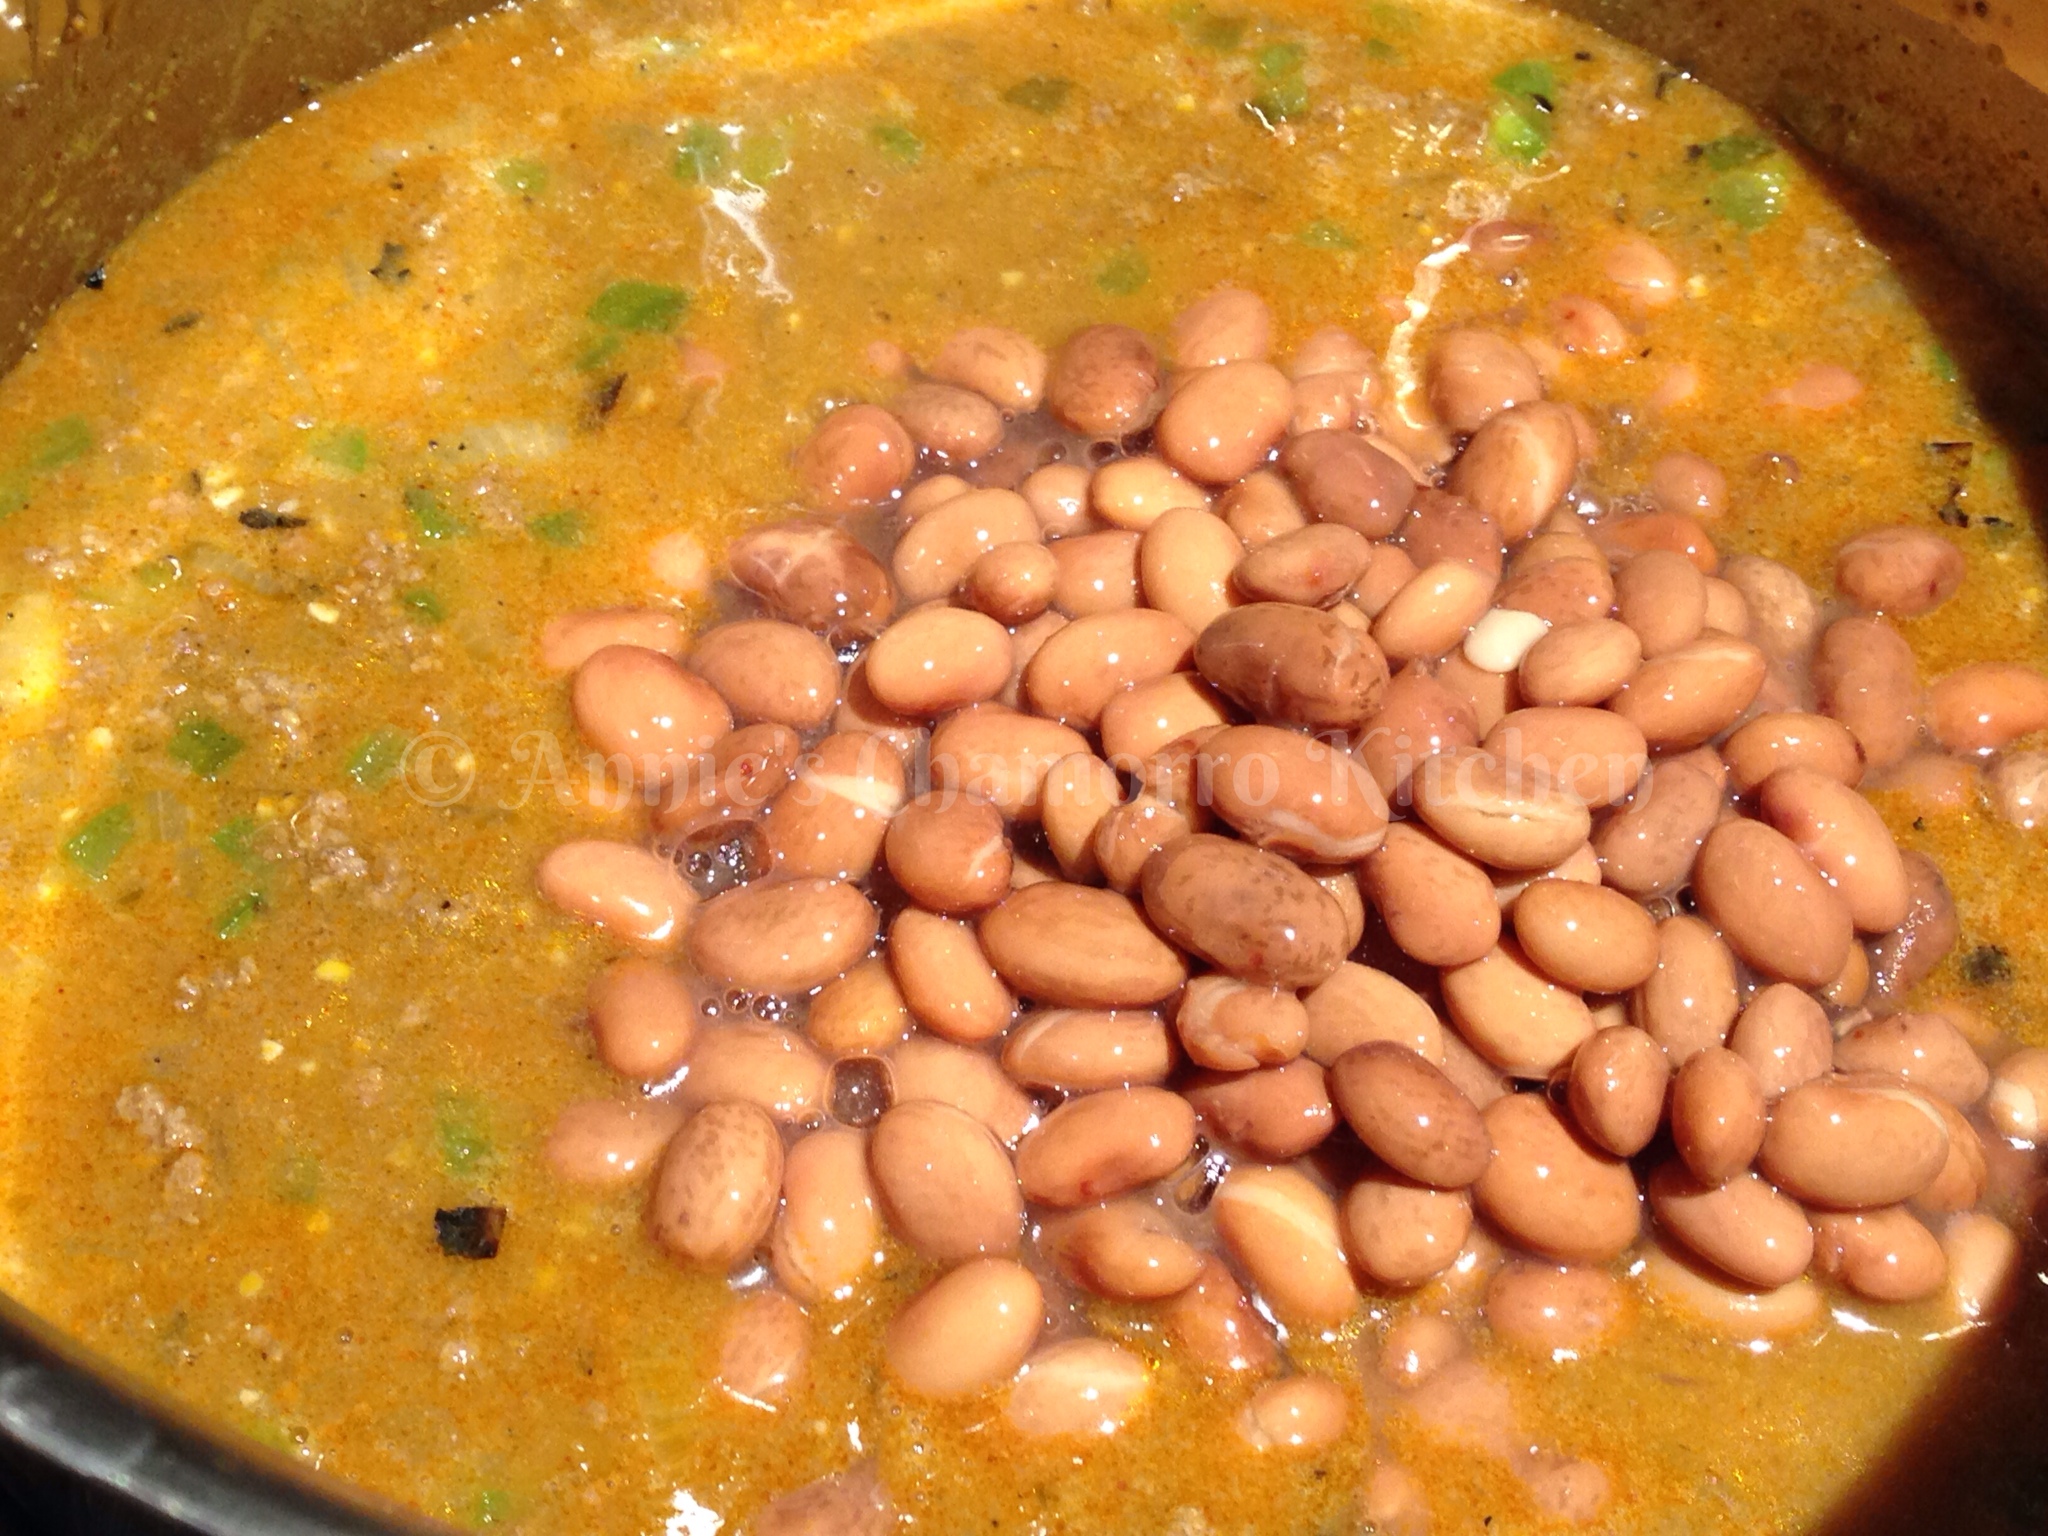
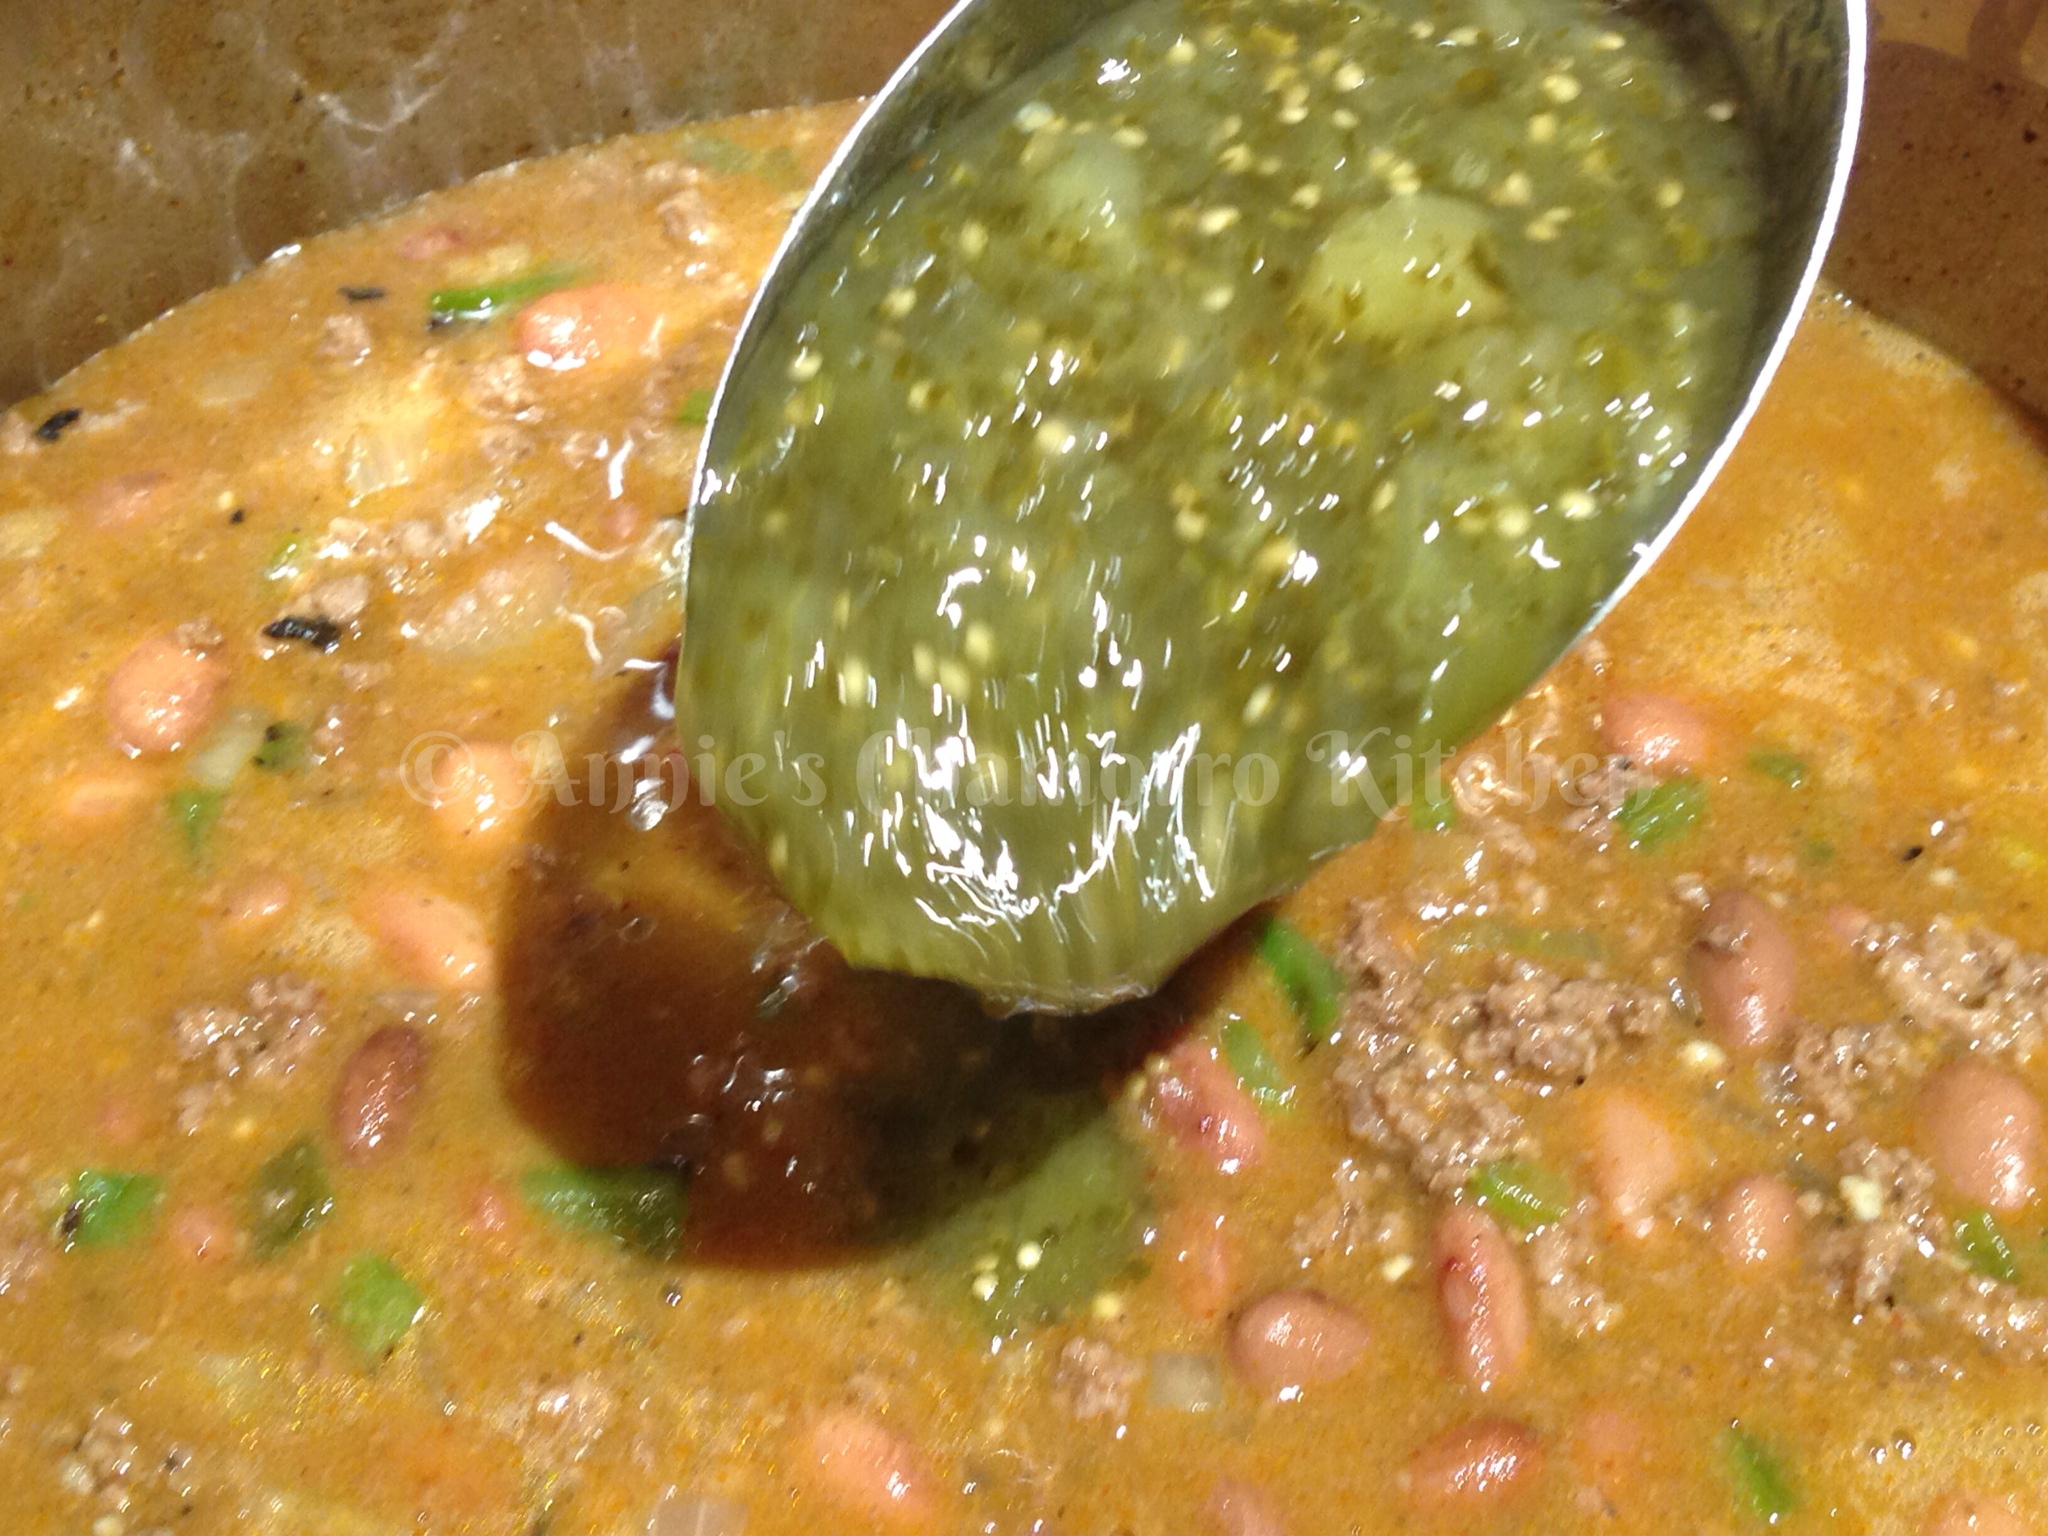
13. Stir in the tomatillo salsa.
Note: I bought a jar of organic tomatillo salsa for this recipe, but you can make your own from scratch.
14. Place a lid on the pot. Reduce the heat to medium. Cook for about 5 more minutes.
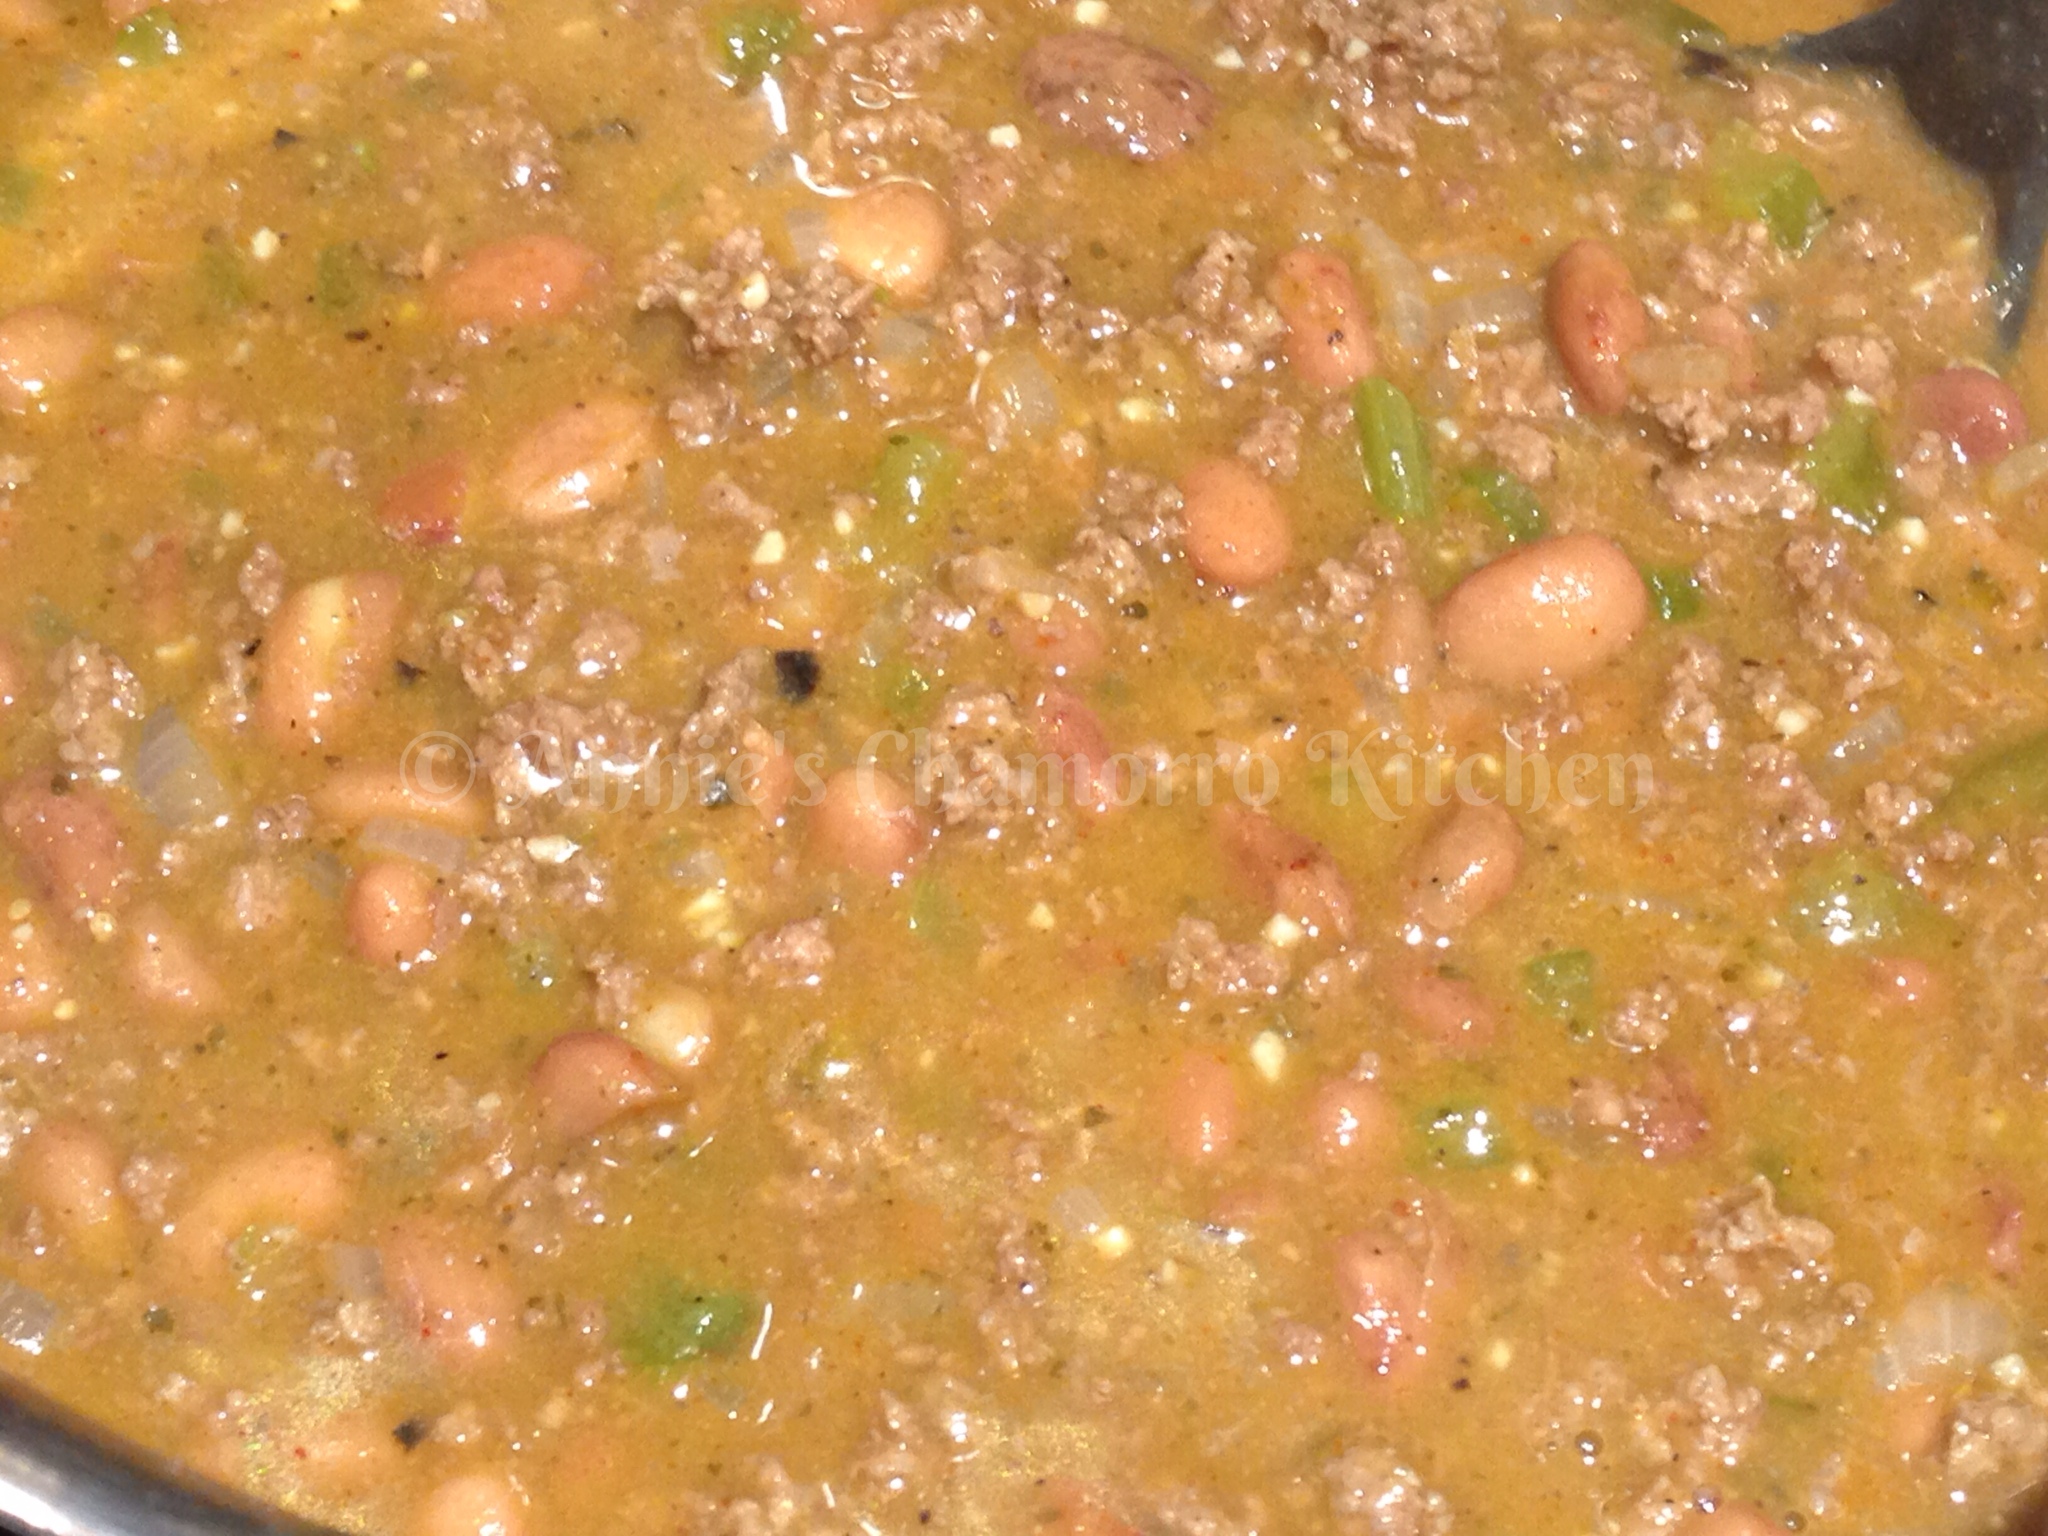
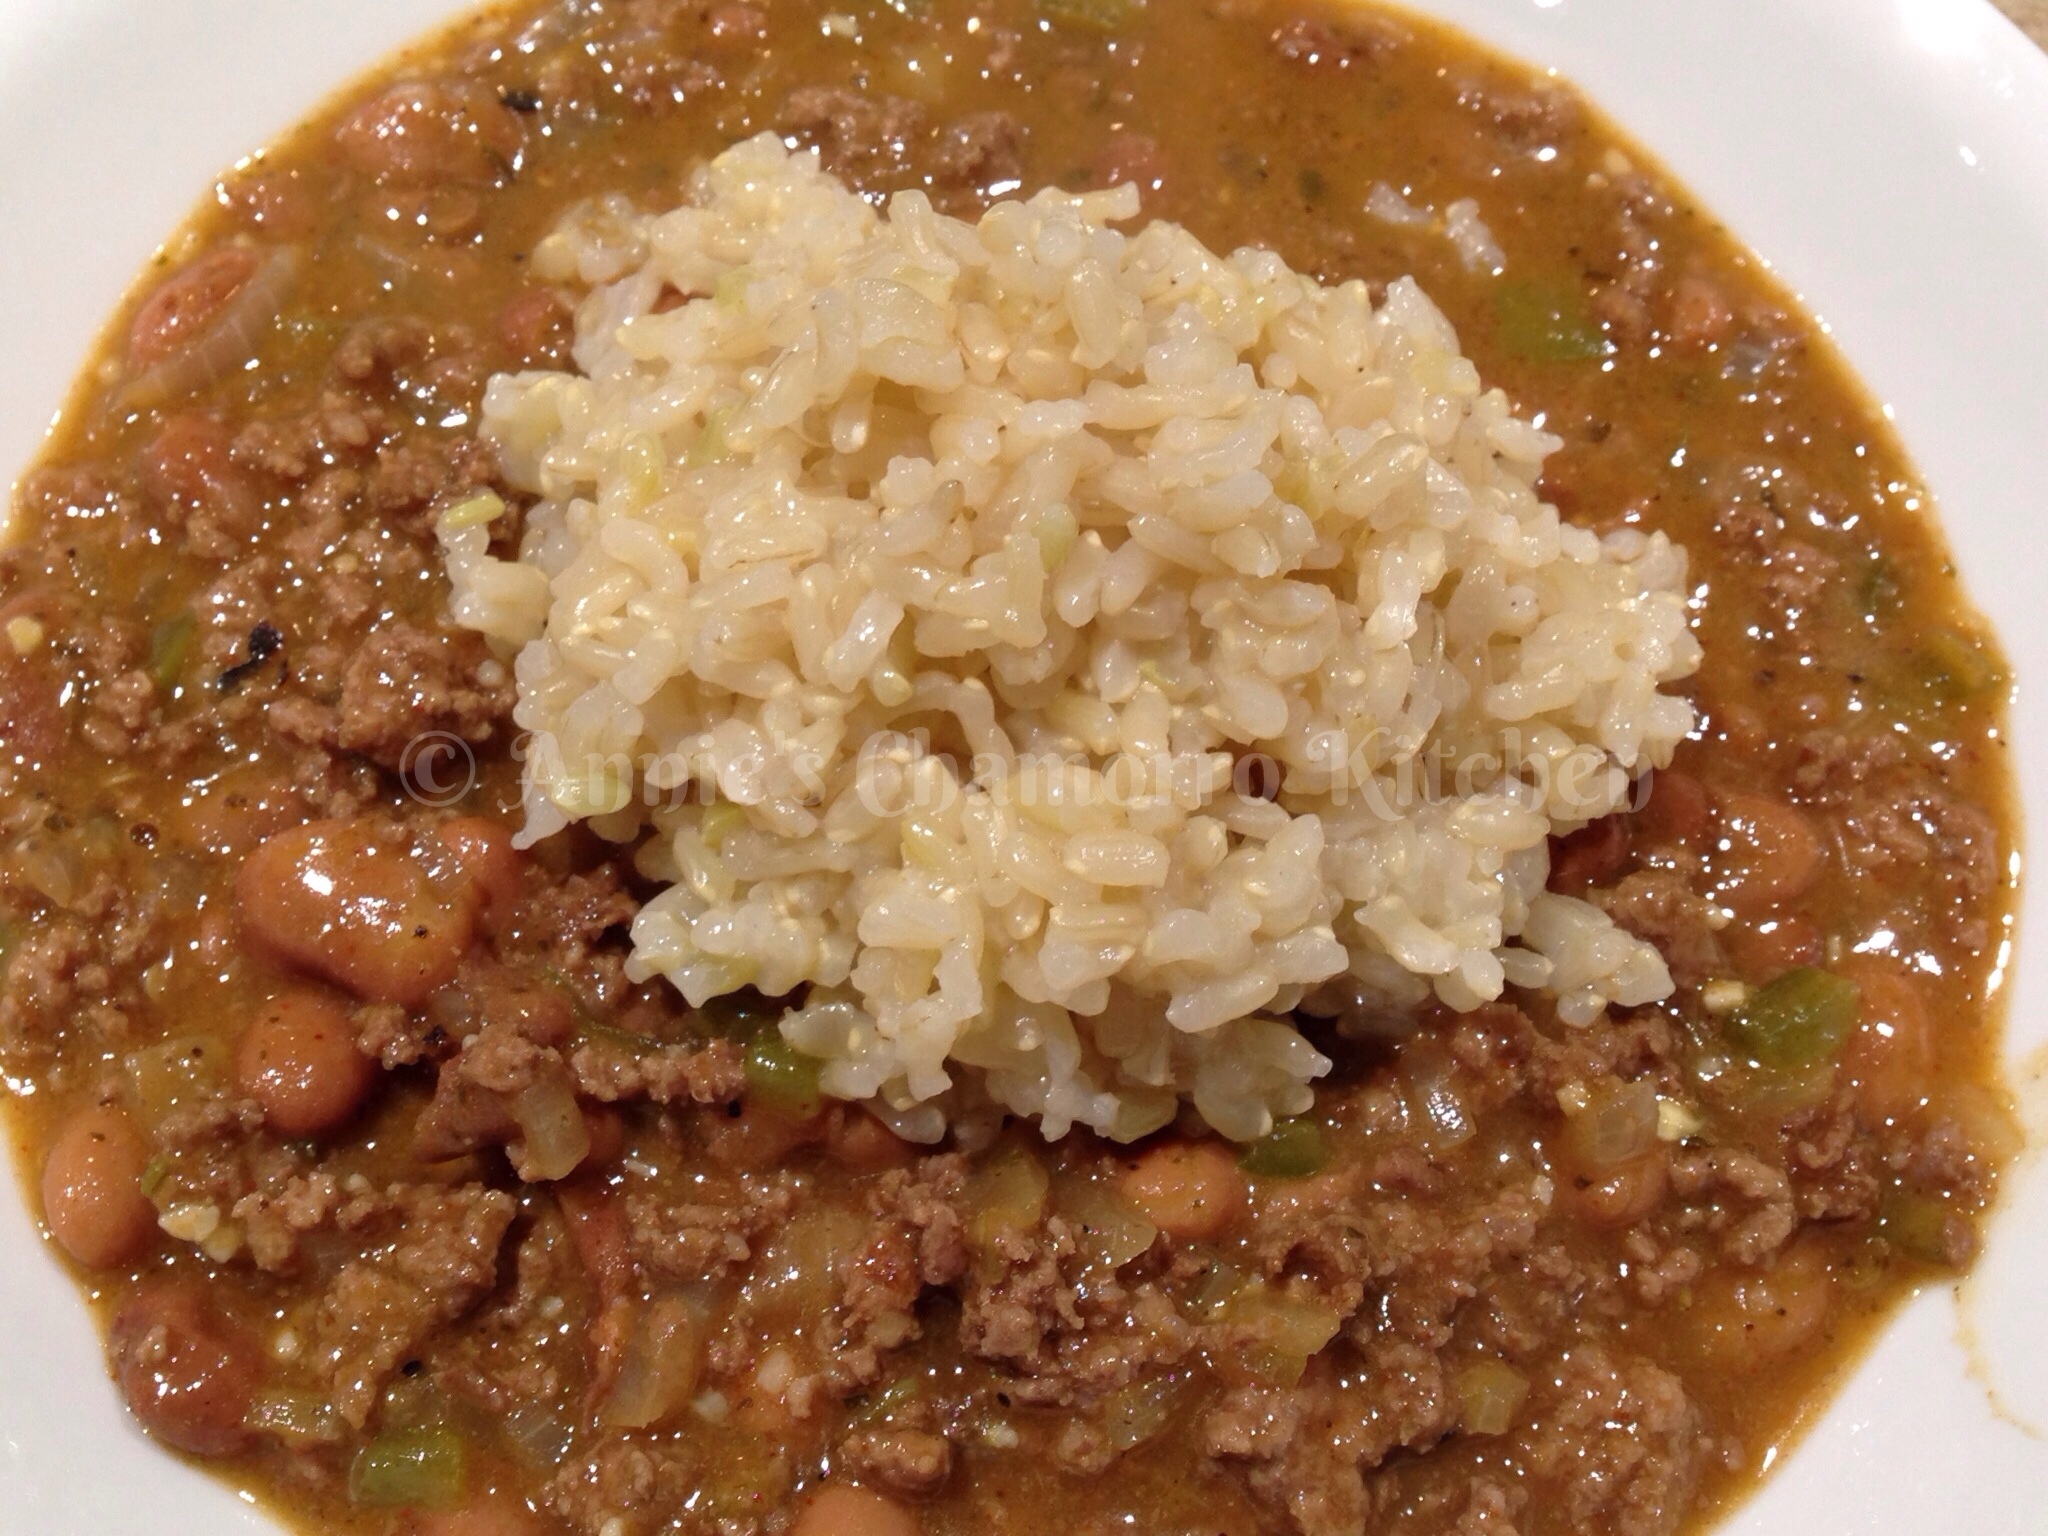
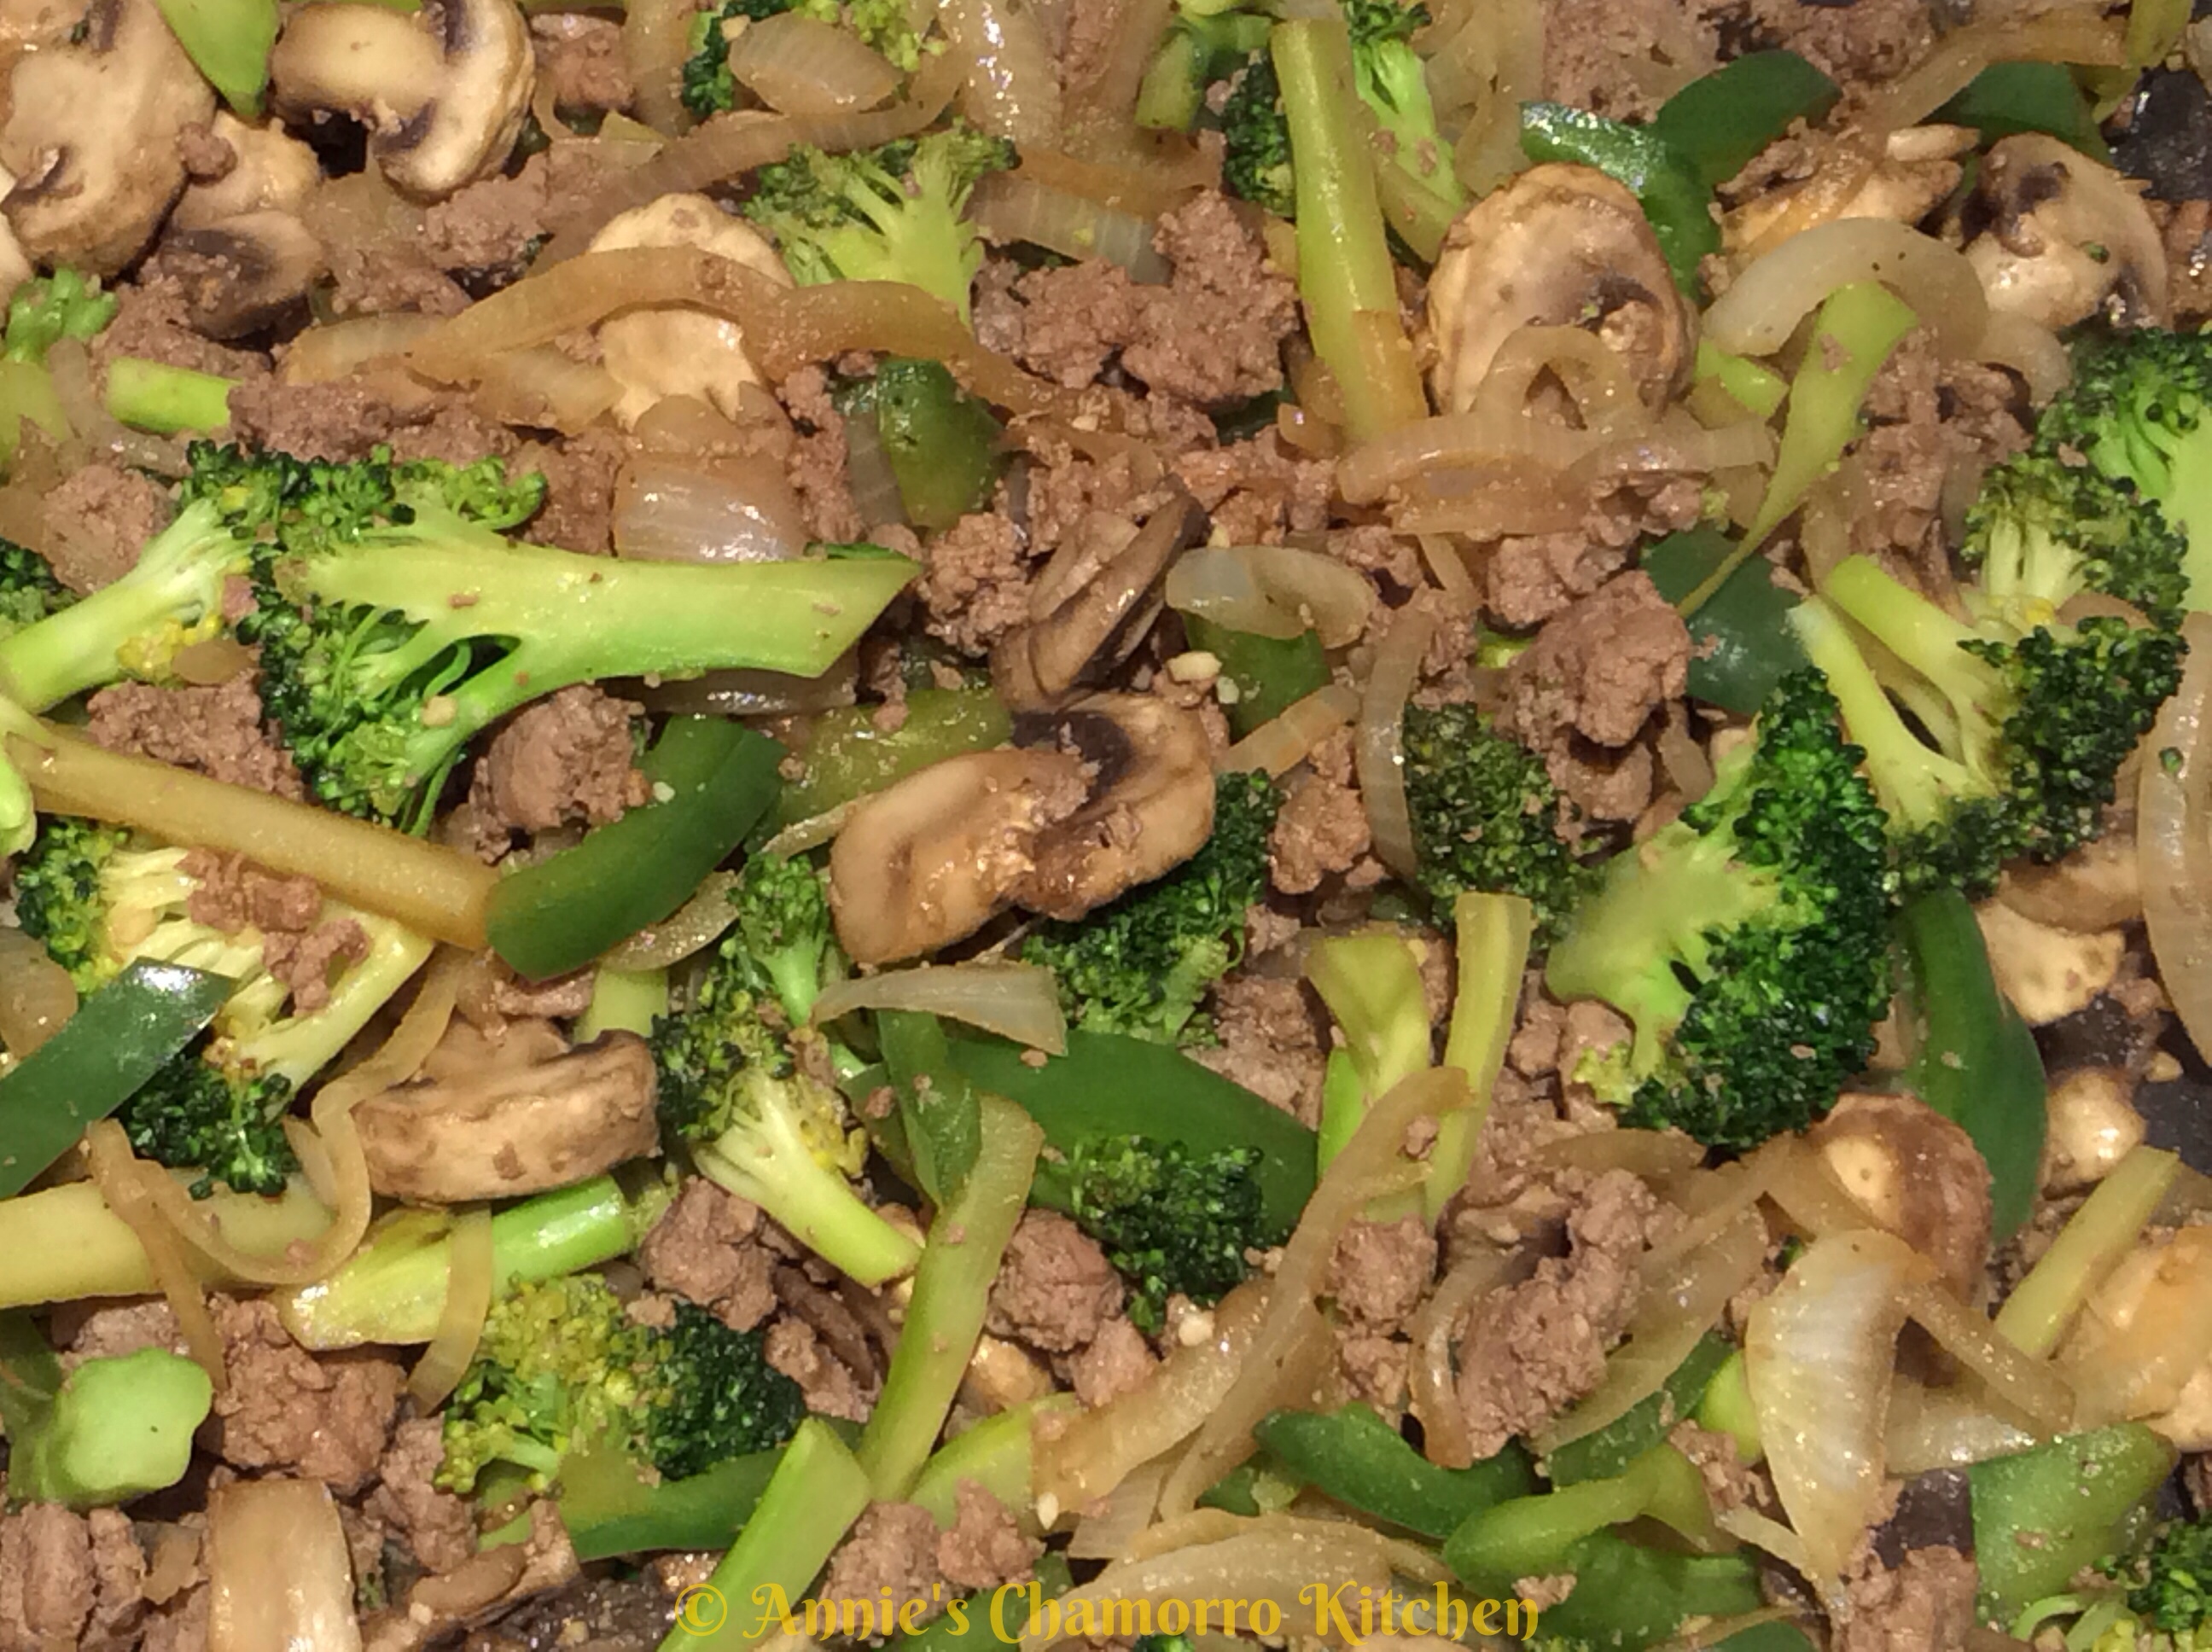
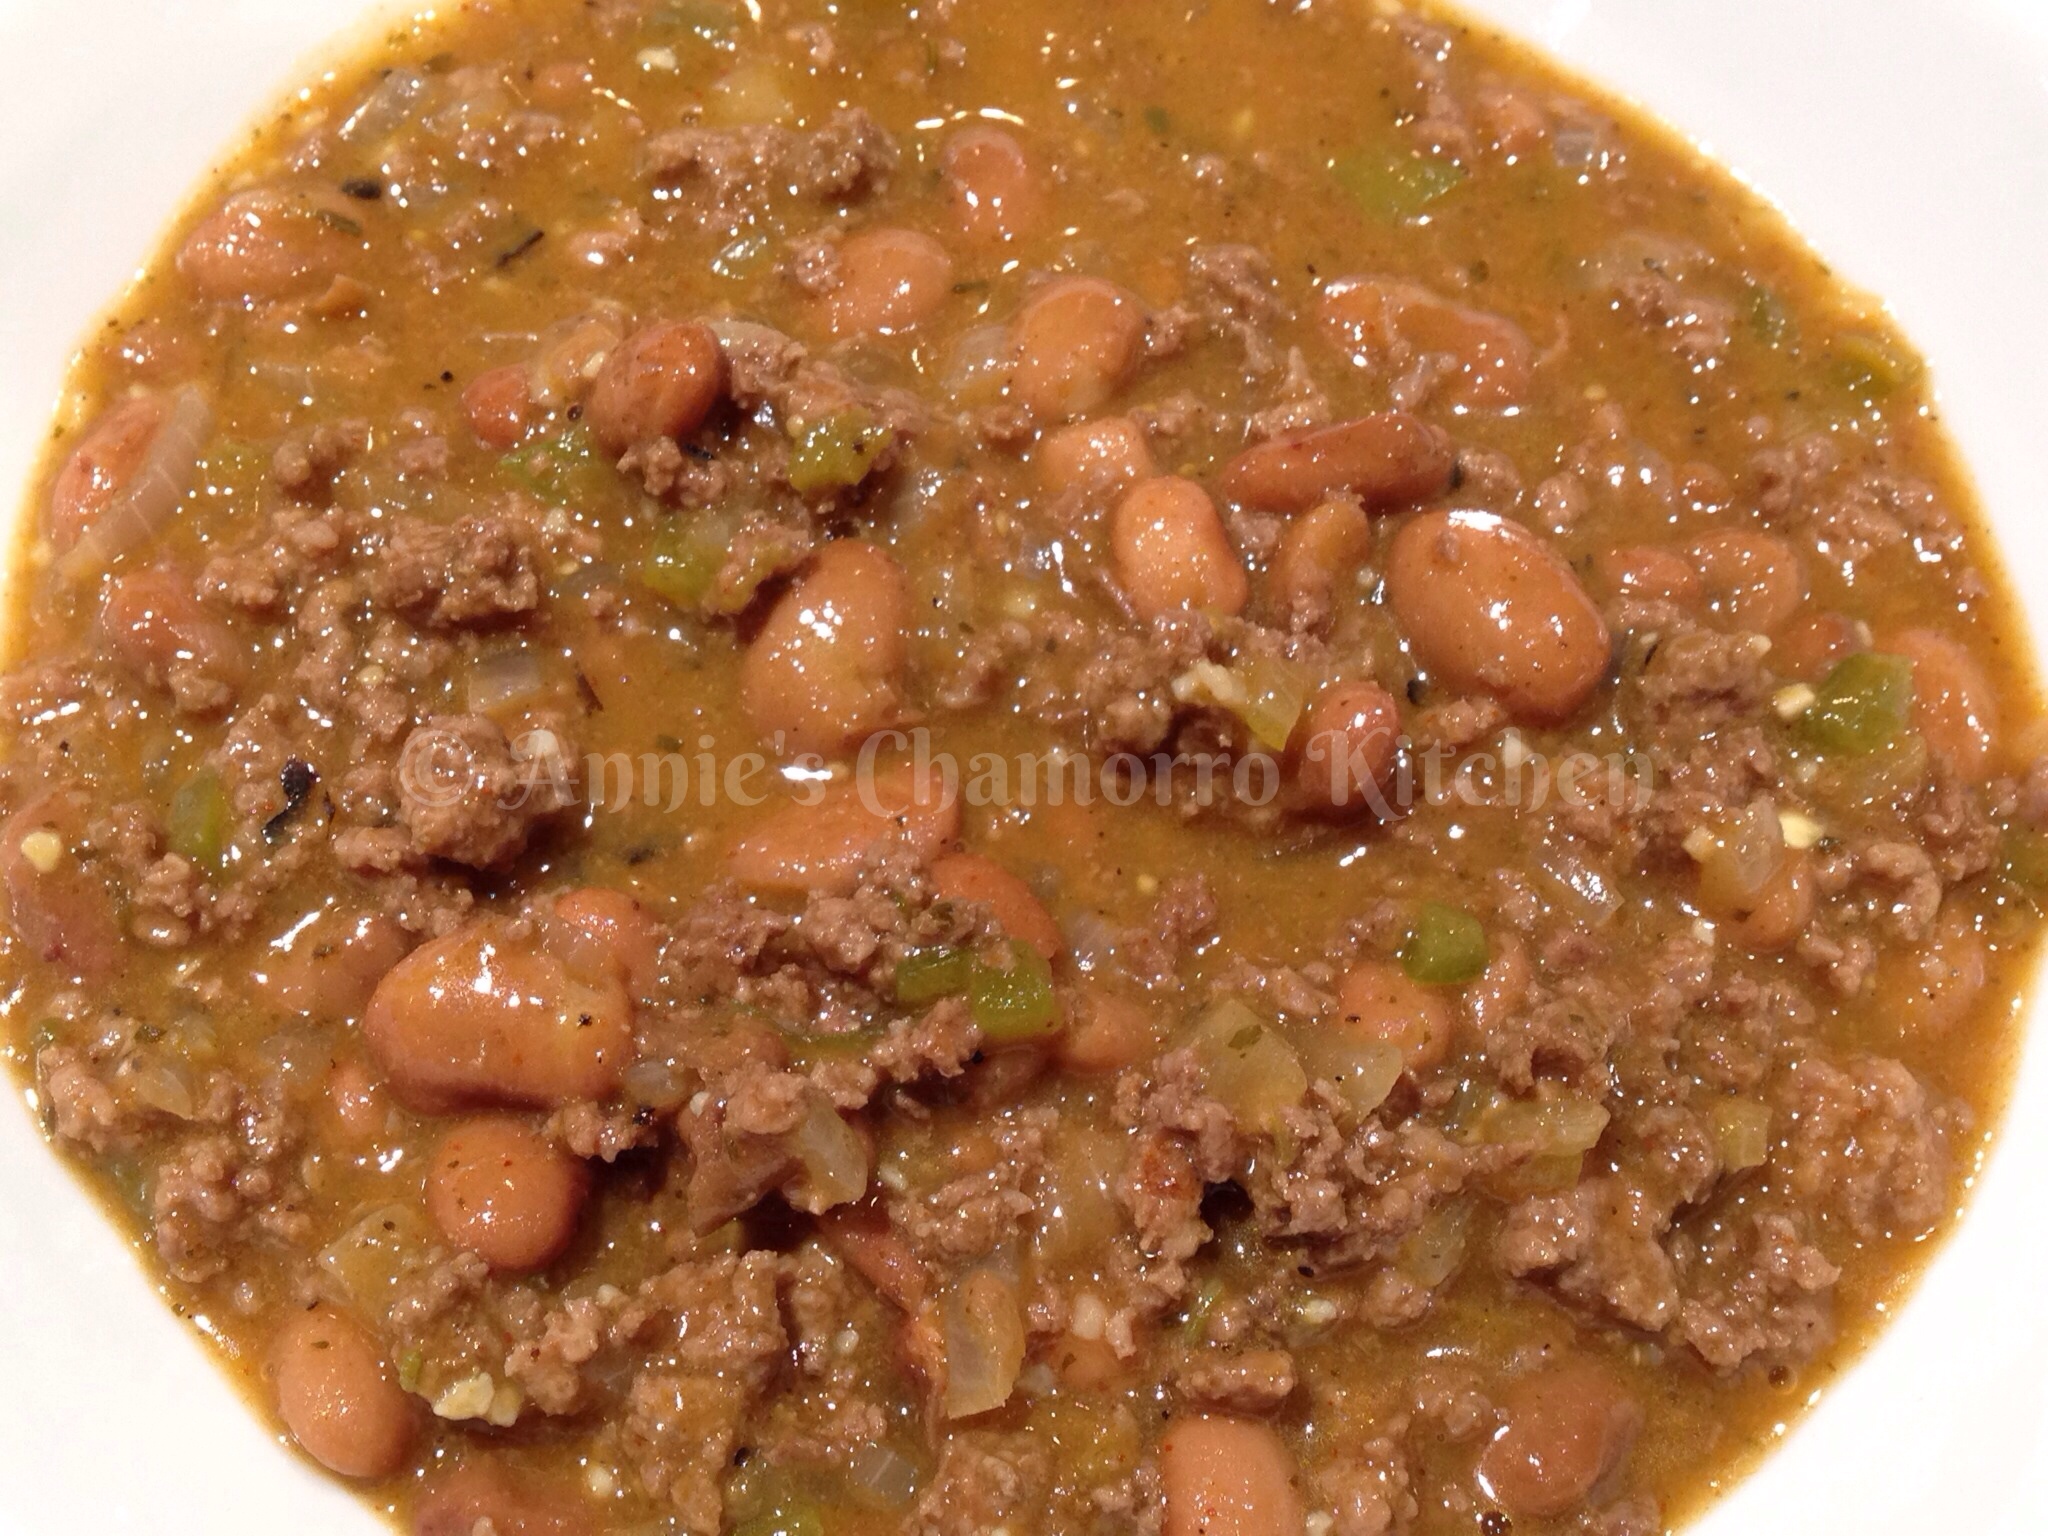
15. The chili should be nice and thick by now. Stir in the optional sour cream (note that I did NOT add any sour cream to the chile pictured in this recipe). Give it a taste and adjust the seasonings and salt to your liking.

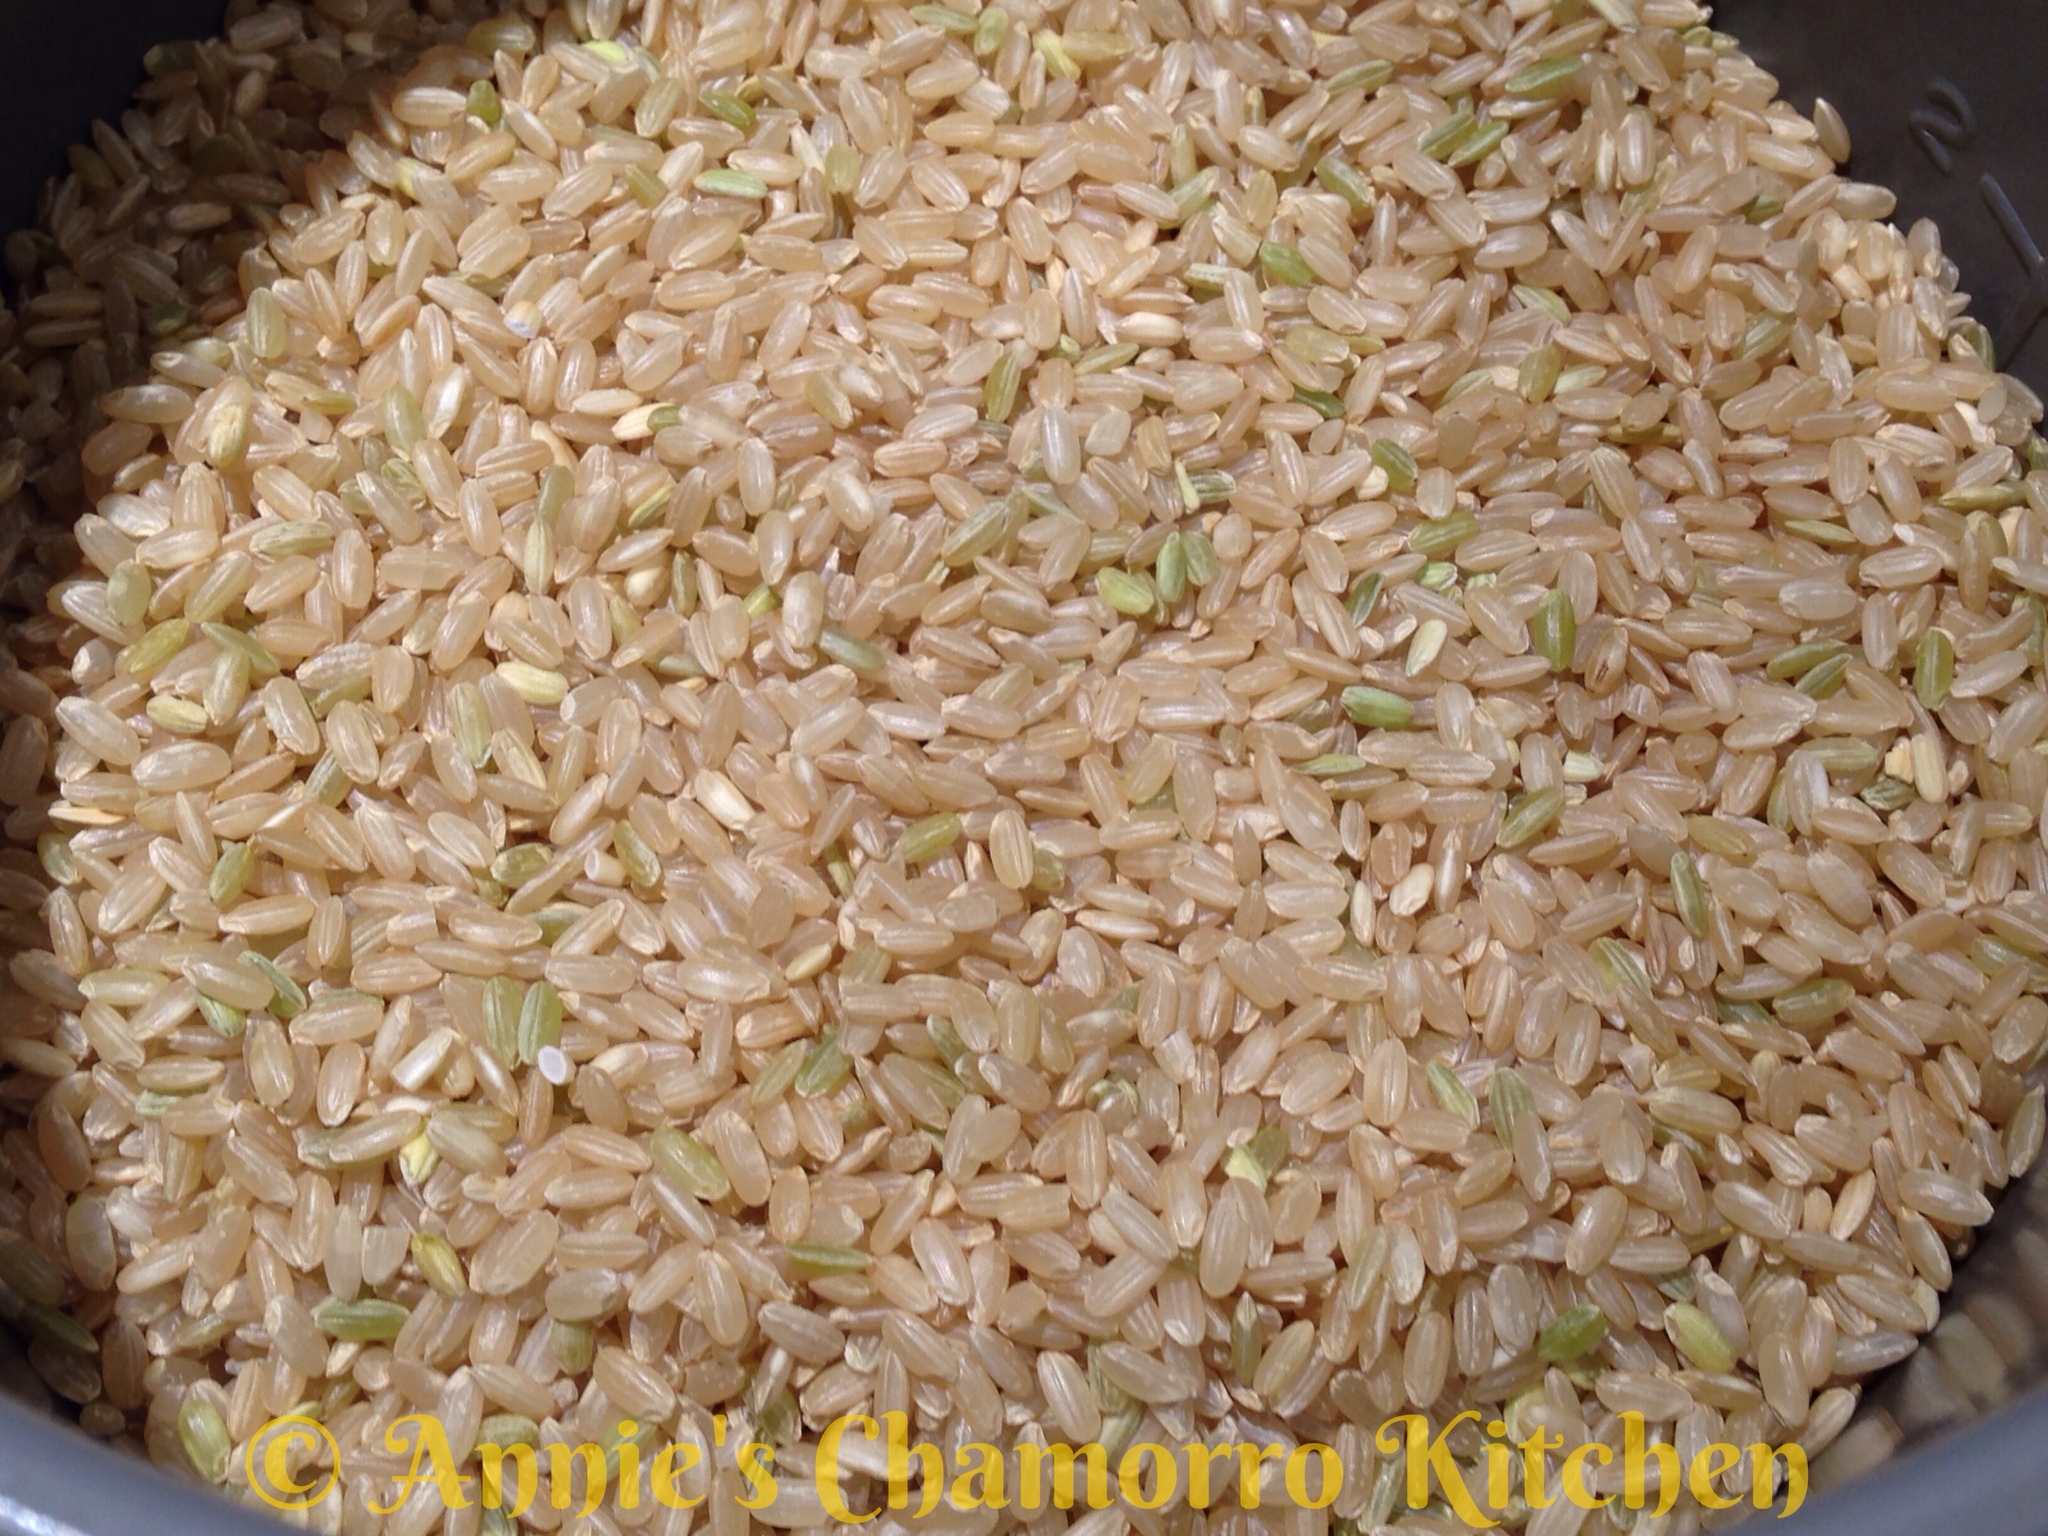
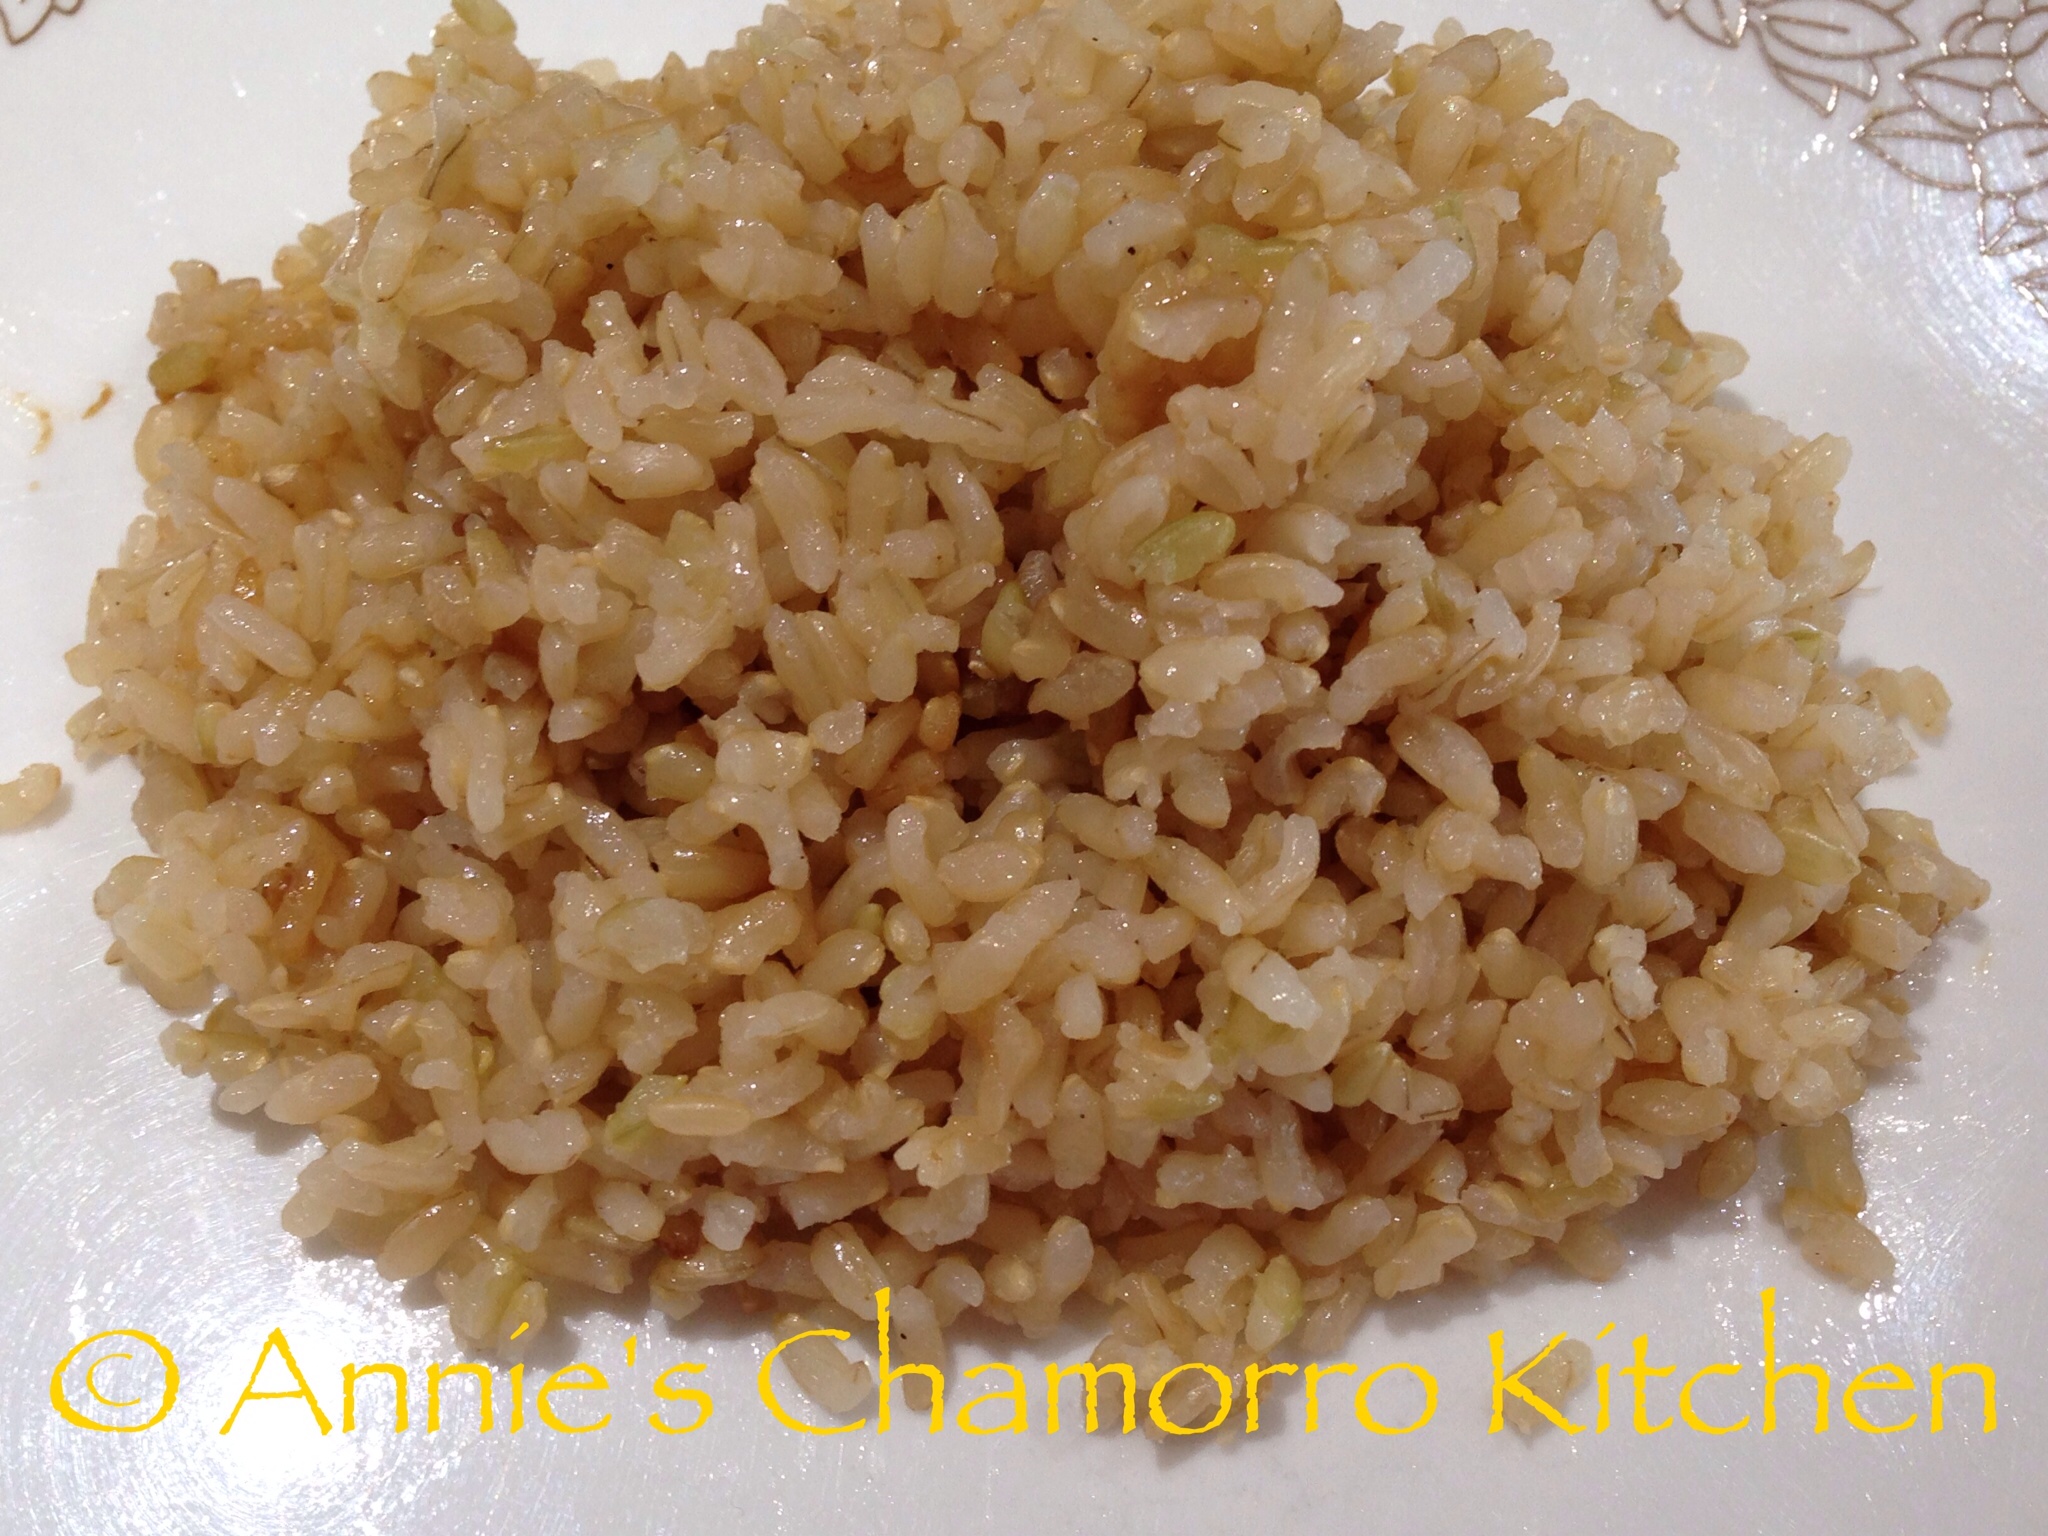
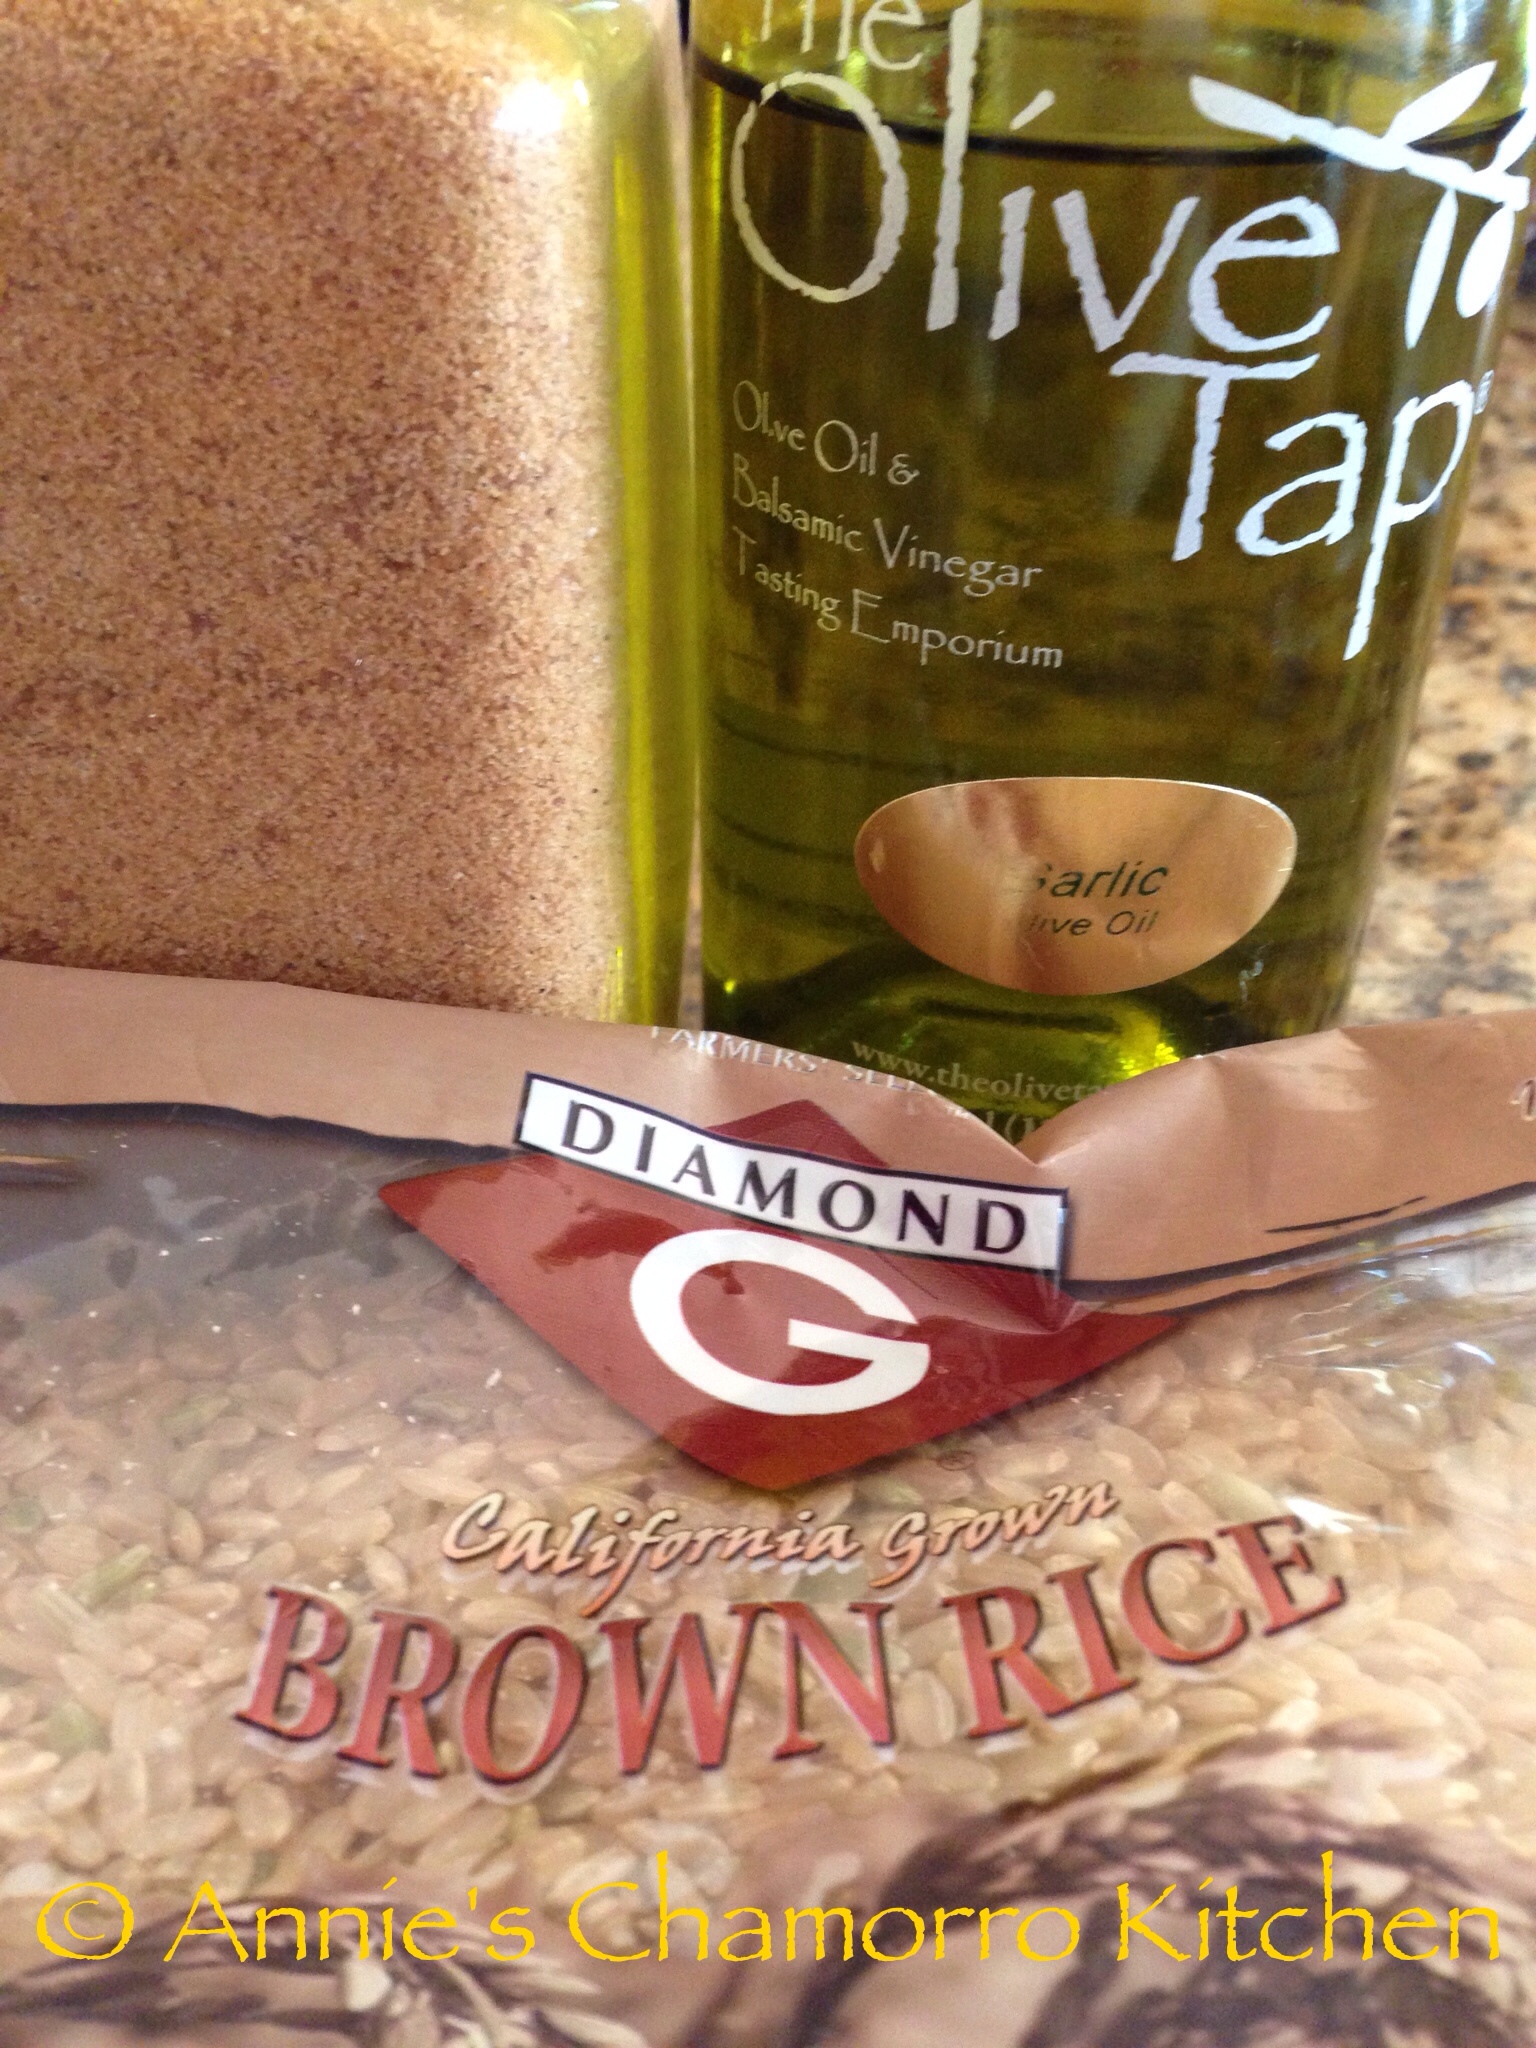
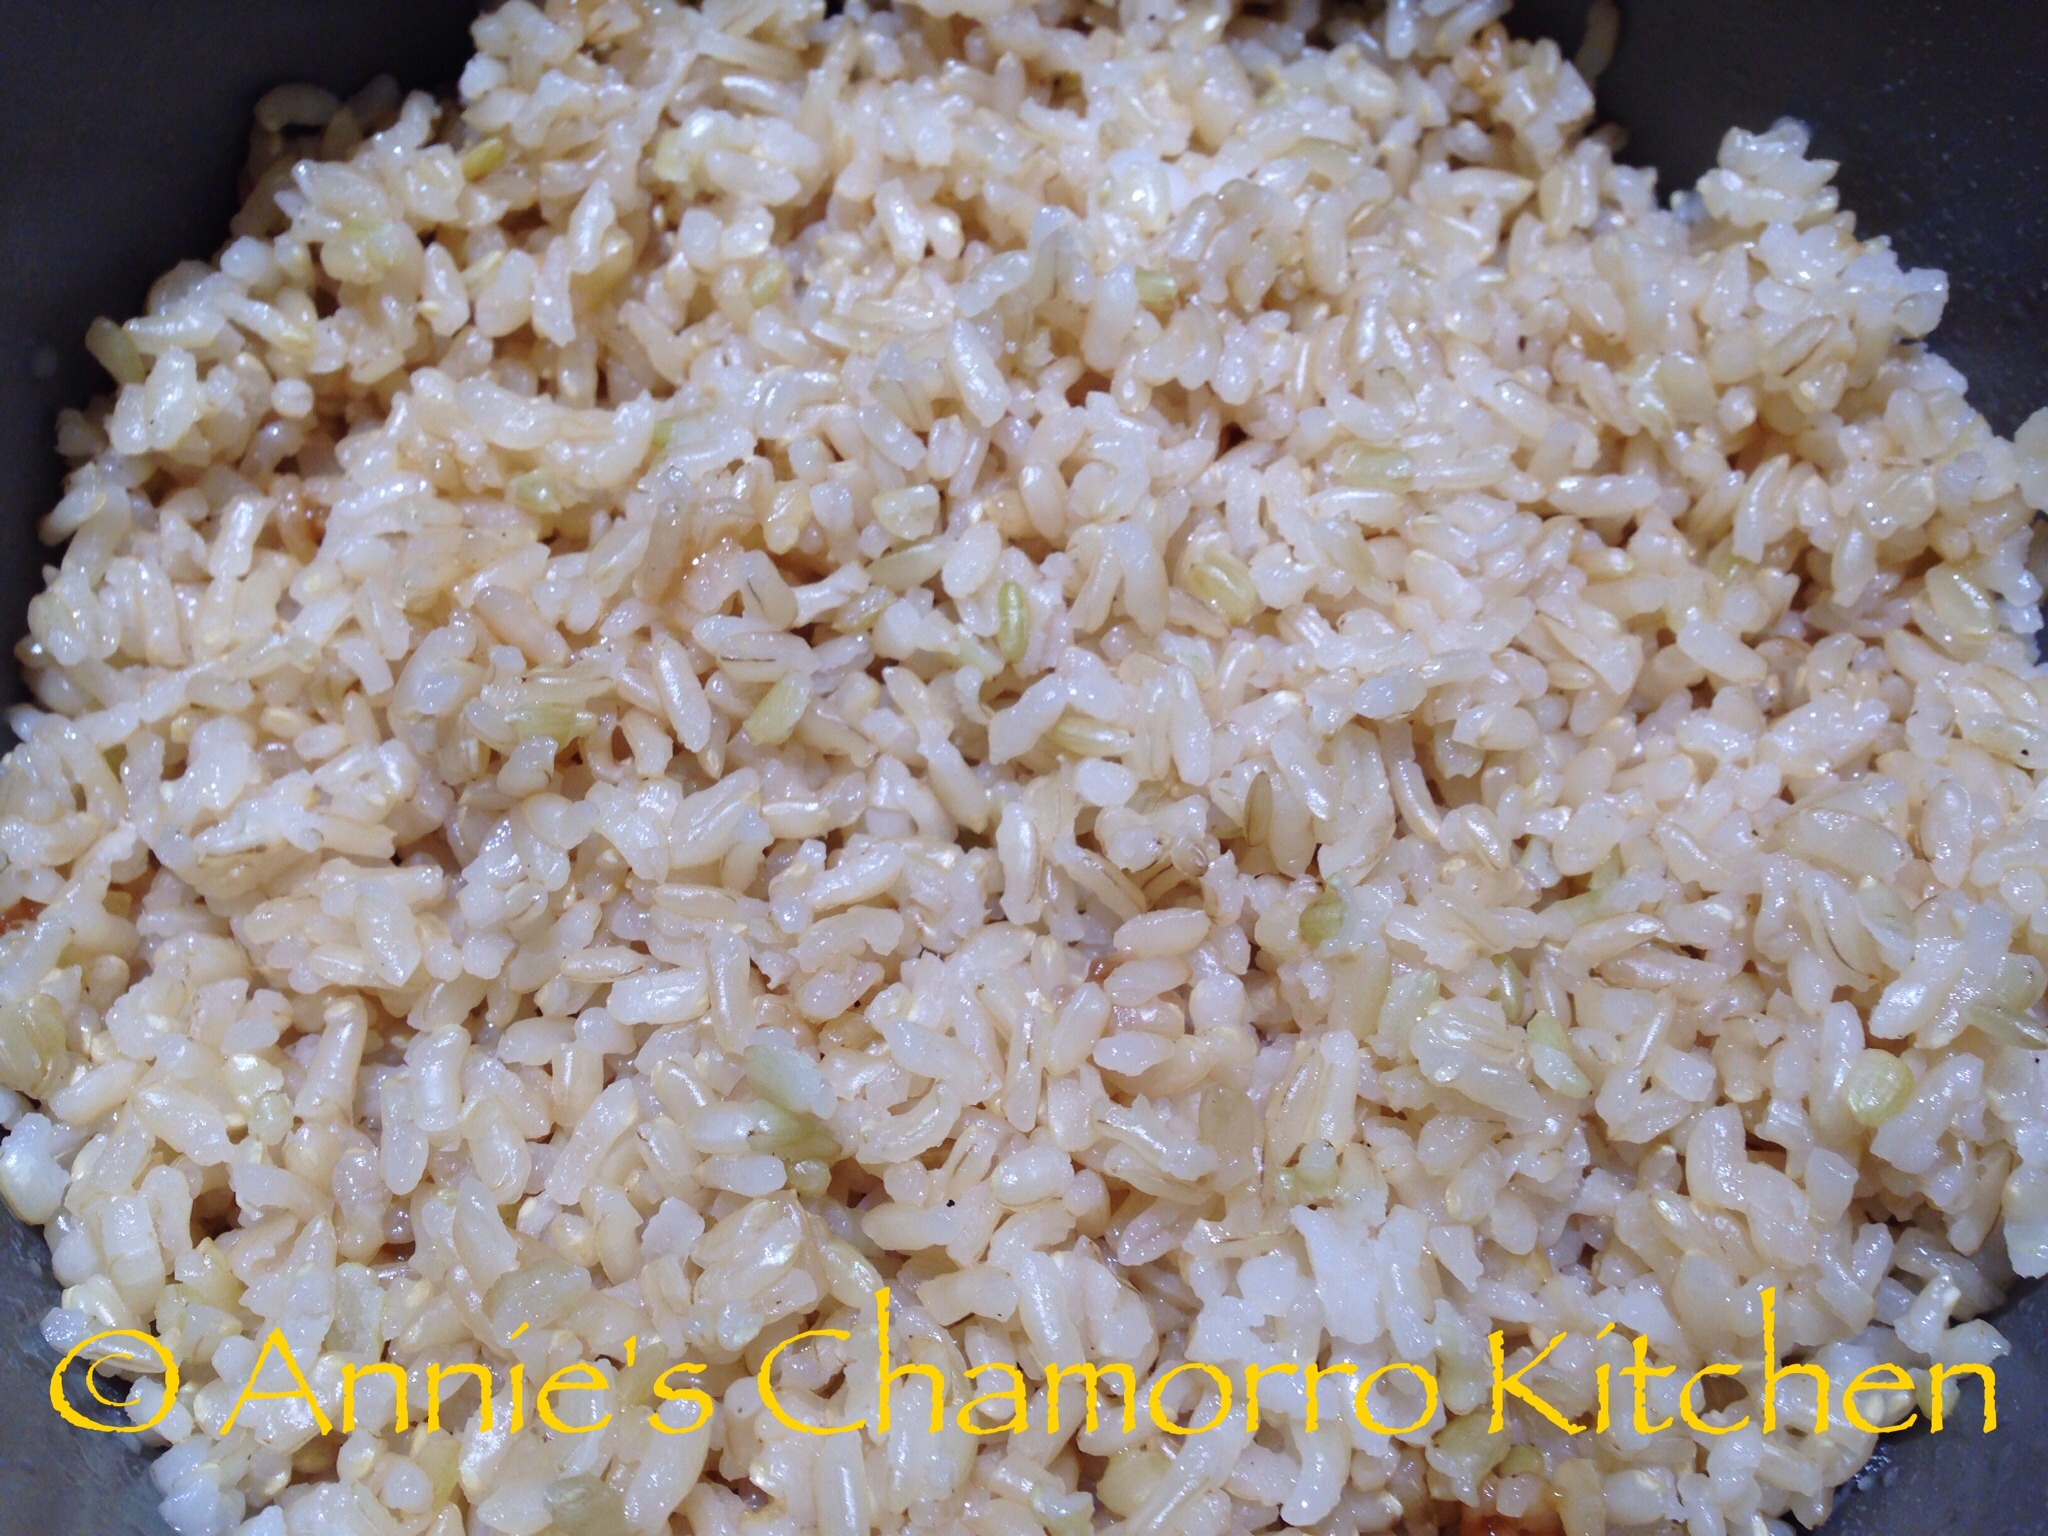
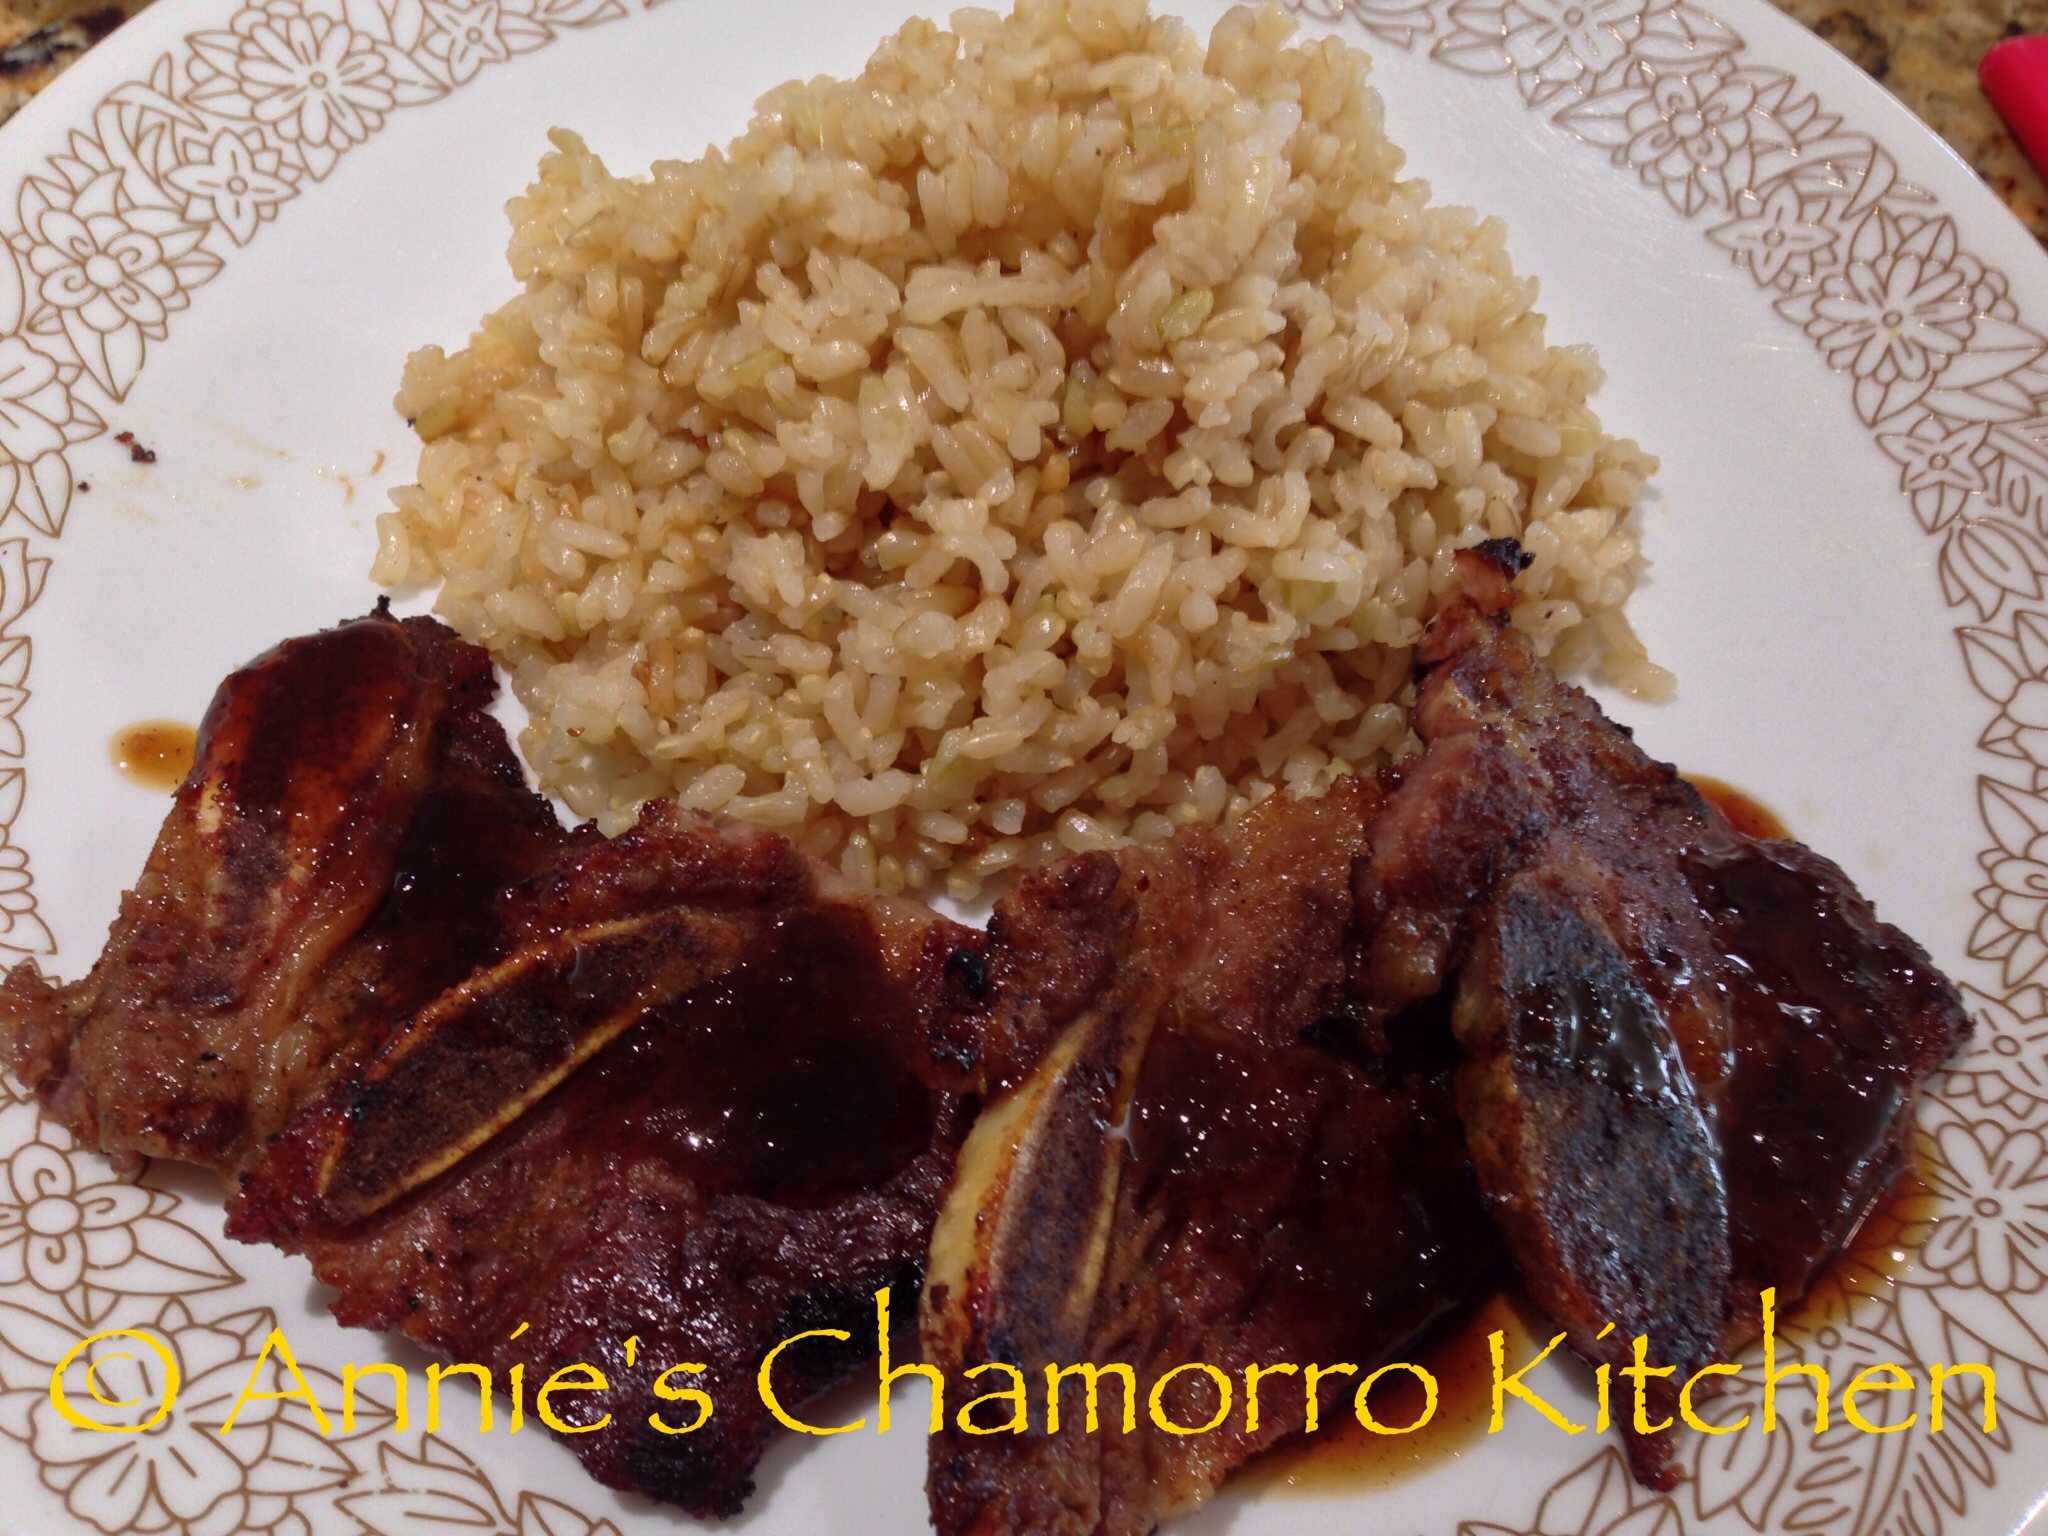
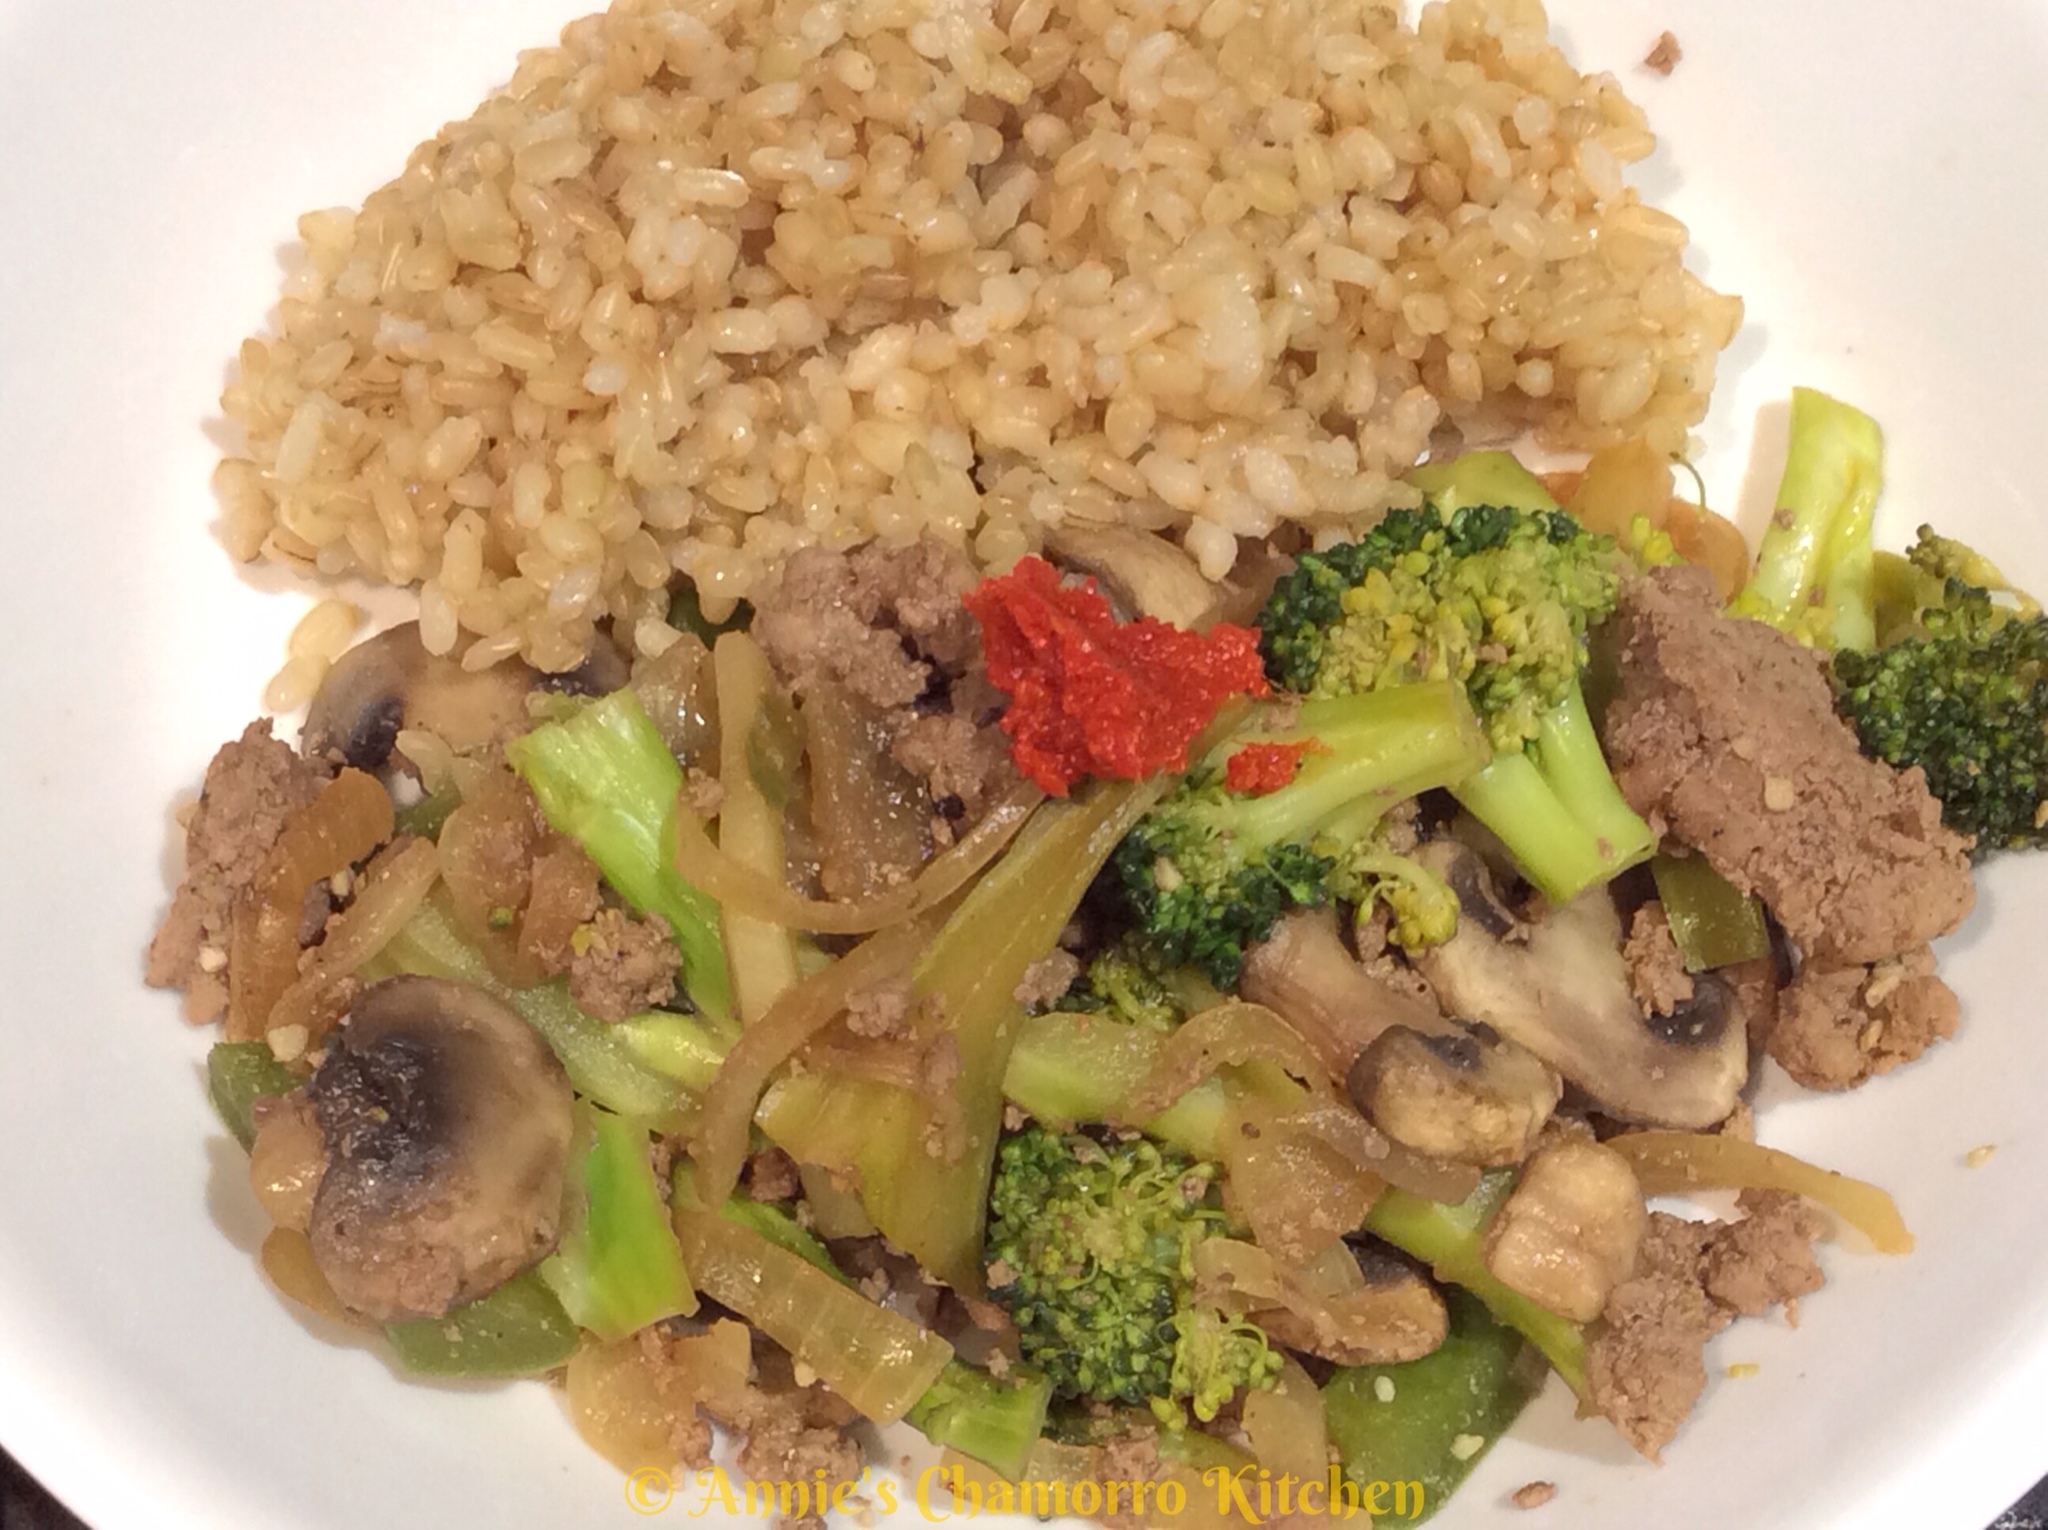
Serve with rice (I opted for brown rice) or chips and ENJOY!