Search Results for: thai milk

Thai Milk Tea with Boba

Thai tea is not to be confused with Indian Chai.  It’s a quite fragrant tea made with black tea leaves and mixed with ground star anise, orange blossoms, ground cloves, and ground cinnamon.  Once brewed, a few drops of vanilla extract adds an additional depth to the already quite fragrant and flavorful tea.

It can be served hot or cold, and with or without milk, cream, or like I prefer it, with half-&-half.

Thai tea is usually served sweetened.  I sweeten my tea with a sugar syrup made with water, brown and white sugar.  You can also use sweetened condensed milk instead of syrup, and evaporated milk instead of cream or half-&-half.  Coconut milk is delicious with this too.

Adding cooked tapioca pearls is not part of the way traditional Thai tea is served.  The addition of the chewy black pearls, or boba, is thought to be of Taiwanese influence.  Black tea with milk and boba pearls added is commonly called “bubble milk tea.”

I’ve only found two establishments that sell bubble milk tea, or Thai milk tea — with boba — that I liked.  One was in Washington state and the other in Nevada.  There is a restaurant here in Colorado where I live that sells good Thai tea as well, but their boba is always too hard and almost inedible.

I wanted to create my own version of Thai milk tea with boba, mainly to control how much sugar and cream (or in my case, half-&-half) I add to it, and to cook the boba just how I like it–soft and chewy, and slightly sweet.

I used to prefer a slushy drink, which is easy enough to do by blending your sweetened milk tea with some ice.  Lately, though, I’ve come to prefer an iced version, cold but not blended with the ice.  I also found that adding boba to a slushy drink causes the boba to harden faster, which I’m not too keen on since I like the boba soft and chewy.  Both versions are good, though.  I’ve included some directions on making the slushy version at the bottom of my post.

Give my recipe a try.  It’s quite easy to make, and economical too.  Why go out and buy it when you can make it yourself right in your very own home.

My recipe below makes enough for 4 servings (in a tall glass).

Thai Milk Tea with Boba

image

Ingredients for the boba:

  • 3 quarts water
  • 1 1/2 cups dry tapioca pearls
  • 1/2 cup sugar syrup (for soaking the pearls AFTER cooking)

Ingredients for the sugar syrup:

  • 1/2 cup brown sugar
  • 1/2 cup white granulated sugar
  • 1 cup water

*Note: You’ll use 1/2 cup of sugar syrup to soak the cooked boba and the remaining syrup to sweeten the tea.

Ingredients for the tea:

  • 4 tablespoons loose (dry) Thai tea mix
  • 4 cups water
  • 2 cups sugar syrup
  • 1/2 cup half-&-half
  • ice

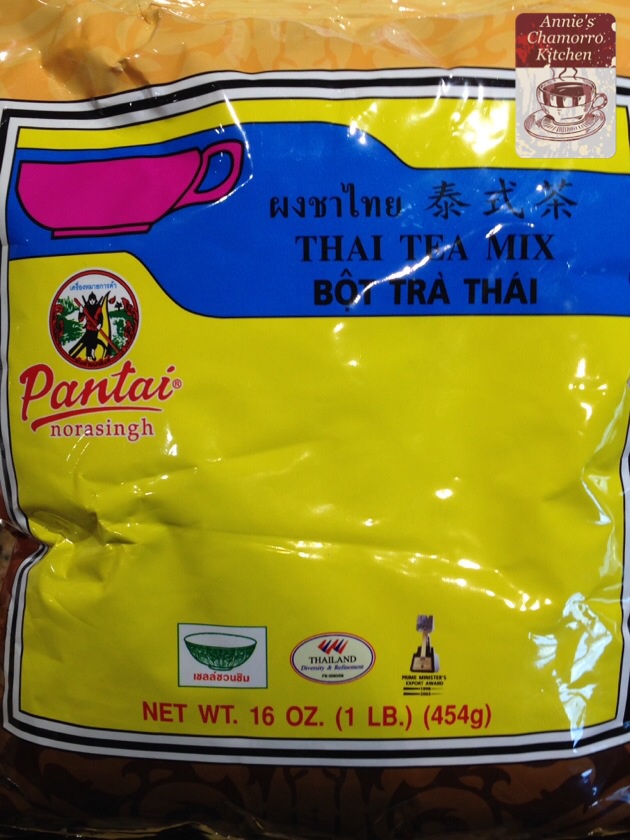
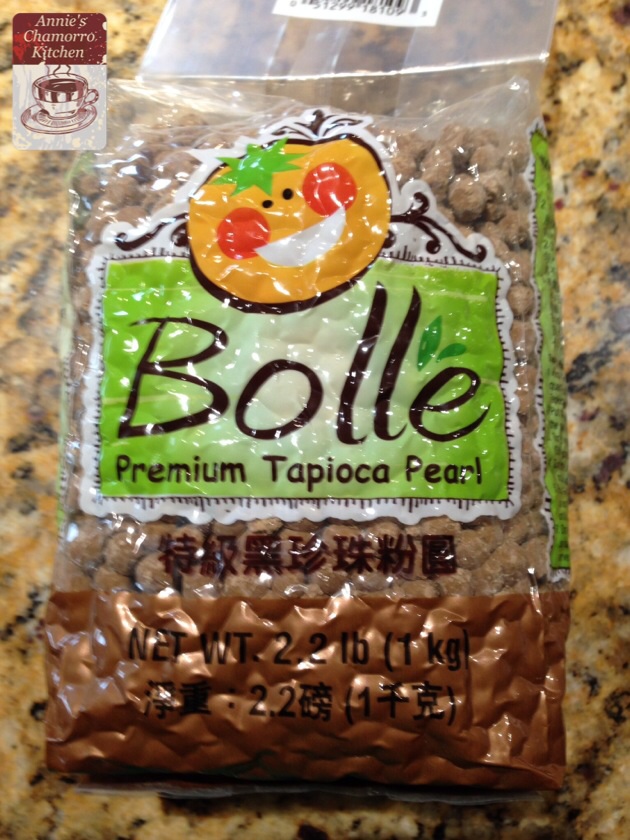
This is the brand of loose Thai tea mix and tapioca pearls I use.  I tried several brands of instant milk tea mixes and I found them either too sweet or too bland, or too chalky-tasting.

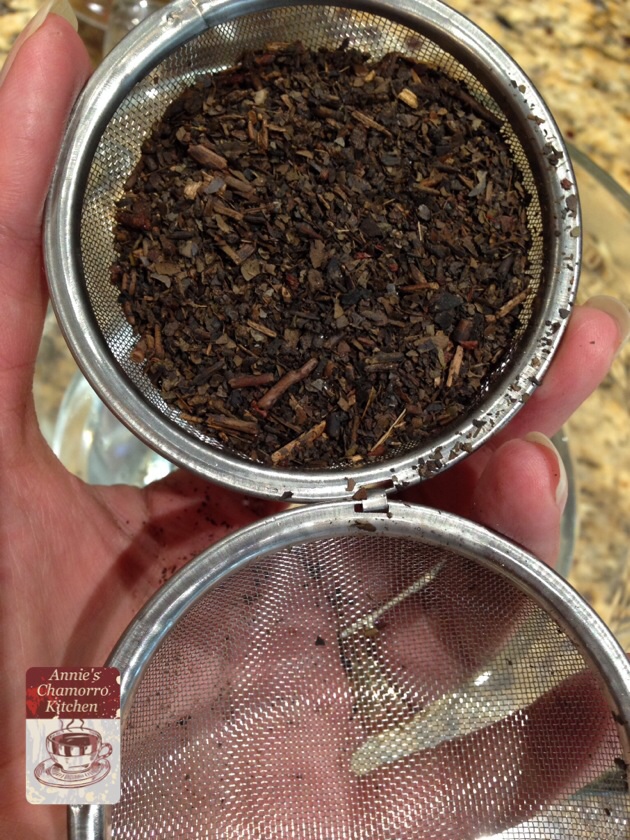
I like Pantai brand Thai Tea Mix (shown below on the left) — it’s a loose tea mix that you must steep in hot water.  When I first bought this brand, I knew it was a winner just from the delicious aroma of the dry tea leaves.

I also tried countless brands of tapioca pearls.  My first endeavor making boba was a complete failure because of the brand of tapioca pearls I used.  The “pearls” completely dissolved in the boiling water after only a few minutes of cooking!  I looked at the ingredient list AFTER the fact and discovered they were made from lots of ingredients OTHER THAN tapioca, most of which I couldn’t pronounce.  The brand pictured below has three simple ingredients: tapioca starch, water and caramel syrup. That’s it.  And it turns into soft, chewy and delicious boba.

image  image

Directions:

Cook the Boba.

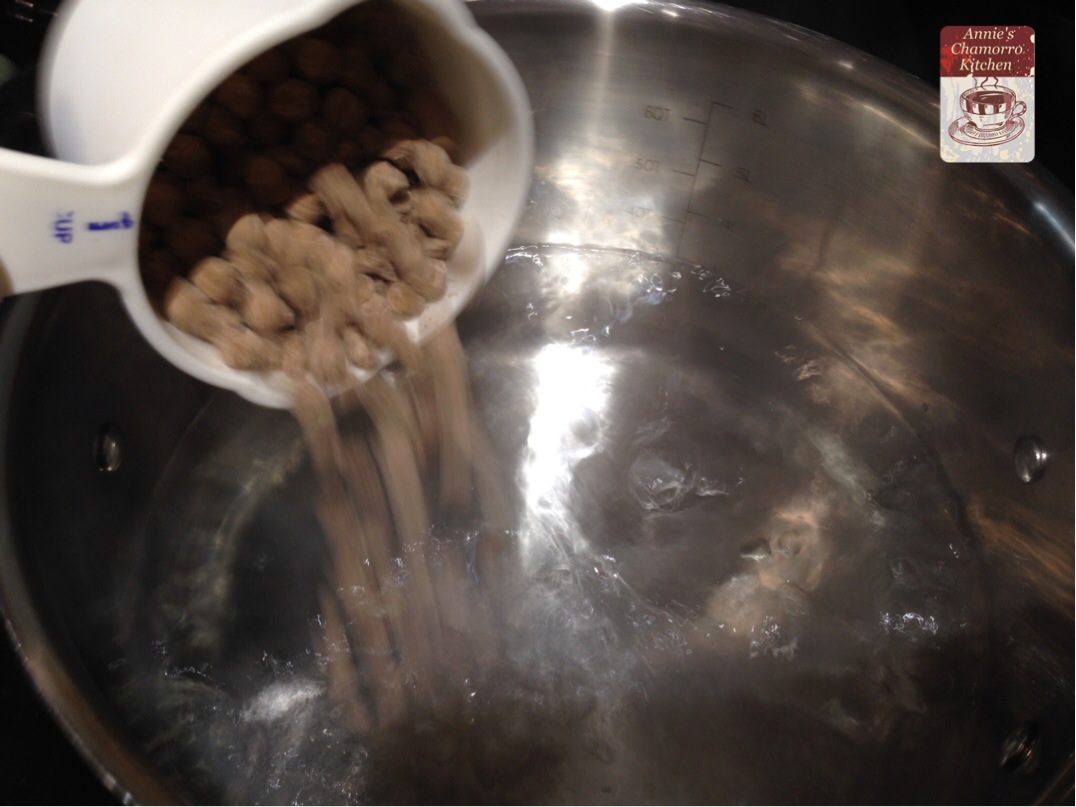
Place the water in a large pot over high heat then bring to a boil.  Add the boba to the pot all at once.  Cover the pot, keeping the lid slightly ajar.  Reduce the heat to medium and continue to cook (boil) the boba for 35 minutes.  Stir the boba occasionally.

image

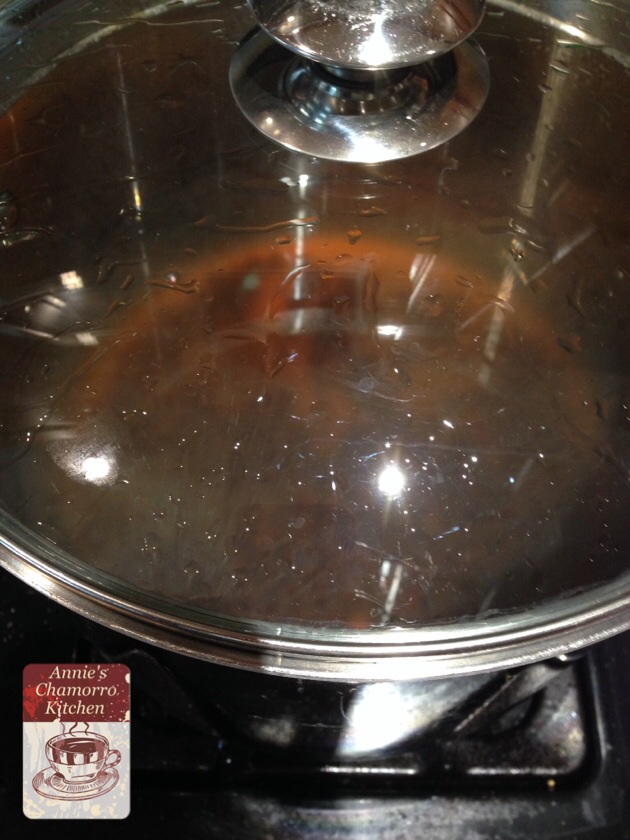
After 35 minutes, turn off the heat.  Stir the boba then cover the pot, placing the lid on completely.  Let the boba steep in the hot water for 25 minutes.  Do NOT uncover the pot.

image

While the boba is steeping in the hot water, make the sugar syrup.

Place both sugars and water in a microwave-safe bowl.  Microwave on high for 3 minutes. Carefully remove the bowl from the microwave; stir the mixture, ensuring the sugar is completely dissolved.

image

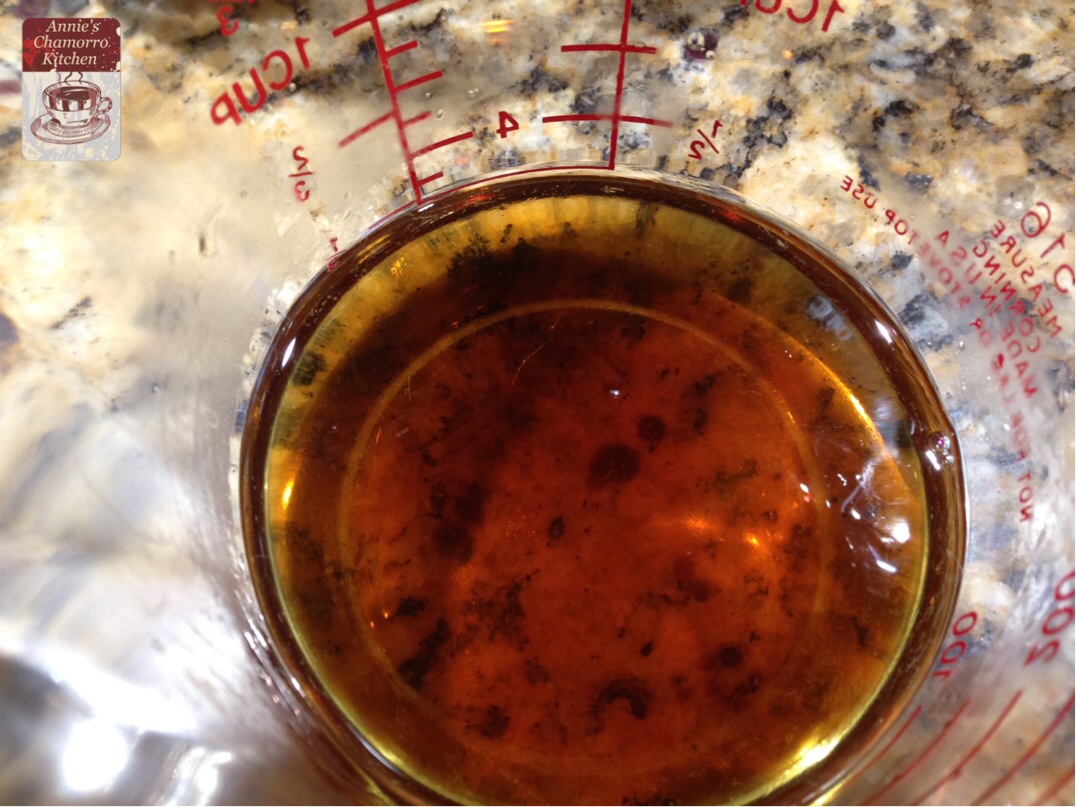
Pour out 1/2 cup of syrup in a small bowl; this will be used to soak the cooked boba.  Set the remaining syrup aside to sweeten the tea.  (I know, I know, the photo below shows only 1/4 cup, but I added more syrup later.)

image

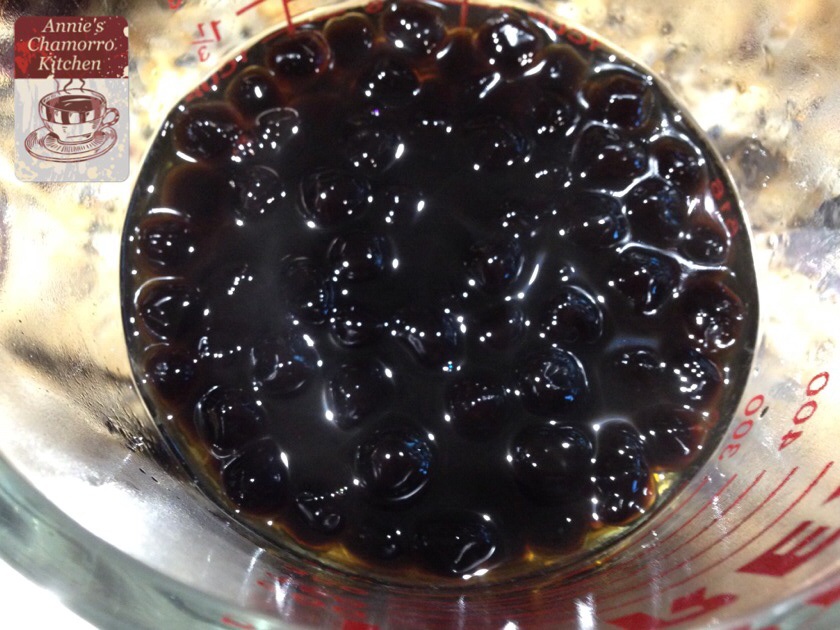
After steeping the boba for 25 minutes, it’s ready to be sweetened.  Pour the boba out into a strainer or colander.  DO NOT RINSE THE BOBA.

image

Place the warm boba in the small bowl with 1/2 cup of syrup.  Soak the boba in the syrup for 15 minutes.  While you’re waiting, make the tea.

image

Bring 4 cups of water to a boil.  Place the tea mix into a tea infuser/basket.  If you have a tea sack, you can use that as well.

image

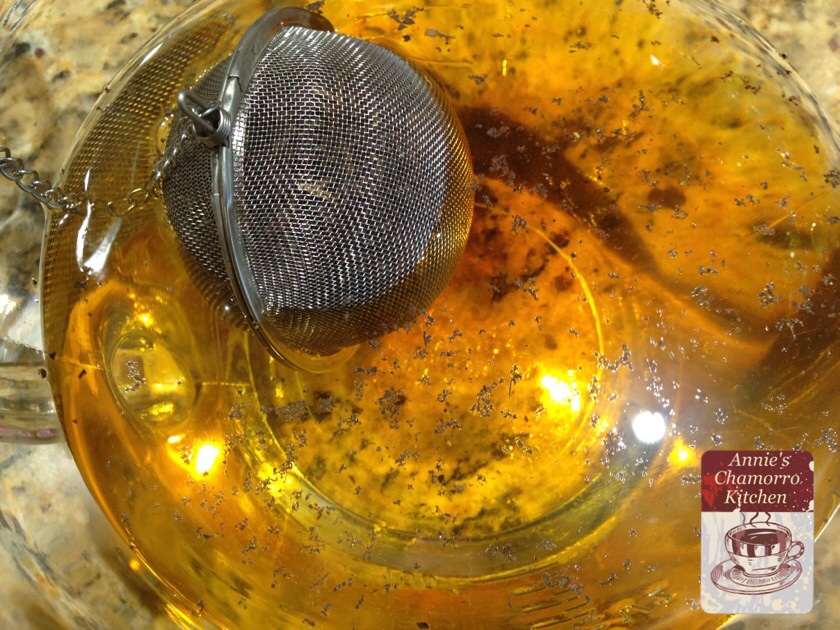
Seal the basket and place into the hot water.  Let the tea steep for 15 minutes.  If you want stronger tea, prepare this first to allow the tea mixture to steep longer, up to an hour.

image

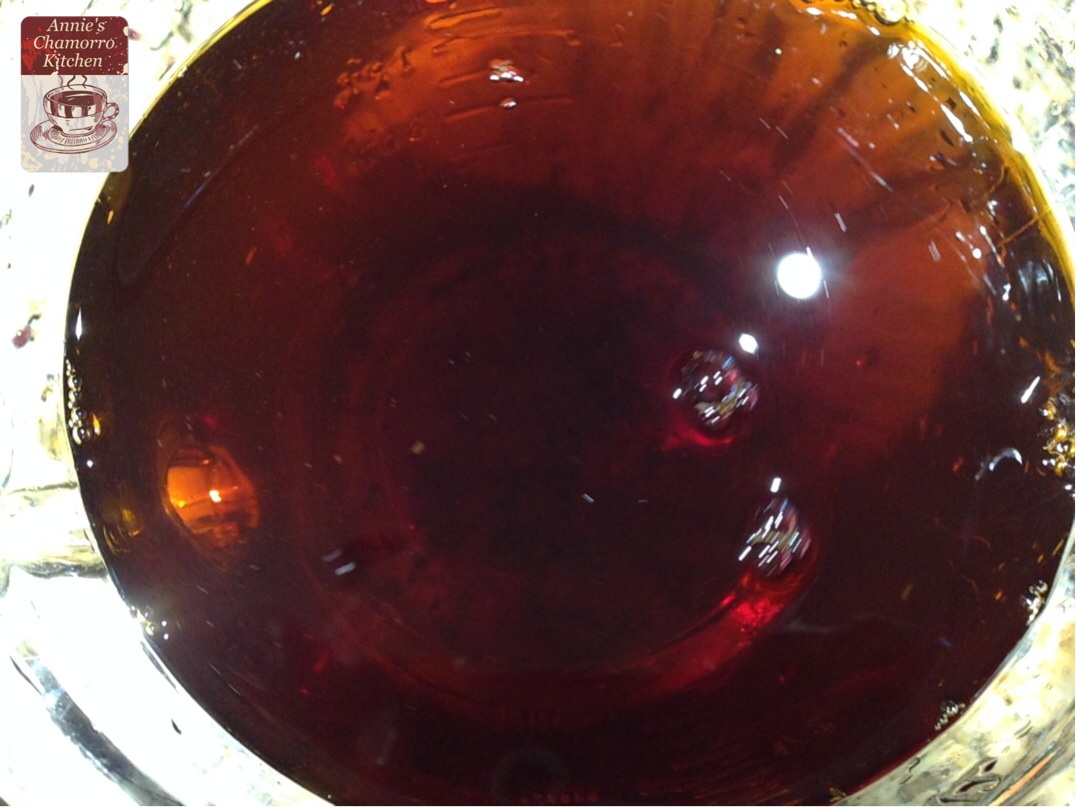
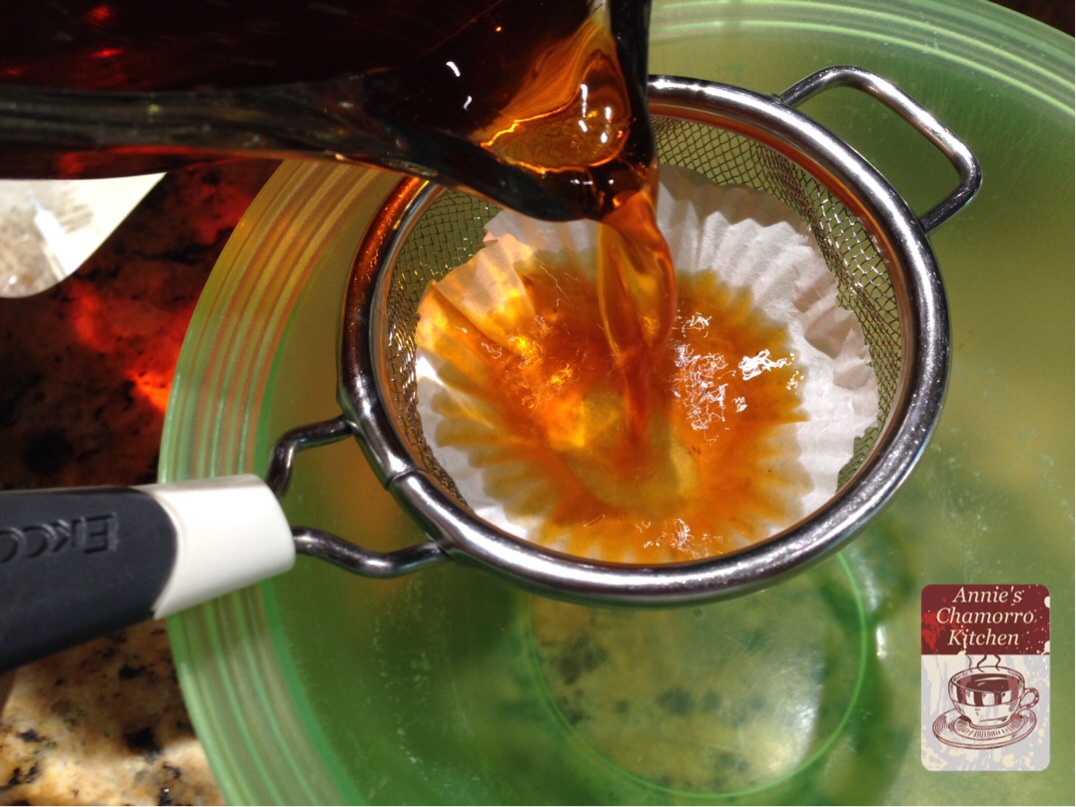
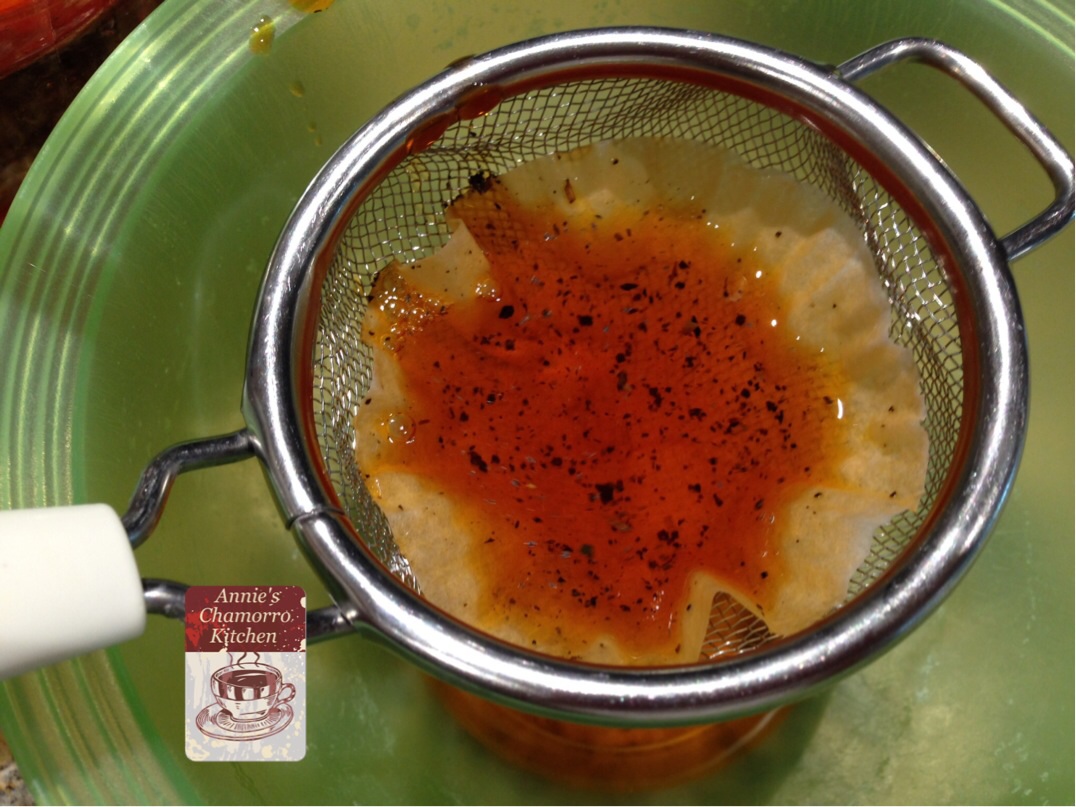
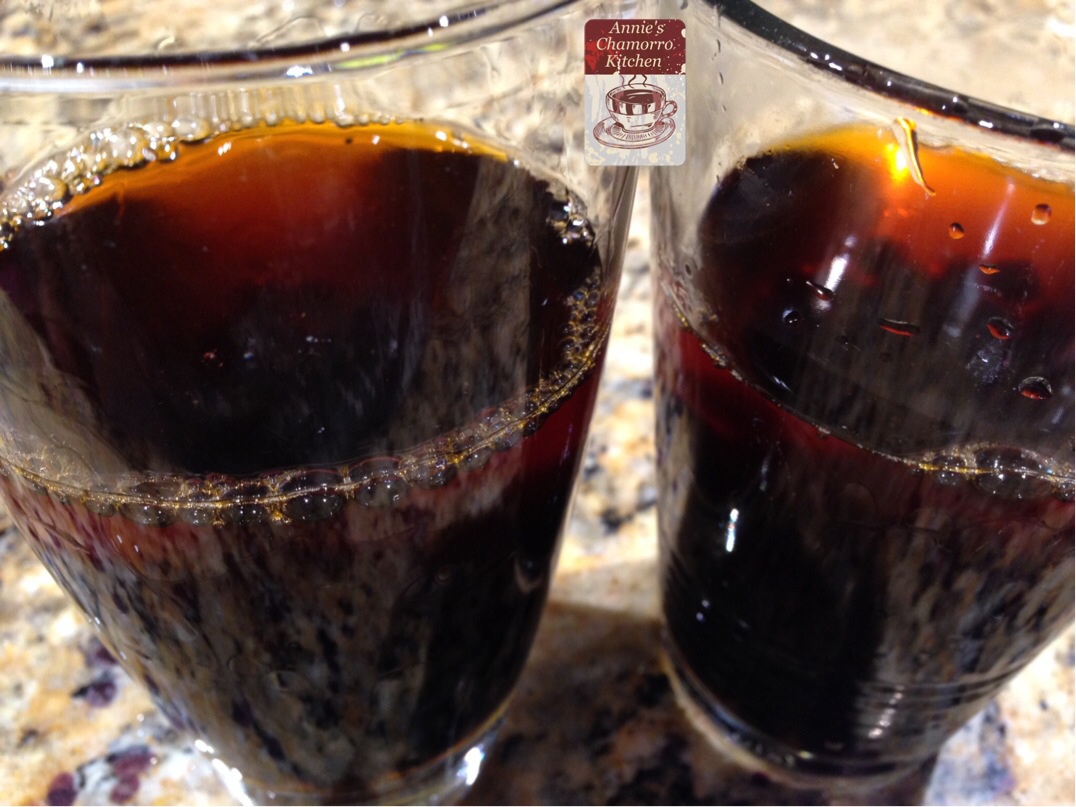
When the tea is done steeping, you’ll need to strain out any tea leaves that got into the liquid.  I use a coffee filter placed into a small strainer to filter out the leaves.

image

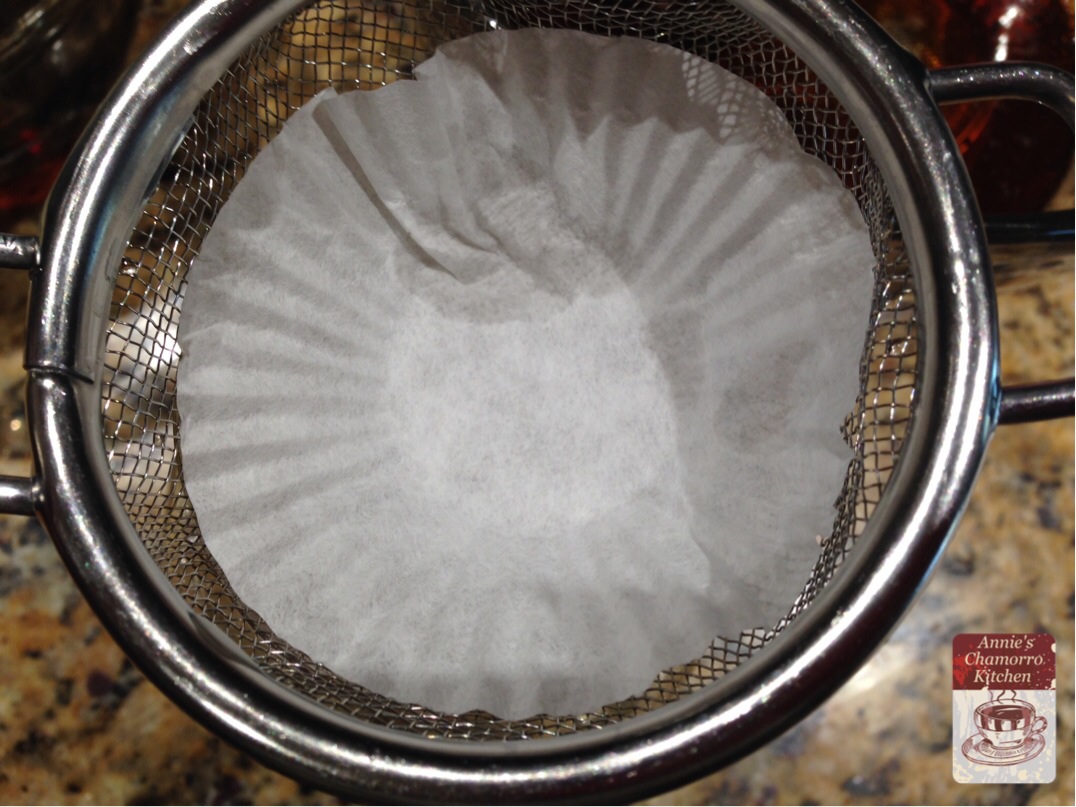
Pour the tea through the coffee filter-lined strainer.

image

image

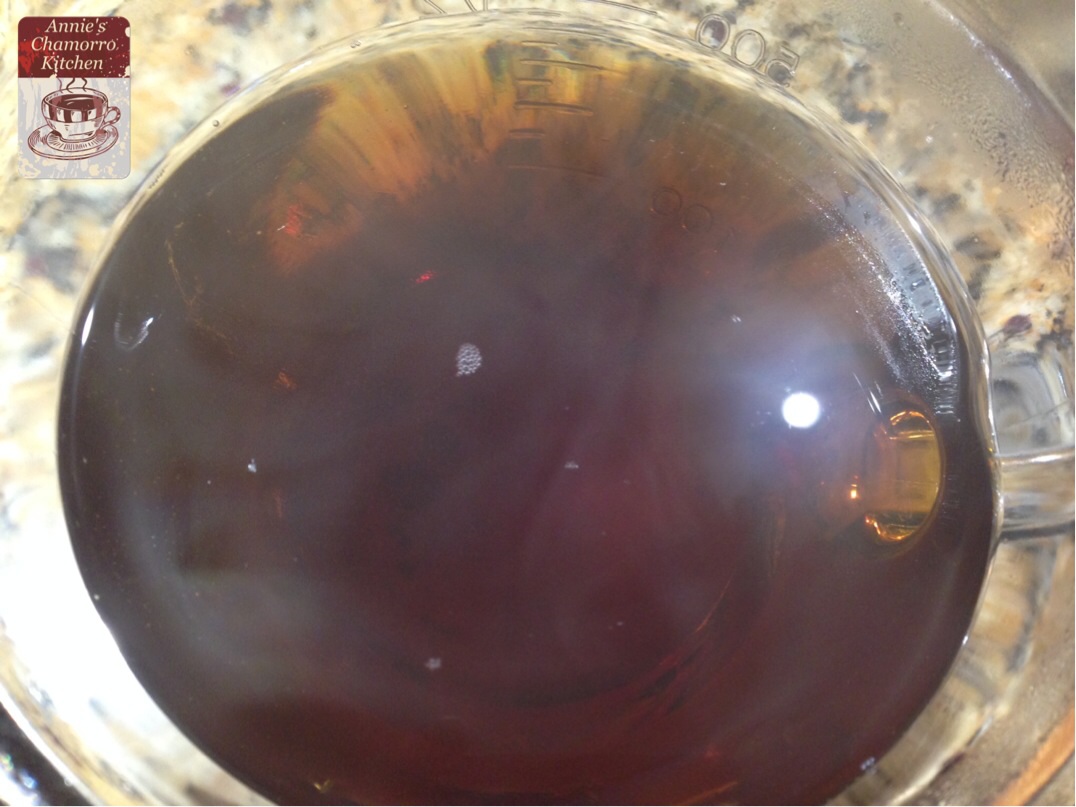
This is what the filtered tea looks like.

image

Sweeten the tea by mixing the remaining sugar syrup with the tea.

image

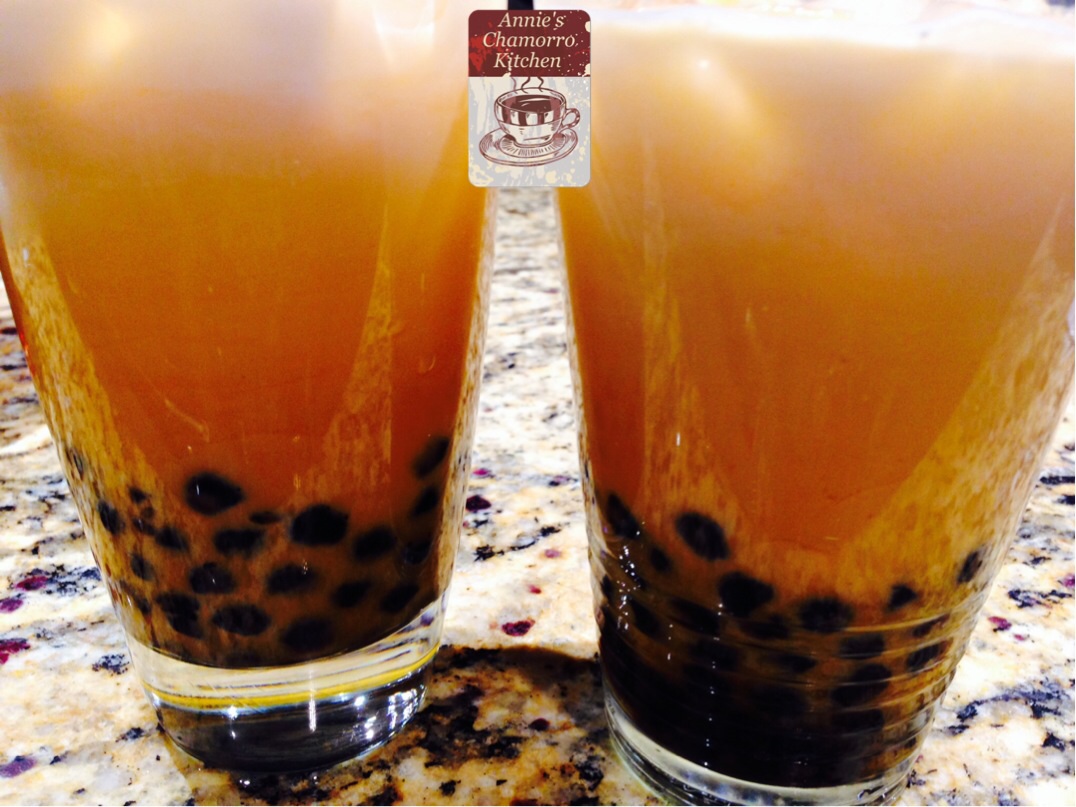
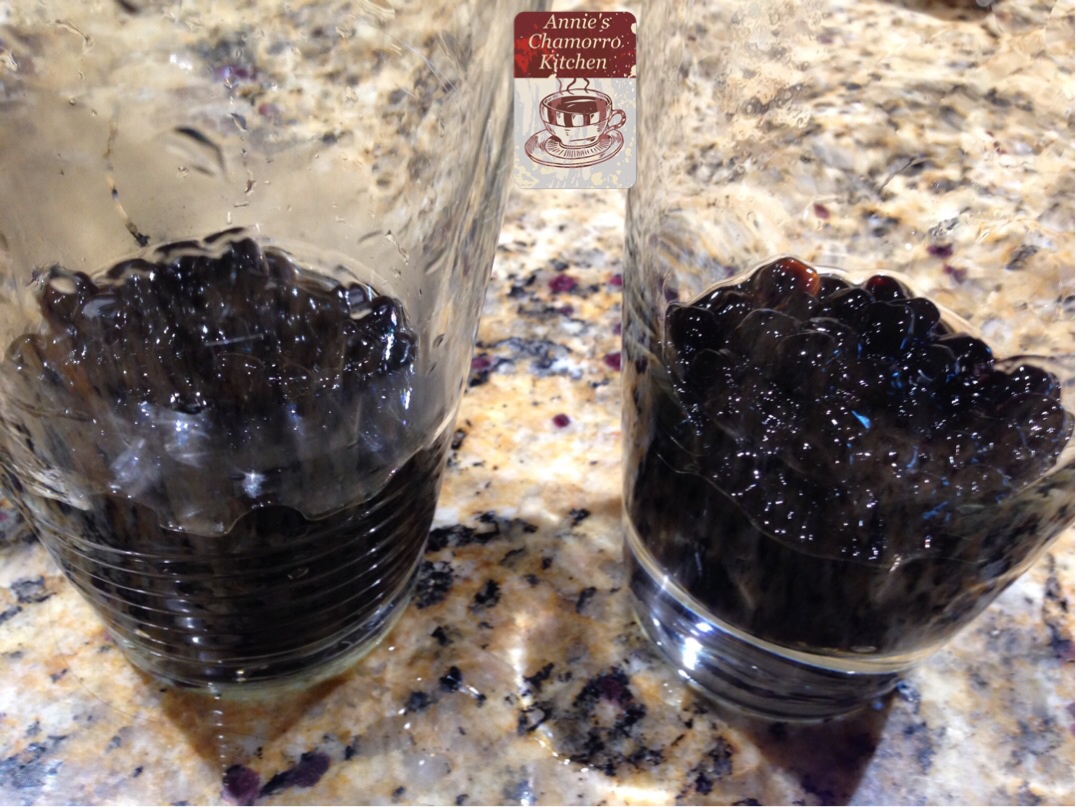
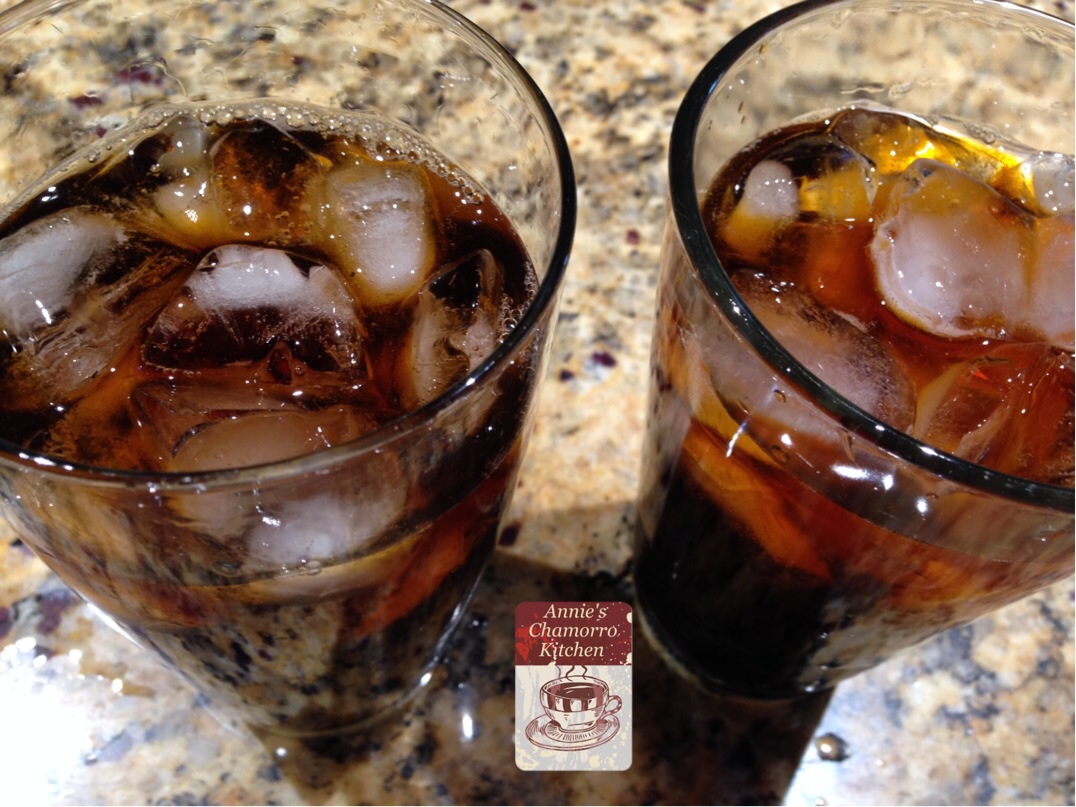
Place a few tablespoons of sweetened boba in the bottom of a tall glass.

image

Fill the glass about halfway with the sweetened tea.

image

Add ice.

image

Pour 1/8 cup of half-&-half into the glass.  You can also use coconut milk or evaporated milk rather than half-&-half.

image

image

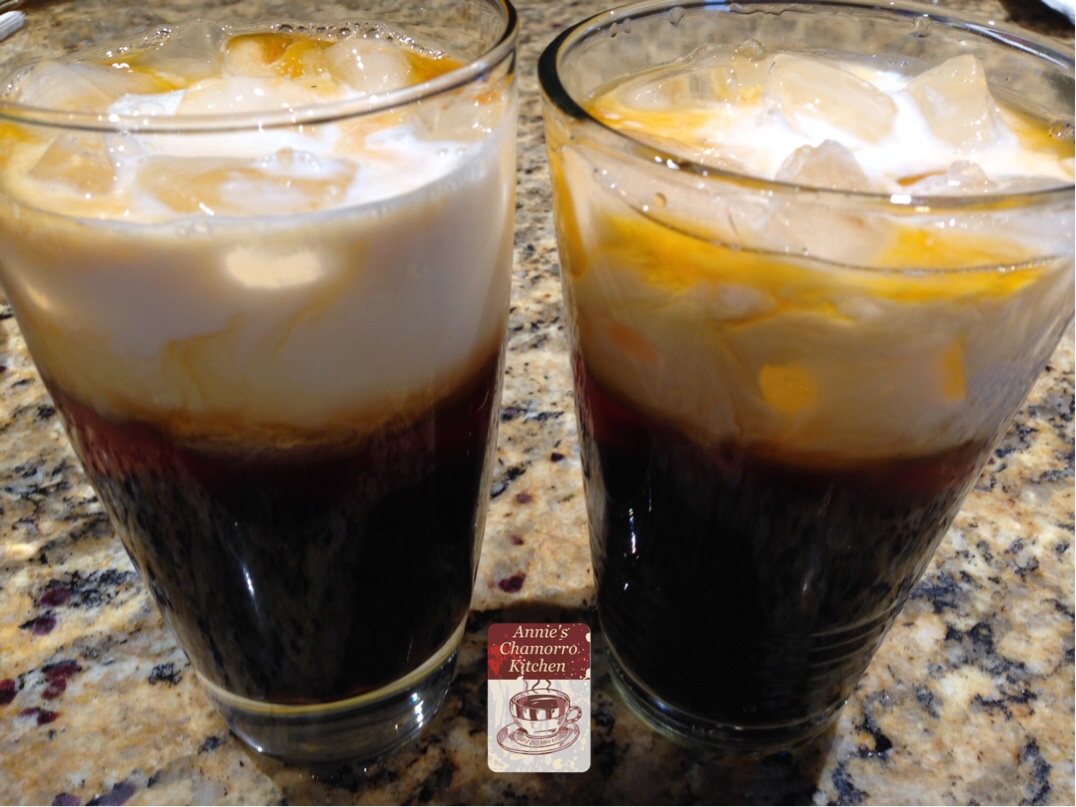
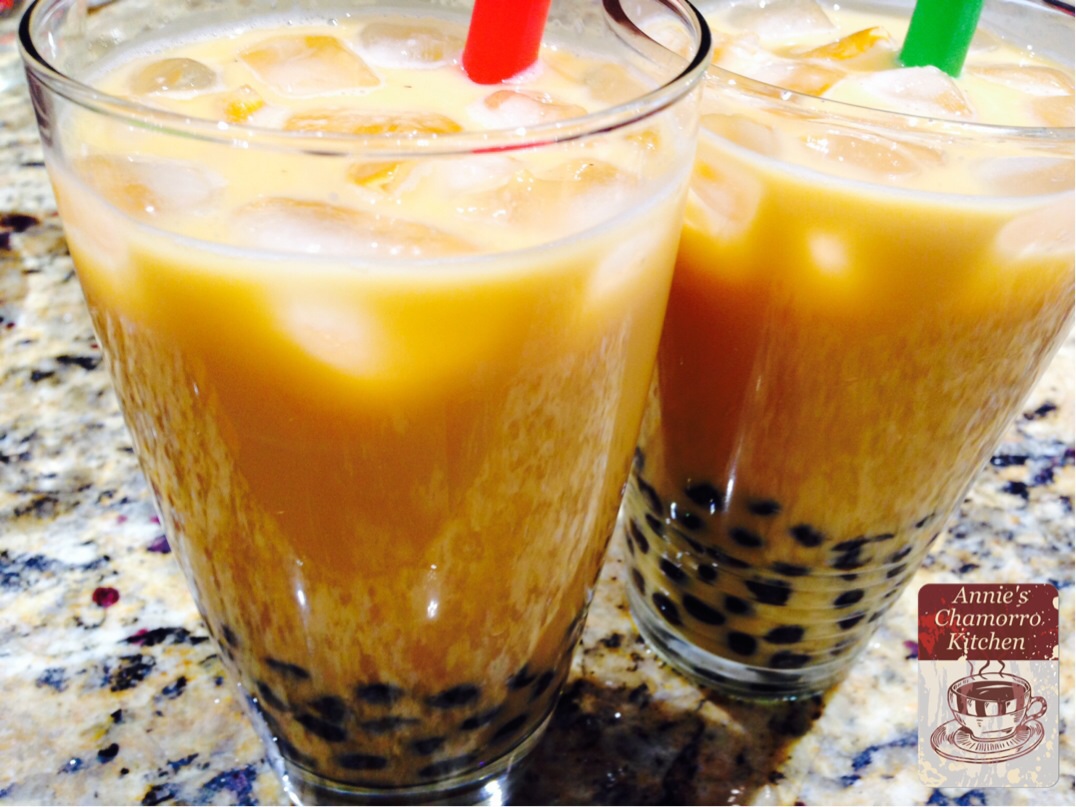
Stir the tea, insert a large straw into the glass, and ENJOY! 🙂

image

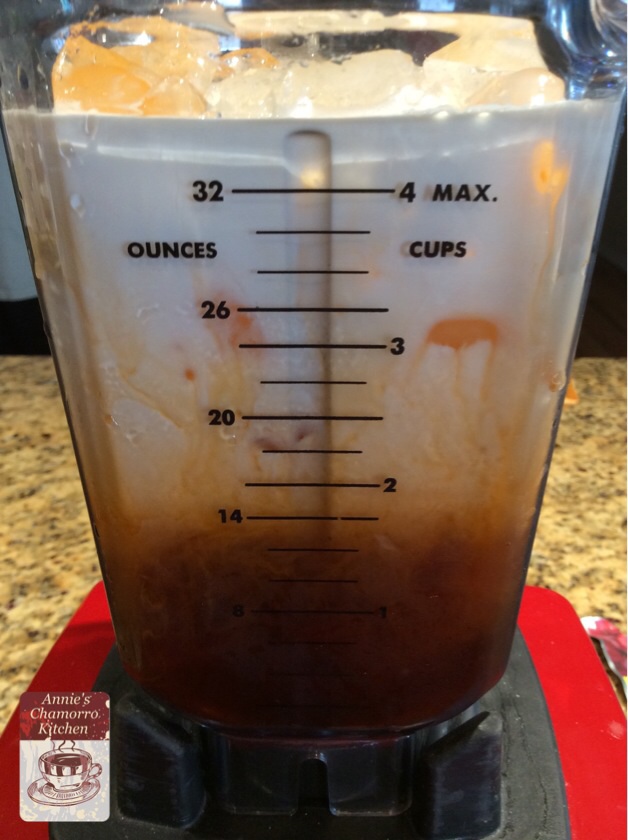
To make a blended tea, place two cups of ice in a blender.  Add three cups of sweetened tea and 1/2 cup half-&-half.   Blend until slushy.  Add cooked boba in the bottom of a glass then pour in the slushy tea.  Add a large straw and ENJOY!

image   image

Thai BBQ Pork

My Thai BBQ Pork is one recipe you’ll definitely want to try.  The secret is really in the marinade and basting sauce.  Cilantro, soy sauce, lots of garlic and fish sauce form the base for this yummy marinade.  Lime juice not only adds wonderful flavor to the meat, but the acid also serves to break down the meat, allowing the marinade to work its magic.

image

The basting sauce, a mixture of rich coconut milk and some of the reserved marinade mixture gives you an added layer of flavor.  The heat from the grill caramelizes the basting sauce as the meat cooks, creating beautifully browned and juicy pork with a slightly sweet and savory coating.

image

Now that I’ve got you drooling, here’s how to do it.

Place the cilantro (leaves AND stems) and garlic in a food processor along with the soy sauce.  You’ll need the liquid in there to help break down the cilantro.

image

Pulse or grind the mixture until your mixture looks like the photo below.  You want the cilantro chopped as finely as possible.

image

Place the cilantro mixture into a large bowl or pan.  Add the rest of the marinade ingredients to the bowl, stirring to combine it all.

Remove about 1/4 cup of the marinade mixture; place it into a small bowl along with coconut milk. This will be your basting sauce.

image

Place the pork into the marinade.  Use your favorite cut of pork, but make sure you use something that has some fat; lean pork will dry out too quickly for this dish.  I like using pork shoulder or pork butt, cut into strips or cubes (for shish kabobs).  Let the pork marinate for 2 or 3 hours, longer if desired.  Keep the mixture refrigerated if you don’t plan on grilling this right away.

image

To make shish kabobs, place several pieces of cubed pork onto a skewer.  I have metal skewers so there’s no soaking required.  If you use bamboo or wooden skewers, be sure to soak the skewers for several hours (overnight is good too) before grilling.

image

Skewer the meat AFTER it’s been marinated.

image

Place on a hot grill and baste immediately.

Grill the meat over relatively high heat.  I have a Traeger grill that has a temperature gauge built into it.  I grilled this at 325 degrees for about 1 1/2 hours, basting and turning every 15 minutes.

image

Turn the meat over occasionally, basting each time.

image

image

The coconut milk mixed with the reserved marinade caramelizes into a lip-smacking coating that will have you oooh-ing and ahhh-ing (trust me, it’s that yummy). 🙂

image

I know some people who absolutely won’t eat charred BBQ, but that little piece of charred goodness in the photo below was TO-DIE-FOR-delicious!!!

image

Mmmmmm…soooo good served with hot steamed white rice and fina’denne’.

The next time I make this, I’m going to make just a little bit more marinade, reserving some to use as a dipping sauce when the pork is done.

image

Give my recipe a try.  I think you’ll like it. 🙂


Thai BBQ Pork
 
Author:
Ingredients
  • 1 bunch cilantro
  • ½ cup soy sauce
  • 3 tablespoons chopped garlic
  • ½ cup brown sugar
  • ¼ cup fish sauce (I like Three Crabs brand)
  • ½ cup lime juice
  • 1 cup coconut milk
  • 4 pounds pork (preferably boneless pork shoulder), cut into strips or cubes
Instructions
Make the Marinade:
  1. Place the cilantro, soy sauce and garlic in a food processor. Pulse until well blended. Pour the mixture into a large bowl or pan.
  2. Add the brown sugar, fish sauce, and lemon juice to the cilantro mixture. Stir to mix the ingredients together.
Make the Basting Sauce:
  1. Remove ¼ cup of the marinade mixture and place into a small bowl. Add the coconut milk; mix to combine and set aside.
Grill the Meat:
  1. Place the meat in the marinade mixture. Let the meat marinate for 2 to 3 hours (longer if you like, but refrigerate the mixture).
  2. Place the meat on the grill. Immediately baste with the reserved coconut basting sauce. Turn the meat occasionally, basting each time. Stop basting when the meat has started to caramelize and is a rich brown in color.
  3. Grill until the meat is done and nicely caramelized.
Serve and ENJOY!


Green Chicken Curry

There are so many varieties of curries — from chicken, to beef, to all vegetable — I haven’t found a curry I didn’t like. 😉

It’s such a versatile dish too.  Just find your favorite recipe and modify it to your liking.  Use your favorite vegetables and meat and add as much or as little spice as you want and voila!, chicken curry!  Serve over hot, steamed white rice and you’ll have yourself a delicious meal.

Give my recipe a try.  It think you’ll like it. 🙂

Green Chicken Curry
 
Author:
Recipe type: Soups & Stews
Cuisine: Thai
Serves: 6
Ingredients
  • 4 large chicken breasts, cut into small pieces (or a mixture of white/dark chicken meat)
  • 1 tablespoon brown sugar
  • 2 tablespoons green curry paste
  • 2 tablespoons fish sauce
  • 2 cloves garlic, minced
  • ½ cup chopped onion
  • 1 cup sliced carrots
  • 1 medium potato, cubed
  • 1 medium bell pepper, sliced
  • 1 can (10 oz) straw mushrooms or you can use fresh mushrooms, sliced
  • 1 can (15 ­oz) young corn, sliced into 1½ inch pieces
  • 1 can (8 oz) bamboo shoots
  • 1 can (14 oz) coconut cream or coconut milk *Use 2 cans if you like lots of kadu.
  • Other vegetables of your choosing
  • 1 tablespoon dried basil or use ½ cup freshly chopped sweet basil leaves
  • 2 tablespoons chicken bouillon or 2 bouillon cubes
  • Hot chili peppers, sliced, ­­optional
  • Black pepper, to taste
  • 1 cup water
Instructions
  1. In a medium saucepan, add water, bouillon, onions, garlic, pepper, and chicken pieces; bring to a boil; cook for approximately 10 minutes over medium­high heat.
  2. Add potatoes to chicken; continue cooking for 5 more minutes.
  3. Add curry paste, brown sugar, fish sauce, and remaining vegetables to pot; stir well to dissolve curry paste and brown sugar. Reduce heat to medium and continue to cook for 5 more minutes.
  4. Add coconut cream to pot. Turn heat down to low and simmer for 5­8 minutes, or until potatoes are cooked through.
  5. Add hot pepper to taste.
  6. Serve over hot rice.
ENJOY!


Chicken Drumstick Motsiyas

Motsiyas (pronounced mot-see-jas) is a delicacy on Guam.  It consists of a basic mixture of finely chopped or ground chicken (traditional recipes include most of the chicken parts, but I like just the meat, no organs), hot pepper leaves, tomato leaves, green beans, mint, lemon juice, salt and pepper.  You can also add other leafy greens to the mixture, as my friend, Arlene Sablan Aguon does (see her list of ingredients below).  To spice it up, add chopped chili peppers.  

The ingredients are then mixed together then wrapped in banana leaves and steamed in either water or chicken broth, and sometimes even in coconut milk.  

The recipe below is one of PoP Aguon’s treasured recipes, and the technique used to make them is a PoP Aguon original.  Wrapped in around the bone of a Chicken Drumstick with the skin surrounding it, this is a LABOR INTENSIVE recipe that requires that you de-bone and remove the meat and tendons of the chicken drumsticks, mix the multiple ingredients, then fill it back into the drumstick cavity.  It’s all worth it in the end, trust me.

Give PoP’s recipe a try.  I think you’ll like it. 🙂

Chicken Drumstick Motsiyas

Recipe adapted by Annie Merfalen
Original recipe by Arlene Sablan Aguon (as taught by PoP Aguon)
Photos by Arlene Sablan Aguon

Chicken Drumstick Motsiyas 1


Ingredients:

  • 4 pounds Chicken Drumsticks with Skin intact and not torn
  • 2 pounds boneless, skinless chicken thighs
  • 2 pounds boneless, skinless chicken breasts
  • Salt and Pepper, to taste
  • Freshly squeezed lemon juice, about 3/4 cup
  • 2 cups minced fresh mint
  • 2 cups thinly slices long beans or green beans
  • 2 cups diced baby bok choy
  • 4 cups diced mustard greens or spinach leaves
  • 1 cup diced white onions
  • 1 cup thinly diced green onions
  • 1/3 cup diced fresh Guam donne’ or Thai bird pepper (optional)
  • 4 cups chicken broth

Directions:

Debone the Drumsticks:
  1. Cut the chicken around the meaty part at the top of the drumstick (at the joint where the drumstick joins the thigh), loosening the meat from the bone in that area. Insert a pair of kitchen scissors or a small sharp knife as close to the bone as possible, cutting away the meat.  Be careful not to cut the skin around the drumstick.
  2. Slowly work your way down the drumstick, cutting and separating the meat from the bone.
  3. When you get to the bottom of the drumstick, turn the meat and skin inside out (be careful not to pull or cut the skin off!), then cut off the meat at the bottom, leaving the skin attached to the bone.
  4. Carefully pull your drumstick skin over the cleaned bone away from the knuckle. Place the drumstick meat in a resealable bag for later use.  You will not use the drumstick meat because of the tendons and ligaments (reserve and use for Kådun Pika later).
  5. Refrigerate the drumsticks (with skin intact) until you’re ready to stuff them.
Prepare the Motsiyas filling:
  1. Place the mint, beans, bok choy, mustard greens or spinach leaves, white onions, and green onions into a large mixing bowl.  Add the hot pepper if you want it spicy.
  2. Coarsely grind the chicken thigh and breast meat in a meat grinder, if you have one.  You can also coarsely chop or grind the chicken meat in a food processor.
  3. Mix the ground chicken and chopped vegetables together. Refrigerate the mixture overnight so the flavors can mix and marinate together.
The Next Day:
  1. Place the chicken broth into a rice cooker (placed on the “warm” setting).  You can also this on the stove top with a pot that has steaming baskets (heat the broth over medium-low heat).
  2. Add the salt, pepper and freshly squeezed lemon juice to the chicken mixture.
  3. Carefully pull back the drumstick chicken skin away from the knuckle. Shape your Motsiyas around the drumstick bone, carefully packing the filling into the skin and shaping it back into drumstick form.  Insert a wooden toothpick into the skin at the top of the drumstick to secure the skin while it cooks.
Cook the Motsiyas:
  1. Place the Motsiyas drumsticks into the steaming basket that comes with your rice cooker or steaming pot.
  2. If using a rice cooker, set it on COOK – the chicken broth will steam the Motsiyas.  If using a stove top steamer, turn the heat to medium-high, bringing the broth to a boil.  Place the steamer basket into the pot.  Cover the pot (or rice cooker) and steam for 20 minutes.
  3. Note: If you like your Motsiyas WET, you can place the drumsticks directly into the broth.
  4. If you like a crisp texture to the skin, bake the Motsiyas drumsticks at 375° F. until the skin begins to turn light golden brown (about 25 minutes).  Turn up the heat to 500° F. (or place it on Broil) and cook until the skin is a medium golden brown and the skin is crisp.
Serve and Enjoy!

Serve while still hot with a side of mint, donne’ (pepper) and lemon wedges.

As Arlene says, this is Munngi’-licious!

Other ways to prepare PoP’s Chicken Motsiyas:
Motisiyas 3 - stuffed neck

The traditional way: Stuffed Chicken Neck

Motsiyas 4 - ready for steaming

Fill silicone cups for steaming

Motsiyas 5 - steamed

Steamed Motsiyas

Motsiyas 7 - rice paper 2

Wrap the filling in Rice Paper

Motsiyas 10 - rice paper 5

Steamed Rice Paper Rolls

Motsiyas 11 - rice paper 6

Fried Rice Paper Rolls

Motsiyas 12 - pop 1

+PoP, enjoying his Rice Paper Motsiyas Rolls