Archive for CHAMORRO DISHES

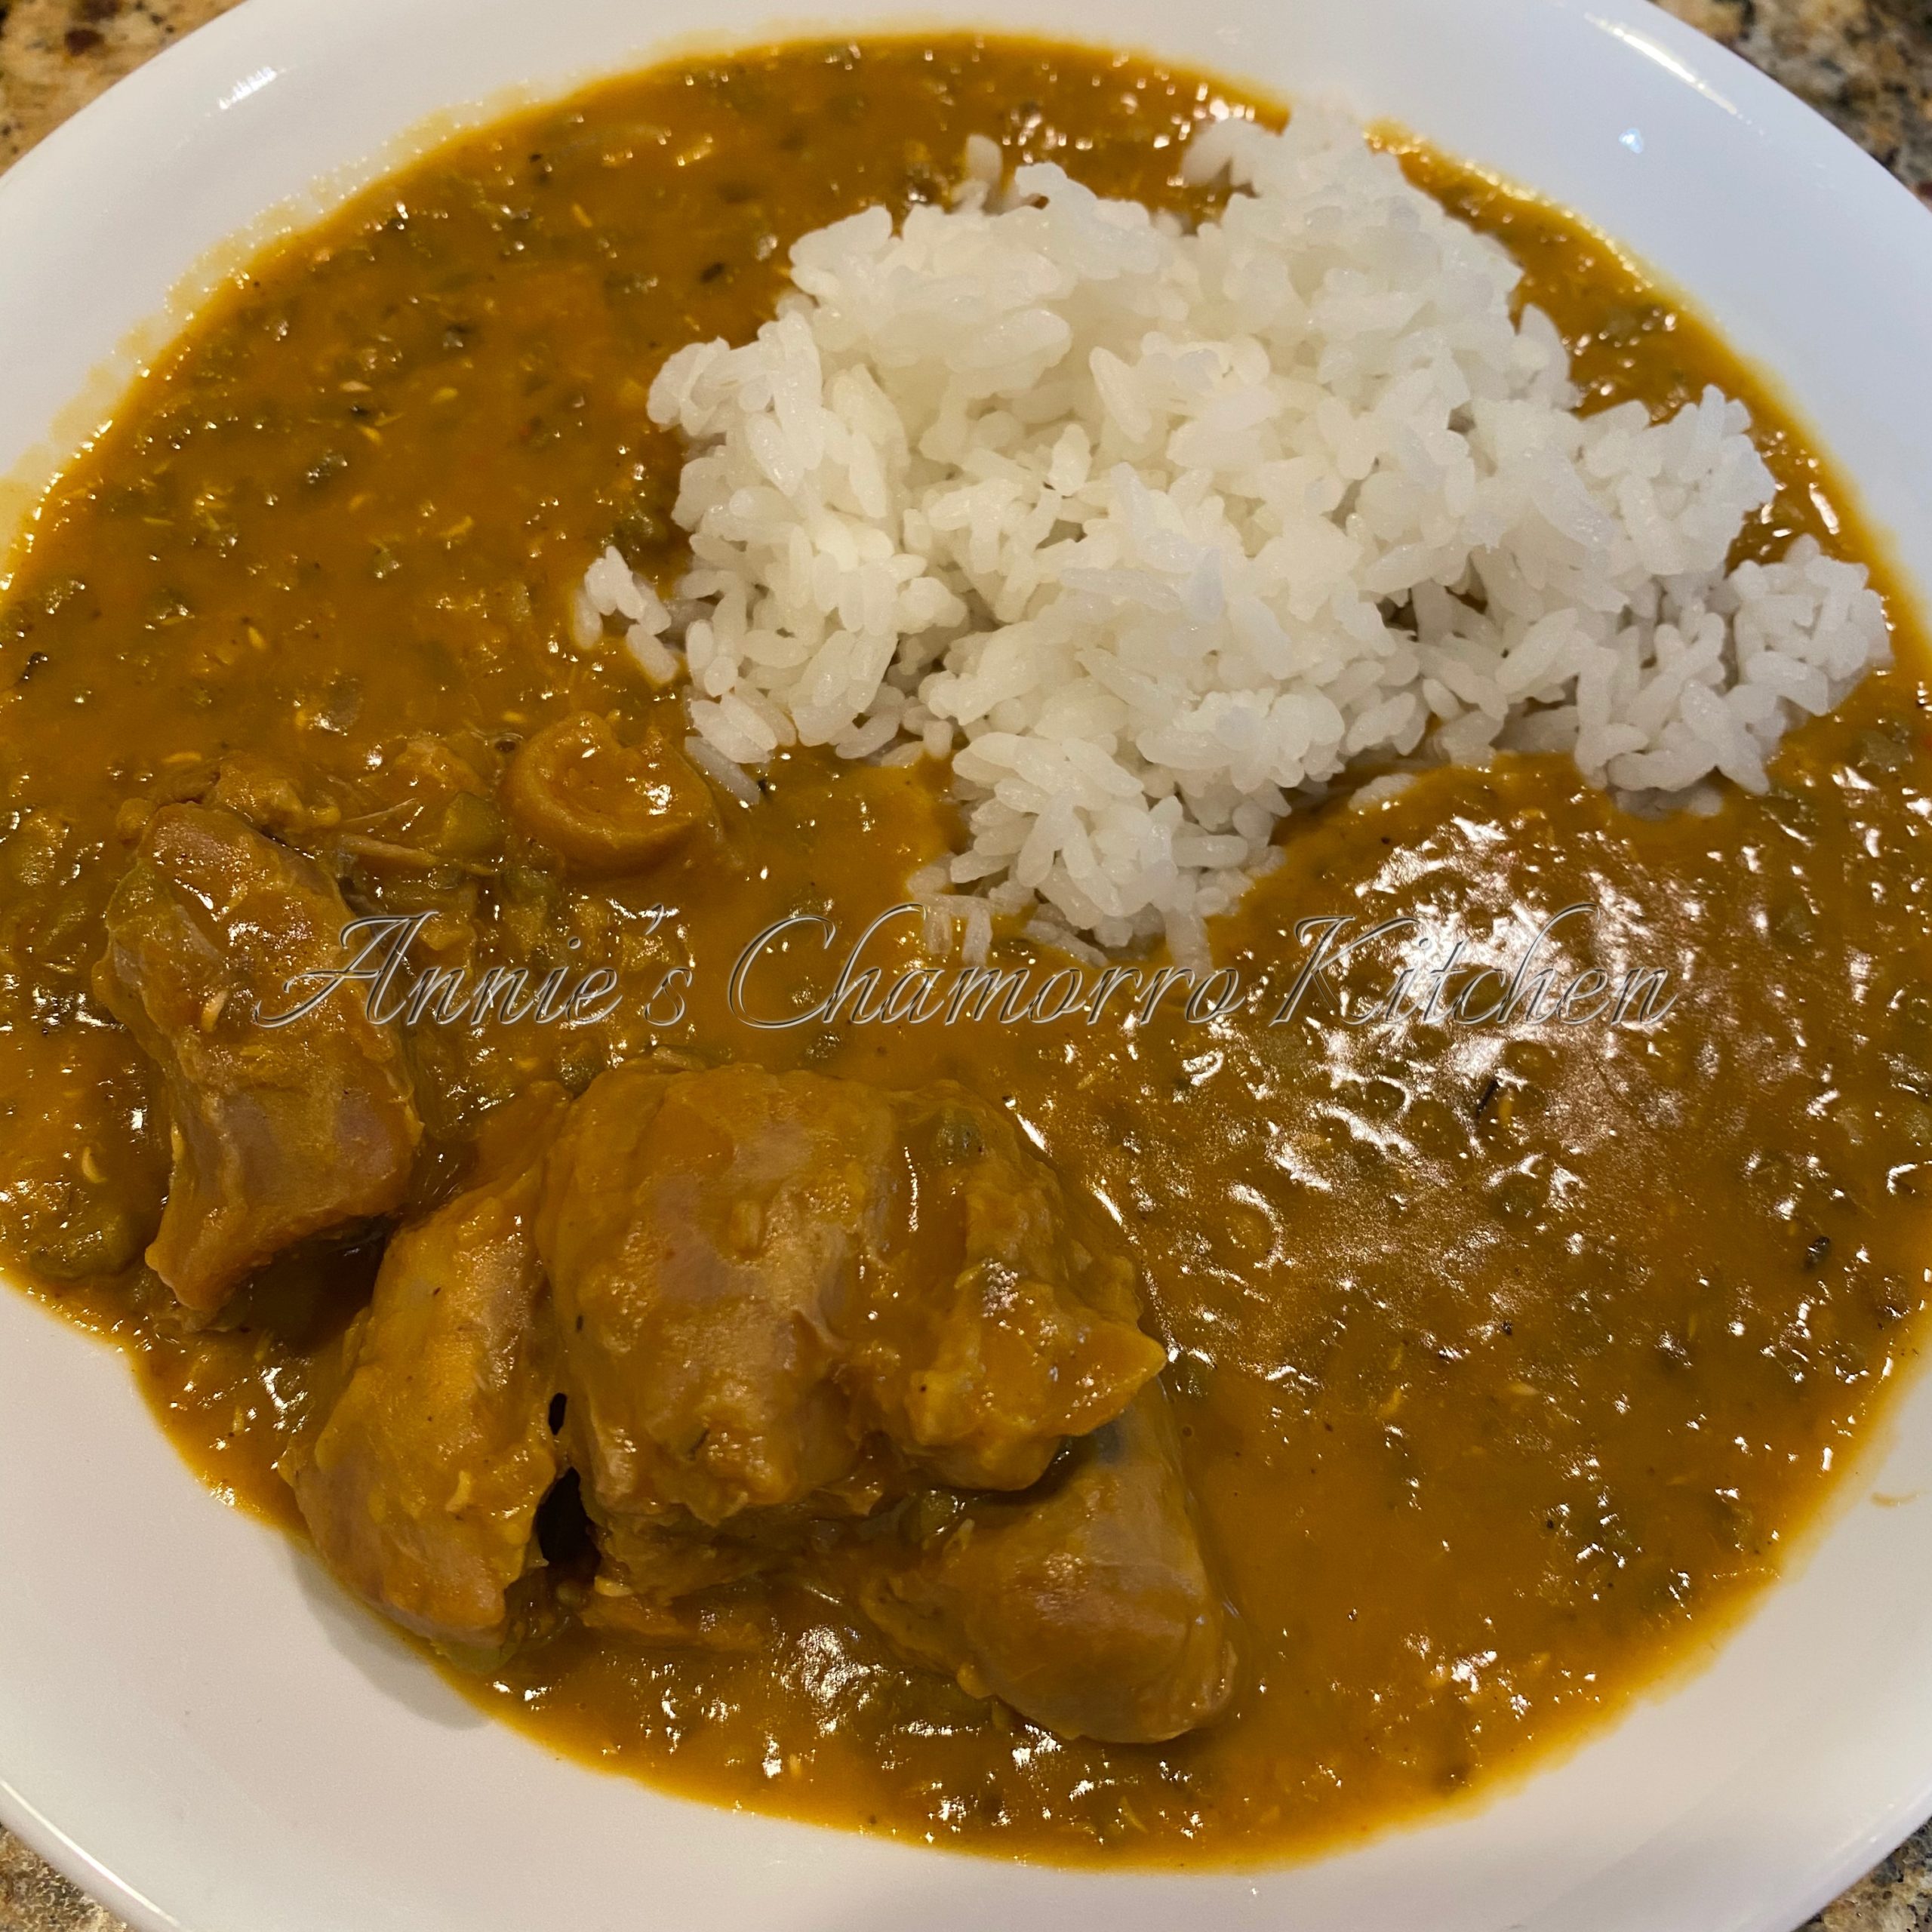
Ham Hocks with Mongo (Mung) Beans

Ham hocks and beans go so well together.  For those who’ve never heard of it before, a ham hock is the pork knuckle and is usually salt-cured and smoked. It’s typically cooked long and slow until tender, with added beans and broth for the ultimate comfort food.

The Chamorro way to cook this is with mongo (or mung) beans and coconut milk. (Read below for what my grandmother and mom think about this addition. 😁)

Give my recipe a try.  I think you’ll like it.

HAM HOCKS WITH MONGO (MUNG) BEANS
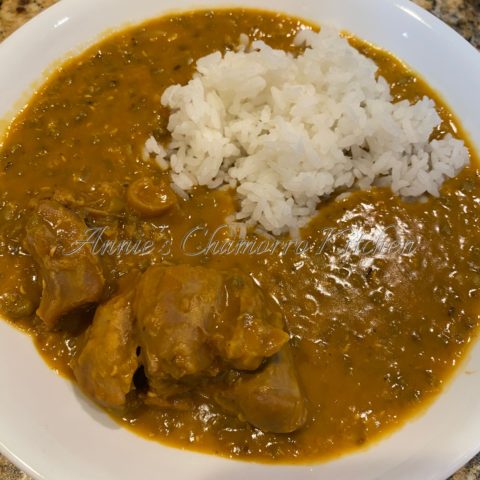
 

You’ll need:

Mongo Beans:

  • 1 bag mung beans
  • 1 tablespoon Dashida seasoning
  • 1 tablespoon onion powder
  • 1 tablespoon garlic powder
  • 1 teaspoon black pepper
  • Water (initially, 2 inches above the level of beans)


Ham Hocks:

  • 1 package ham hocks (smoked, if you can find it), about 3-4 large pieces in a package
  • Water
  • 1 medium onion, diced
  • 4 cloves garlic, chopped
  • 1/2 cup soy sauce
  • 1/4 cup vinegar
  • Black pepper, to taste
  • 1 package achote powder
  • 1/2 teaspoon liquid smoke (omit if you are using smoked ham hocks)
  • 1 can coconut milk


You can find my full, printable recipe at the bottom of this page.


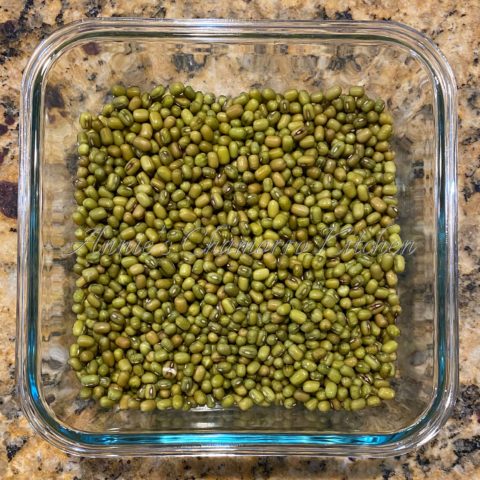
The first thing we need to is prepare the mung beans.  Ideally you’ll do this the day before you intend to cook your ham hocks.

Place the dry beans in a medium sized bowl.
 

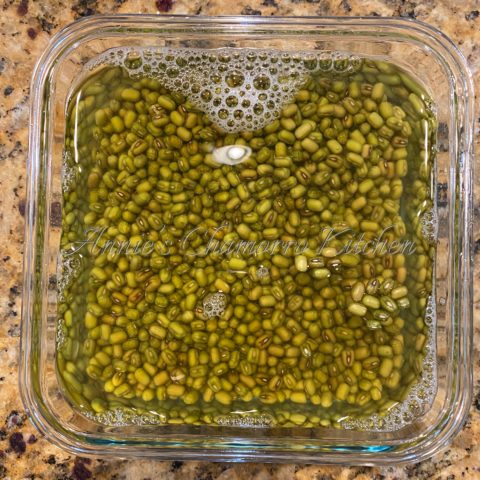
Add water and soak overnight.  Make sure to add enough water to go at least 2 inches above the beans.
 

The next morning, pour out the soaking water, if any is left. Rinse once more and drain.

Look how plump the beans have become after soaking in all that water overnight.
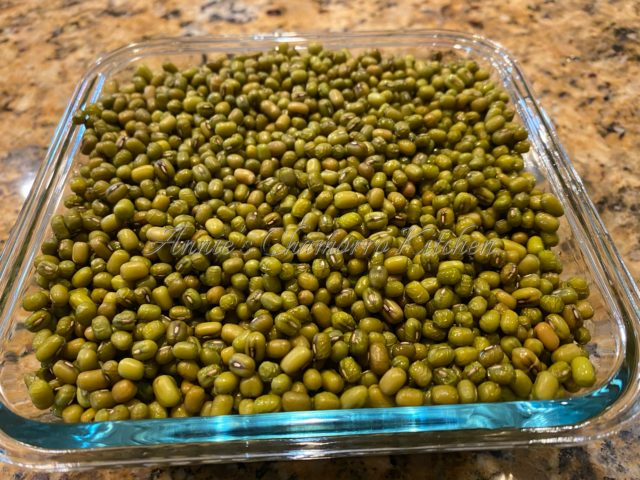
 

Add the mung beans to a medium sauce pan. Add more water, enough for it to reach about 2” above the beans.  Stir in the dashida, onion powder, garlic powder, and black pepper.
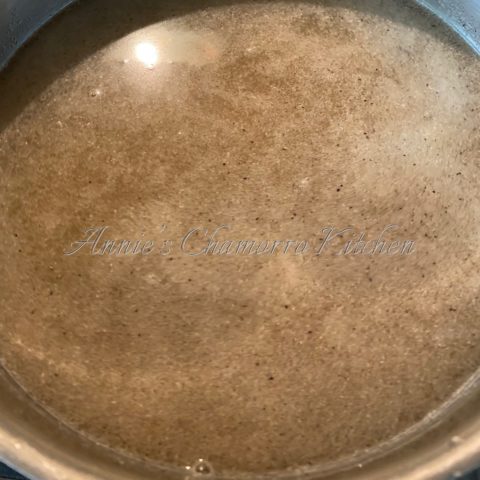
 

Bring to a boil then reduce the heat to low.  Simmer (covered) until the beans have softened, about 1 hour, stirring periodically. Add more water if required (you don’t want the beans cooking “dry”). Note: you should not need to add more water if you’ve soaked the beans overnight.

This is what the beans look like after one hour of cooking.  Remove the pot from the heat and set the beans aside.  The beans will not be not fully cooked at this point.  It will continue cooking with the ham hocks later.
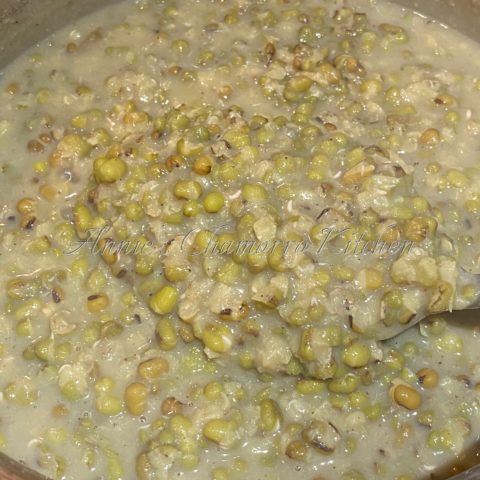
 

Place the ham hocks in a large pot.

Note: Smoked ham hocks are usually what’s used for this dish.  However, I could only find “regular, uncooked/raw” ham hocks.  I will make a note of recipe adjustments where required for when using smoked ham hocks.
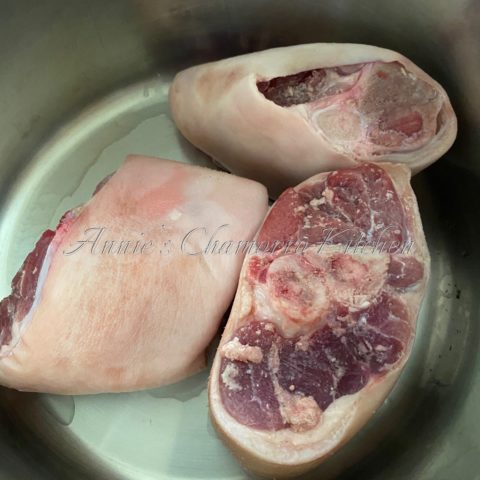
 

Add water until the ham hocks are submerged.  
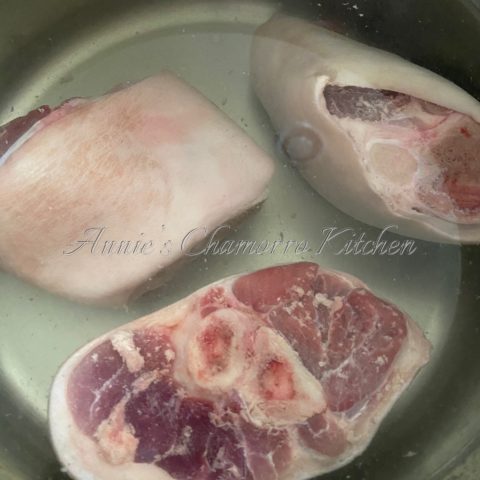
 

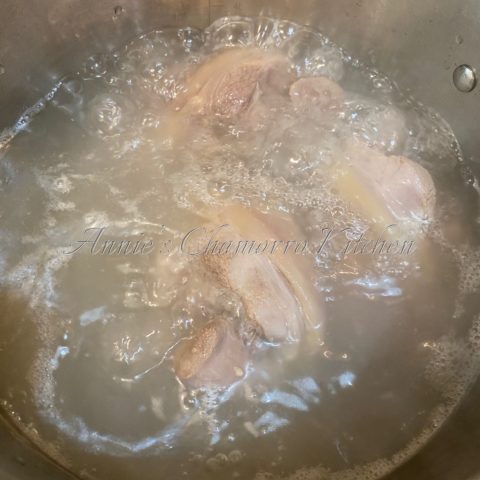
Bring to a boil and cook for 30 minutes. Drain the water, being careful not to burn yourself.  Don’t worry about seasoning the water at this point since the intent is to cook off a lot of the fat beneath the skin as well as to tenderize the meat.
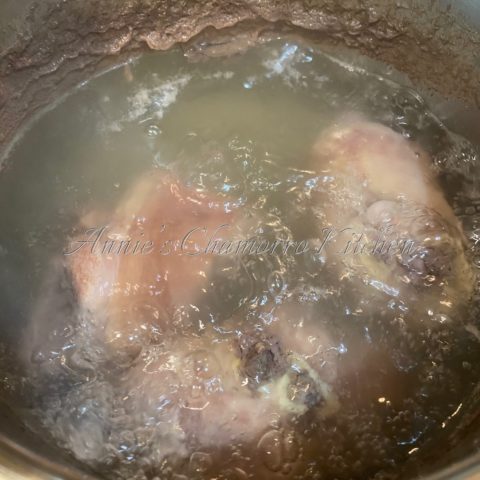
 

Repeat the previous step once more (add water, bring to a boil, cook, drain).
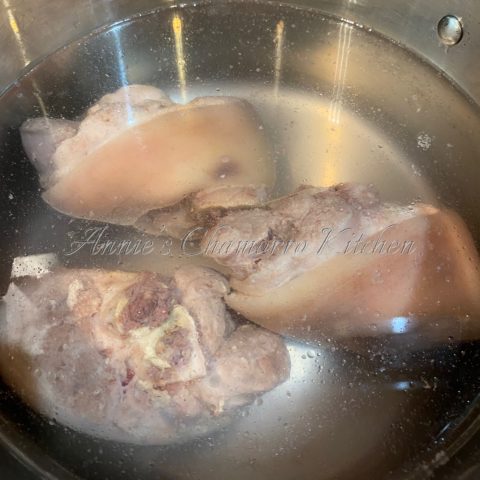
 

After you’ve drained the cooking water, this is what the ham hocks should look like.  This is optional, but I like to cut the ham hocks into smaller pieces and discard the thick skin.  Place the cut pieces back into the pot.
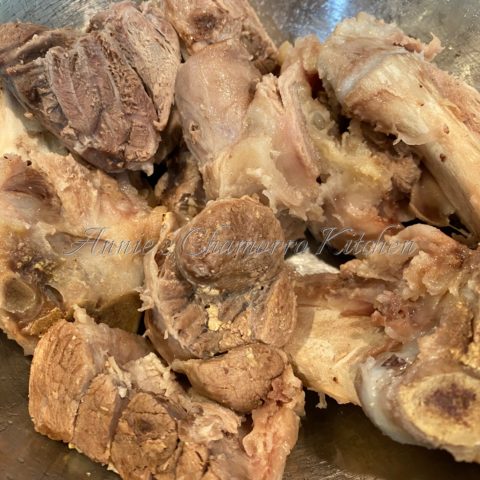
 

Add the diced onions, soy sauce, vinegar, black pepper and liquid smoke.  If you’re using smoked ham hocks, omit the liquid smoke.
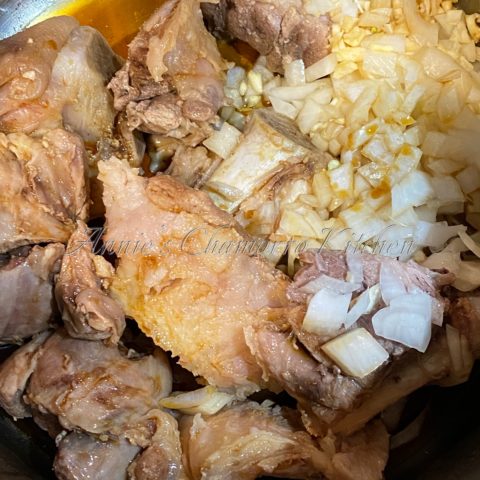
 

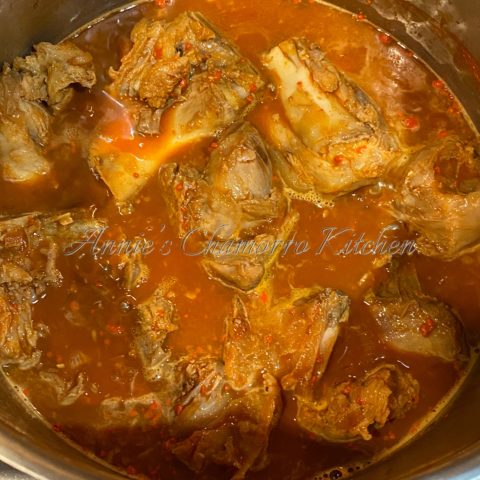
Cook the ham hocks as if you’re cooking estufao.  Cook until the liquid has reduced—you want a relatively dry pot (no or not too much gravy/kådu).  This should take about 10-15 minutes over medium-low heat.
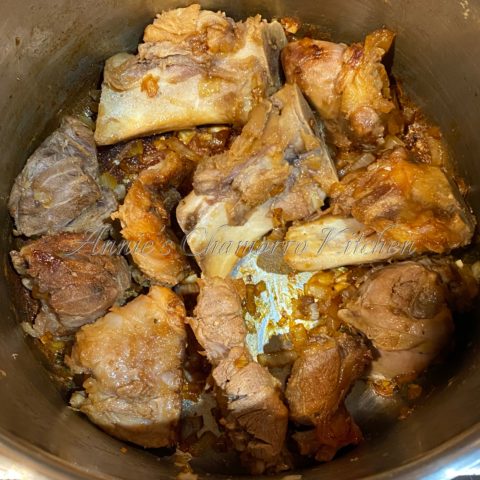
 

When the liquid has dried down, add more water (as much water for the amount of kådu you want, but keep in mind that you’ll be adding coconut milk and the cooked mung beans got the pot as well).  I added 3 cups of water.
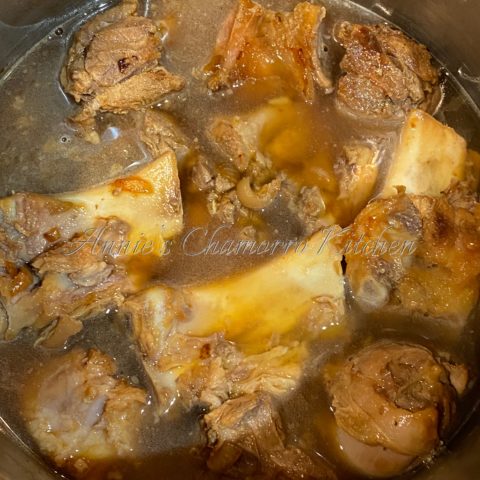
 

Turn the heat up to medium; cook for a few minutes, just long enough for the water to heat up (achote powder dissolves better in hot liquid).  Add the achote powder, stirring until it dissolves in the liquid.
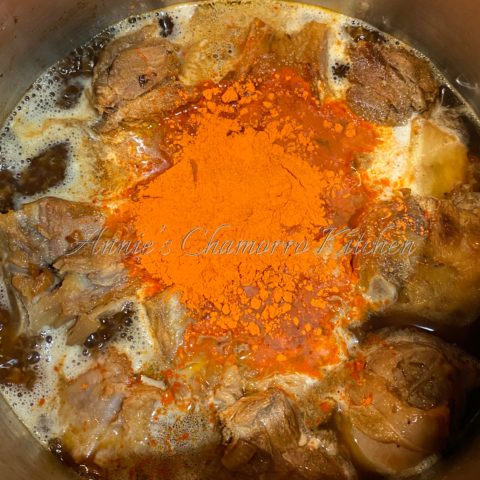
 

Add the partially cooked mung beans to the pot.  Taste and adjust your seasonings at this point.  I added a tiny bit more salt as the ham hocks I used were not smoked and needed a bit more flavor.

Turn the heat down to low.  Simmer for 45 more minutes to one hour, or until the ham hocks are tender.  If you want to cut down on the cooking time, you can transfer the mixture to a pressure cooker at this point.  I like to cook this the slower stovetop method as I can periodically check to see if I need to add more water if it’s drying down too much.  Speaking of which, if your mixture is drying down too much during this last hour of cooking, add some water, about a half cup at a time.  Don’t forget that toward the end of the cooking time, you’ll be adding more liquid in the form of coconut milk.
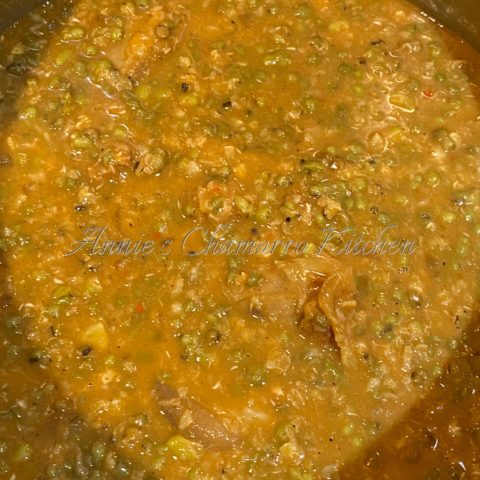
 

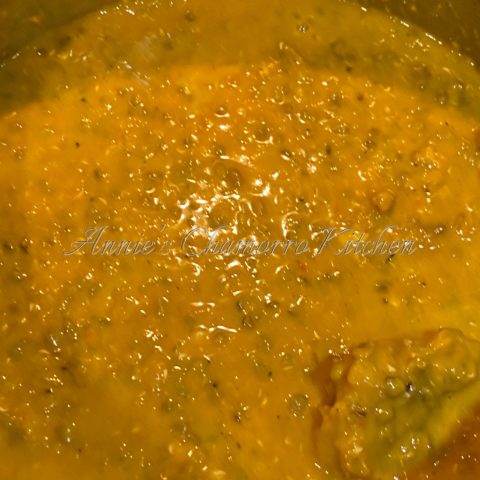
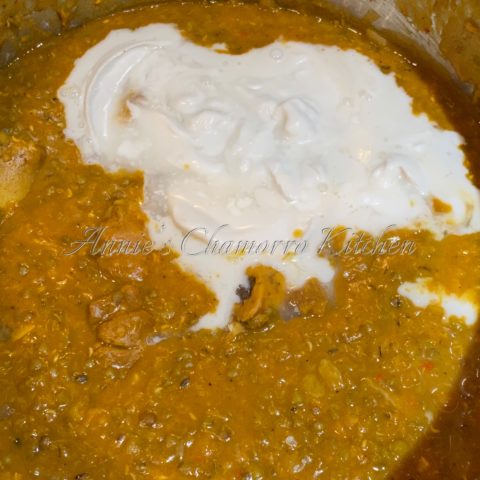
When the ham hocks are tender enough to your liking, stir in the coconut milk.

My grandmother and mother never added coconut milk to their ham hock kådu.  My grandmother always said you don’t eat pork with coconut milk.  I rather like it myself. 😉
 

Serve with hot steamed rice and enjoy!
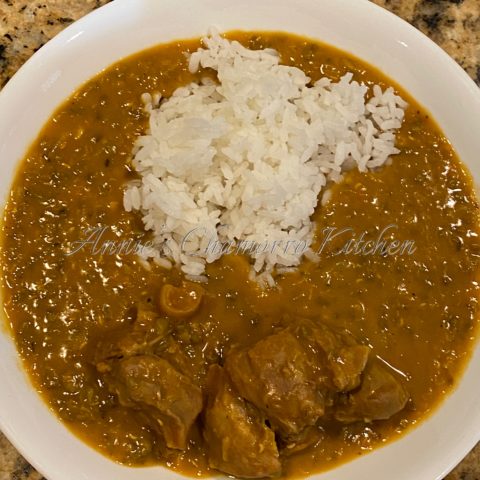
 

Ham Hocks with Mongo (Mung) Beans
 
Author:
Ingredients
Mongo Beans:
  • 1 bag mung beans
  • 1 tablespoon Dashida seasoning
  • 1 tablespoon onion powder
  • 1 tablespoon garlic powder
  • 1 teaspoon black pepper
  • Water (initially, 2 inches above the level of beans)
Ham Hocks:
  • 1 package ham hocks (smoked, if you can find it), about 3-4 large pieces in a package
  • Water
  • 1 medium onion, diced
  • 4 cloves garlic, chopped
  • ½ cup soy sauce
  • ¼ cup vinegar
  • Black pepper, to taste
  • 1 package achote powder
  • ½ teaspoon liquid smoke (omit if you are using smoked ham hocks)
  • 1 can coconut milk
Instructions
Mongo Beans:
  1. Place the beans in a medium sized bowl. Add water to 2 inches above beans and soak overnight. The next morning, pour out any remaining soaking water. Rinse the beans and drain.
  2. Place the soaked beans in a medium sized pot. Add more water, again up to 2 inches above the beans. Bring to a boil then simmer (covered) for one hour. Add more water if required. Note: you shouldn’t need to add more water if you’ve soaked the beans overnight.
Ham Hocks:
  1. Place the ham hocks in a large pot. Add water to cover the ham hocks. Bring to a boil and cook for 30 minutes. Drain the water.
  2. Repeat once more (add water, cook 30 minutes, drain).
  3. Cut the ham hocks into smaller pieces and return to the pot.
  4. Add diced onions and garlic to the pot, as well as the soy sauce, vinegar and black pepper. Add liquid smoke if you are not using smoked ham hocks.
  5. Cook over medium-low heat until the liquid has dried down.
  6. Add more water (add as much as you’d like for a soup) to the pot (I added 3 cups of water). Cook for a few minutes to allow the water to heat up.
  7. Add the achote powder; stir until the powder dissolves in the water.
  8. Add the mung beans to the pot. Taste and adjust your seasonings.
  9. Reduce the heat to low. Simmer for 45 minutes to one hour, or until the ham hocks are tender. Add water periodically if the liquid is drying down too much.
  10. Stir in the coconut milk when the ham hocks are tender.
Serve with steamed rice and enjoy!


Cassava Cake

Cassava cake is traditionally made from grated cassava, coconut cream, sweet young coconut, eggs, sugar, butter and evaporated milk.  These ingredients are mixed together to form a thick batter, baked until firm, then topped with a mixture of sweetened condensed milk and coconut cream then broiled until the topping is a rich, caramel color.  It’s quite decadent and oh-so-delicious.

image

My version is based on my sister’s recipe, with a slight variation.  While I love the traditional version, I like my cassava cake less sweet so I omit the sweetened condensed milk topping.  I also like my version to be similar in consistency to Sweet Chamorro Tamales, so I add a bit more evaporated milk to my batter.  To give my cake greater depth of flavor, I also add just a bit of vanilla extract.

image

Give it a try and let me know how you like it. 🙂

Here are the ingredients you’ll need (the butter is not shown in the photo).

image

Place all of the ingredients into a large mixing bowl.  Stir to combine.

imagePour the mixture into a 9×13 baking pan sprayed with butter spray.

image

Bake at 375 degrees for 1 hour and 15 minutes (check after 1 hour; the top should be golden brown).

image

I think it’s perfect just as it is, but see below for instructions to add a sweet topping.  Let the cake cool then cut into squares.  Serve and enjoy!

Cassava Cake
 
Prep time
Cook time
Total time
 
Author:
Recipe type: Dessert
Cuisine: Chamorro
Ingredients
Cassava Cake:
  • 2 pounds grated cassava
  • 1 can coconut cream or coconut milk
  • 15 ounces evaporated milk (use just 12 ounces to make it less chewy like sweet tamales)
  • 1 jar macupono, drained and chopped
  • 1 cup sugar
  • ¼ cup butter, melted
  • 2 large eggs
  • 1 teaspoon vanilla extract (optional)
Topping (Optional):
  • ¾ cup sweetened condensed milk
  • ¾ cup coconut milk
  • 1 tablespoon sugar
  • 1 egg yolk
Instructions
Cassava Cake:
  1. Preheat your oven to 375 degrees. Spray a 9x13 baking pan with butter cooking spray.
  2. Mix the cake ingredients together in a large mixing bowl. Pour into the prepared baking pan.
  3. Bake for 1 hour (see note); if the top is not a nice caramel color, bake for an additional 15 minutes or until nicely browned on top. Remove from the oven and cool completely before cutting.
    Note: If adding the sweet topping, bake for 45 minutes; see instructions below for adding the topping.
Optional Topping:
  1. Mix the topping ingredients together. Place in a small sauce pan; cook over medium heat, stirring constantly until slightly thickened.
  2. After the cake has baked for 45 minutes, remove from the oven and carefully spread the topping over the top of the entire cake. Return the cake to the oven and cook for 15 more minutes.
  3. Turn the oven to broil (make sure your baking pan is broiler-safe). Broil for 5 minutes to brown the topping.
  4. Remove from the oven and let cool completely before cutting.
Serve and enjoy!


Pickled Green Papaya

Pickled young (green) papaya was a favorite snack growing up on Guam.  In fact, it still is a favorite snack, and I make some whenever I find the young, green (unripe) papayas at my local Asian market.

I still remember walking to the village stores for milk or whatever my mom sent me there for.  I’d always use the change to buy a small baggie full of pickled papaya and snack on it on the walk back home.  My mouth is watering just thinking about it.

Here’s how to make it:

Thoroughly wash one medium sized young, green (unripe) papaya.  You can also pickle a papaya that’s just turning ripe.

Peel the skin off the papaya.  Cut the papaya in half and scrape out all of the seeds.

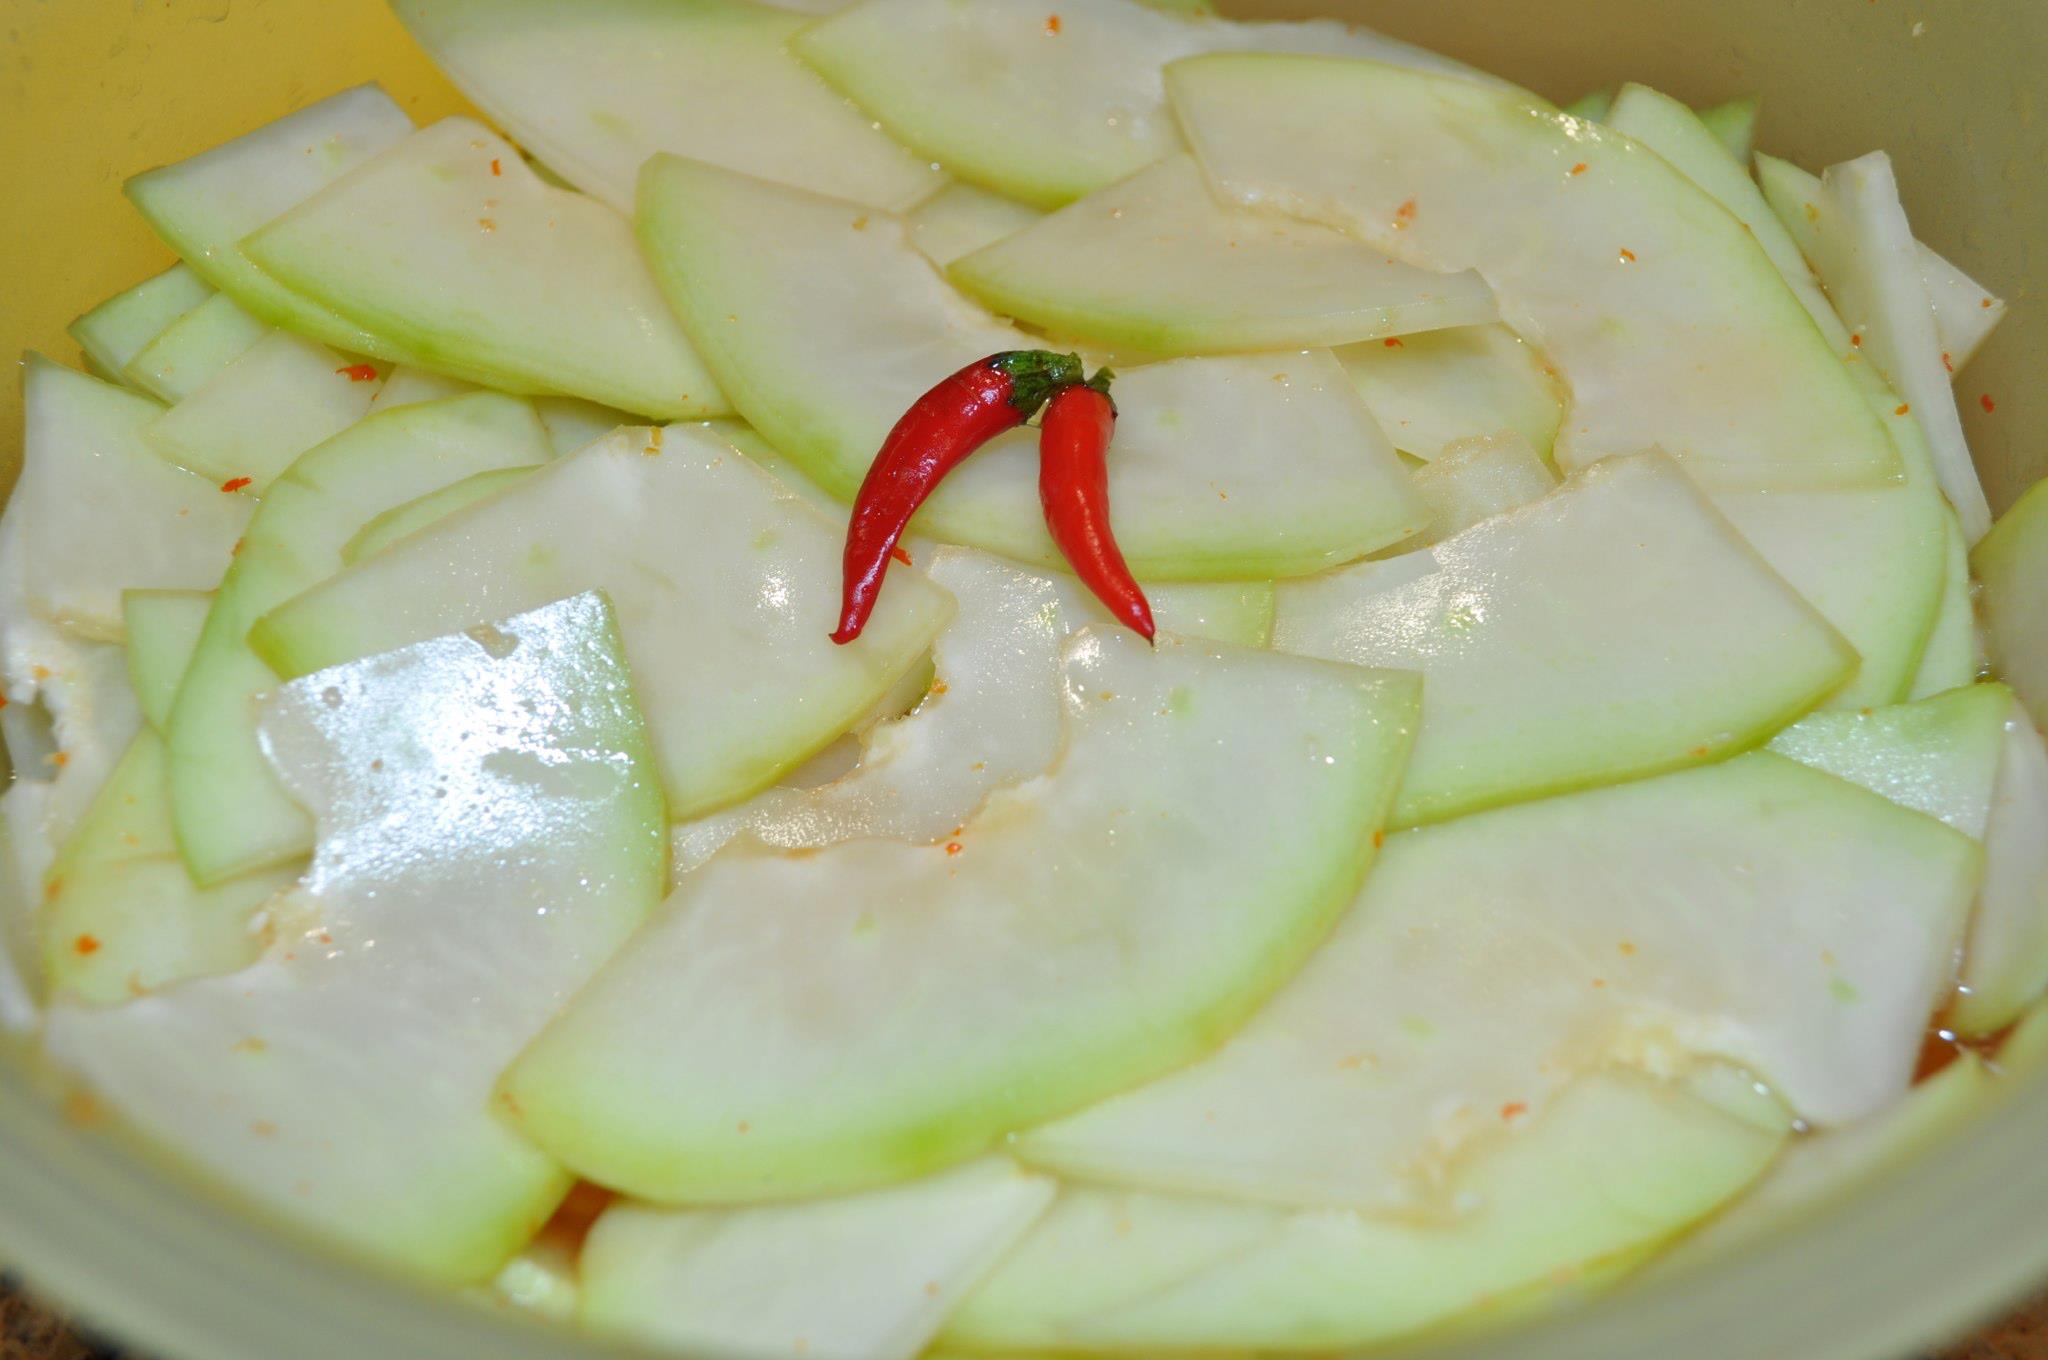
Thinly slice the papaya.  I like to use a mandolin to do this; it makes for evenly cut slices and it’s quick!

Place the sliced papaya in a mixing bowl.  Add the vinegar, salt (to taste), and as much hot chili peppers as you like.  Other optional items you can add are sliced fresh garlic and onions.  Let the papaya marinate in the mixture for a couple of ours then enjoy!

Pickled Green Papaya
 
Author:
Ingredients
  • 1 medium young (green, unripe) papaya
  • Distilled white vinegar, enough to cover the papaya
  • Salt, to taste
  • Chopped hot chili peppers, as much as you like
  • Optional: sliced or chopped garlic and sliced onions
Instructions
  1. Wash and peel the papaya; cut in half and remove the seeds.
  2. Thinly slice the papaya and place into a mixing bowl.
  3. Add the vinegar, salt, hot chili peppers, and other optional ingredients. Stir to mix well.
  4. Allow the papaya to marinate in the vinegar mixture for a couple of hours then enjoy!


Banana Lumpia

Banana lumpia is a super simple dessert to make.  It requires just a few ingredients — cooking bananas, sugar, cinnamon, and lumpia wrappers.

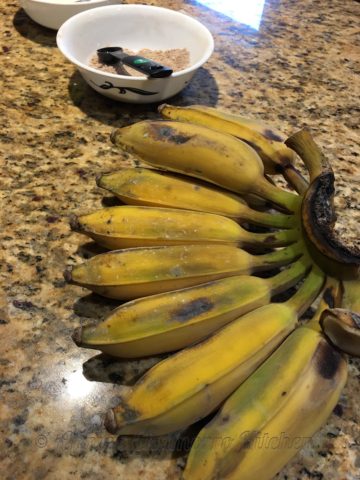
These are the kind of cooking bananas I like to use.  There are several varieties you can buy.  The one I see at most Asian stores (you can also find them in Hispanic markets as well) are a variety called Burro bananas.  Thai bananas also work well here.  The bananas pictured below are the Thai variety.

You want to make sure the bananas are fully ripe before making your banana lumpia.  They should be a deep yellow with a few black spots.  The bananas will still be slightly firm as well.

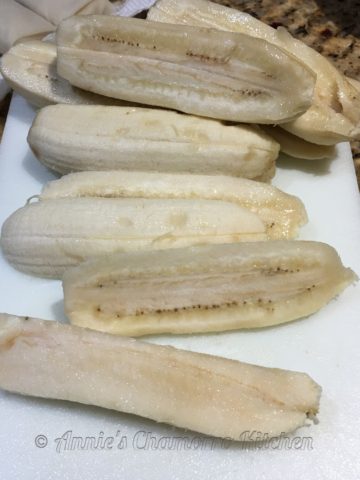
To prepare the bananas, peel and slice 6 bananas in half, lengthwise.  Cut each half in half again, lengthwise, giving you four long pieces.  Each piece should be about four inches long.

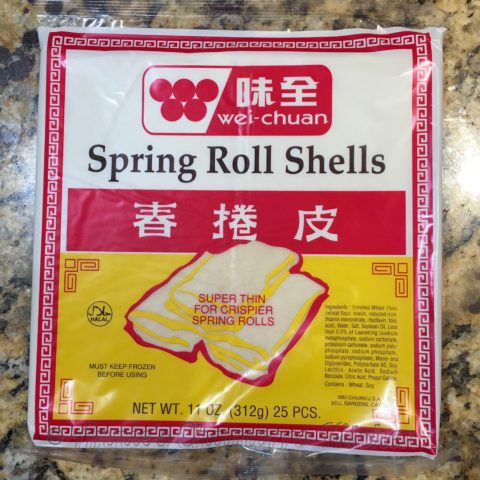
Set the bananas aside for now while you prepare your lumpia wrappers.  The brand I prefer is Wei-Chuan spring roll shells.  I find they stay crisp longer, and they are very easy to separate, even when partially frozen.

Separate the wrappers, then cover with a clean cloth to keep them from drying out.

To assemble the lumpia, place brown sugar and cinnamon in a small bowl.  Use a fork to mix it all together.

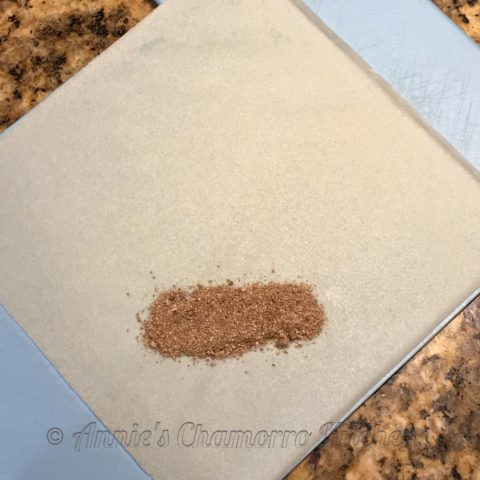
Spread about a tablespoon of the cinnamon-sugar mixture on one corner of the lumpia wrapper.

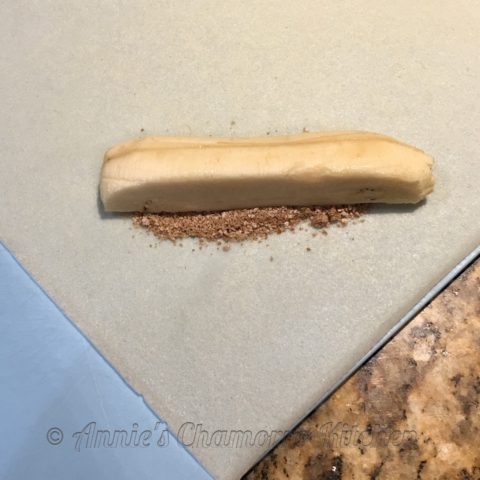
Lay one piece of sliced banana on top of the cinnamon-sugar mixture.  Another option is to roll each banana slice in the sugar mixture then place the coated banana on the lumpia wrapper.

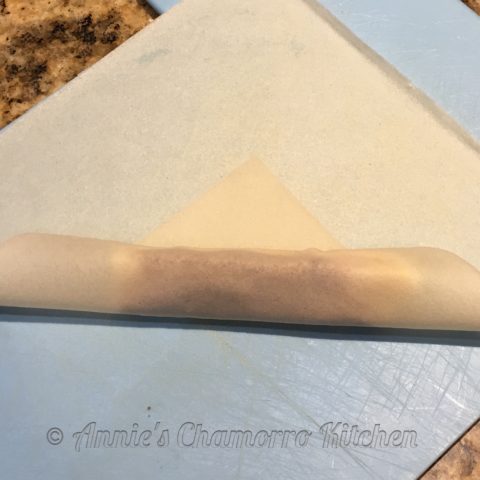
To roll the lumpia, begin by folding the bottom corner up and over the banana.  Slowly roll upward, sort of like forming a cigar shape.

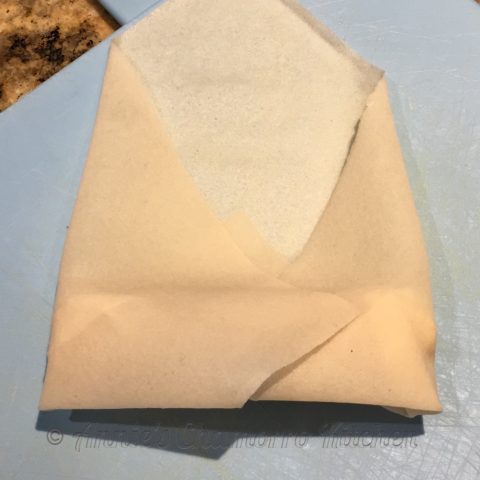
Fold each side inward, as if you were making an envelope.

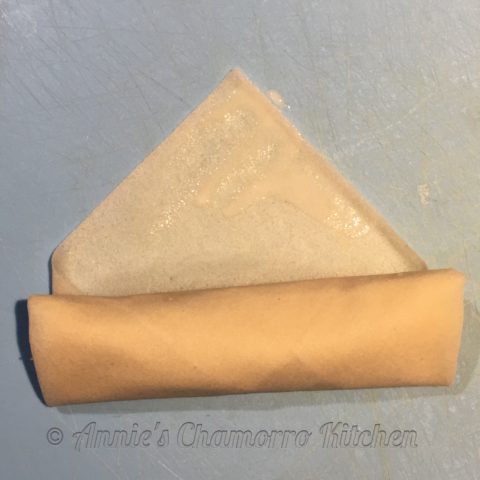
Continue rolling the lumpia, as tight as you can, until there are about two inches left of the top corner.

Dip your fingertip in some water then wet the top corner along the edges.  Finish rolling the lumpia over the moistened edge, pressing slightly to seal.

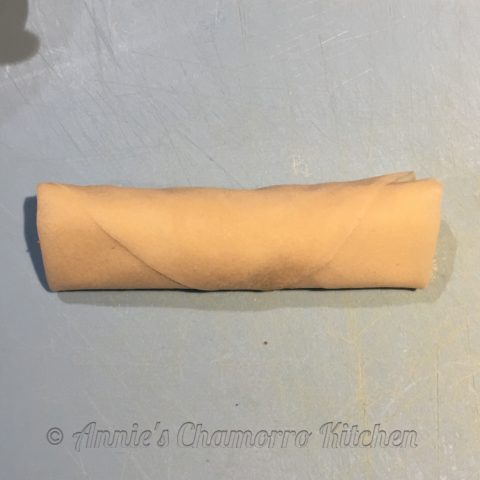
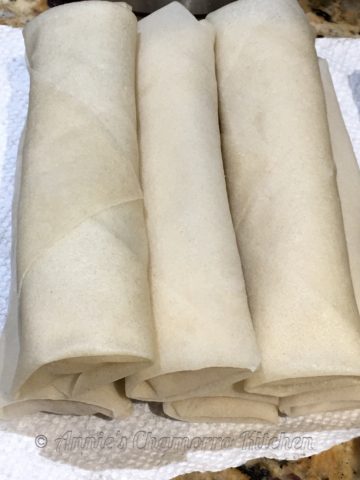
Finish rolling the lumpia.  If you plan on frying them right away, leaving them out is fine.  Otherwise, place rolled lumpia in an airtight container (a resealable bag also works well) and place in the refrigerator or freezer.

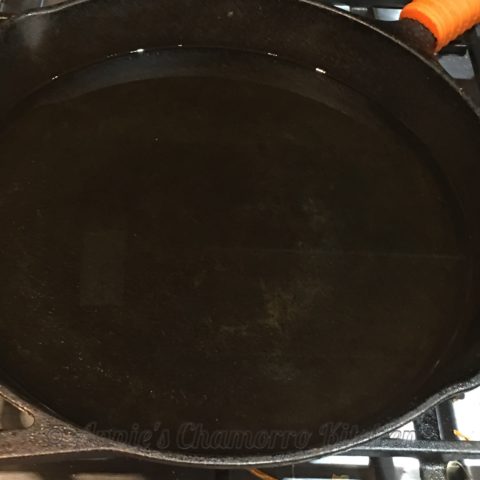
To fry the lumpia, heat oil in a large skillet to 350 degrees F.

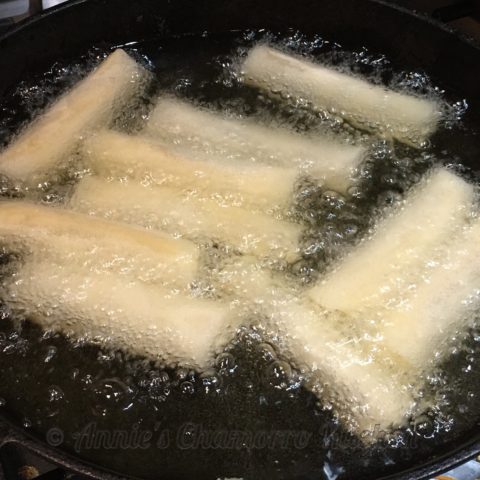
Carefully add the lumpia to the hot oil, making sure not to crowd the oil.

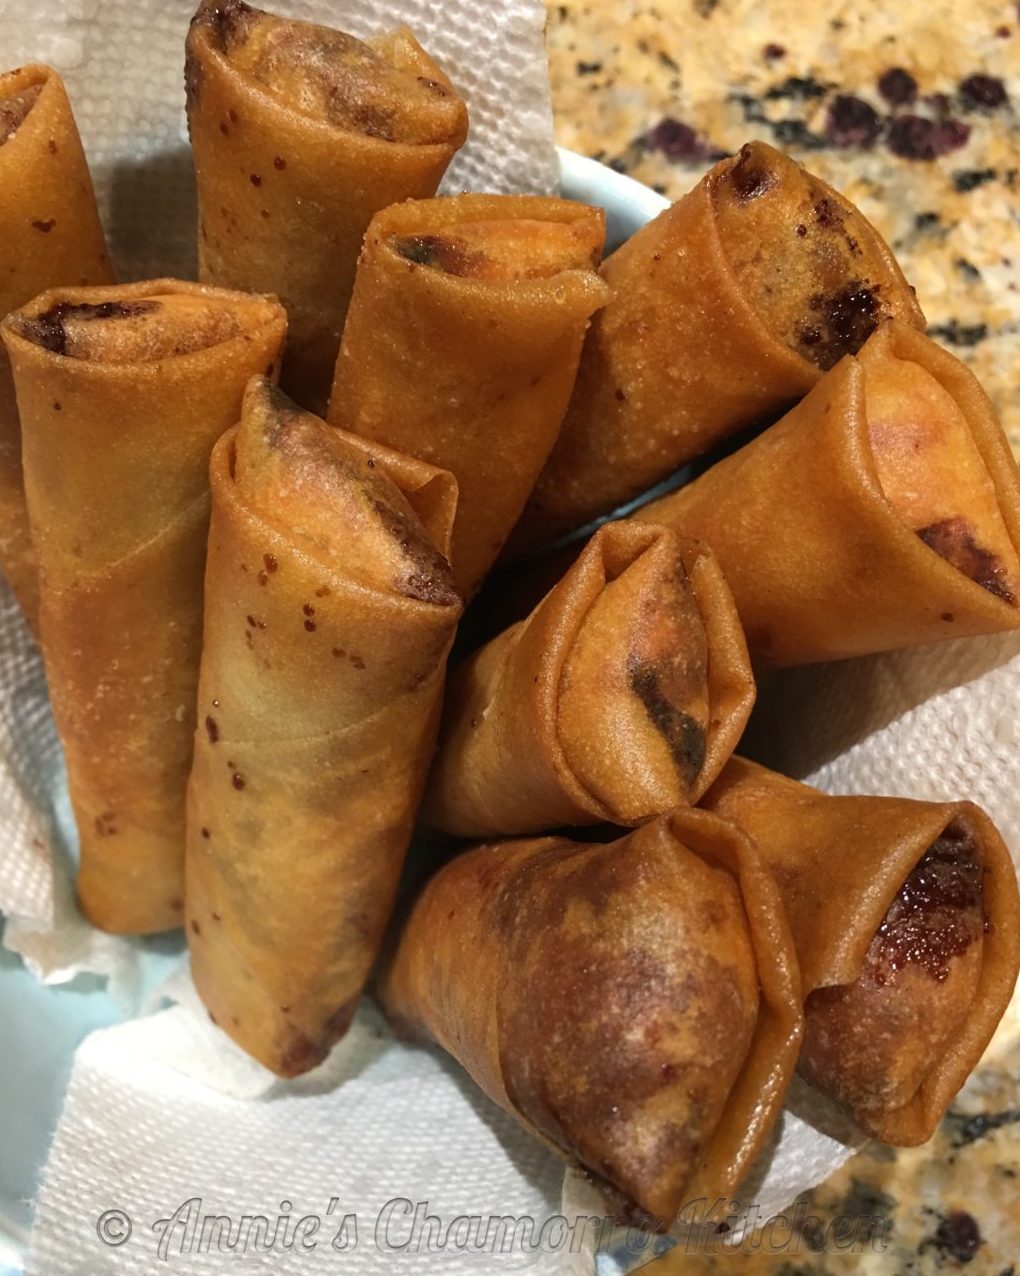
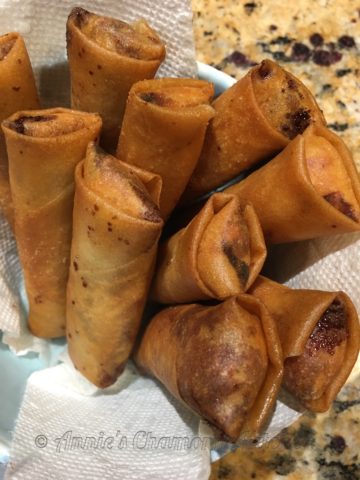
Fry the lumpia until golden brown. They are ready at this point—as shown in the photo below.  One popular cooking option is to create a caramelized coating by sprinkling sugar over the lumpia as it fries.  I don’t particularly care for this as it makes a huge mess in the oil.  If you’d like, you can serve up your lumpia with some caramel sauce on the side (caramel sauce used for ice cream sauce works well) for drizzling or dipping.

Enjoy!


Banana Lumpia
 
Prep time
Cook time
Total time
 
A delicious, crispy dessert made with bananas and cinnamon-sugar, rolled in a lumpia wrapper and fried until golden brown and crispy.
Author:
Recipe type: Dessert
Cuisine: Chamorro, Filipino
Serves: 24
Ingredients
  • 6 cooking bananas, such as Burro or Thai variety
  • 1½ cups brown sugar
  • 1 tablespoon cinnamon

    Other:
  • Water, for sealing
  • Vegetable oil, for frying
Instructions
  1. Slice each banana in half, lengthwise, then slice each half in half again, lengthwise, giving your four pieces per banana.
  2. Separate the lumpia wrappers.
  3. In a small bowl, mix the cinnamon and sugar together.
  4. Place a tablespoon of the cinnamon-sugar mixture close to the bottom of a lumpia wrapper. Place one slice of banana over the cinnamon-sugar. Roll upward, like a cigar. Fold in the two edges, then continue rolling upward. Rub some water along the top edge of the lumpia wrapper; press to seal.
  5. Fry the lumpia in oil heated to 350 degrees until golden brown. Serve while hot and crisp.
  6. Option: serve with a side of caramel sauce for drizzling or dipping.

Easy Homemade Chorizos

I made pancakes for my kids’ breakfast this morning, but the hubby and I wanted something heartier. Here’s my version of homemade chorizo. It’s delicious with eggs and rice!

Here’s how it’s done:


Brown the ground beef and drain off excess fat.

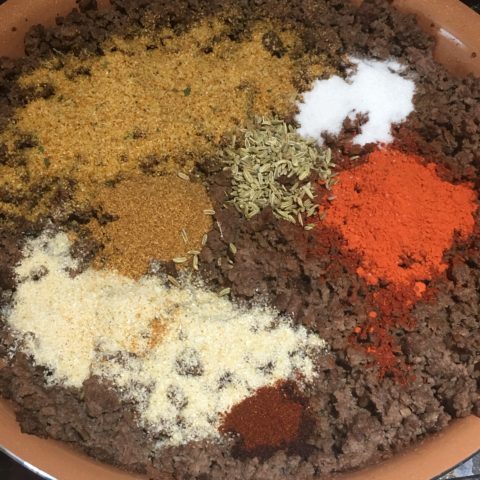
Add all the remaining ingredients. Stir to mix well.  Cook an additional 5 minutes.


Add more hot pepper to taste.


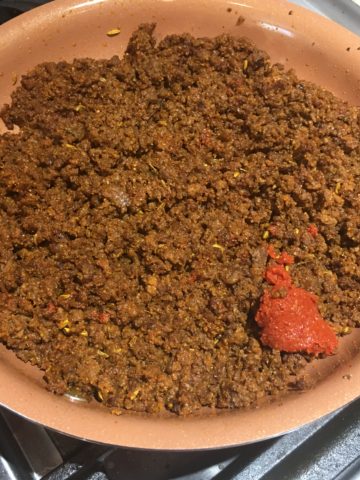
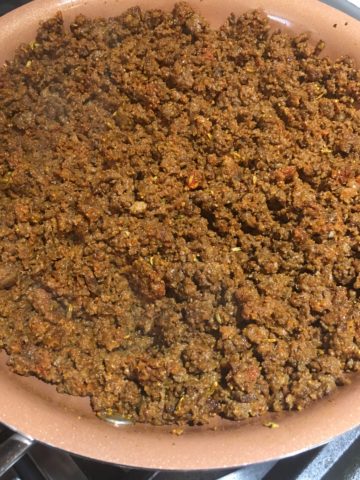
Stir to combine.


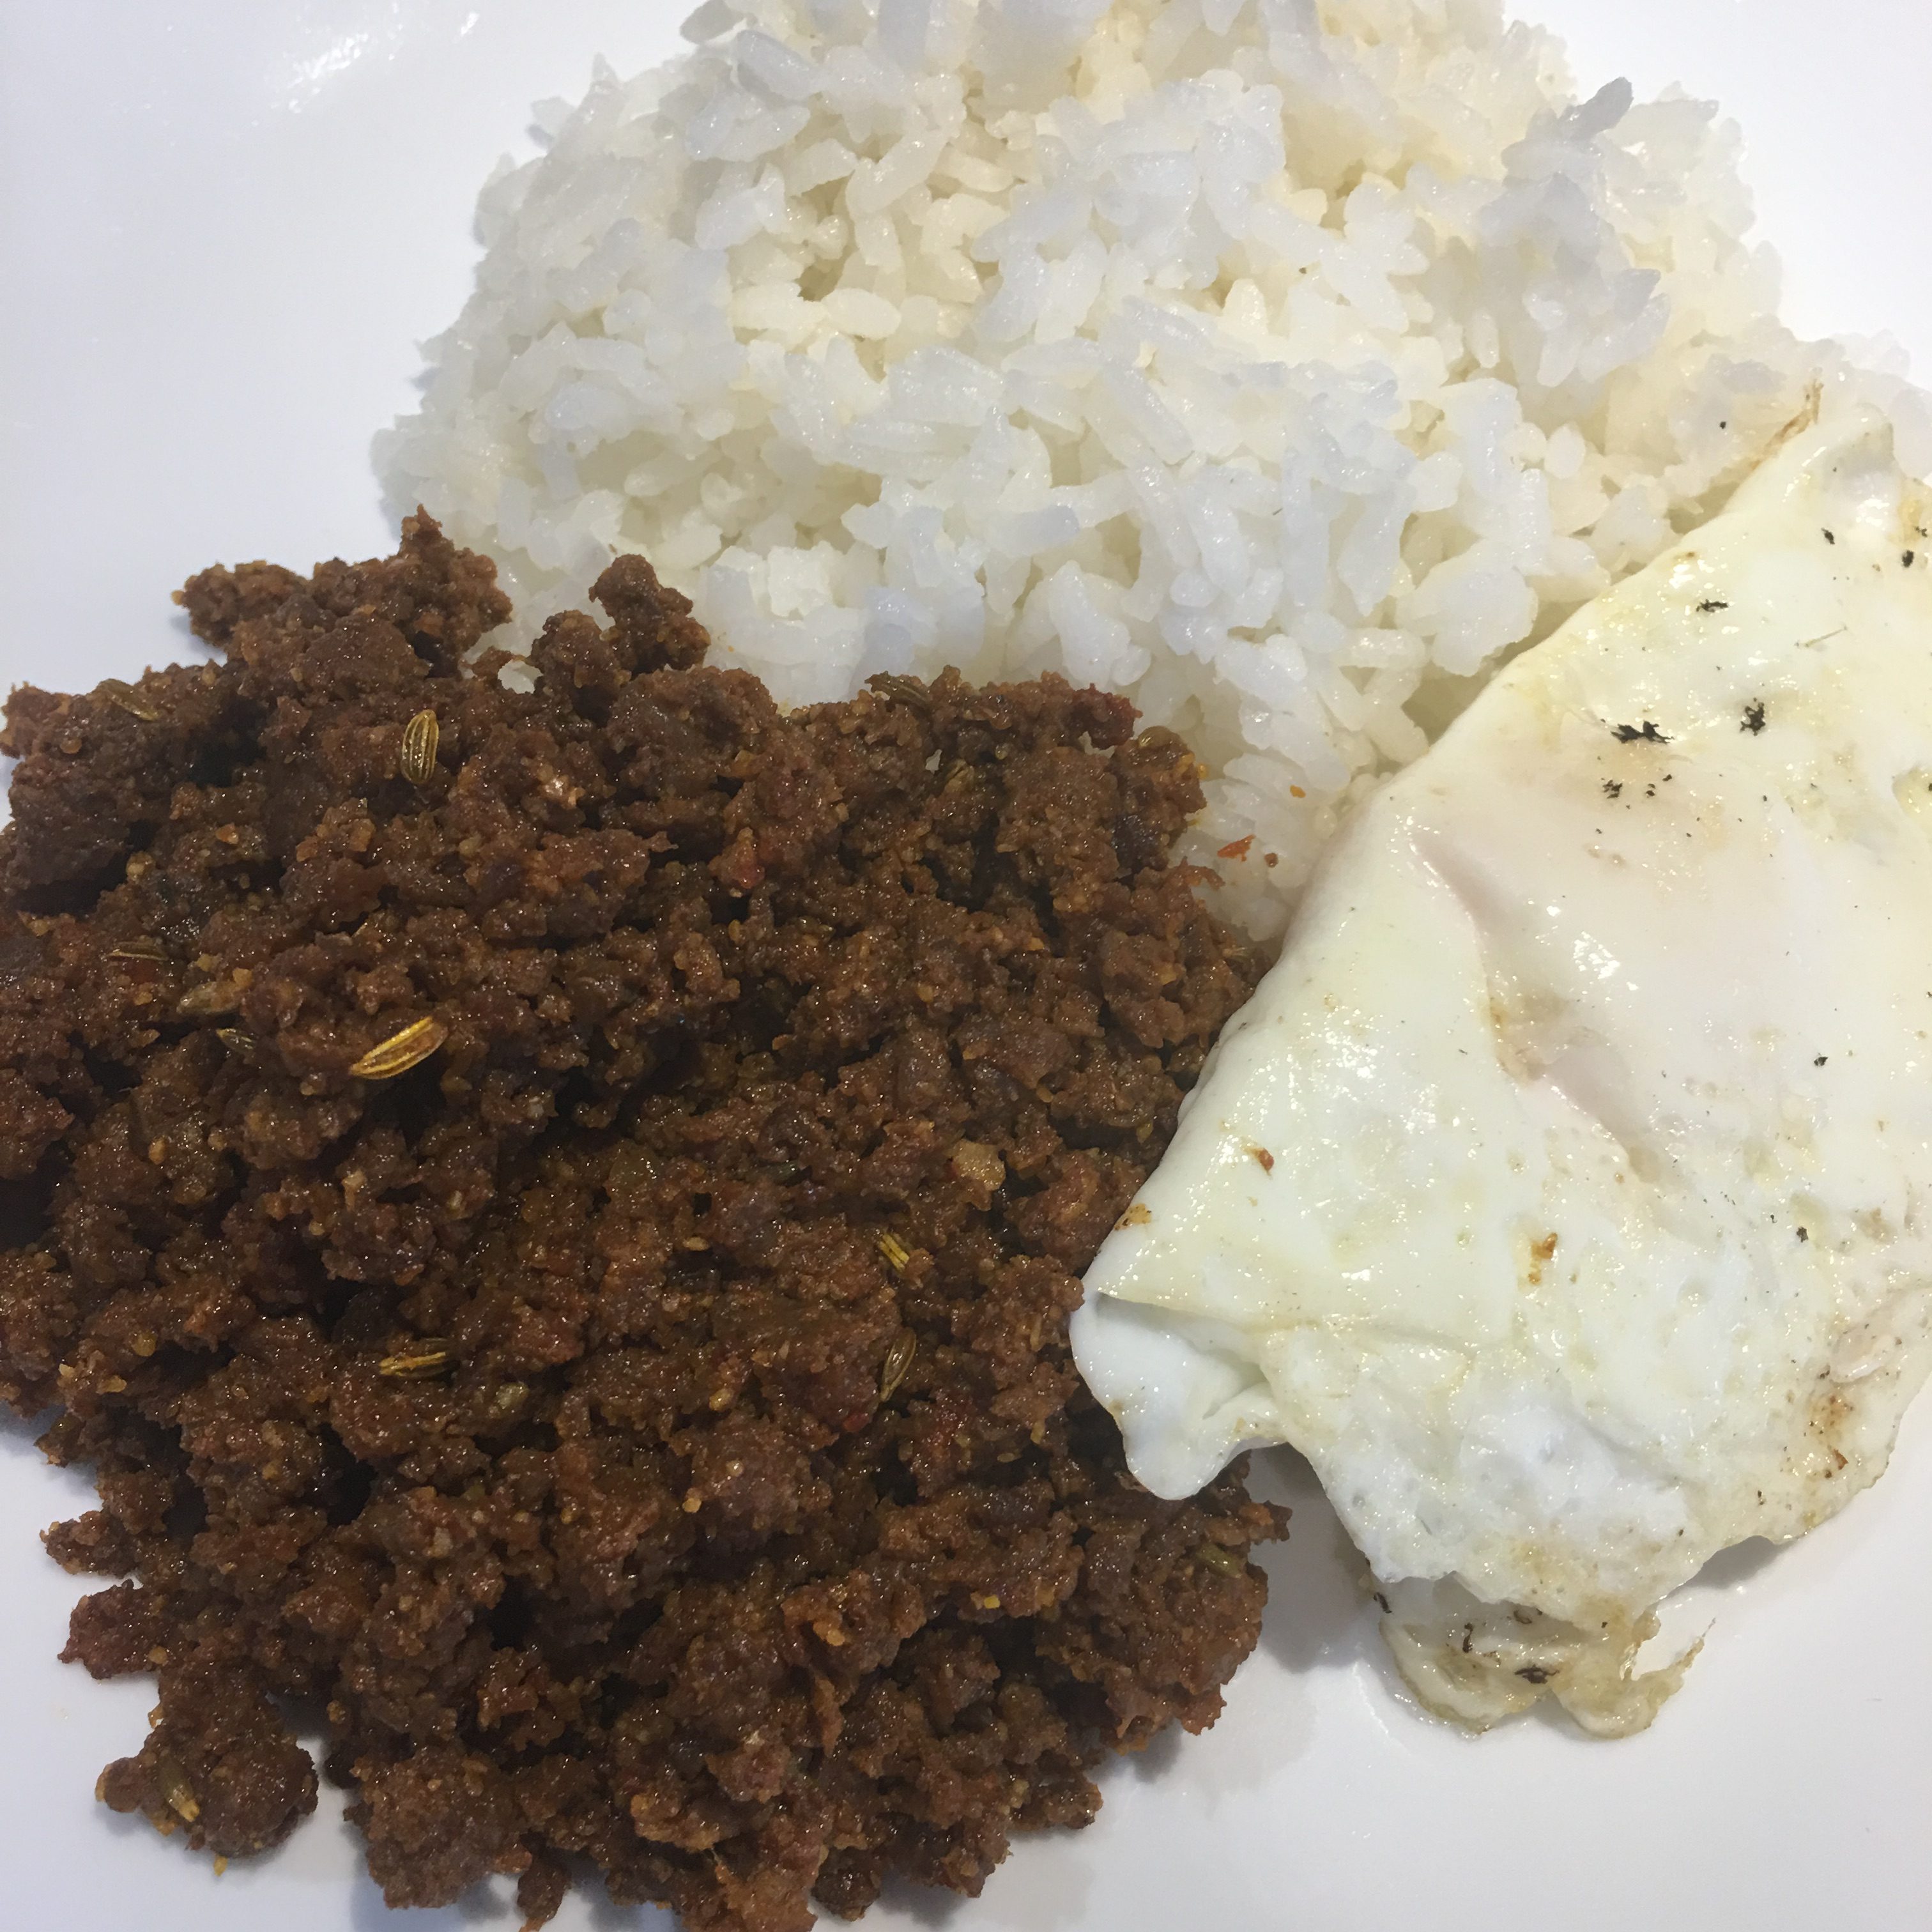
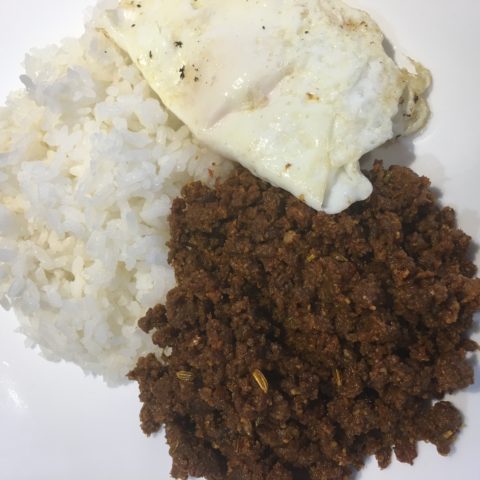
Serve and enjoy!  I especially love this with hot steamed white rice and a fried egg.


Easy Homemade Chorizos
 
Author:
Ingredients
  • 1 lb ground beef
  • 1 tablespoon onion powder
  • 2 tablespoons garlic powder
  • 1 packet achote powder
  • ¼ teaspoon paprika
  • 1 teaspoon cayenne pepper
  • 1 teaspoon salt
  • 2 tablespoons vinegar (Apple Cider vinegar or white distilled vinegar)
  • ⅓ cup water
  • 1 teaspoon Donne dinanche (crushed pepper), more or less to taste
  • *I also added 1 teaspoon fennel seed, and 1 teaspoon ajinomoto, but this can be omitted.
Instructions
  1. Brown the ground beef and drain off excess fat.
  2. Add all the remaining ingredients. Stir to mix well.
  3. Serve and enjoy!


« Older Entries