Archive for Fina’ Mames (Chamorro Desserts)

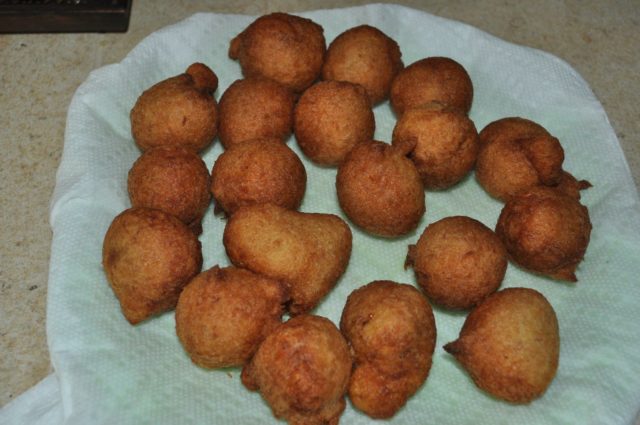
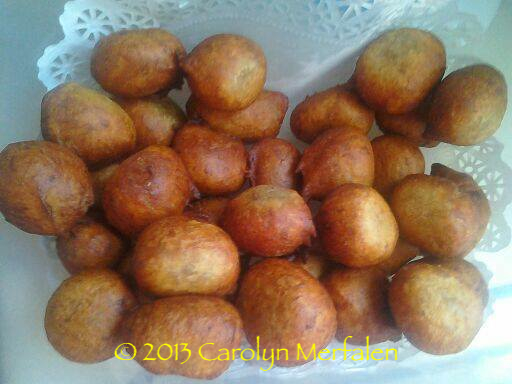
Buñelos Aga (Banana Donuts)

This is a family favorite.  Give it a try.  I think you’ll like it.  😊

BUÑELOS AGA’ (BANANA DONUTS) 


INGREDIENTS:

  • 2 cups mashed ripe bananas
  • 4 Tablespoons sugar
  • 1 teaspoon vanilla extract
  • 1 cup flour
  • 1 tablespoon baking powder
  • Pinch of salt
  • 1 teaspoon cinnamon (optional)

Other:

  • Vegetable oil for frying
  • Maple syrup for dipping cooked donuts


DIRECTIONS:

1. Place the oil in a large frying pan; turn the heat to medium to begin preheating the oil.

2. Mix all of the ingredients in a medium sized mixing bowl. The batter will be  sticky.  Don’t be tempted to add more flour — it has the right amount of flour…the donuts won’t turn out oily or greasy, and they definitely won’t turn out dry. Adding too much flour will make them rubbery.

3.  When oil is hot, drop the mixture by spoonful into the oil, turning frequently.

Note:  When I make these, I use a small cookie scoop to get evenly sized donuts.  The Chamorro method is to scoop up a little bit of batter in your hand, then squeeze out a dollop of batter between your thumb and pointer.

4.  Deep fry over medium heat. Keep your stove settings on medium heat. If the oil is too hot, it will burn on the outside before the inside cooks.  Cook until golden brown.

5.  Serve with a side of maple syrup for dipping, or glaze all of the donuts with maple syrup.

6.  Serve immediately and enjoy!

Champulådu

There are several Chamorro comfort foods that not only make me feel good right down to my bones, but bring back so many fond memories of growing up on Guam.

Champulådu is one of those dishes.  It’s a porridge of sorts, only made with rice, evaporated milk and CHOCOLATE!  I think that’s why I love it so much — who doesn’t love chocolate?

You don’t need too much rice for this dish.  A little goes a long way since you’ll be cooking the rice until it breaks down and thickens the liquid.

CHAMPULÅDU

15

Ingredients:

  • 1 cup uncooked rice, or 2 cups for a thicker “porridge”
  • 4 cups water
  • 1 can evaporated milk
  • 1/2 cup cocoa powder
  • 1/2 cup sugar

2

Cooking Instructions:

1.  Wash the rice and place in a medium sized pot.  Add water and cook over medium high heat.  Keep the pot lit on until the rice begins to boil.

3 4 6

2.  Once the rice comes to a boil, reduce the heat to medium-low; add cocoa powder, sugar, and milk.

8 7 10

3.  Whisk to combine all the ingredients.  Continue to cook at a low simmer over medium-low heat for approximately 30 more minutes.  The mixture should thicken considerably during this time.  If it’s too thick for your liking, add more milk then adjust the sugar to taste.  Serve warm and enjoy!

9 14

Madoya (Battered and Fried Bananas)

Here’s another very simple dish I’d like to share with you.  It’s called Madoya (pronounced ma-dô-ja), lightly battered then fried slices of banana.

This is another dish that brings back lots of amazing memories of growing up on Guam.  My aunt and uncle used to grow cooking bananas (see the photo below) and give our family several “hands” whenever they harvested some.   (A “hand”of bananas is what a section of bananas out of a bunch is called; it’s also referred to as a “tier”.)

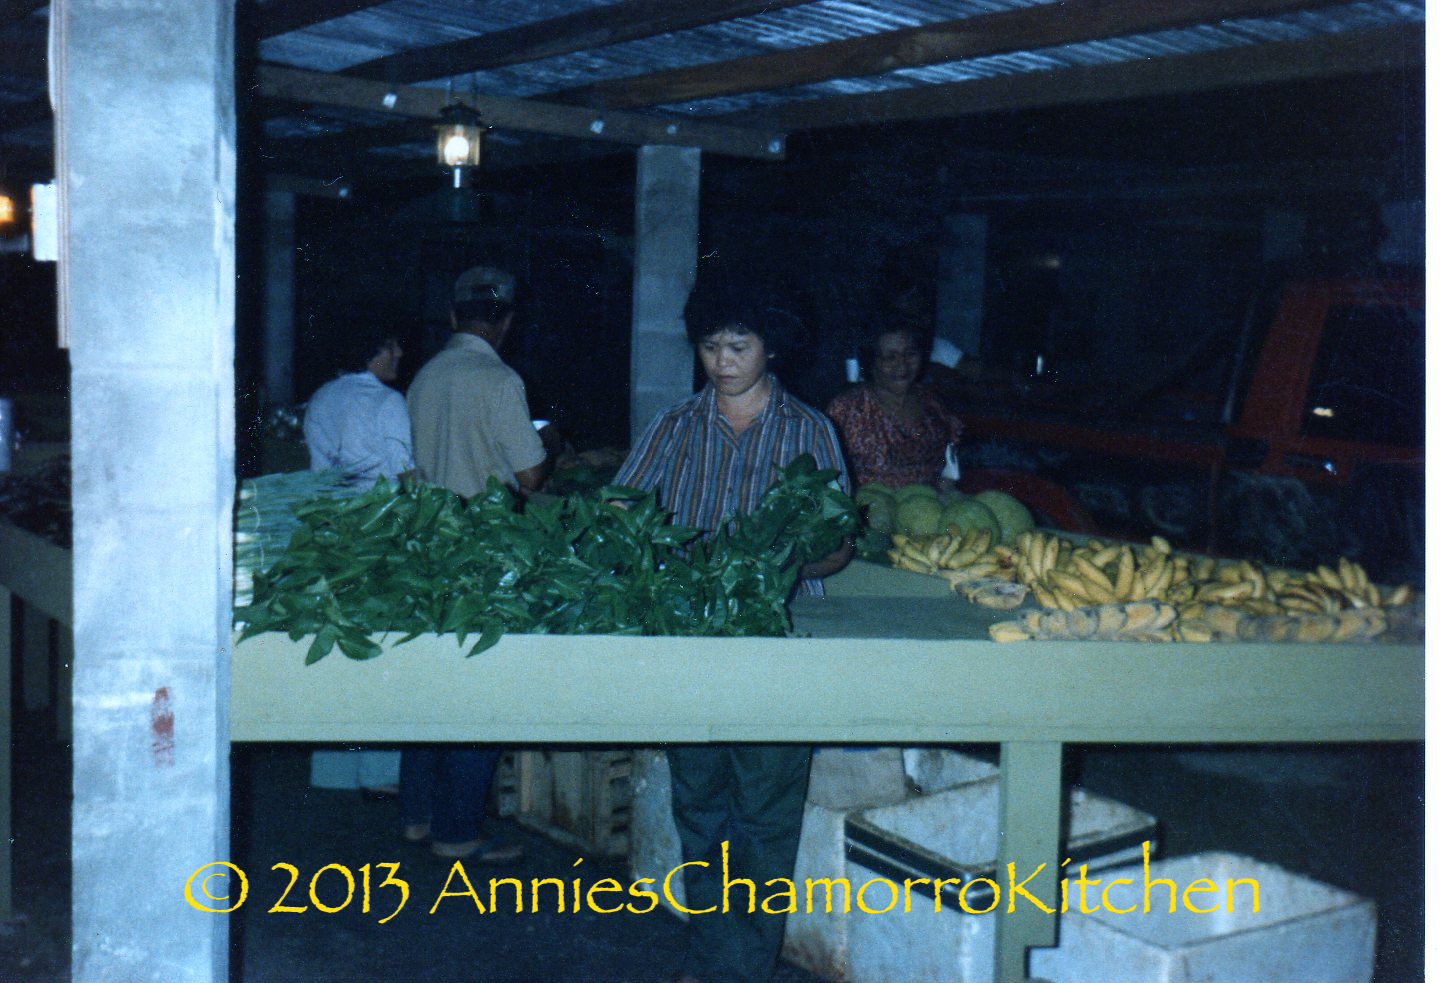
The photo below was taken over 20 years ago.  My parents and aunt/uncle used to grow and sell vegetables at the (then) Harmon flea market, then subsequently at the Dededo flea market.  I used to LOVE going with them.  We’d get to the flea market well before any roosters were awake to set up our stand.  This photo shows (from L-R) my aunt, dad and mom (and another vendor checking out the competition) setting up green onions, kangkung, bread fruit, and several varieties of bananas for sale.  That’s Saba banana in the bottom left.

Mom - 018


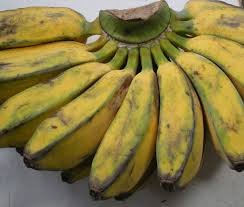
This is a close up view of Saba banana.  It’s a great cooking banana, and is great for making madoya, golai åppan (bananas cooked with coconut milk and sugar), banana lumpia, grilled bananas, or even eaten as-is.

saba banana


I didn’t have any Saba bananas today, but I did have ripe plantains.  Be sure to read my post for grilled plantains — I have photos showing what ripe ones look like.

When I make madoya, I like for the banana to be the star of the show.  Therefore, I don’t make a super thick batter.  Instead, I make my batter thin, yet still thick enough to provide a nice coating when fried.

Give my recipe a try.  I think you’ll like it.  🙂


MADOYA

IMG_0618

INGREDIENTS:

  • 2 ripe plantains
  • 3/4 cup all-purpose flour
  • 1 cup water
  • 1/2 teaspoon cinnamon
  • 1 tablespoon sugar
  • Oil, for frying

DIRECTIONS:

1.  In a small bowl, whisk together the flour, water, cinnamon and sugar.

IMG_0607

The batter should drip quickly when you lift the whisk out of the bowl.  It’s much thinner than pancake batter.  (Sorry for the fuzzy photo below.)

IMG_0612

2.  Peel and slice the plantains into small slices (you can also slice them length-wise instead of across).

IMG_0613

3.  Place the banana slices into the batter.  Use a fork to gently stir the slices into the batter, carefully separating them (be careful not to mash the bananas).

IMG_0614

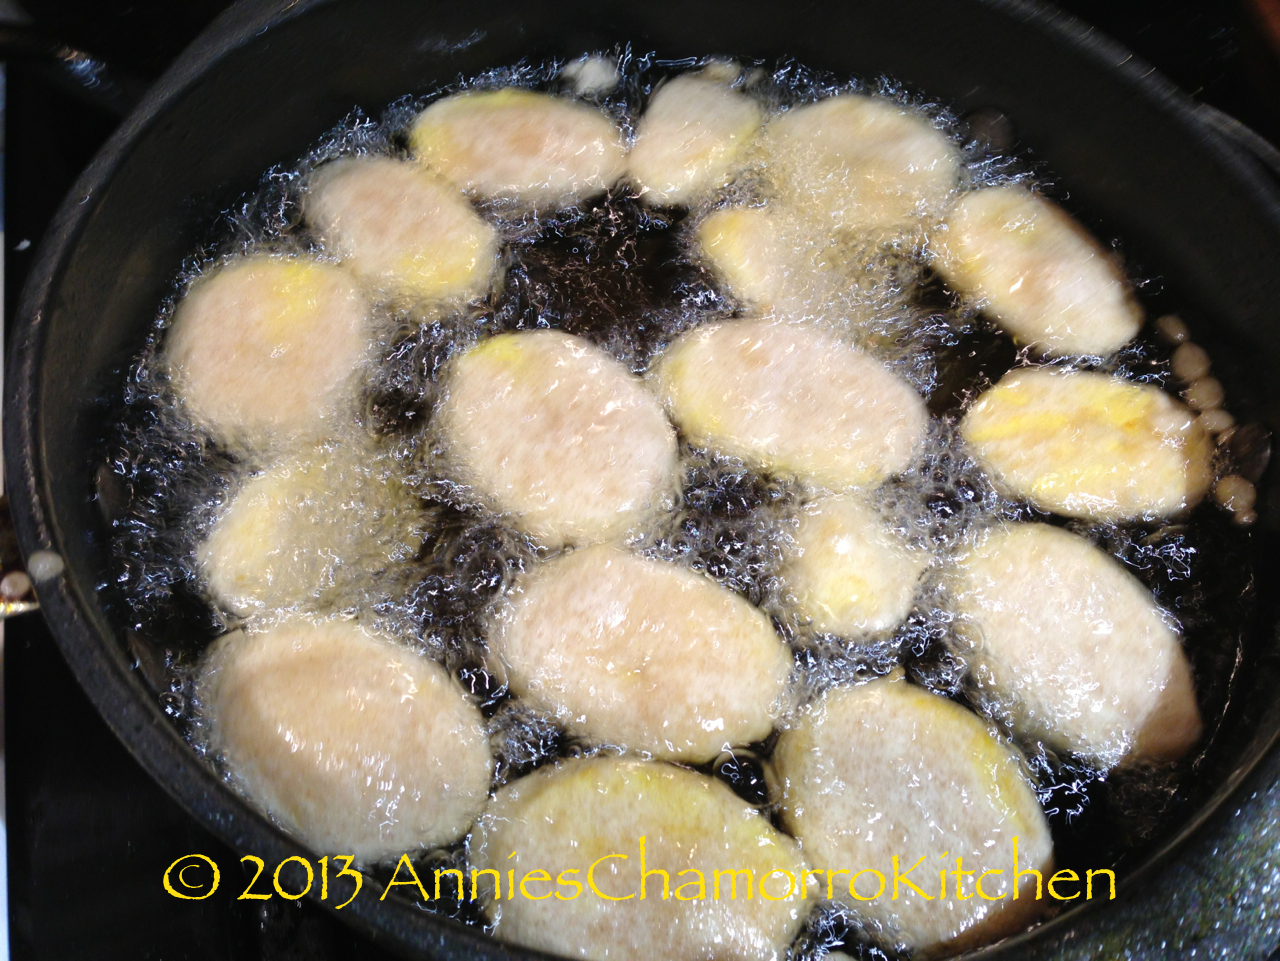
4.  Heat your oil.  Once the oil is ready, carefully drop in each slice.  Don’t put too many in at once or else they will stick together.

IMG_0620

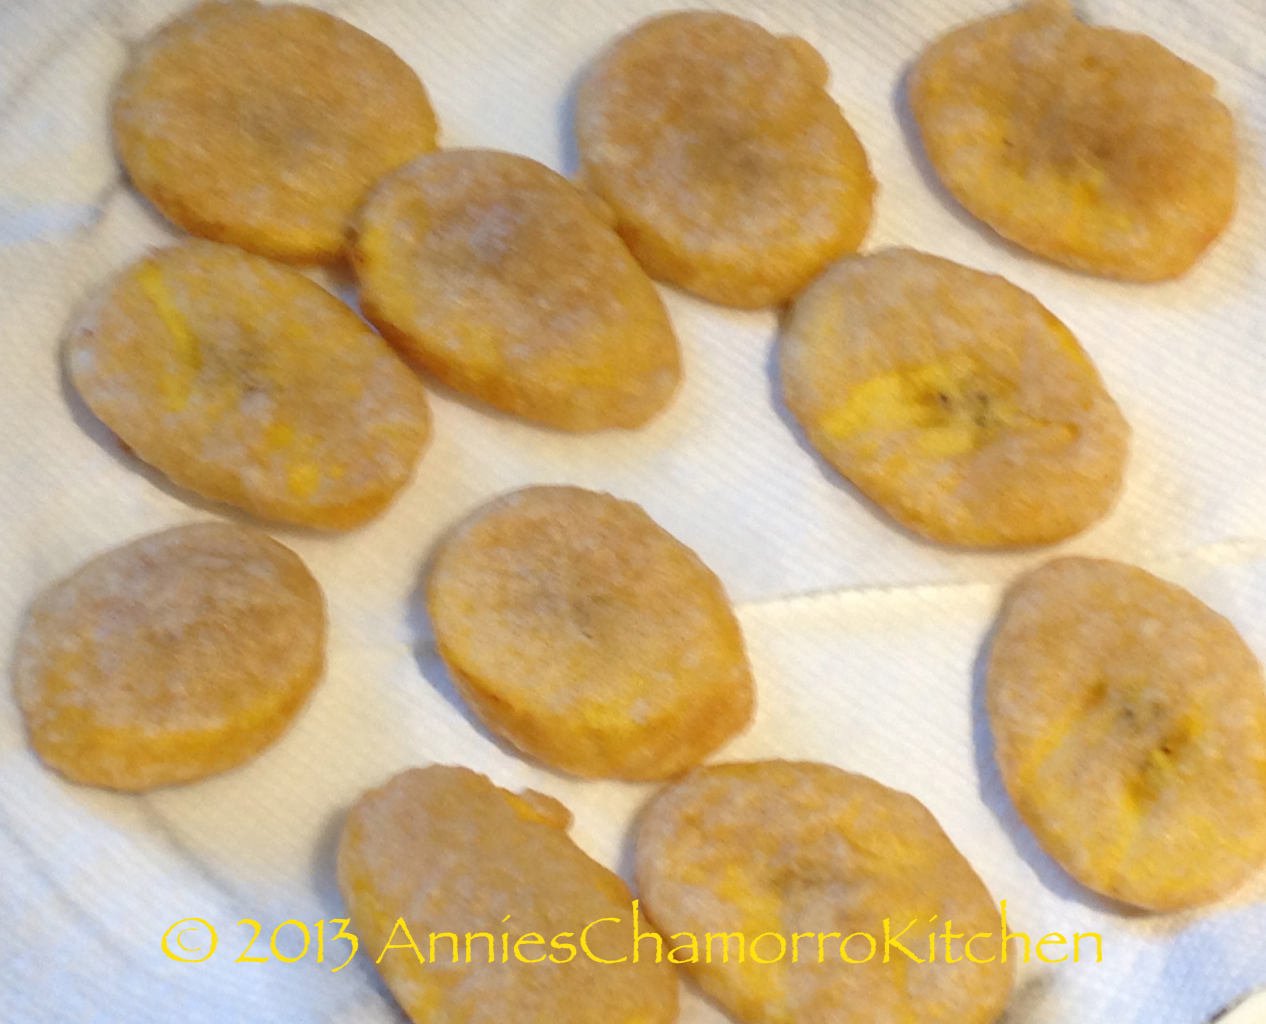
5.  Fry until golden brown on both sides.  Remove from the oil; place the fried bananas on papers towels to drain.  Serve and enjoy!

IMG_0618


Guyuria

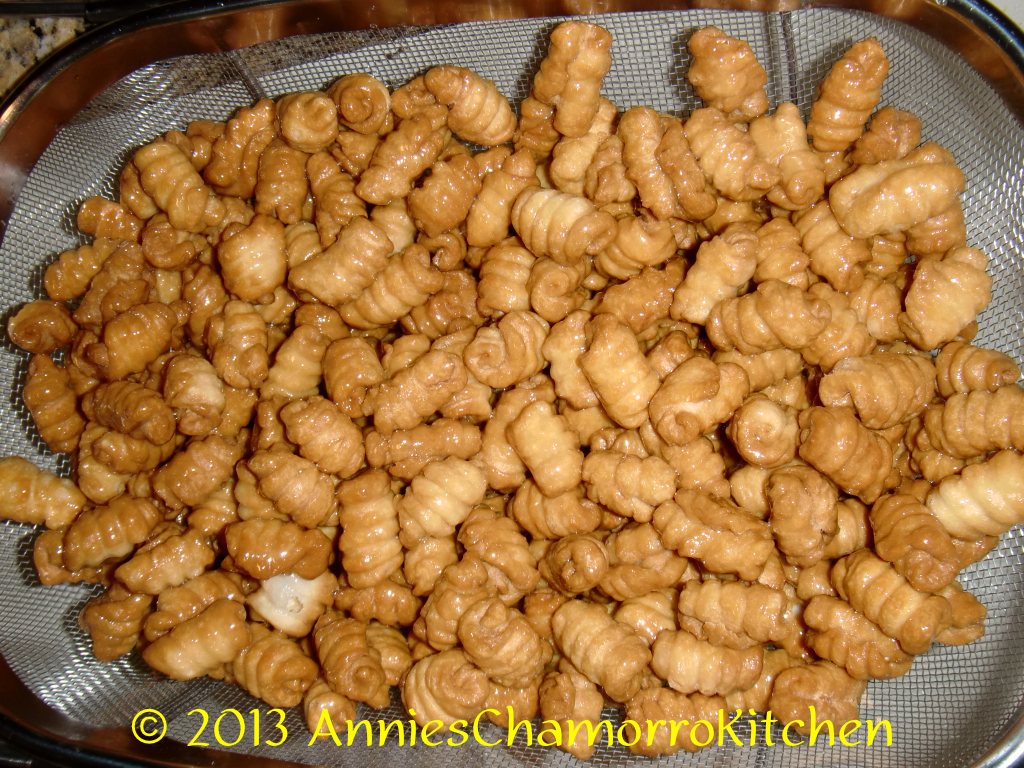
Guyuria (pronounced gu-ju-ree-ah) is another traditional Chamorro cookie (Rosketti is another).  Some of my friends call them jawbreakers because of their rock-hard texture.

This cookie is not baked, however, it is DEEP FRIED and glazed in a thick sugar syrup that hardens when dry.

Wait…I had you at DEEP FRIED, didn’t I?   🙂


These cookies keep for a long time, if stored properly.  Keep them sealed in a ziplock bag or a resealable container.

My recipe can be easily doubled, but since they are so easy to make, you don’t have to.  Just make up a fresh batch every time the craving hits you–which will be often, once you try these cookies.  Trust me.  Fry up a batch today.  You’ll be glad you did.

Enjoy!

GUYURIA

CIMG0173

Ingredients:

DOUGH:

  • 3 1/2 cups all purpose flour
  • A pinch of salt
  • 1 teaspoon sugar
  • 2 tablespoons butter (use 3 tablespoons for a softer cookie)
  • 1 3/4 cups coconut milk

GLAZE:

  • 1 cup sugar
  • 1/8 cup Water

OTHER:

  • Oil, for frying

Directions:

1.  Make the dough:  Mix the flour, salt, and teaspoon of sugar together. Cut the butter into the flour mixture (as if you are making pie dough).

IMG_0535 IMG_0536 IMG_0539 IMG_0540

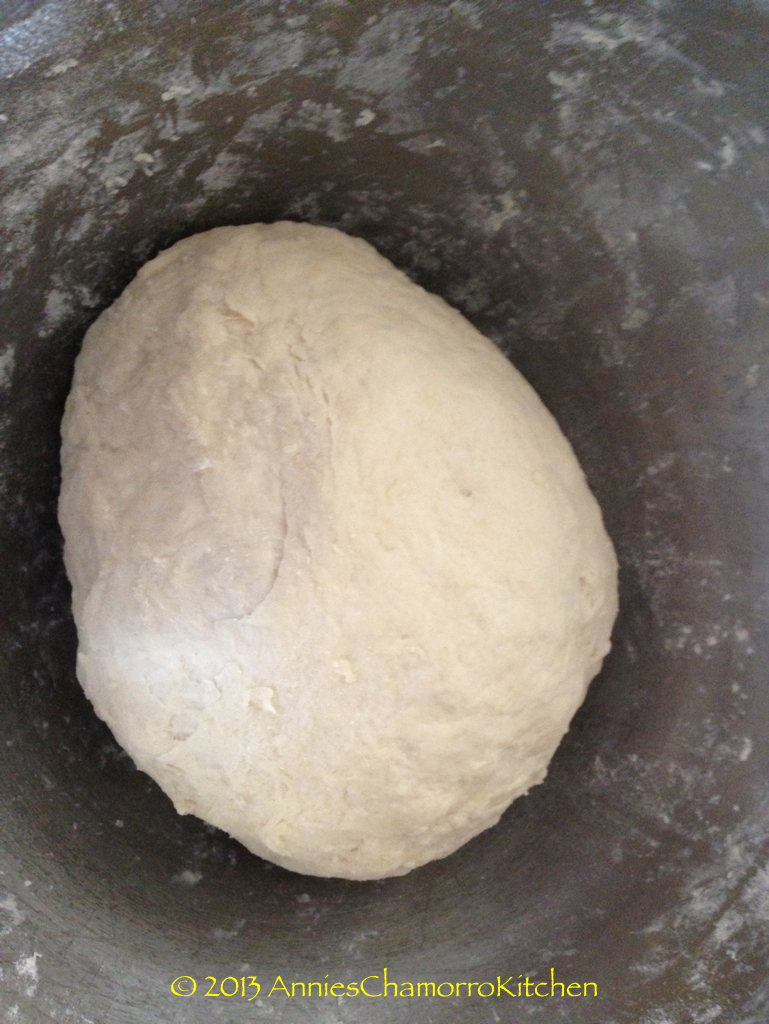
2.  Add in the coconut milk and knead until a dough forms.

IMG_0544 IMG_0546 IMG_0547

3.  Roll the cookies:  Pinch off small pieces of dough, the size of a small marble. Press the dough onto the back of a fork; slowly roll it off the fork, shaping it into the traditional guyuria shape. OR: roll out the dough and cut into small pieces.  Set the formed cookies aside for a few minutes to dry slightly.  I find this helps when frying the cookies.

IMG_0548 IMG_0564

4.  Heat the oil to about 350 degrees.  Here is a tip on how you can tell if the oil is hot enough.  Dip the tip of a wooden spoon (I use a wooden chopstick) into the oil.  If little bubbles start to form around the wood, then the oil is hot and ready.  Make sure the wood is clean and dry first; you don’t want hot oil to splatter and burn you.

This is a short video clip I made that describes what I stated above. You can see all of the little bubbles form around the tip of the wooden chopstick. This tells you that the oil is hot and ready for frying.

Fry the cookies until golden brown; drain well on paper towels or in a colander.   For crispier cookies, fry until the cookies are a dark golden brown.

IMG_0554 IMG_0565 IMG_0566

5.  When all the guyuria is fried and cooled slightly, place them in a large bowl.  

IMG_0567

6.  Prepare the sugar syrup glaze.  Place the cup of sugar in a small sauce pan.  Add the water to the sugar.  Bring the mixture to a boil, stirring constantly until the sugar dissolves and a syrup forms. Remove syrup from the heat; allow to cool to thicken slightly.

IMG_0559 IMG_0561

7.  Pour the sugar syrup over the guyuria, tossing gently to coat all the cookies.

IMG_0568 IMG_0571

8.  Let the sugar syrup thicken then pour out the cookies onto a baking pan (pour any excess syrup over the cookies). Spread the cookies out in an even layer; let them sit for a few minutes to allow the glaze to harden.  Ensure the glaze is completely dry and hard before storing the guyuria in a ziplock bag or resealable container.

IMG_0573 IMG_0574

Apigigi’ or Sweet Tamales

Apigigi’ is a Chamorro dessert that takes quite a bit of time to make, if prepared the traditional way.

It calls for grated cassava or tapioca, coconut milk, young coconut meat or månha, and sugar.  Mix it all together, grill (or steam for sweet tamåles), and a few hours later you have a delicious dessert that is savored all the more for all the effort it took to make it.

grinder

I still remember when I was little; we’d make this mixture the old fashioned way.  First, my mom would dig up some tapioca roots, peel them, then we’d grind them in that old fashioned grinder that you had to clamp to a table and rotate a hand-crank.

Then came the task of making coconut milk.  First you husk the coconut (shake it first to make sure there was liquid in it; that meant it was still good).  Then you grate the coconut using a kåmyu.  Lastly, add a little bit of water and squeeze the heck out of the meat to get thick, delicious coconut milk.

Then there was the task of getting månha.  As much as I did not care for grinding the cassava, I really didn’t like this part of the job (I only liked drinking the månha juice), only because in order to get a couple of cups of sweet månha, we had to cut open about a dozen månha then carefully scrape out the meat, being careful not to scrape out the husk with it.  Of course, I always got a lot of the husk with the meat–I think this is why I hated this task most of all.  I had to go back and pull off all the husk off the meat before we could use it.

But thankfully modern conveniences make this process a WHOLE LOT easier!  You can buy canned coconut milk, grated cassava, and even young coconut meat, all packaged nicely, ready for you to make some apigigi’ or sweet tamales.  Yay!  🙂

Grilled for apigigi’ or steamed for sweet tamales, this recipe is another family favorite.  Make sure you read all the way to the bottom of this post for my twist to this Chamorro favorite.

Apigigi’ or Sweet Tamales
IMG_0431 IMG_0436

Ingredients:
  • 1 bag (1 pound) grated cassava
  • 2 cups månha (if you buy frozen månha, make sure it’s thawed and drained)
  • 3/4 cup sugar (use 1/2 cup if you like it less sweet)
  • 1/2 can coconut milk
  • Banana leaves (for making apigigi, cut into 6×4-inch pieces)
Directions:

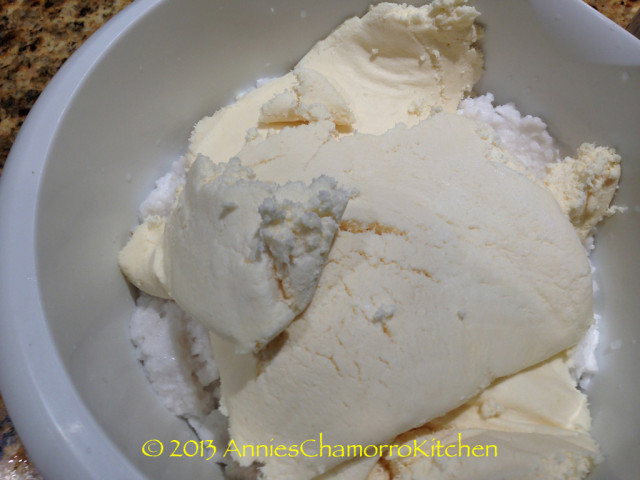
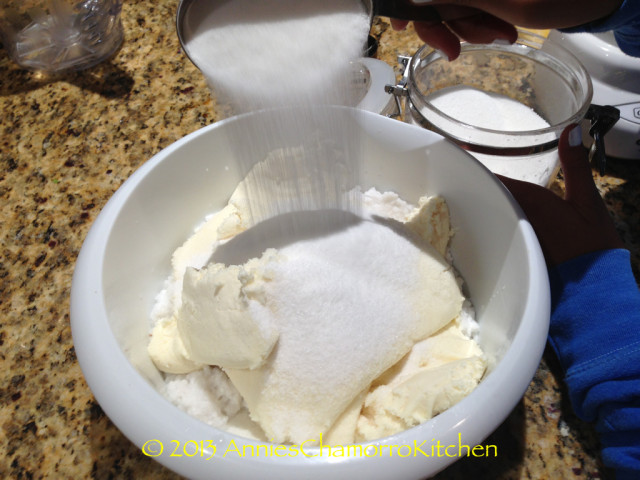
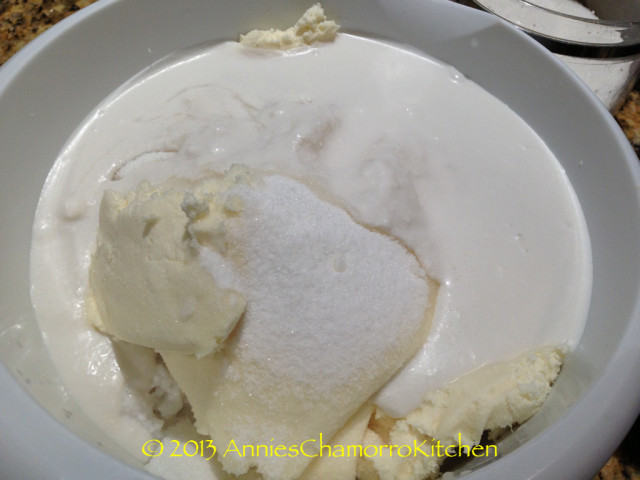
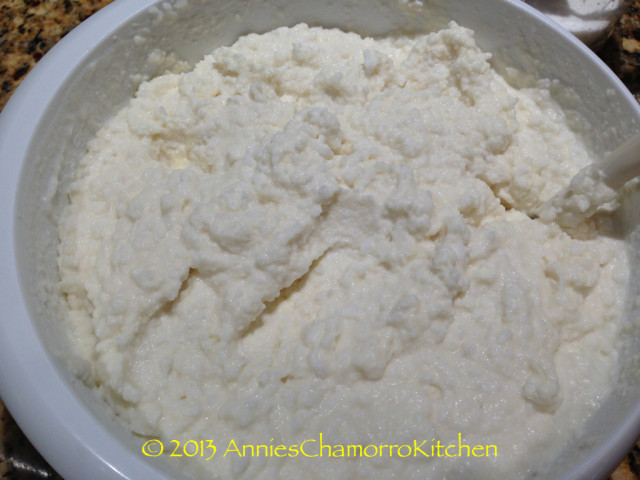
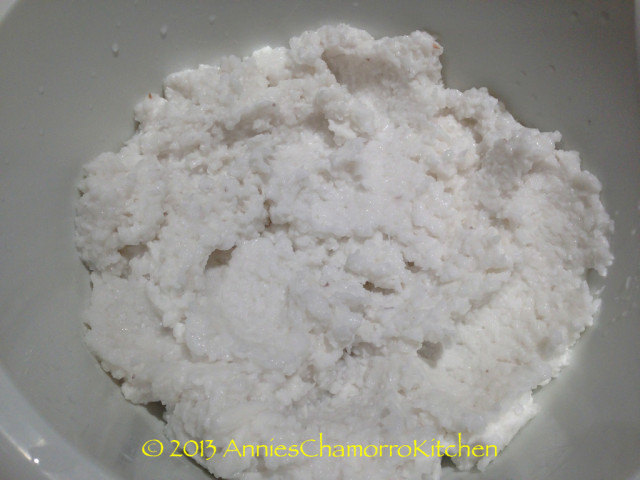
1.  Chop the manha, then mix it with the cassava, sugar and coconut milk.
IMG_0407

IMG_0408

IMG_0412

IMG_0414

IMG_0415

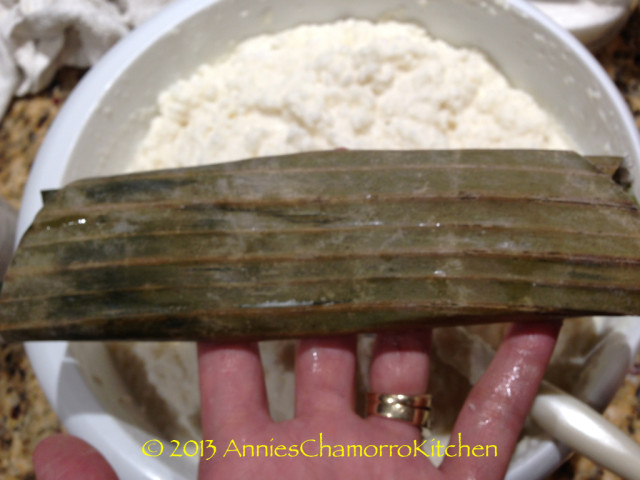
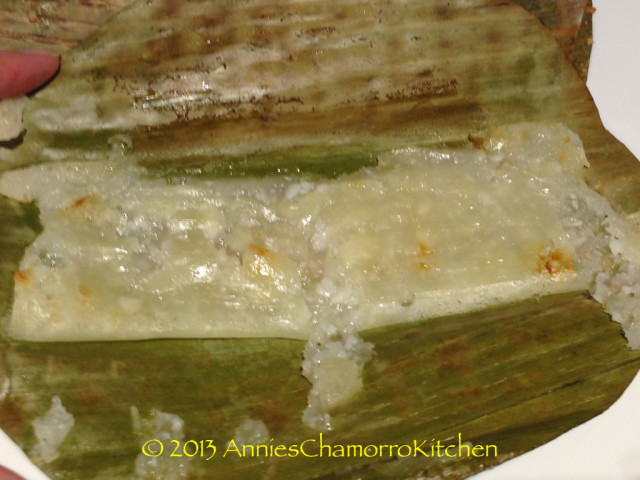
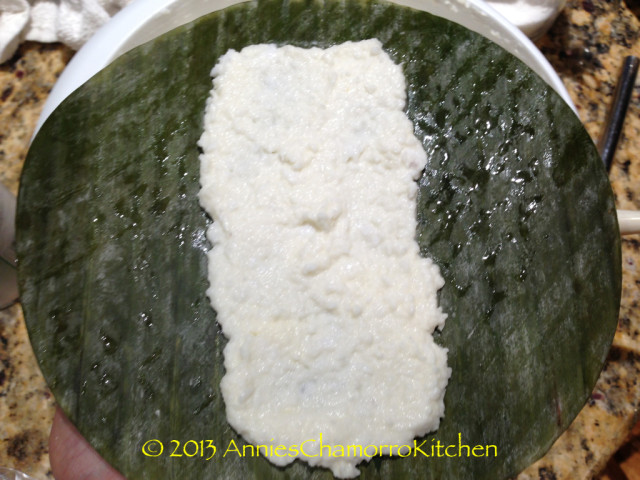
2.  Spread a thin layer down the center (lengthwise) of the banana leaf.  Fold each side in, over the batter.
IMG_0421 IMG_0420

3.  Grill over hot coals or on a stove-top grill pan, about 10 minutes on each side.  Let cool then serve.

IMG_0423 IMG_0431

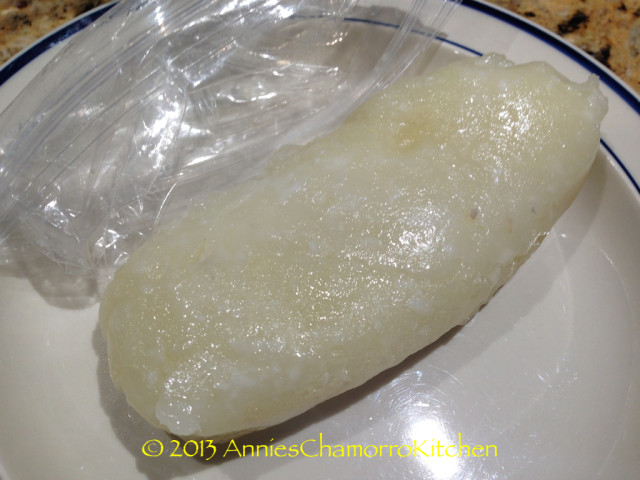
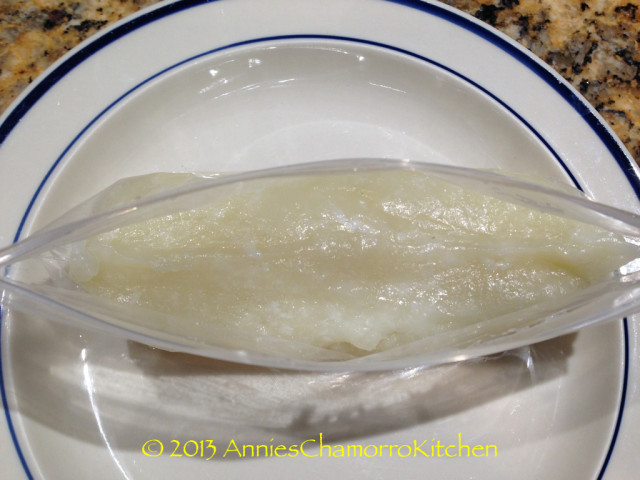
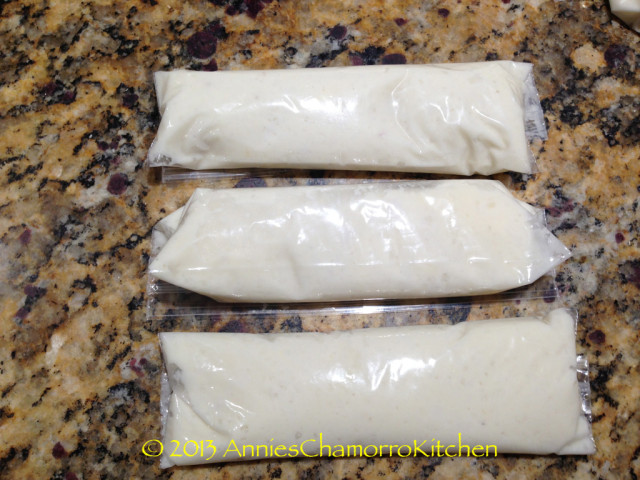
4.  If making sweet tamales instead of apigigi’, fill snack-sized ziplock bags with about 4 tablespoons of batter.  Wrap the bag with foil then steam the foil packets for 20 minutes.  Allow to cool then serve warm.  You can also chill the tamales and serve cold.
IMG_0433 IMG_0435 IMG_0436

*NOTE:  I also like to serve the steamed tamales unwrapped, placed in a shallow baking dish, then topped with a thick, sweet coconut topping.  Here is my version of the topping:

Sweet Coconut Topping for Tamales

Ingredients:
  • 1 1/2 cans coconut milk
  • 2 tablespoons cornstarch
  • 1 cup sugar
Directions:

1.  Dissolve the cornstarch and sugar in the coconut milk.  Pour into a small sauce pan then bring to a boil, stirring constantly until the sauce has thickened.

2.  Pour the sauce over the steamed tamales.  Serve while still warm.

Enjoy!
 

« Older Entries Recent Entries »