Don’t let the name of this dish turn you off. Oxtail, as the name describes, was commonly the meaty part of the tail of an ox. Nowadays, they are cut from the tails of cattle. Oxtail is quite meaty, but it requires a long and slow braising to tenderize the tough meat.
You can cut the cooking time down several hours by using a pressure cooker. I prefer braising the oxtail long and slow, however, which helps to develop an incredibly rich broth.
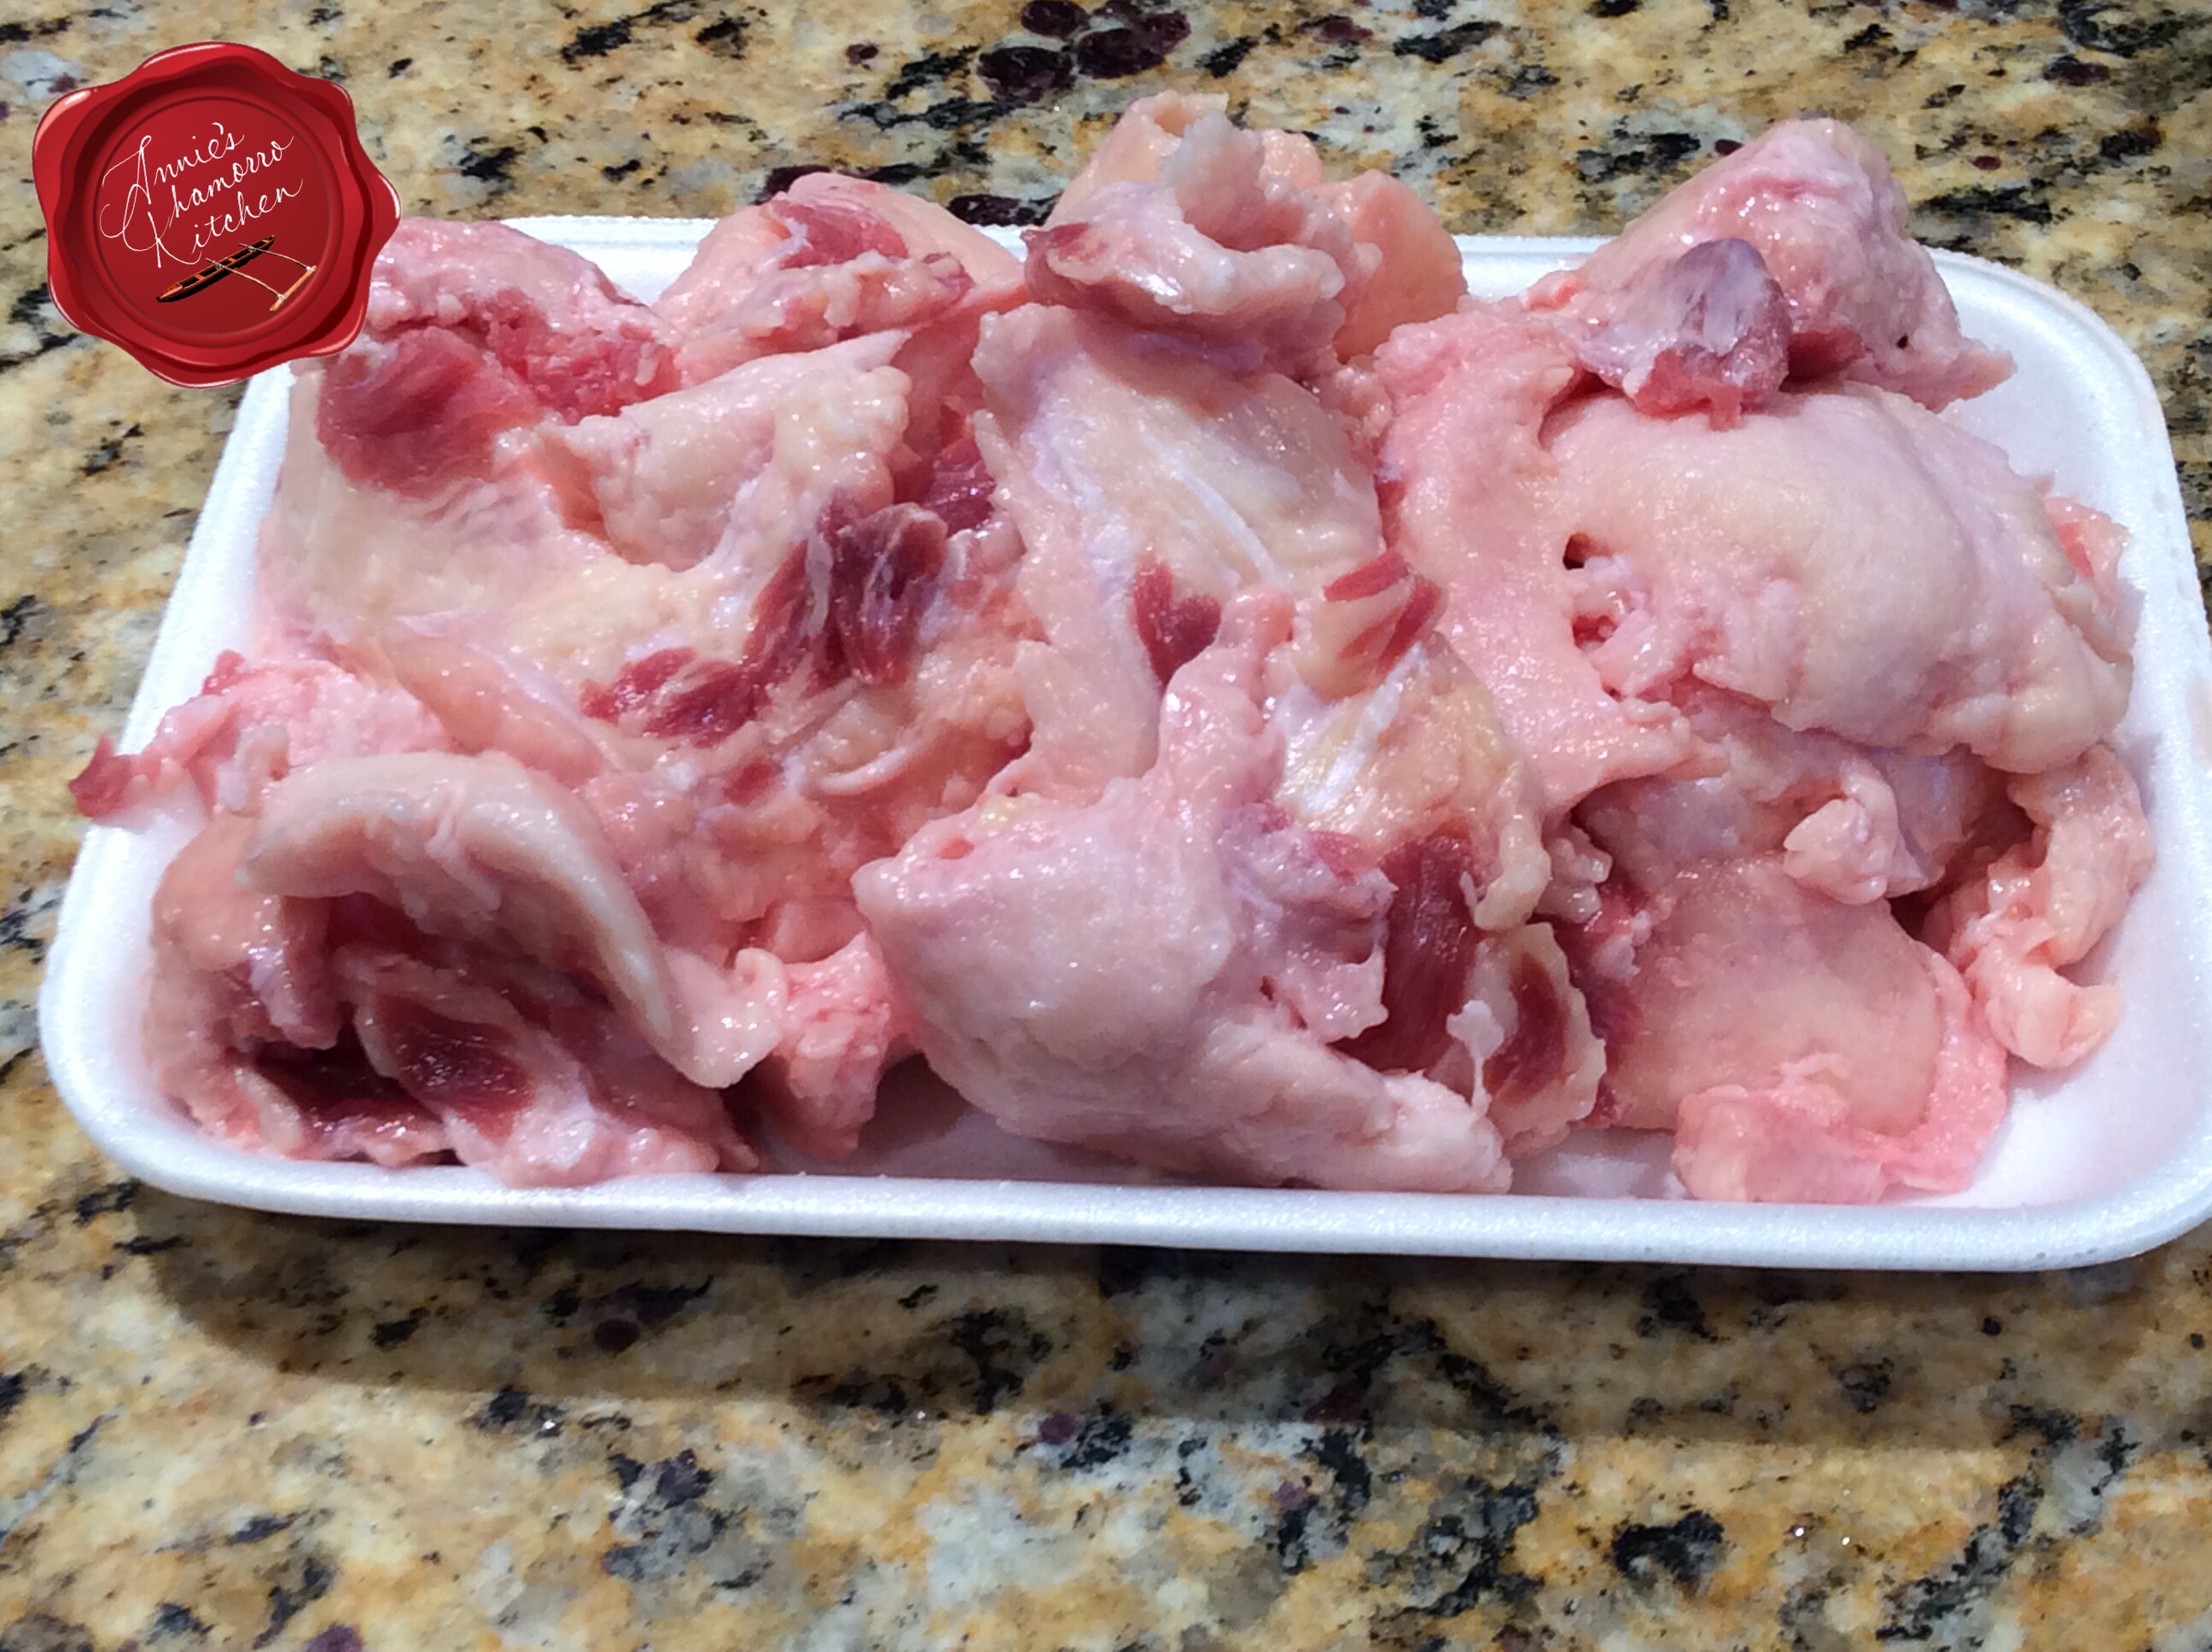
Look for oxtail with a lot of meat and not much fat. Rinse the oxtail then trim off as much fat as you can. This is what I trimmed off from 5 packages of oxtail (with about 4 oxtails per package).
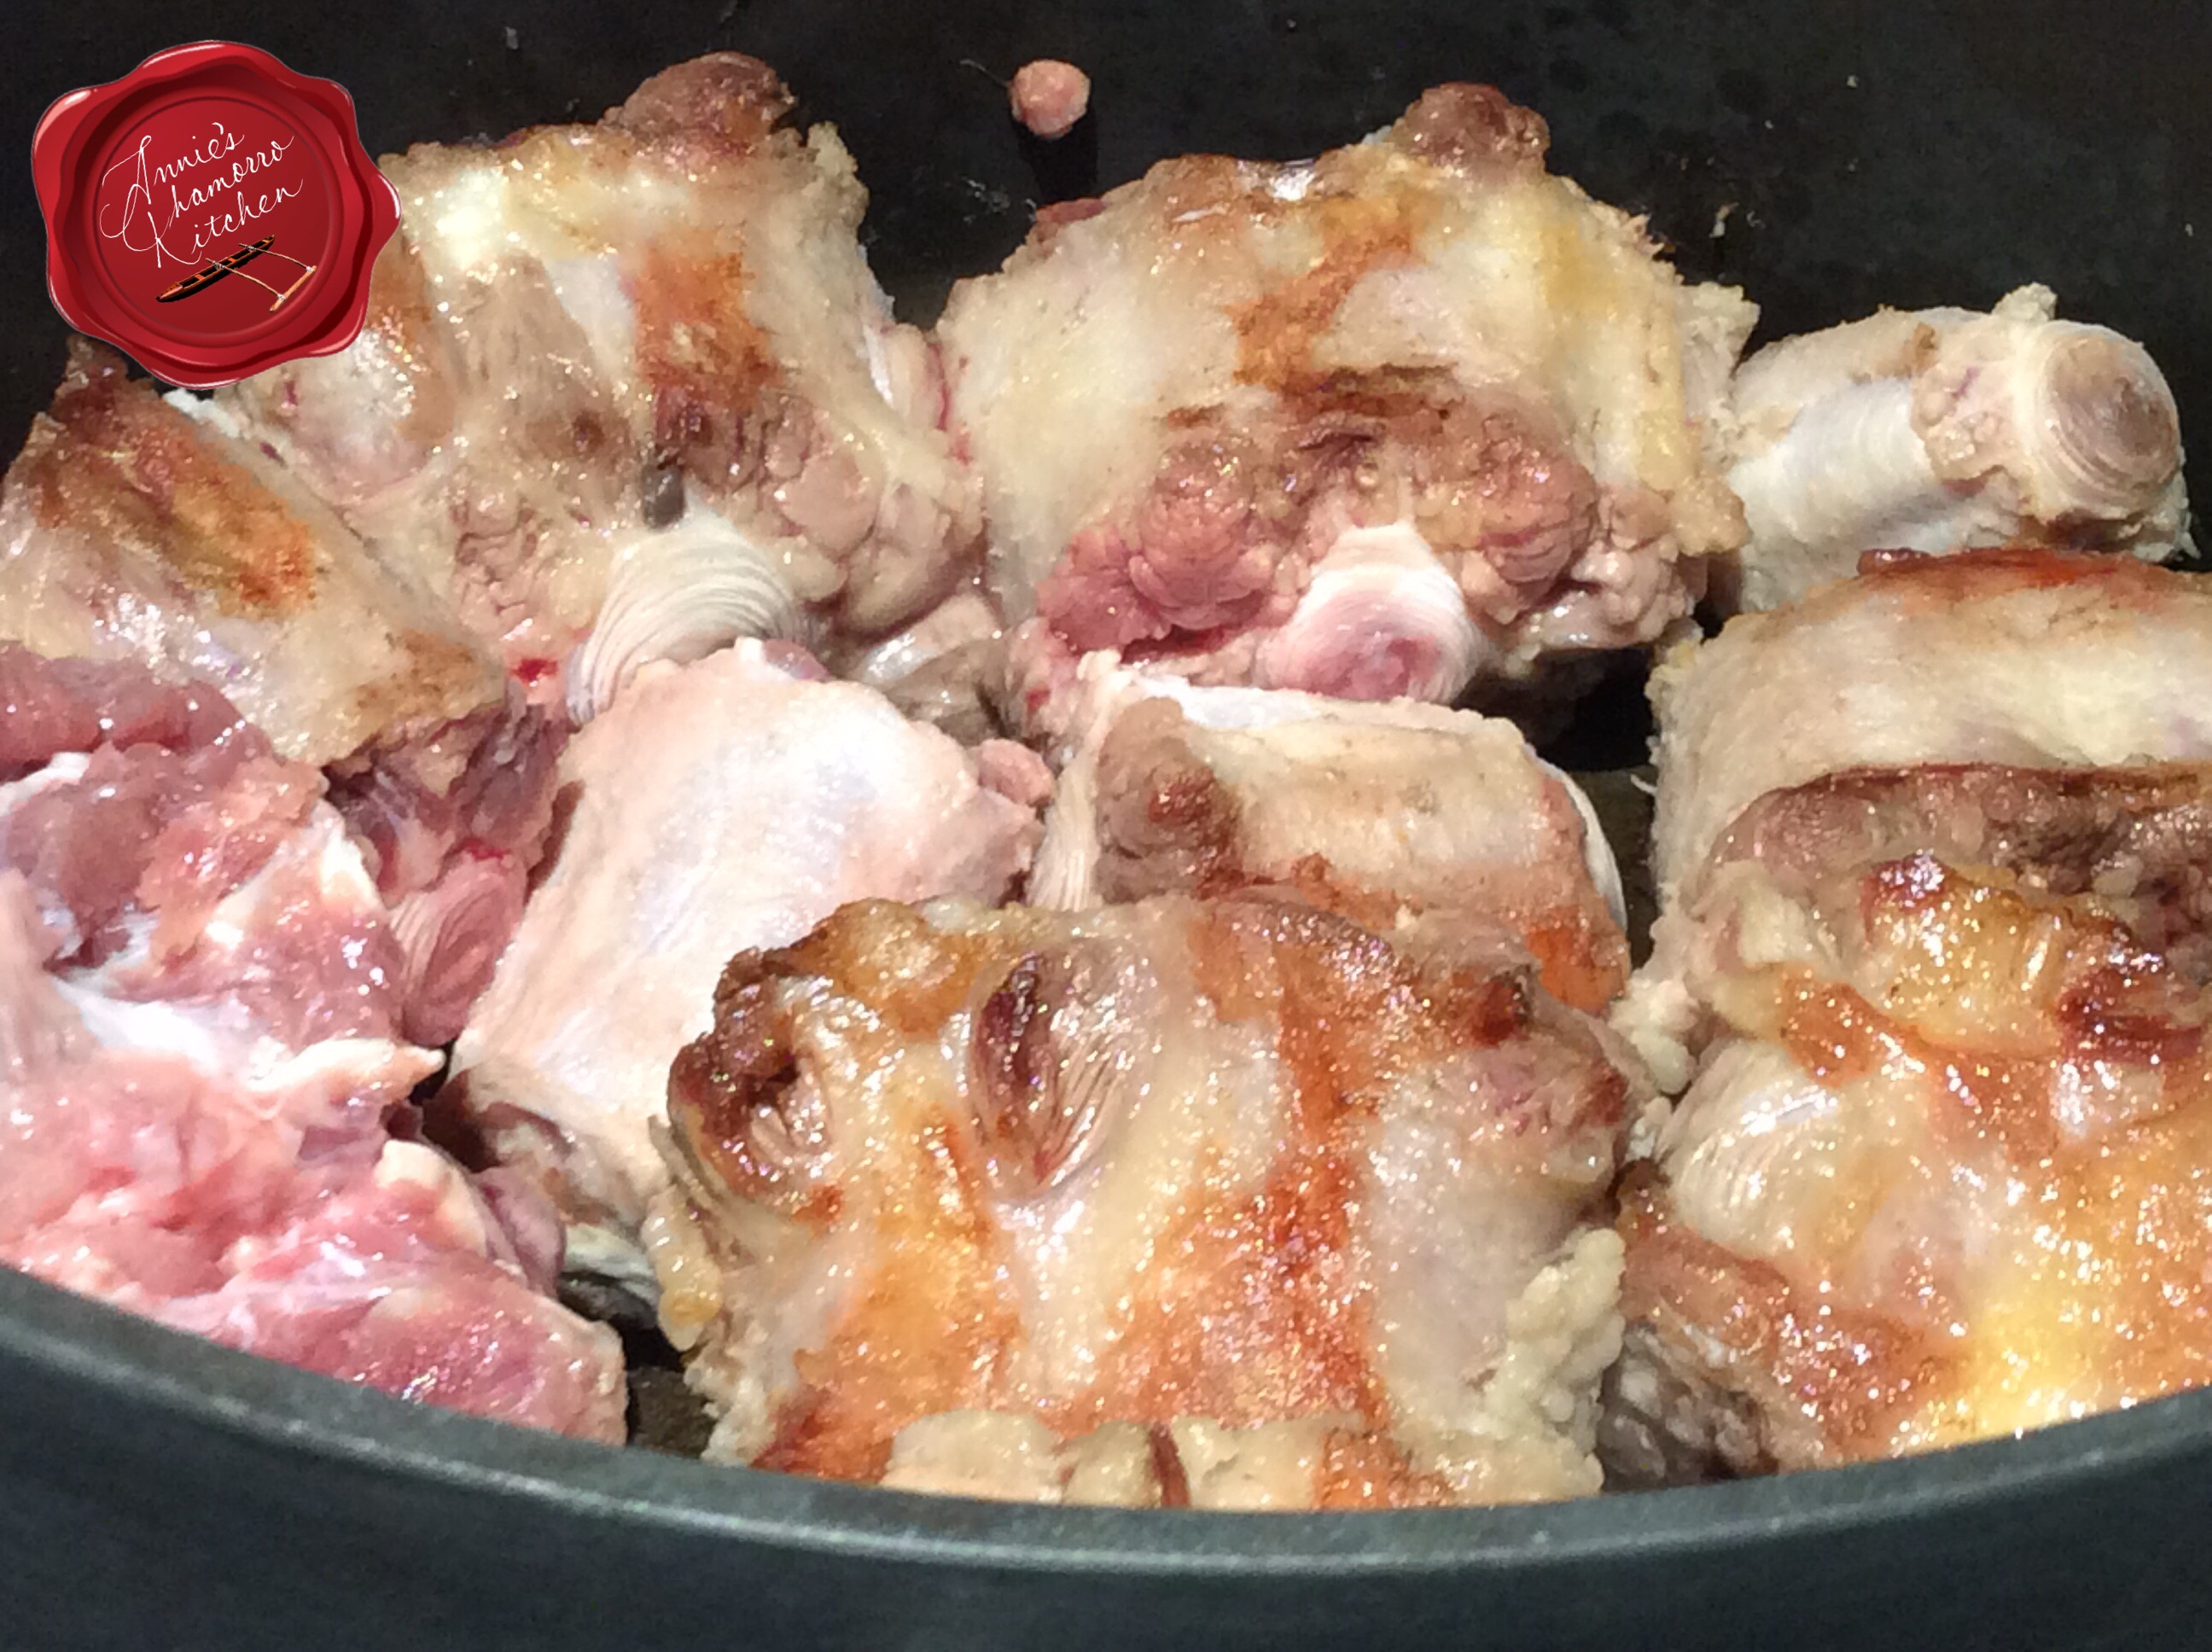
The richness of your broth starts by browning the oxtail. I did this in batches so that I could turn each oxtail over to ensure even browning. Browning creates amazingly delicious flavor compounds that ultimately gives the resulting dish an extremely rich, deep flavor. Don’t skip the browning process; trust me.
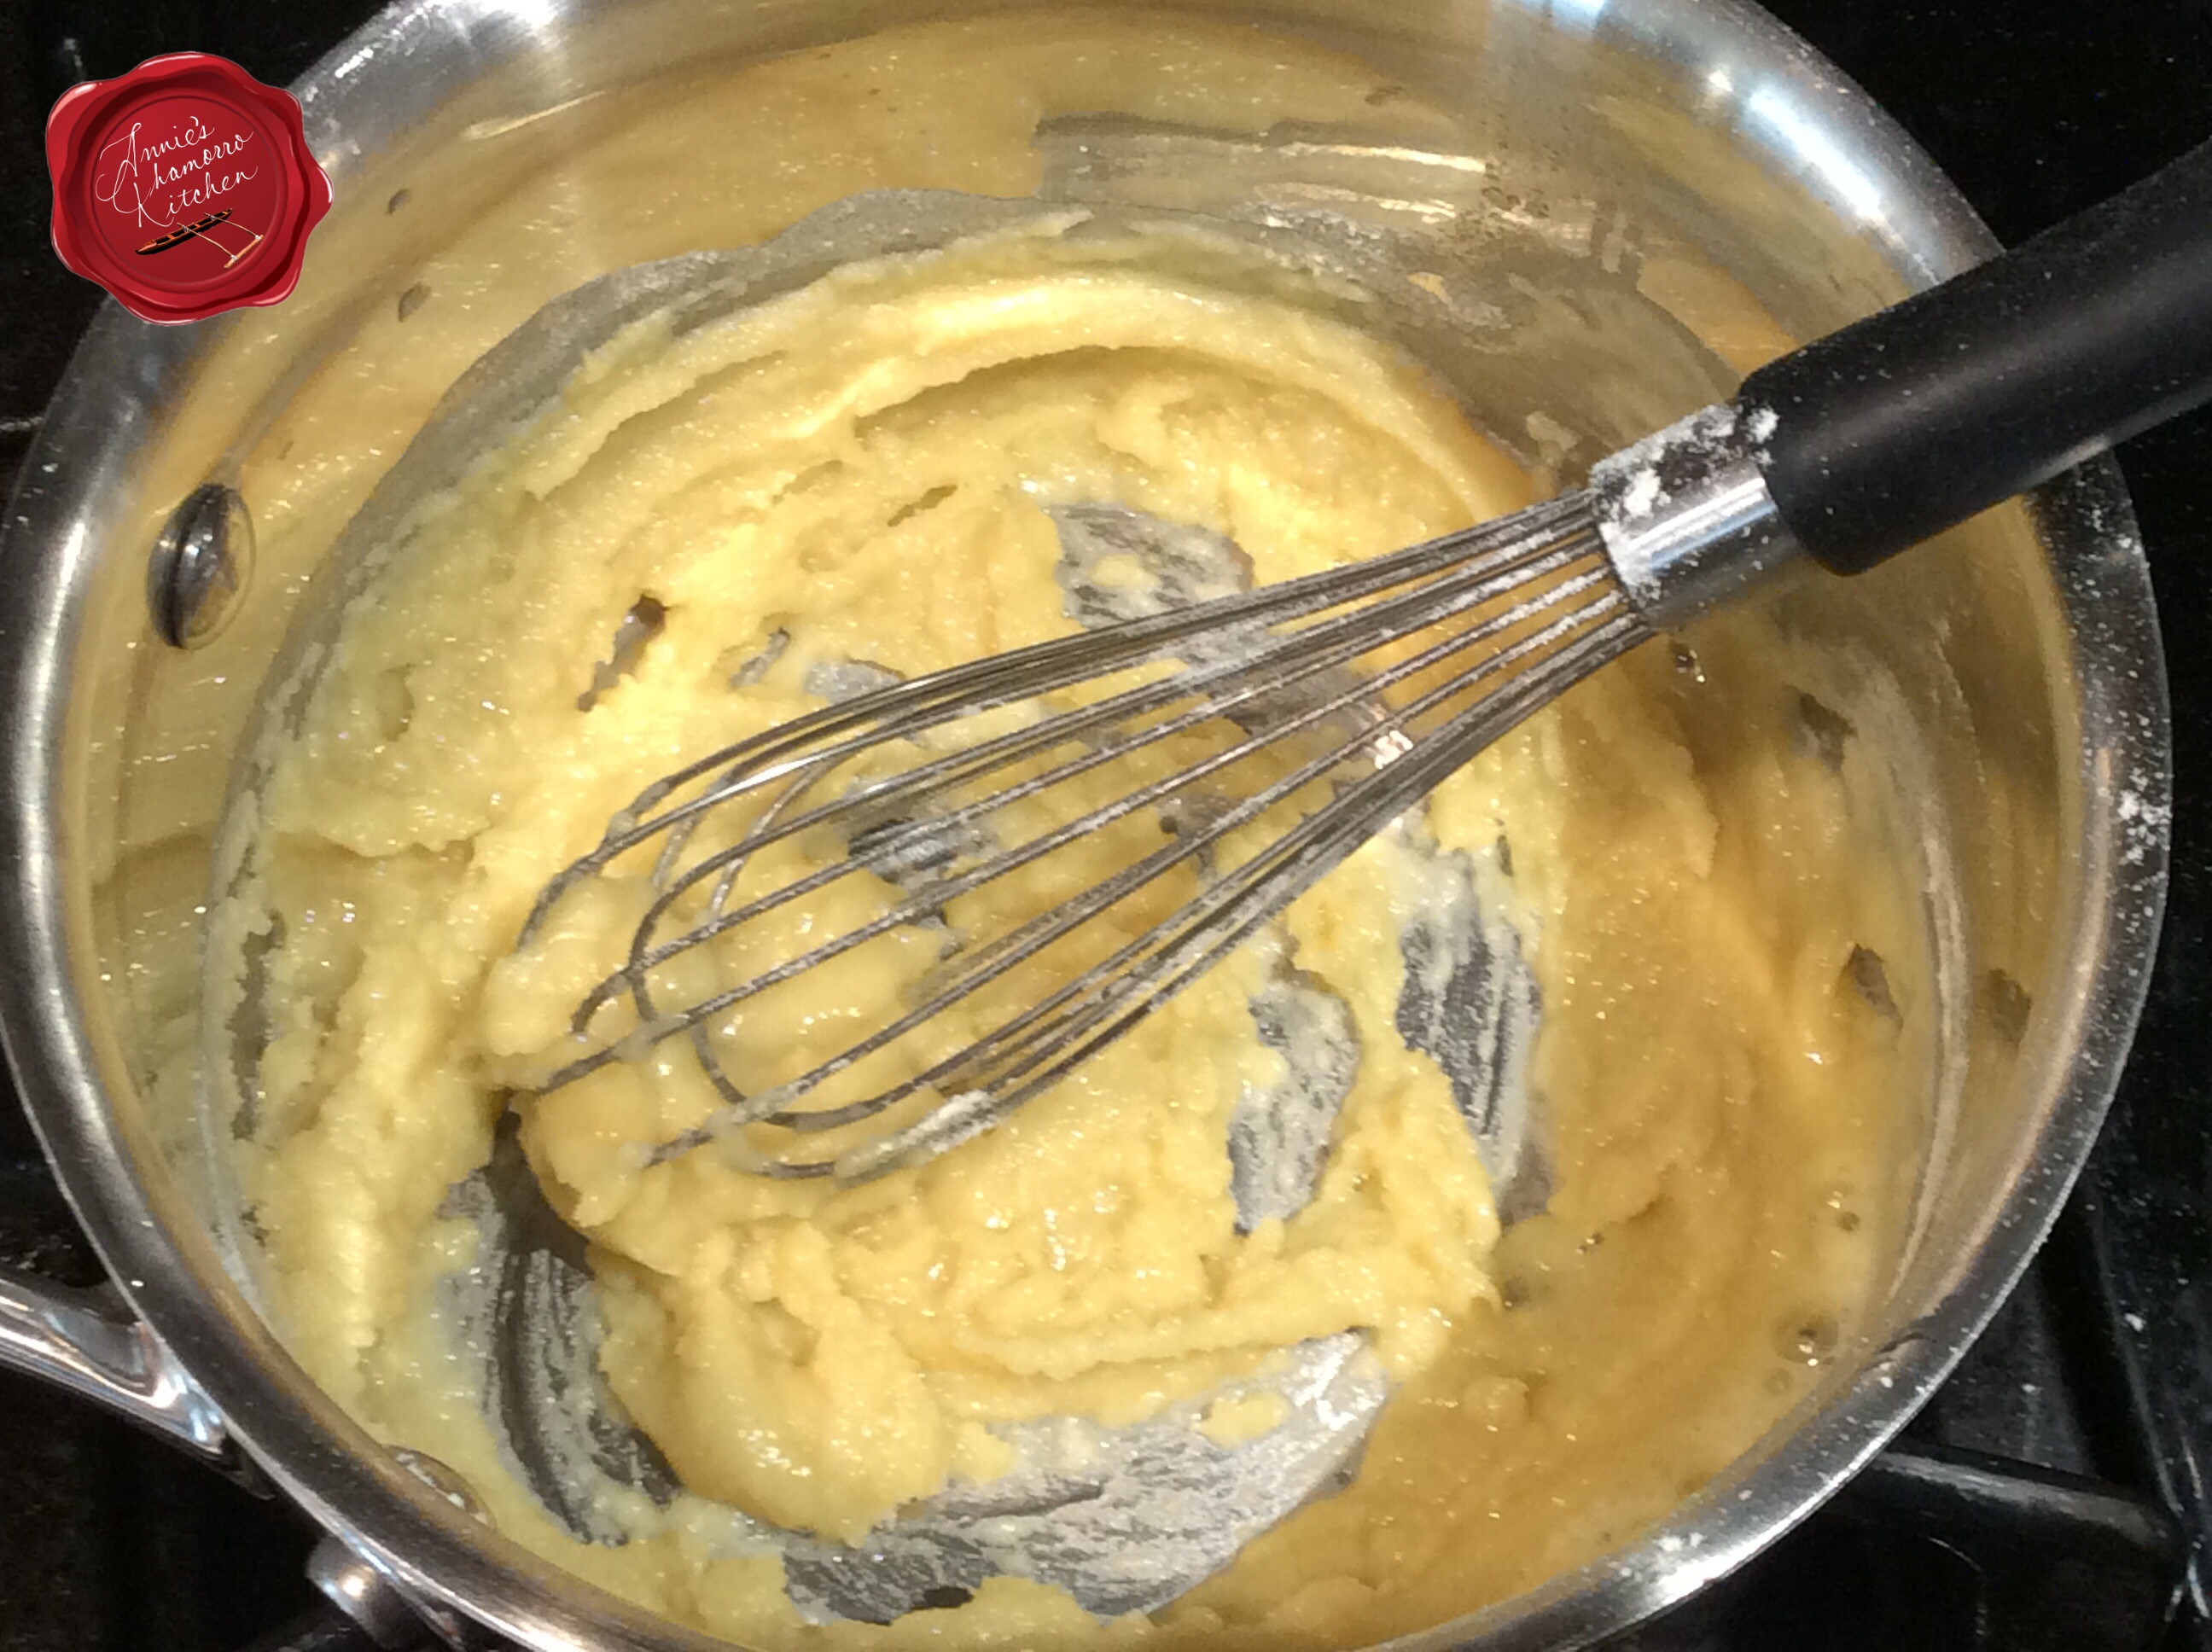
The next step to developing that incredibly rich flavor is to brown your aromatics. Do this BEFORE adding any liquid.
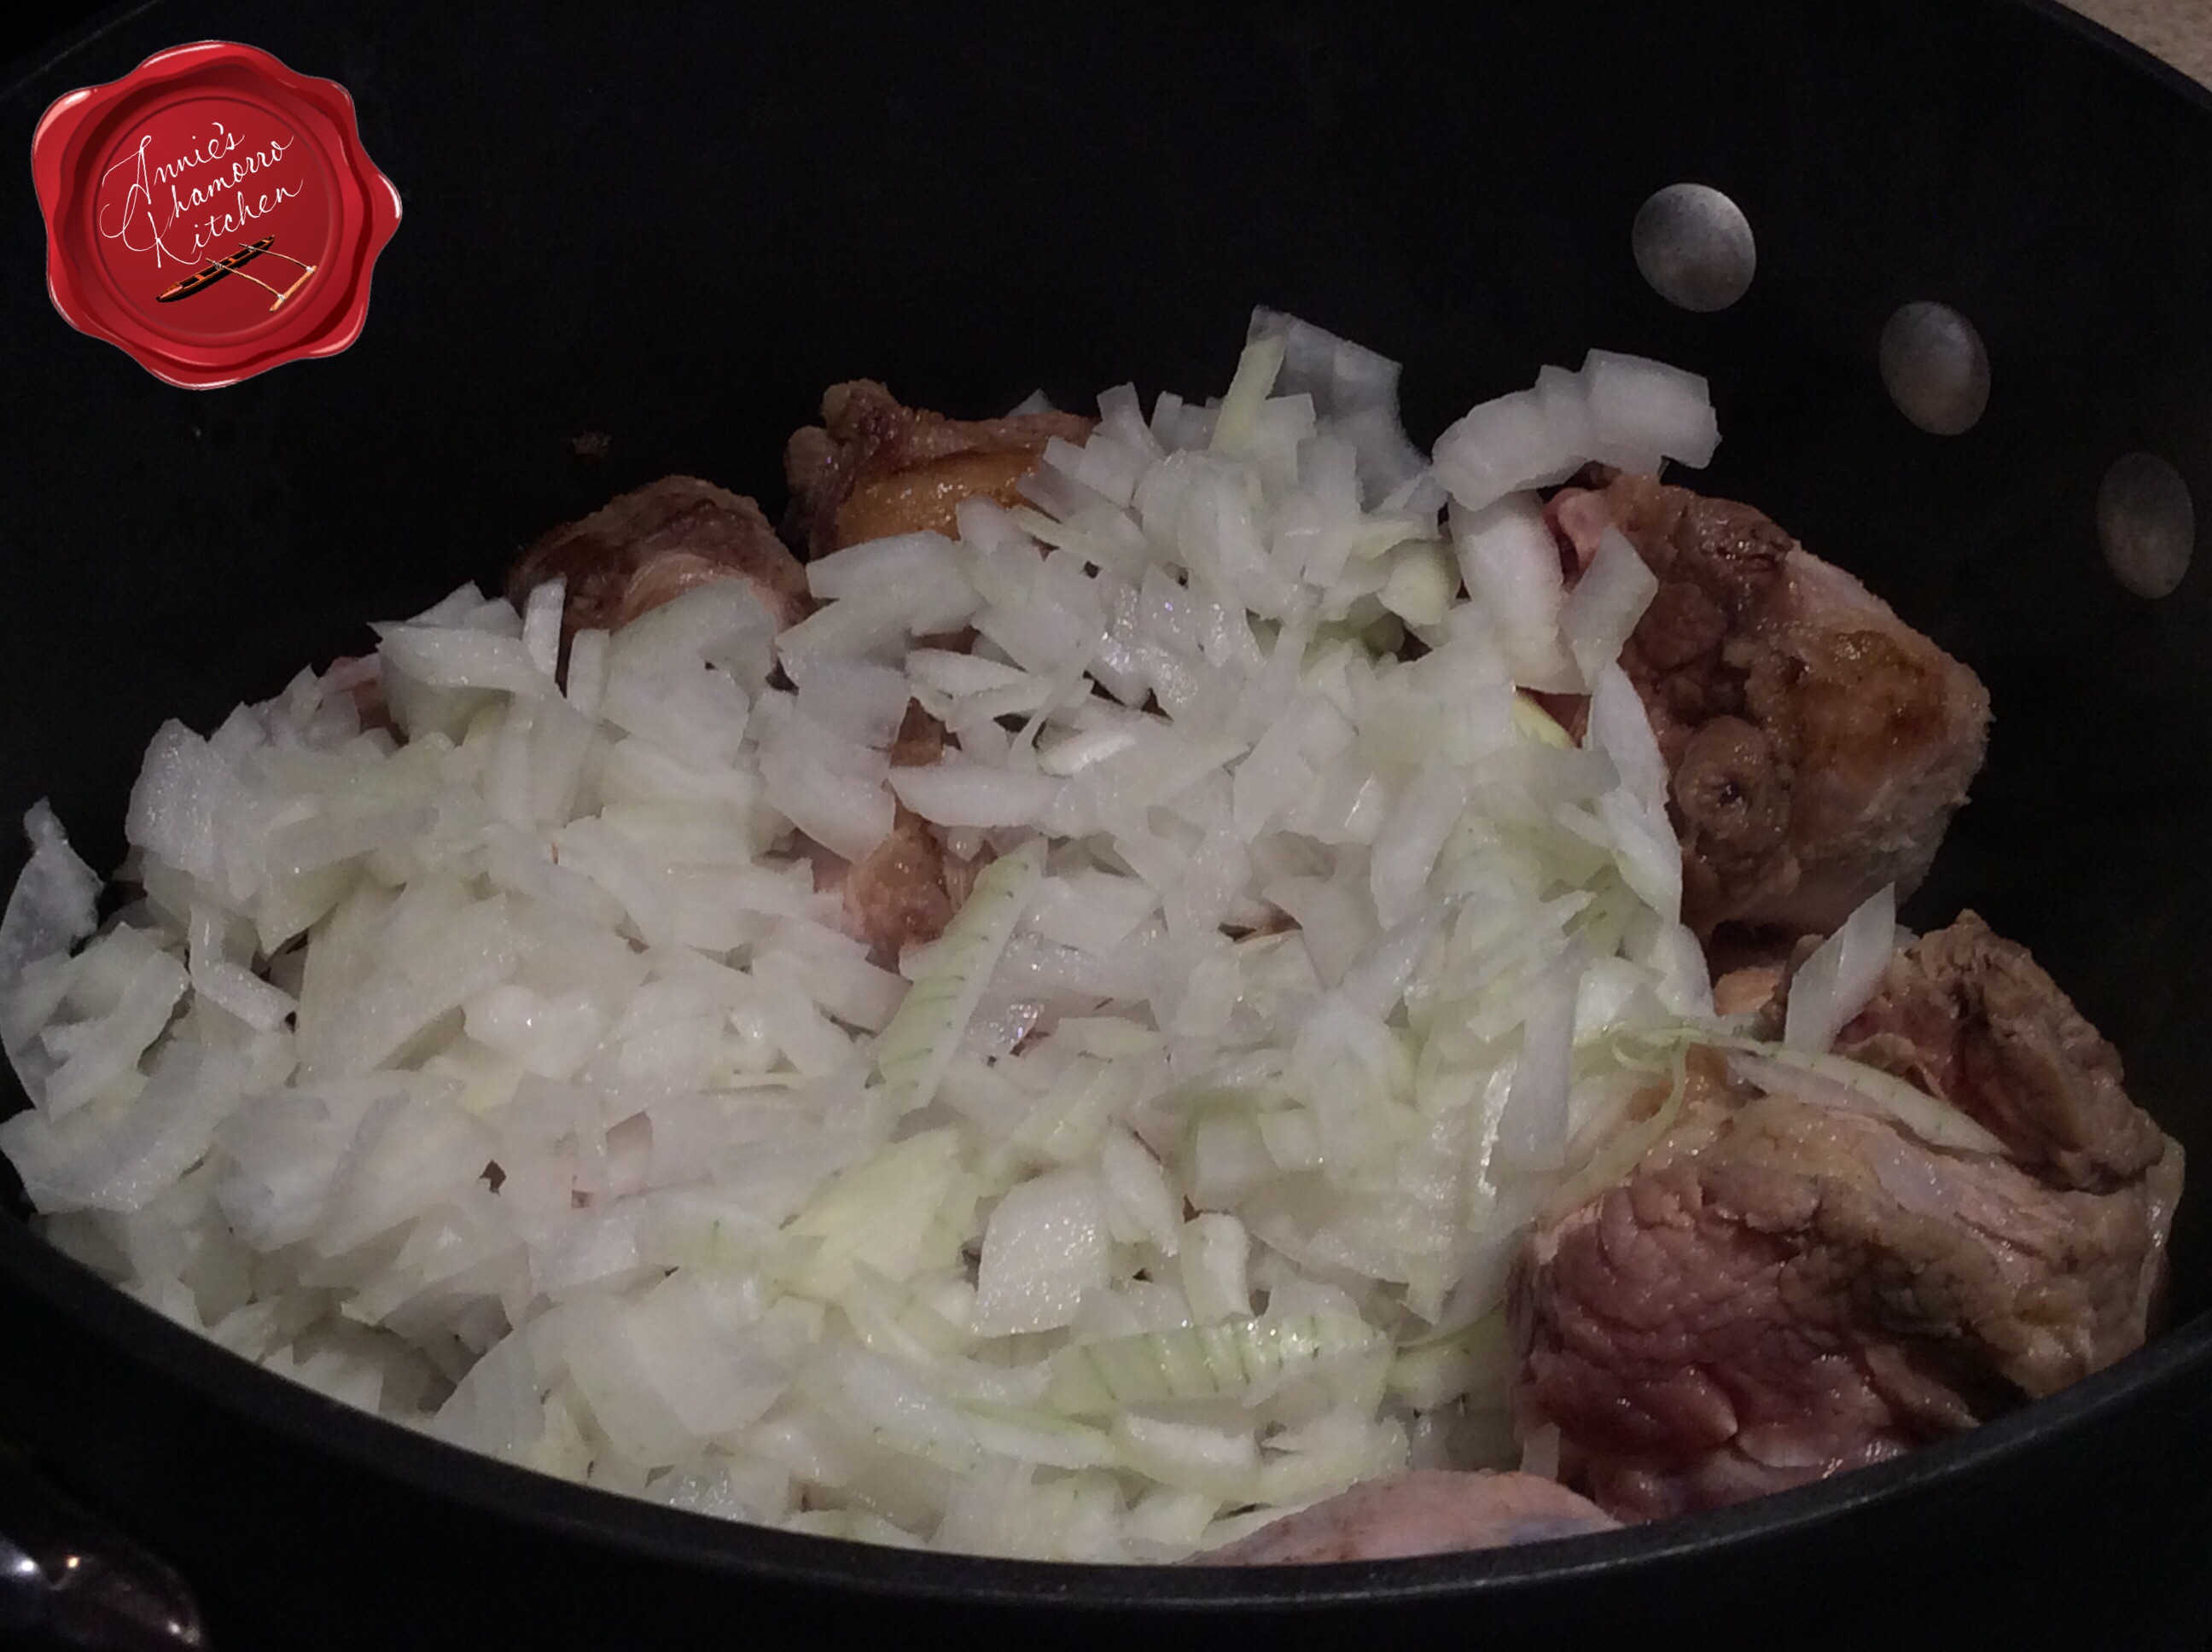
Add onions, garlic and black pepper to the pot. Do this when you have just one layer of oxtail in the pot. Set the rest of the browned oxtail aside for now; you’ll add it back to the pot in a few minutes. Cook the onions just to the point where they become a golden brown and begin to caramelize.
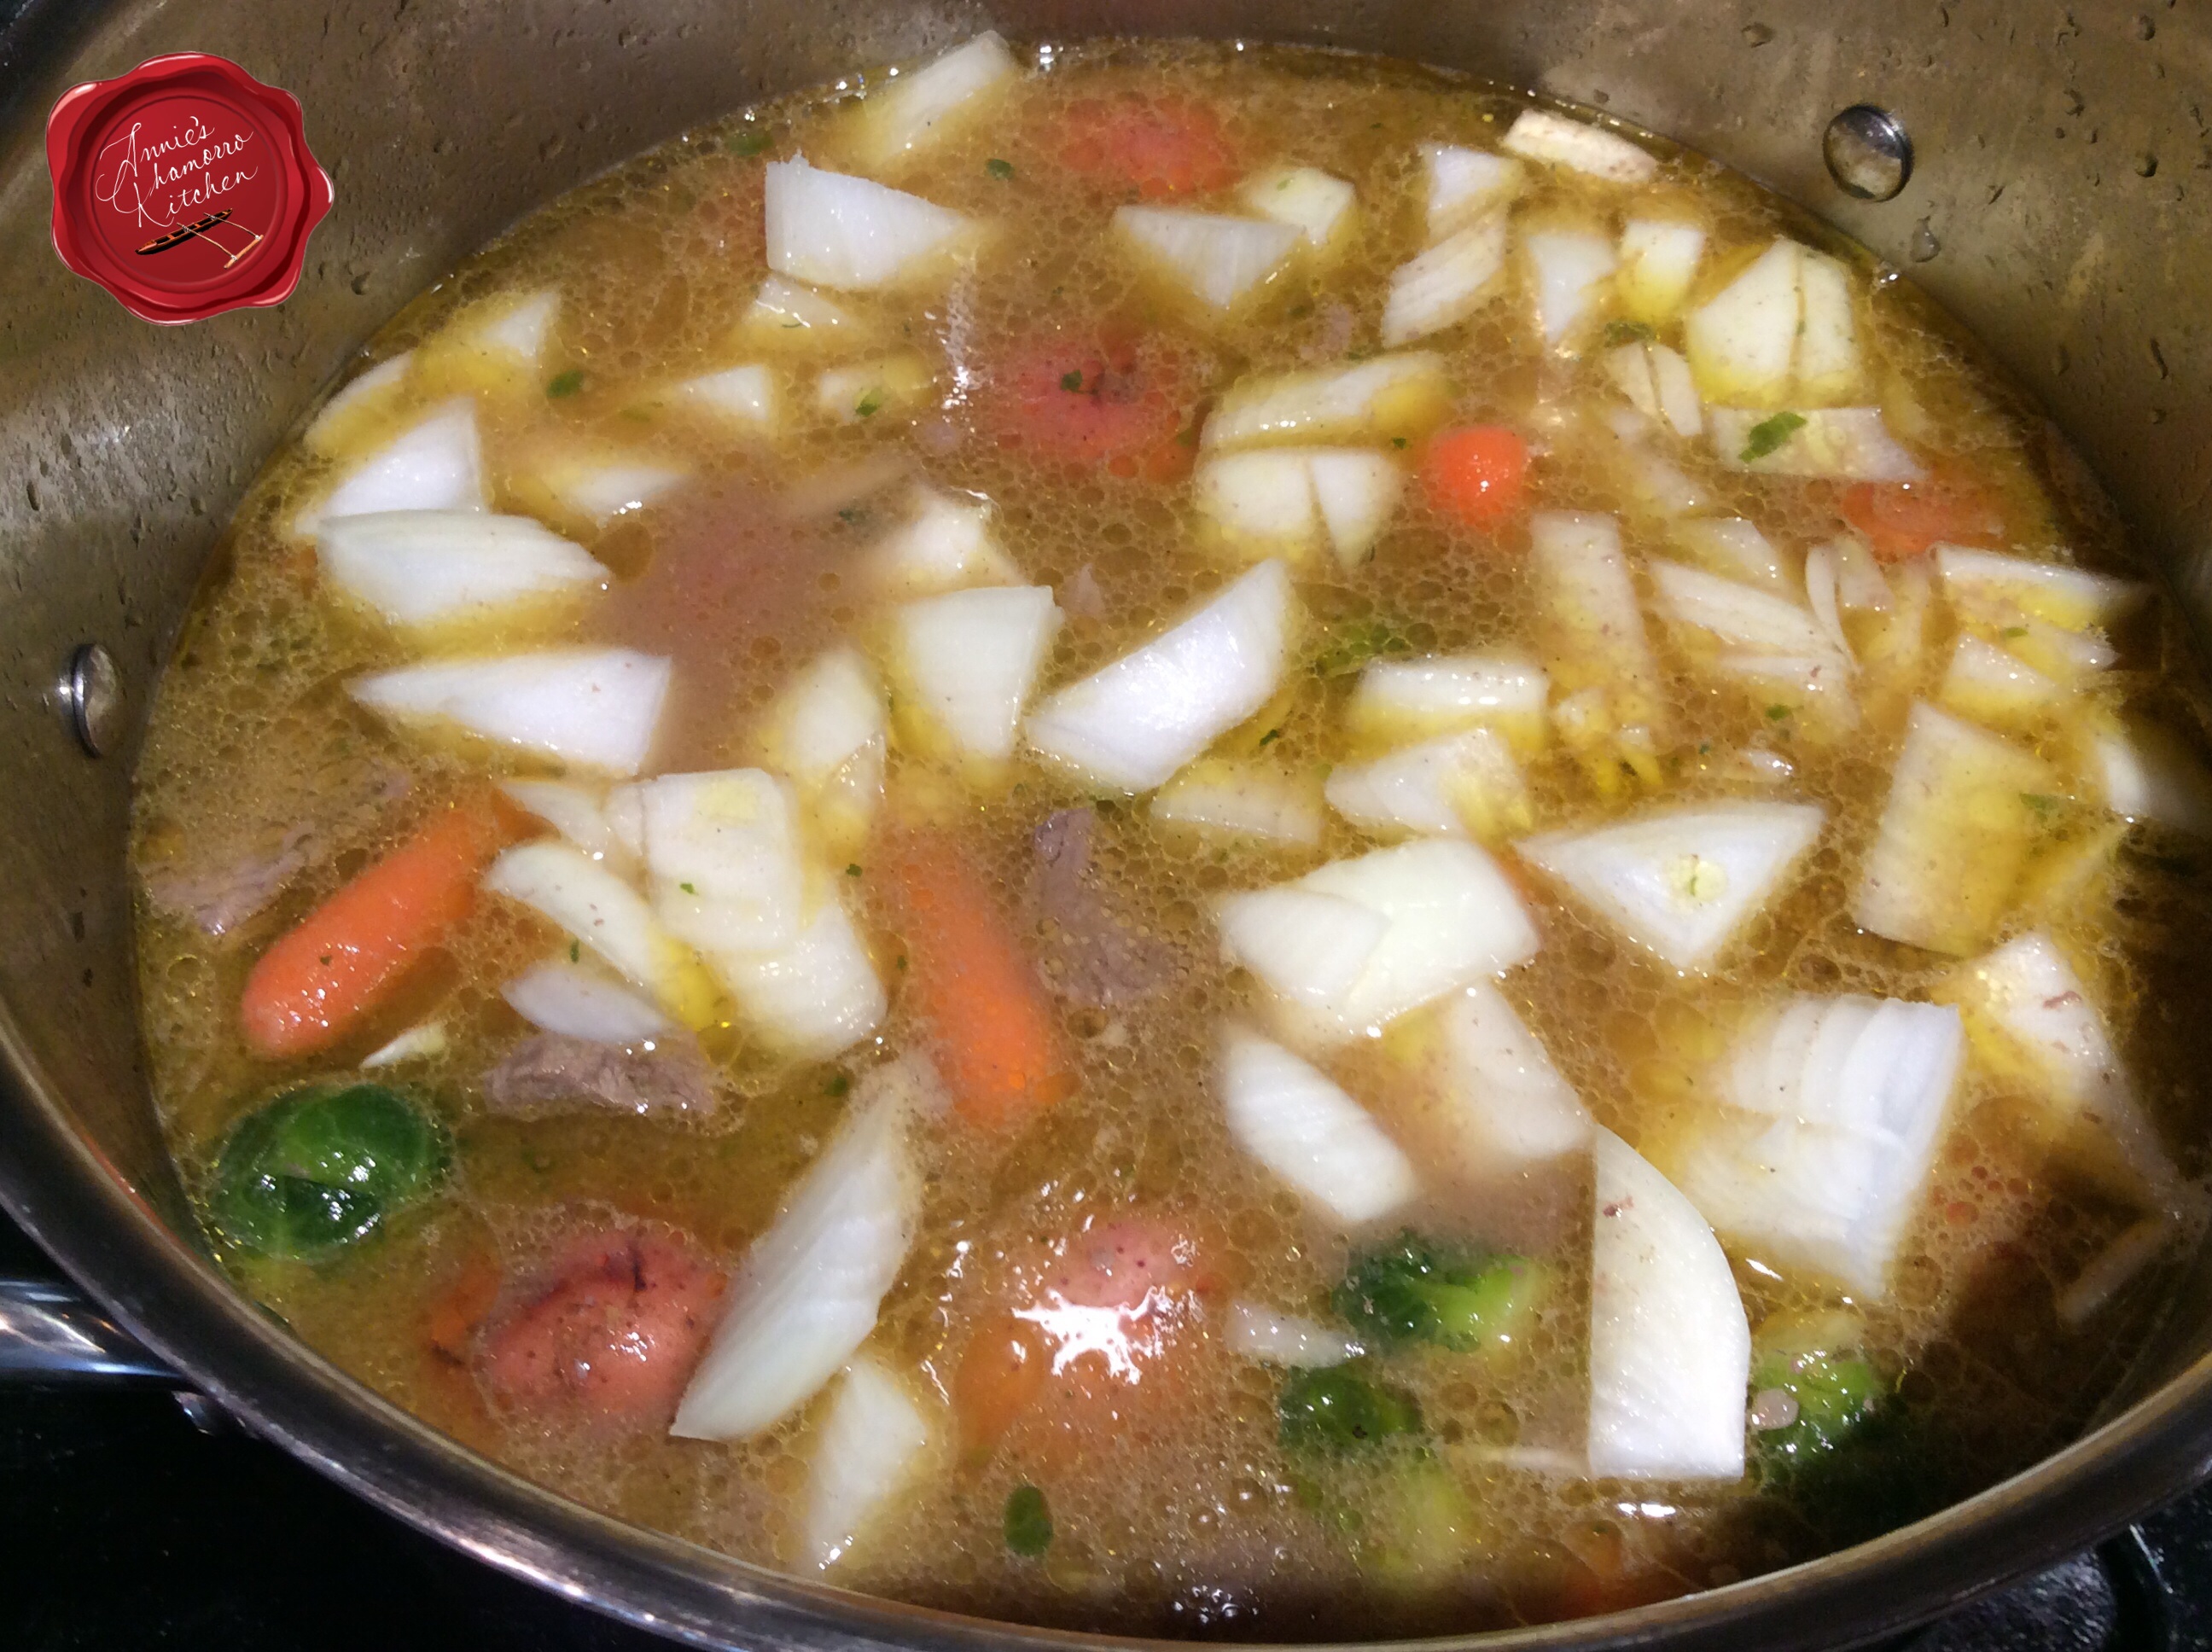
Now the magic begins. Add the rest of the oxtail back into the pot then pour in enough water to completely cover the oxtail. Place a lid on the pot and cook over medium-low heat. If you decide to braise the oxtail long and slow, plan ahead as this will take several hours — I braised mine for about 5 1/2 hours over a slow boil.
A note about boiling meat: As meat boils, a foamy substance forms on the surface. This is called scum. The scum is denatured protein. It is harmless, and eventually the foam breaks up and disperses into the stock. Although harmless (and flavorless), the scum leaves the broth gray and cloudy. Every so often, skim the surface, removing the scum.
Every 30 minutes or so, at about the same time you skim the scum off the broth, check to ensure the level of liquid stays above the meat. Add enough water to maintain the level of liquid above the oxtail. Keep doing this for the first three hours.
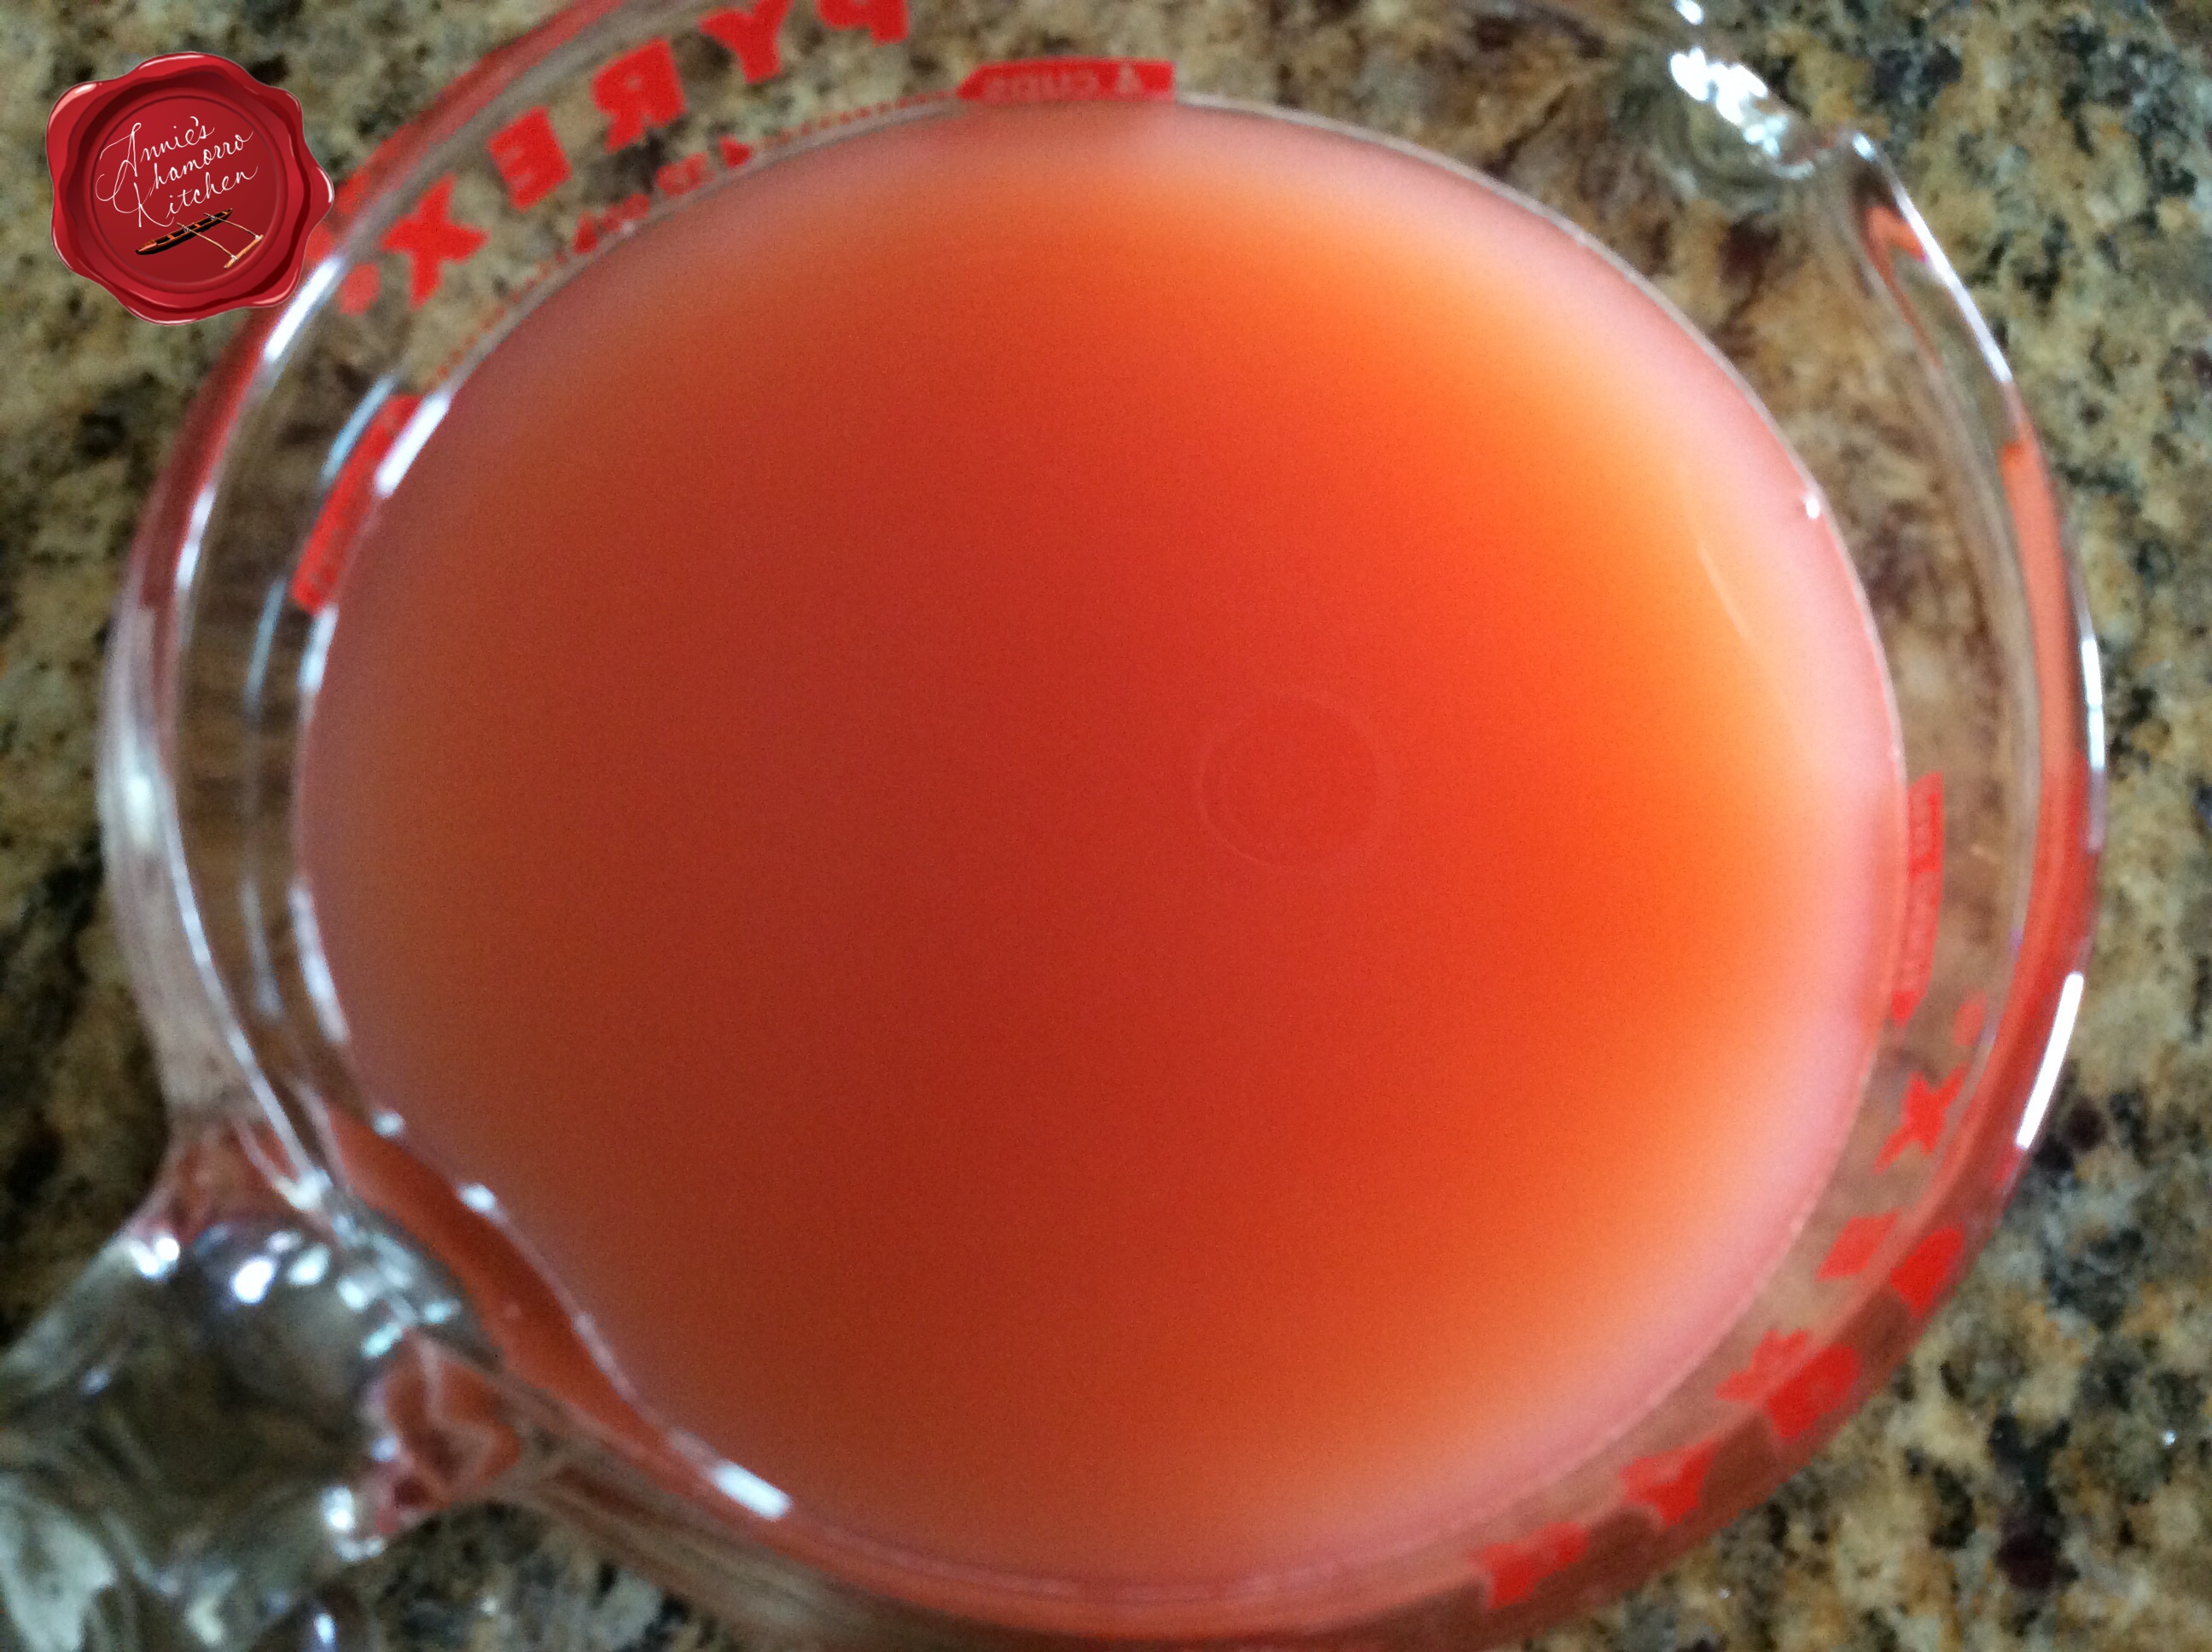
After hour number three of braising, add my secret ingredient (shhh…don’t tell anyone): half a bottle of marsala wine. Marsala wine adds deep, savory notes to the broth. After adding the wine, if the level of liquid is still not above the meat, add more water. Continue to cook over medium-low heat for another two hours.
After five hours of braising, taste the broth. Add salt and pepper, to taste. Instead of salt, I like adding a few tablespoons of Dashida seasoning. If you can’t find Dashida (a Korean beef-flavored powdered seasoning), use beef bouillon. Taste and adjust the seasonings to your liking.
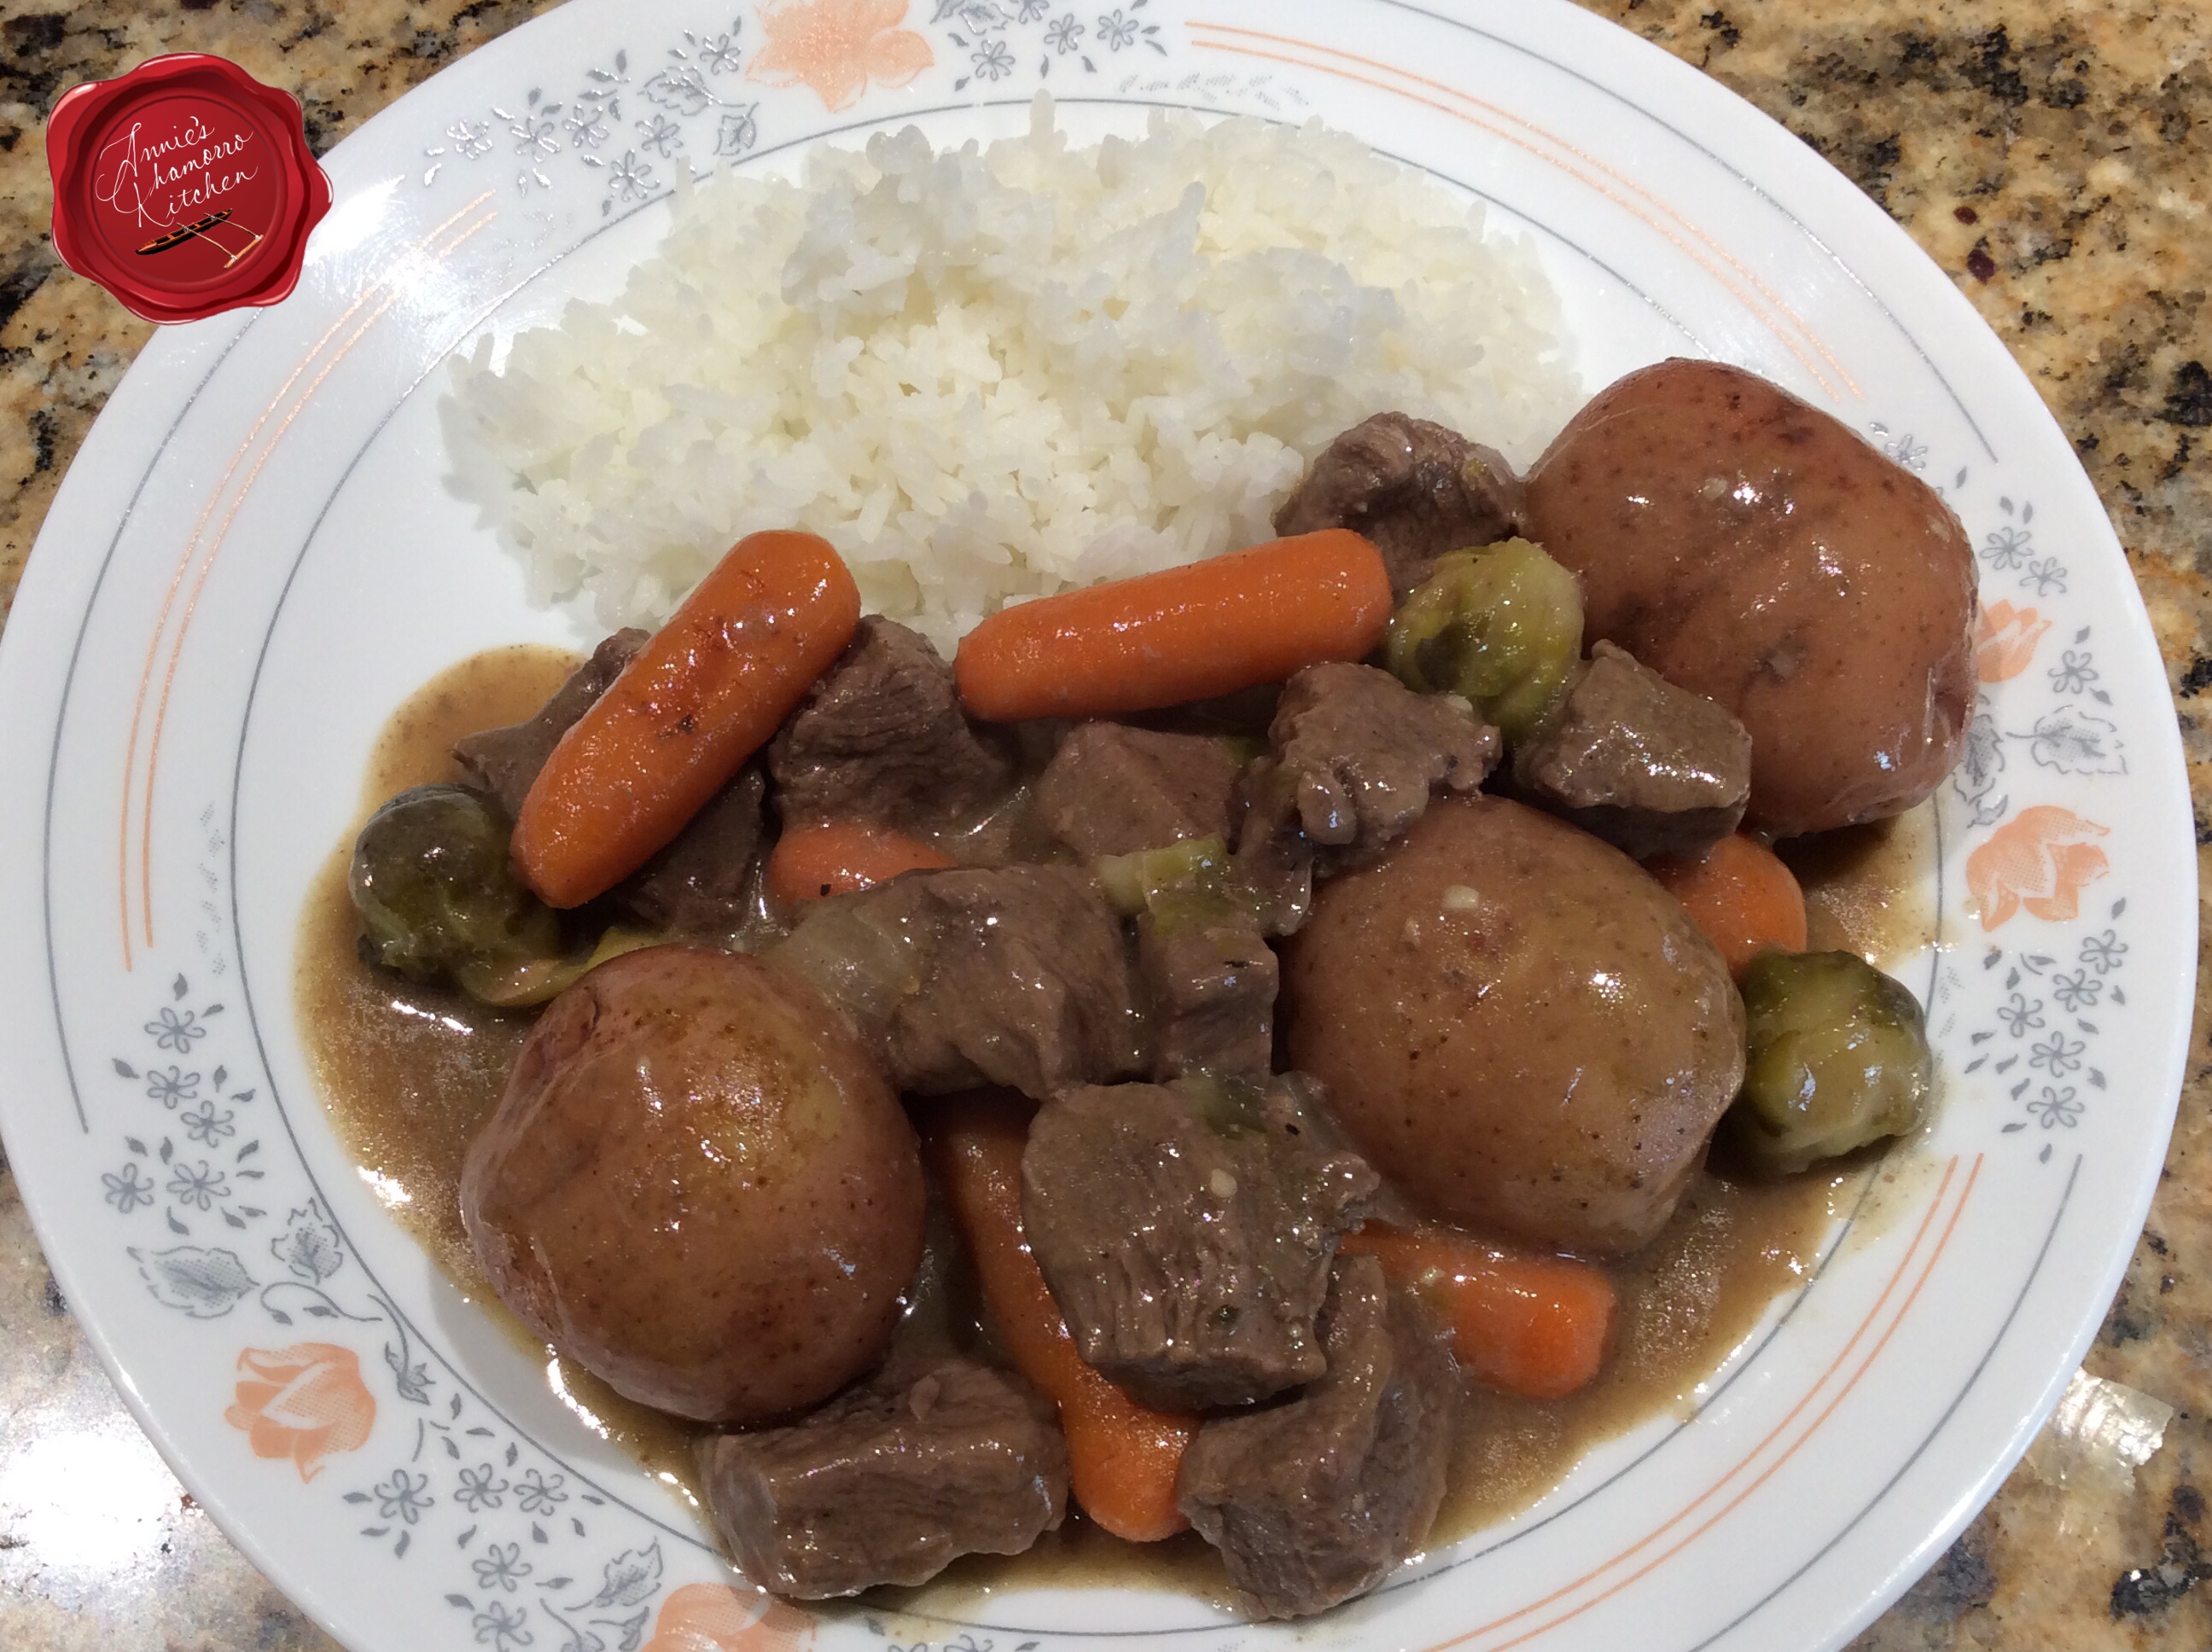
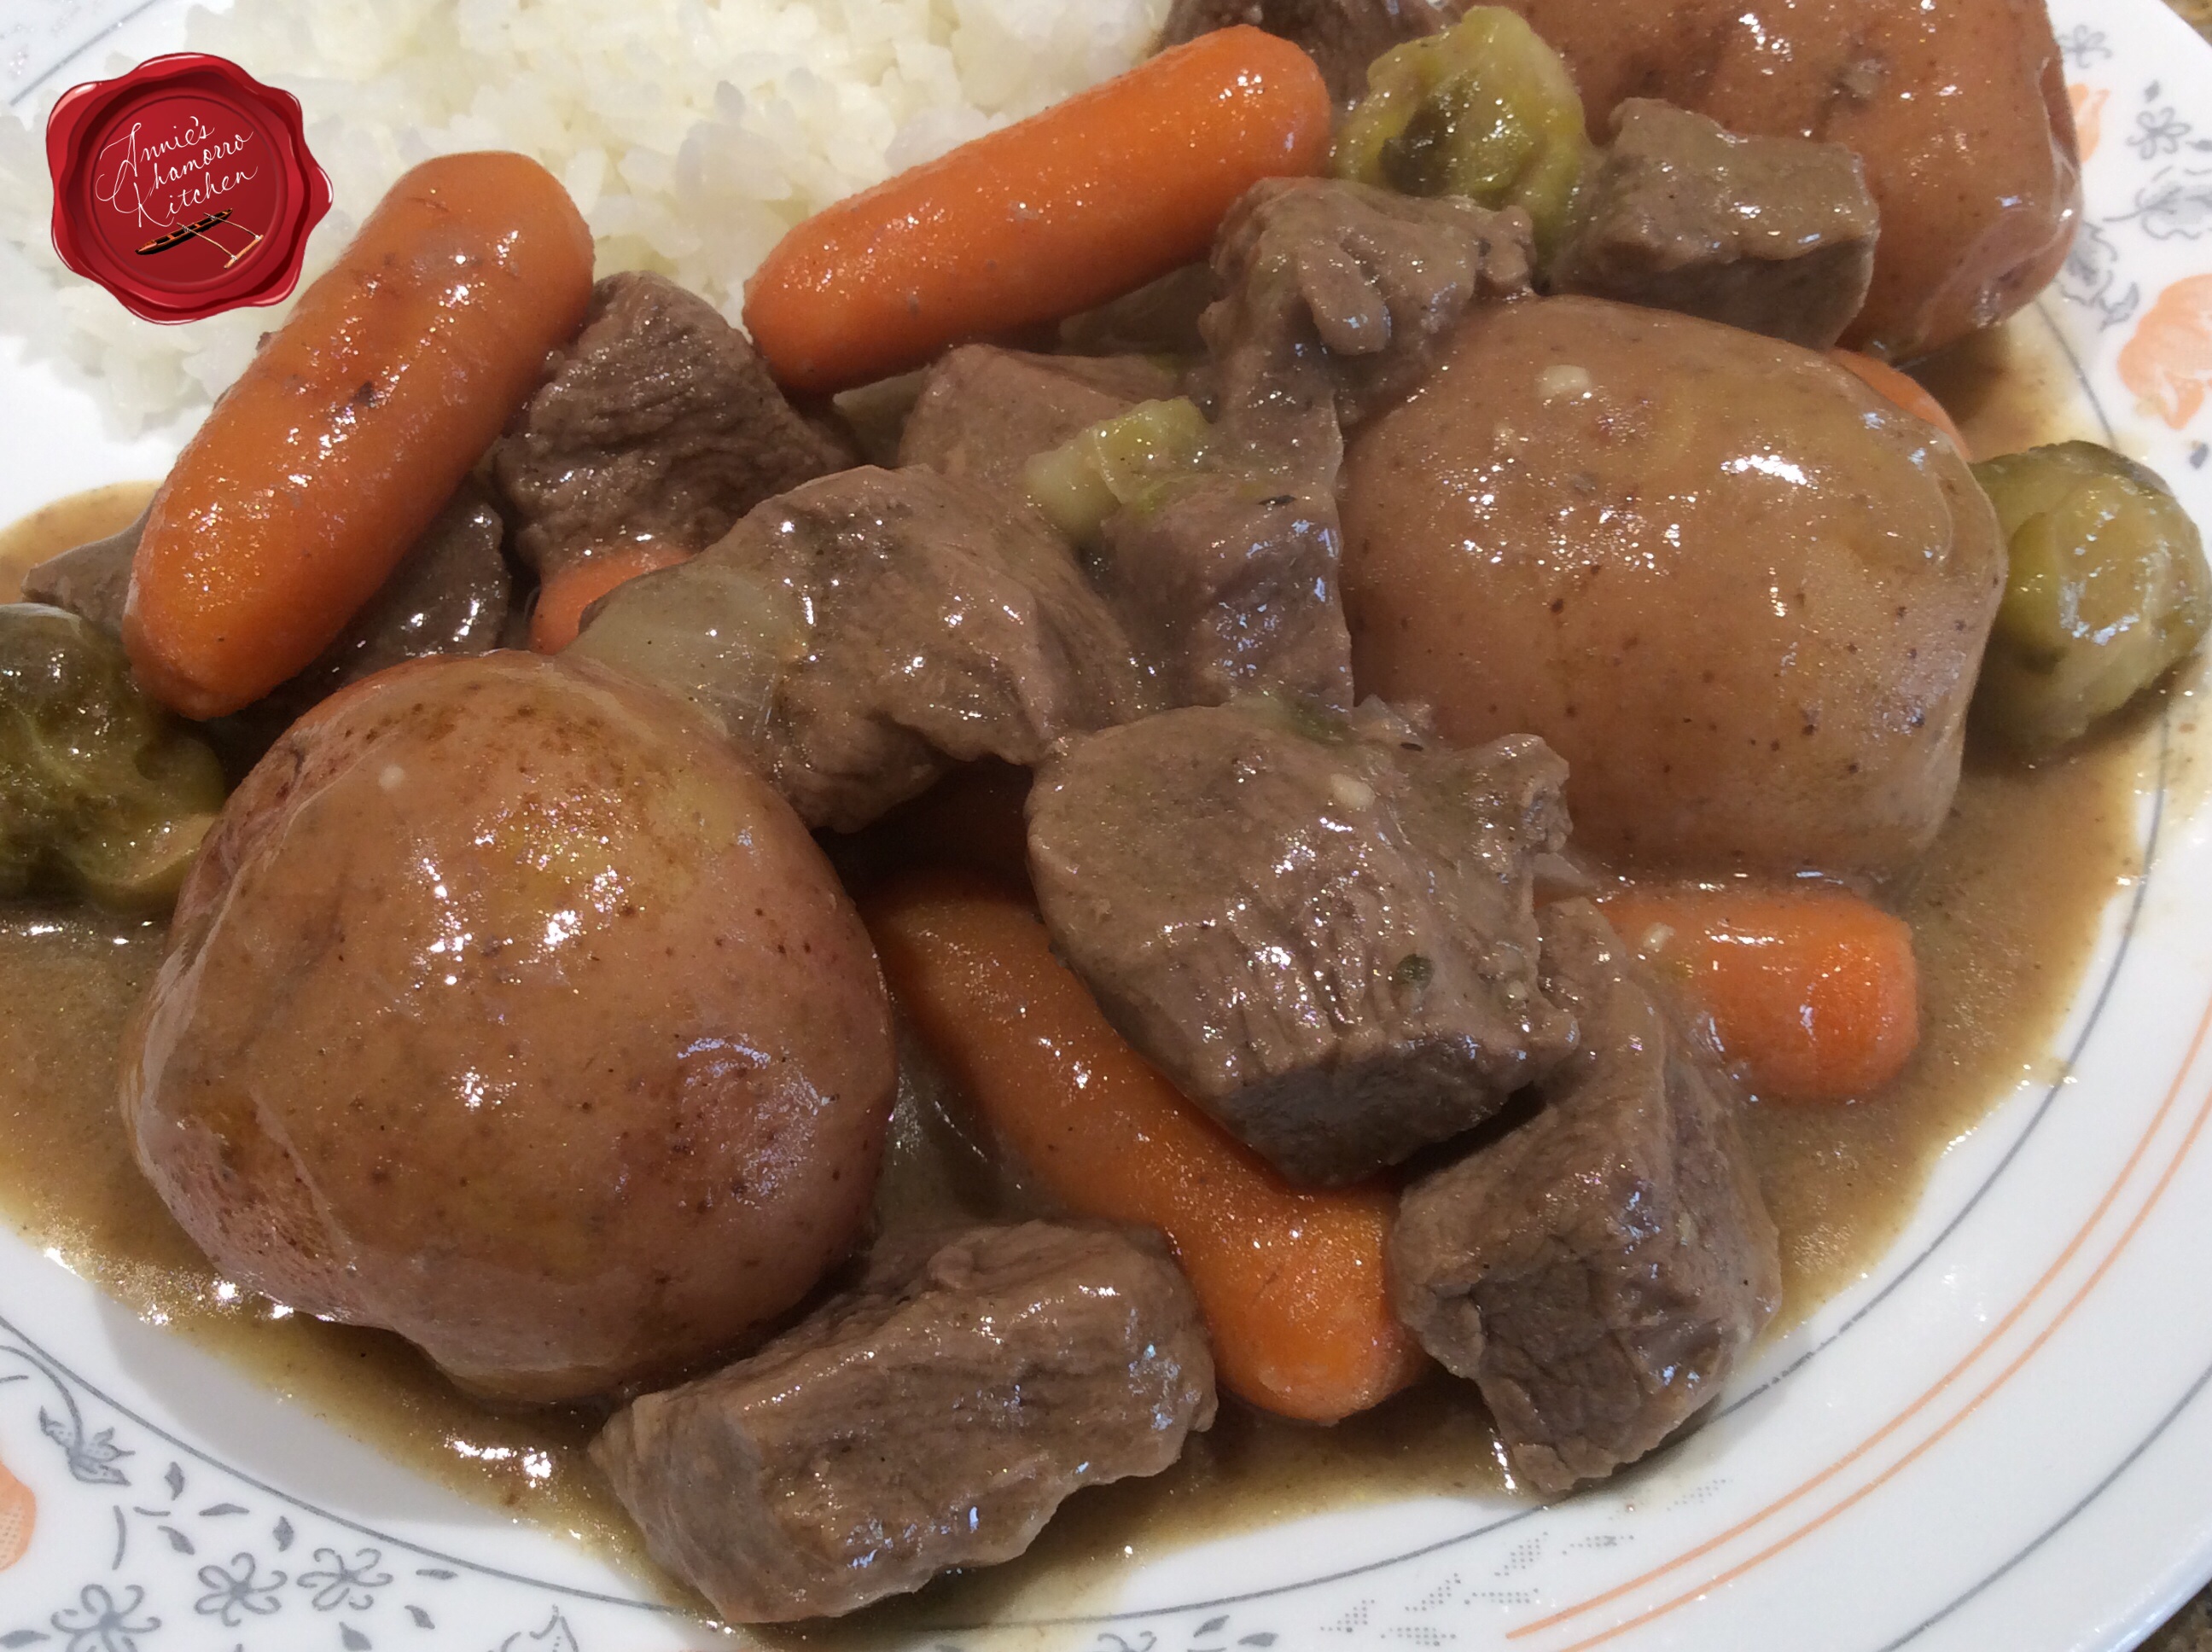
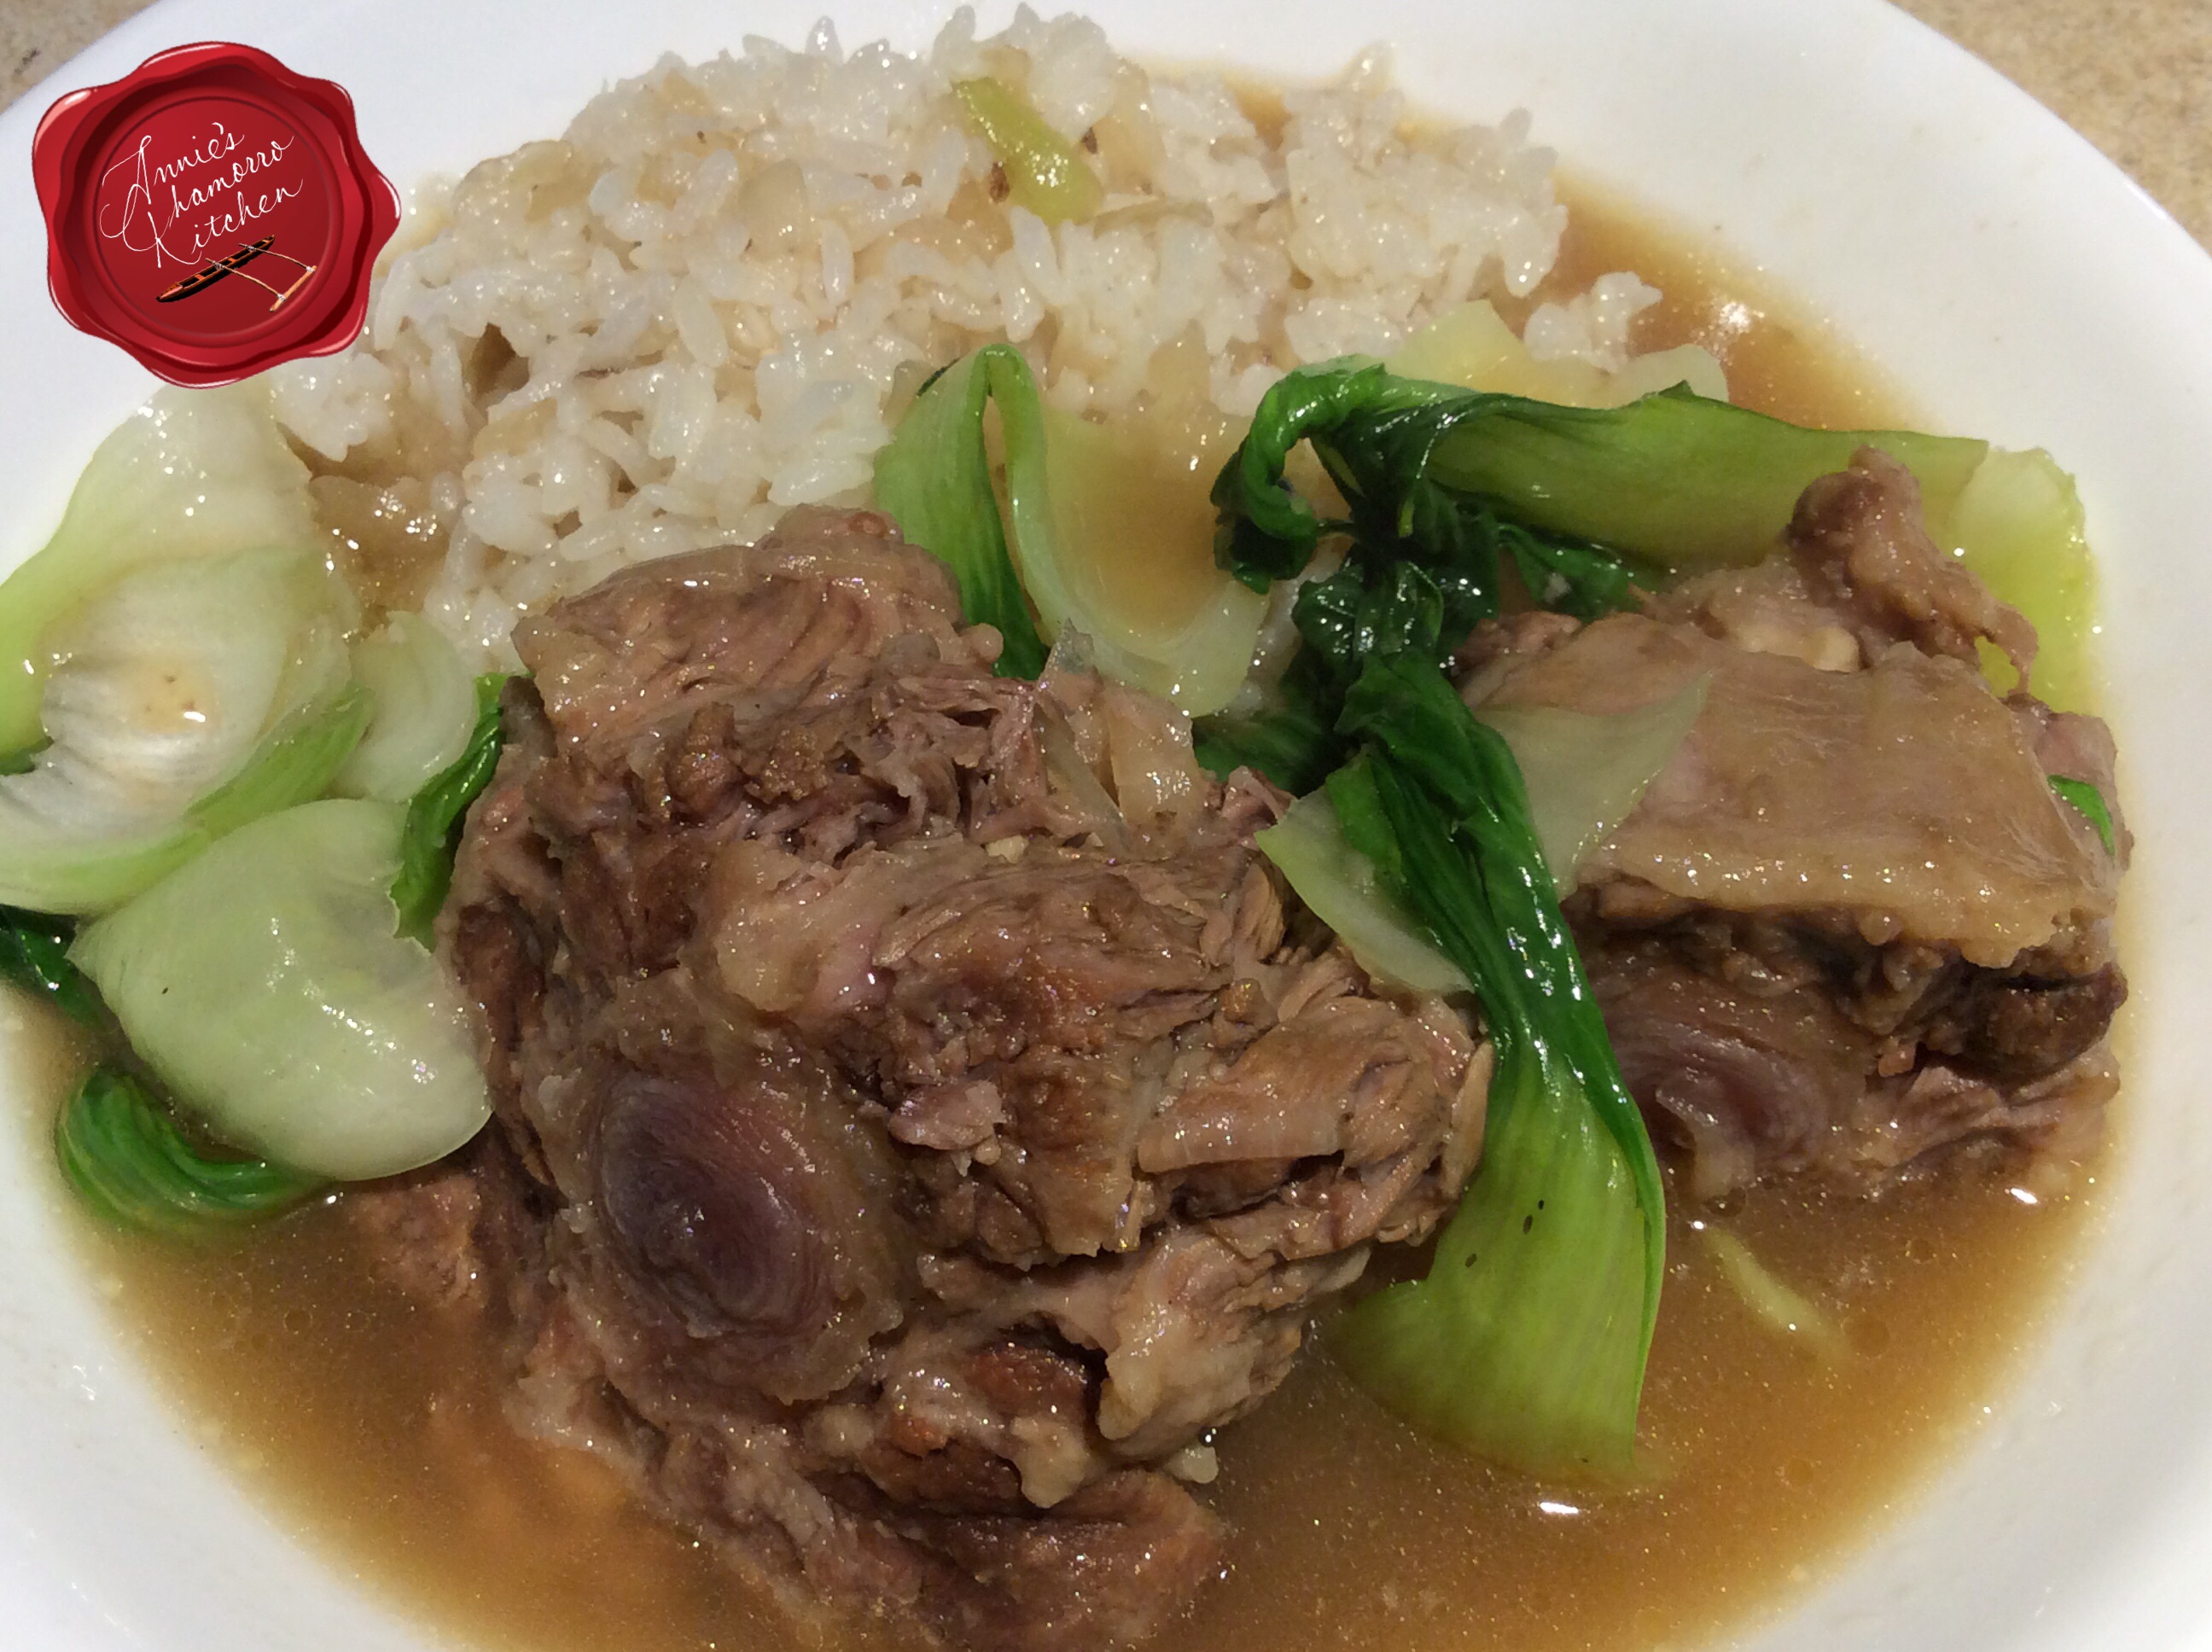
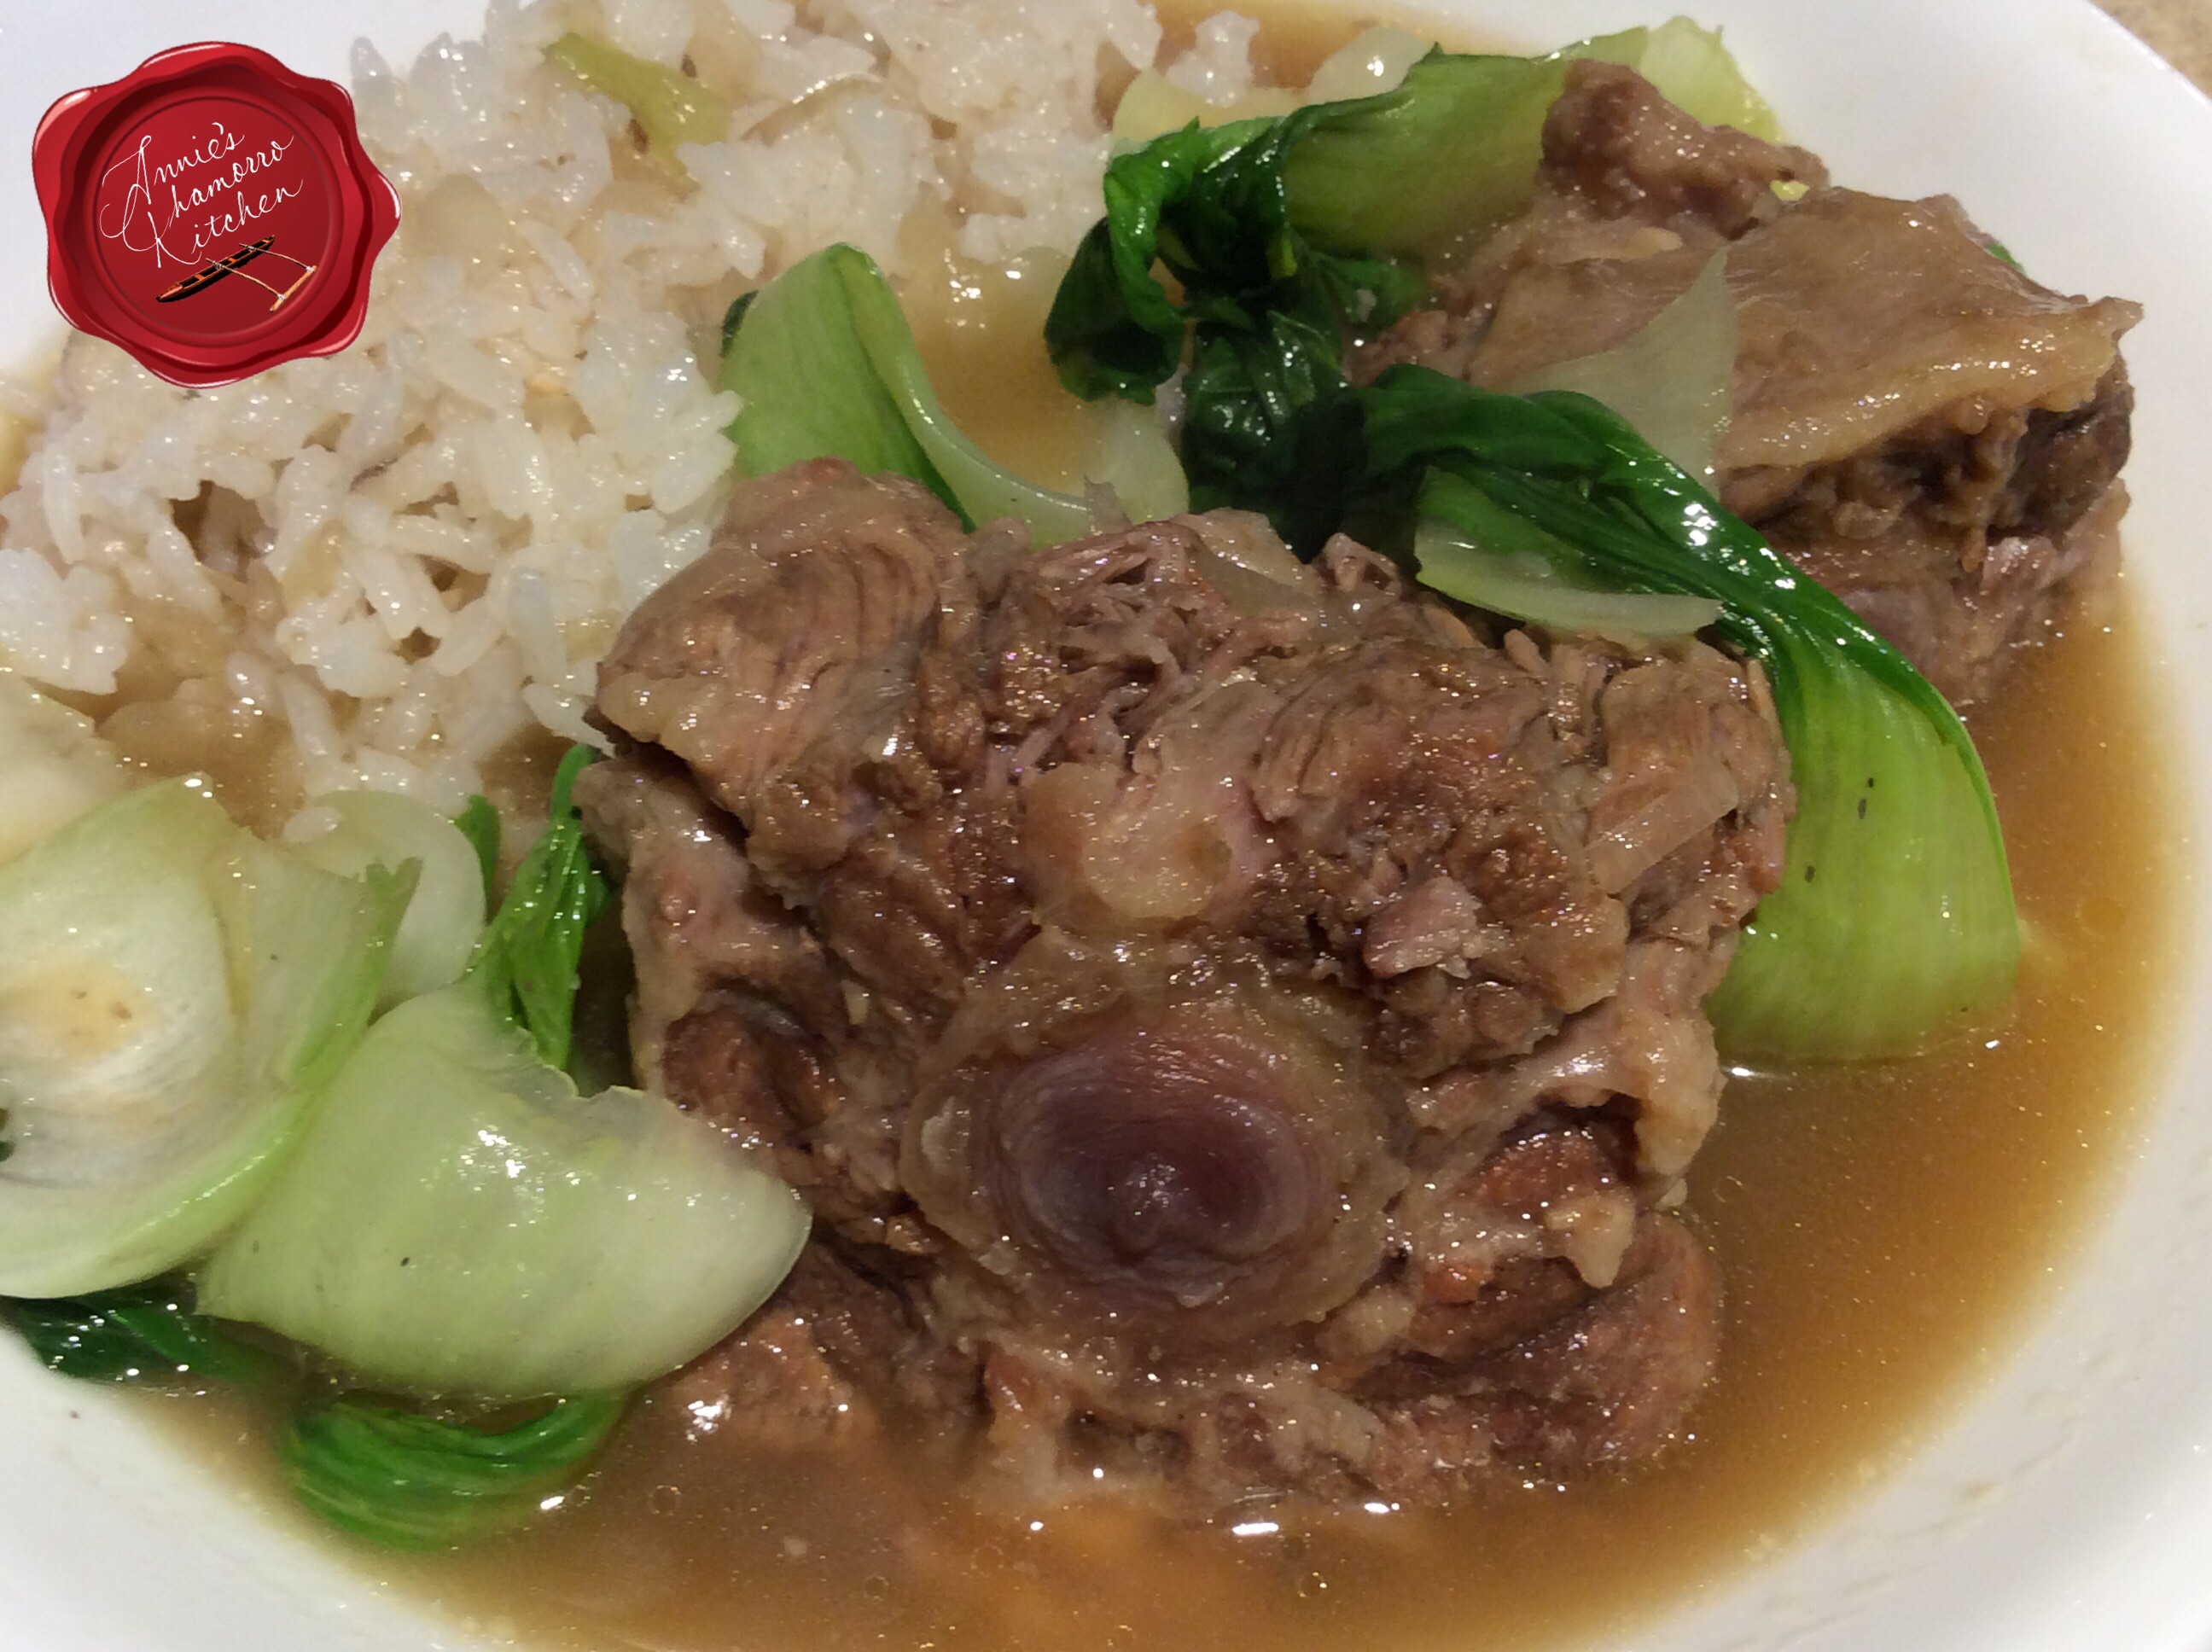
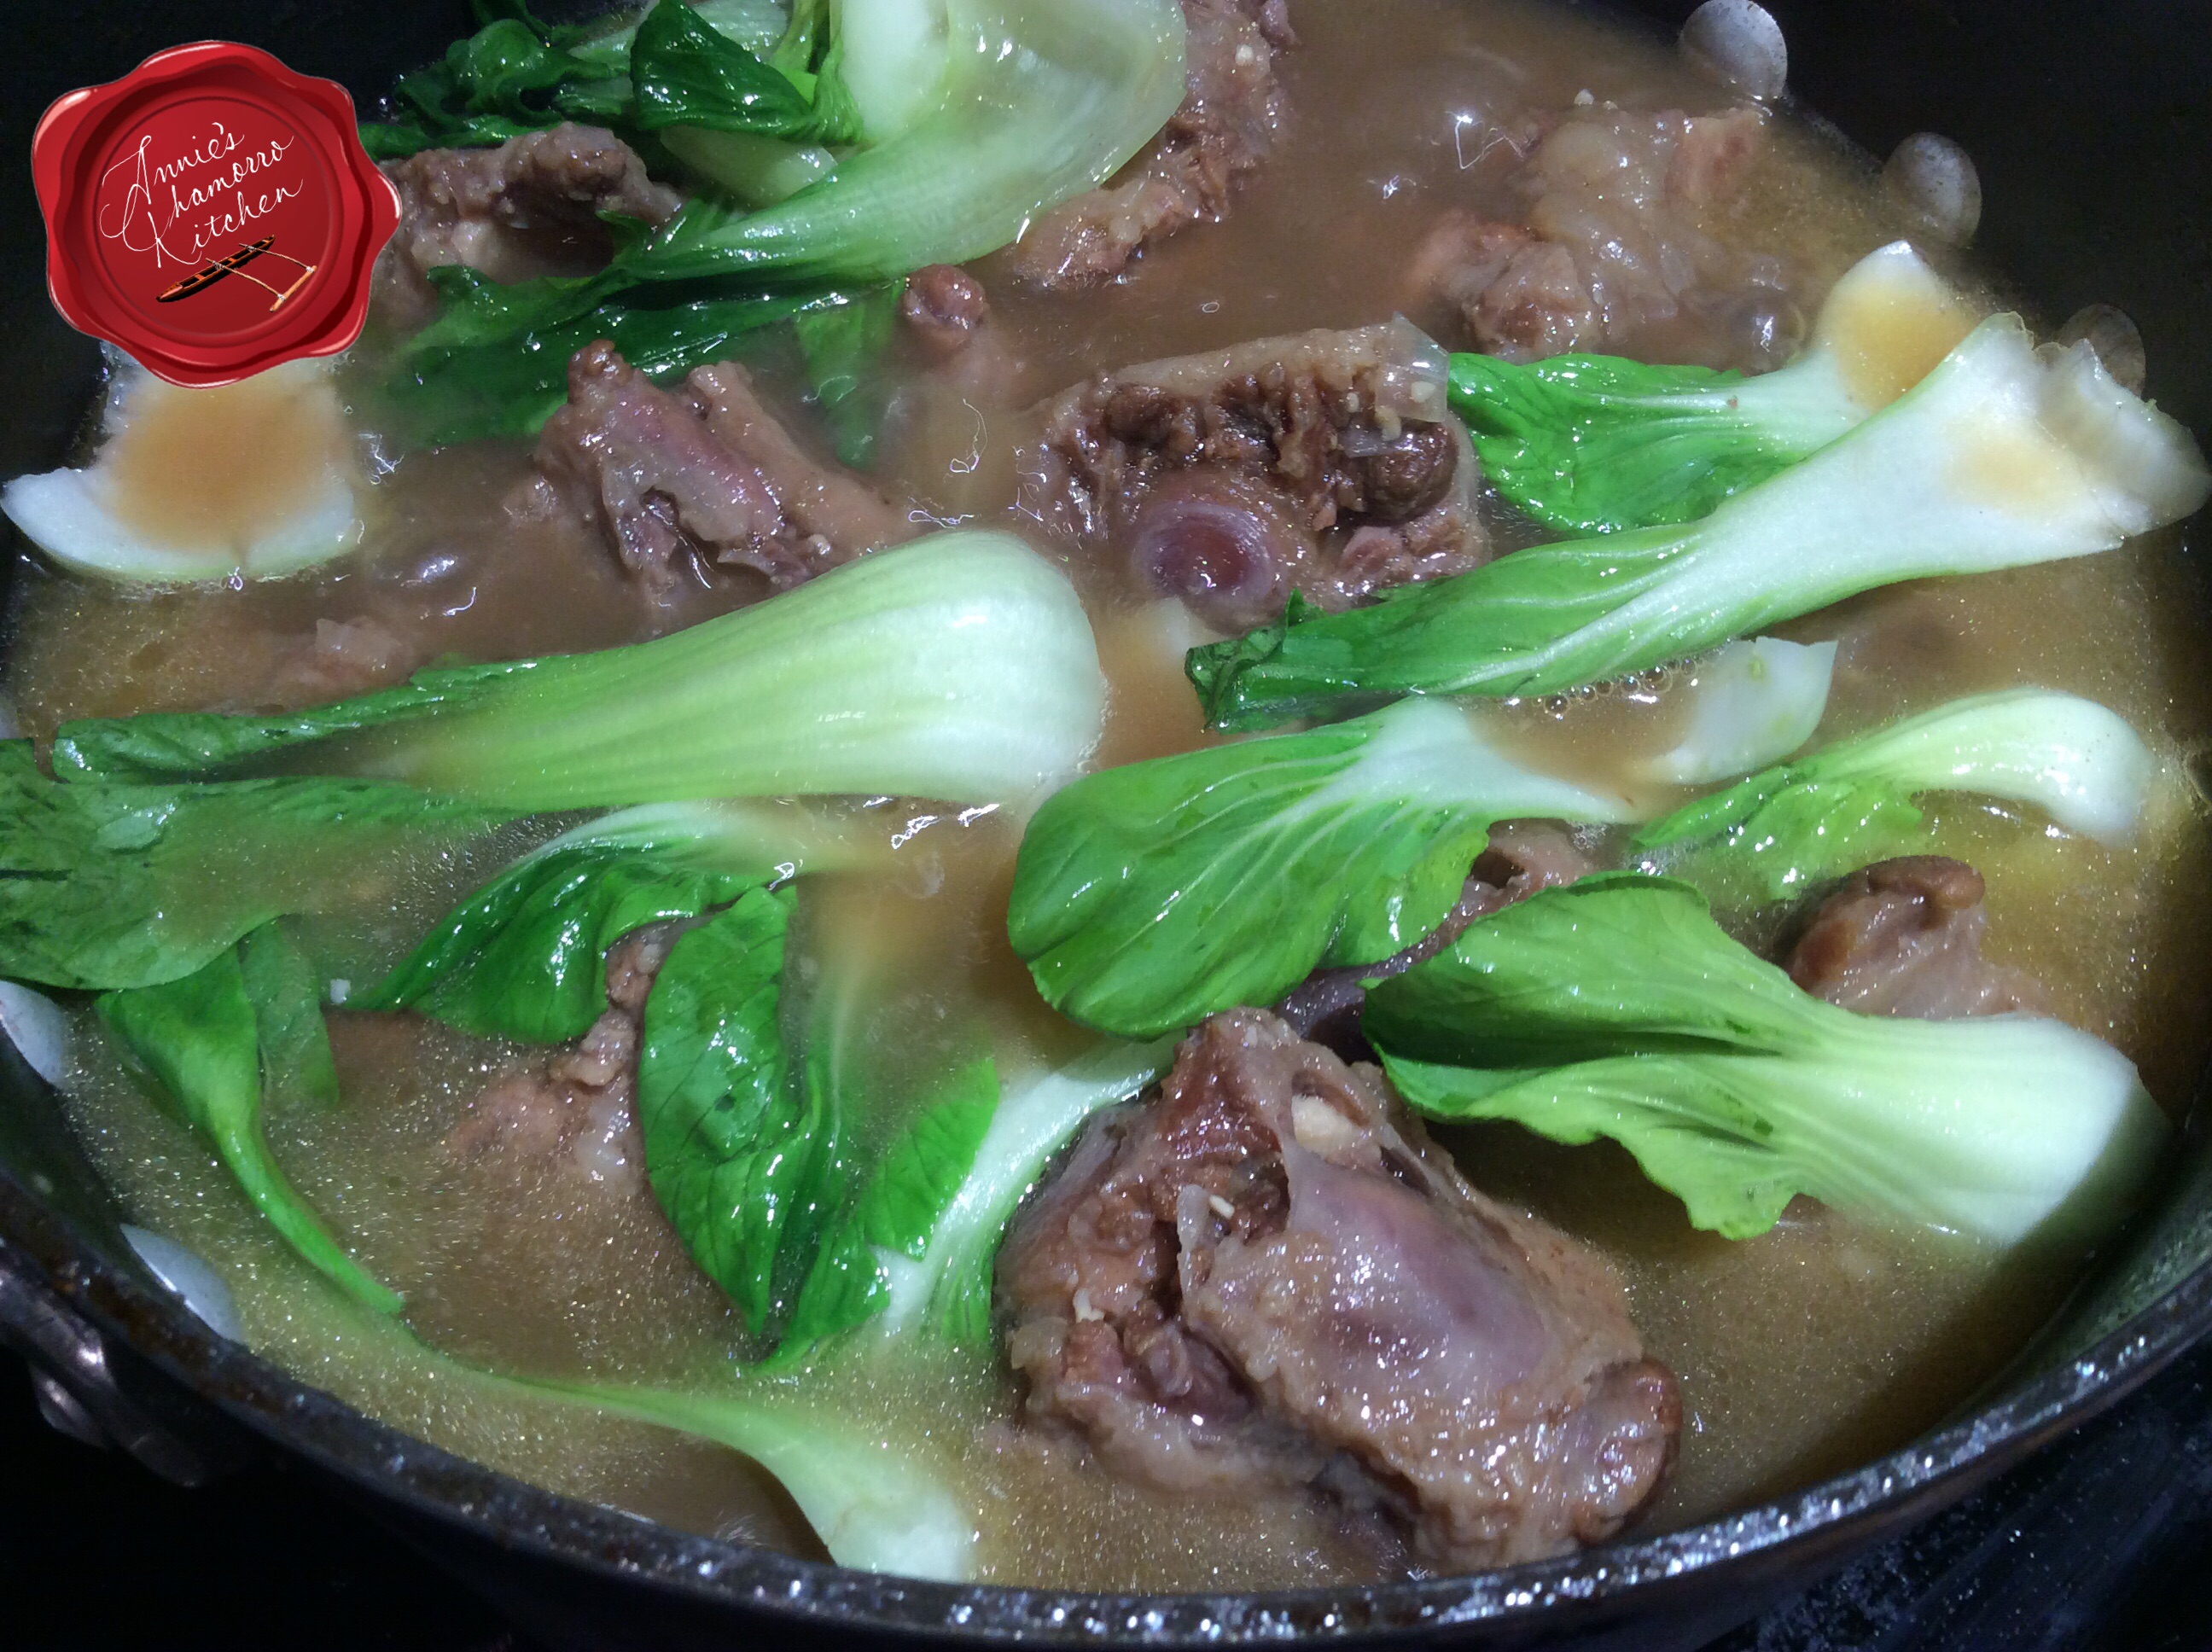
Add your favorite vegetables during this last 30 minutes of cooking. Sometimes I add potatoes and carrots, or squash (a favorite). Baby bok choy is another favorite. Squash cooks quickly, so add it last to prevent overcooking them. Baby bok choy cooks in just a few scant minutes, so add them at the very end, just before serving.
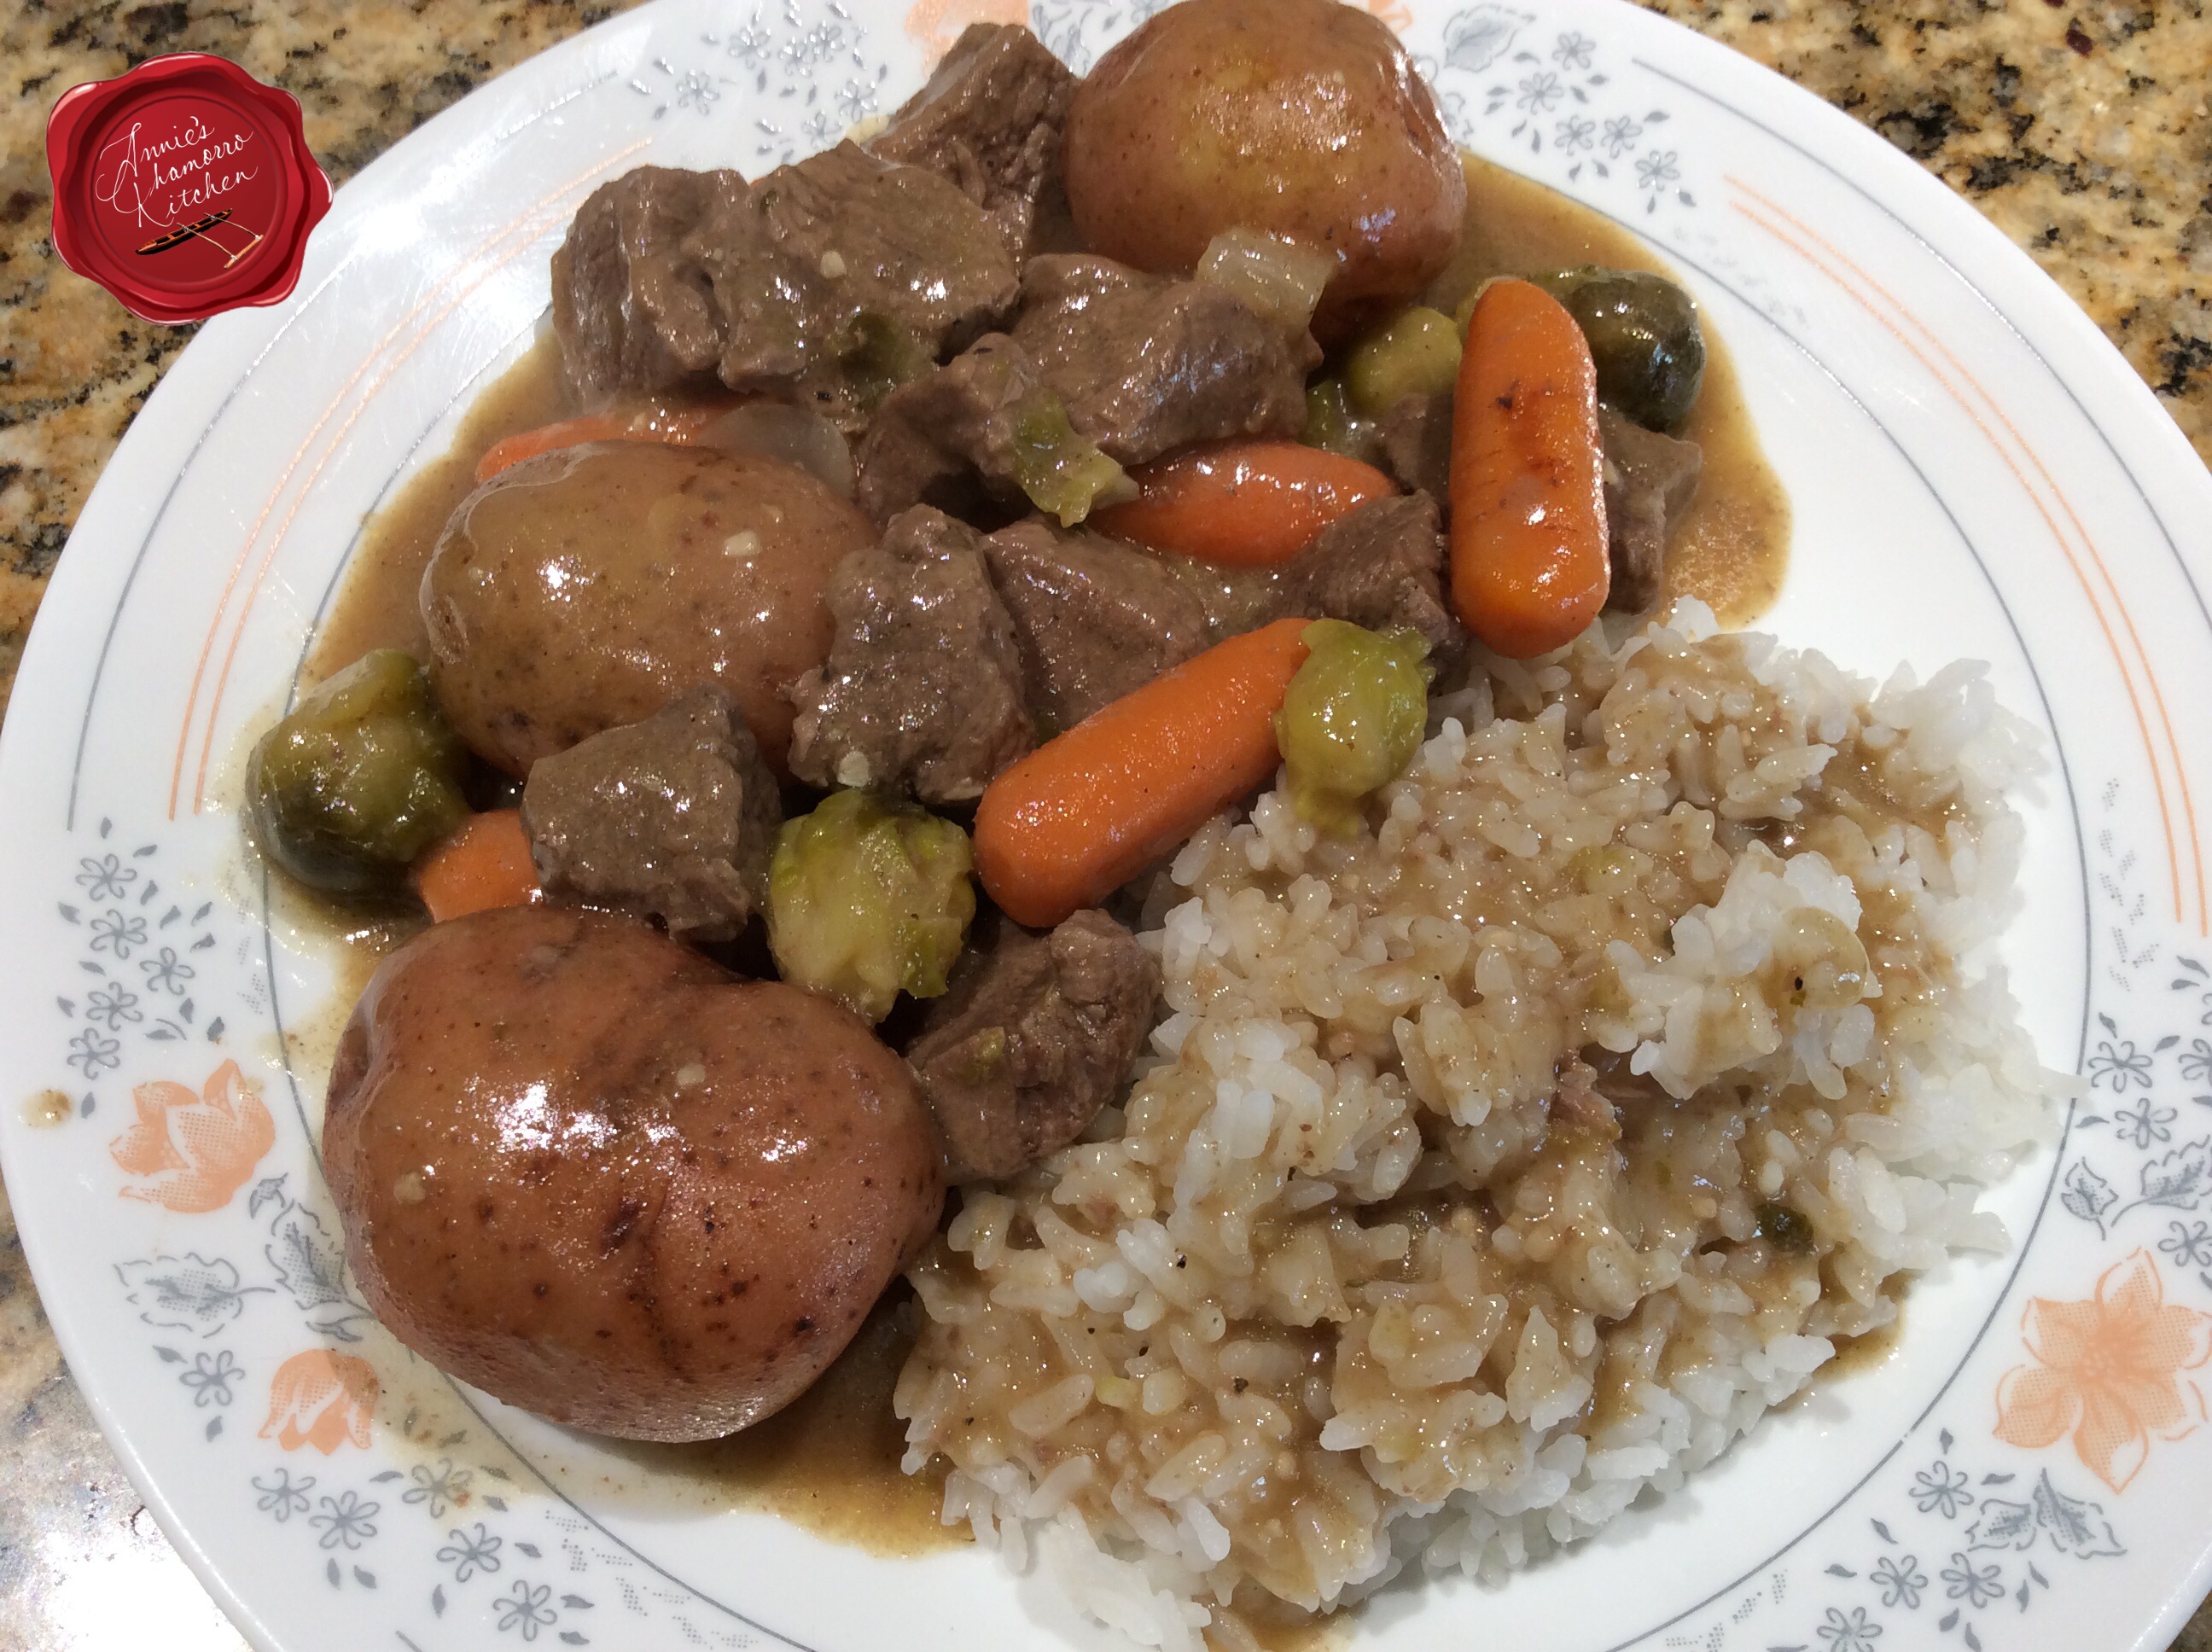
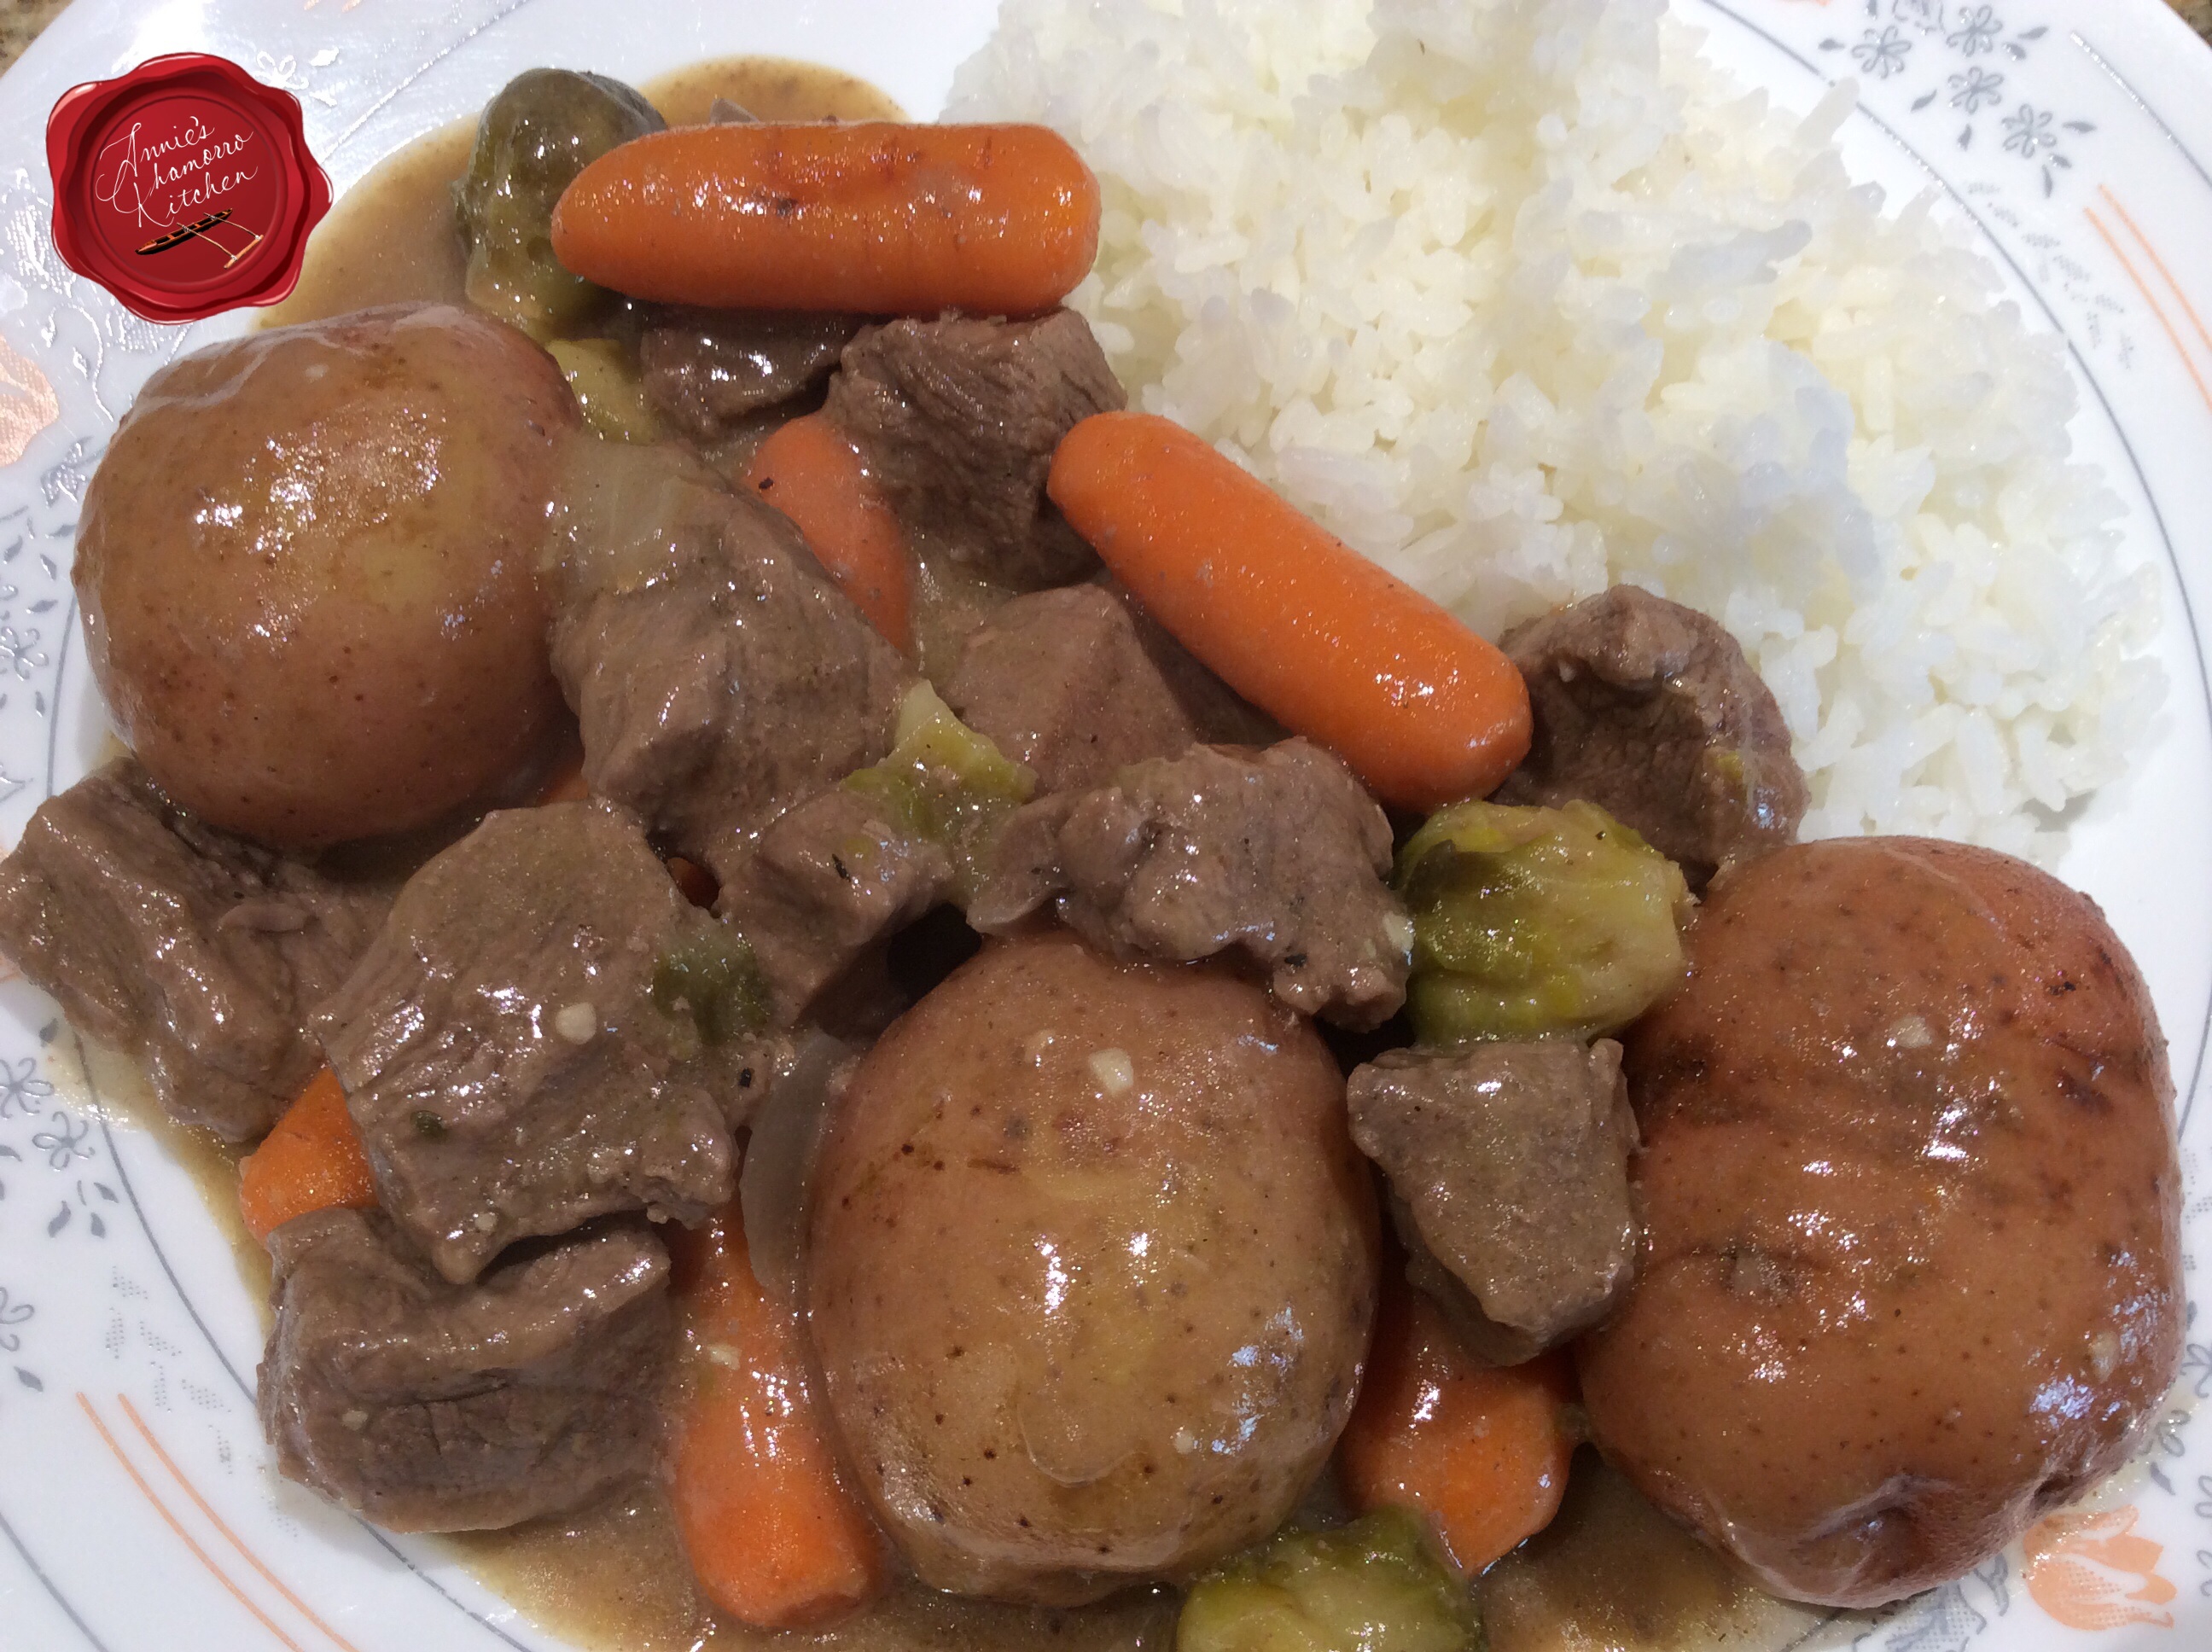
Serve over hot white rice with a good amount of broth and ENJOY! 🙂
Give my recipe a try. I think you’ll like it.
- 15-20 pieces of oxtail, excess fat trimmed off
- 1 medium onion, diced
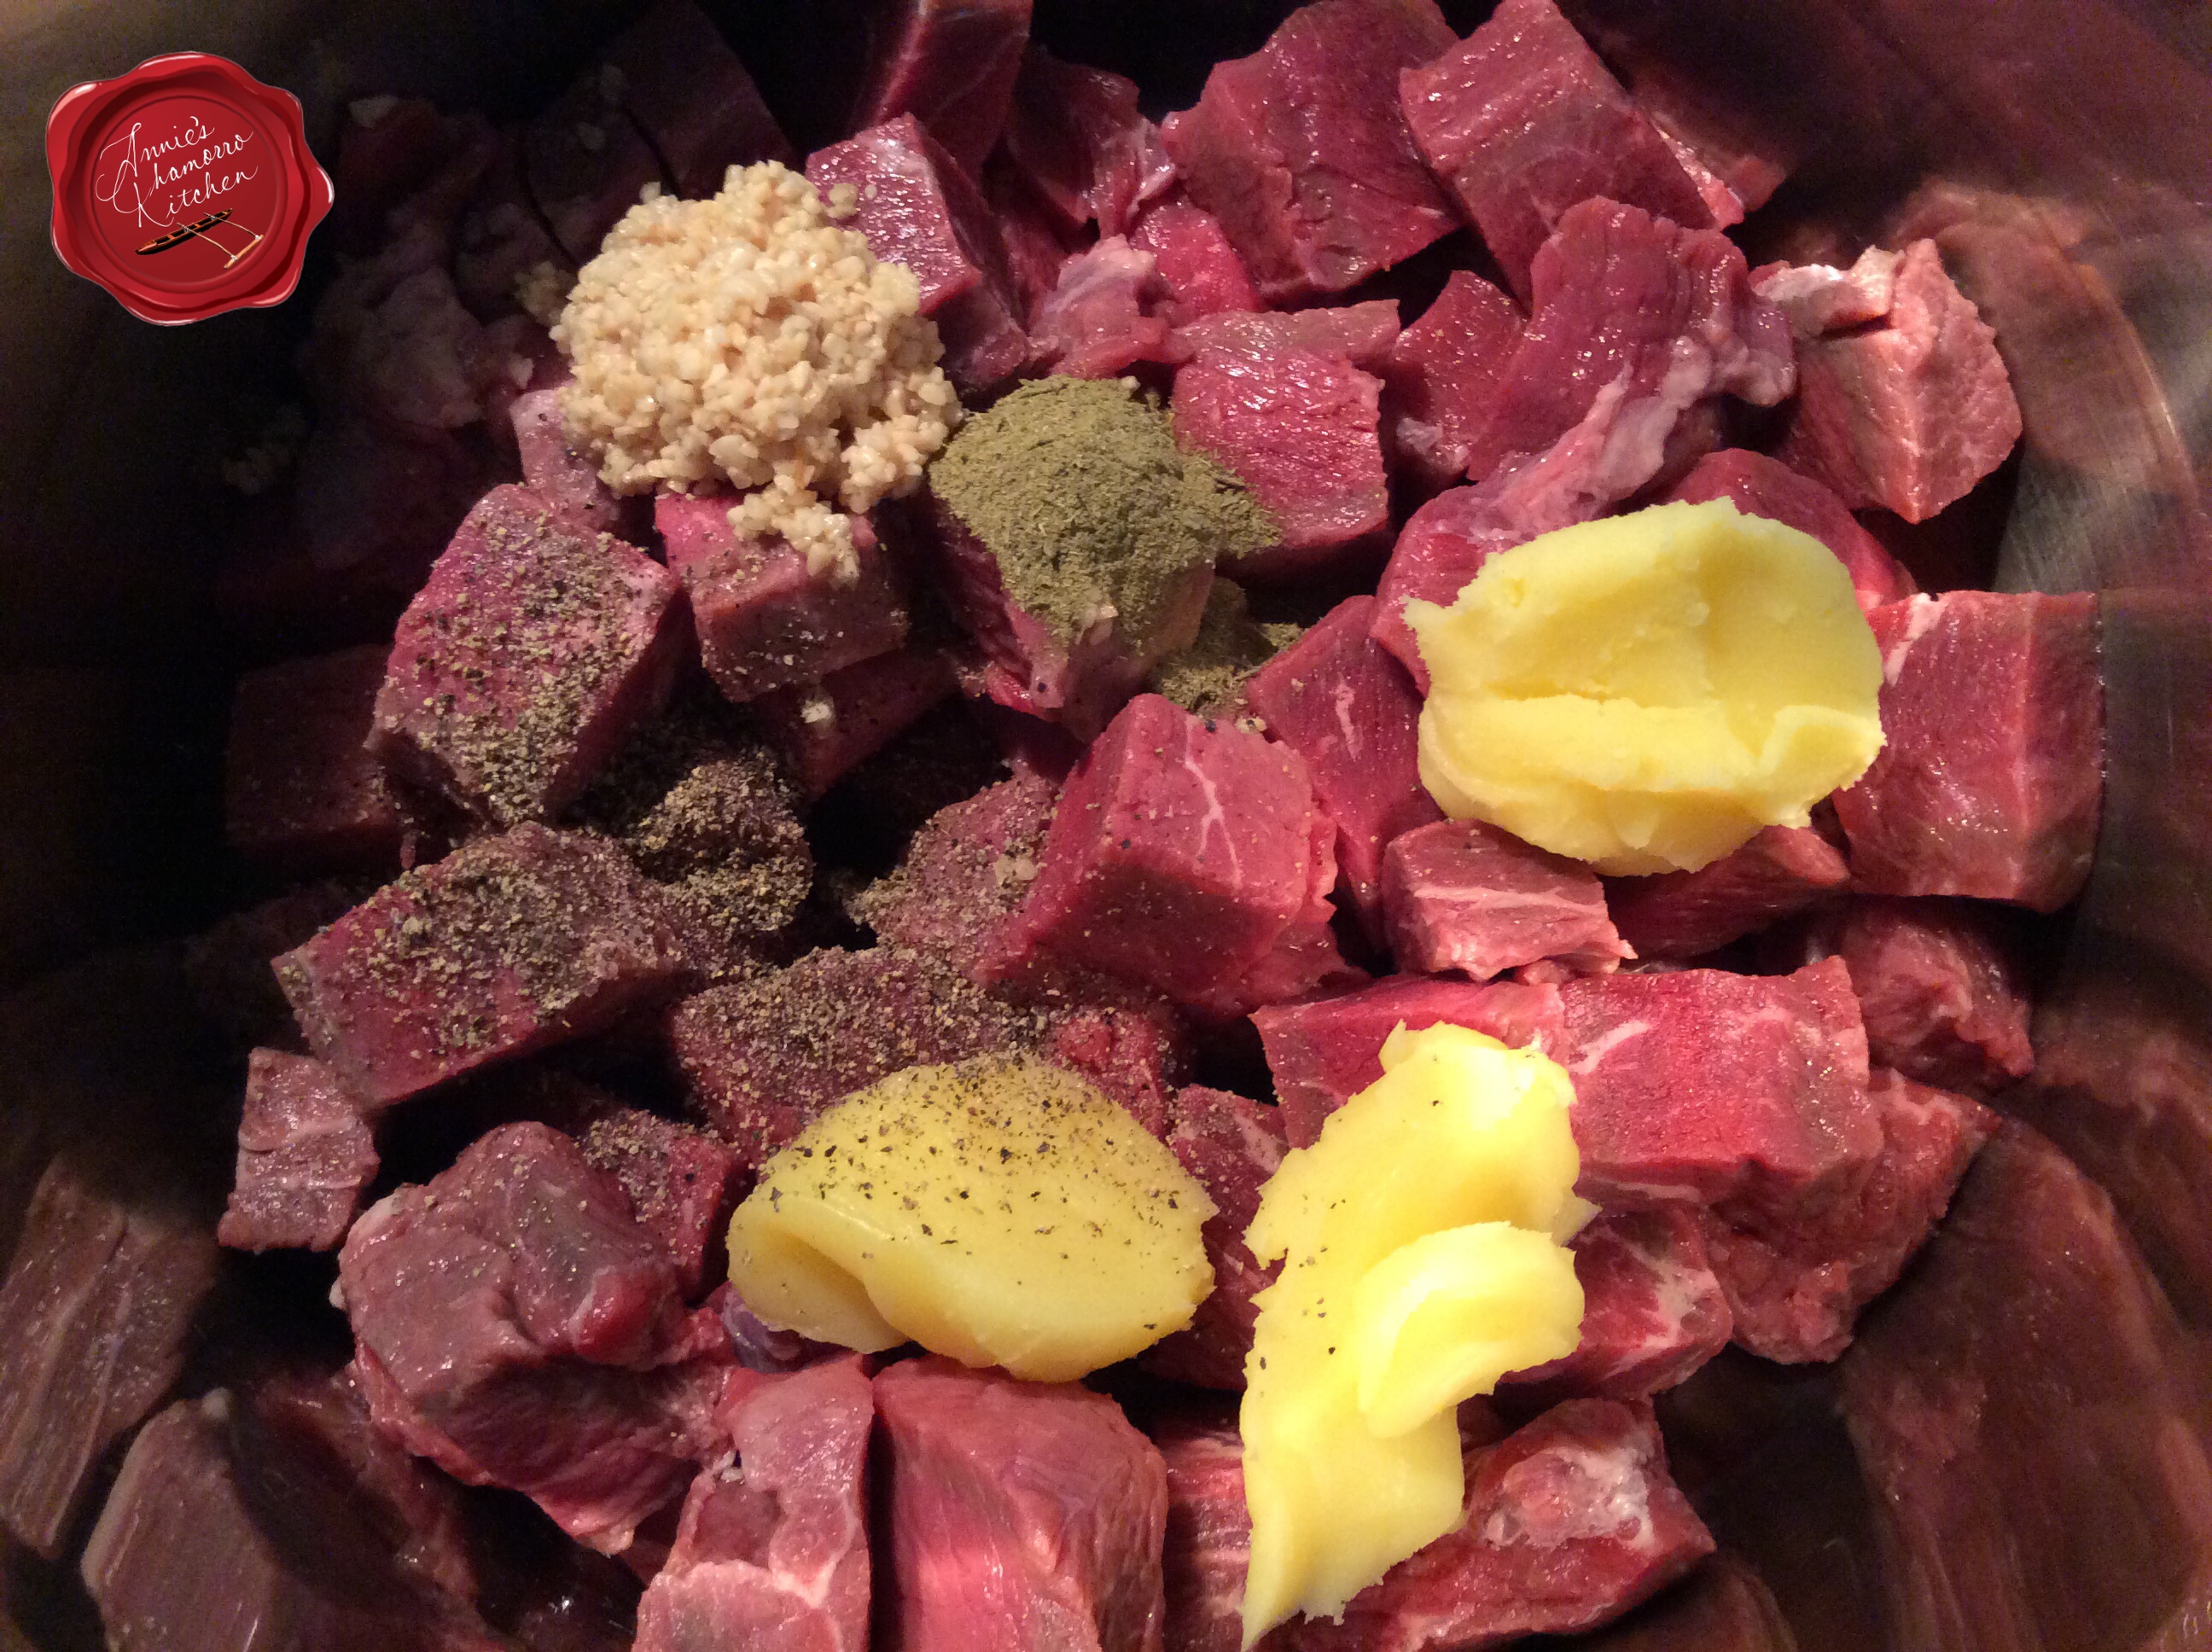
- 2 tablespoons chopped garlic
- 1 teaspoon black pepper
- Water, enough to completely cover the oxtail
- ½ bottle marsala wine, about 2 cups
- 4 tablespoons Dashida seasoning (or powdered beef bouillon)
- Salt and pepper, to taste
- 4 medium squash, peeled and cut into large pieces
- 12 baby bok choy
- Brown the oxtail in batches over medium-high heat (brown one layer of oxtail at a time). Set the browned oxtail aside.
- Add the onions, garlic and black pepper to the pot. Cook until the onions begin to caramelize.
- Return all of the oxtail to the pot. Add enough water to cover the oxtail. Cover the pot and reduce the heat to medium-low; simmer for 5½ hours, skimming the scum off the surface periodically. Keep the water level above the meat throughout the braising.
- After three hours of simmering, add the wine to the pot. Simmer for 2½ more hours.
- Add the Dashida. Taste the broth then add salt and pepper to taste.
- Add any vegetables last, cooking until the vegetables are done to your liking.