Archive for August 18, 2013

Shrimp Patties

Hi everyone!  This is Hannah, Annie’s daughter.

I made some delicious shrimp patties for lunch one day. My version is somewhat different from the “regular” recipe most people have.

What’s different about my version? I don’t use any eggs. It started out as a mistake one time when I was making shrimp patties and forgot to put eggs in the batter. However, I liked how it turned out. The inside was nice and fluffy, and my shrimp patties were nice and round (my neighbor called them “shrimp balls”) and not flat.

Give my recipe a try. Let me know how you like them. My family loves them; I hope you do too!

SHRIMP PATTIES

Shrimp Patties - 58

INGREDIENTS:

  • 1 cup thinly sliced fresh green beans
  • 2 cups peas
  • 1 cup chopped onions (about 1/2 a medium onion)
  • 3 cups corn kernels (I love lots of corn in my shrimp patties)
  • 4 cups shrimp, chopped
  • 2 tablespoons minced garlic
  • 2 cans evaporated milk
  • 3 cups all purpose flour
  • 2 tablespoons baking powder
  • 5 tablespoons Dashida seasoning (the seafood flavored kind)
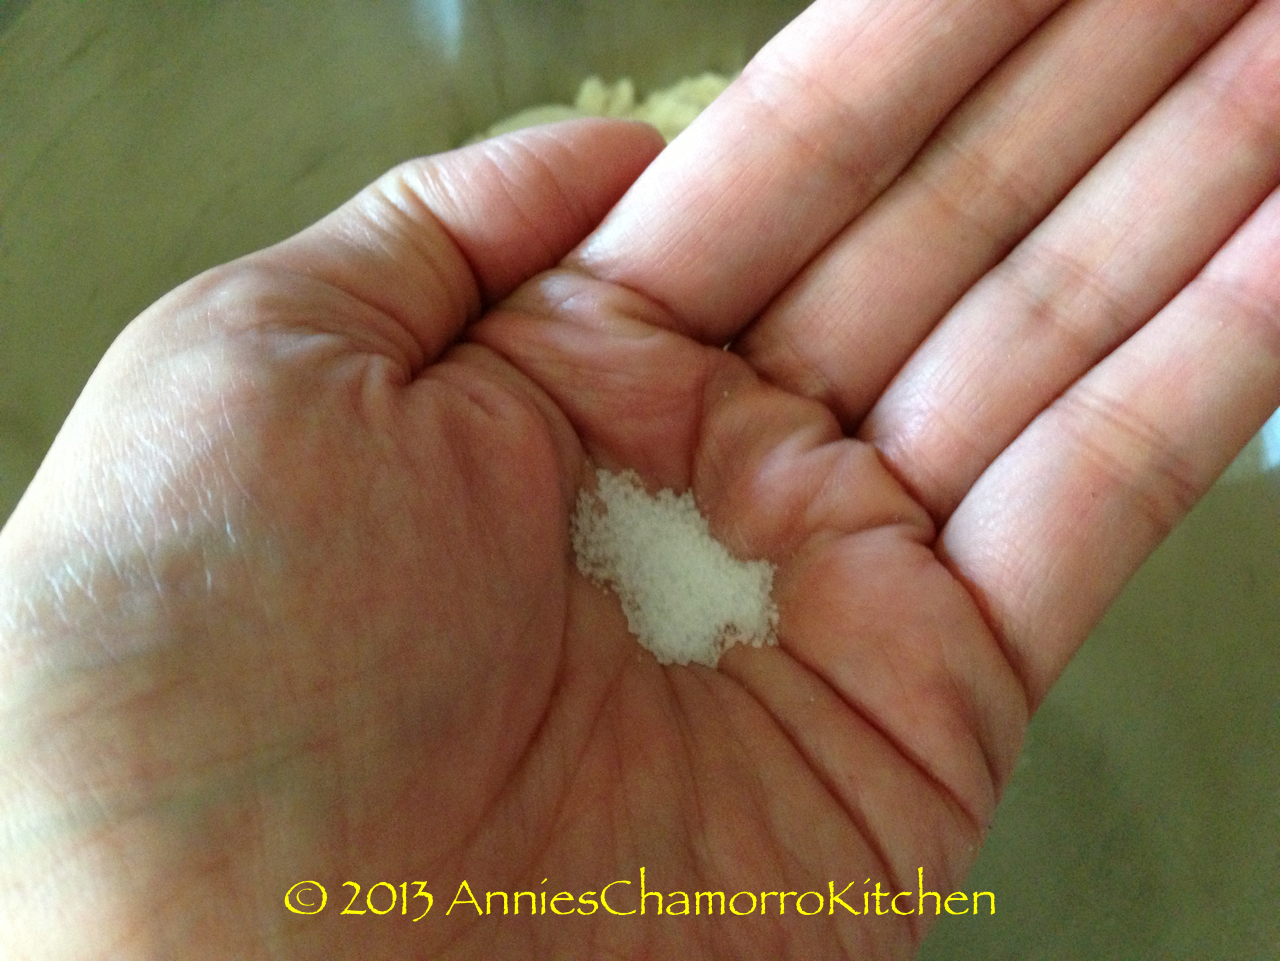
  • 1 teaspoon Accent
  • 1 teaspoon black pepper
  • Oil, for frying

 DIRECTIONS:

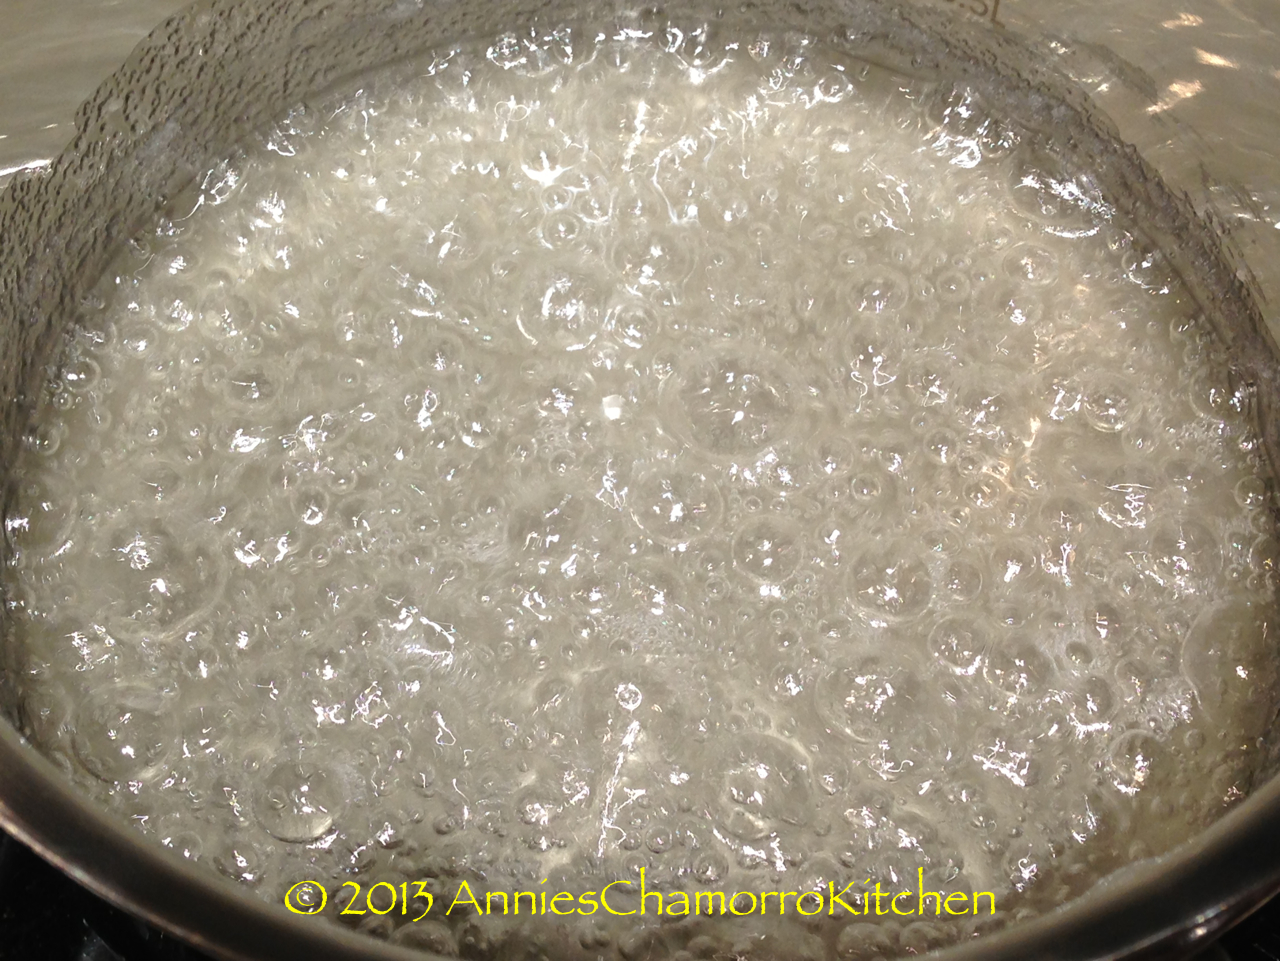
1.  Heat the oil in a large frying pan. Do you know how to tell if the oil is hot enough and ready? My mom taught me a great trick.  Use the tip of a wooden spoon (I used a wooden chopstick) and dip it into the oil.  If little bubbles start to form around the wood, then the oil is hot and ready. Make sure the wood is clean and dry first; you don’t want hot oil to splatter and burn you.

Here is a short video clip. You can see all of the little bubbles form around the tip of the wooden chopstick. This tells you that the oil is hot and ready for frying.

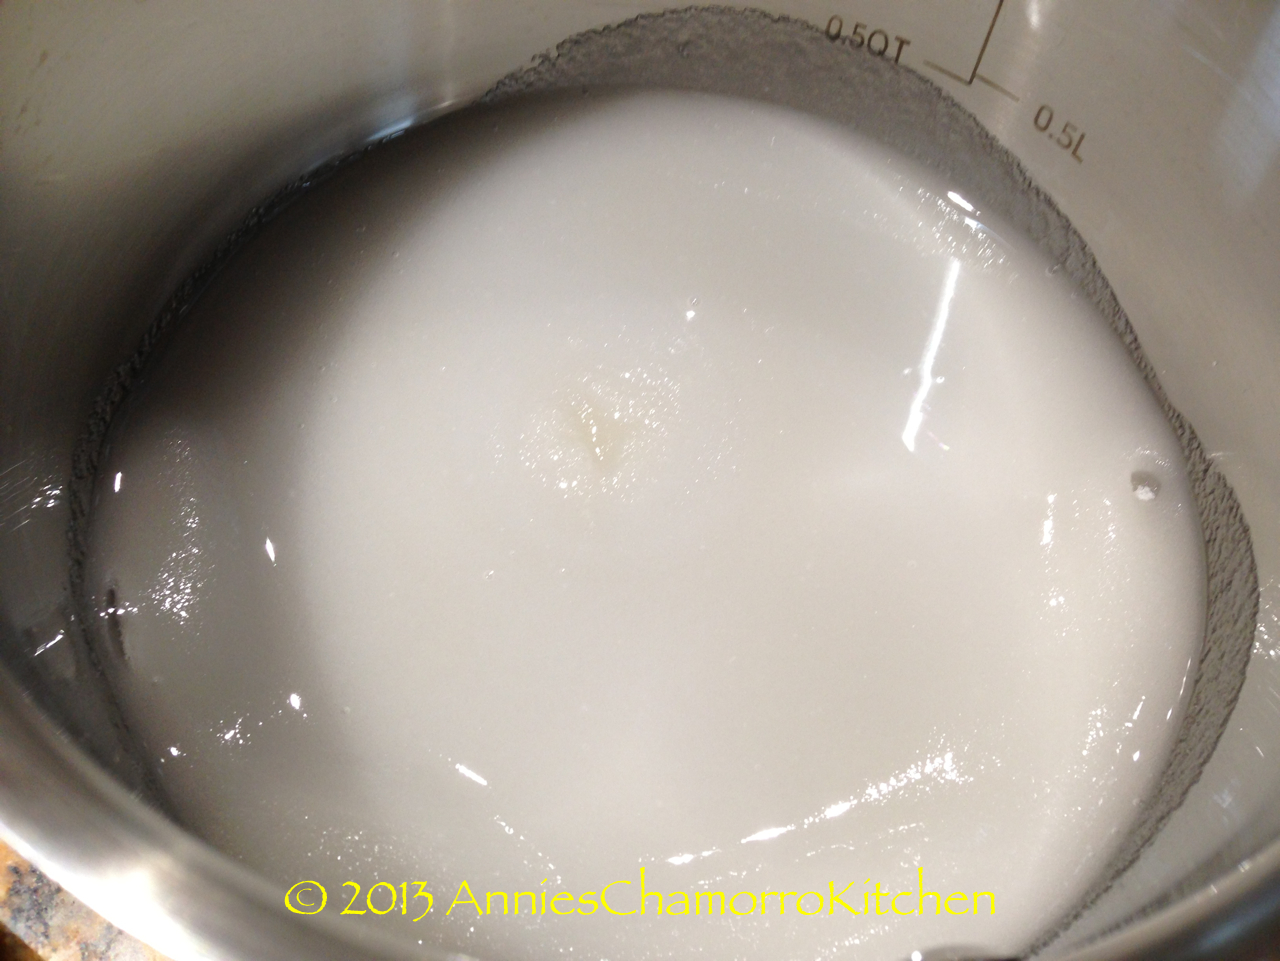
2.  While you’re waiting for the oil to heat up, mix all of the ingredients (except for the oil, of course) in a large bowl.

3.  Drop spoonfuls of batter into the hot oil and fry until golden brown. Note: I used a small ice cream scoop that holds 1 1/2 tablespoons. This is also what makes the shrimp patties nice and round like doughnuts. (Maybe that’s why my neighbor calls them shrimp balls, LOL.)


I added a lot of photos below to show you the process.

Enjoy, and I hope you like them!

~ Hannah


Shrimp Patties - 03

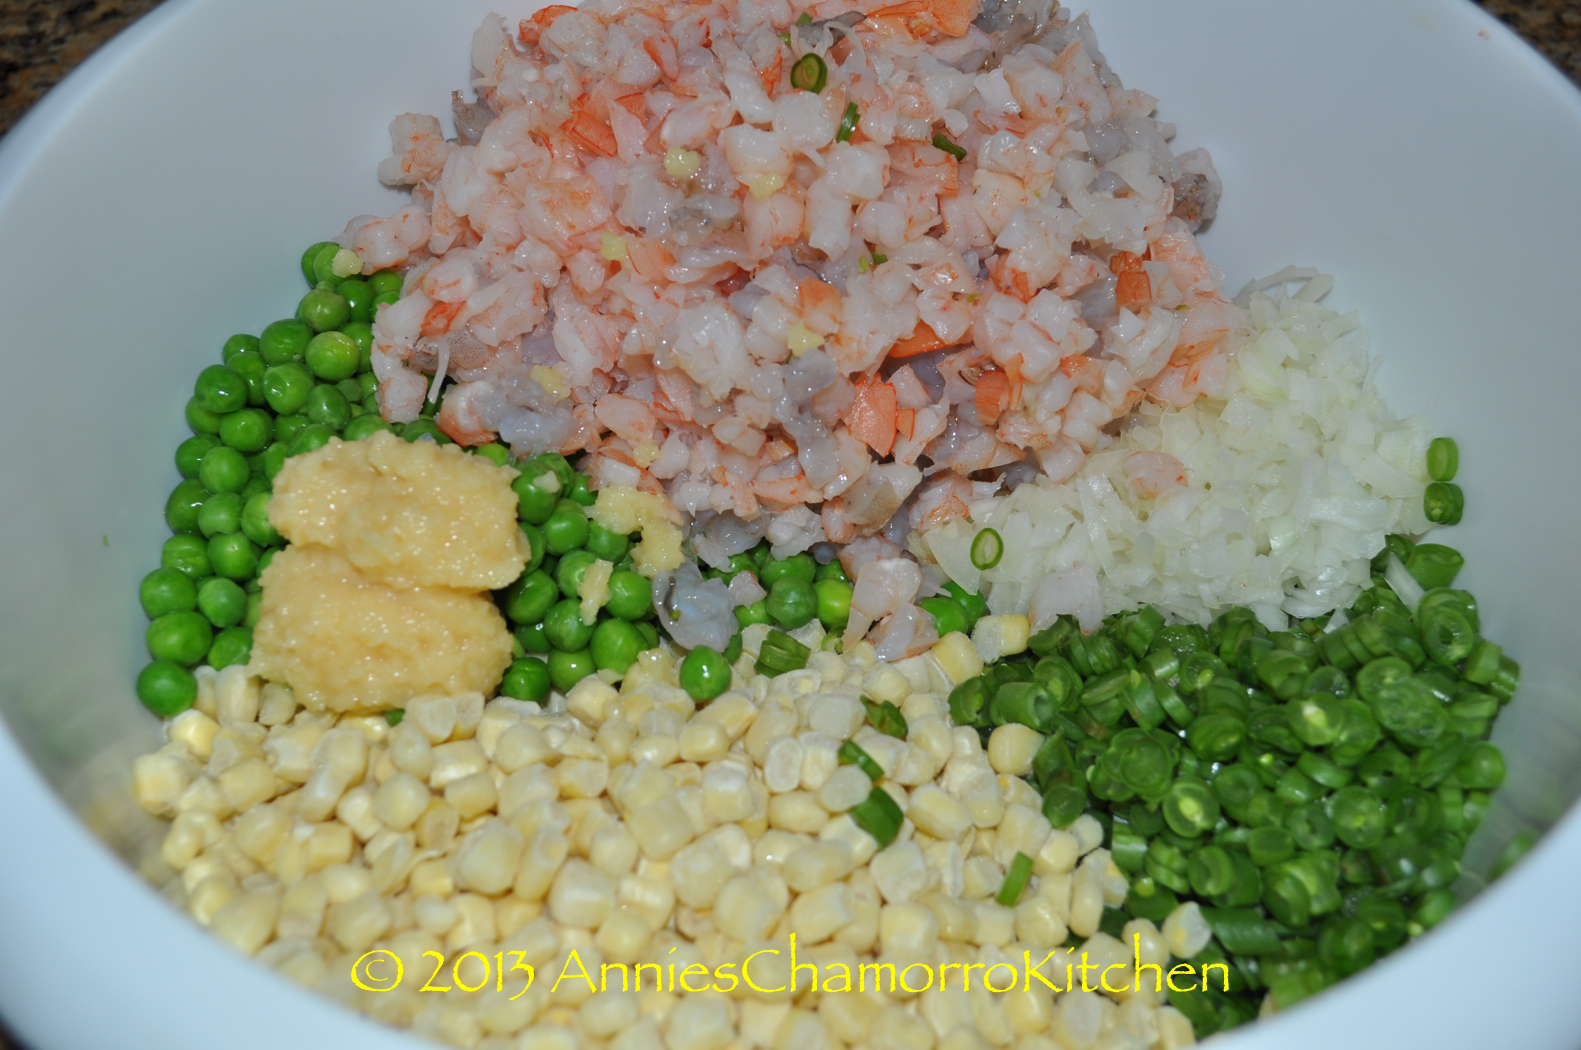
Place the shrimp and vegetables in a large mixing bowl.

Shrimp Patties - 05

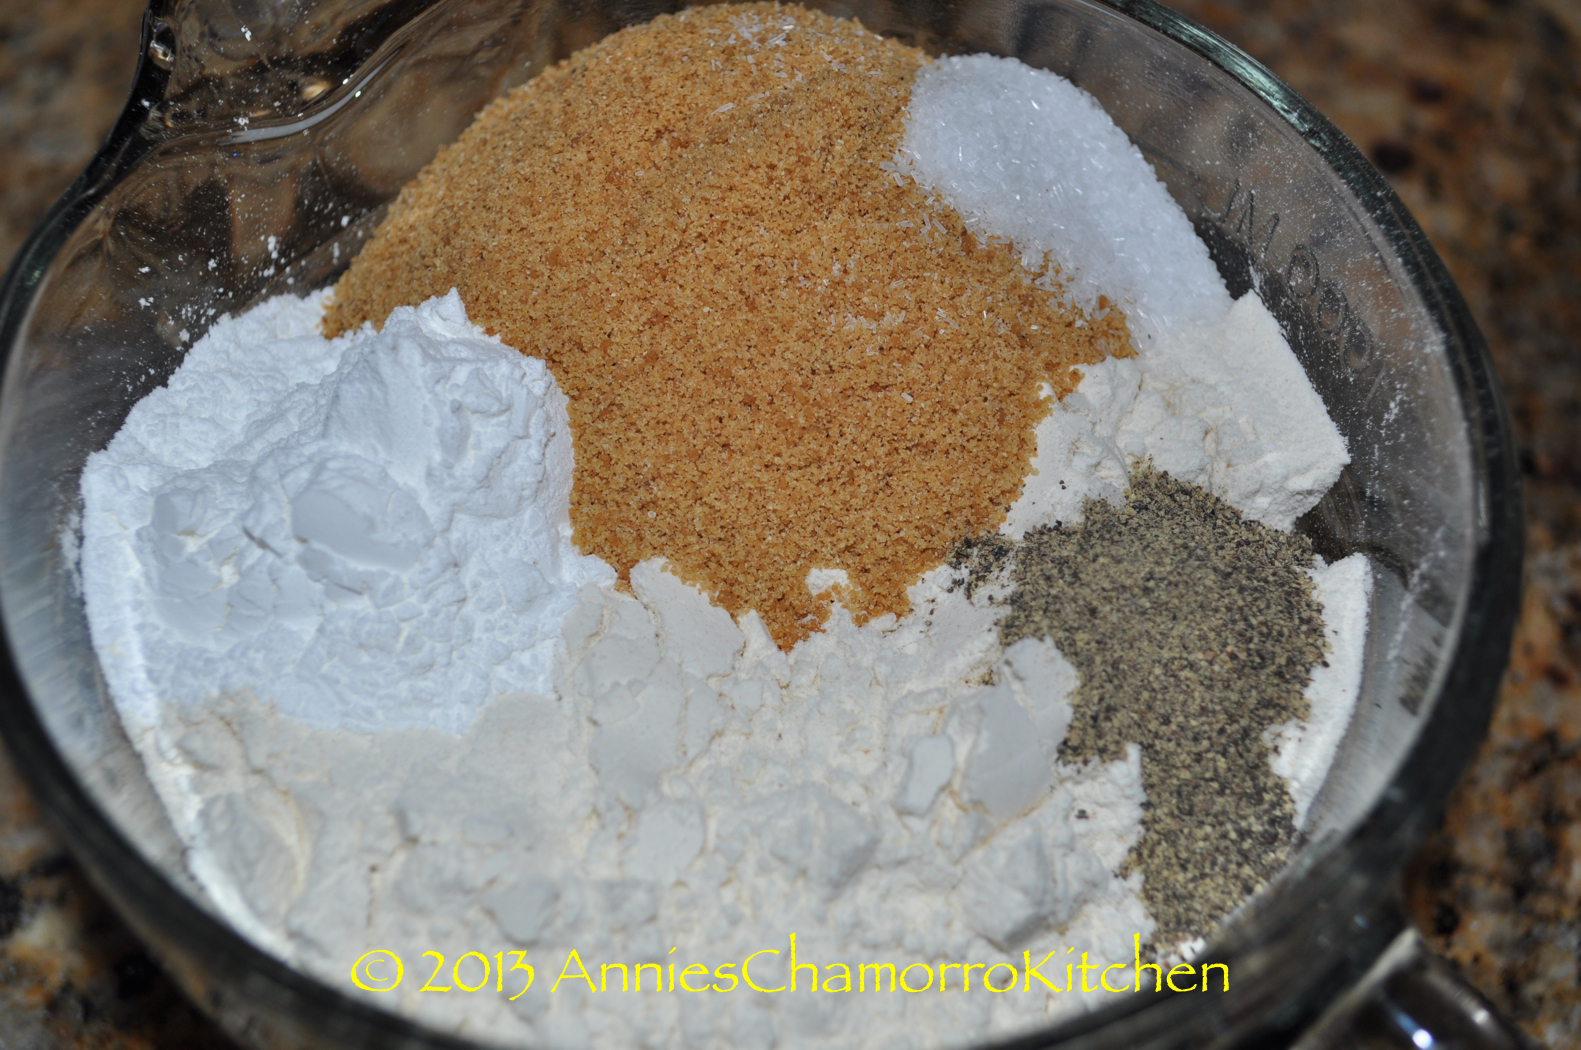
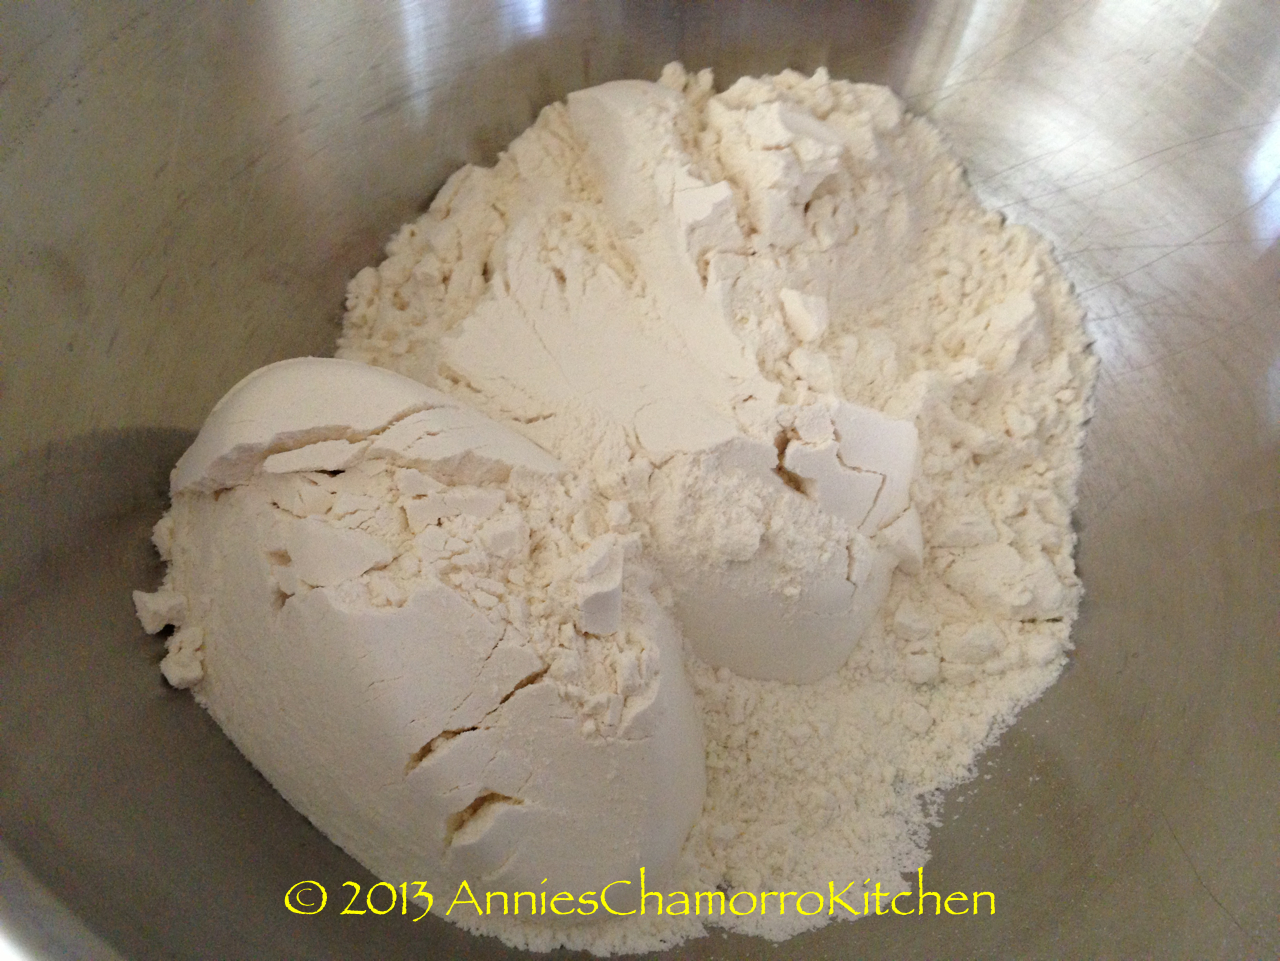
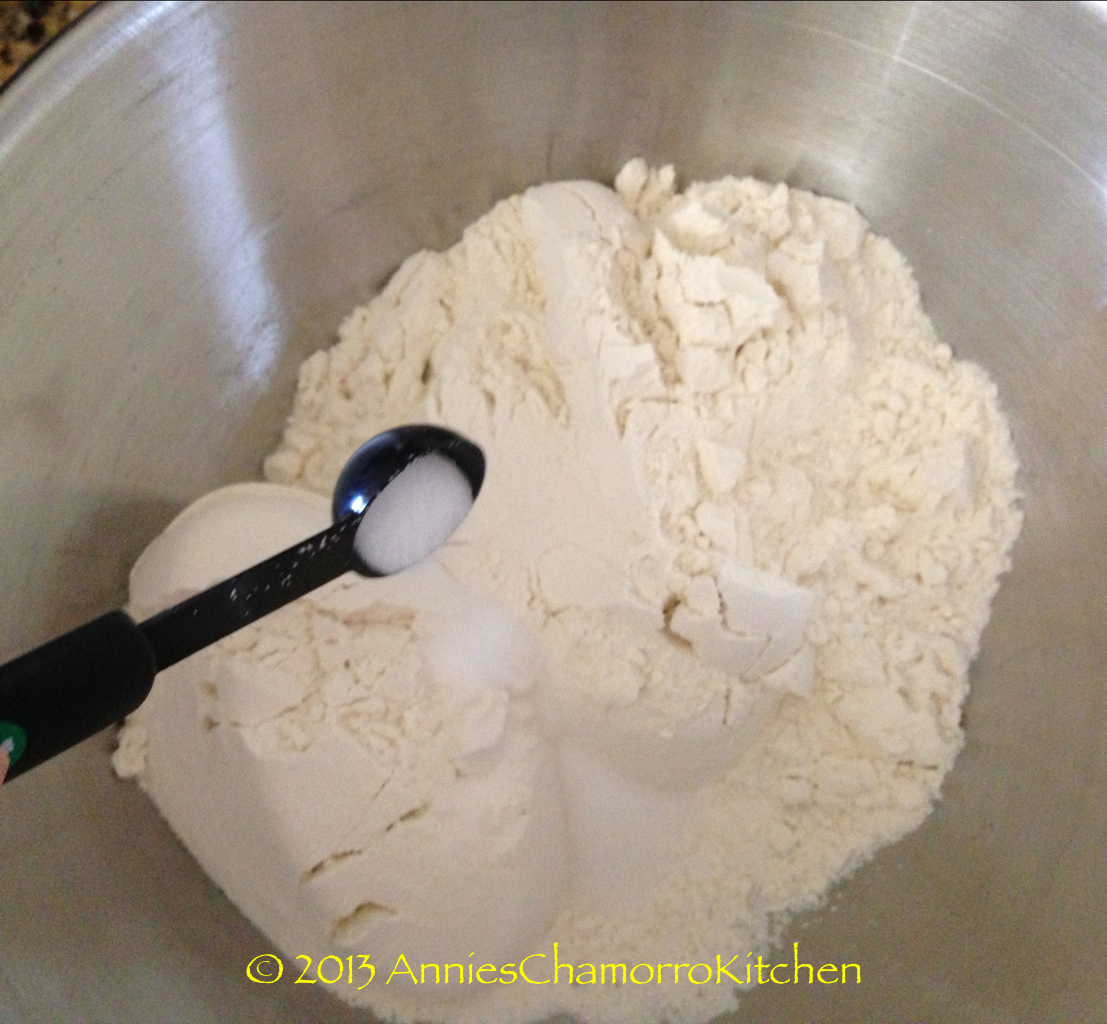
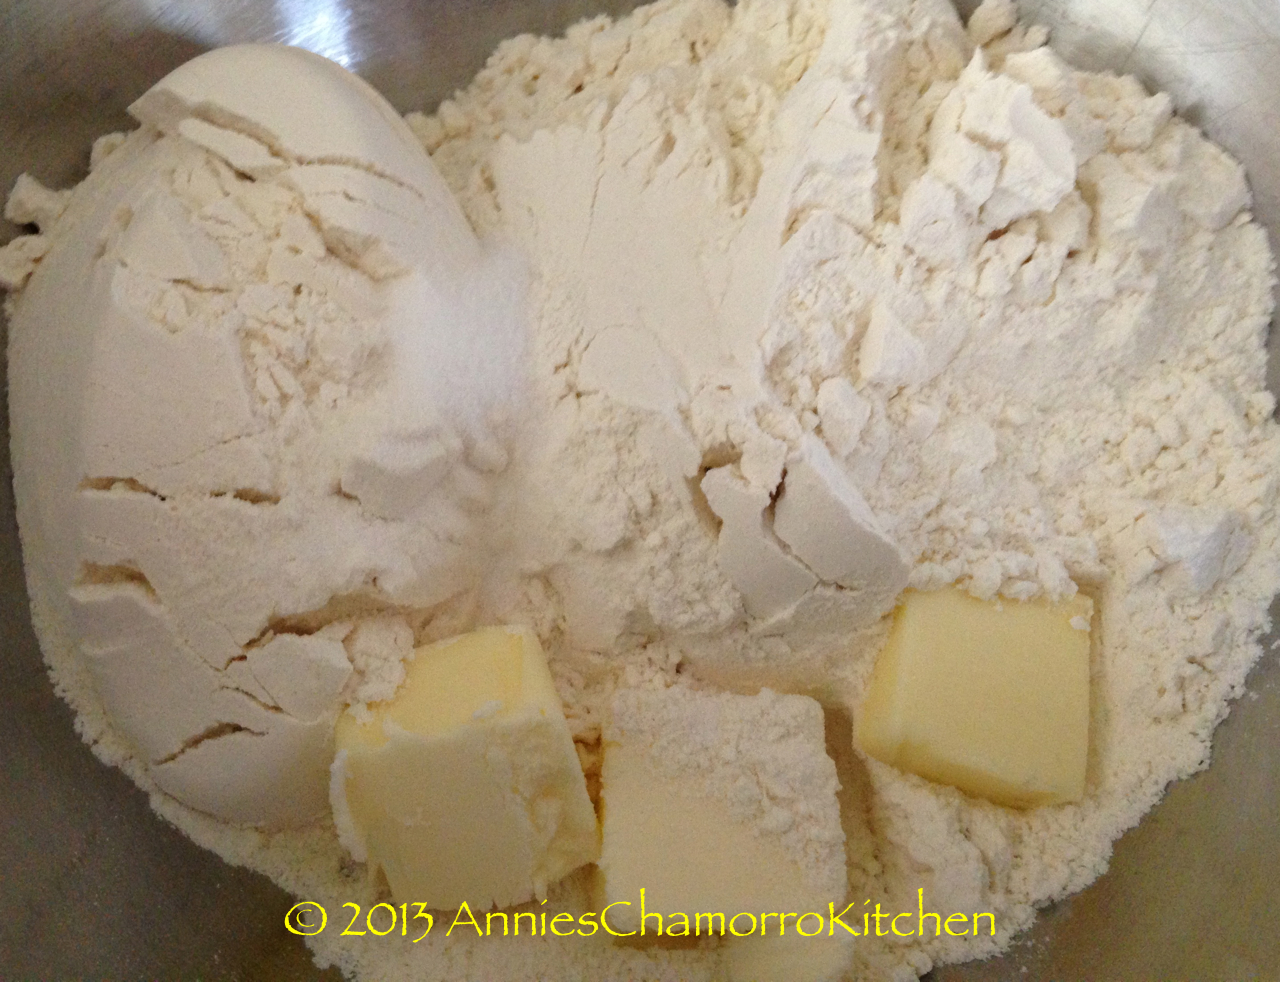
Place the flour and other dry ingredients in a smaller bowl.

Shrimp Patties - 06

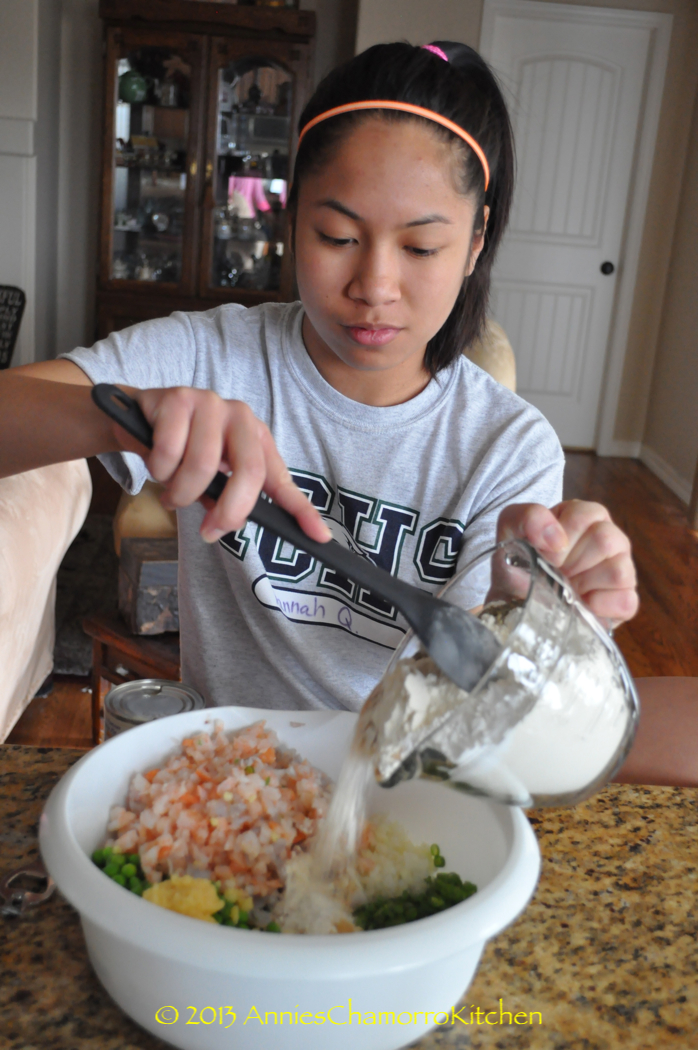
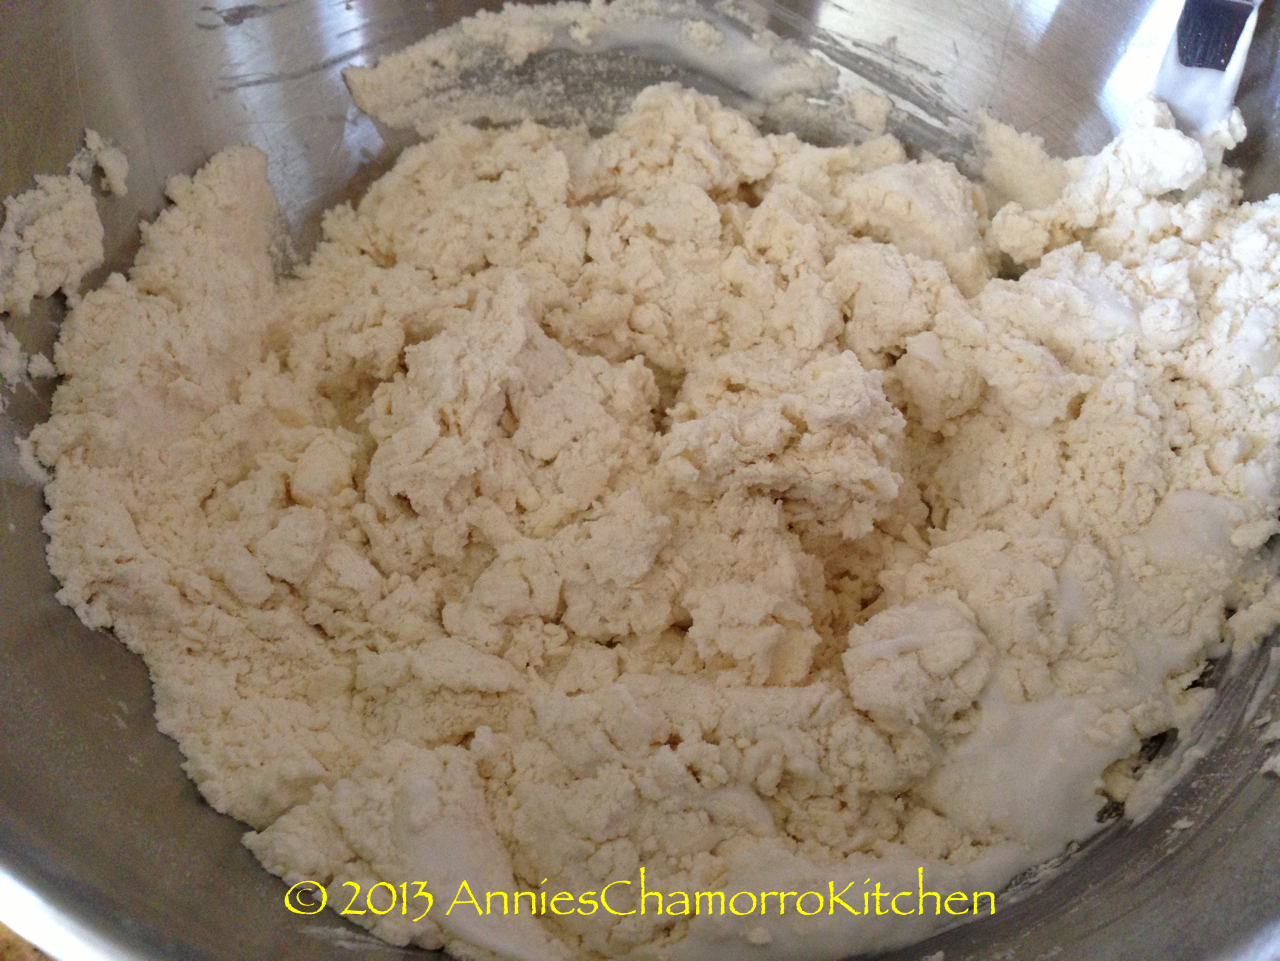
Add all of the dry ingredients to the bowl of shrimp and veggies.

Shrimp Patties - 15

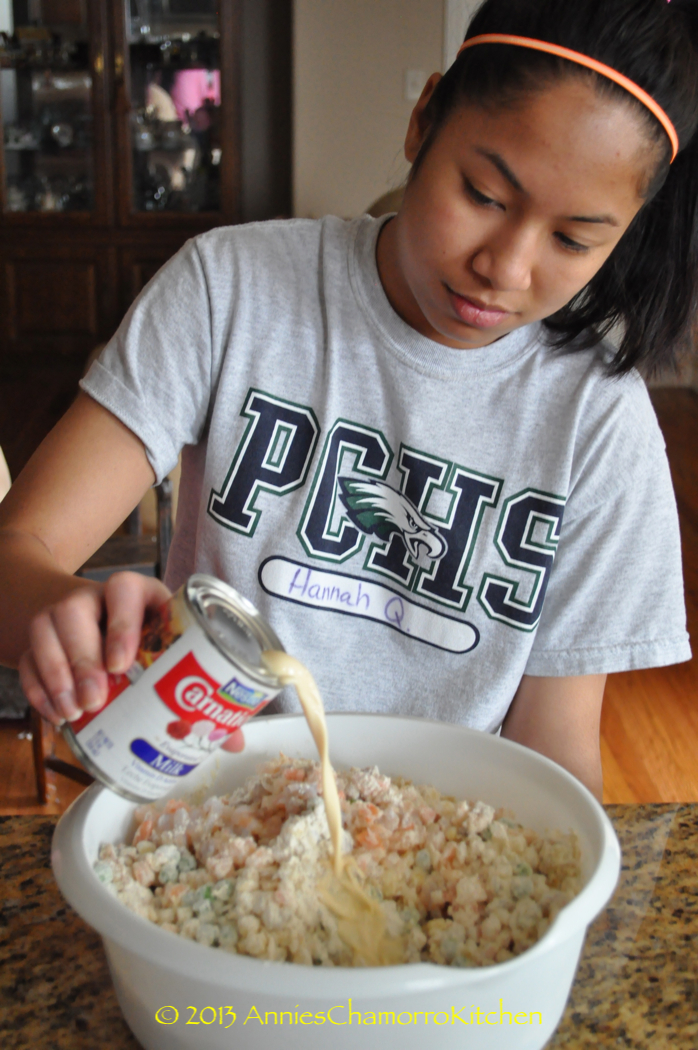
Pour the evaporated milk into the mixing bowl.
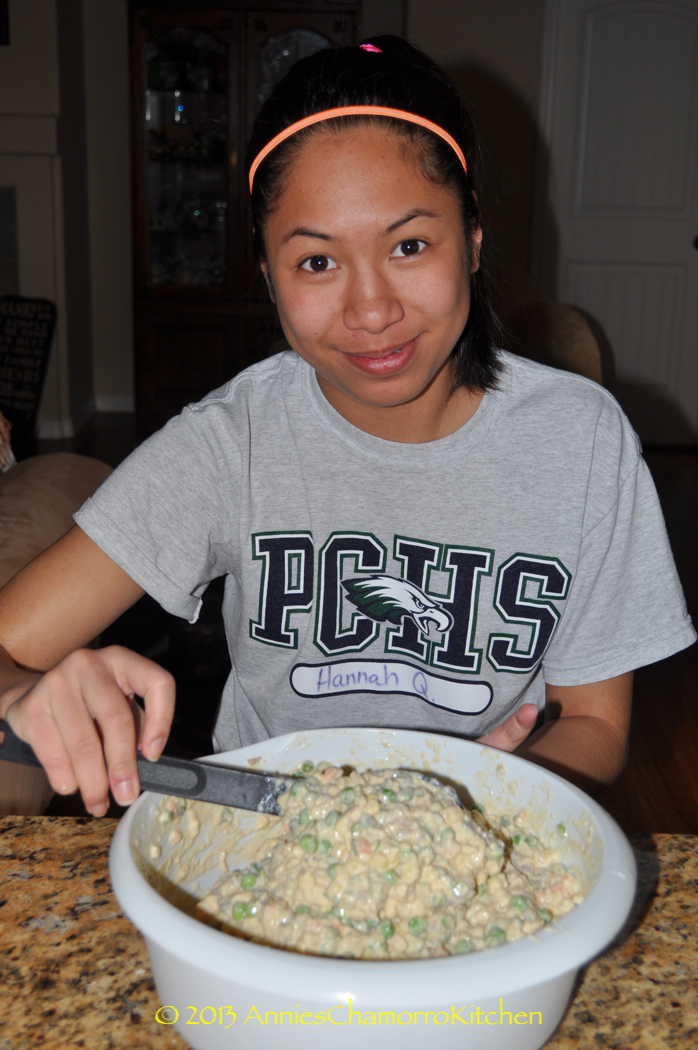
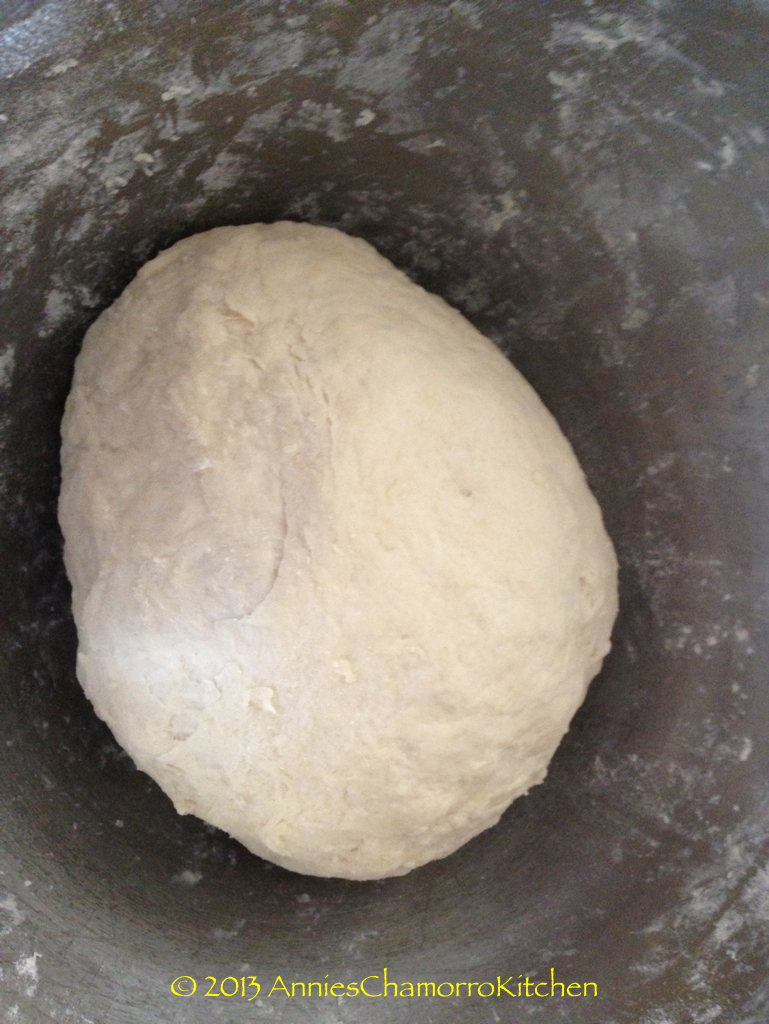
Shrimp Patties - 22

Mix, mix, mix! 🙂

Shrimp Patties - 34

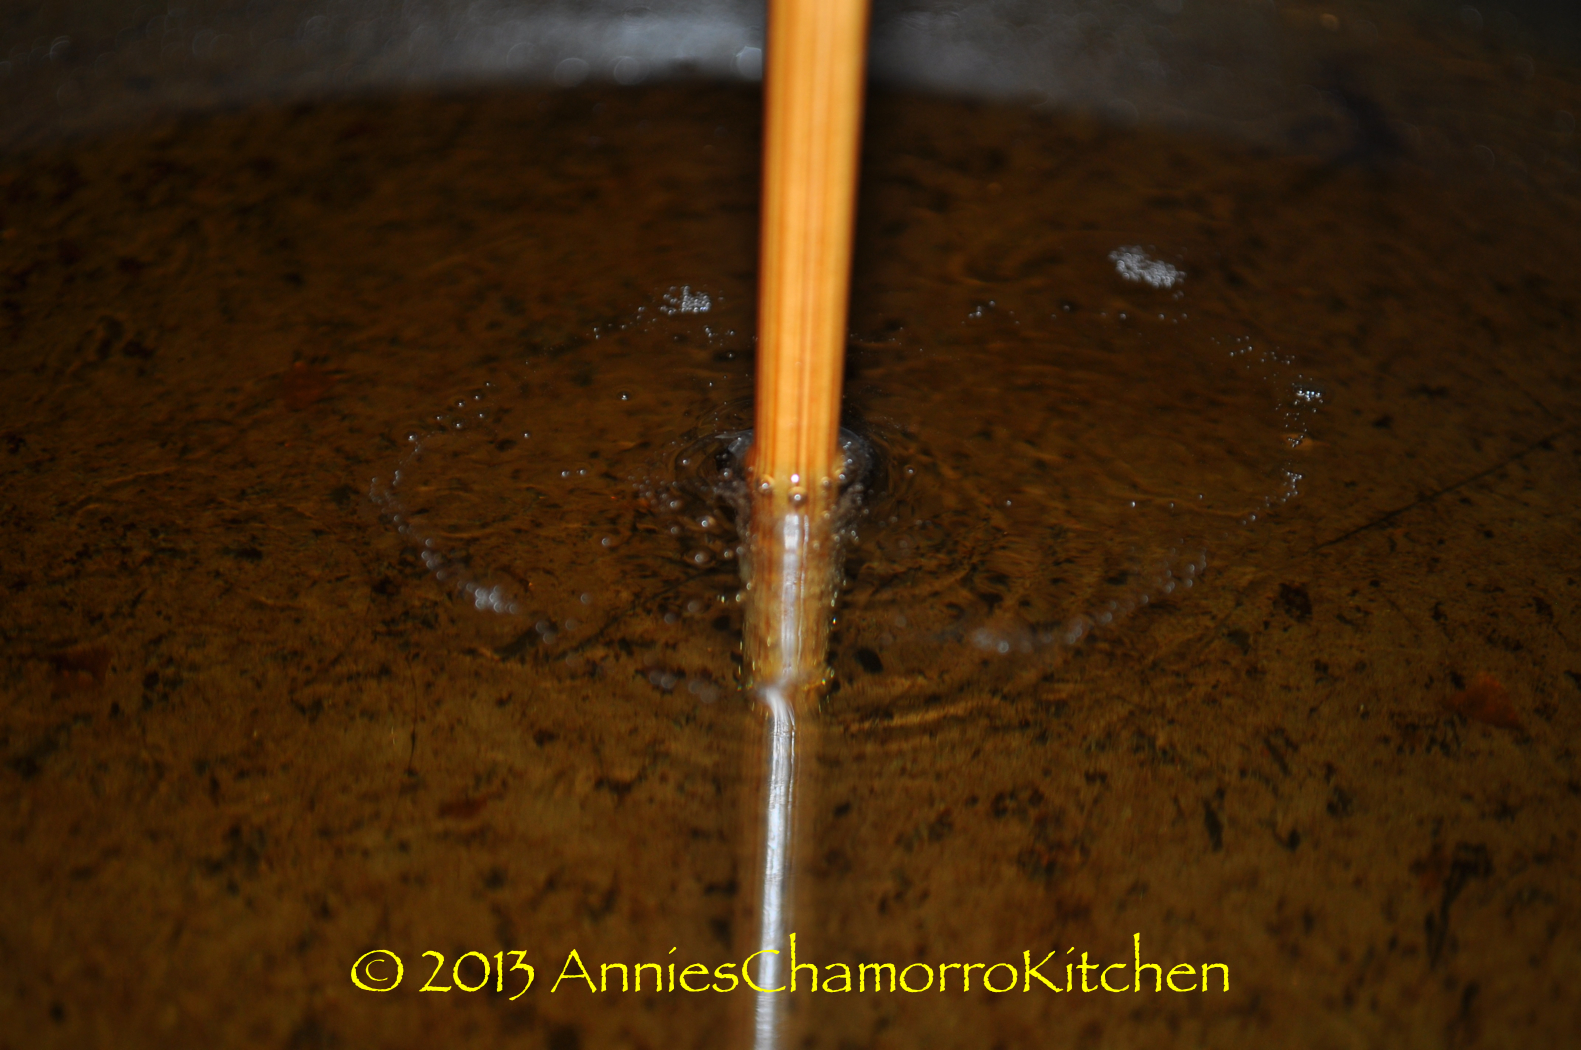
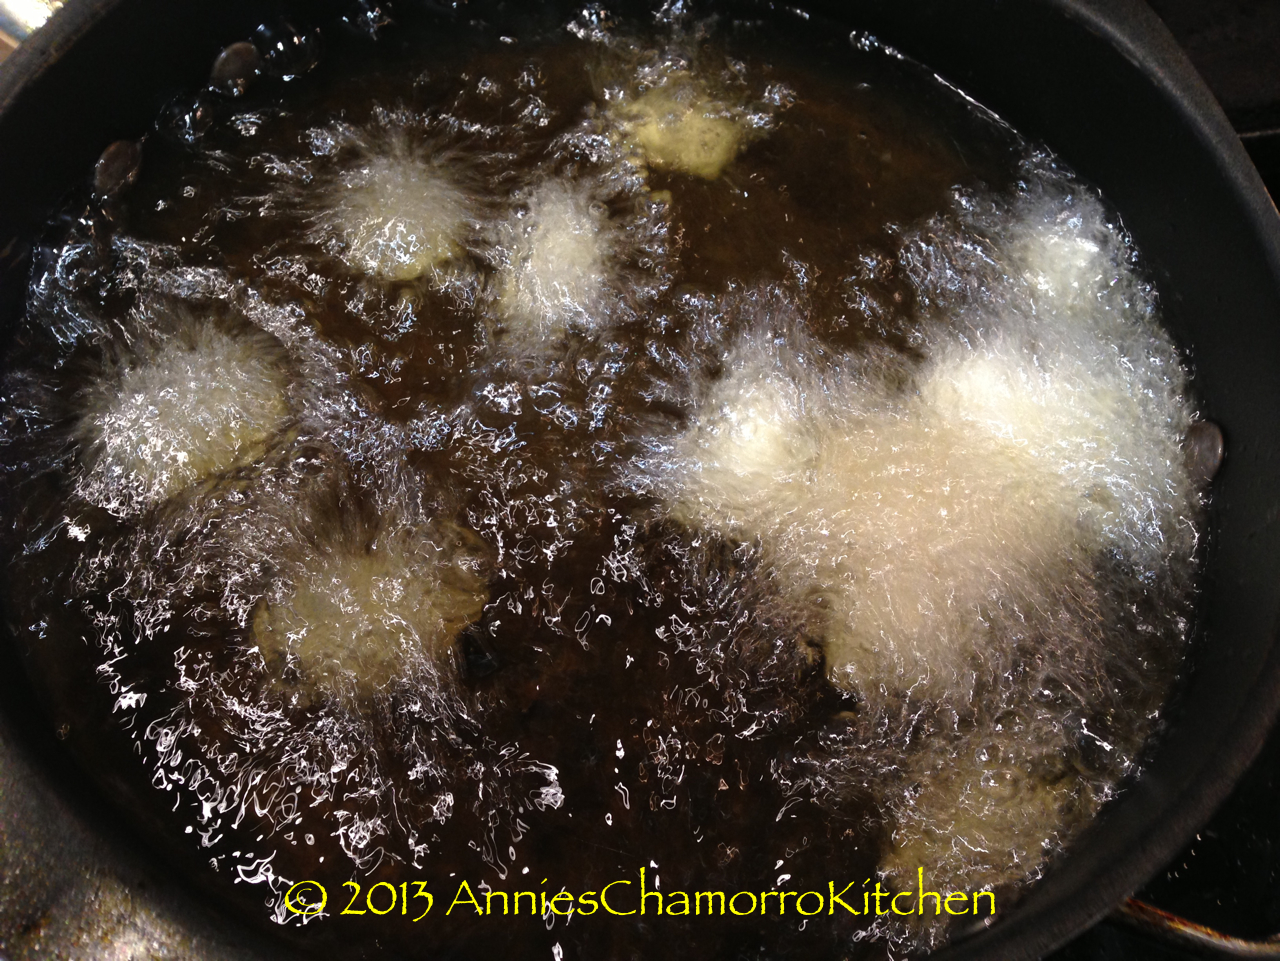
Check to see if the oil is hot. Scroll up and watch my video that shows what to look for.

Shrimp Patties - 38

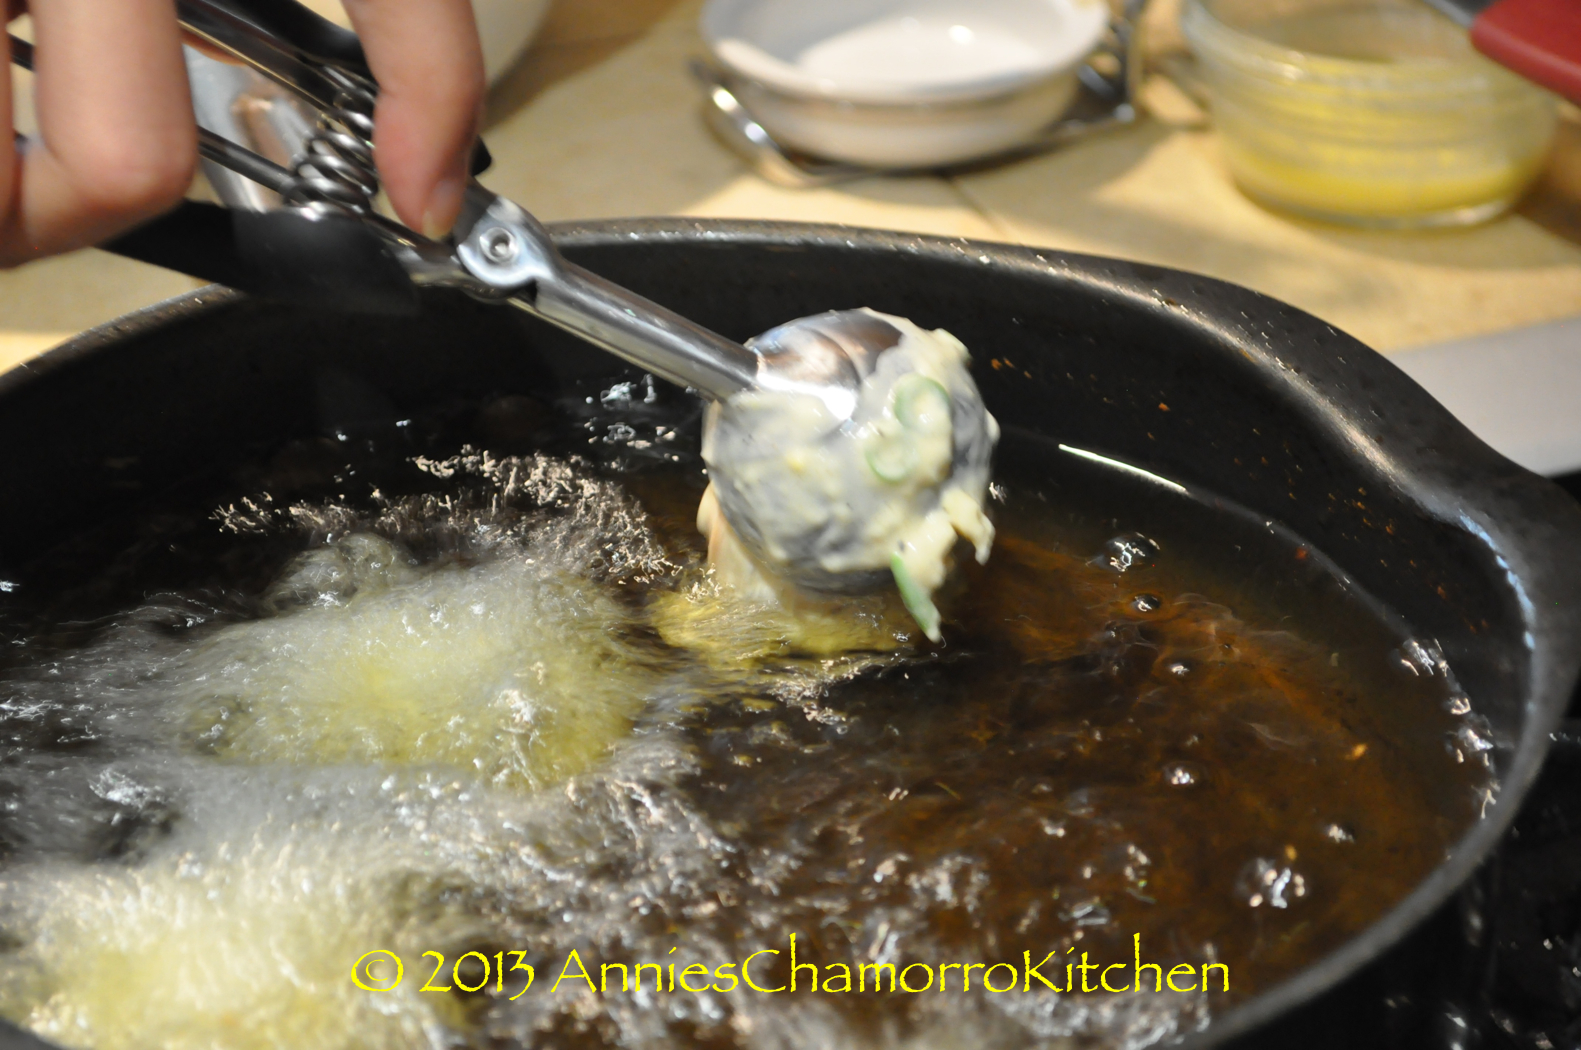
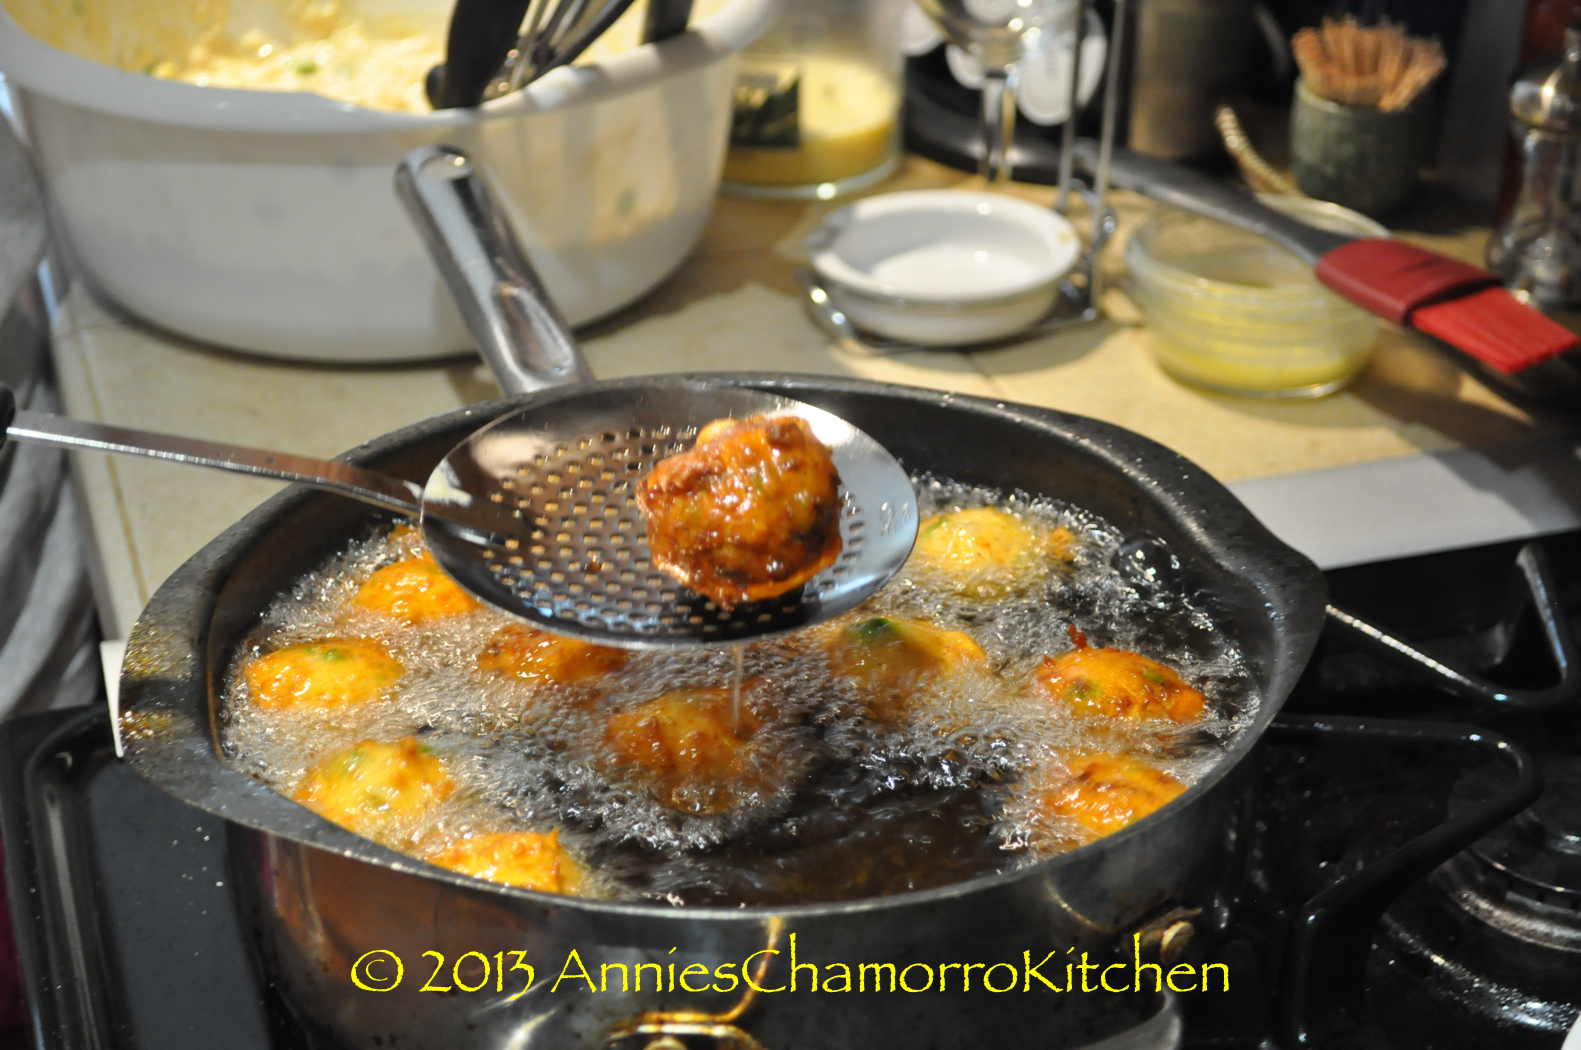
When the oil is ready, use a small cookie scoop to drop the batter into the oil. This makes the shrimp patties nice and round.

Shrimp Patties - 43

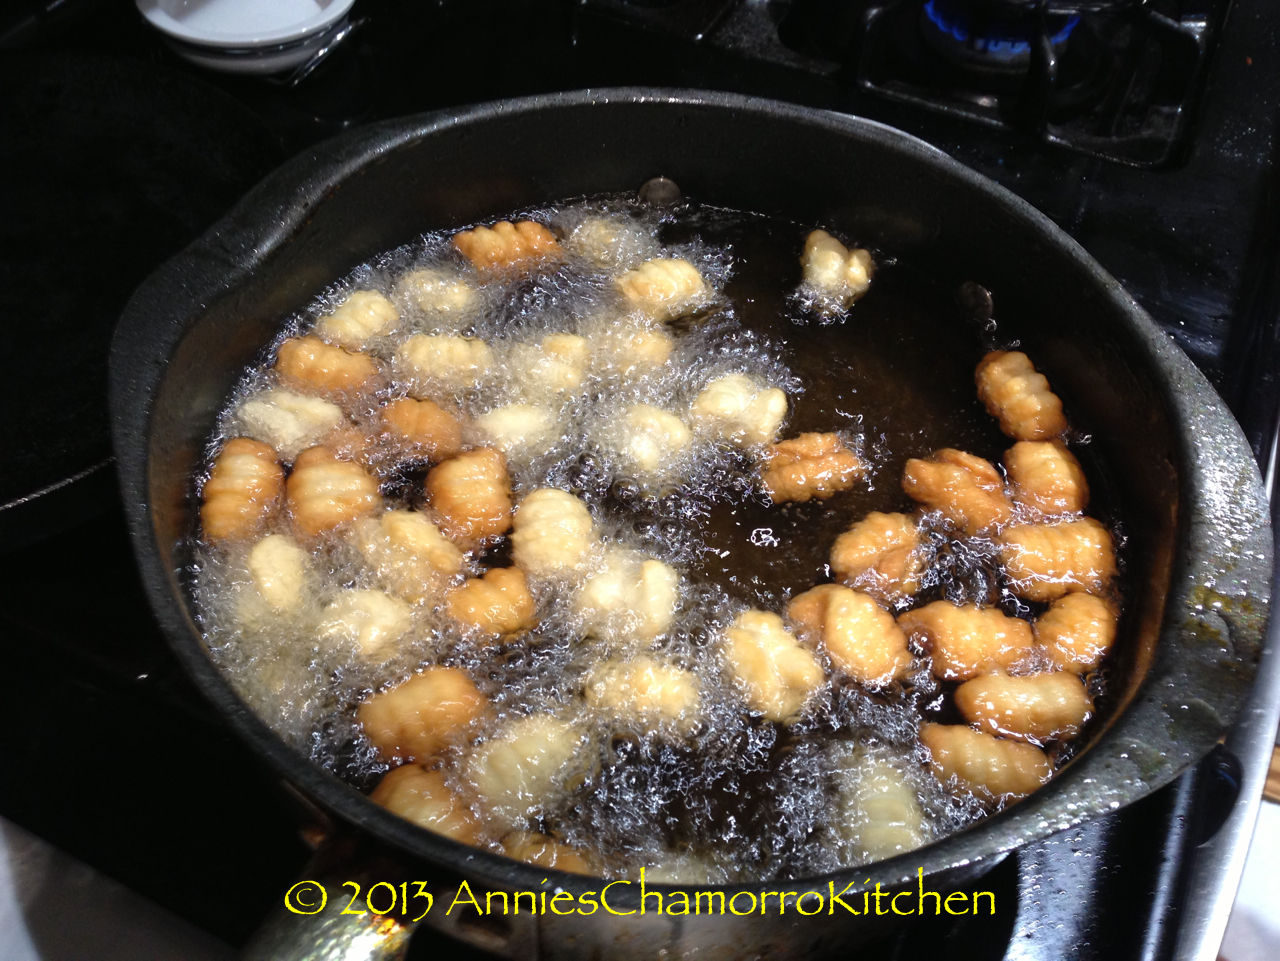
Don’t put too much into the oil. You want to leave enough room to allow the shrimp patties to cook evenly, plus overcrowding might make them stick together when you drop the batter into the oil.

Shrimp Patties - 44

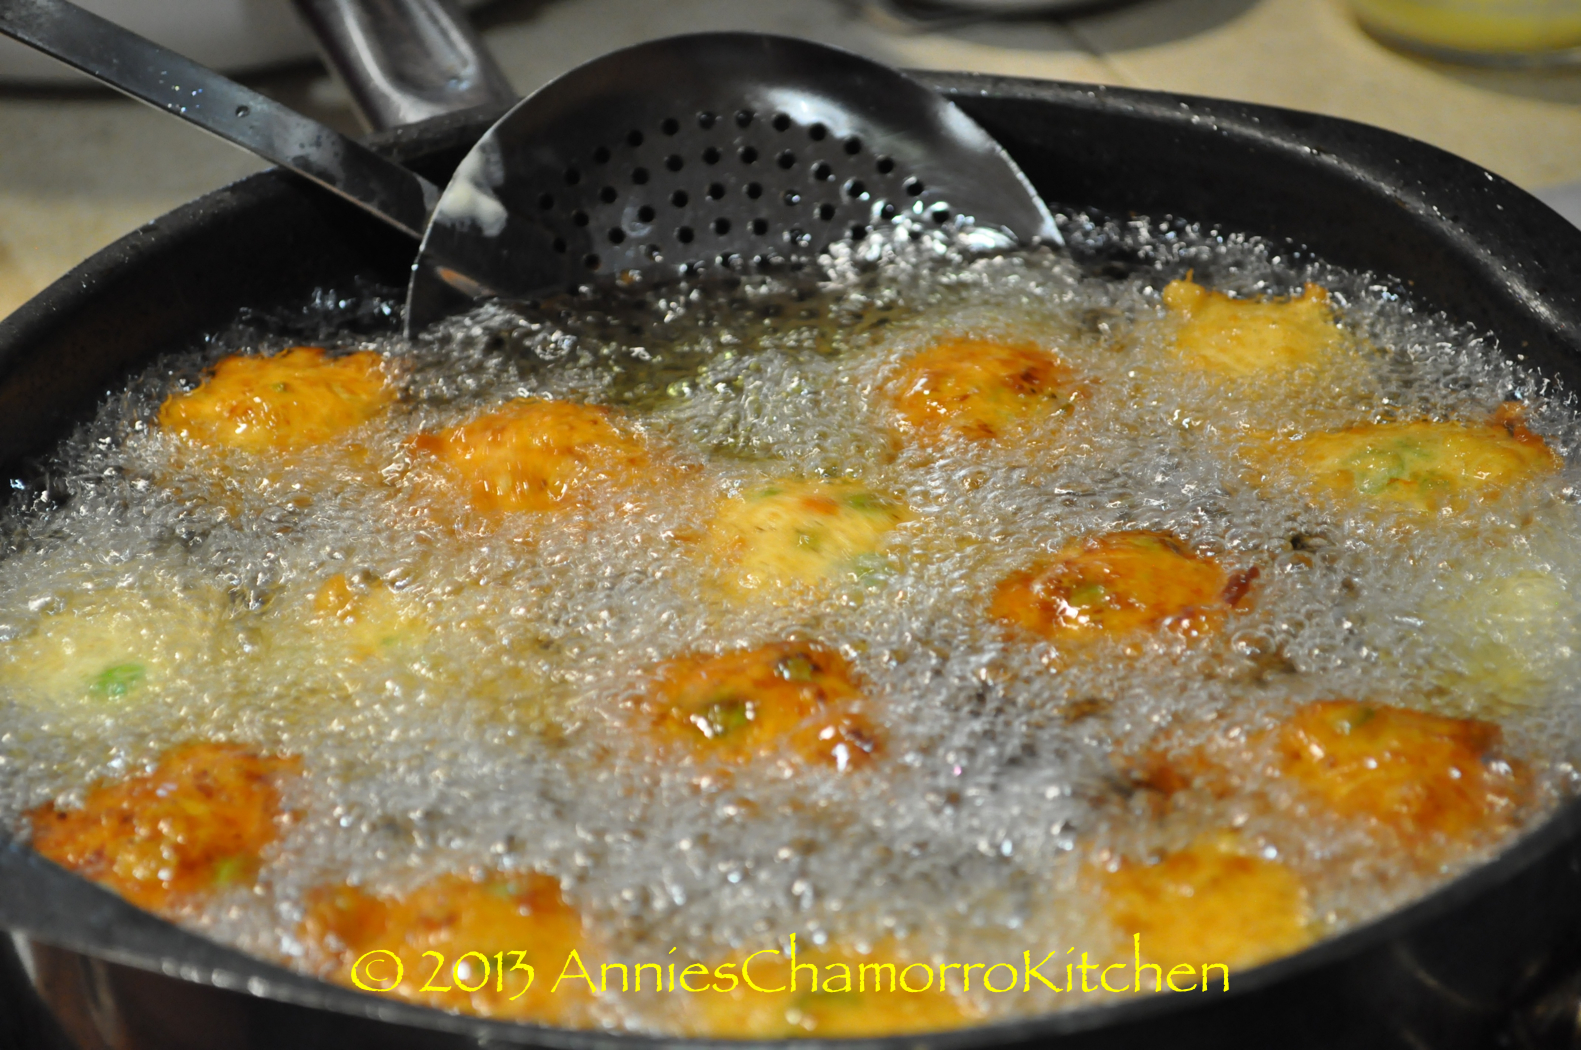
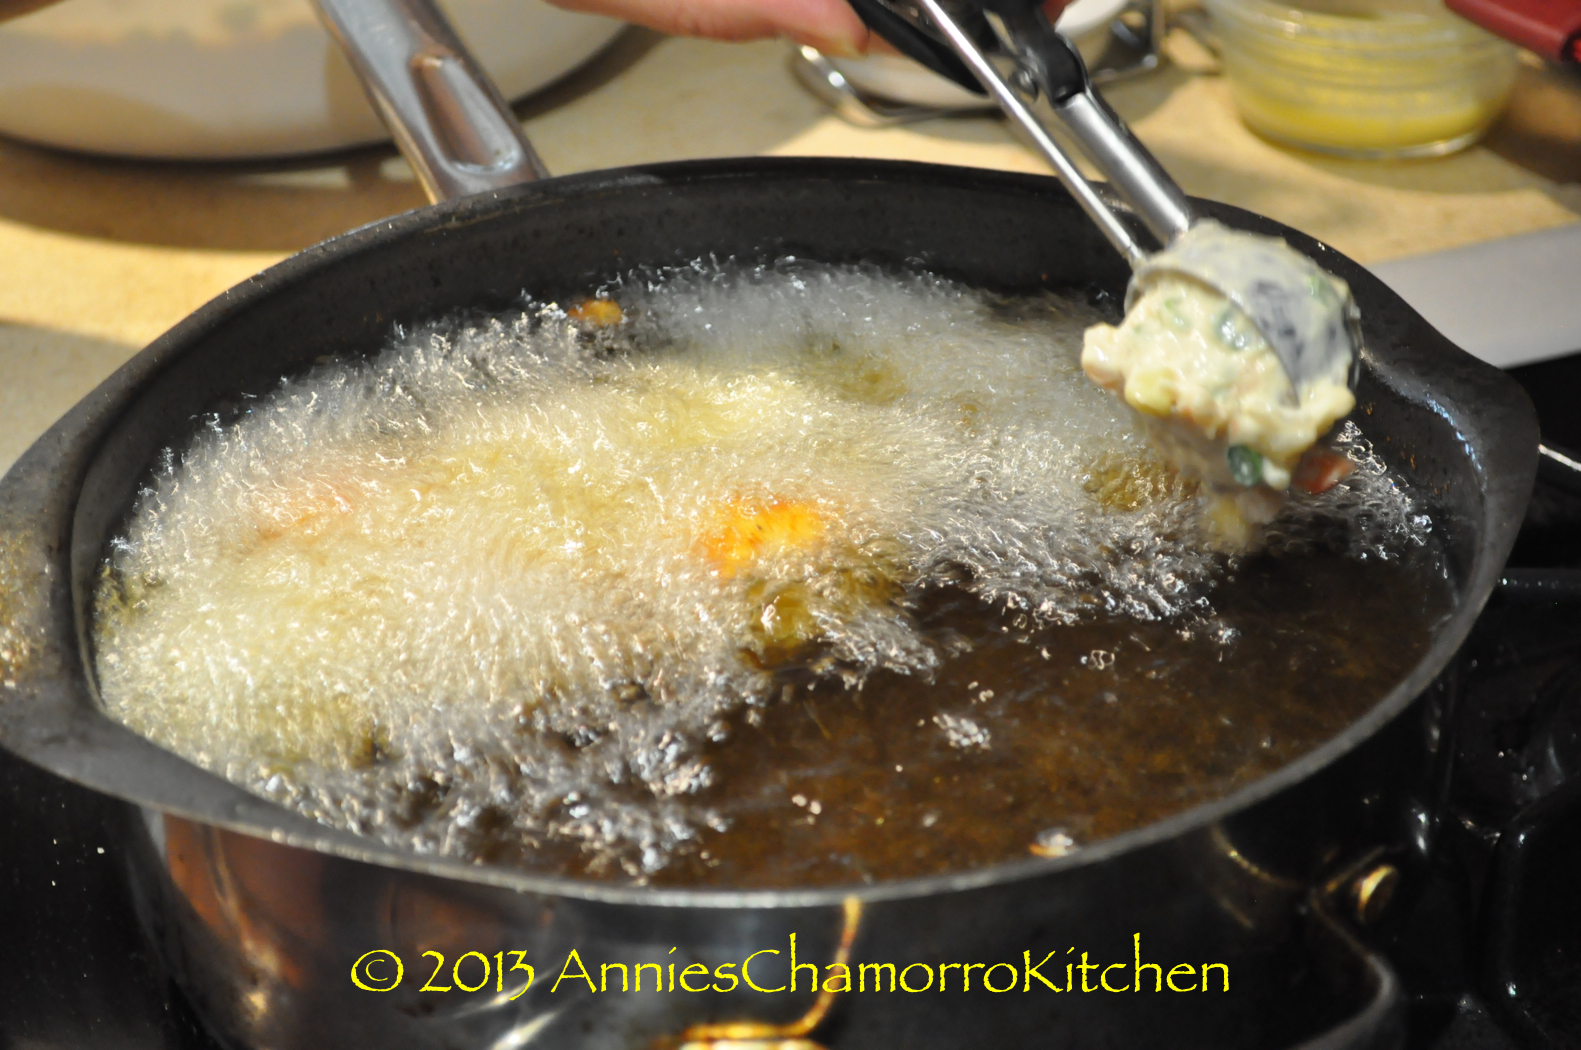
The shrimp patties usually turn on their own, but if they don’t, turn them occasionally to ensure even browning.

Shrimp Patties - 48

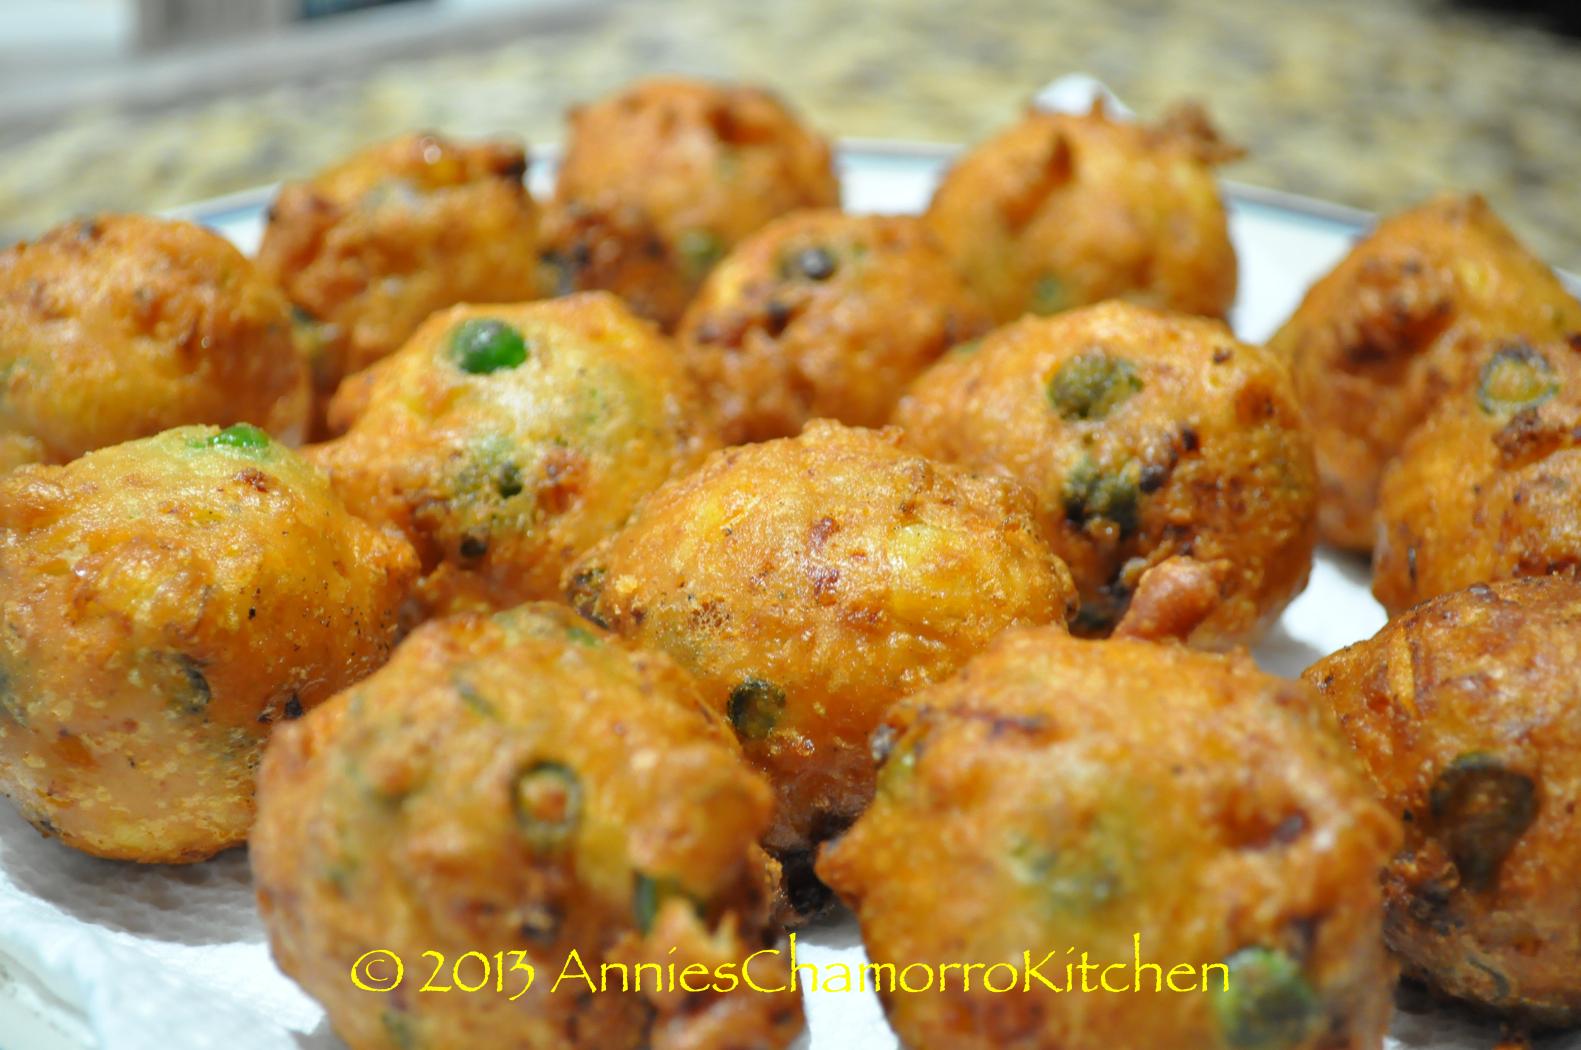
Fry until nicely browned.

Shrimp Patties - 49

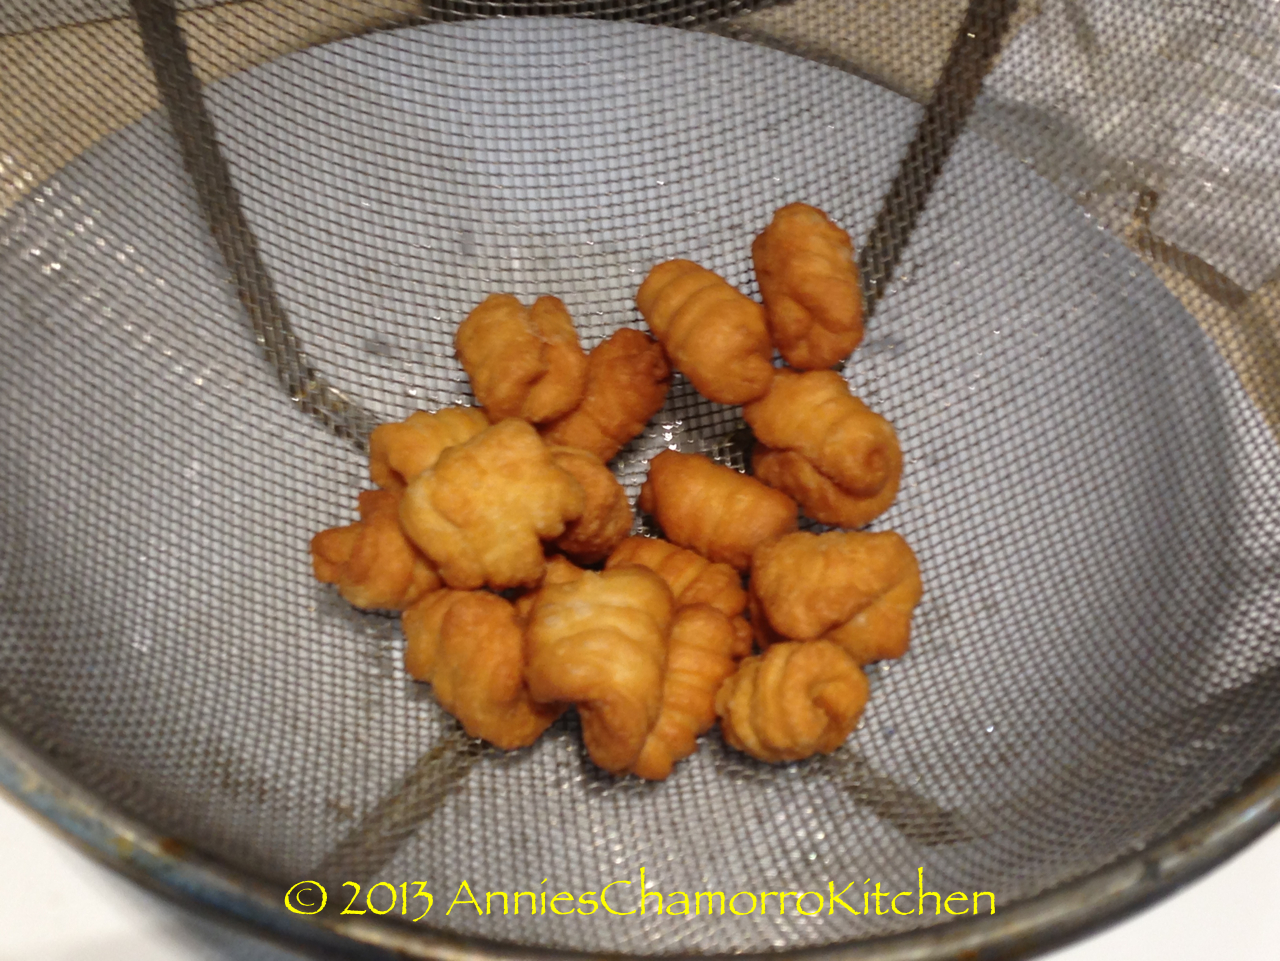
Place in a colander or strainer to drain the excess oil.

Shrimp Patties - 66

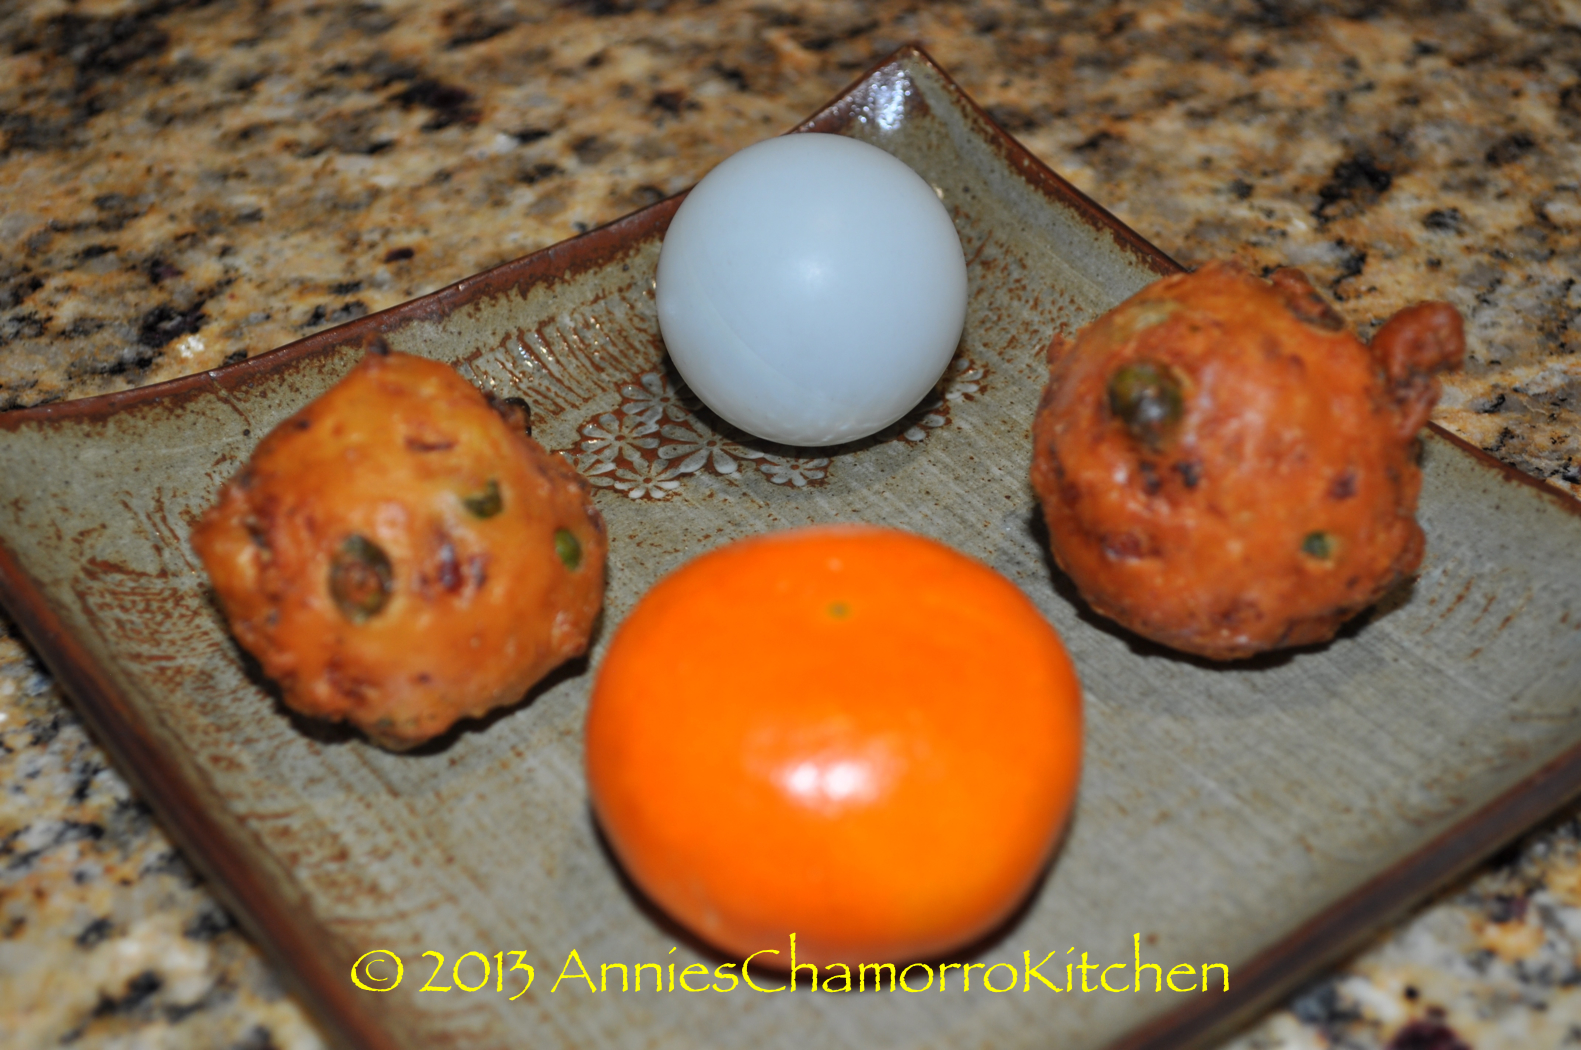
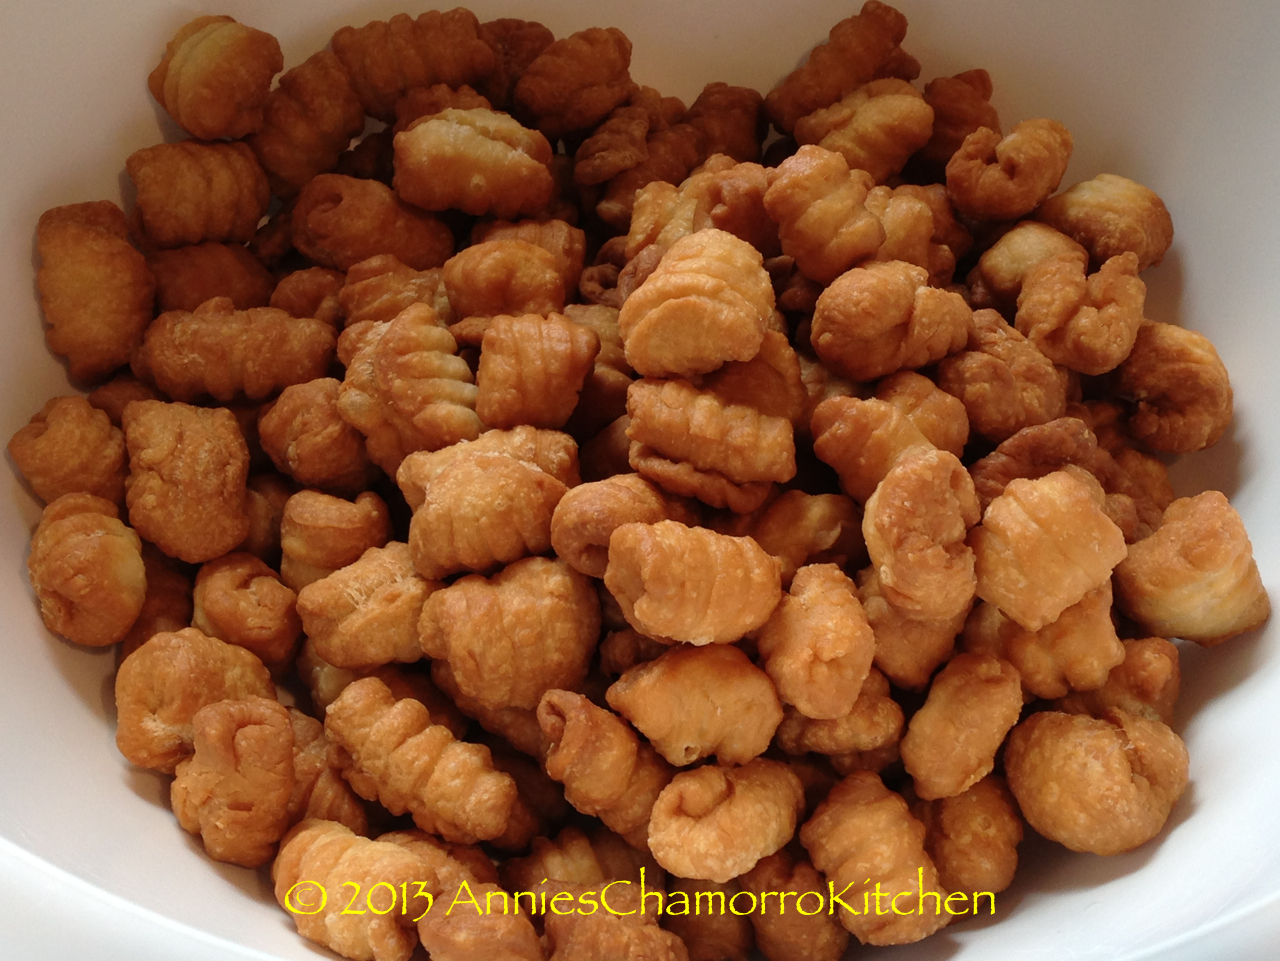
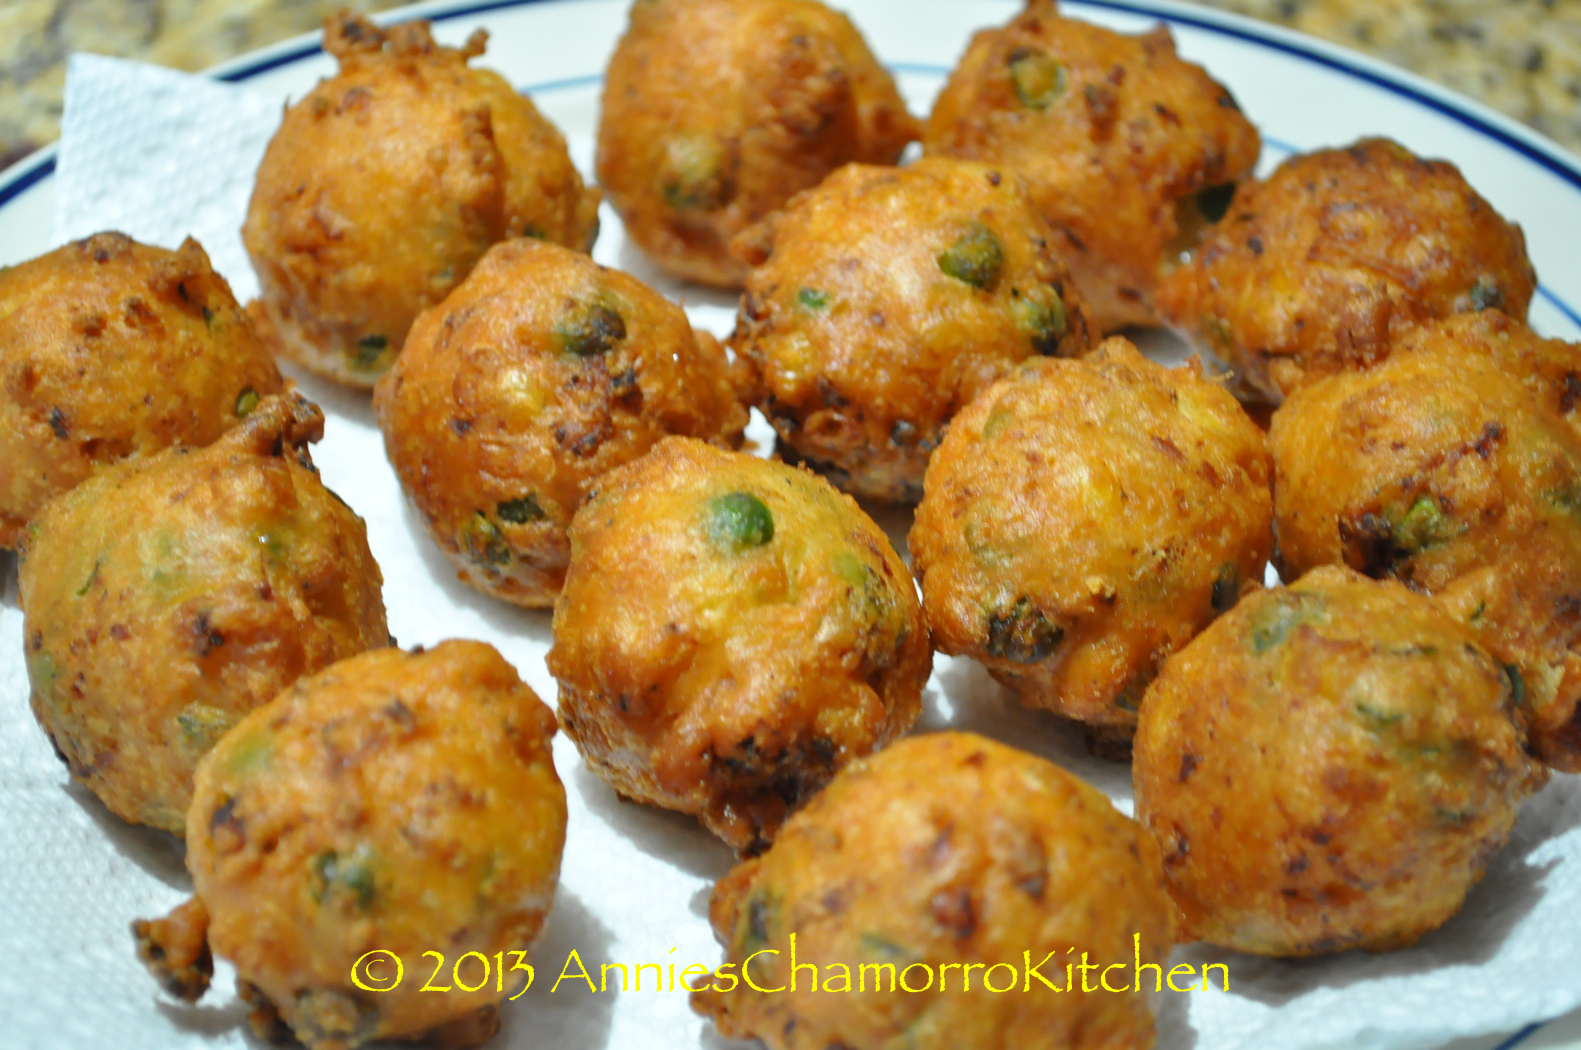
The small cookie scoop I use makes shrimp patties that are a little bit bigger than the size of a ping pong ball. I think it’s the perfect size — not too big, not too small.

Shrimp Patties - 68

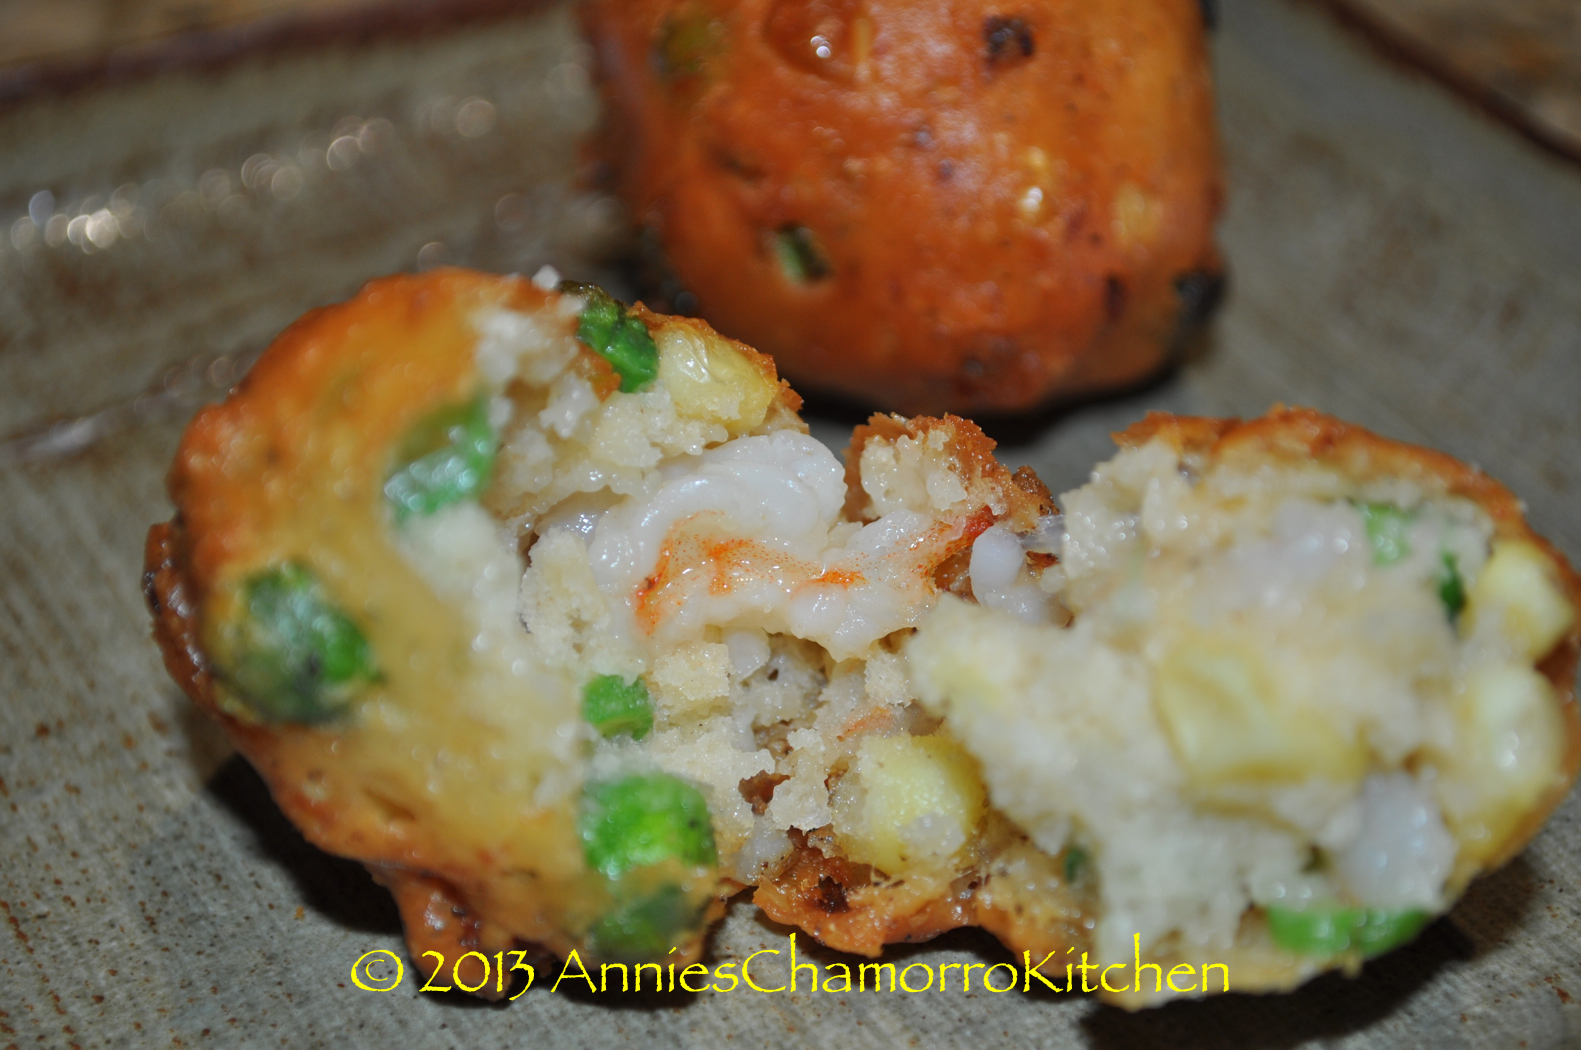
The inside is nice and fluffy.

Shrimp Patties - 65

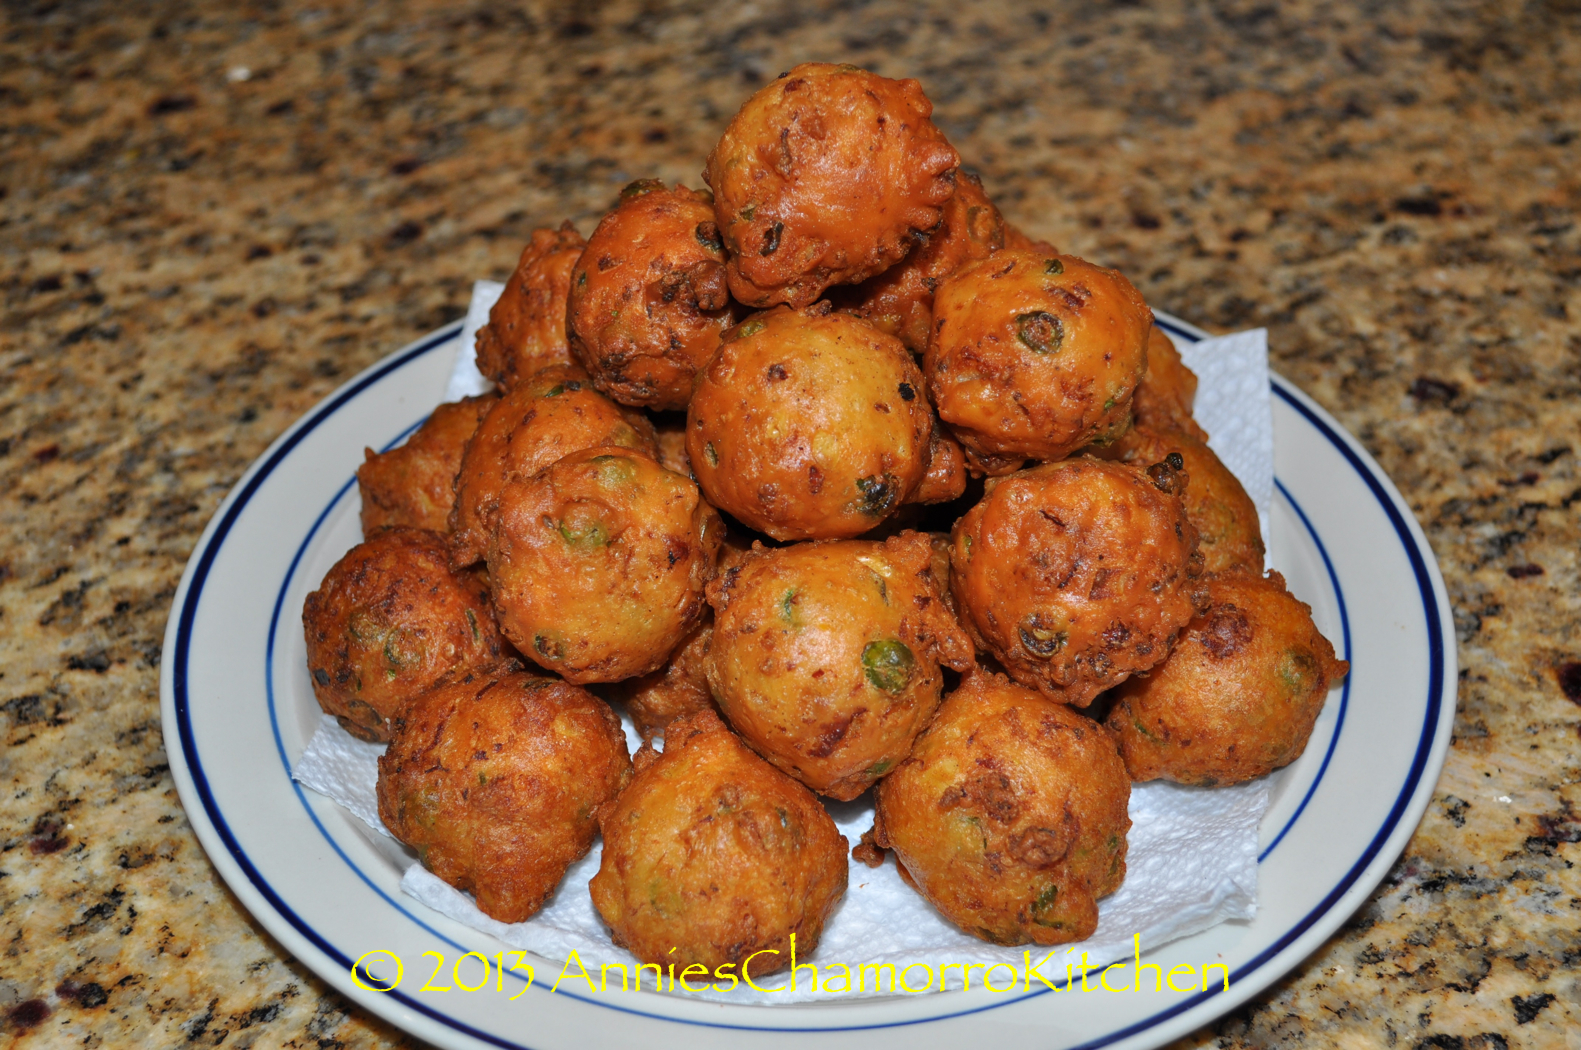
Pile on the goodness! 🙂


Guyuria

Guyuria (pronounced gu-ju-ree-ah) is another traditional Chamorro cookie (Rosketti is another).  Some of my friends call them jawbreakers because of their rock-hard texture.

This cookie is not baked, however, it is DEEP FRIED and glazed in a thick sugar syrup that hardens when dry.

Wait…I had you at DEEP FRIED, didn’t I?   🙂


These cookies keep for a long time, if stored properly.  Keep them sealed in a ziplock bag or a resealable container.

My recipe can be easily doubled, but since they are so easy to make, you don’t have to.  Just make up a fresh batch every time the craving hits you–which will be often, once you try these cookies.  Trust me.  Fry up a batch today.  You’ll be glad you did.

Enjoy!

GUYURIA

CIMG0173

Ingredients:

DOUGH:

  • 3 1/2 cups all purpose flour
  • A pinch of salt
  • 1 teaspoon sugar
  • 2 tablespoons butter (use 3 tablespoons for a softer cookie)
  • 1 3/4 cups coconut milk

GLAZE:

  • 1 cup sugar
  • 1/8 cup Water

OTHER:

  • Oil, for frying

Directions:

1.  Make the dough:  Mix the flour, salt, and teaspoon of sugar together. Cut the butter into the flour mixture (as if you are making pie dough).

IMG_0535 IMG_0536 IMG_0539 IMG_0540

2.  Add in the coconut milk and knead until a dough forms.

IMG_0544 IMG_0546 IMG_0547

3.  Roll the cookies:  Pinch off small pieces of dough, the size of a small marble. Press the dough onto the back of a fork; slowly roll it off the fork, shaping it into the traditional guyuria shape. OR: roll out the dough and cut into small pieces.  Set the formed cookies aside for a few minutes to dry slightly.  I find this helps when frying the cookies.

IMG_0548 IMG_0564

4.  Heat the oil to about 350 degrees.  Here is a tip on how you can tell if the oil is hot enough.  Dip the tip of a wooden spoon (I use a wooden chopstick) into the oil.  If little bubbles start to form around the wood, then the oil is hot and ready.  Make sure the wood is clean and dry first; you don’t want hot oil to splatter and burn you.

This is a short video clip I made that describes what I stated above. You can see all of the little bubbles form around the tip of the wooden chopstick. This tells you that the oil is hot and ready for frying.

Fry the cookies until golden brown; drain well on paper towels or in a colander.   For crispier cookies, fry until the cookies are a dark golden brown.

IMG_0554 IMG_0565 IMG_0566

5.  When all the guyuria is fried and cooled slightly, place them in a large bowl.  

IMG_0567

6.  Prepare the sugar syrup glaze.  Place the cup of sugar in a small sauce pan.  Add the water to the sugar.  Bring the mixture to a boil, stirring constantly until the sugar dissolves and a syrup forms. Remove syrup from the heat; allow to cool to thicken slightly.

IMG_0559 IMG_0561

7.  Pour the sugar syrup over the guyuria, tossing gently to coat all the cookies.

IMG_0568 IMG_0571

8.  Let the sugar syrup thicken then pour out the cookies onto a baking pan (pour any excess syrup over the cookies). Spread the cookies out in an even layer; let them sit for a few minutes to allow the glaze to harden.  Ensure the glaze is completely dry and hard before storing the guyuria in a ziplock bag or resealable container.

IMG_0573 IMG_0574