Archive for October 15, 2013

Ahi Tuna Poke

Poke is a Hawaiian dish traditionally served as an appetizer, but it can also be a main dish when served with rice or corn titiyas.

Modern versions of poke can vary depending on the ingredients you have on hand.  Poke is typically made with cubed ahi tuna marinated with soy sauce (some use sea salt), ground kukui nut (the meat in the inside, though, not the entire nut), sesame oil, ogo seaweed, and hot chili peppers.  You can also use fresh salmon or octopus instead of ahi.

Living in Colorado, I don’t have access to a lot of the traditional ingredients like ogo seaweed and kukui nuts, so I created a different version of poke that my family — especially my 11 year old daughter — loves.

It’s a simple recipe that you can take to entirely new levels by adding the other optional ingredients I listed below.

Give my recipe a try.  I think you’ll like it. 🙂

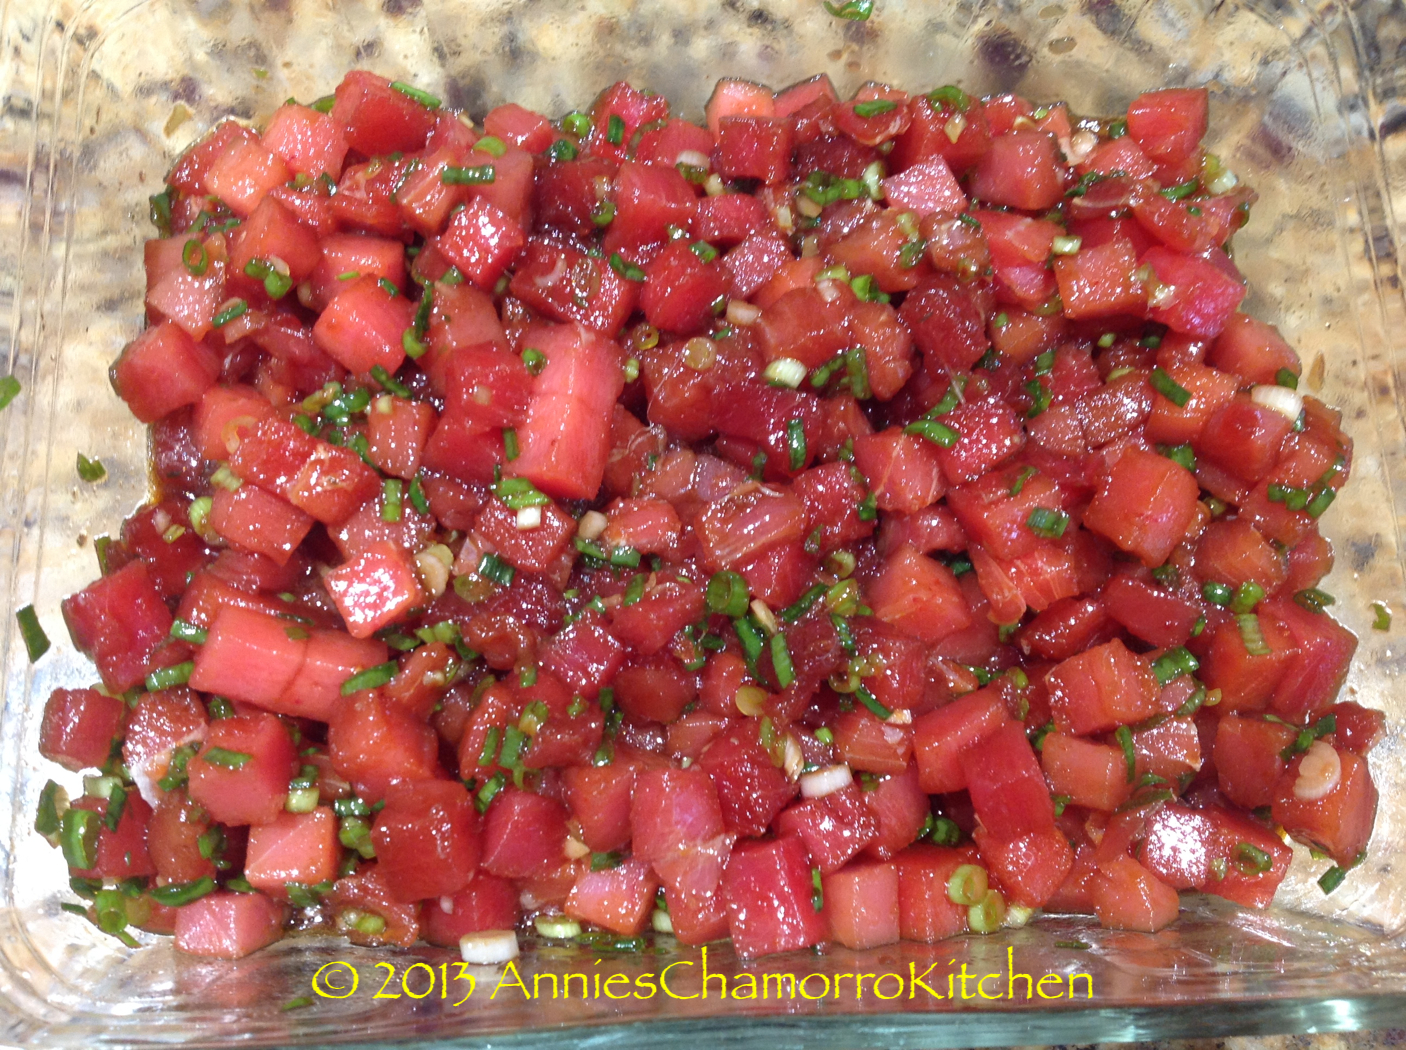
Poke

Poki - 07

Ingredients:

  • 1 pound ahi tuna
  • 2 tablespoons sesame oil
  • 2 tablespoons kimchee base
  • 1/2 cup soy sauce
  • 6 stalks green onions, thinly sliced
  Optional Ingredients:
  • 1 small cucumber, diced
  • 1 cup cherry tomatoes, diced
  • 1 small sweet onion (Maui onions are good), diced
  • 2 tablespoons furikake seasoning
  • 2 tablespoons ground macadamia nuts (if you can’t find or don’t have access to kukui nuts)
  • 1 teaspoon minced garlic
  • Hot chili peppers or Sambal Oelek chili sauce, to taste
  • You can also substitute the tuna with salmon or octopus

Directions:

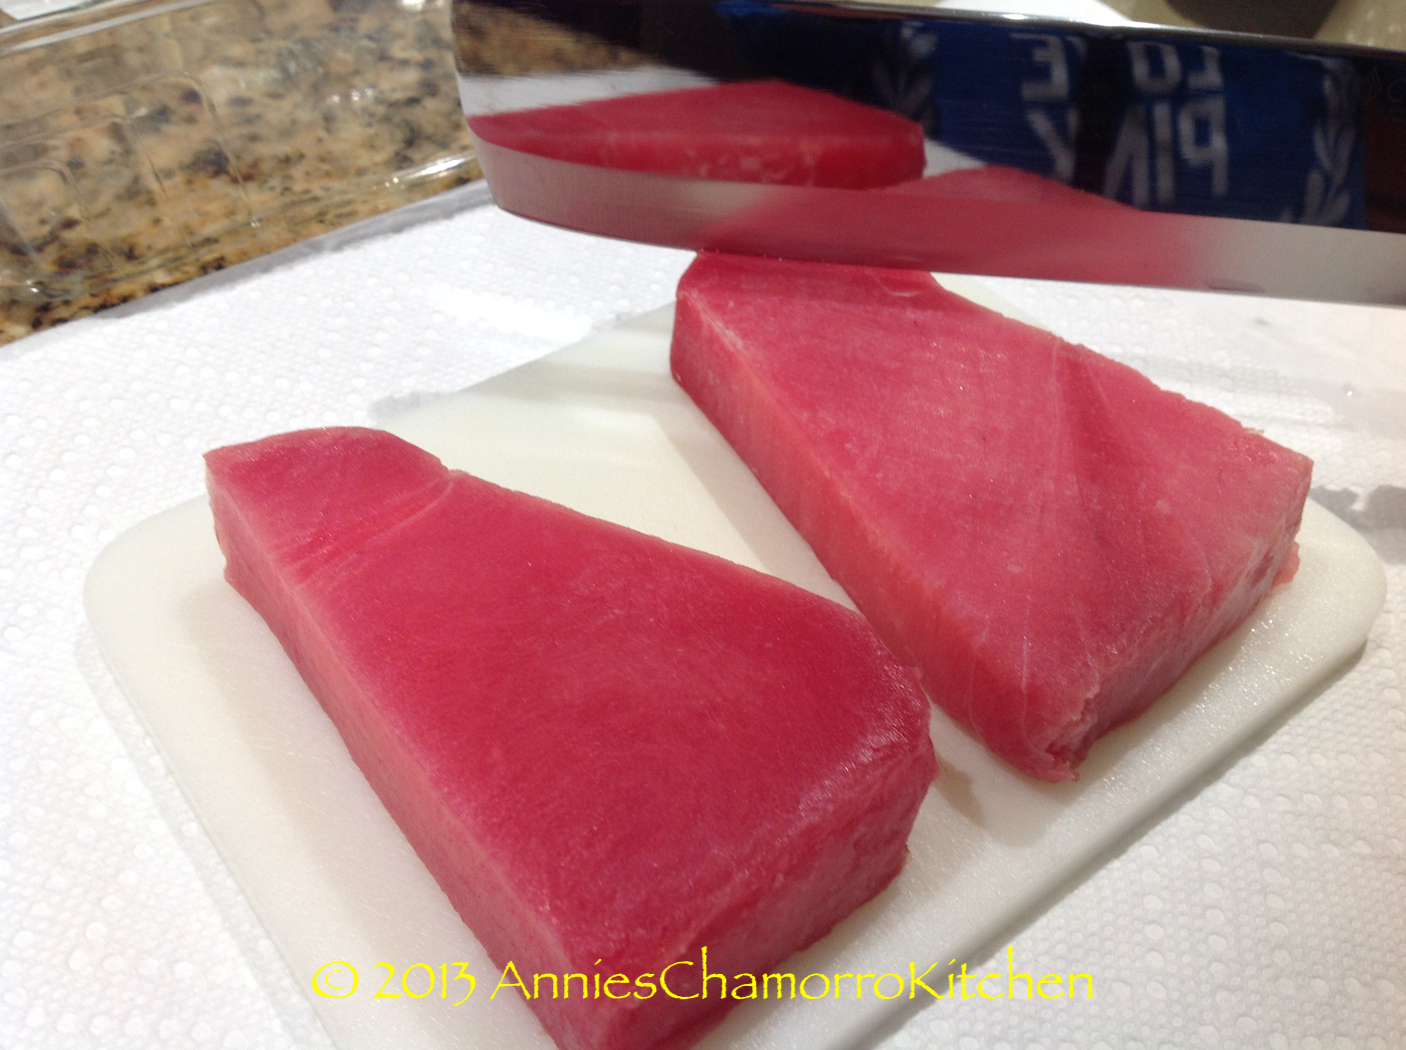
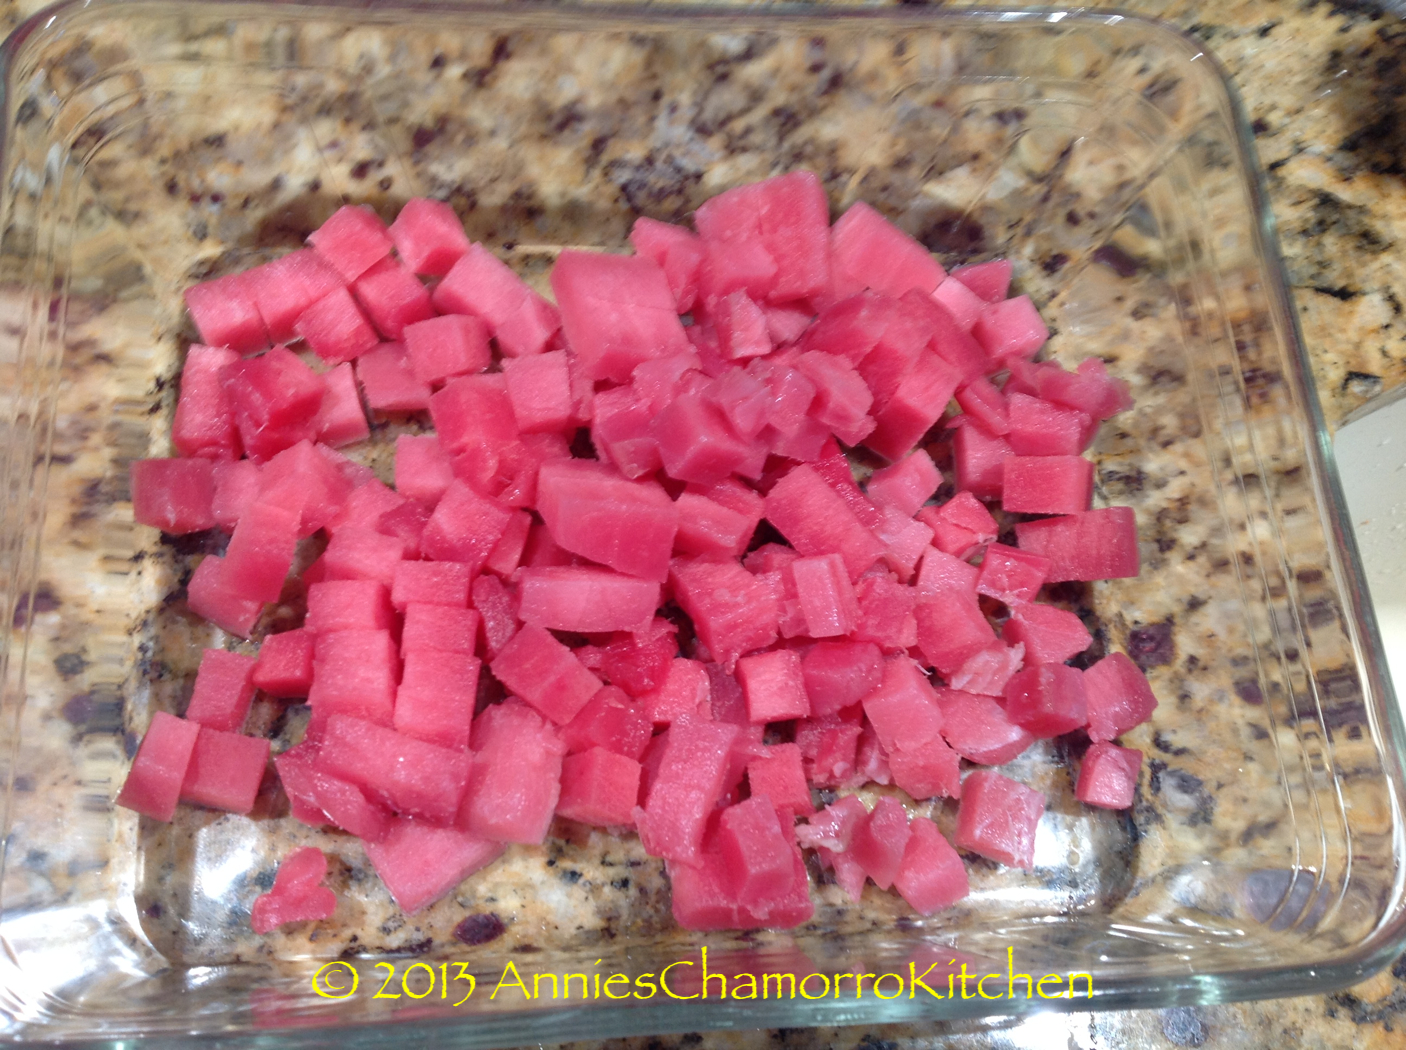
1.  Cut the ahi into small cubes.  I find it’s easier to slice the ahi when it’s partially frozen.

Poki - 01 Poki - 02

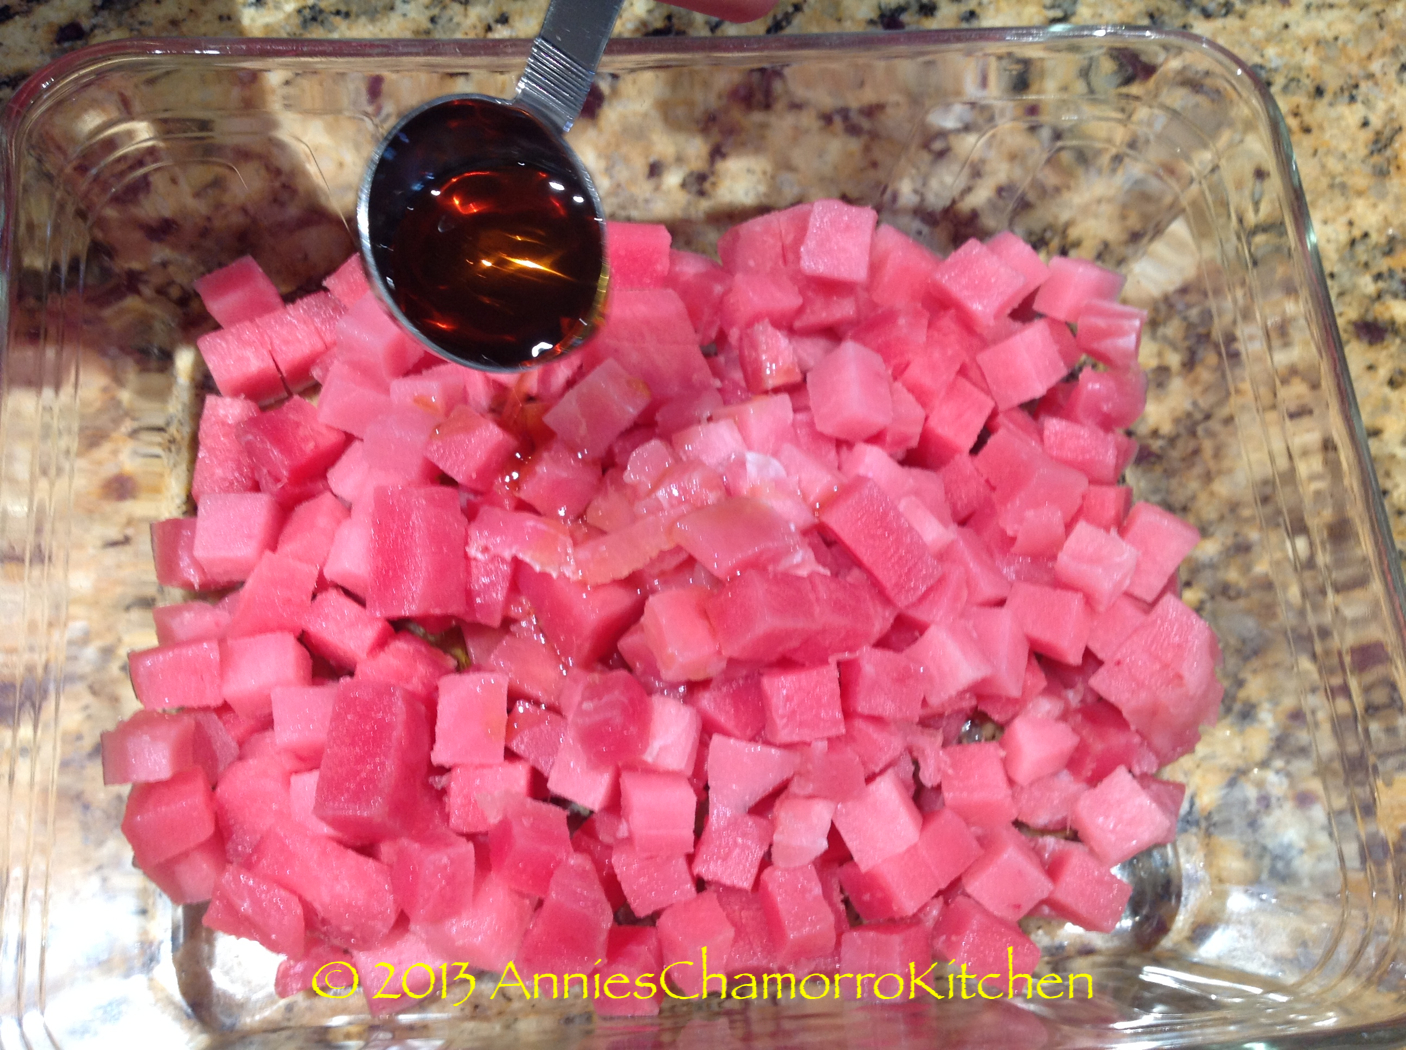
2.  Add the sesame oil.

Poki - 03

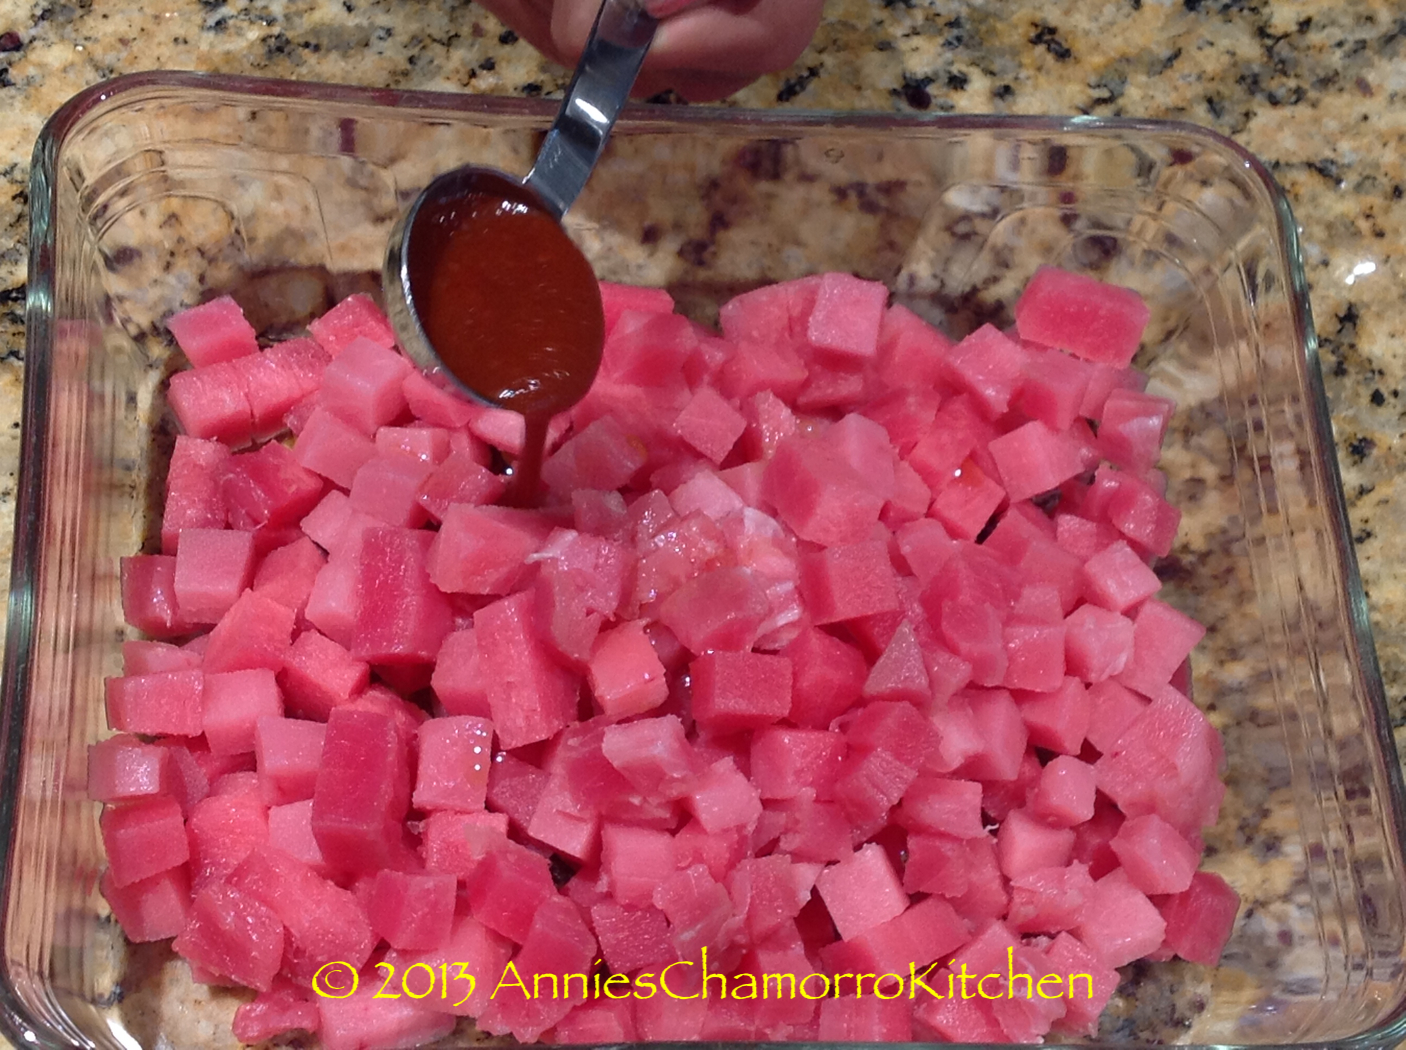
3.  Add the kimchee base (you can use a chili sauce like Sambal Oelek if you can’t find kimchee base).

Poki - 04

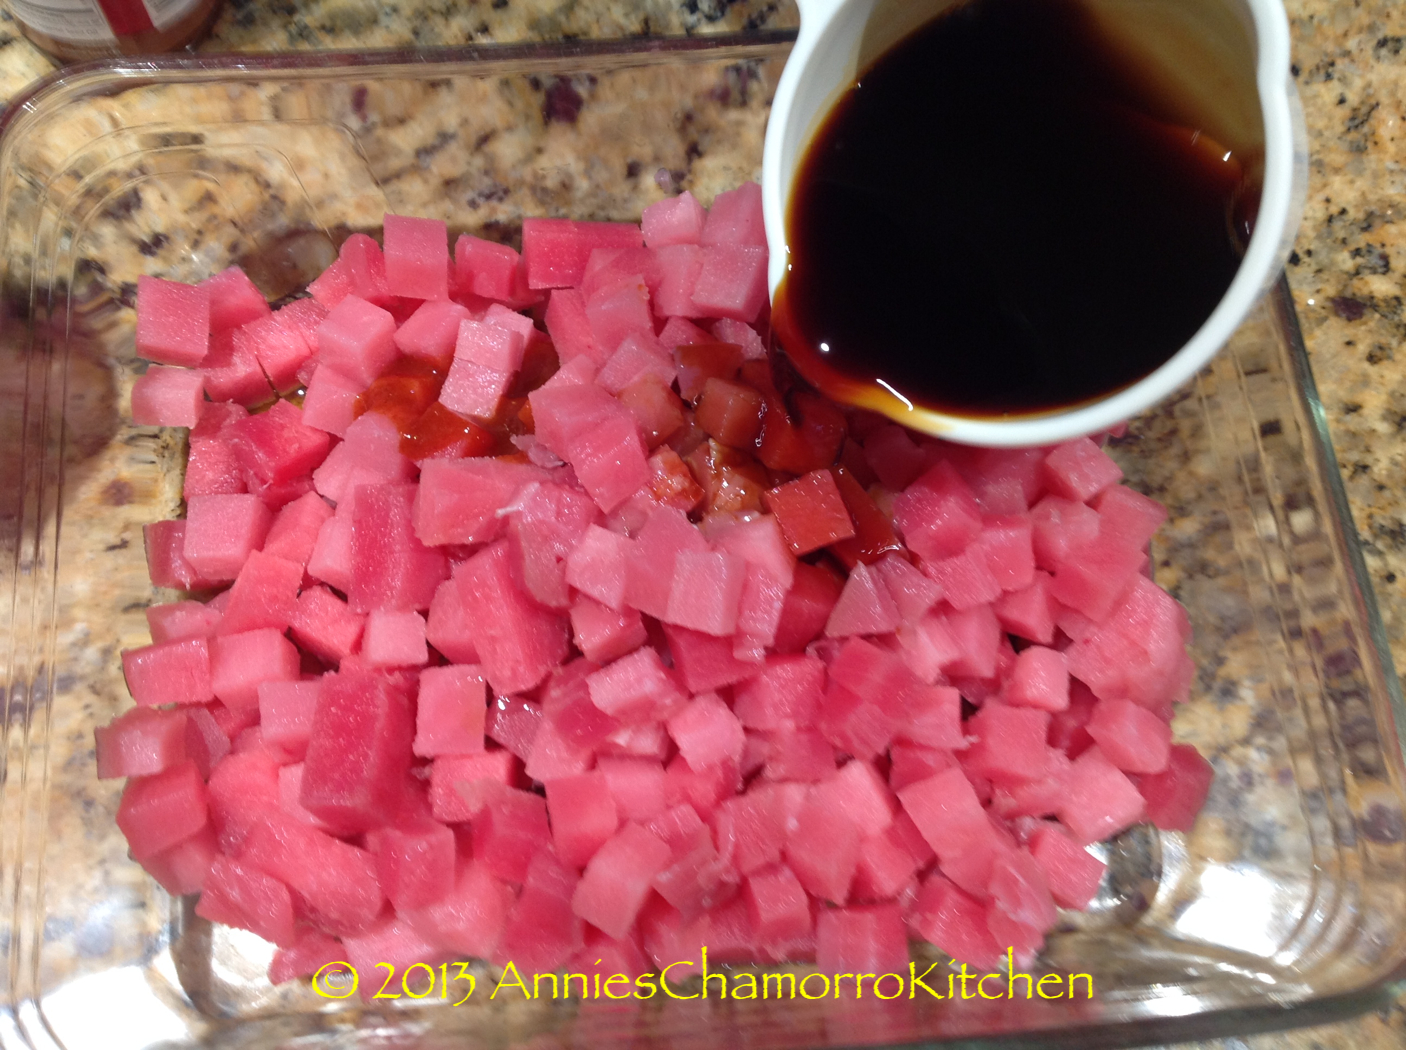
4.  Add the soy sauce.

Poki - 05

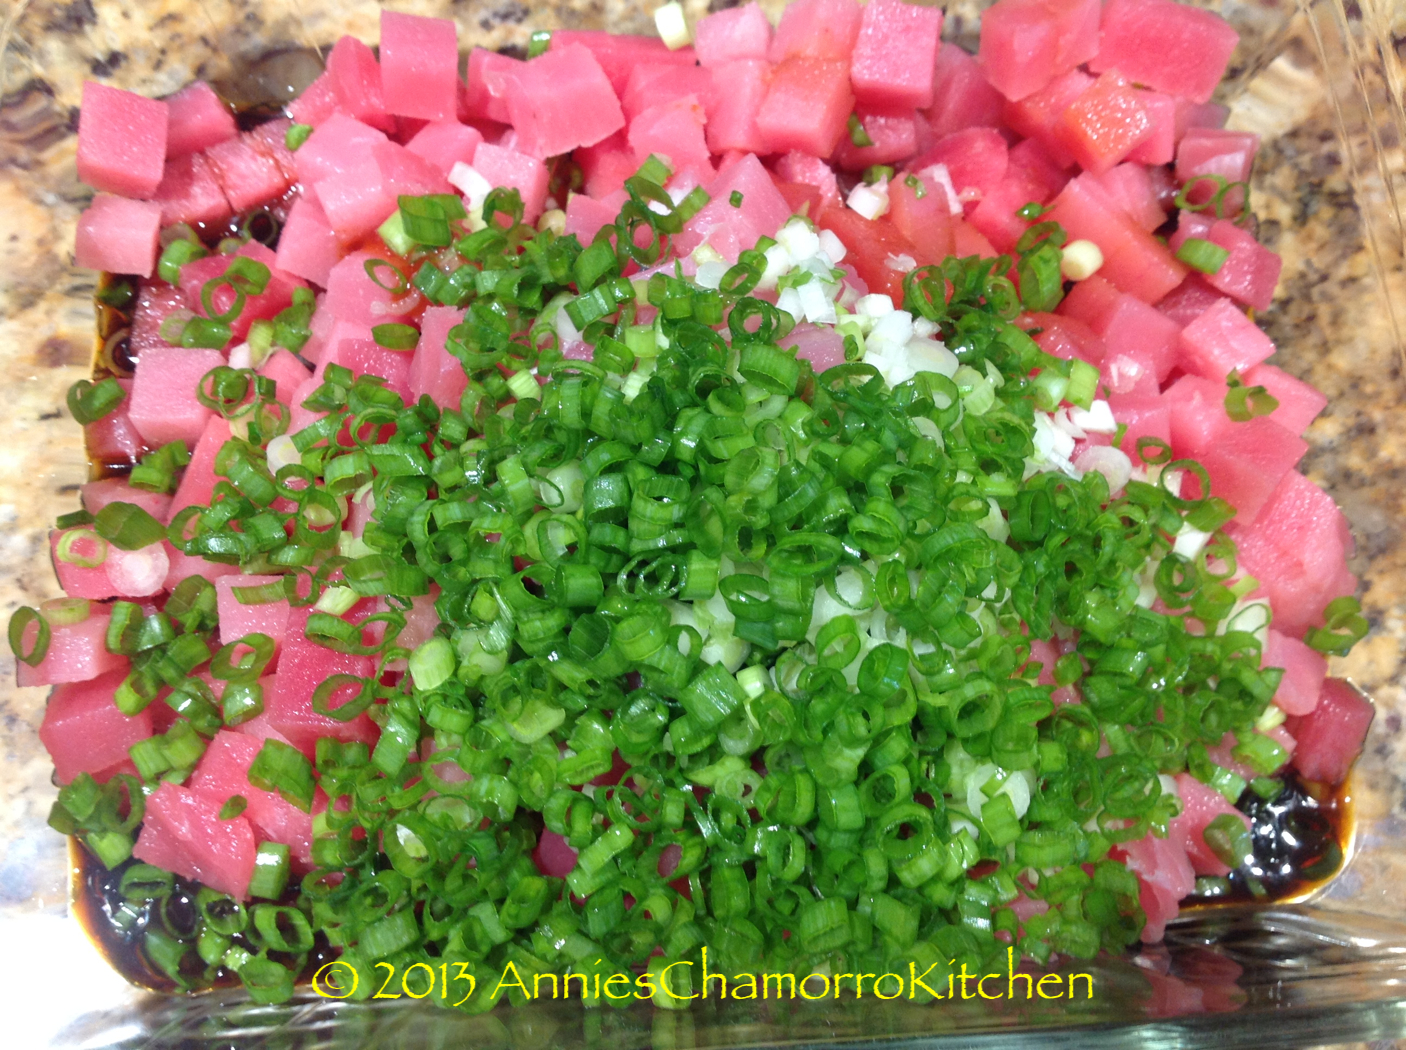
5.  Add the green onions.

Poki - 06

6.  Stir to combine.  Let the poke sit for at least 30 minutes (refrigerated) to allow the flavors to meld.

Poki - 07

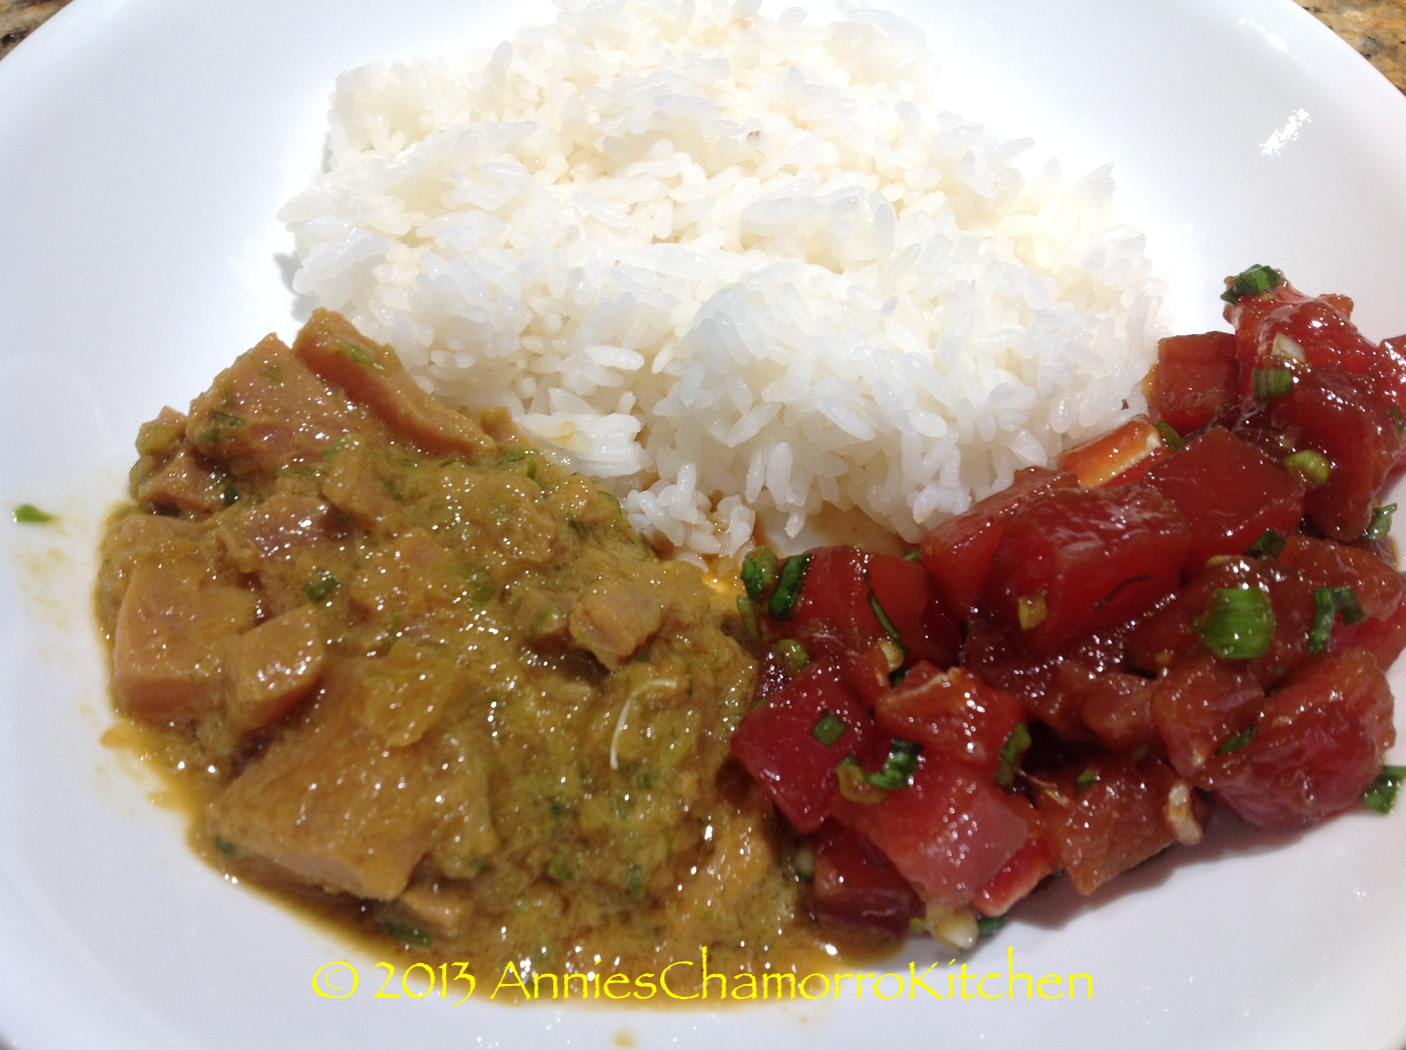
7.  Serve with hot white rice or freshly made corn titiyas (tortillas).  The photo below shows the ahi tuna poke (on the bottom right of the plate) and ahi tuna sashimi (that’s another recipe, to be posted soon) on the bottom left.

ENJOY!!

Poki - 08

Coconut Candy

Coconut candy is an island dessert that’s so simple to make, and fun to get the kids involved in making it.

Growing up, we’d make this a lot during Chamorro Week at school.  This was also a popular treat at bake sales; coconut candy was usually the first item to sell out.

Freshly grated coconut is a key ingredient, but you can easily substitute it with frozen grated coconut.  Just be sure NOT to use the sweetened coconut flakes.  I love the taste of coconut, but to me, the best part of this candy is the caramelized sugar (yum!).

Give my recipe a try…get the kids involved in making them too.  I’m sure they’d love making AND eating it. 🙂

Coconut Candy

Coconut Candy - 14

Ingredients:

  • 2 large coconuts
  • 2 cups white, granulated sugar

Directions:

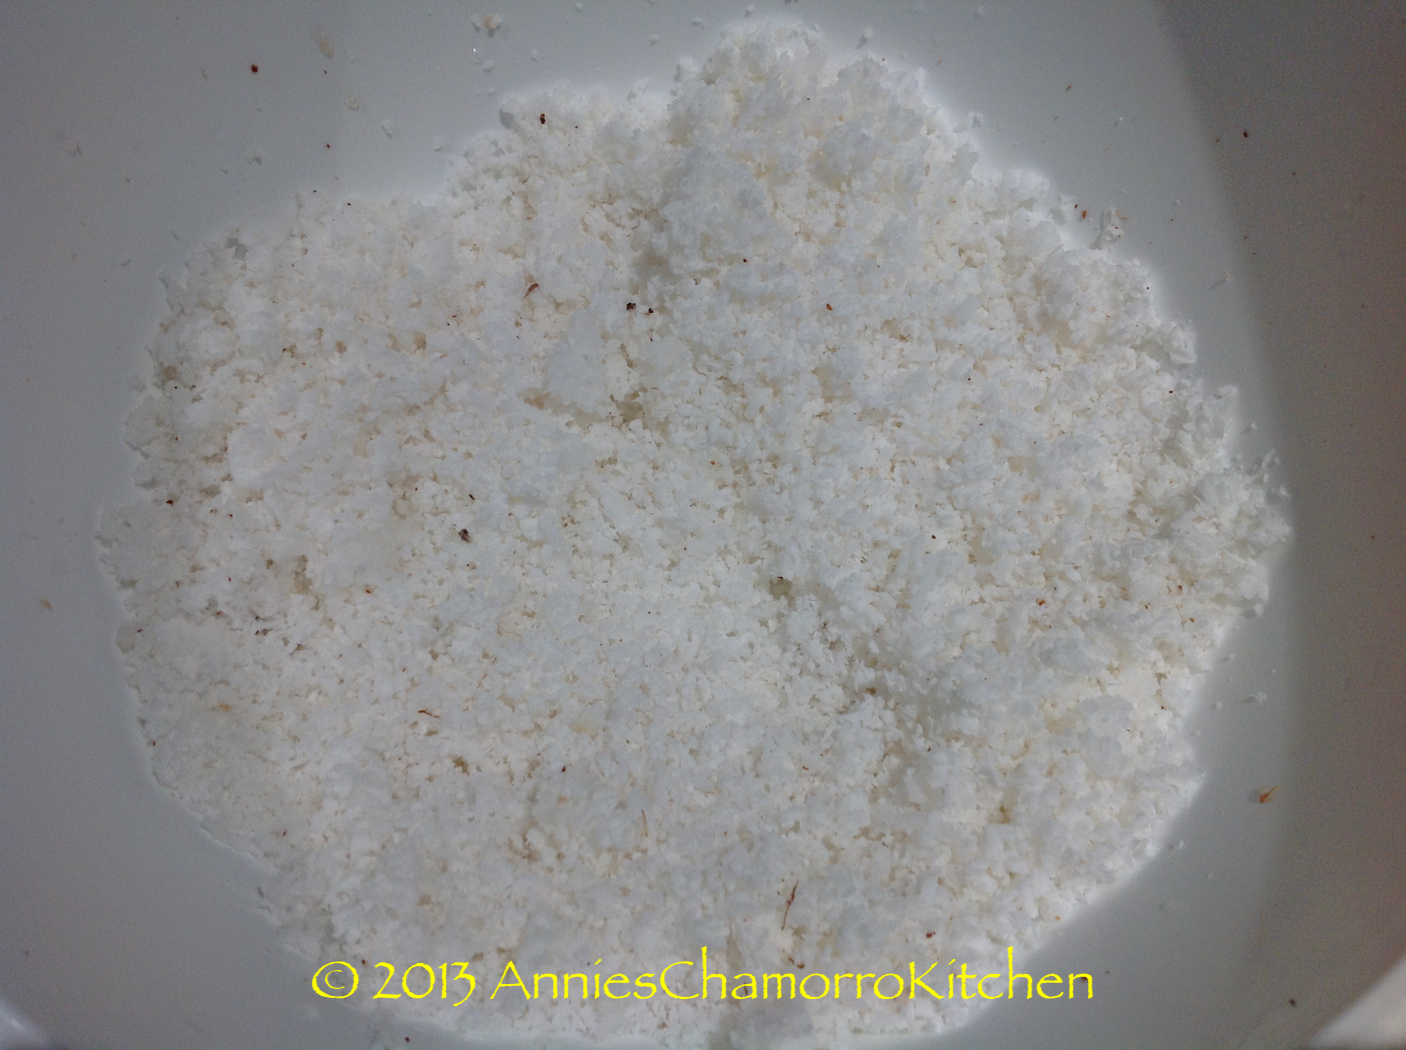
1.  Finely grate the coconut; the smaller/finer the coconut flakes, the better.  You should get roughly 4 cups of grated coconut from 2 large coconuts.  If you can’t find fresh coconuts or don’t have a kåmyu (coconut grater), you can buy frozen grated coconut–make sure you use the UNsweetened kind.

Coconut Candy - 01

Before continuing with the directions, I think it’s important to explain how to choose fresh coconuts.  On Guam, we either cut the coconuts off the trees or pick up the brown ones (niyok) off the ground, then shake them vigorously, listening for the telltale sloshing of the coconut juice.  If you live in the states, it’s sometimes difficult to find coconuts that haven’t already spoiled.  For this batch, I actually bought four coconuts knowing I only needed two.  Sure enough, two of them ended up being spoiled and moldy inside.  Before buying coconuts, shake them.  You should hear (and feel) liquid sloshing around inside.  If you don’t hear and feel any liquid while shaking the coconut, do NOT buy it–it’s gone bad already.  The coconut should also feel rather heavy.  A coconut that either has very little liquid sloshing around or feels light (compared to the weight of other coconuts) are an indicator that the coconut meat inside is dried out or spoiled.

The coconuts I bought–the ones that ended up being bad–had liquid in them when I shook them.  However, the coconuts must have sat in the store for who knows how long. In one of the coconuts, the liquid smelled sour (a sure sign of spoilage) and the meat felt slimy (yuck).  The other bad coconut, after cracking it open, had mold growing between the meat and shell (more yuck!).  And to think I paid about $2 for each coconut….

For those of you living on Guam or in a place where coconut trees abound and you don’t have to pay an arm and a leg for them, be thankful.  Ahh…how I miss those days when I could just go out to the back yard and husk open coconuts that just fell off the trees.

Anyhow, on to making coconut candy.

2.  Caramelize the sugar.

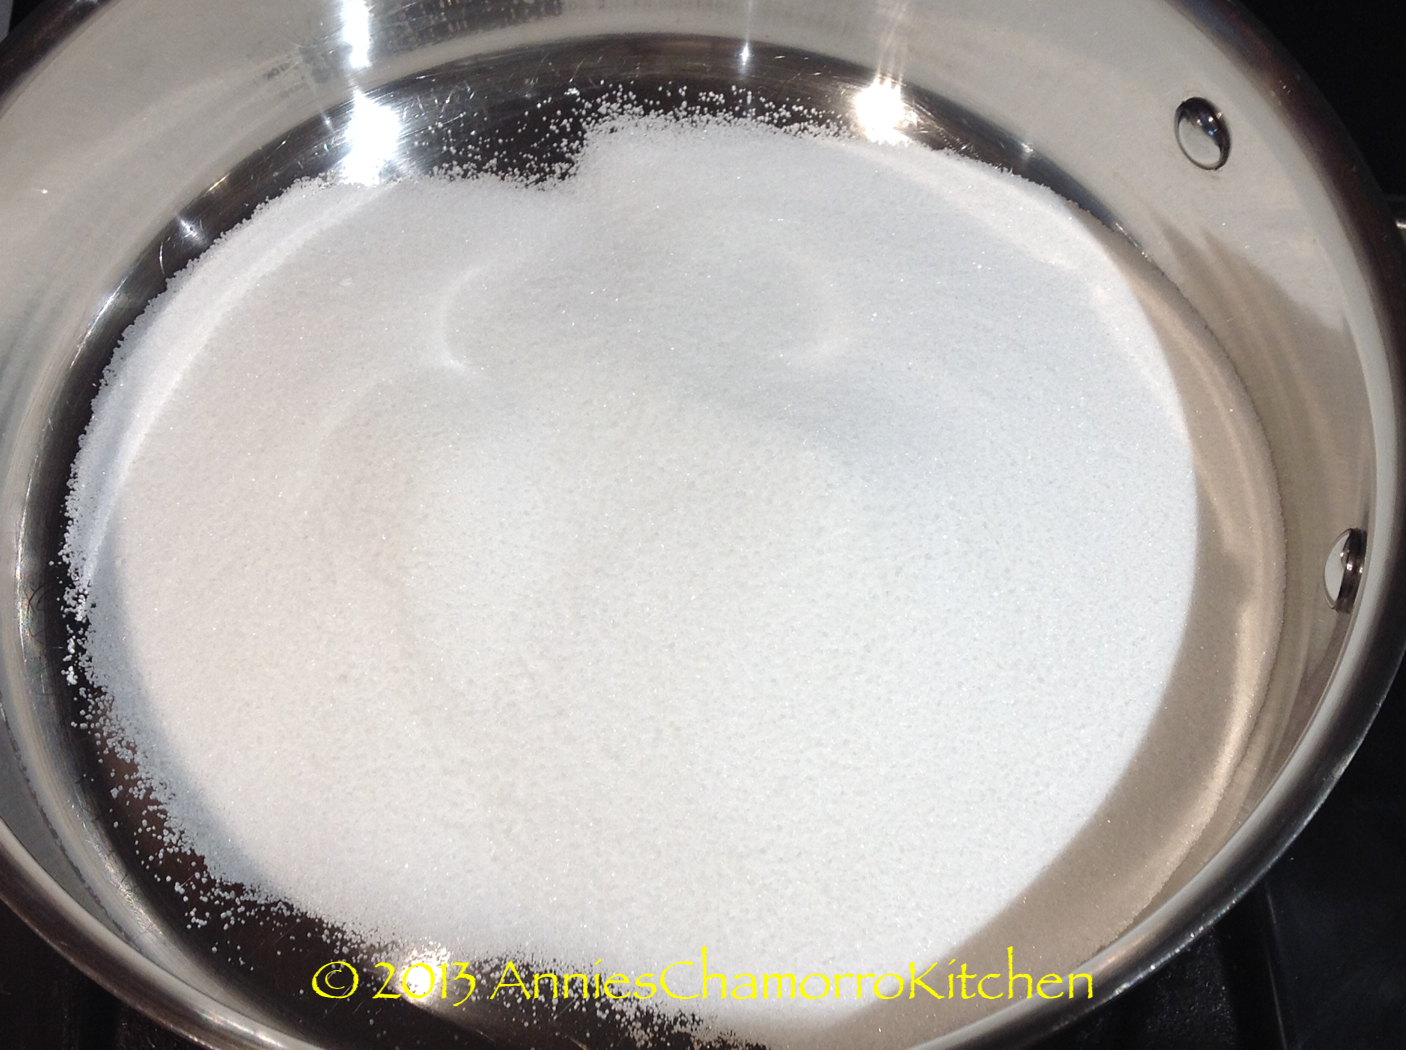
Place the sugar into a large frying pan set over low heat.

Coconut Candy - 02

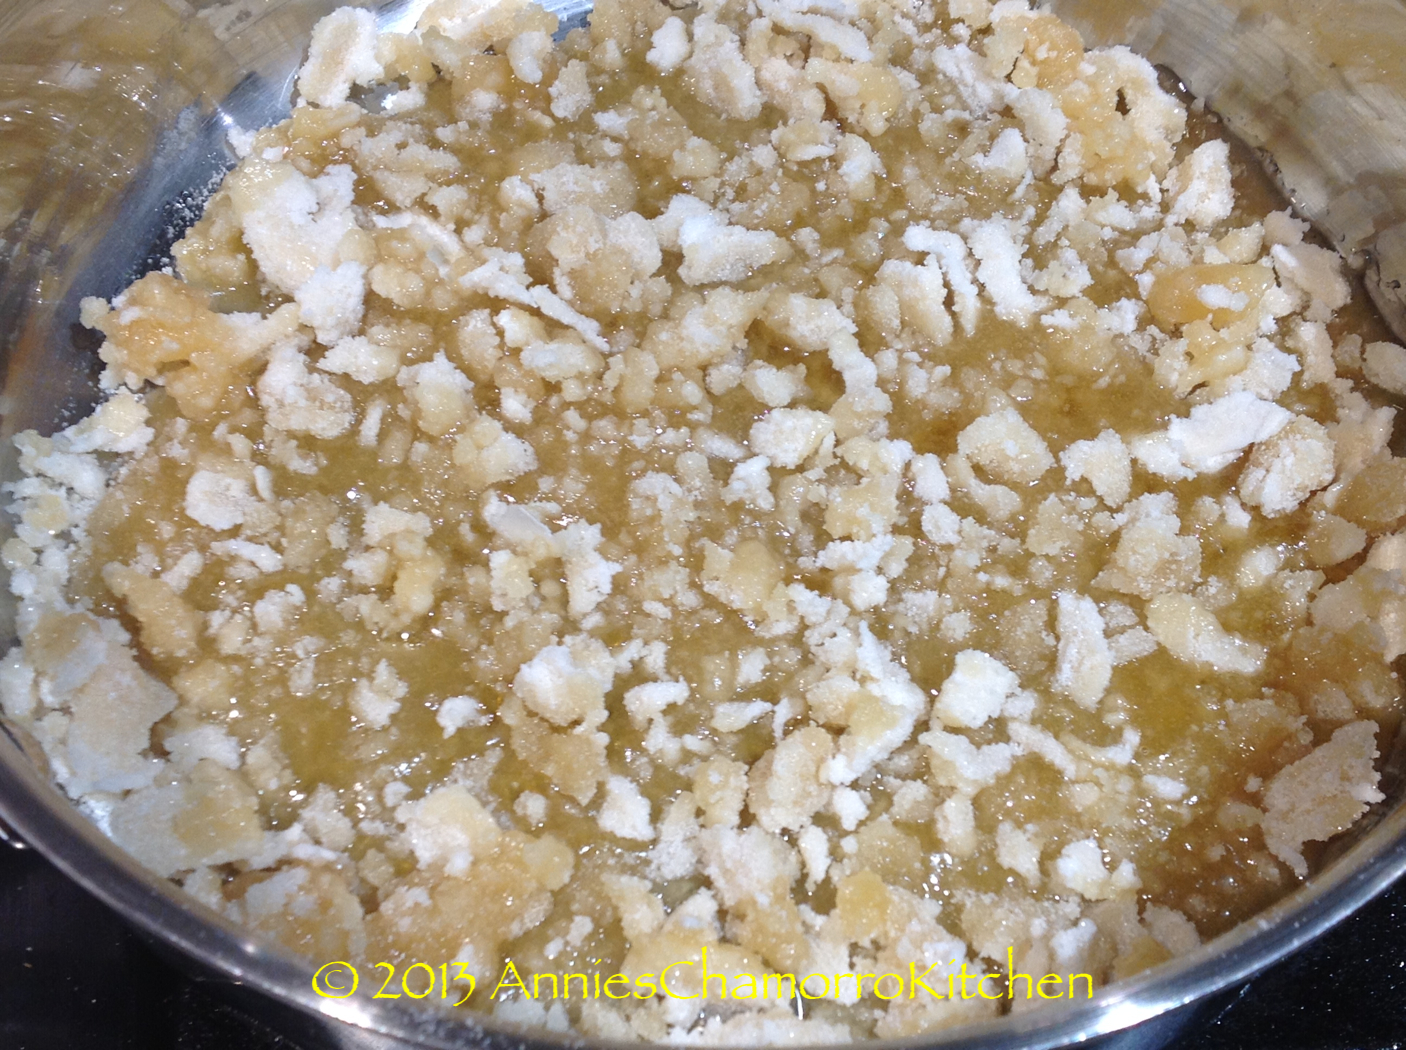
Leave the sugar alone until you see it begin to melt.

Using a heavy duty spoon or heat-safe rubber spatula, scrape the sugar from the edge of the pan to the middle.  You’re doing this for a couple of reasons — first, you want to keep the melted sugar from browning too fast and burning.  Second, you’re moving the unmelted sugar to the hotter spots on the pan to begin melting.

The photo below shows a bit of clumping of unmelted and melted sugar.  Don’t worry if yours looks like this — keep cooking the sugar over low heat and those clumps will melt right out.

Coconut Candy - 07

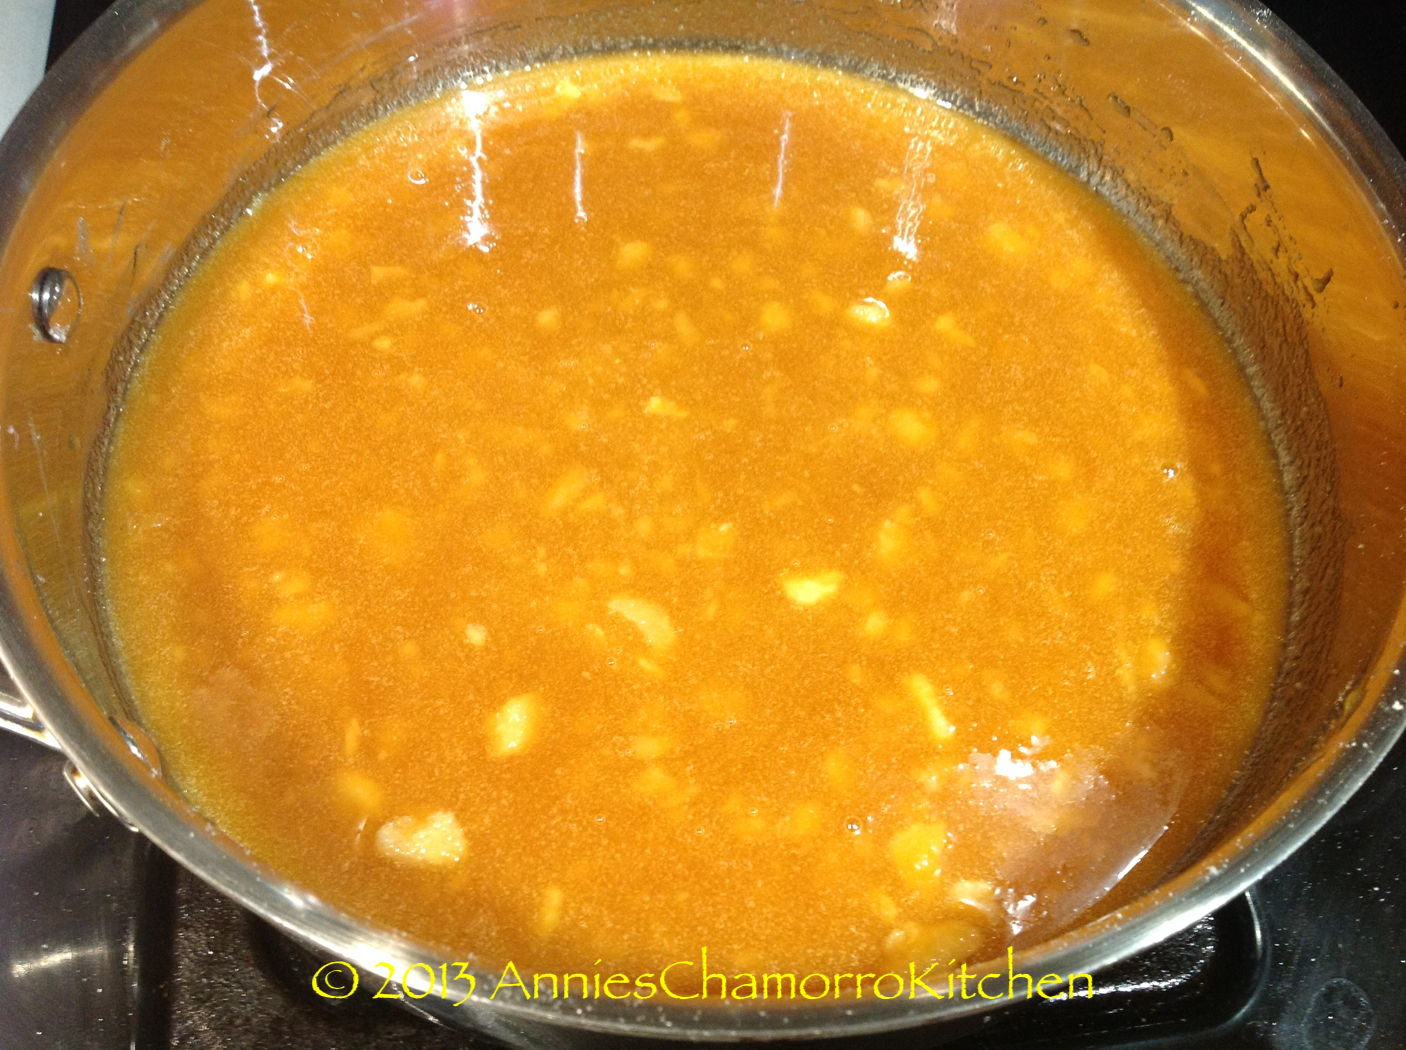
Keep cooking (and stirring) over low heat…

…and…cooking/stirring…

…and cooking/stirring some more.

Whew!  FINALLY the sugar is melted with a nice caramel color.  Use the back of your spoon to smush any stray lumps of sugar (like the ones shown below).

Coconut Candy - 08

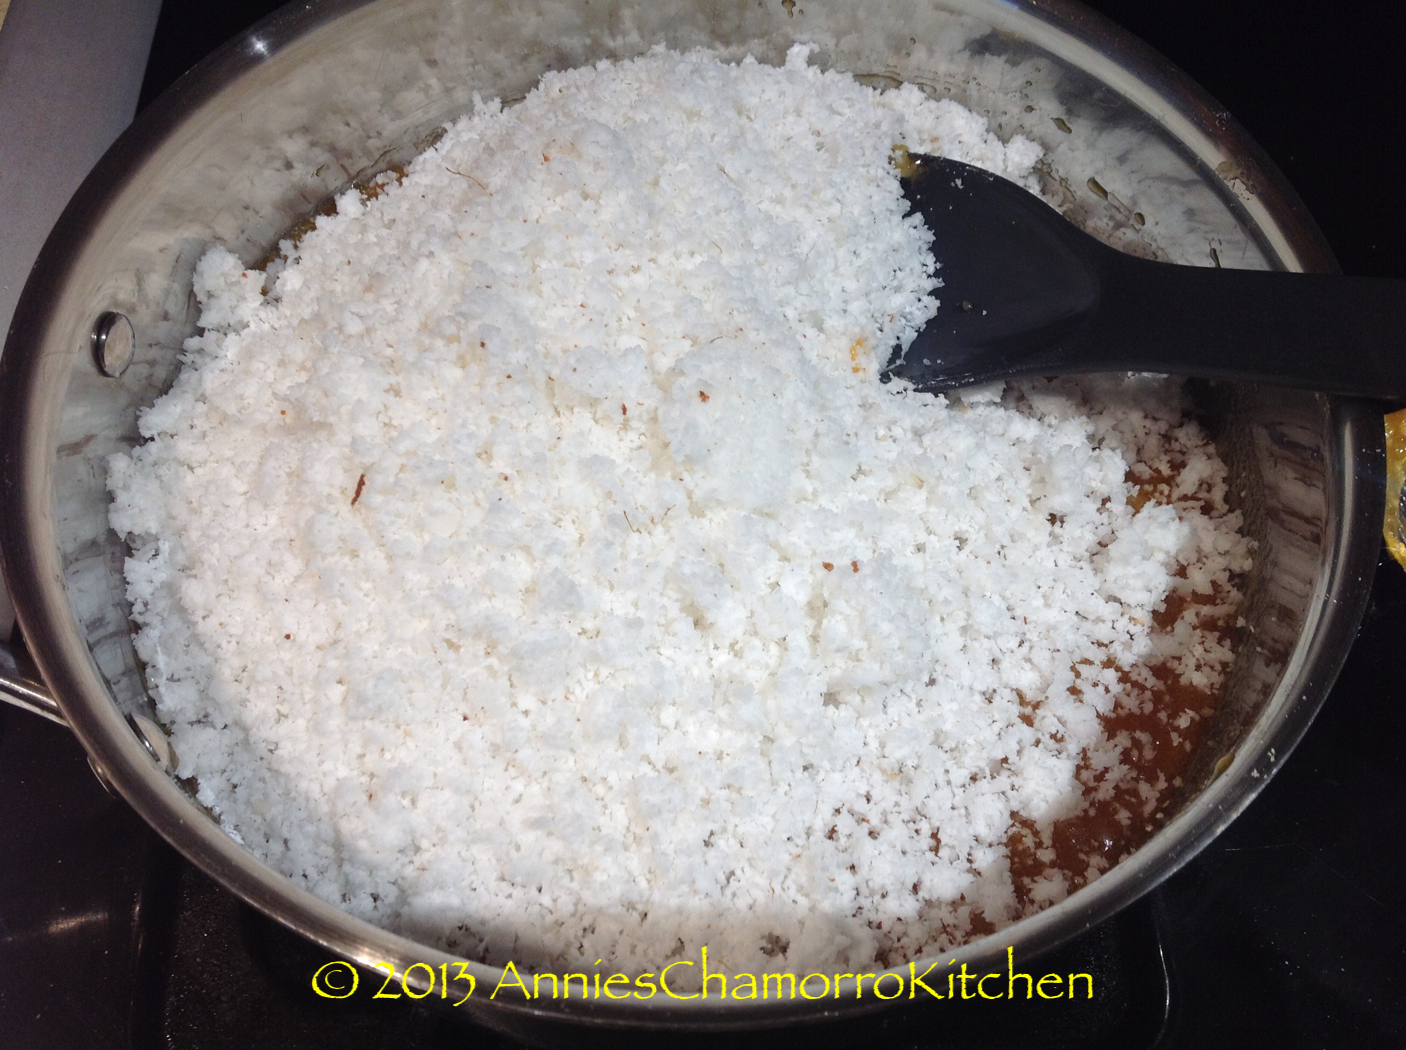
3.  Add the coconut to the caramelized sugar.

The sugar will solidify after adding the coconut, but don’t worry, the sugar will re-melt.

Coconut Candy - 09

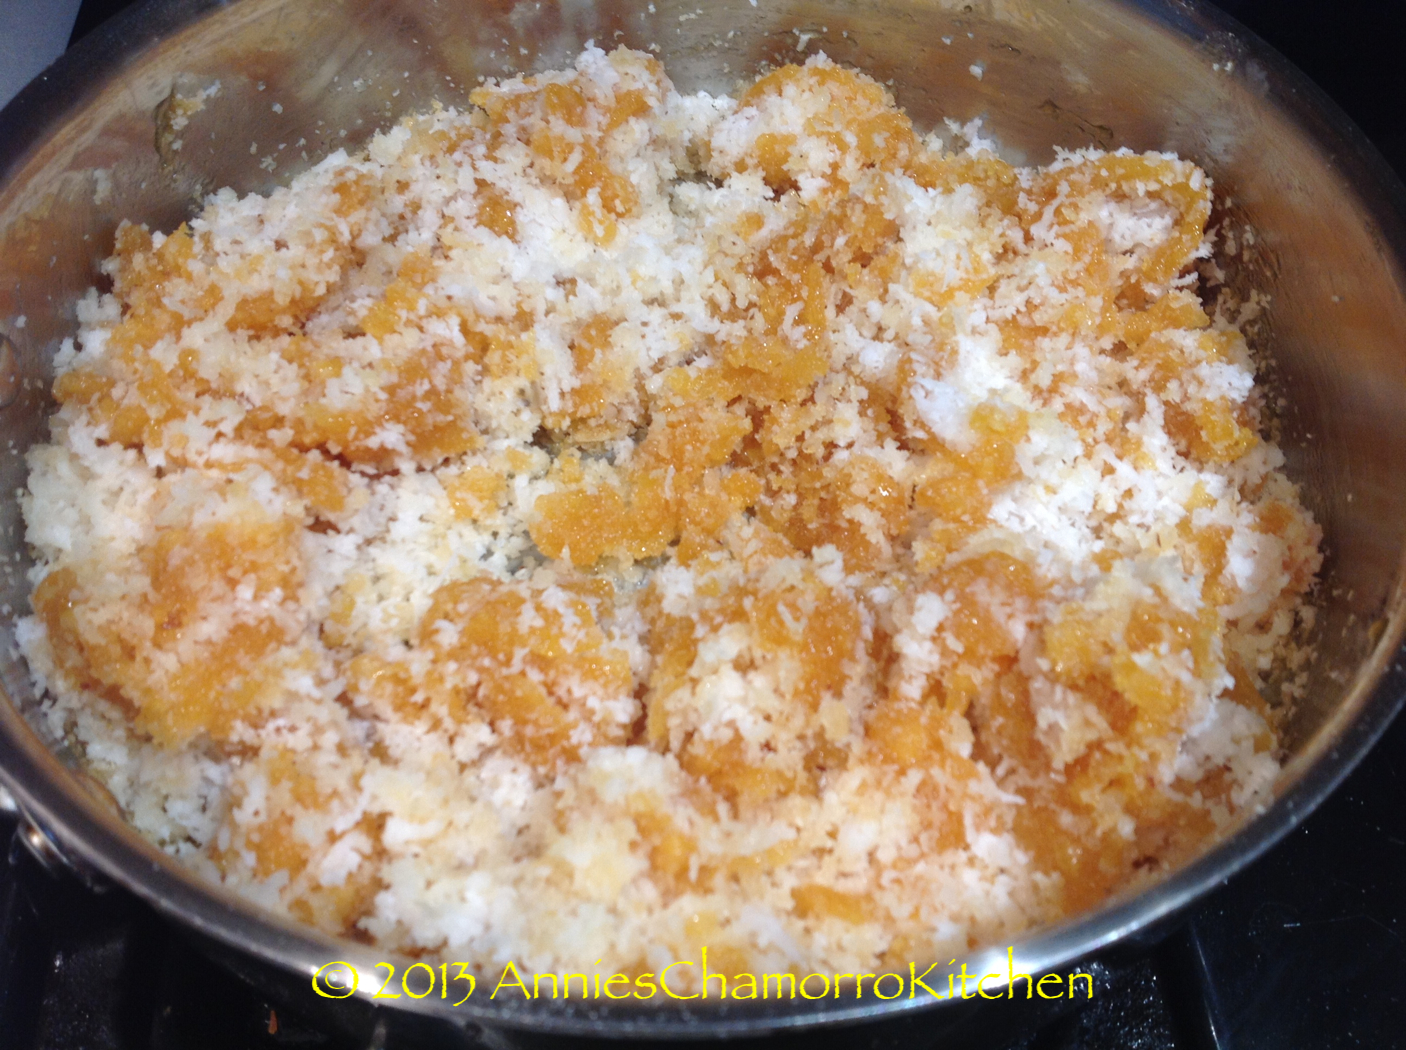
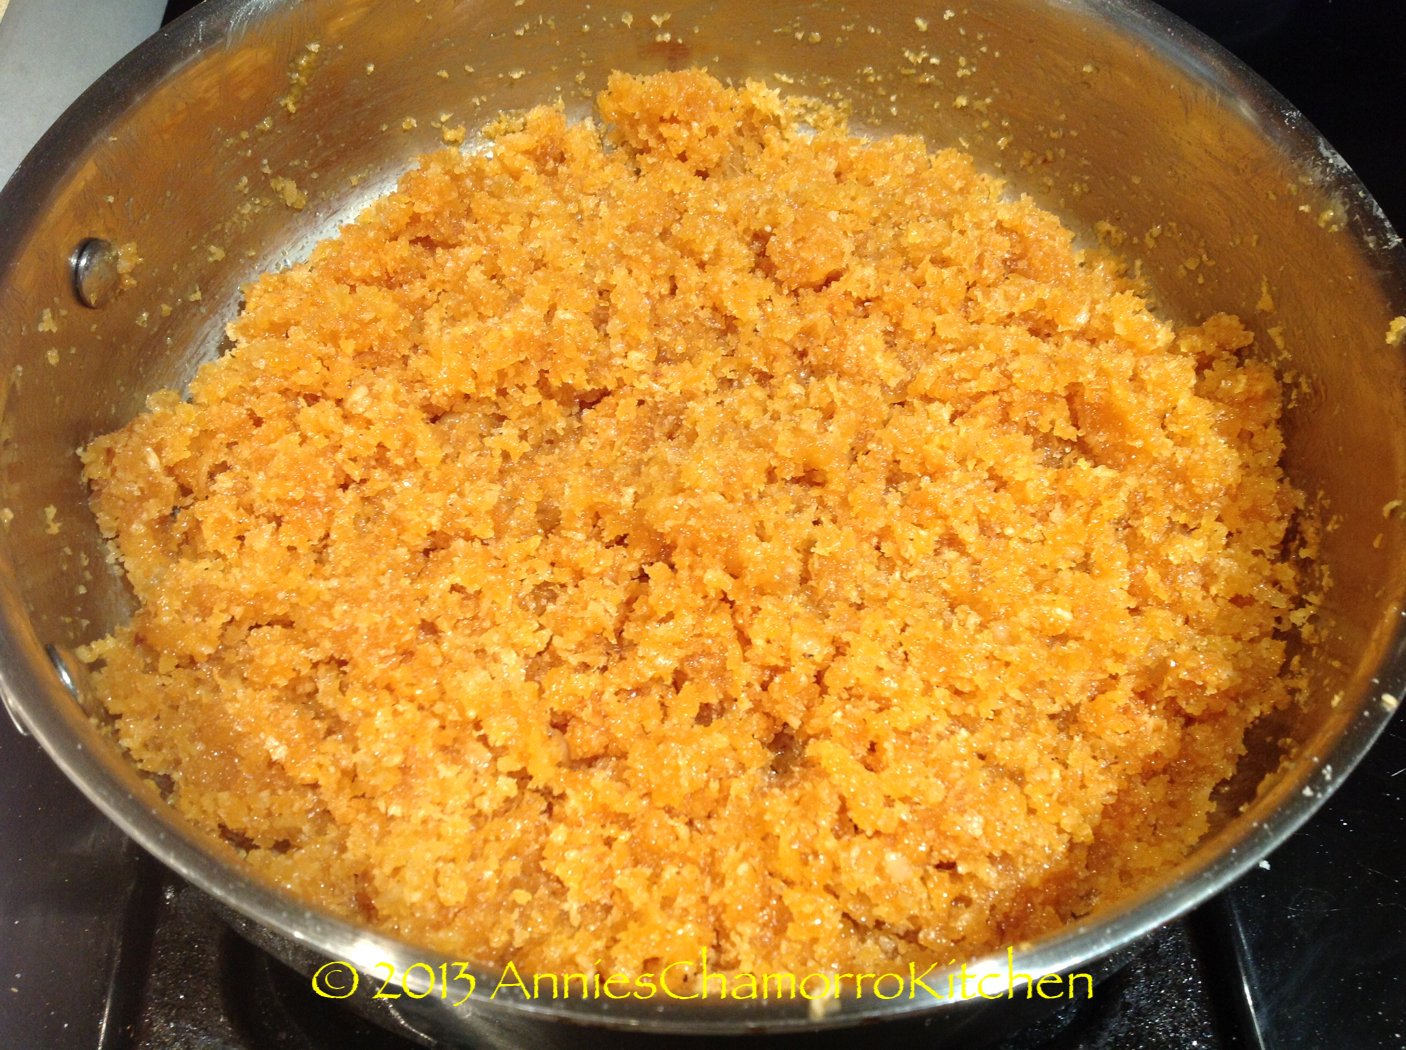
This is what the mixture looks like, with the sugar hardening after adding the coconut.

Coconut Candy - 10

Keep cooking the coconut-sugar mixture over low heat, stirring occasionally until the sugar re-melts. Turn off the heat once the sugar is melted again.  Stir the mixture one last time to evenly mix the sugar and coconut together.

Coconut Candy - 11

4.  Form the candy.

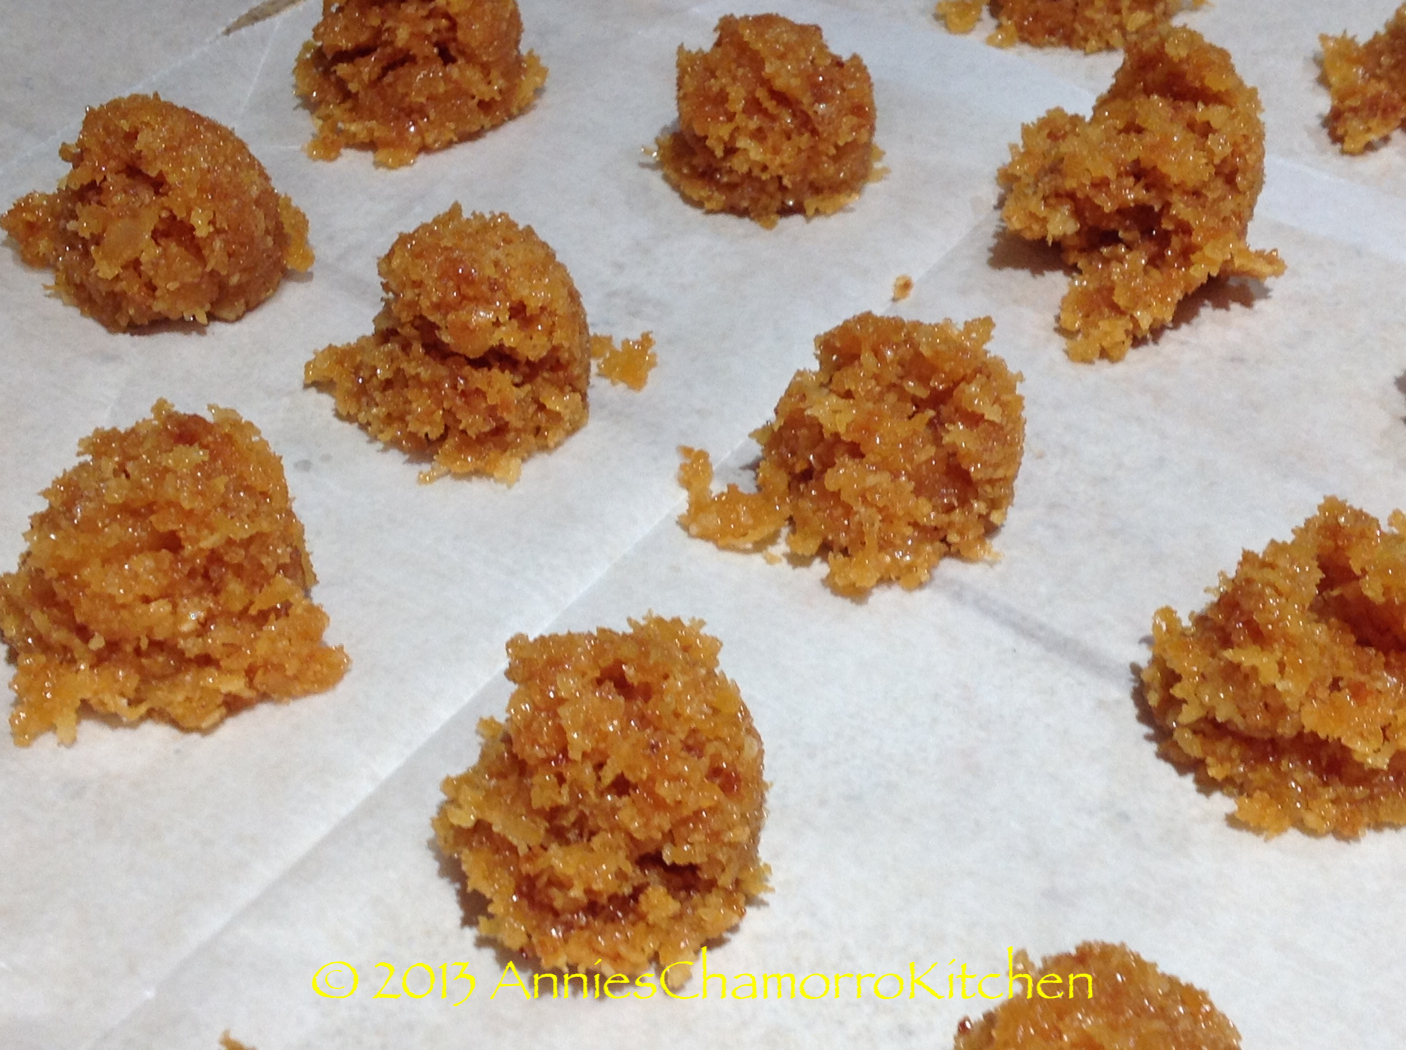
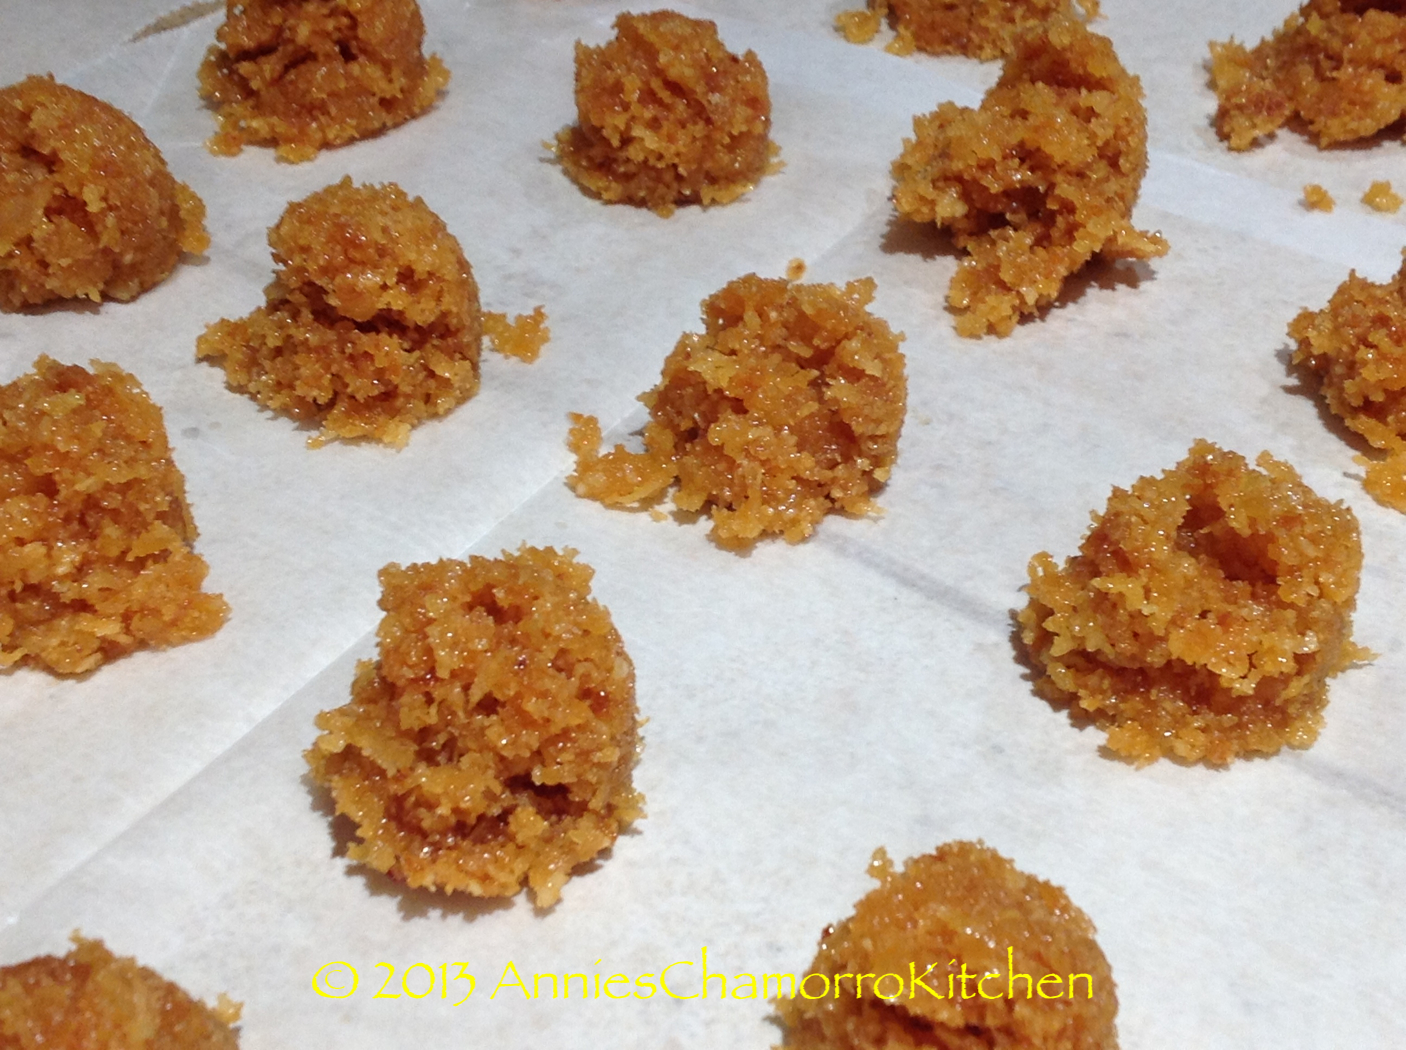
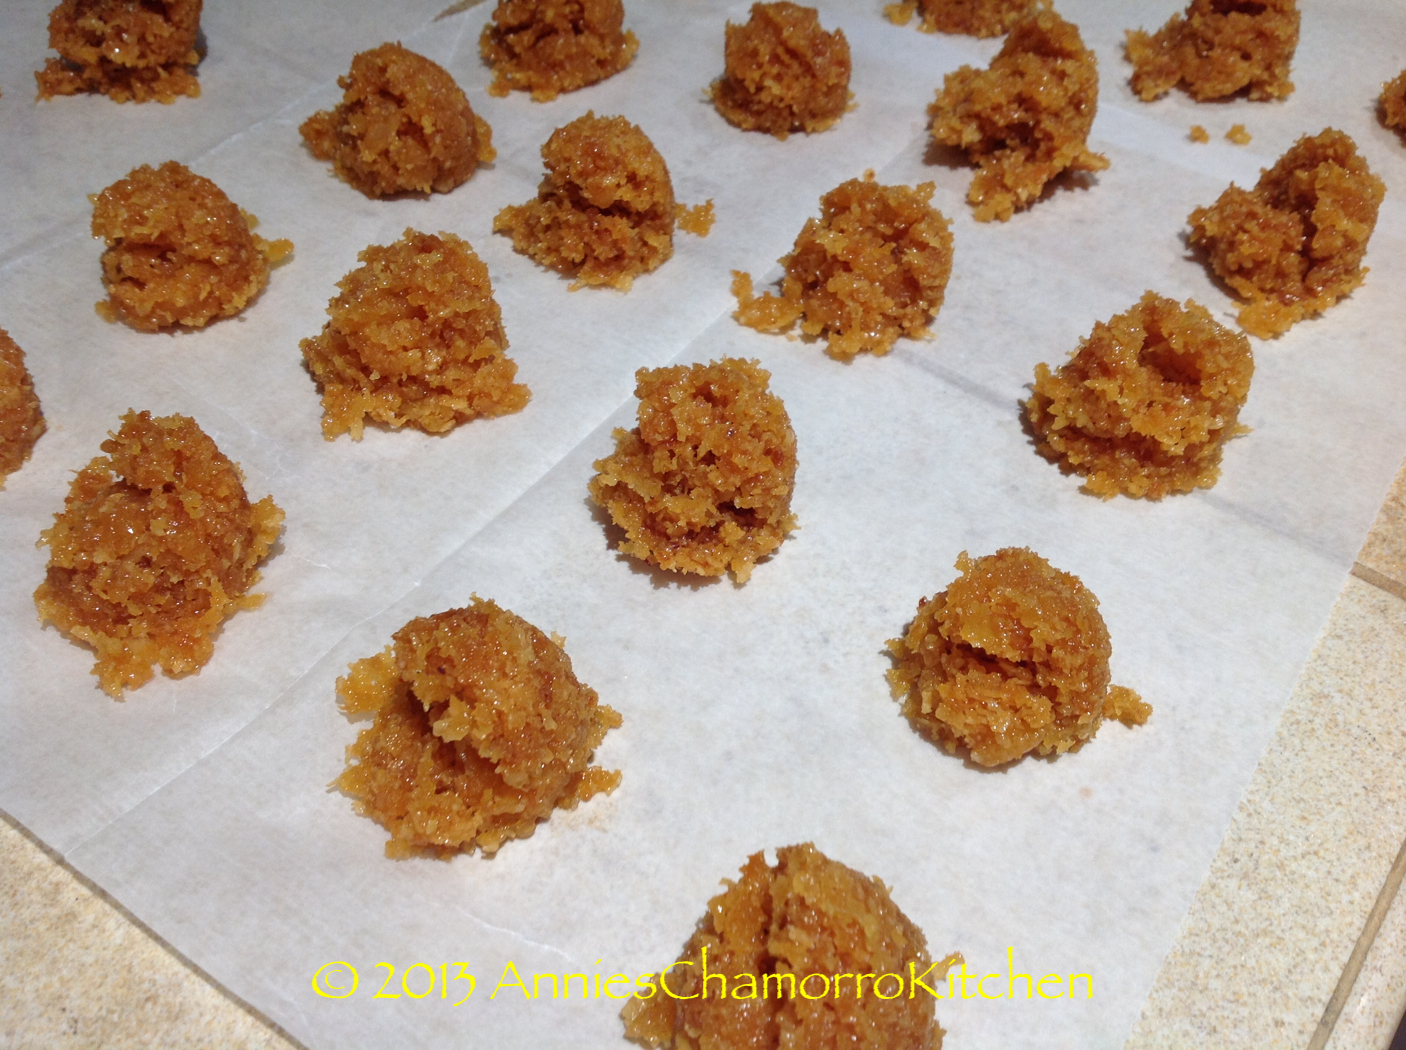
Using a couple of tablespoons (I used a small cookie scoop), scoop small amounts of coconut candy onto a piece of waxed or parchment paper.

Coconut Candy - 12

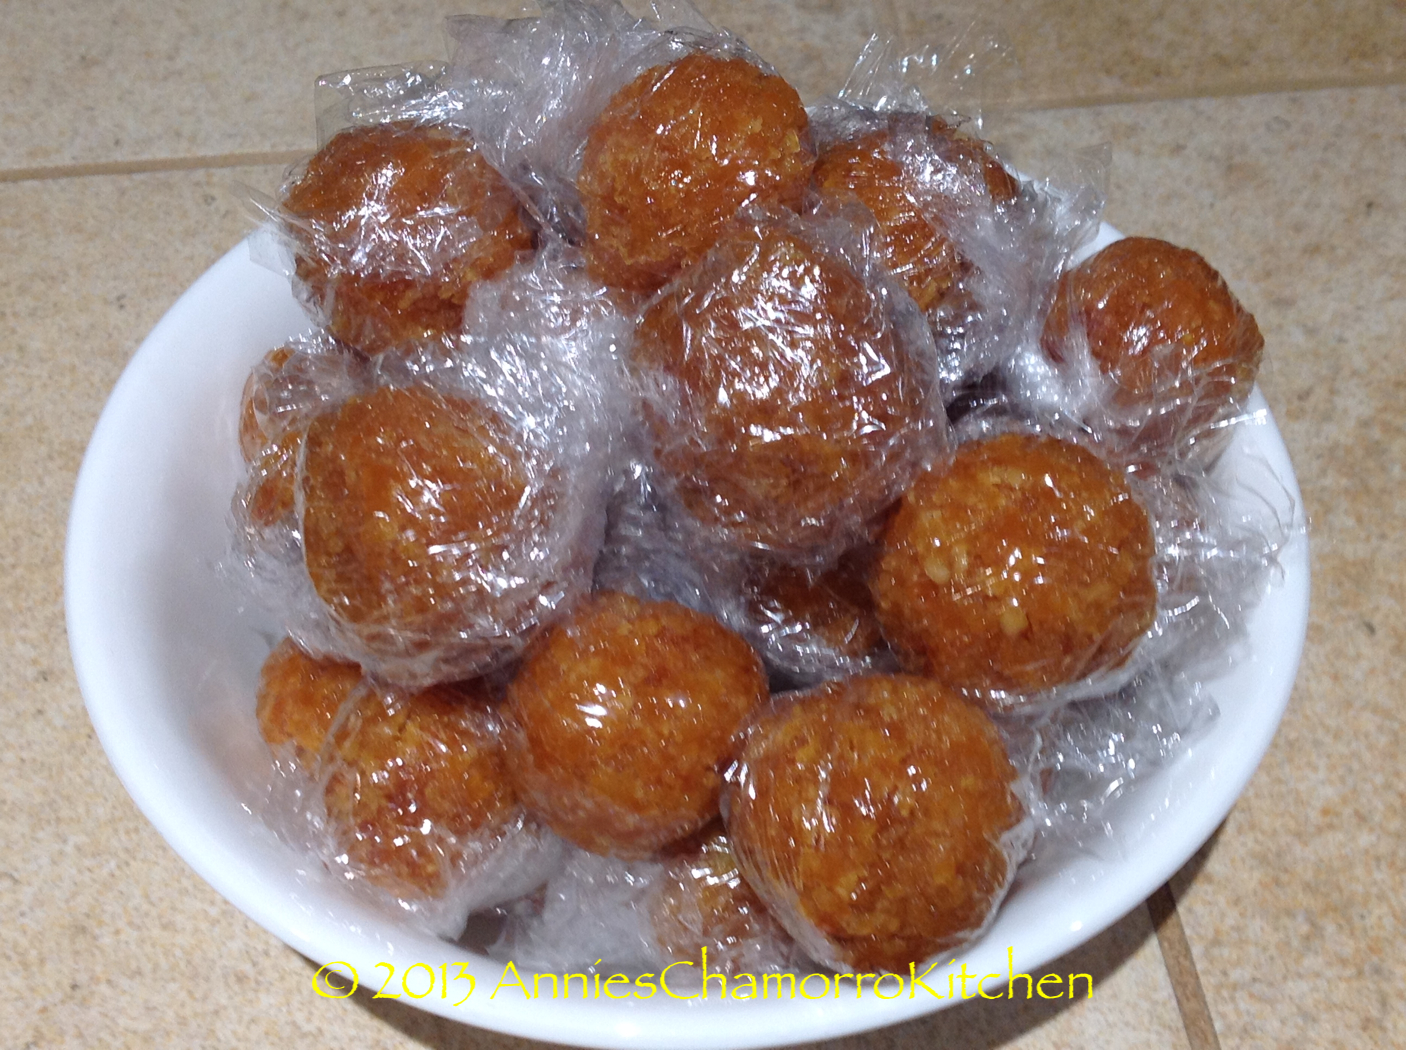
Let the candy cool for a couple of minutes, then use your impeccably clean hands to roll the candy into balls.  Wrap each ball of candy with plastic wrap.  The candy will keep for about 2 weeks (at room temperature), but I highly doubt they’ll last that long (before it gets devoured).  ENJOY! 🙂

Coconut Candy - 15


Riyenu ~ Chamorro Stuffing

Chamorro stuffing, or Riyenu, is a delicious side dish usually served during special holiday meals, alongside baked turkey, ham, or roast pig.

My mom taught me how to make this a very long time ago, when I was a very young girl.  In fact, this recipe is one of the few I added to a recipe book that I made when I was perhaps 8 or 9 years old.  I remember stacking small pieces of paper and gluing one side to make a spine, then creating a cover out of stiff cardboard and gluing a piece of scrap fabric with blue polka dots on it to make the cover soft and pretty.  Even at that young age, I loved to cook, and I made my very own recipe book, which I still have to this day.

I’ve been asked what makes this a Chamorro stuffing.  Well, I guess it’s the addition of potatoes, pimento and olives, kind of like our Chamorro Potato Salad.

A few optional ingredients that my mom sometimes puts in her Riyenu are finely diced celery and a small jar of sweet pickle relish.  I prefer my stuffing without those two ingredients, so I leave them out.

You don’t need to wait for a holiday to make this yummy stuffing.  Give my recipe a try.  I think you’ll like it. 🙂

Riyenu ~ Chamorro Stuffing

image

Ingredients:

  • 2 medium potatoes
  • 1 cup vegetable oil, for frying
  • 1 pound ground beef
  • 1 small onion, diced
  • 1 box Stove Top Stuffing Mix for Turkey
  • 2 small jars diced pimento, drained
  • 1 small can chopped black olives, drained
  • 1 cup raisins
  • 1 can evaporated milk
  • 1/2 stick unsalted butter, melted
  • Salt and pepper, to taste

Directions:

Peel and dice the potatoes into small pieces, about 1/4 inch square.

image

Place the vegetable oil in a shallow frying pan over medium heat.

image

Fry the diced potatoes in batches; cook until the potatoes are a very light golden brown and cooked through (use a fork to test for doneness).

image

Drain the cooked potatoes on a paper towel-lined plate.  Set aside.

image

Brown the ground beef in a medium sized pot.

image

Add the contents of the stuffing mix (dried bread pieces and seasoning), the cooked potatoes and onions to the pot.  Stir to combine.  Cook over medium heat, stirring occasionally.

image

Add the pimentos and olives to the pot.

image

Stir to combine.  Continue to cook over medium heat for a minute or so, stirring occasionally.

image

Add the raisins.  I actually like lots of raisins in my stuffing so I tend to add more than a cup.

image

Pour in the evaporated milk.  You can also use vegetable or chicken stock instead of milk.

image

Add the melted butter.  Cook for another minute or two.  Taste, then add salt and pepper if needed (the seasoning packet from the stuffing is already quite salty, so you might not need to add more salt).

image

Place the stuffing into an oven-safe baking dish.

image

Bake at 350 degrees for 20 minutes.

image

Serve and ENJOY!

image

This makes a wonderful side dish, served alongside my smoked/grilled turkey and brown sugar glazed ham.

image

ENJOY!

image

Smoked & Grilled Turkey

Turkey doesn’t have to be served only during Thanksgiving or other holiday meal.  Chamorros love to BBQ, but occasionally, we like to smoke and grill a turkey instead of the traditional BBQ fare of ribs and chicken.

Whether baking, frying, grilling or smoking a turkey, I recommend brining the turkey at least 24 hours prior to cooking.  Brining not only adds flavor to the turkey, but it seals in the juices during the cooking process, yielding an incredibly moist, juicy, tasty turkey.

Smoked & Grilled Turkey

image

Ingredients:

  • 1 turkey, about 12-15 pounds
  For the Brine:
  • 2 gallons water
  • 1 cup sea salt
  • 2 tablespoons rosemary-garlic mix (or 1 tablespoon rosemary, 1 tablespoon garlic powder)
  • 1 tablespoon dried sage
  • 1 tablespoon whole black peppercorns
  • 1 tablespoon dried thyme leaves
  • 1 tablespoon dried parsley flakes
  • 2 bay leaves
  • 4 tablespoons good quality honey
  • 2 tablespoons dark brown sugar
  • 1 tablespoon powdered chicken bouillon
  • 1 orange, sliced
  • 2 limes, sliced
  • 1 medium onion, sliced
  • 1 gallon ice cubes
   Stuffing:
  • 1 medium onion, sliced
  • 2 apples, cut into wedges
  • 1 whole head of garlic

Directions:

1.  Make the brine.

Place one gallon of water into a large pot.

image

Add the sea salt to the pot of water.

image image

Add the herbs/spices and bay leaves to the pot.

image image

image

Add the honey.

image

Add the brown sugar.

image

Add the chicken seasoning.

image

Give it a stir then bring the mixture to a boil.

image

Pour the brine into a clean bucket (we bought a PBA-free bucket at Lowe’s).

image image

Add the sliced limes, orange and onion to the bucket.  My daughter was being funny and called this “turkey punch”. 😉

Let the brine cool completely before adding the turkey.

image image image

Remove the giblets and neck from the cavity of the turkey.  Rinse well then add the turkey to the cooled brine.  I don’t think there’s a “wrong way” to place the turkey into the bucket, but I like to place it with the legs pointing up so that most of the turkey meat is submerged in the brine.  Of course, you could just add more water to the bucket until the bird is completely drowned. 😉

image image

Pour in the two gallons of ice cubes — about 2 pitcherfuls.

image image

Place the lid on the bucket (if yours doesn’t come with a lid, use aluminum foil to cover it) then place the bucket in the refrigerator.  Let the turkey soak in the brine for at least 24 hours.

image

2.  Smoke/Grill the turkey.

After 24 hours, remove the turkey from the brine.  Chop up 2 apples and 1 onion, and peel the skin/paper off each clove in an entire head of garlic.

image

Stuff the apple, onion and garlic mixture into the cavity of the turkey.

image

Place the turkey in the smoker/grill.  Follow the smoking/grilling directions for your smoker.  I have a Traeger smoker/grill that has automatic temperature settings.  Here are the procedures for using a grill (like a Traeger) that has automatic temperature settings.

After turning on the grill, set it to 450 degrees; let the heat build up for about 15 minutes.  Turn the heat back down to the Smoke setting then place the turkey on the grill, smoking it for approximately 9 hours.

NOTE:  If you want to cut down the cooking time, do NOT stuff the turkey until about one hour from being done.  An un-stuffed turkey cooks faster than a cooked one.  If you decide NOT to stuff the turkey, smoke it for 6 hours instead of 9.

This is what the turkey looked like after 3 hours of smoking.

image

After 8 hours of smoking, turn the heat up to 275 degrees and grill the turkey for one more hour or until the skin turns a nice dark brown color.

image

If you don’t own a smoker/grill, bake the turkey at 325 degrees using the chart below as a basic guide.

TURKEY ROASTING TIMES
Stuffed Turkey
Turkey Weight (Pounds)Cooking Time (Hours)
6 - 83 - 3 1/2
8 - 123 1/2 - 4 1/2
12 - 164 1/2 - 5 1/2
16 - 205 1/2 - 6
20 - 246 - 6 1/2
Un-Stuffed Turkey
Turkey Weight (Pounds)Cooking Time (Hours)
6 - 82 1/2 - 3
8 - 123 - 4
12 - 164 - 5
16 - 205 - 5 1/2
20 - 245 1/2 - 6

Serve with your favorite side dishes.  I recommend Chamorro Red Rice, Chamorro Stuffing (Riyenu) and Fina’denne’.
ENJOY!
image
image


Pumpkin Cinnamon Rolls with Chocolate Chips

Pumpkin bread, pumpkin turnovers, pumpkin muffins, and now, Pumpkin Cinnamon Rolls–with chocolate chips too!  If I didn’t already have you at “cinnamon rolls”, you must surely be hooked now that I mentioned these yummilicious rolls have the added indulgence of Chocolate Chips!

I may have mentioned this in previous posts, but it’s worth repeating–I love anything made with pumpkin! 😀

These rolls are perfect for breakfast, or as an added dessert item on your Thanksgiving menu.

Wait…I forgot that not only are these PUMPKIN cinnamon rolls with CHOCOLATE, these are laced with orange inside and out.  I added orange zest to the filling; I also used orange juice to the glaze (I learned this one from my friend, Vikki Z.).  I have a daughter that doesn’t care for the addition of orange zest in the filling, but I think it takes these rolls over the top and sets it apart from the average cinnamon roll.  You can leave it out, of course, but I like it “in”.

Give my recipe a try.  I think you’ll like it. 🙂

Pumpkin Cinnamon Rolls with Chocolate Chips

image

Ingredients:

  Yeast mixture:
  • 1/2 cup water
  • 2 tablespoons dark brown sugar
  • 3 packets active dry yeast
  Dough:
  • 1 can (15-oz) pumpkin purée
  • 2 tablespoons good quality honey
  • 2 large eggs
  • 1 stick (1/2 cup) unsalted butter (melted and cooled)
  • 1/2 cup brown sugar
  • 2 teaspoons pumpkin pie spice
  • 2 teaspoons cinnamon
  • 1 teaspoon salt
  • 5 1/2 to 6 cups all purpose flour
  Filling:
  • 1 stick (1/2 cup) softened unsalted butter
  • 1/2 cup dark brown sugar
  • Optional:  1 teaspoon orange zest (or use 1 teaspoon orange extract)
  • 1 tablespoon cinnamon
  • Semi-sweet chocolate chips, about 1 cup
  Glaze:
  • 1 cup powdered sugar
  • 1 tablespoon maple syrup
  • 2 tablespoons milk
  • 1 tablespoon orange juice

Directions:

1.  Prepare the yeast mixture.

Place the water in a microwave-safe cup.  Stir in the brown sugar.

image image

Heat the water-sugar mixture in the microwave for about 30 seconds.  The liquid must be between 98-105 degrees.  I find it best to use an instant-read thermometer to ensure the liquid is the right temperature.  Too cool and the yeast won’t proof properly.  Too hot and it will kill the yeast.  101 degrees–or somewhere between 98 and 105 degrees–is perfect.

image

Once the liquid is at the right temperature, add the yeast.  I’m often asked what a “packet” of yeast looks like.  The photo below shows three packets, which is how they are commonly sold, in a set of three packets.

image

Pour the yeast into the warm liquid.  Stir the mixture to dissolve the yeast.

image image

image

Let the yeast mixture sit for about 5-10 minutes.  It should get very frothy, like what’s pictured below.

image image image

2.  Prepare the dough.  I suggest measuring out all of your ingredients beforehand.  The yeast will proof quickly on you, so you’ll want all of the ingredients measured out before you start to proof the yeast (in step 1 above).

In the mixing bowl of a stand mixer, place the pumpkin purée.  You can also do this by hand, but I prefer to use a heavy-duty stand mixer, like a KitchenAid, which is what I have.

image

Add the eggs to the bowl.

image

Melt the butter.  Let it cool for a couple of minutes then add it to the mixing bowl.

image image

Using the paddle attachment of your mixer, mix the ingredients together for a few seconds.

image

Add the pumpkin pie spice, cinnamon and salt to the bowl.  Mix again for a few seconds.

image image

By now the yeast should be very foamy — pour the yeast mixture into the mixing bowl; mix to combine.

image image

Mix in 3 cups of flour.

image image

After mixing in the flour, take off the paddle attachment and switch to the dough hook.

image

Mix in the remaining flour, a half cup at a time.  You might not need all 6 cups of flour.

image

Stop adding flour when the dough pulls away from the sides of the mixing bowl.  Depending on how humid it is where you live, you might actually need to add more flour (up to a cup more–7 cups total).  The higher the humidity level,  the more flour you may need since flour absorbs liquid in the air (depending on how you store your flour, that is).  Anyhow, 6 cups of flour is about the norm.  If you’re mixing this by hand, do not use more than 7 cups of flour.  The dough will be slightly sticky, but that’s normal.  Too much flour and your bread will be very tough.

image

After you’ve mixed in all the flour, set your mixer to low speed.  This begins the kneading process; continue mixing for 5 minutes.  If you’re kneading by hand, knead for 8-10 minutes (resist adding flour while hand-kneading–if the dough is sticking to your hands, lightly oil your hands or spray your hands with cooking spray to prevent sticking).

This is what the dough looks like after 5 minutes of kneading.

image

It’s now time to let the dough rise.  Place the dough into a glass bowl that’s been buttered or sprayed with butter-flavored cooking spray.  I also lightly spray the top of the dough (so the plastic wrap won’t stick to it–see below).

image

Cover the top of the bowl with plastic wrap then place a clean dish towel on top of the bowl.  Place the bowl in a dry, warm place to rise until doubled in size.  The time it takes to rise depends on how warm your rising spot is.  It could take anywhere from 30 minutes to more than an hour.  Patience is key.

I usually turn my oven to the Warm setting right when I begin my kneading process.  After 3 minutes of warming up, I turn the oven heat off and turn the oven light on.  This makes the perfect warm place for rising.  It takes about 30 minutes for my dough to rise in this setting.

image

3.  While the dough is rising, make your filling.

In a small bowl, place the softened butter, brown sugar, and optional orange zest.  If you decide to add orange zest, make sure you don’t get any of the white pith–it will make your filling bitter.  Mix to combine.

image image

Mix in the cinnamon.  Set the filling aside until the dough is ready.

image image

4.  Fill and roll the dough.

This is what the dough looks like after it’s doubled in size.

image

Generously flour a clean work surface.  Place the dough onto the floured surface — do NOT punch down the dough or knead it again.

image

Roll out the dough into a rectangle.

image

Gently spread the butter-cinnamon-orange mixture over the entire surface of the dough, stopping about a half inch from the edge.

image image

Sprinkle the chocolate chips over the butter-cinnamon-orange mixture.

image

Starting at the long edge, carefully roll up the dough, jelly-roll style.

image

Using a sharp knife (dental floss works well too), slice pieces of dough, about the width of your finger.  Place the slices into a buttered pan (you can use butter-flavored cooking spray too).  I recommend placing the slices about 1/2-1 inch apart to allow the dough to rise evenly.

image

Spray the top of the sliced dough with cooking spray then cover with plastic wrap.  Place the pan in a warm place to rise again, until the slices are touching.

image

Bake at 375 degrees for 20 minutes.  Remove from the oven; let the rolls cool slightly while you prepare the glaze.

image

5.  Make the glaze.

In a small mixing bowl, place the powdered sugar.

image

Add the milk, maple syrup and orange juice.  Whisk to combine.

image image

6.  Drizzle the glaze over the top of the warm rolls.  Serve immediately and ENJOY!!

image

image

« Older Entries Recent Entries »