Archive for BREADS

Basic Yeast Bread Recipe

I love to bake yeast breads, but that wasn’t always the case.  I distinctly remember my very first yeast rolls disaster.  Instead of tender, soft, fluffy rolls, I baked up a batch of hockey pucks.

That was over 20 years ago.  Now I find that bread baking is one of the easiest things to do, once you understand how the ingredients work together.

I’m not a chef by any means, but years of trial-and-error as well as reading countless recipe books and articles helped me be successful when baking with yeast.

If you are intimidated by yeast breads, read on for some of the things I’ve learned over the years.  Once you understand how it all comes together, I’m sure you will feel confident enough to try your hand at it.

As always, feel free to leave a comment with any questions you may have.

I’ve also put together a tutorial video for making dinner rolls.  It’s an amateur video so be kind to me.  🙂

You can find my two-part video tutorial here:

How to make Sweet Dinner Rolls – Part 1:

http://www.youtube.com/watch?v=m7prj-ftdZs

How to make Sweet Dinner Rolls – Part 2:

http://www.youtube.com/watch?v=pLkjSAUVkc8


To make a good loaf of bread (or dinner rolls), all you really need are five basic ingredients:

  1. Flour
  2. Water
  3. Yeast
  4. Sugar
  5. Salt

THAT’S IT! FIVE ingredients!

Flour

There are lots of different types of flour—unbleached, bleached, bread, all-purpose, whole wheat (brown), white whole wheat, enriched, whole grain…the list goes on and on. Don’t be discouraged; the standard all-purpose flour will do in most of my recipes (and most recipes you’ll find on the internet as well).

Water

Water activates yeast. Too much water, however, will make your bread flat. Too little water will make your bread dense and dry. More on this topic in another post (see my post on Liquid to Flour Ratio — coming soon).

Yeast

As with flour, there are different types of yeast you can find at the grocery store, some are more common than others, however. There is active dry, instant, or fresh yeast. You may have seen packets or jars of active dry or quick (rapid) rise, bread machine yeast, and yeast cakes. I’ll talk more about yeast in another post (see my post on Types of Yeast — coming soon). You won’t go wrong if you use only Active Dry yeast; it’s what I use in most of my recipes. I usually buy the Active Dry yeast that comes in jars. You’d be surprised how little yeast you really need; most of the time, one envelope of yeast is really too much yeast for a basic bread recipe (scroll down for my Basic Bread Recipe).

Sugar

Yeast is an active organism, unlike chemical leaveners like baking soda and baking powder. Therefore, you have to feed it in order for it to grow. Oh, don’t be grossed out about this—feeding the yeast is a GOOD THING. You only need a little bit of sugar for this, about a tablespoon per envelope of yeast.

Salt

Yeast does not like salt. Just as sugar feeds yeast and enables it to grow, salt inhibits yeast fermentation. However, salt adds flavor to bread. You WANT flavorful bread, don’t you? Yes, yes you do.

Other ingredients (though not necessary, they do different things to bread when added):

Milk

Adding milk to bread helps make it have a softer texture, kind of like the soft sandwich breads you buy in the grocery store. You can also use dry (powdered) milk instead of “regular” milk in recipes. Some of my bread recipes call for dried milk. Breads made with milk will need to bake at lower temperatures (350 instead of 375 degrees). You will also need a bit more milk if you are substituting it for water to compensate for the milk solids. Yeast doesn’t dissolve well in milk; be sure to still use water when proofing (or activating) the yeast.

Butter (or oil)

Butta is Betta (use your own accent here). ‘Nuff said. Okay, seriously, adding butter to a bread recipe is really just for flavor. You can omit it. I personally think it makes my breads softer. Brushing melted butter on top of rolls or a loaf BEFORE (and after) baking definitely adds flavor, a nice color, and makes a soft crust. You can even substitute coconut oil for butter or oil (1:1). Aside from adding flavor, I’ve found that bread made WITHOUT butter or any type of fat/oil tends to get stale faster. Oh yeah, make sure to use UNSALTED butter as you’re already (usually) adding salt to the recipe, plus different brands of butter have varying amounts of salt added to SALTED (aka Sweet) butter.

Eggs

Eggs add color and richness to bread. It also adds a tad more protein. You can use whole eggs or egg whites (1/4 cup of egg whites roughly equals one large egg).

Sweet Stuff

Sugar feeds yeast, as I already mentioned before. Yeast needs sugar to grow. Sweeteners also make breads stay moist longer. I use either sugar or honey to sweeten my breads or rolls.

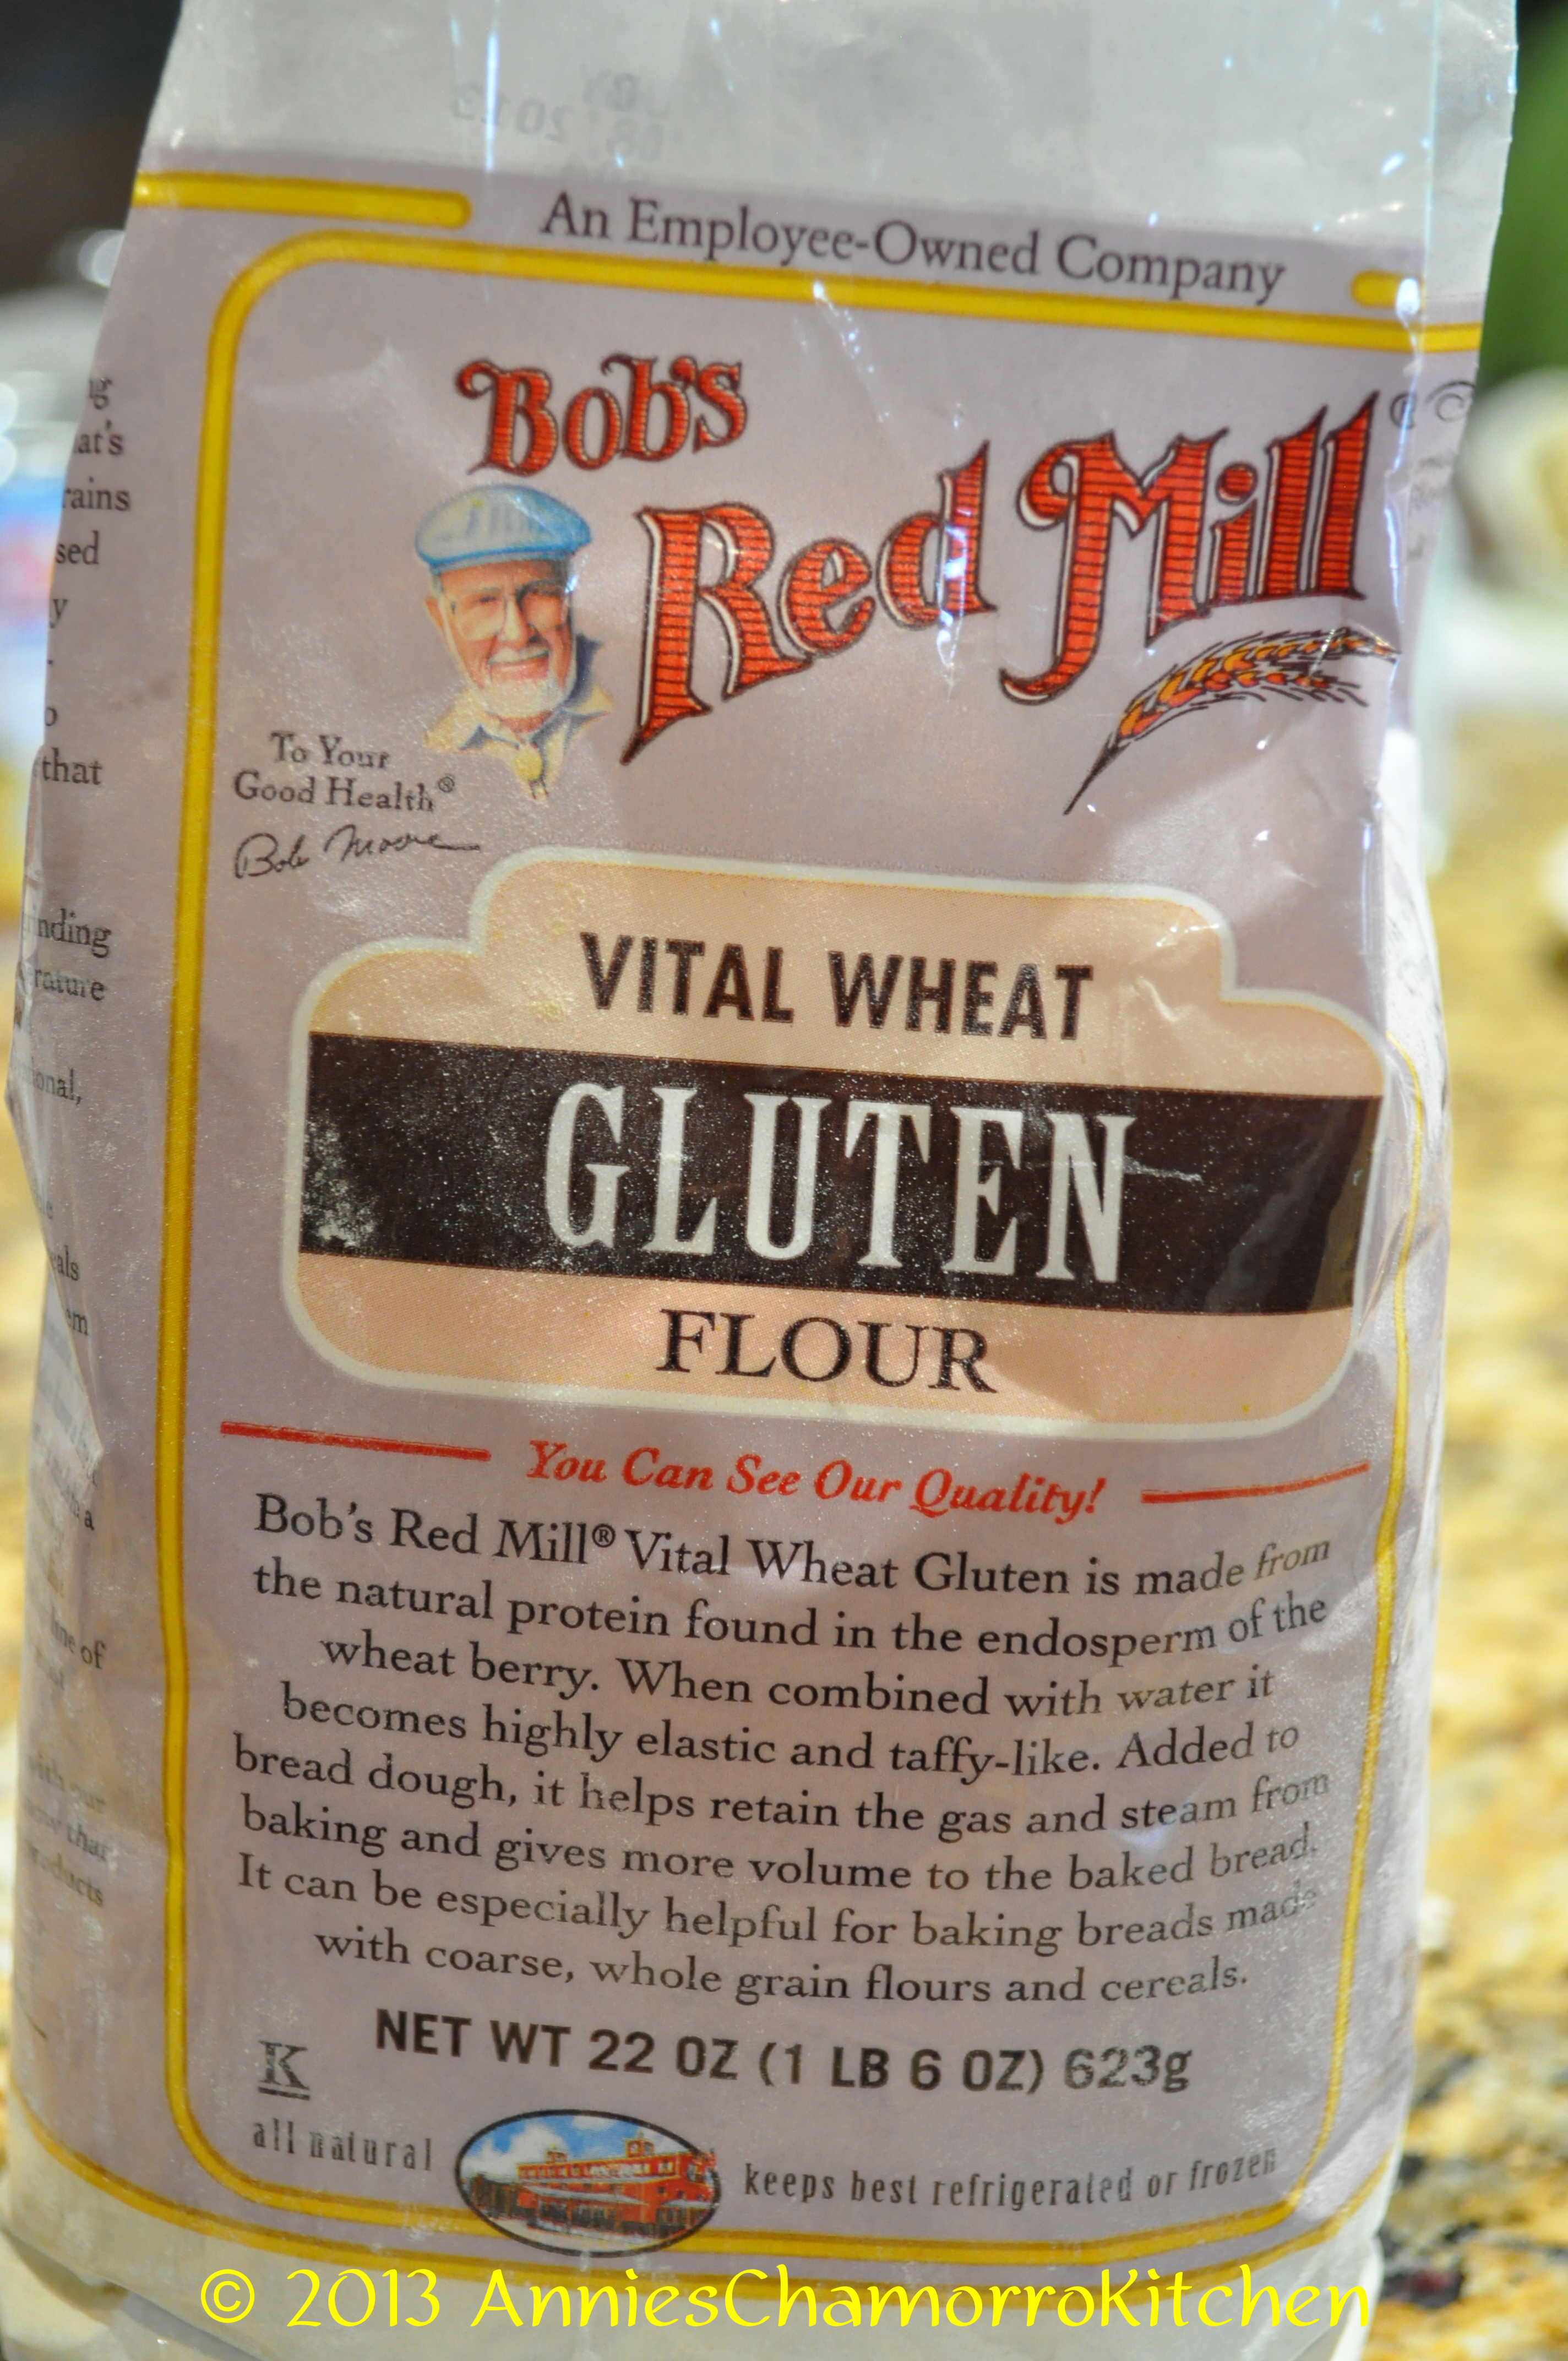
Vital Wheat Gluten

Gluten is the protein in flour that forms the structural framework of the resulting bread. Gluten develops during the kneading process, forming elastic strands that give the bread structure and texture.  Without going too much into the science of things, it is the development of gluten that makes a chewy bread chewy. Think of it this way: you don’t want a lot of gluten in things like cakes (that’s why you don’t want to over mix cake batter, so gluten doesn’t develop), but you want gluten in breads (so you develop that chewy texture), which explains the kneading process. Generally, the more you mix a batter or dough, the more the gluten develops. Also, gluten needs more water to fully develop and form those elastic strands. If you don’t have enough liquid in your bread recipe, the gluten will not develop fully and your bread won’t be as tender. Adding vital wheat gluten is especially important when baking with low protein flours (like whole wheat and rye flour), or in recipes that add dried fruit, nuts, or seeds.  I add vital wheat gluten to my bread recipes that call for both white and brown whole wheat flour.

Vital wheat gluten is becoming a common item in regular grocery stores these days. The brand I usually buy is Bob’s Red Mill.  If you can’t find it in your local grocery store, try looking for it in specialty stores or health food stores. You can also order it online from Bob’s Red Mill, King Arthur Flour, or Arrowhead Mills.

So now that you know what the basic ingredients do for a good “standard” loaf of bread (or basic dinner rolls), here is a very basic recipe for a “standard” white loaf or pan of dinner rolls.

Basic Bread Recipe:

Ingredients:

  • 3 cups all-purpose flour
  • 2 teaspoons salt
  • 2 teaspoons yeast (or one envelope)
  • 1 tablespoon white, granulated sugar
  • 1 to 1¼ cups warm water (start out with only one cup; add the remaining ¼ cup if the dough doesn’t form a ball).

Directions:

  1. Mix all the ingredients together. Knead it for 8-10 minutes. Place the dough in a greased bowl, cover it (with a clean cloth or plastic wrap) and set it aside to rise until doubled in size.
  2. After the dough has risen, punch it down, shape it into a loaf (either on a baking sheet or in a greased loaf pan), then cover and set it aside to rise again.
  3. After the dough has doubled in size again, bake it (in a preheated, 375 degree oven) for 40-45 minutes (for a loaf) or about 20-25 minutes for rolls (the length of time varies by oven; bake until golden brown).

This basic recipe makes good sandwich bread, or bread for soaking up yummy gravies (this would be delicious with my pot roast recipe).

Once you master the basic bread-making techniques (and this basic bread recipe), try adding modifications such as honey, more sugar (for sweet breads), eggs, milk and butter, and even dried fruit.

For sweeter breads, see my other posts and recipes here.

Chicken Kelaguen & Flour Titiyas

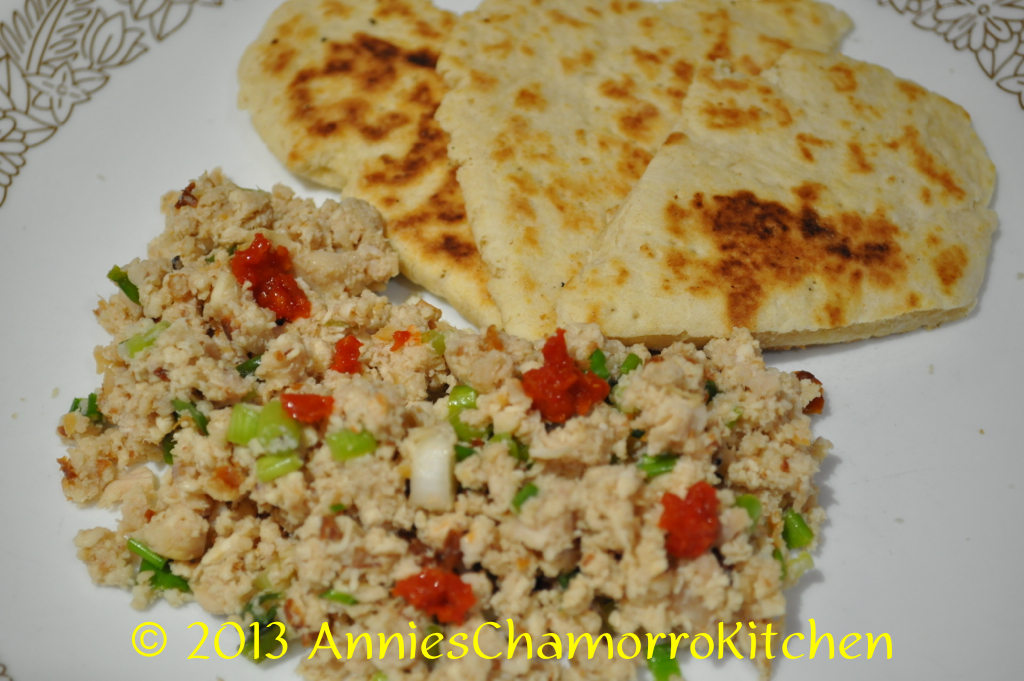
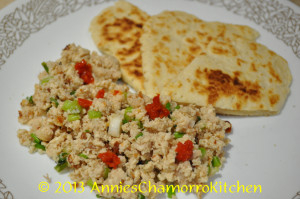
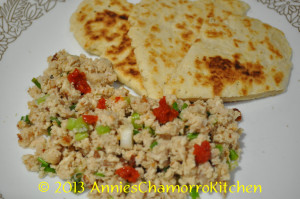
Kelaguen and Titiyas ~ both staples on a Chamorro fiesta table.  But you don’t have to be invited to a fiesta in order to enjoy these tasty dishes — they are so easy to make that you can have it anytime you get the craving!
My two daughters (ages 11 and 15) prepared the dishes pictured in the photos below; if THEY can do it, so can you!

Give my super easy recipes a try.  I think you’ll like them!  🙂
Annie’s Chicken Kelaguen

DSC_0419

Ingredients:

  • 1 small rotisserie chicken
  • 6 stalks green onions
  • 1 1/2 tablespoons lemon powder plus 3 tablespoons water (or use the juice of 1 large lemon)
  • 2 teaspoons salt (more or less, to taste)
  • Hot pepper, optional
  • Freshly grated coconut (unsweetened), optional

Directions:

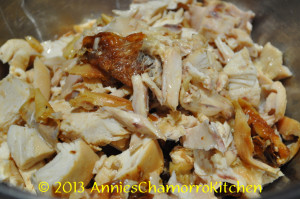
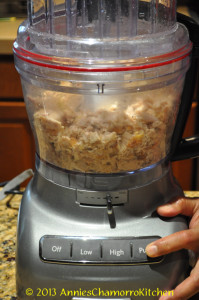
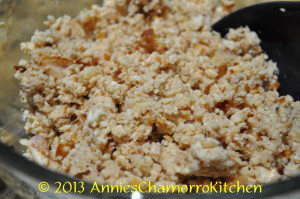
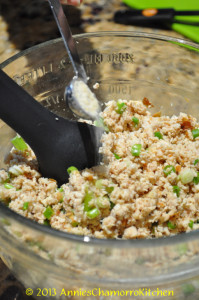
1.  Debone the chicken; shred or cut into small pieces (I used a food processor to roughly chop the chicken).

DSC_0371

 DSC_0375 DSC_0377

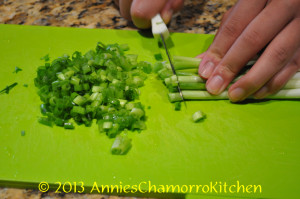
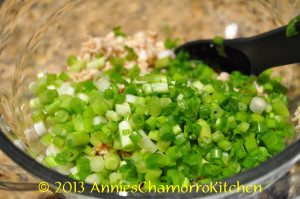
2.  Thinly slice the green onions then add it to the chicken.

DSC_0383 DSC_0386

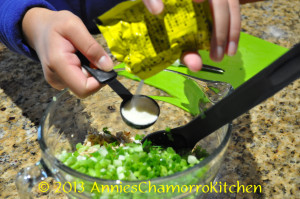
3.  Add the lemon powder, water, salt and pepper to the bowl of chicken; mix to combine.  Taste; adjust seasoning if required.

DSC_0389 DSC_0398

4.  Stir in the grated coconut (optional).

5.  Serve with my super easy sweet flour titiyas (see recipe below) and enjoy!

DSC_0417


Annie’s Sweet Flour Titiyas

DSC_0416

Ingredients:

  • 3 cups all purpose flour
  • 4 teaspoons baking powder
  • 1/2 teaspoon salt
  • 3/4 cup coconut milk (see note below)
  • 1/4 cup melted butter
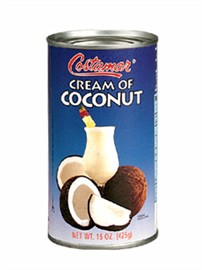
  • 1/4 to 1/2 cup cream of coconut (the sweet one, used for mixed drinks)
    (see note below)

NOTE:  If you don’t find or have any cream of coconut, just increase the coconut milk to 1 cup, and add 1/2 cup white granulated sugar.  Follow the rest of the instructions below.


This is what the can of cream of coconut looks like.  This is incredibly sweet so you do not need to add more sugar.  Cream of Coconut is NOT the same as coconut cream (thick coconut milk).

cream of coconut

Directions:

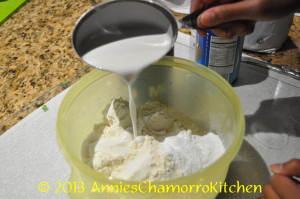
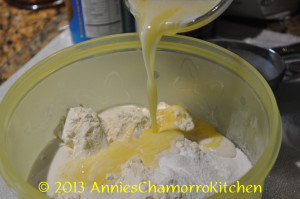
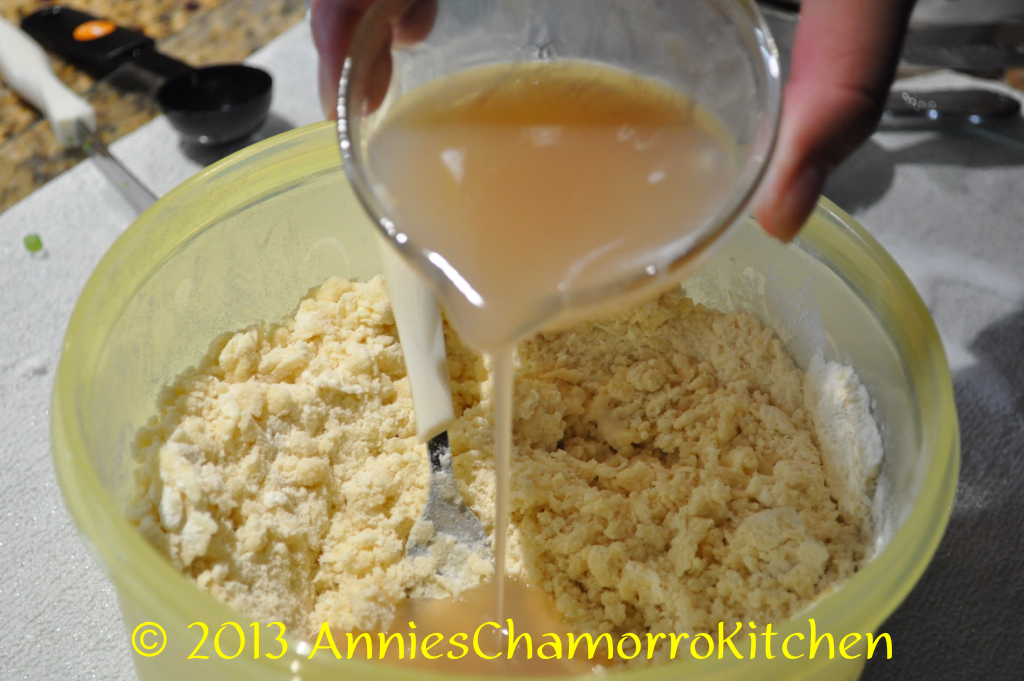
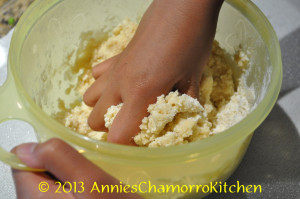
1.  Mix the dry ingredients together in a large mixing bowl. Add the coconut milk, melted butter, and cream of coconut (start out with 1/4 cup; increase to a total of 1/2 cup, depending on how humid your day is–more humid means less liquid). Mix together until a dough forms; knead gently to form a smooth ball of dough.

DSC_0395 DSC_0401 DSC_0404 DSC_0407

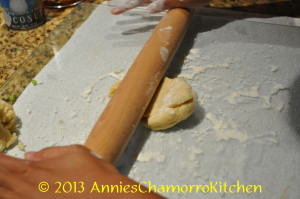
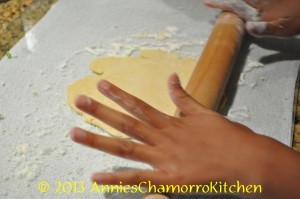
2.  Break off golf-ball sized pieces. Flour your rolling surface and rolling pin.  Roll out the piece of dough into a flat disc (about 1/8-inch thick). Place the titiyas on a dry skillet; prick all over with a fork to prevent bubbling during the cooking process.

DSC_0409 DSC_0410

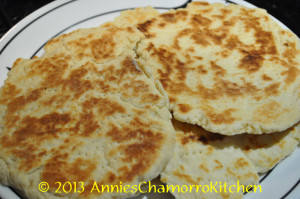
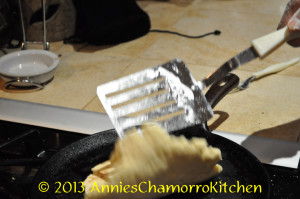
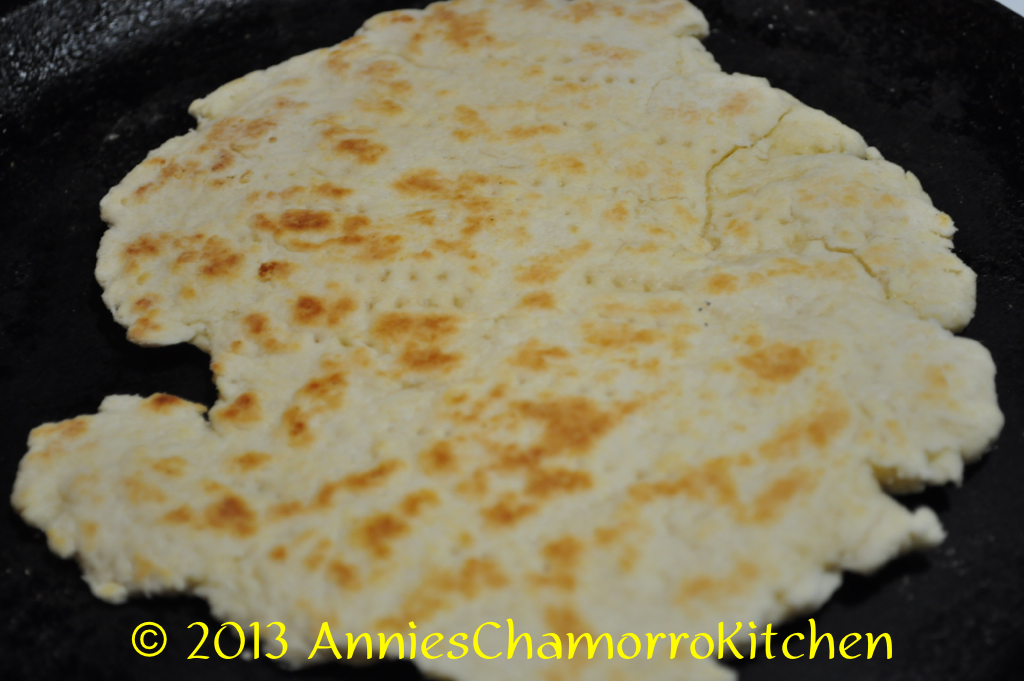
3.  Pan-fry on a dry skillet over medium-low heat for about 3-4 minutes on each side, or until the bottom begins to turn a golden brown; flip over and cook the other side until it turns a nice golden brown.  For thicker titiyas, cook over low heat for 4-5 minutes on each side; the titiyas is done when you gently press down on the center and it feels somewhat firm to the touch.

DSC_0412 DSC_0414 DSC_0415

4.  Place cooked titiyas on a plate covered with a clean kitchen towel to keep warm.  Serve with my delicious chicken kelaguen.  Enjoy!

DSC_0418

Pan de Leche

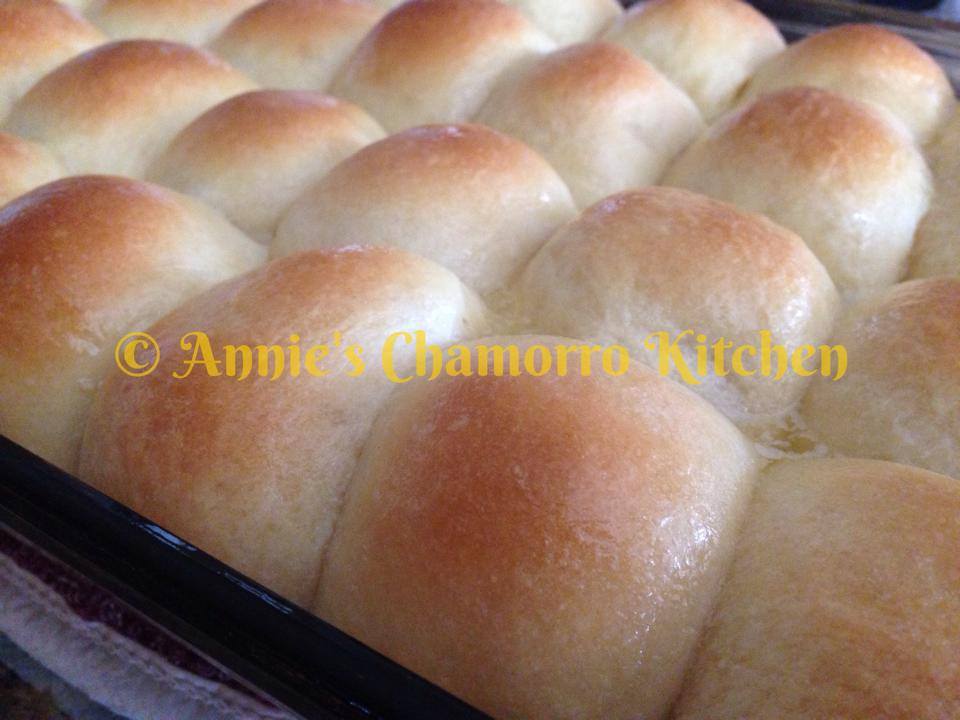
What is Pan de Leche, you ask?  Why, it’s only one of the most delicious types of bread around, that’s what!  🙂

Dinner Rolls

Pan de Leche © 2013 AnniesChamorroKitchen

Seriously, though, Pan de Leche is a sweet milk bread that is delicious with just about anything.  Eat it by itself, slathered with butter (honey butter is even better), or stuff it with your favorite luncheon meat.  Just eat it.  You’ll be in 7th Heaven if you do.  Trust me.

I made up a batch of Pan de Leche to take to a party today.  The photo below shows some ham, cheese and baby spinach sliders made with these rockin’ rolls.

IMG_0266

What was that…you’ve never baked yeast bread before?  Don’t worry.  I’ll created a whole new post on tips (click here) that will get you over your fear of yeast.

Anyhow, on to more important things–my Pan de Leche recipe.

This recipe yields about 1 9×13 pan, or roughly 2 dozen rolls.

Pan de Leche

pan de leche 2

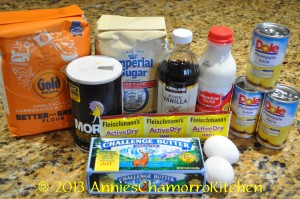
Ingredients:

  • 1/2 cup pineapple juice
  • 1 tablespoon white, granulated sugar
  • 1 packet (or envelope) active dry yeast (or 2 1/4 teaspoons)
  • 1/2 cup milk (whole, low-fat or skim, it’s your choice)
  • 1/4 cup unsalted butter (or half a stick)
  • 1/3 cup white, granulated sugar
  • 1/2 teaspoon vanilla extract
  • 1 large egg
  • 3 to 3 1/2 cups all-purpose flour (start out with 3 cups; you might not use it all)
  • 1 teaspoon salt
  • 1 tablespoon vital wheat gluten
  • 1/2 stick melted butter (for brushing the rolls before and after baking)

DSC_0344     

Directions:

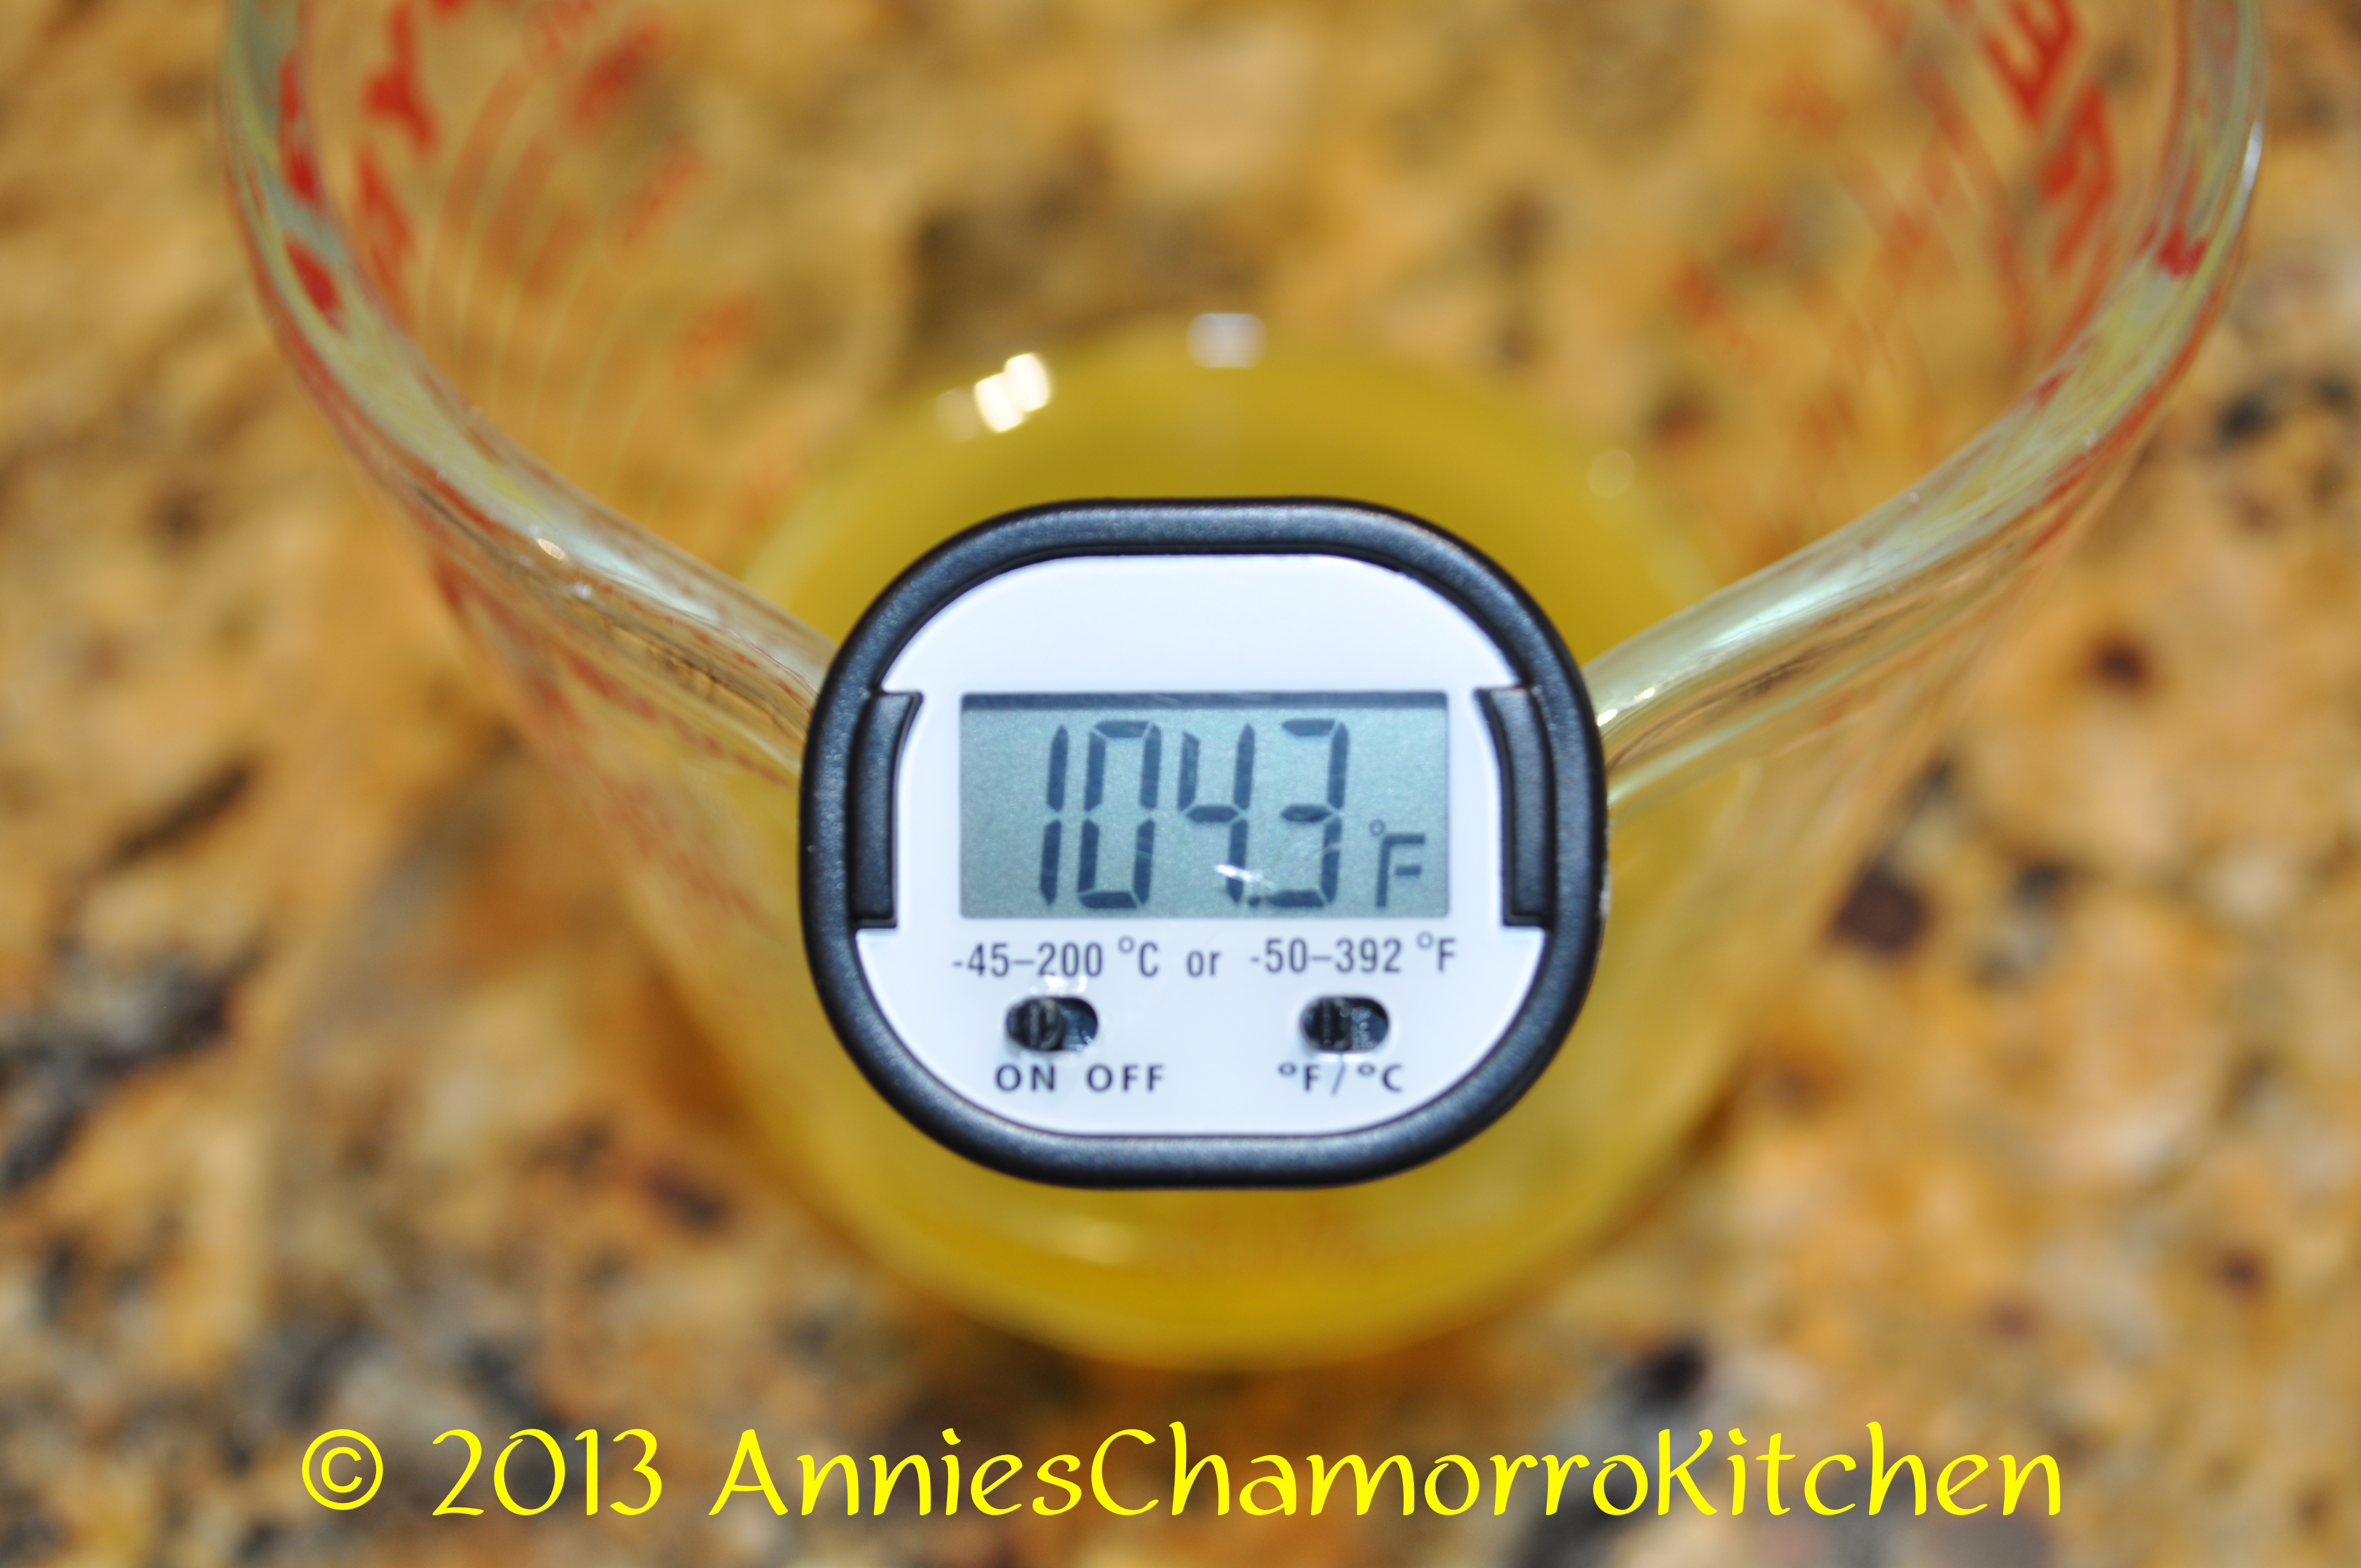
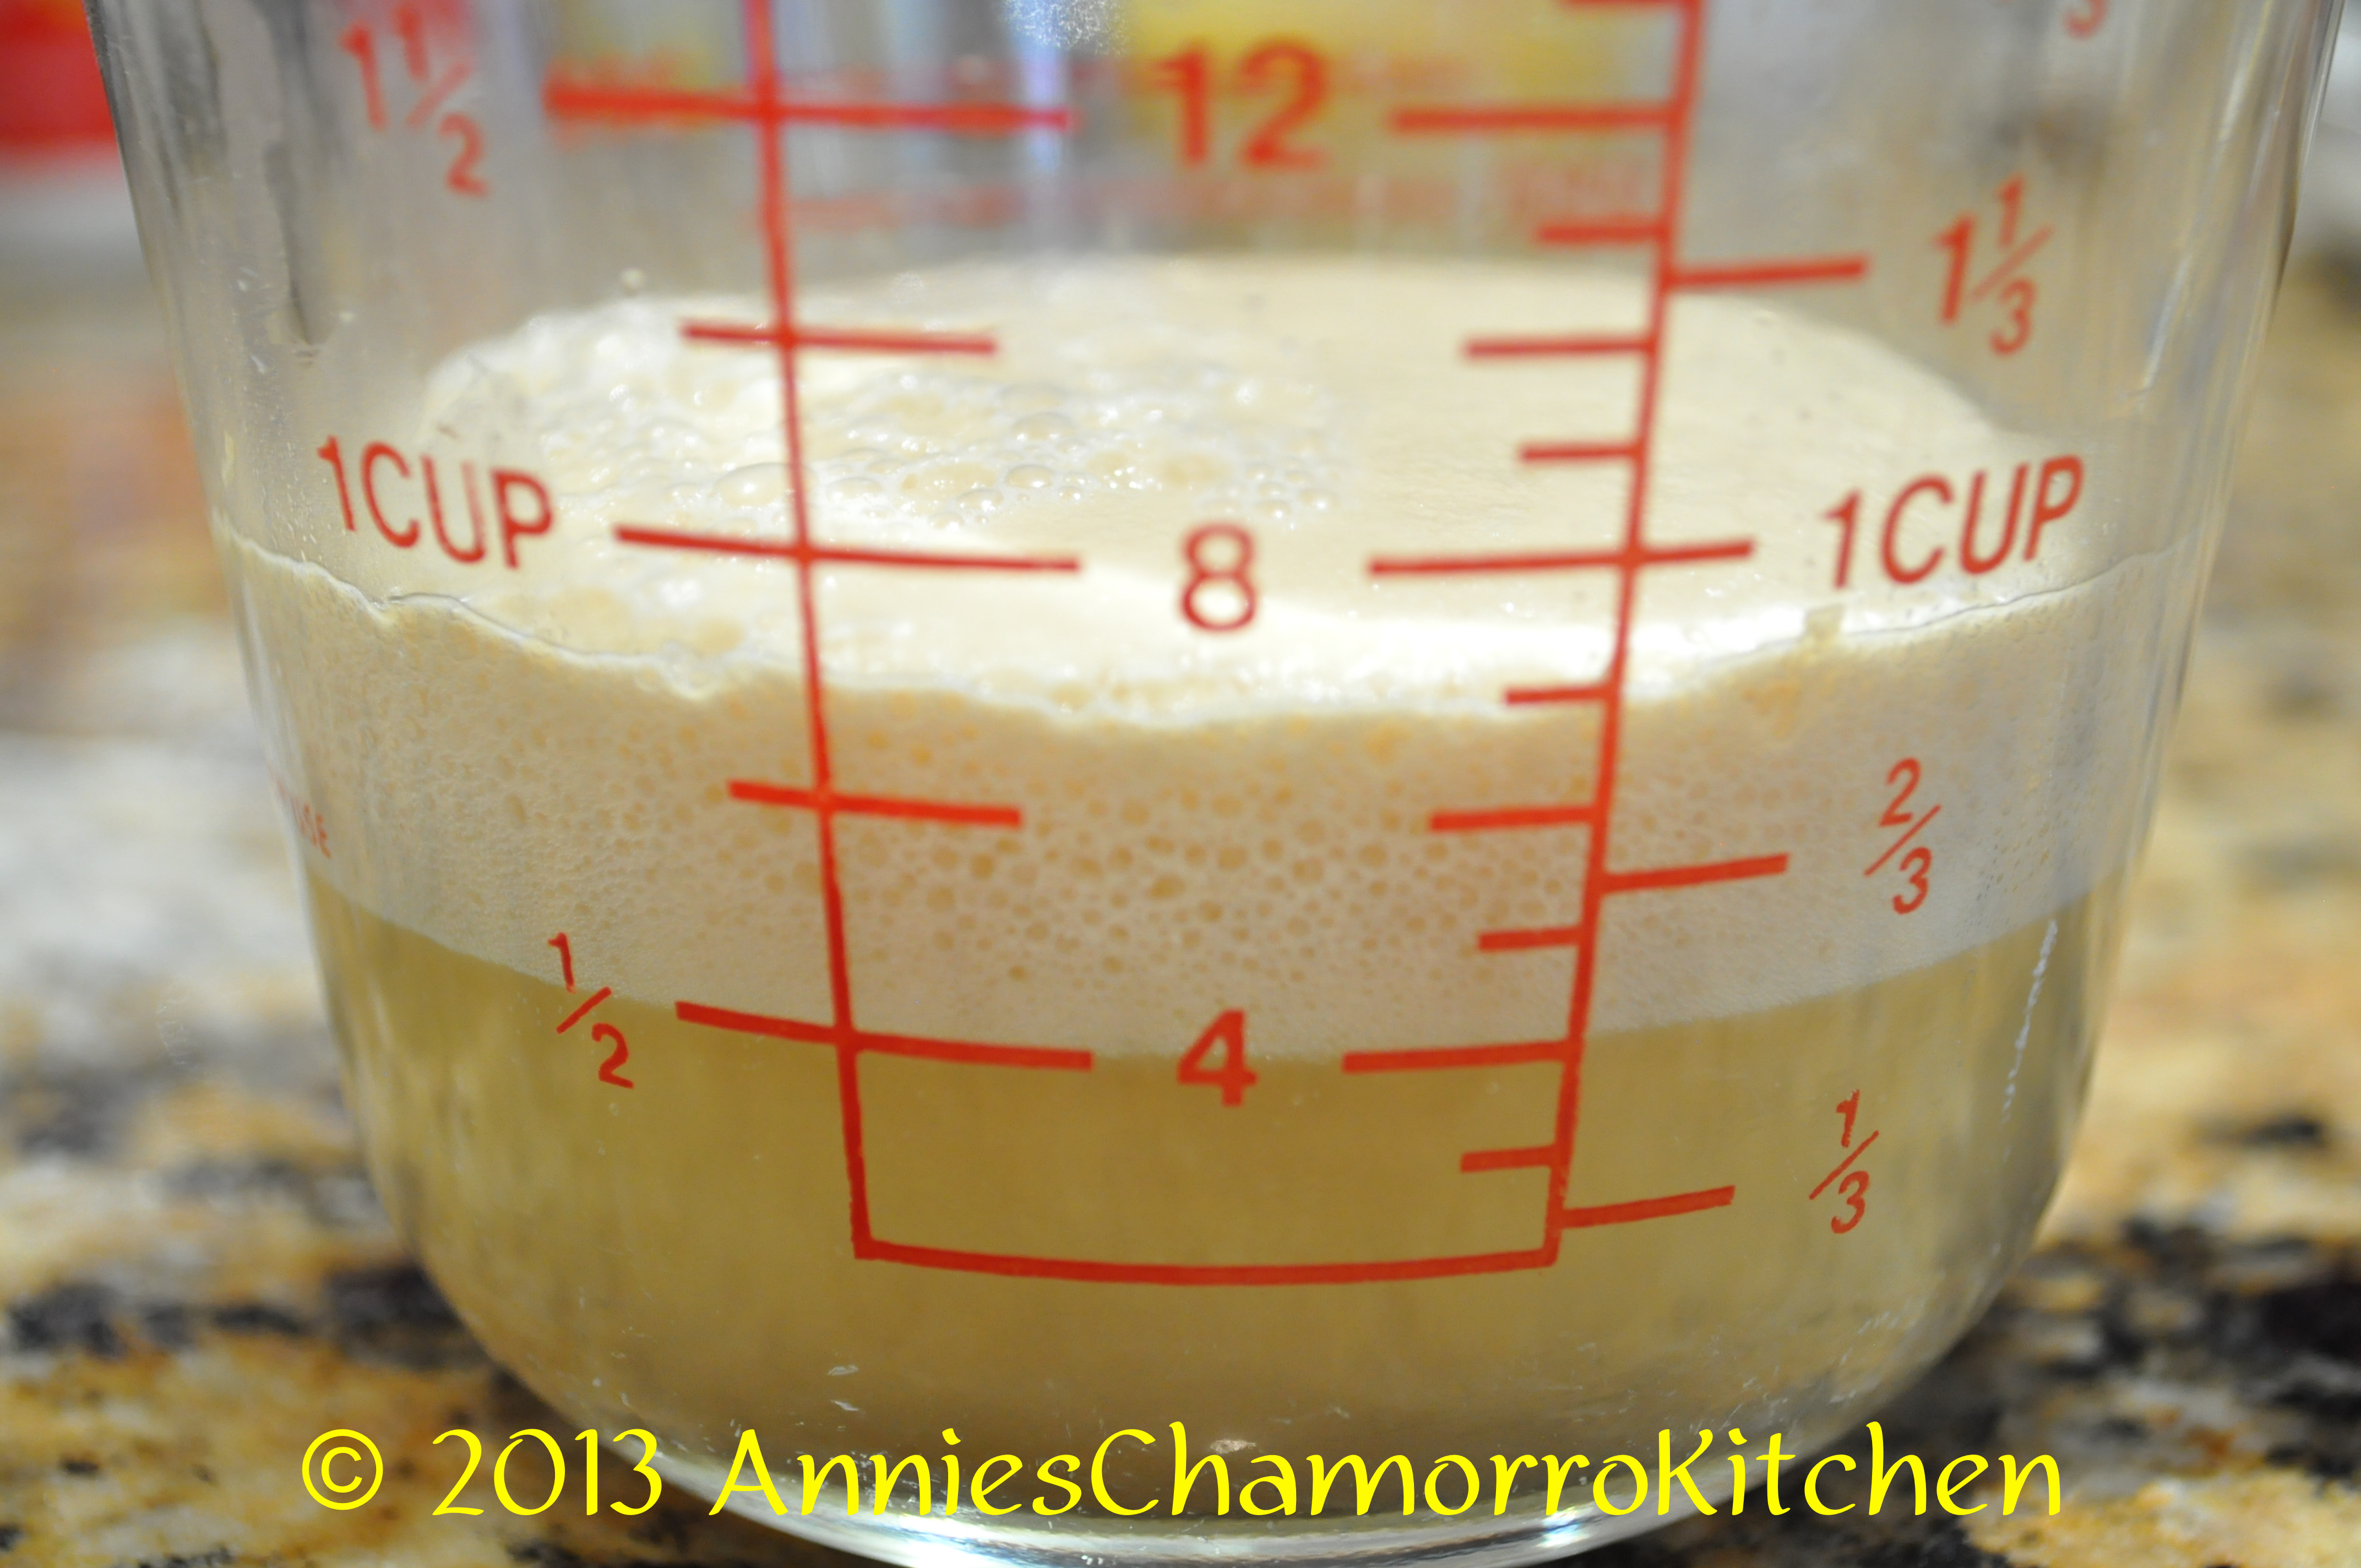
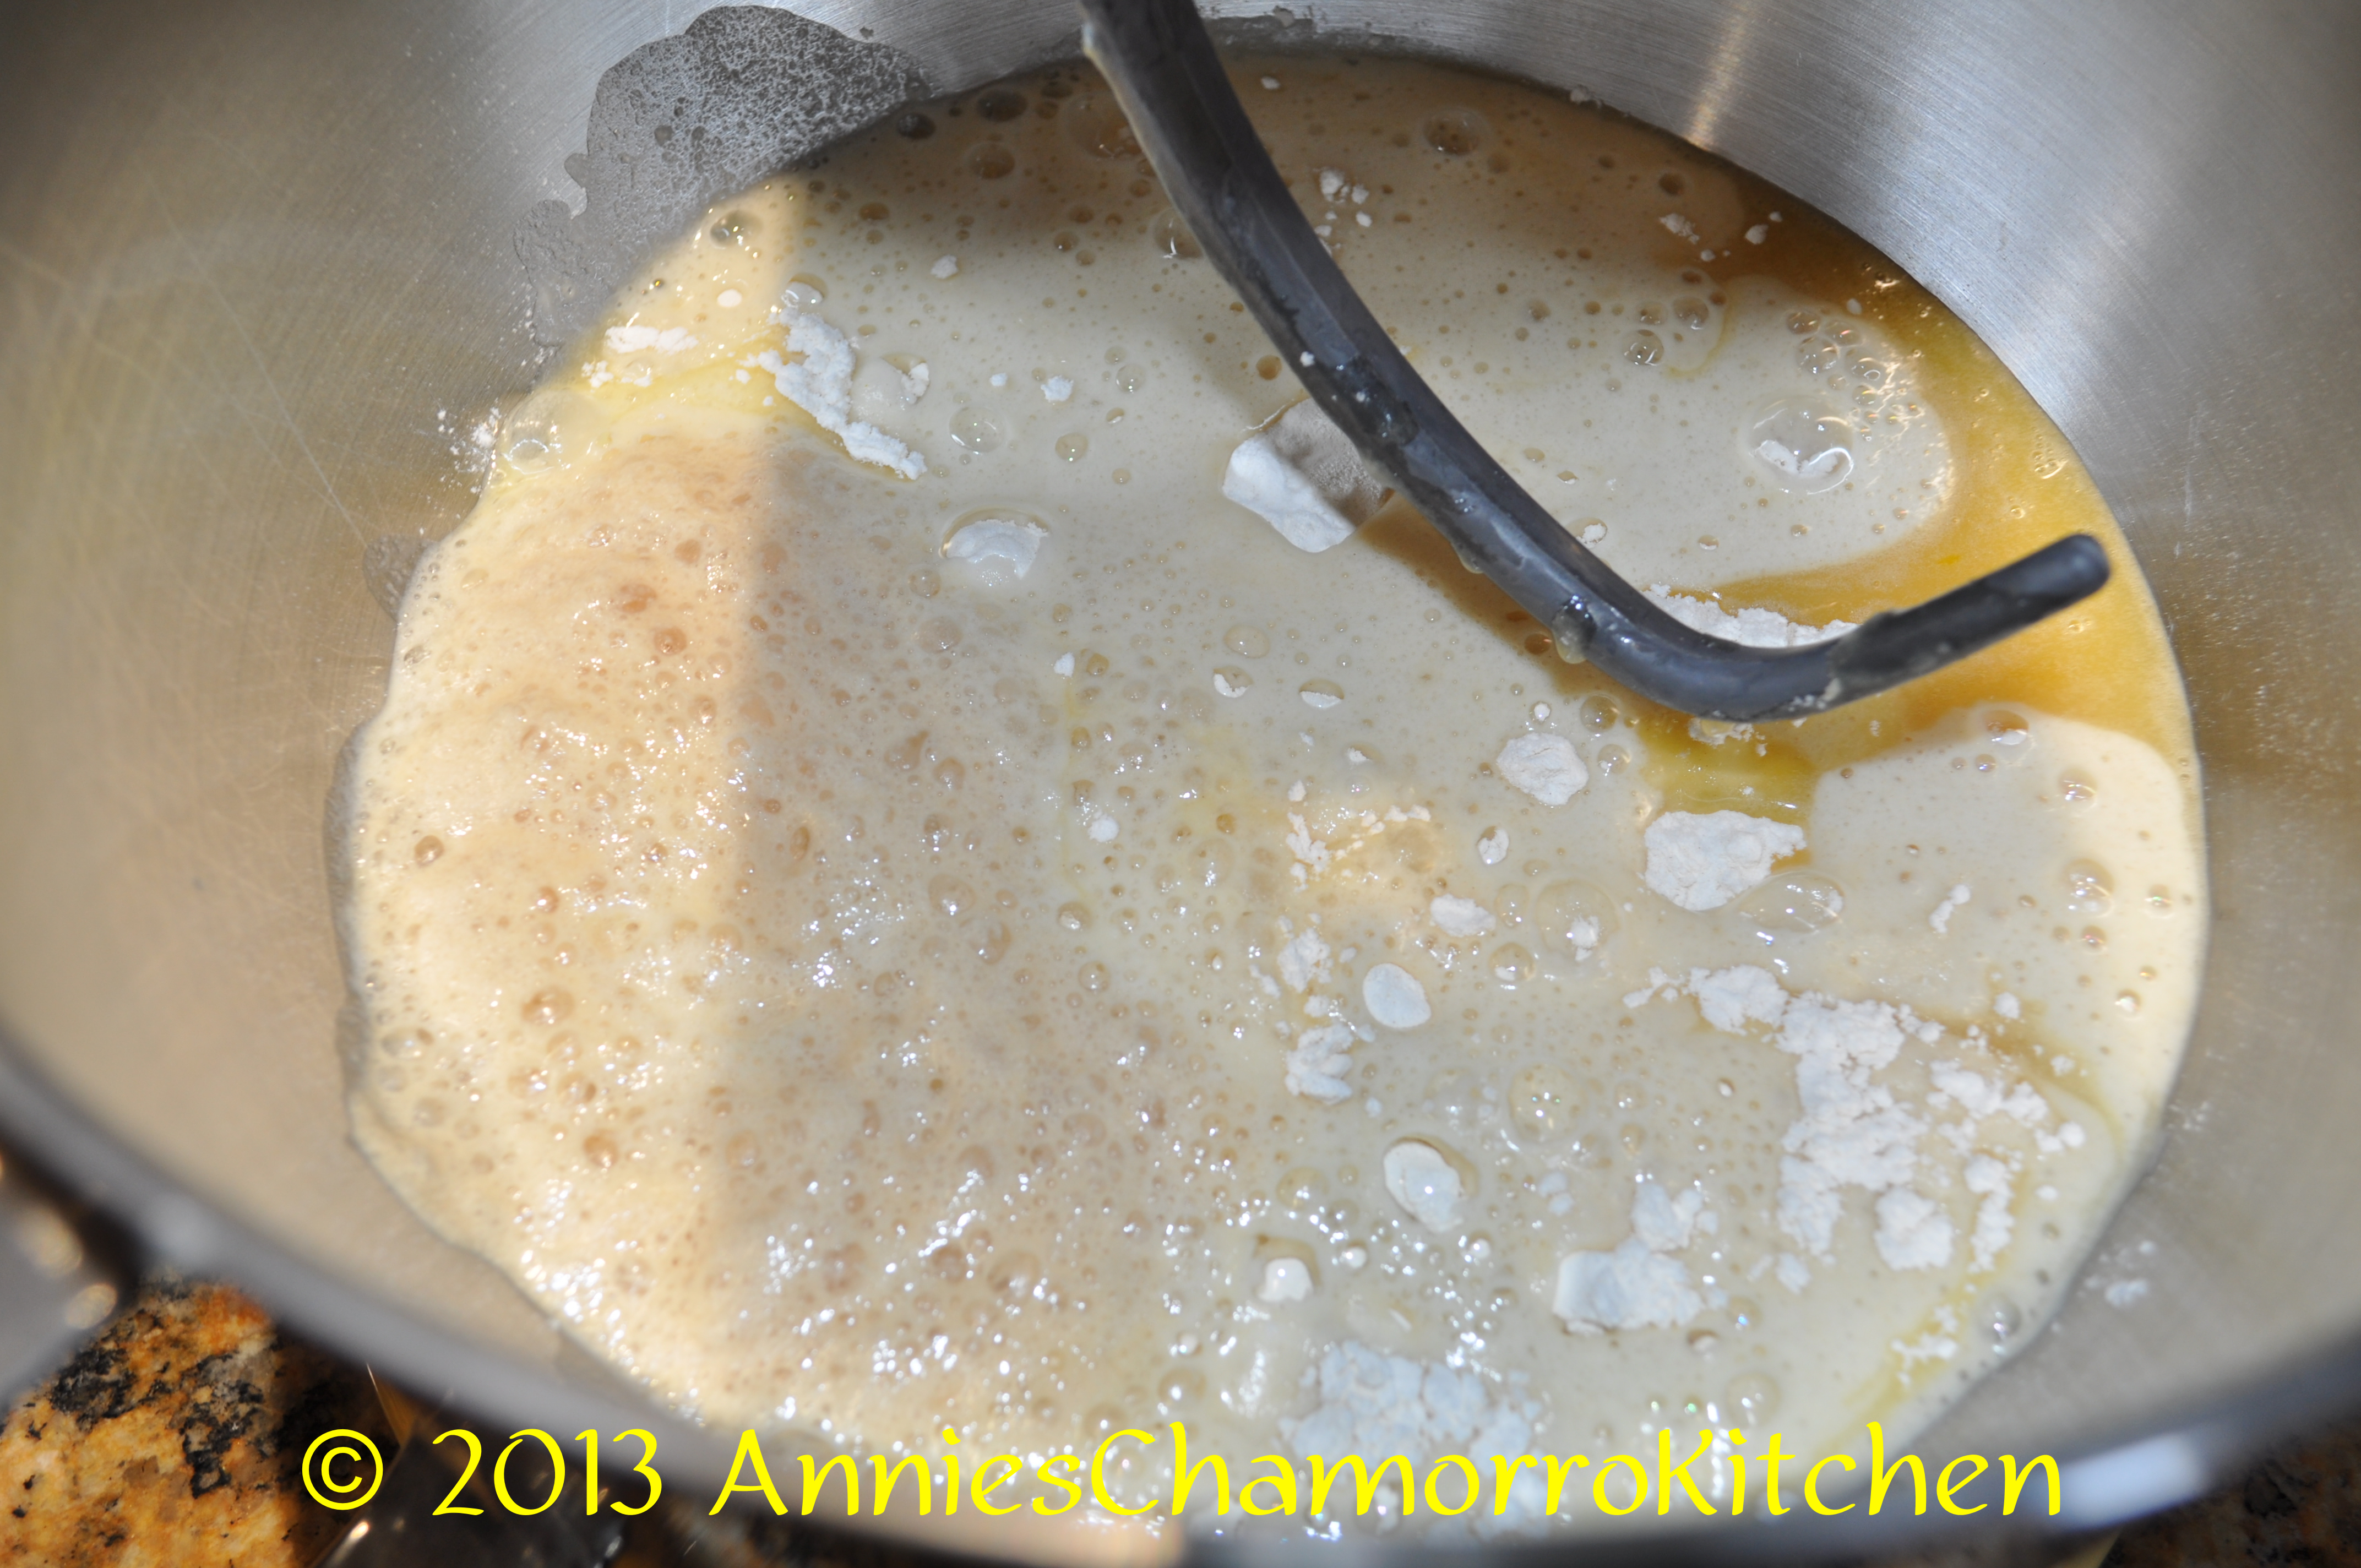
1.  In a microwave-safe cup or bowl, heat the pineapple juice for 30 seconds on high. Using an instant-read thermometer, let it cool until the temperature reaches 105 degrees. Stir in the 1 tablespoon sugar and packet of yeast.  Set aside for about 10 minutes to proof (it will get all bubbly).

DSC_0361      DSC_0368

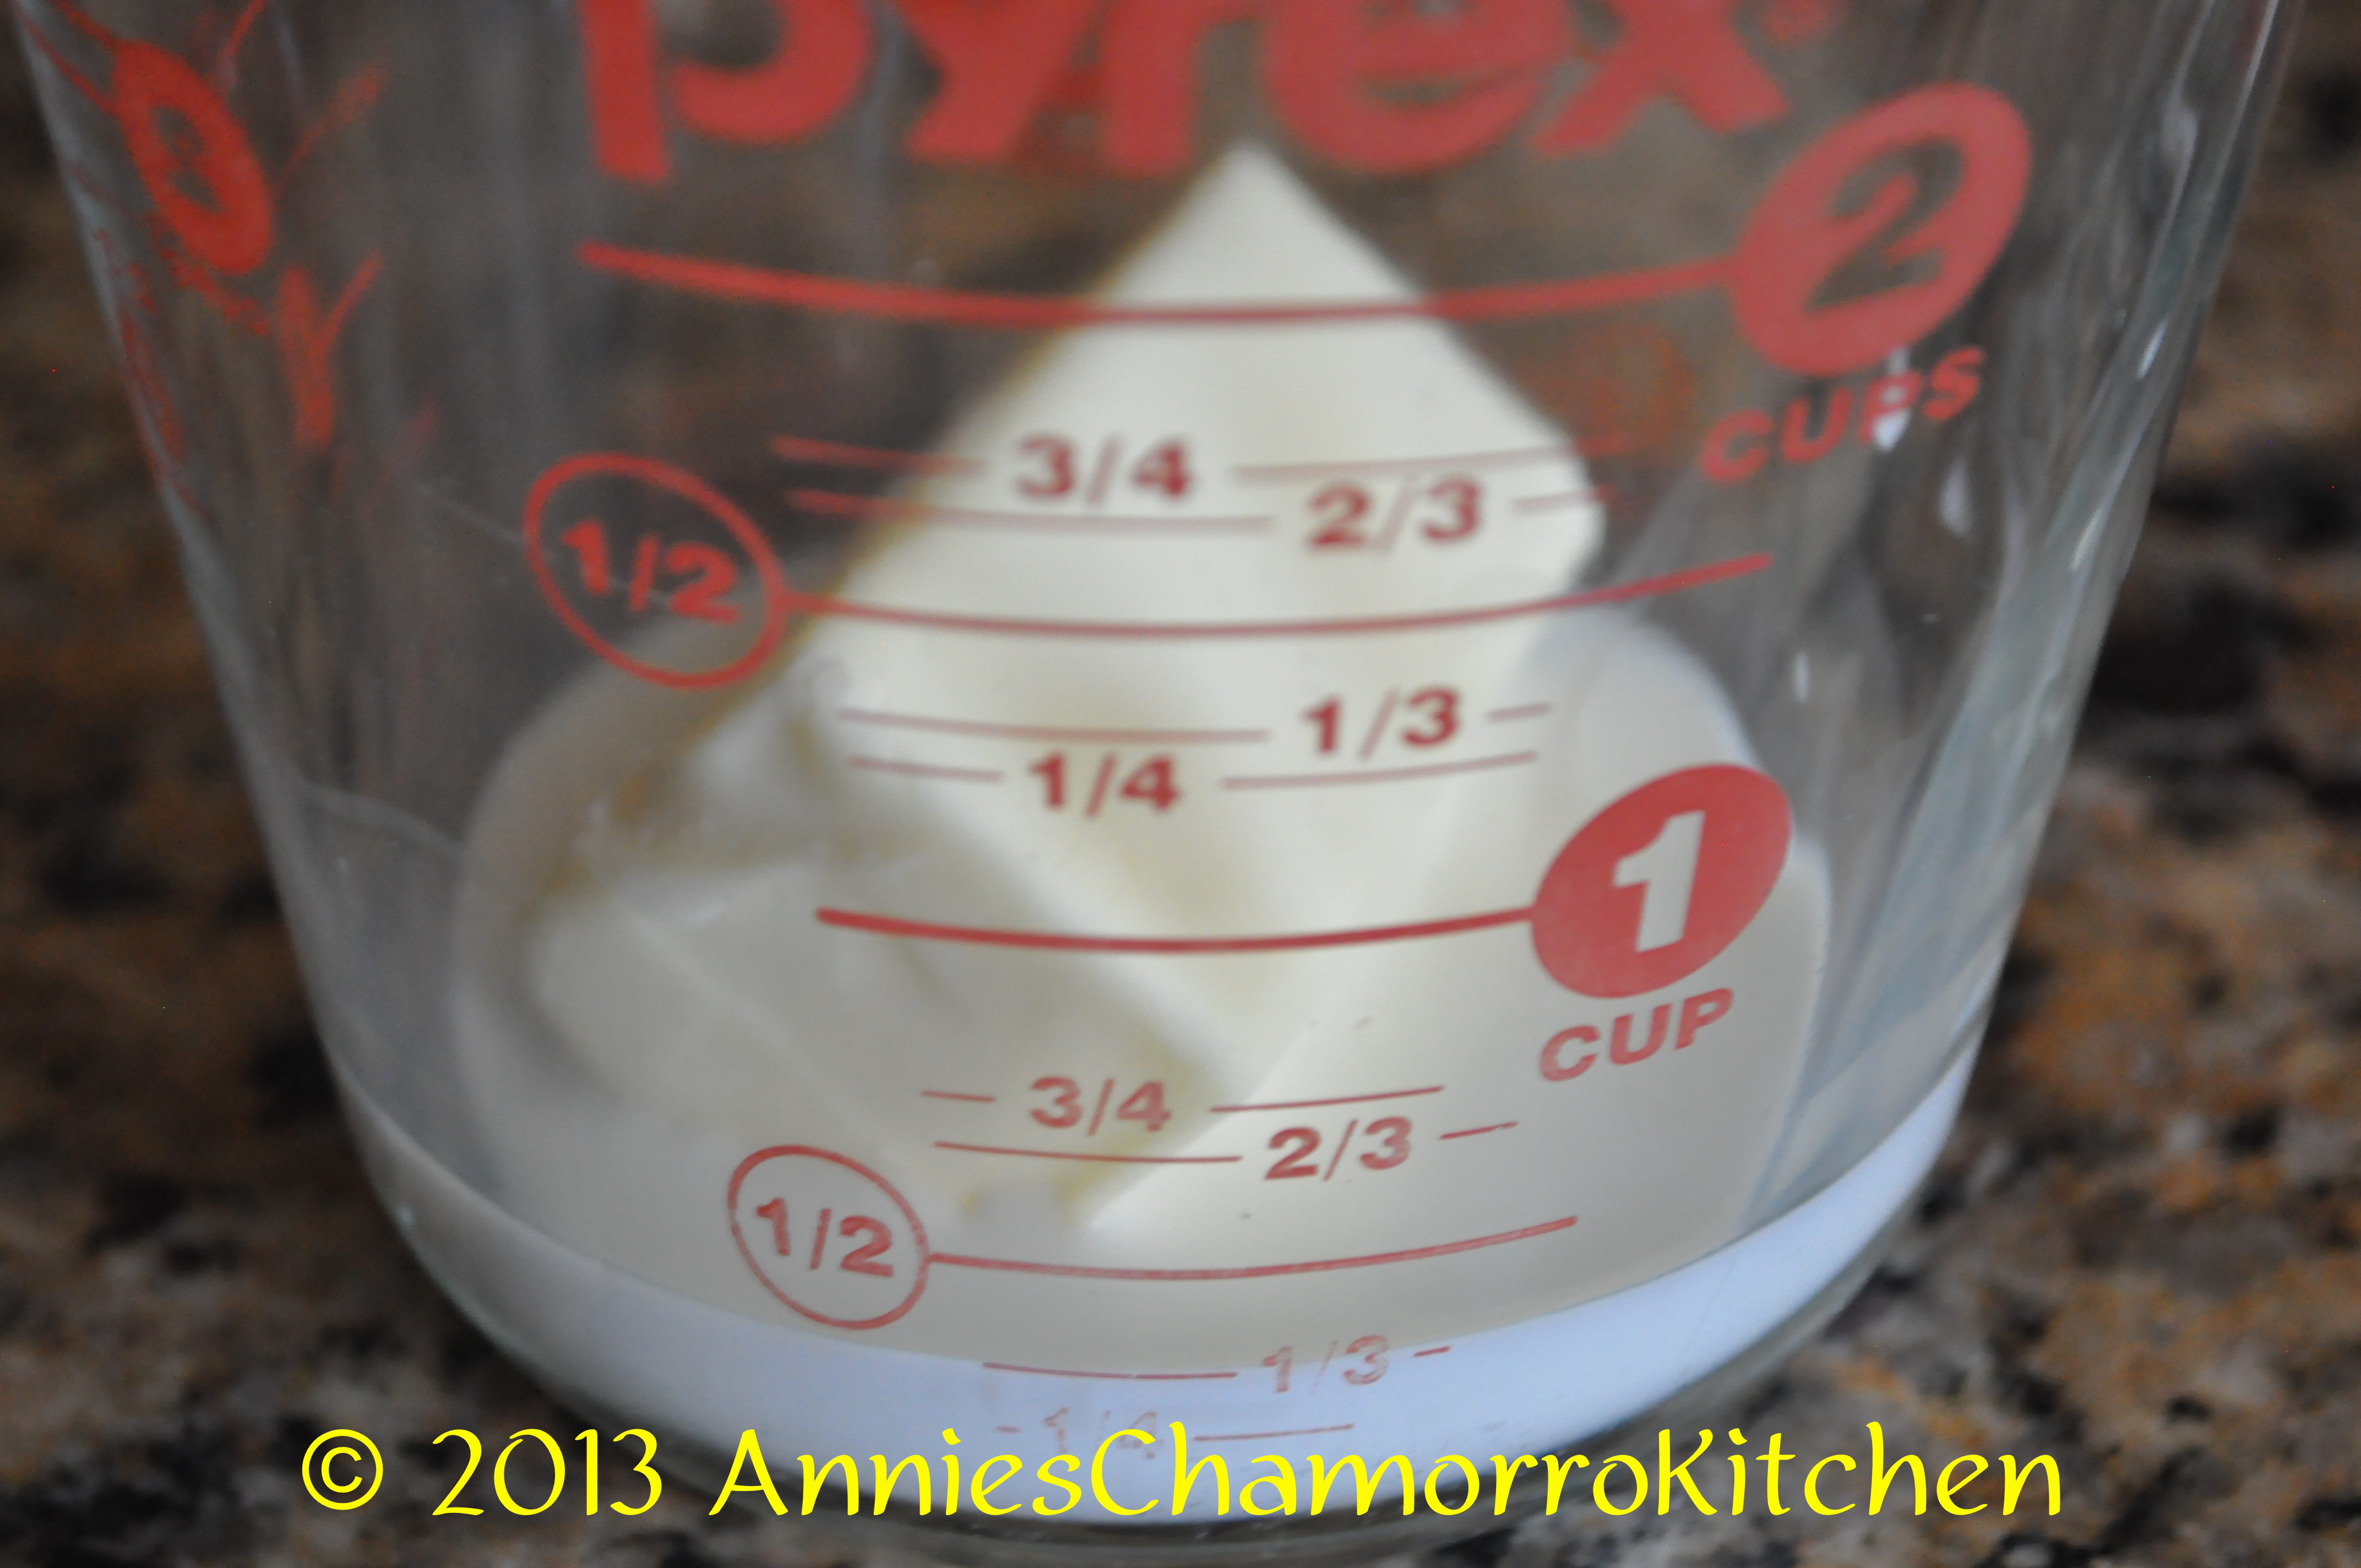
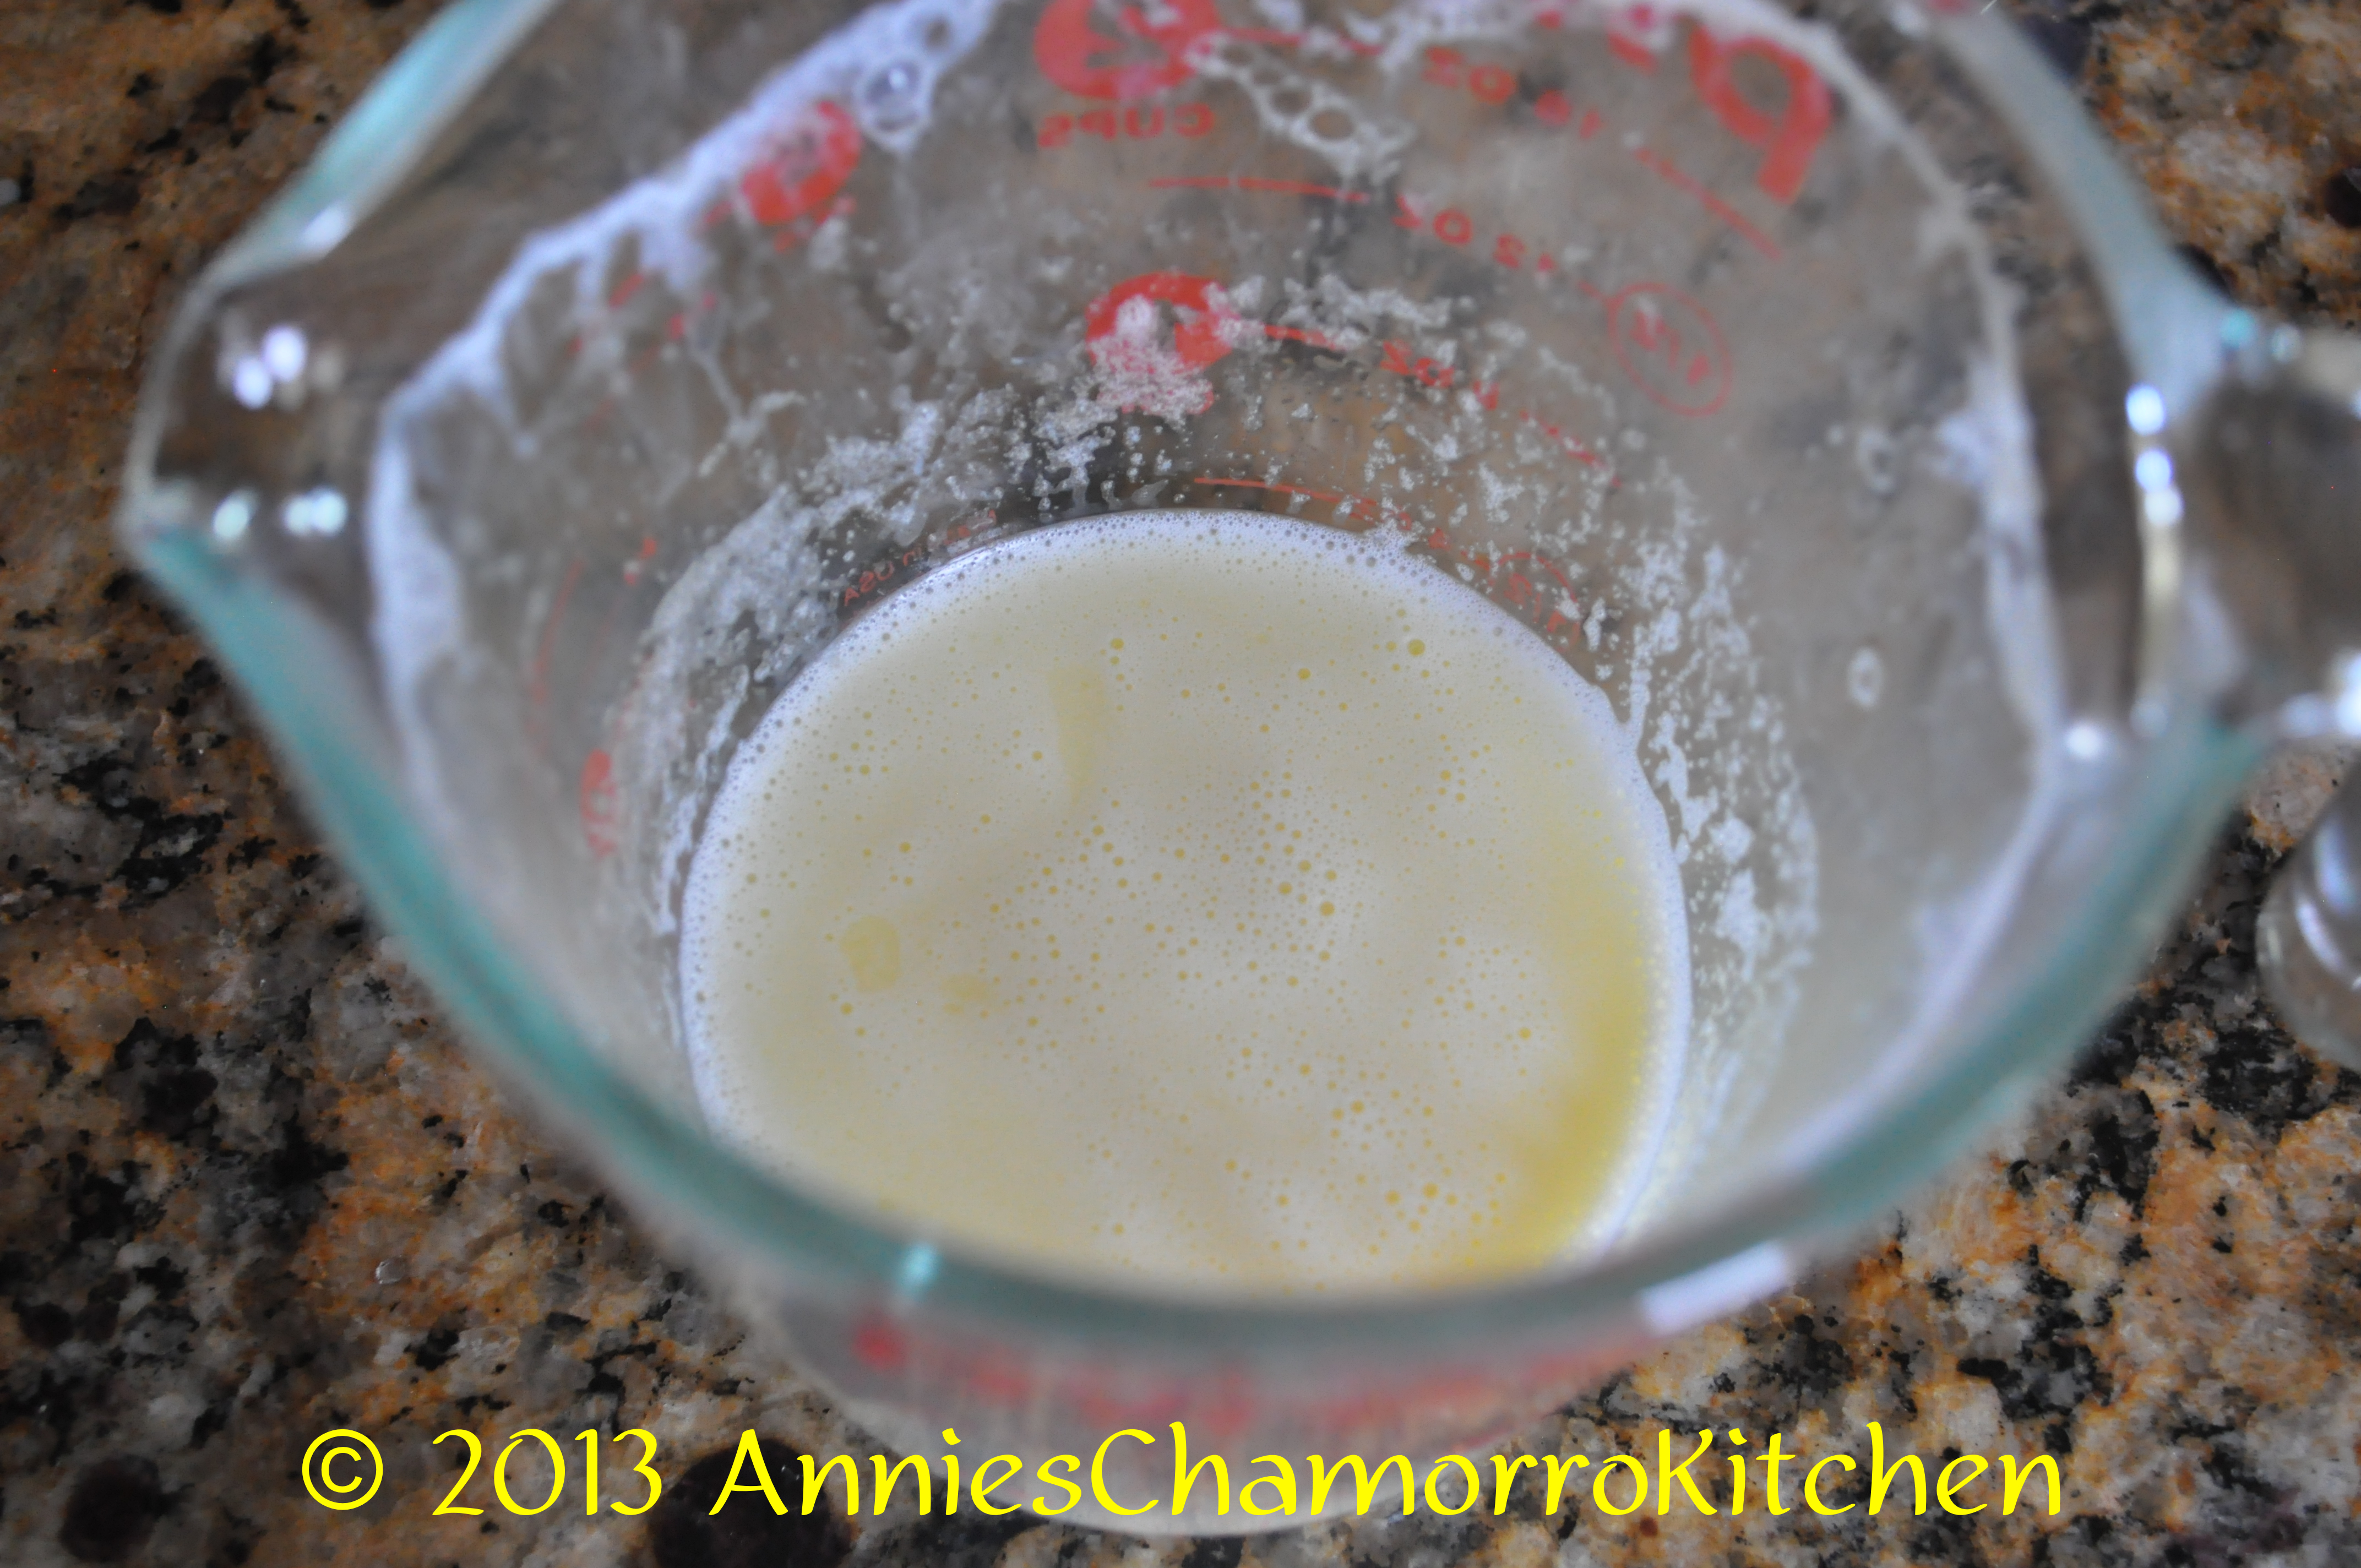
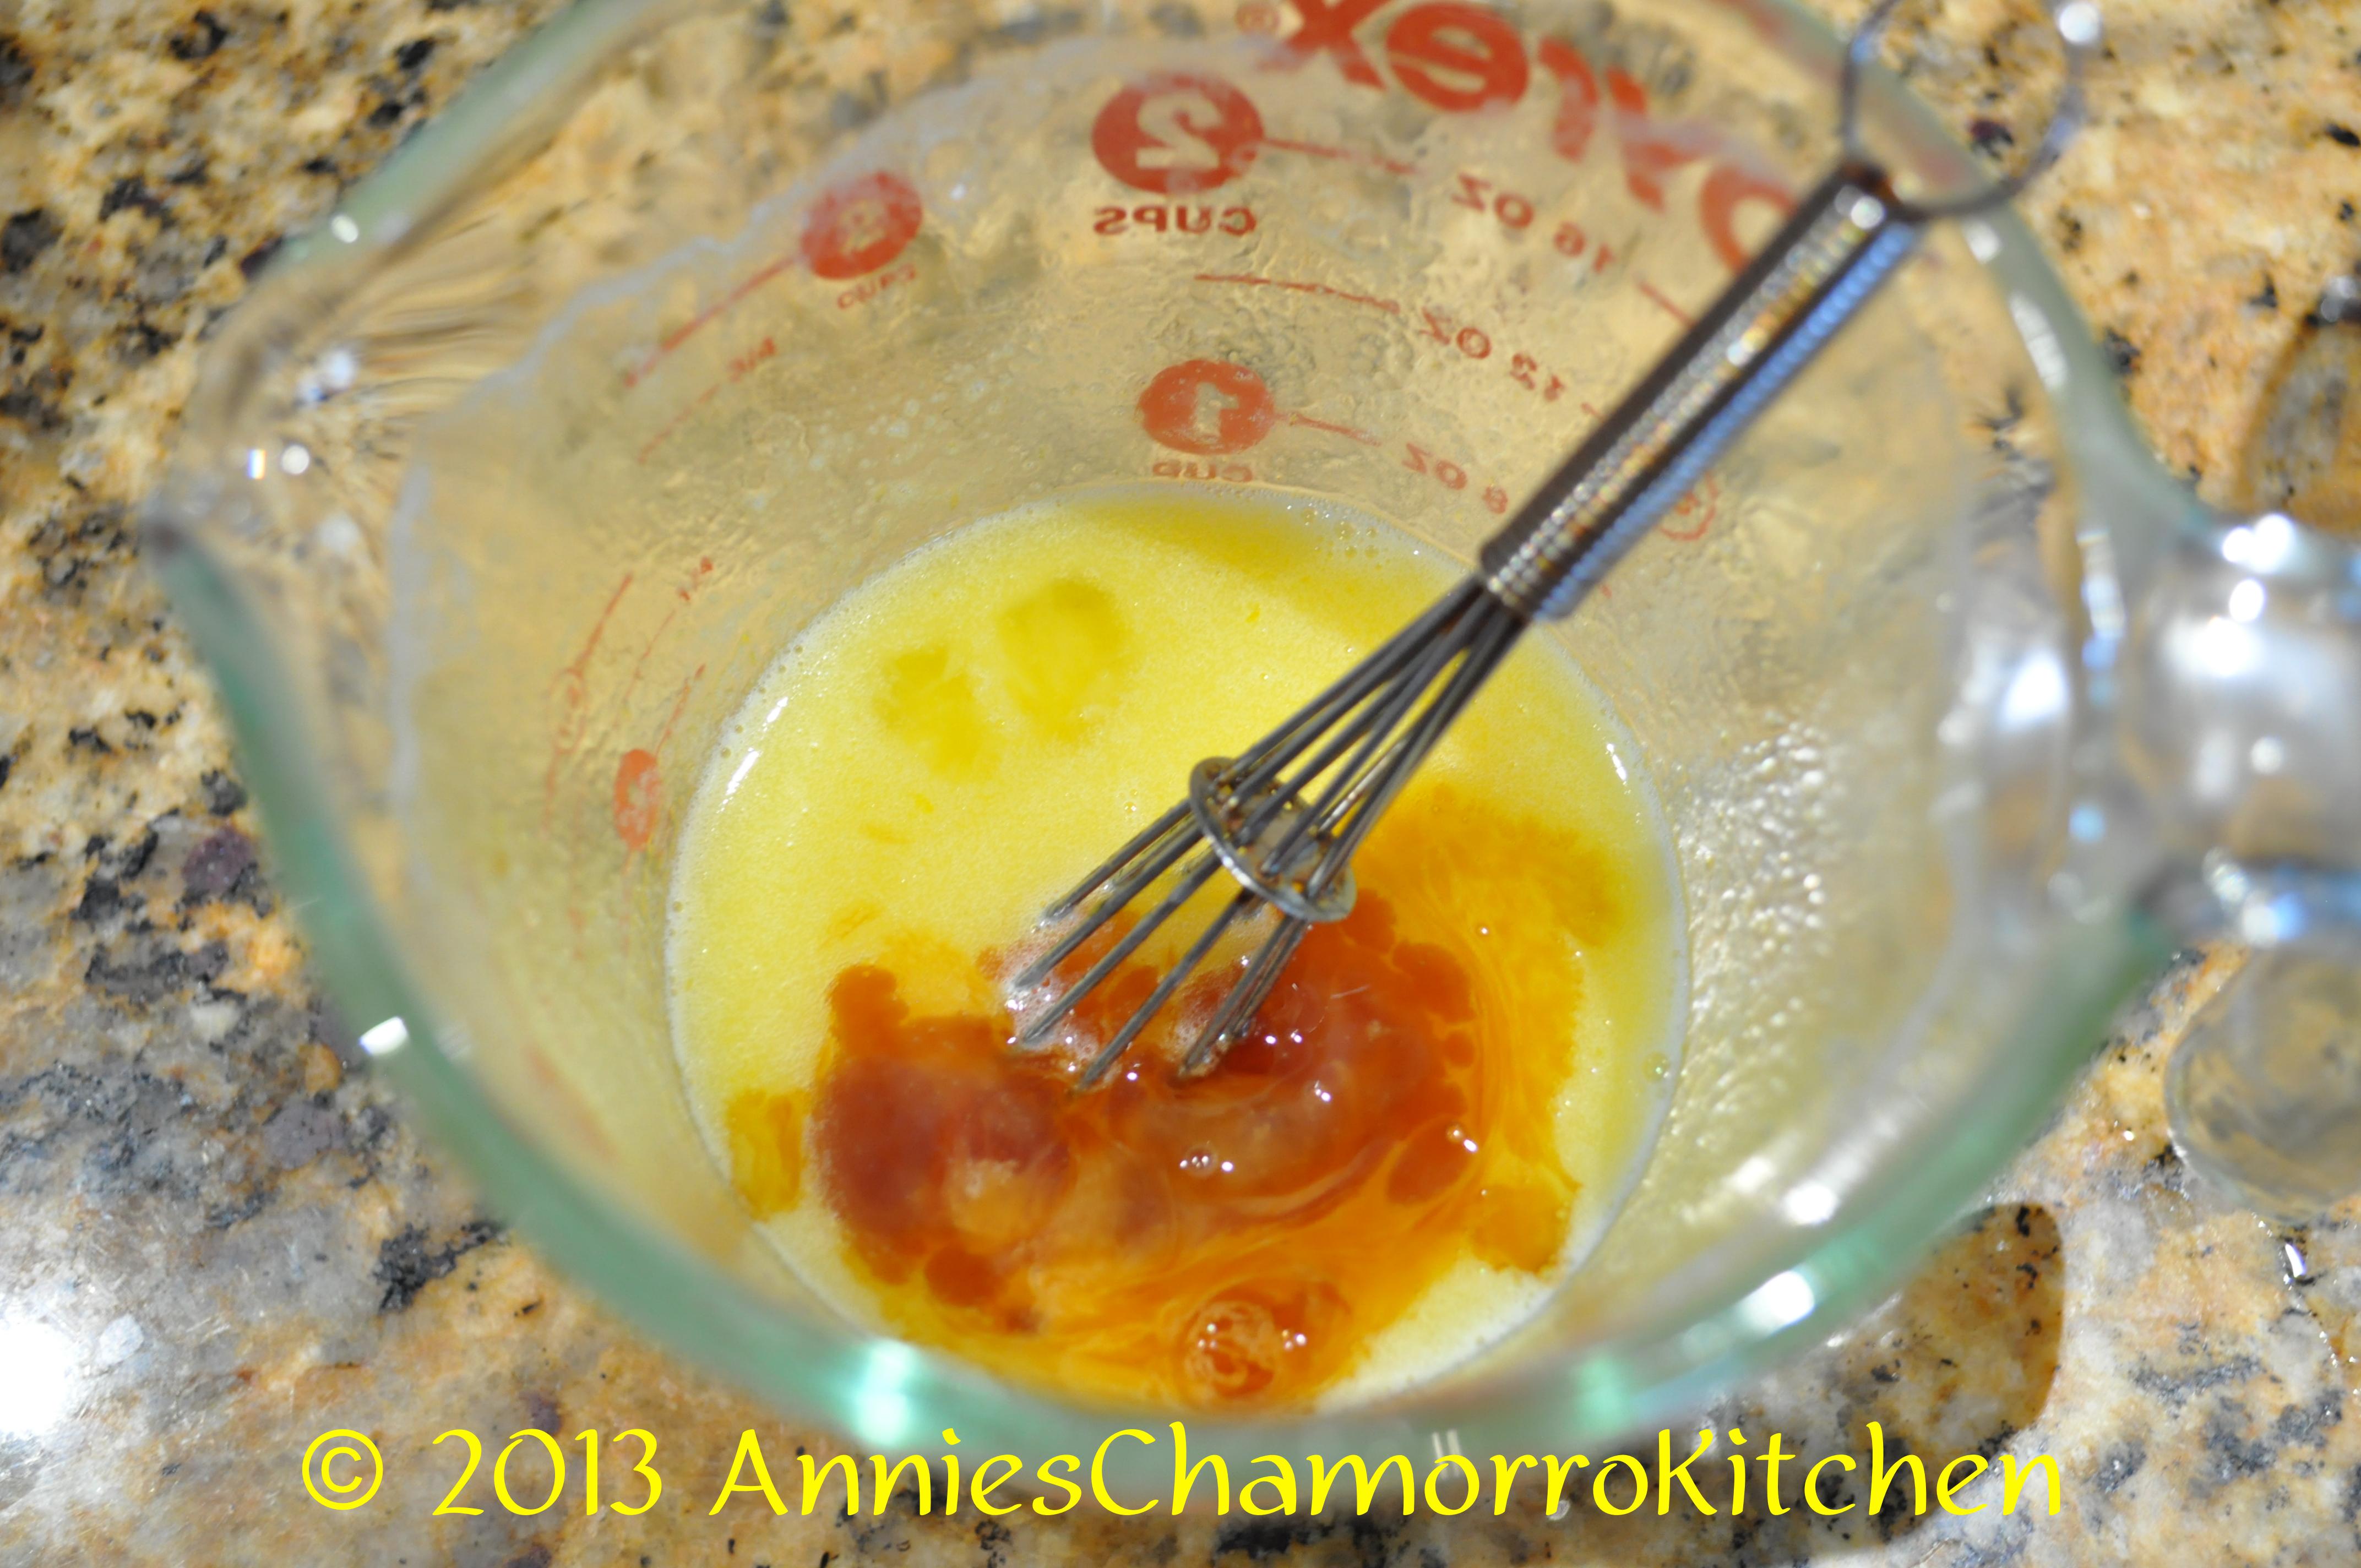
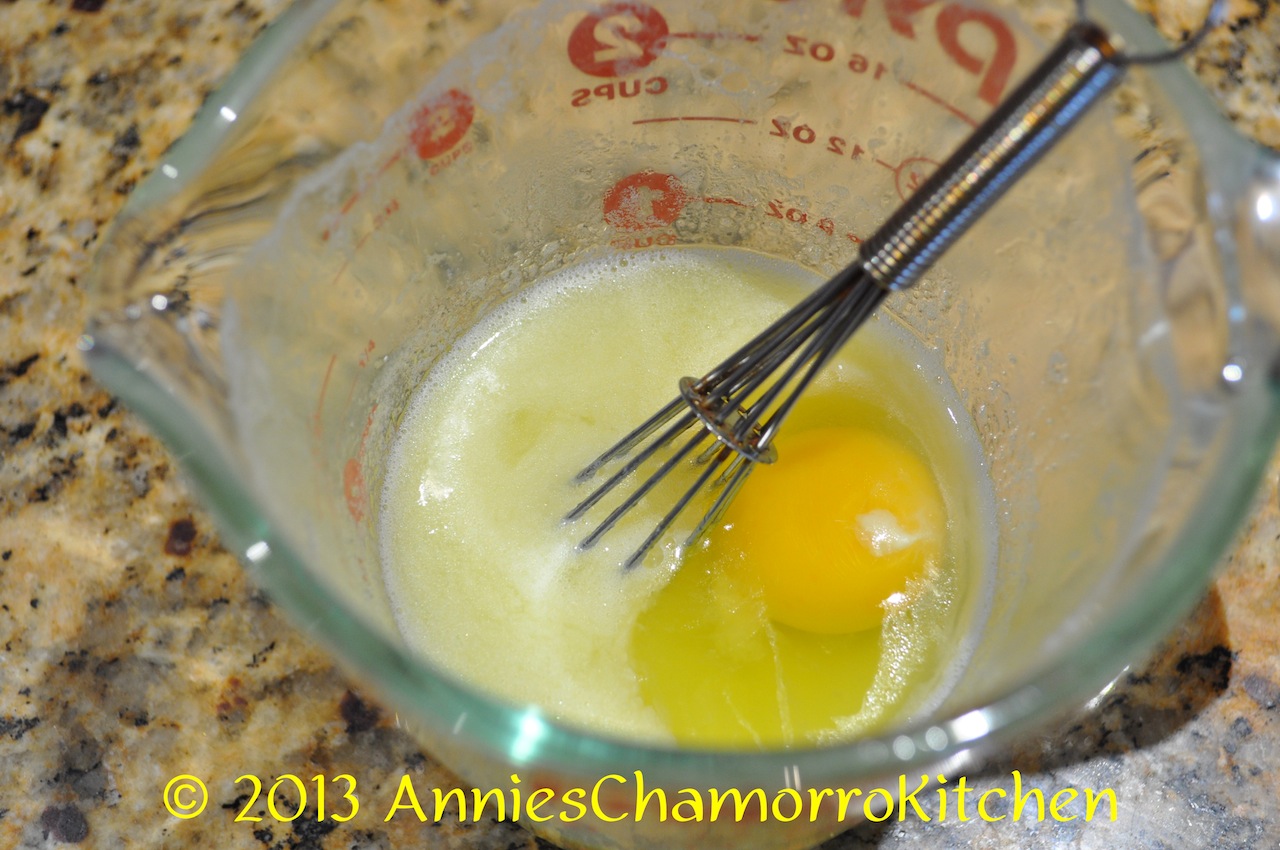
2.  In a microwave-safe cup or bowl, heat the milk and 1/4 cup butter (about one minute on 100% power). Stir in the 1/3 cup sugar and vanilla extract.  Allow the mixture to cool then mix in the egg.


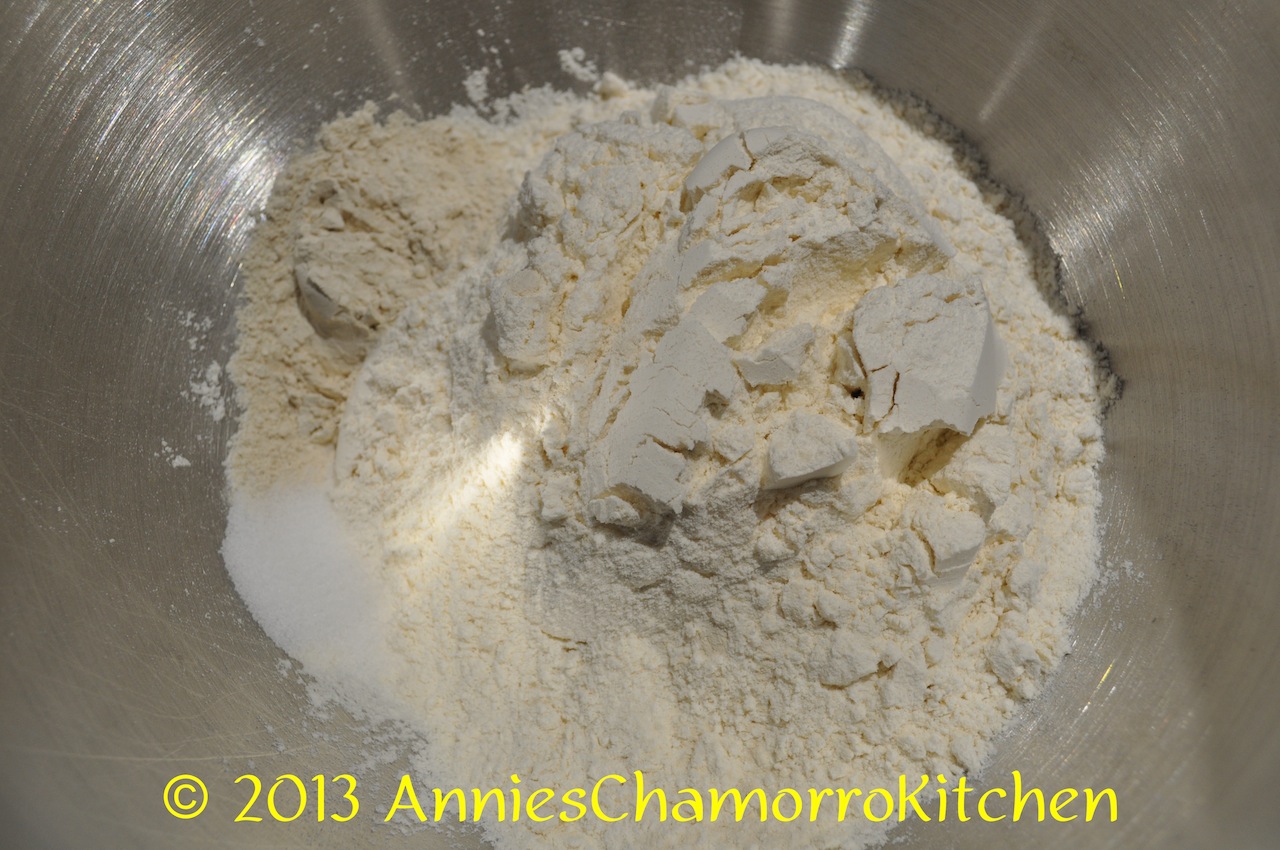
3.  In the bowl of your stand mixer, place the flour, salt, and wheat gluten.

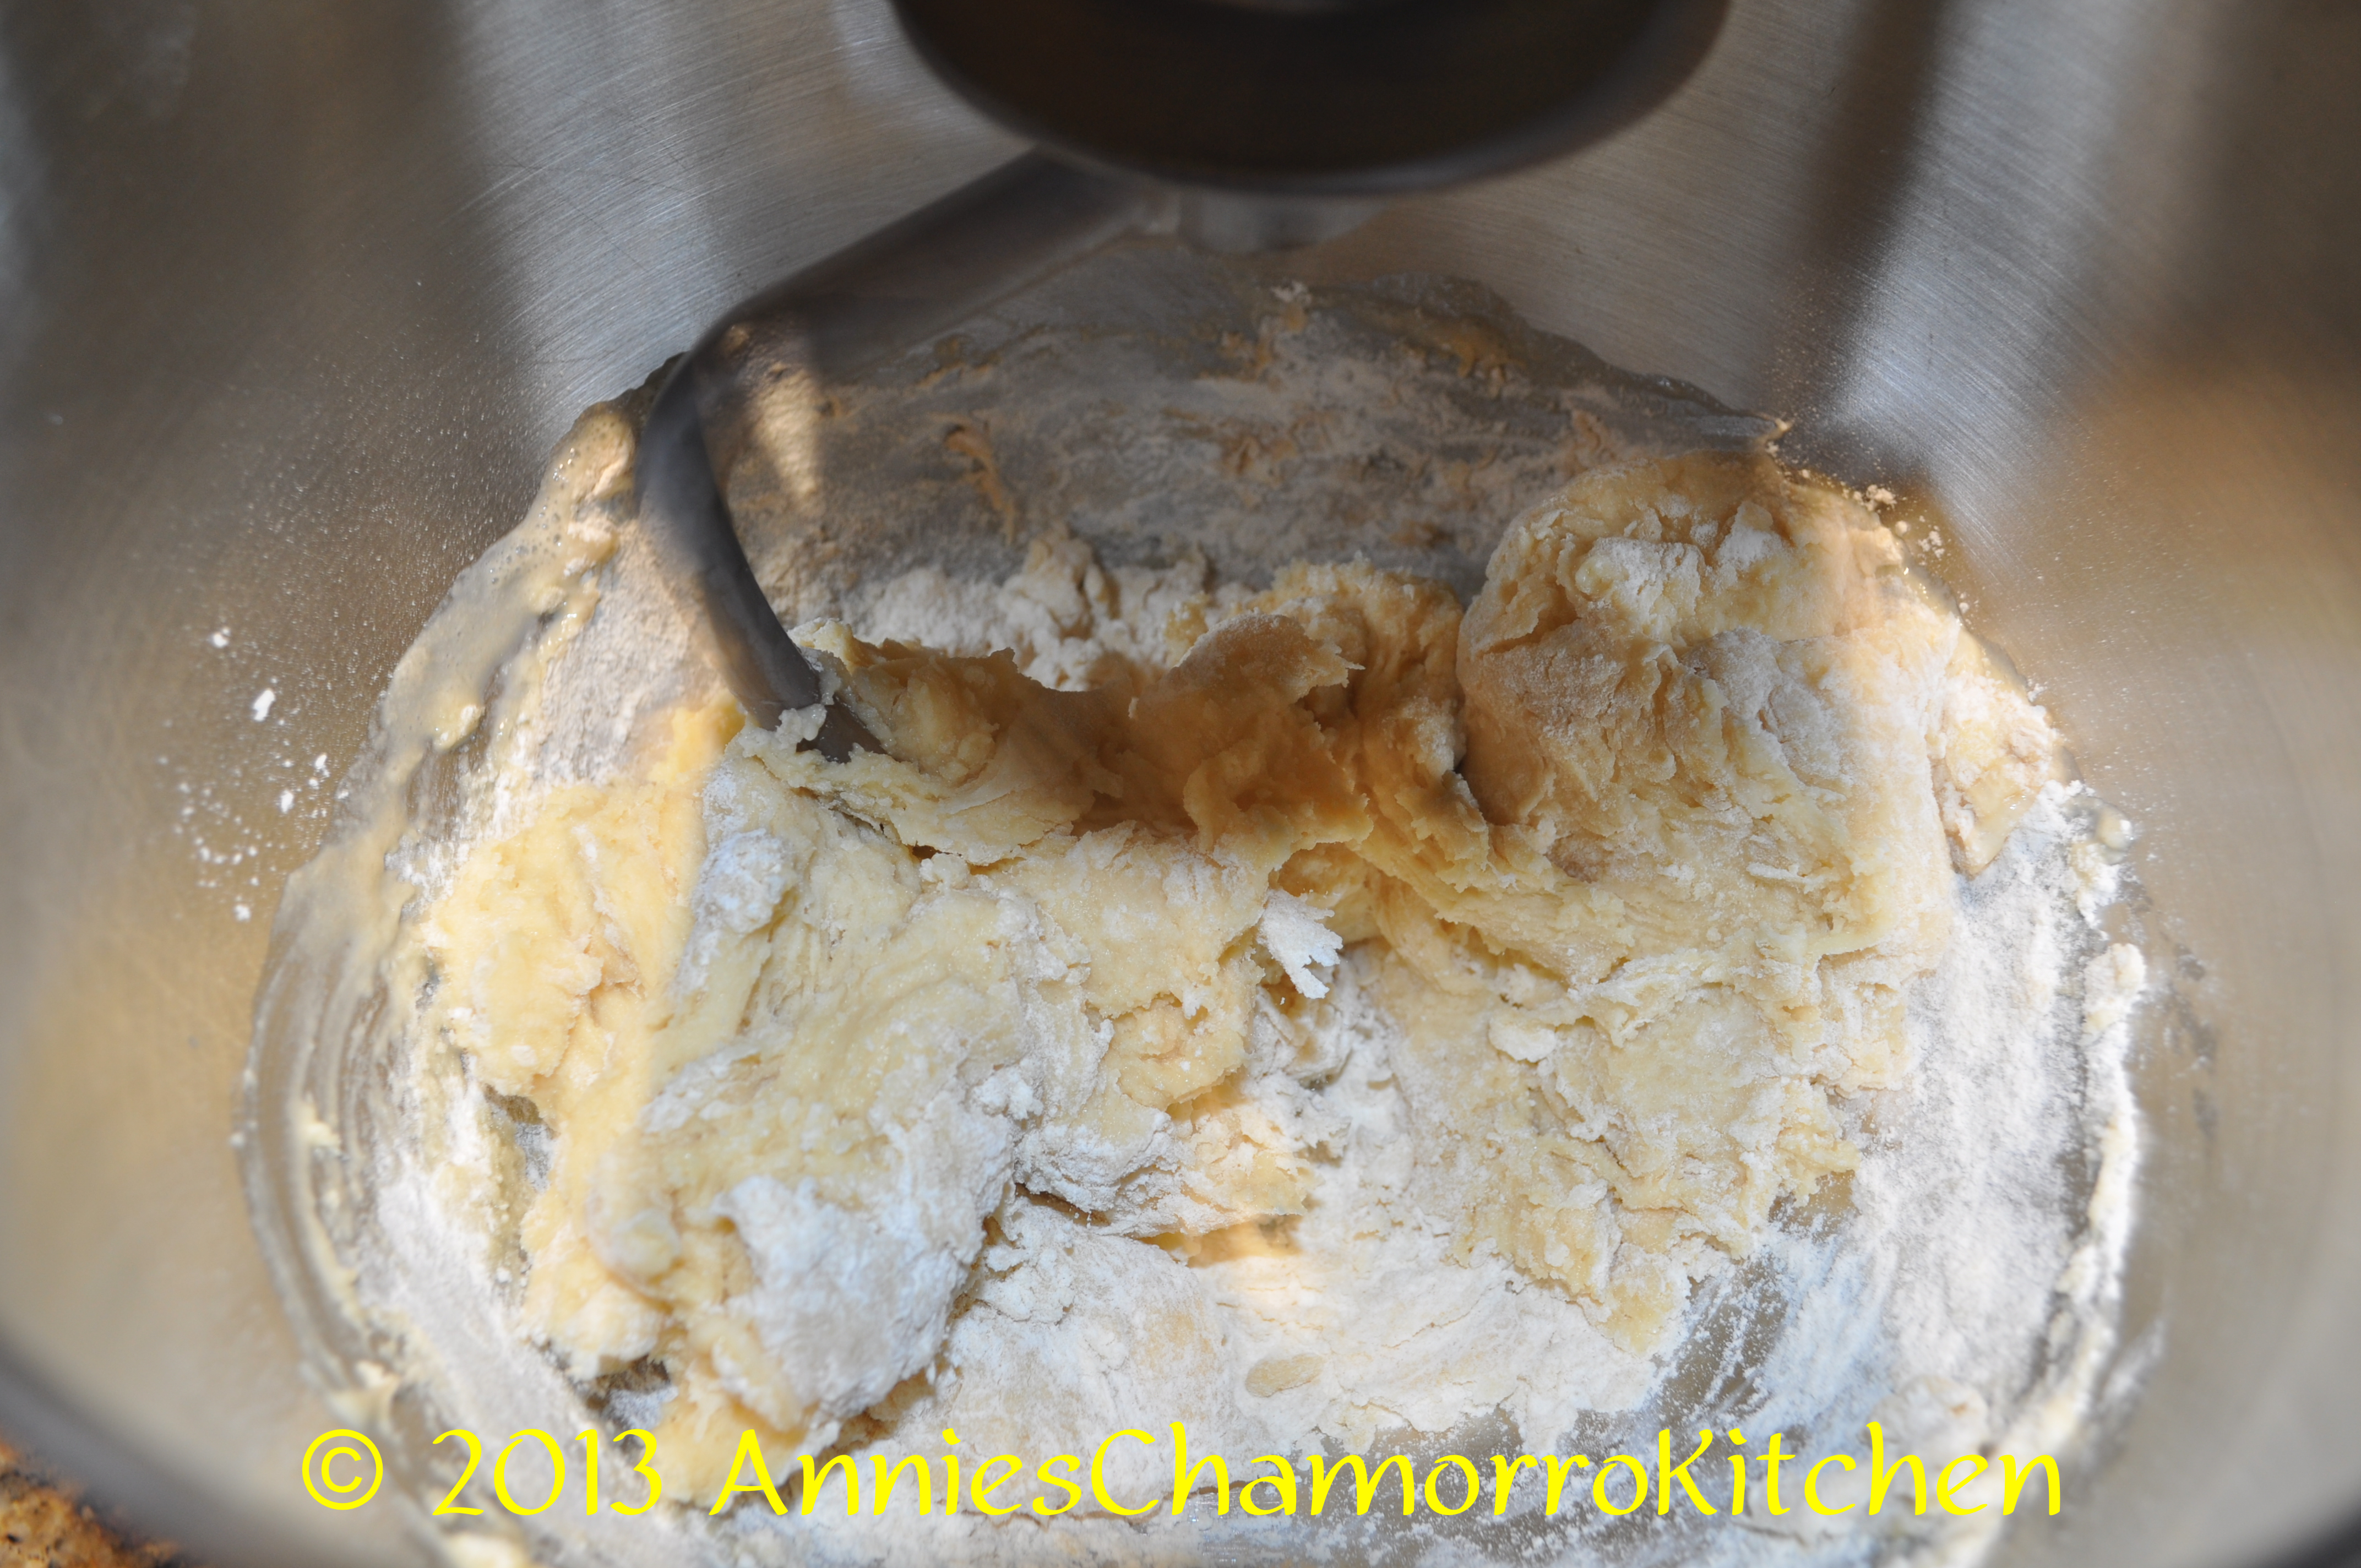
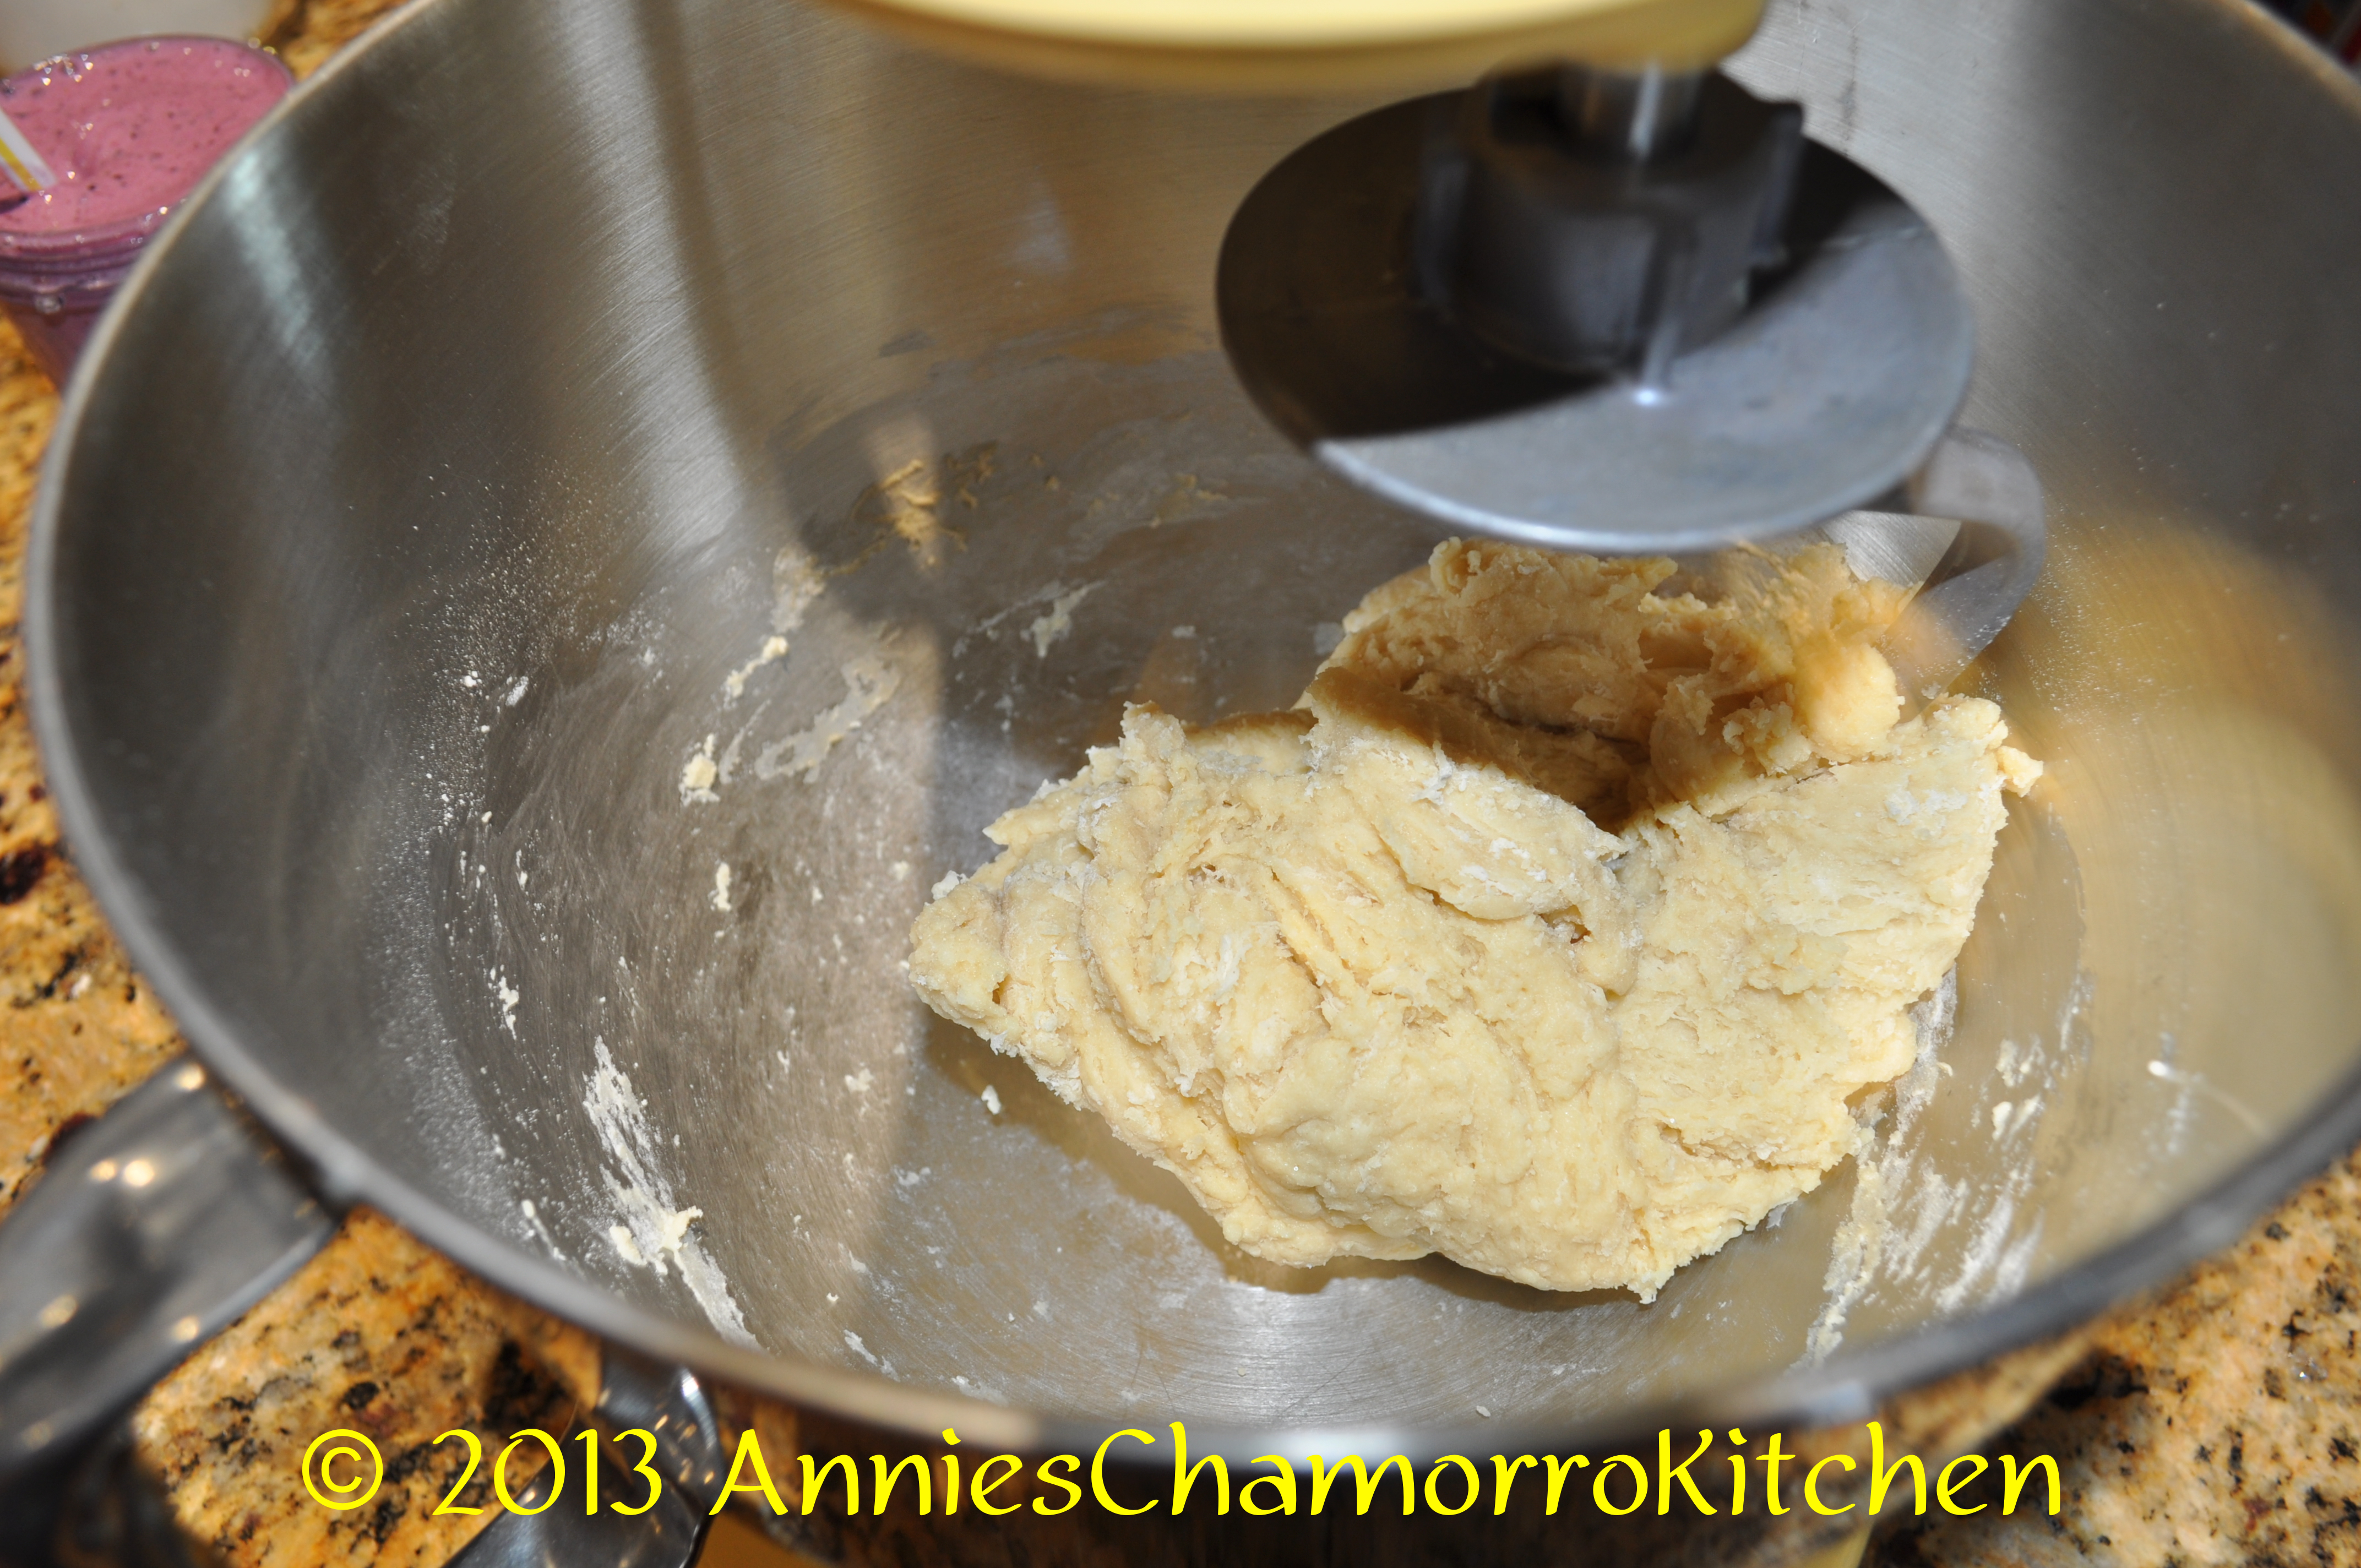
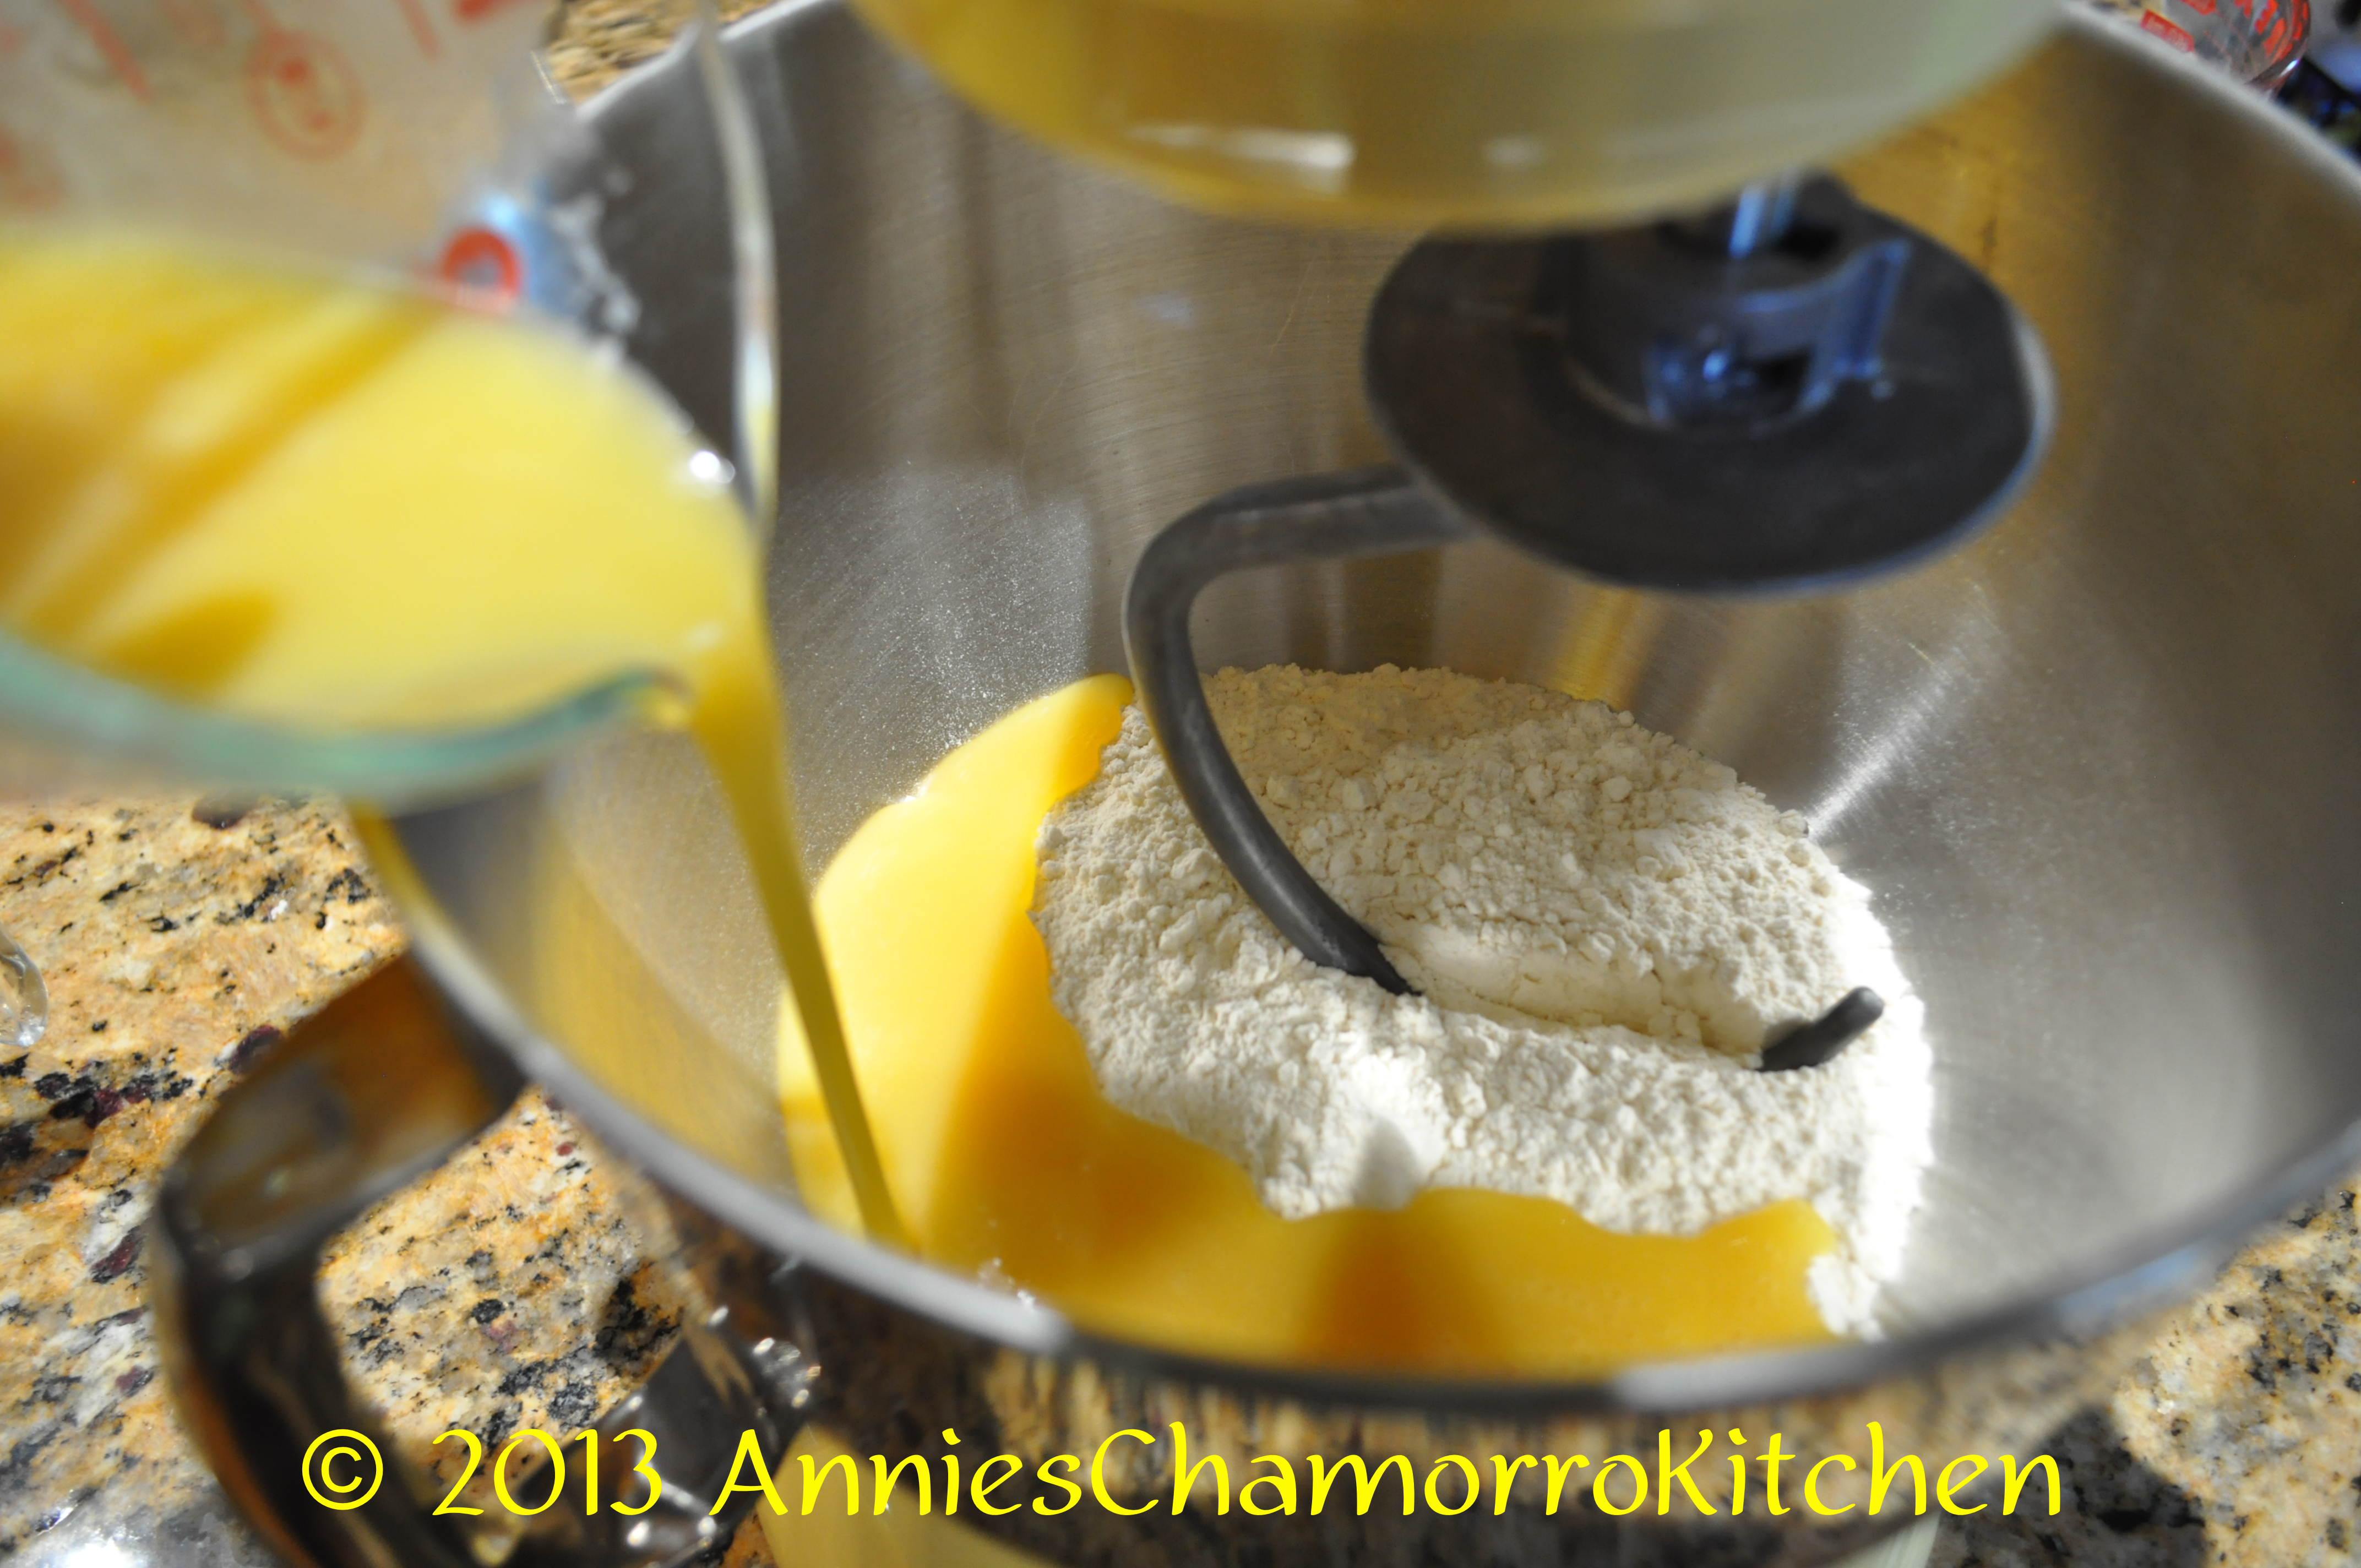
4.  Pour the milk mixture and the bubbly yeast mixture into the mixing bowl.  Using the dough hook on your stand mixer (I use a KitchenAid mixer) mix on low speed (setting #3 on a KitchenAid) until a dough forms.  The dough may still be sticky — this is perfectly okay; you want the dough to be a little sticky.  Keep mixing (kneading) for about 8 minutes.


DSC_0376  Dough ball

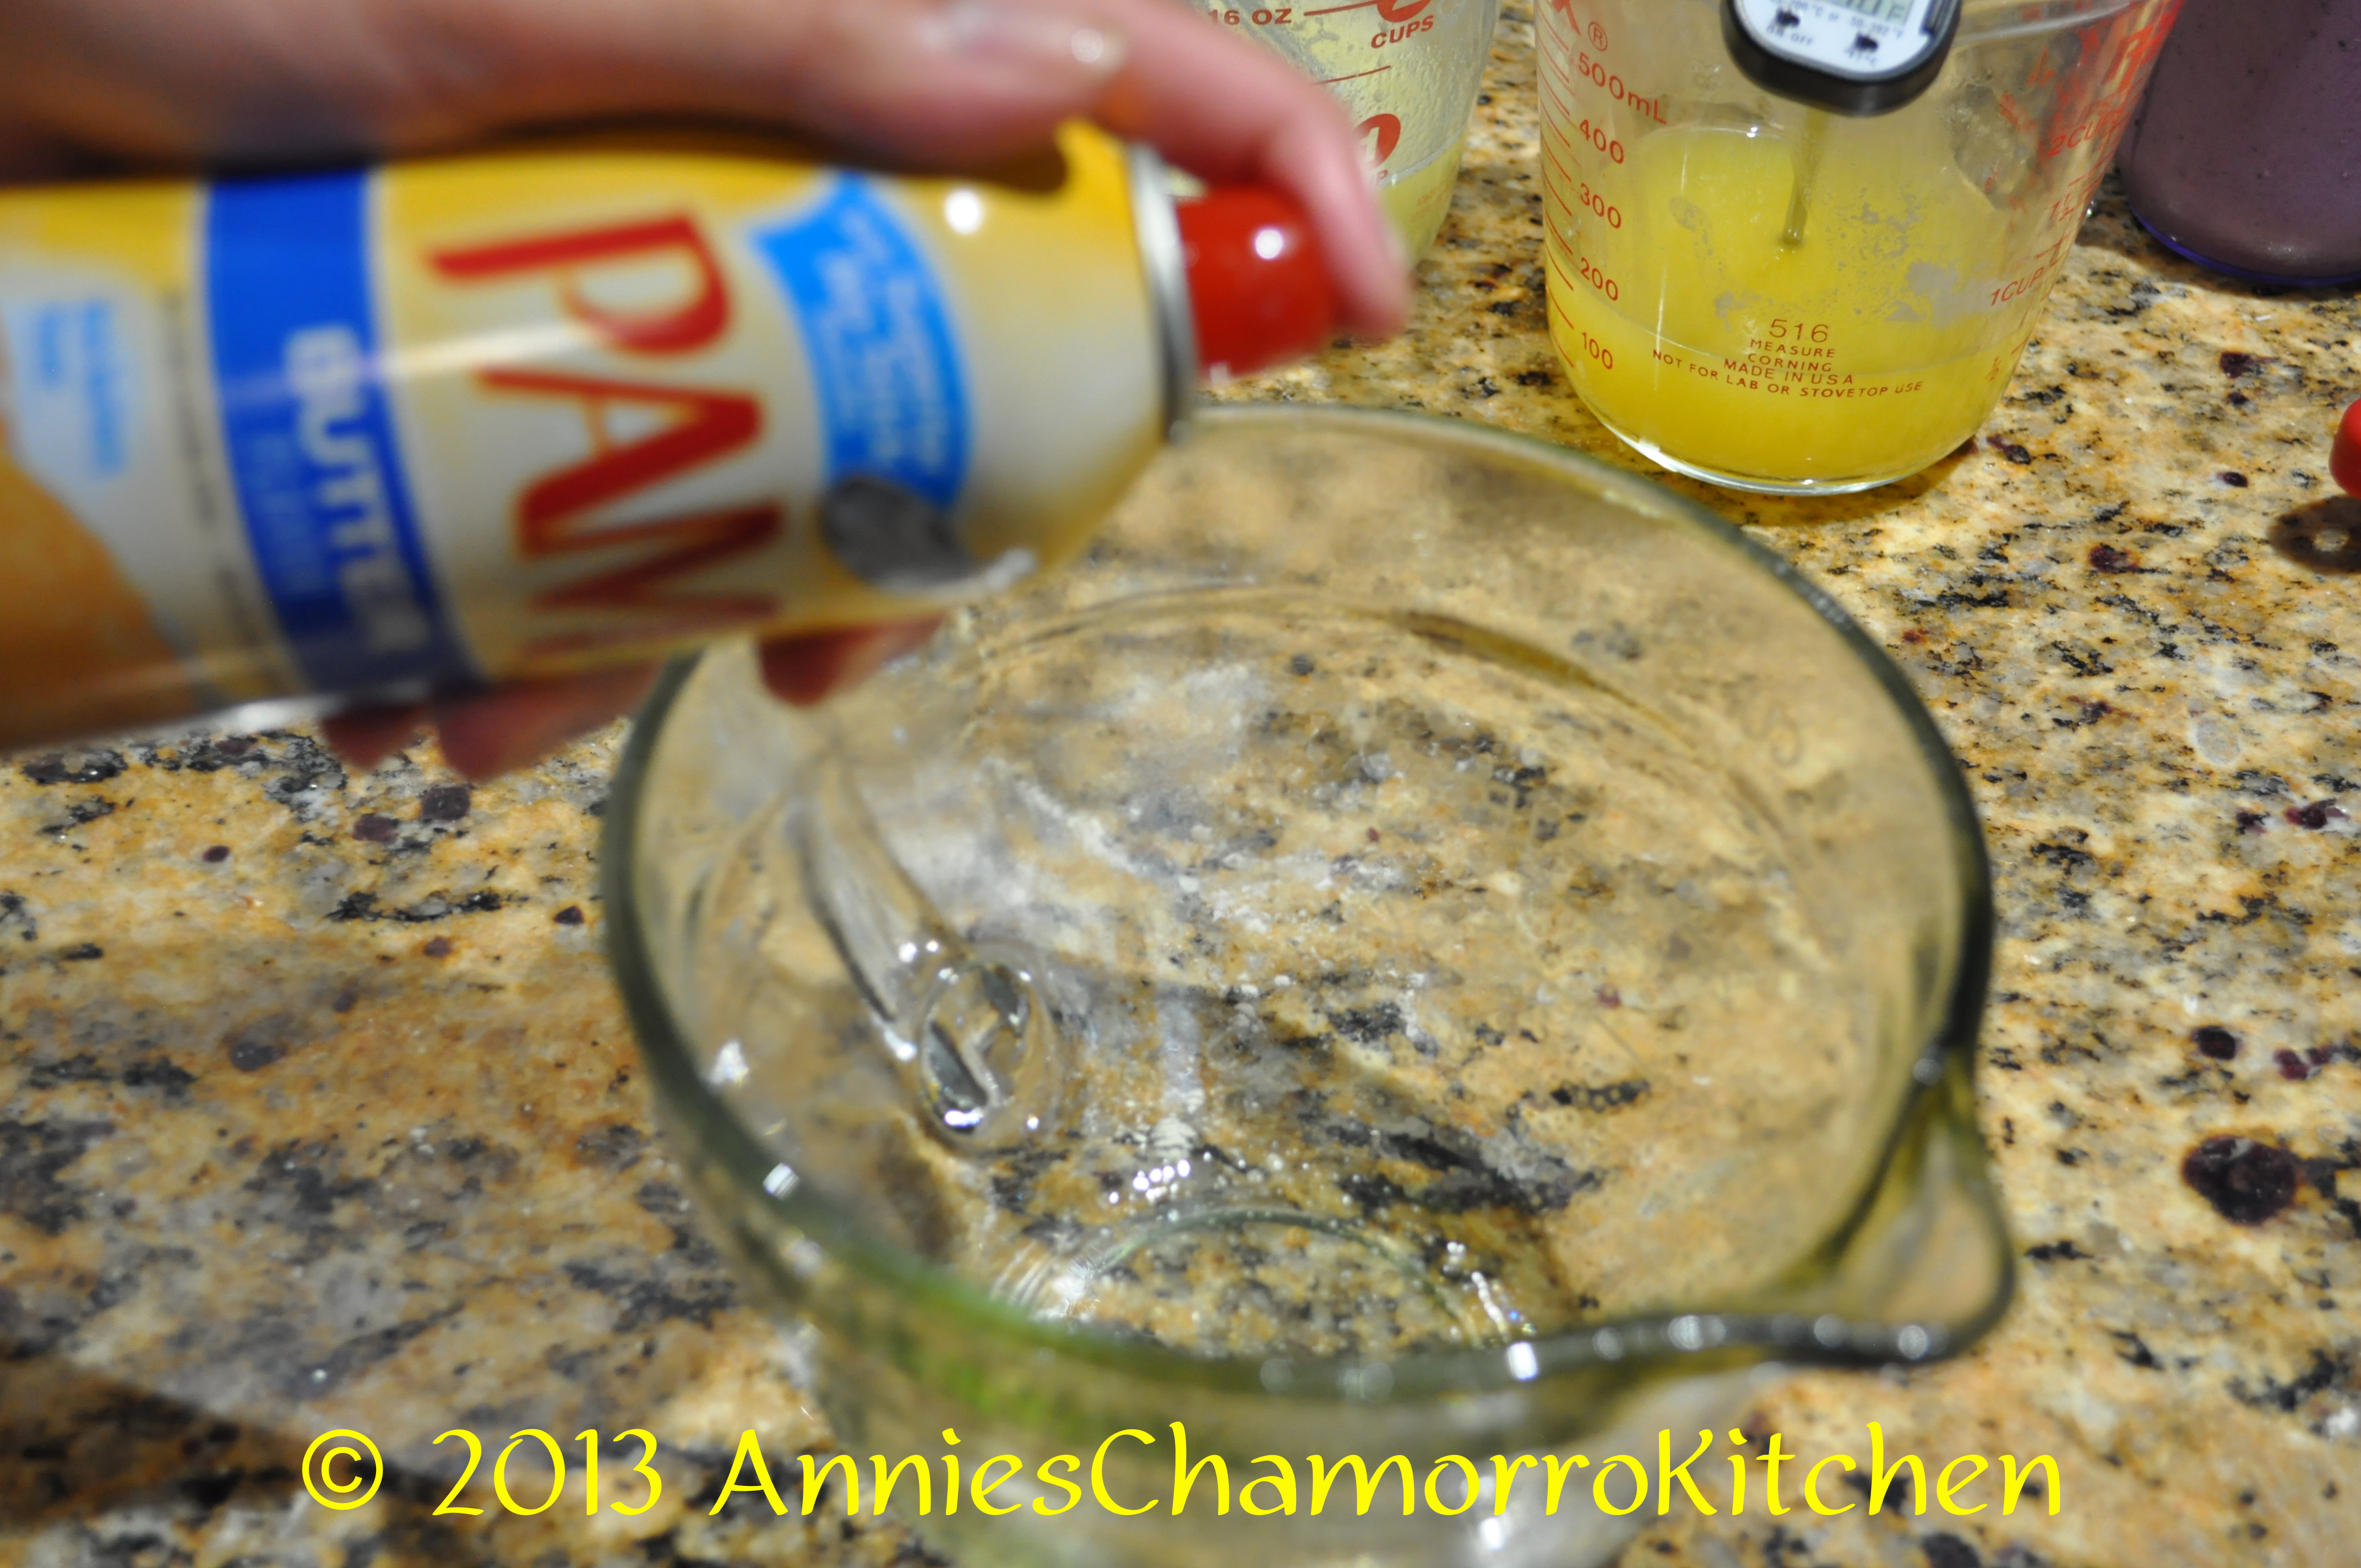
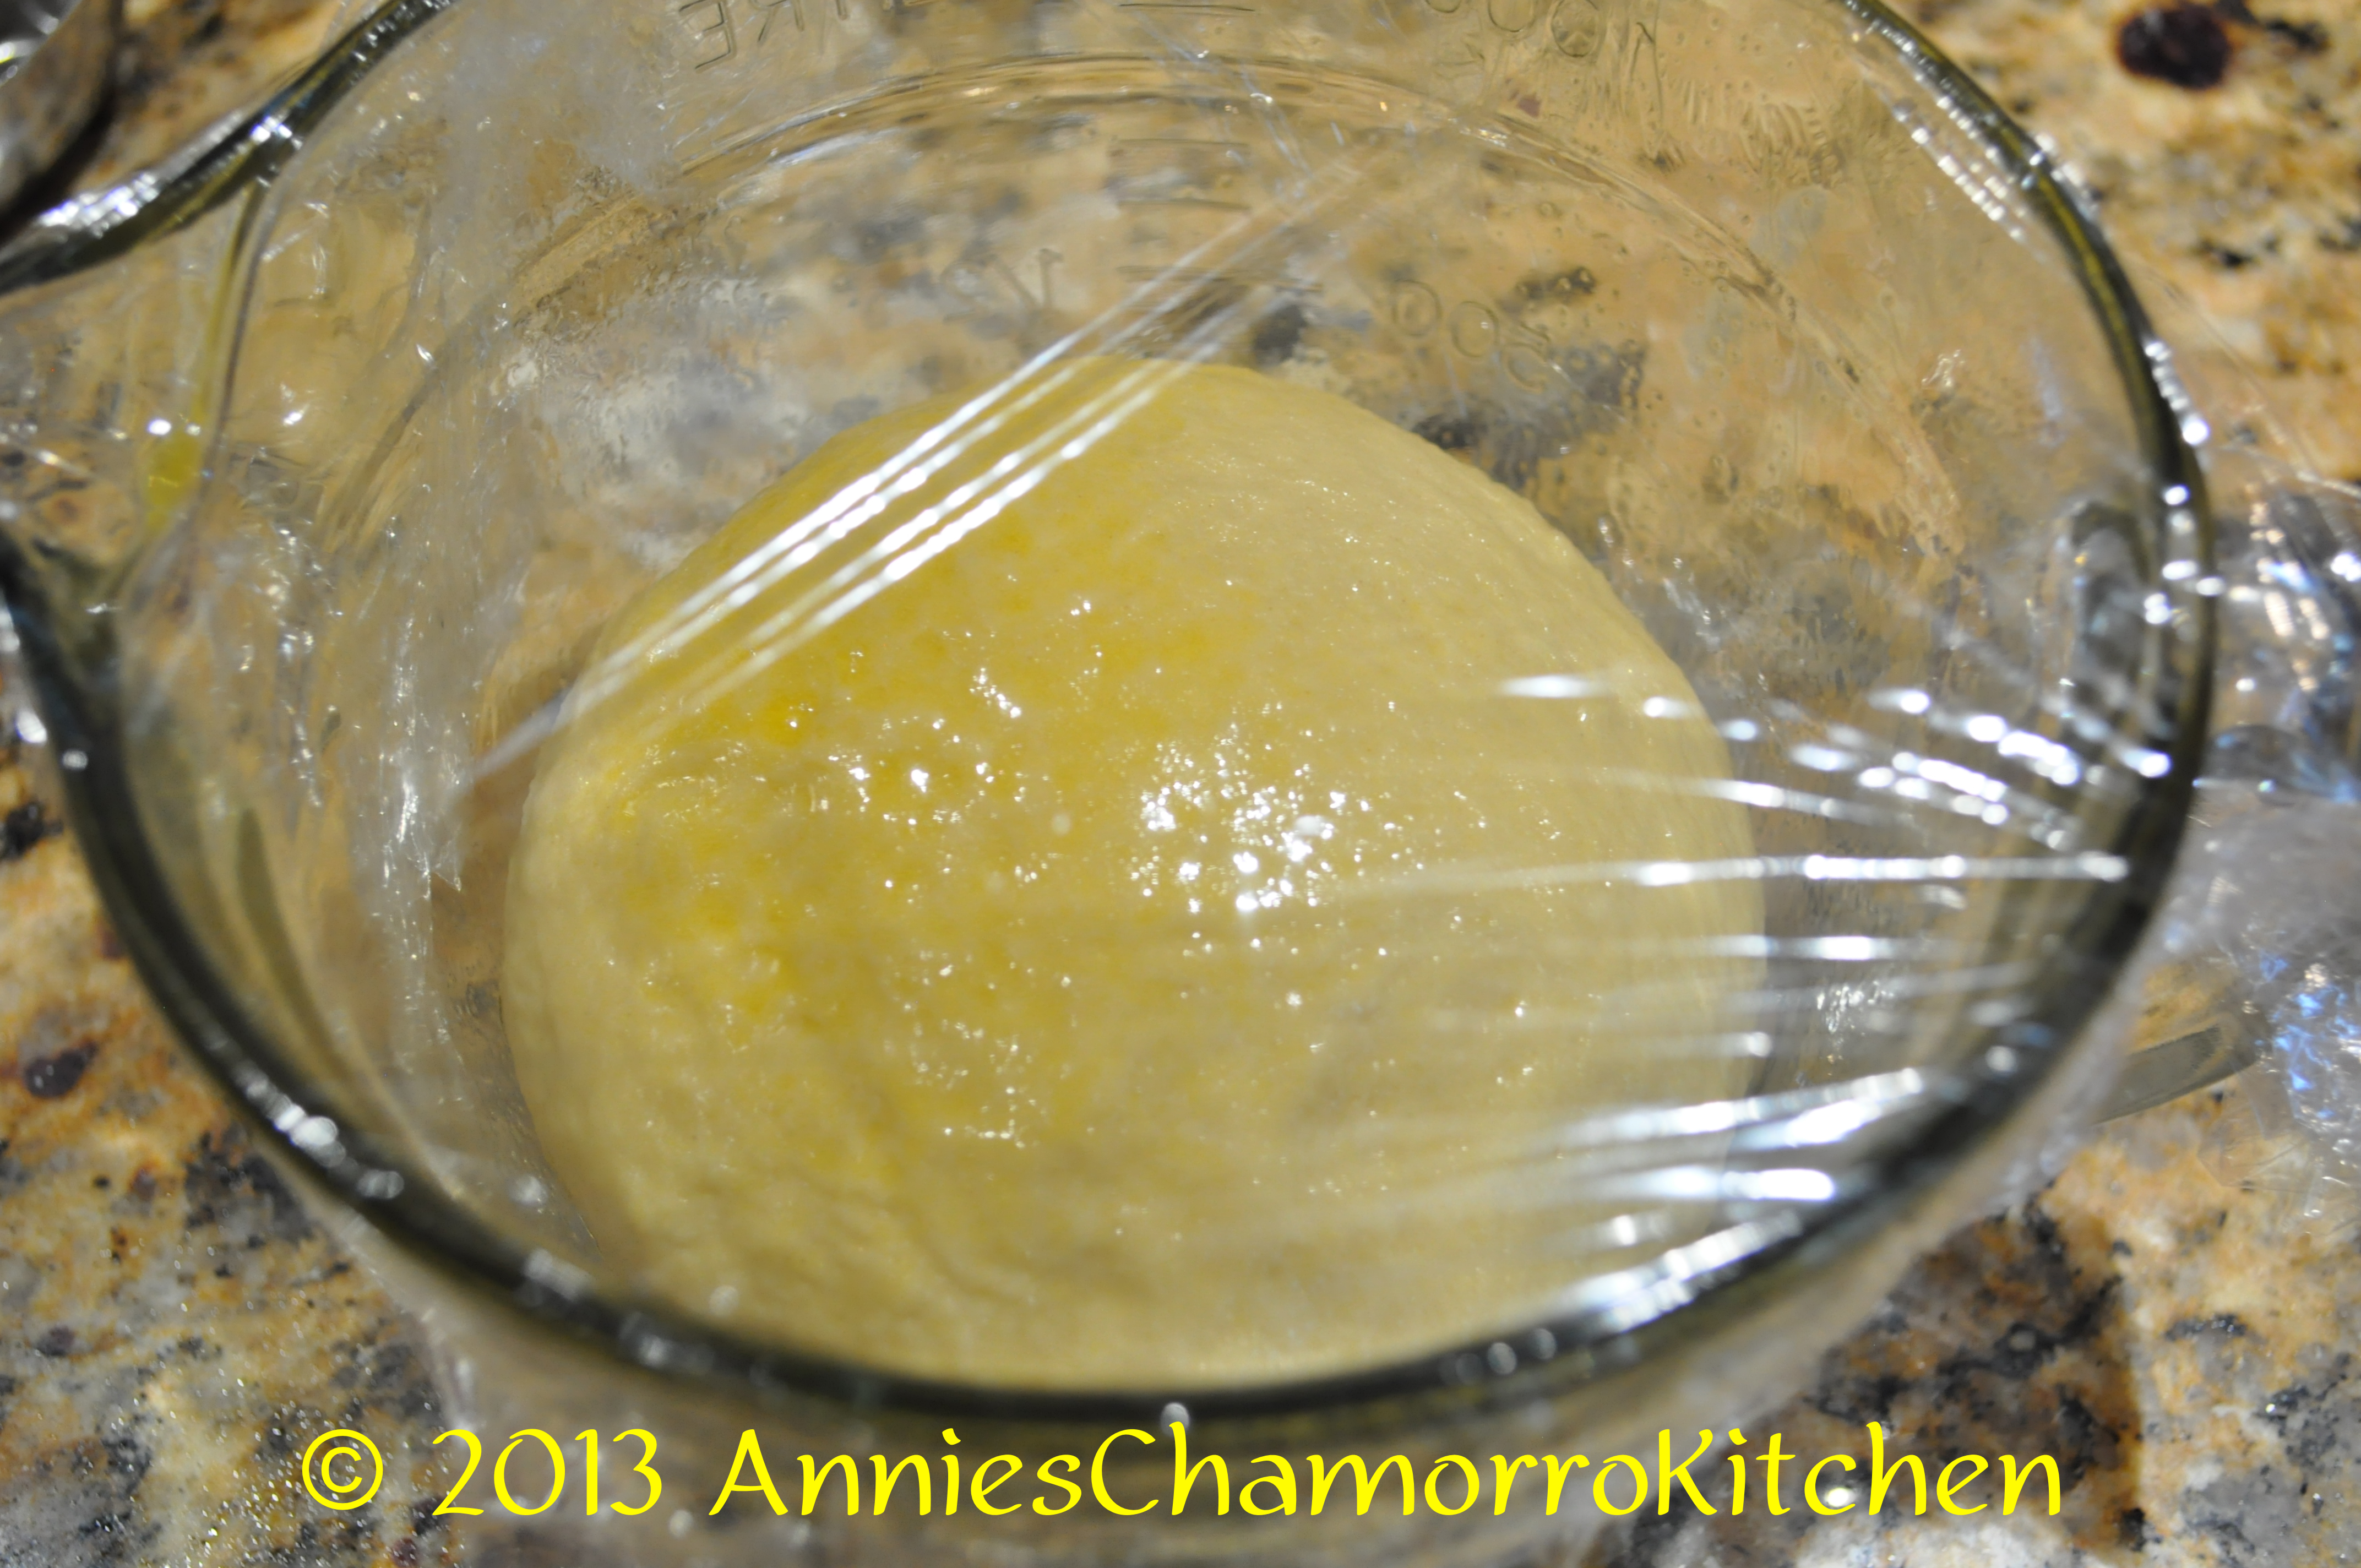
5.  After 8 minutes of kneading, place the dough into a greased or buttered bowl (you can spray the bowl with butter cooking spray).  Cover with plastic wrap then place in a warm place to rise until double in size.  The amount of time it takes to rise will depend on how warm it is where you’ve place the bowl of dough.  I usually turn my oven on to warm during the kneading process then turn it off just before placing the dough in it to rise.

DSC_0380          DSC_0381

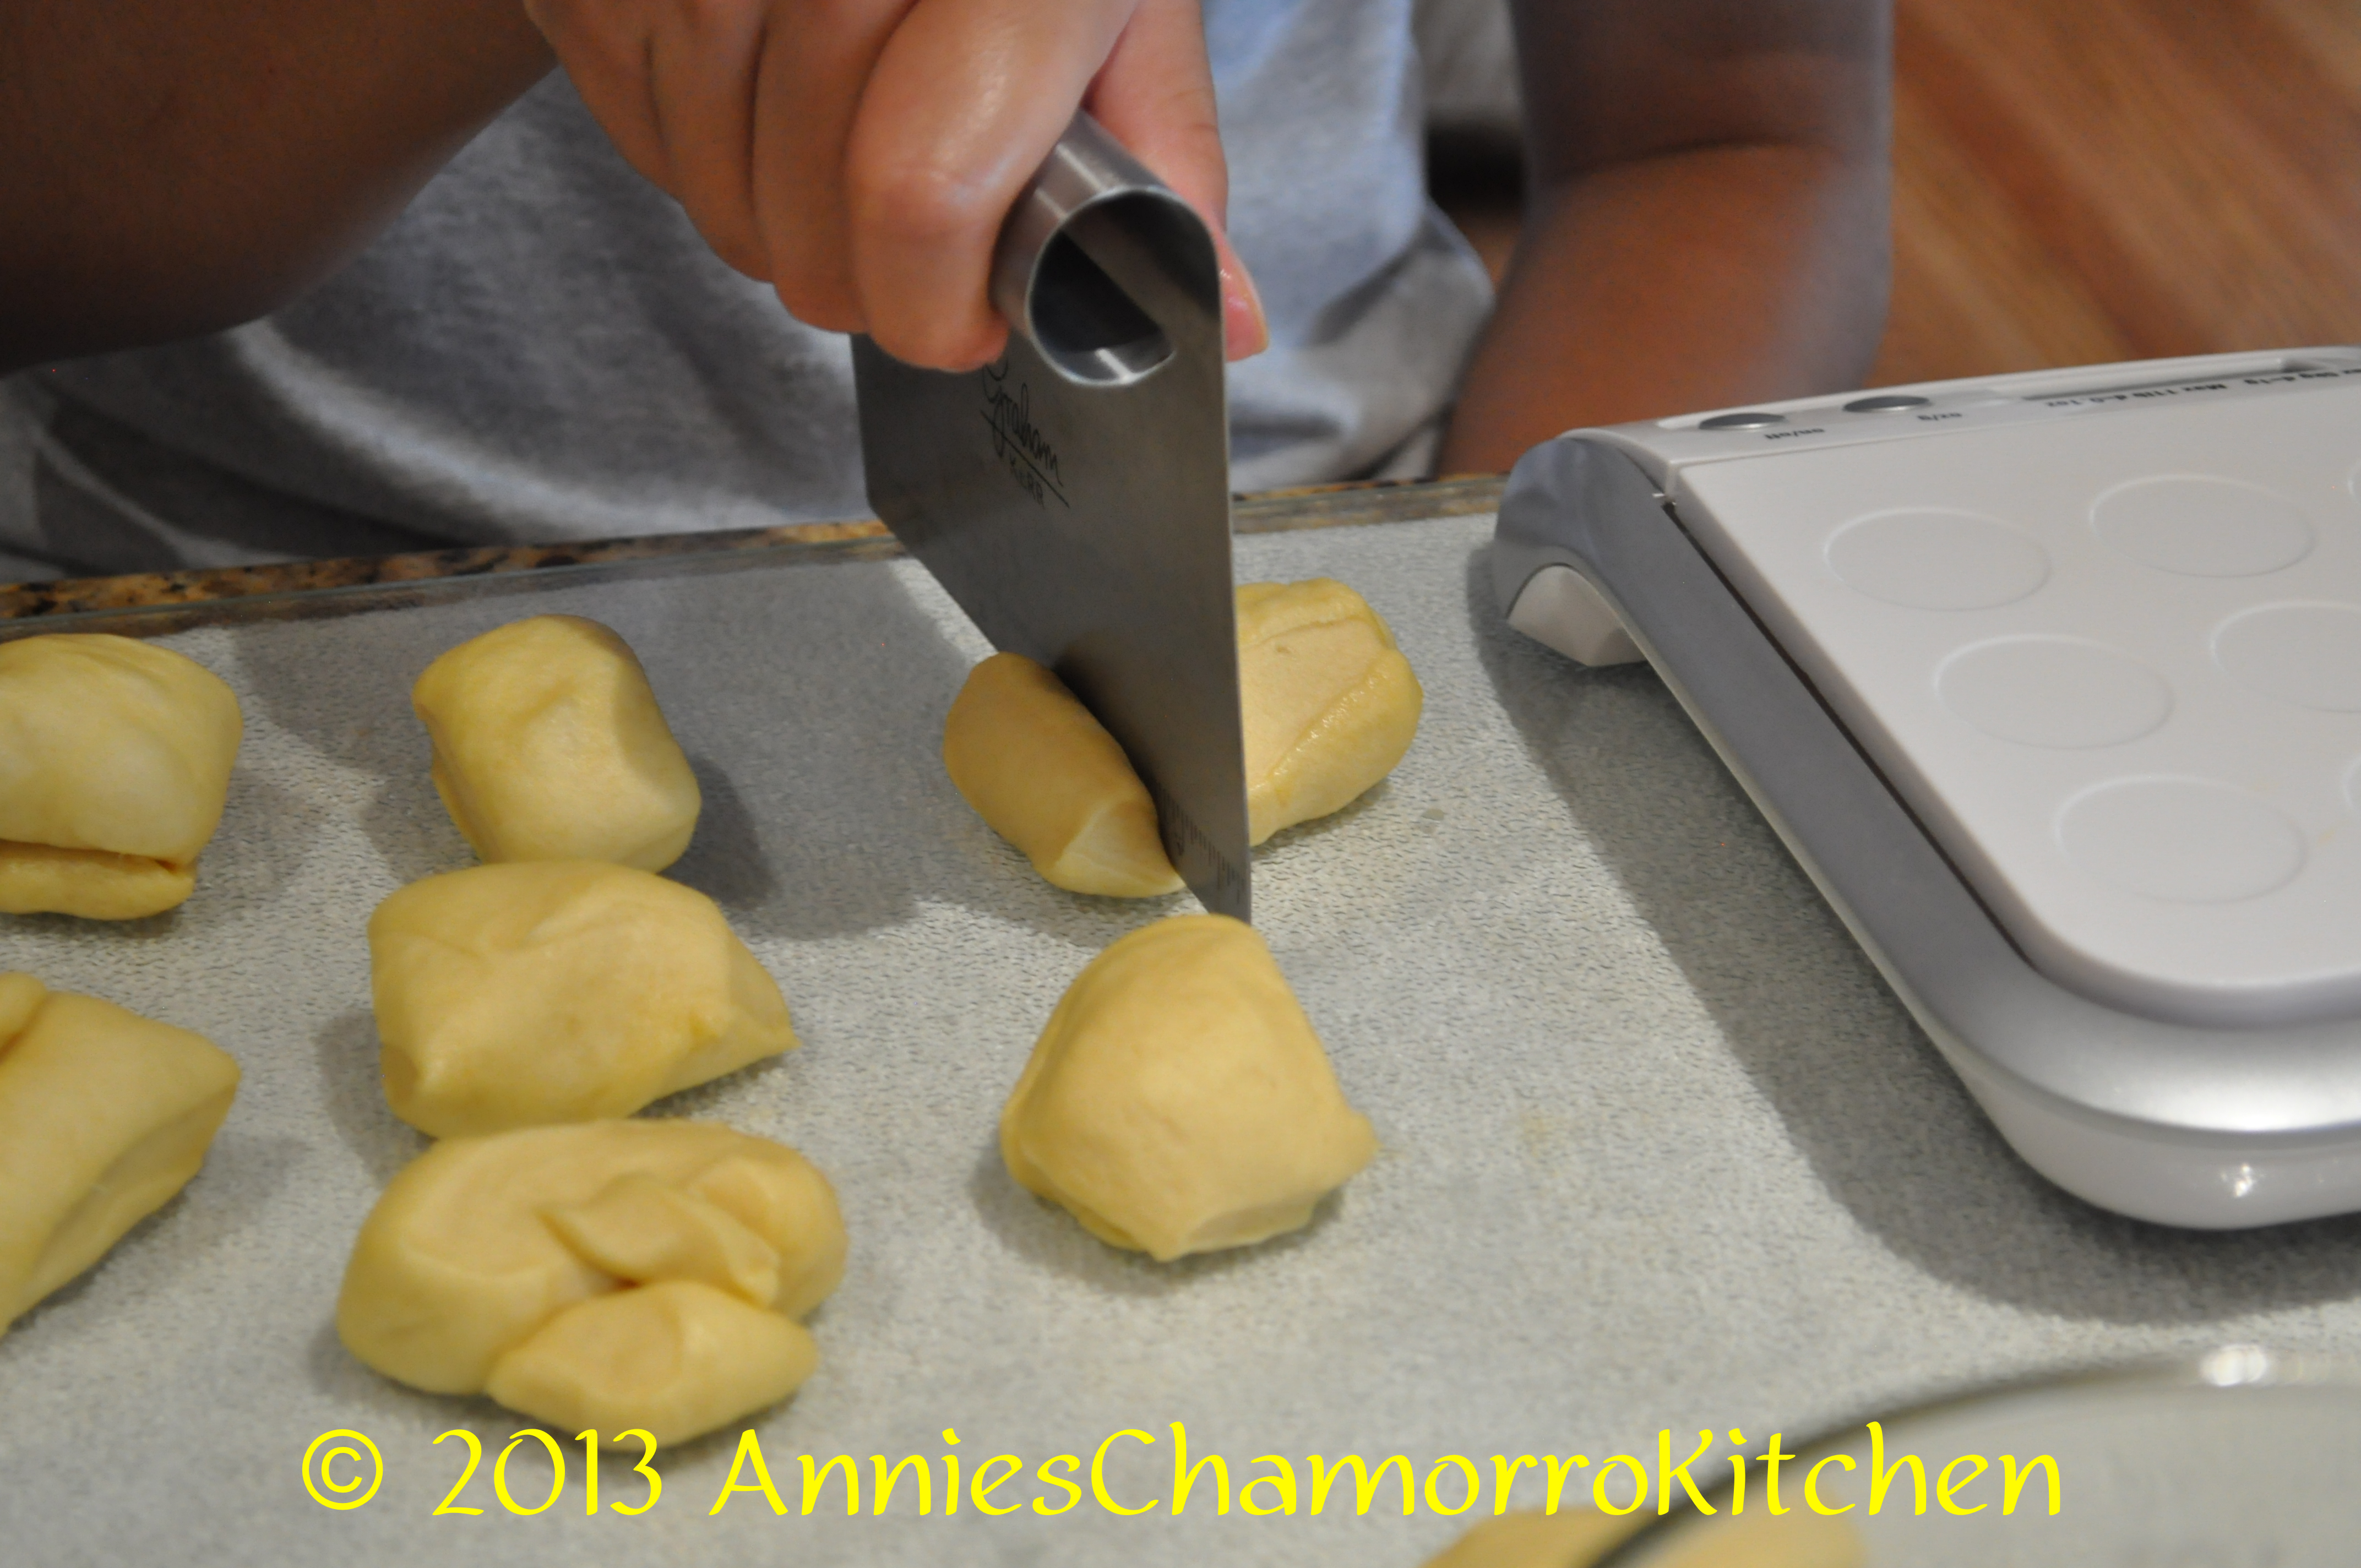
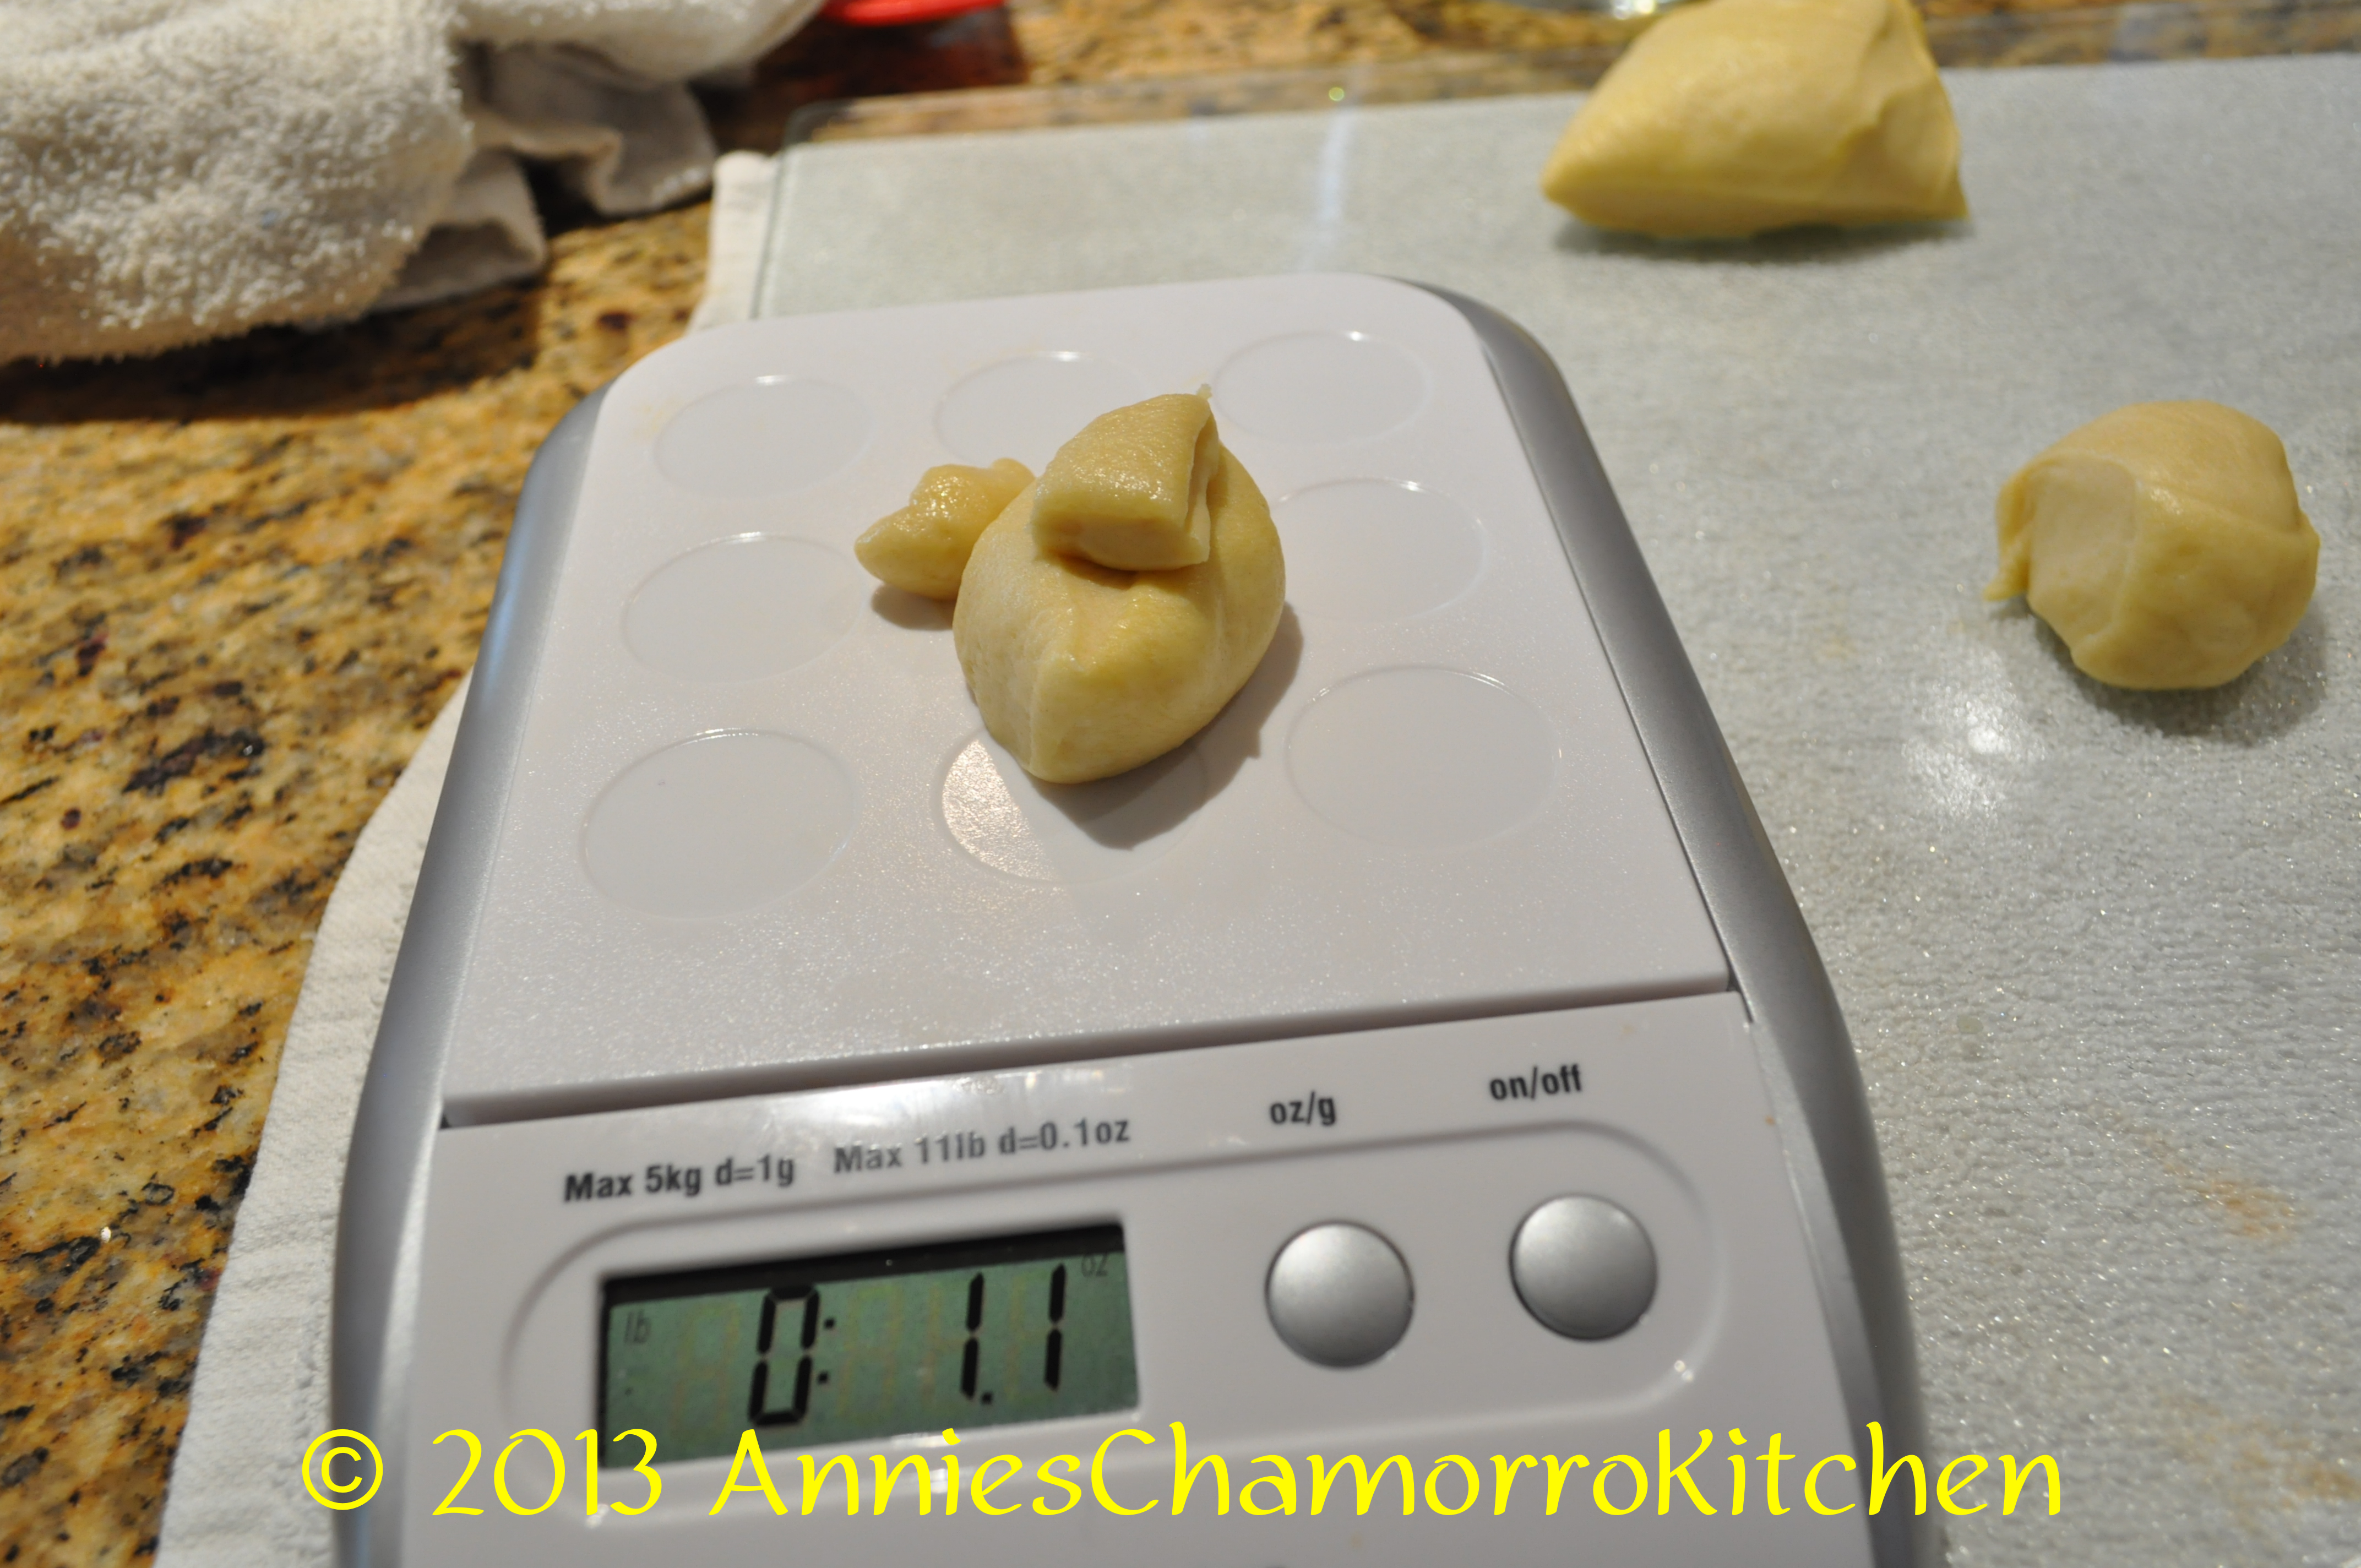
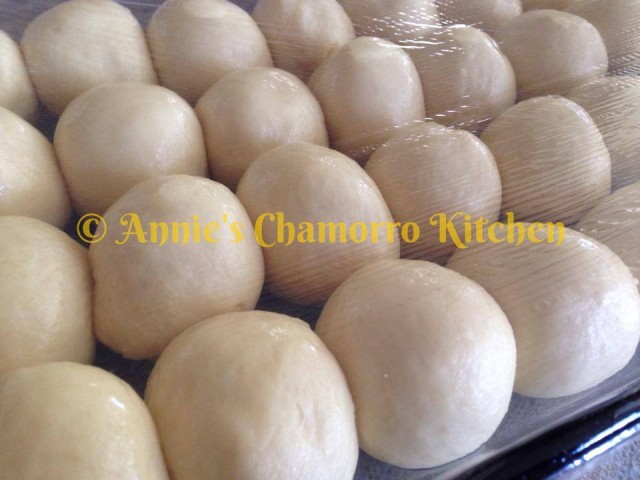
6.  After the dough has doubled, turn it out onto a clean surface and lightly punch it down.  Roll out 28 balls; place them in a buttered 9×13 pan, with 4 rows of 7 balls.  I find it best to use a kitchen scale to weigh exact proportions.  This way, each piece of dough is exactly the same size.  I first cut out 28 pieces of dough using a pastry/bench scraper; then I weighed each piece to 1.1 ounces (a few balls weighed 1.2 ounces).

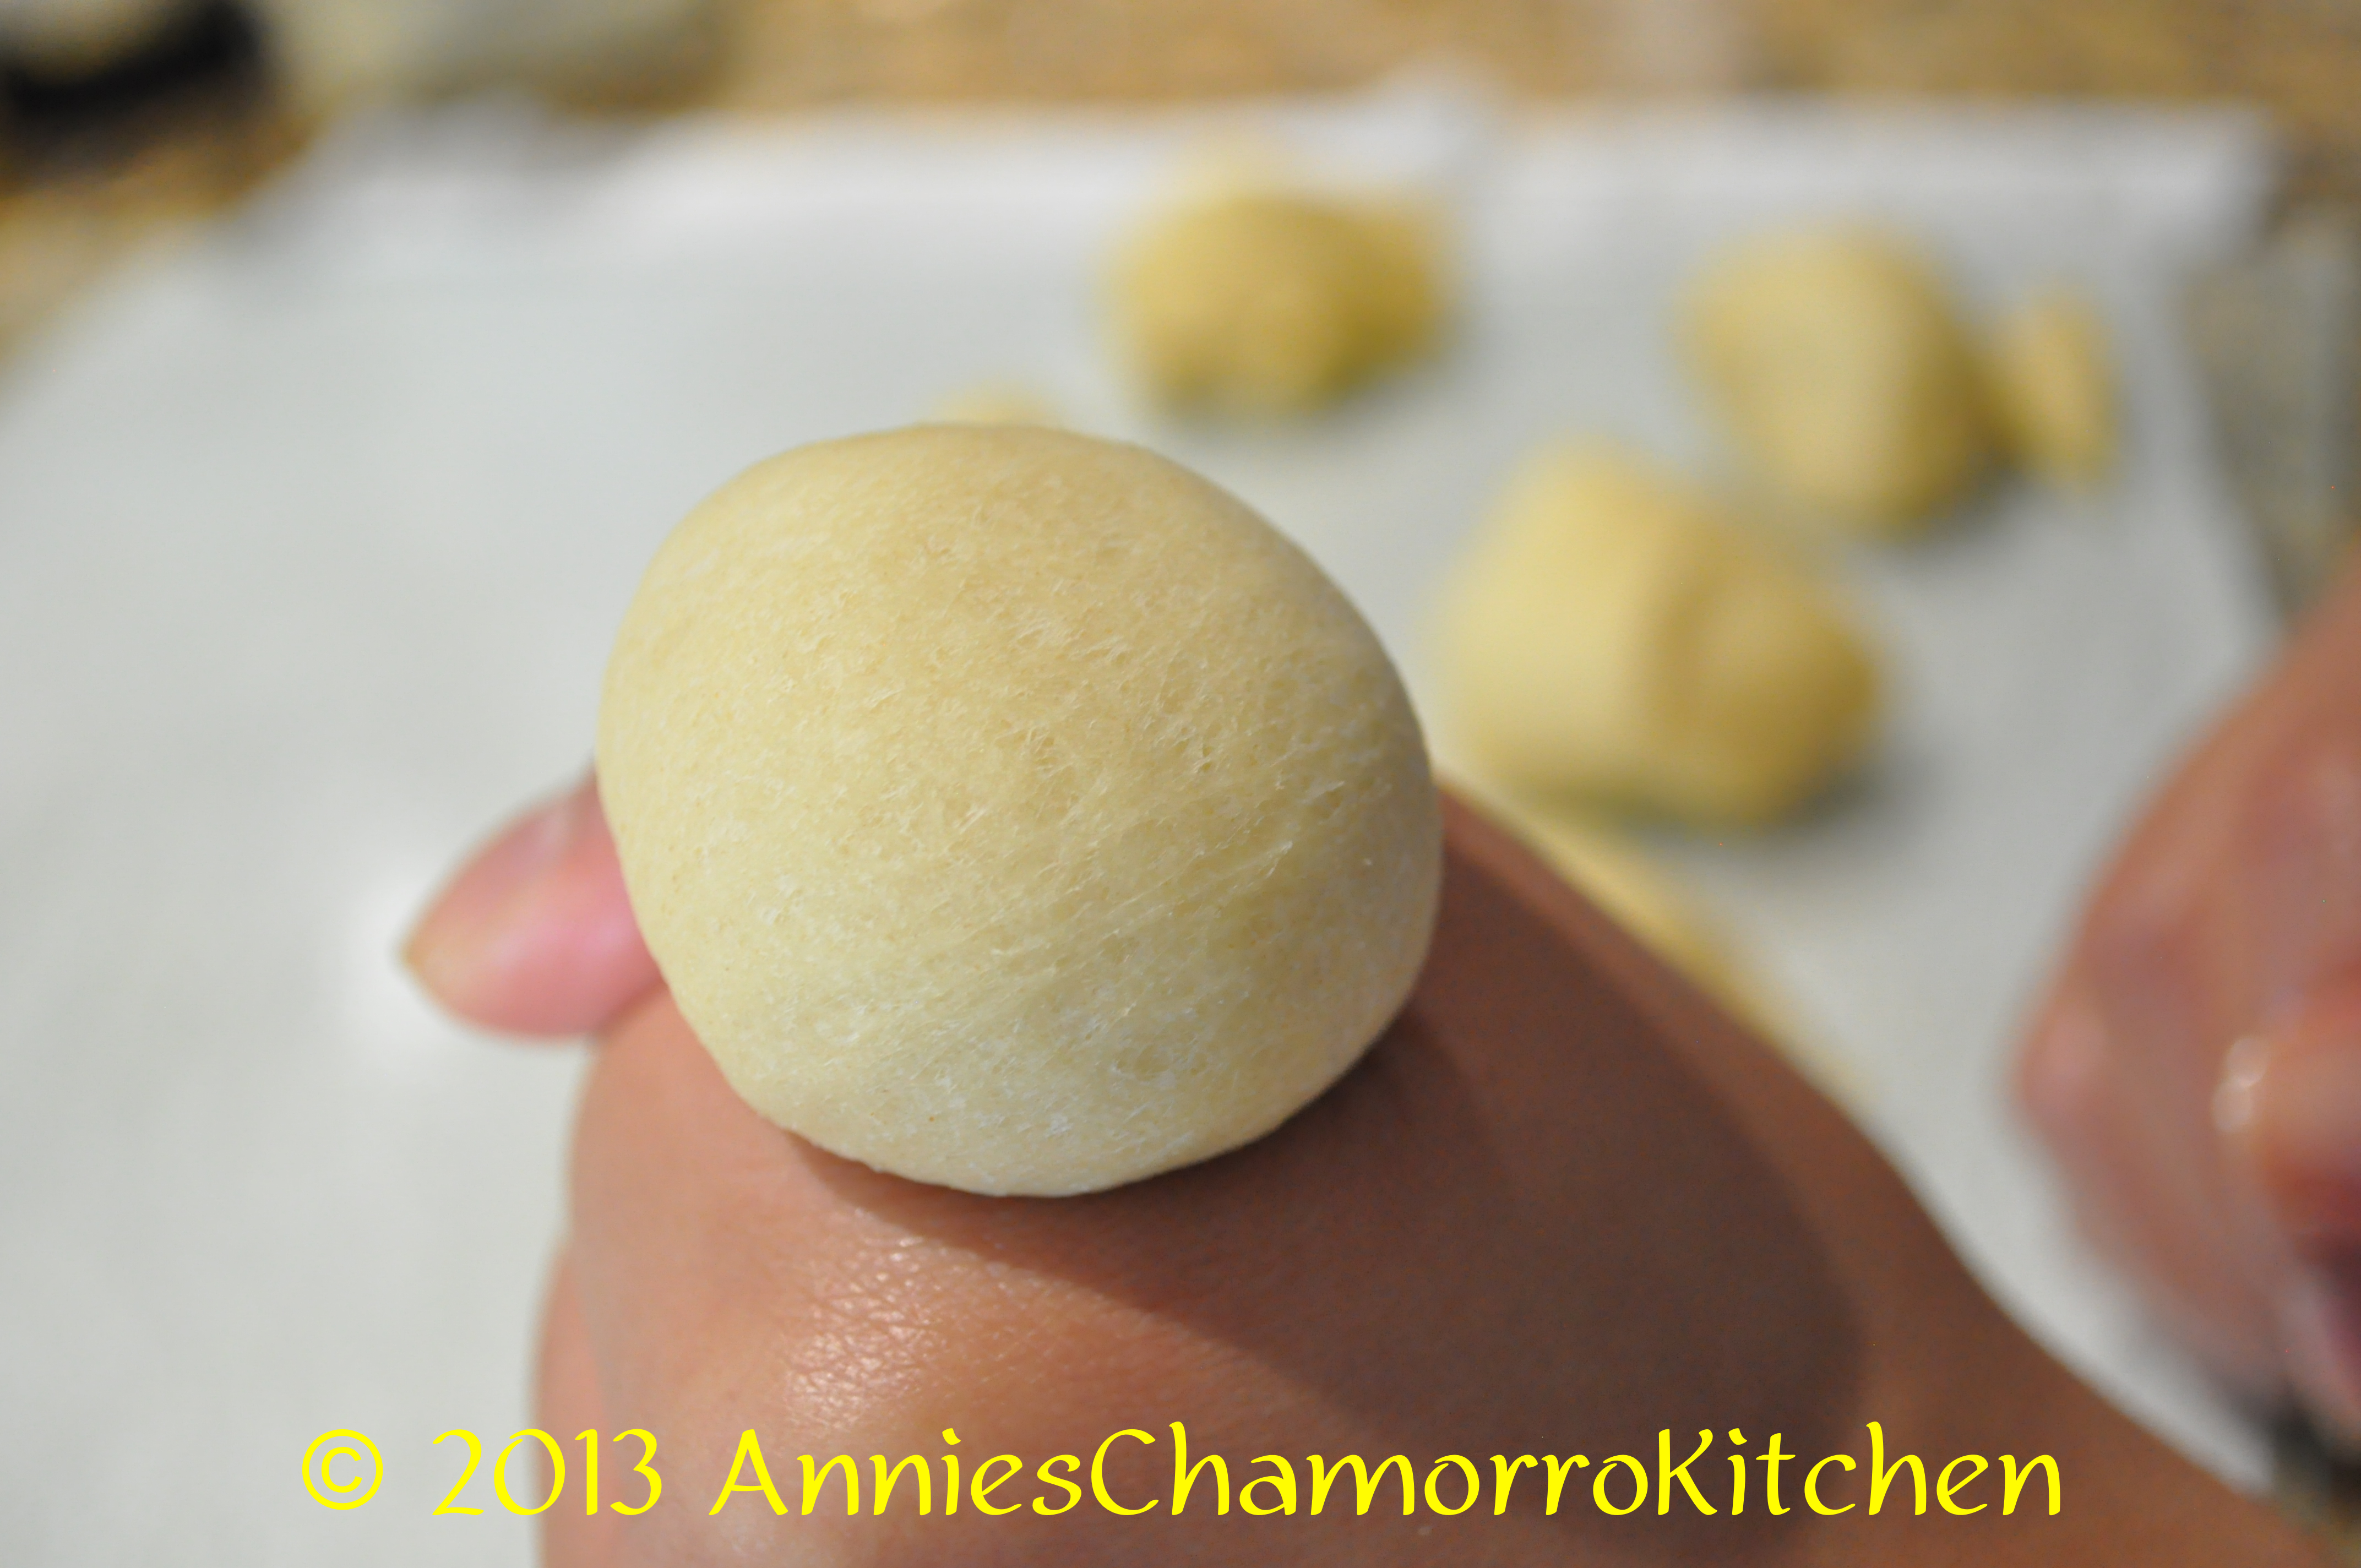
It’s easy to get nicely rounded balls of dough using my foolproof method.  First, slightly flatten out a piece of dough.  Next, form a small circle with your pointer and thumb (like you’re making the “ok” sign).  Place the piece of dough underneath the circle and push it through, all the while making your circle smaller and smaller.  The dough you push through will form a nicely rounded ball.  Pinch the bottom of the ball closed.

*I have a video clip showing how this is done, which I’ll upload soon.

7.  Spray the tops of the rolls with butter cooking spray then cover with plastic wrap.  Place the pan in a warm place to rise again, until almost doubled.  When the rolls have almost doubled, remove from the oven (if that’s where your dough is rising).

pan de leche

8.  Preheat the oven to 350 degrees.  Gently brush the tops of the rolls with melted butter. Bake for 15 minutes or until golden brown on top.  Brush with more melted butter after the rolls are done.

pan de leche 2

Enjoy!

Honey Wheat Bread

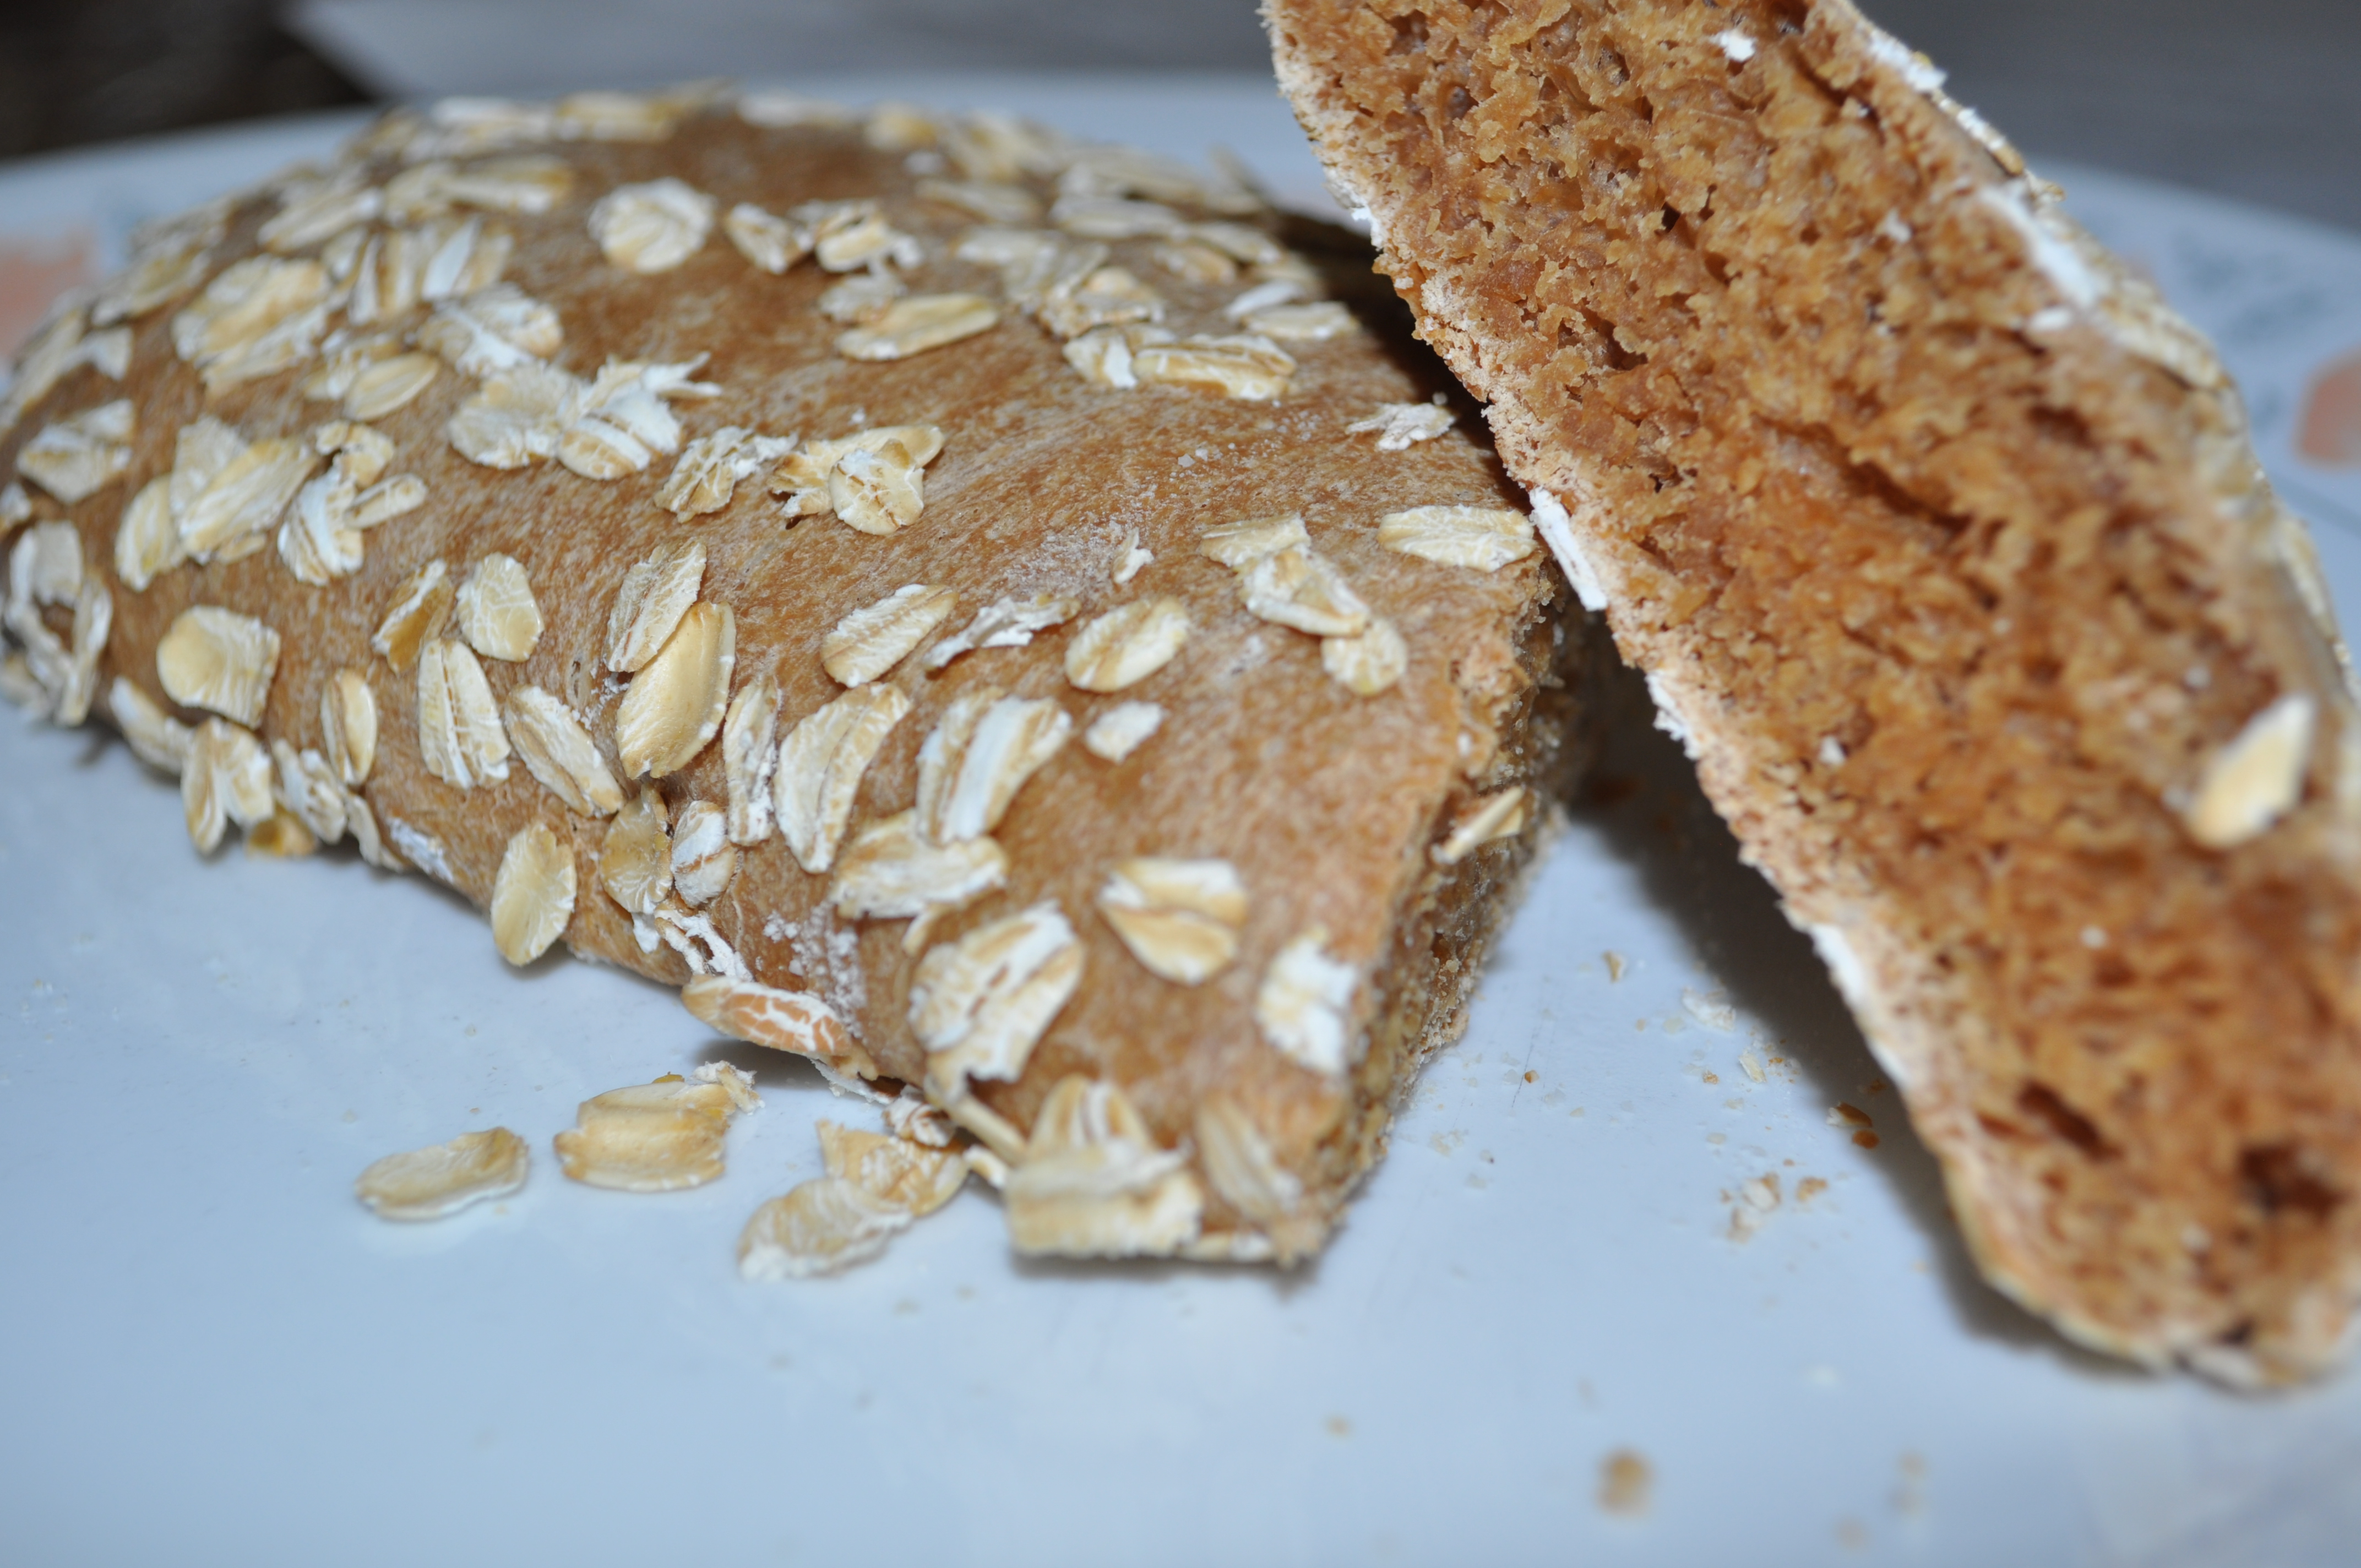
One of my favorite restaurants serves this soft, sweet, and oh-so-delicious brown bread that has a crunchy oat coating on the outside.  You know what restaurant I’m talking about — it’s probably your favorite place too!

This is my recreation of that delightfully sweet brown bread that is heavenly when slathered with melted butter!  Are you drooling yet?

Click on the photo below for my full recipe.

Honey Wheat Bread

Recent Entries »