Archive for Åggon (Starch)

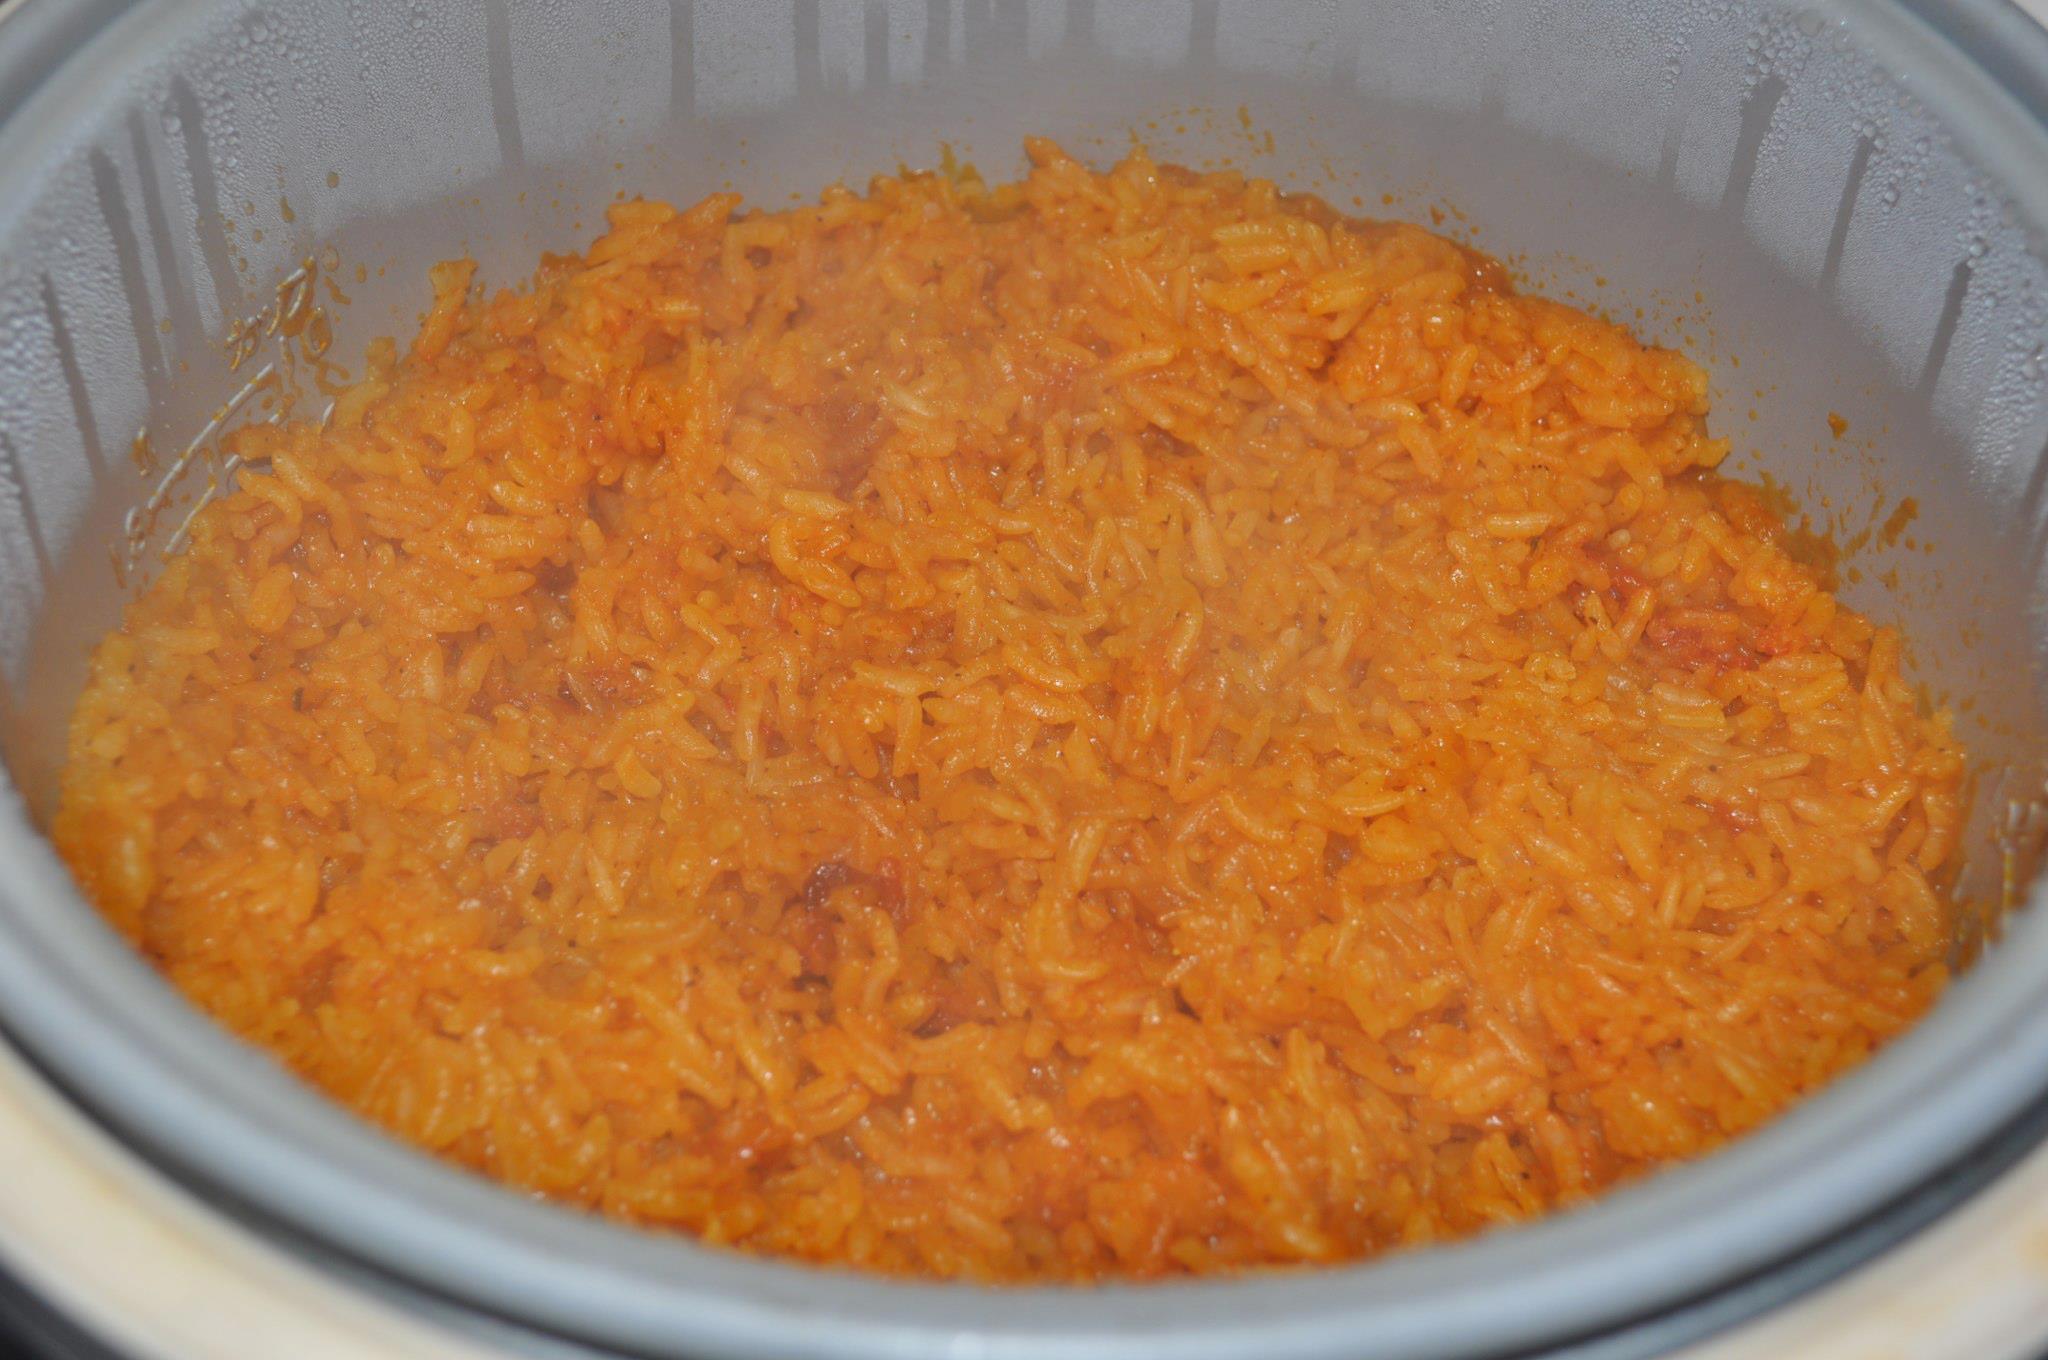
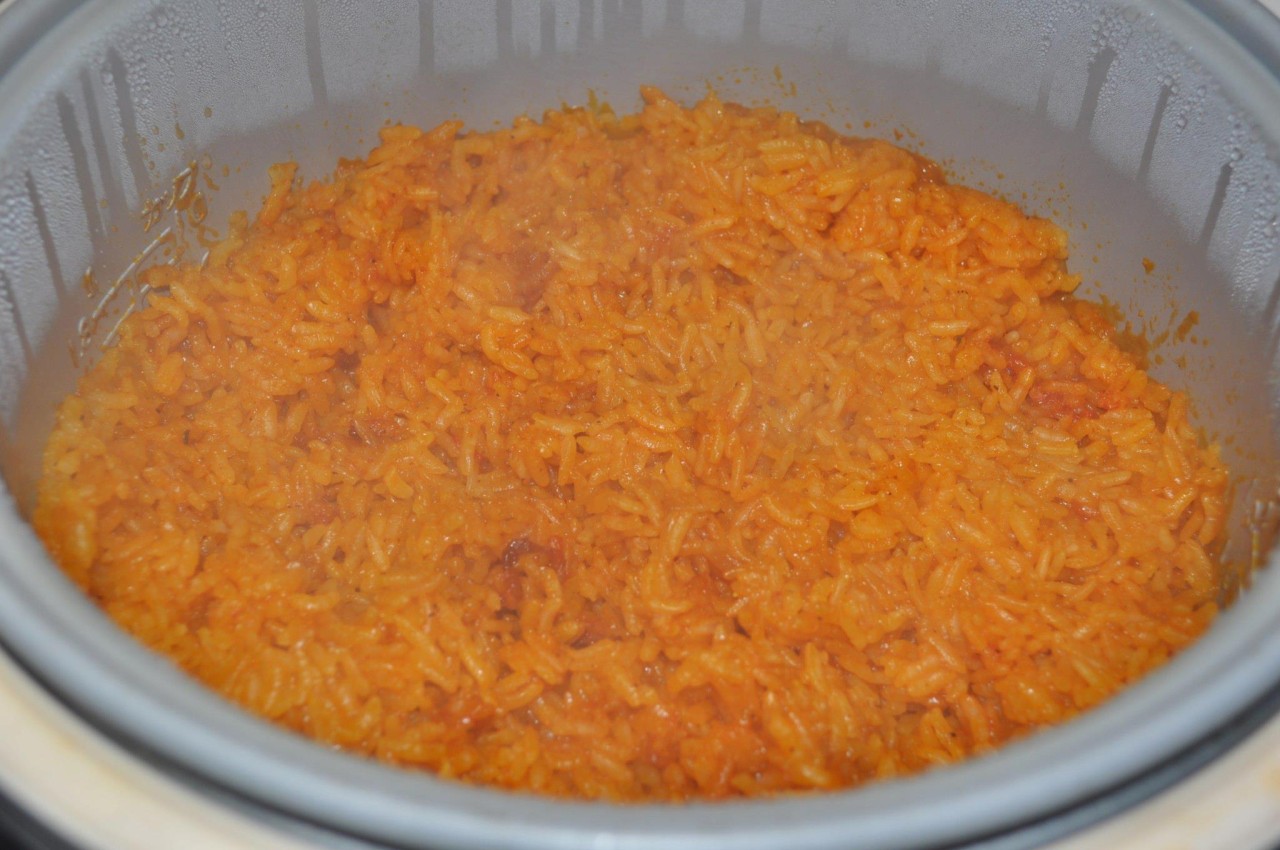
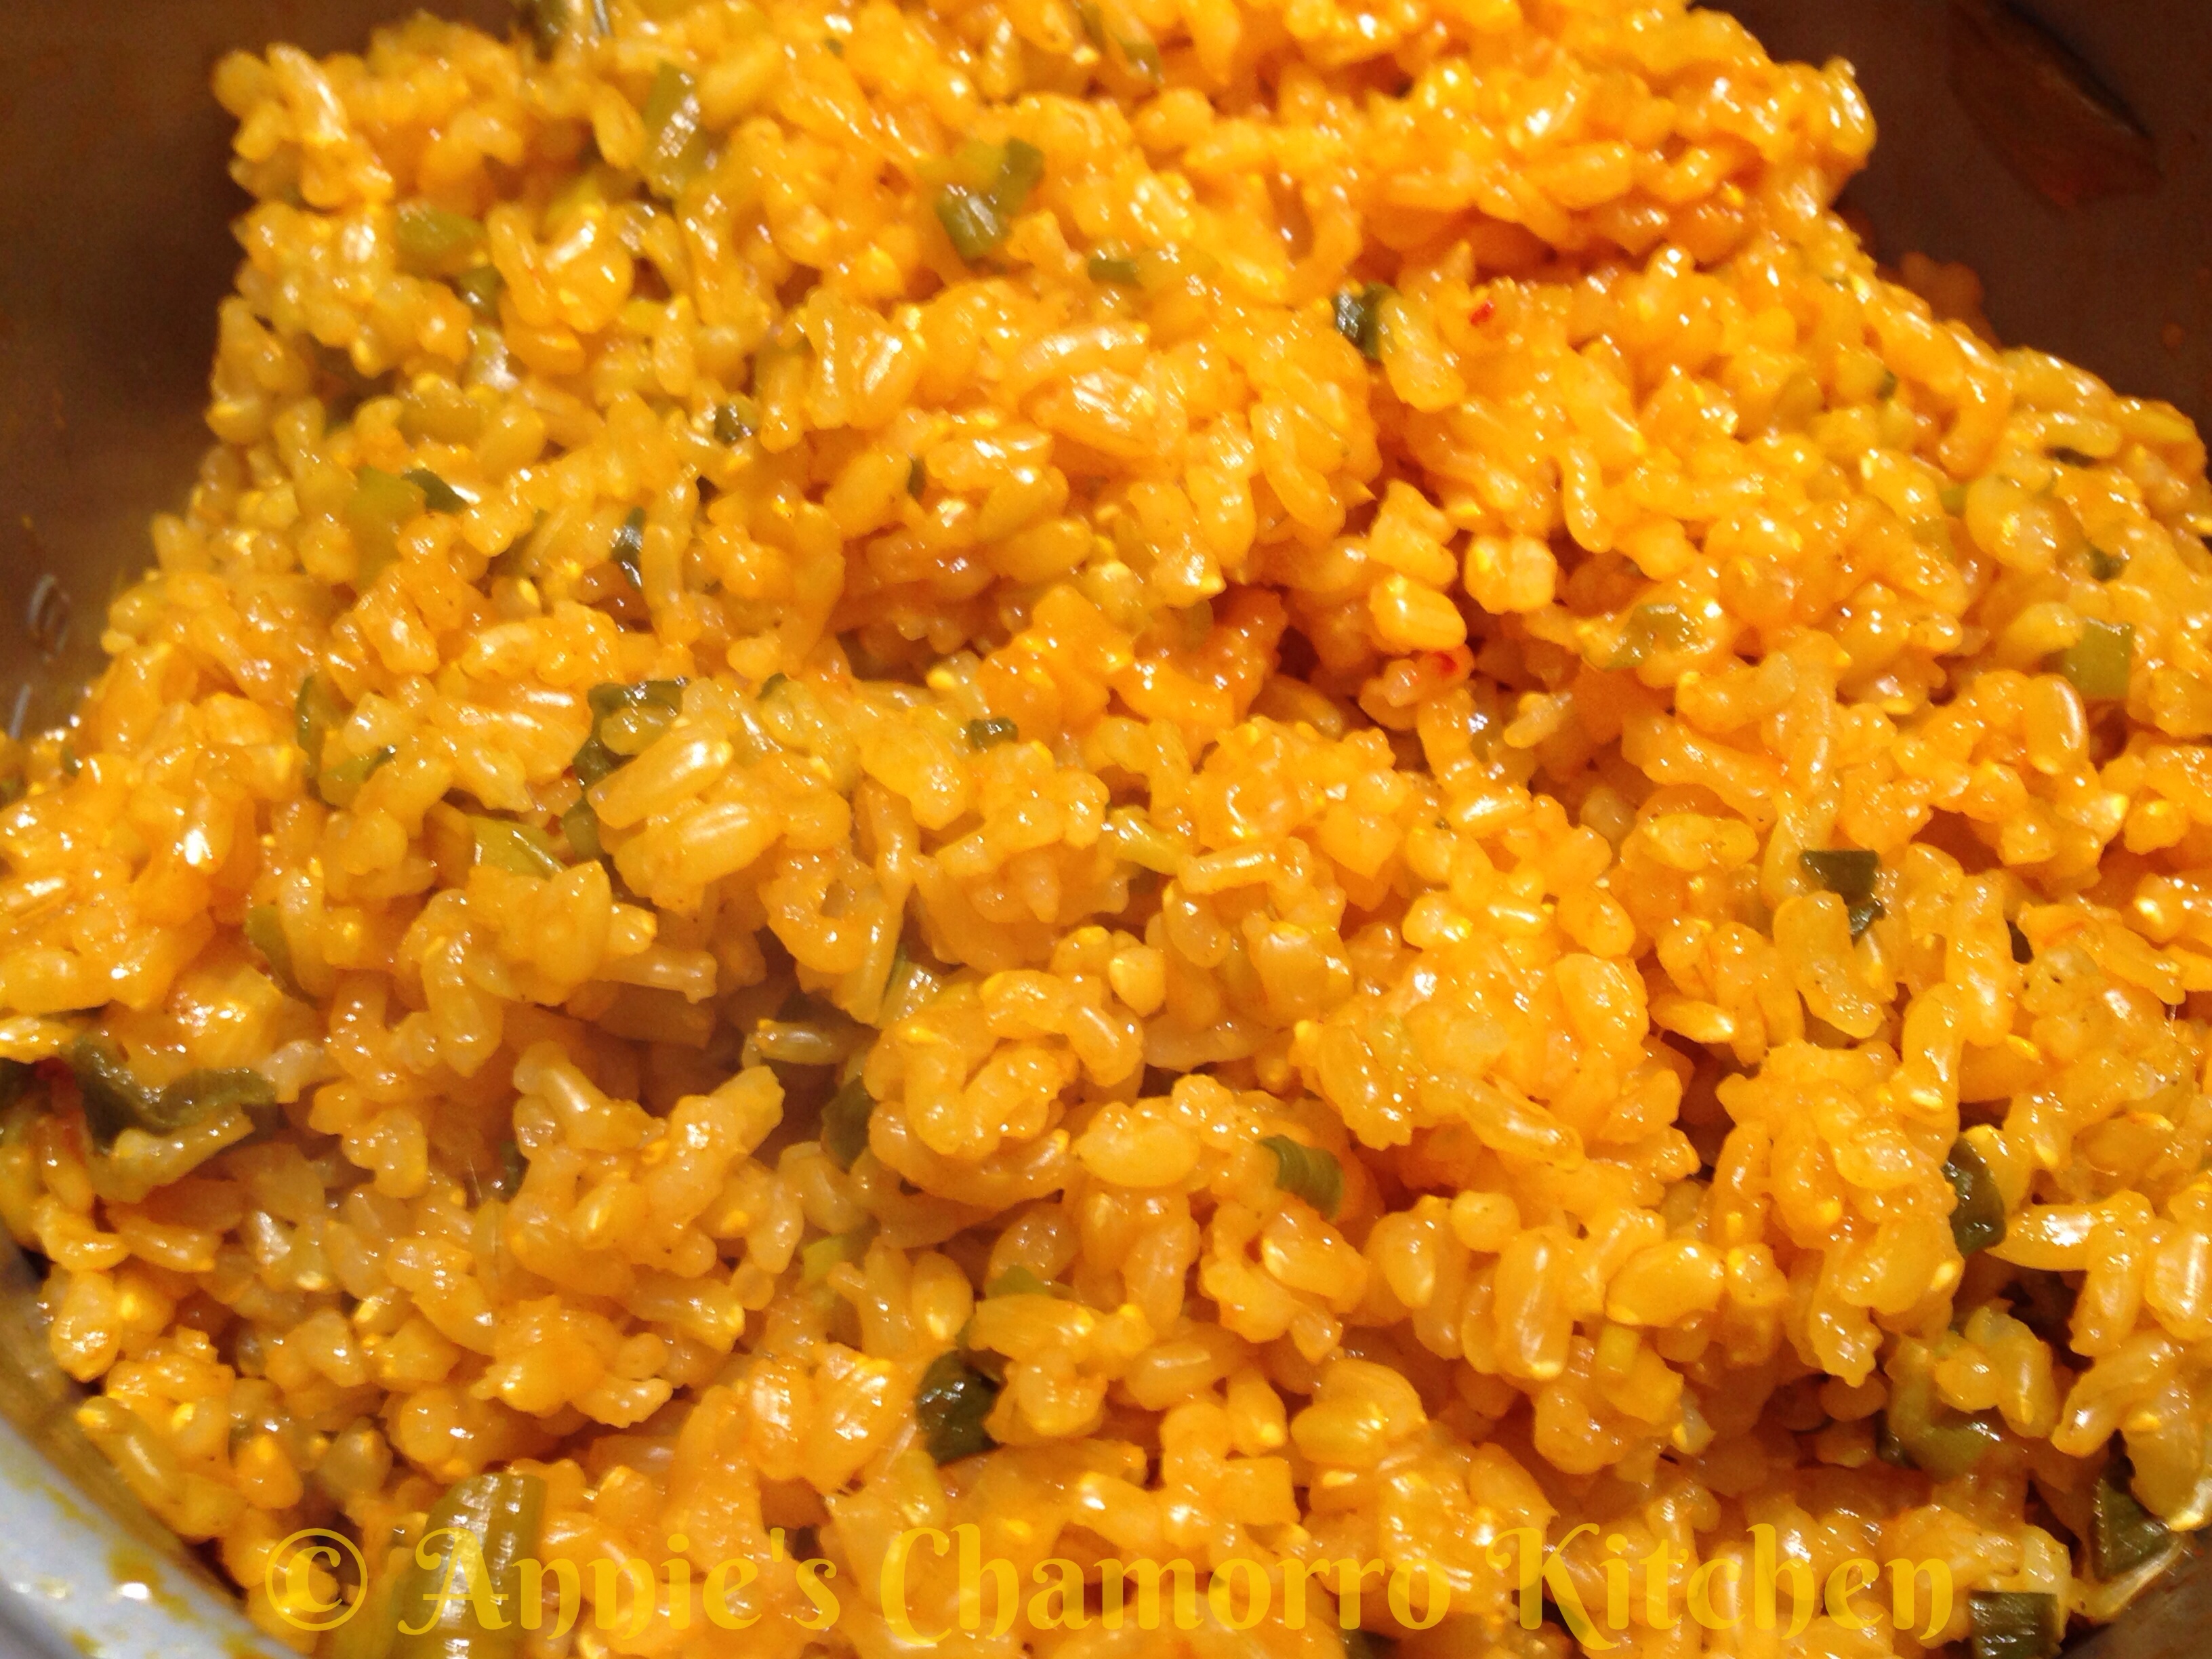
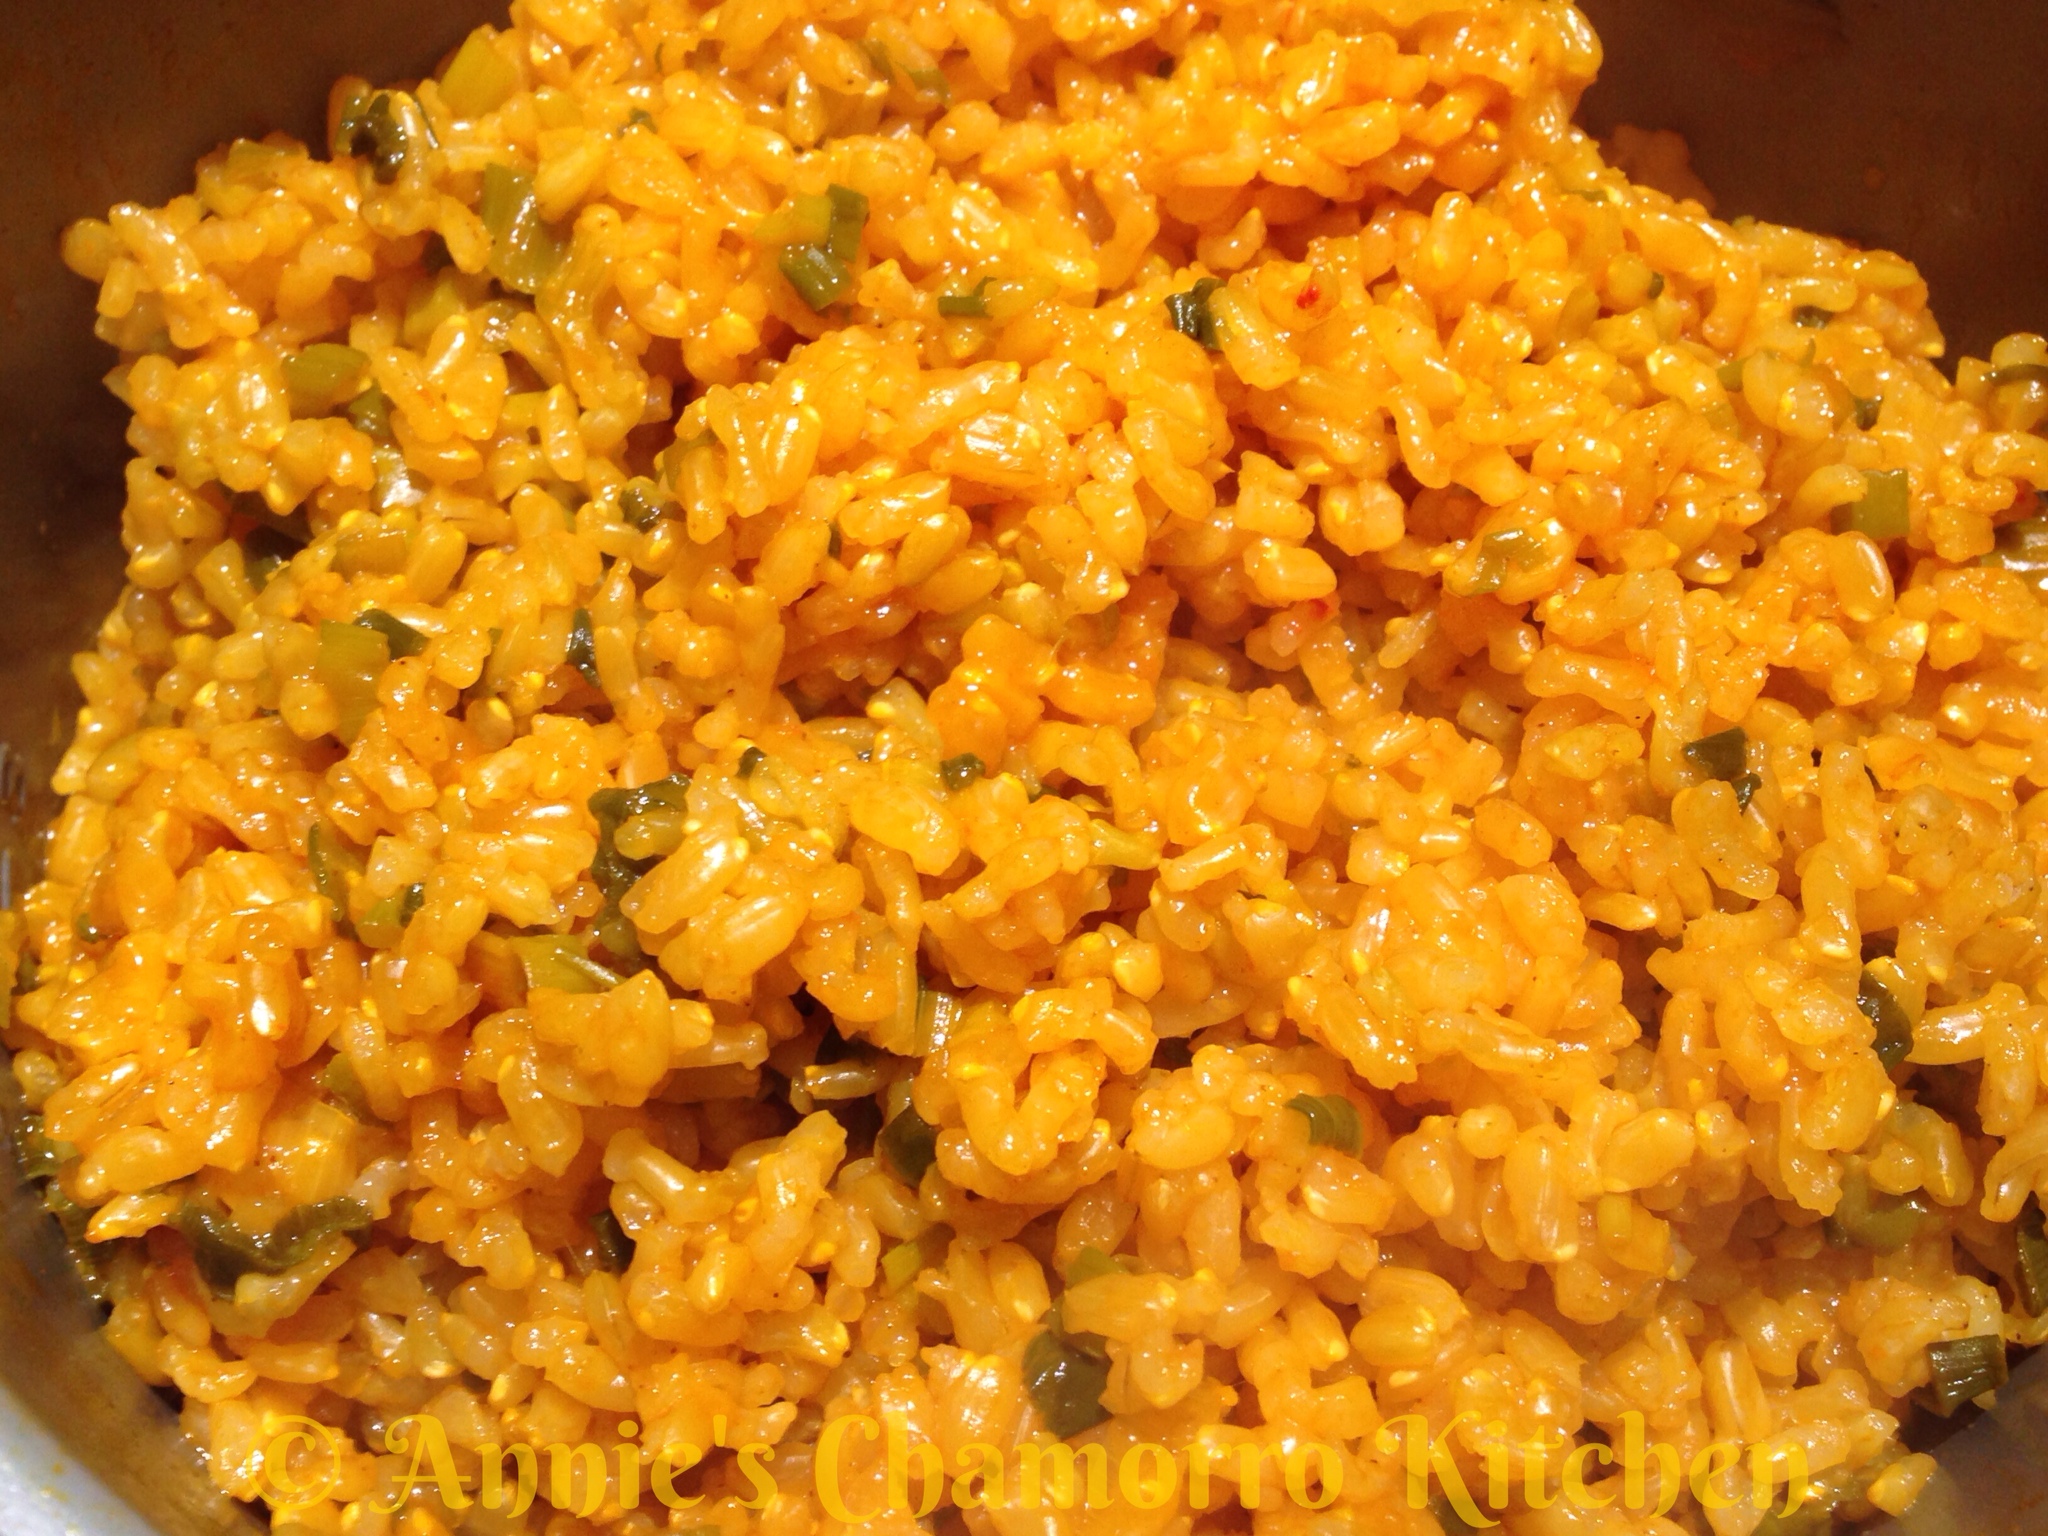
Red Rice made with Brown Rice

My family is making a concerted effort to develop healthier eating habits. We’re making small changes in the foods we eat as well as how we prepare them.

One change we definitely like is that we’ve made the switch from white to brown rice. I admit, it took some getting used to, but we actually like it. Of course, I have to season the brown rice whenever I cook it.

I wanted to see if the classic Chamorro Red Rice would taste good using brown rice instead of the usual white medium or long grain rice we know and love.

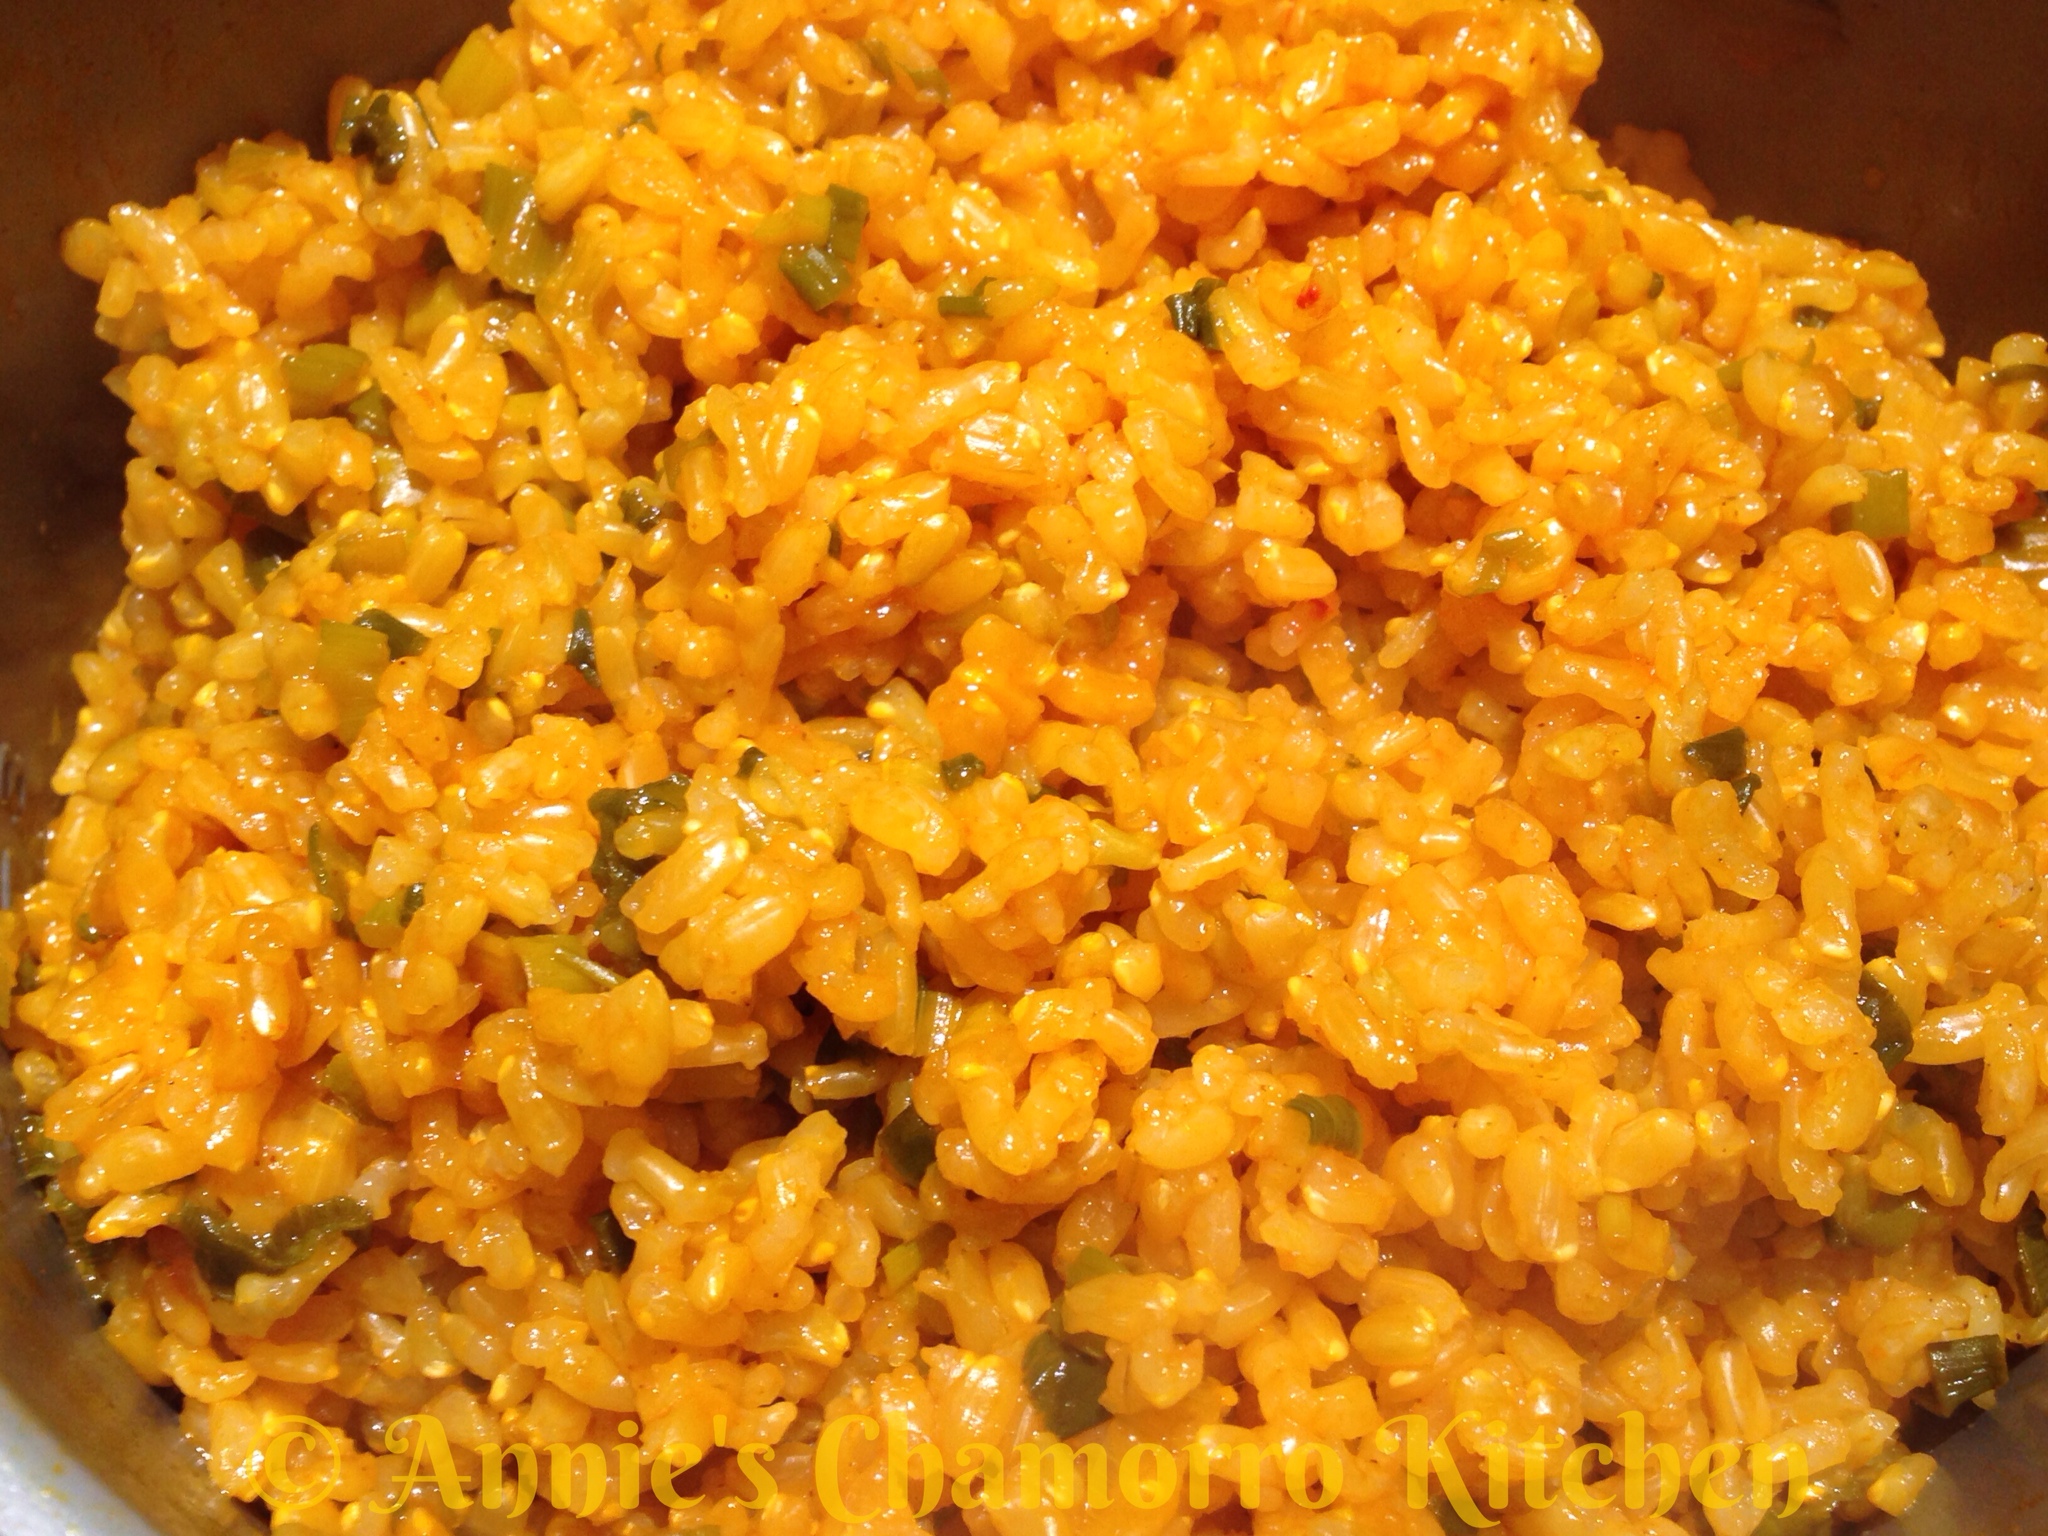
The result? Delicious! Granted, you can definitely tell you’re eating brown rice (it’s firmer and a bit nuttier than white), but delicious nonetheless.

Give my recipe a try. I think you’ll like it. 🙂

Red Rice made with Brown Rice

aka Red Brown Rice 🙂

Ingredients:

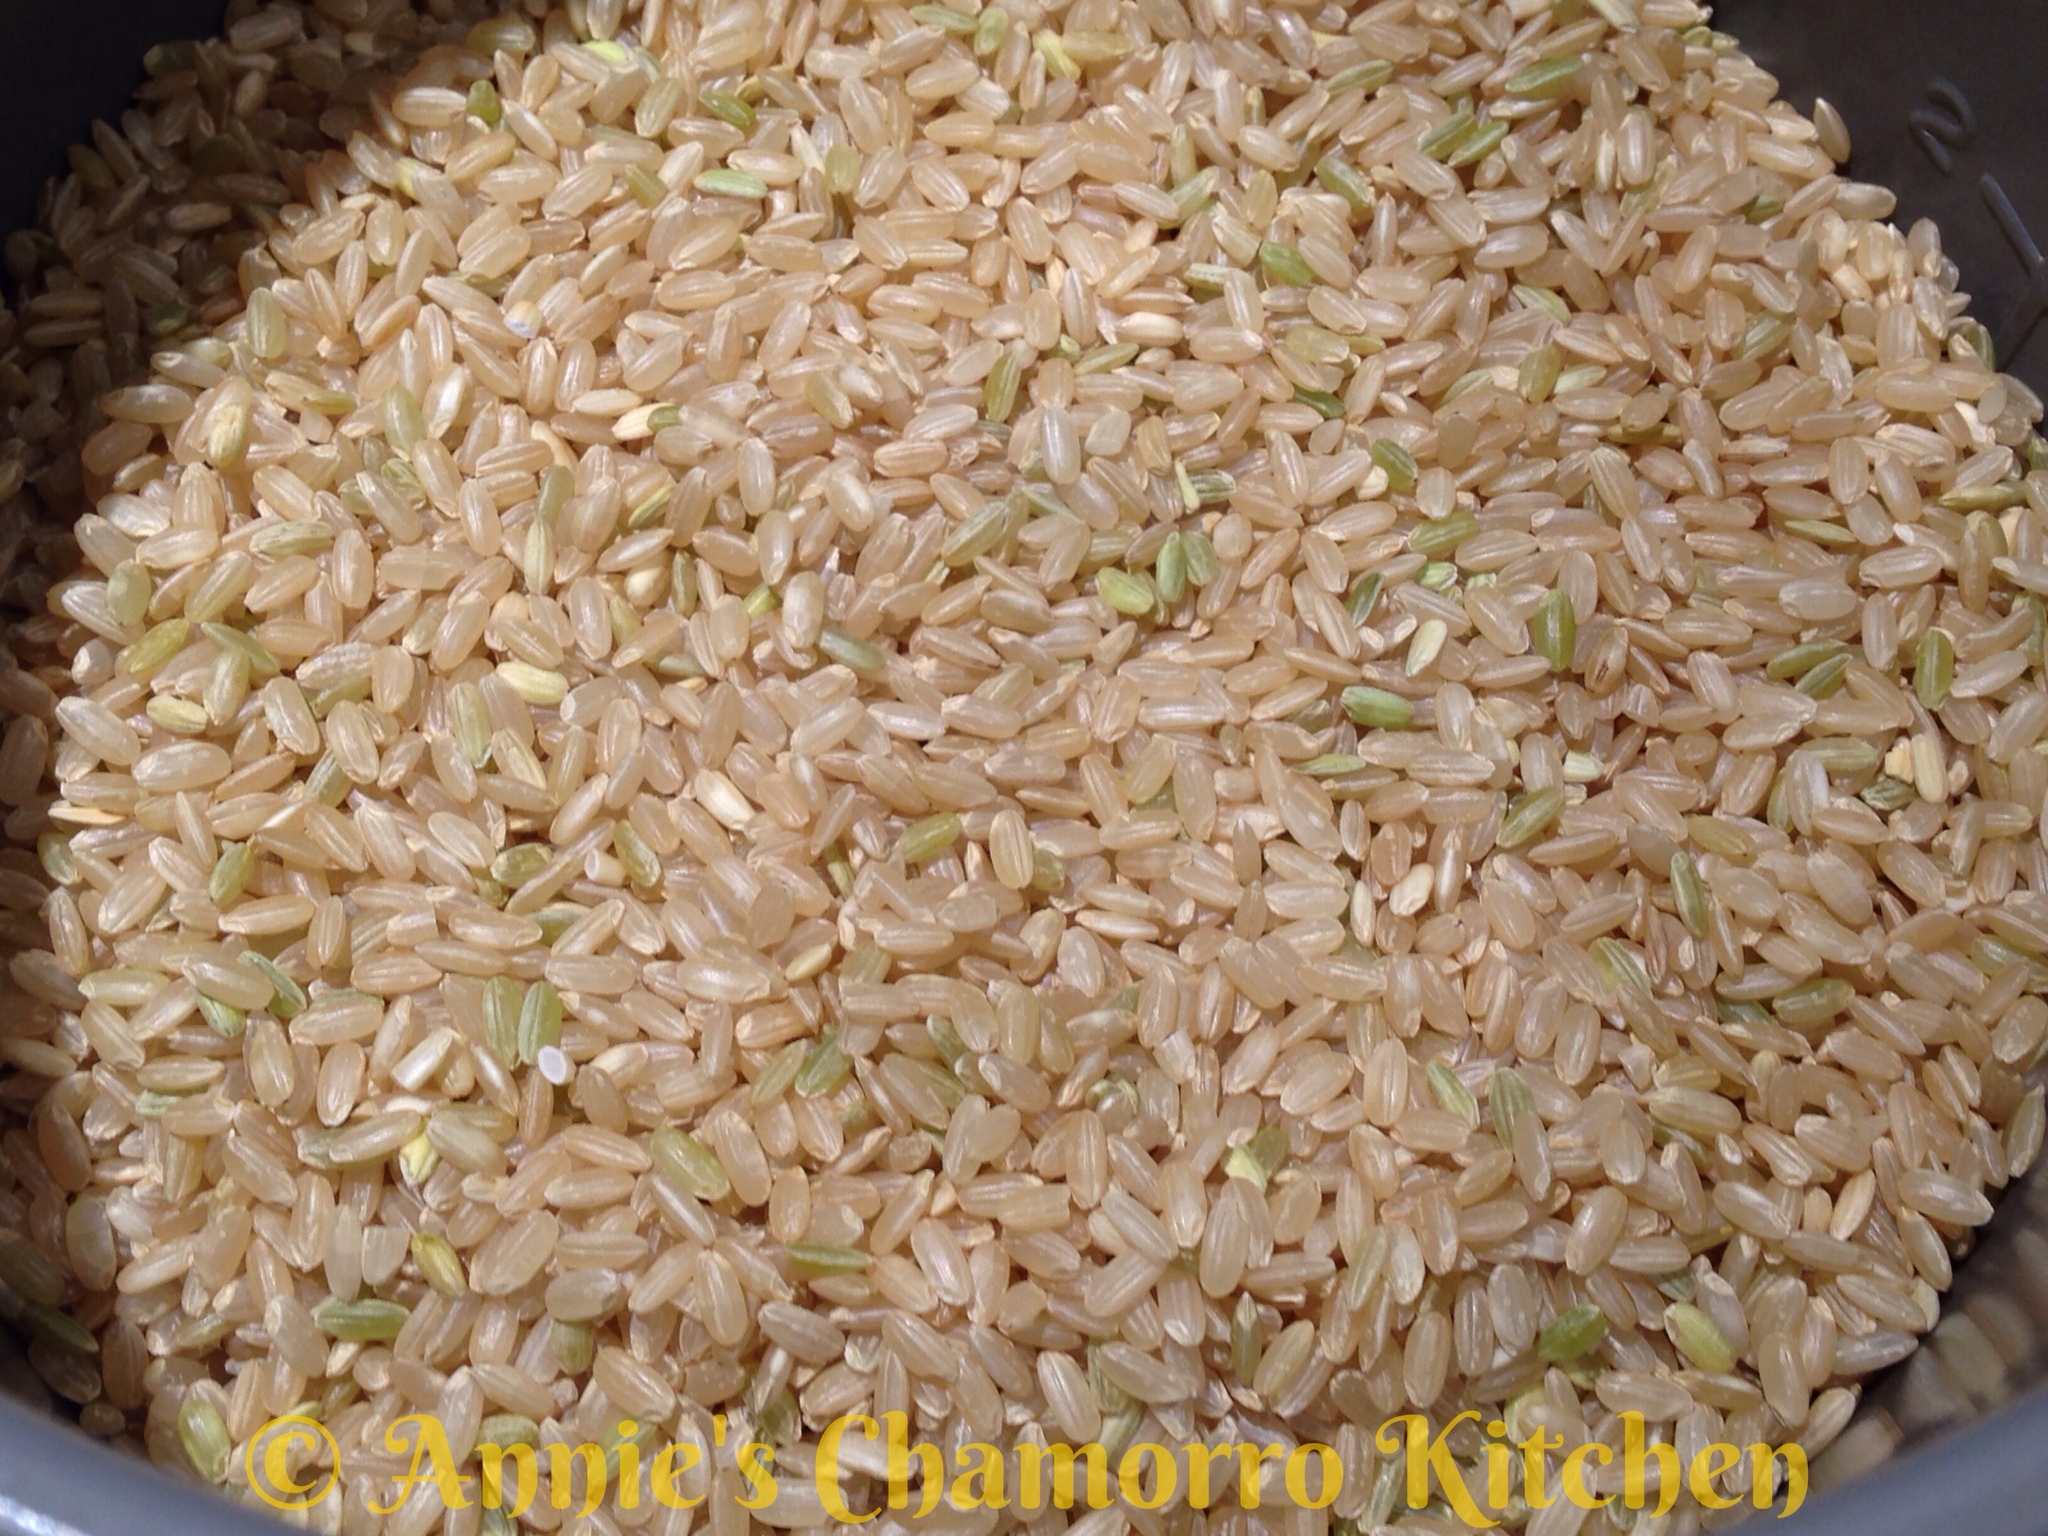
  • 3 cups brown rice (use your rice cooker cup)
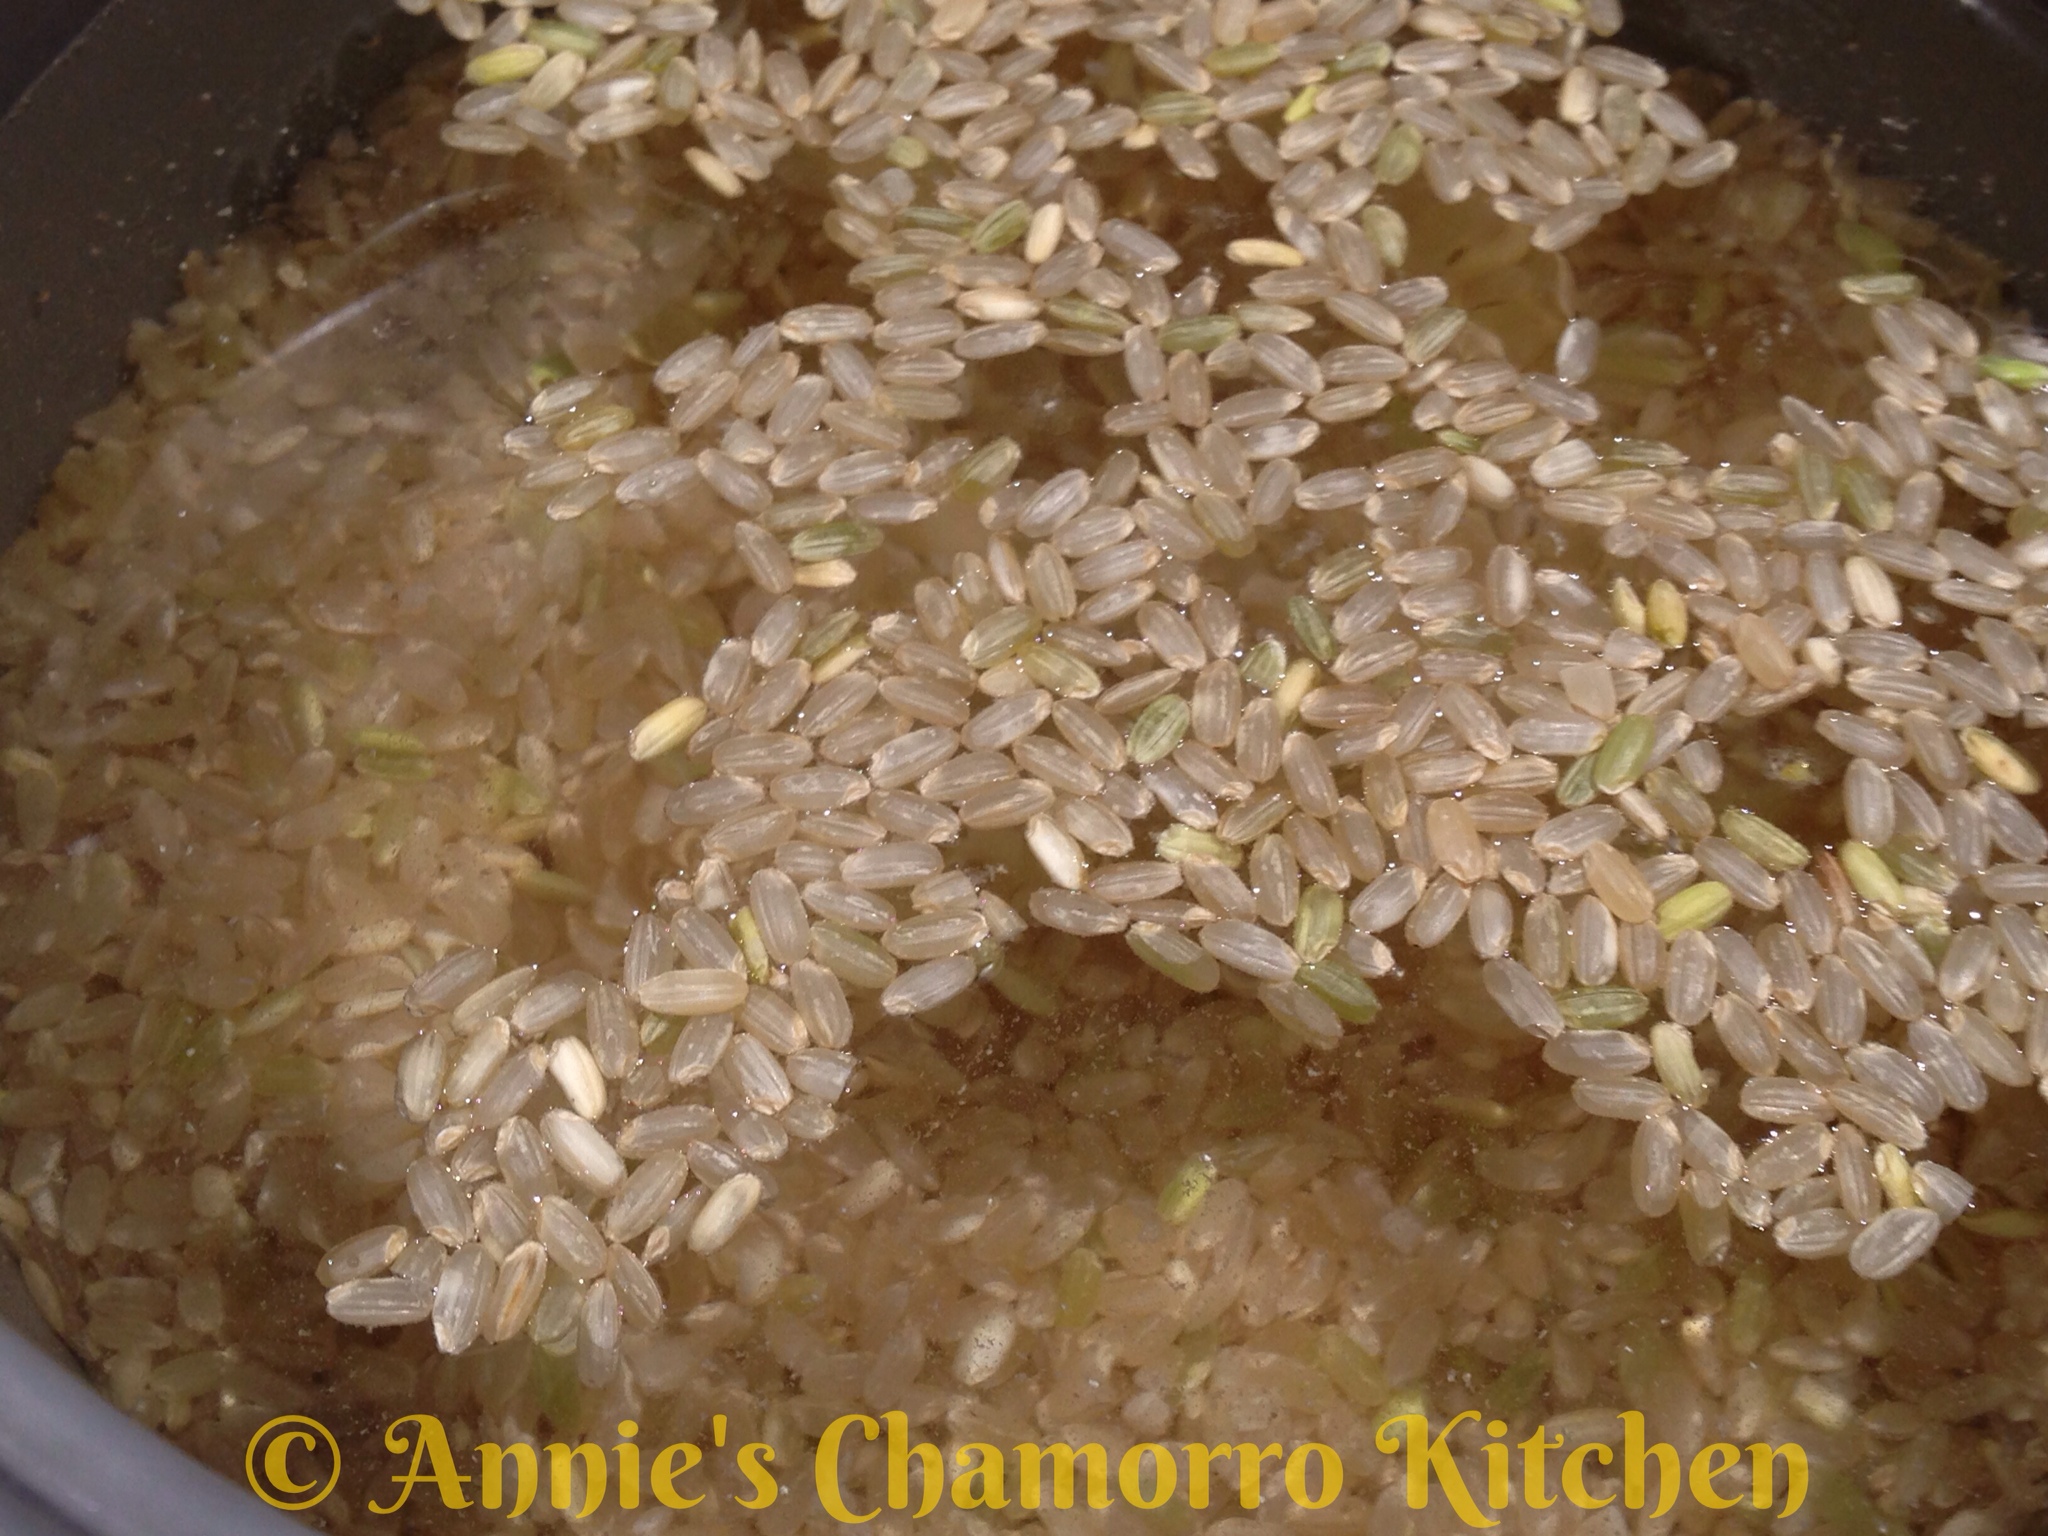
  • 6 1/3 cups water (use your rice cooker cup) (*See note below)
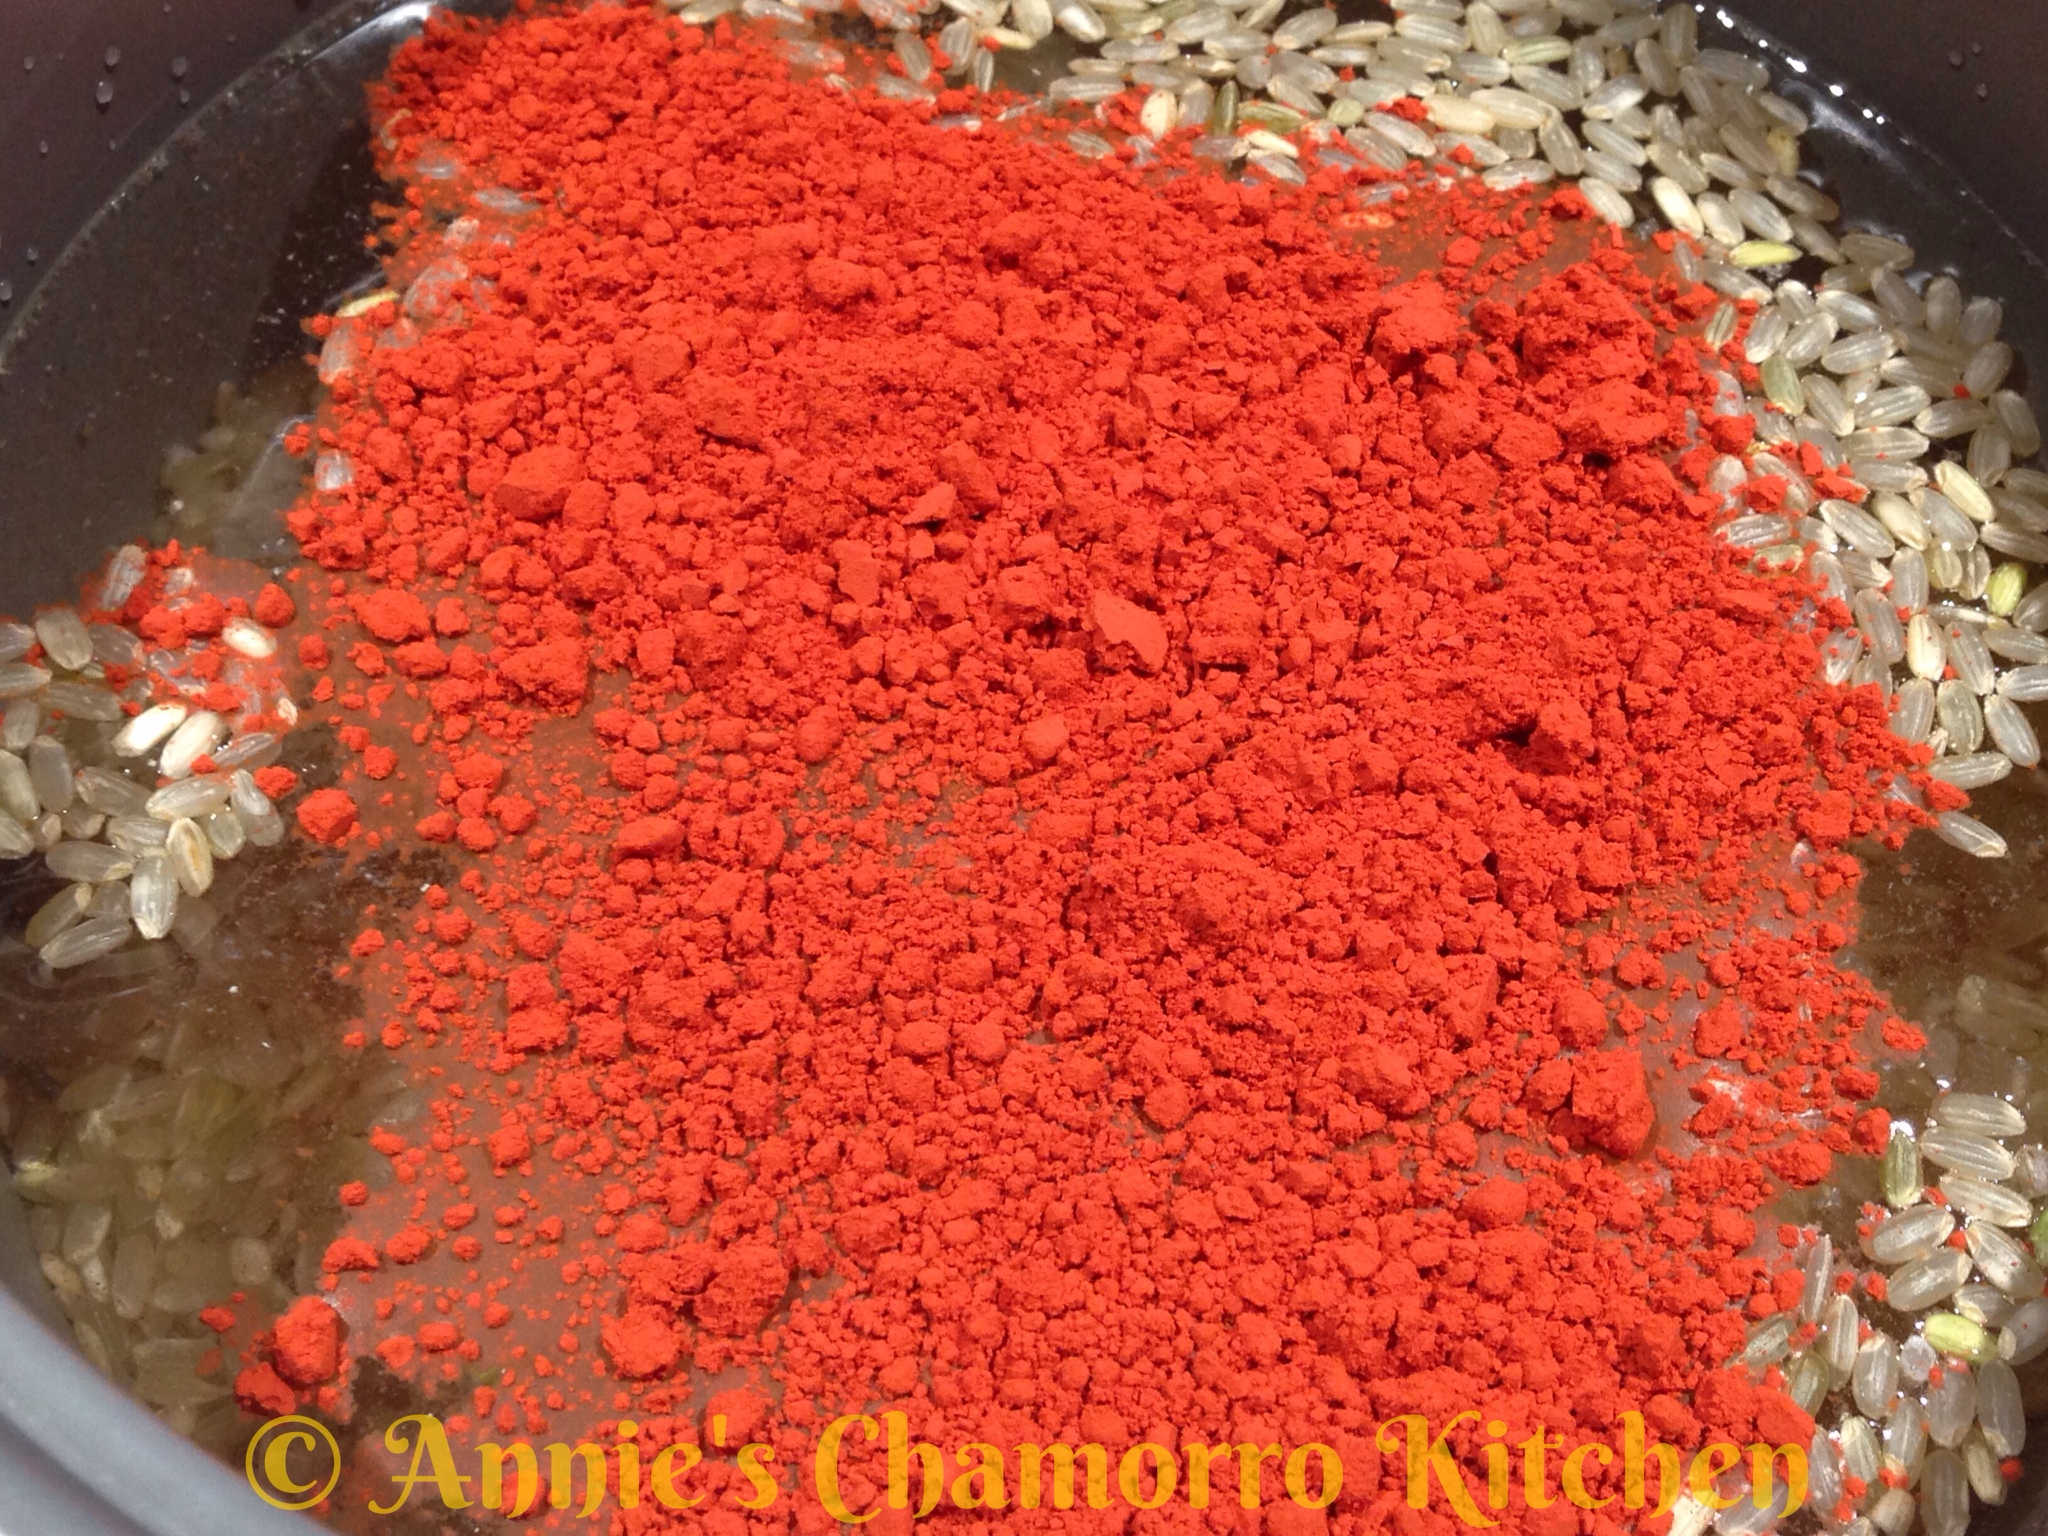
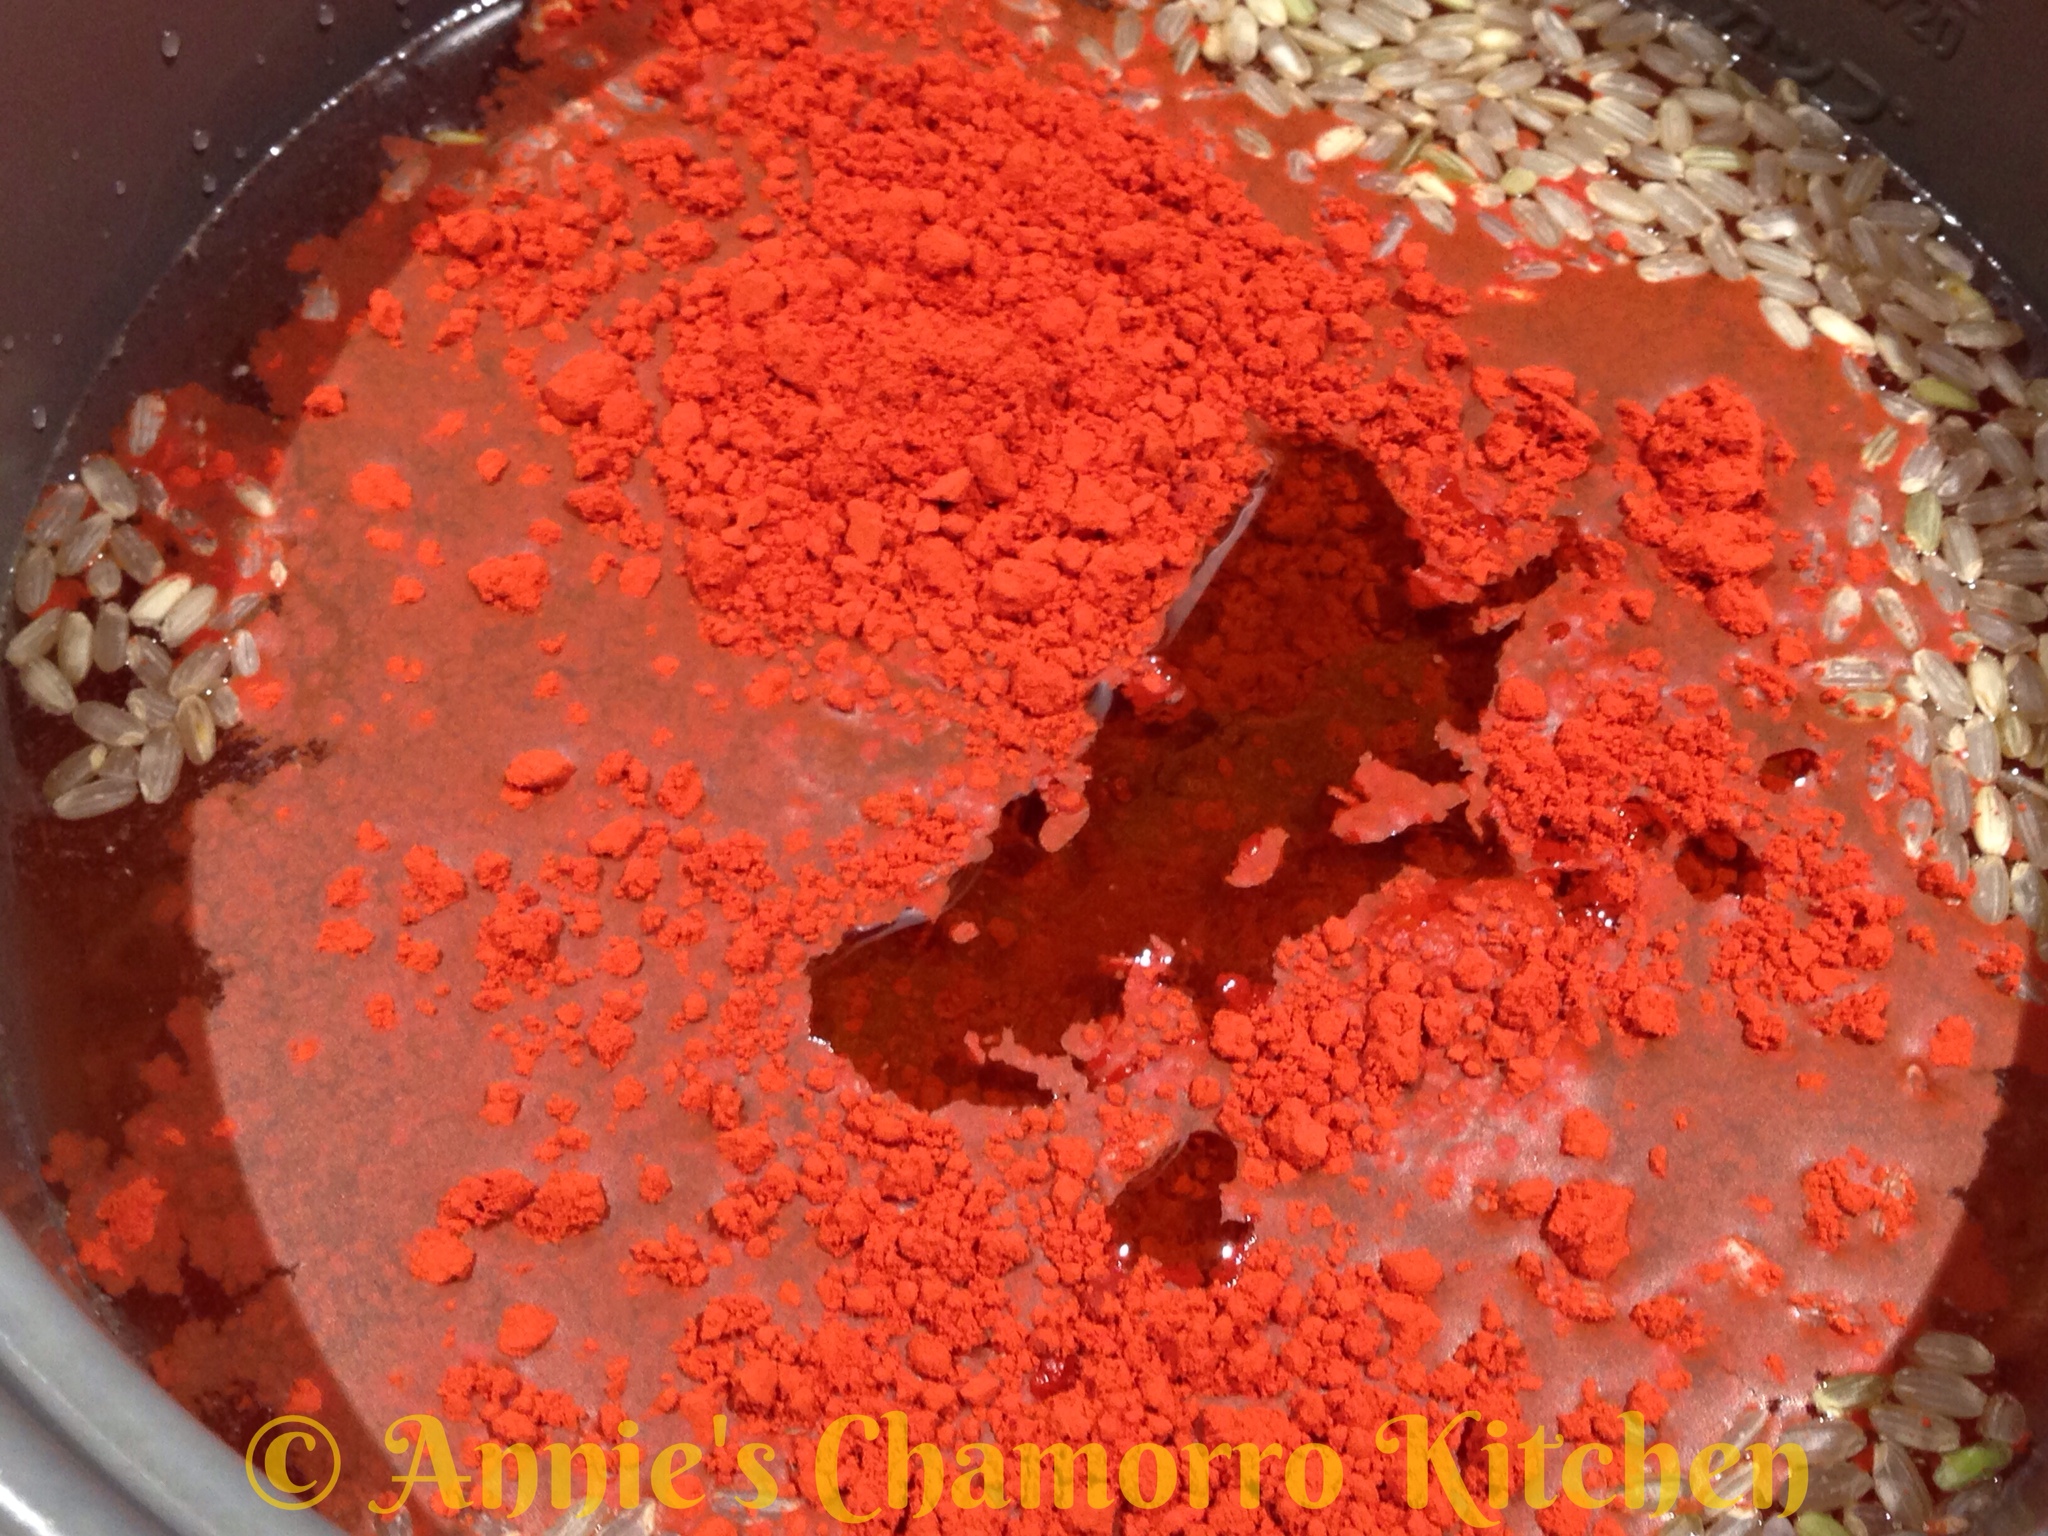
  • 1 packet achote powder (*See note below)
  • 1 tablespoon olive oil
  • 1 bunch green onions, sliced
  • 1 tablespoon Dashida seasoning (or salt, to taste)

Note: You can use achote water made with achote seeds instead of achote powder. Scrub the seeds in the water; strain out the seeds before using.

Directions:

1. Rinse the rice then place into your rice cooker pot.

2. Add the water.

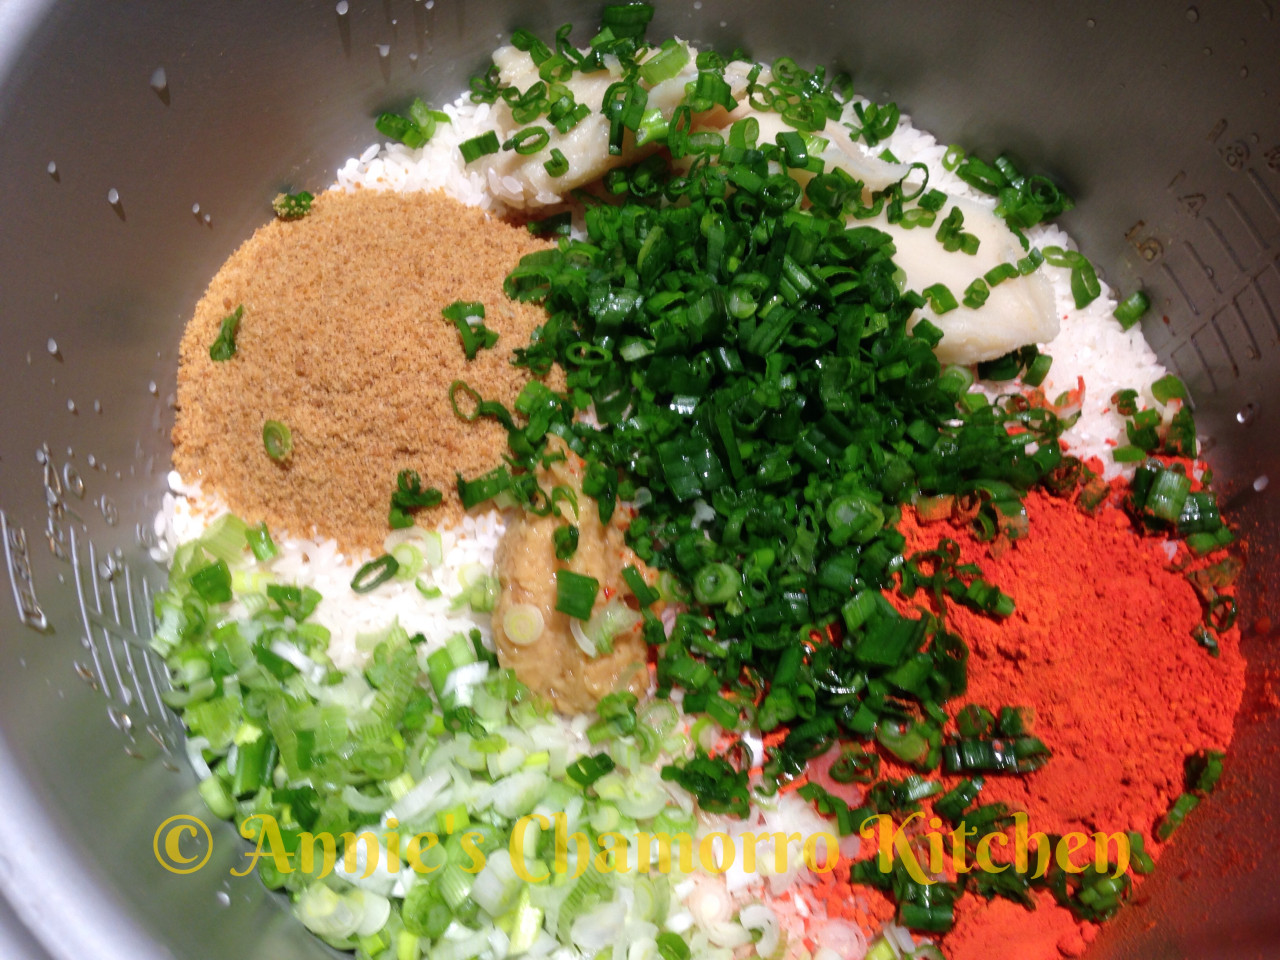
3. Add the achote powder.

4. Add the olive oil.

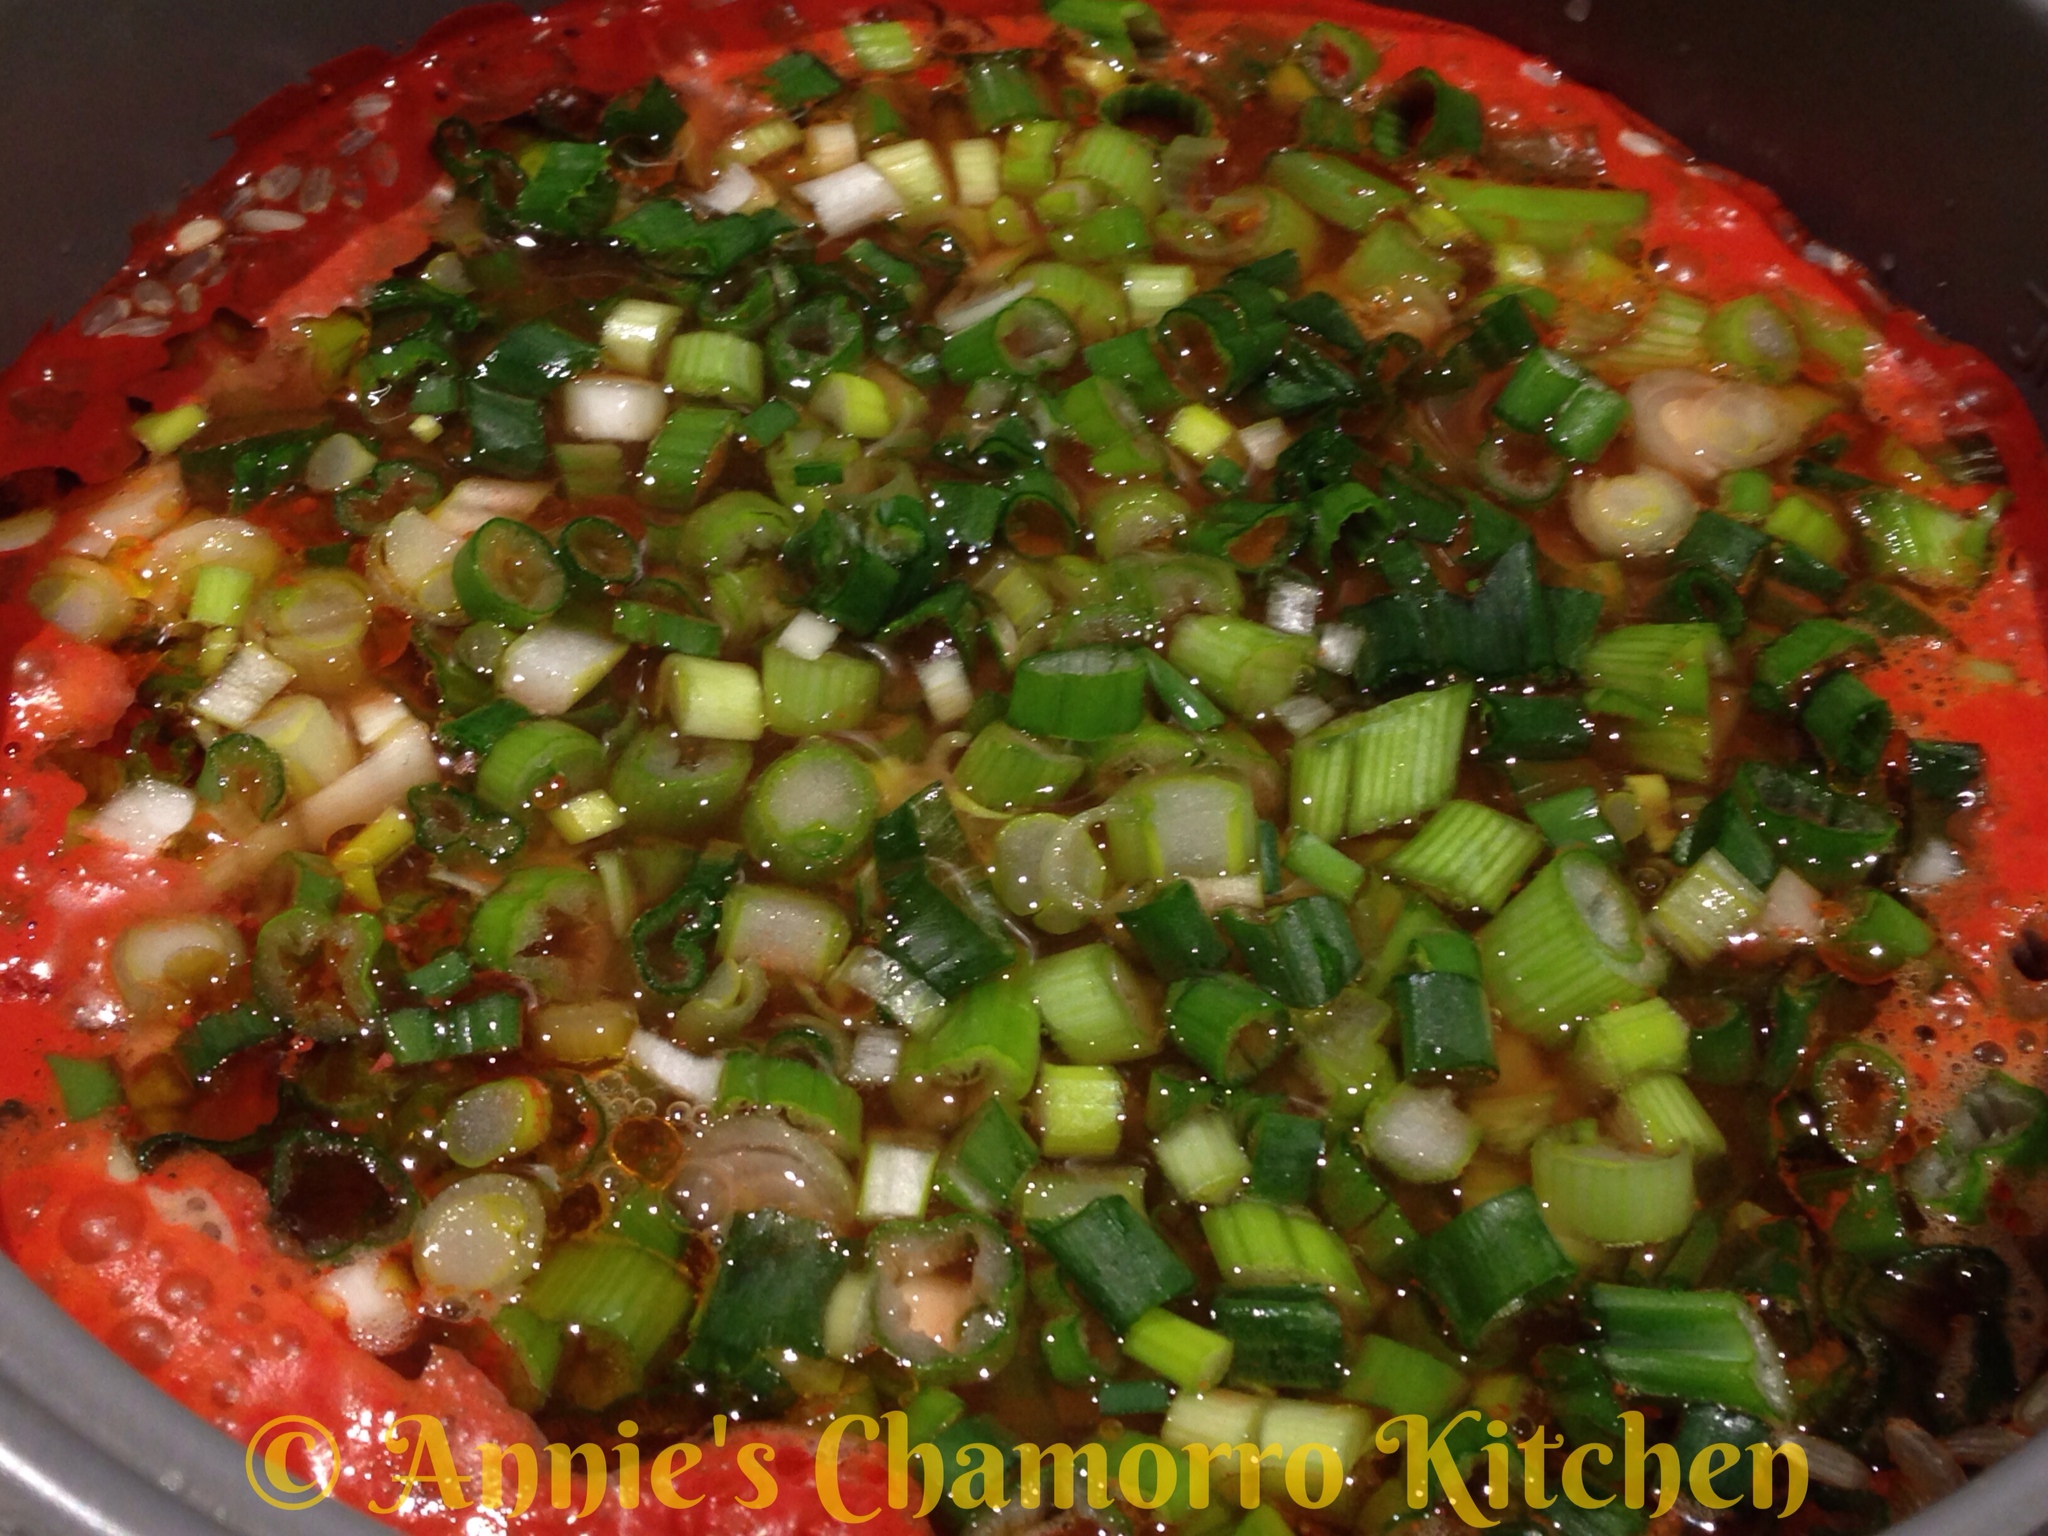
5. Add the green onions.

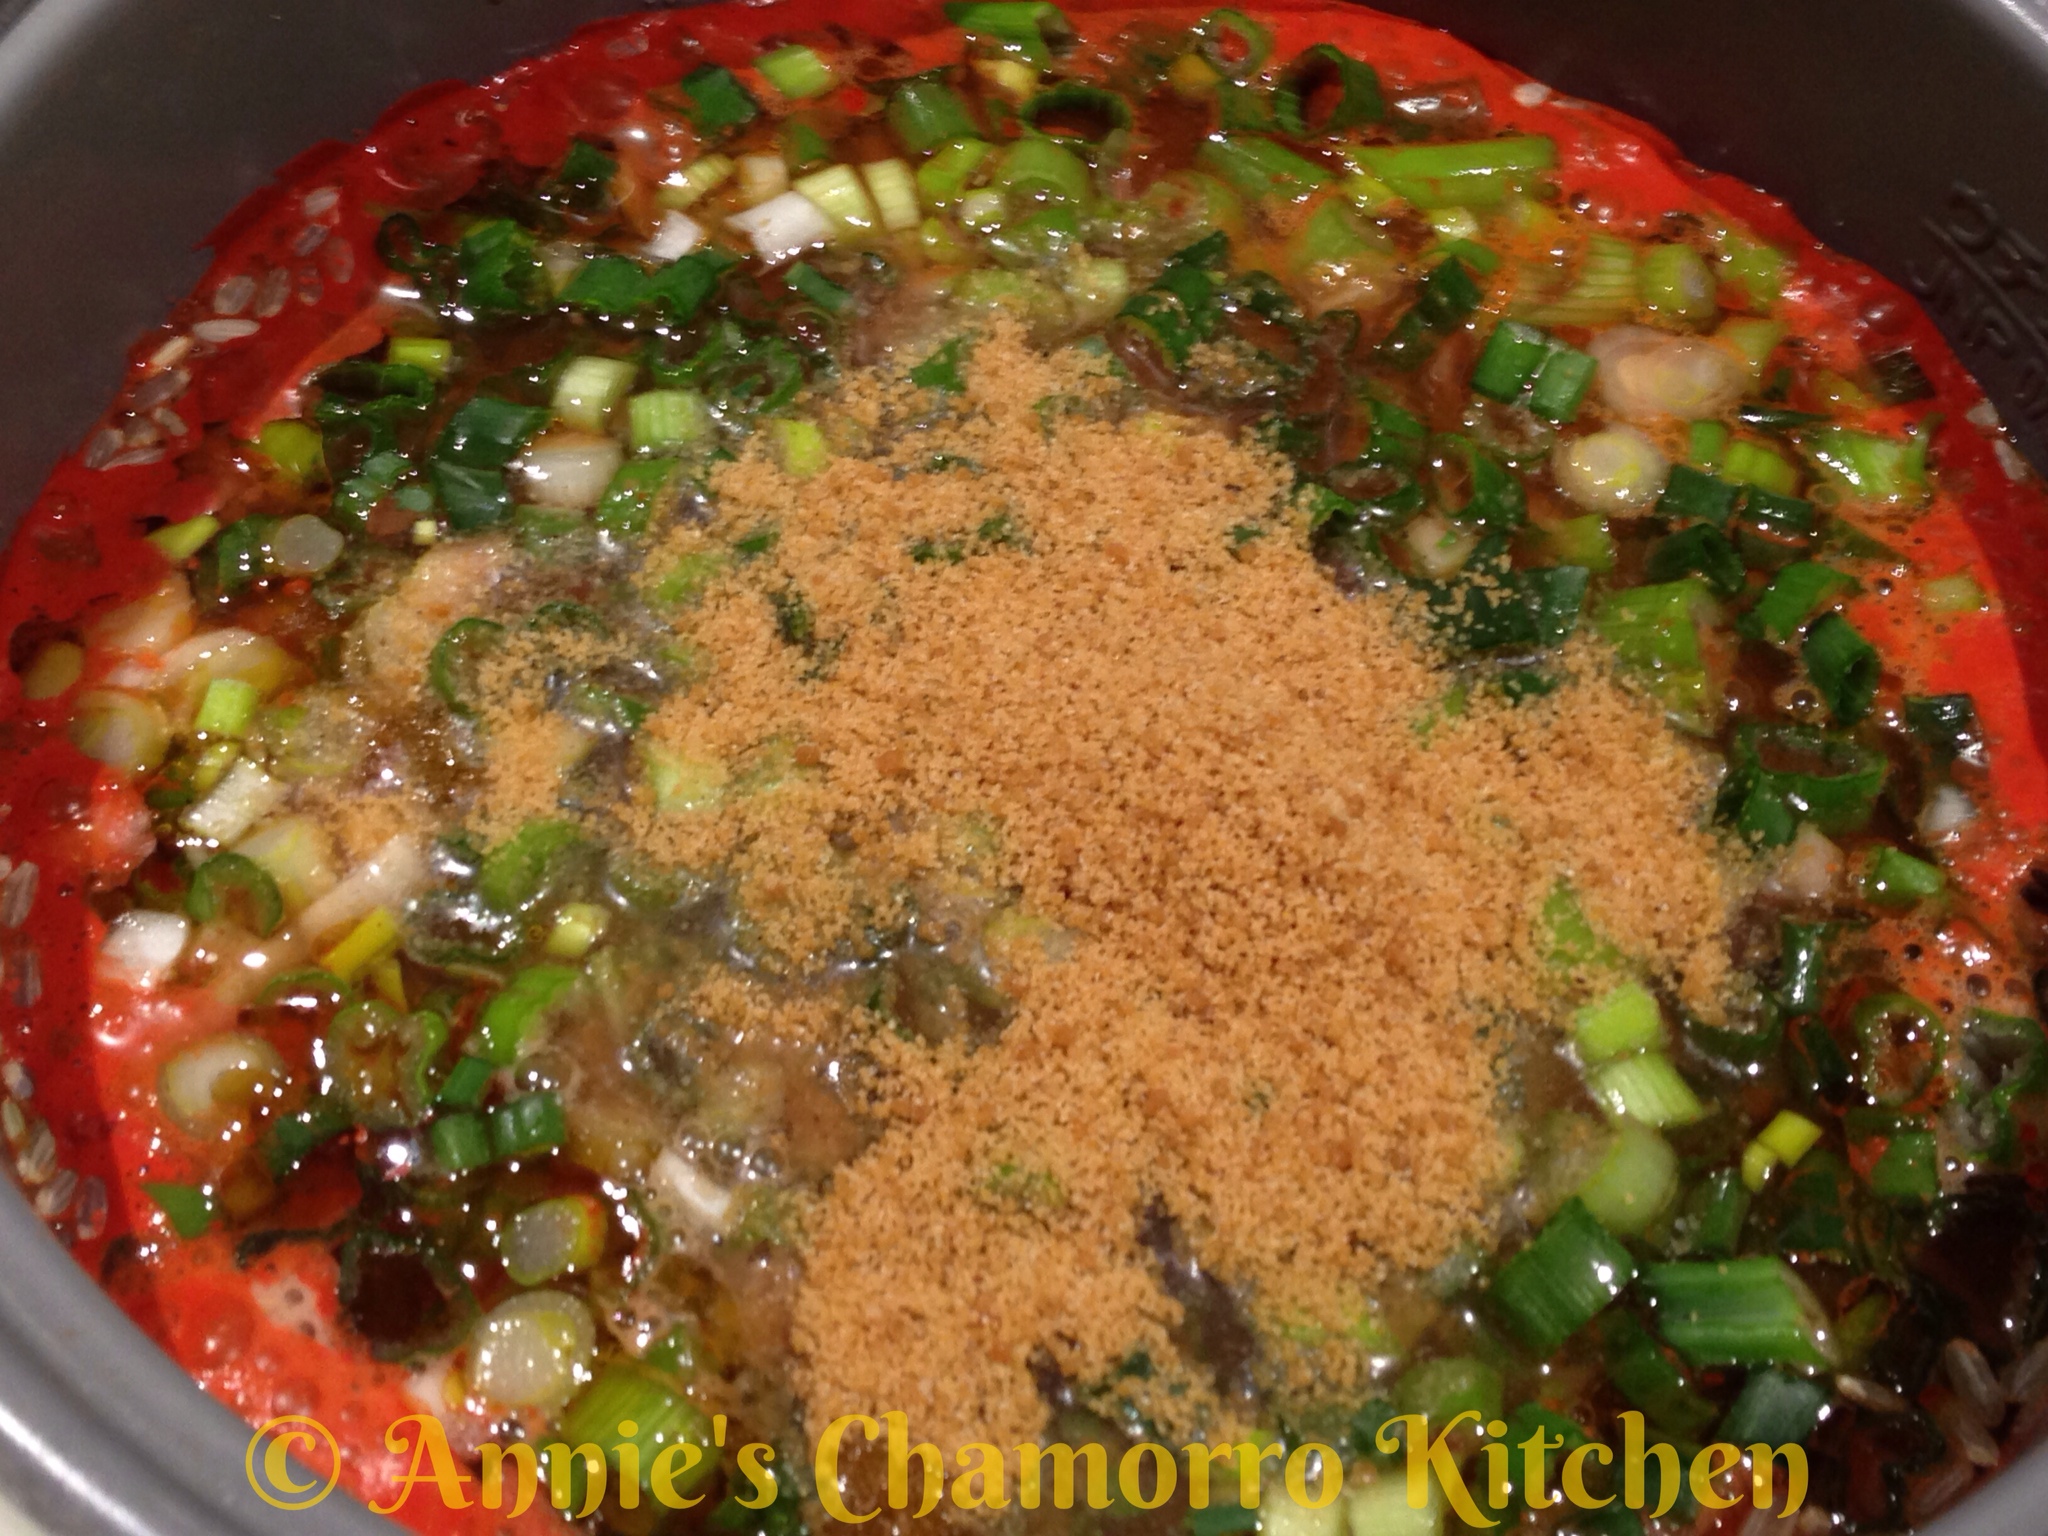
6. Add the Dashida seasoning.

7. Cover the pot then turn it on or place it on “cook.” After about 5 minutes, open up the lid and stir the rice, ensuring the achote powder and Dashida seasoning are dissolved and evenly distributed. Place the cover back on the pot and let it finish cooking. After your rice cooker turns from “cook” to “warm” (or the equivalent for your rice cooker model), be sure to keep the lid closed, letting the rice continue steaming for 10-15 minutes before serving.

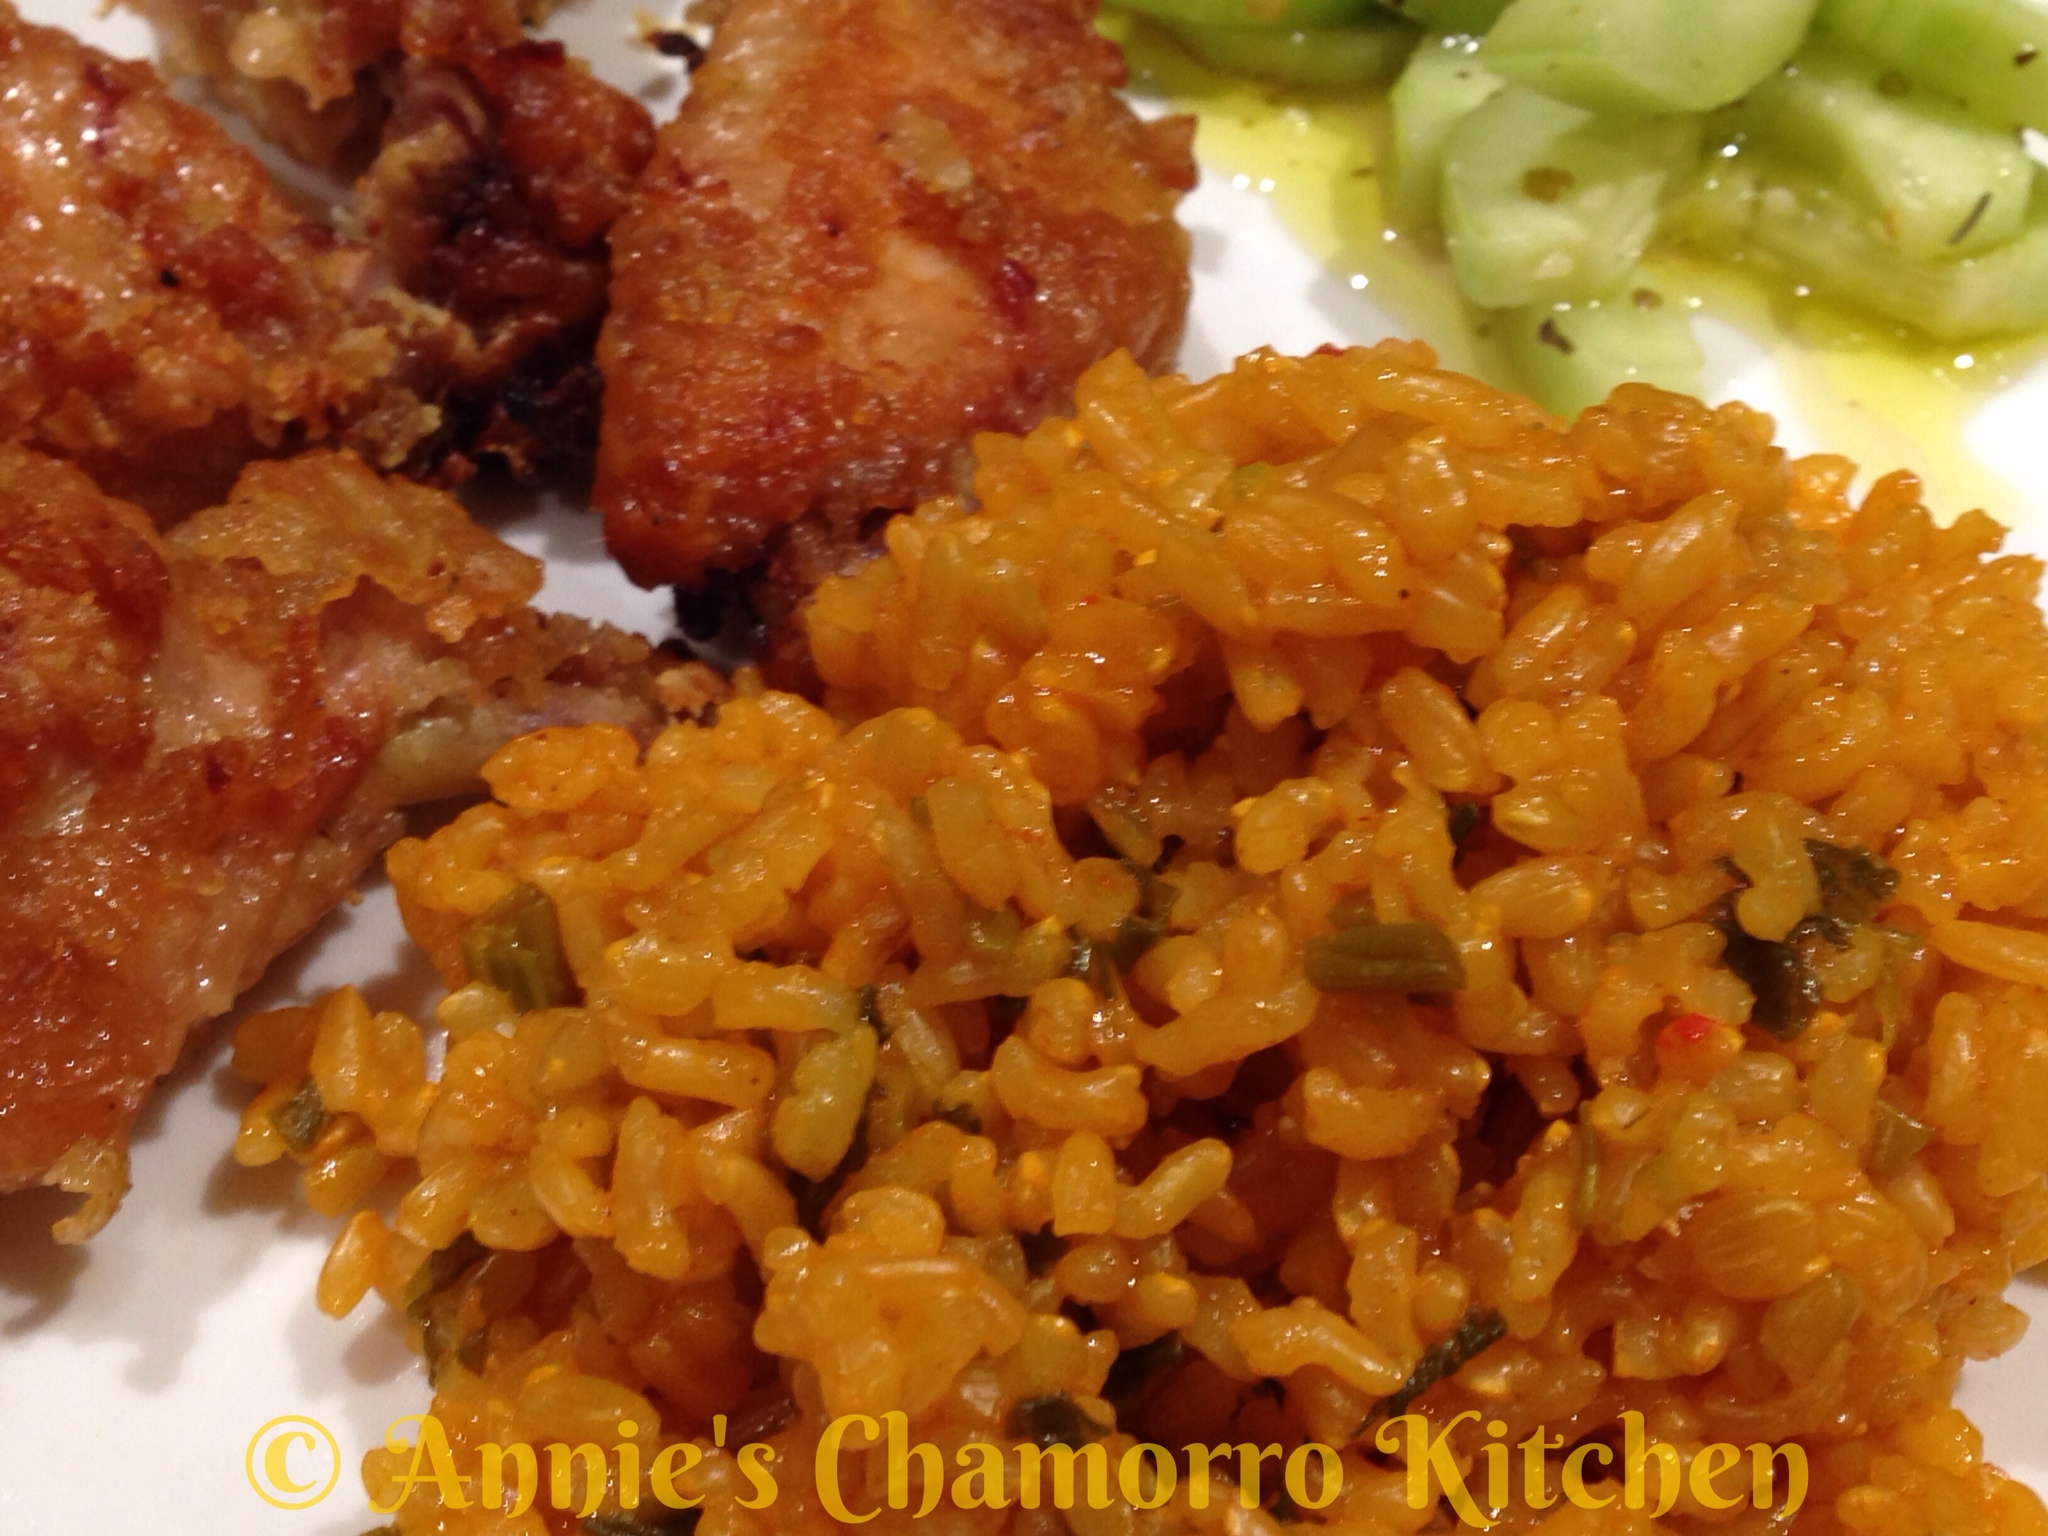
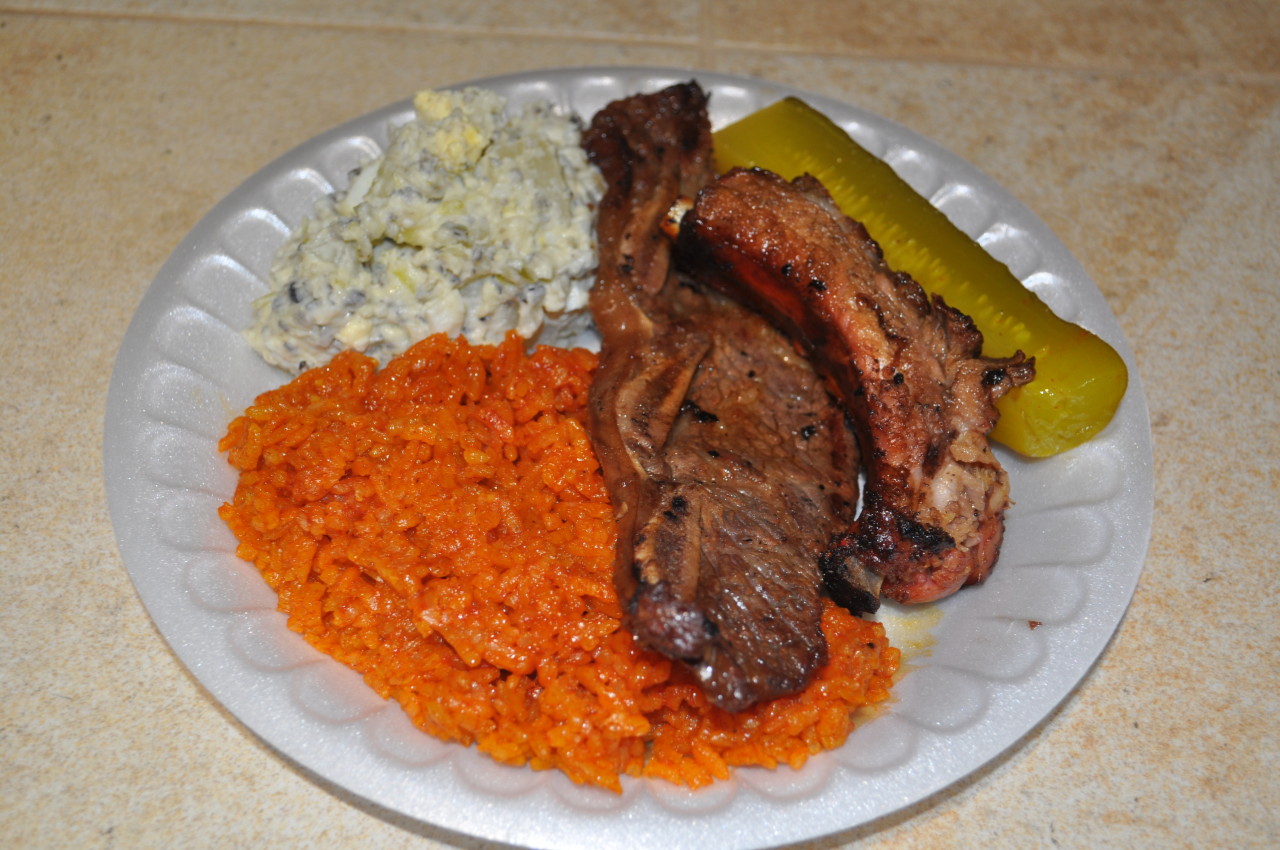
8. We love red rice with fried chicken and cucumber salad. Serve with your favorite main dish(es) and enjoy!

 

Red Rice

Red Rice is a must-have for any Chamorro Fiesta menu.  Without red rice, it just won’t seem much like a fiesta.

You don’t need to go to a party or fiesta to enjoy this Chamorro staple.  My family loves red rice served with fried chicken, or pan-fried Spam. 🙂

Some people add peas to their red rice, but I like mine without it.

Serve some Chamorro Red Rice at your next gathering for that extra special touch.

Give my recipe a try.  I think you’ll like it. 🙂

Red Rice

882592_10200795309433370_2126476614_o

Ingredients:

  • 3 cups rice (medium or long grain)
  • 1 tablespoon Dashida seasoning
  • 1 tablespoon bacon fat (or substitute with olive or vegetable oil)
  • 1/4 teaspoon black pepper
  • 1 teaspoon chopped garlic
  • 4 stalks green onions, sliced
  • 1 packet achote powder (see note below)
  • 3 1/2 cups hot water (see note below)

To make 10 cups of red rice (enough for a small BBQ), use the following measurements:

  • 10 cups rice
  • 3 tablespoons Dashida
  • 3 tablespoons bacon fat
  • 1/2 teaspoon black pepper
  • 1 tablespoon chopped garlic
  • 8 stalks green onions, sliced
  • 3 packets achote powder
  • 11 1/2 cups hot water

Note:

You can use achote water made with achote seeds instead of using powdered achote.  Scrub about 1/4 cup of achote seeds in 3 1/2 cups warm water.  Add the achote water (make sure to strain out the seeds and add just the achote water) to the pot where the directions call for adding water and achote powder.

Directions:

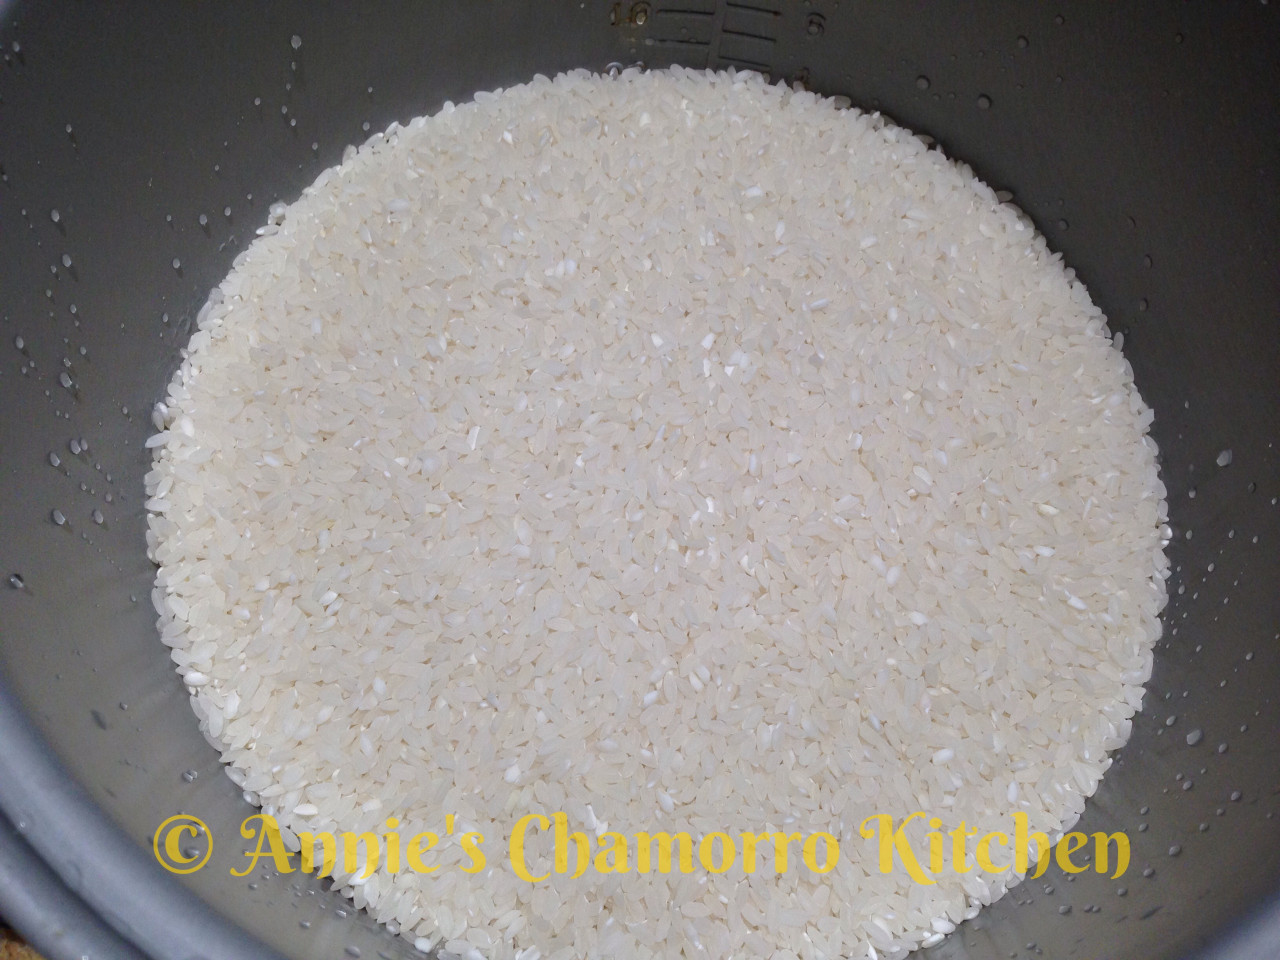
1.  Place the rice into your rice cooker pot.  Rinse the rice as required, draining out any excess water.

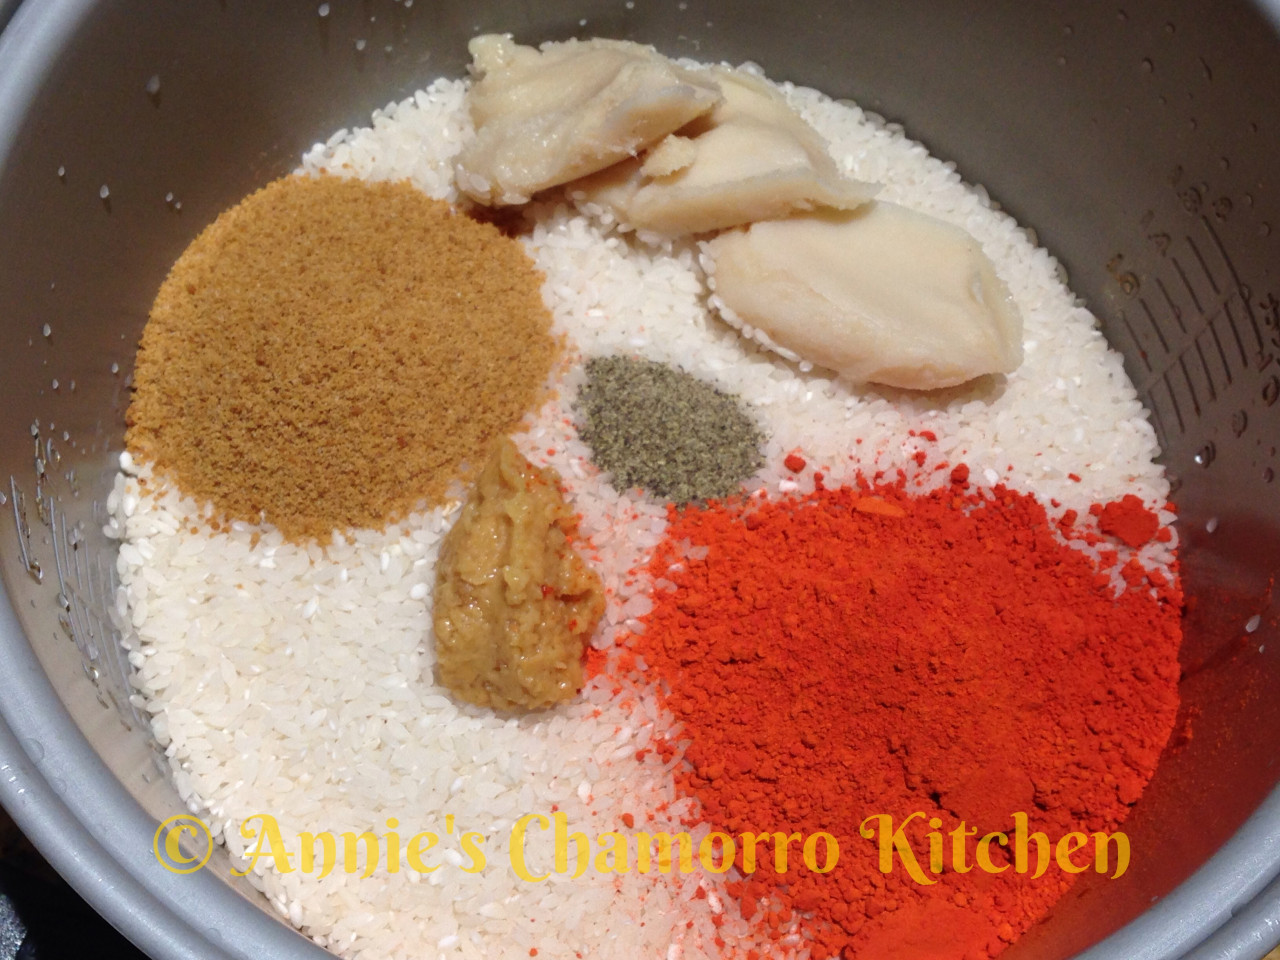
IMG_31472.  Into the pot, add the Dashida, bacon fat, black pepper, garlic, and achote powder.  If you don’t have any saved bacon fat, substitute with olive or vegetable oil. IMG_31493.  Add the green onions to the pot.   IMG_31504.  Carefully pour the hot water into the pot.  Stir to combine all the ingredients and to dissolve the achote powder and Dashida.  The bacon fat will start to melt; don’t worry if it doesn’t completely melt at this time.

Turn the rice cooker to the “cook” setting.  The only thing left to do is to stir the rice a couple more times.  Wait a couple of minutes then stir to ensure even mixing after the bacon fat melted.  Wait another 5 minutes or so and stir once more to ensure the rice at the bottom of the pot is evenly coated with achote coloring.

After stirring the rice for a second time, leave the rice to cook/steam until done.

IMG_0667 IMG_1995

5.  Serve with your favorite meat dish (Chamorro BBQ, fried chicken, or pan-fried Spam goes fantastic with red rice!) and ENJOY! 😀

Events - 2607 Events - 2606

Riyenu ~ Chamorro Stuffing

Chamorro stuffing, or Riyenu, is a delicious side dish usually served during special holiday meals, alongside baked turkey, ham, or roast pig.

My mom taught me how to make this a very long time ago, when I was a very young girl.  In fact, this recipe is one of the few I added to a recipe book that I made when I was perhaps 8 or 9 years old.  I remember stacking small pieces of paper and gluing one side to make a spine, then creating a cover out of stiff cardboard and gluing a piece of scrap fabric with blue polka dots on it to make the cover soft and pretty.  Even at that young age, I loved to cook, and I made my very own recipe book, which I still have to this day.

I’ve been asked what makes this a Chamorro stuffing.  Well, I guess it’s the addition of potatoes, pimento and olives, kind of like our Chamorro Potato Salad.

A few optional ingredients that my mom sometimes puts in her Riyenu are finely diced celery and a small jar of sweet pickle relish.  I prefer my stuffing without those two ingredients, so I leave them out.

You don’t need to wait for a holiday to make this yummy stuffing.  Give my recipe a try.  I think you’ll like it. 🙂

Riyenu ~ Chamorro Stuffing

image

Ingredients:

  • 2 medium potatoes
  • 1 cup vegetable oil, for frying
  • 1 pound ground beef
  • 1 small onion, diced
  • 1 box Stove Top Stuffing Mix for Turkey
  • 2 small jars diced pimento, drained
  • 1 small can chopped black olives, drained
  • 1 cup raisins
  • 1 can evaporated milk
  • 1/2 stick unsalted butter, melted
  • Salt and pepper, to taste

Directions:

Peel and dice the potatoes into small pieces, about 1/4 inch square.

image

Place the vegetable oil in a shallow frying pan over medium heat.

image

Fry the diced potatoes in batches; cook until the potatoes are a very light golden brown and cooked through (use a fork to test for doneness).

image

Drain the cooked potatoes on a paper towel-lined plate.  Set aside.

image

Brown the ground beef in a medium sized pot.

image

Add the contents of the stuffing mix (dried bread pieces and seasoning), the cooked potatoes and onions to the pot.  Stir to combine.  Cook over medium heat, stirring occasionally.

image

Add the pimentos and olives to the pot.

image

Stir to combine.  Continue to cook over medium heat for a minute or so, stirring occasionally.

image

Add the raisins.  I actually like lots of raisins in my stuffing so I tend to add more than a cup.

image

Pour in the evaporated milk.  You can also use vegetable or chicken stock instead of milk.

image

Add the melted butter.  Cook for another minute or two.  Taste, then add salt and pepper if needed (the seasoning packet from the stuffing is already quite salty, so you might not need to add more salt).

image

Place the stuffing into an oven-safe baking dish.

image

Bake at 350 degrees for 20 minutes.

image

Serve and ENJOY!

image

This makes a wonderful side dish, served alongside my smoked/grilled turkey and brown sugar glazed ham.

image

ENJOY!

image

Chicken Kelaguen & Flour Titiyas

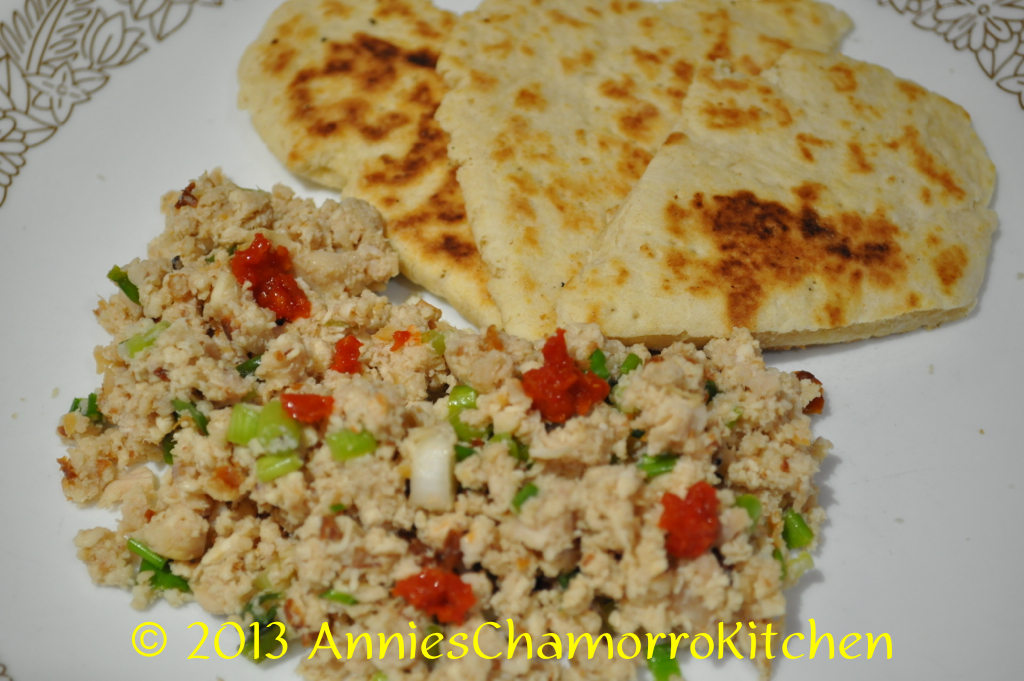
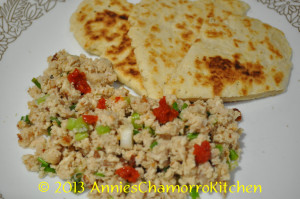
Kelaguen and Titiyas ~ both staples on a Chamorro fiesta table.  But you don’t have to be invited to a fiesta in order to enjoy these tasty dishes — they are so easy to make that you can have it anytime you get the craving!

My two daughters (ages 11 and 15) prepared the dishes pictured in the photos below; if THEY can do it, so can you!

Give my super easy recipes a try.  I think you’ll like them!  🙂

Annie’s Chicken Kelaguen

DSC_0419

Ingredients:

  • 1 small rotisserie chicken
  • 6 stalks green onions
  • 1 1/2 tablespoons lemon powder plus 3 tablespoons water (or use the juice of 1 large lemon)
  • 2 teaspoons salt (more or less, to taste)
  • Hot pepper, optional
  • Freshly grated coconut (unsweetened), optional

Directions:

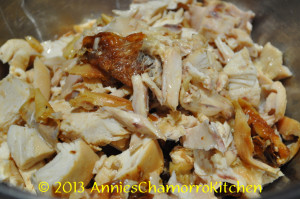
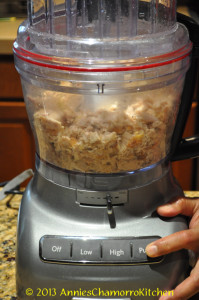
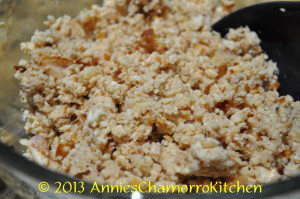
1.  Debone the chicken; shred or cut into small pieces (I used a food processor to roughly chop the chicken).

DSC_0371

 DSC_0375 DSC_0377

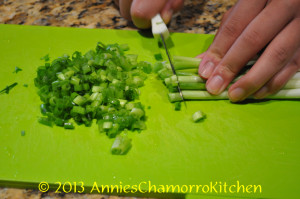
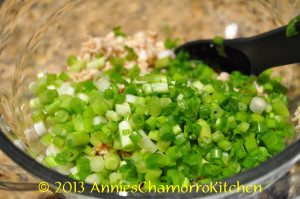
2.  Thinly slice the green onions then add it to the chicken.

DSC_0383 DSC_0386

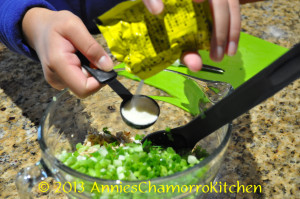
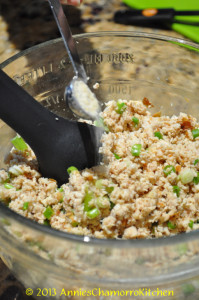
3.  Add the lemon powder, water, salt and pepper to the bowl of chicken; mix to combine.  Taste; adjust seasoning if required.

DSC_0389 DSC_0398

4.  Stir in the grated coconut (optional).

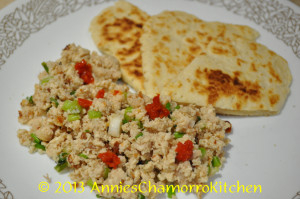
5.  Serve with my super easy sweet flour titiyas (see recipe below) and enjoy!

DSC_0417


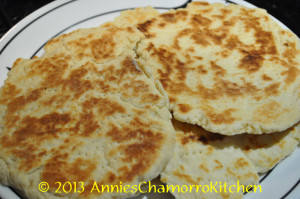
Annie’s Sweet Flour Titiyas

DSC_0416

Ingredients:

  • 3 cups all purpose flour
  • 4 teaspoons baking powder
  • 1/2 teaspoon salt
  • 3/4 cup coconut milk (see note below)
  • 1/4 cup melted butter
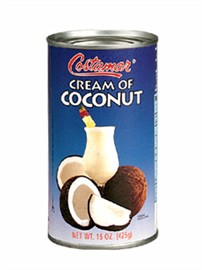
  • 1/4 to 1/2 cup cream of coconut (the sweet one, used for mixed drinks)
    (see note below)

NOTE:  If you don’t find or have any cream of coconut, just increase the coconut milk to 1 cup, and add 1/2 cup white granulated sugar.  Follow the rest of the instructions below.


This is what the can of cream of coconut looks like.  This is incredibly sweet so you do not need to add more sugar.  Cream of Coconut is NOT the same as coconut cream (thick coconut milk).

cream of coconut

Directions:

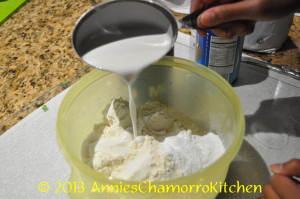
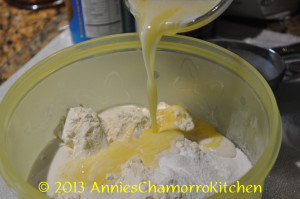
1.  Mix the dry ingredients together in a large mixing bowl. Add the coconut milk, melted butter, and cream of coconut (start out with 1/4 cup; increase to a total of 1/2 cup, depending on how humid your day is–more humid means less liquid). Mix together until a dough forms; knead gently to form a smooth ball of dough.

DSC_0395 DSC_0401 DSC_0404 DSC_0407

2.  Break off golf-ball sized pieces. Flour your rolling surface and rolling pin.  Roll out the piece of dough into a flat disc (about 1/8-inch thick). Place the titiyas on a dry skillet; prick all over with a fork to prevent bubbling during the cooking process.

DSC_0409 DSC_0410

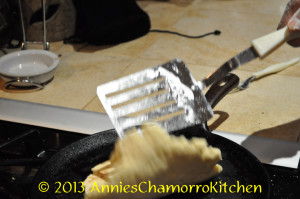
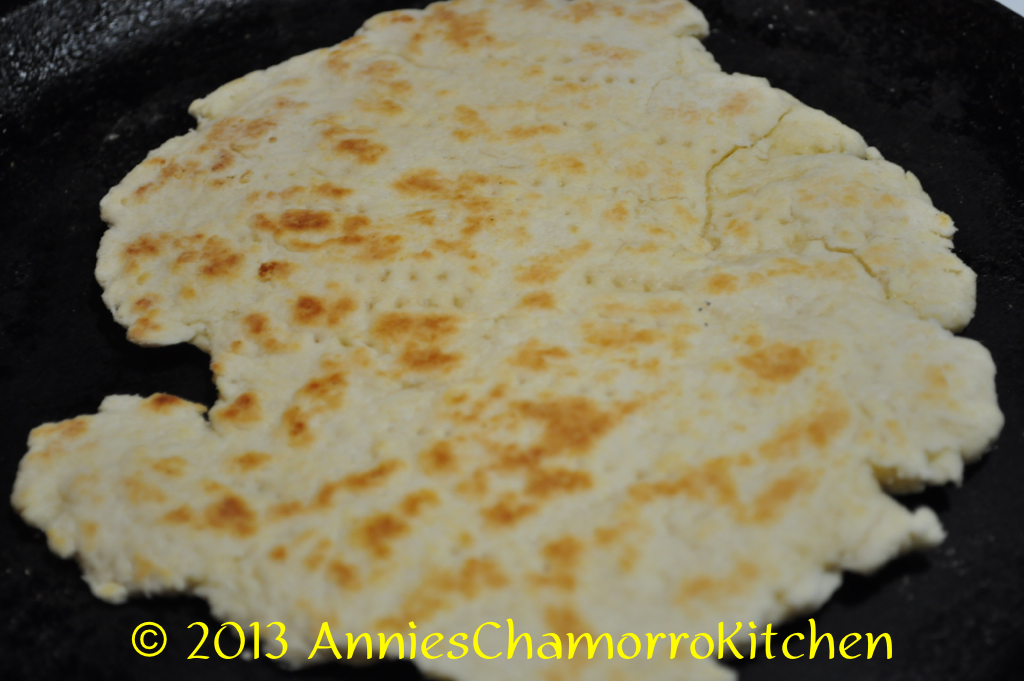
3.  Pan-fry on a dry skillet over medium-low heat for about 3-4 minutes on each side, or until the bottom begins to turn a golden brown; flip over and cook the other side until it turns a nice golden brown.  For thicker titiyas, cook over low heat for 4-5 minutes on each side; the titiyas is done when you gently press down on the center and it feels somewhat firm to the touch.

DSC_0412 DSC_0414 DSC_0415

4.  Place cooked titiyas on a plate covered with a clean kitchen towel to keep warm.  Serve with my delicious chicken kelaguen.  Enjoy!

DSC_0418