Archive for Kelaguen

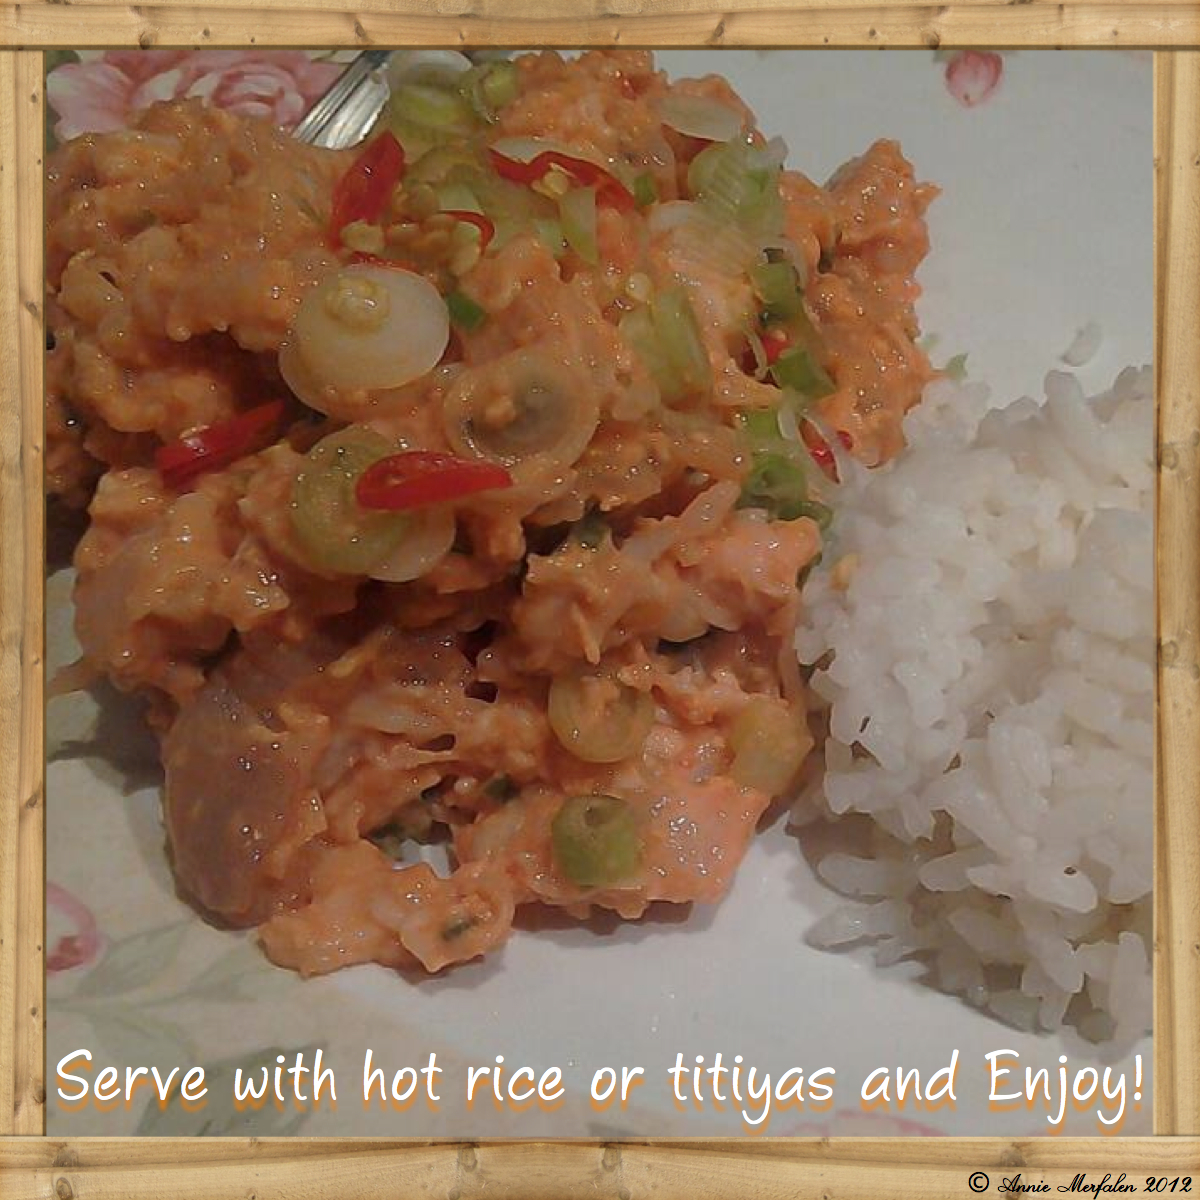
Fresh Shrimp Kelaguen

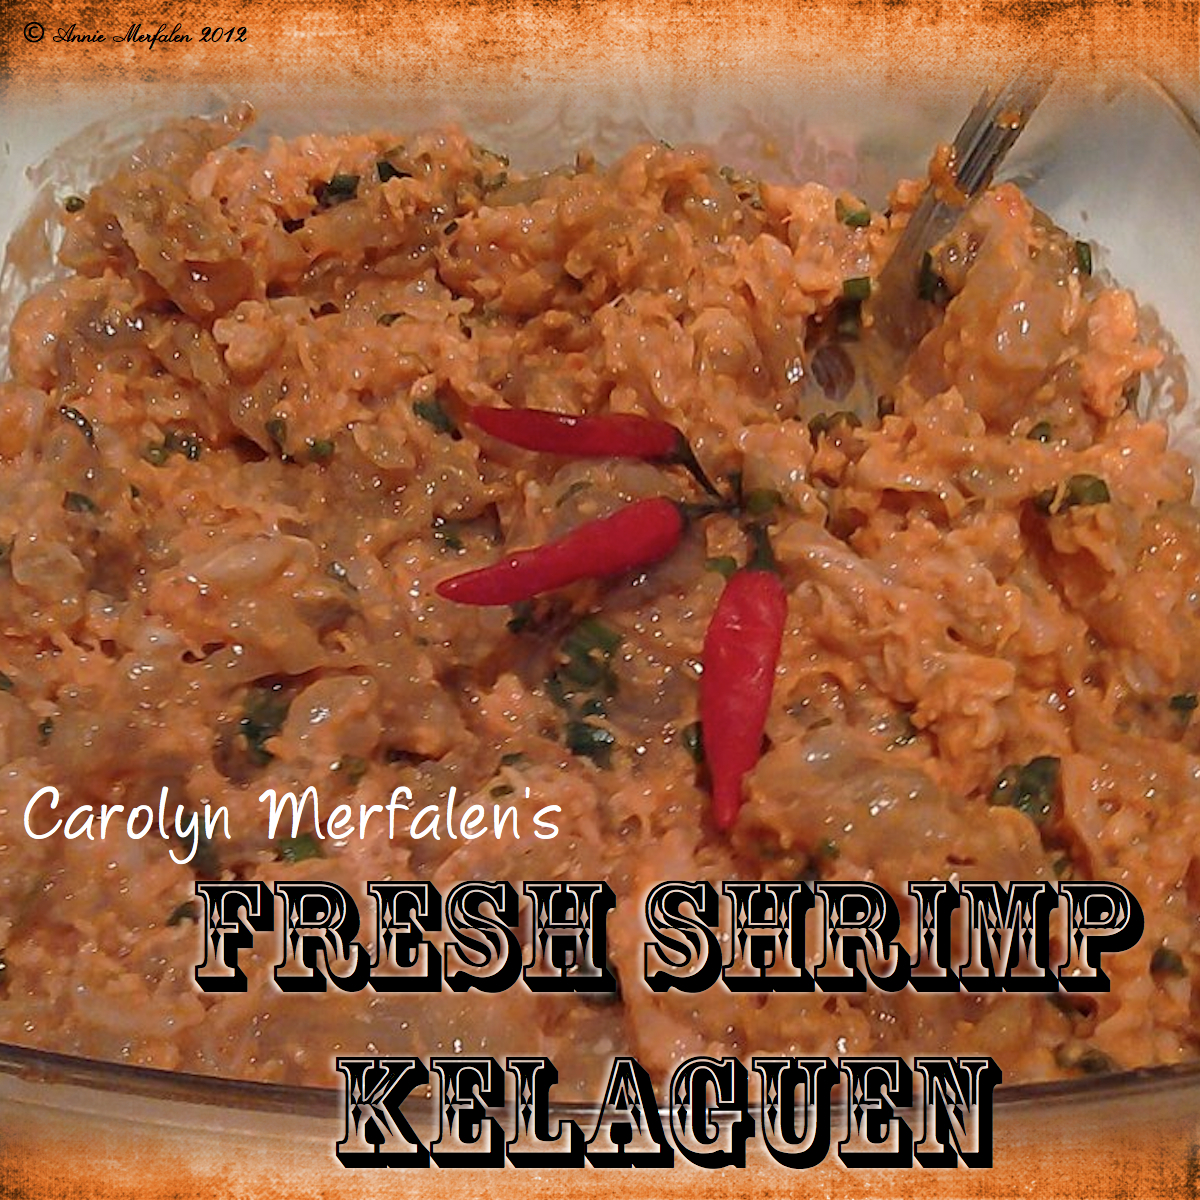
I love shrimp kelaguen.  I love kelaguen, period, but shrimp kelaguen is at the top of the list, especially if it’s FRESH SHRIMP kelaguen.  Oh, and serve this up with fresh corn titiyas…man, oh, man, my mouth is watering just thinking about it!

For those of you who don’t know what kelaguen is, it’s kind of like ceviche.

Funny story…I had a recipe for fresh shrimp kelaguen, then my sister, Carolyn, shared hers as well.  I went back and compared our recipes and they were almost identical. Of course they would be nearly identical — we learned to cook from the best teacher in the world, OUR MOM. Here’s to all of our moms and dads, aunts, uncles, grandparents … thanks for teaching us so many things, especially how to make all this yummy Chamorro food!

So, back to fresh shrimp kelaguen.  This is a time consuming process, but it is WELL WORTH the effort.  If this is served at a fiesta, I ignore all other food and gorge myself on this delicacy, it’s that good.

Here is my sister, Carolyn’s recipe.

Give it a try and let us know how you like it.  Enjoy!

FRESH SHRIMP KELAGUEN

Recipe by Carolyn Merfalen

Carol's Shrimp Kelaguen 1

INGREDIENTS:

  • 5 pounds fresh shrimp, with the head and shell on
  • Salt, to taste
  • Lemon juice (or powder), to taste
  • 6-8 stalks green onions, sliced
  • Freshly grated coconut
  • Hot Pepper, to taste

DIRECTIONS:

1.  Fresh shrimp (with the heads on) is best for kelaguen. You can, however, still make it using frozen shrimp (again, with the heads on).  I recommend pouring boiling water over the raw shrimp, to lessen its sliminess. Let the water run right off the shrimp, preventing it from puddling. You want to avoid it being cooked in the boiling water.

2.  Depending on your liking, you may keep the shells on. Fresh shrimp is best for this since the shells are very soft and easy to chew and swallow. Otherwise, carefully remove the shells from the body and tail of the shrimp, especially if you are using store-bought boxed frozen shrimp since those shells are hard.

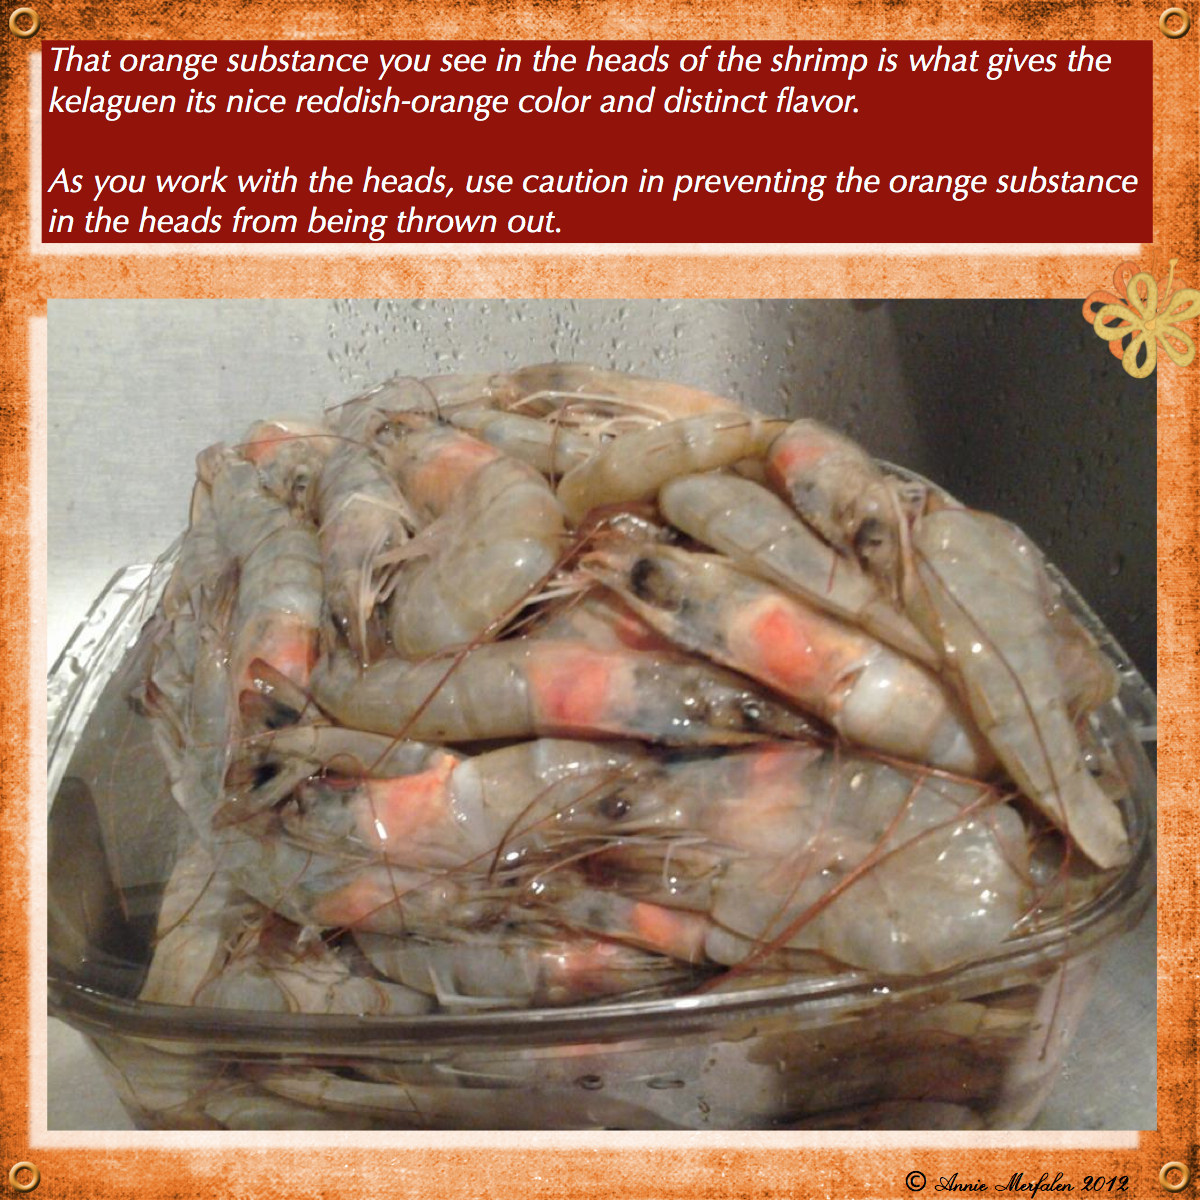
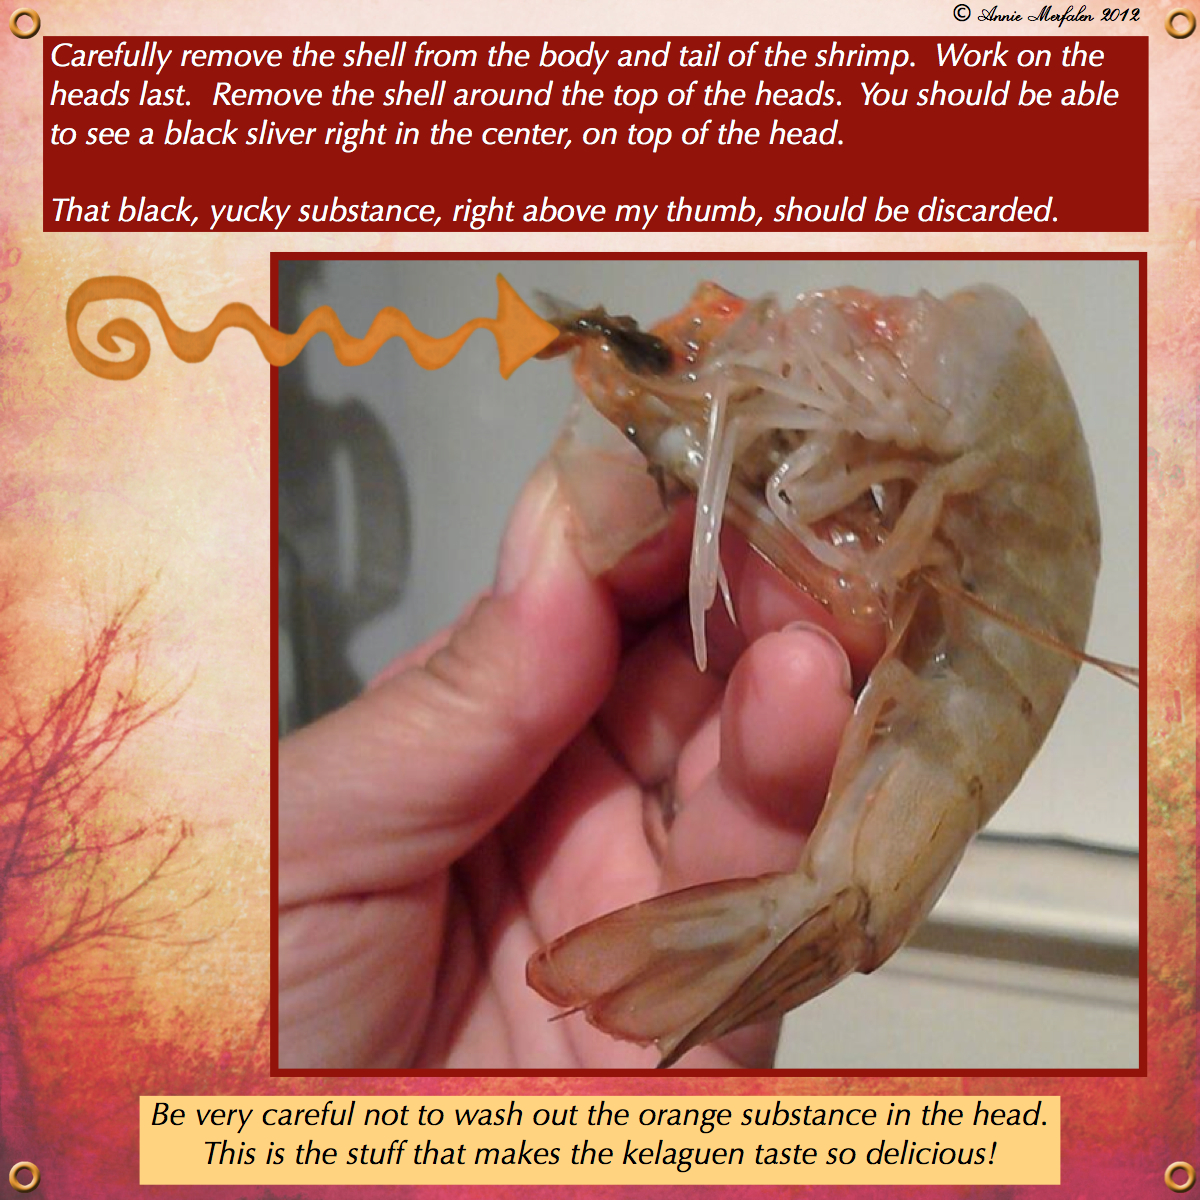
3.  Work on the heads last…carefully remove the shell around the top of the heads. You should be able to see a tiny black sliver right in the center, top of the head, after removing the shell. (I don’t know what it is, but it looks dirty. My mom also mentioned it’s bitter.)  As you work with the heads, use caution in preventing the orange substance in the heads from being thrown out. That orange substance is what gives the kelaguen its reddish color and very distinct flavor.

4.  Devein the shrimp, if the shells were removed. (I usually remove them and devein them.) Mash the shrimp a bit using a fork.

5.  According to taste, add lemon juice or powder, salt, finely diced green onions, freshly grated coconut, and red hot peppers.  Mix to combine.  Serve with titiyas or hot white rice and enjoy!  Absolutely delicious!

Carol's Shrimp Kelaguen 3

Carol's Shrimp Kelaguen 4

Carol's Shrimp Kelaguen 5

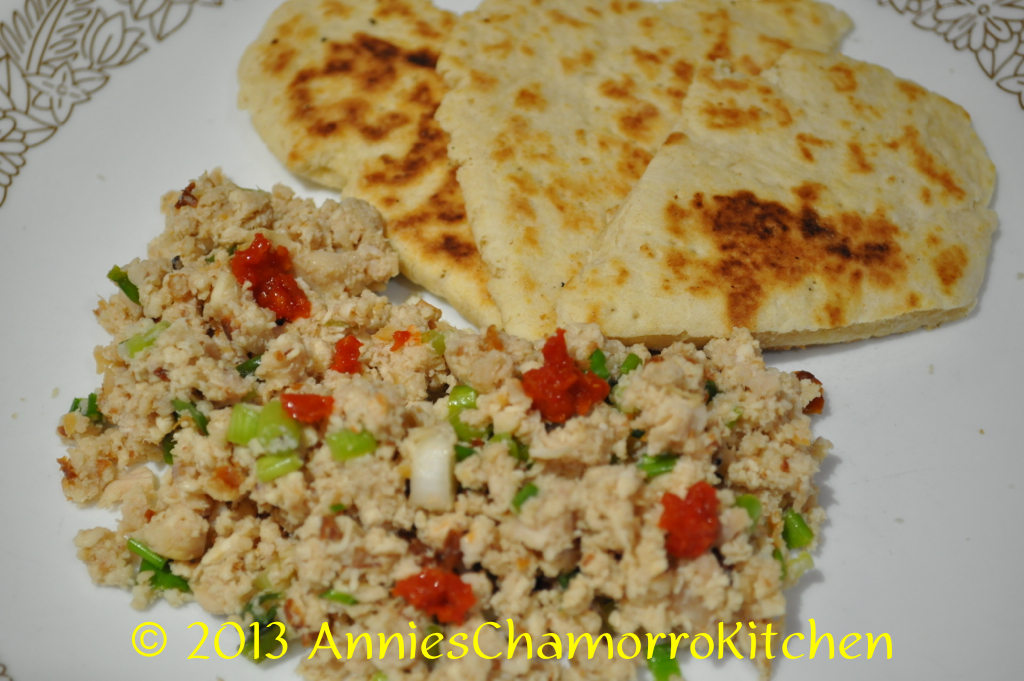
Chicken Kelaguen & Flour Titiyas

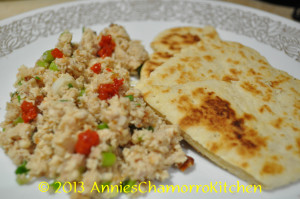
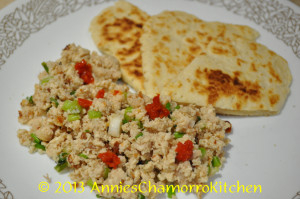
Kelaguen and Titiyas ~ both staples on a Chamorro fiesta table.  But you don’t have to be invited to a fiesta in order to enjoy these tasty dishes — they are so easy to make that you can have it anytime you get the craving!

My two daughters (ages 11 and 15) prepared the dishes pictured in the photos below; if THEY can do it, so can you!

Give my super easy recipes a try.  I think you’ll like them!  🙂

Annie’s Chicken Kelaguen

DSC_0419

Ingredients:

  • 1 small rotisserie chicken
  • 6 stalks green onions
  • 1 1/2 tablespoons lemon powder plus 3 tablespoons water (or use the juice of 1 large lemon)
  • 2 teaspoons salt (more or less, to taste)
  • Hot pepper, optional
  • Freshly grated coconut (unsweetened), optional

Directions:

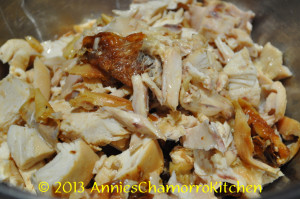
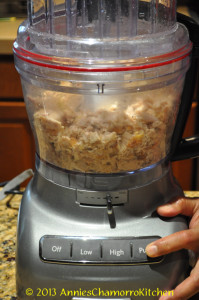
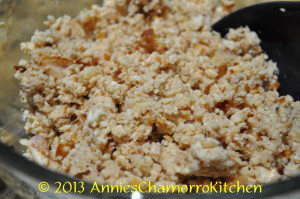
1.  Debone the chicken; shred or cut into small pieces (I used a food processor to roughly chop the chicken).

DSC_0371

 DSC_0375 DSC_0377

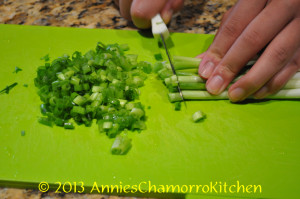
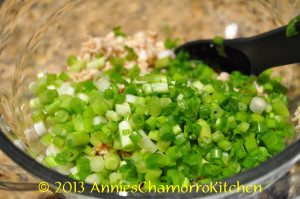
2.  Thinly slice the green onions then add it to the chicken.

DSC_0383 DSC_0386

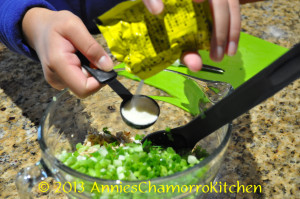
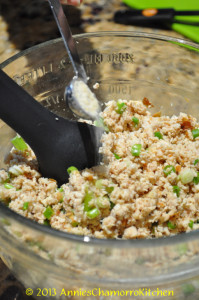
3.  Add the lemon powder, water, salt and pepper to the bowl of chicken; mix to combine.  Taste; adjust seasoning if required.

DSC_0389 DSC_0398

4.  Stir in the grated coconut (optional).

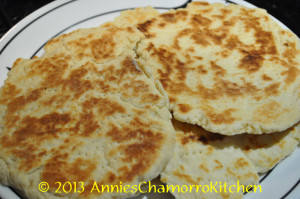
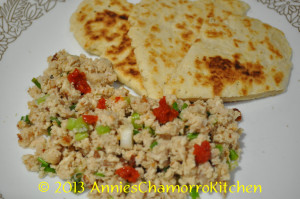
5.  Serve with my super easy sweet flour titiyas (see recipe below) and enjoy!

DSC_0417


Annie’s Sweet Flour Titiyas

DSC_0416

Ingredients:

  • 3 cups all purpose flour
  • 4 teaspoons baking powder
  • 1/2 teaspoon salt
  • 3/4 cup coconut milk (see note below)
  • 1/4 cup melted butter
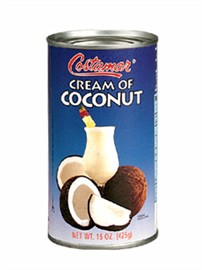
  • 1/4 to 1/2 cup cream of coconut (the sweet one, used for mixed drinks)
    (see note below)

NOTE:  If you don’t find or have any cream of coconut, just increase the coconut milk to 1 cup, and add 1/2 cup white granulated sugar.  Follow the rest of the instructions below.


This is what the can of cream of coconut looks like.  This is incredibly sweet so you do not need to add more sugar.  Cream of Coconut is NOT the same as coconut cream (thick coconut milk).

cream of coconut

Directions:

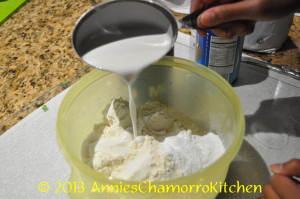
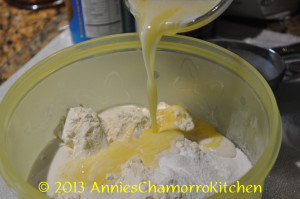
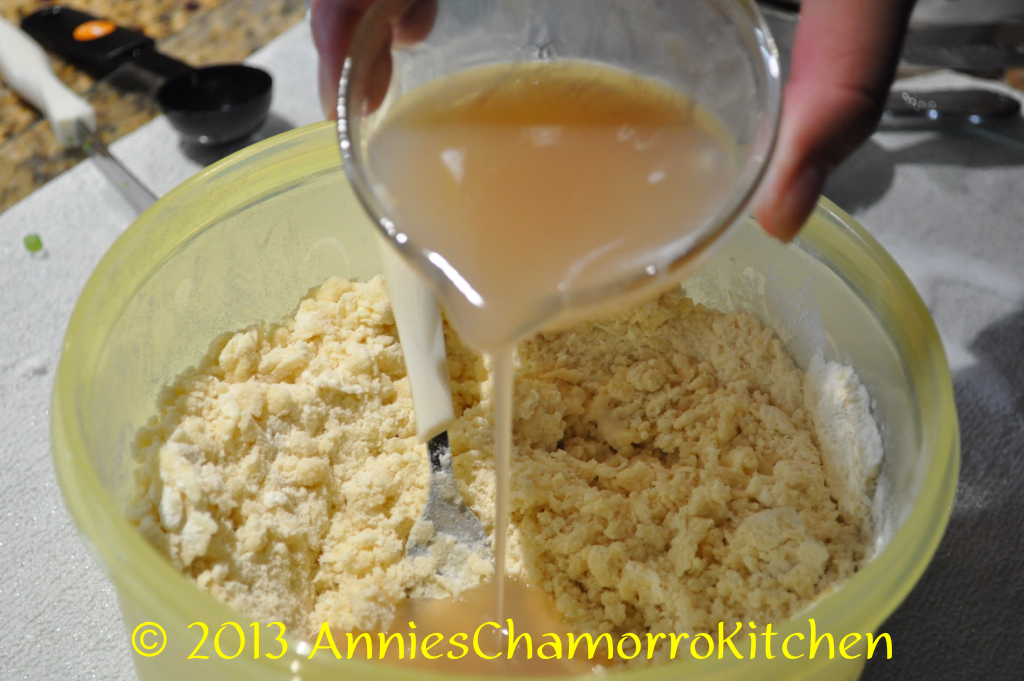
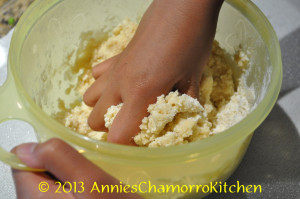
1.  Mix the dry ingredients together in a large mixing bowl. Add the coconut milk, melted butter, and cream of coconut (start out with 1/4 cup; increase to a total of 1/2 cup, depending on how humid your day is–more humid means less liquid). Mix together until a dough forms; knead gently to form a smooth ball of dough.

DSC_0395 DSC_0401 DSC_0404 DSC_0407

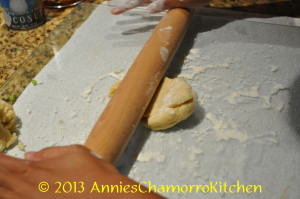
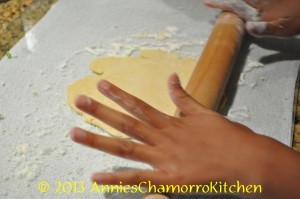
2.  Break off golf-ball sized pieces. Flour your rolling surface and rolling pin.  Roll out the piece of dough into a flat disc (about 1/8-inch thick). Place the titiyas on a dry skillet; prick all over with a fork to prevent bubbling during the cooking process.

DSC_0409 DSC_0410

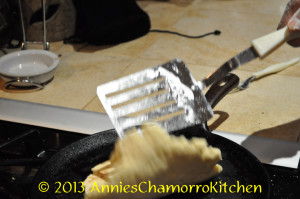
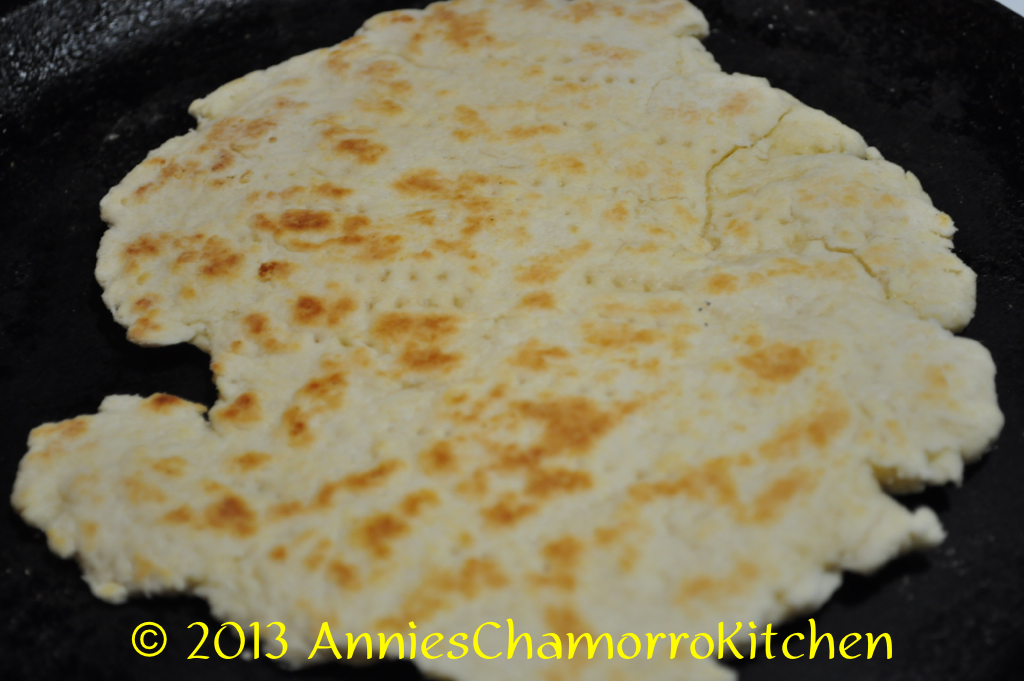
3.  Pan-fry on a dry skillet over medium-low heat for about 3-4 minutes on each side, or until the bottom begins to turn a golden brown; flip over and cook the other side until it turns a nice golden brown.  For thicker titiyas, cook over low heat for 4-5 minutes on each side; the titiyas is done when you gently press down on the center and it feels somewhat firm to the touch.

DSC_0412 DSC_0414 DSC_0415

4.  Place cooked titiyas on a plate covered with a clean kitchen towel to keep warm.  Serve with my delicious chicken kelaguen.  Enjoy!

DSC_0418

Recent Entries »