Archive for CHAMORRO DISHES

Potu

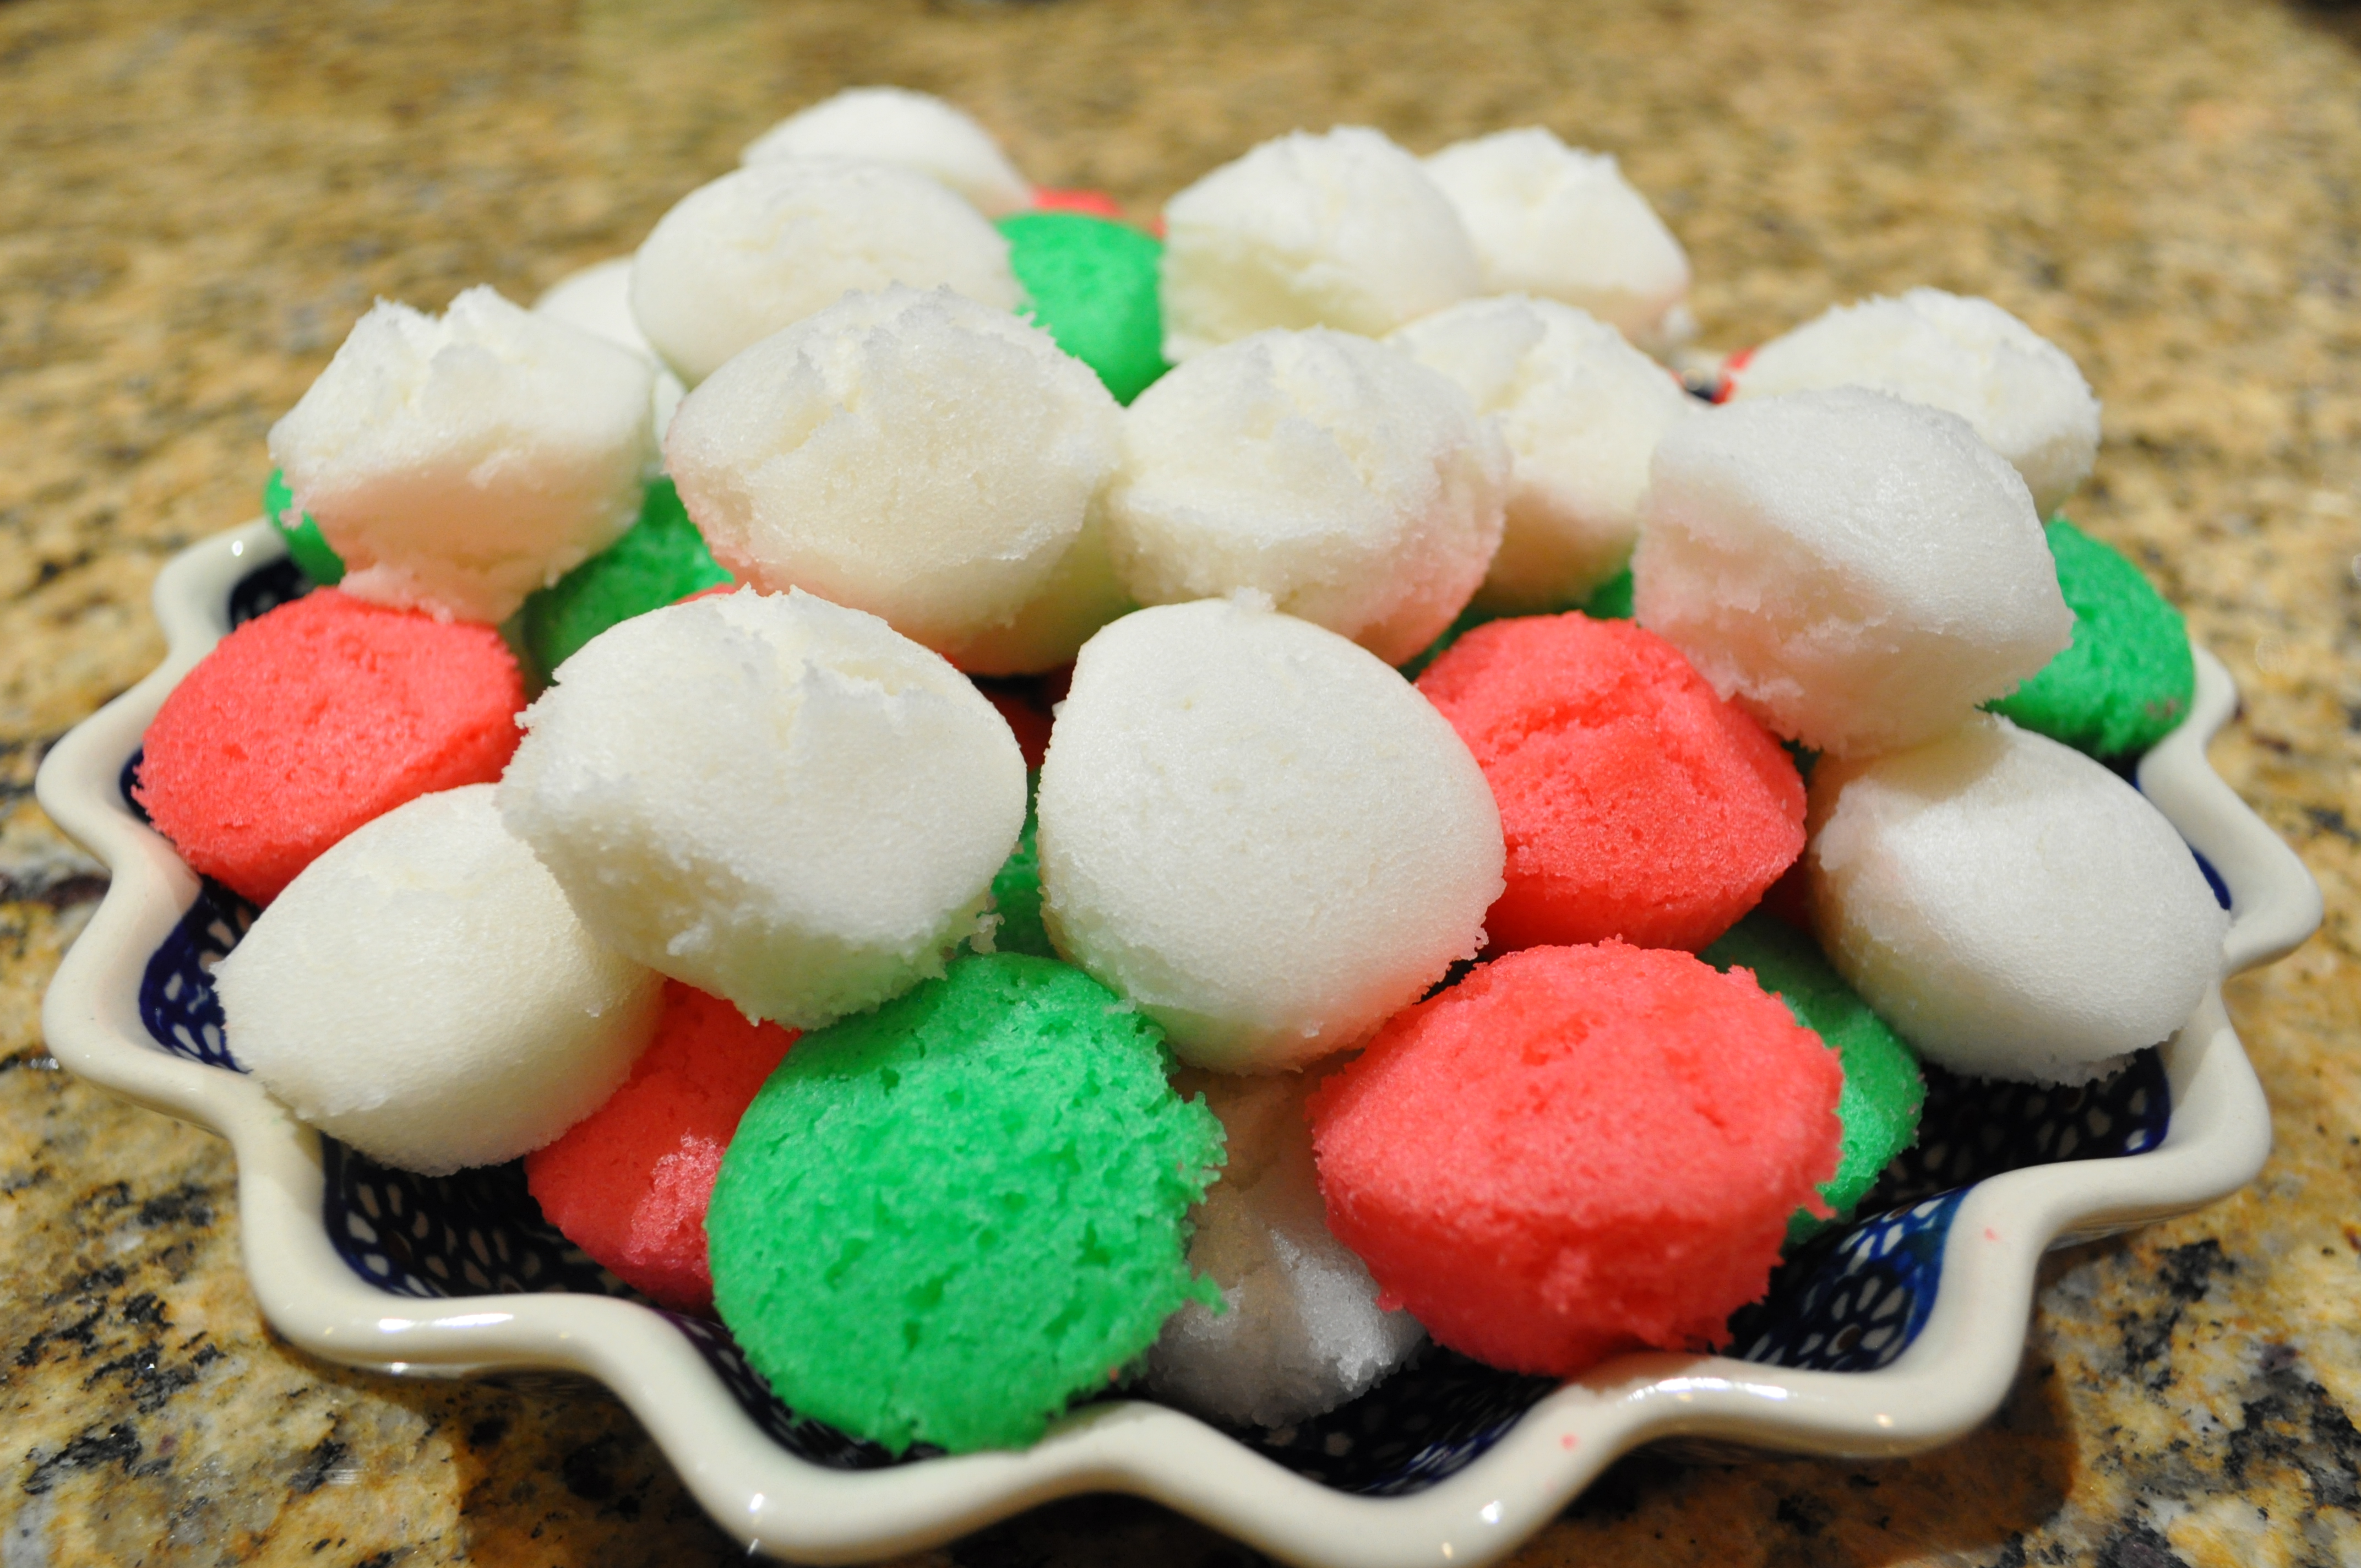
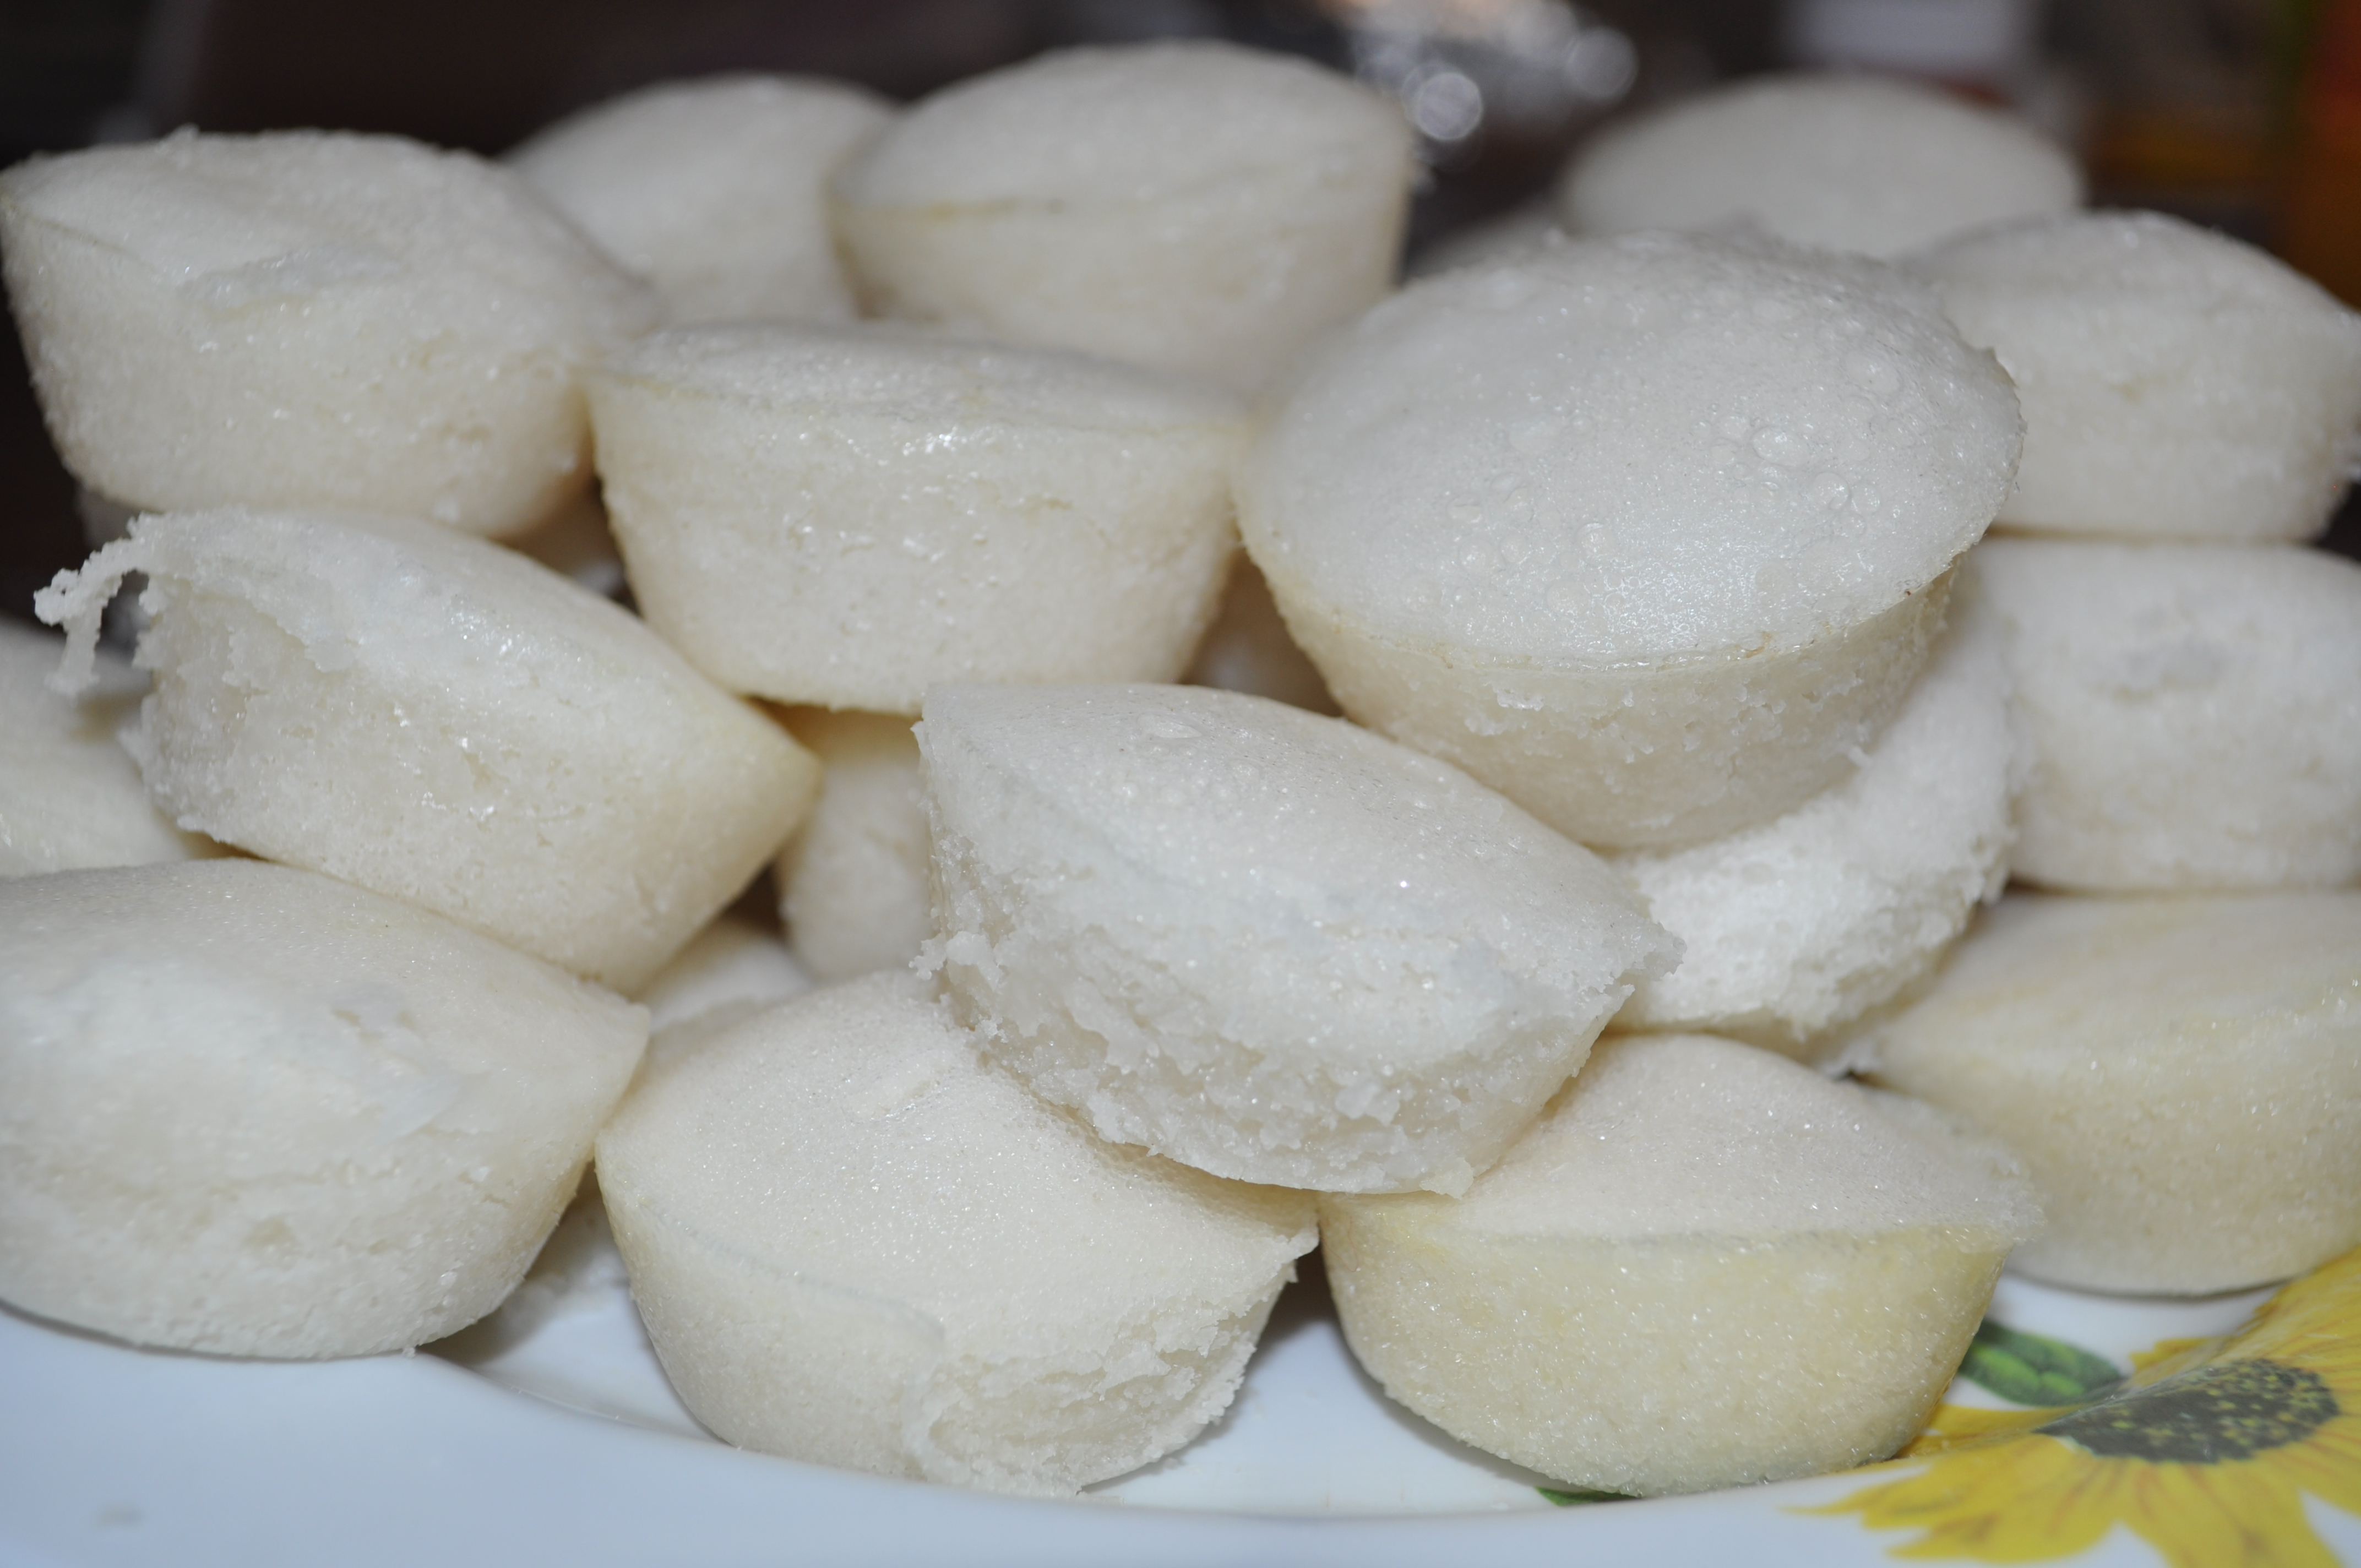
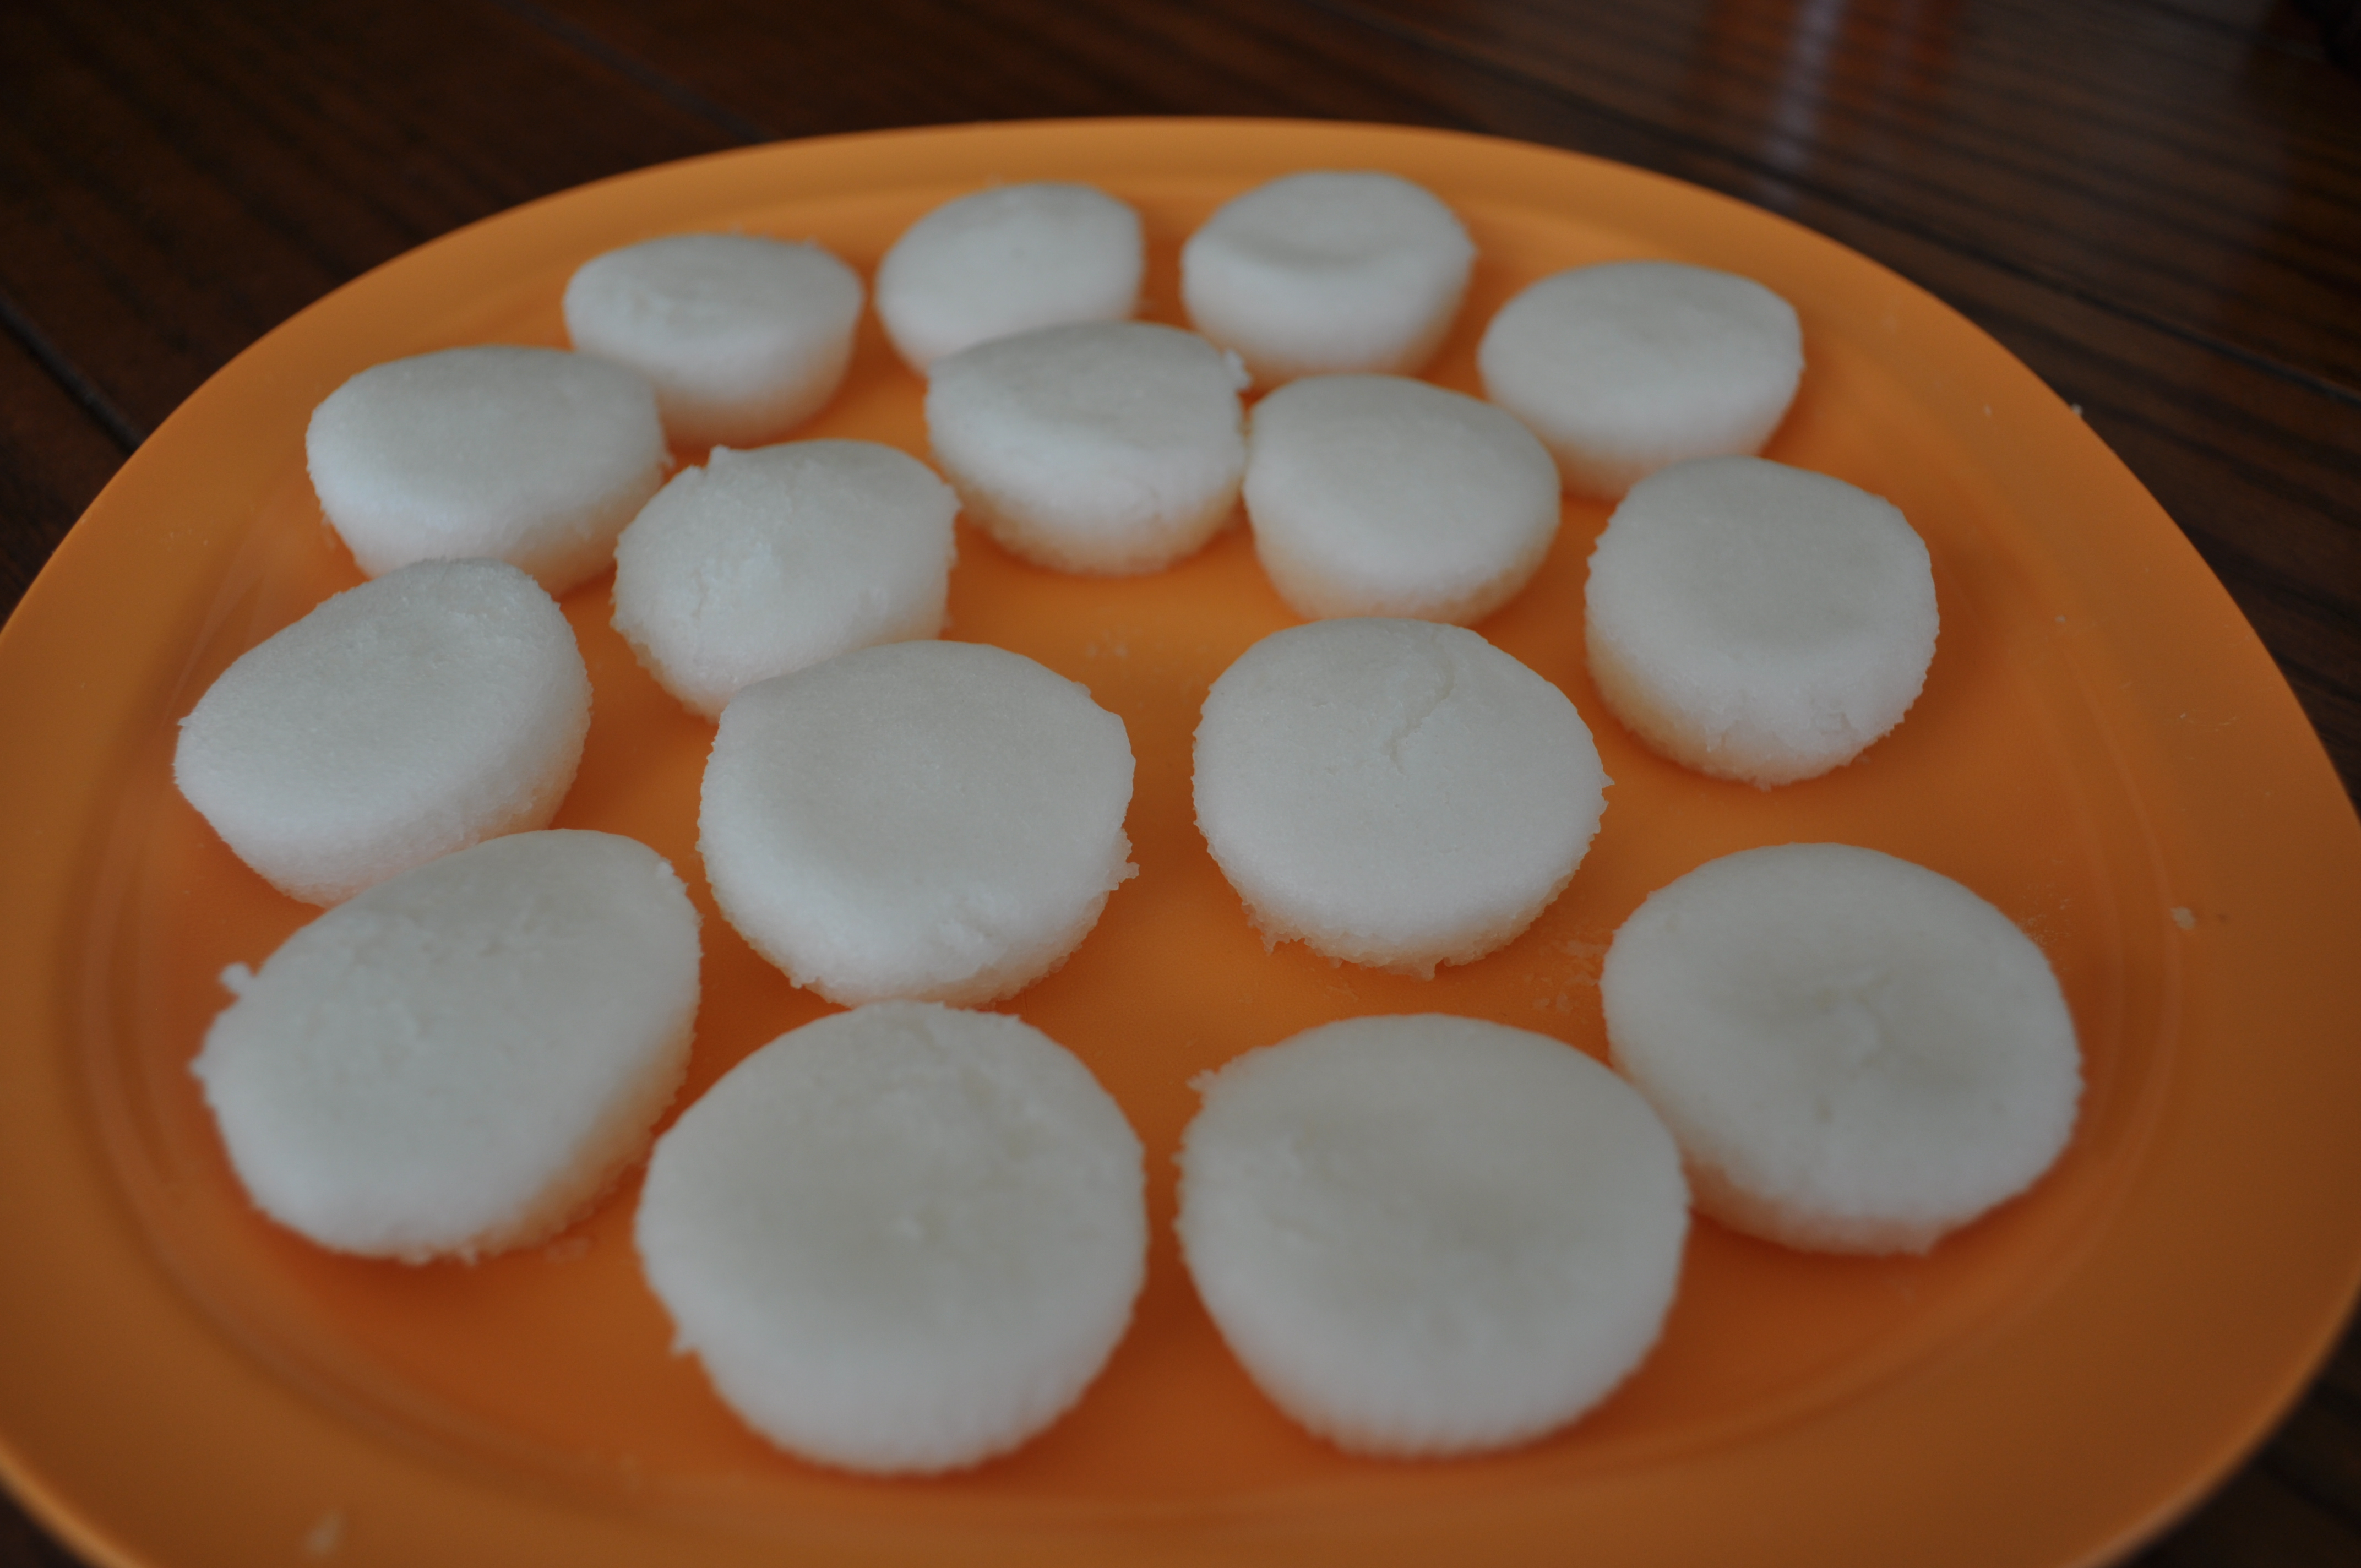
Potu is a sweet steamed rice cake that’s a Chamorro favorite.  It’s traditionally made using sweet tuba, a Chamorro beverage made from fermenting (like wine) coconut juice.  Rice is soaked overnight in the tuba then ground into a super-fine consistency the next day.  The mixture is sweetened and steamed into these amazingly delicious rice cakes.

Events - 1423

When I was younger, I usually only had potu when we went to parties or (I don’t mean to be morbid) at rosaries.  My late aunt used to make potu as well.  I remember those sleepovers at her house —  Auntie Frances had the entire kitchen and dining room filled with tubs of soaking rice and pans of potu ready for delivery.  Ahh…those were the good ‘ole days.

Events - 0324

This is my friend, Judy Dillinger’s recipe.  Being away from home, I definitely don’t have access to a lot of home-grown ingredients, tuba being one of them.  Judy’s recipe makes use of readily available ingredients that you can find in almost any grocery store.  It’s also quick and easy, using rice flour instead of soaking rice overnight.

Events - 024

If you’d like to try another of my friend’s Potu recipes, take a look at this one by my friend, Rose Camacho.

I’ve made both recipes and I will tell you they are both equally delicious and definitely tried-and-true.

Give Judy’s or Rose’s recipes a try.  I think you’ll like them.

Here’s how to make Judy’s Potu.
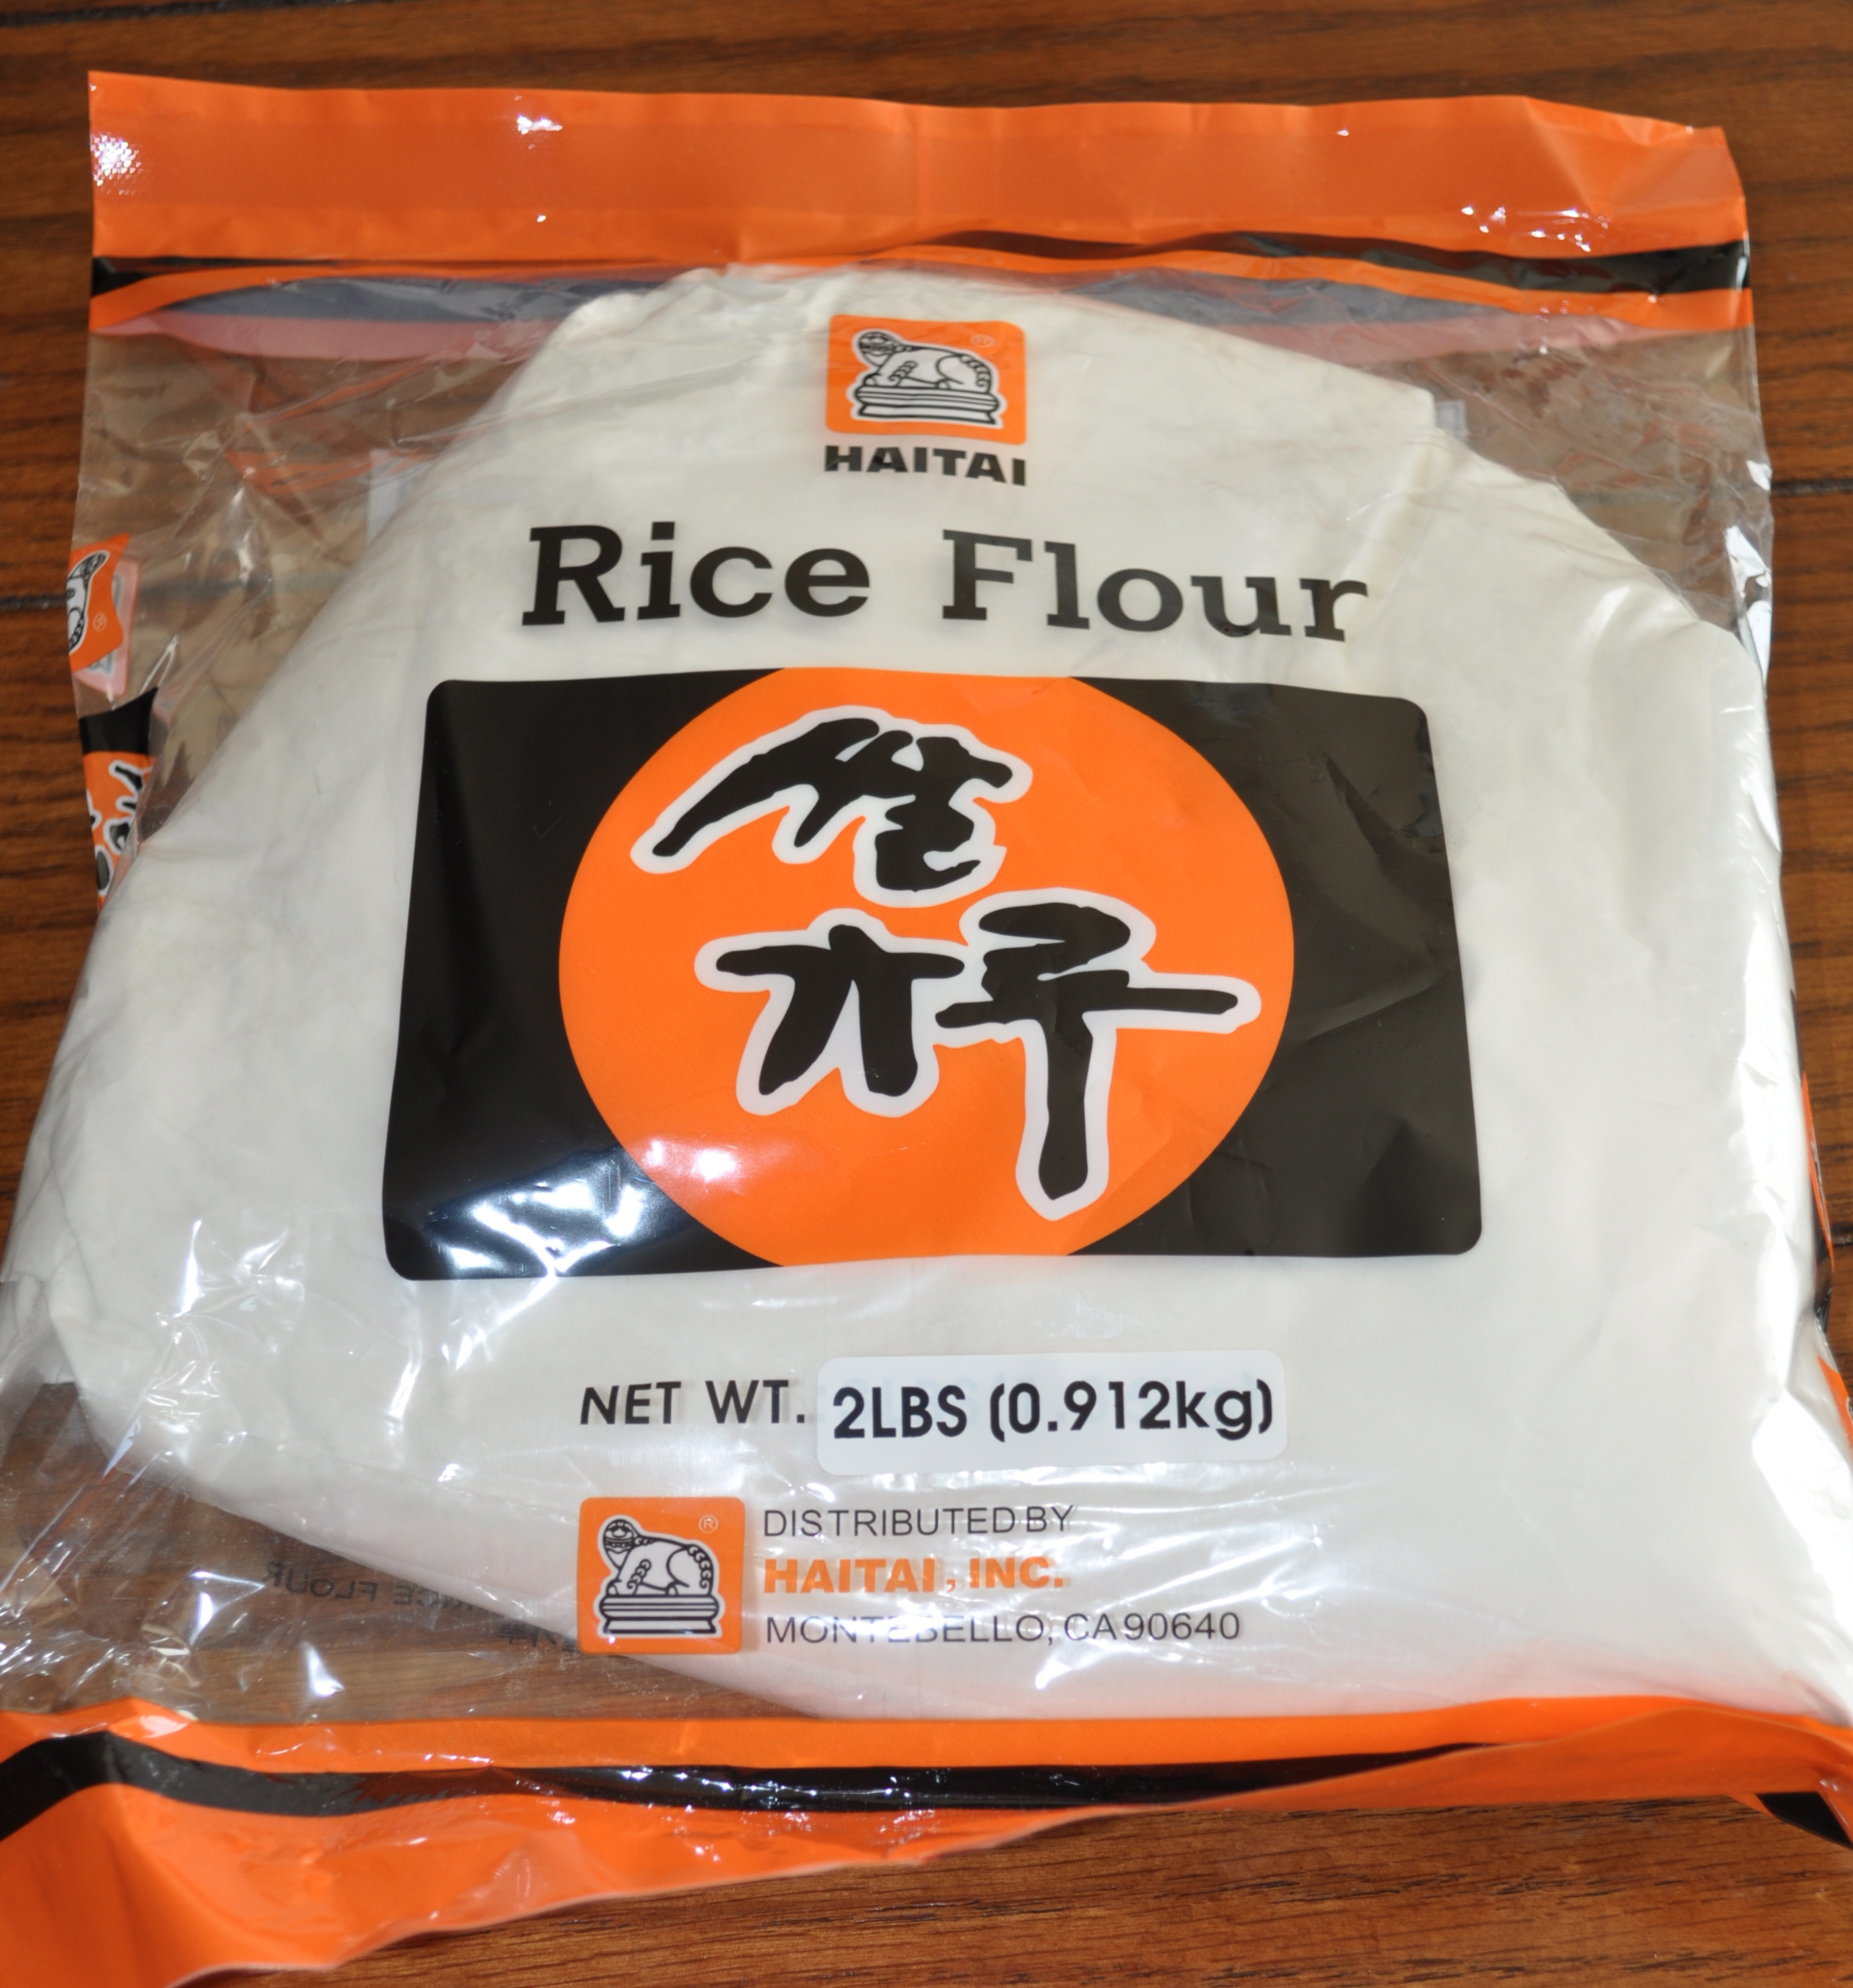
Events - 017You’ll need to find rice flour that is NOT glutinous.  The label will tell you whether it’s glutinous or not.  The glutinous kind will NOT work for potu.  Glutinous rice flour is made by grinding sweet rice, which is very sticky when cooked.  The NON-glutinous rice flour (the kind you need for potu) is made by grinding short or medium-grain rice.

This is a photo of the brand of rice flour I used.  There are many different brands; make sure the label states non-glutinous.rice flour
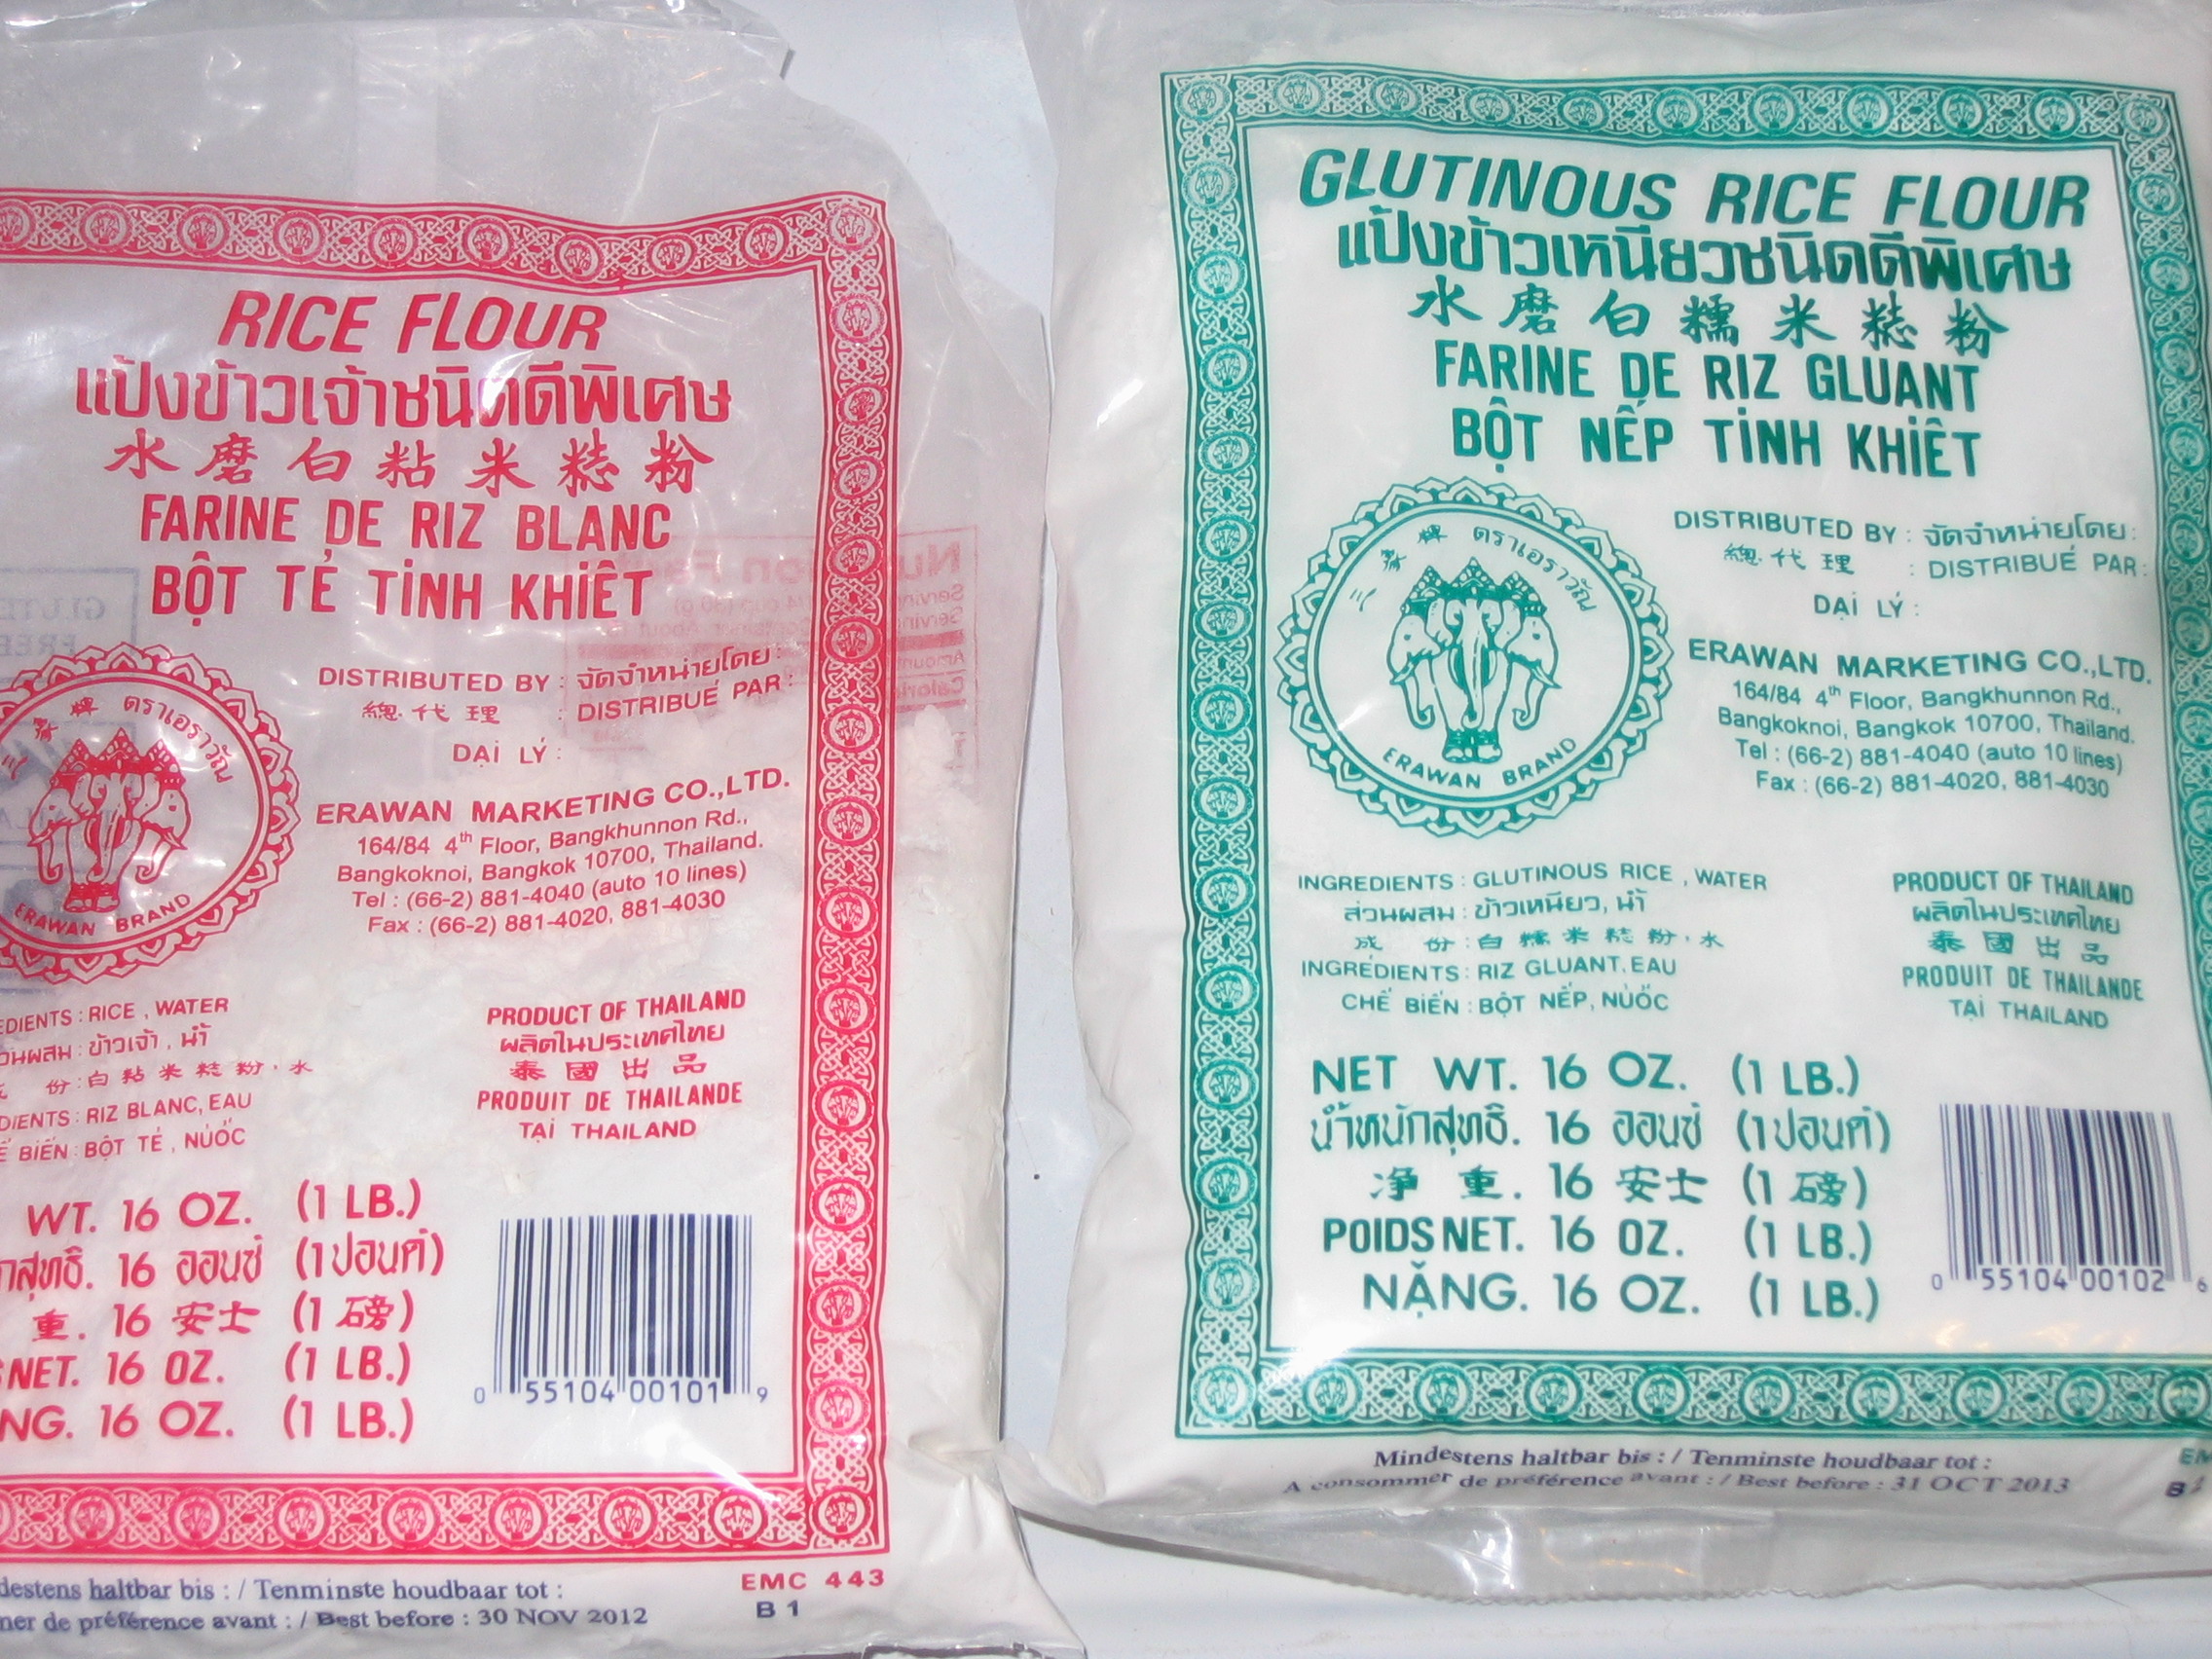
I’ve also used this brand of rice flour (the red bag, pictured on the right).  Notice that the green bag clearly states “Glutinous.”  If you’re familiar with mochi, glutinous rice flour is used to make mochi.  Again, for potu, you want to use NON-glutinous rice flour.
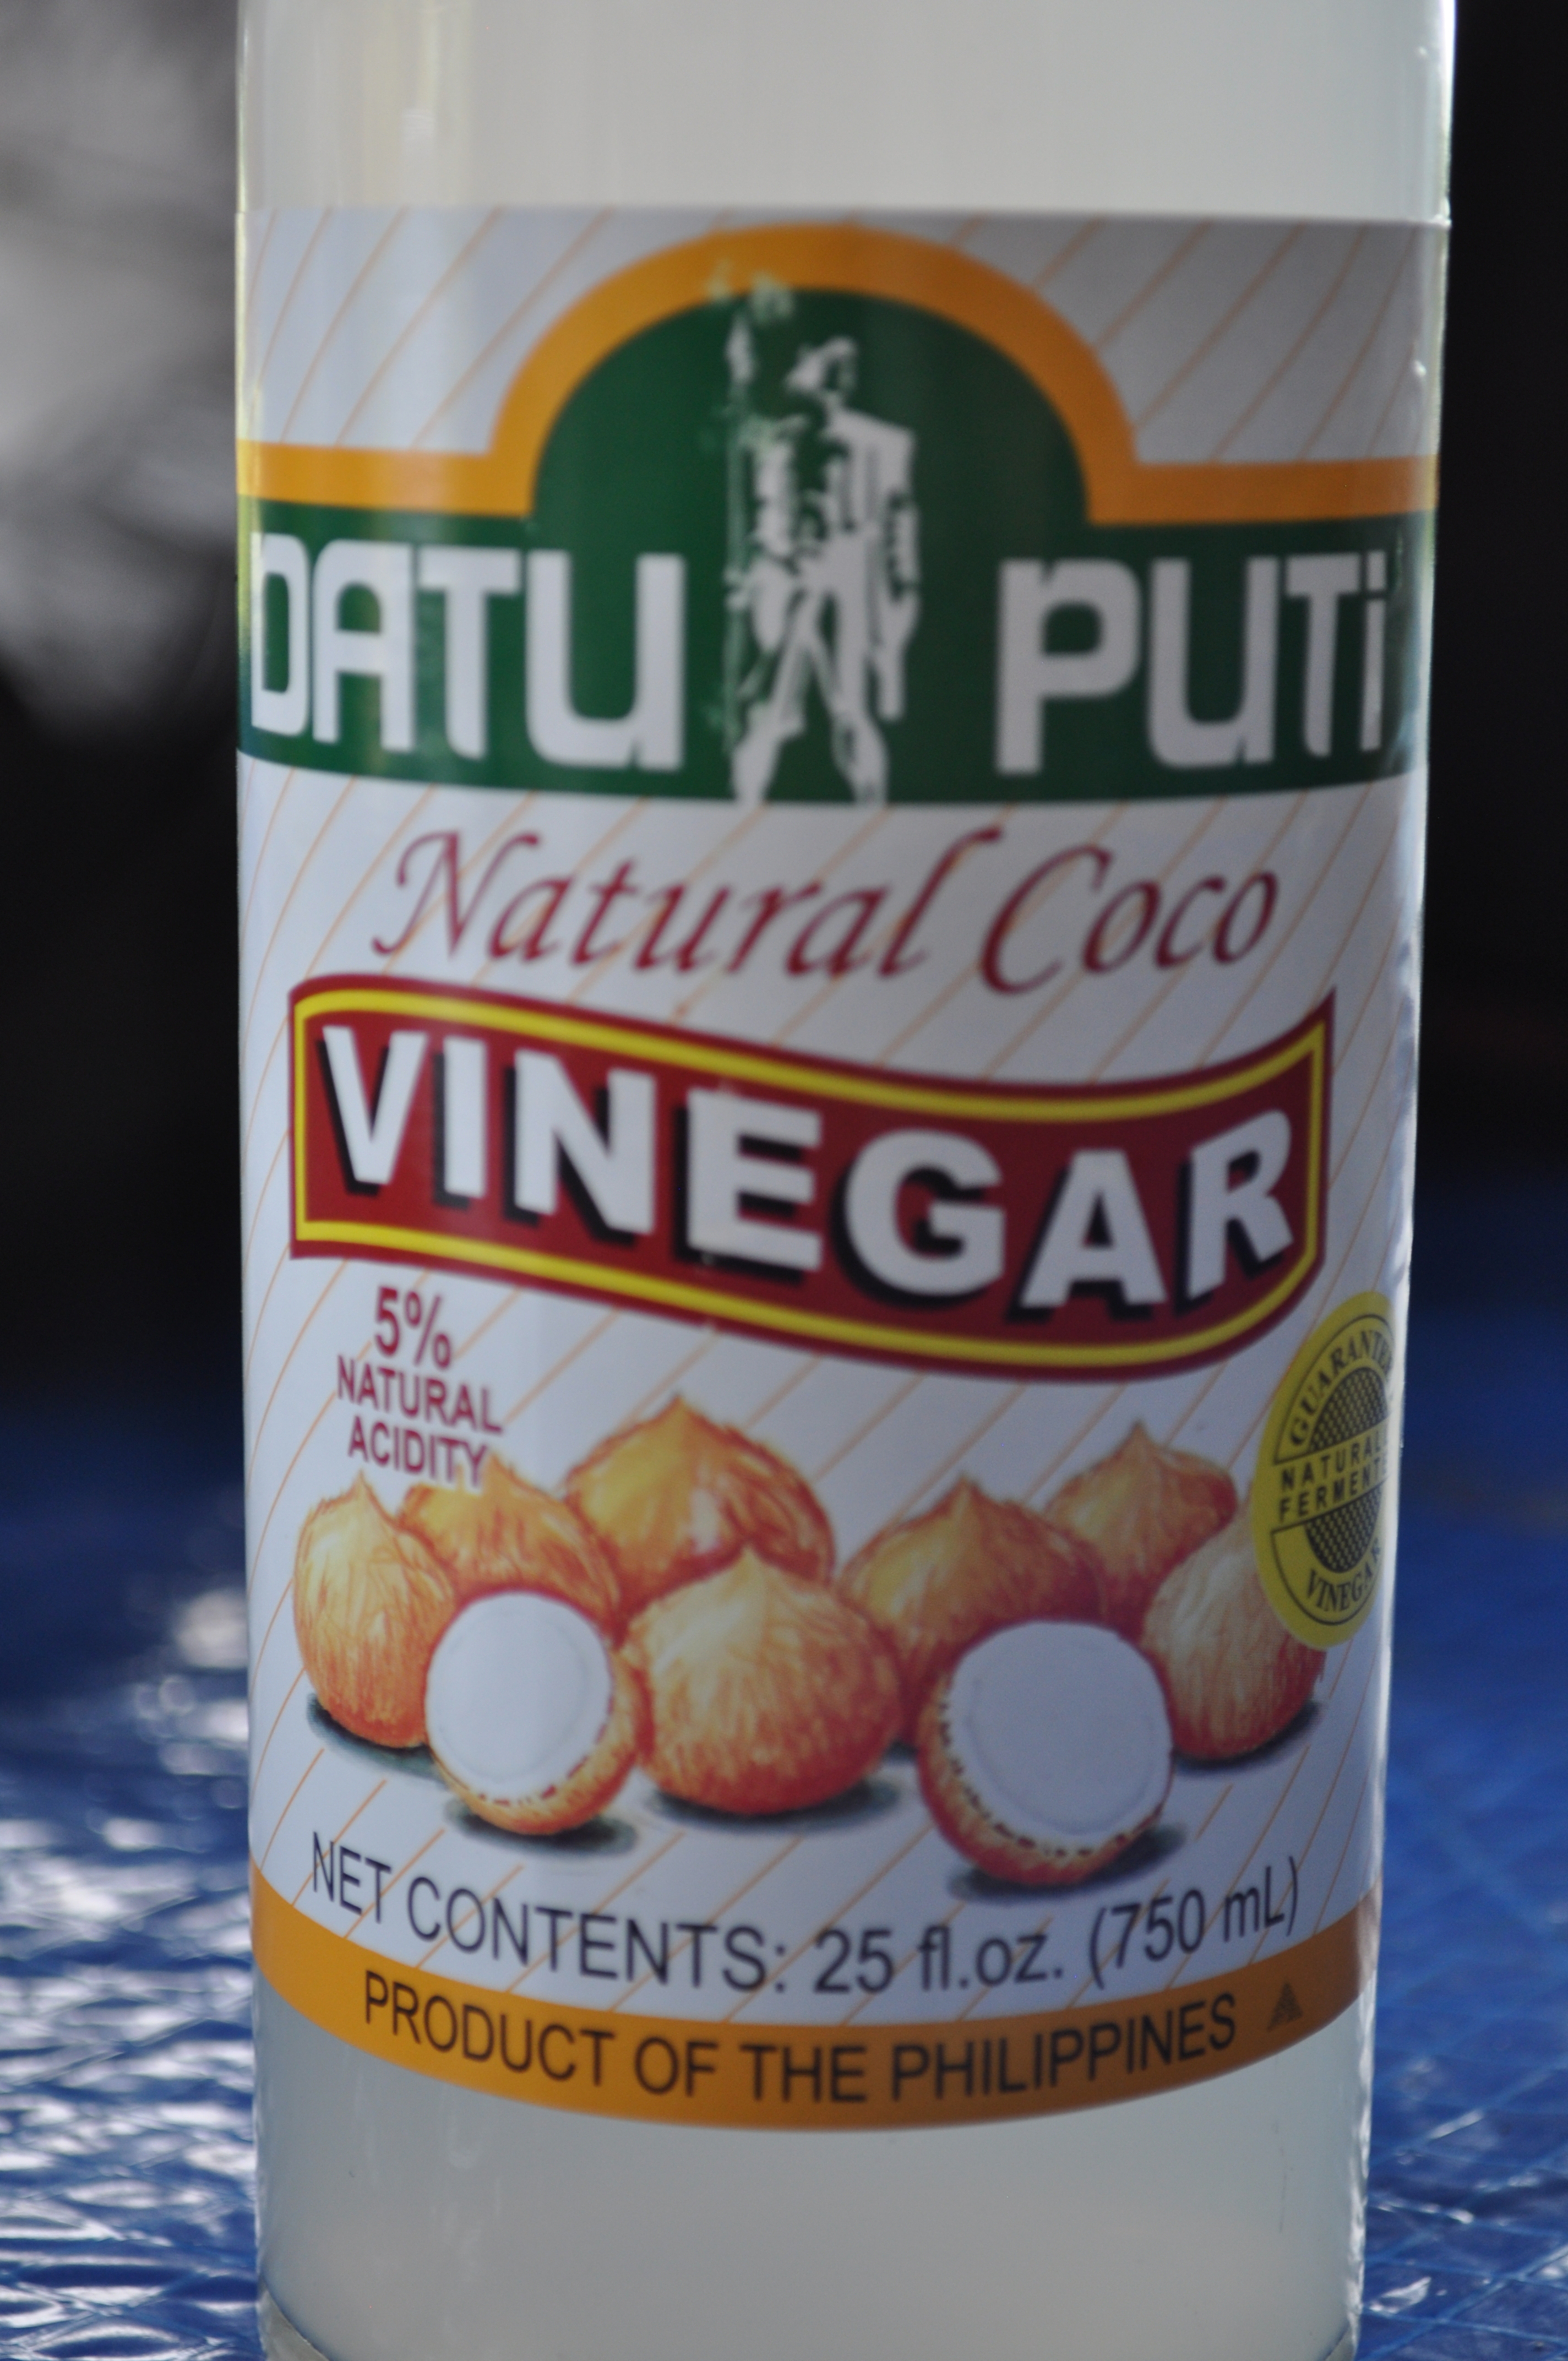
Events - 0545As I mentioned above, tuba is not available here in the states, unless you have a friend or family member visiting from home bring you some.  An easy substitute for tuba in this recipe is coconut vinegar.  You only need a little bit of vinegar.  Judy’s recipe calls for four tablespoons mixed with enough water to make one cup of liquid.  I actually cut the amount of vinegar in half because it’s quite pungent.  This is the brand of coconut vinegar I use.

Mix the vinegar with enough water to make one cup of liquid.  I only used two tablespoons of vinegar, but Judy’s recipe calls for four.  It’s all up to you, really, on how much vinegar to use.  Remember, a little goes a long way.

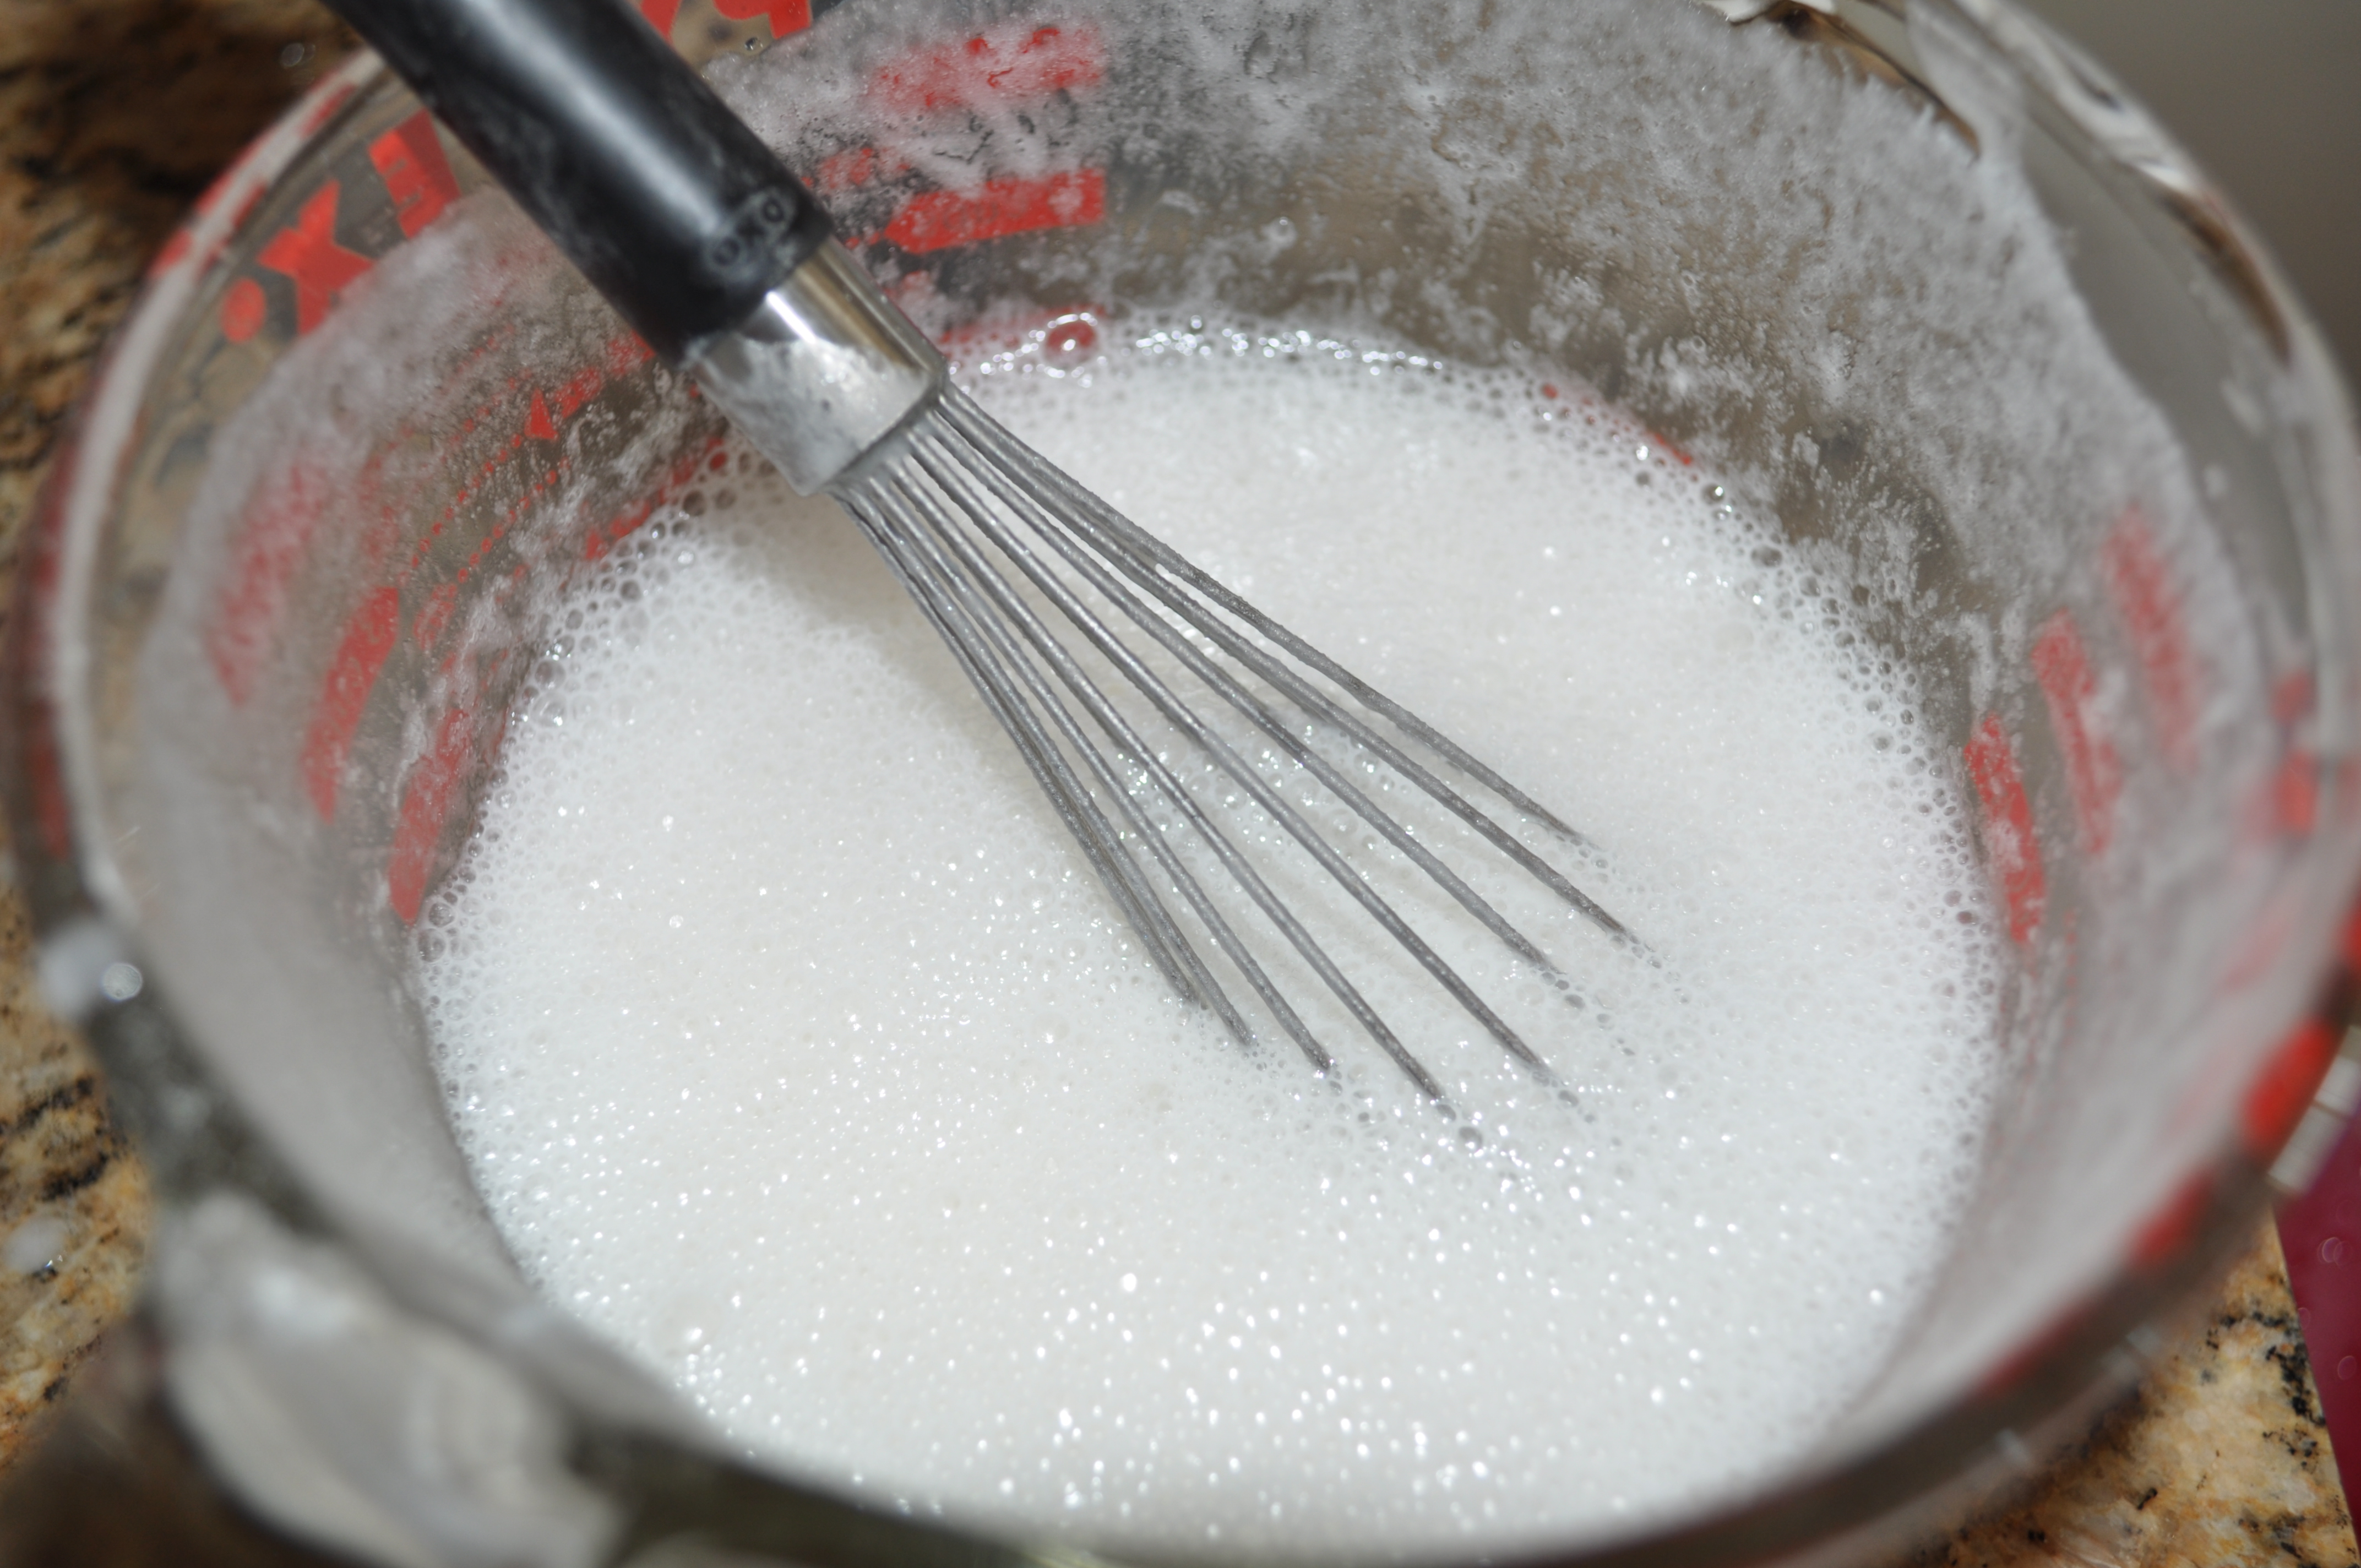
Mix the rice flour, sugar and baking powder with the vinegar-water mixture.  Let the mixture sit for a few minutes — it will get very bubbly.

Events - 022

Pour the batter into molds, filling them almost to the top.  I’ve used silicone molds, little glass cups and the silicone molds lined with mini cupcake paper liners, all with success.

Place the molds into your steamer basket before filling — it’s easier than trying to place full cups into the basket without spilling any batter.
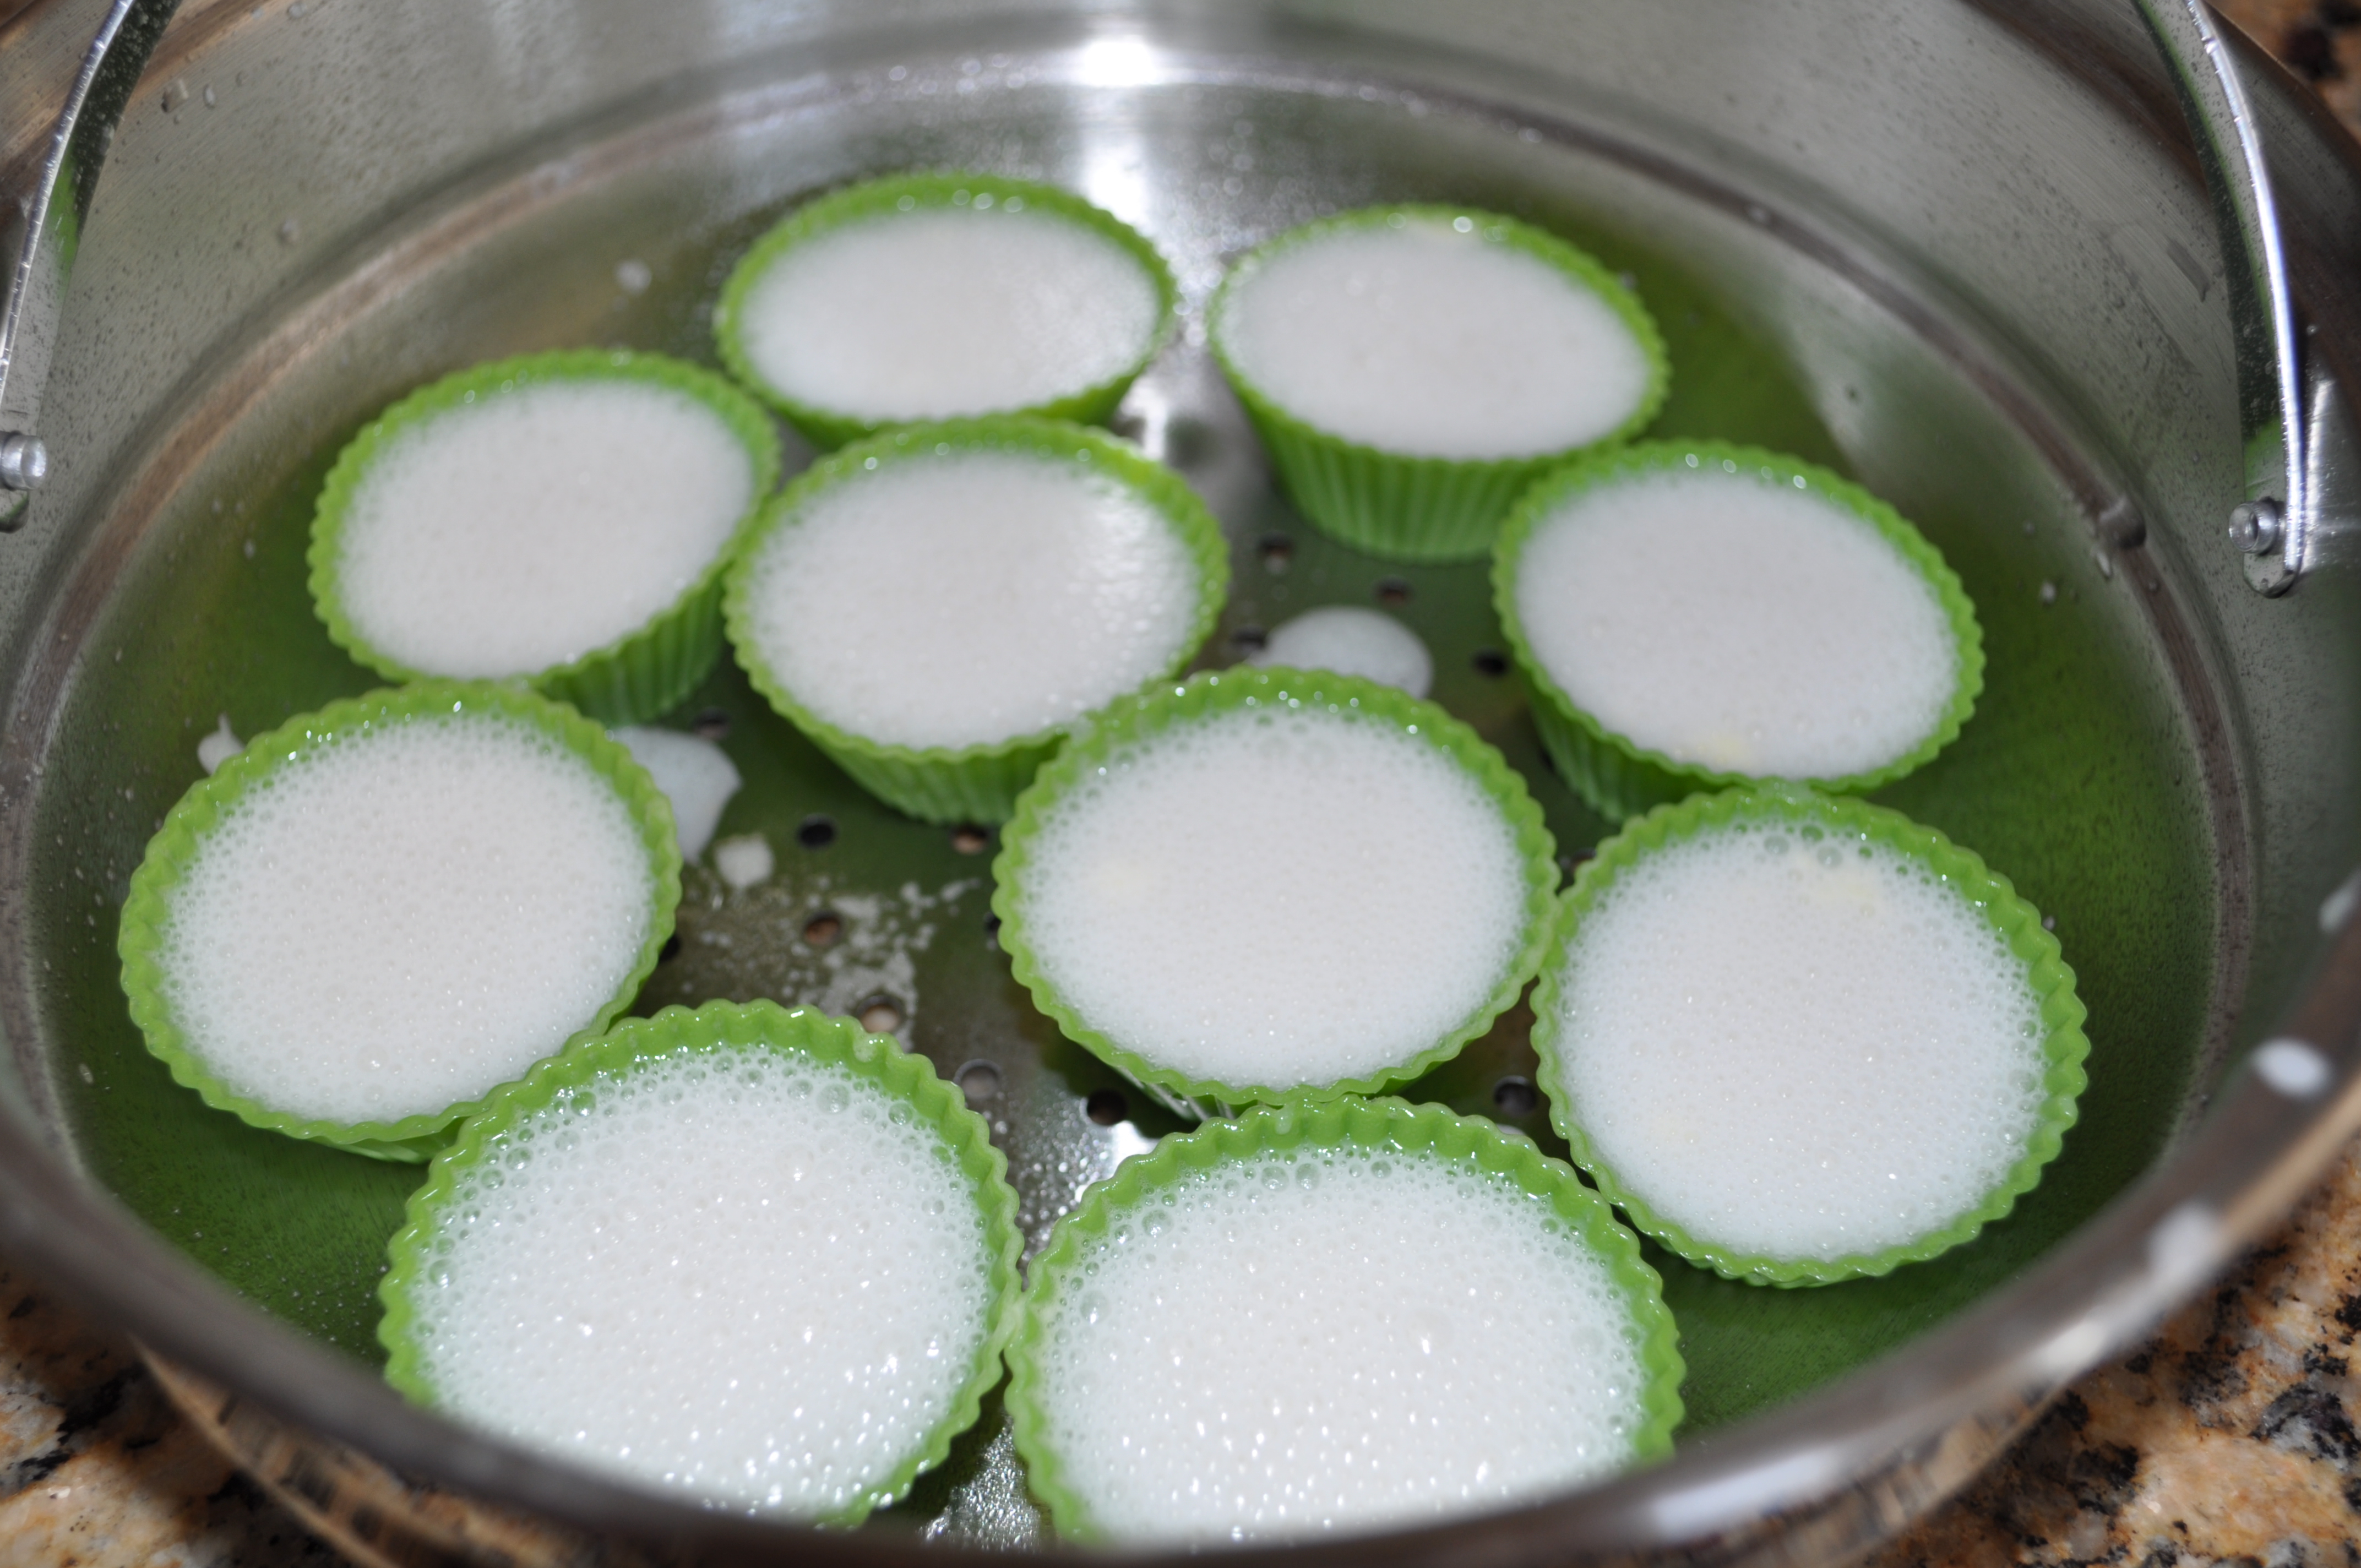
Events - 020Place the steamer basket into the steamer.  Place a clean kitchen towel or cheesecloth beneath the lid to keep the condensation from dripping back onto the potu.
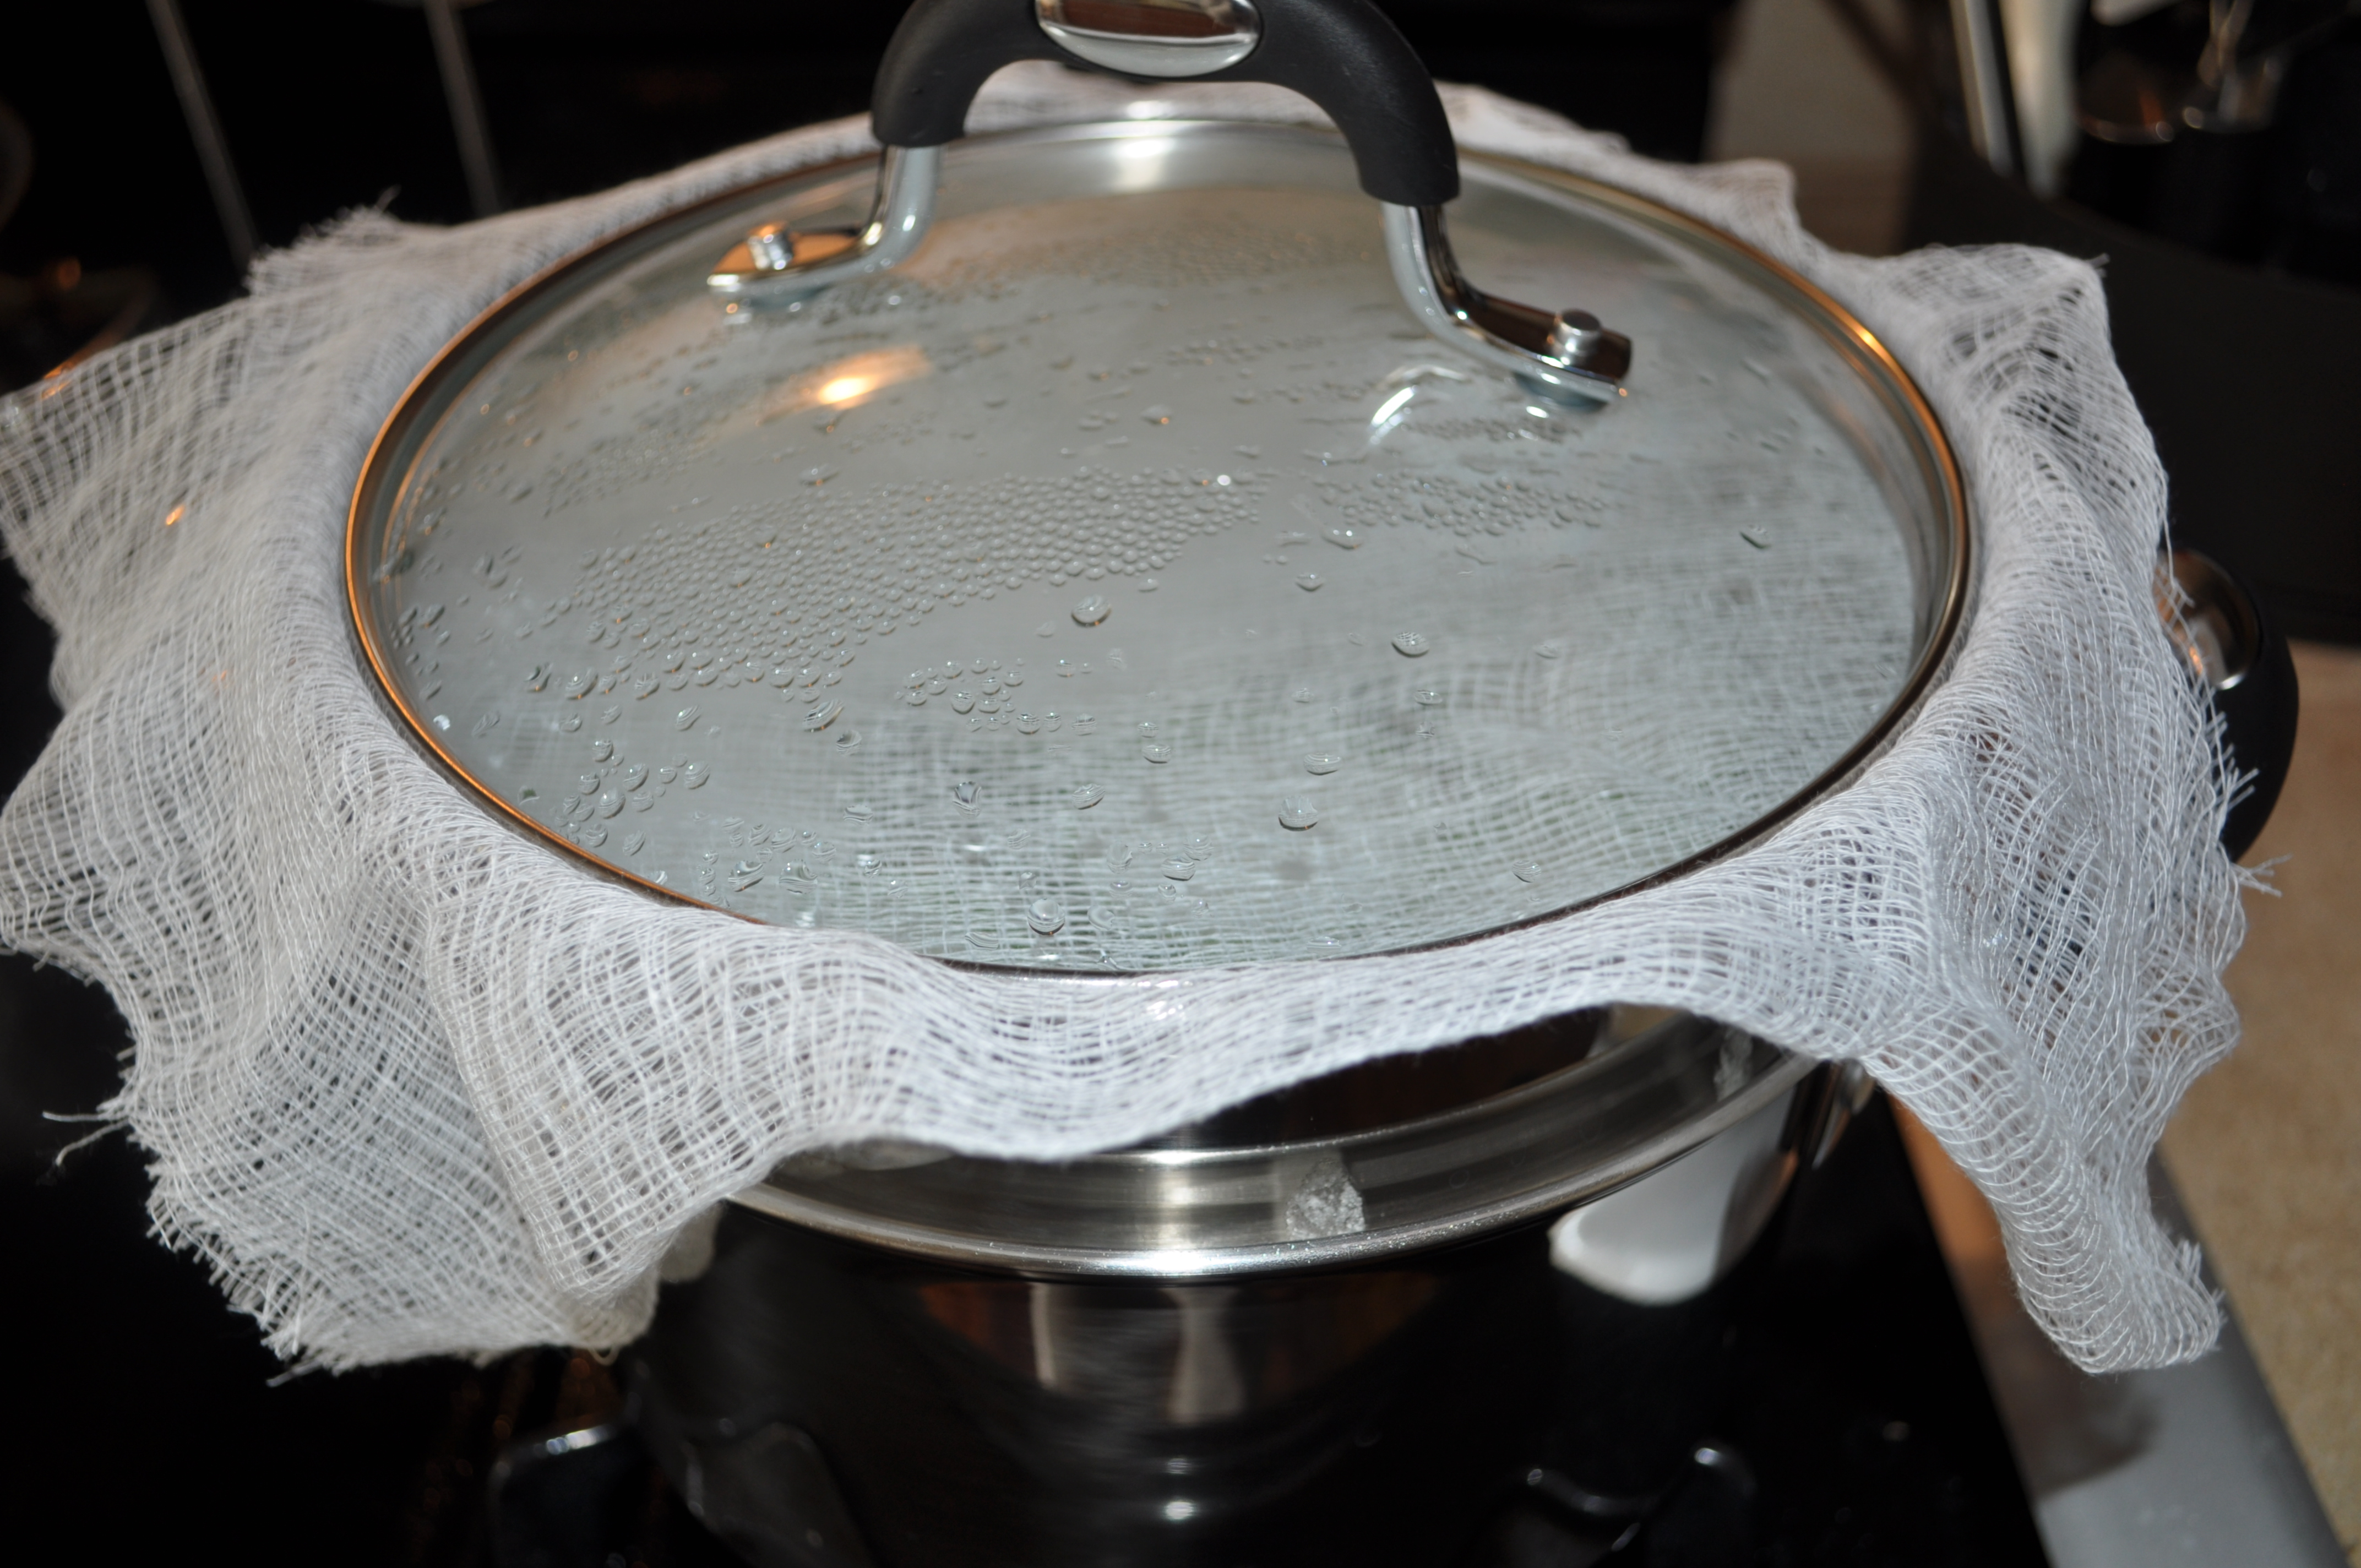
Events - 023Steam for about 20 minutes.  The tell-tale crack on top indicates the potu is done.  Let the potu cool for a few minutes before removing from the molds.  Serve and ENJOY! 🙂


Potu
 
A sweet steamed rice cake that's light and fluffy and easy to prepare.
Author:
Recipe type: Dessert
Cuisine: Chamorro
Serves: 2½ dozen
Ingredients
  • 1 cup rice flour (make sure it's NOT glutinous rice flour)
  • ¾ cup sugar
  • 1½ tablespoons baking powder
  • 4 tablespoons vinegar mixed with water to equal 1 cup of liquid (OR use 1 cup sweet tuba)
Instructions
  1. Mix all ingredients in a bowl and let it sit for about 15 minutes.
  2. Pour the mixture into miniature molds and steam for about 15-20 minutes.


Daigo’ Kimchi with Rokkyo & Pickled Garlic

This is a very simple salad or side dish made with pickled daikon radish, pearl onions, and garlic.  This is not a dish you want to eat before venturing out into public…your pores will exude an odor that is guaranteed to chase away even the scariest of vampires.

Daigo’ (pickled daikon radish), Rokkyo’ (pickled pearl onions) and pickled garlic are popular snacks on Guam.  Visit your local village store and you’re likely to see large jars filled with these pickled delights for sale.

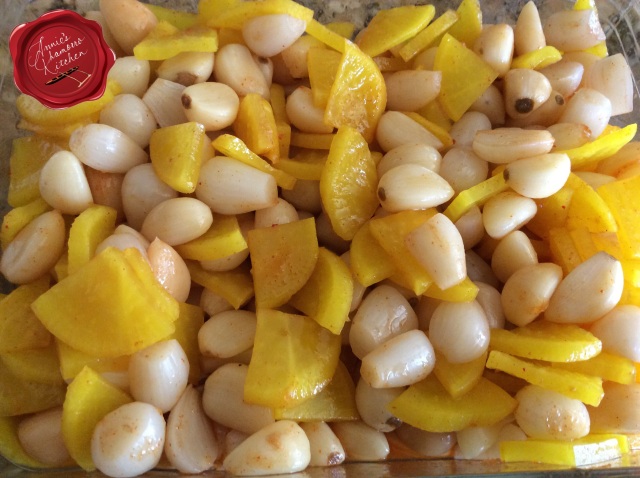
imageTo make an easy kimchi, mix together Kimchee Base and white vinegar, adding it to the bowl of mixed vegetables.

image

Let the mixture marinate for about 30 minutes before serving to allow the flavors to develop.  Serve and ENJOY! 🙂


Daigo' Kimchi with Rokkyo & Pickled Garlic
 
Author:
Ingredients
  • 1 package sliced pickled daikon radish
  • 1 small package (about 2 cups) pickled pearl onions
  • 1 small package (about 1 cup) pickled garlic
  • ¼ cup Kimchee Base
  • ½ cup white vinegar
  • Hot pepper, optional
Instructions
  1. Mix all ingredients together.
  2. Let the mixture marinate for 30 minutes to allow the flavors to meld.
Serve and ENJOY!


Braised Oxtail Soup

Don’t let the name of this dish turn you off.  Oxtail, as the name describes, was commonly the meaty part of the tail of an ox.  Nowadays, they are cut from the tails of cattle.  Oxtail is quite meaty, but it requires a long and slow braising to tenderize the tough meat.

image

You can cut the cooking time down several hours by using a pressure cooker.  I prefer braising the oxtail long and slow, however, which helps to develop an incredibly rich broth.

image

Look for oxtail with a lot of meat and not much fat.  Rinse the oxtail then trim off as much fat as you can.  This is what I trimmed off from 5 packages of oxtail (with about 4 oxtails per package).

image

The richness of your broth starts by browning the oxtail.  I did this in batches so that I could turn each oxtail over to ensure even browning.  Browning creates amazingly delicious flavor compounds that ultimately gives the resulting dish an extremely rich, deep flavor.  Don’t skip the browning process; trust me.

image

The next step to developing that incredibly rich flavor is to brown your aromatics.  Do this BEFORE adding any liquid.

Add onions, garlic and black pepper to the pot.  Do this when you have just one layer of oxtail in the pot.  Set the rest of the browned oxtail aside for now; you’ll add it back to the pot in a few minutes.  Cook the onions just to the point where they become a golden brown and begin to caramelize.

image

Now the magic begins.  Add the rest of the oxtail back into the pot then pour in enough water to completely cover the oxtail.  Place a lid on the pot and cook over medium-low heat.  If you decide to braise the oxtail long and slow, plan ahead as this will take several hours — I braised mine for about 5 1/2 hours over a slow boil.

A note about boiling meat:  As meat boils, a foamy substance forms on the surface.  This is called scum.  The scum is denatured protein.  It is harmless, and eventually the foam breaks up and disperses into the stock.  Although harmless (and flavorless), the scum leaves the broth gray and cloudy.  Every so often, skim the surface, removing the scum.

Every 30 minutes or so, at about the same time you skim the scum off the broth, check to ensure the level of liquid stays above the meat.  Add enough water to maintain the level of liquid above the oxtail.  Keep doing this for the first three hours.

After hour number three of braising, add my secret ingredient (shhh…don’t tell anyone):  half a bottle of marsala wine.  Marsala wine adds deep, savory notes to the broth.  After adding the wine, if the level of liquid is still not above the meat, add more water.  Continue to cook over medium-low heat for another two hours.

After five hours of braising, taste the broth.  Add salt and pepper, to taste.  Instead of salt, I like adding a few tablespoons of Dashida seasoning.  If you can’t find Dashida (a Korean beef-flavored powdered seasoning), use beef bouillon.  Taste and adjust the seasonings to your liking.

Add your favorite vegetables during this last 30 minutes of cooking.  Sometimes I add potatoes and carrots, or squash (a favorite).  Baby bok choy is another favorite.  Squash cooks quickly, so add it last to prevent overcooking them.  Baby bok choy cooks in just a few scant minutes, so add them at the very end, just before serving.

image

Serve over hot white rice with a good amount of broth and ENJOY! 🙂

Give my recipe a try.  I think you’ll like it.

image


Braised Oxtail Soup
 
Prep time
Cook time
Total time
 
Author:
Serves: Serves 4-6
Ingredients
  • 15-20 pieces of oxtail, excess fat trimmed off
  • 1 medium onion, diced
  • 2 tablespoons chopped garlic
  • 1 teaspoon black pepper
  • Water, enough to completely cover the oxtail
  • ½ bottle marsala wine, about 2 cups
  • 4 tablespoons Dashida seasoning (or powdered beef bouillon)
  • Salt and pepper, to taste
  • 4 medium squash, peeled and cut into large pieces
  • 12 baby bok choy
Instructions
  1. Brown the oxtail in batches over medium-high heat (brown one layer of oxtail at a time). Set the browned oxtail aside.
  2. Add the onions, garlic and black pepper to the pot. Cook until the onions begin to caramelize.
  3. Return all of the oxtail to the pot. Add enough water to cover the oxtail. Cover the pot and reduce the heat to medium-low; simmer for 5½ hours, skimming the scum off the surface periodically. Keep the water level above the meat throughout the braising.
  4. After three hours of simmering, add the wine to the pot. Simmer for 2½ more hours.
  5. Add the Dashida. Taste the broth then add salt and pepper to taste.
  6. Add any vegetables last, cooking until the vegetables are done to your liking.
Serve and ENJOY!


Chicken Chalakiles

Chicken Chalakiles is one of my favorite Chamorro comfort foods.  It’s a soup made with chicken, onions and garlic, thickened with toasted ground rice, and made even more rich with the addition of coconut milk.

Chalakiles can be served as your main dish or as a soup served before your entrée.

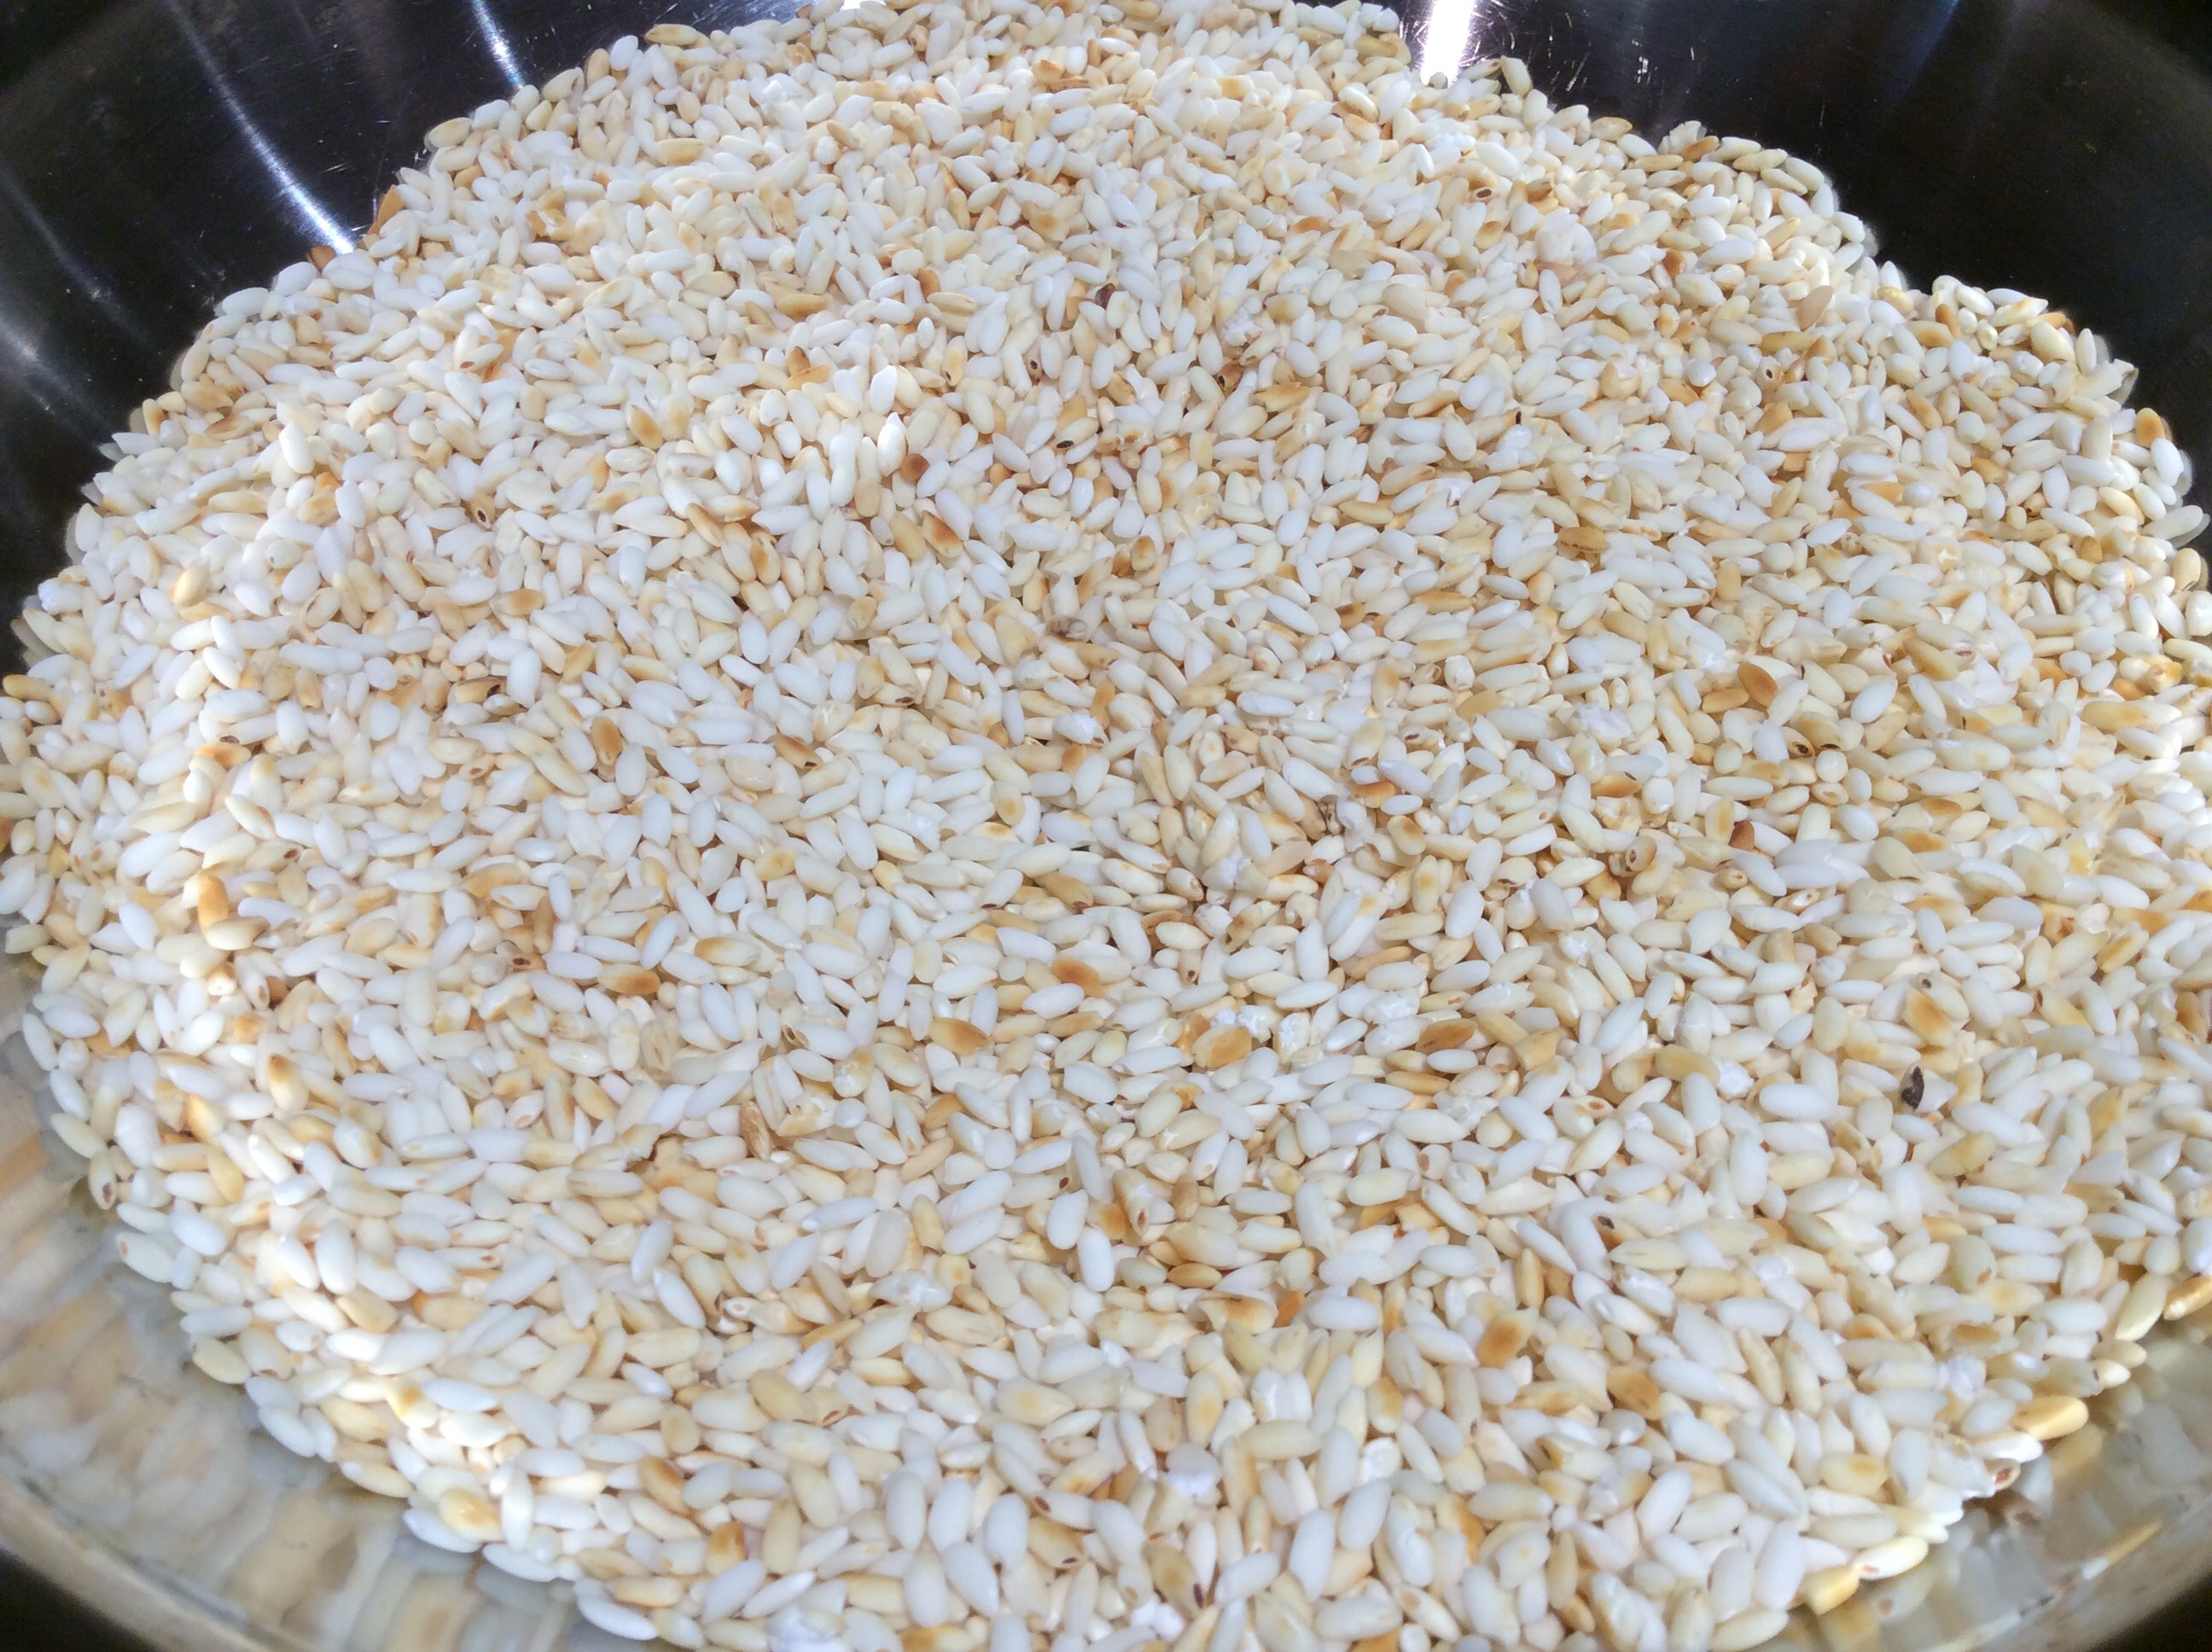
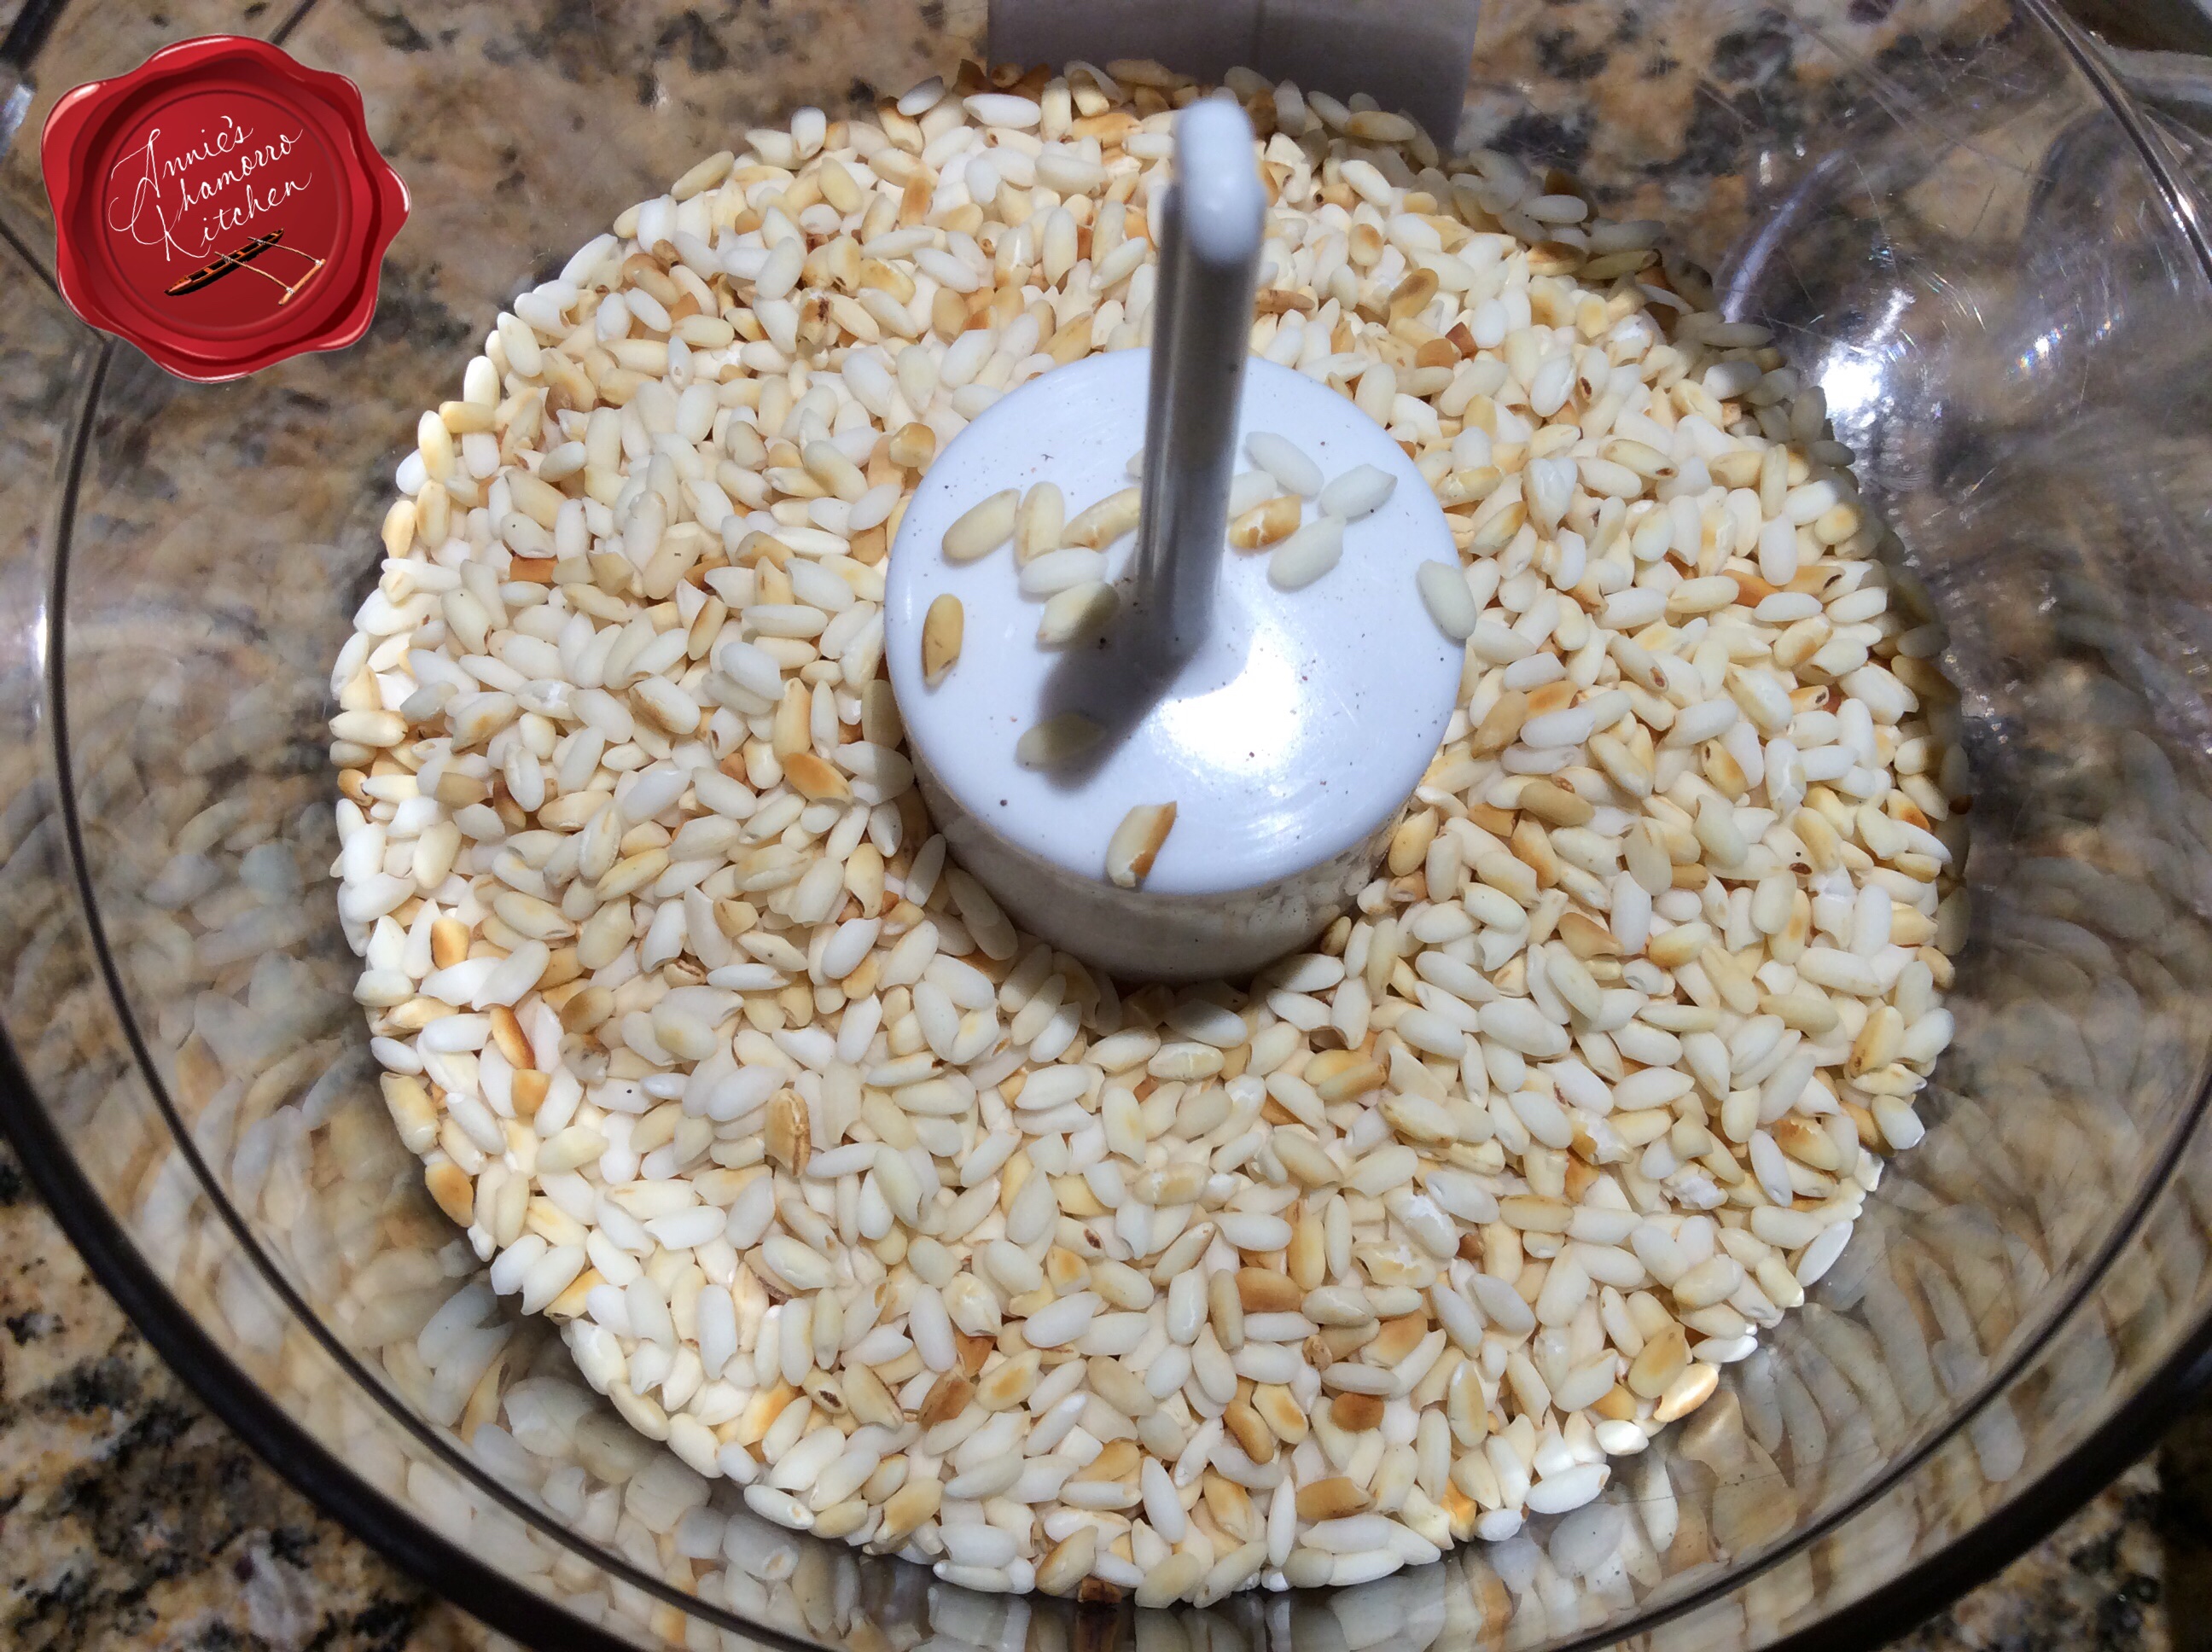
I make my Chalakiles the way my mom taught me — with freshly toasted and ground rice.  A quick and easy substitute is to use Cream of Rice instead. Toasting rice is easy.  Place the rice in a skillet over medium heat.  Cook until the rice turns golden brown, stirring constantly to prevent any rice from over-browning (and burning).

Let the rice cool for a few minutes then place in a food processor (I have a mini food chopper/grinder that works well).

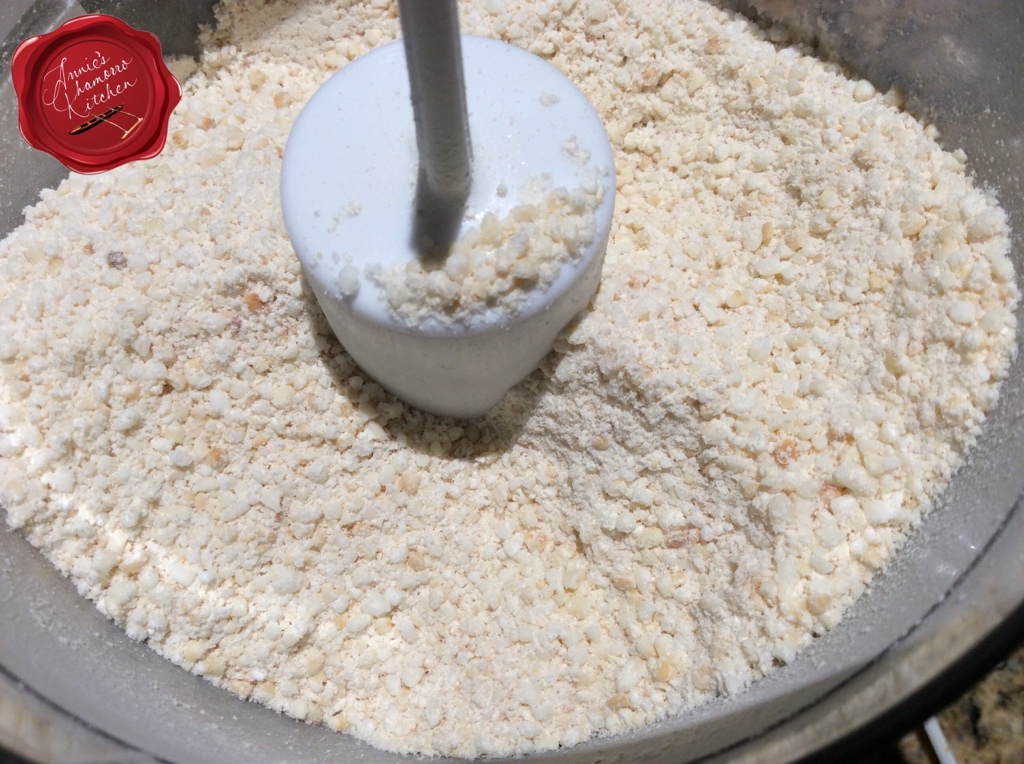
Grind the rice into a mixture that looks like cornmeal.  A few large pieces of rice is okay; it will add texture to your Chalakiles once cooked.  Set the ground rice aside.

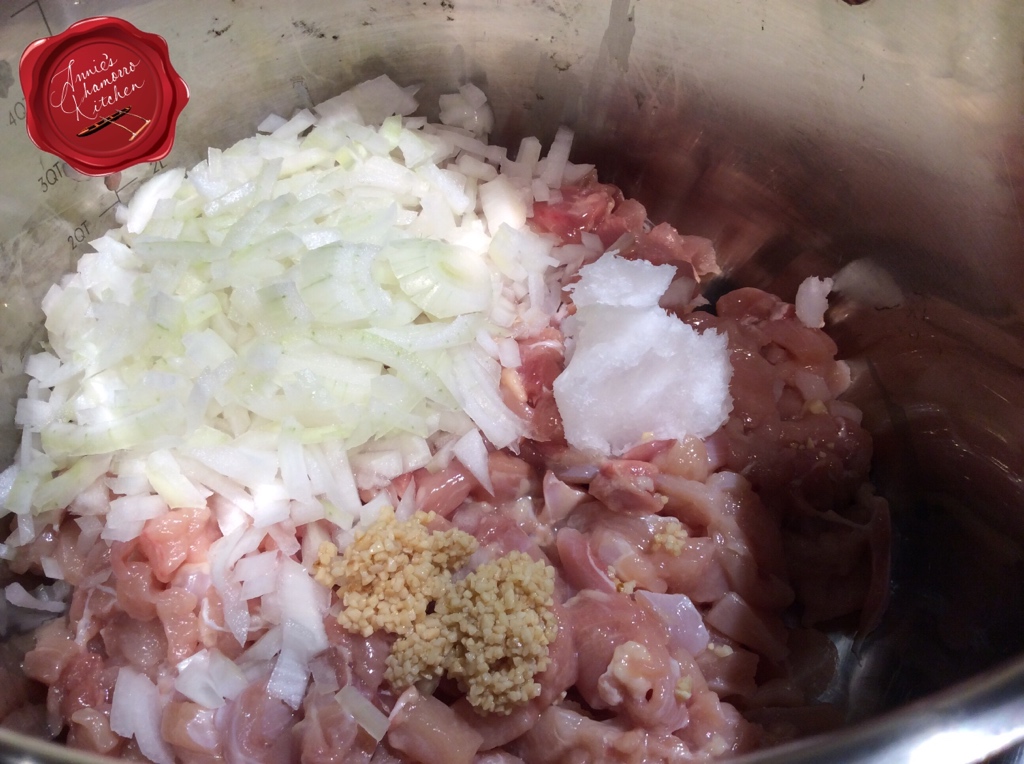
Place your chicken into a large soup pot.  You can cut the chicken to your desired size.  I diced them small here so that we could have more of a soup. My mom would use chicken drummettes or leave the chicken pieces whole if we served this as a meal.  She’d make it more on the soupy side as well so that we could also serve this with some steamed rice. Cook the chicken with onions, garlic, coconut oil and black pepper.

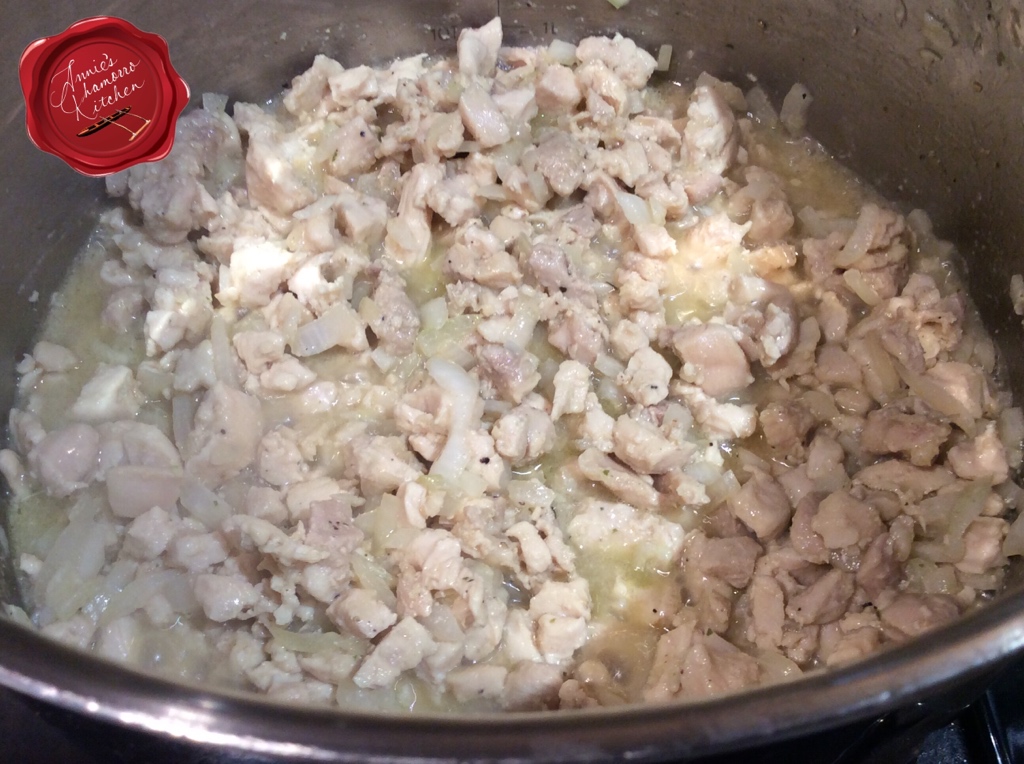
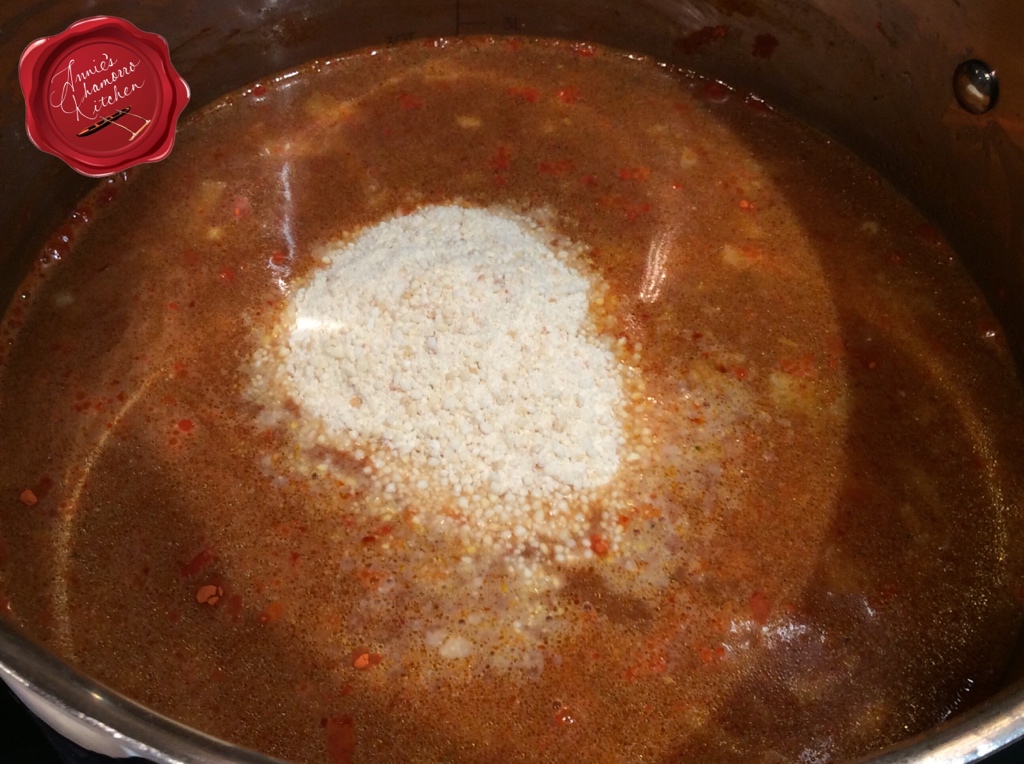
Once the chicken is cooked through and no longer pink, add chicken broth (or water and chicken seasoning), achote powder, and the ground toasted rice.

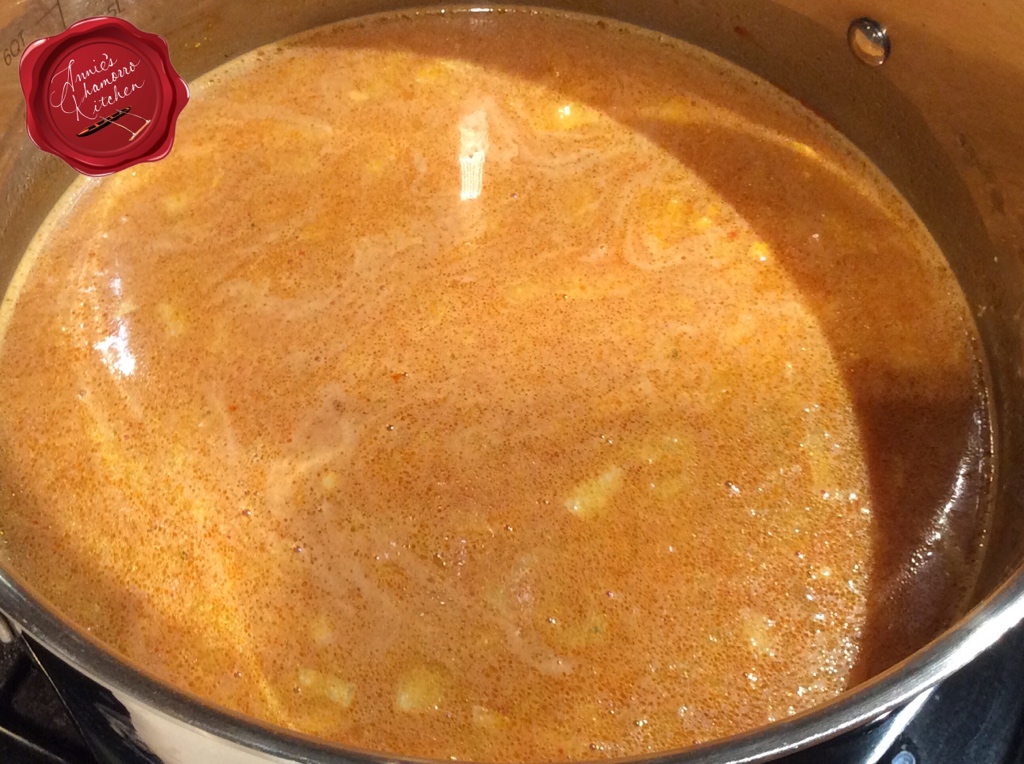
Bring the mixture to a boil; cook over medium heat for about 10 minutes (keep the pot uncovered).  Stirring occasionally to prevent the rice from settling and sticking to the bottom of the pot.

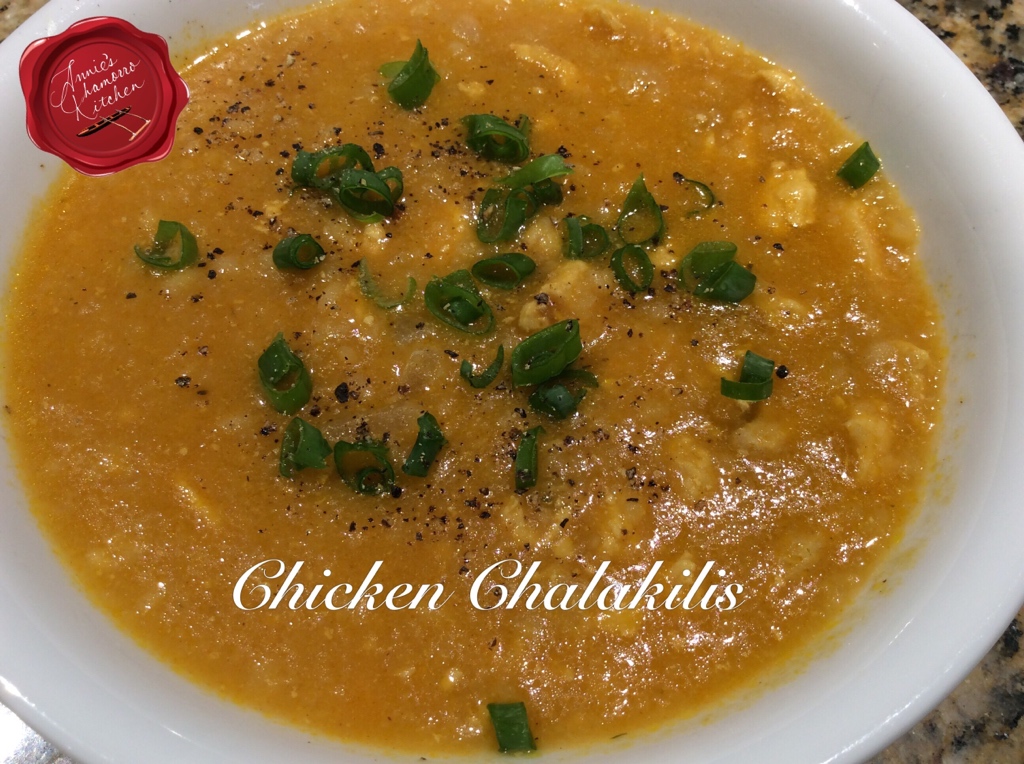
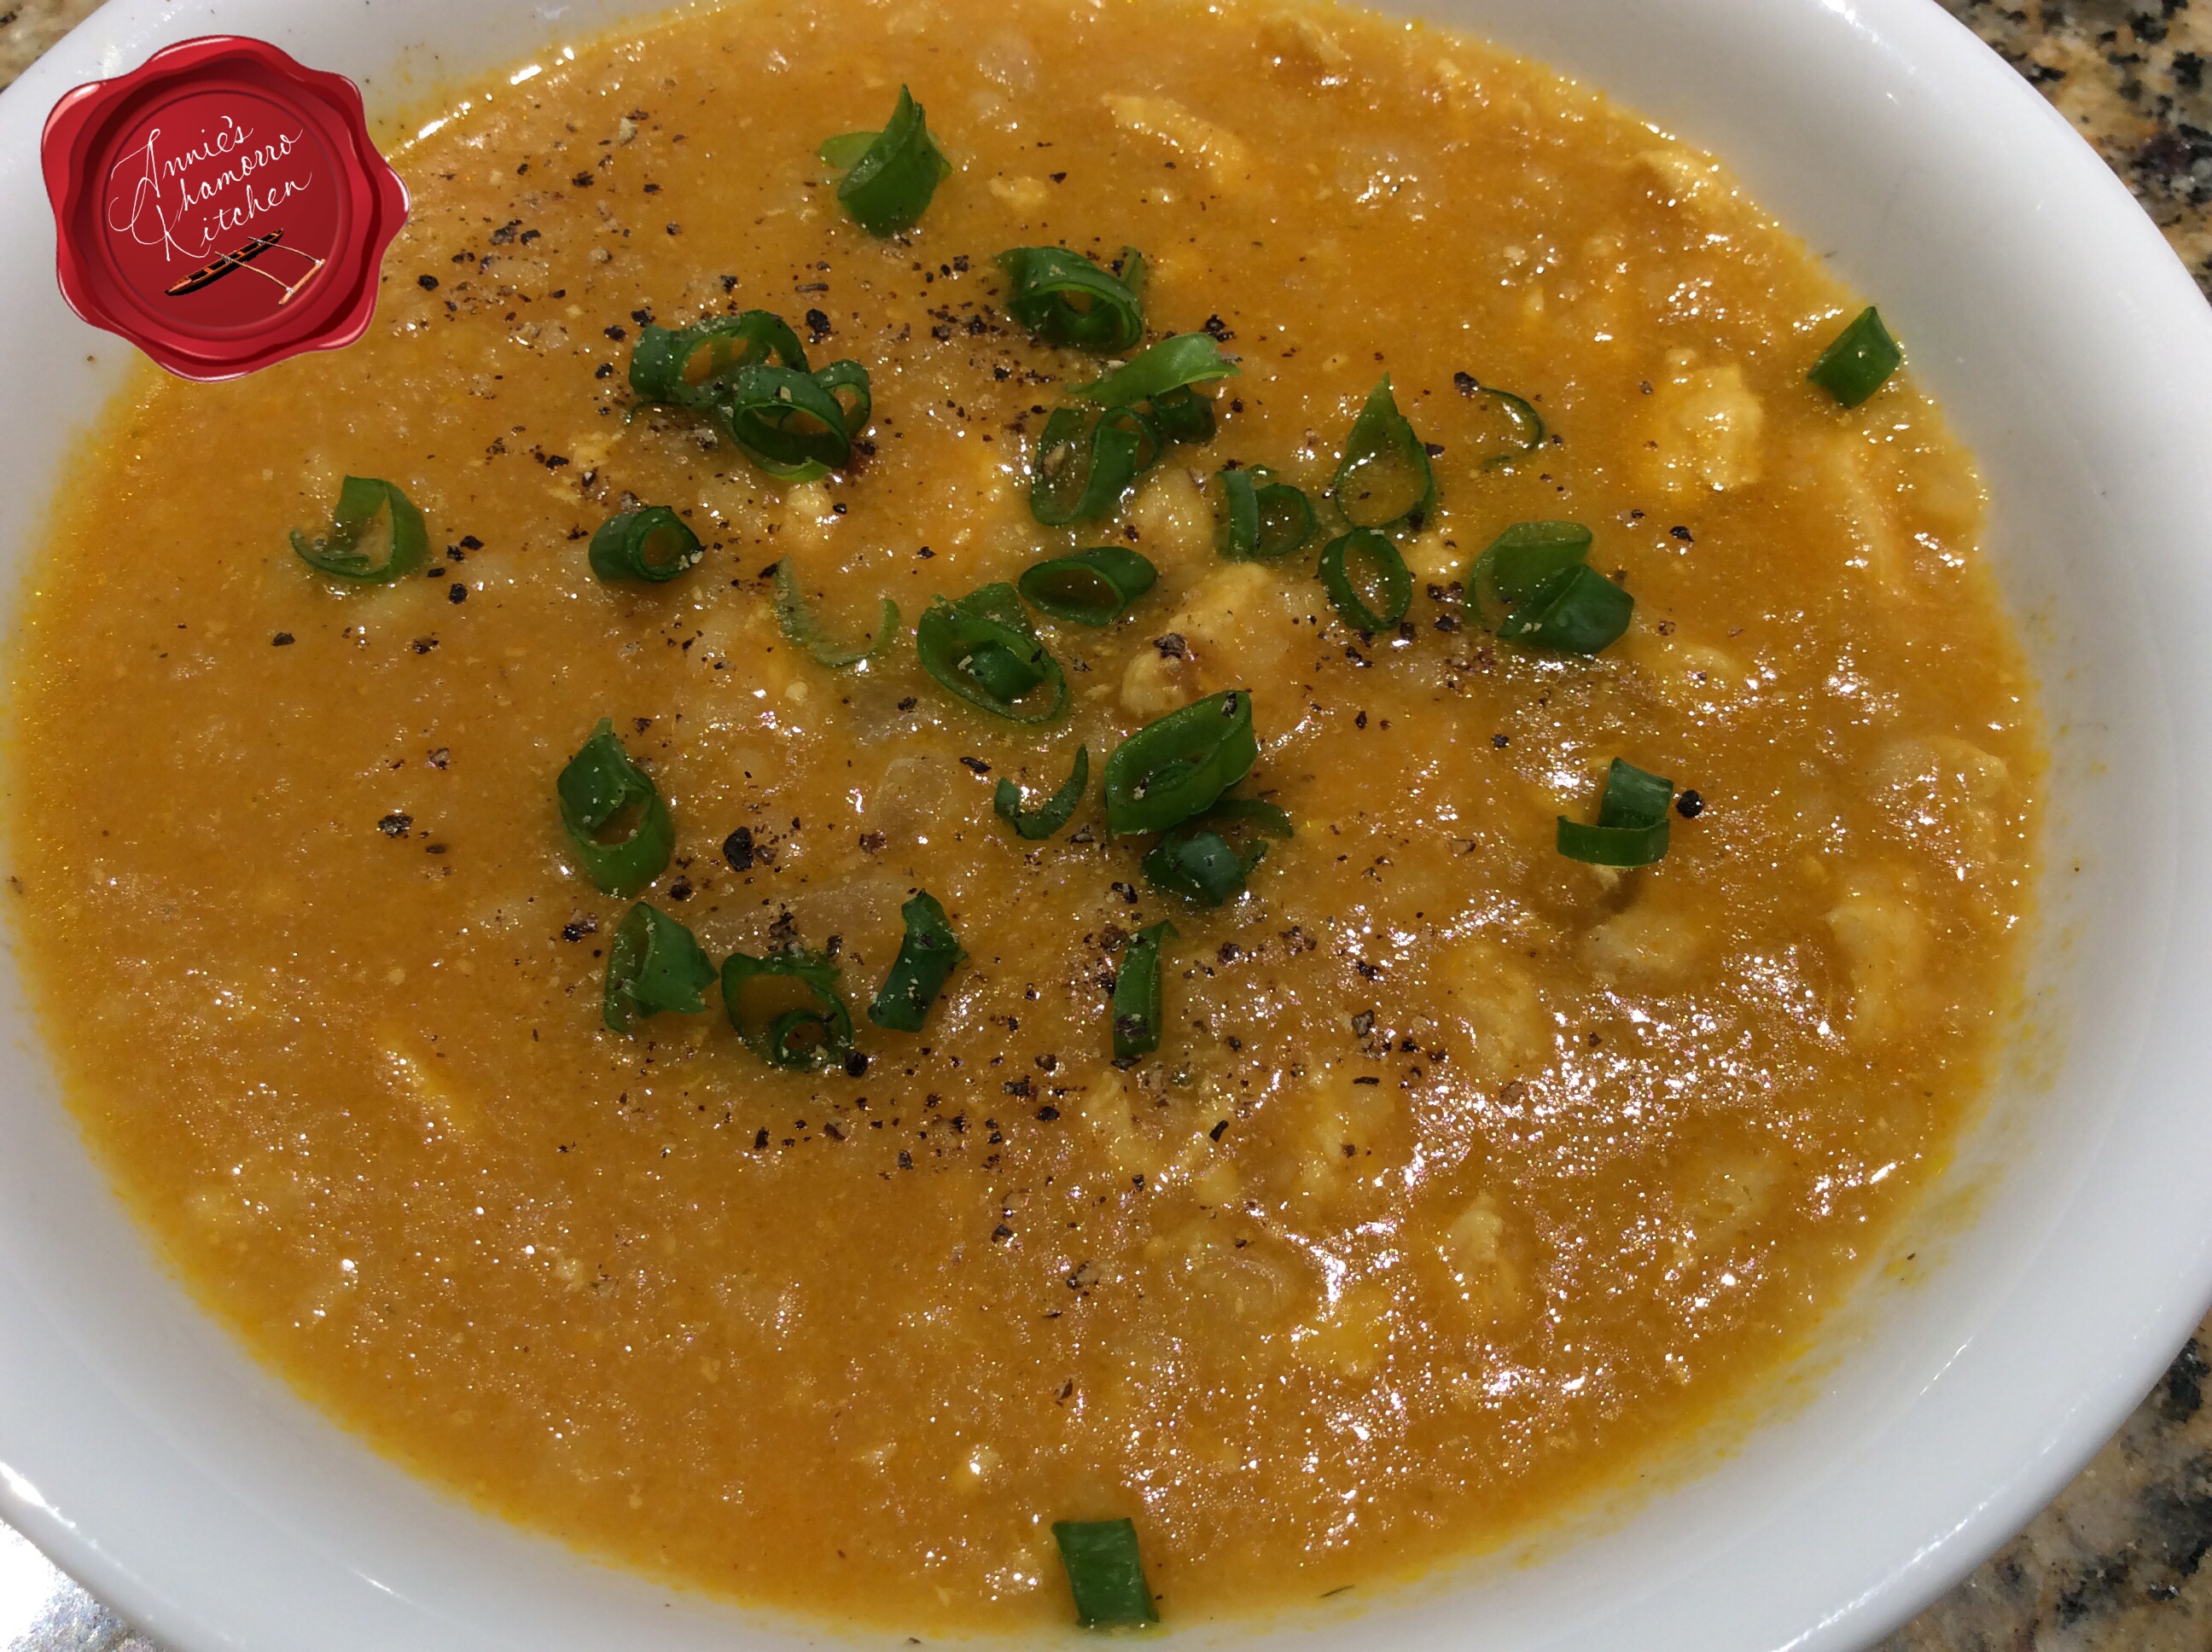
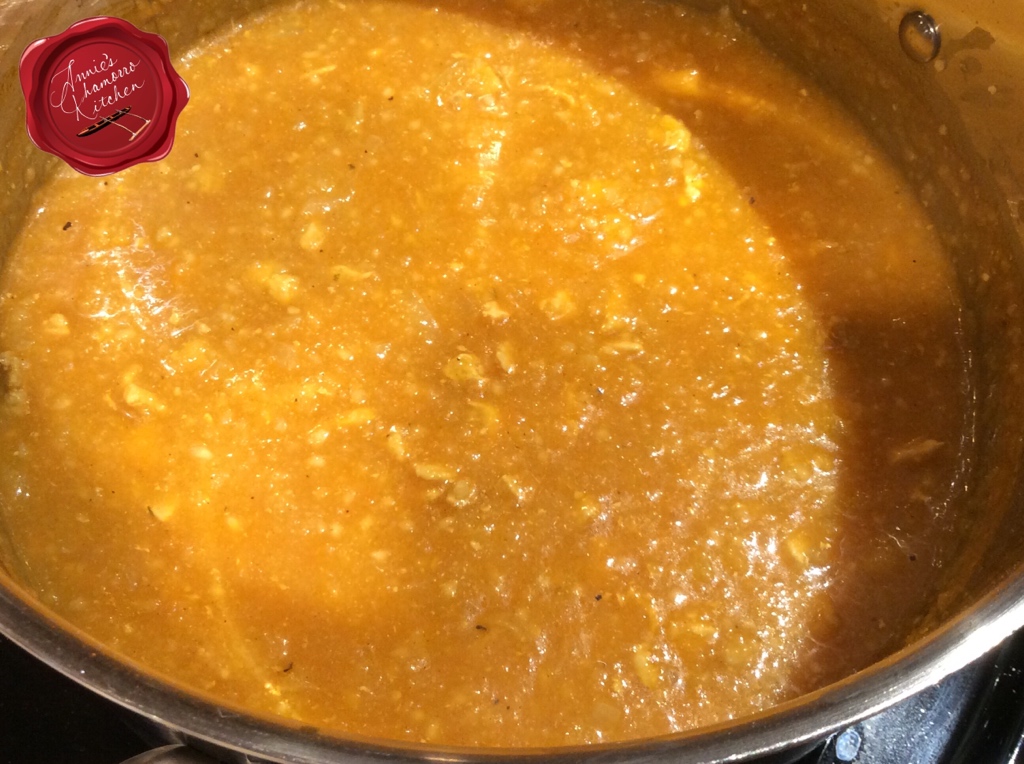
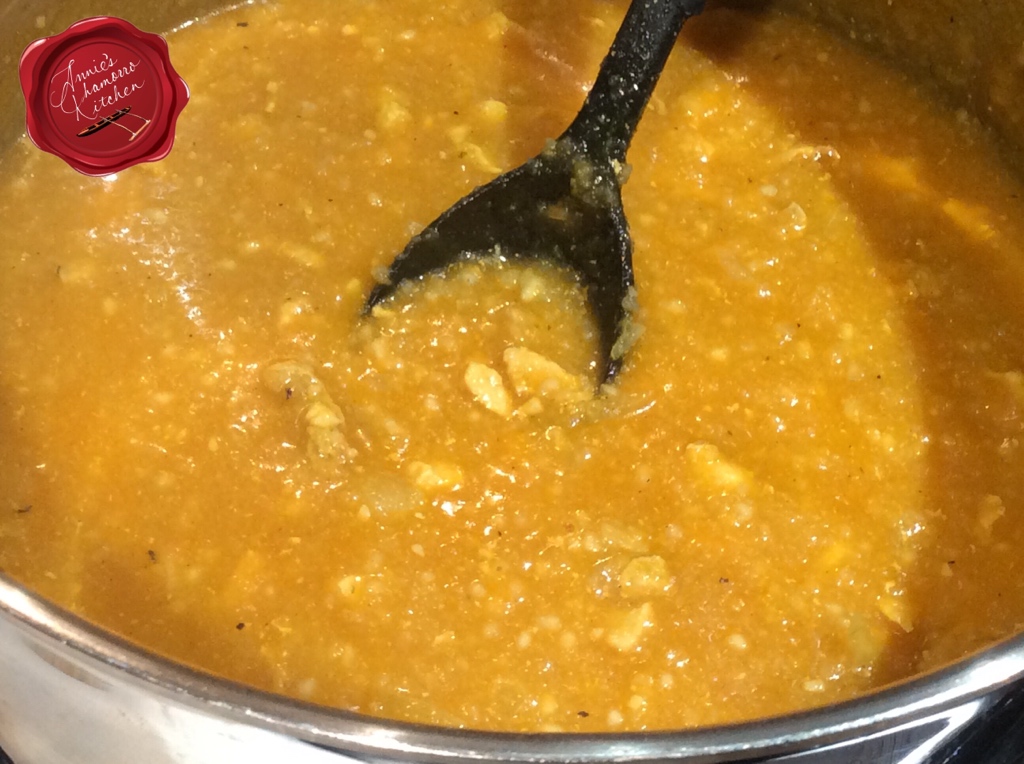
This is what the Chalakiles looks like after the rice is done.  The mixture is quite thick at this point, but will thin down once you stir in the coconut milk.

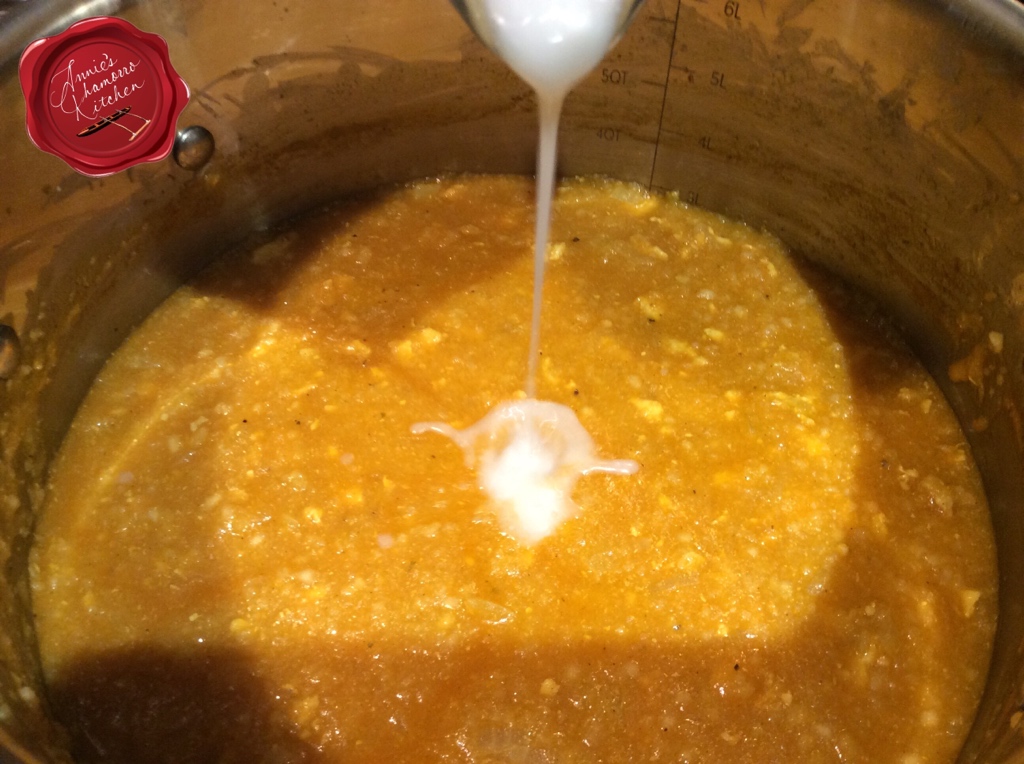
Stir in the coconut milk.  Cook for another couple of minutes, just long enough to heat up the mixture after adding the milk.  Remove from the heat.

If you want a thinner soup, either add more water or another can of coconut milk.  Taste and adjust the seasonings to your liking.

My recipe makes enough for a family of four plus enough leftover for lunch the next day. Serve and ENJOY!


Chicken Chalakiles
 
Prep time
Cook time
Total time
 
A savory soup made with chicken and ground toasted rice.
Author:
Serves: 8 servings
Ingredients
  • 2 cups uncooked rice
  • 2 boneless skinless chicken breasts, cut into small pieces
  • 3 boneless skinless chicken thighs, cut into small pieces
  • 1 med onion, diced
  • 1 tablespoon chopped garlic
  • 1 tablespoon coconut oil
  • ½ teaspoon black pepper
  • 3 tablespoons chicken seasoning*
  • 10 cups water*
  • 1 packet achote powder
  • 1 can (14-oz) coconut milk
  • Red pepper flakes, to taste (optional)


  • *Note: You can use chicken broth instead of water; omit the water AND chicken seasoning if using chicken broth.
Instructions
  1. Place the uncooked rice in a skillet over medium heat. Cook for a few minutes until the rice is evenly browned, stirring occasionally to ensure even browning. Let the toasted rice cool then grind in a food processor until you get the consistency of cornmeal. Set aside.
  2. Place the chicken, onion, garlic, coconut oil and black pepper into a large soup pot. Cook over medium heat until the chicken is no longer pink.
  3. Add the chicken seasoning, water, achote powder and ground rice to the pot. Stir to combine the ingredients then bring the mixture to a boil. Cook, uncovered, for 10 minutes, stirring occasionally.
  4. Stir in the coconut milk; cook for a couple of minutes then remove from the heat.
Serve and ENJOY!


Miso Donne’ Dinanche (Miso Pepper Sauce)

Donne’ Dinanche, or a hot pepper paste, has many variations.  It can be made with just peppers and no other seasoning, or you can add other ingredients such as onions, garlic, coconut milk, vegetables, crab paste and lemon juice.

One variation that is quite popular — tasty too — adds miso paste to the mixture.

The resulting sauce — it’s more like a thick paste — is a spicy, salty, savory mixture that goes perfectly with grilled meat (or any meat dish, really) and hot steamed white rice.

Give my easy recipe a try.  If you like spicy condiments, you’ll like this one. 🙂

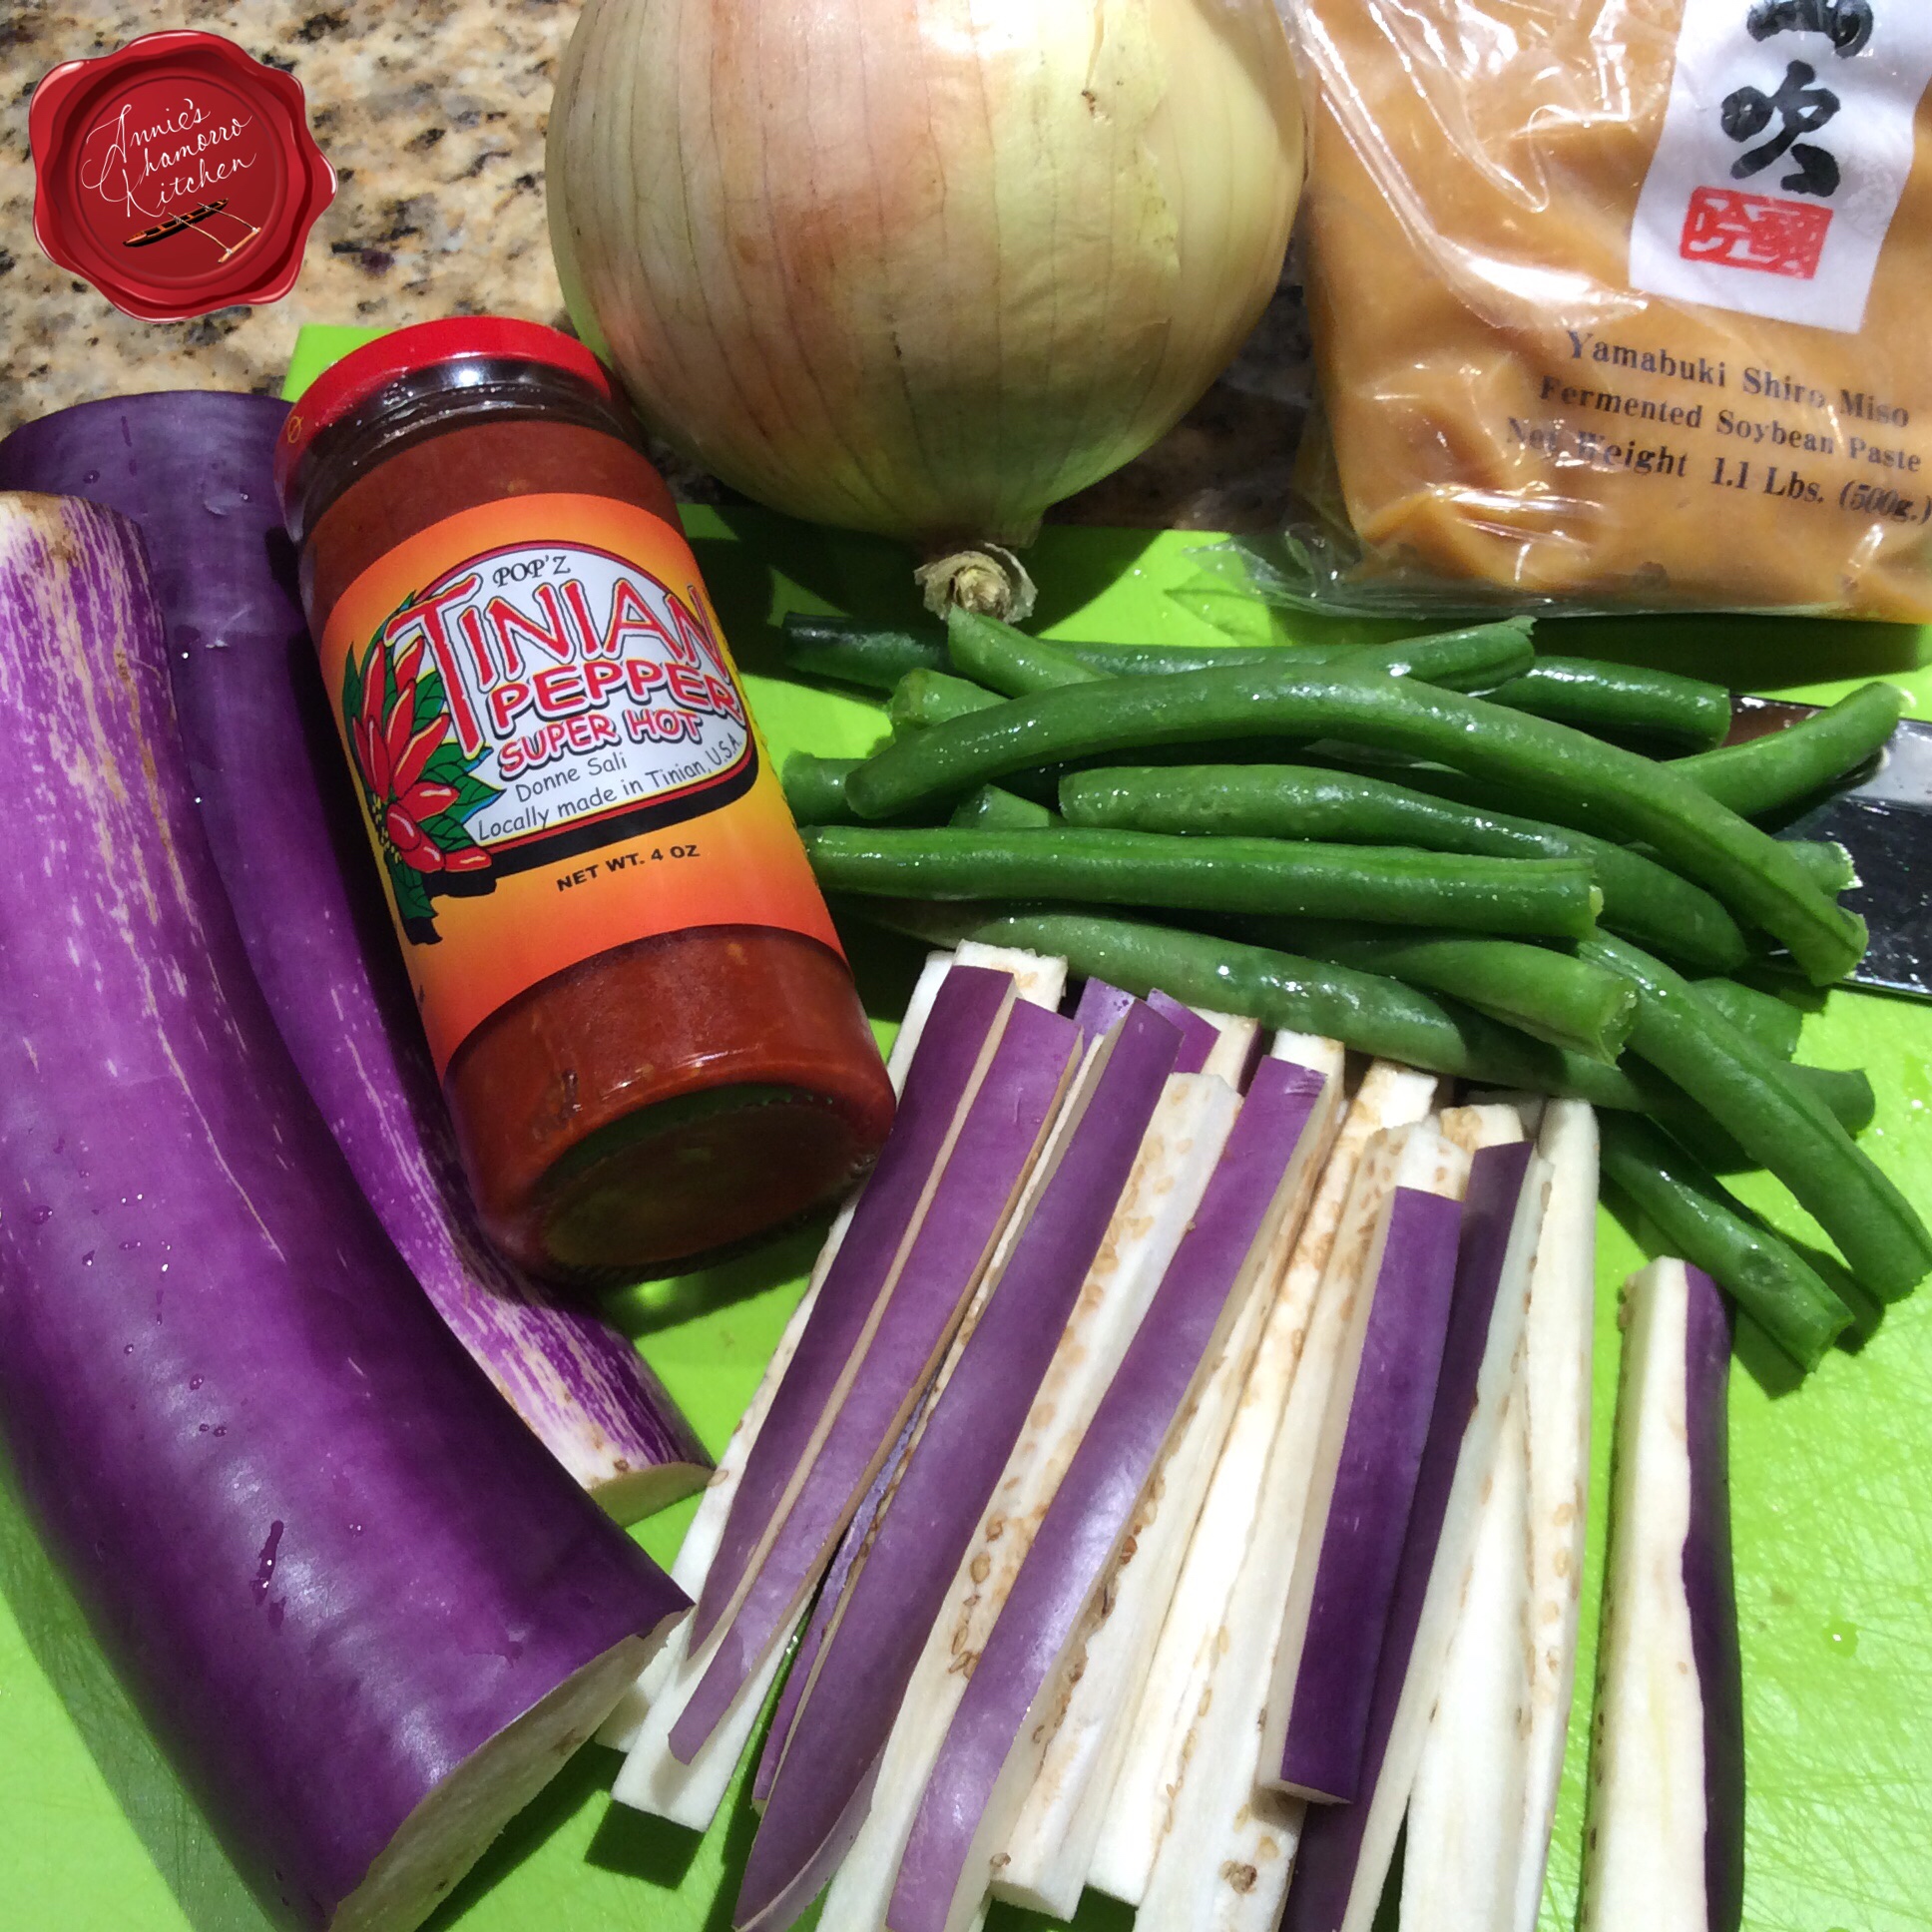
These are some of the ingredients I used — a Japanese long purple eggplant (although any eggplant will do), yellow onions, fresh green beans, garlic (not pictured), lemon powder (not pictured) and ready-made Tinian donne’ dinanche.

You can make your own donne’ dinanche if you don’t have any of the pre-packaged kind.  Use a blender you’re willing to dedicate solely for grinding peppers; using the blender for after you use it to grind peppers will most likely add a spice to the other food.  I don’t know about you but spicy smoothies don’t taste all that good to me.  Blend about 3 cups of hot chili peppers, adding a few spoonfuls of some sort of liquid–coconut oil, lemon juice or water–if the blender is not grinding the peppers into a smooth consistency.
If you’d rather not use your blender to grind peppers, mince the fresh peppers as finely as you can.  You could also substitute the fresh pepper mixture with dried pepper flakes that you can buy in an Asian store.  Ask the store clerk for the dried pepper flakes commonly used to make kimchi.

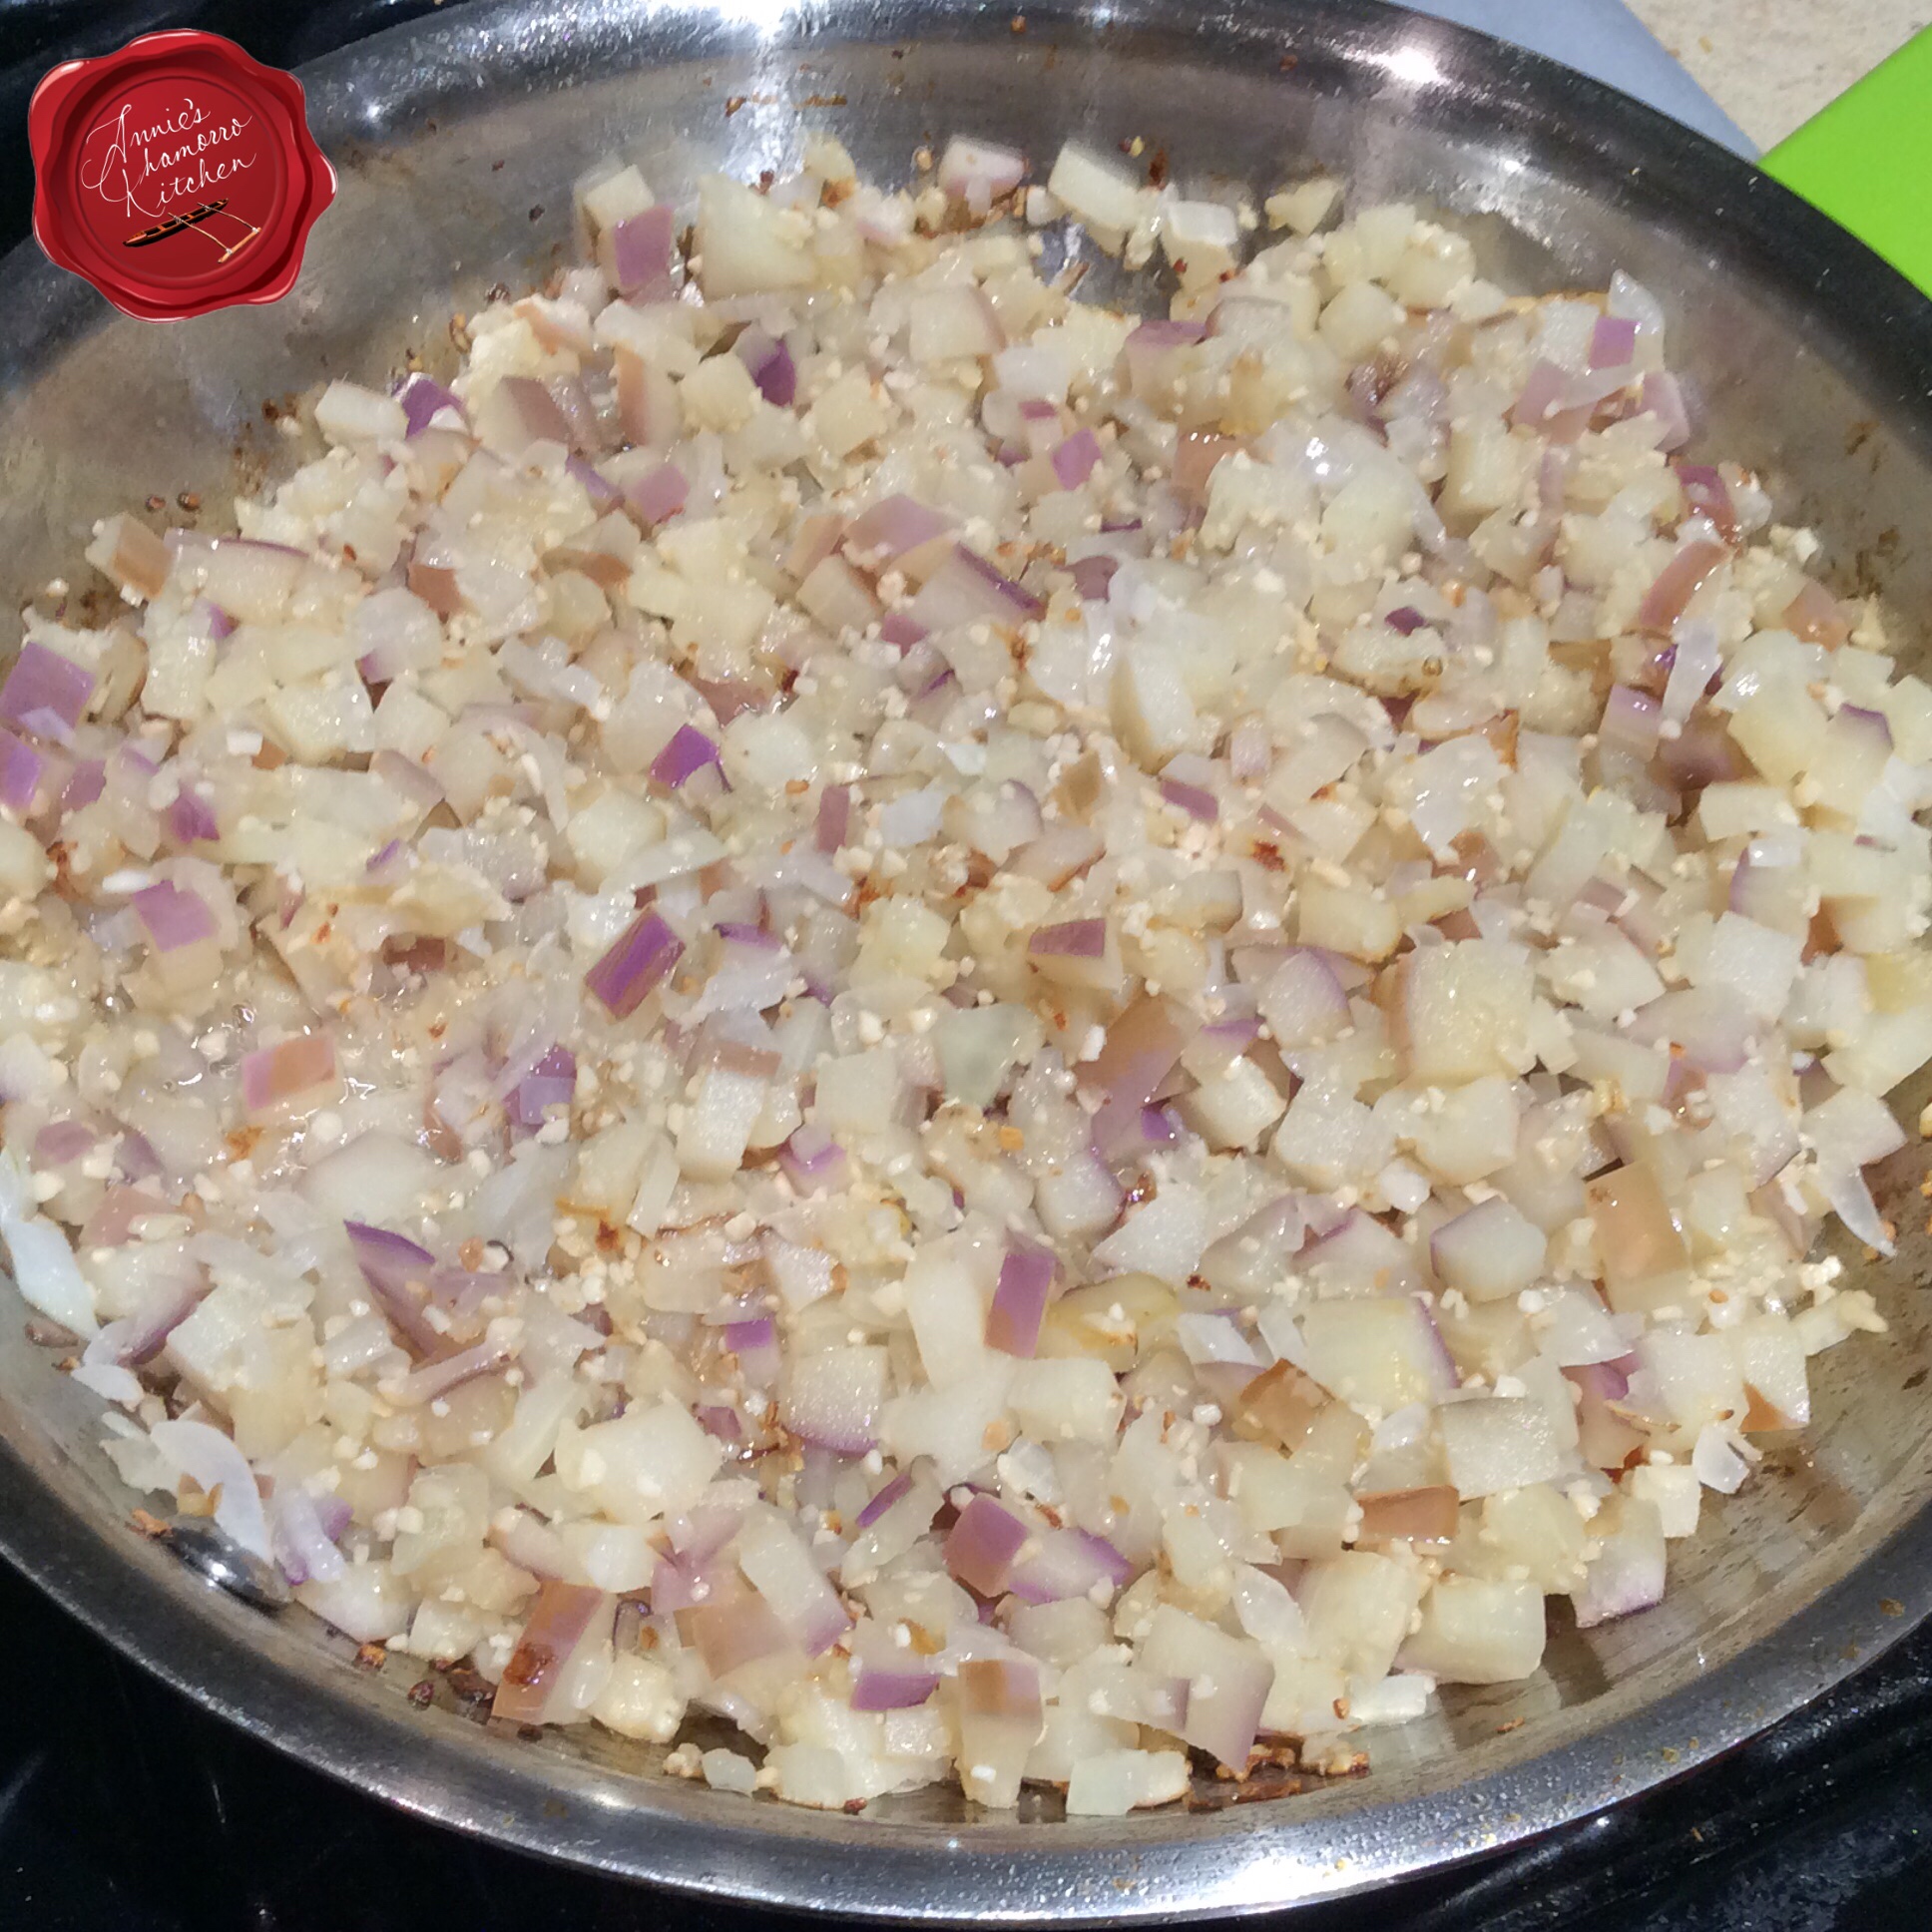
Add the eggplant, onions, garlic, and coconut oil to a large frying pan.  Cook over medium-high heat, stirring occasionally to prevent the vegetables from sticking to the bottom of the pan and to prevent burning.

Cook for 5-7 minutes or until the onions and eggplant soften.  Press the mixture with the back of your cooking spoon to start to mash the mixture — you don’t want to mash it completely, but the final consistency should be a spreadable, paste-like mixture.

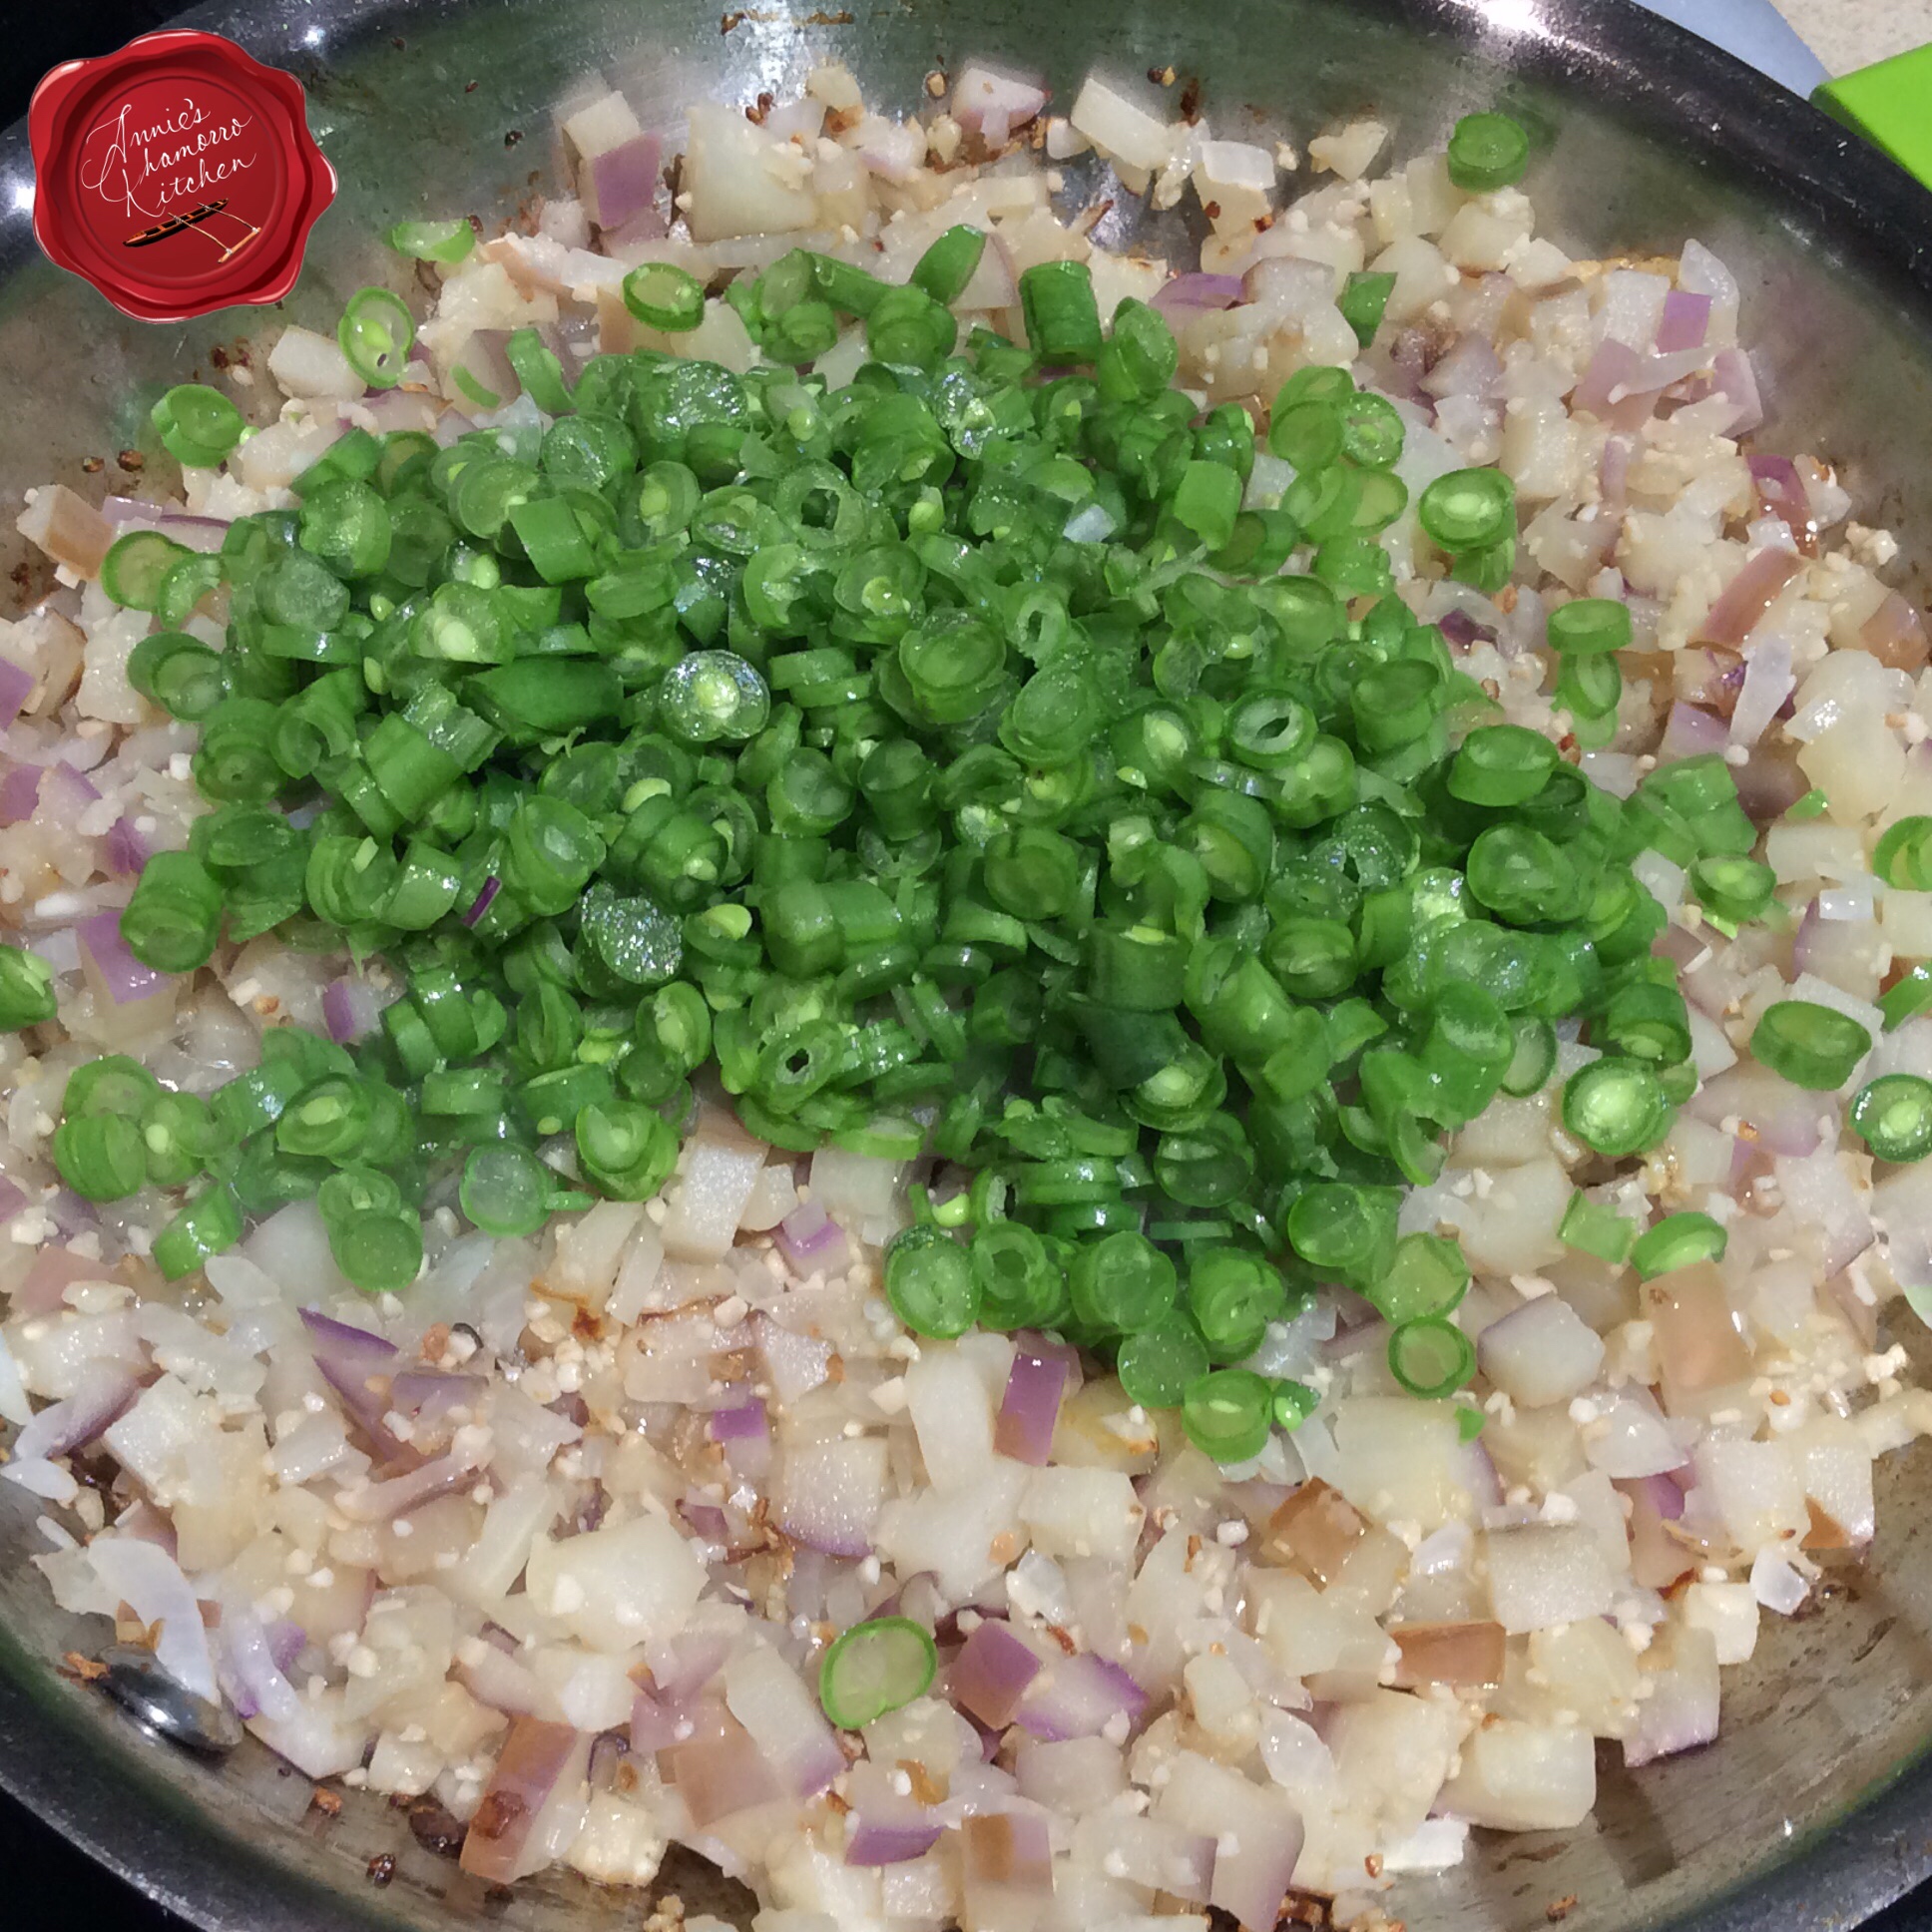
Add the beans to the pan.  Cook for a few minutes until the beans soften.

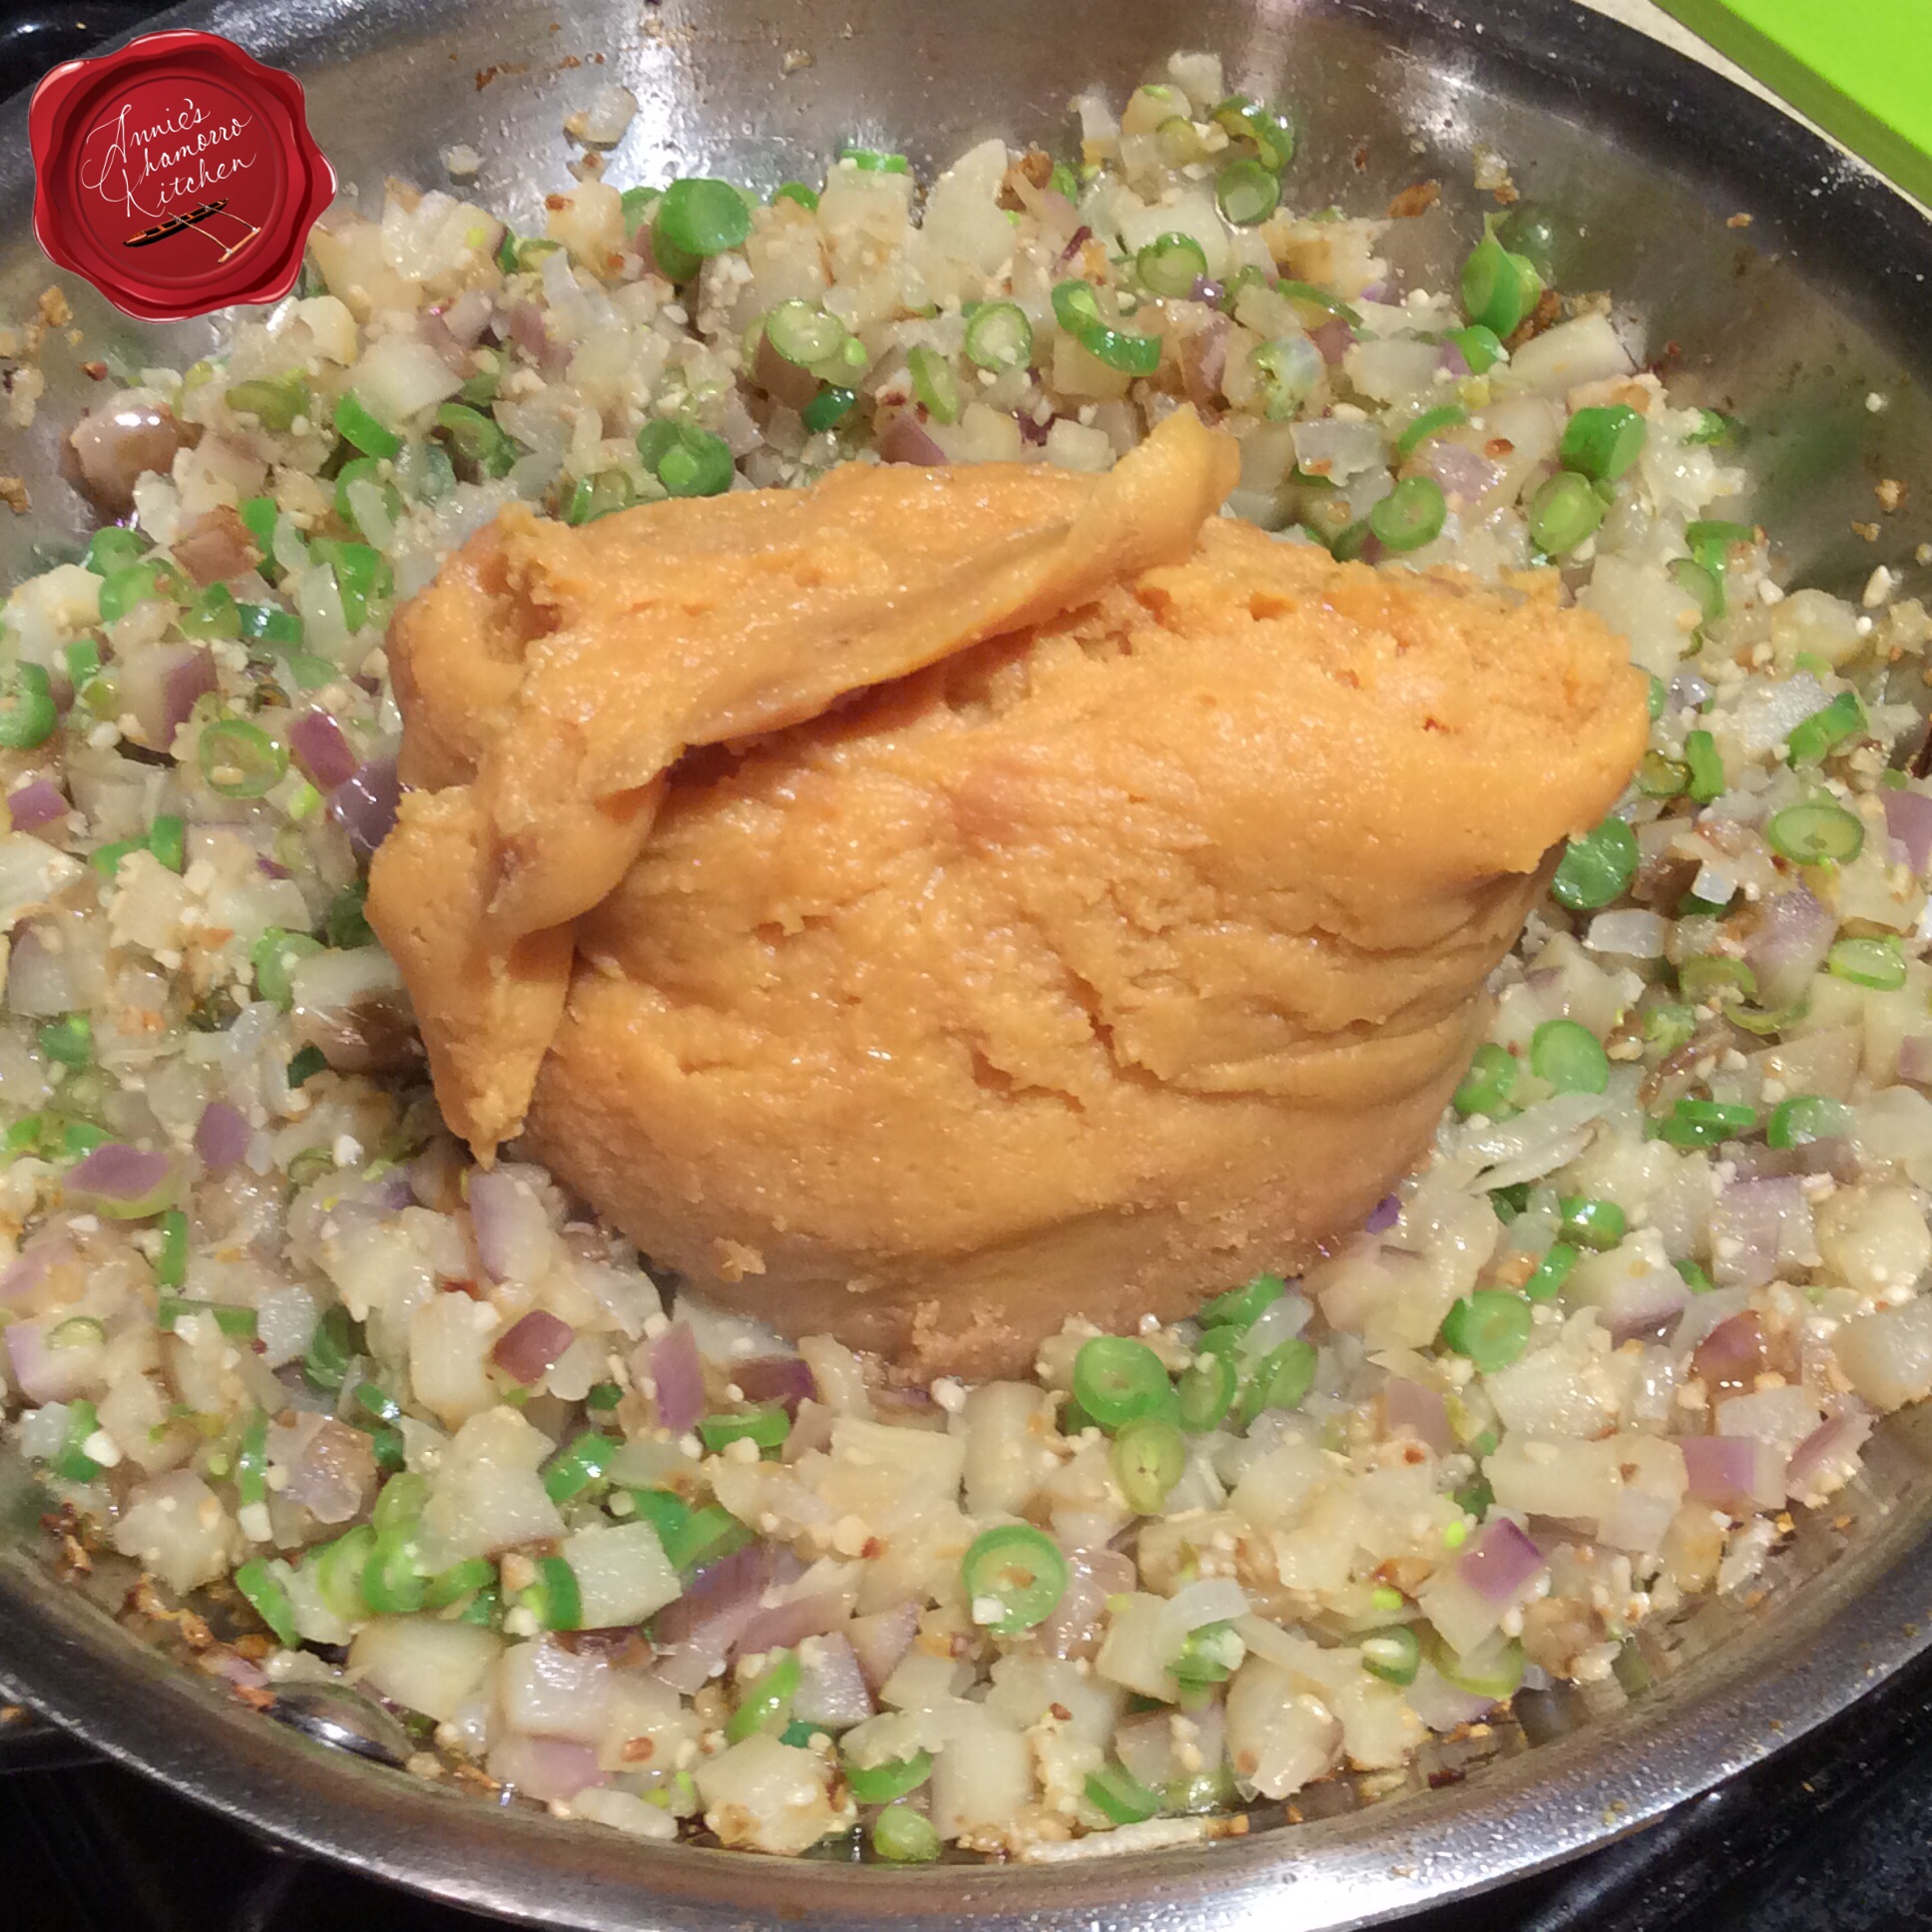
Add the miso to the pan.

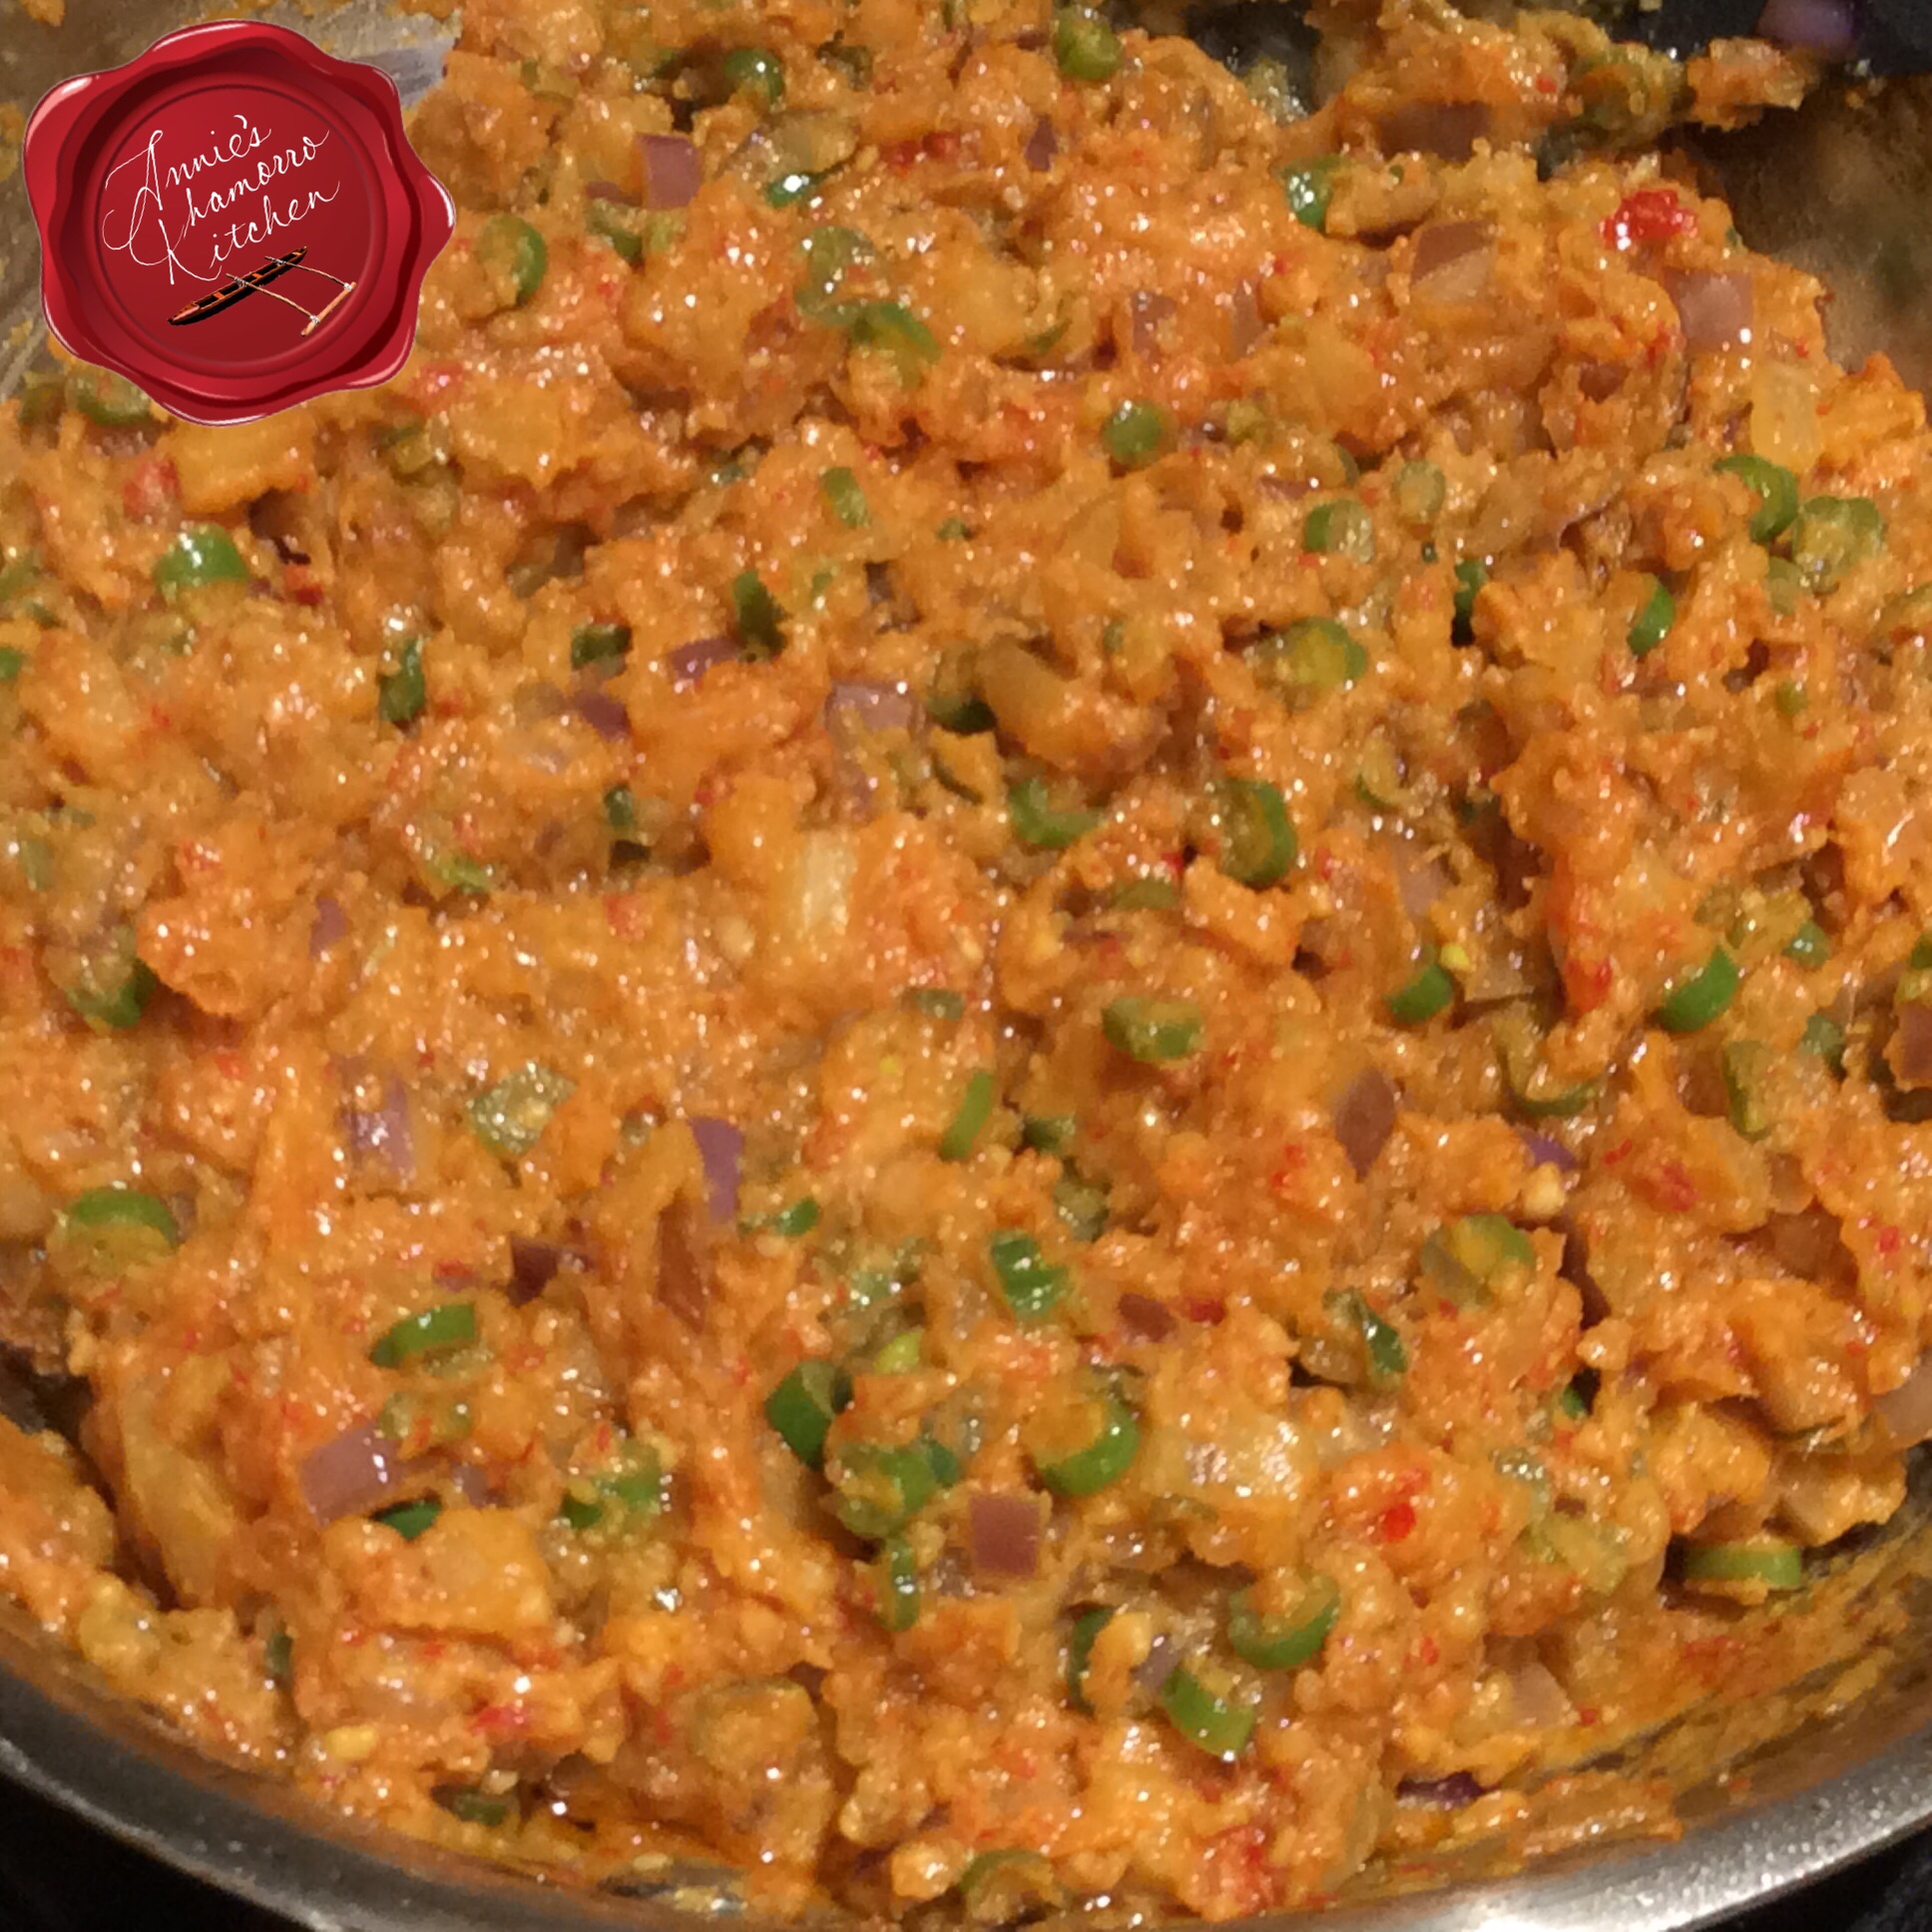
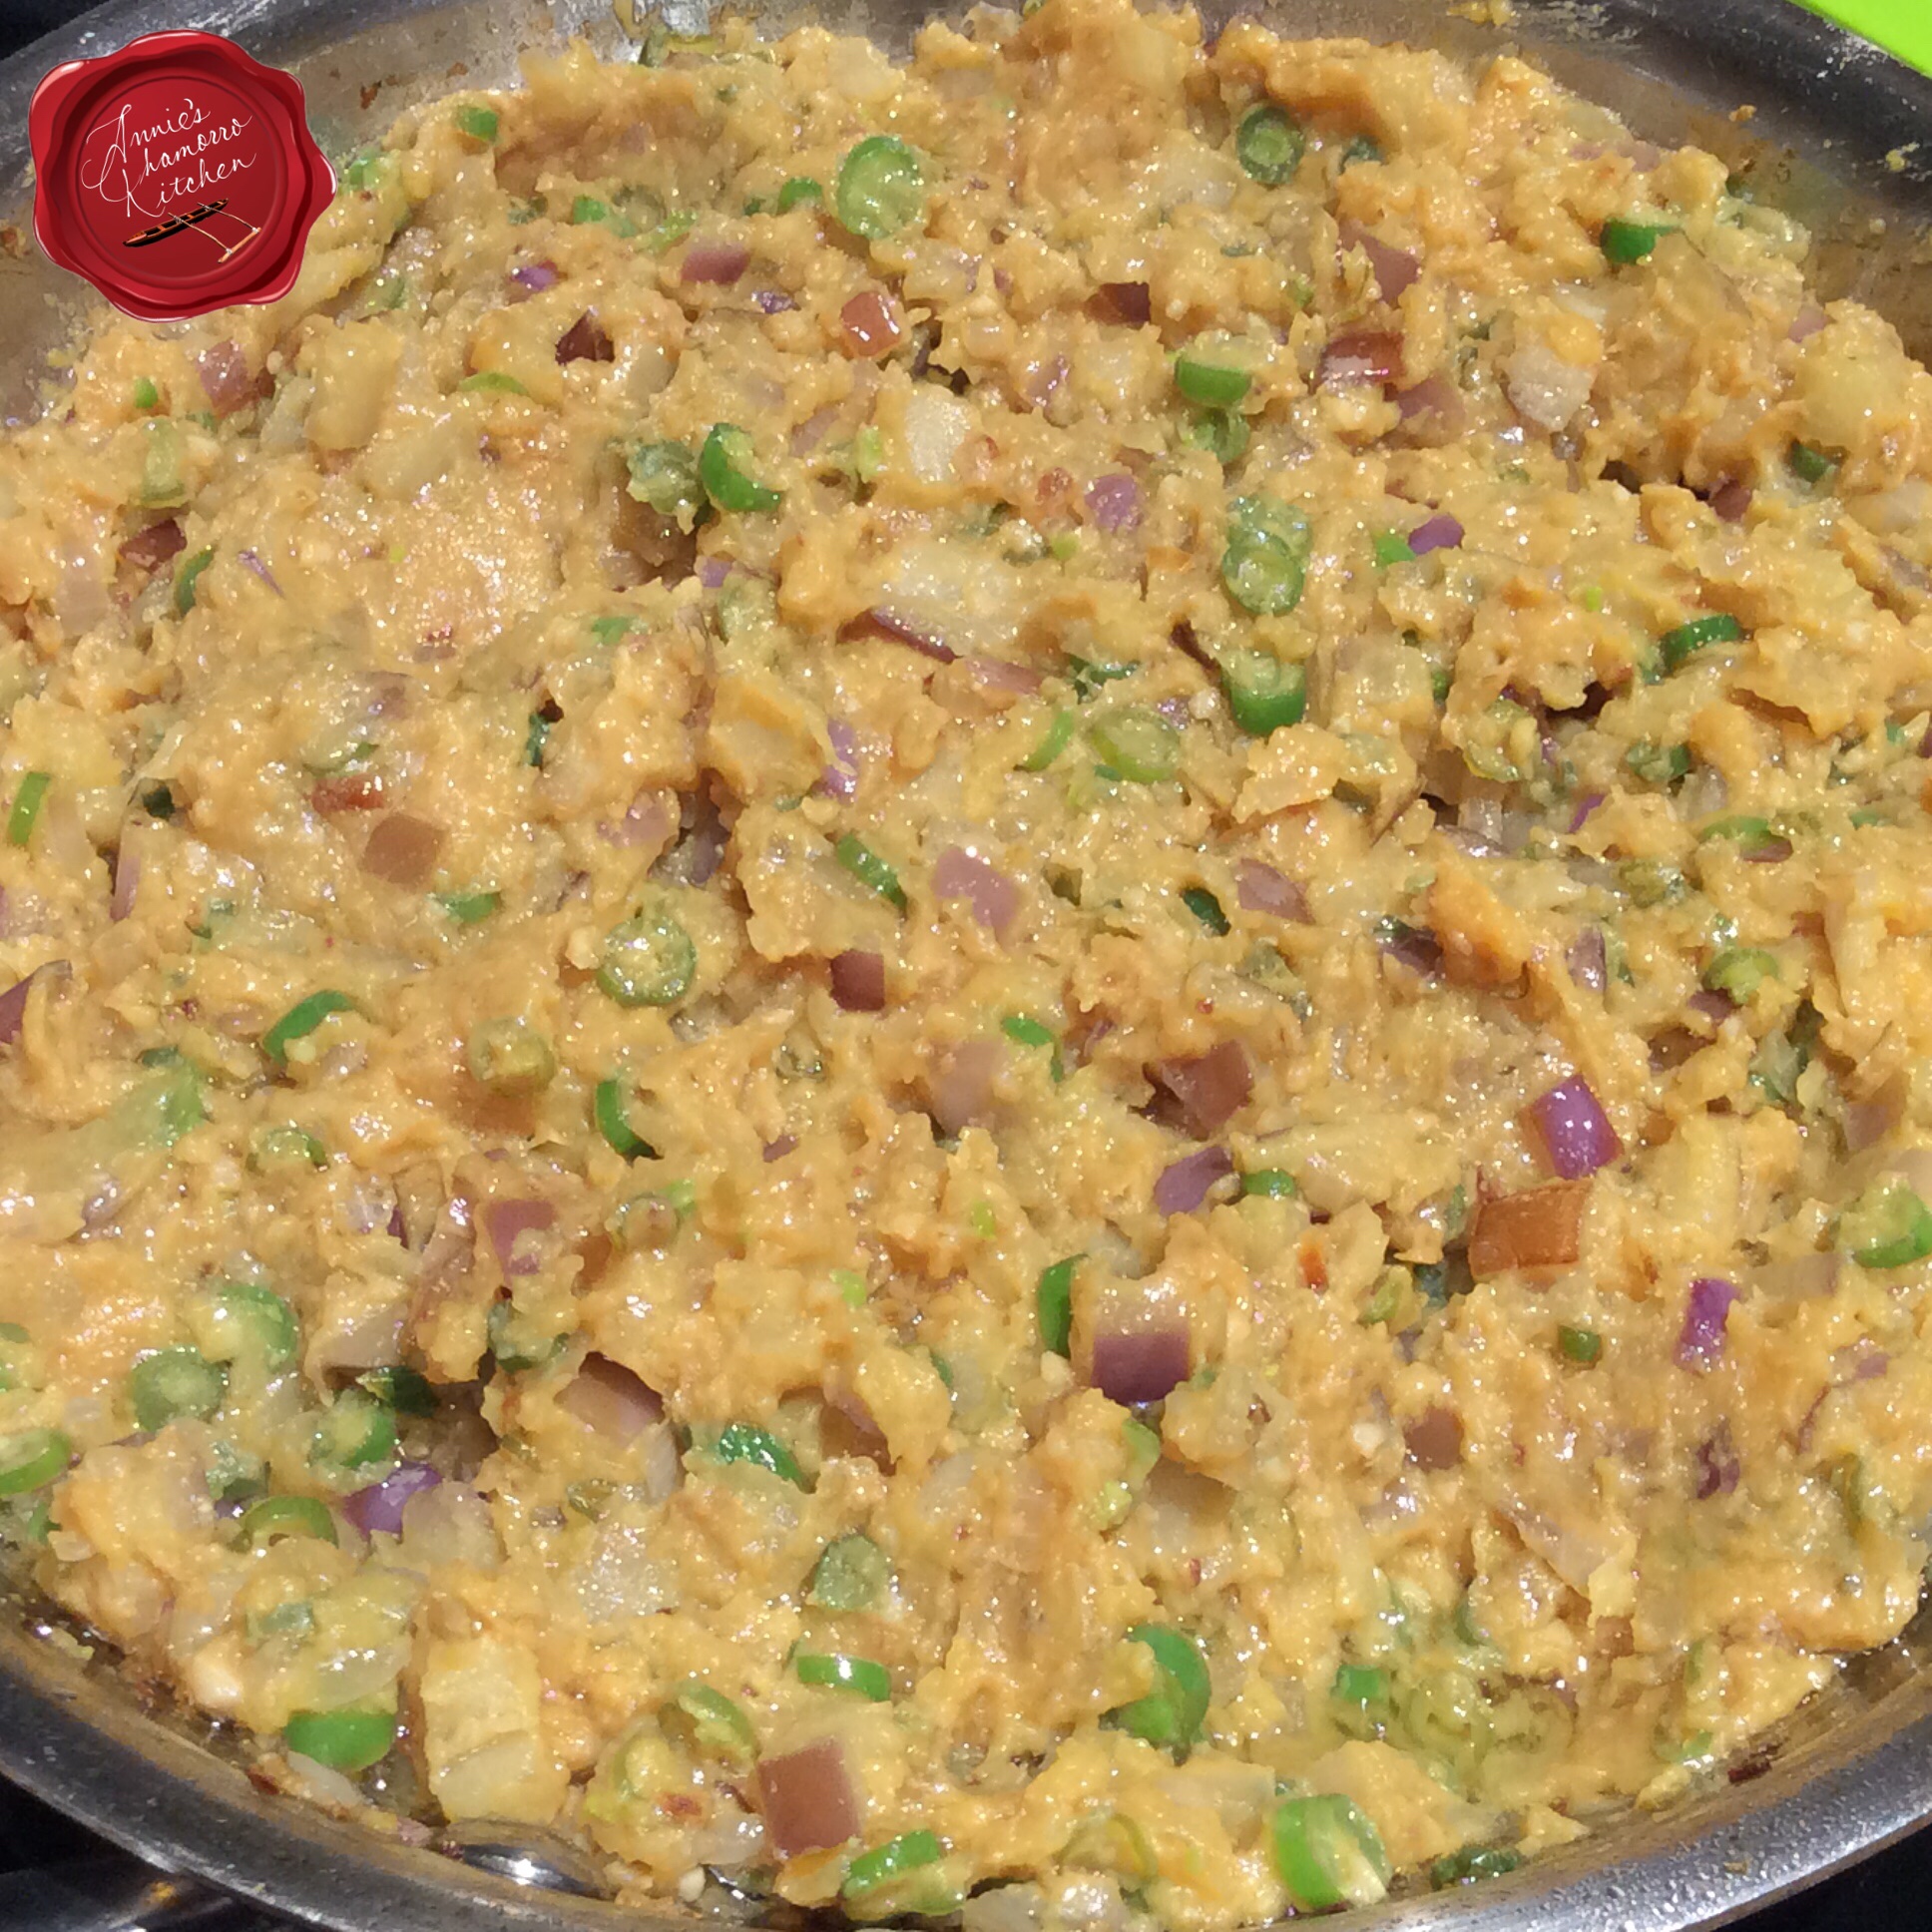
Stir the mixture to combine all the ingredients together.  Cook for a few more minutes, pressing down with your cooking spoon to mash any large pieces.

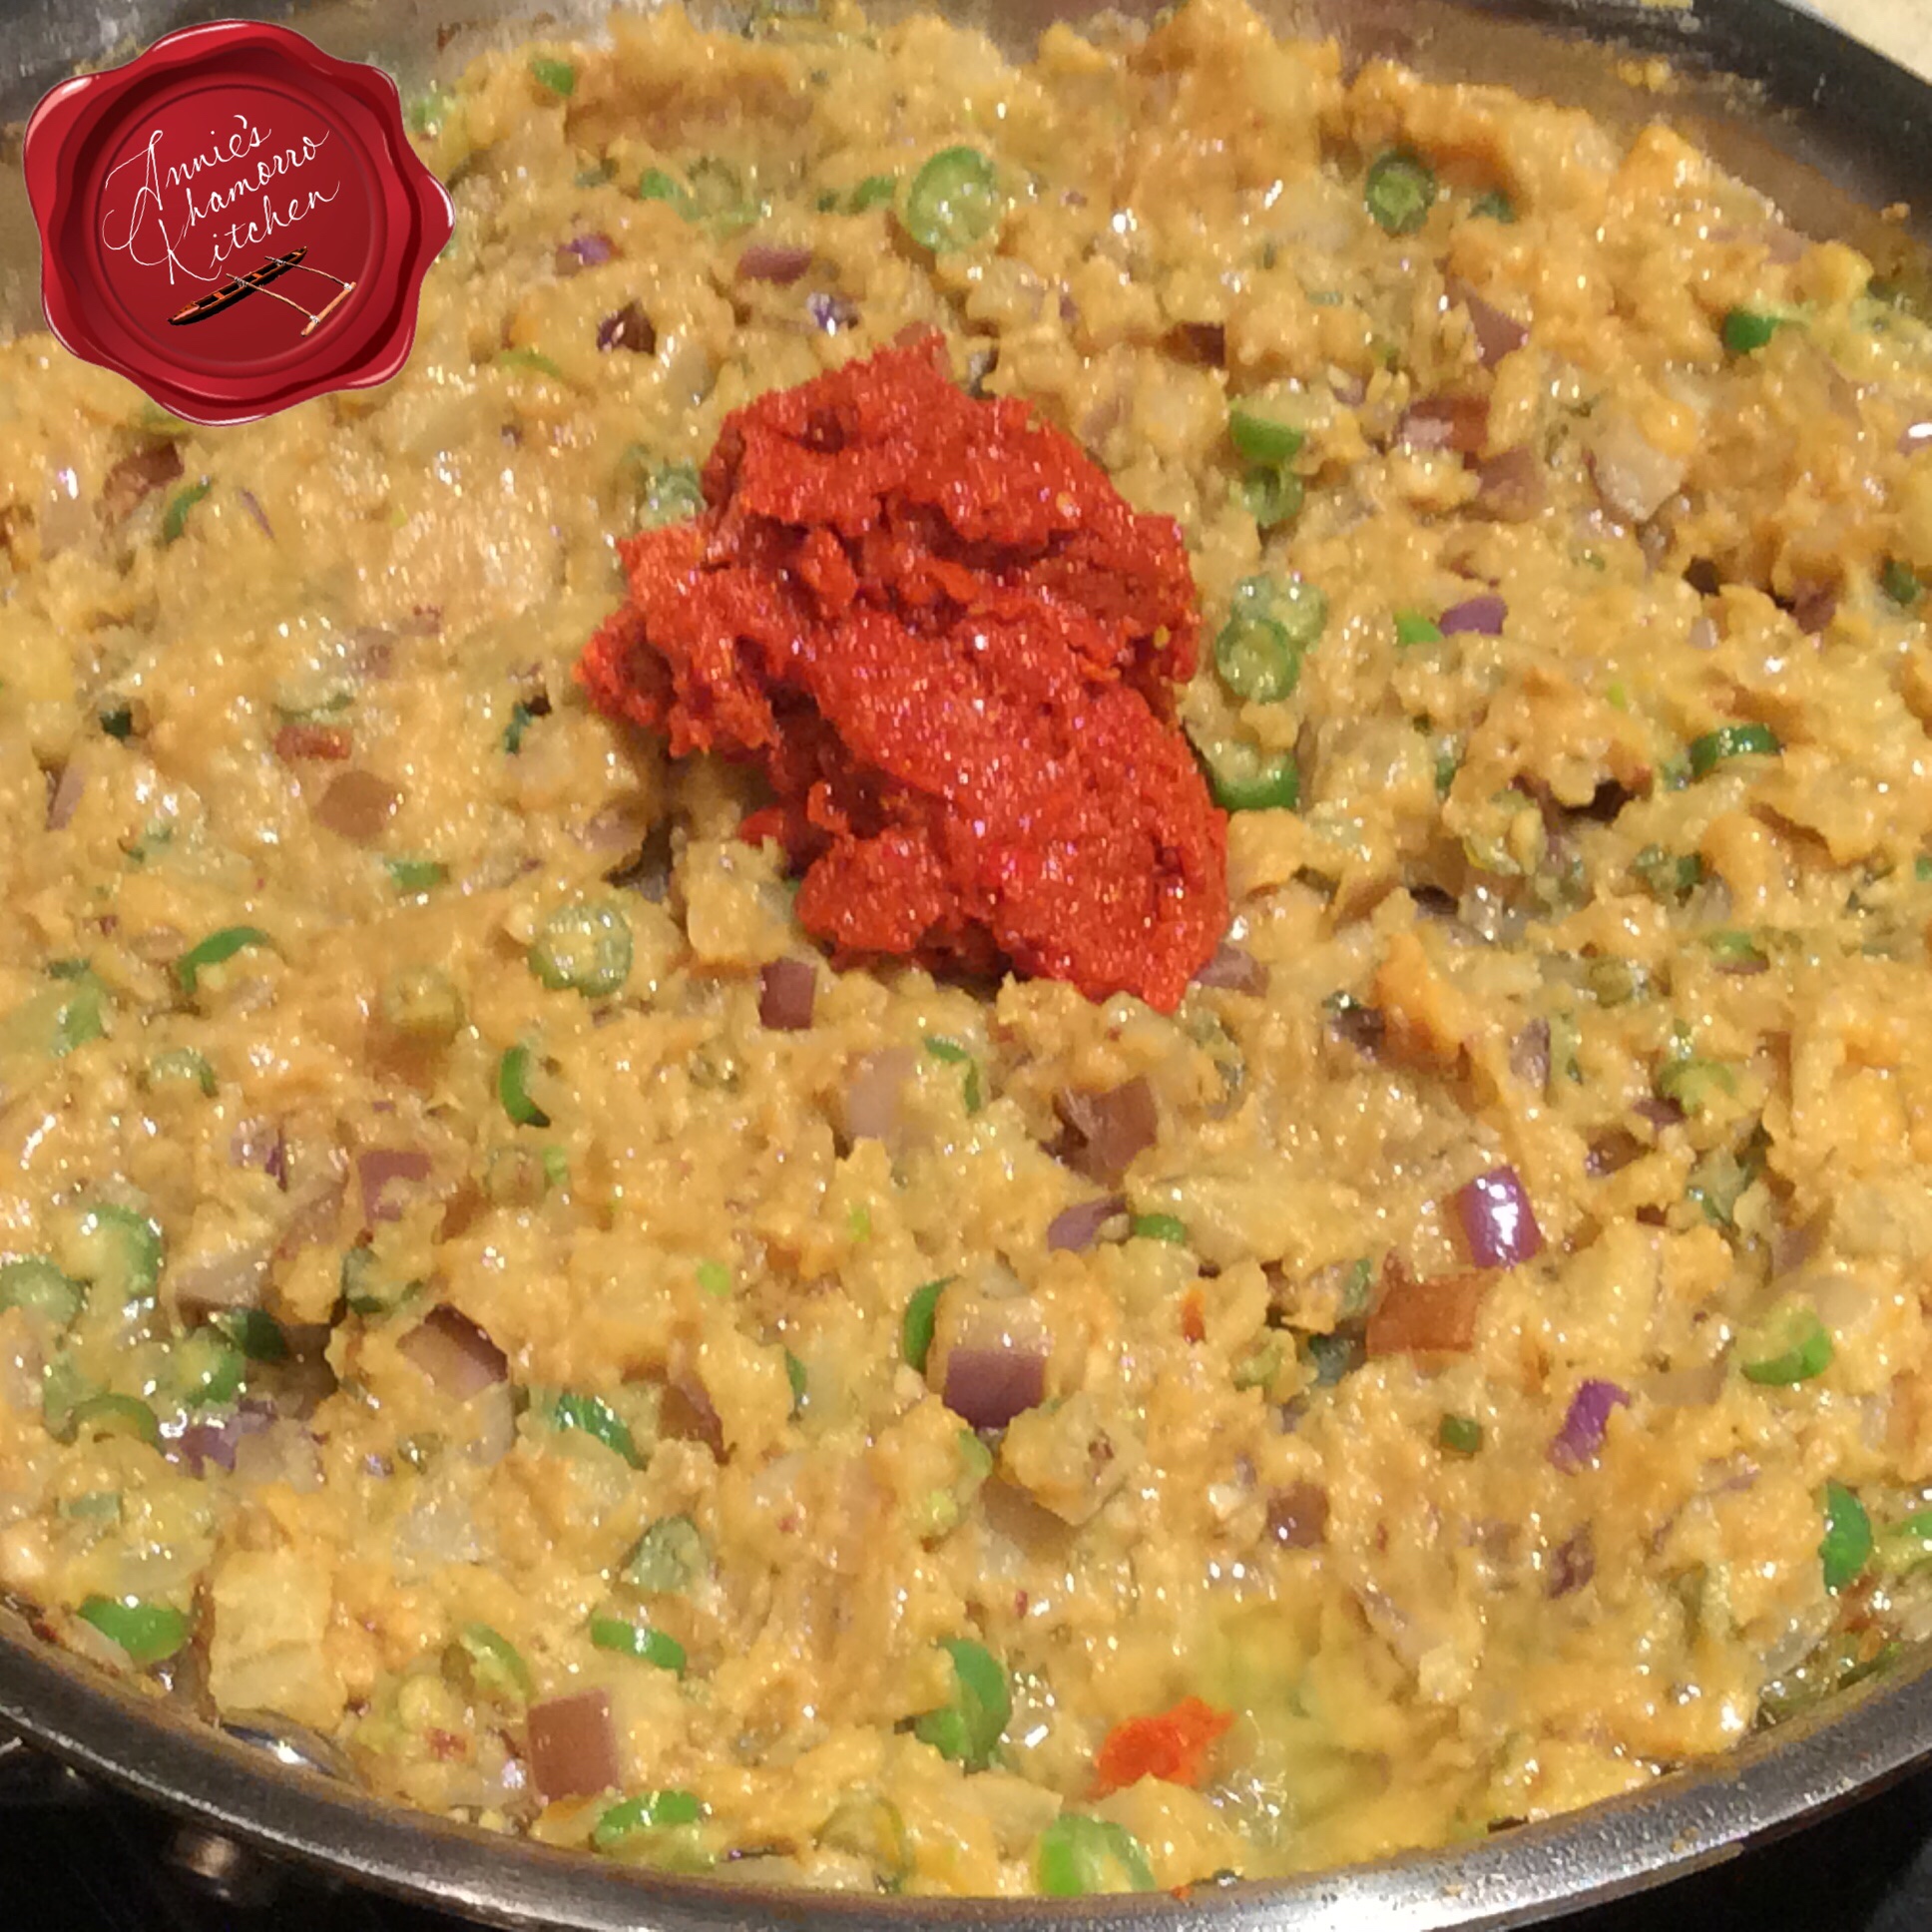
Turn the heat off then mix in the donne’ dinanche (mashed hot peppers).  Be careful — ensure your cooking area is well-ventilated.  The fumes from cooking pepper are quite potent!

Taste the mixture.  Add lemon powder or freshly squeezed lemon juice if you want to cut back on the saltiness.

Serve with BBQ meat (or your favorite meat dish), hot steamed rice and ENJOY!

Miso Donne' Dinanche (Miso Pepper Sauce)
 
Prep time
Cook time
Total time
 
A spicy concoction with hot chili peppers, garlic, and the saltiness of miso paste ~ it's perfect with any meat dish.
Author:
Serves: 2½ cups
Ingredients
  • 1 large Japanese purple eggplant (or 2 medium)
  • 1 small onion, finely diced
  • 4 tablespoons chopped garlic
  • 4 tablespoons coconut oil
  • 1 cup fresh green beans, thinly sliced
  • 1½ cups Japanese miso paste
  • 3 tablespoons donne' dinanche (mashed hot chili peppers)
  • 1 teaspoon lemon powder, optional
Instructions
  1. Dice the eggplant into small pieces; place in a large frying pan. Add the onion, garlic and coconut oil to the pan. Sauté over medium-high heat until the onions are translucent and the eggplant softens, about 5-7 minutes. Stir occasionally to prevent the bottom from sticking to the pan and burning.
  2. Add the beans to the pan; stir to combine. Cook another 5 minutes to soften the beans. Add an additional tablespoon of coconut oil if the mixture appears too dry and is sticking to the pan.
  3. Add the miso paste; stir to combine. Mash the mixture slightly with the back of your cooking spoon.
  4. Add the pepper paste to the pan then turn off the heat (ensure your cooking area is well-ventilated when you add the pepper).
  5. Add lemon powder, to taste (optional).
« Older Entries Recent Entries »