Archive for CHAMORRO DISHES

Chamorro Potu (Sweet Rice Cake)

Chamorro rice cakes, or Potu, are rice cakes that are made by soaking grains of rice in tuba, or a sweet fermented coconut sap.  The soaked rice is then ground and sweetened then steamed into a light and fluffy cake.

Living in the mainland U.S., I’ve had to learn to make substitutions for those ingredients not commonly found or sold here.  A key ingredient for potu as I mentioned above is tuba.  Since coconut trees don’t grow where I live, I’ve had to figure out a substitute for this potent potable.

I use a combination of palm or coconut vinegar and coconut water when I make my potu.  I also use non-glutinous rice flour for ease in preparation.  I’ll post my easy-peasy shortcut potu recipe soon, but until then, this post features my good friend, Rose Camacho’s recipe.

Rose doesn’t use rice flour when she makes her potu.  Instead, she soaks grains of jasmine rice then grinds it.  She also uses palm vinegar in her recipe.

Rose’s recipe is “tried and true” and loved by many.

Her original post is below.  Give it a try.  I know you’ll like it. 🙂


image

Rose’s original post and recipe for Chamorro Potu (Sweet Rice Cake):

Hmmm? How does one describe these pure white puff pillows of steamed ground rice?  Light, soft, sweet, and sticky!  Growing up, this has been many a childhood’s favorite.  Although the ingredients are simple, this recipe is pretty prized amongst the native Chamorro women and no one would share theirs.  It was a guarded secret recipe, and some have literally taken it to their grave!!

In my quest to find a GOOD recipe, because it is one of my husband’s favorite desserts, I’ve tweaked and wasted, and tweaked and wasted countless ingredients trying to perfect this recipe. I remember my sister-in-law, Mona and I, and mind you, she’s an EXCELLENT cook, I remember us mixing, beating, steaming and without any close results, have failed trying to perfect it.  I gave up! I just prayed that a passer by relative who’s flying in, stops and delivers some of these cakes, made all the way from the islands, to us.  I’d freeze them, steam them as we needed, and then one day our stash of sweet rice potu was G-O-N-E, gone!

With this recipe, I believe I’ve come close to, as close to can get, especially since one of the “main” ingredients is TUBA, which is not available in my area.  Because I have no access to this sweet “drink”,  I’ve had to improvise and use store bought jarred “Coconut vinegar OR Palm vinegar”.  Their flavor “ALMOST” mimics the taste of sweet Tuba, but of course, if you can get sweet Tuba, please use it.  This is how “I” make Chamorro Potu.  Please Please, pass on your comments and POSITIVE critiques, I would love to hear from you.  Until then, HAPPY COOKING, BAKING, and STEAMING! 😉

Ingredients:

1 cup Jasmine rice  (pictured below)
1 cup water
3 to 4  tablespoons Palm Vinegar (pictured below)
1/4 to 1/3 cup Sugar (I prefer less sweet)
2 teaspoons baking powder

Directions:

Because the rice kernels HAVE TO soak,  you need to start the night before you’re planning on serving it.  The brand of rice I use is pictured below.  If you decide to use another brand or type of rice, I will not be held responsible if you fail with this recipe.   I’ve only used this brand whenever I make my recipe.  The palm vinegar I used is also pictured below.  I’m sure other brands can be used.  I’ve also tried using coconut vinegar and it works fine.


Measure out 1 cup of the dry rice.  Wash the rice in water until the water runs clear!  Drain well.  Place into a container, add the  1 cup of water and cover.  Set this aside and allow to soak for a minimum of 8 hours but preferably overnight.

potu18    potu19

When you’re ready to prepare the recipe, start heating up the water in your steamer.  In the container that your rice is in, there may still be some water left from the soaking.  DO NOT drain this water.  Place the rice into a heavy duty blender container (I use my Vitamix Professional 750) for this process since it’s pretty heavy duty.  Add the sugar and palm vinegar to the rice and water.  NOTE:  If you do not have a heavy duty mixer, you may have to do this step in smaller increments.  Just process the rice in batches, rather than one whole time.  Although, I’ve never done it this way, if you have a heavy duty food processor, such as a KitchenAid,  I’m sure you could also use that.  The key is to grind the rice FINE!

potu7    potu6

Process this in your blender, until the rice kernels are finely ground.  Shut the blender off and add the baking powder.  Now process again for a minute or 2 being careful that the mixture doesn’t heat up.

potu21    potu22

While the mixture is still processing, line up your silicon cups in the steamer basket.   For easier handling, pour the batter into a smaller container and pour  3/4 of the way into each baking cup.  This mixture makes about 12 potu cakes OR more if you use smaller silicon cups.

potu24

Place the steamer basket into the steamer pot, which should already be producing heavy steam.  Place a CLEAN kitchen towel over the top of the steamer basket to catch any condensation that will occur during the steaming process.  Place the lid onto the pot.  The lid will also hold the towel taught so that it doesn’t fall onto the potu.  Steam this for a minimum of 20 minutes and up to 30 minutes, depending on the heat that’s produced.

potu17

After about 20 minutes, CAREFULLY lift the lid and towel away, to see how the process is going.  I get excited when I see that little “crack” in the center of my potu.  It tells me it’s gonna be PERFECT!  When done, the potu should spring back a bit, with a slight stickiness to the tops.

potu23

Remove from the steamer pot and allow them to cool before removing them from the basket.  Set them aside to cool completely before removing them from the silicon cups.

SERVE!  Place the leftovers in a plastic bag to keep them fresh.

potu25


Thank you, Rose Camacho (aka Chamorita Momma) for allowing me to repost and share your Tried and True Potu recipe!

Corned Beef with Cabbage and Onions

This is another classic Chamorro comfort dish.  Most Chamorros grew up eating corned beef, maybe because it used to be inexpensive.  Now, it’s become something our family eats only once in a while since a can of corned beef has become quite pricey!

Made with canned corned beef, sliced cabbage and onions (and a few seasonings), this is another one of those quick and easy dishes that you can prepare and serve within minutes.

Feel free to substitute the cabbage with (or add) your favorite vegetables.  I like sliced eggplant and fresh green beans in this dish in addition to the cabbage.

Comment below to let me know how you like my recipe, or let me know your favorite way to prepare canned corned beef. 😉

Corned Beef with Cabbage and Onions

image

Ingredients:

  • 2 cans corned beef
  • 1 medium onion, sliced
  • 1 tablespoon chopped garlic
  • 1 teaspoon Dashida seasoning (or you can use salt)
  • 1/2 teaspoon black pepper
  • 1 small head cabbage, sliced

Directions:

1.  Sauté the corned beef in a large pan over medium high heat.

image

2.  Add the onions, garlic, Dashida, and black pepper.  Cook for a few minutes until the onions become translucent.

image

3.  Add the sliced cabbage to the pan.  Cook over medium heat until the cabbage wilts and softens enough to your liking, about 10 minutes.

image

image

4.  Serve with hot white rice and enjoy!

image

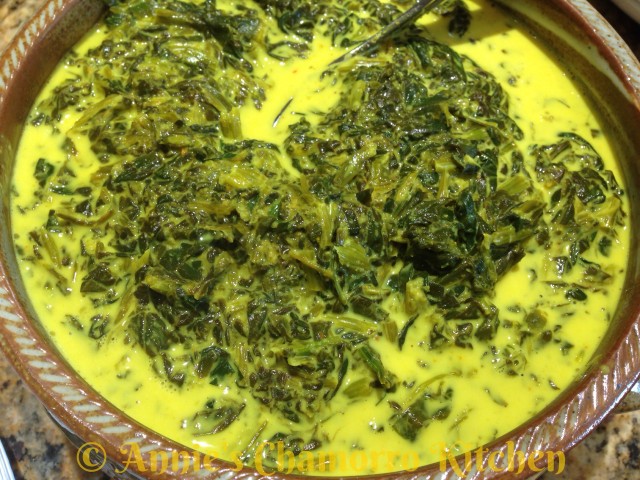
Spinach with Coconut Milk

This is a classic Chamorro dish that is a staple on most fiesta menus.

The traditional dish is called Gollai Hågun Suni, made with taro leaves rather than spinach.  I still remember watching my mom make this dish the traditional way.  She’d use a machete to cut a huge stack of taro leaves growing in our back yard.  After rinsing each leaf, mom would stack then roll them up, cigar-like, then cut the leaves into thin ribbons.  Mom then placed the taro leaves into a large pot filled with some water,  cooking them long and over low heat so that the leaves can cook down and tenderize before adding freshly pounded orange ginger or turmeric (we used a hammer back in the day to pulverize the ginger root), freshly squeezed coconut milk, the juice of lemons picked from mom’s tree, and diced hot peppers from the plants growing by the door to the outside kitchen.

In this day and age, convenience (and making necessary substitutions due to not having traditional ingredients readily available) dictates using spinach leaves rather than traditional taro in this recipe.  I buy frozen spinach that’s cooked and chopped — it saves so much time.  Just defrost and drain the spinach leaves, add the rest of the ingredients, heat, and serve!  What normally takes several hours if prepared the old Chamorro way now takes minutes.
Give my recipe a try.  It’s a great addition to your Chamorro fiesta menu. 🙂

Spinach with Coconut Milk

image

Ingredients:

  • 3 (10-oz.) packages frozen, cooked, and chopped spinach
  • 3 cans coconut milk
  • 2 tablespoons ground turmeric
  • 2 teaspoons sea salt, more or less, to taste
  • 2 teaspoons onion powder (you can use fresh onions, just saute them until the onions are softened)
  • 2 teaspoons lemon powder (or use freshly squeezed lemon juice), more or less, to taste
  • 1 teaspoon hot pepper paste or diced hot peppers, optional (add more or less, to taste)

Directions:

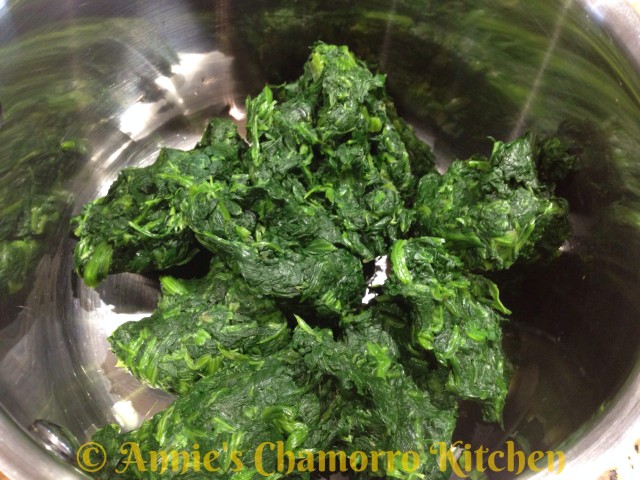
1. Place the frozen spinach in a colander (then place the colander inside a larger bowl) to thaw the spinach and allow any water to drain. After the spinach is completely thawed, squeeze the spinach to get rid of as much water as you can. Place the fully drained/squeezed spinach into a medium-sized pot.

image

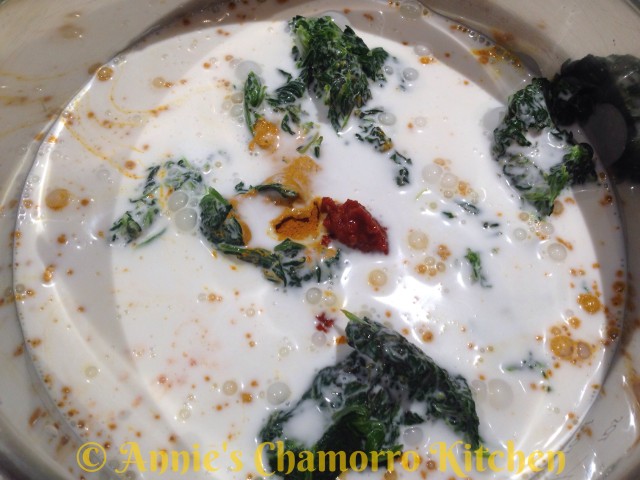
2.  Add the coconut milk, turmeric, salt, onion powder, lemon powder, and hot pepper to the pot. Stir to combine the ingredients.

image

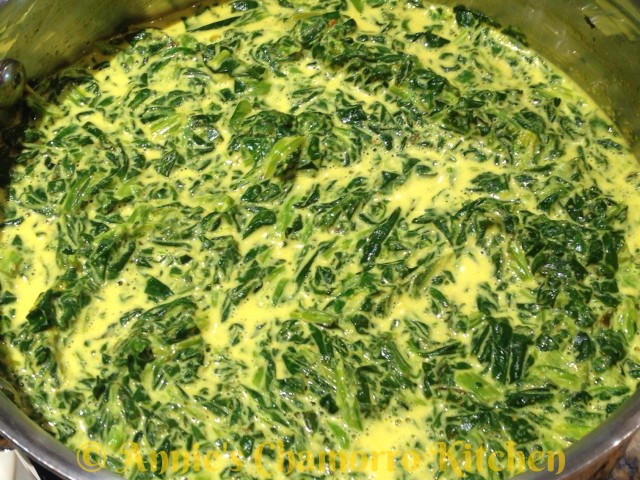
3. Cook the spinach over low heat, just until heated through. Do NOT bring the mixture to a boil or the coconut milk will start to separate.

image

4. Taste and add adjust the amount of salt, lemon power or juice, and hot pepper to your liking.  Serve and ENJOY!
image

Escabeche

Escabeche is a dish made with fried fish and vegetables with a ginger-vinegar sauce. It’s usually prepared for special occasions, but since we’re in the middle of the Lenten season, this is a great dish to prepare for meatless Friday meals.

The traditional Chamorro version uses tuba vinegar and orange ginger (mango’, in Chamorro). I prefer using fresh ginger for this dish, but I rarely find it in the Asian stores where I live. Ground tumeric makes a great substitute for fresh ginger.

I remember how my mom would go to the back yard and pull up some orange ginger roots. She’d clean and peel the ginger, place the pieces in heavy duty aluminum foil, then she’d pound the heck out of the ginger with a hammer. 😉

I love fried fish, and this dish is usually made with fried fish. I’m trying to eat healthier these days, so I opted to bake instead of fry my fish. Use any good white fish like tilapia, parrot fish, or one of my favorites–orange roughy.

Give my recipe a try. I think you’ll like it. 🙂

Escabeche

wpid-Photo-20140320193526.jpg

Ingredients:

  • 1 large broccoli head, cut into little “trees” about 3 inches long
  • 1 medium cabbage, cut into large pieces (I like using Chinese cabbage for this dish)
  • 1 large eggplant or 4 medium long (Japanese or Chinese) eggplants, sliced lengthwise, 1/4 inch thick
  • 3 to 4 cups water
  • 1 to 1 1/3 cups white vinegar
  • 1 1/2 teaspoons salt (plus more for seasoning the fish)
  • 6 to 8 teaspoons tumeric (plus more for seasoning the fish)
  • 1 tablespoon chopped garlic
  • 3 pounds white fish (tilapia and orange roughy are good for this dish)
  • 1 tablespoon garlic powder
  • Black pepper, about a teaspoon
  • Optional: Other vegetables of your choosing, like sliced onions or leafy greens

Directions:

Place a large skillet or wok over medium high heat. I have a 14″ skillet that I love to use for making fried rice, stir-fried dishes, or making dishes like escabeche. You want a fairly large pot that is wide across the top so that you can somewhat steam the vegetables, not boil them.

Pour 1 cup of water into the pan and bring it to a boil.
wpid-Photo-20140320192521.jpg

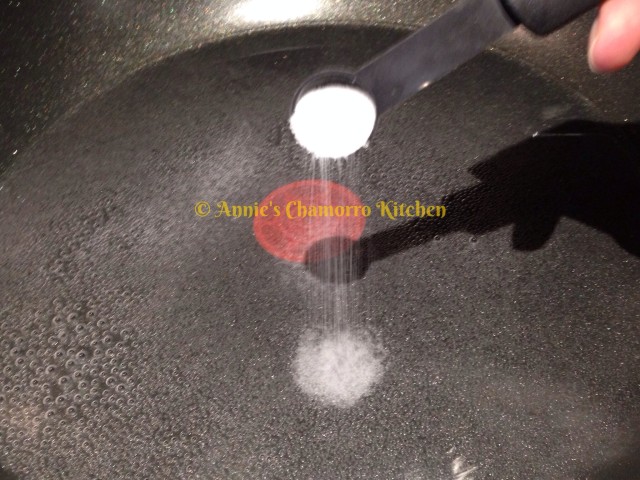
Add 1/2 teaspoon salt to the boiling water.
wpid-Photo-20140320192521.jpg

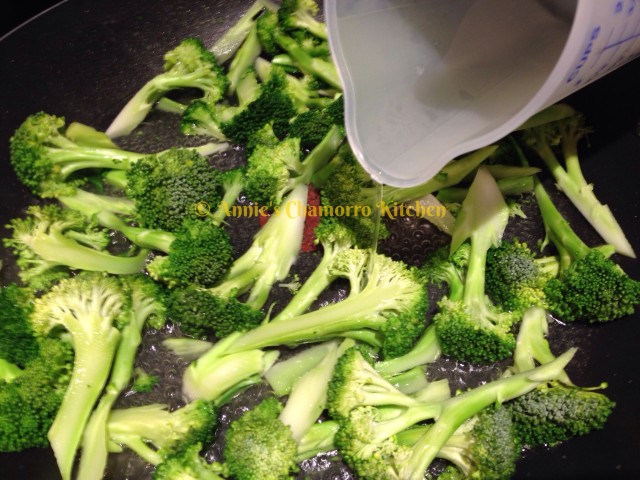
Add the broccoli to the pan.
wpid-Photo-20140320192521.jpg

Pour 1/3 cup of vinegar into the pan.
wpid-Photo-20140320192521.jpg

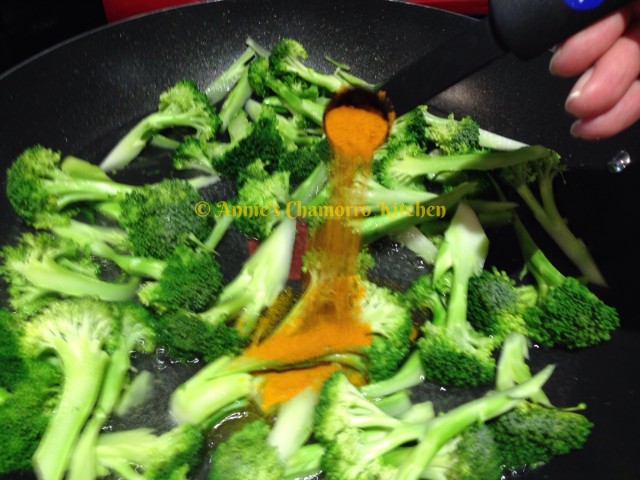
Sprinkle 2 teaspoons of tumeric over the broccoli.
wpid-Photo-20140320192521.jpg

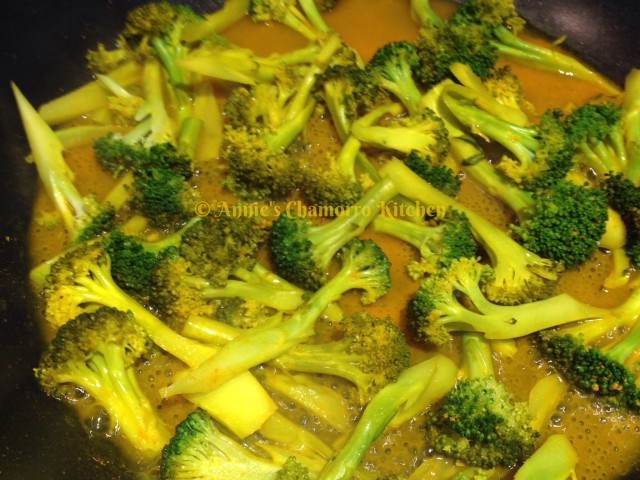
Use a pair of tongs to gently stir the mixture around in the pan, just until the tumeric is mixed into the liquid.
wpid-Photo-20140320192521.jpg

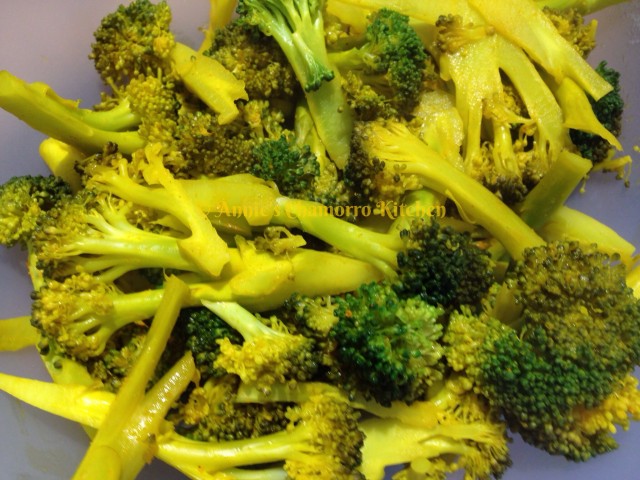
Cook the broccoli just until it is slightly wilted, or cooked to your liking. Place the broccoli into a medium sized mixing bowl, leaving the tumeric sauce in the pan.
wpid-Photo-20140320192521.jpg

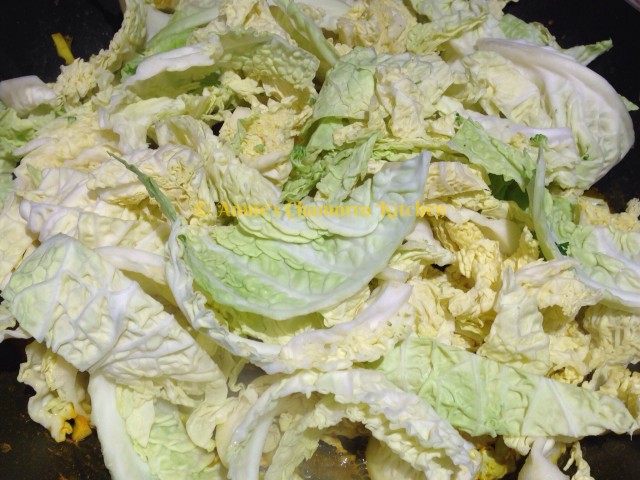
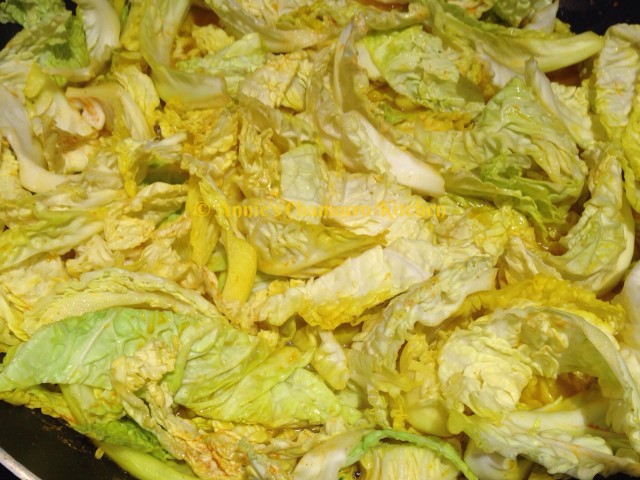
If you don’t have much liquid in the pan, add another cup of water and 1/3 cup of vinegar, 1/2 teaspoon salt and 2 more teaspoons of tumeric. Bring the liquid back up to a boil then add the cabbage leaves.
wpid-Photo-20140320192521.jpg

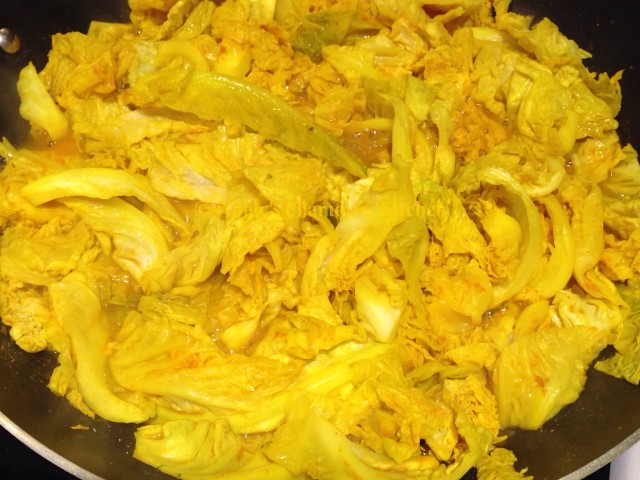
Use the tongs to turn the cabbage, evenly coating each leaf in tumeric sauce. Cook until the leaves begin to wilt.
wpid-Photo-20140320192521.jpg

Place the cooked cabbage into the bowl of broccoli, leaving the liquid in the pan once again.
wpid-Photo-20140320192522.jpg

As with the step before, if you don’t have much liquid in the pan, add another cup of water, 1/3 cup vinegar, 1/2 teaspoon salt, and 2 more teaspoons tumeric.

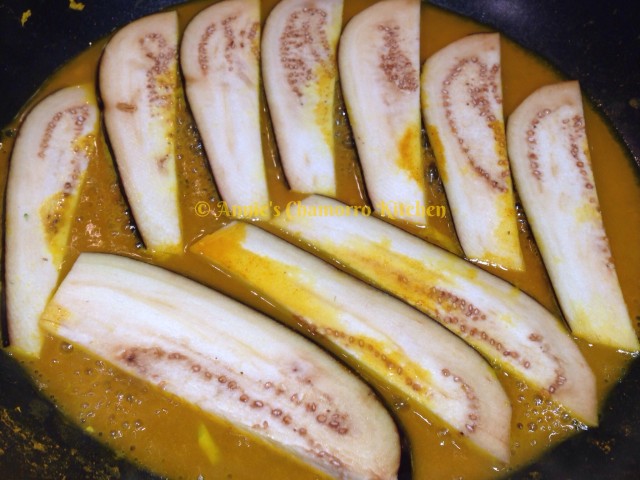
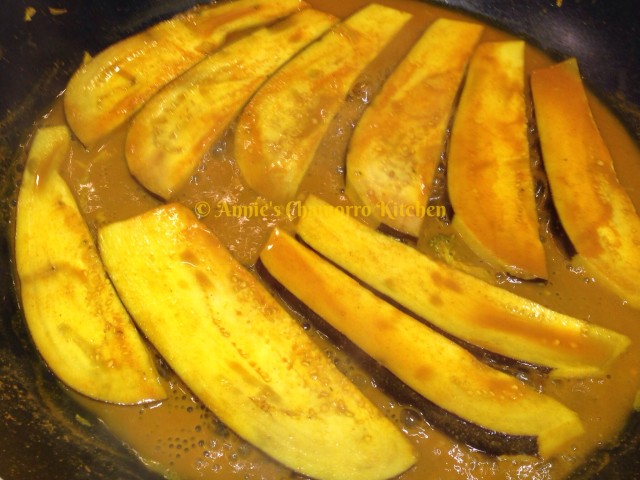
Bring the liquid to a boil then add the sliced eggplant to the pan. Turn the heat down to medium low (the eggplant takes longer to cook and your liquid may dry up completely as the eggplant cooks). Cook the eggplant for about 4 minutes then flip the slices over and cook the other side for another 4 minutes (or cook until the eggplant softens).
wpid-Photo-20140320192522.jpg

When the eggplant is done, remove it from the pan and place it into the bowl with the other cooked vegetables.
wpid-Photo-20140320192522.jpg

Repeat this process (of cooking the vegetables) for any remaining vegetables you are adding to the dish (like onions or kangkun leaves).

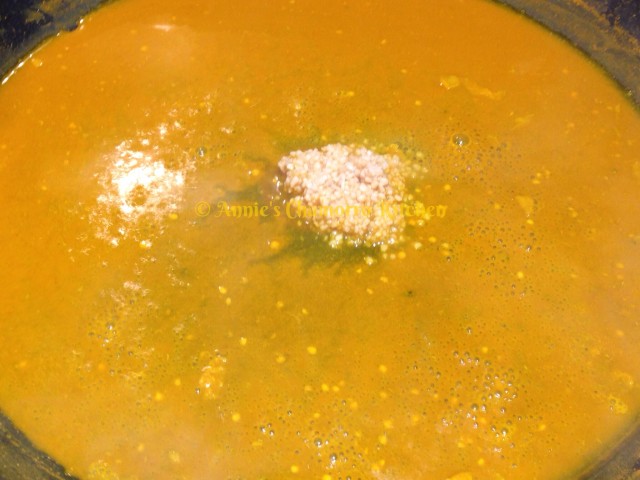
If your liquid dries up, add another cup of water, 1/3 cup vinegar, 1/2 teaspoon salt, and 2 teaspoons tumeric. Add the garlic to the pan. Turn the heat back up to medium high. Cook the garlic sauce for a couple of minutes.
wpid-Photo-20140320192522.jpg

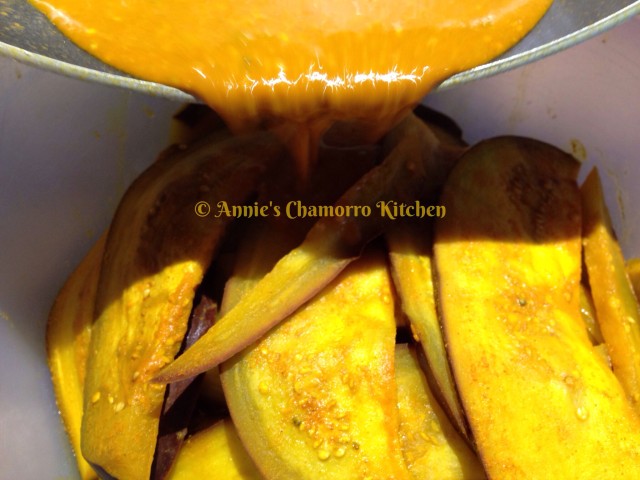
Pour the sauce over the cooked vegetables. Set aside until the fish is done.
wpid-Photo-20140320193527.jpg

Prepare the fish.

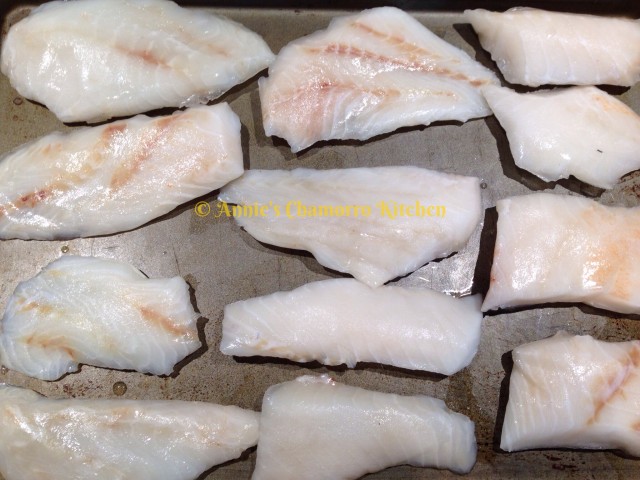
Preheat the oven to 400 degrees. Place the fish filets on a large rimmed baking sheet.
image

Sprinkle salt, black pepper, garlic powder, and tumeric on both sides of the fish. Bake at 400 degrees for 15-20 minutes. Use a fork to check for doneness (the fish should flake easily with a fork).
image

When the fish is done, it’s time to layer the escabeche.

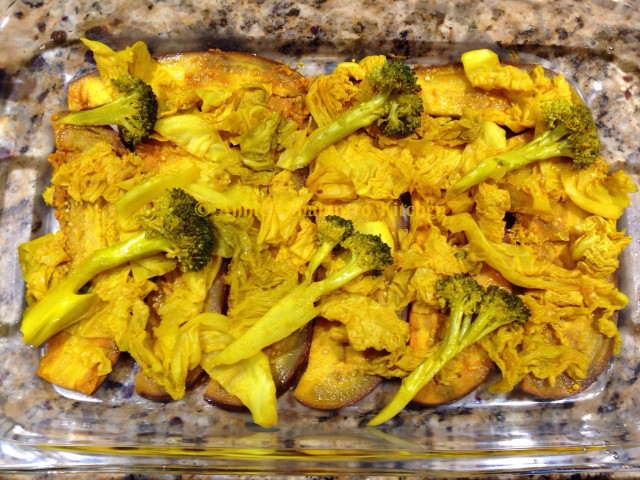
In the bottom of a 9×13 pan, place a even layer of eggplant, half of the cabbage leaves and broccoli.
image

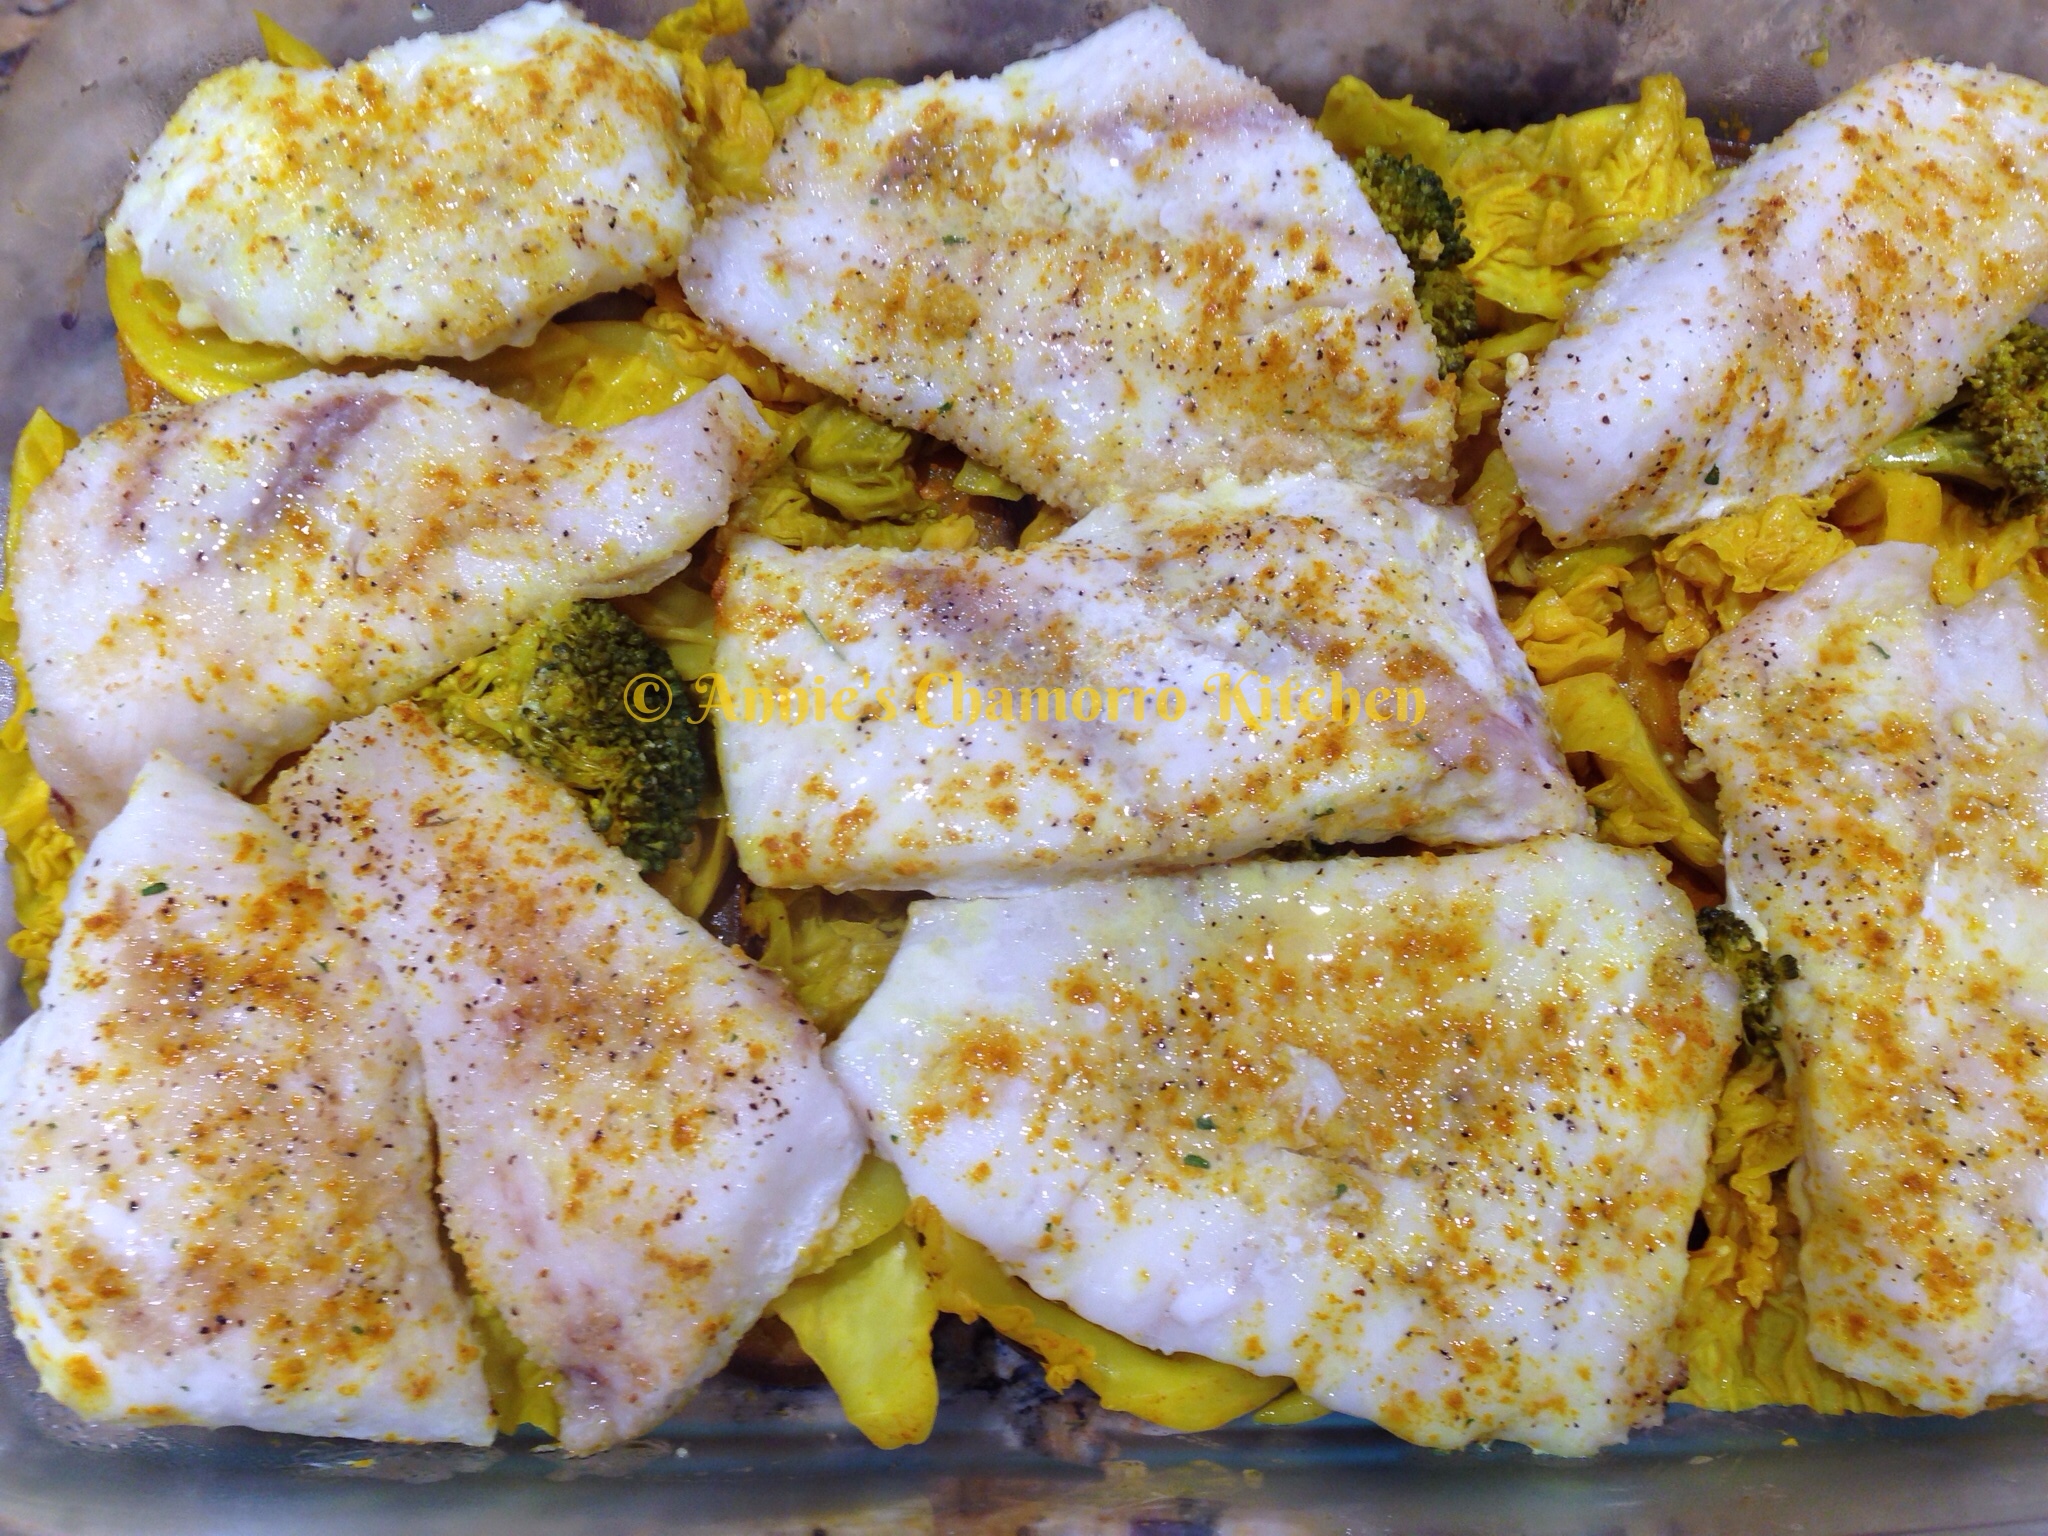
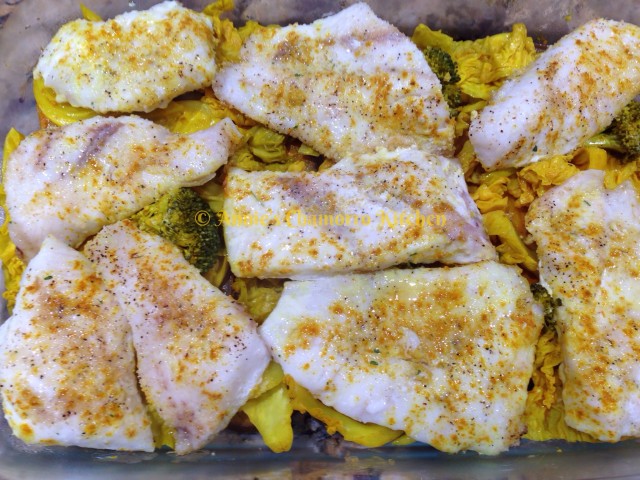
Carefully place each of the baked fish filets on top of the bottom layer of vegetables.
wpid-Photo-Mar-20-2014-725-PM.jpg

I don’t have a photo of these next steps (I don’t know how I forgot to take photos!), but layer the remaining vegetables on top of the layer of fish.

Pour any remaining sauce over the vegetables.

While you can eat this immediately, this dish is best if made the day before and allowed to “marinate” overnight. Cover the dish tightly with aluminum foil then place in the refrigerator to allow the flavors to meld.

The next day, after all the sauce soaked into the fish and vegetables, the escabeche is now perfect and ready to enjoy. Reheat individual portions, or bake the entire pan (covered with foil) at 350 degrees for about 20-25 minutes.

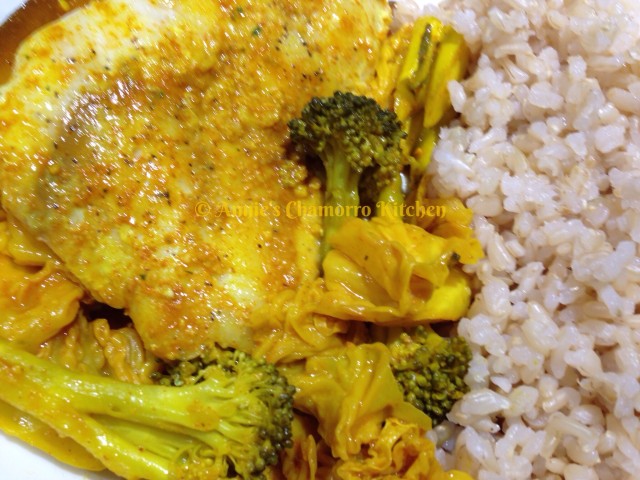
Serve with hot steamed rice and fina’denne’. ENJOY!
wpid-Photo-20140320193526.jpg

Red Rice made with Brown Rice

My family is making a concerted effort to develop healthier eating habits. We’re making small changes in the foods we eat as well as how we prepare them.

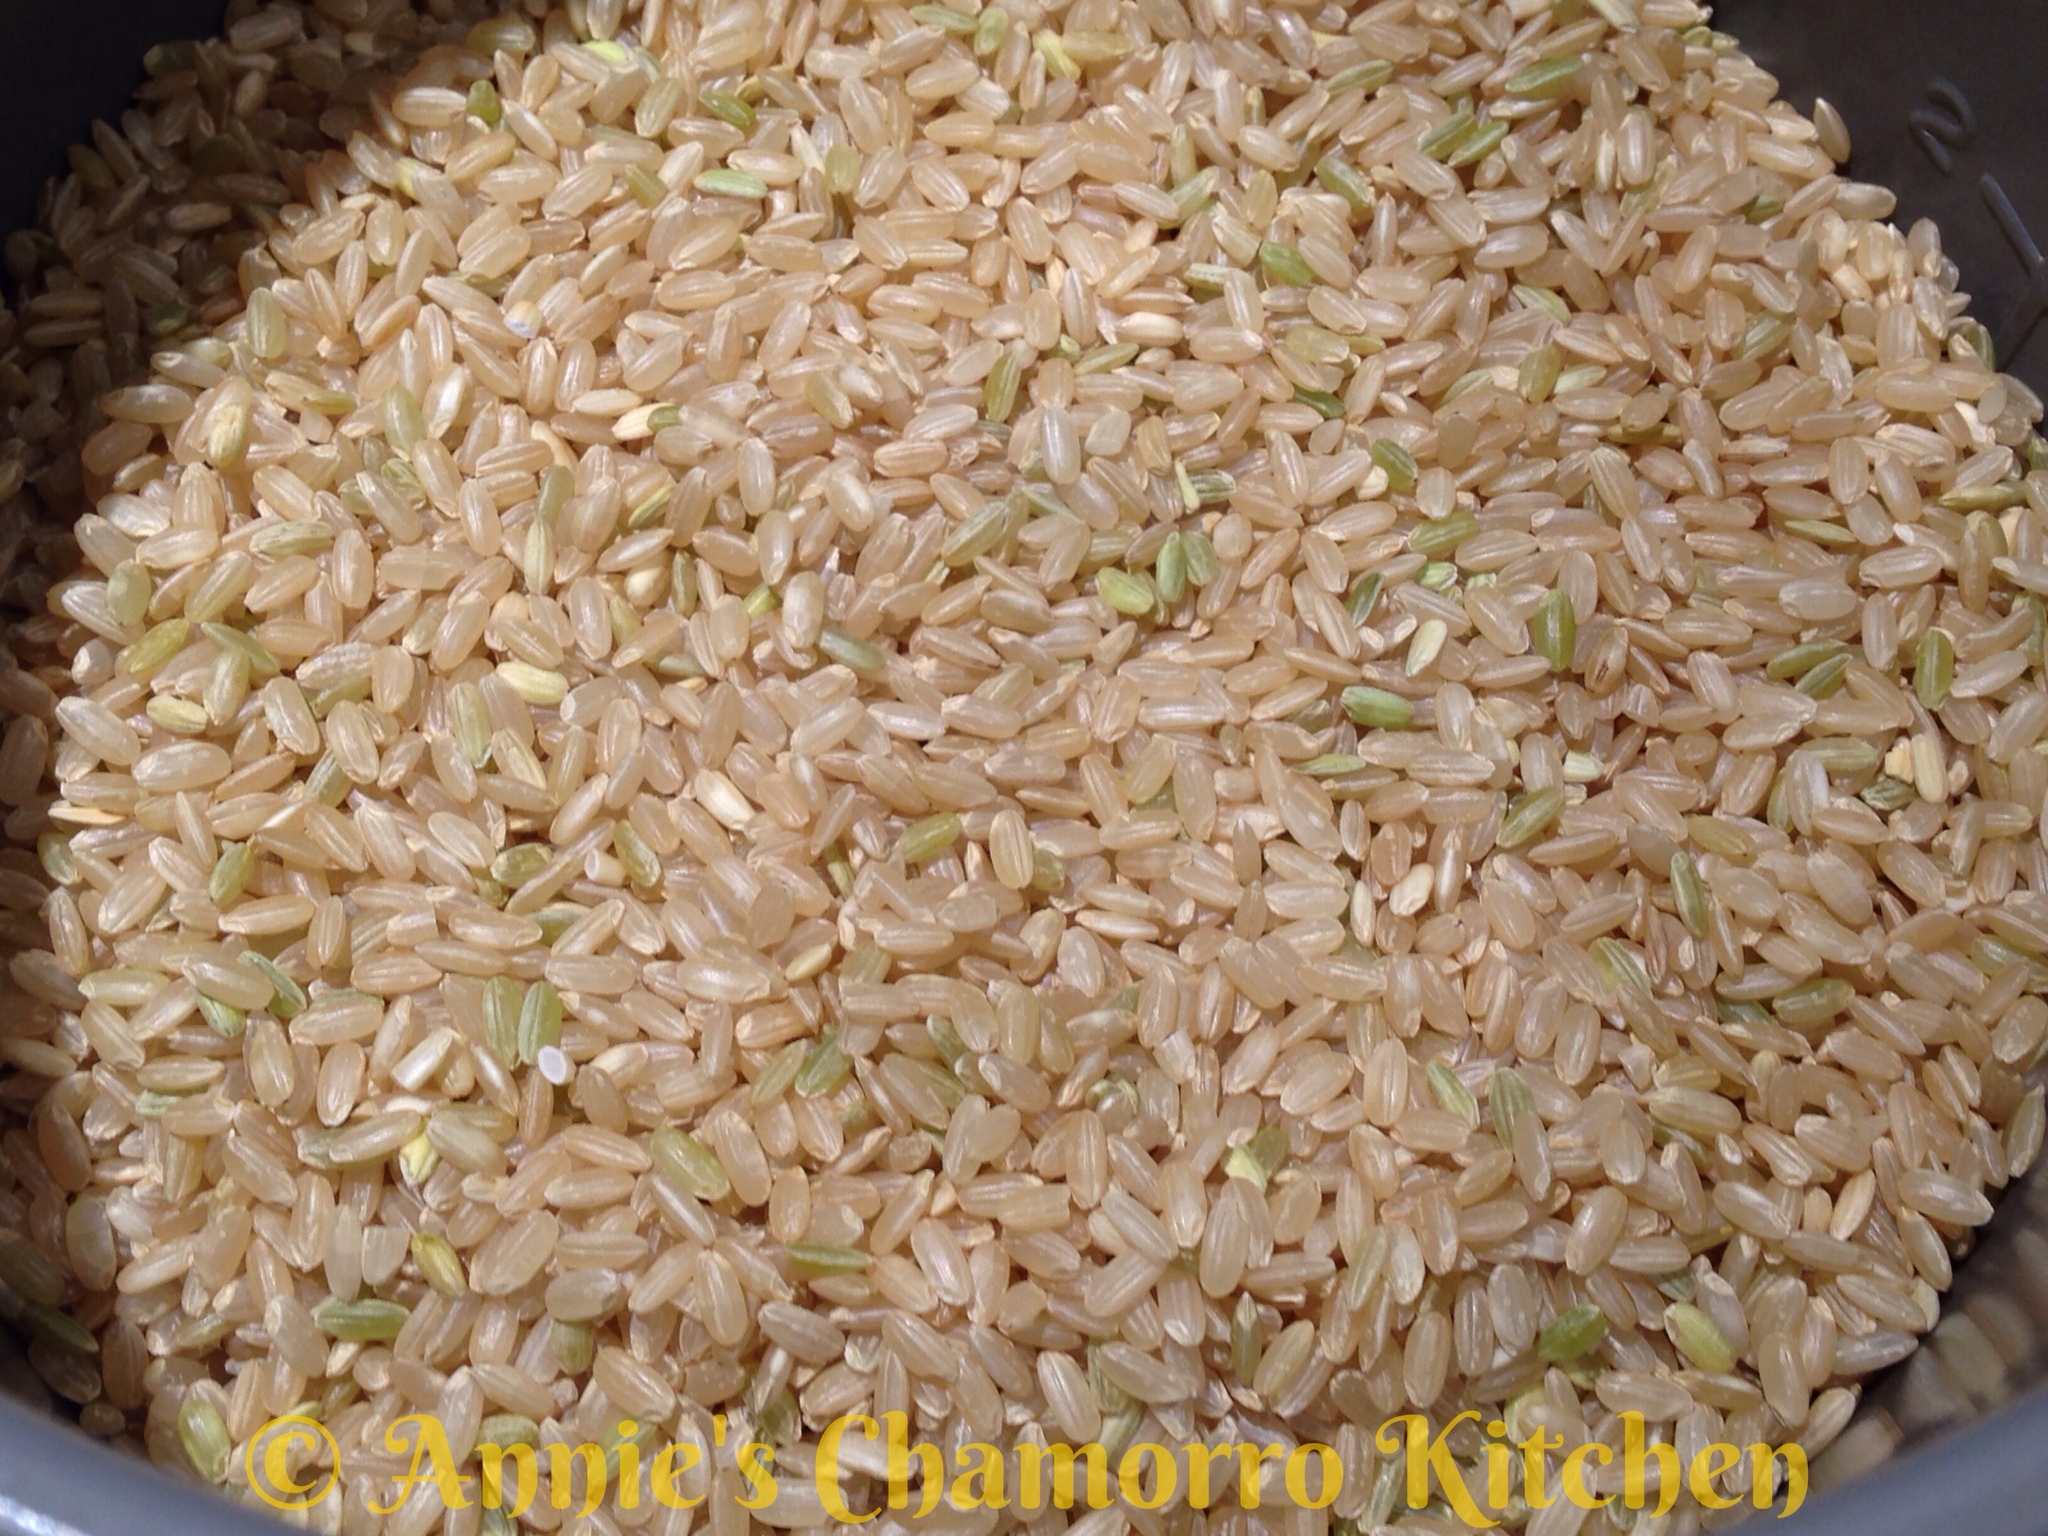
One change we definitely like is that we’ve made the switch from white to brown rice. I admit, it took some getting used to, but we actually like it. Of course, I have to season the brown rice whenever I cook it.

I wanted to see if the classic Chamorro Red Rice would taste good using brown rice instead of the usual white medium or long grain rice we know and love.

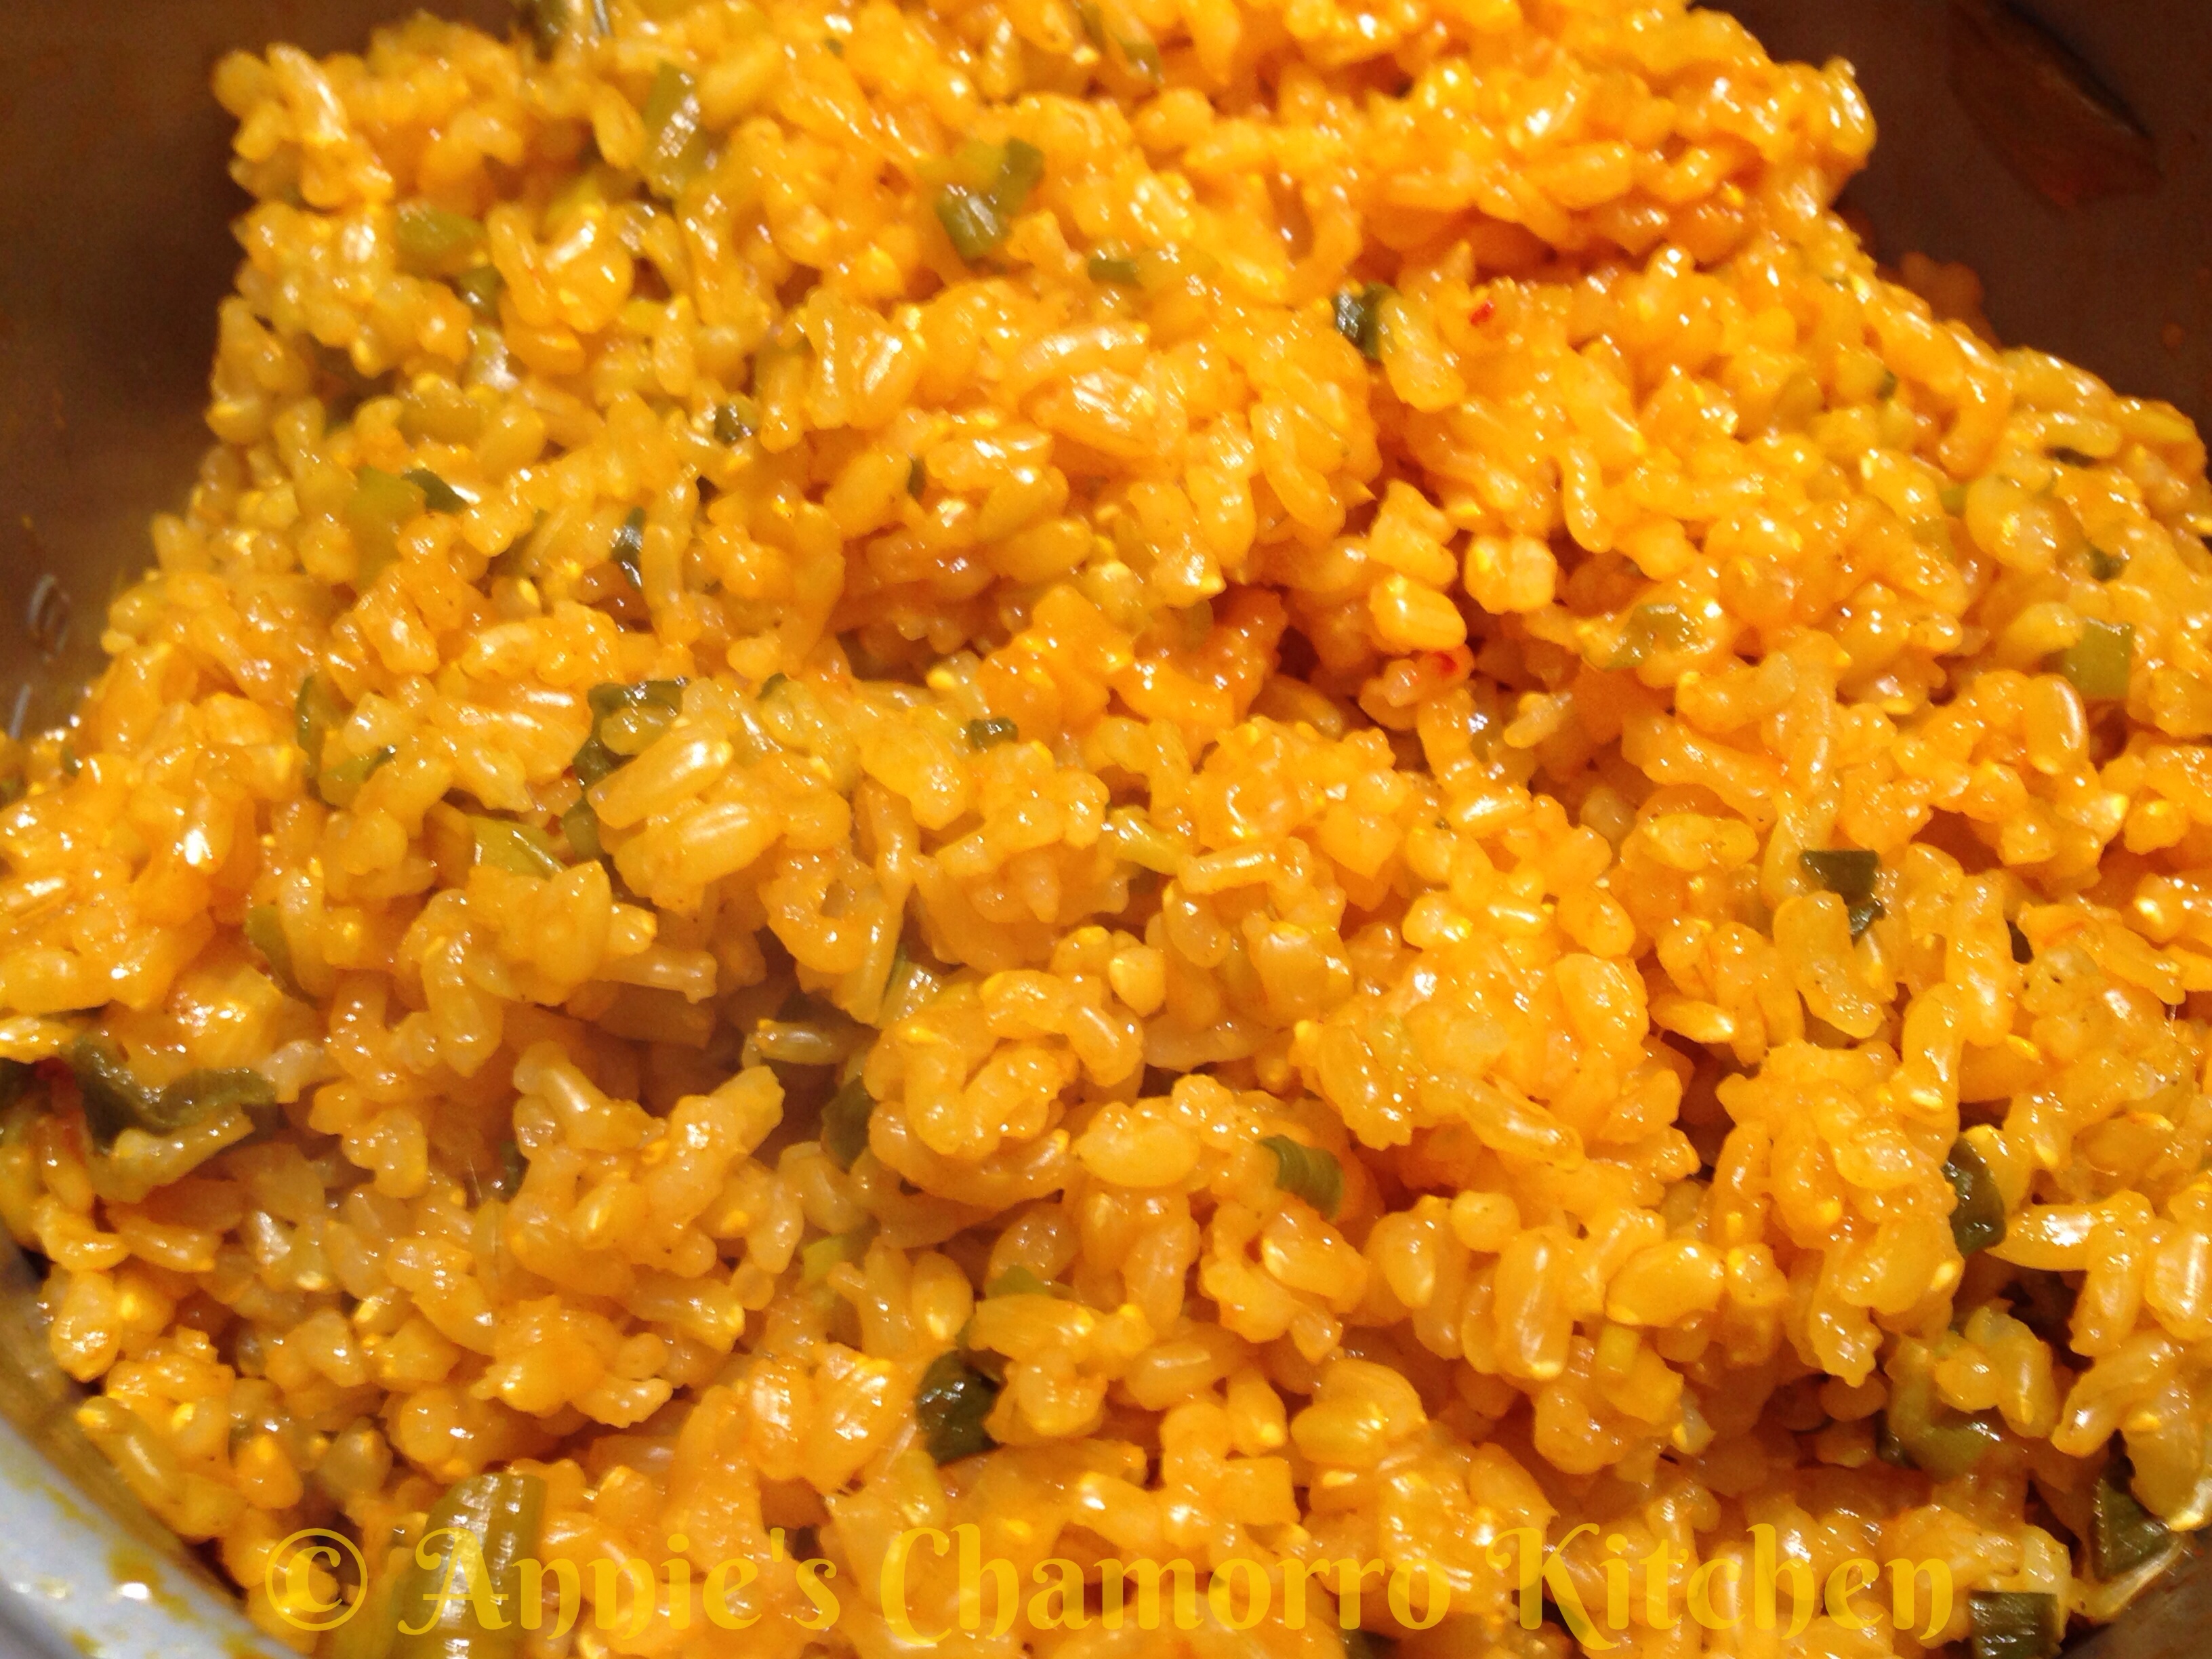
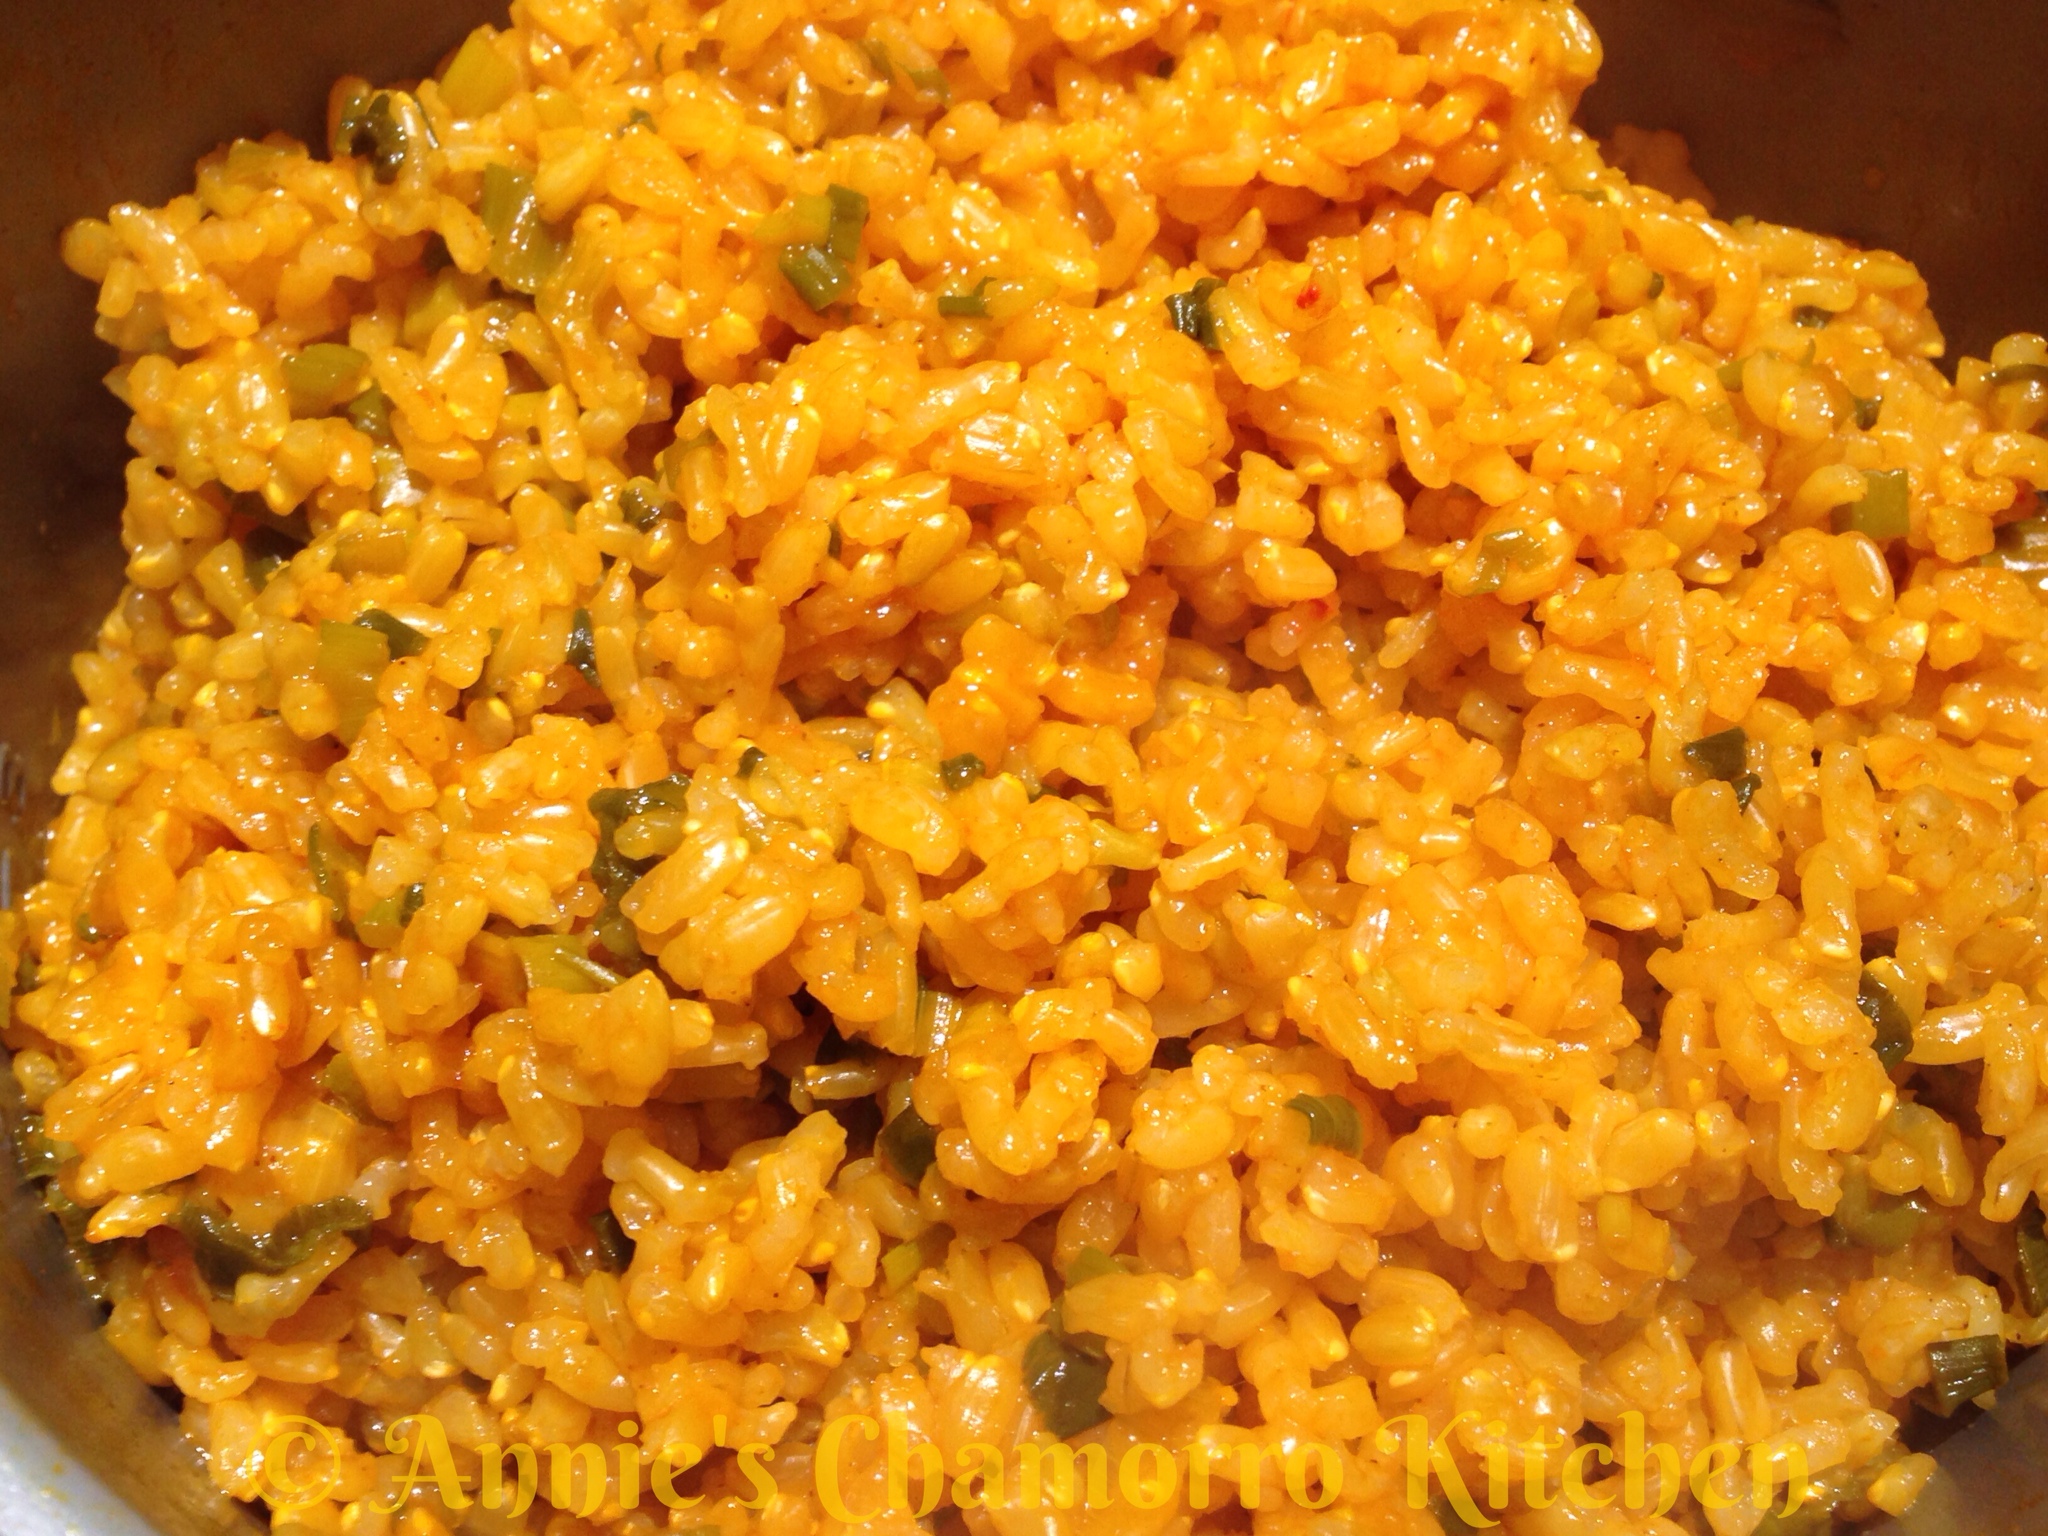
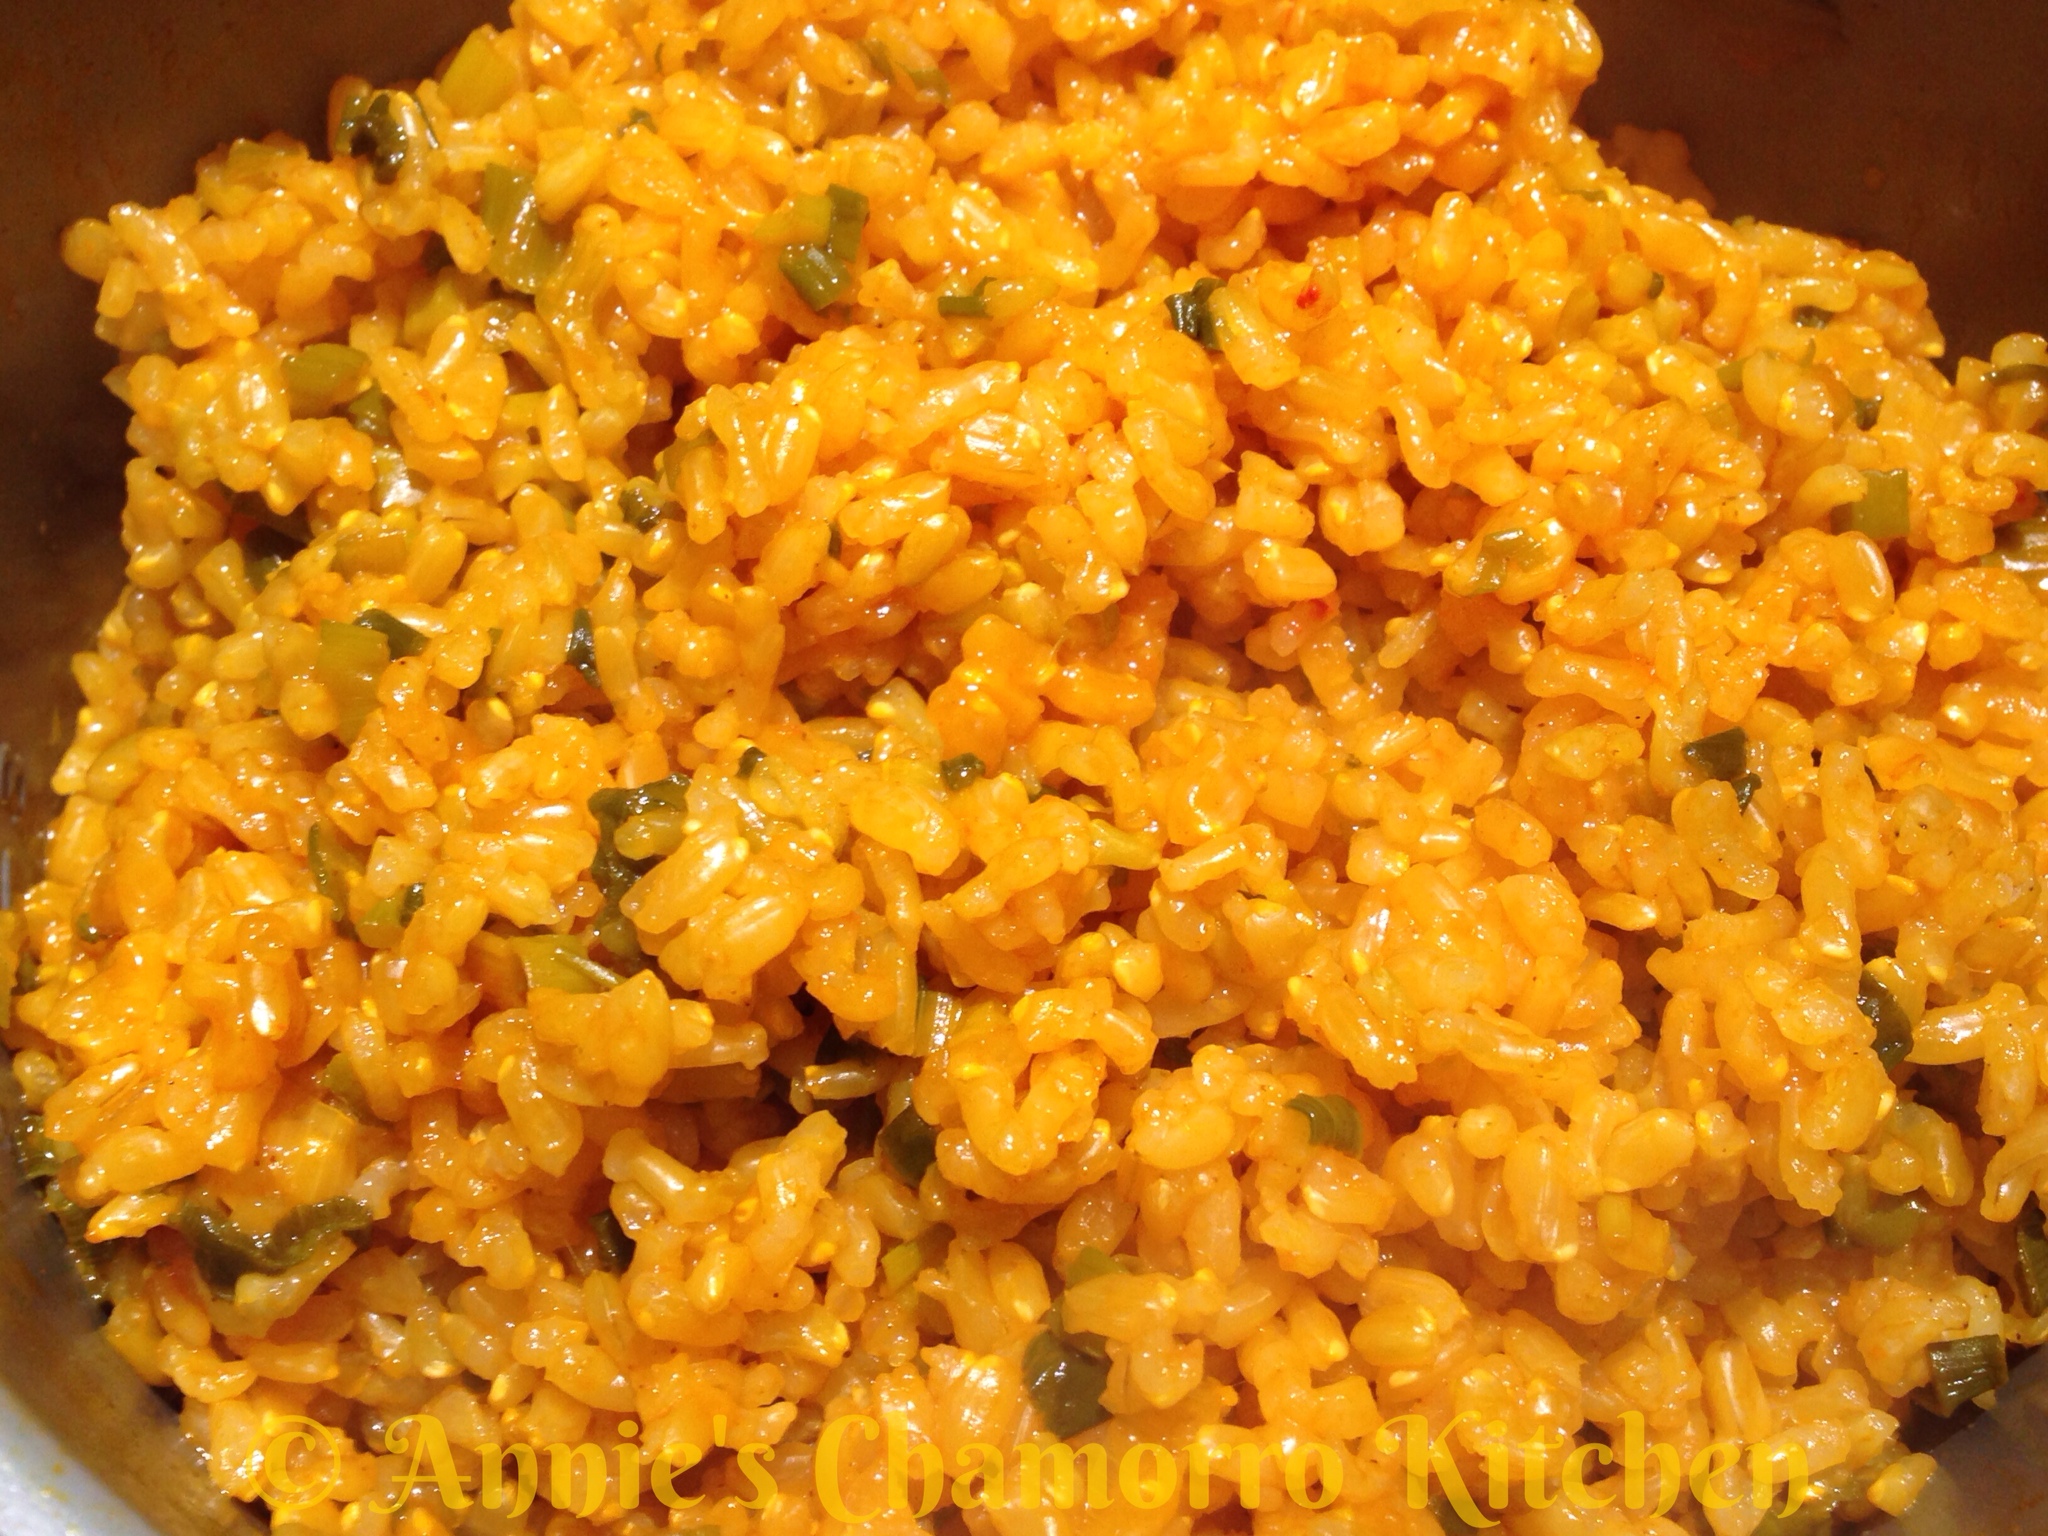
The result? Delicious! Granted, you can definitely tell you’re eating brown rice (it’s firmer and a bit nuttier than white), but delicious nonetheless.

Give my recipe a try. I think you’ll like it. 🙂

Red Rice made with Brown Rice

aka Red Brown Rice 🙂

Ingredients:

  • 3 cups brown rice (use your rice cooker cup)
  • 6 1/3 cups water (use your rice cooker cup) (*See note below)
  • 1 packet achote powder (*See note below)
  • 1 tablespoon olive oil
  • 1 bunch green onions, sliced
  • 1 tablespoon Dashida seasoning (or salt, to taste)

Note: You can use achote water made with achote seeds instead of achote powder. Scrub the seeds in the water; strain out the seeds before using.

Directions:

1. Rinse the rice then place into your rice cooker pot.

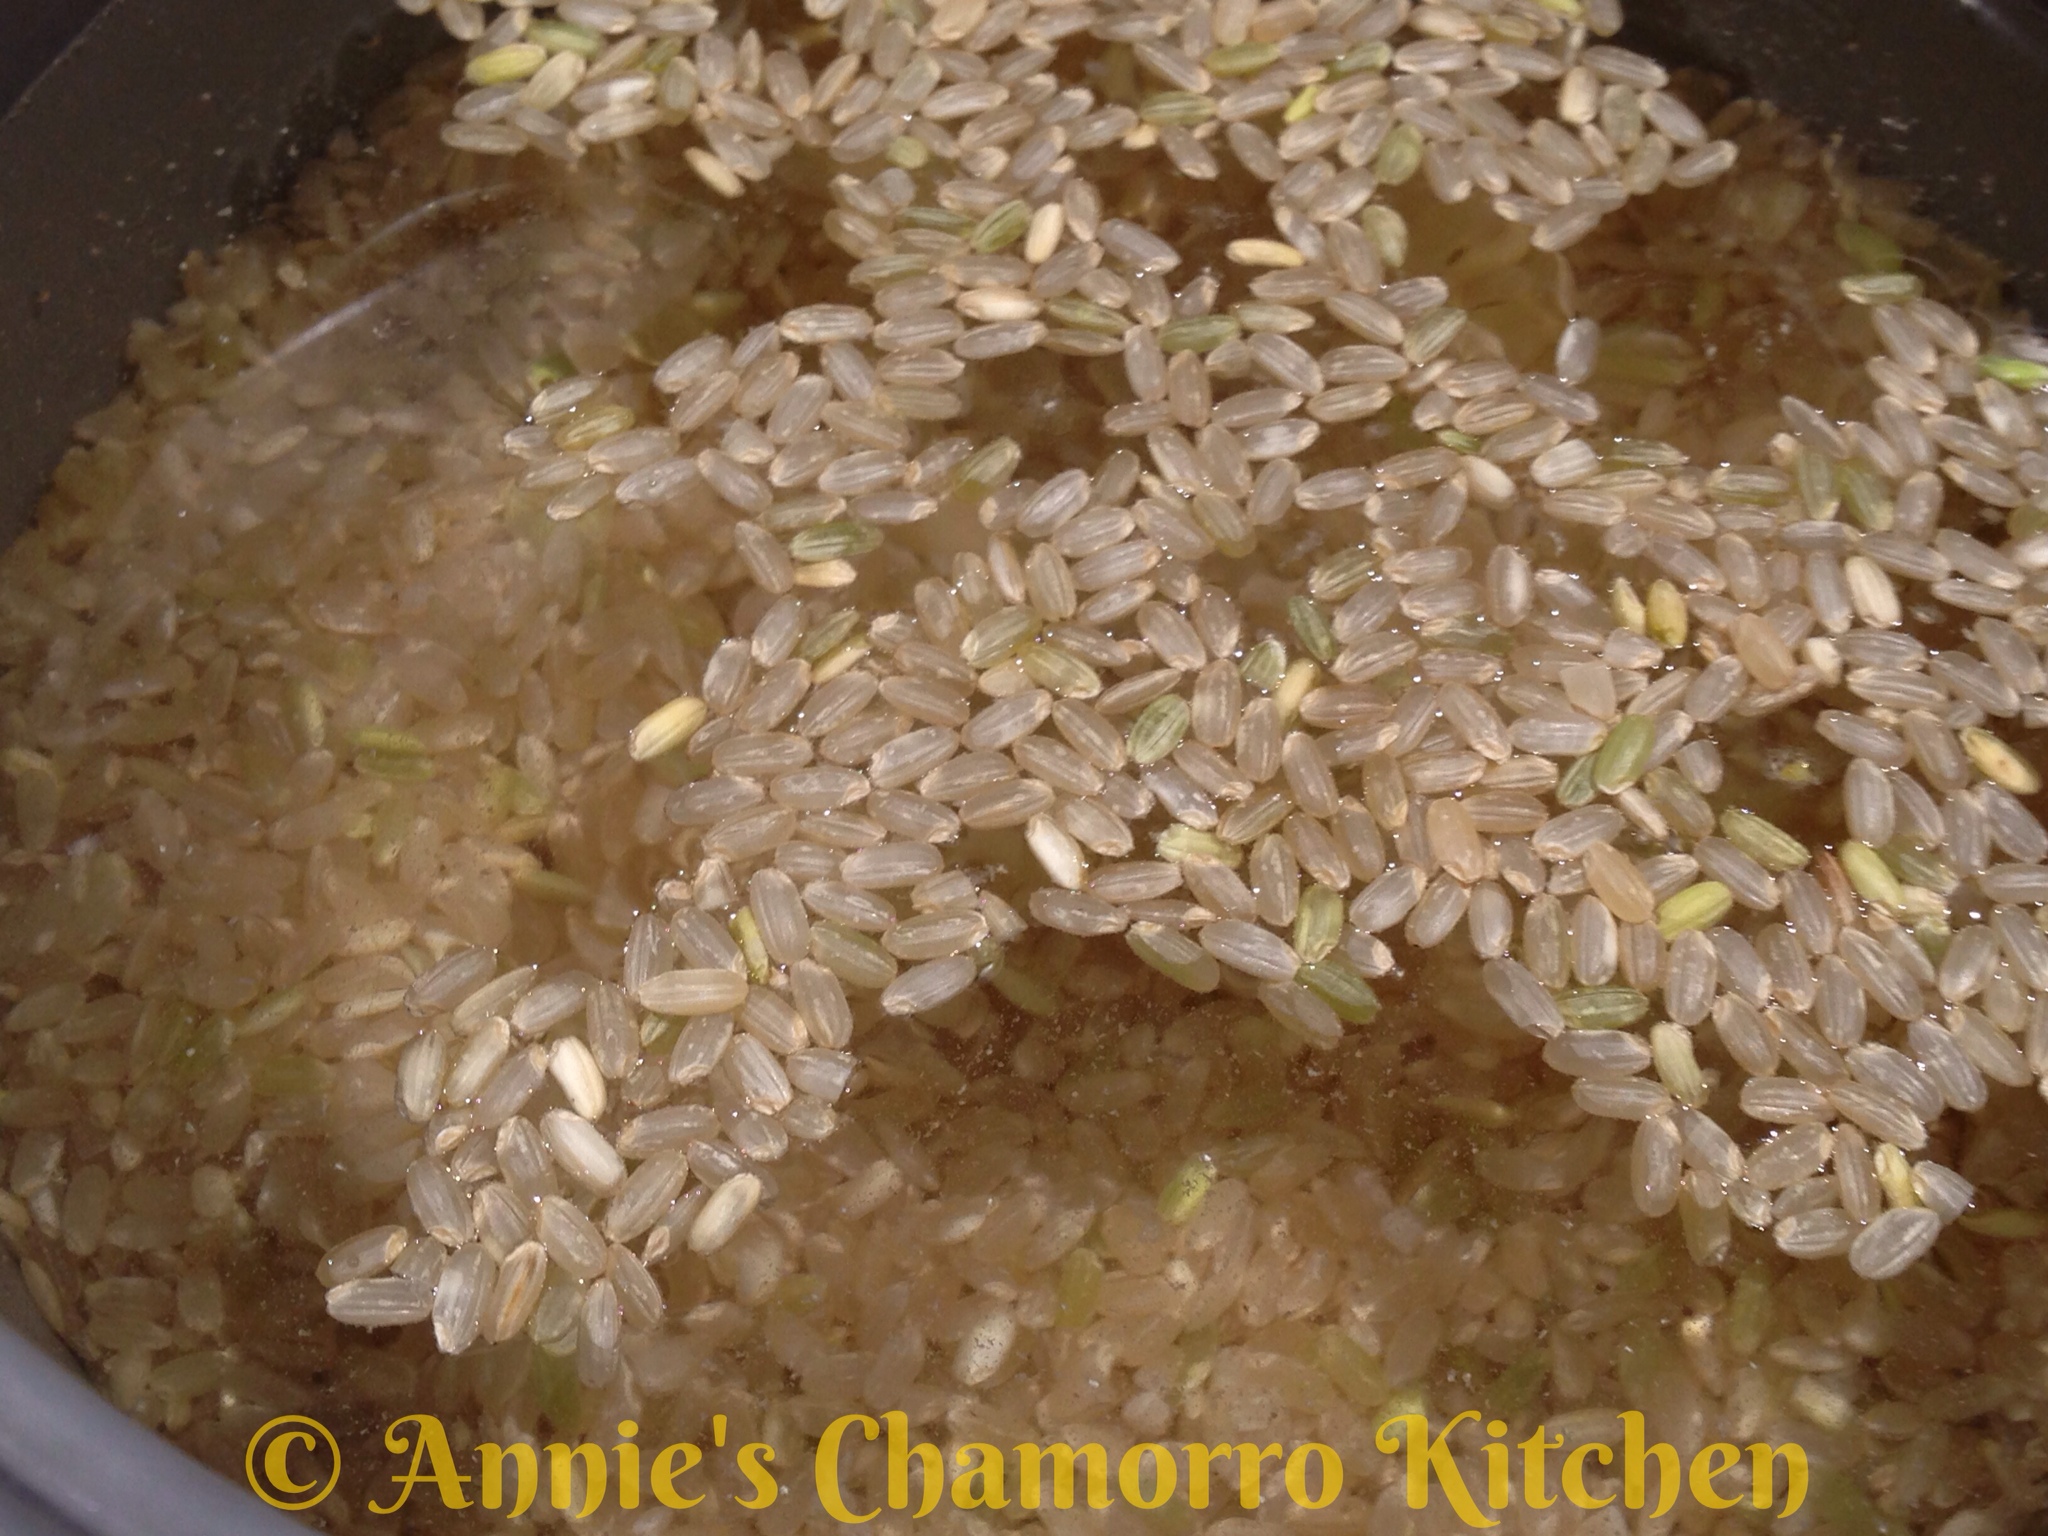
2. Add the water.

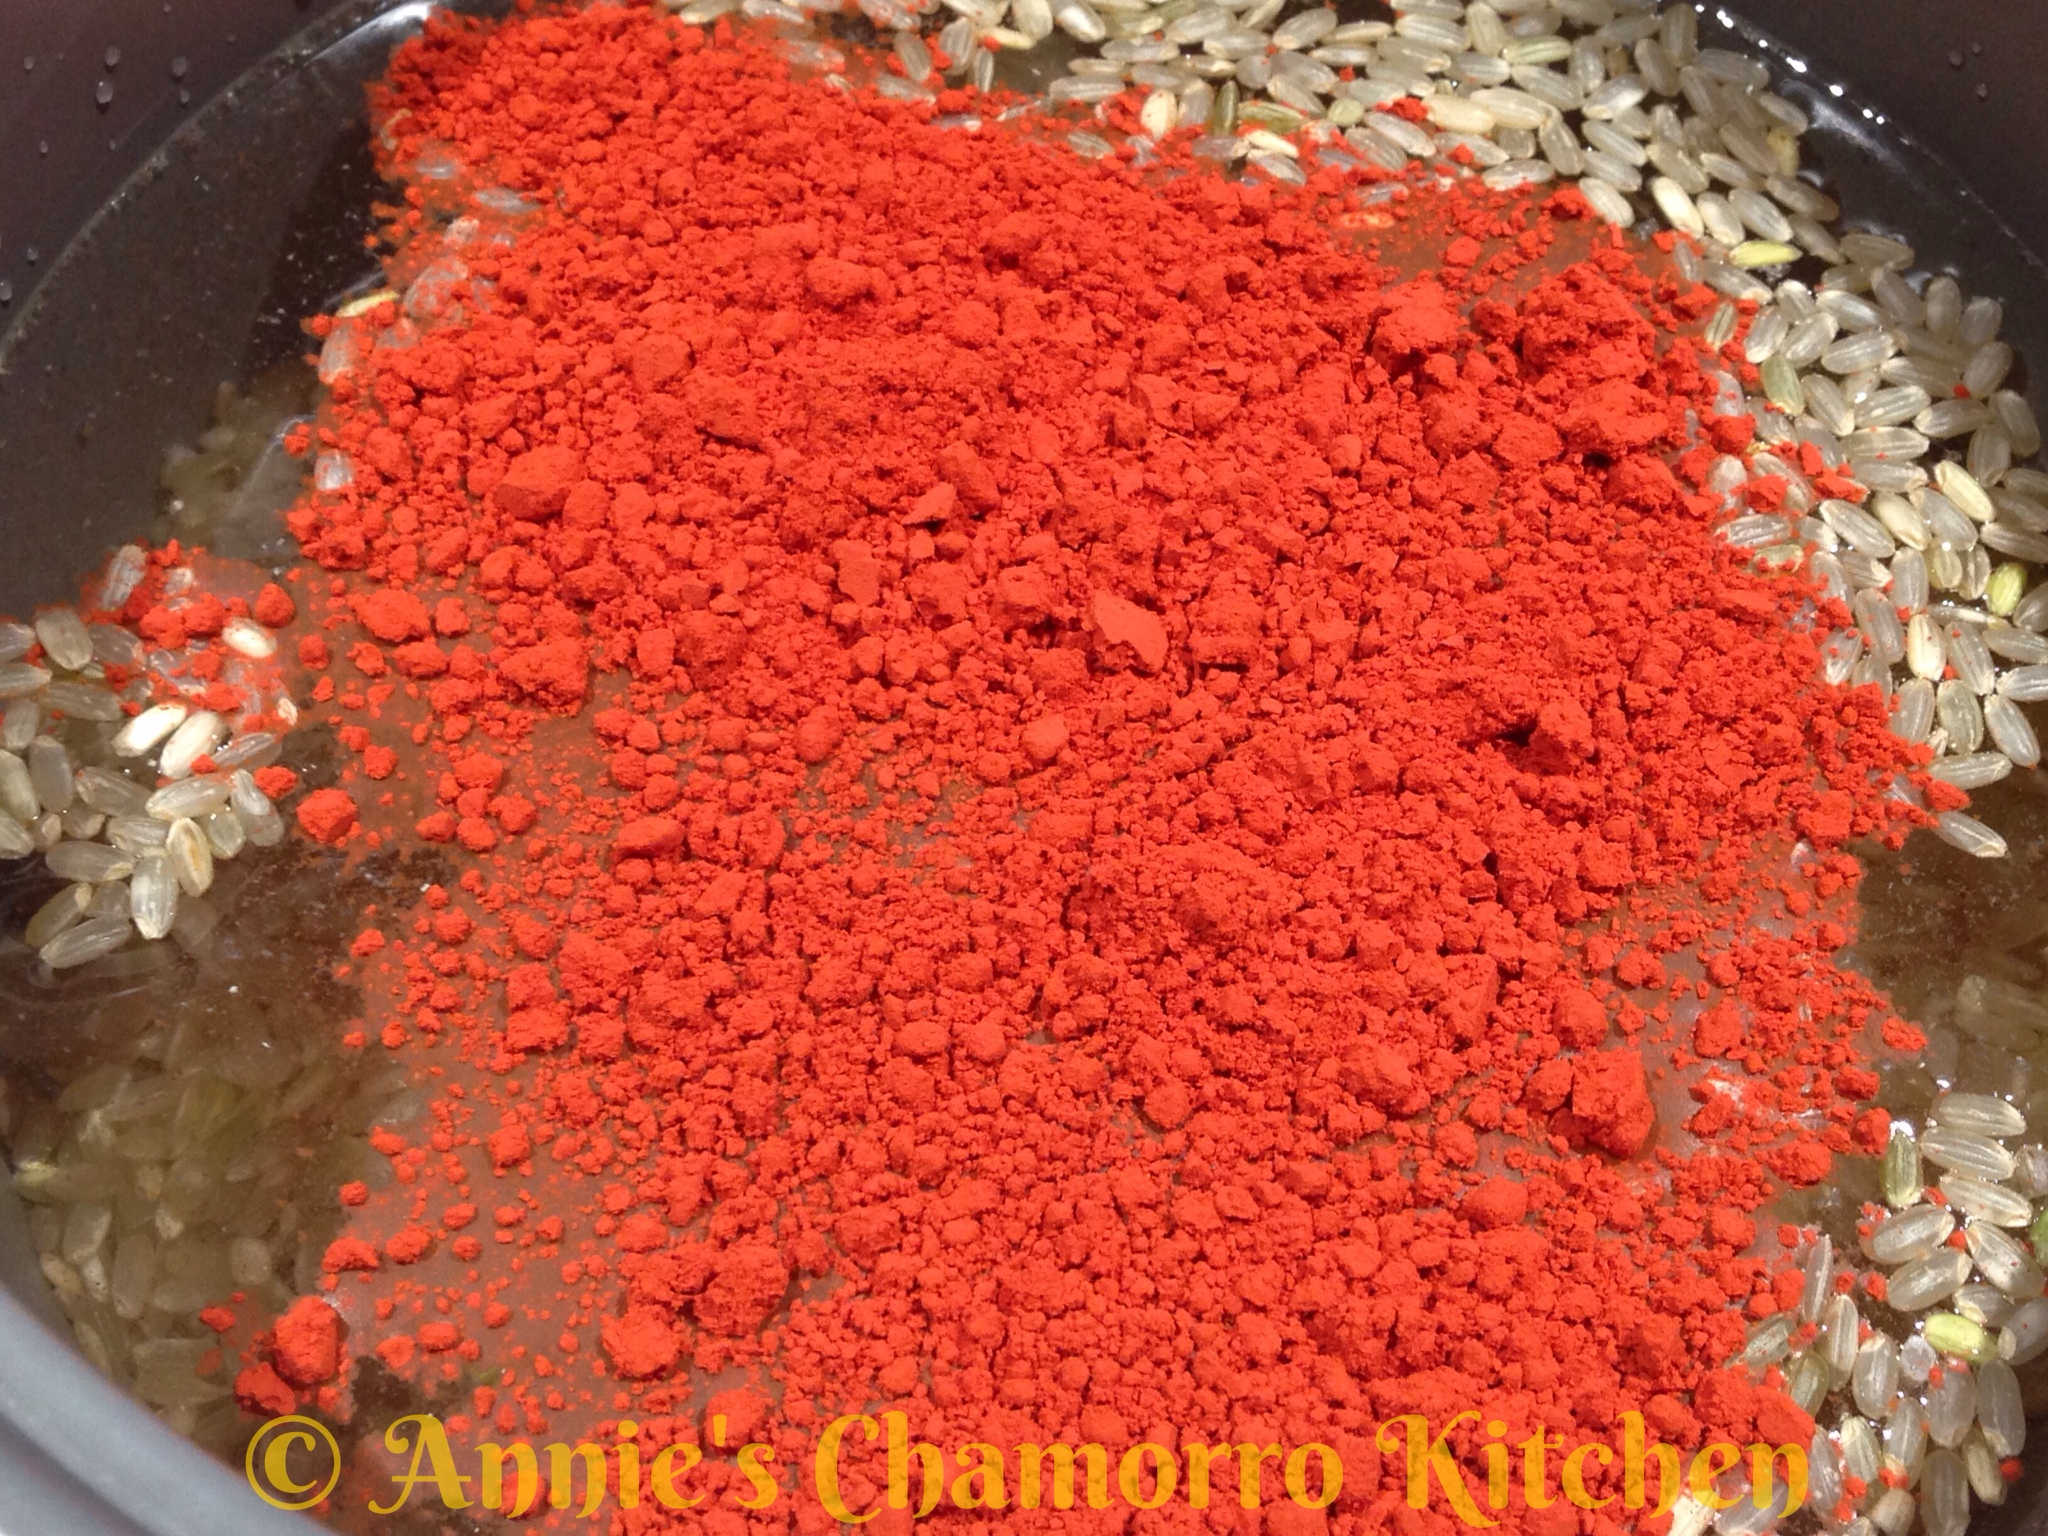
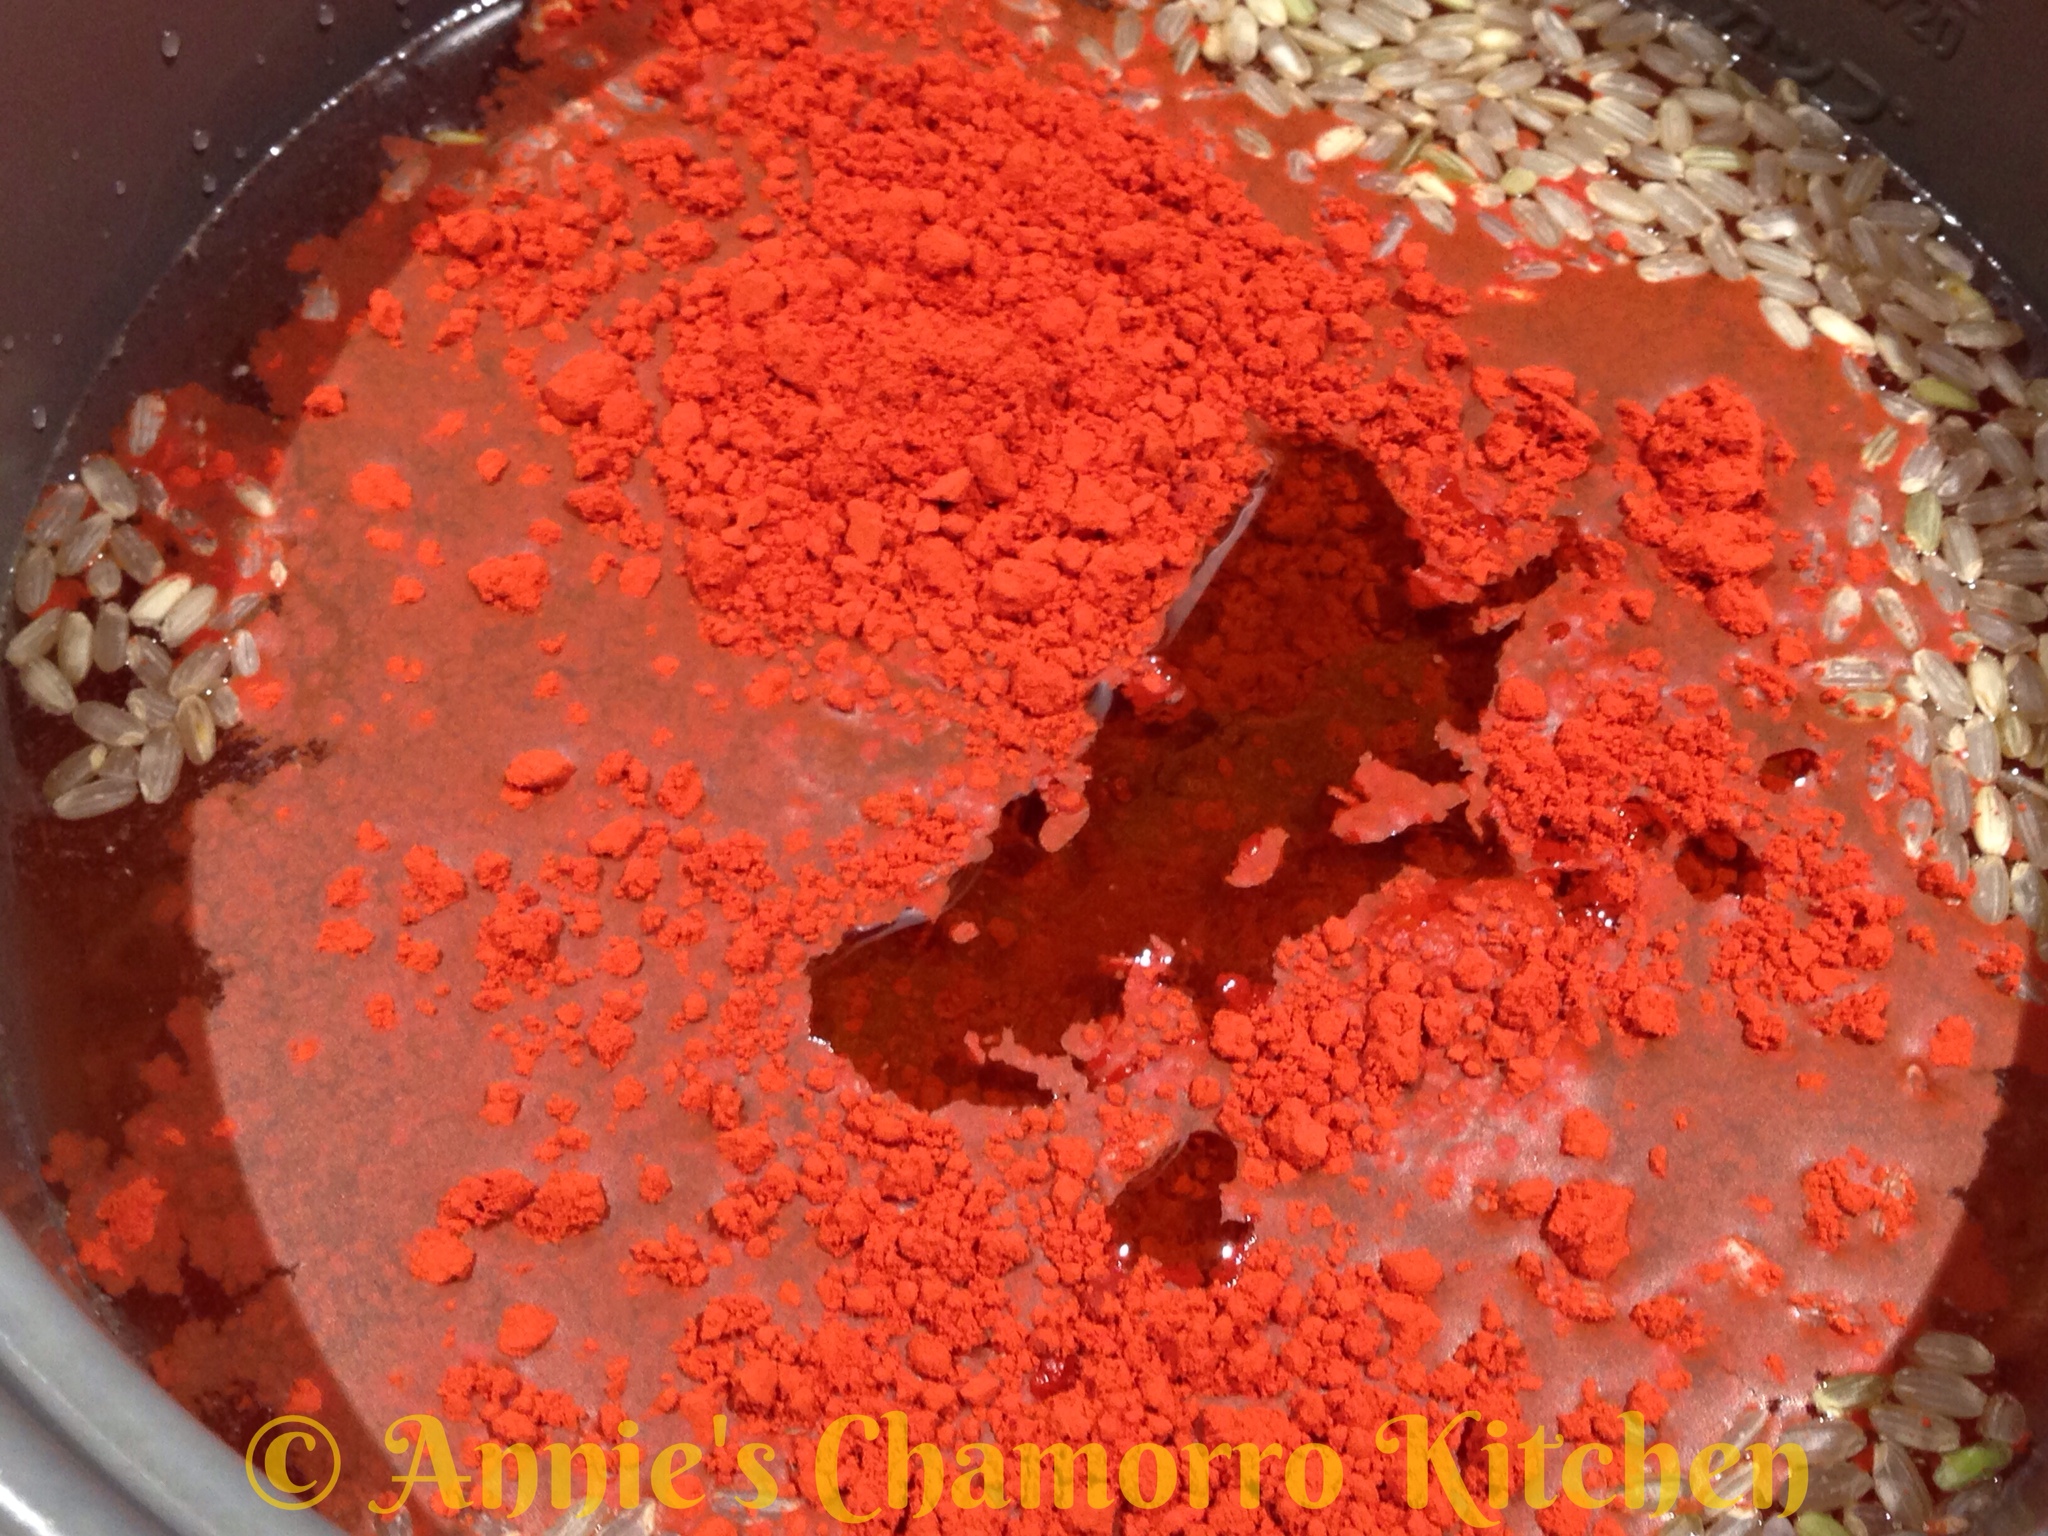
3. Add the achote powder.

4. Add the olive oil.

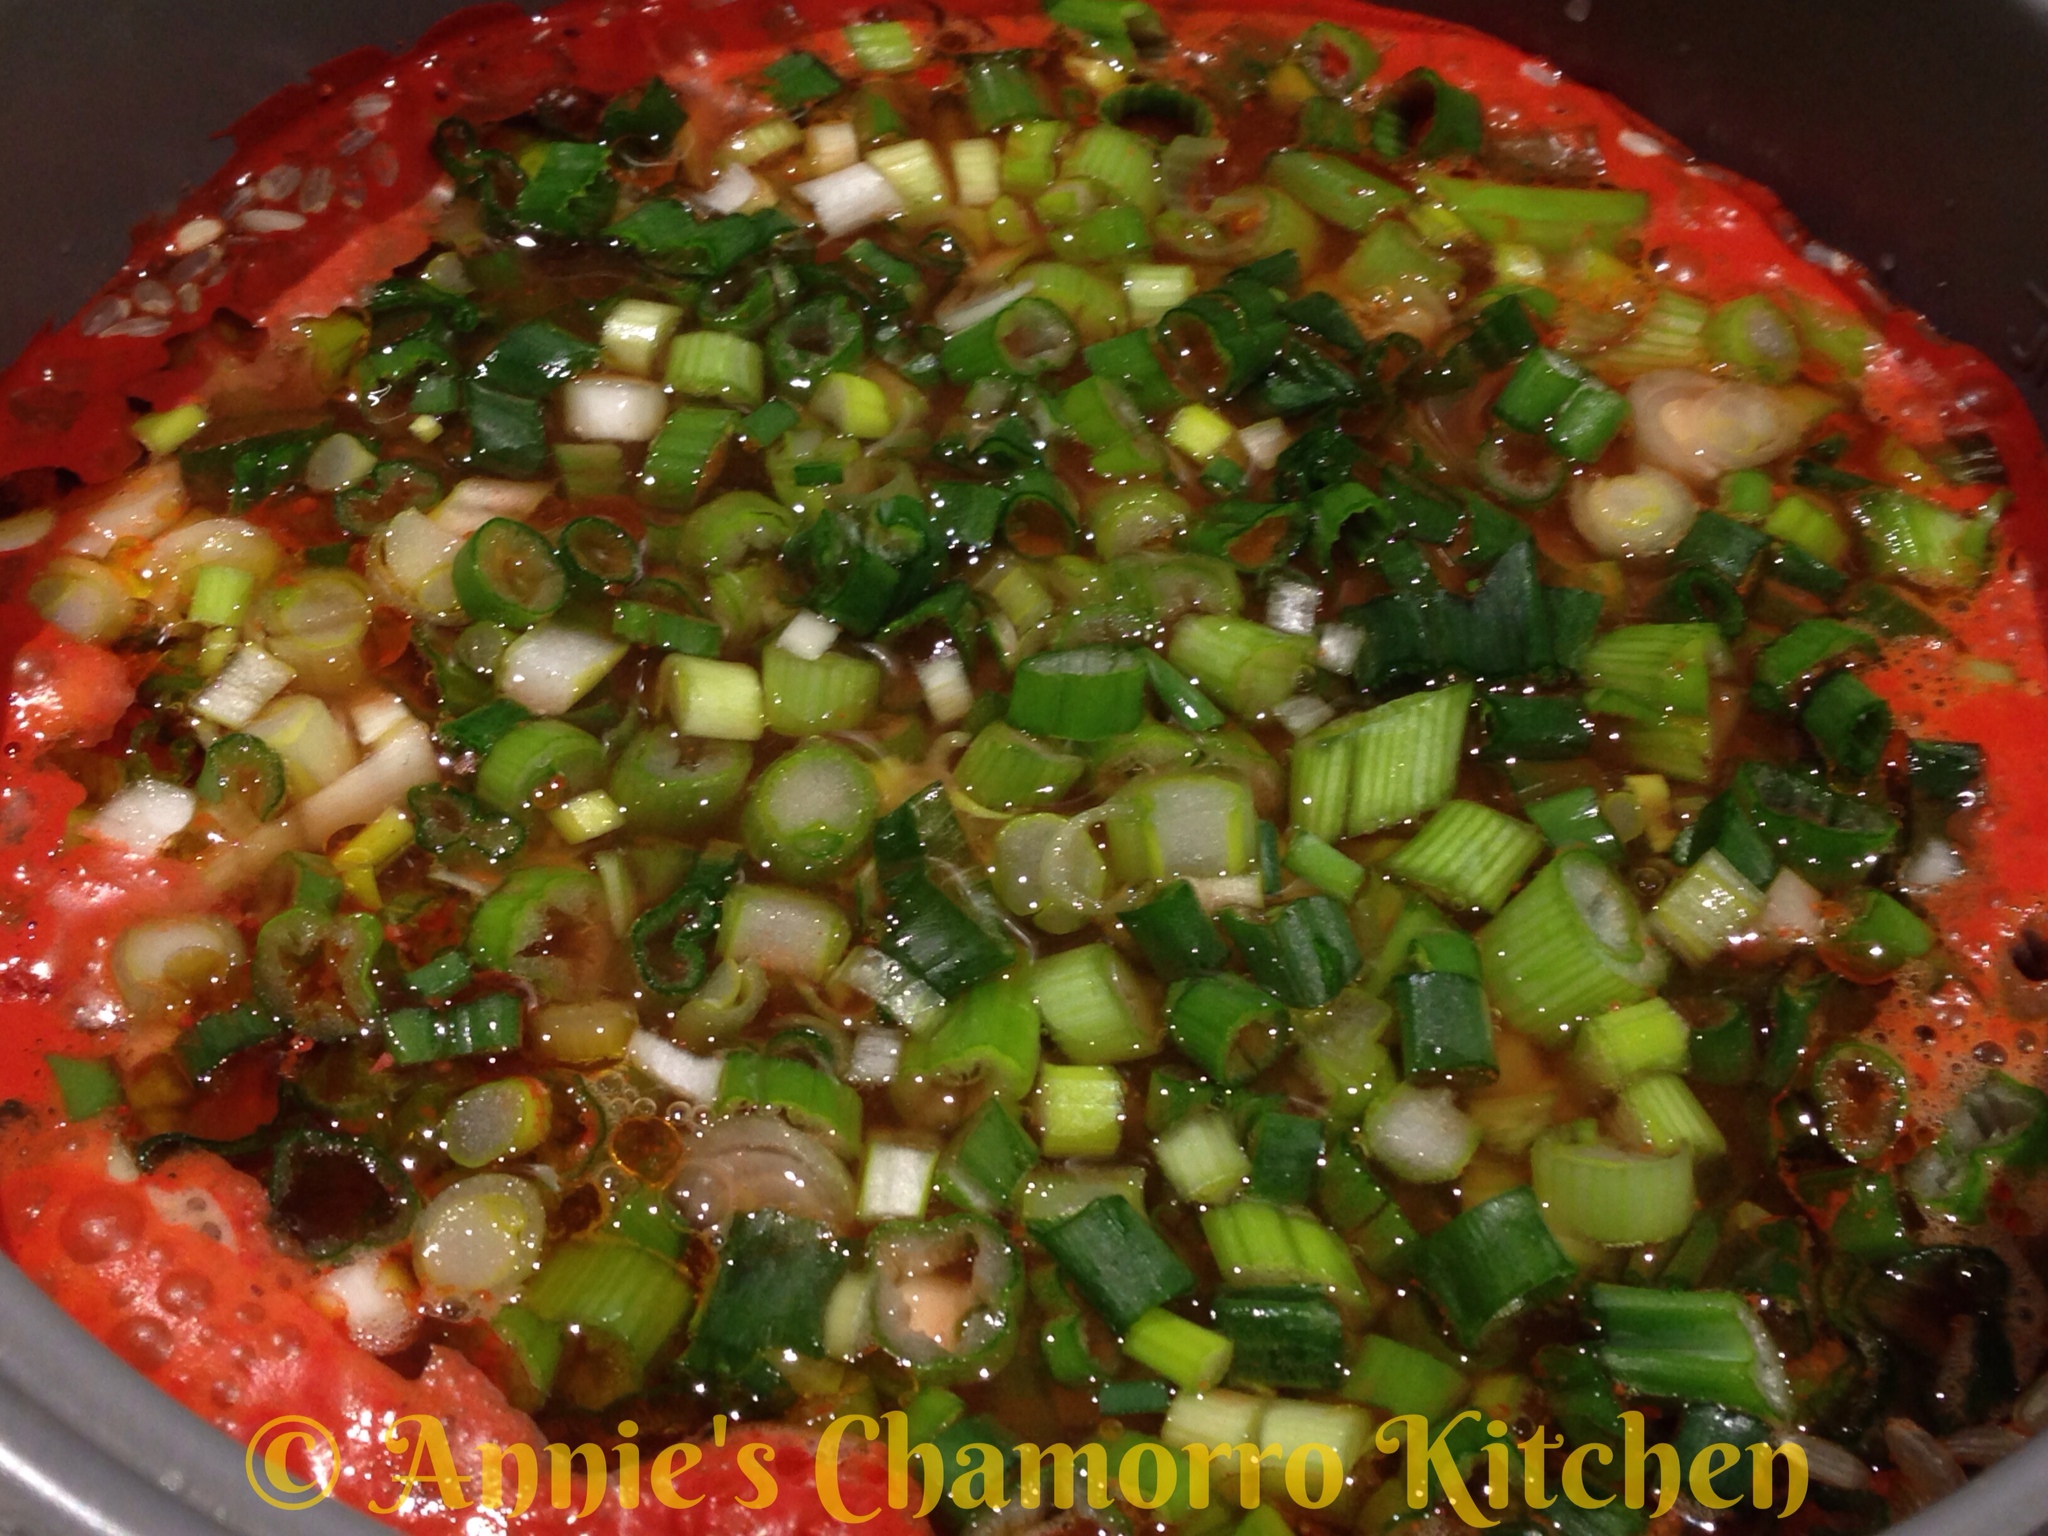
5. Add the green onions.

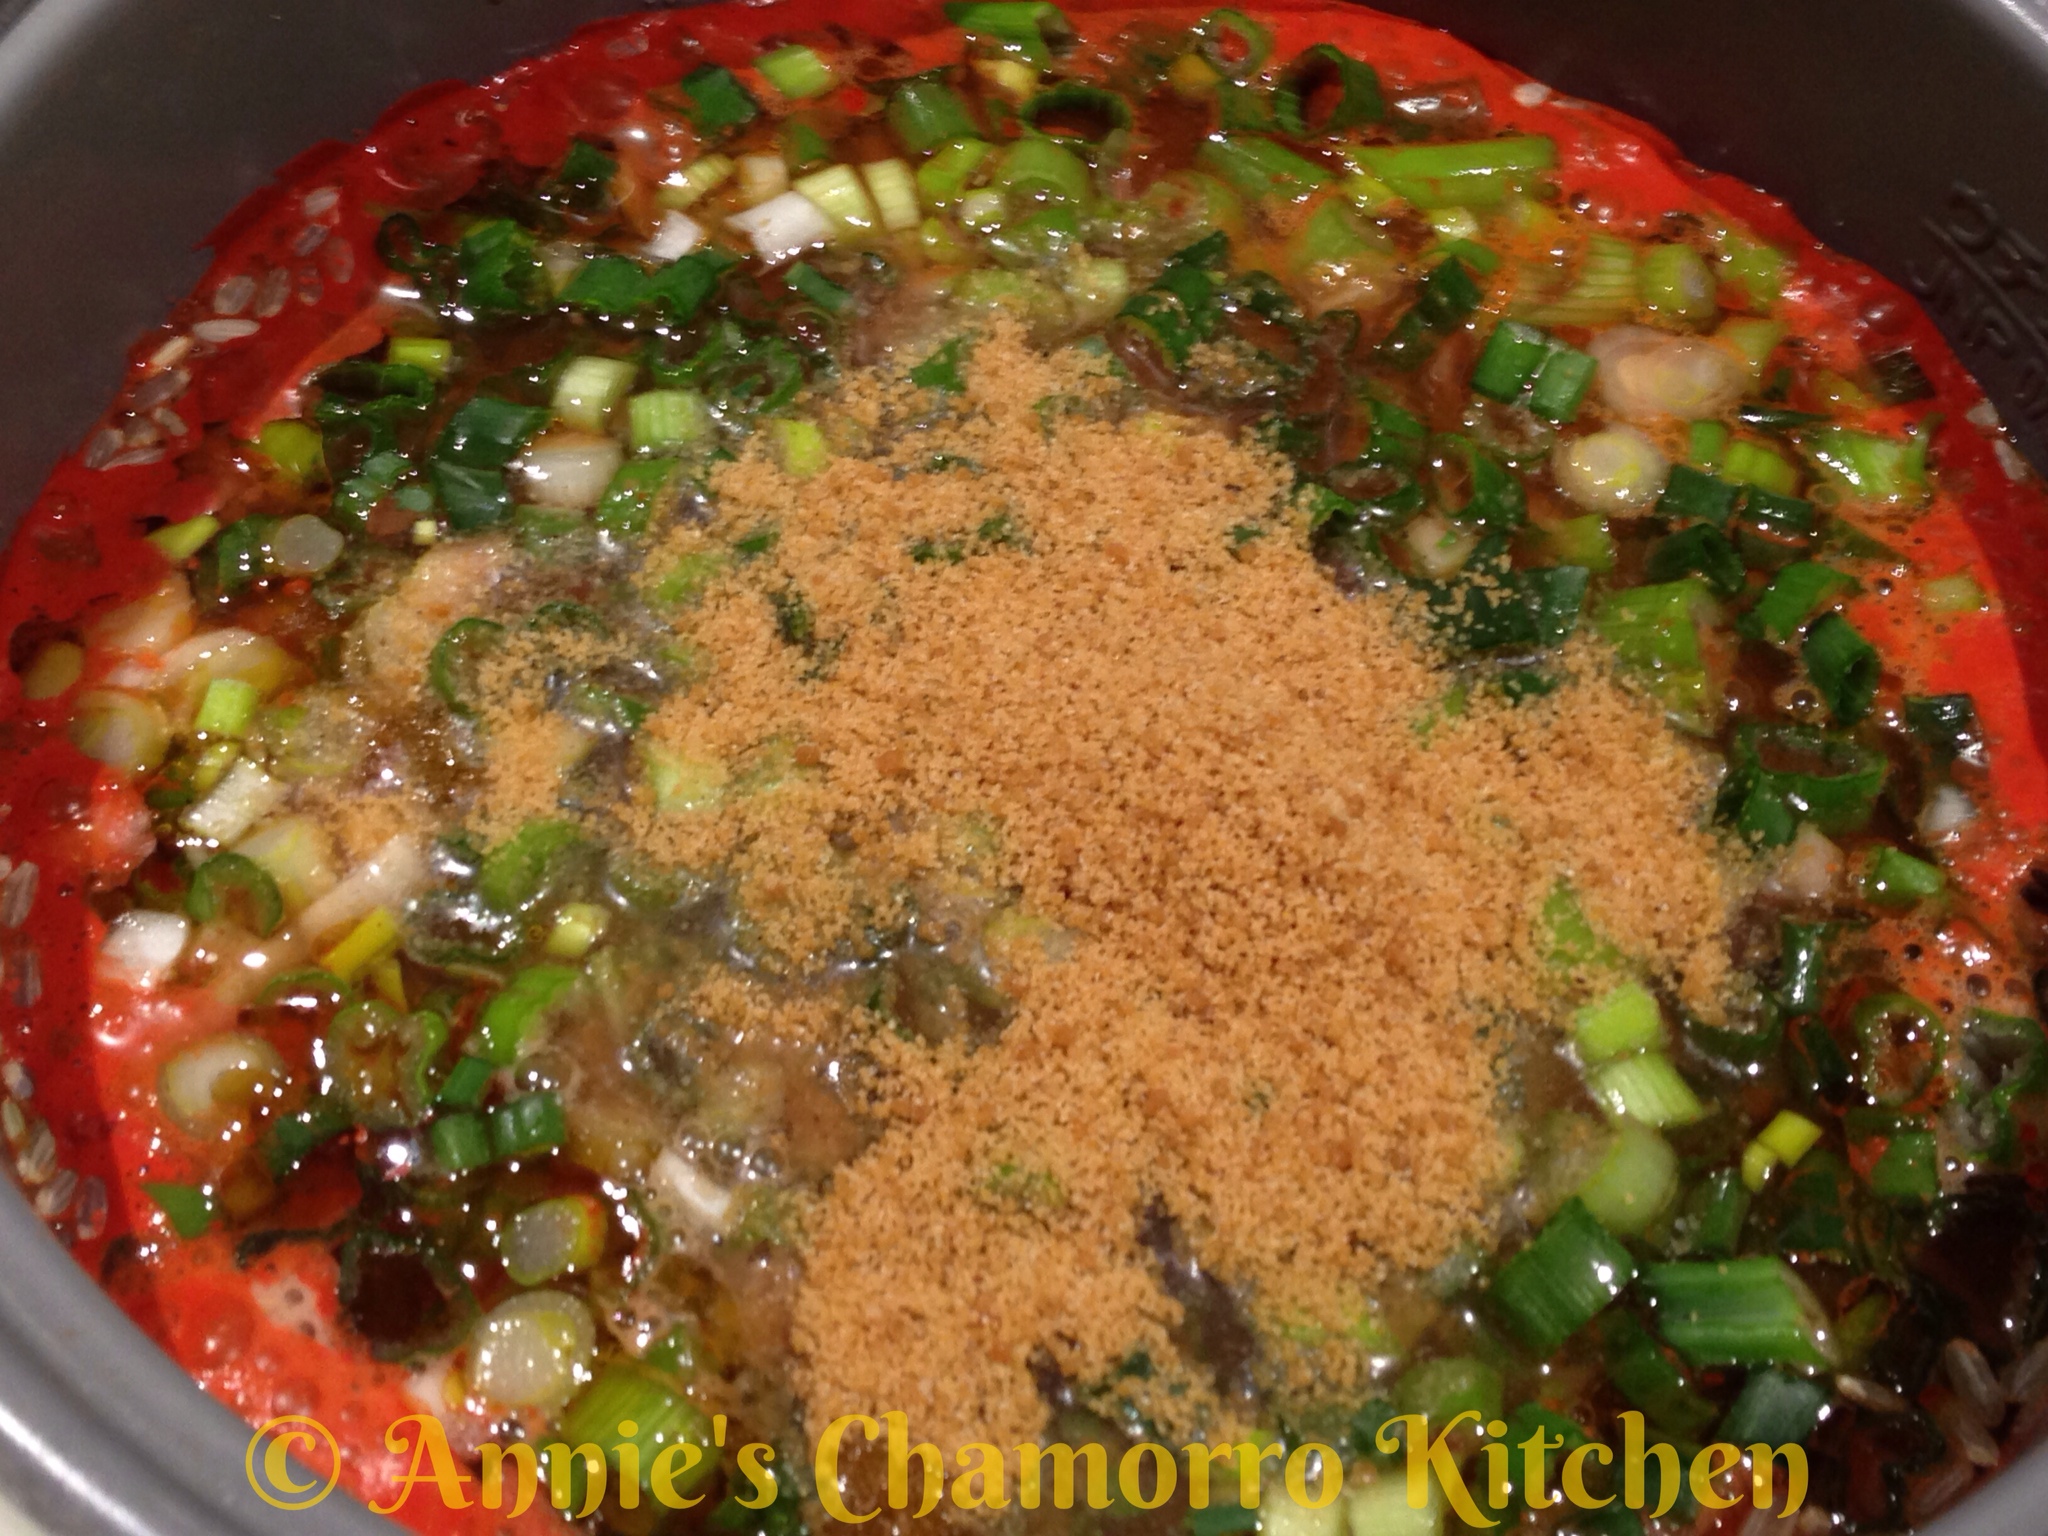
6. Add the Dashida seasoning.

7. Cover the pot then turn it on or place it on “cook.” After about 5 minutes, open up the lid and stir the rice, ensuring the achote powder and Dashida seasoning are dissolved and evenly distributed. Place the cover back on the pot and let it finish cooking. After your rice cooker turns from “cook” to “warm” (or the equivalent for your rice cooker model), be sure to keep the lid closed, letting the rice continue steaming for 10-15 minutes before serving.

8. We love red rice with fried chicken and cucumber salad. Serve with your favorite main dish(es) and enjoy!


« Older Entries Recent Entries »