Archive for CHAMORRO DISHES

Red Rice

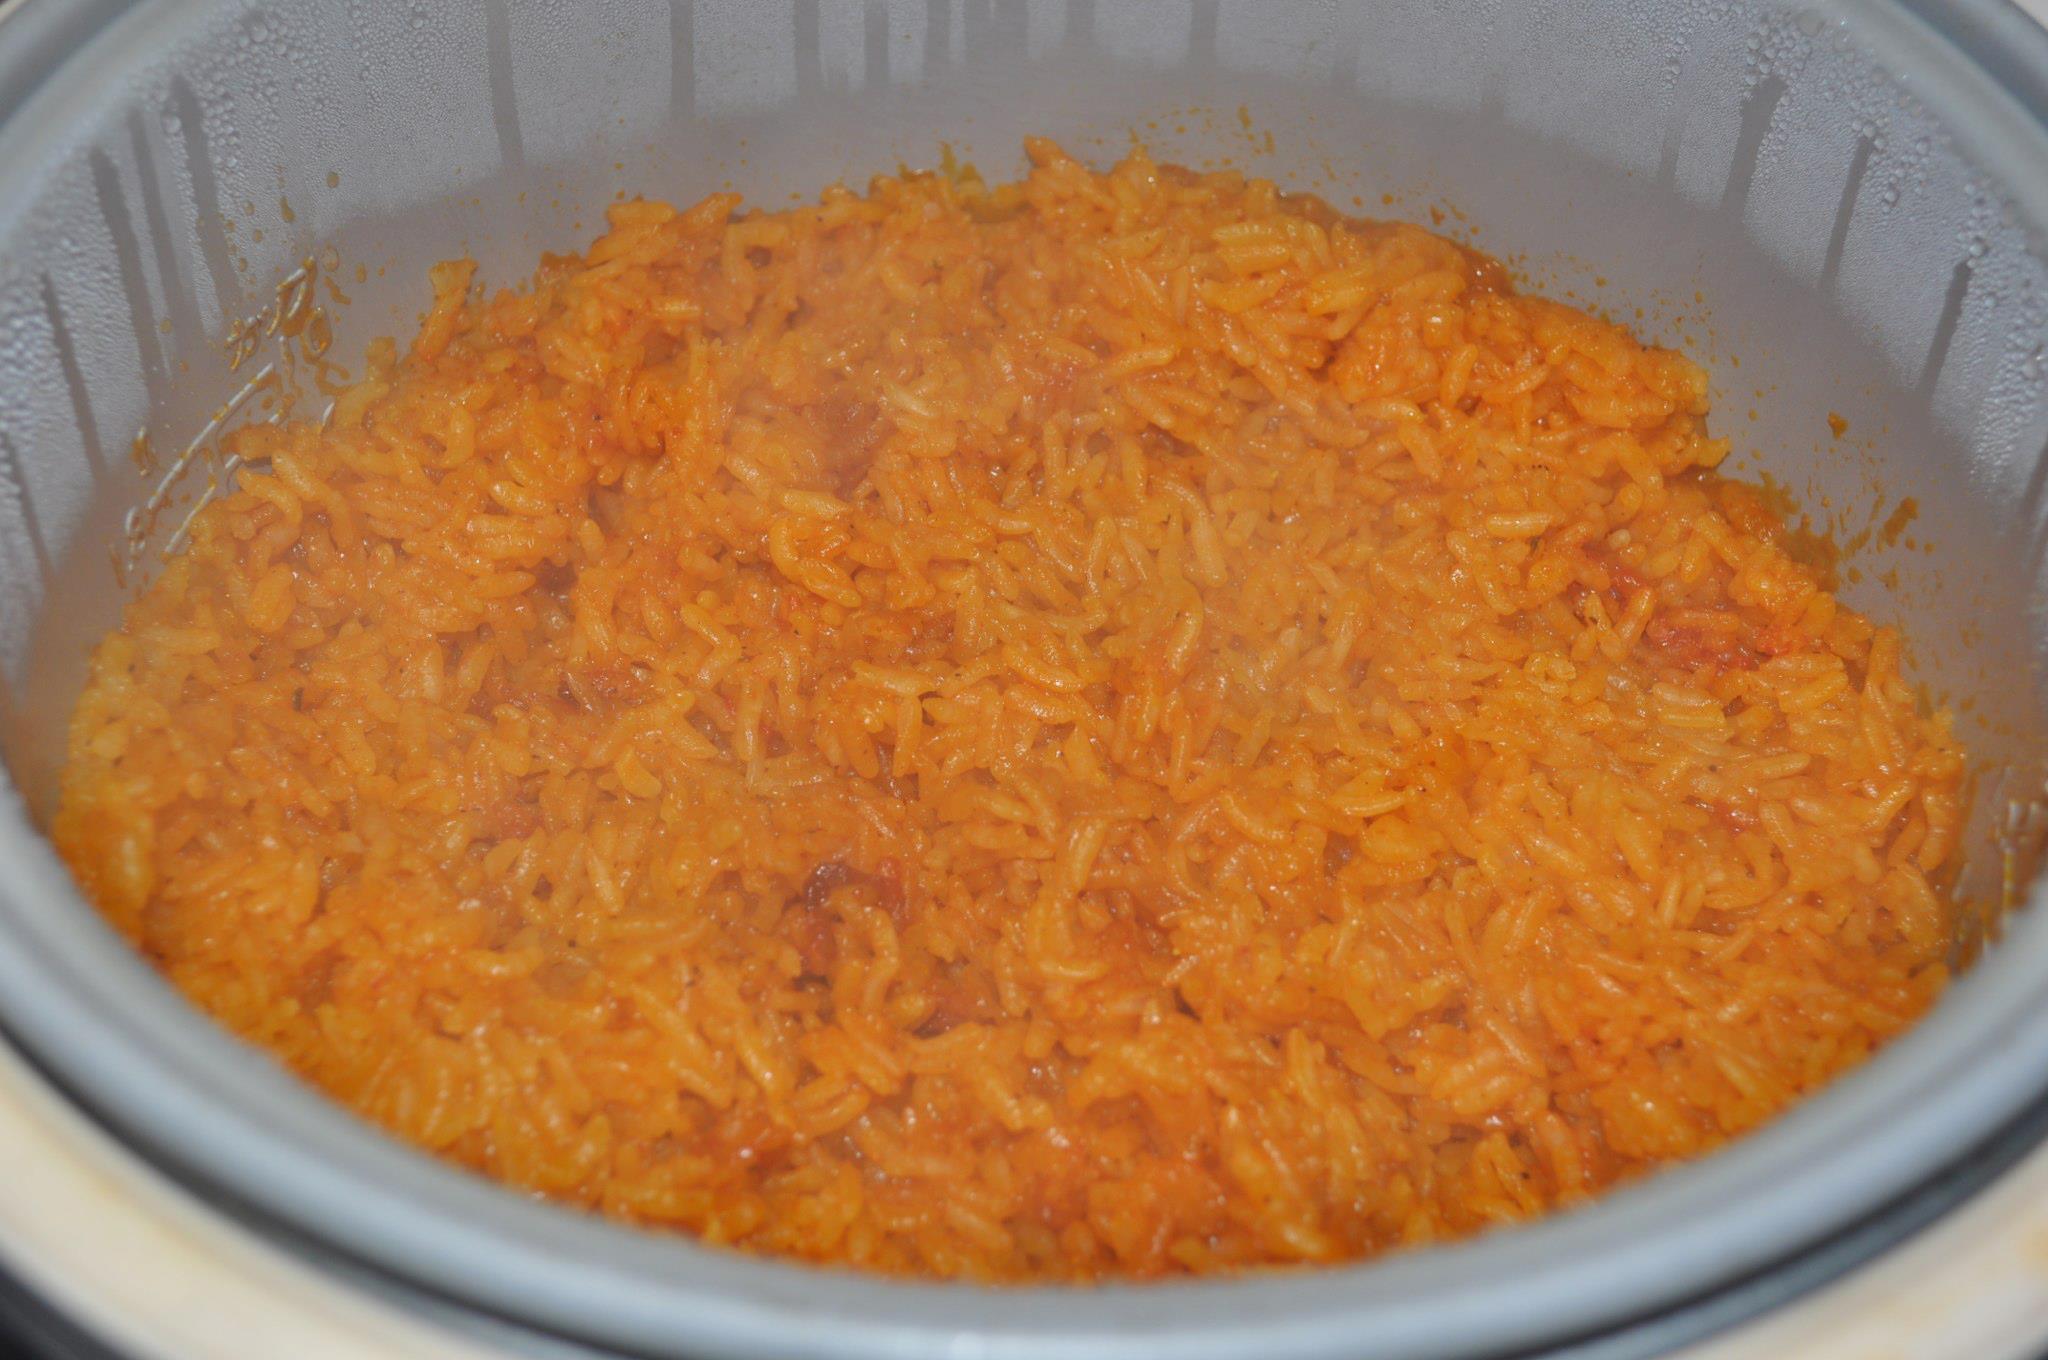
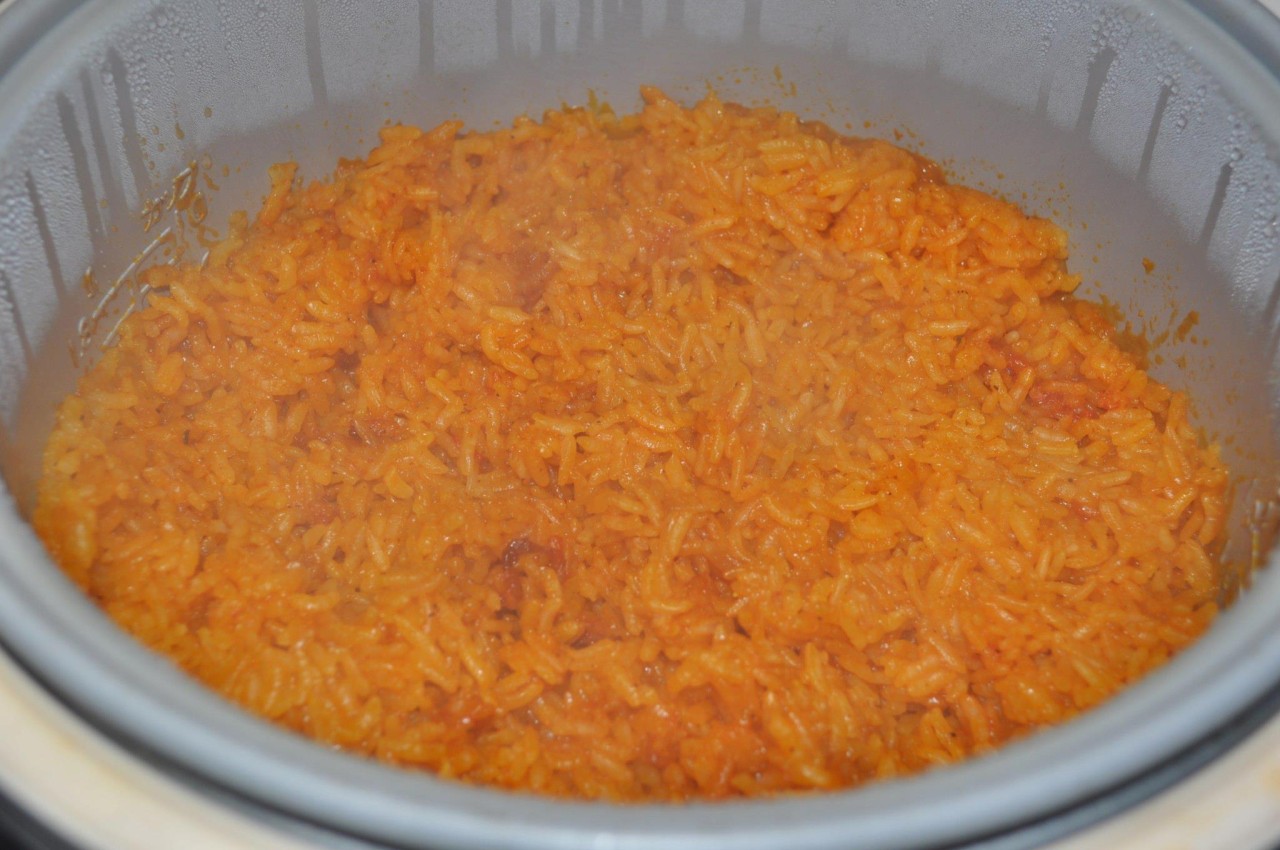
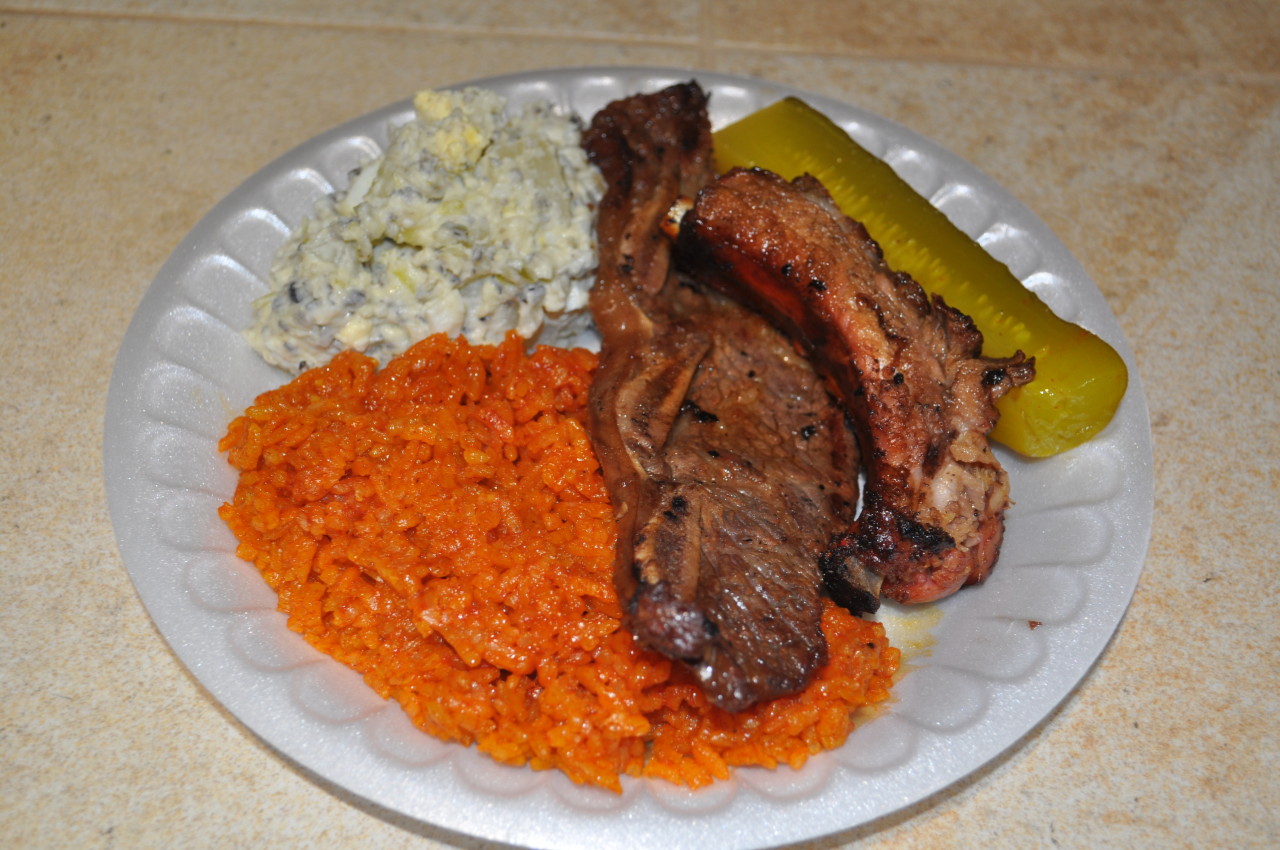
Red Rice is a must-have for any Chamorro Fiesta menu.  Without red rice, it just won’t seem much like a fiesta.

You don’t need to go to a party or fiesta to enjoy this Chamorro staple.  My family loves red rice served with fried chicken, or pan-fried Spam. 🙂

Some people add peas to their red rice, but I like mine without it.

Serve some Chamorro Red Rice at your next gathering for that extra special touch.

Give my recipe a try.  I think you’ll like it. 🙂

Red Rice

882592_10200795309433370_2126476614_o

Ingredients:

  • 3 cups rice (medium or long grain)
  • 1 tablespoon Dashida seasoning
  • 1 tablespoon bacon fat (or substitute with olive or vegetable oil)
  • 1/4 teaspoon black pepper
  • 1 teaspoon chopped garlic
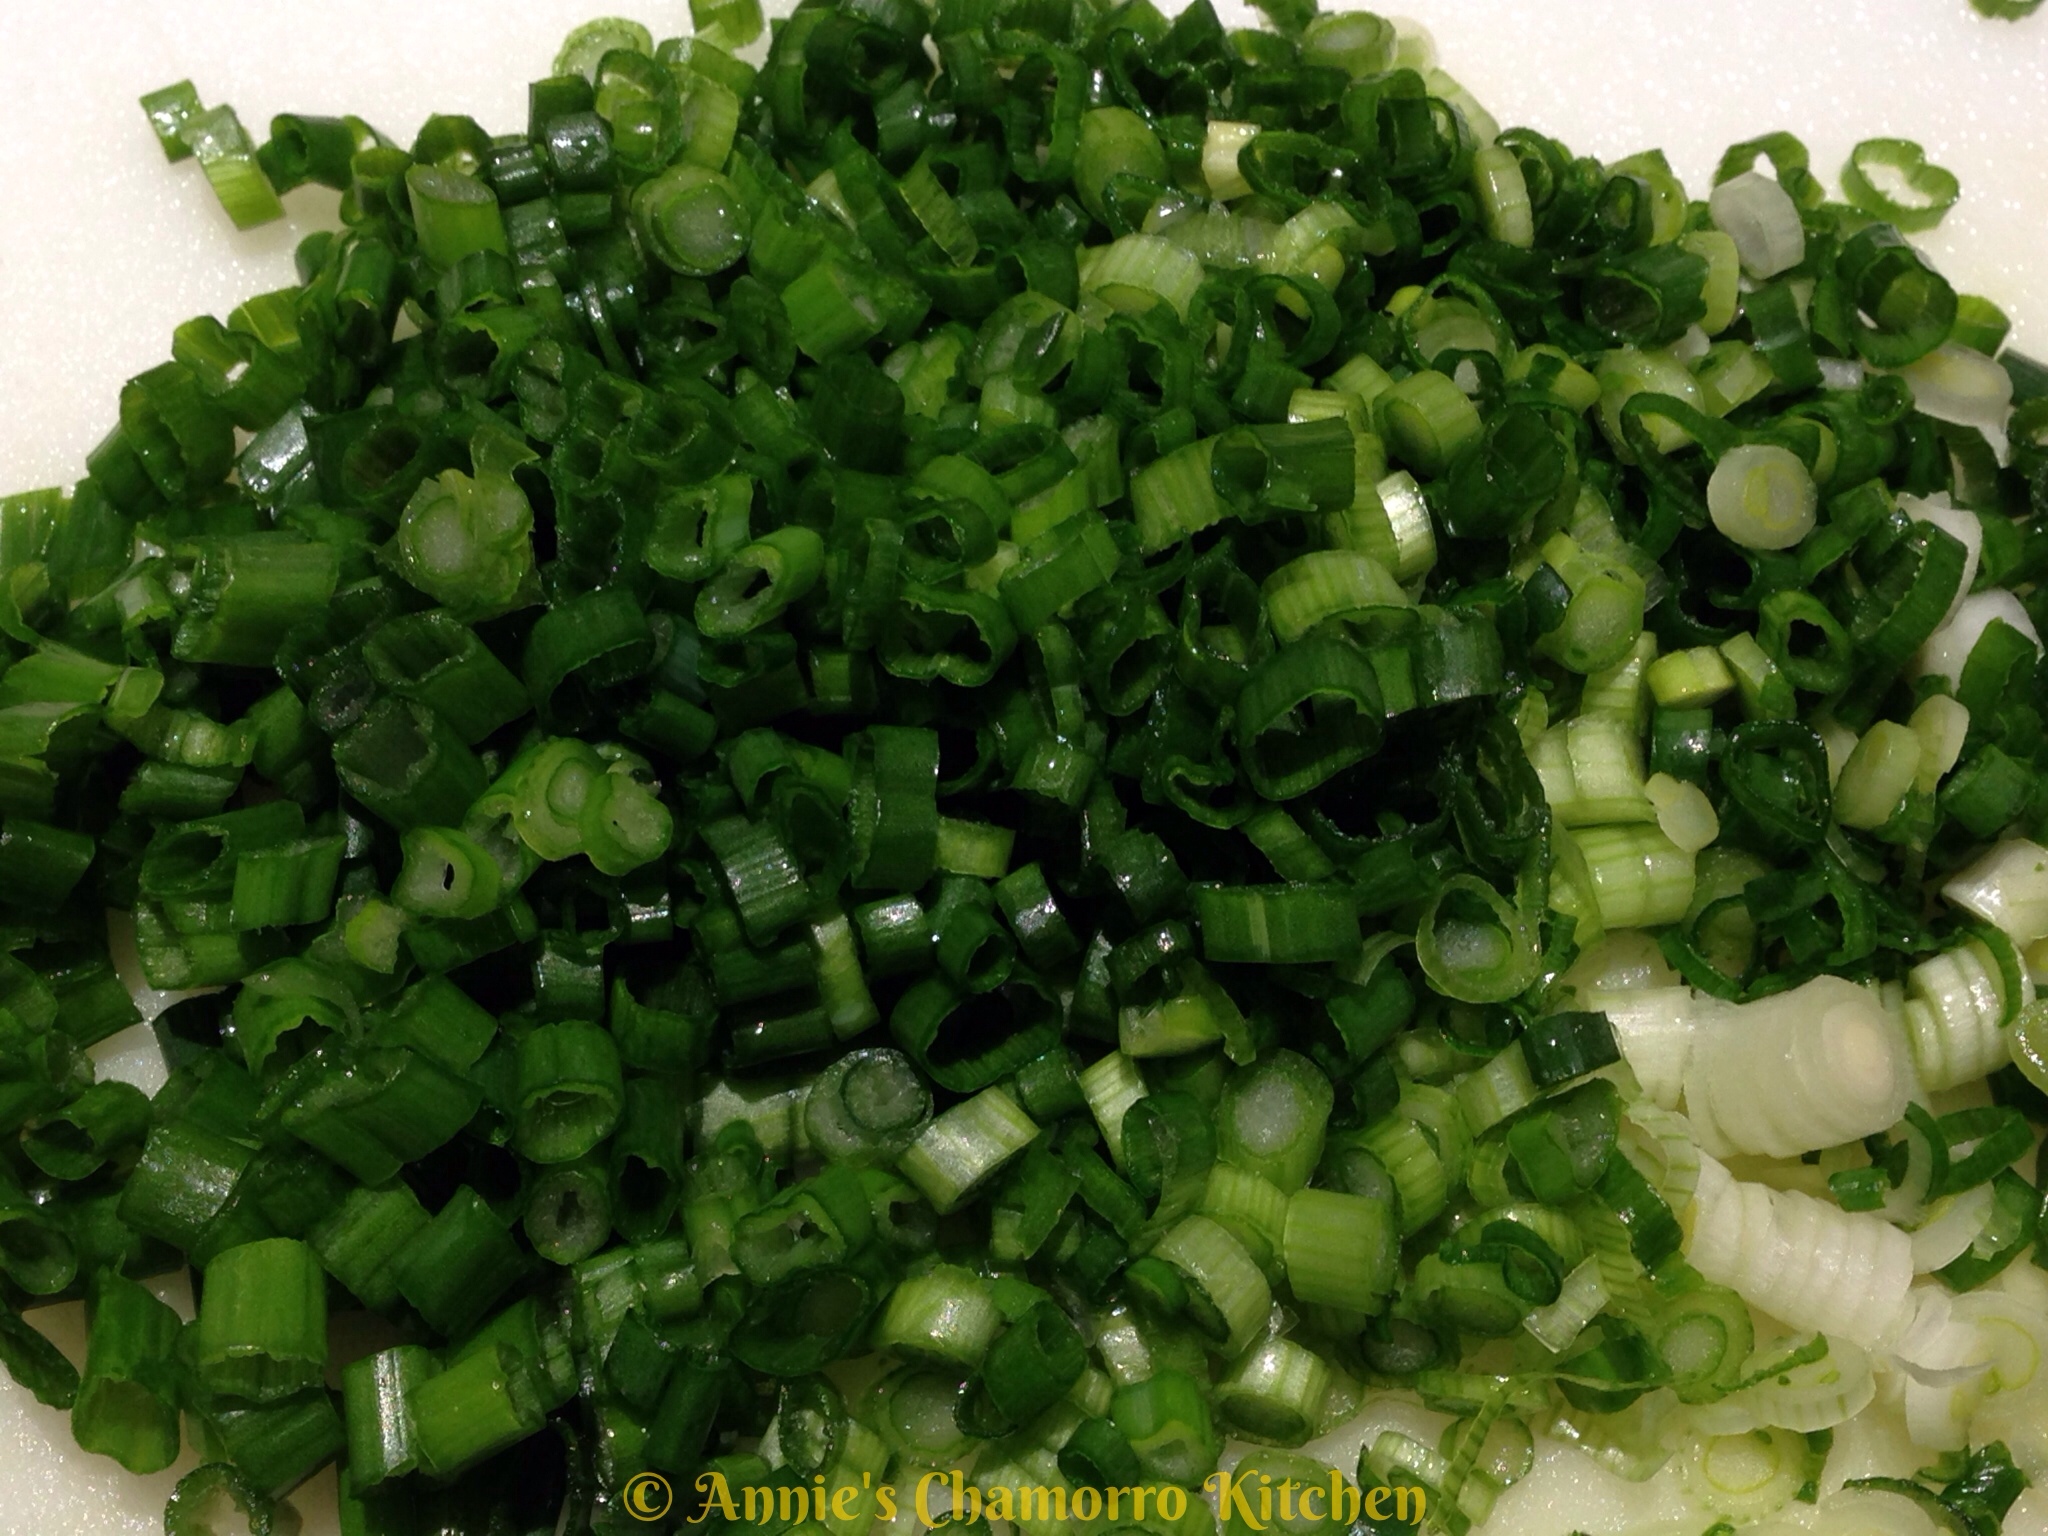
  • 4 stalks green onions, sliced
  • 1 packet achote powder (see note below)
  • 3 1/2 cups hot water (see note below)

To make 10 cups of red rice (enough for a small BBQ), use the following measurements:

  • 10 cups rice
  • 3 tablespoons Dashida
  • 3 tablespoons bacon fat
  • 1/2 teaspoon black pepper
  • 1 tablespoon chopped garlic
  • 8 stalks green onions, sliced
  • 3 packets achote powder
  • 11 1/2 cups hot water

Note:

You can use achote water made with achote seeds instead of using powdered achote.  Scrub about 1/4 cup of achote seeds in 3 1/2 cups warm water.  Add the achote water (make sure to strain out the seeds and add just the achote water) to the pot where the directions call for adding water and achote powder.

Directions:

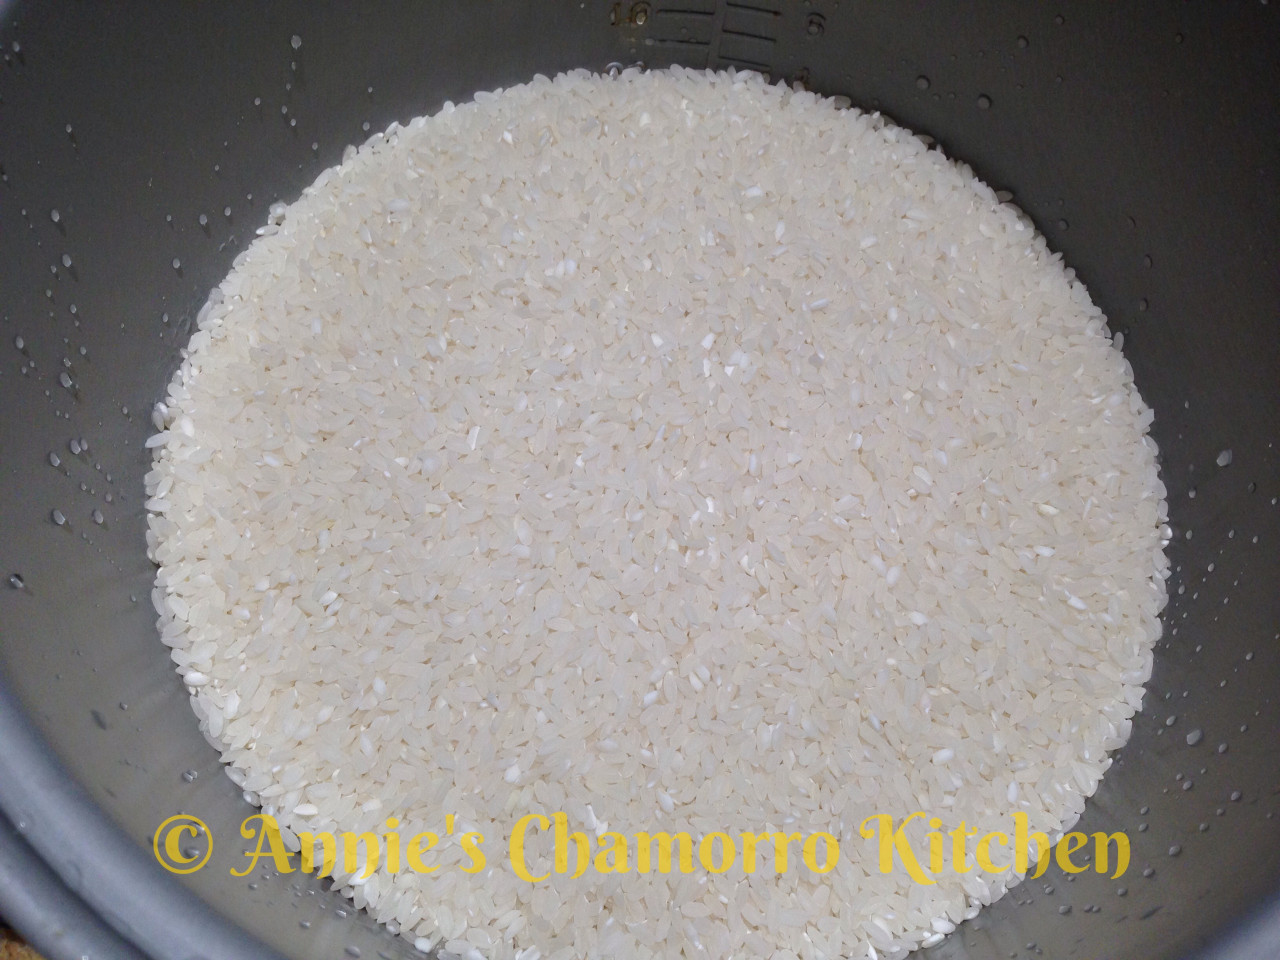
1.  Place the rice into your rice cooker pot.  Rinse the rice as required, draining out any excess water.

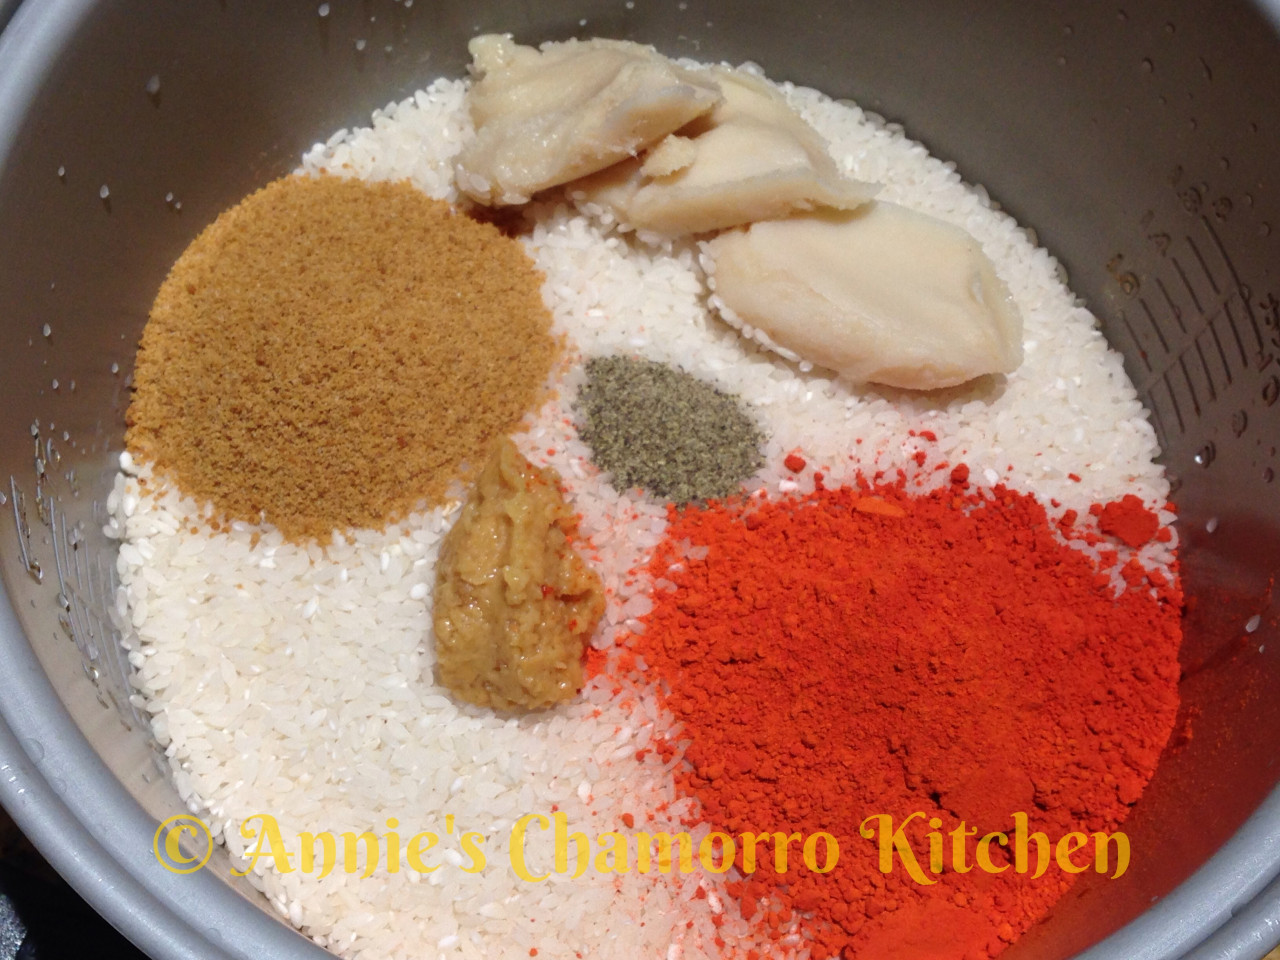
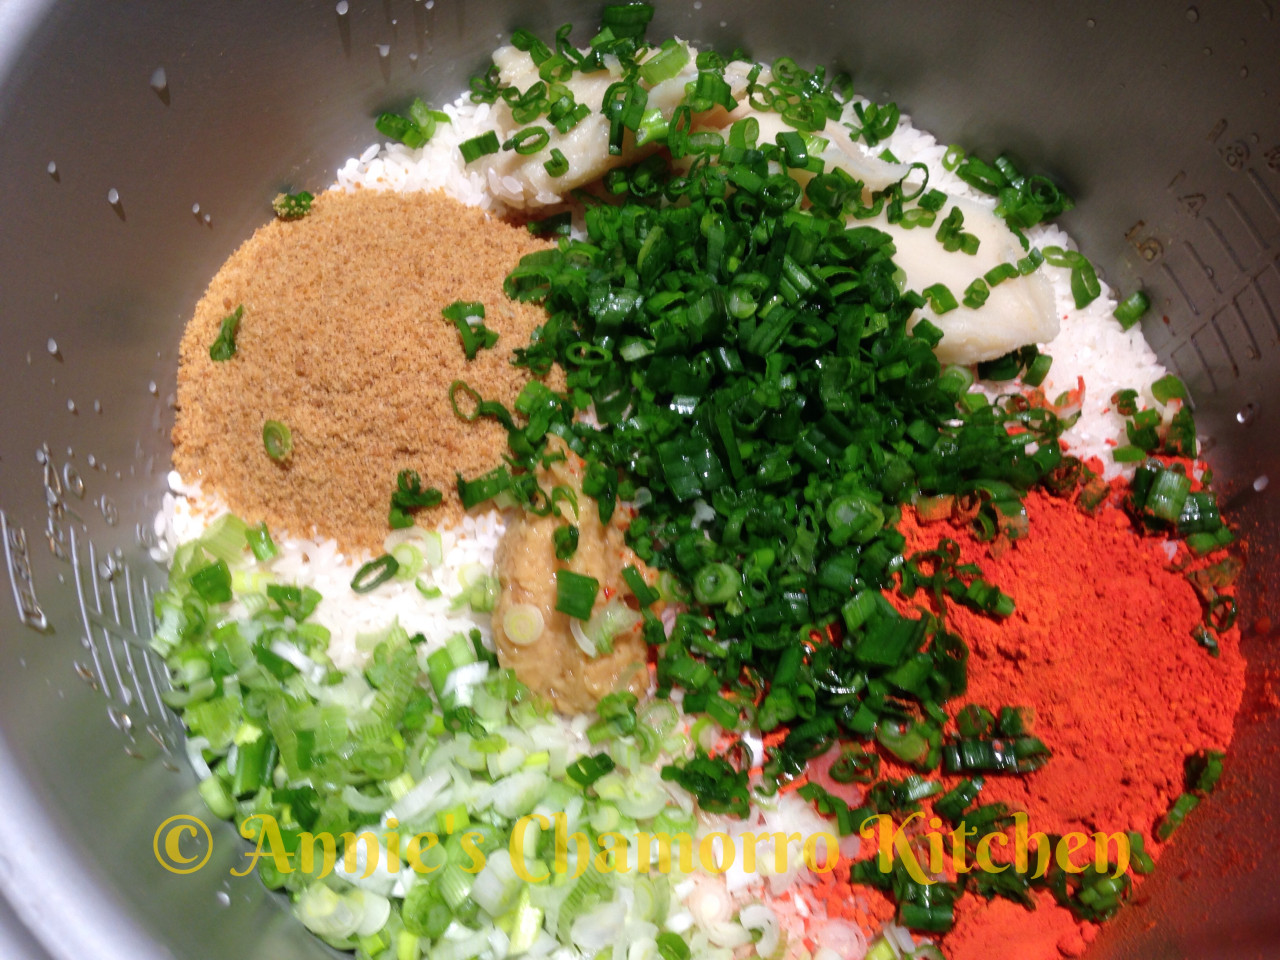
IMG_31472.  Into the pot, add the Dashida, bacon fat, black pepper, garlic, and achote powder.  If you don’t have any saved bacon fat, substitute with olive or vegetable oil. IMG_31493.  Add the green onions to the pot.   IMG_31504.  Carefully pour the hot water into the pot.  Stir to combine all the ingredients and to dissolve the achote powder and Dashida.  The bacon fat will start to melt; don’t worry if it doesn’t completely melt at this time.

Turn the rice cooker to the “cook” setting.  The only thing left to do is to stir the rice a couple more times.  Wait a couple of minutes then stir to ensure even mixing after the bacon fat melted.  Wait another 5 minutes or so and stir once more to ensure the rice at the bottom of the pot is evenly coated with achote coloring.

After stirring the rice for a second time, leave the rice to cook/steam until done.

IMG_0667 IMG_1995

5.  Serve with your favorite meat dish (Chamorro BBQ, fried chicken, or pan-fried Spam goes fantastic with red rice!) and ENJOY! 😀

Events - 2607 Events - 2606

Beef Tinaktak

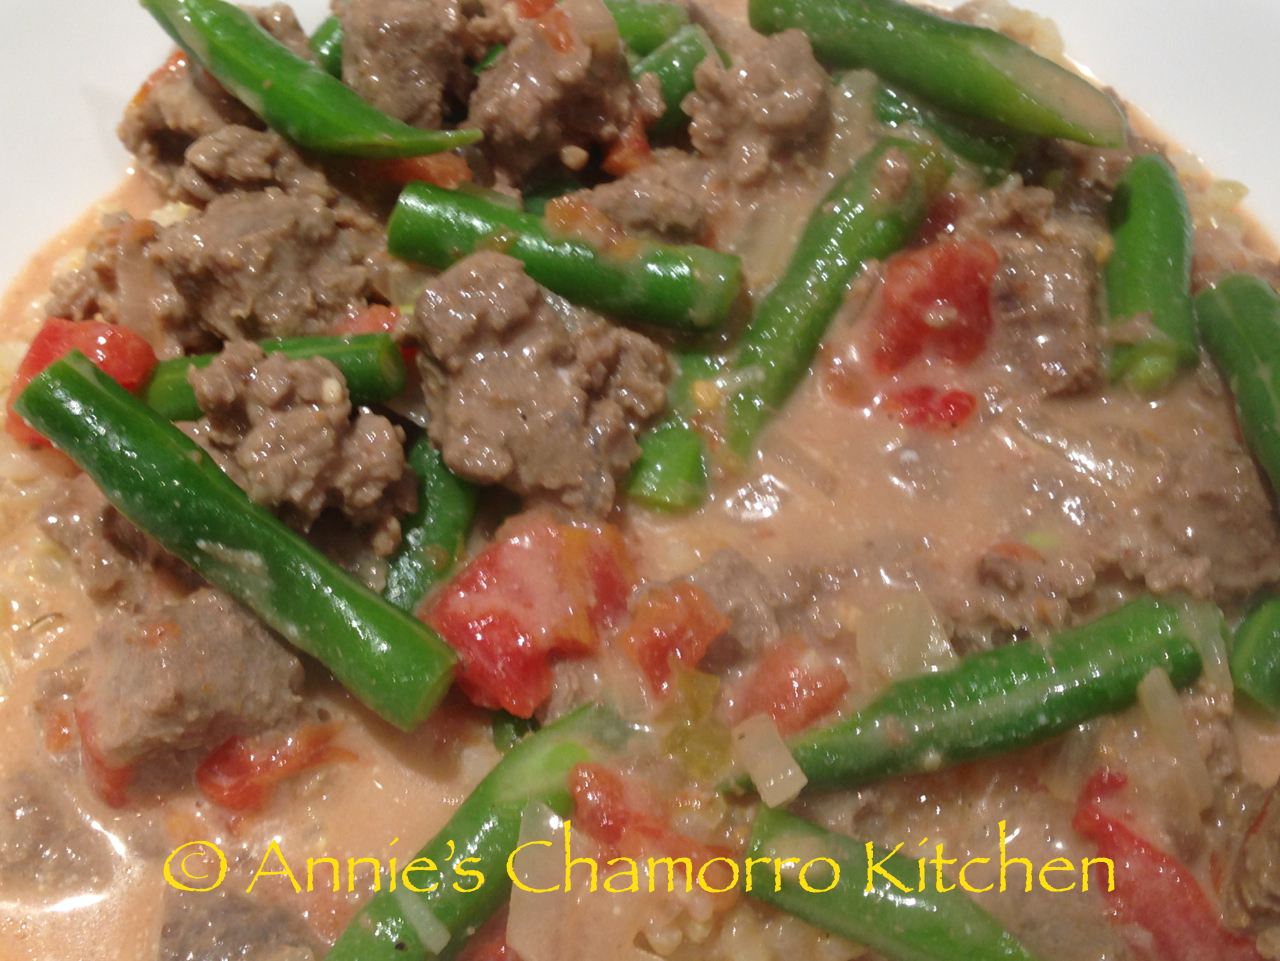
Beef Tinaktak is a delicious Chamorro dish.  It’s one of my favorite comfort foods–I love drowning my rice with the coconut milk kådu (broth).

Tinaktak–I love saying that.  I think the name came from the sound made when pounding pieces of steak with a knife to tenderize it (tak tak tak tak tak).  Well, maybe that’s not really where the name of this dish originated from, but it sounds good, doesn’t it? 🙂

Rather than pounding a piece of steak, you can use minute steak or ground beef in this recipe.

Give my recipe a try. I think you’ll like it.

Beef Tinaktak

IMG_3279

Ingredients:

  • 3 pounds minute steak, cut into bite sized pieces (or substitute with 3 pounds lean ground beef)
  • 2 cans coconut milk
  • 1 medium onion, diced
  • 2-3 cloves garlic, minced
  • 2 cans stewed tomatoes, undrained (chop tomatoes into small pieces)
  • 2 cups fresh green beans, cut into 2-inch pieces
  • 4 tablespoons Dashida seasoning (or salt, to taste)
  • 1/2 teaspoon black pepper
  • donne’ (hot pepper), optional

Directions:

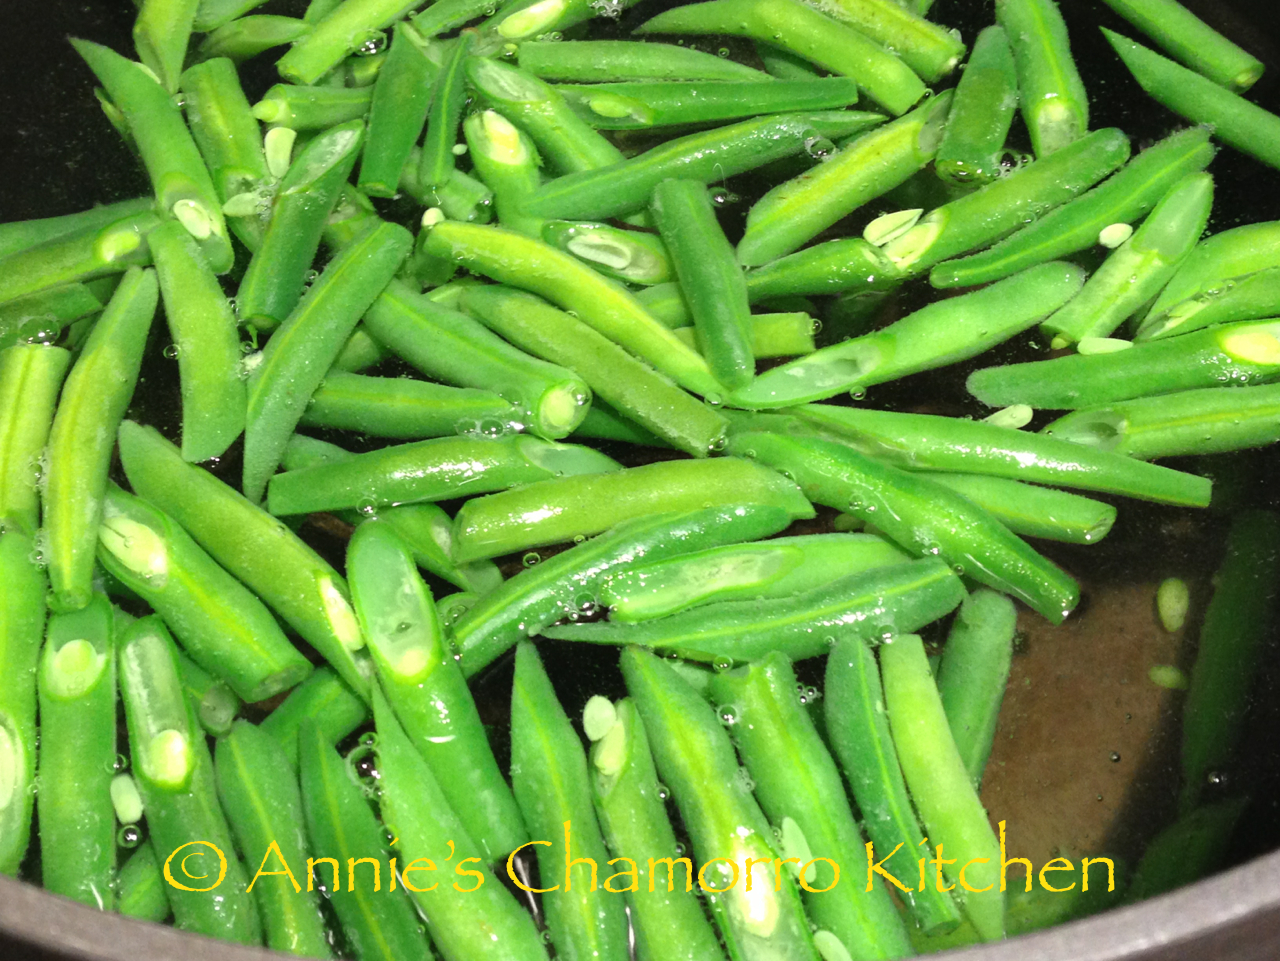
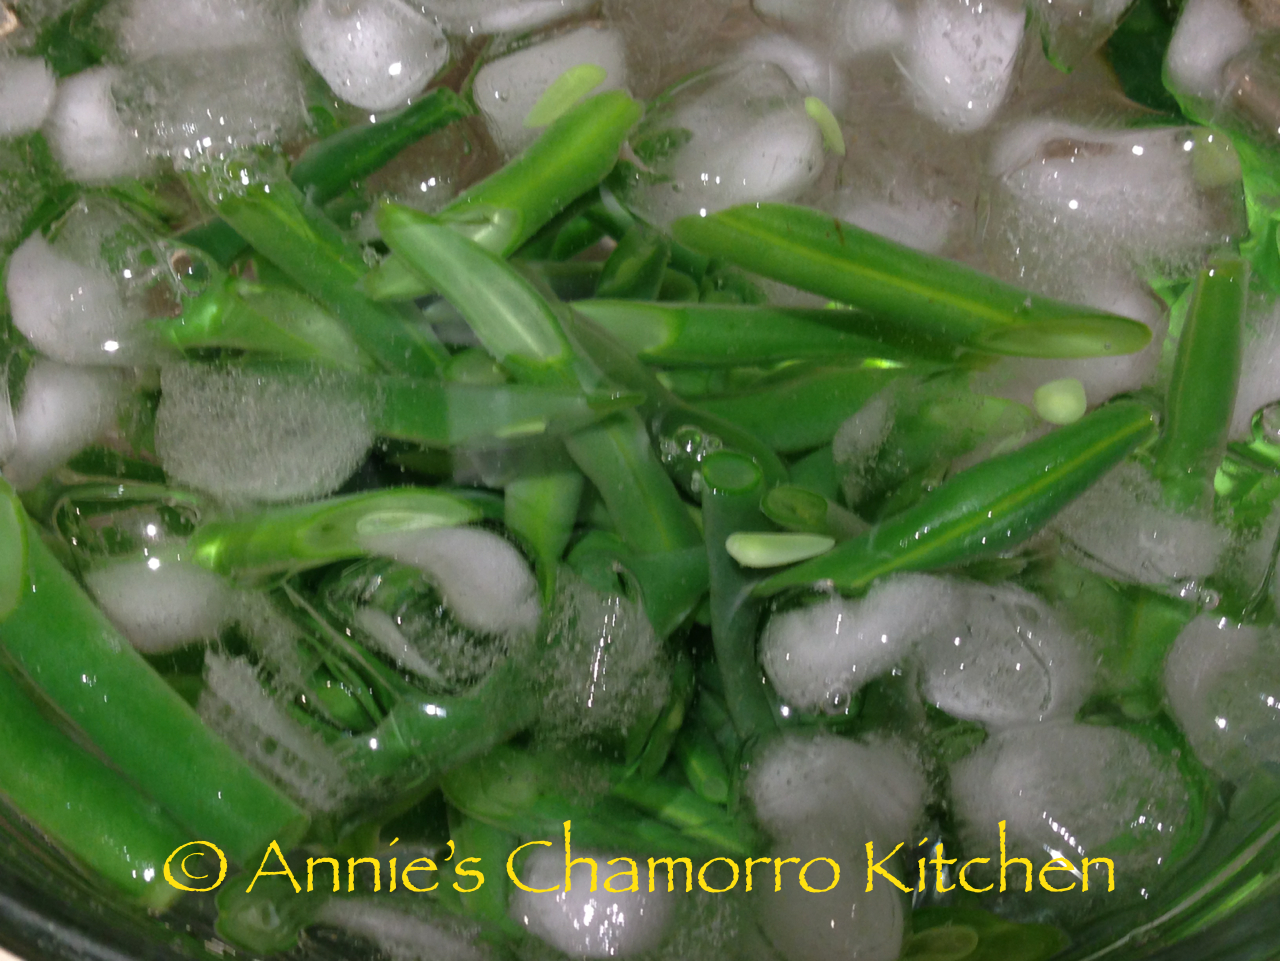
1.  If you’re using fresh green beans, you’re going to want to blanch them first.  Blanching means to put vegetables into a pot of boiling water, let it cook for a few minutes, then remove the vegetables and immediately place them into a bowl of ice water to stop the cooking.

Here’s how it’s done.

In a large pot, bring about 5 cups of water to a rapid boil over high heat. Add enough salt so the water tastes faintly salty. While the water heats, fill a medium sized bowl about three quarters full with ice, then add enough cold water to cover the top of the ice.

IMG_3247

When the water is boiling and the ice bath is ready, trim the green beans to the size you need. It’s best to trim them just prior to cooking so they won’t oxidize or dehydrate. Add the beans to the boiling water in batches small enough to ensure that the water doesn’t lose its boil. Boil the beans only until they’re barely cooked through but still tender. To test, remove one piece with a slotted spoon, dip it into the ice bath to cool, and eat it.

IMG_3246

As soon as the beans are done, remove them as fast as you can and submerge them in the ice bath. Remove them from the ice bath as soon as they are no longer warm.  Set aside.

IMG_3248

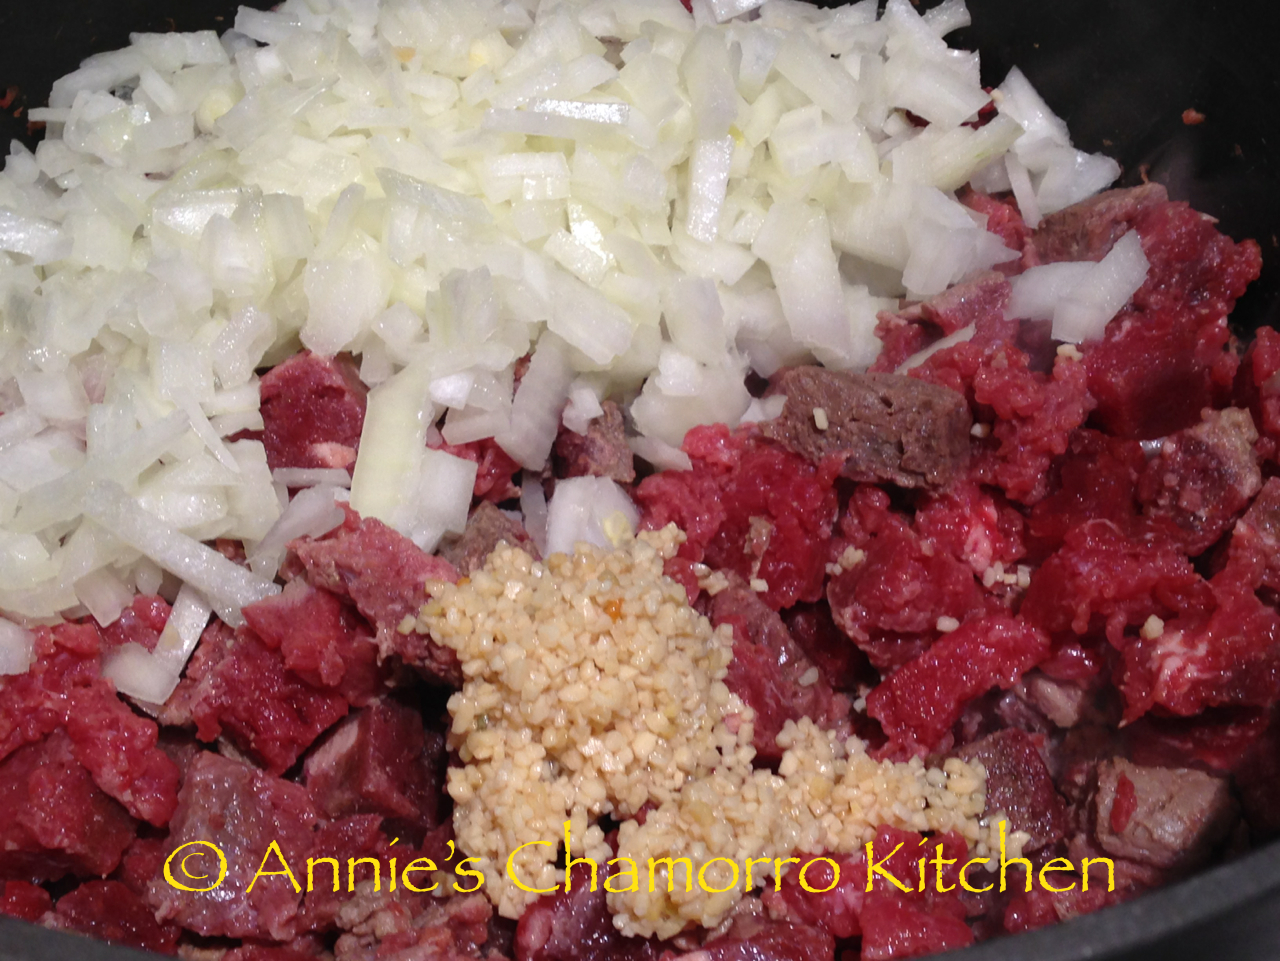
2.  In a medium-sized pan, sauté the meat, onions and garlic over medium high heat; cook until meat is browned and onions are translucent.

IMG_3253

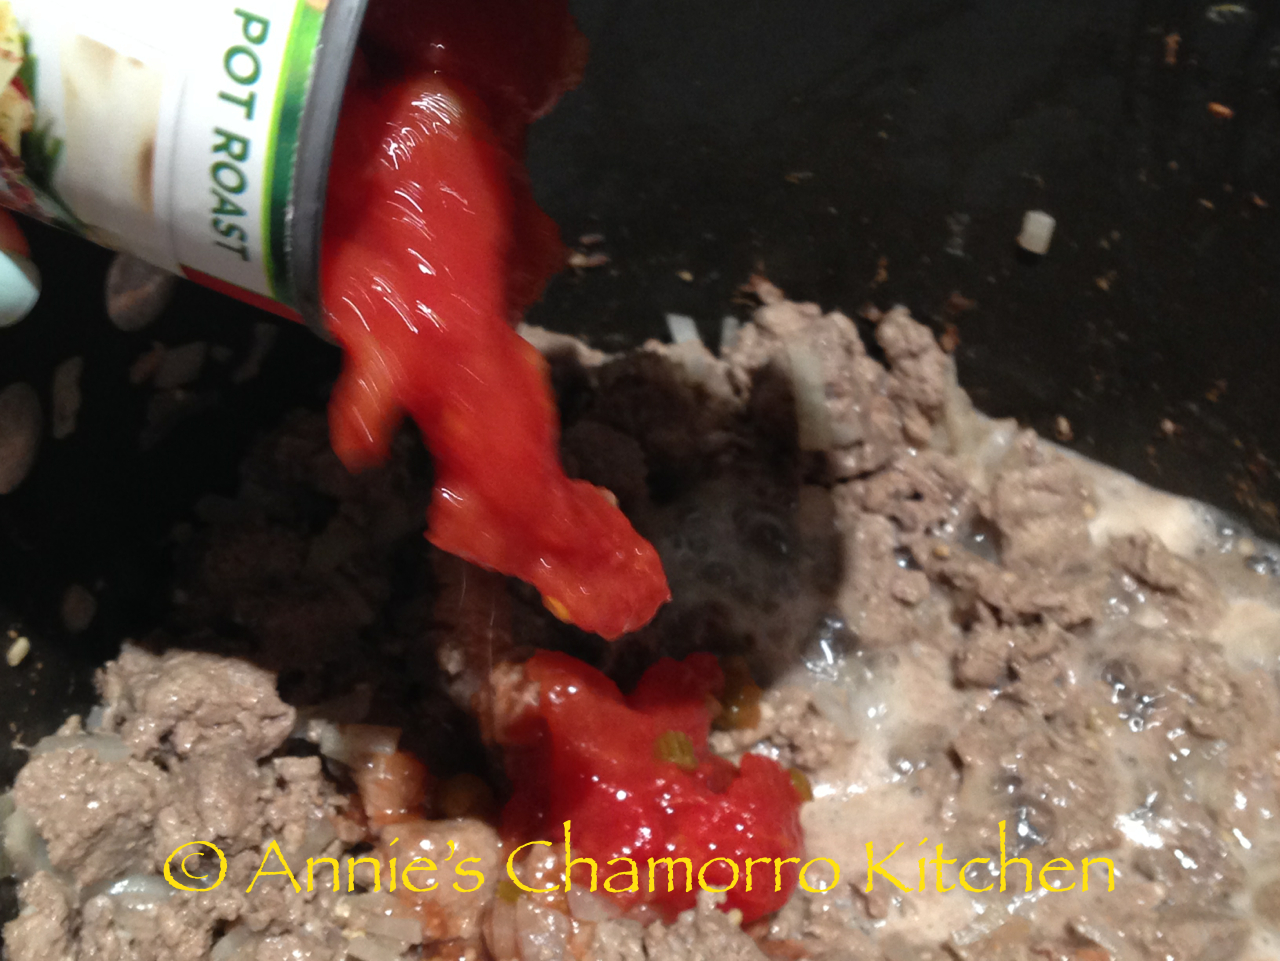
3.  Add tomatoes to the meat mixture, juice and all.

IMG_3258

4.  Add the blanched vegetables to the meat and tomatoes mixture.

IMG_3271

5.  Add the Dashida and black pepper.  Stir, taste, and adjust the seasonings if needed.

IMG_3272

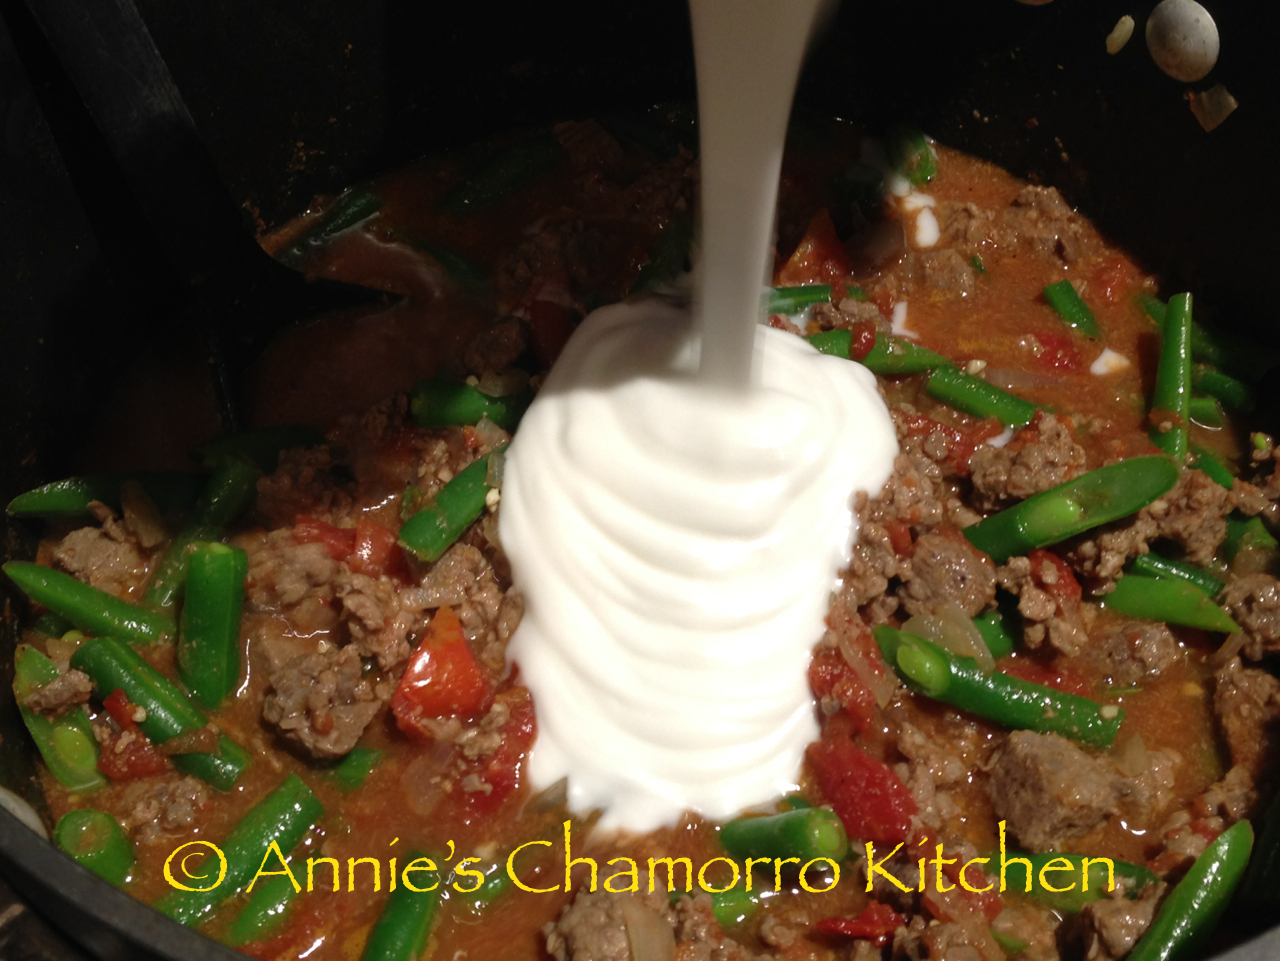
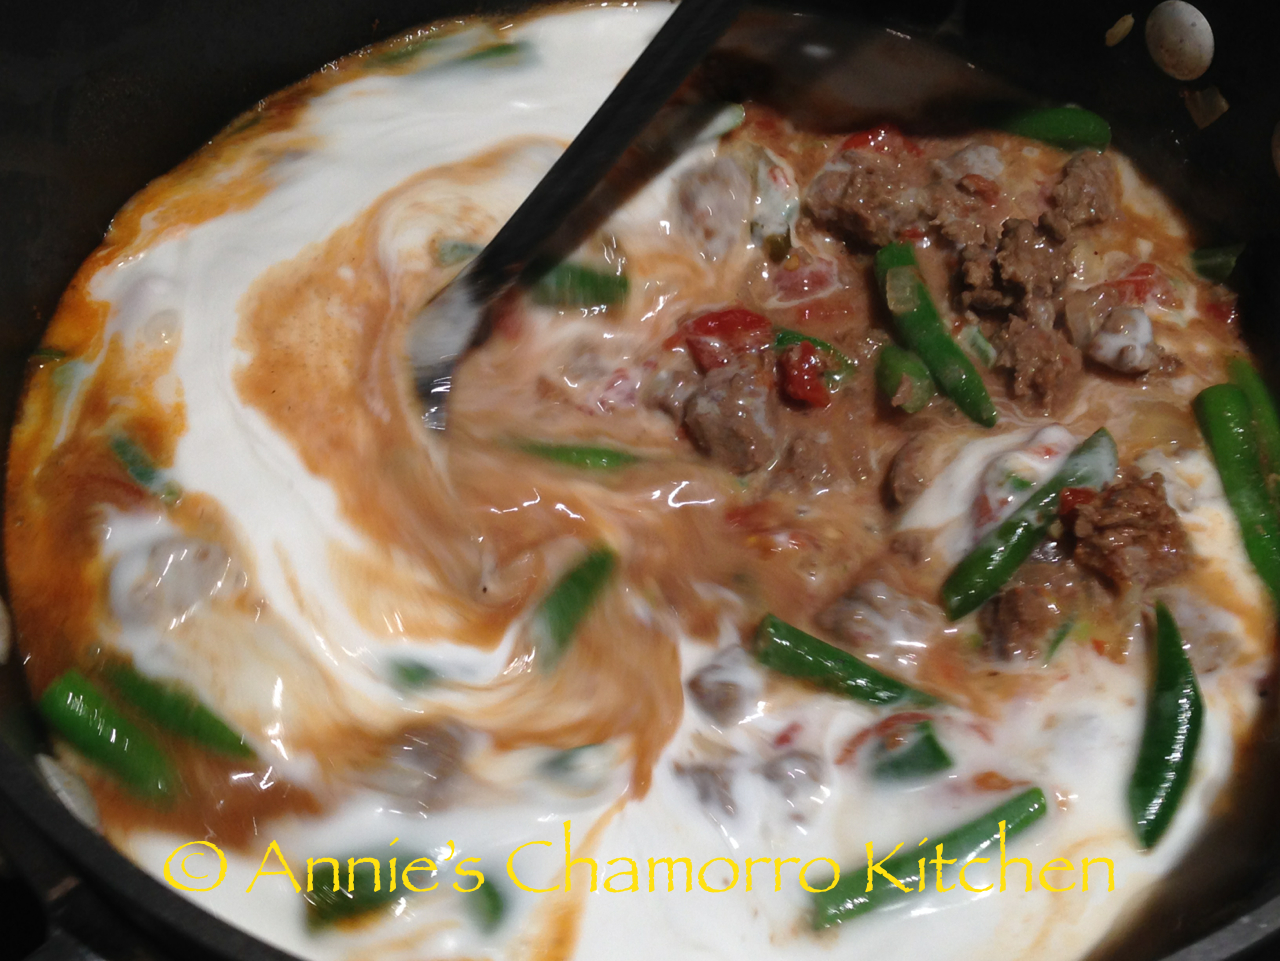
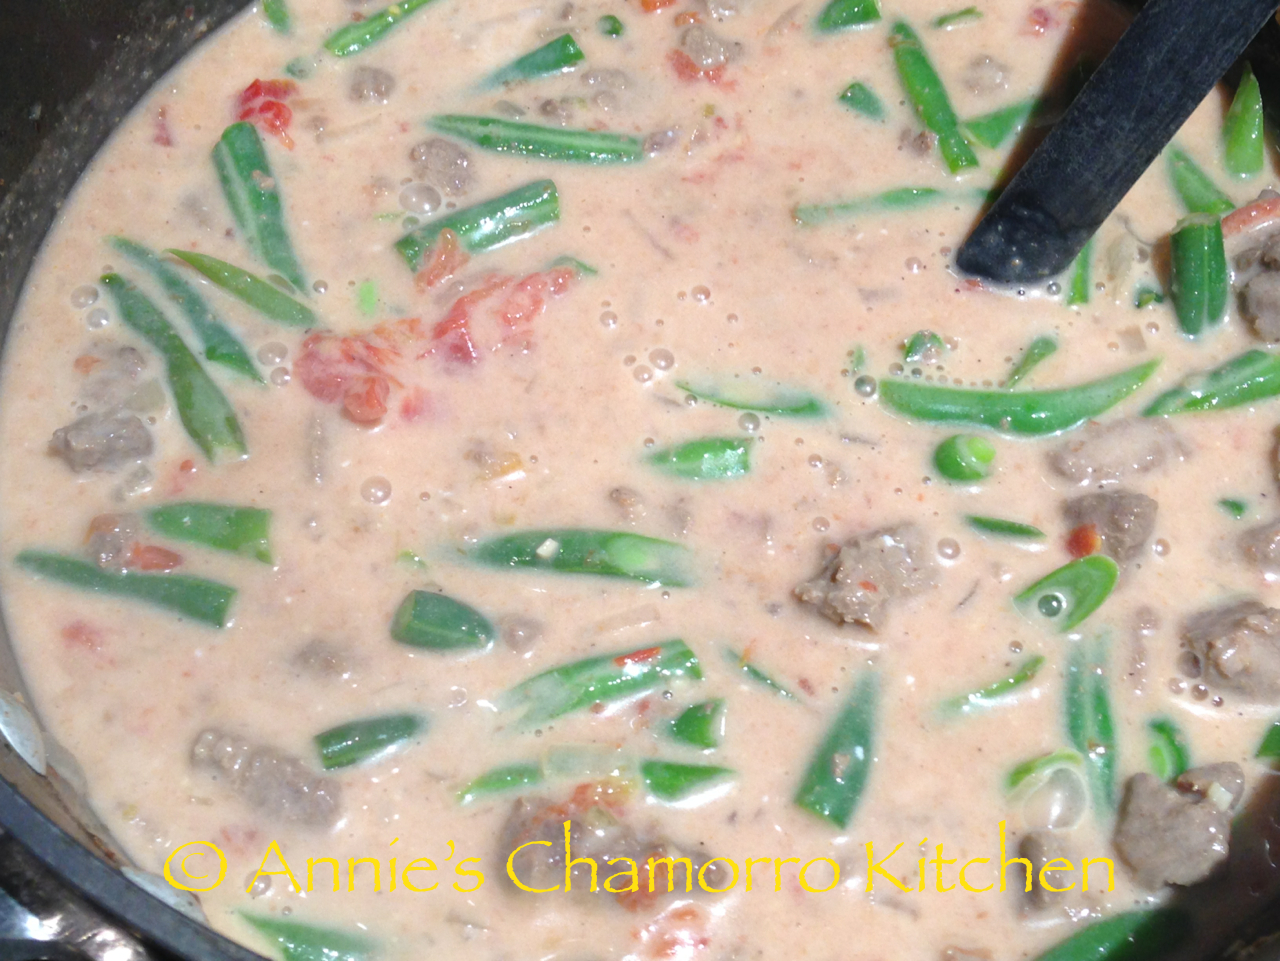
6.  Slowly stir in the coconut milk; lower the heat and simmer for 5 minutes or until the coconut milk is heated (do not boil).

IMG_3275 IMG_3276

IMG_3277

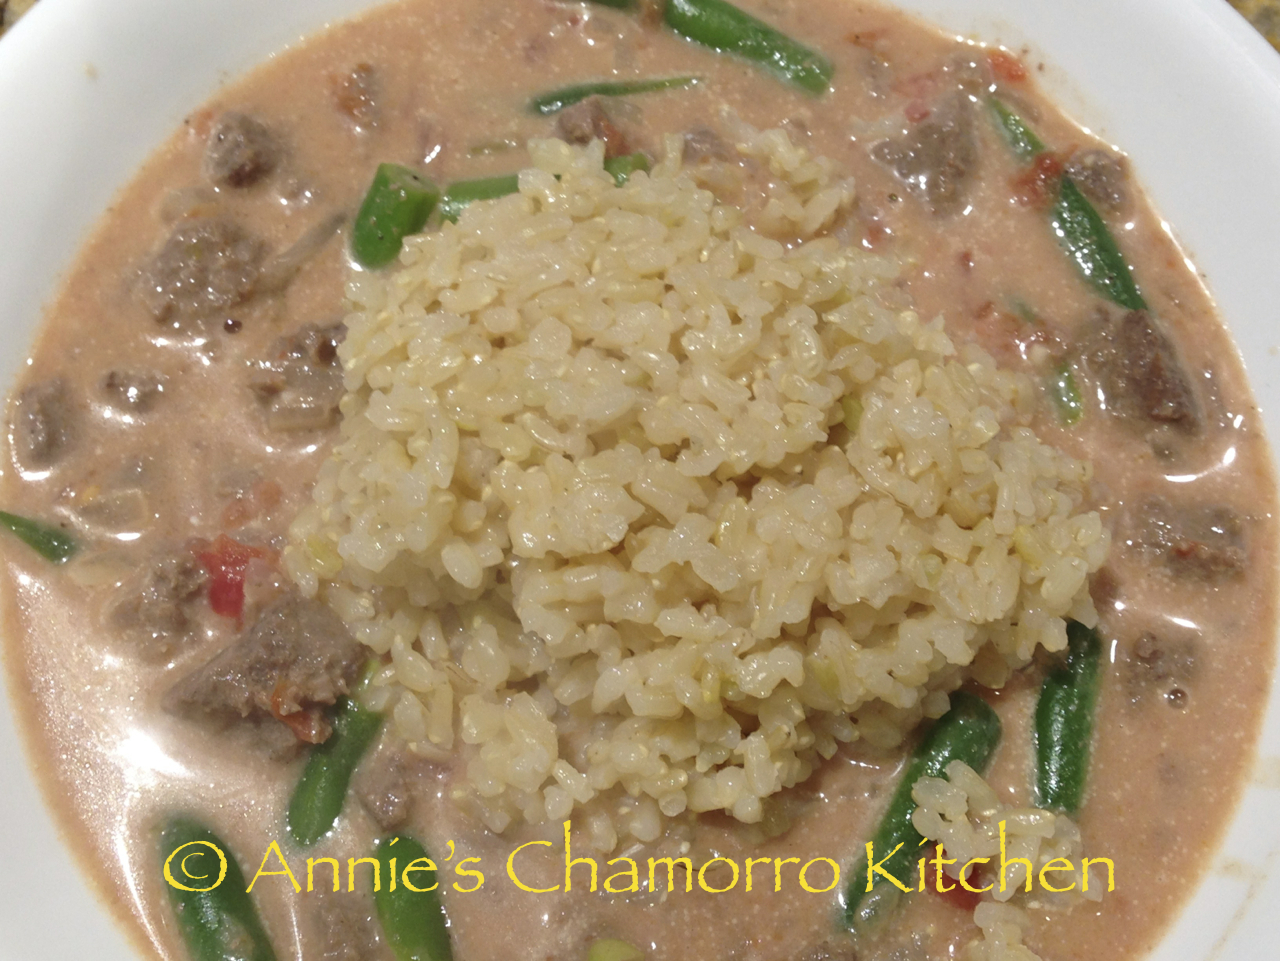
7. Add donne’ if desired.  Serve over hot rice (steamed white or brown) and ENJOY!

IMG_3278 IMG_3279

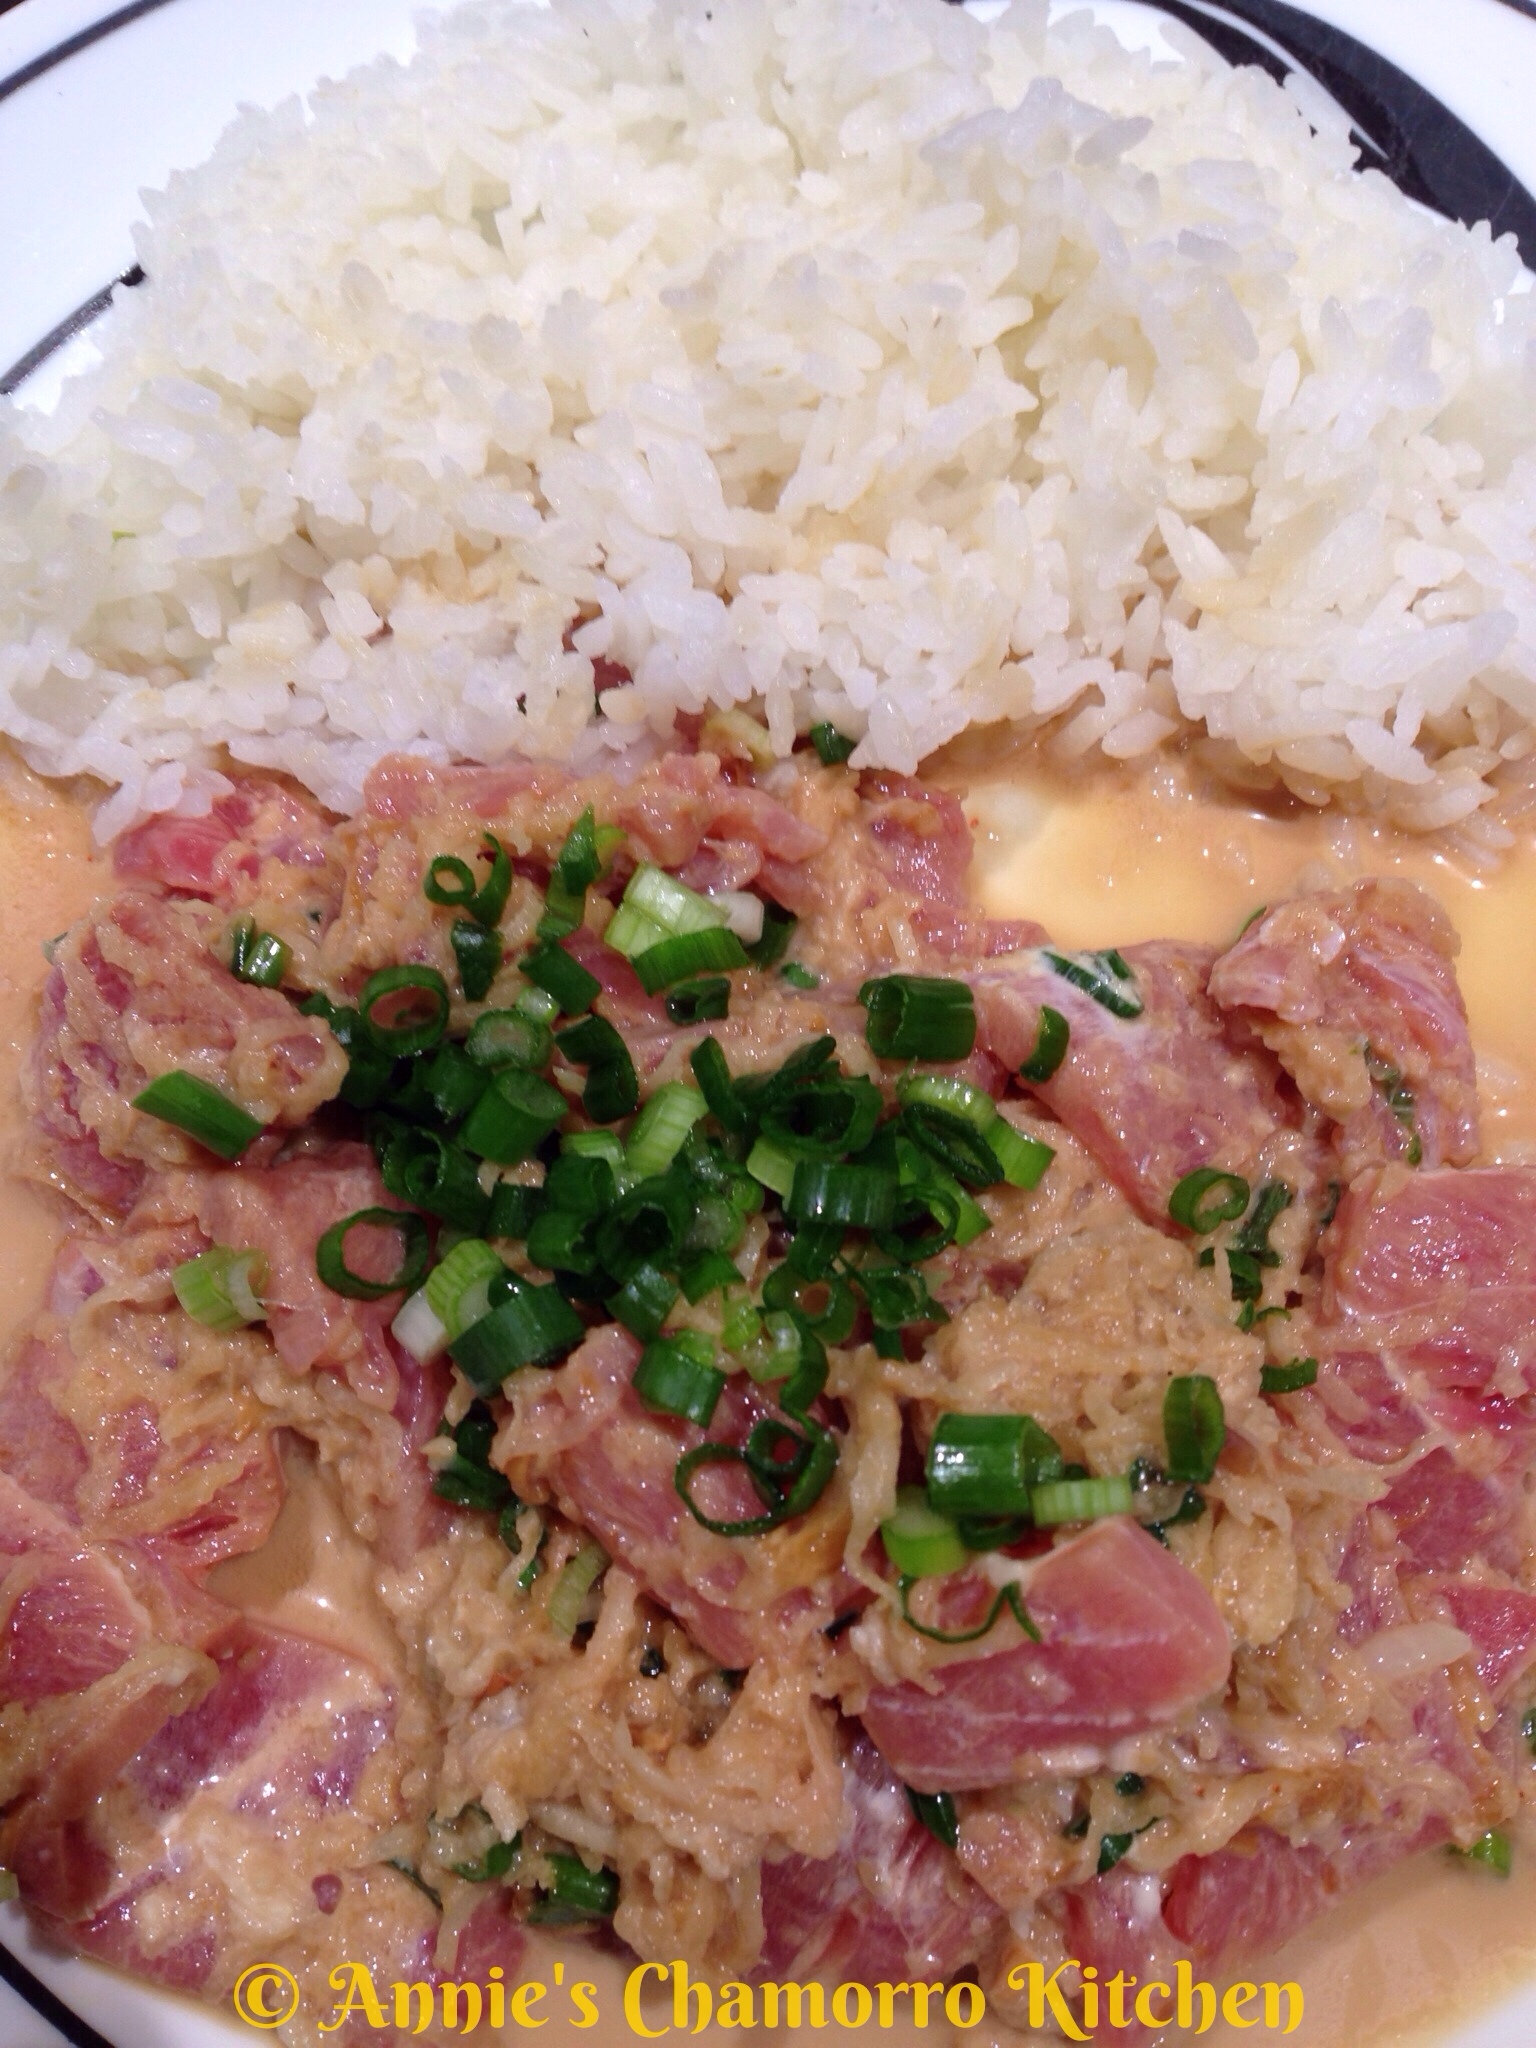
The Best Sashimi Ever

I love sashimi!

If you don’t care to eat raw fish, then I’m sorry, but this recipe is not for you.  BUT, you can share it with someone who does! 🙂

In the words of my daughter, “I love, love, love this! It’s almost as good as your tuna poki!”  That’s my picky-eater daughter, mind you.  She even eats the shredded RAW RADISH in this dish! YES!

Radish, you ask?  In sashimi?  Don’t knock it ’till you try it.

My inspiration is from this fantastic sushi restaurant in Vegas (sorry, folks, I can’t name the restaurant here), but if you’ve lived in Vegas before, you’ve probably been to or heard of this place — look at the photo below, recognize it yet? 😉

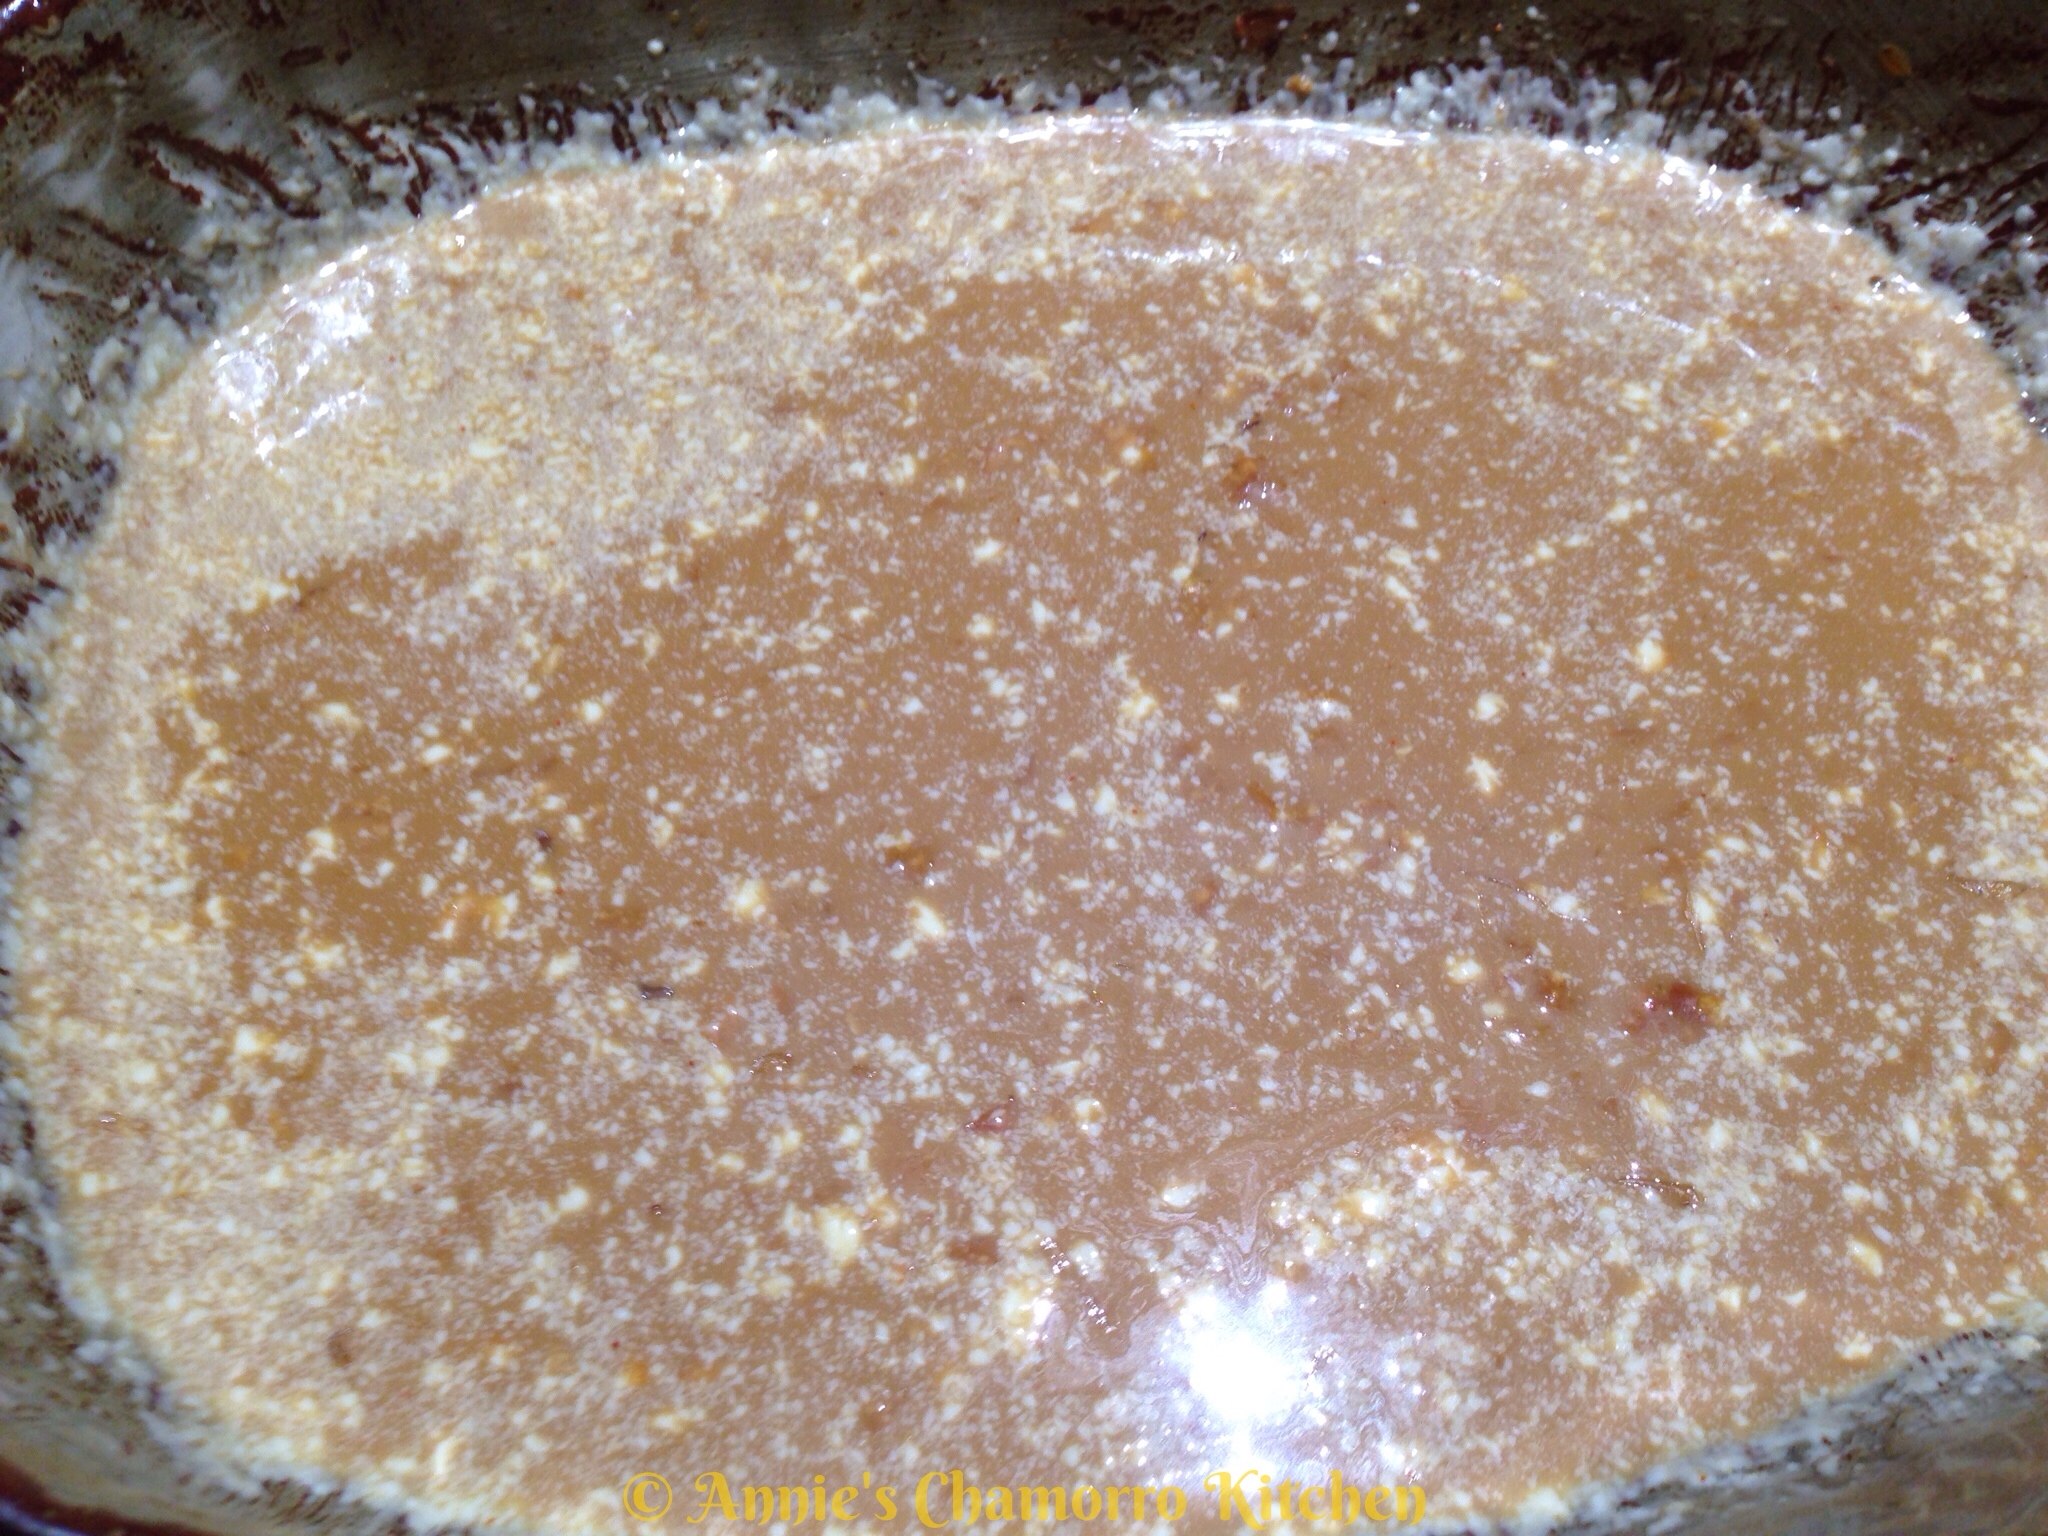
This recipe is all about the sauce, I think.  It’s my version of ponzu sauce.

Give my recipe a try.  I think you’ll like it.


The Best Sashimi Ever!

Ingredients:

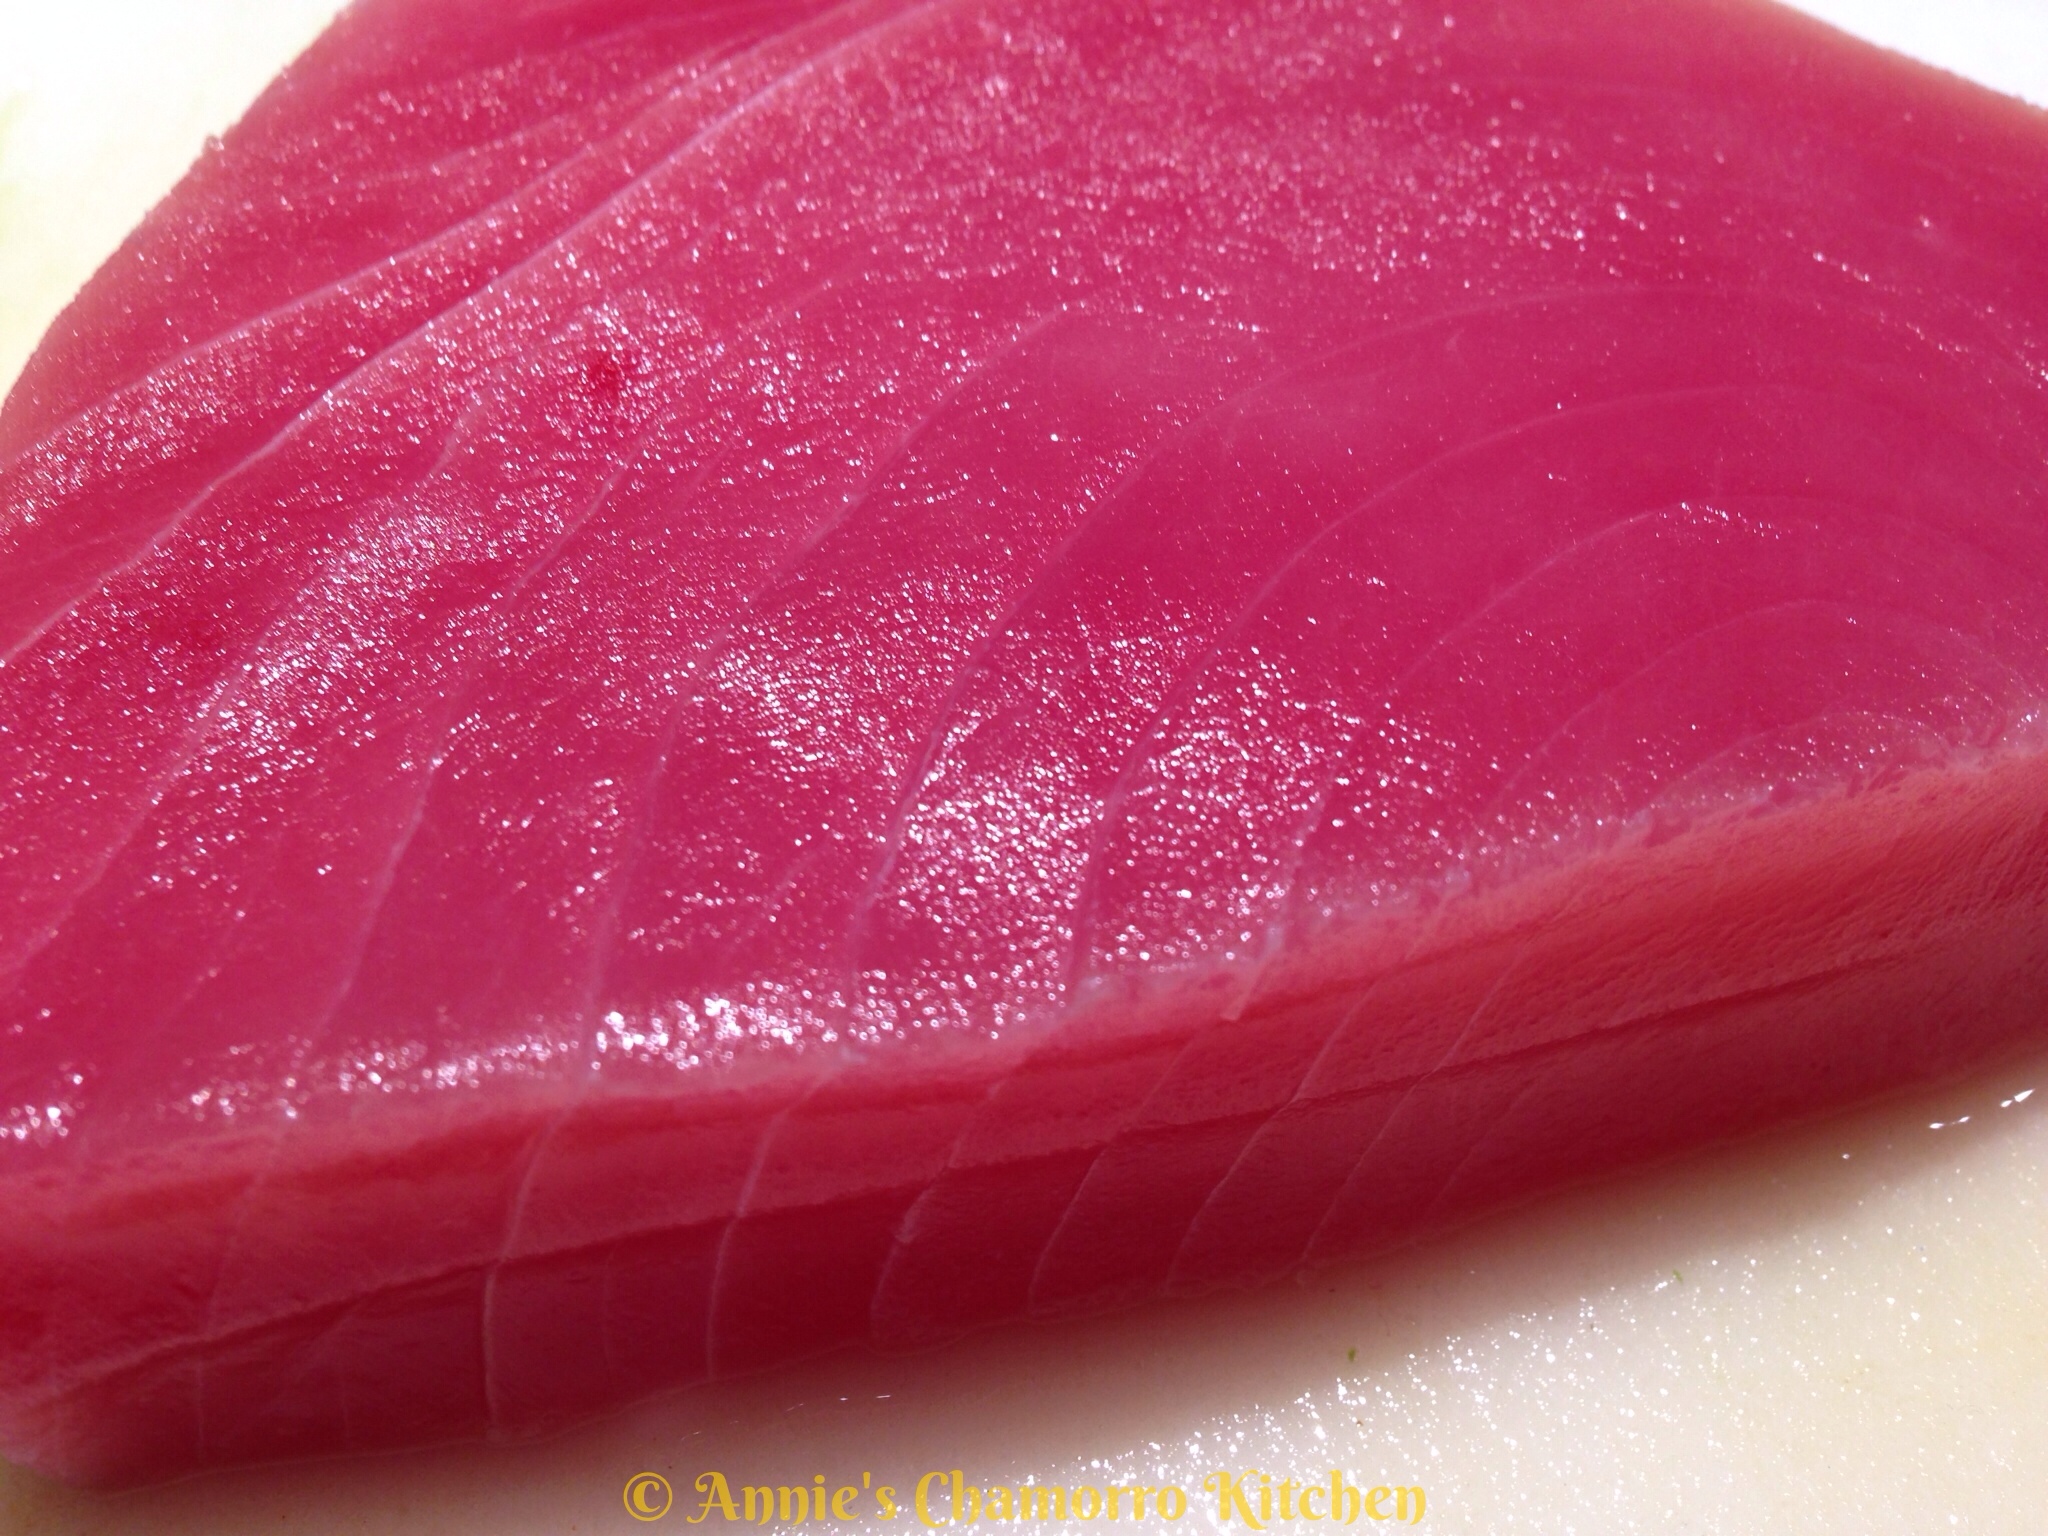
Good quality ahi tuna, thinly sliced

1 bunch green onions

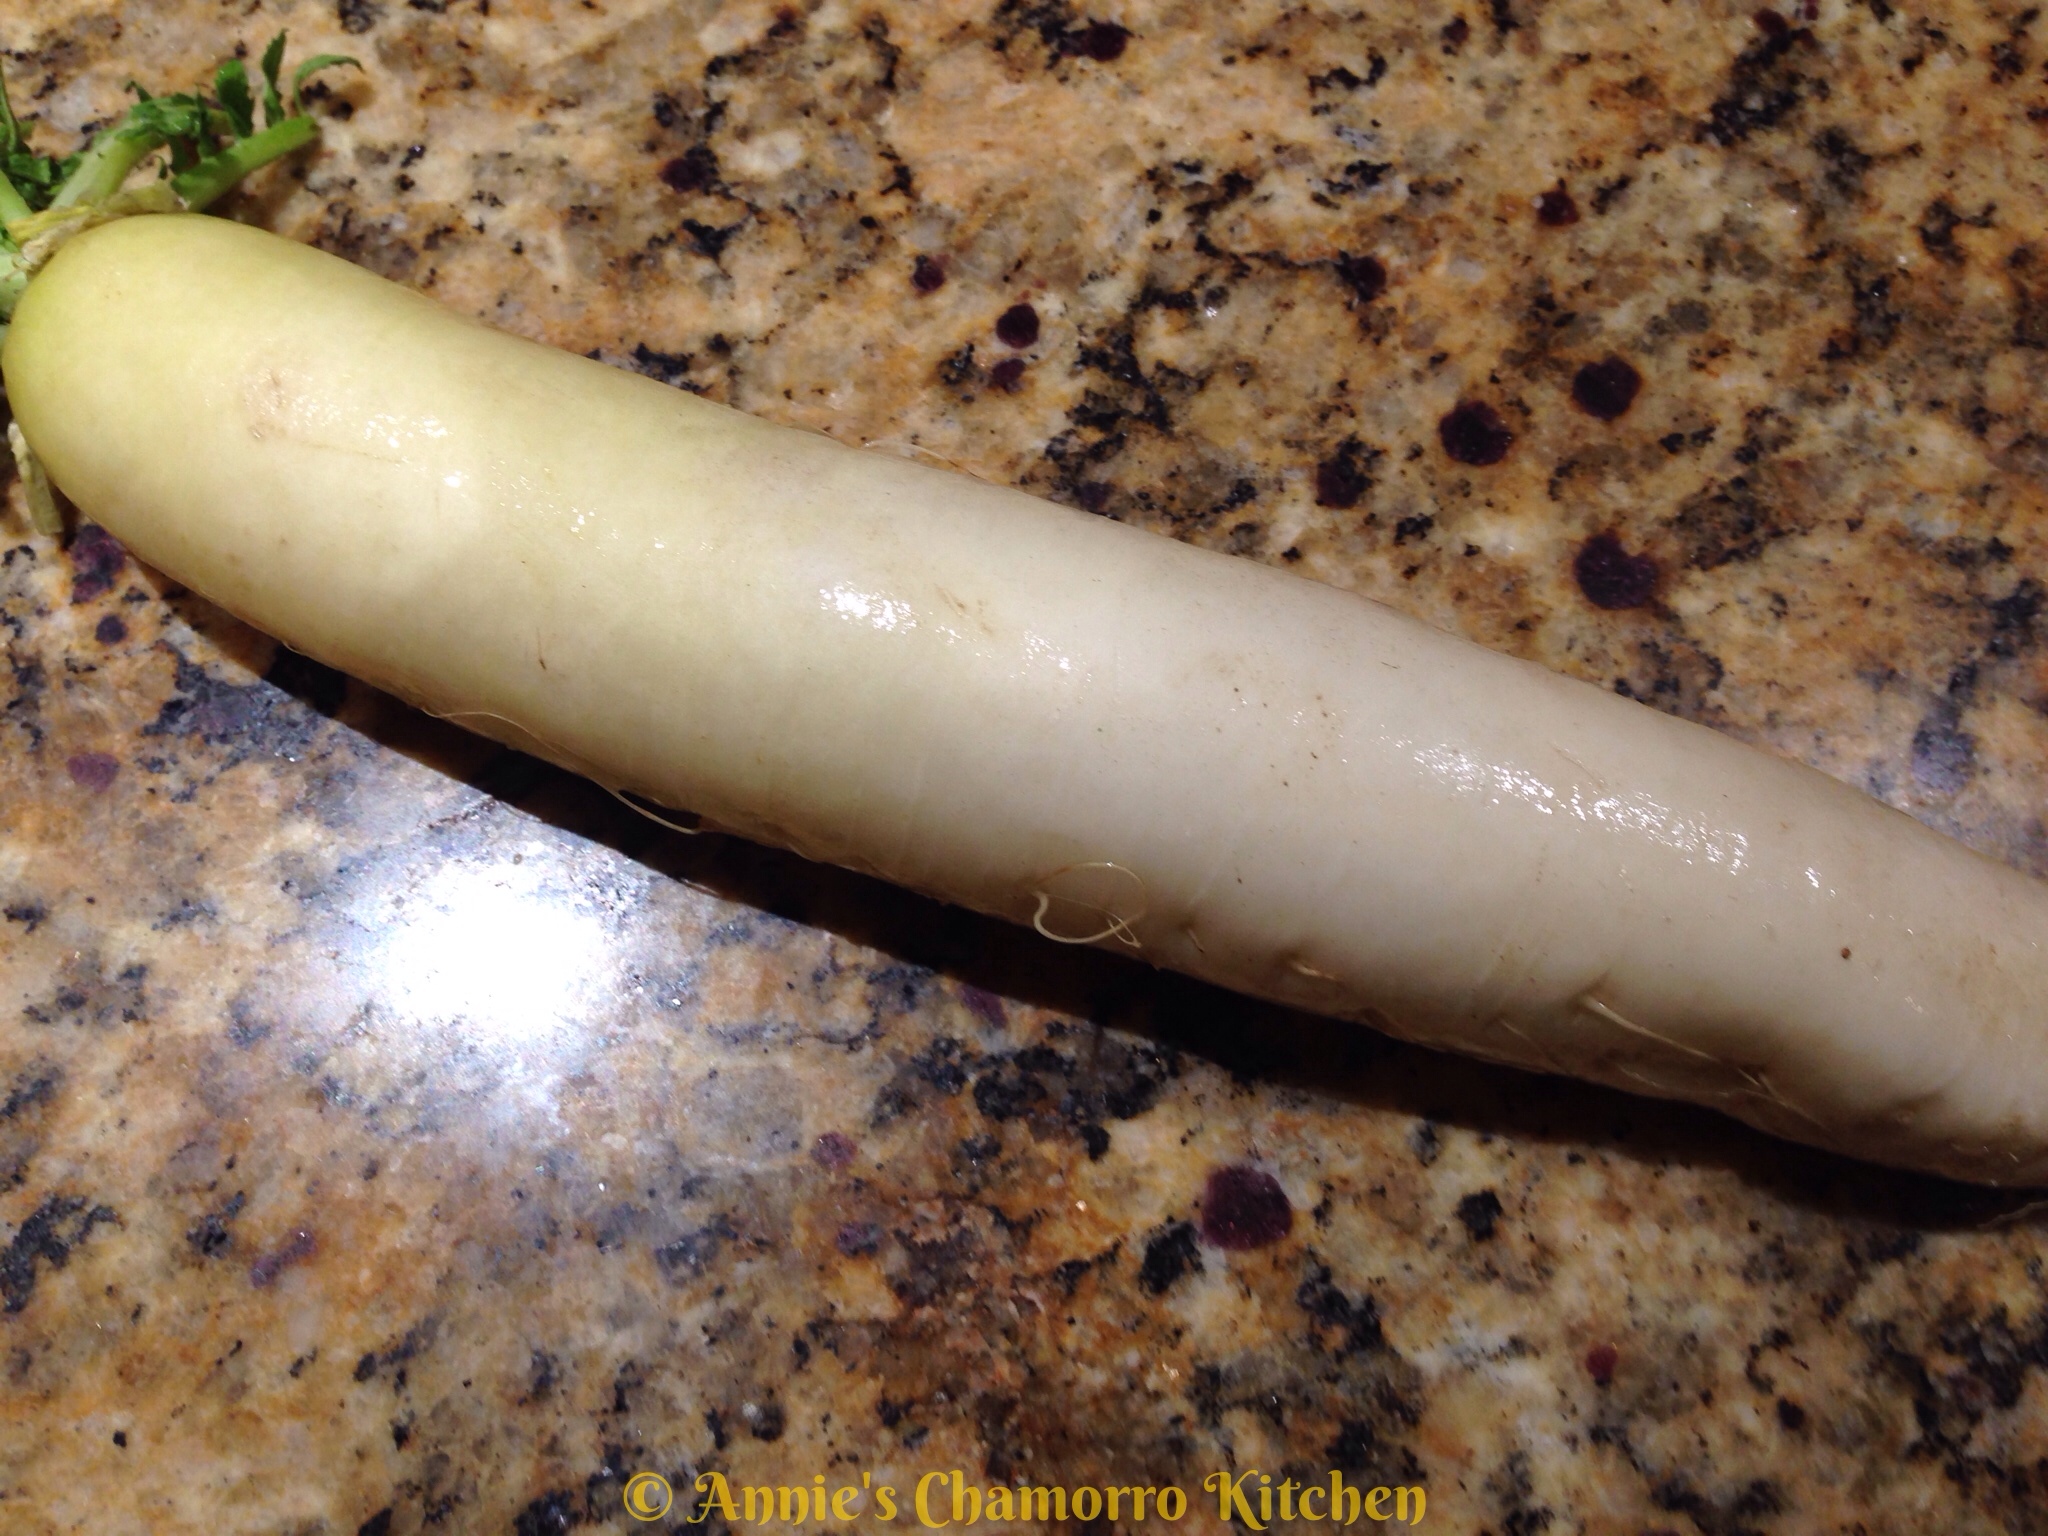
1 long white radish (the one below is called an Icicle Radish)

Sashimi Sauce:

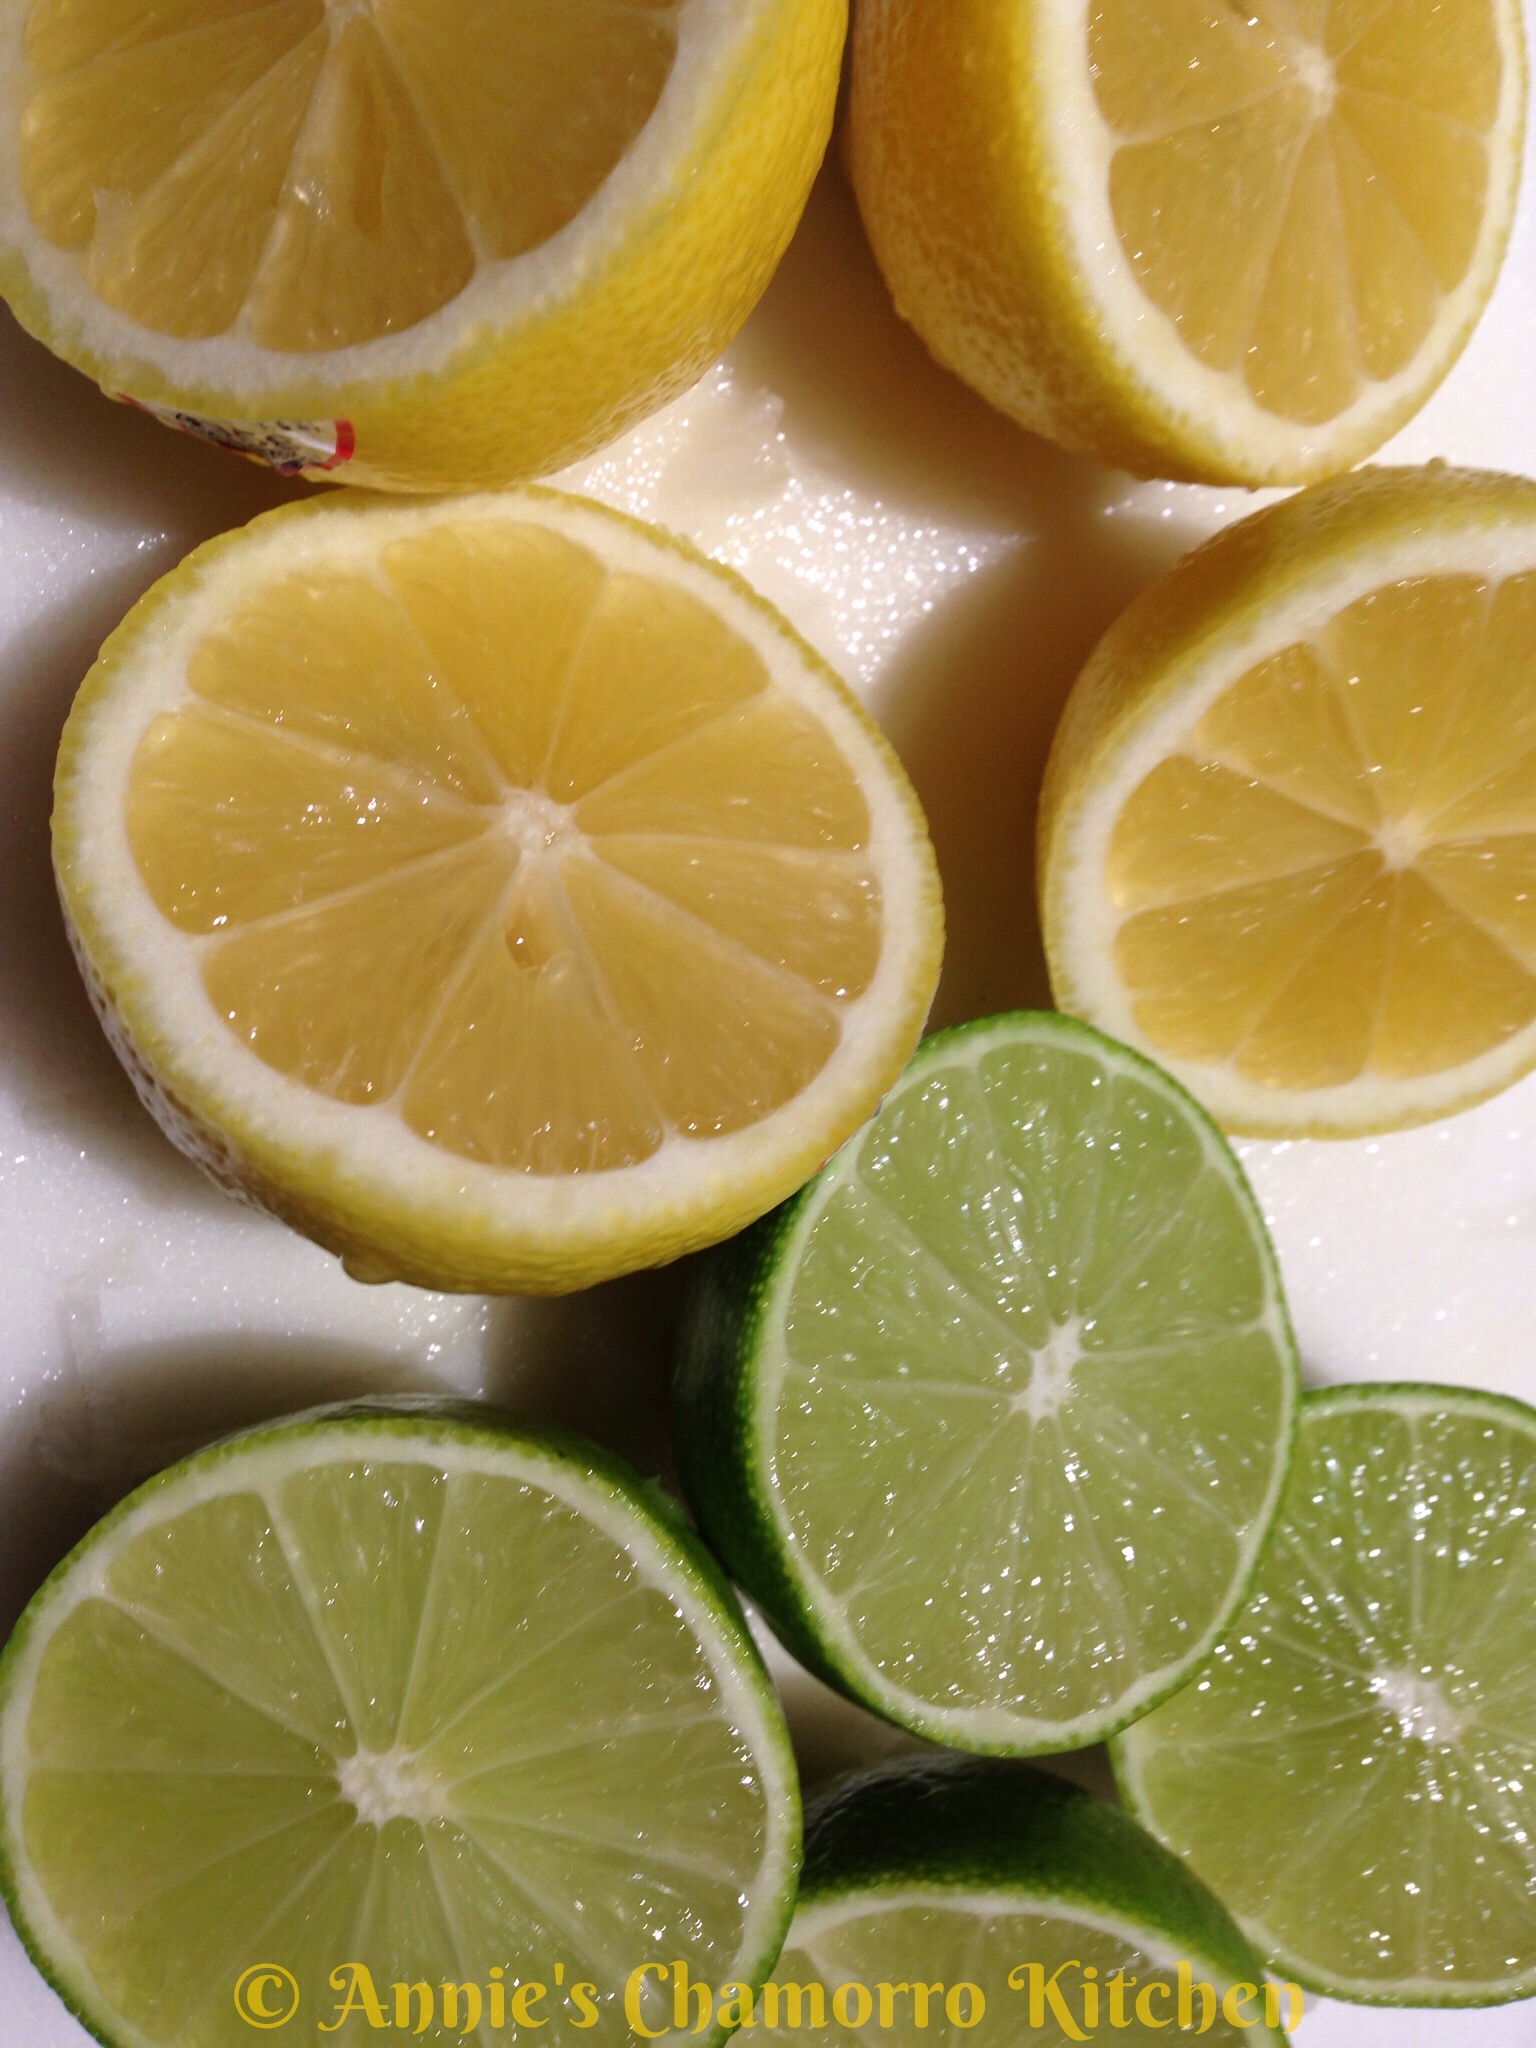
The juice of 3 lemons and 2 limes

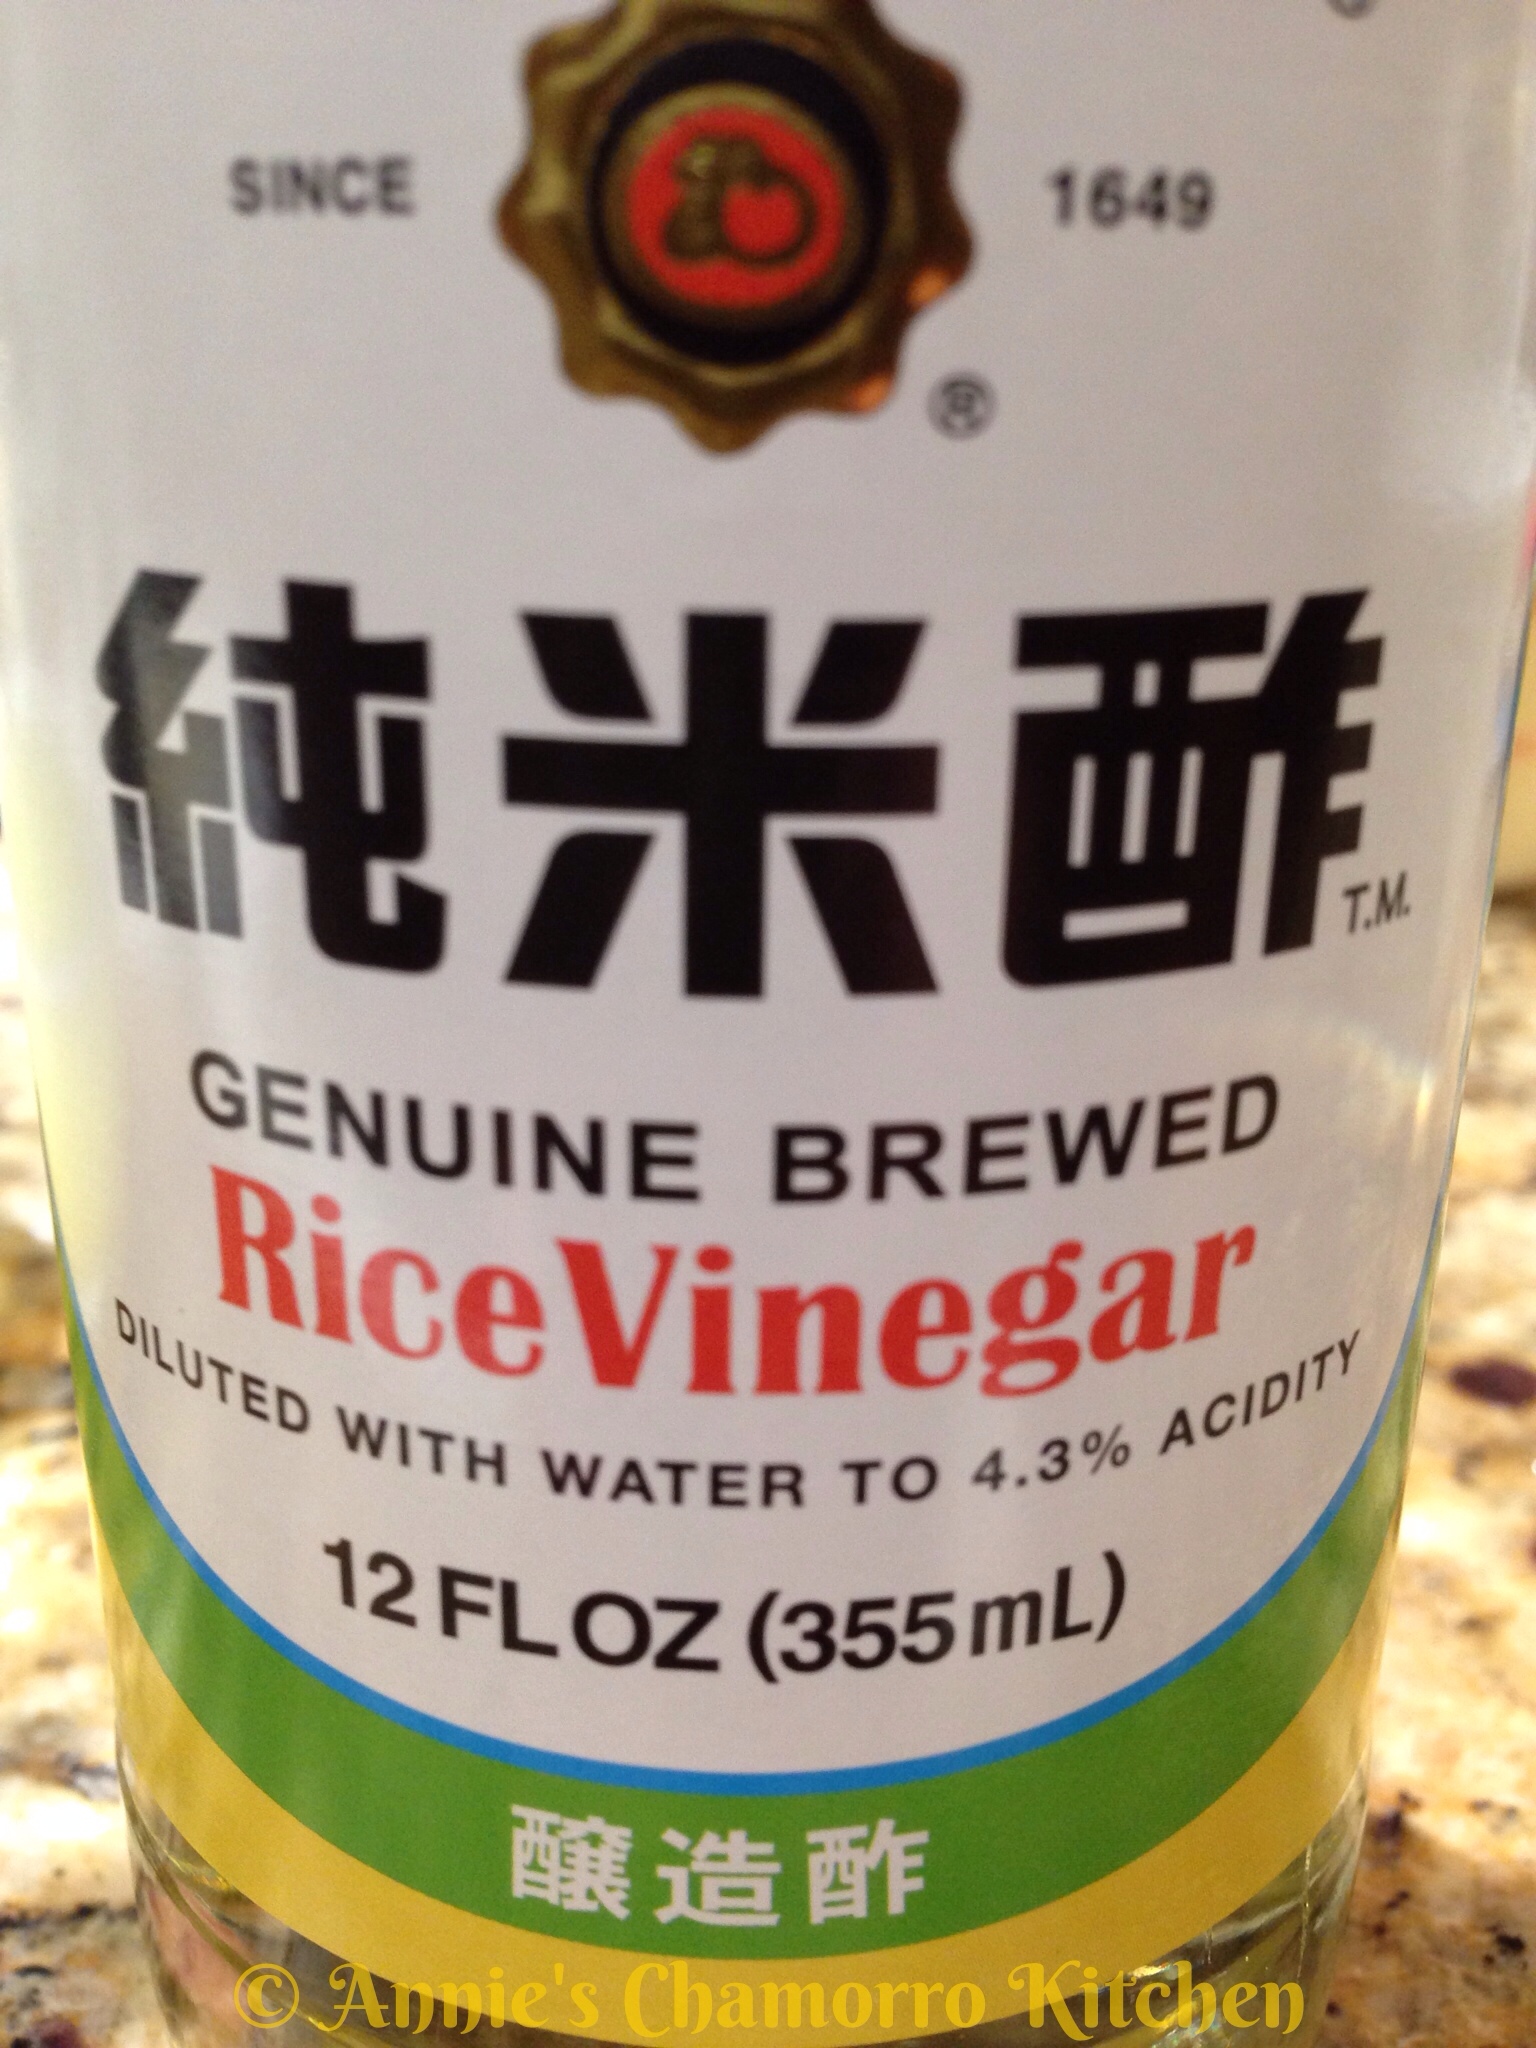
1/4 cup rice vinegar

1 cup soy sauce

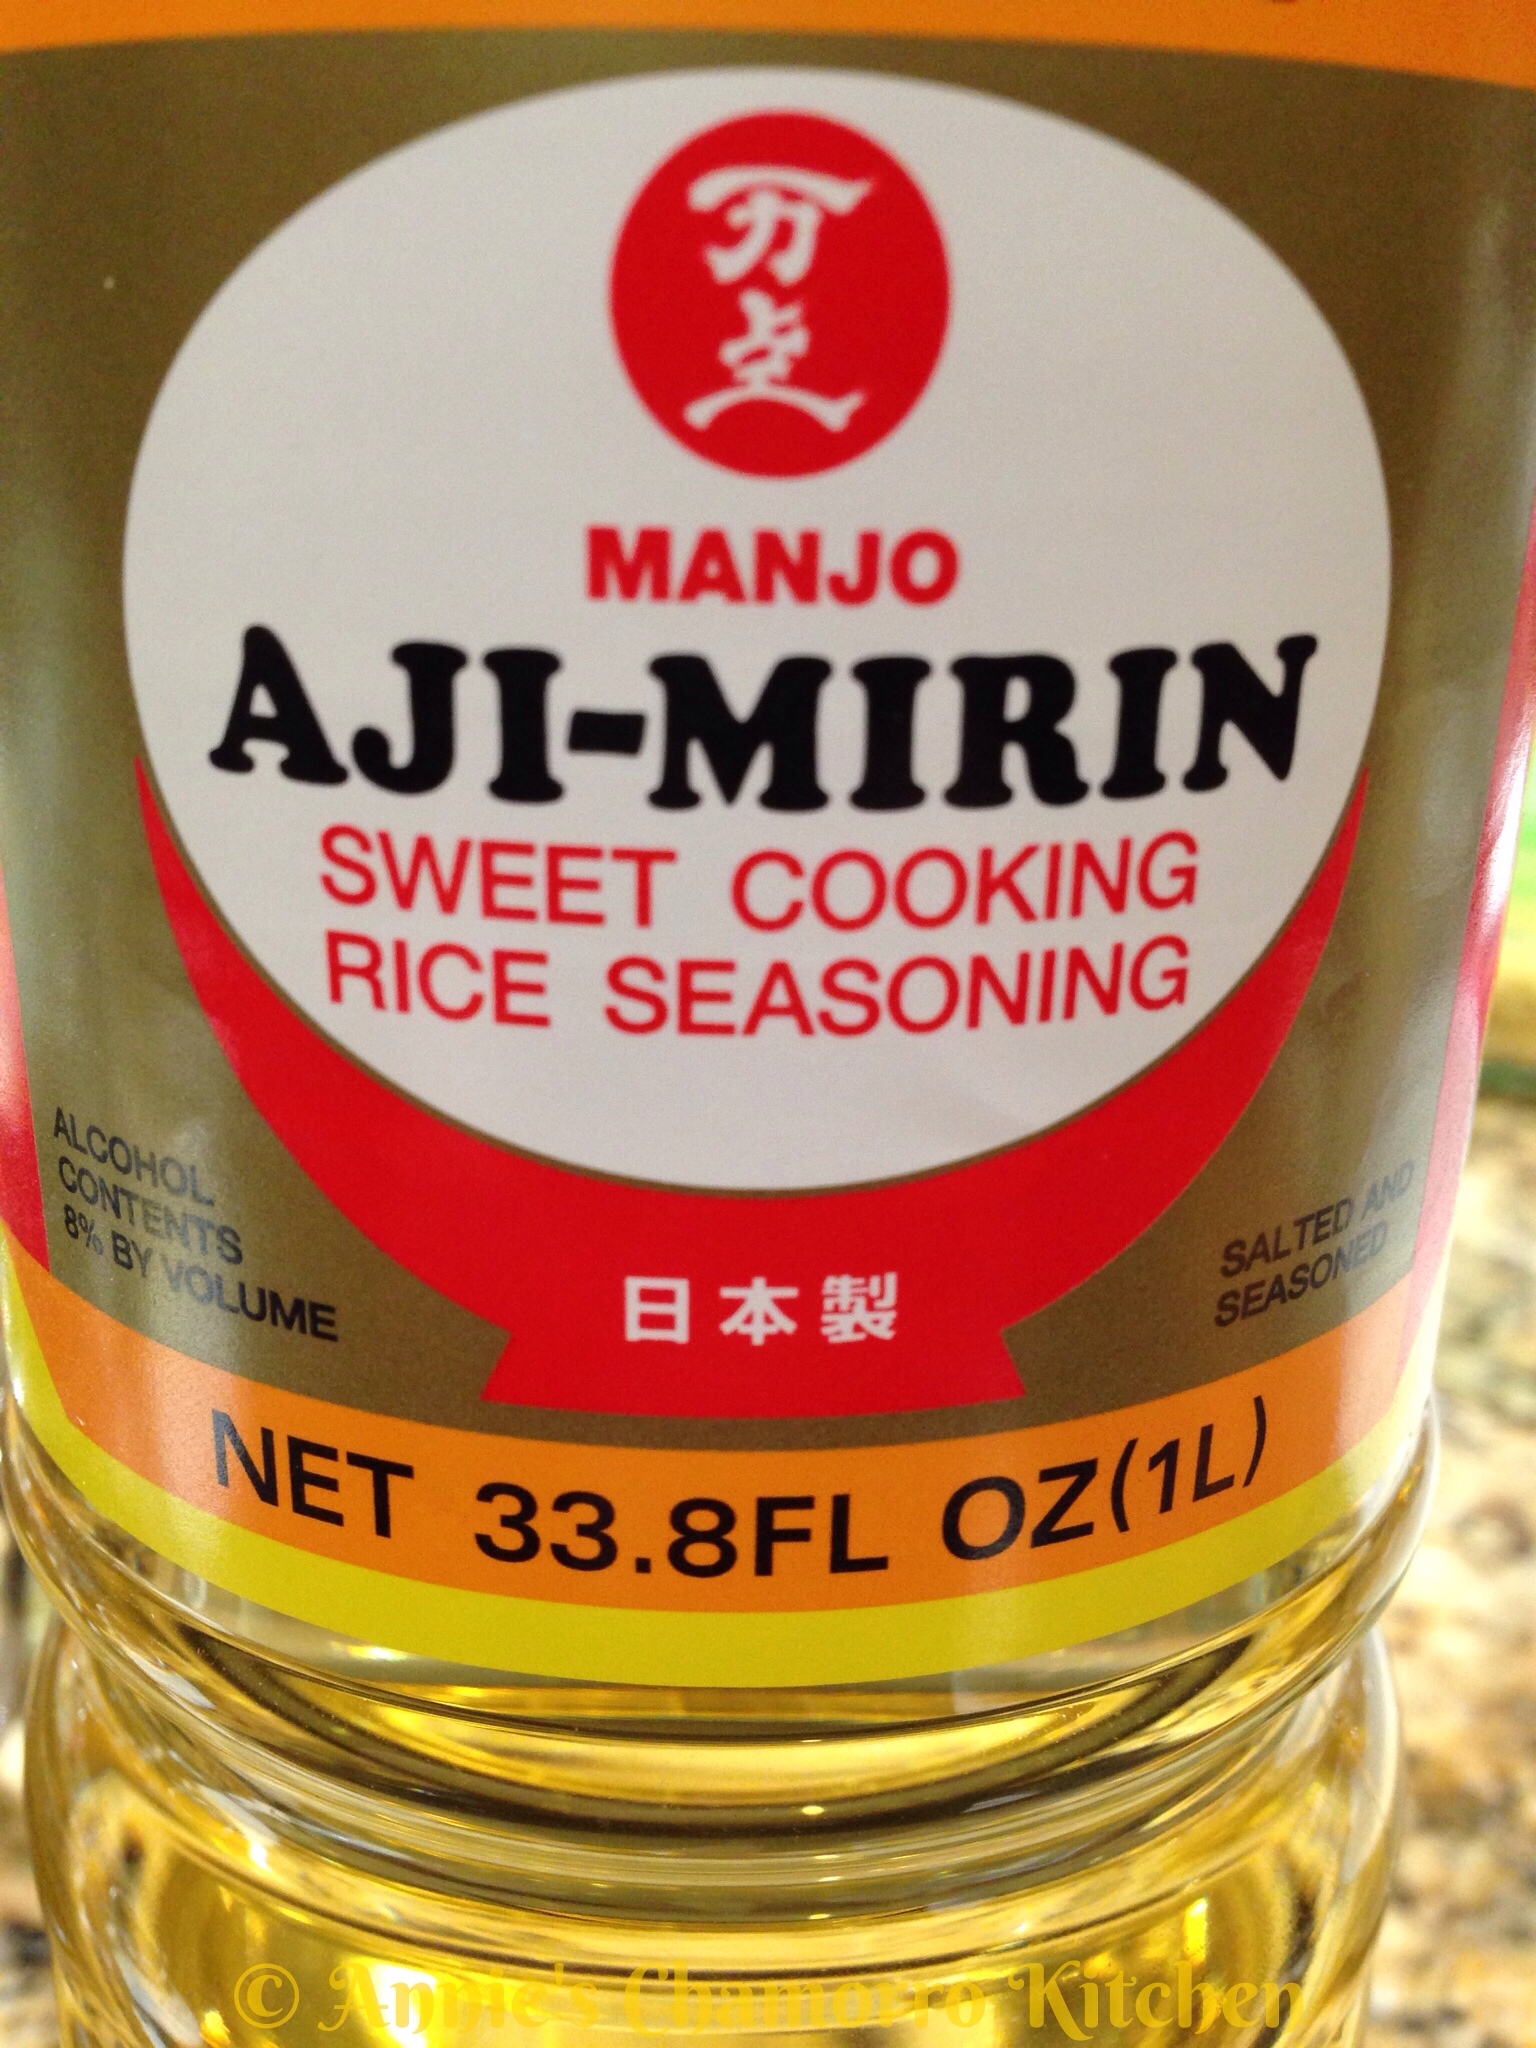
1/4 cup mirin

1 small piece of dried kelp, about a 4-inch piece will do.  You can find this and the other ingredients for this recipe at most Asian markets.

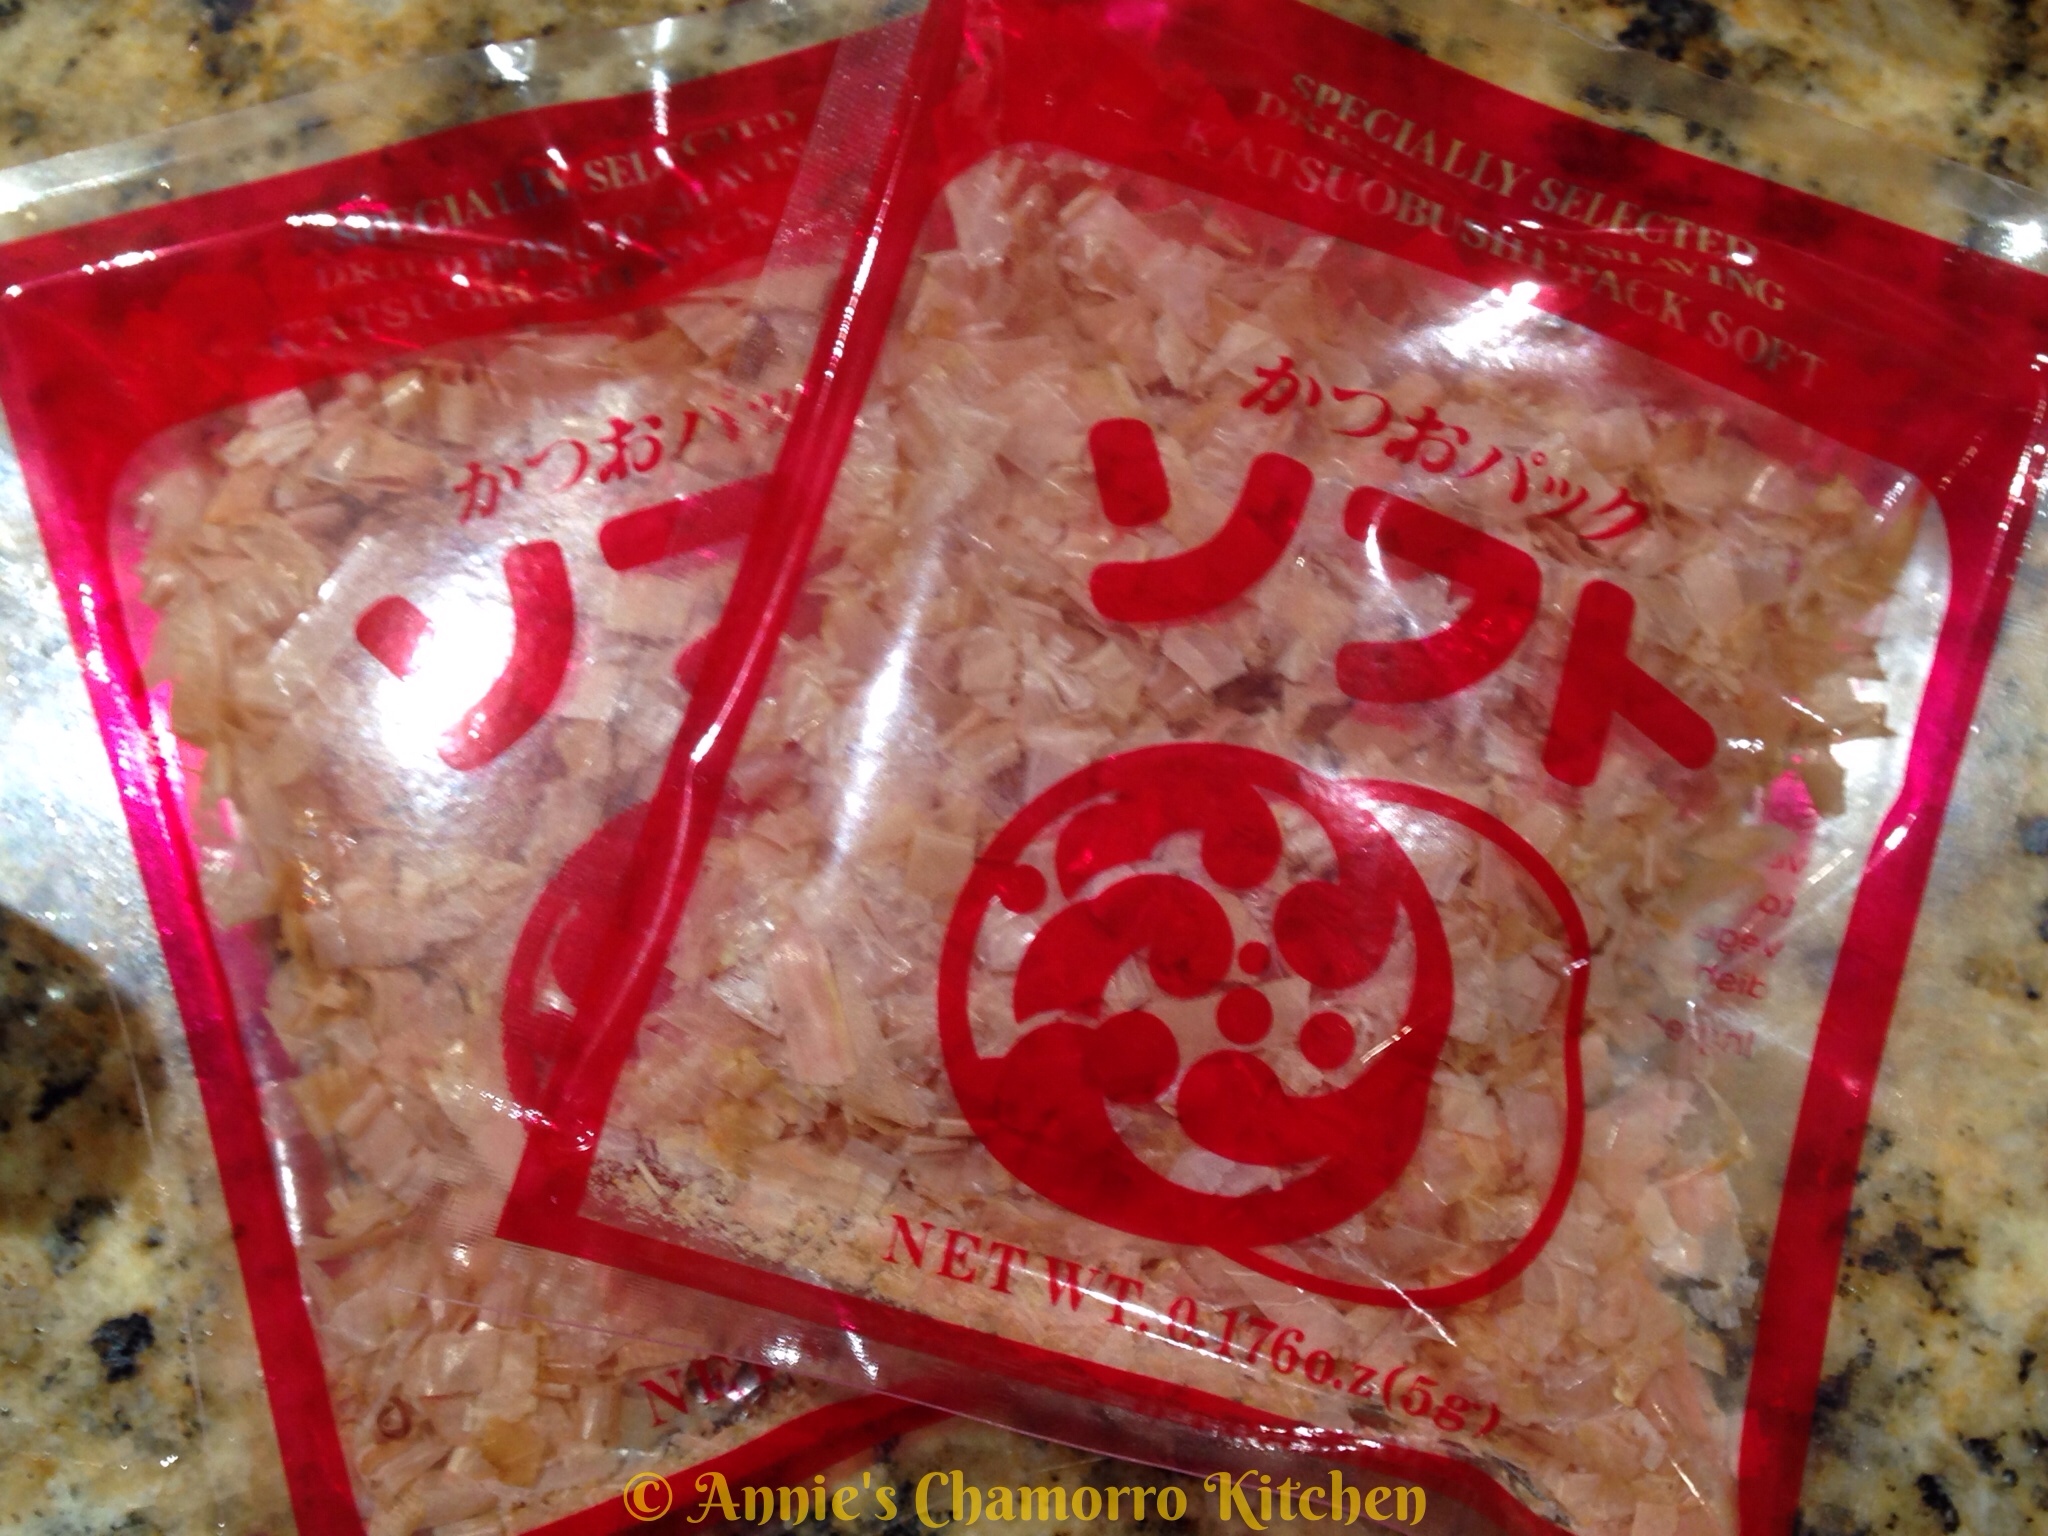
2 packets dried bonito flakes (0.17 oz. per packet).  The kind I buy comes in a package that contains 5 of these packets.

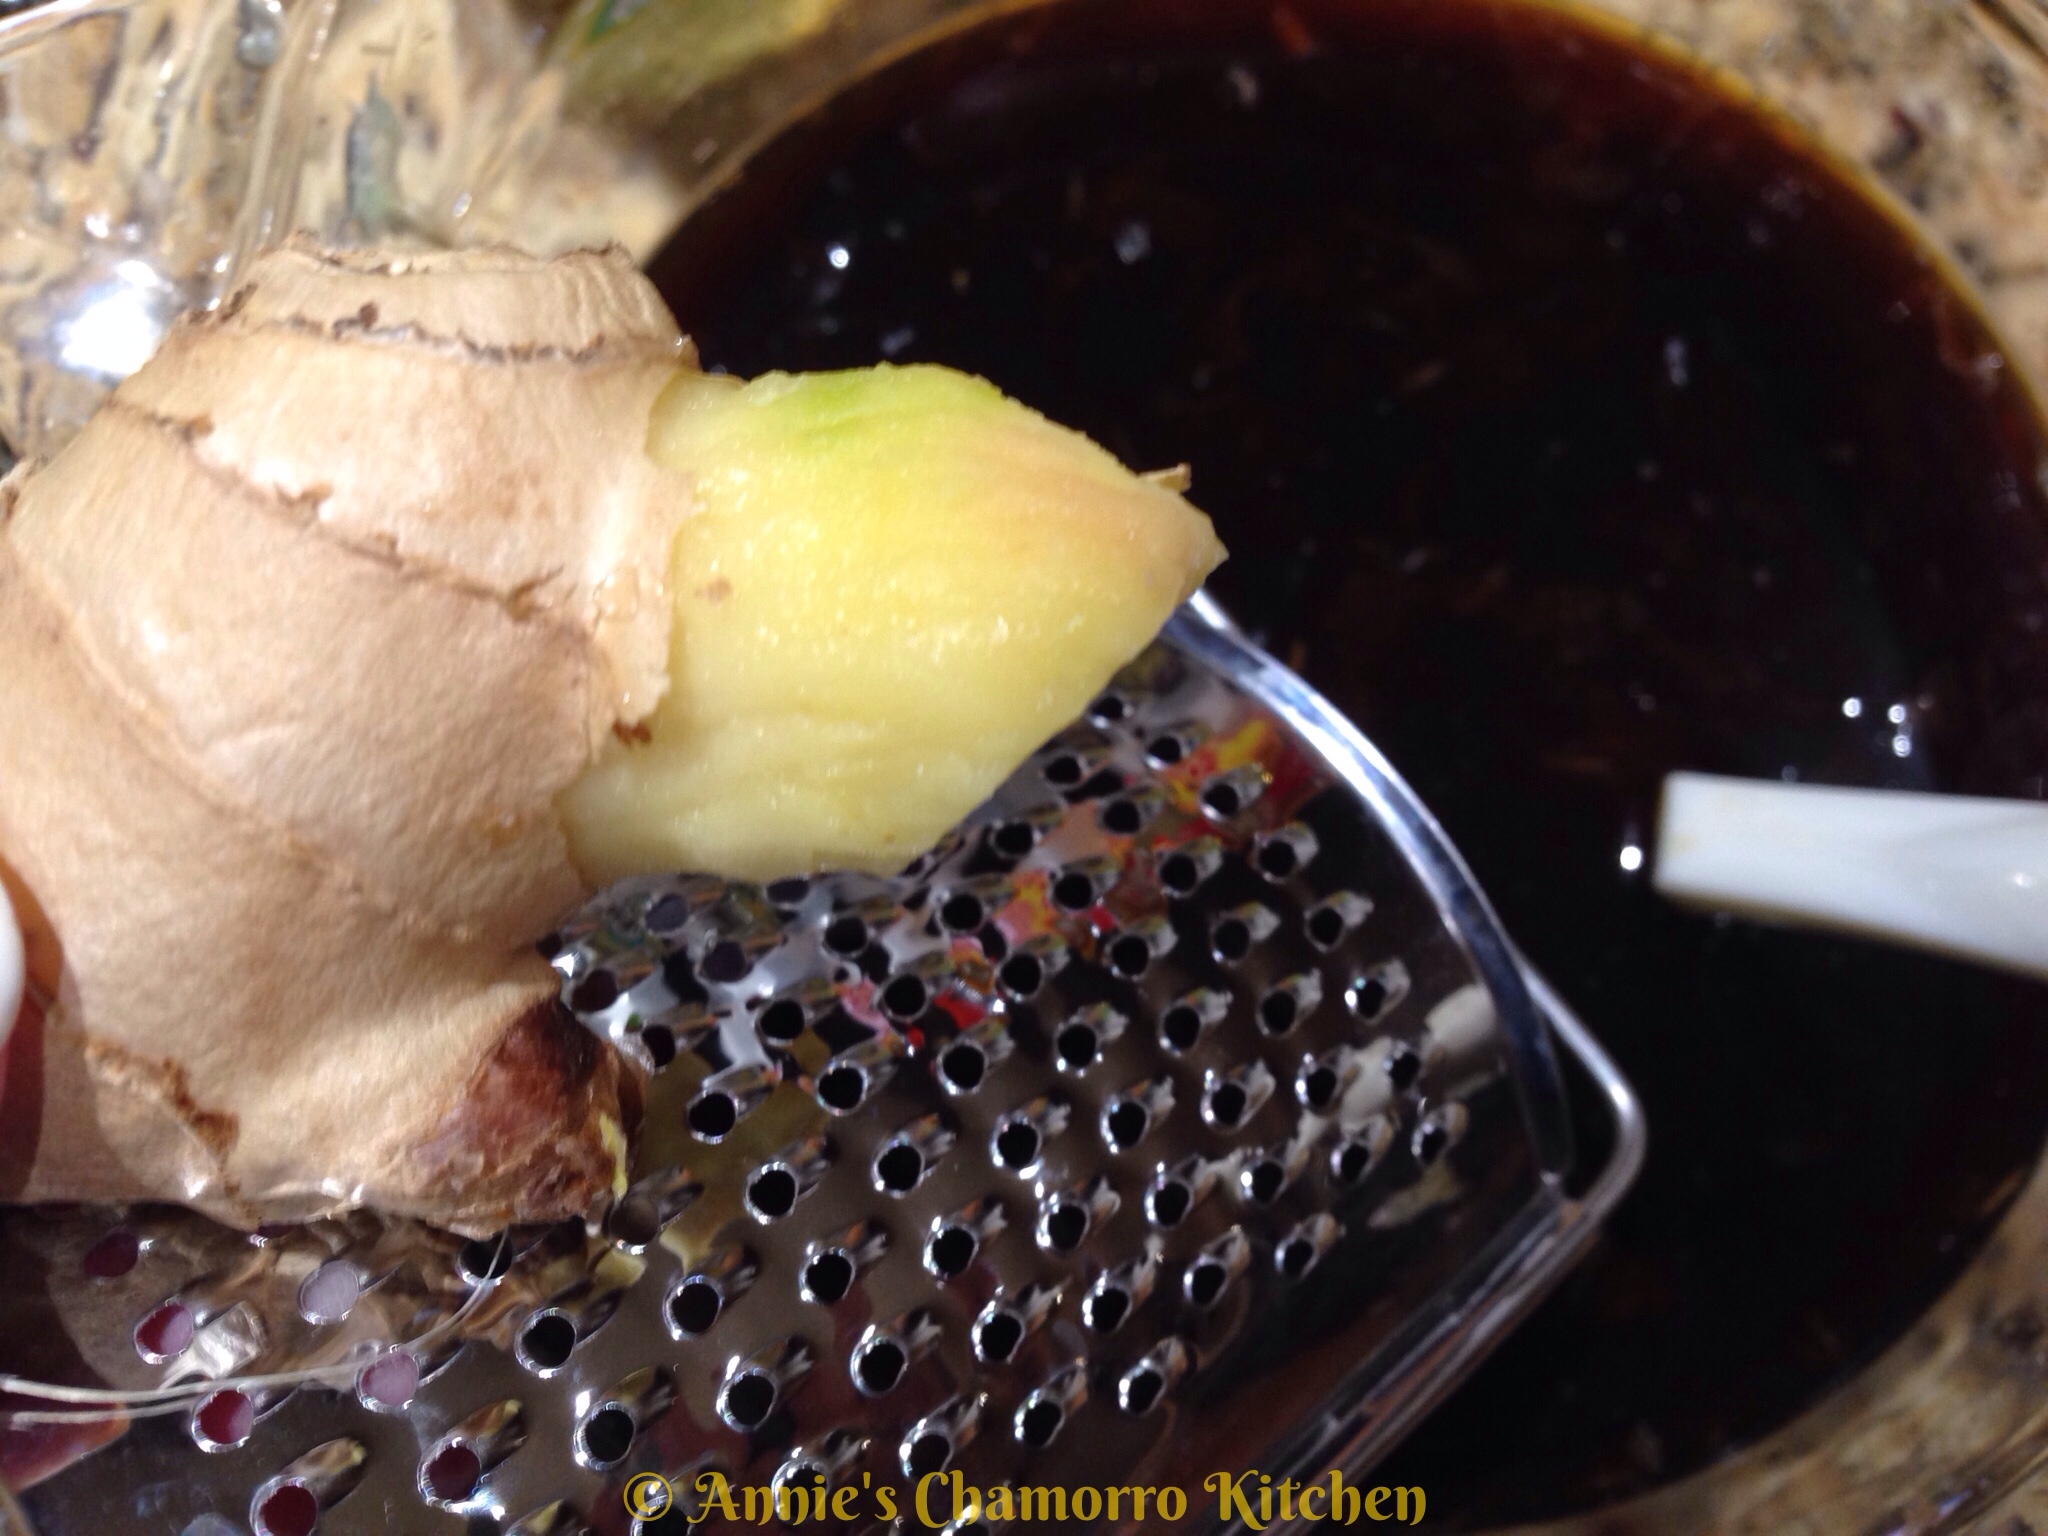
1-inch piece ginger, grated

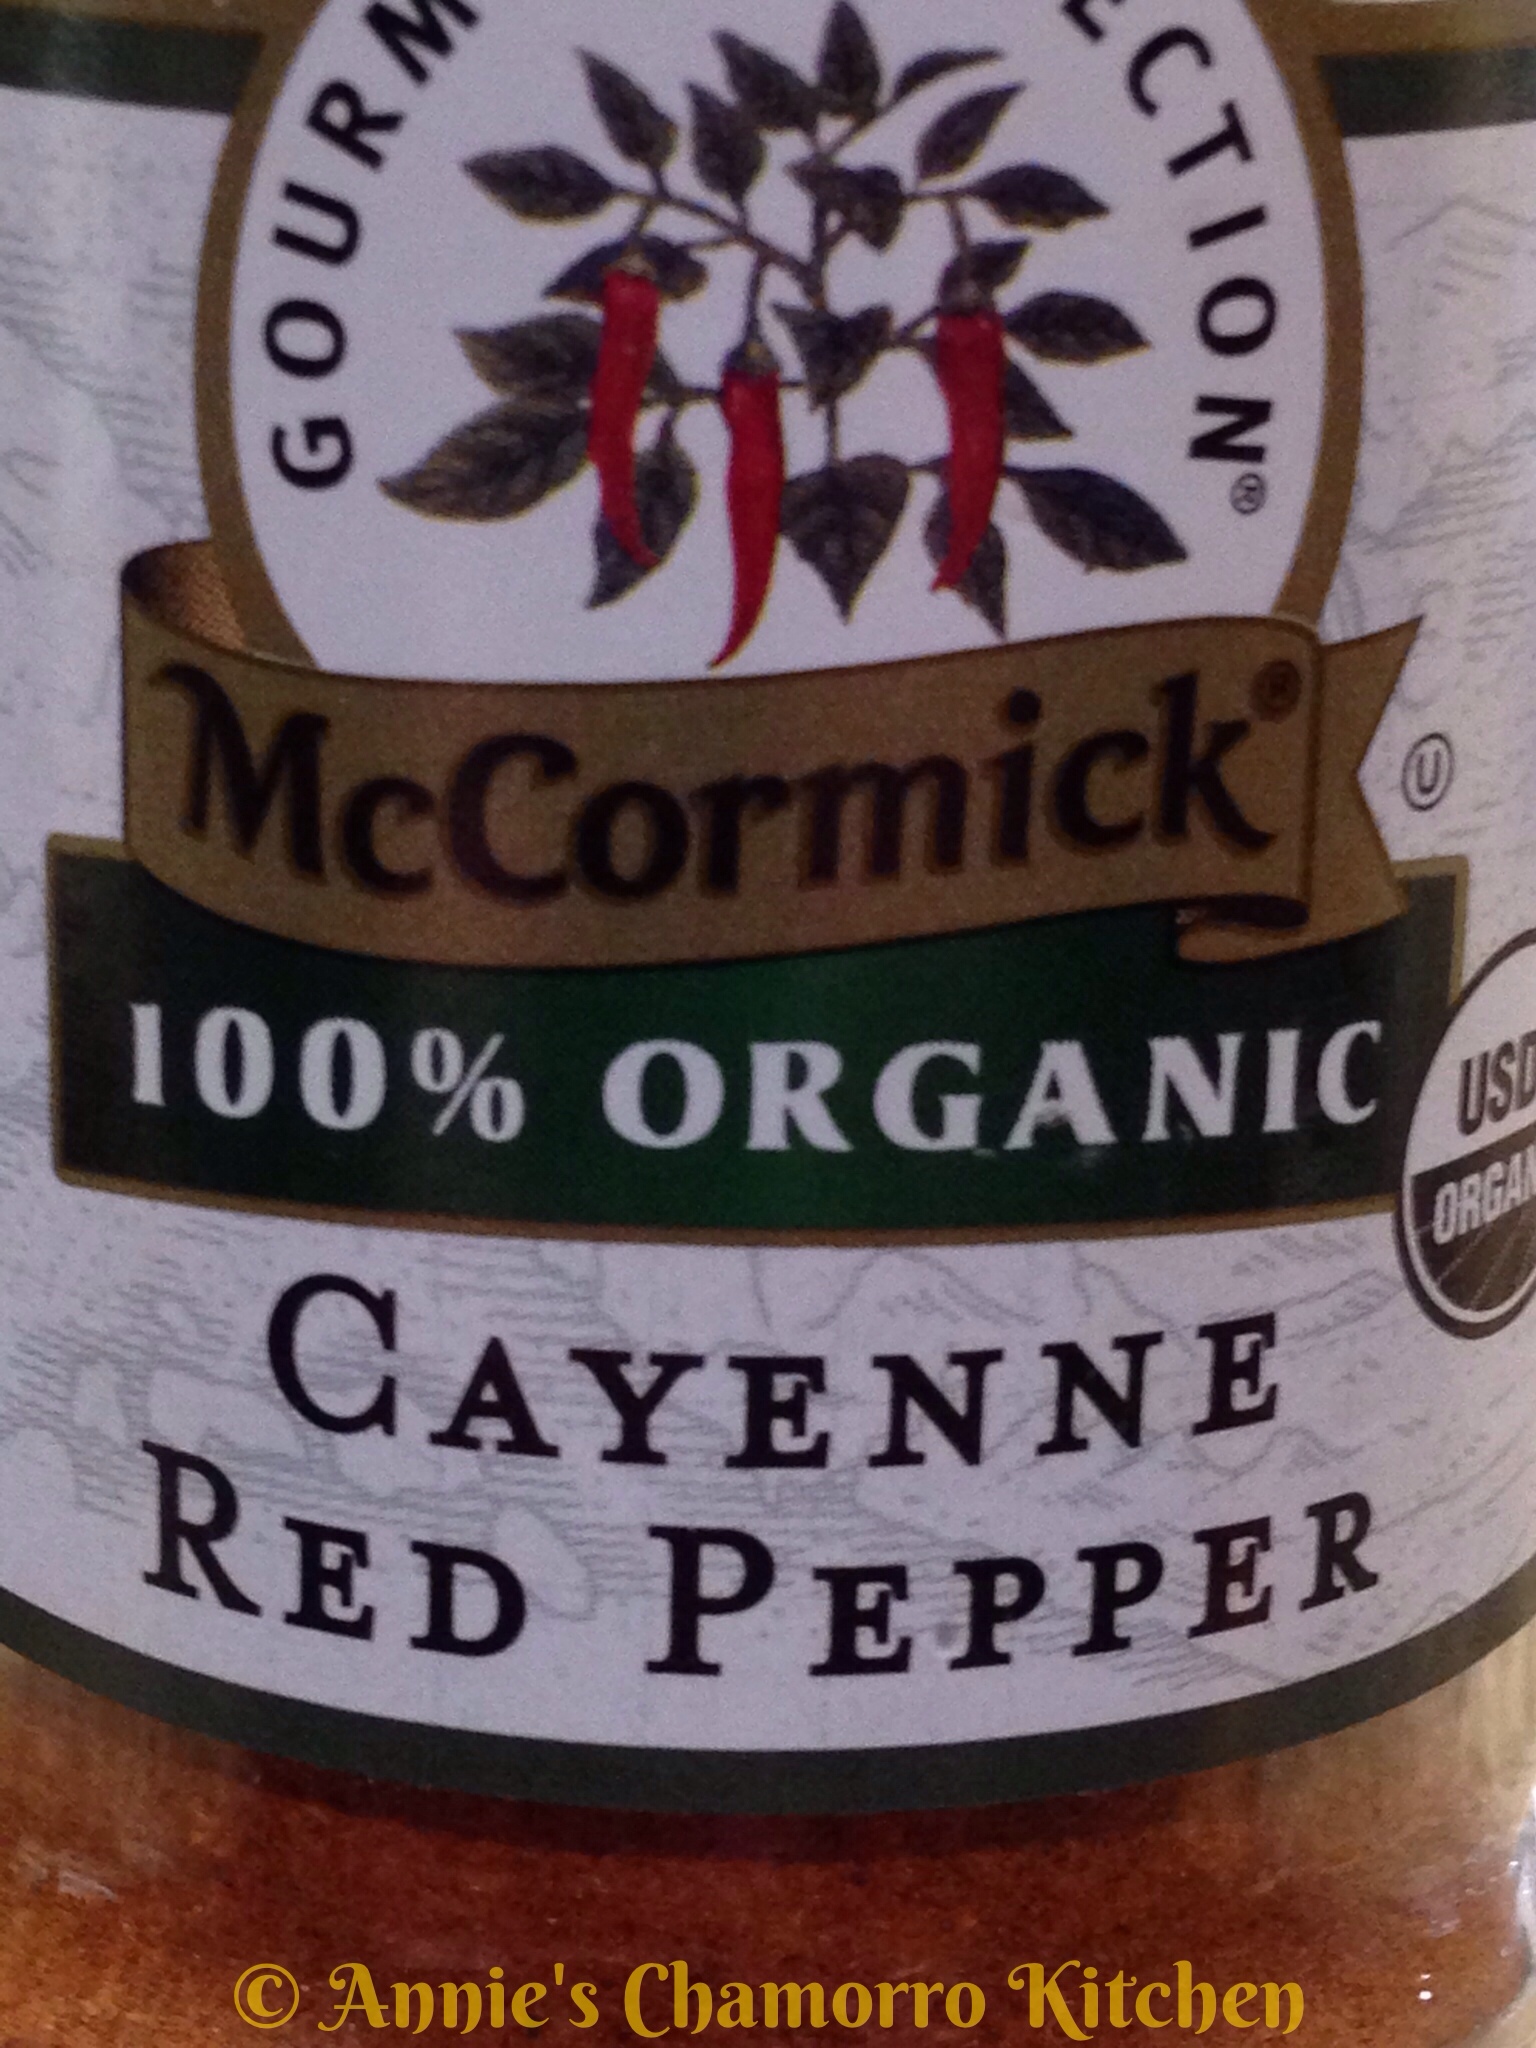
Cayenne pepper, about 1/4 teaspoon, more or less to taste.  I like using Cayenne — it dissolves easily, and it’s not too spicy.  Even my “little” one eats it.  Well, she’s not so little anymore, but she’s sooooo picky!

Kewpie mayonnaise.  Don’t substitute with regular mayo.  The main difference between Kewpie and regular mayo is that kewpie is made with the egg yolks only, whereas some regular mayos are made with either only egg whites or whole eggs.  Kewpie is also creamier and just a tad bit sweeter that regular mayo.  Anyhow…look for and use kewpie mayo for this dish (no subs).

Directions:

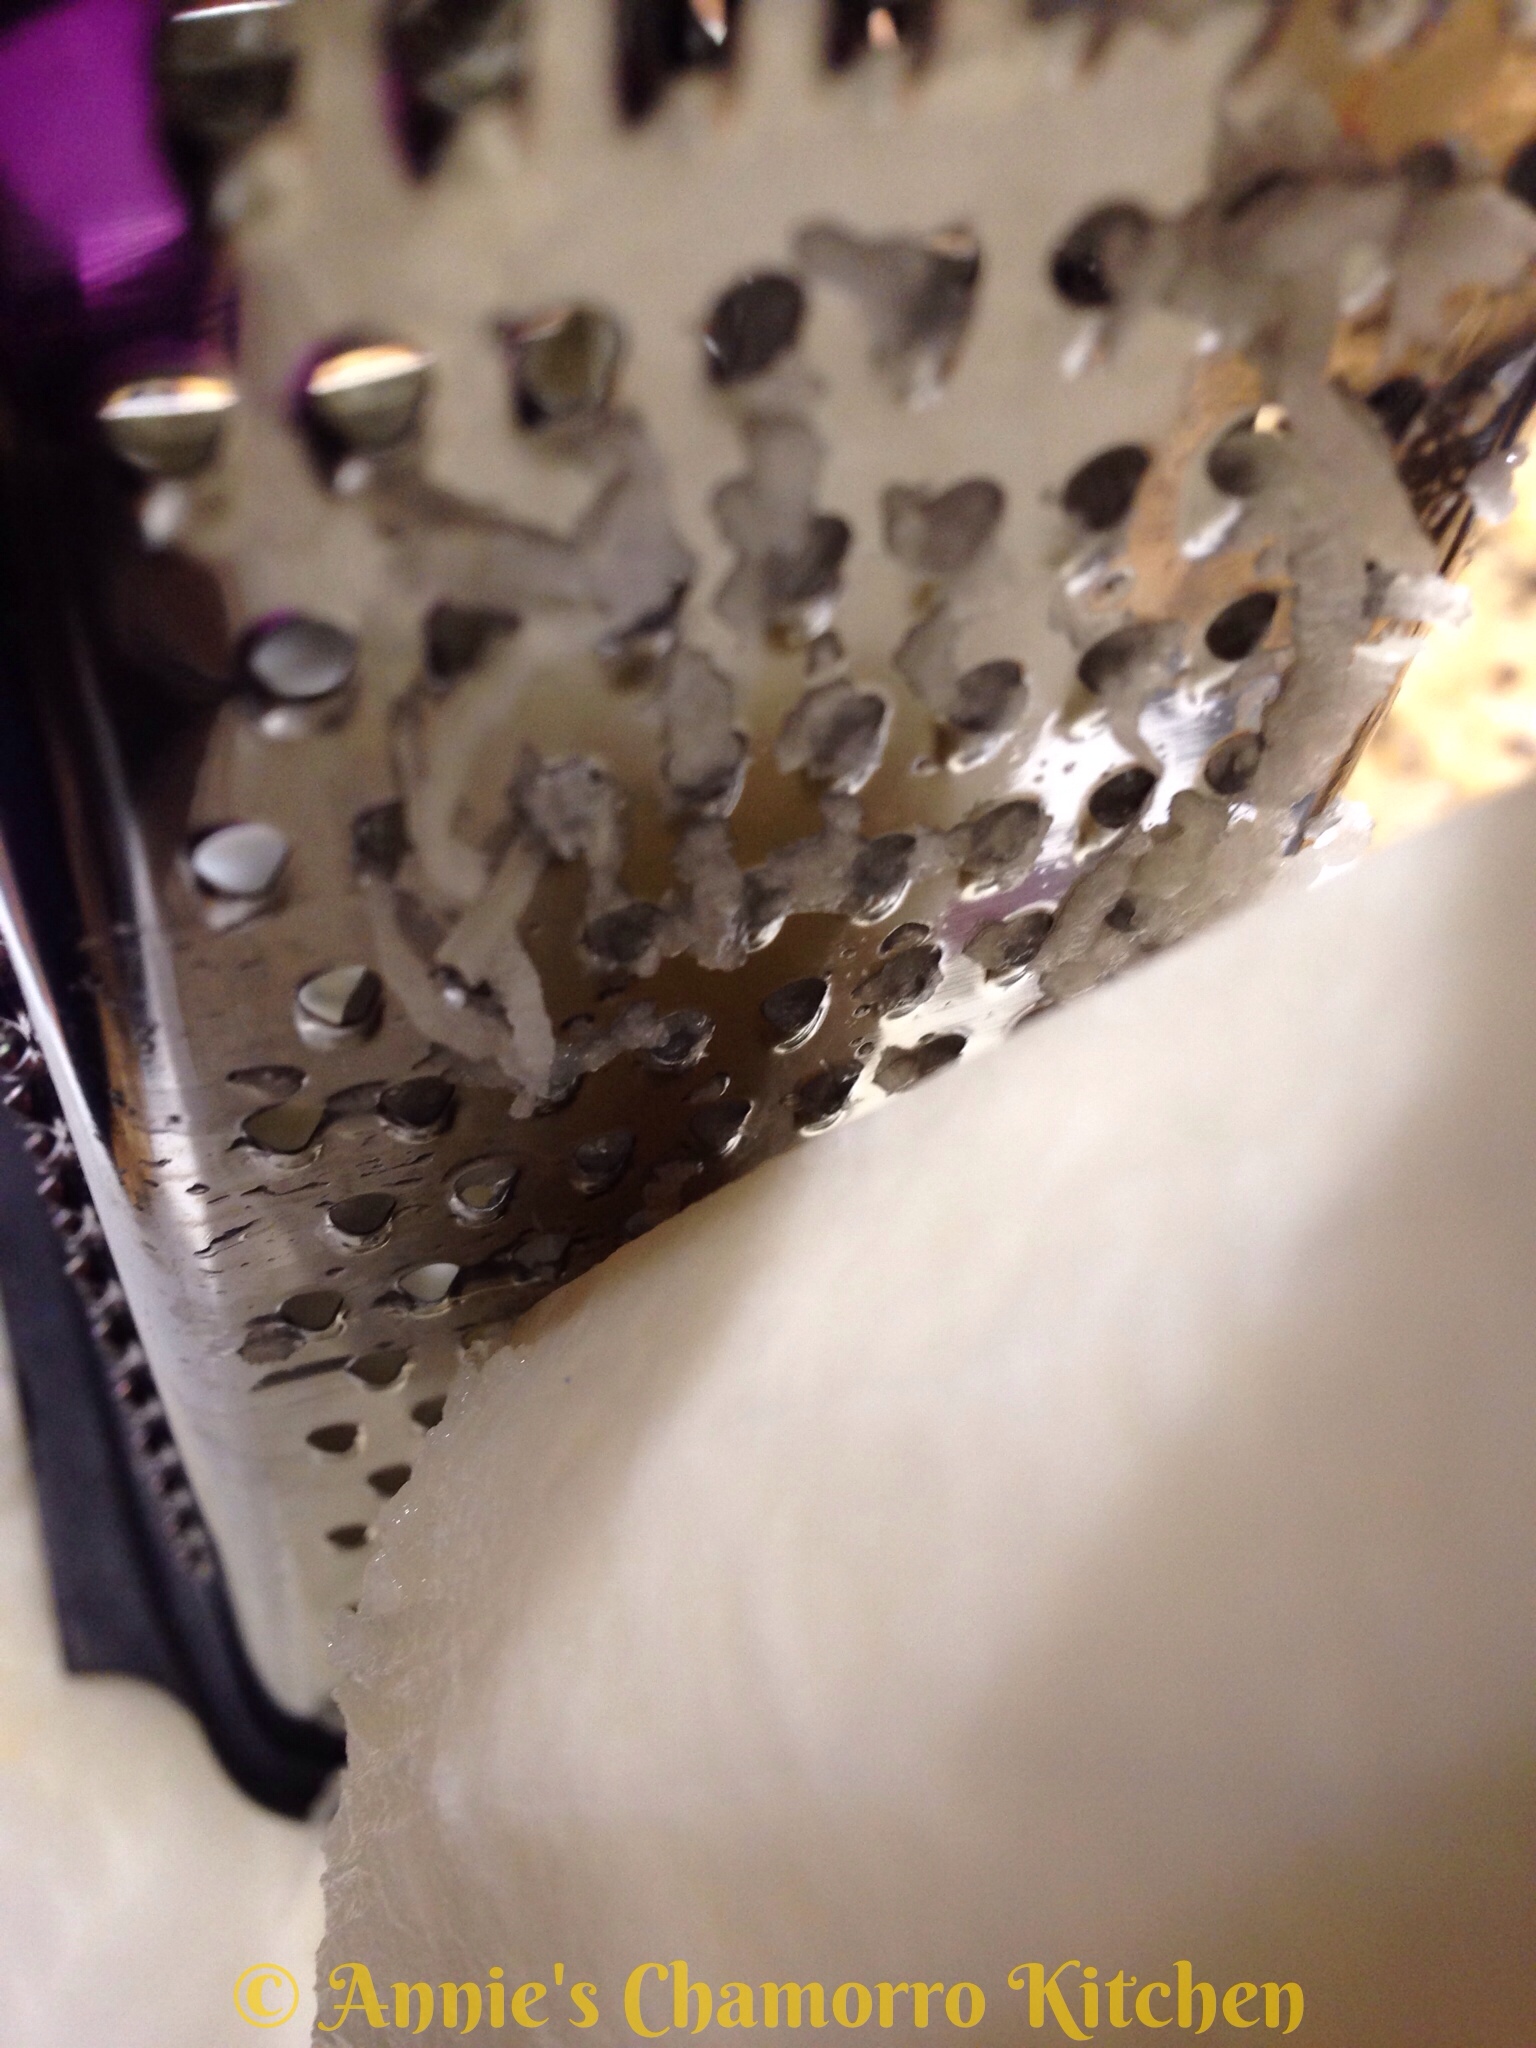
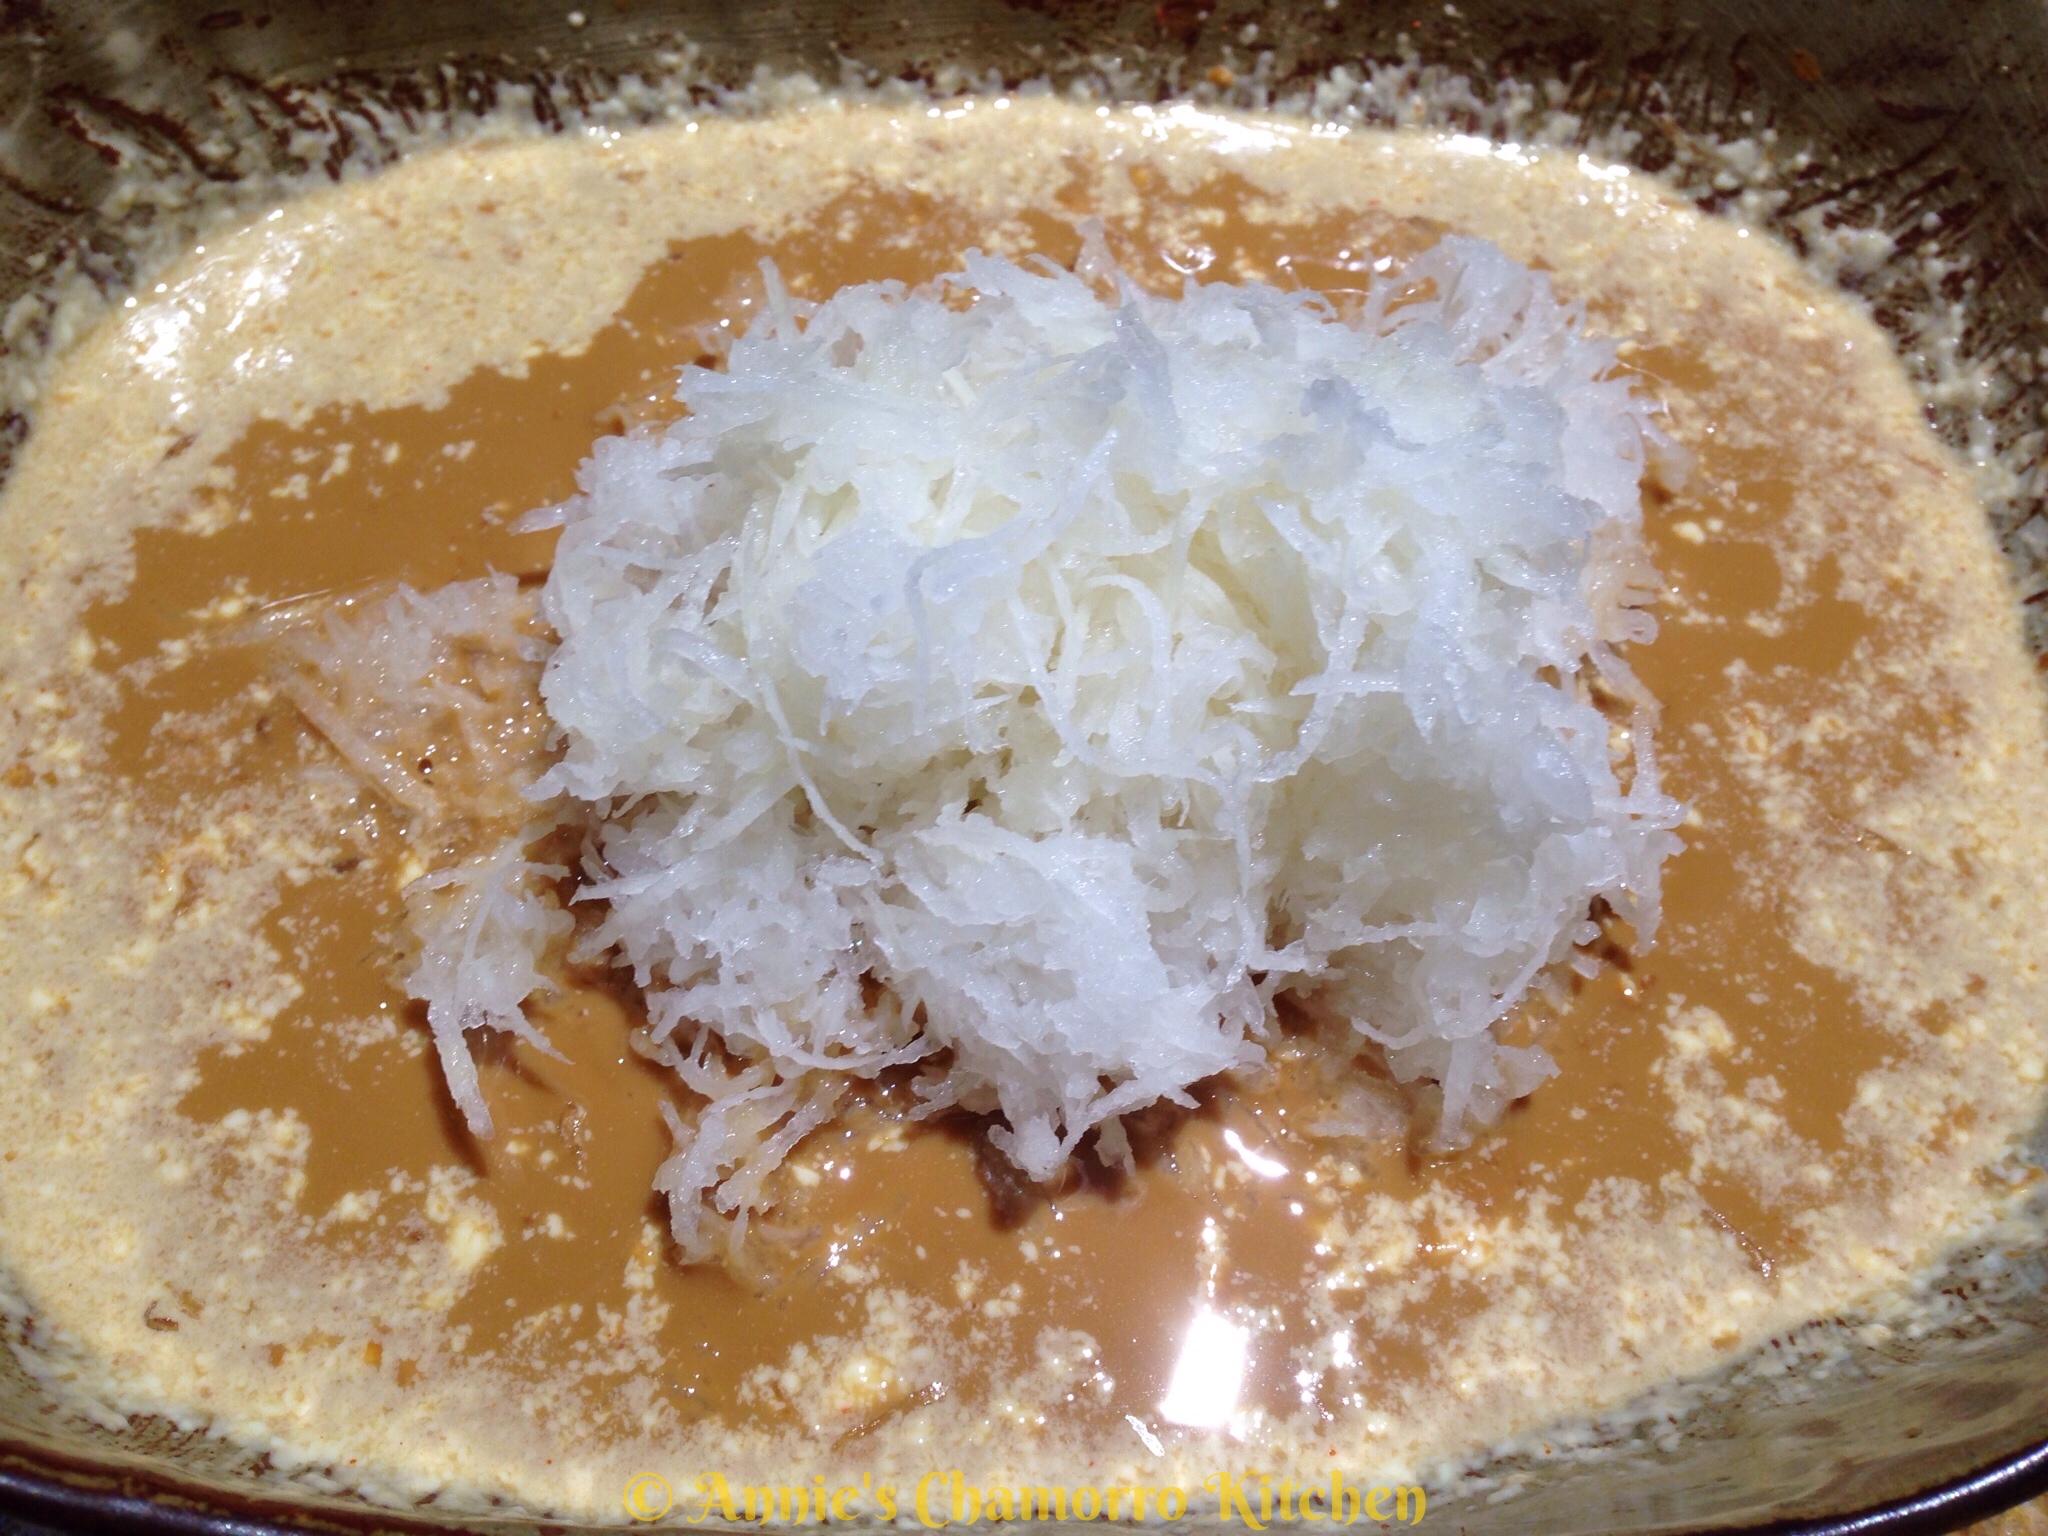
Rinse, peel, and grate the radish. I used a box grater, grating the radish on the side with the second smallest holes. Set aside.

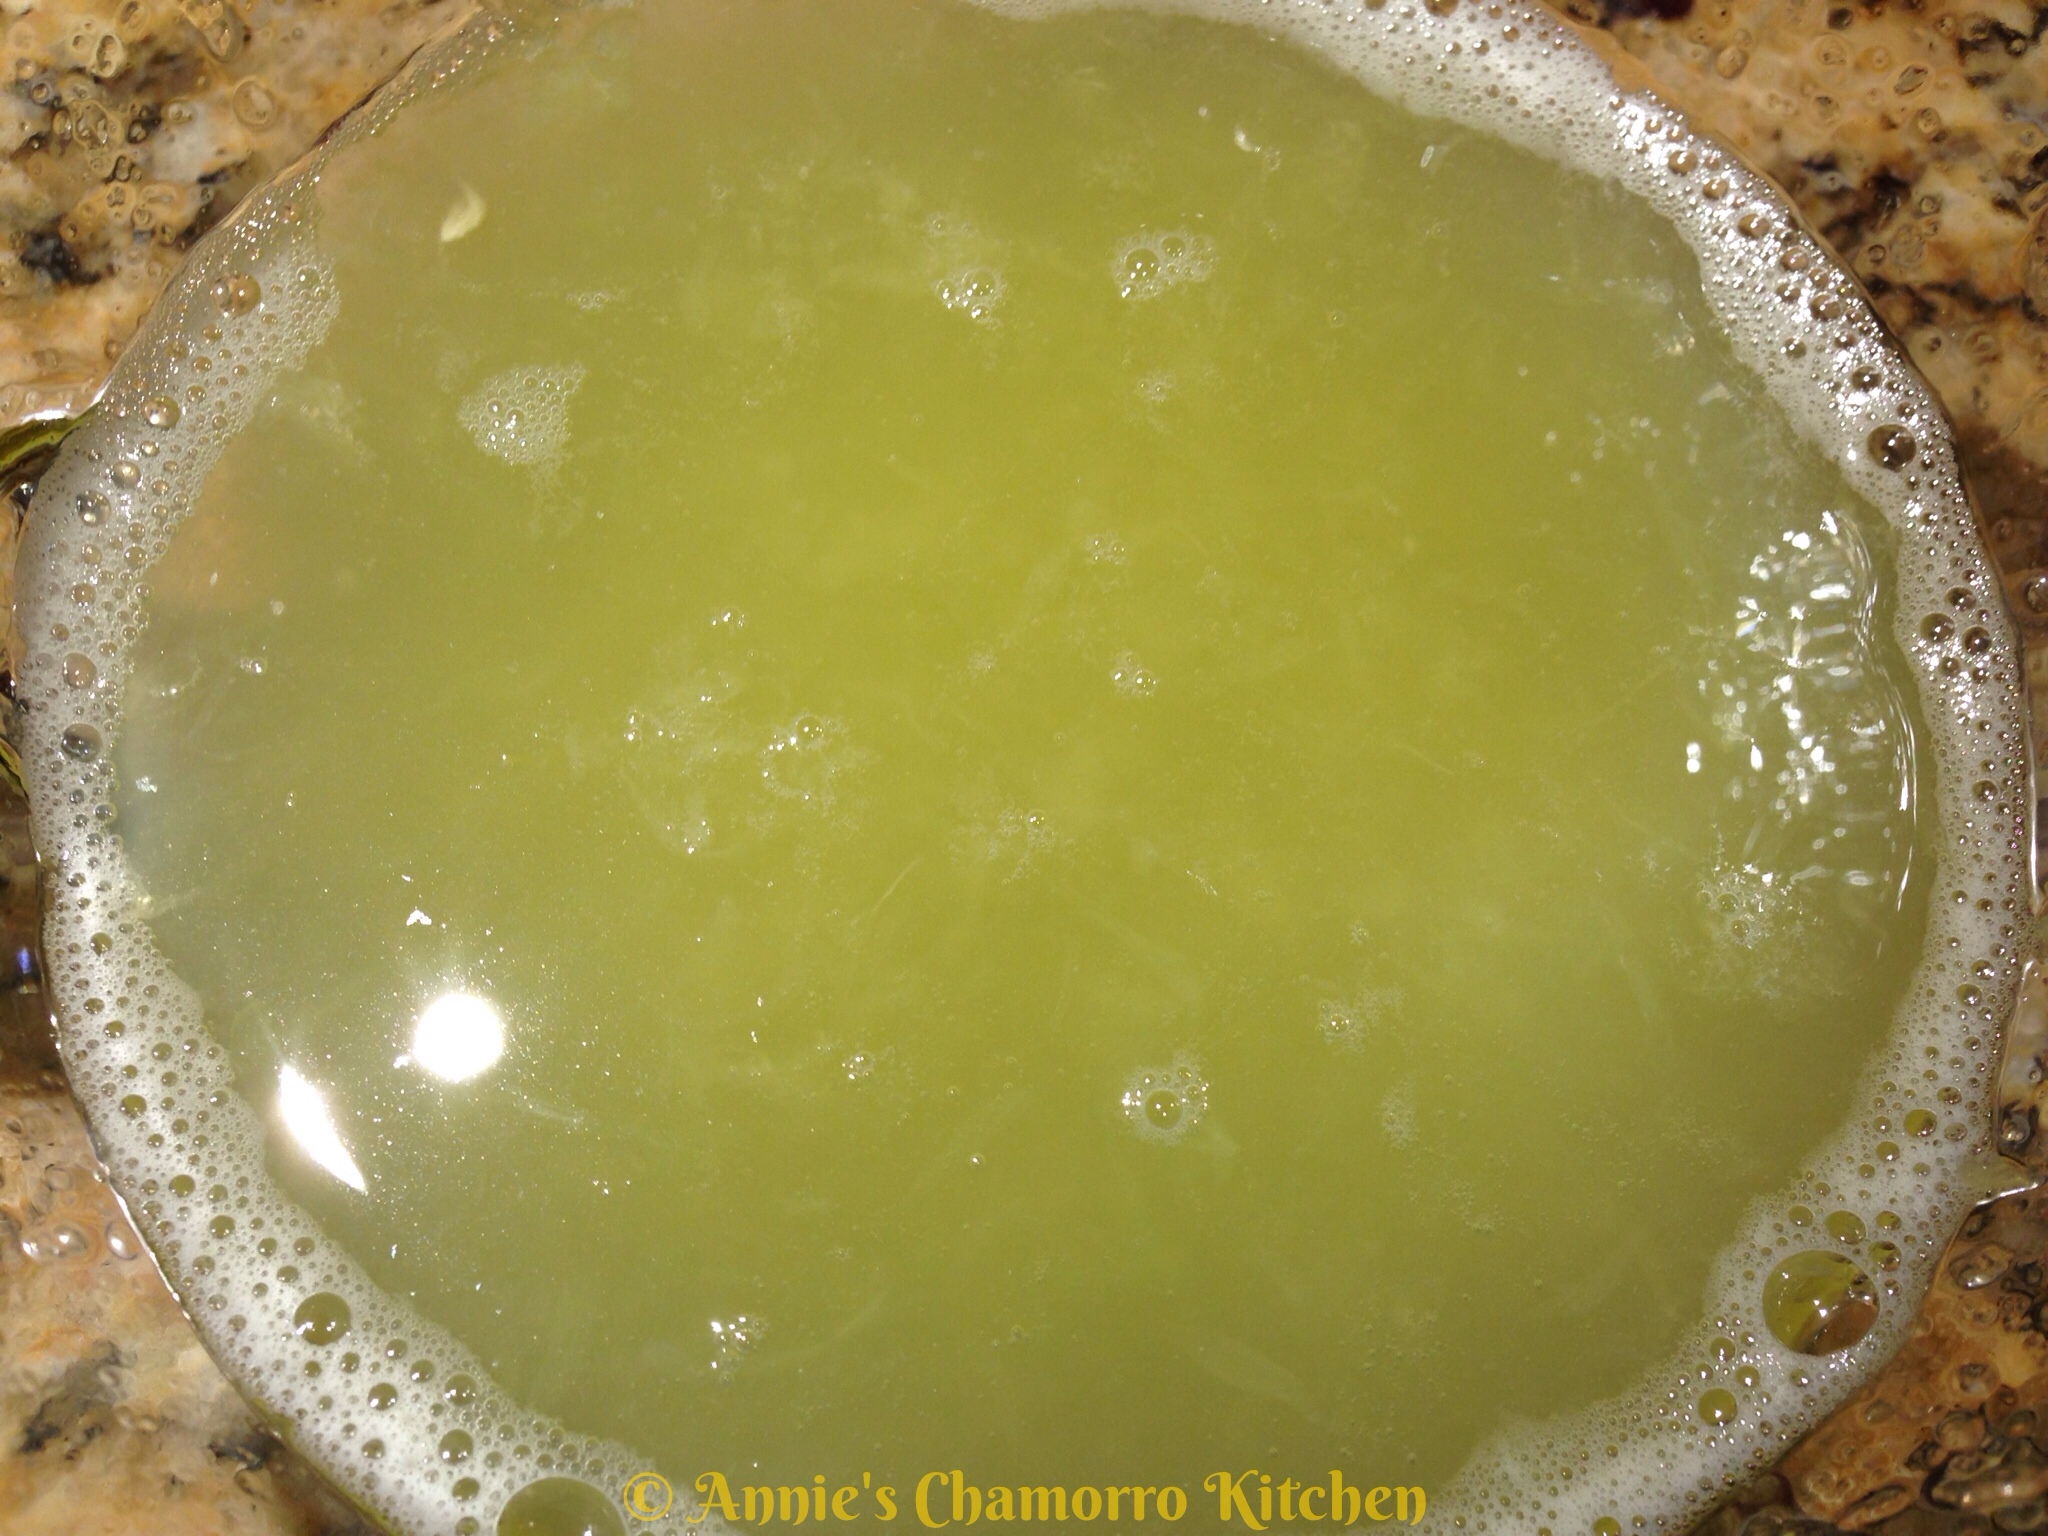
Place the lemon and lime juices into a mixing bowl. I picked out the seeds before squeezing the juice out of them (I like leaving the pulp in the sauce). You can use squeeze the juice into a small strainer if you want to strain out the pulp.  You need about 1 cup of juice.  If you have smaller fruits and get less than a cup of juice, squeeze more juice out of either a lemon or lime (your preference) to get about a cup of juice.

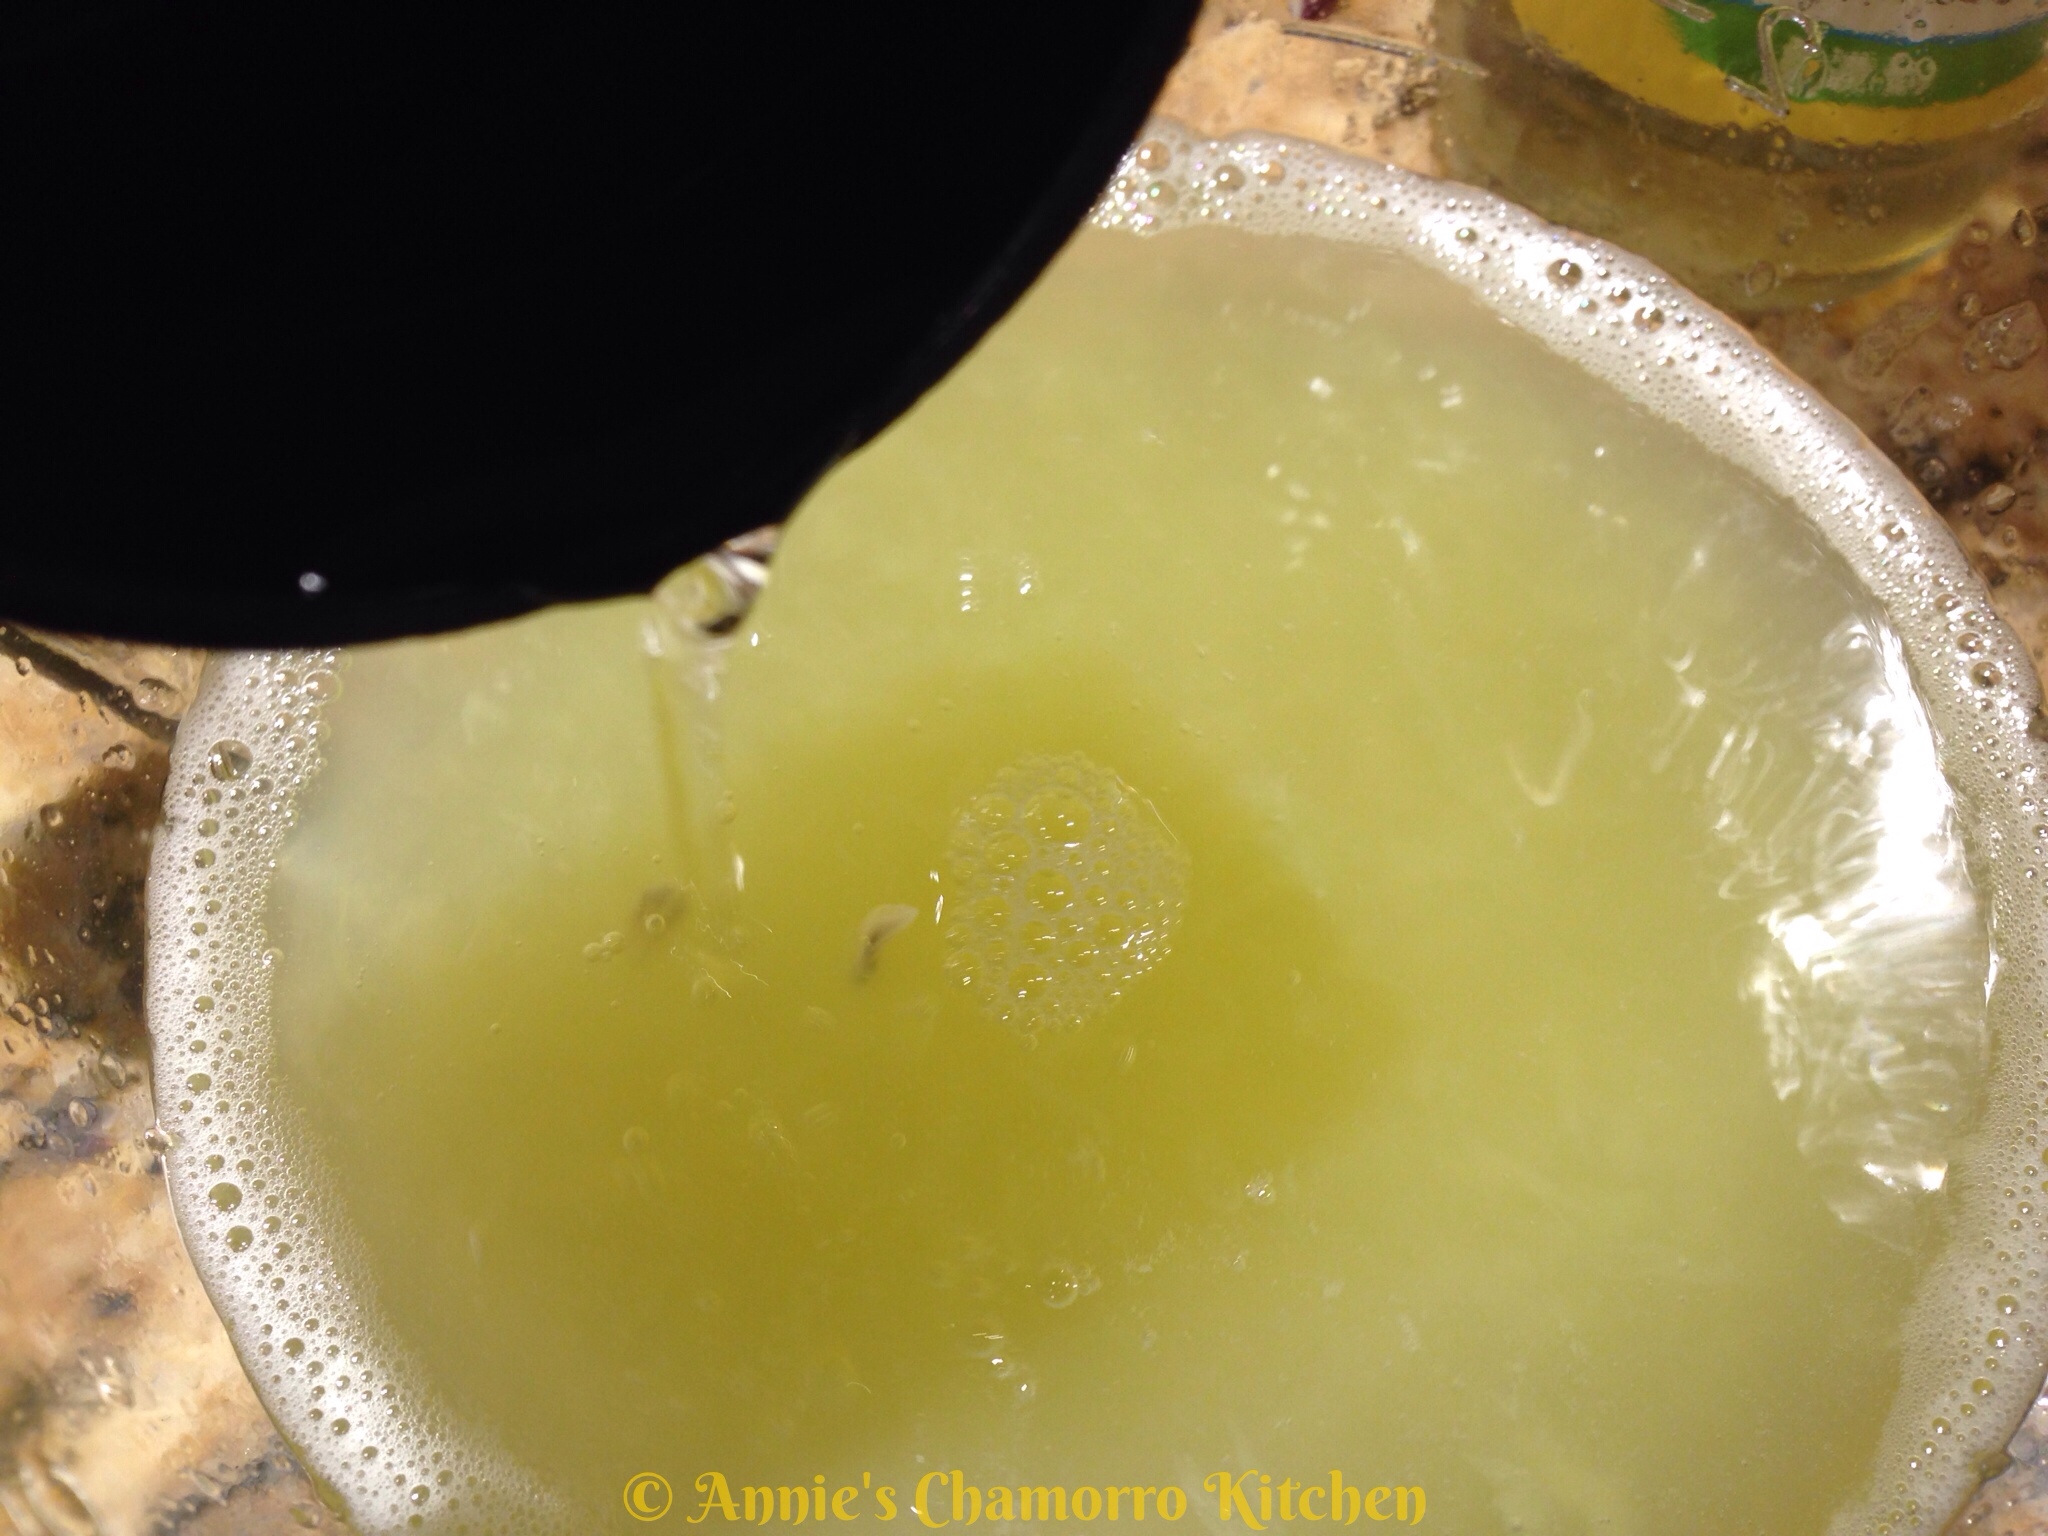
Pour in the rice vinegar.

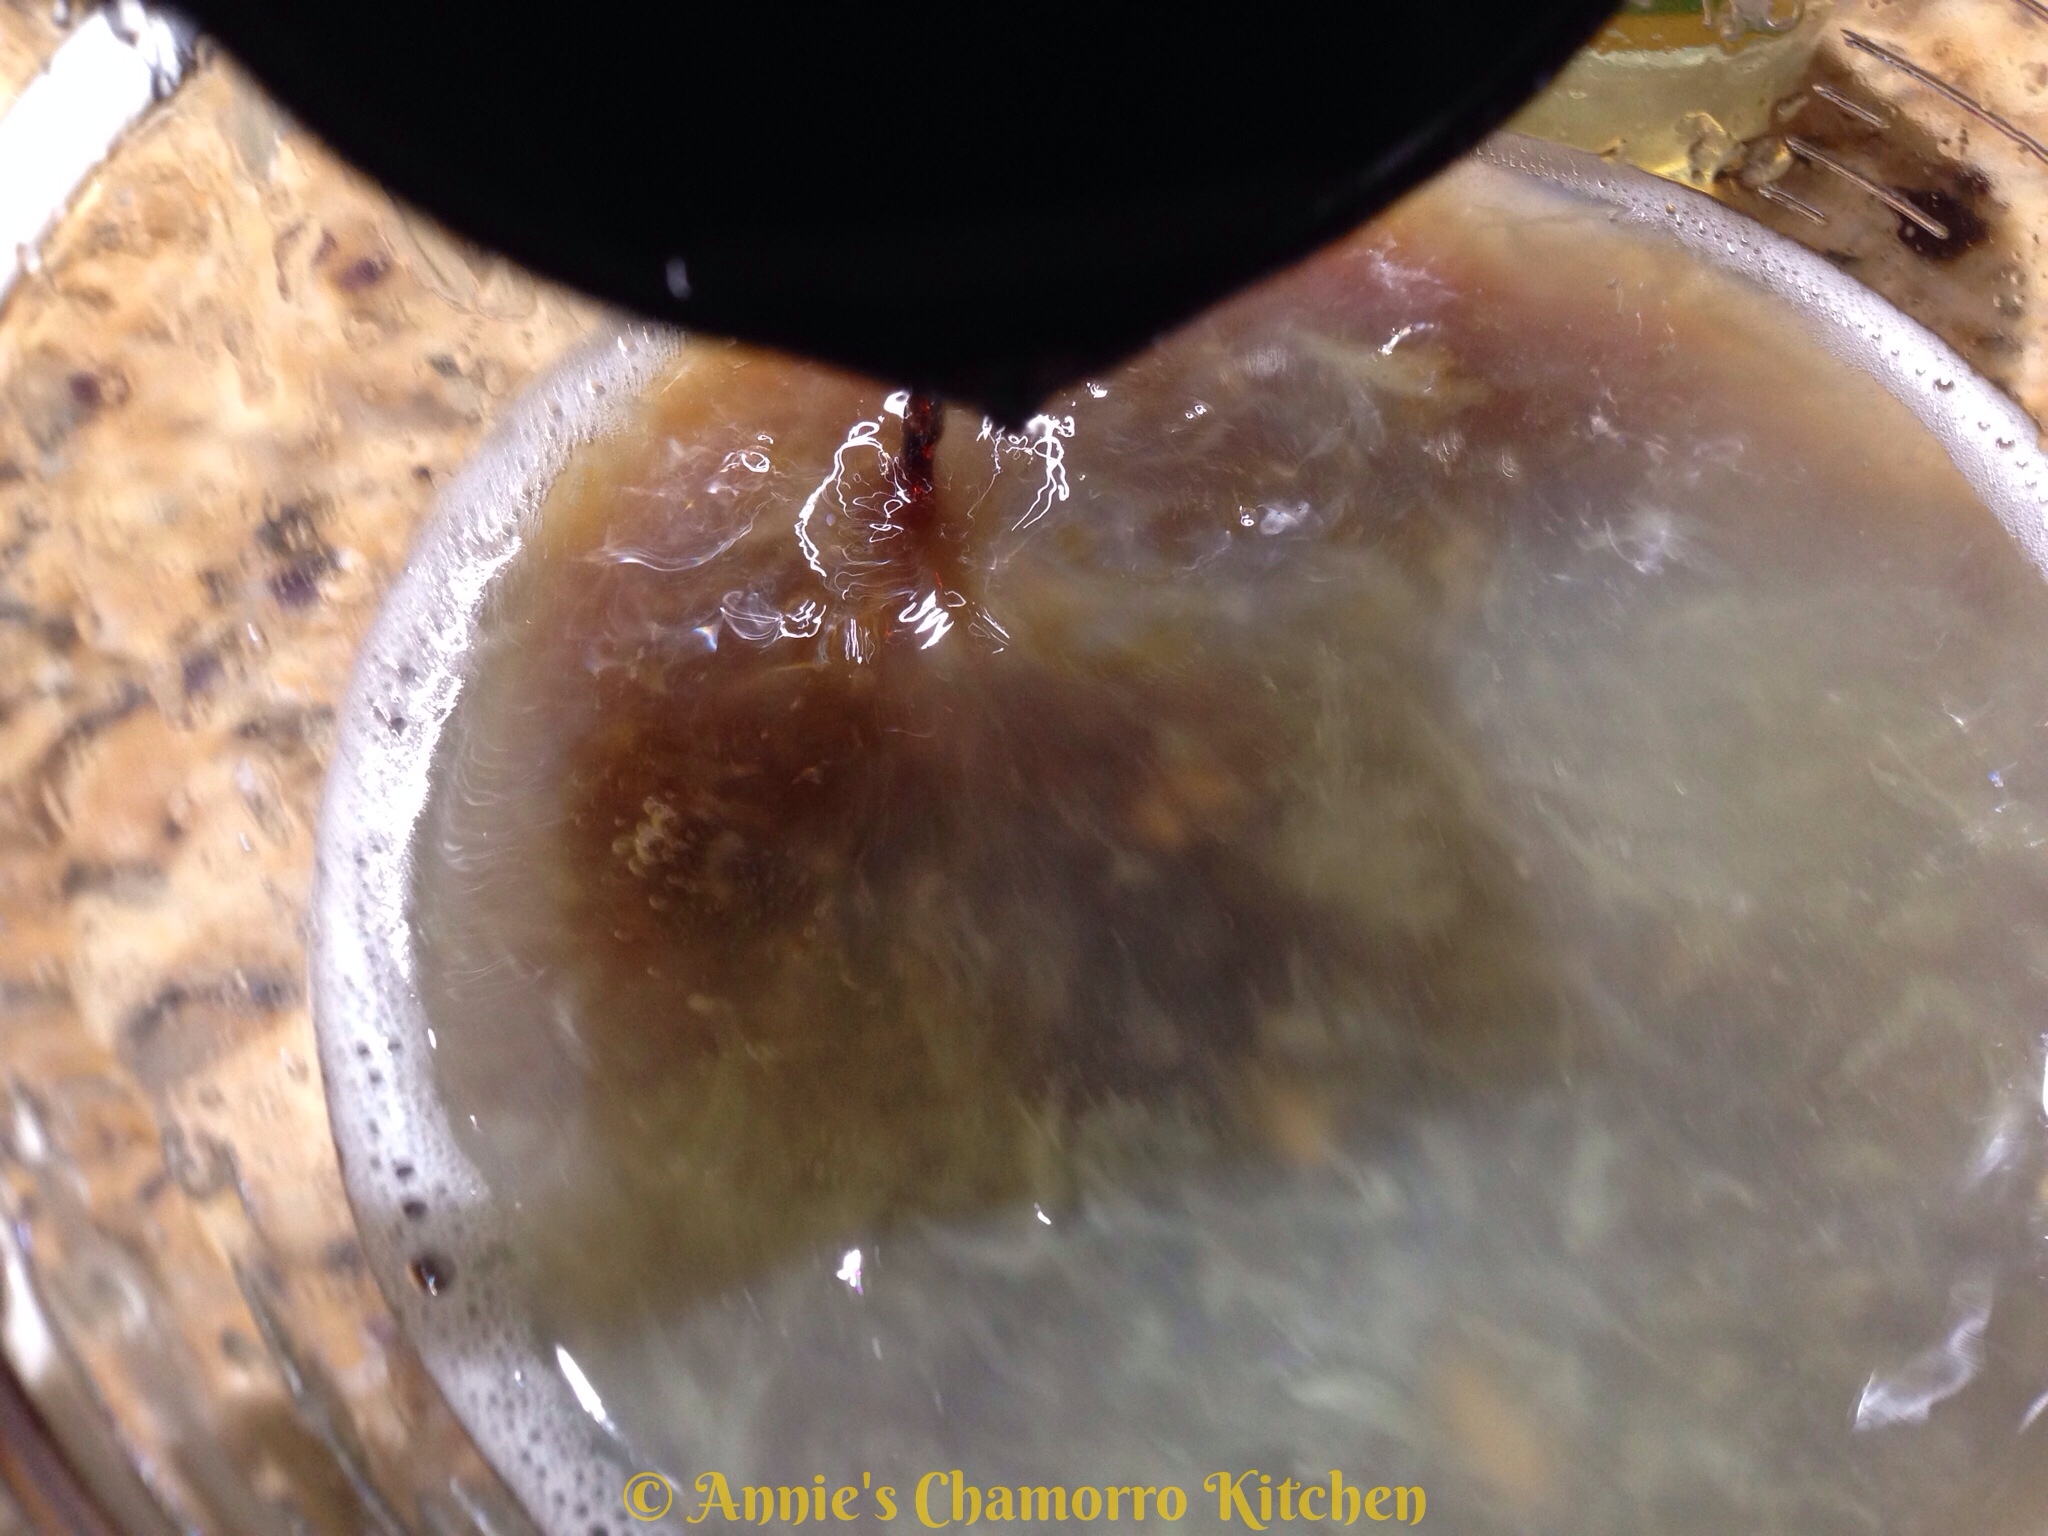
Add the soy sauce.

Add the mirin.

Add the dried kelp. Leave the pieces big — you’re going to remove this later.

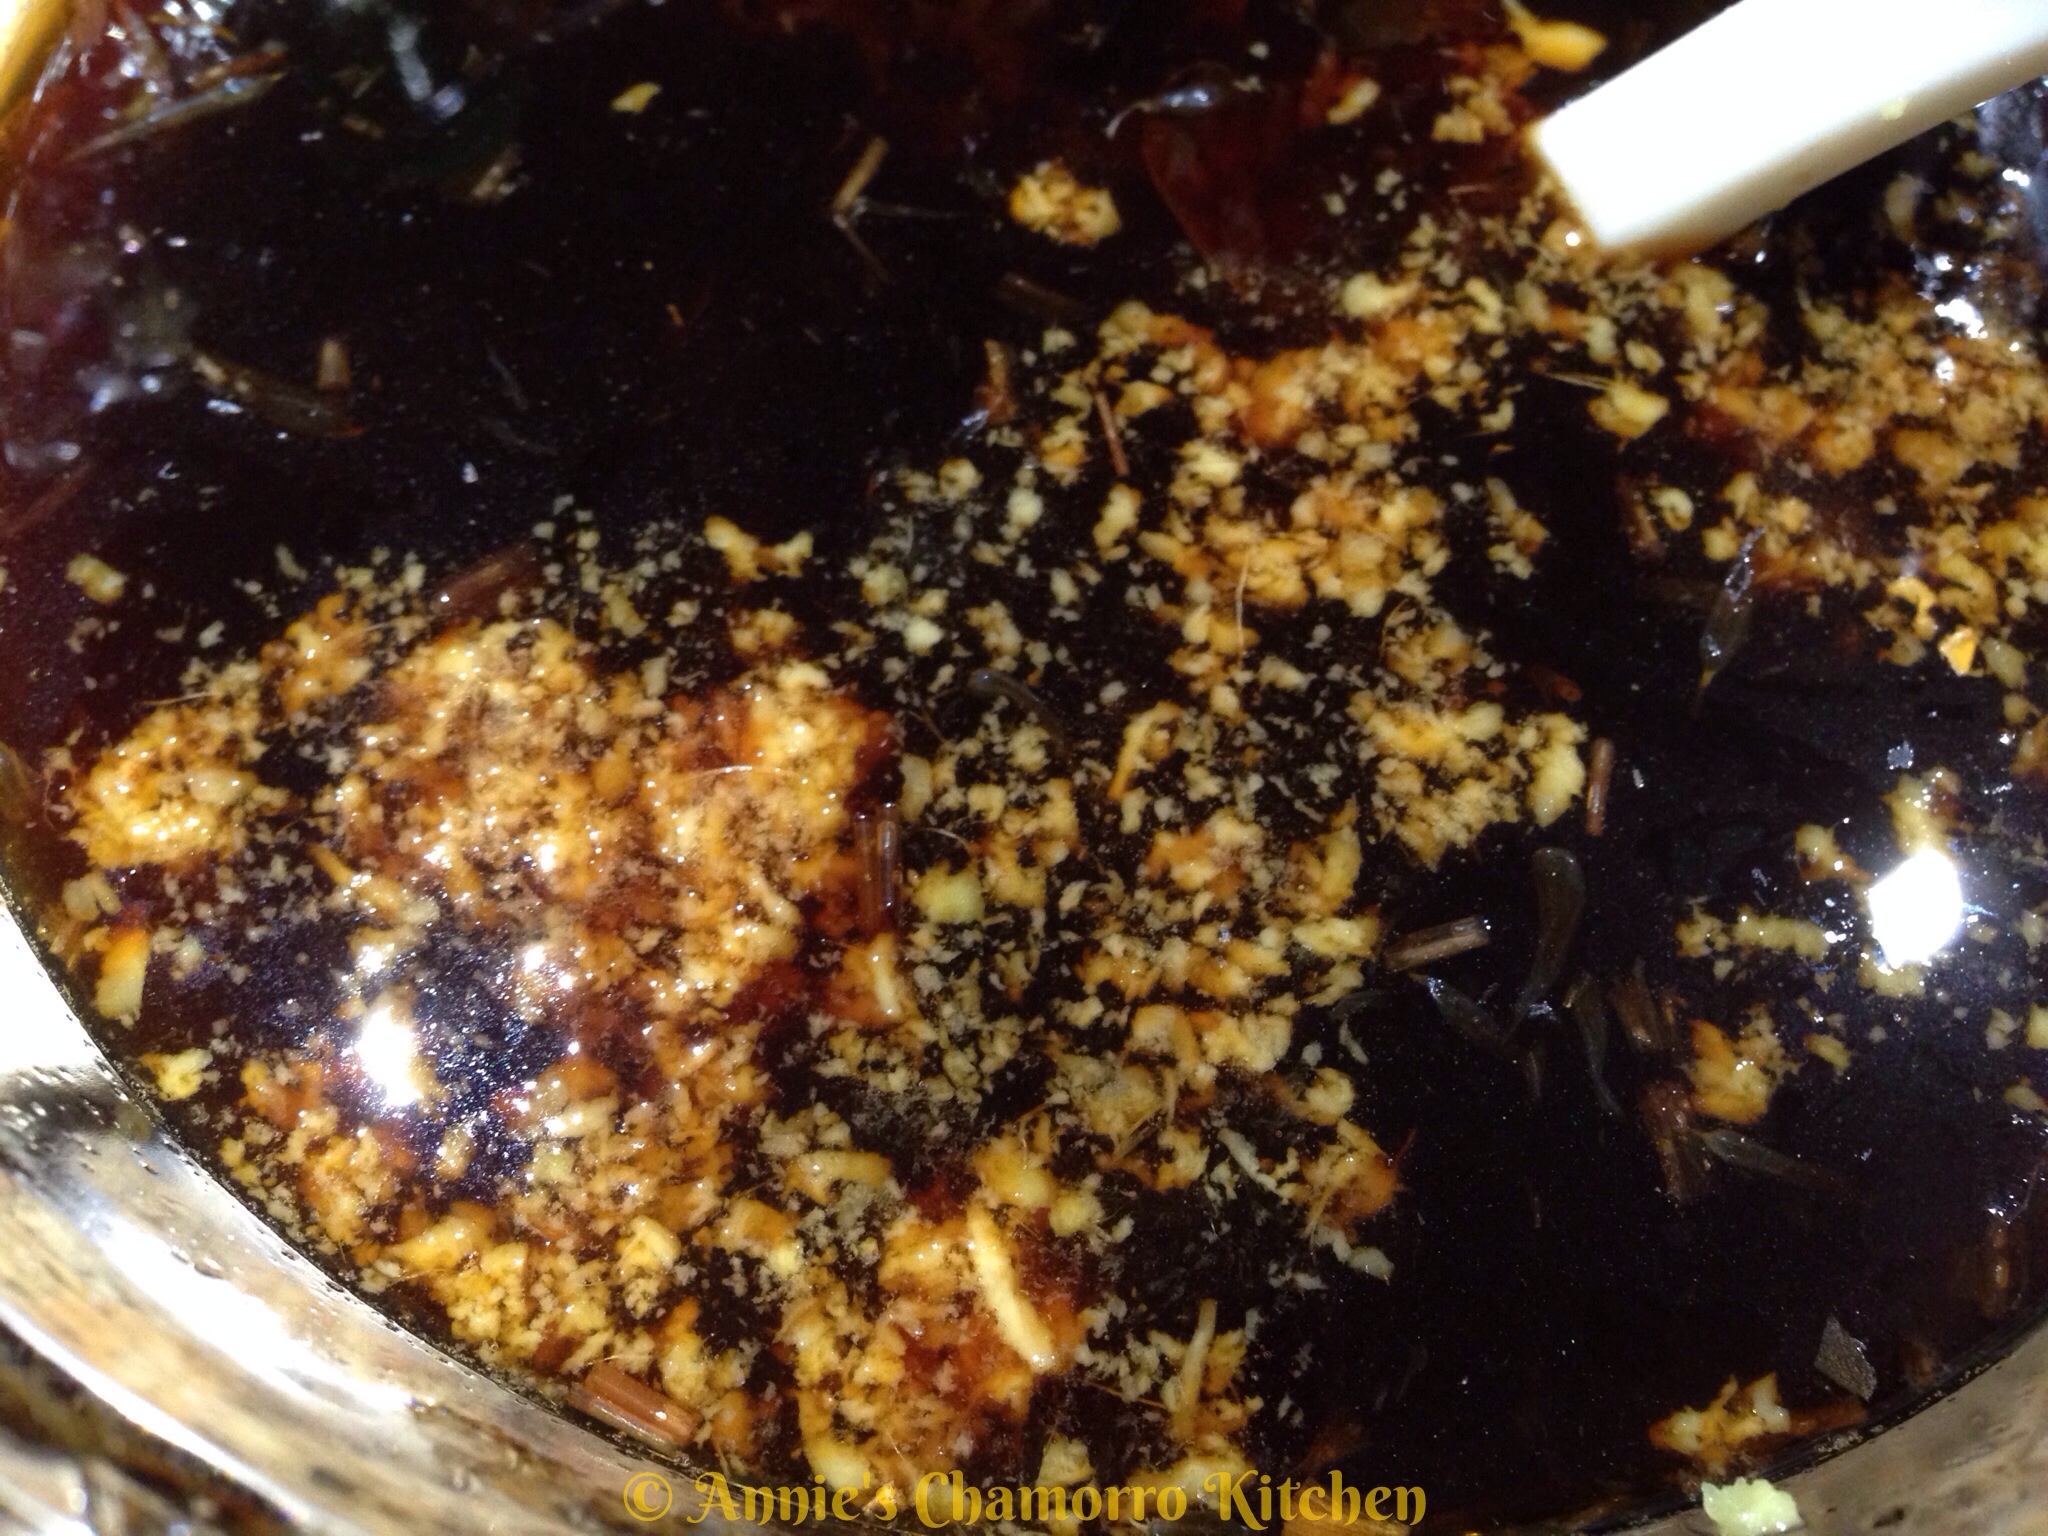
Add the bonito flakes.

Add the grated ginger. Use fresh ginger — the powdered stuff just won’t taste the same.

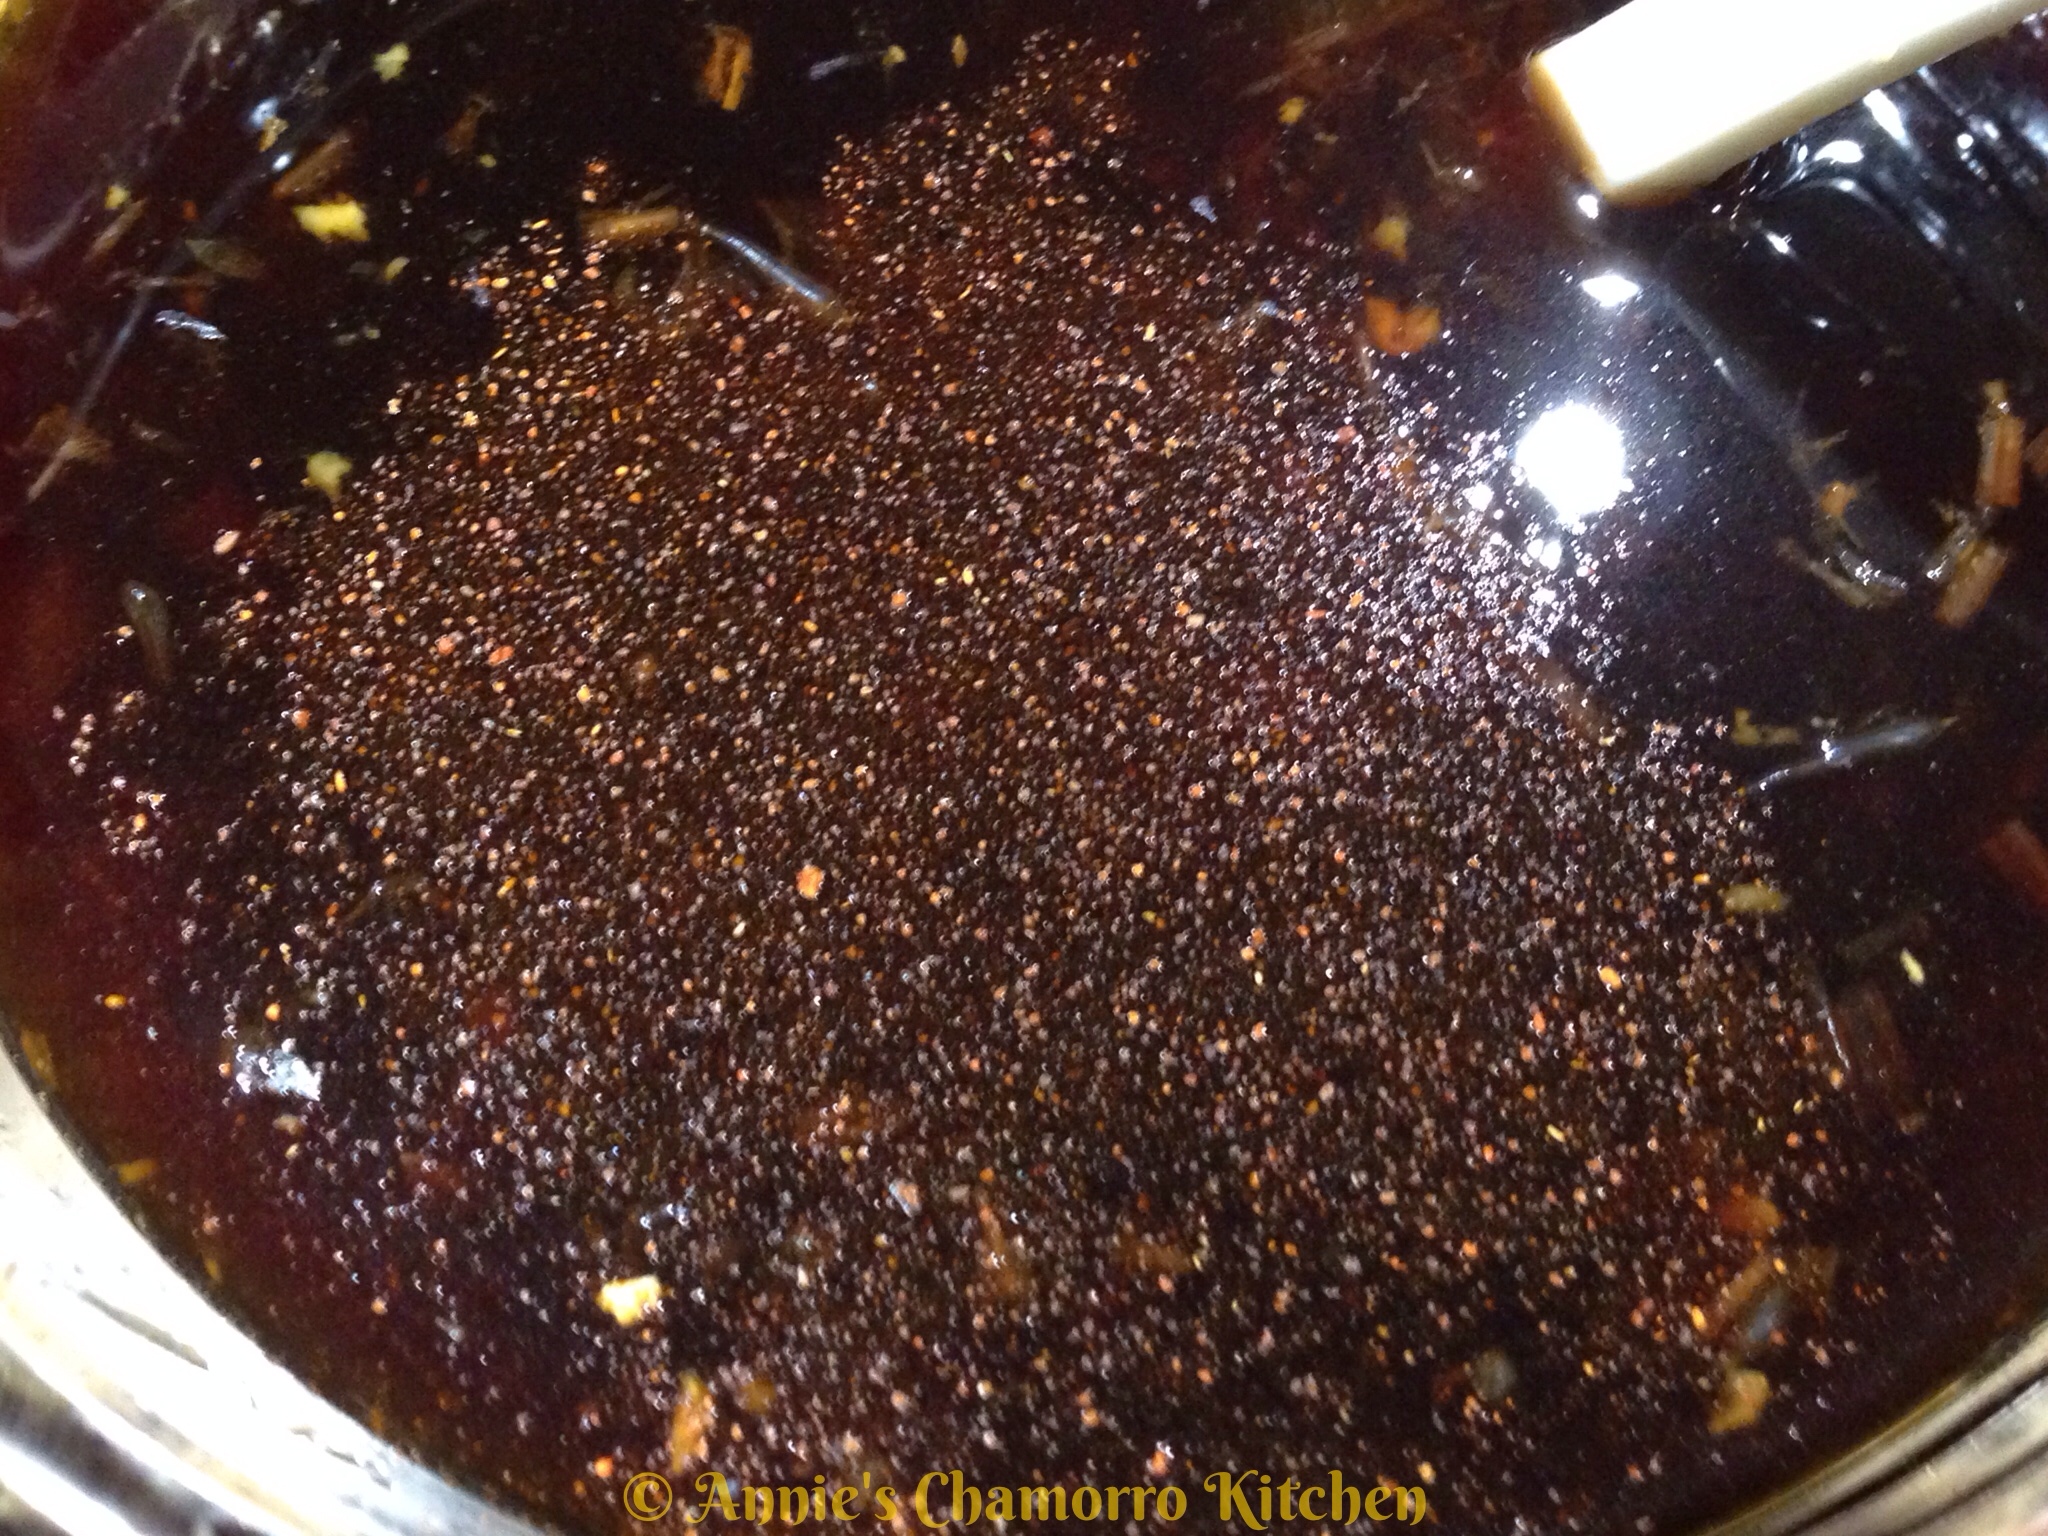
Sprinkle in as much cayenne pepper as you like. You can also add in chopped hot chili peppers.

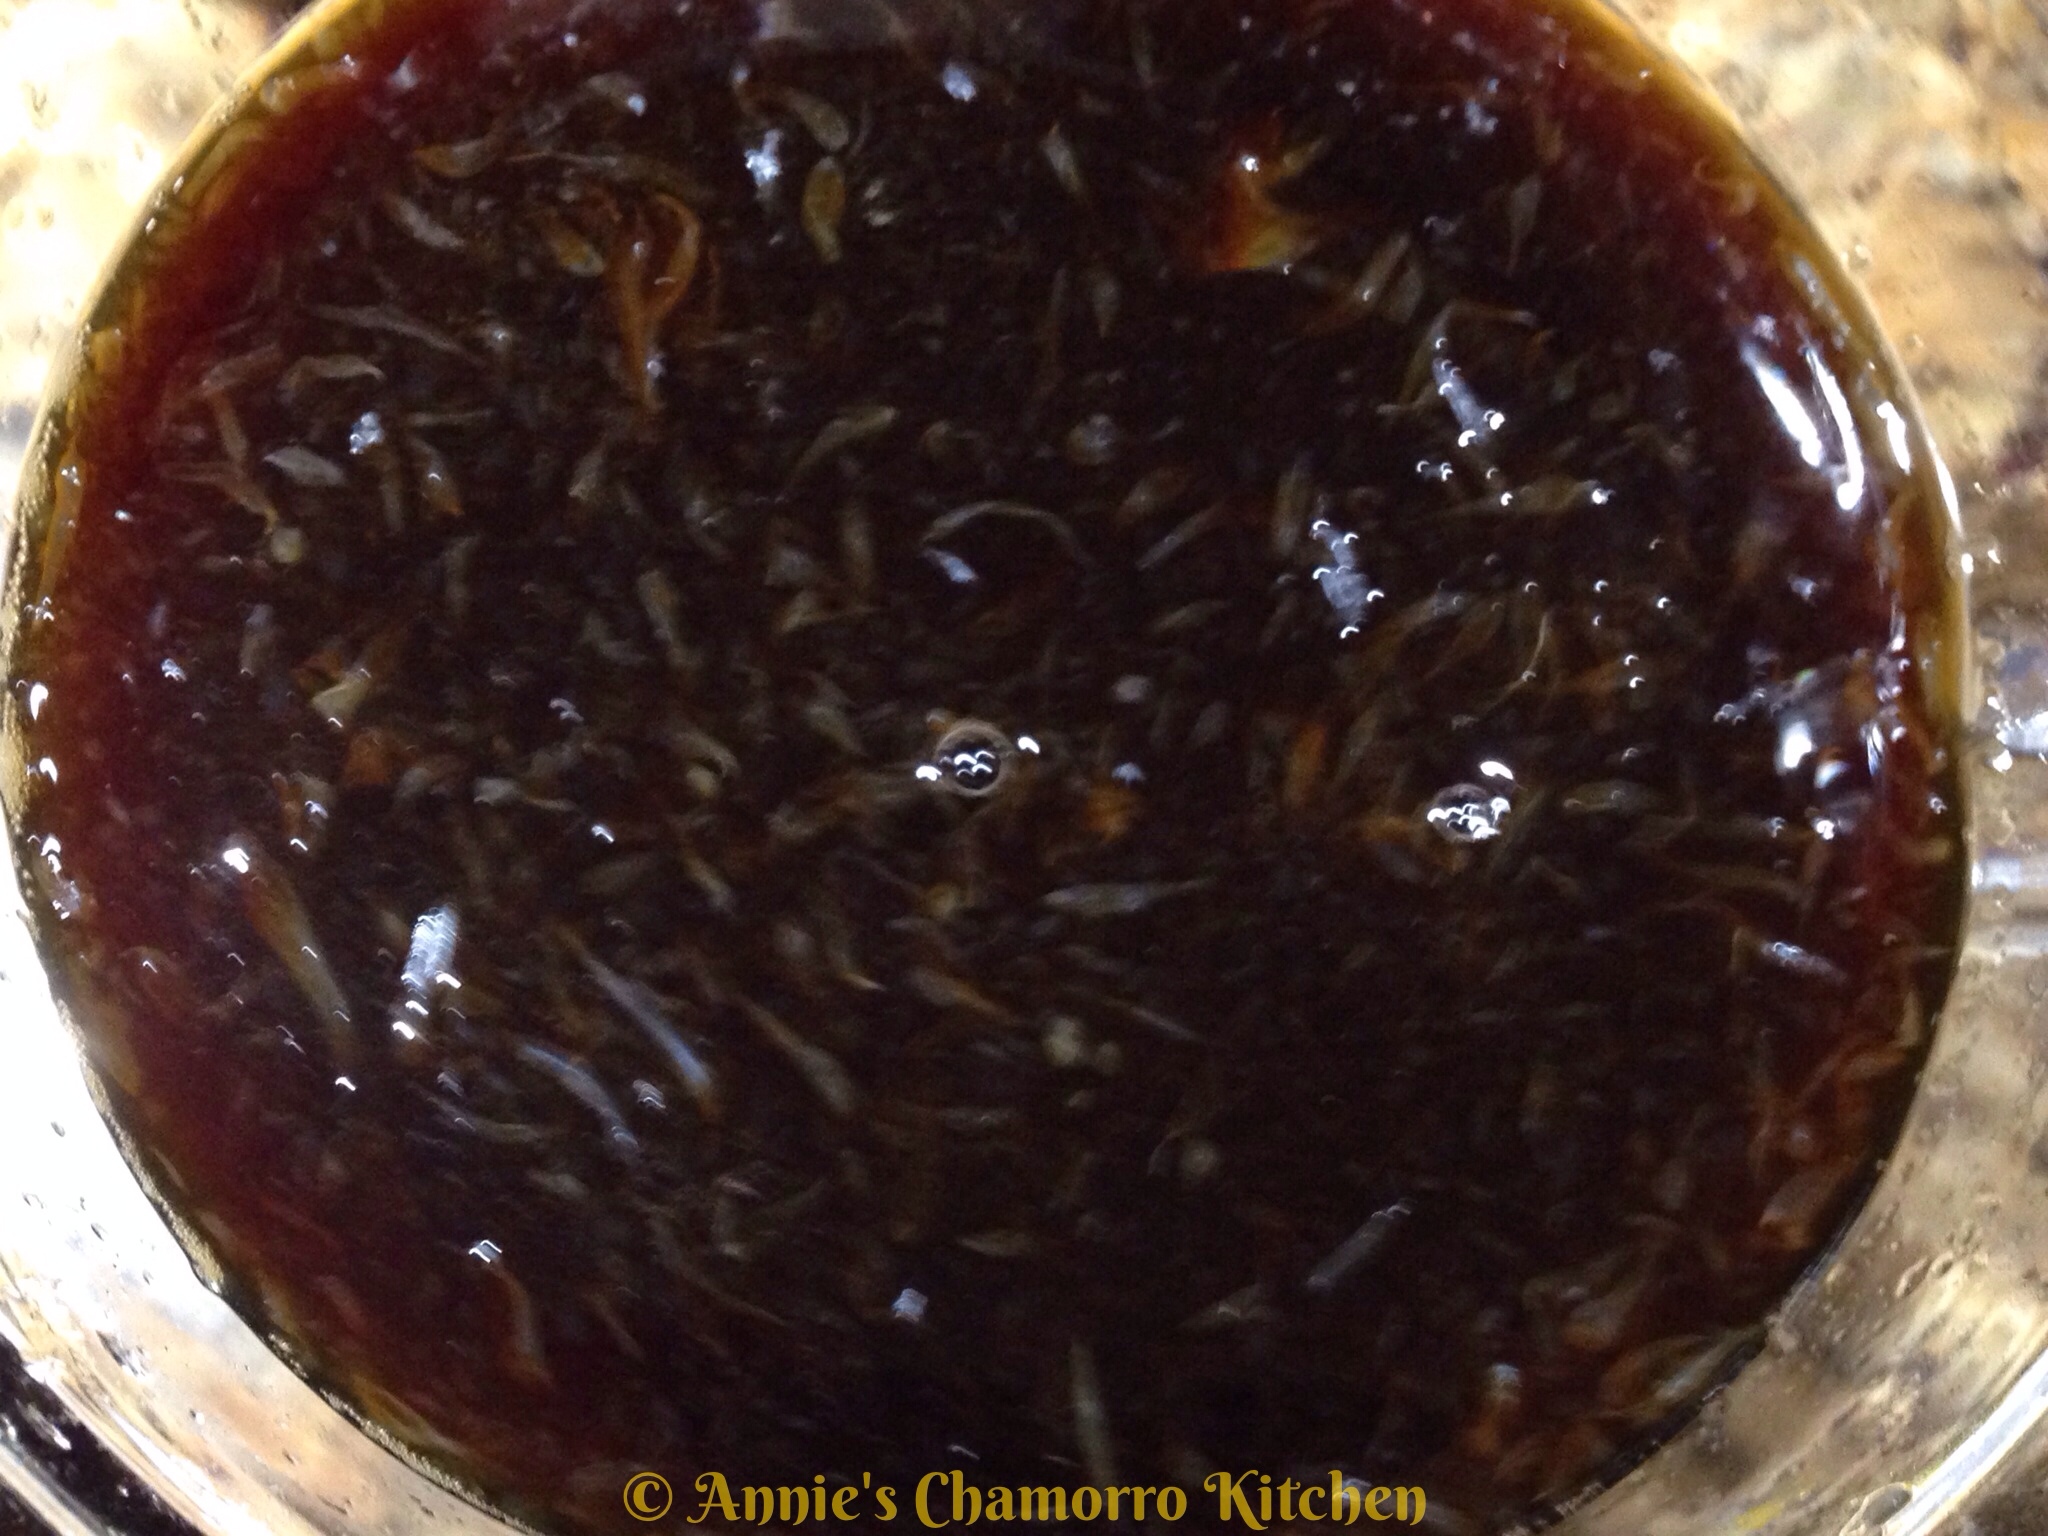
Mix to combine. Set the mixture aside. Let it sit for at least an hour to allow the flavors to meld. Use a fork to pick out the pieces of kelp; discard the kelp. If you want a smooth sauce, pour it into another bowl with a strainer over the top.

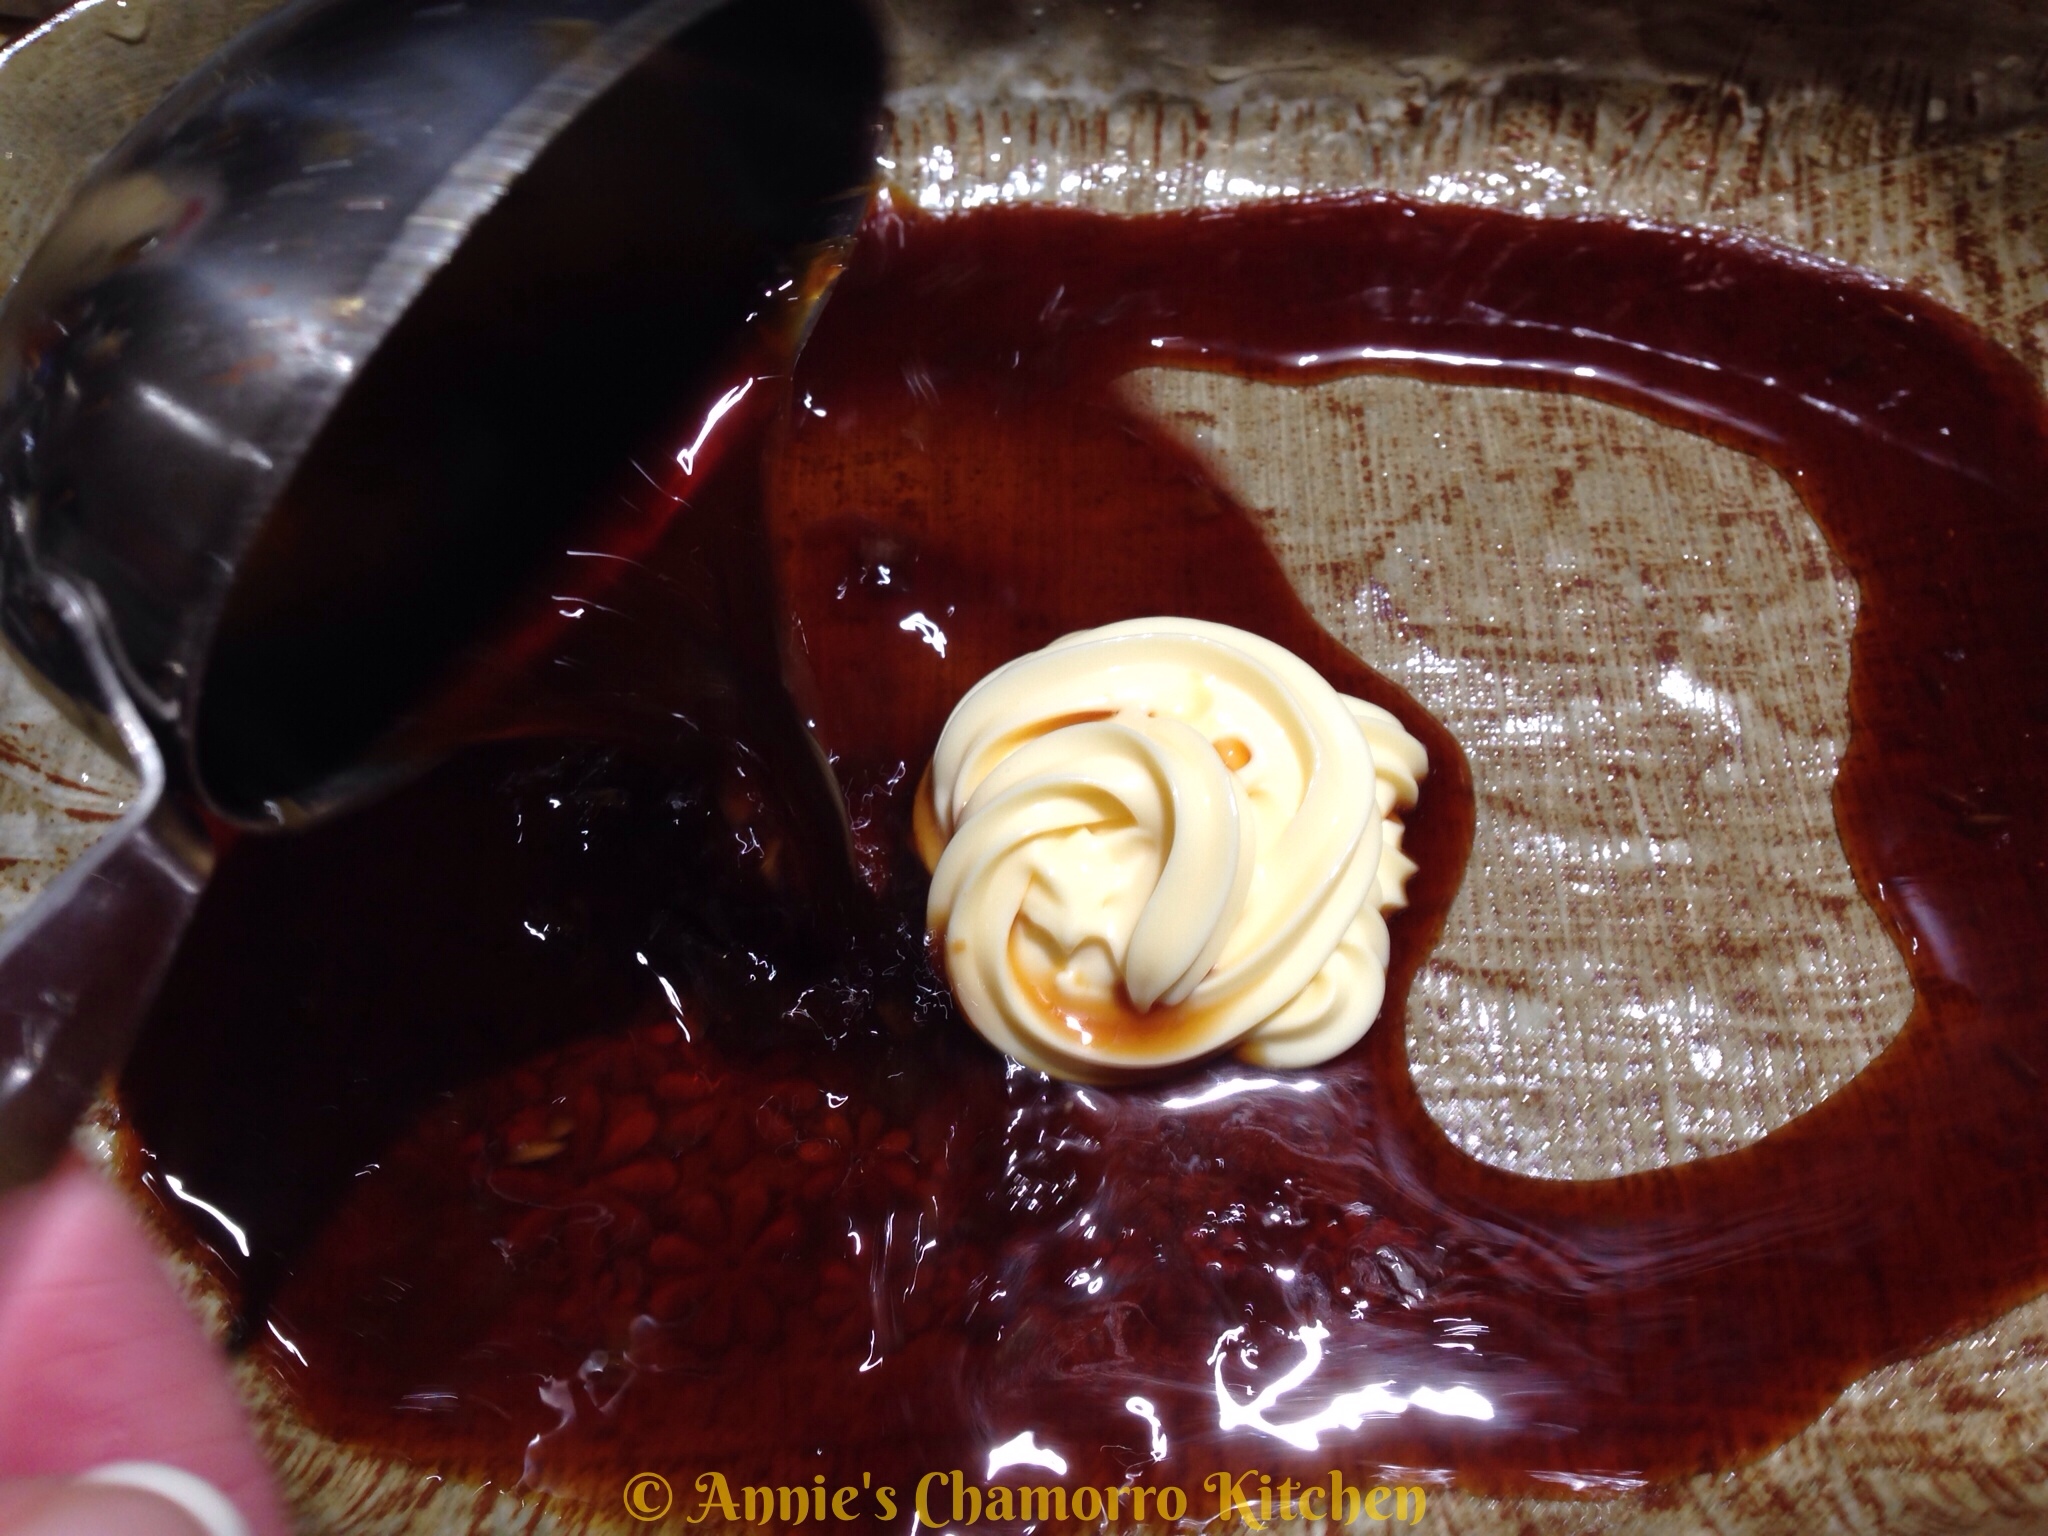
After an hour, place about 2 tablespoons of kewpie mayo into a shallow dish. Pour in 1 cup of the sauce mixture. (Refrigerate any unused sauce.)

Use a whisk or a fork to mix the kewpie mayo into the sauce mixture. I know, it doesn’t look very appetizing right now, but trust me…it’s delicious…so delicious you might just want to drink the sauce! 🙂

Place the shredded radish into the center of the dish.

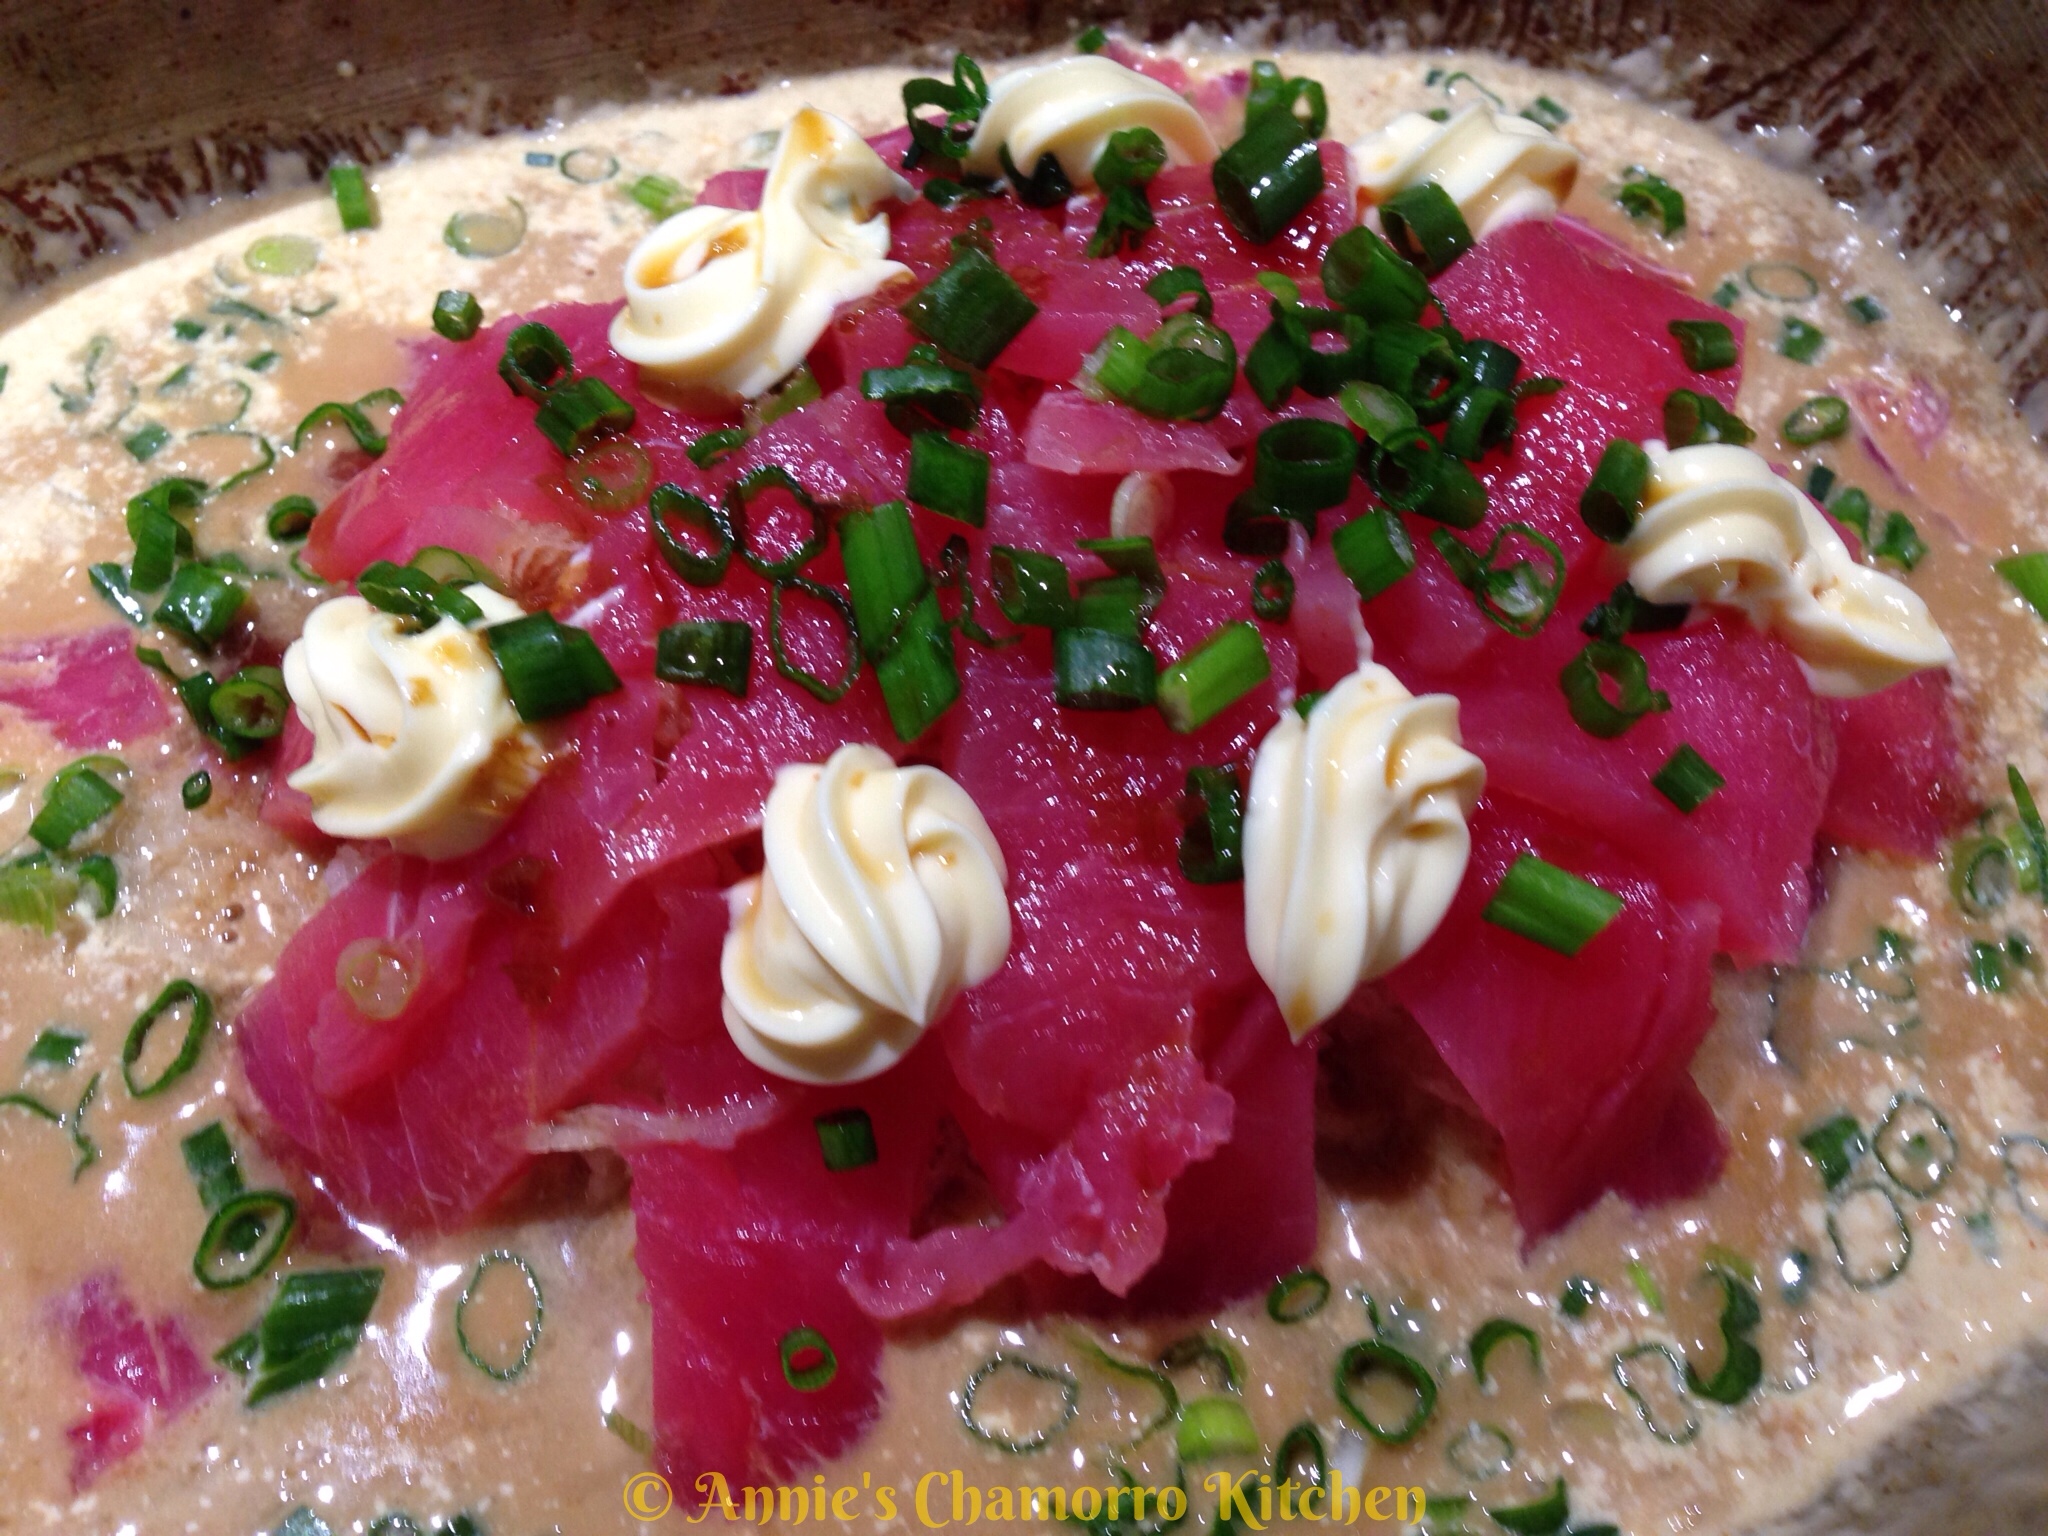
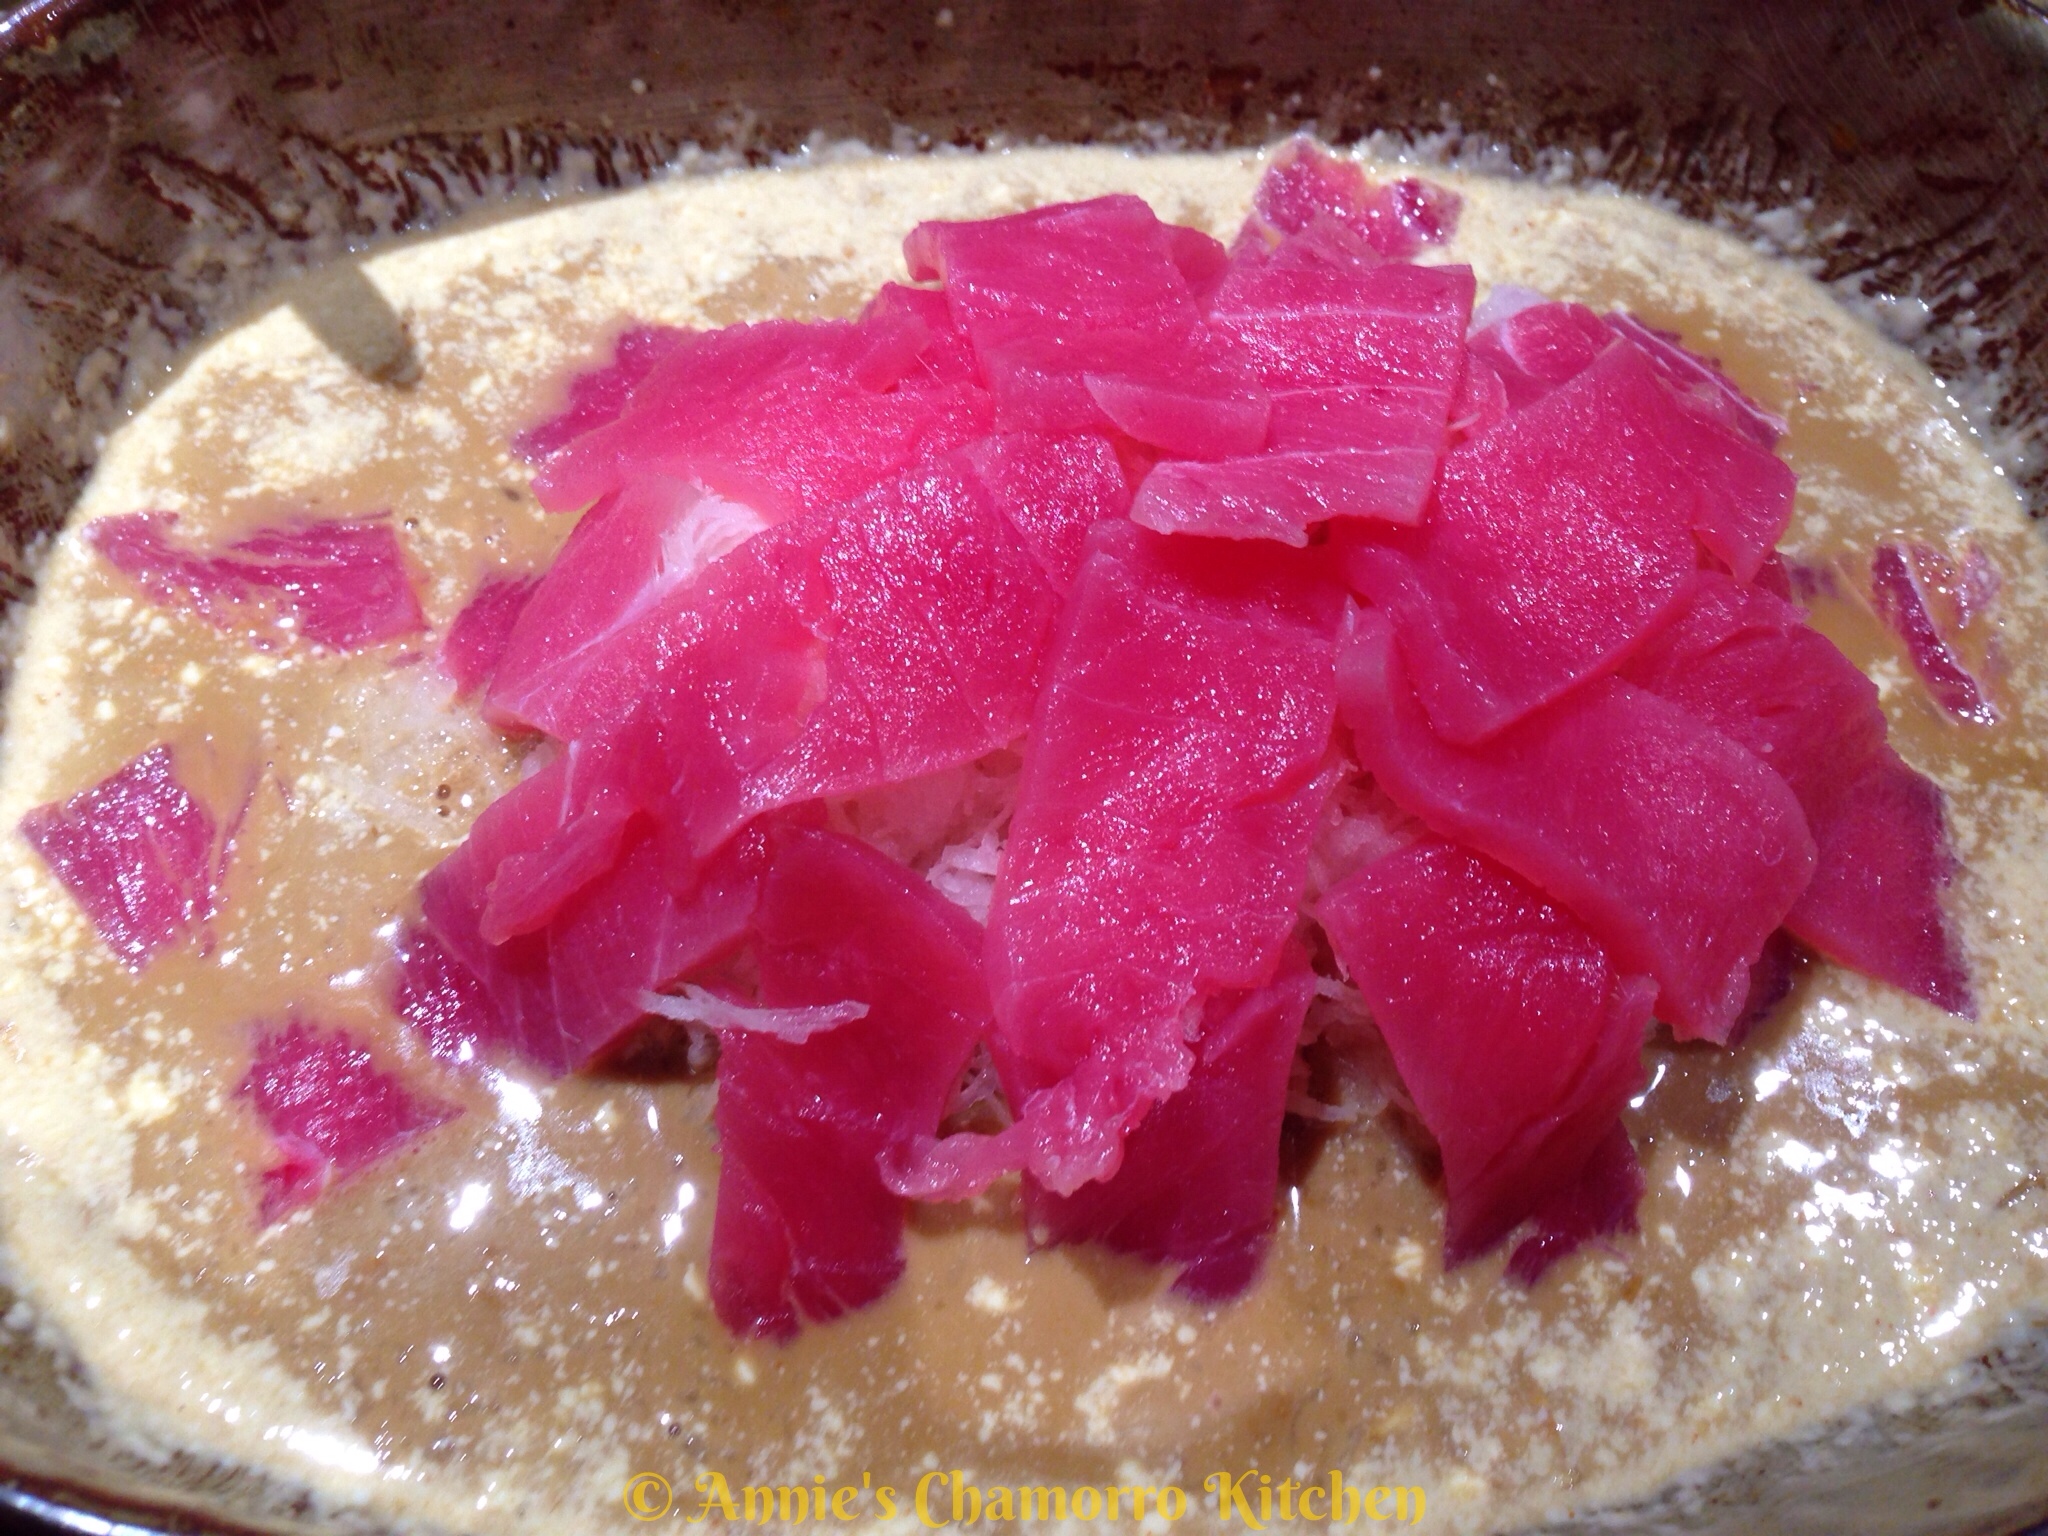
Place thin slices of ahi tuna on top of the shredded radish.

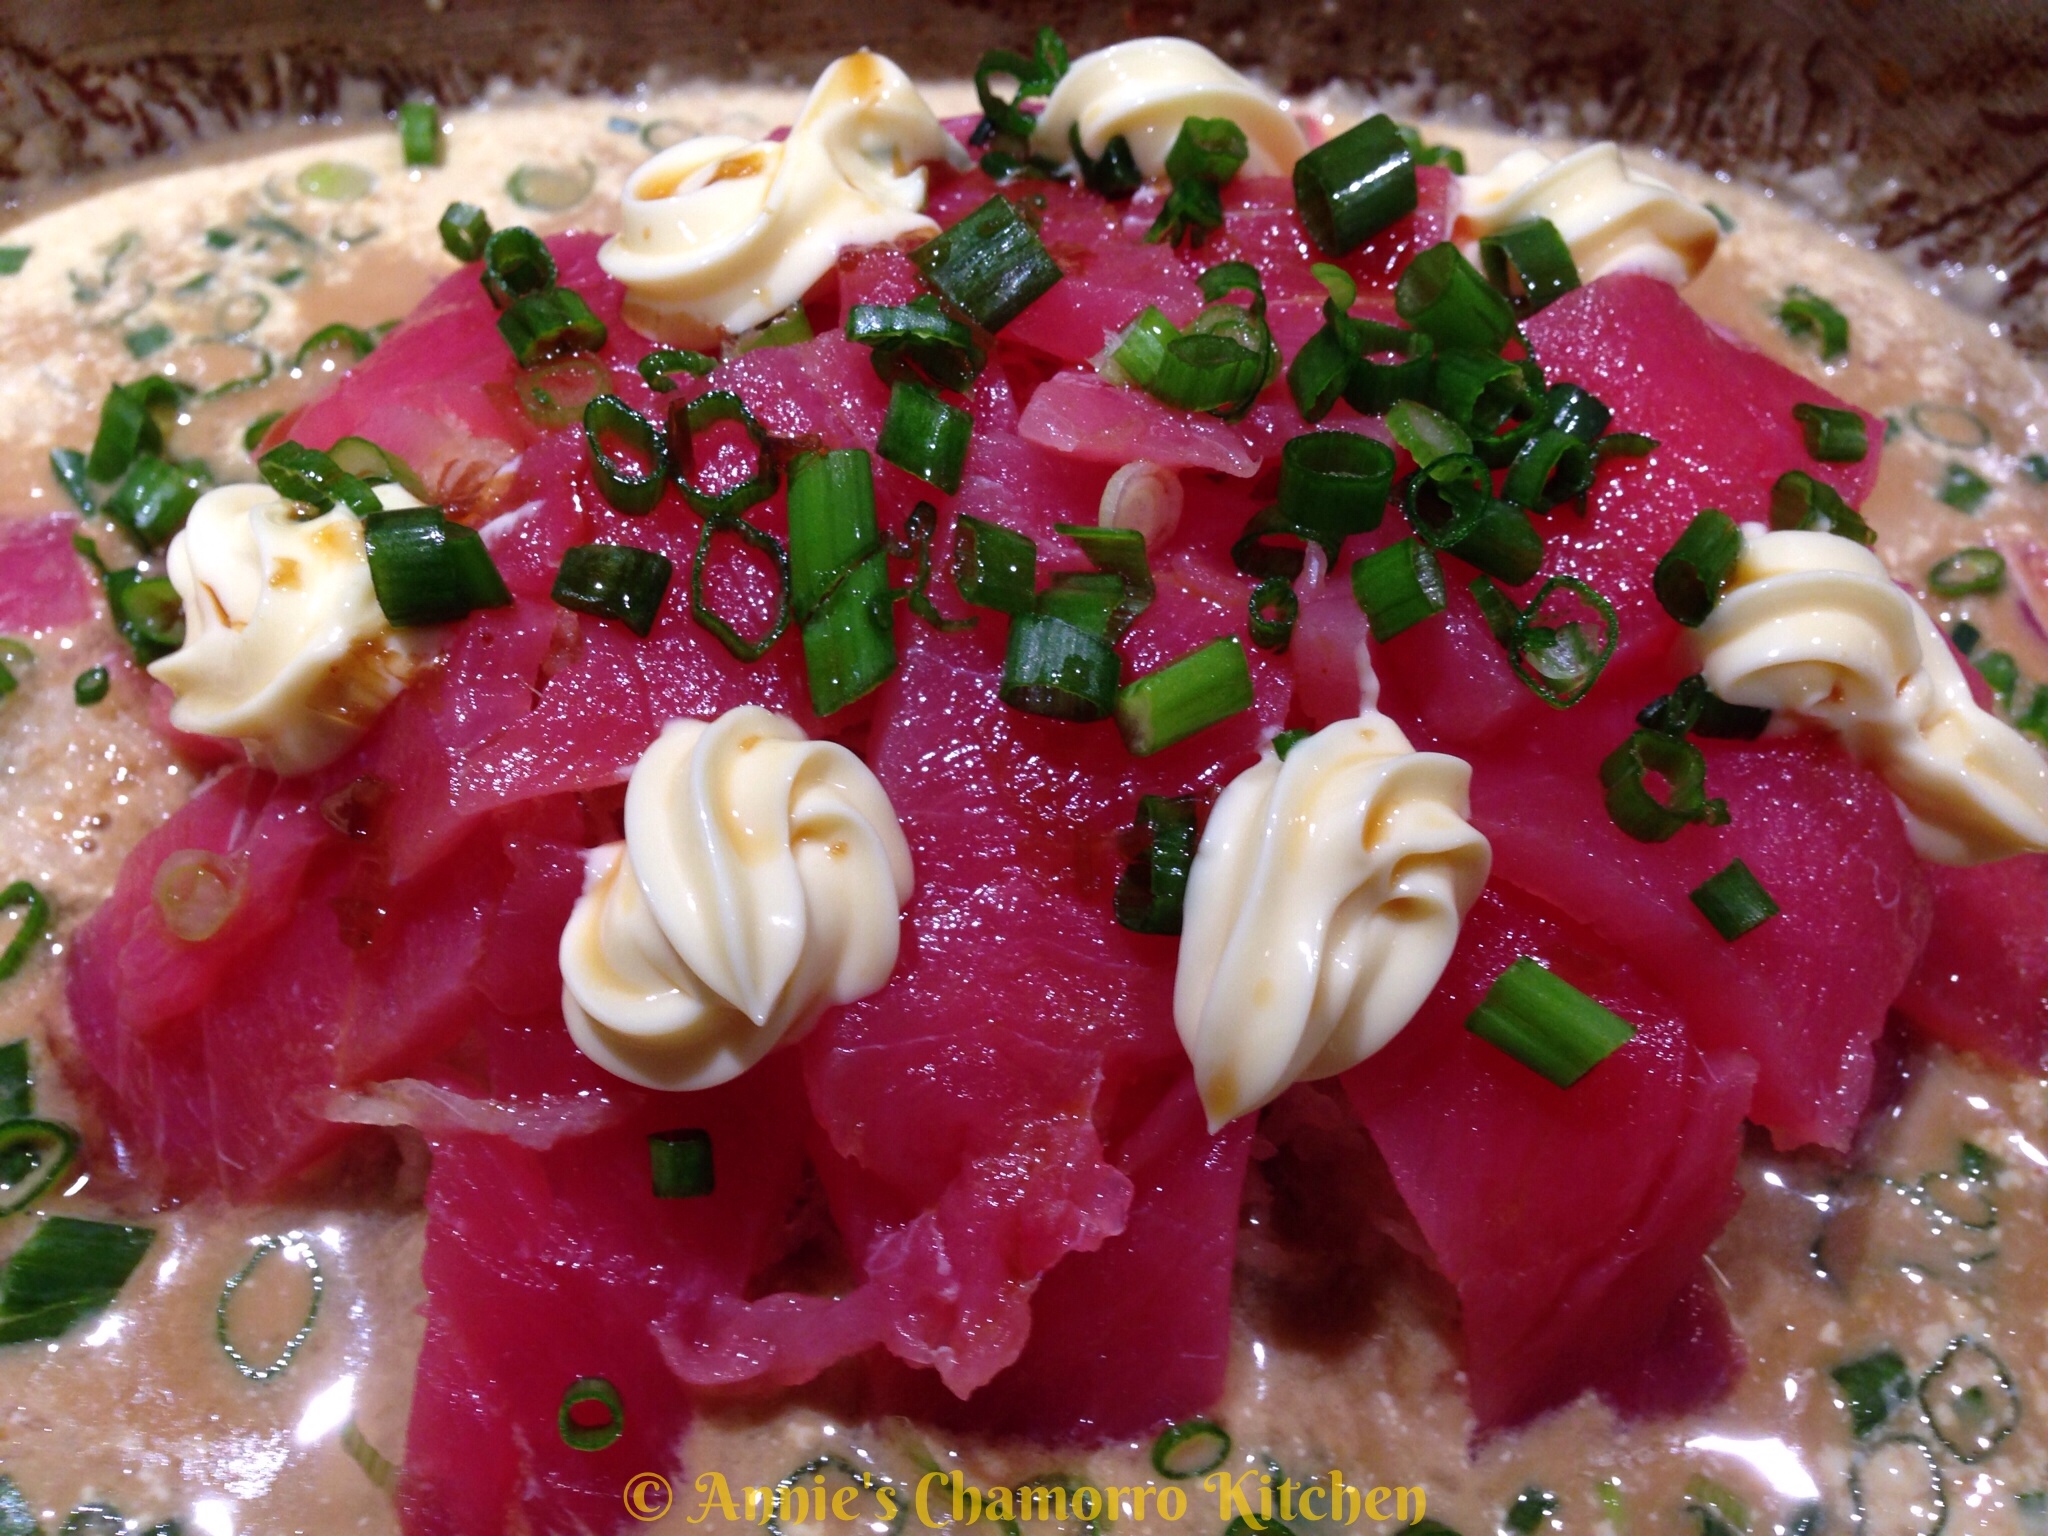
Squeeze more kewpie mayo on top of the fish. Sprinkle sliced green onions on top. Drizzle more sauce over the fish. Optional: sprinkle smelt roe on top of it all.

Serve immediately (it’s delicious with steamed white rice) and ENJOY!


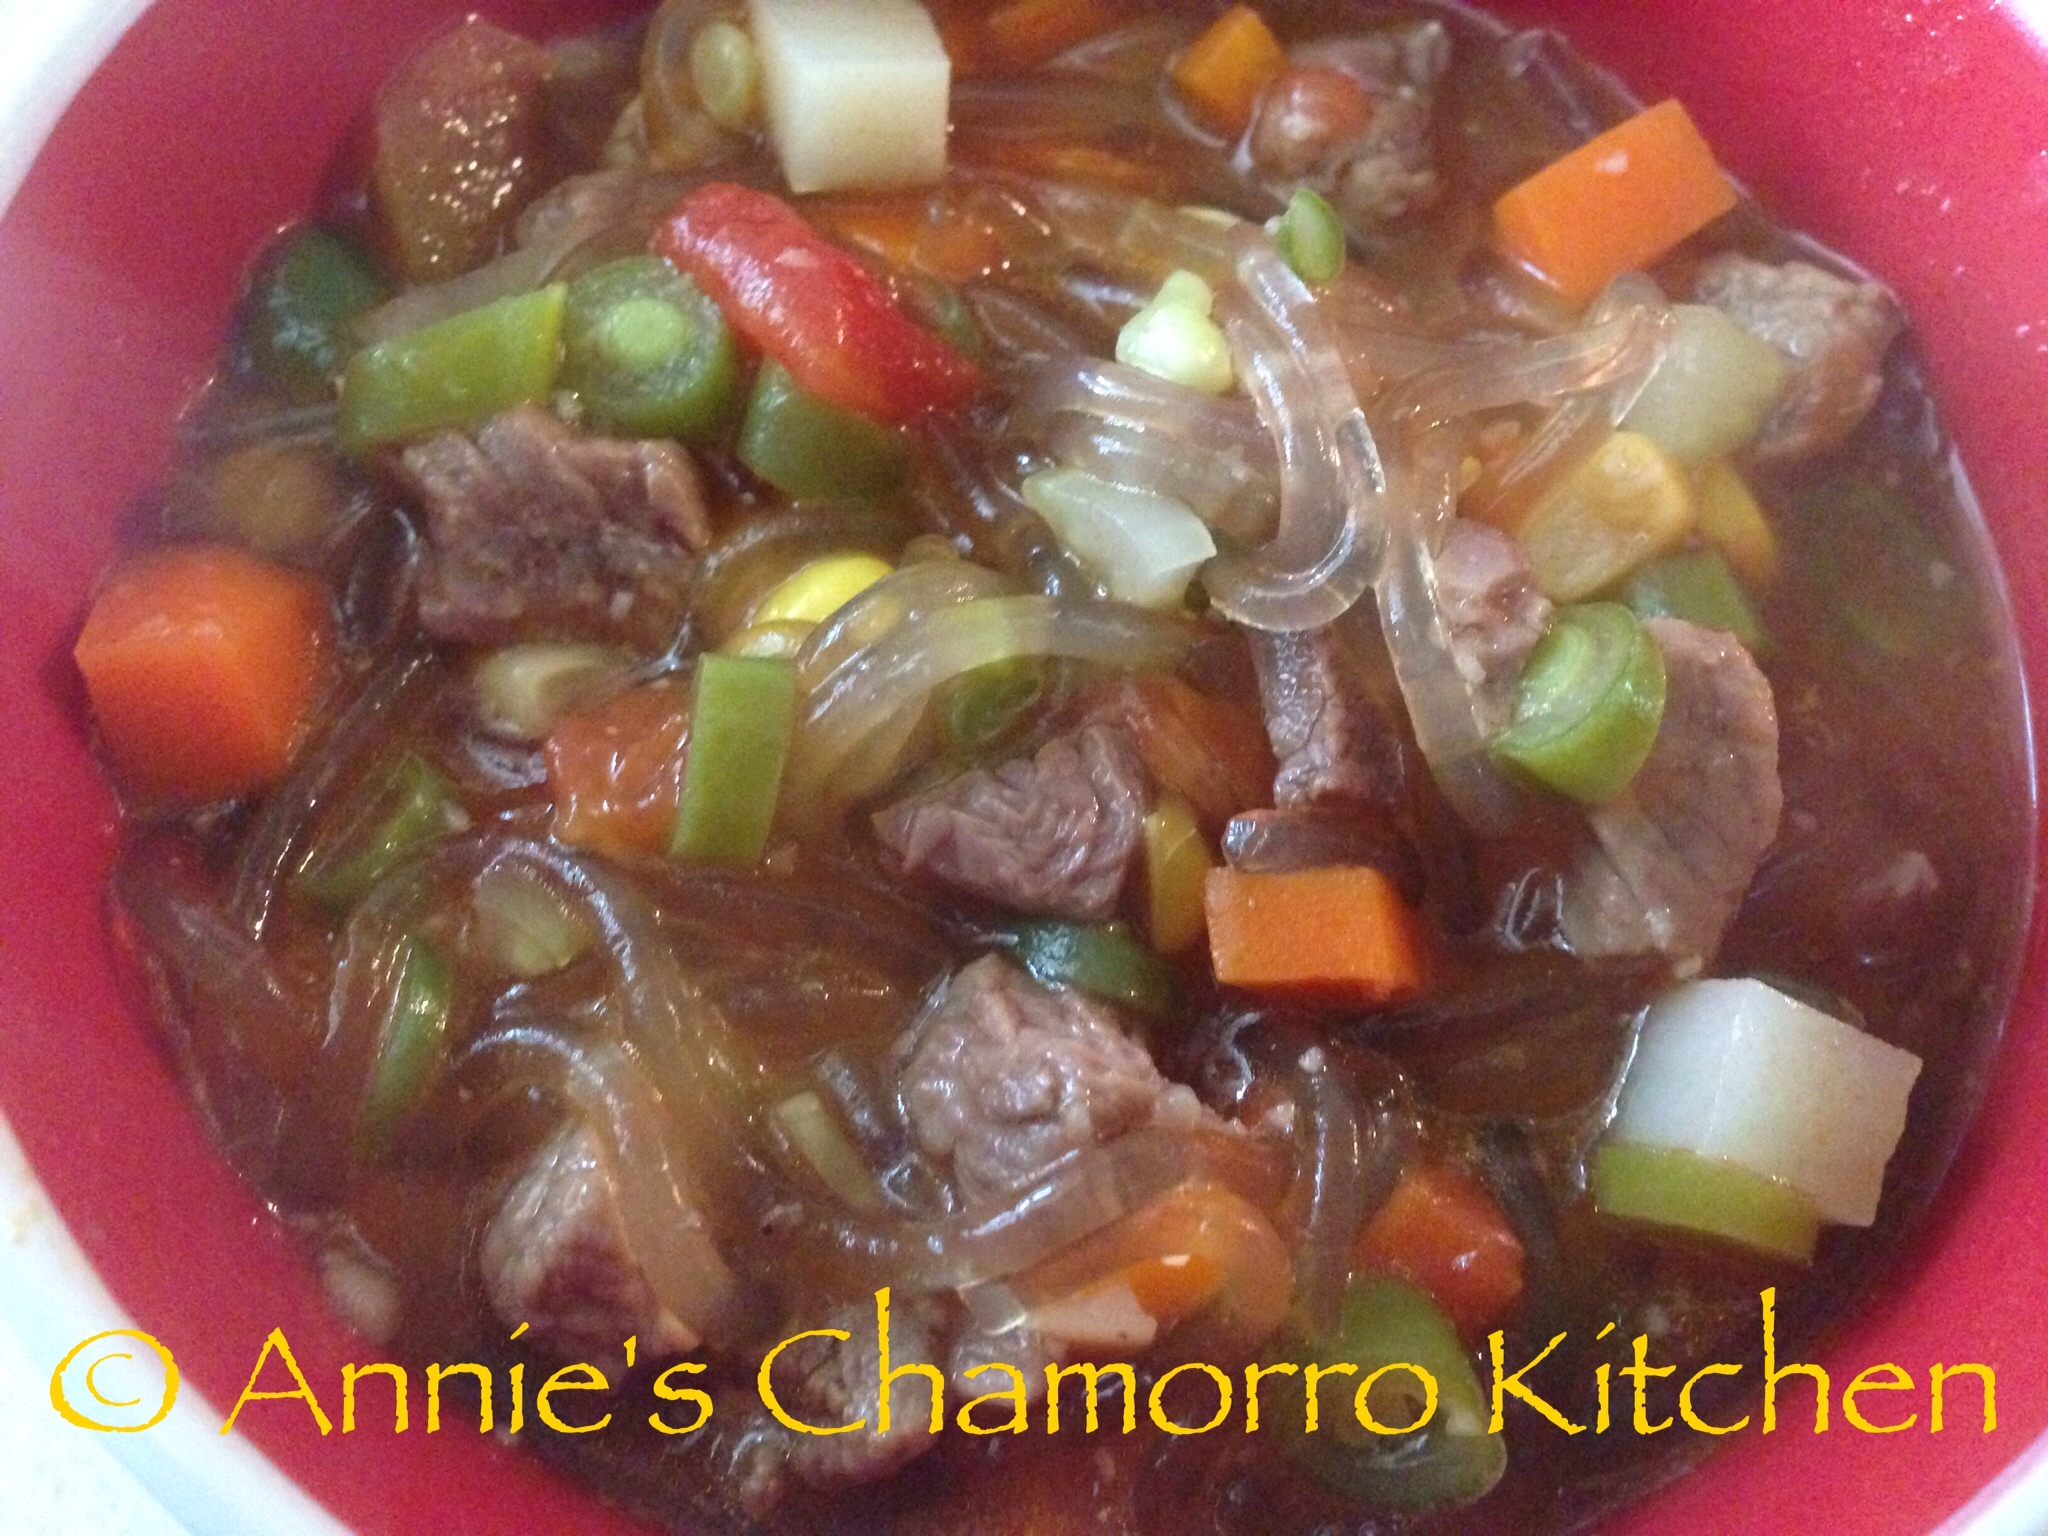
Beef Shank Kådu with Fresh Vegetables and Vermicelli Noodles

It’s currently 9 degrees outside, with a windchill of -11 degrees — it’s the perfect time for a pot of my delicious Beef Shank Kådu (which means soup, in Chamorro) with fresh vegetables and vermicelli noodles. Come to think of it, this soup is good at ANY time, not just when it’s cold and blustery outside. After all, we make kådu on Guam, where the temperature is in the 80’s year-round! 😉

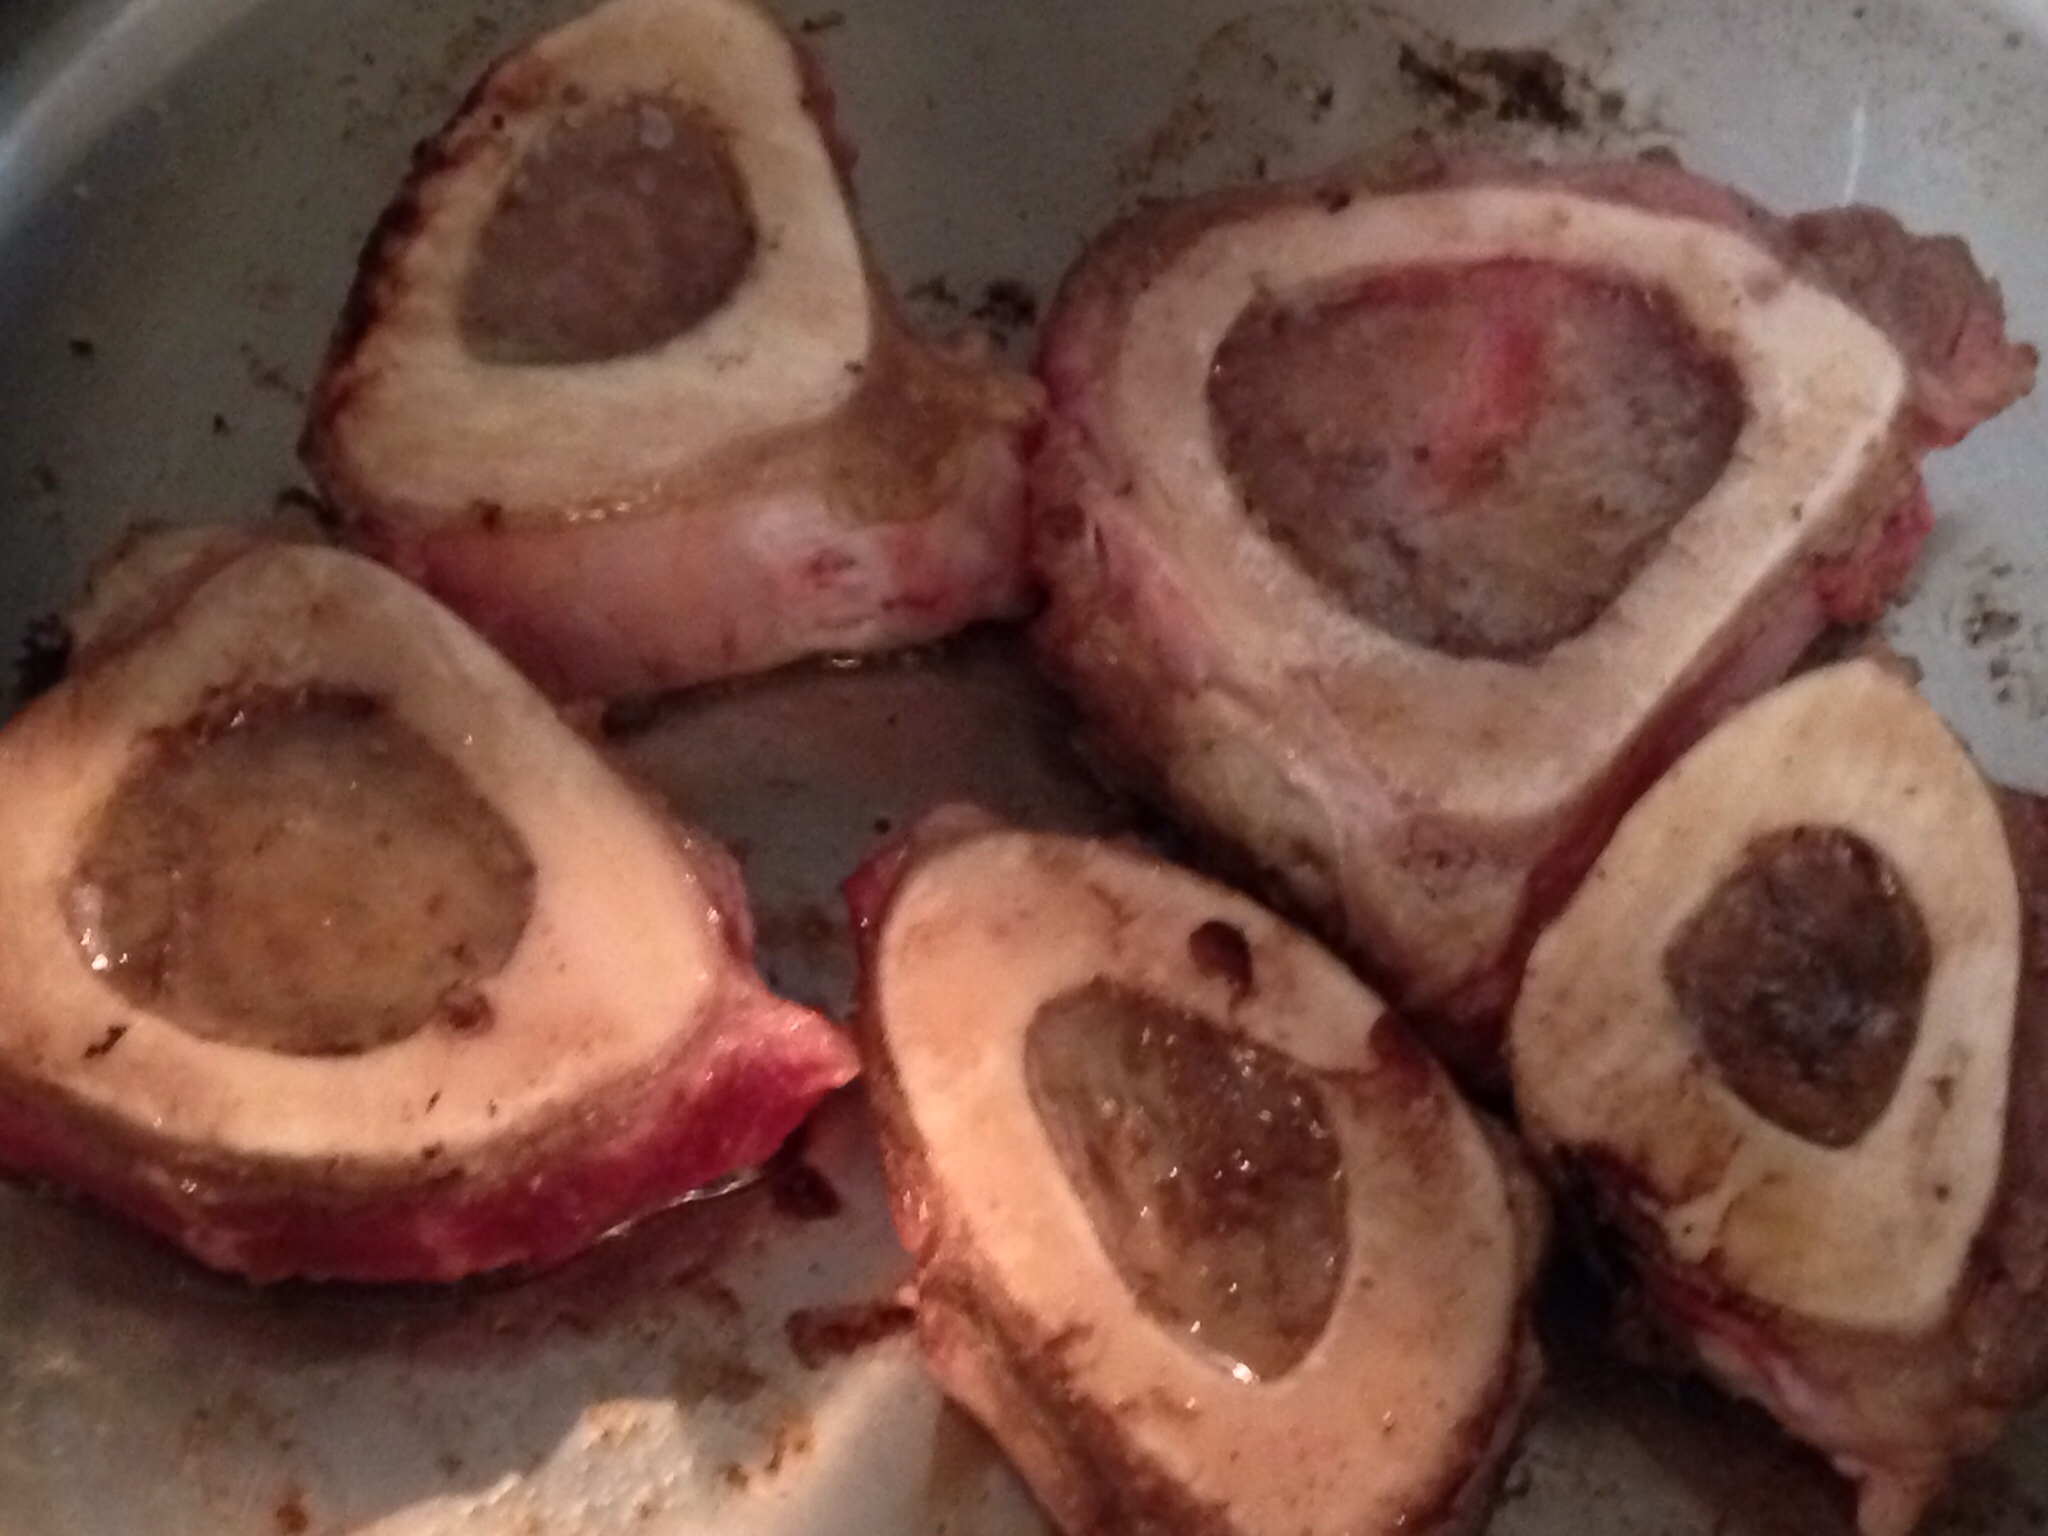
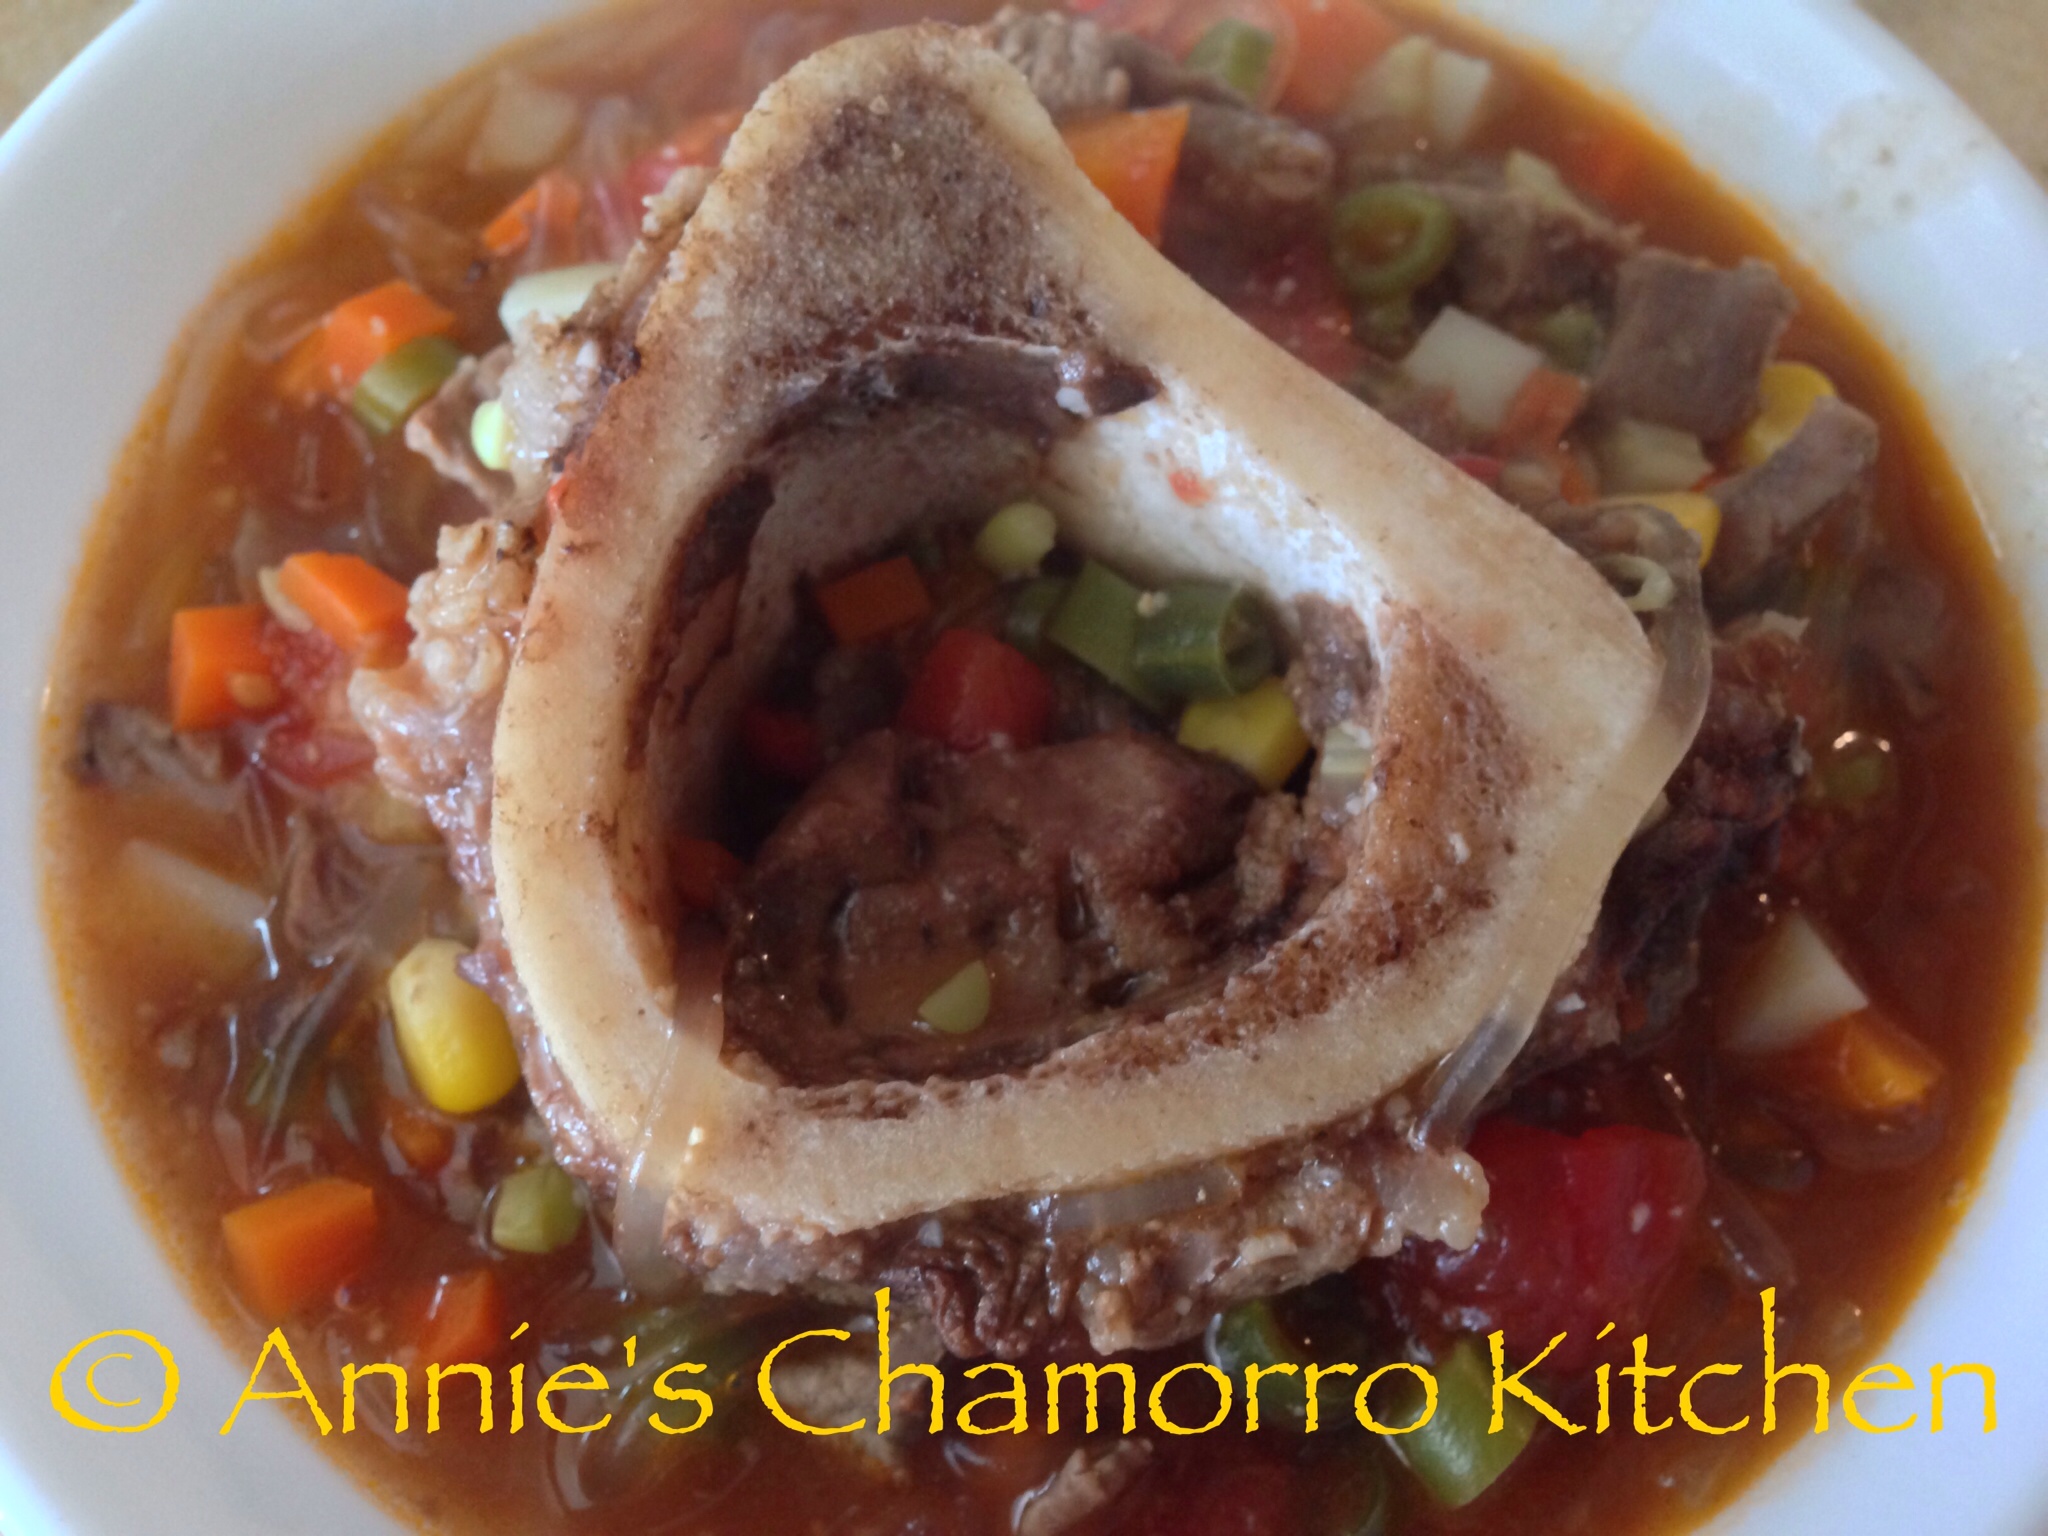
I used beef shanks (with bones) for this recipe, but you can use any lean cuts of beef you like. I like shanks because the bone marrow in the bones give the broth an extra rich and concentrated beef flavor. Most shanks are marbled with sinew. If I’m pressed for time, I’ll cook the meat in a pressure cooker, along with some onions, garlic and water, just long enough to break down the sinew and tenderize the meat. I started this soup around 8 am, cooked the meat low and slow for a couple of hours, then added the vegetables the last half hour before eating. If you don’t braise the meat long enough, the sinew in the meat won’t break down enough and you’ll end up with tough, dry meat in your soup.

I prefer using fresh vegetables when I make soup (with the exception of canned tomatoes and corn). I know, you can cut your prep and cooking time by more than half if you use frozen vegetables, but I don’t particularly like that the frozen vegetables are cut so large (I end up cutting each one smaller–that’s very time consuming), nor do I like that it’s overcooked by the time my soup is done. Nope — it’s fresh vegetables for this soup or I don’t make it.

I know what you’re thinking by now…you’re probably thinking, “gosh, she sure is picky.” Well, for this soup, I am. I think it’s because this is how my mom made it, using vegetables picked fresh from my dad’s ranch. Sometimes we’d have wing beans and green beans in our soup, along with squash and onions. Other times we’d have fresh corn and tomatoes picked fresh off the vines.

If you thought I was picky with my choice of fresh over frozen vegetables, let me tell you about my choice of noodles. I’ve tried making this soup with rice noodles, but it’s just not the same as using vermicelli or glass noodles. There are many brands of vermicelli noodles (not the kind used for Italian pasta dishes, mind you). I like using Korean vermicelli noodles, namely the kind used for Jap Chae (or Chap Chae). If you don’t know what type to buy, go to your local Korean or Asian market and ask a clerk for Korean Jap Chae noodles.

Give my recipe a try. I think you’ll like it. 🙂

Beef Shank Kadu with Fresh Vegetables and Vermicelli Noodles
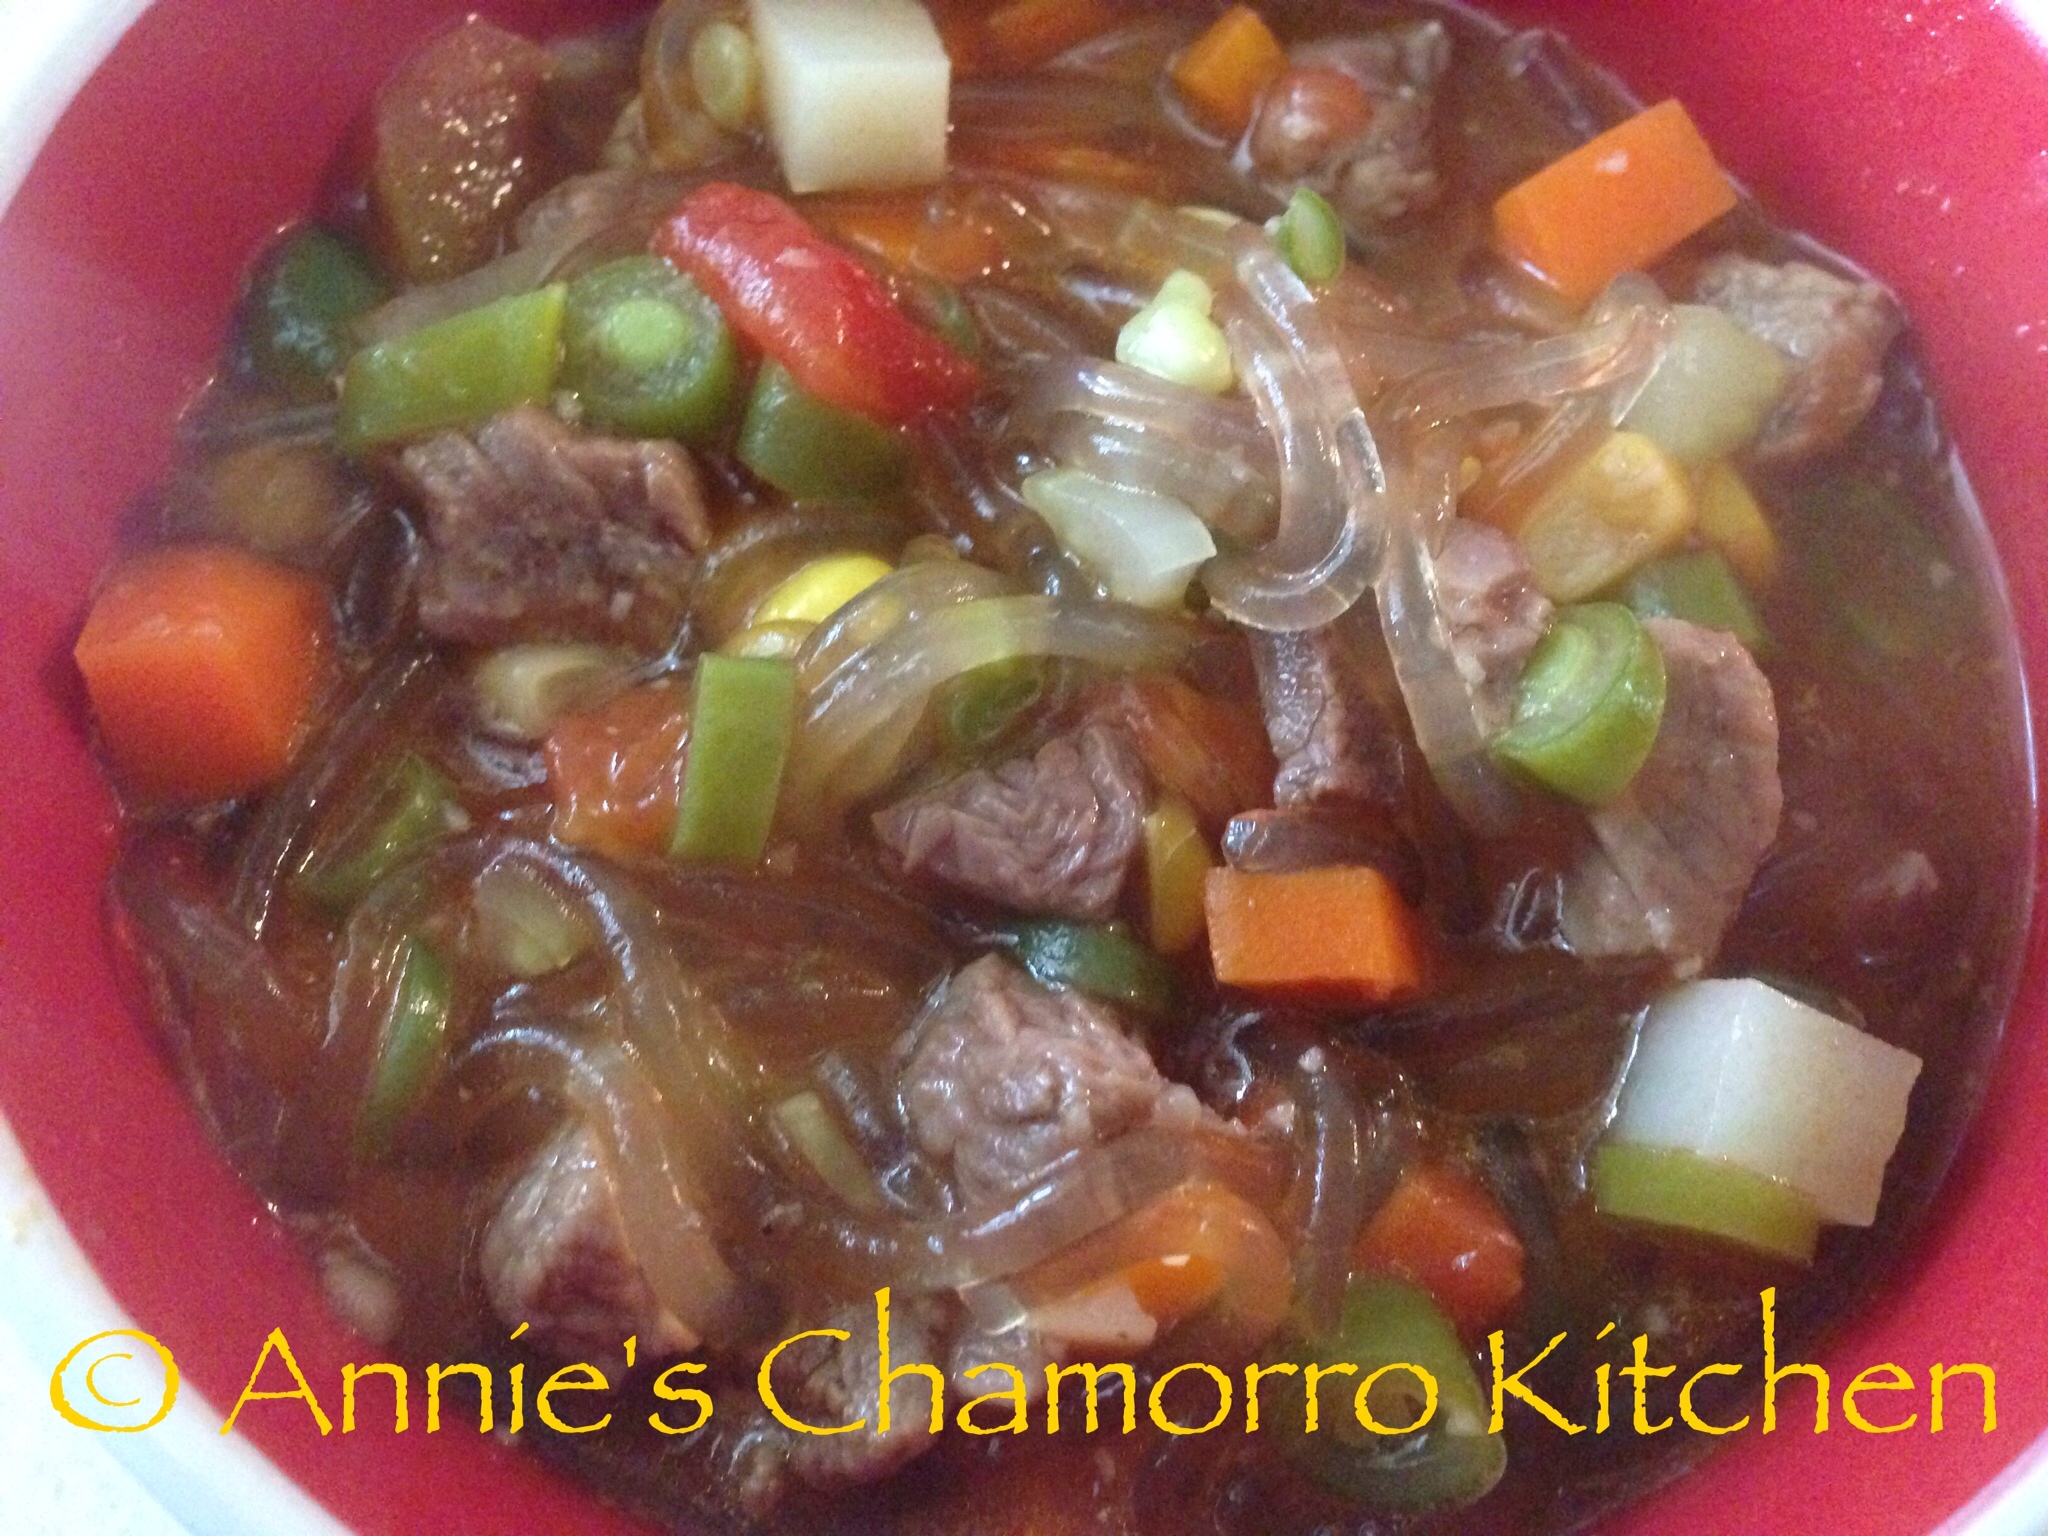
Ingredients:

  • 5 medium sized beef shanks, with bone
  • 1/2 teaspoon black pepper
  • 2 tablespoons garlic powder (or 6 cloves fresh garlic, minced)
  • 1 tablespoon onion powder (or 1 small onion, diced)
  • 6-8 tablespoons Dashida (Korean beef flavored powdered seasoning)
  • 10 cups water
  • 2 large carrots
  • 2 stalks celery
  • 1 (2-inch) piece of ginger root
  • 1 medium potato
  • 1 handful of green beans
  • 1 can (28 oz.) petite diced tomatoes, drained
  • 1 can (15.25 oz.) corn kernels
  • 1 bag Korean vermicelli noodles (plus enough hot water to submerge the noodles in)

Directions:

1. Rinse each piece of meat. Trim off and discard any excess fat around the meat. Cut around the bones to separate them from the meat. Place the bones in a large stock pot over medium low heat.
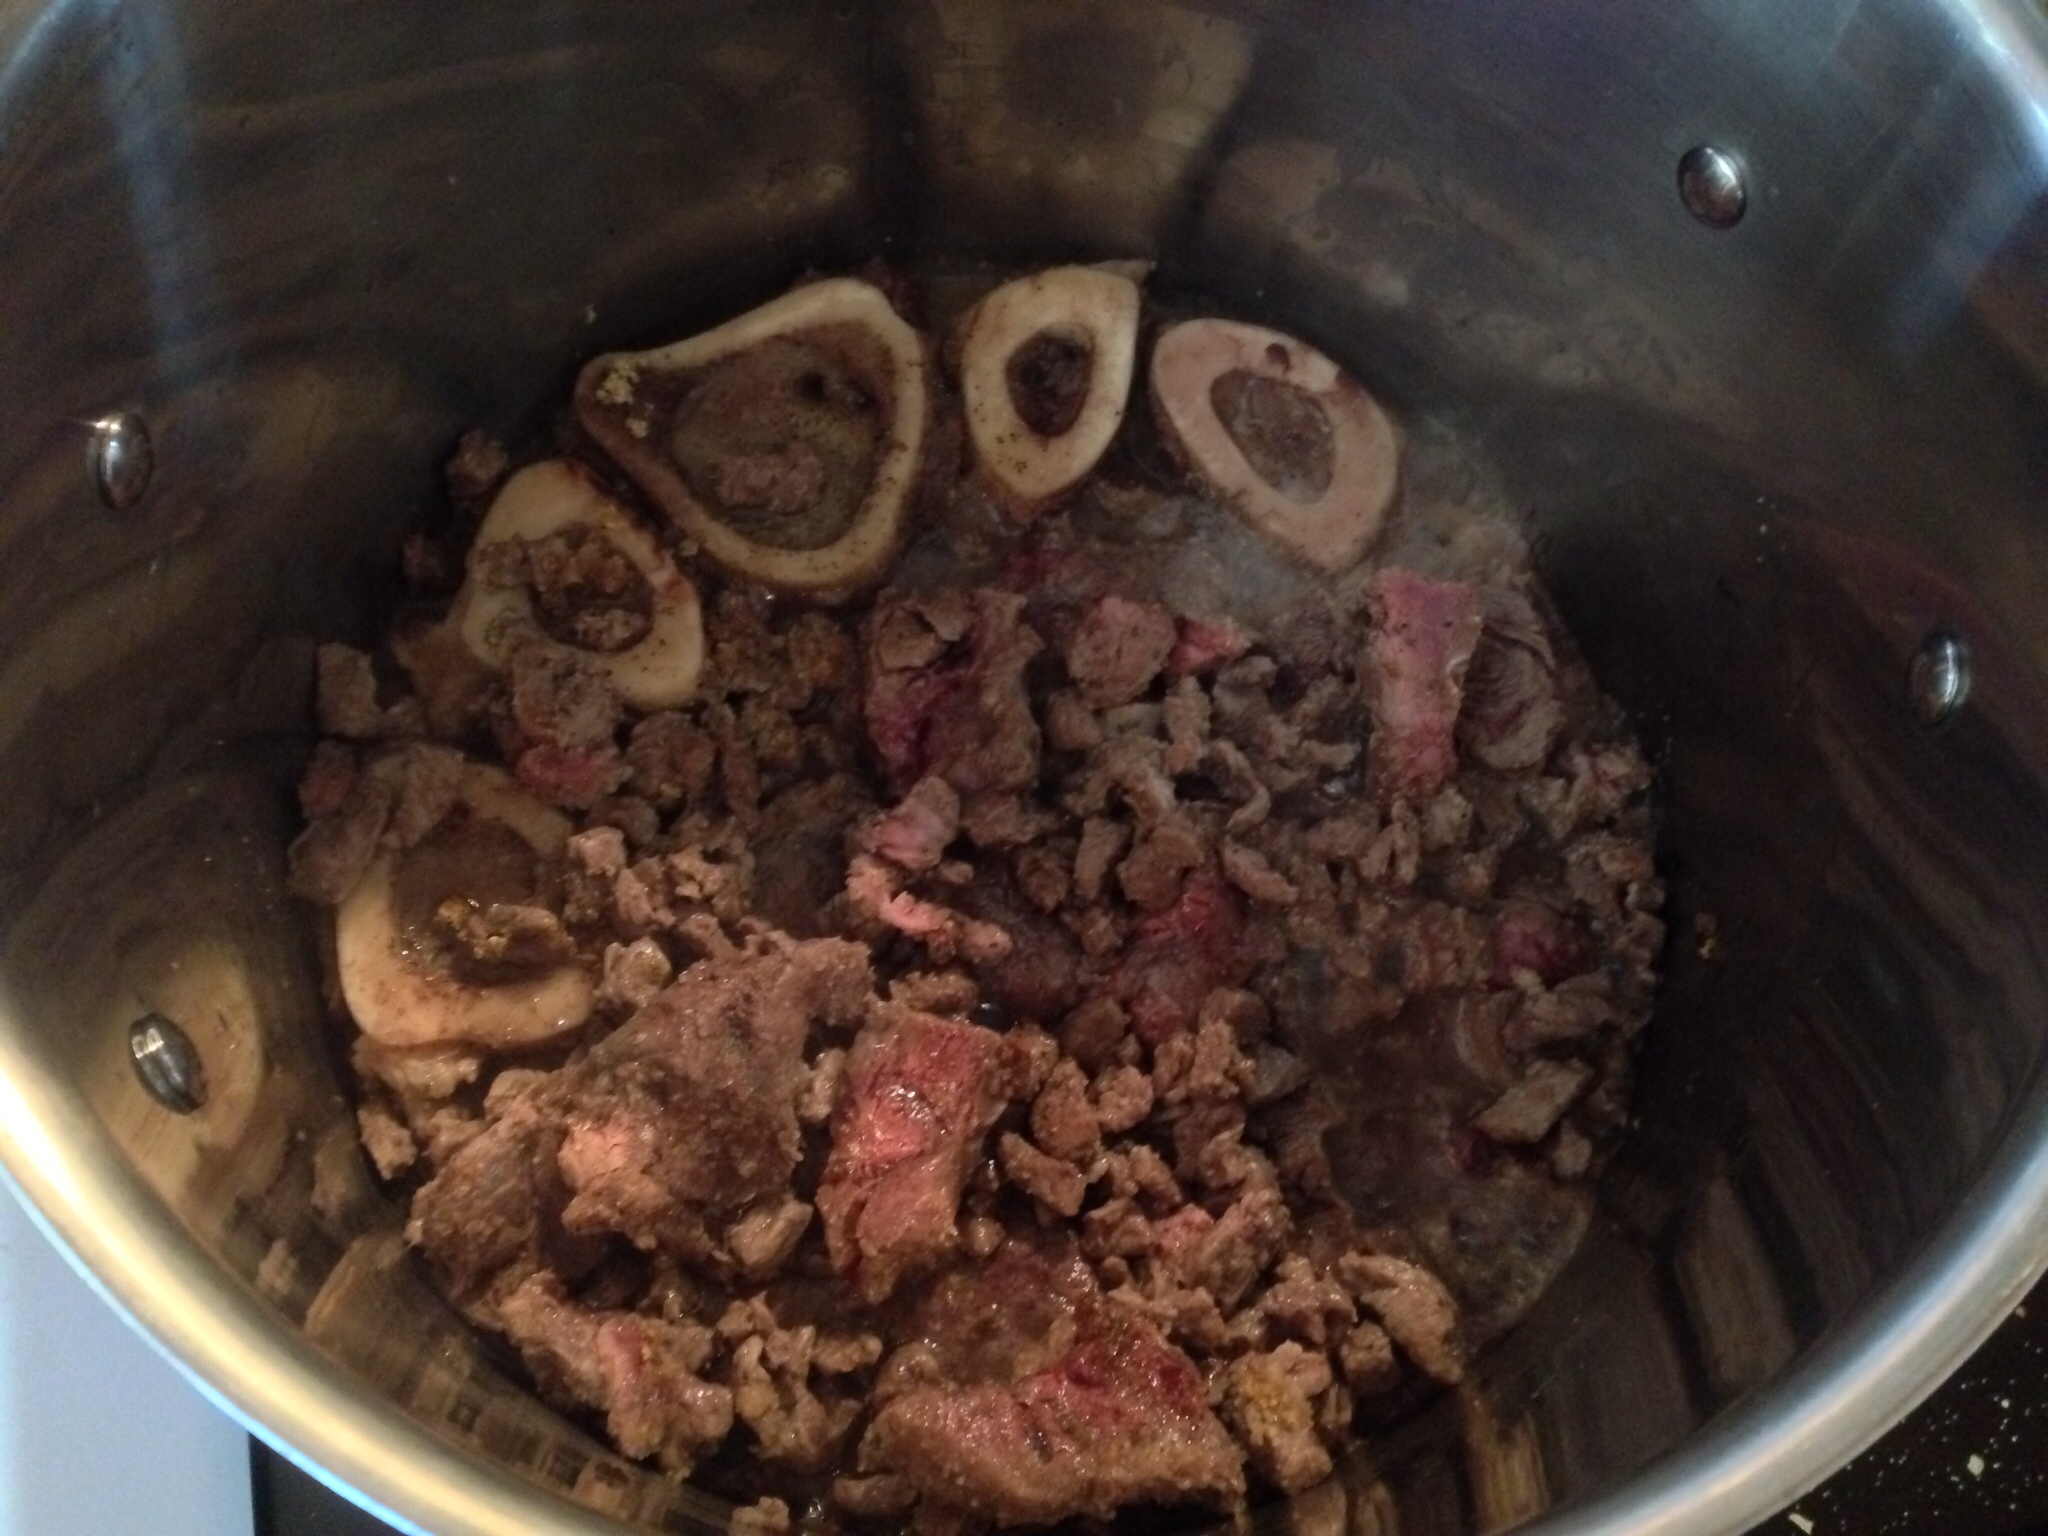
2. Cut the meat into small pieces; I cut the shank meat that had a lot of sinew marbled through it into large chunks.  Place the meat into the pot. Cook over medium low heat until the meat starts to brown. After most of the meat has browned, add the black pepper, garlic and onion powders (or fresh garlic and onions), and Dashida. Stir to combine, then add the 10 cups of water. Keep the heat at medium low. With the pot covered, simmer for about 2 hours. Every now and then, skim off any fat and sediment from the surface of the broth and discard.

Tip: After cooking, let the meat and broth cool to room temperature then place in the refrigerator. After several hours, remove the solidified fat off the surface of the broth and discard. Continue with the remaining steps below.
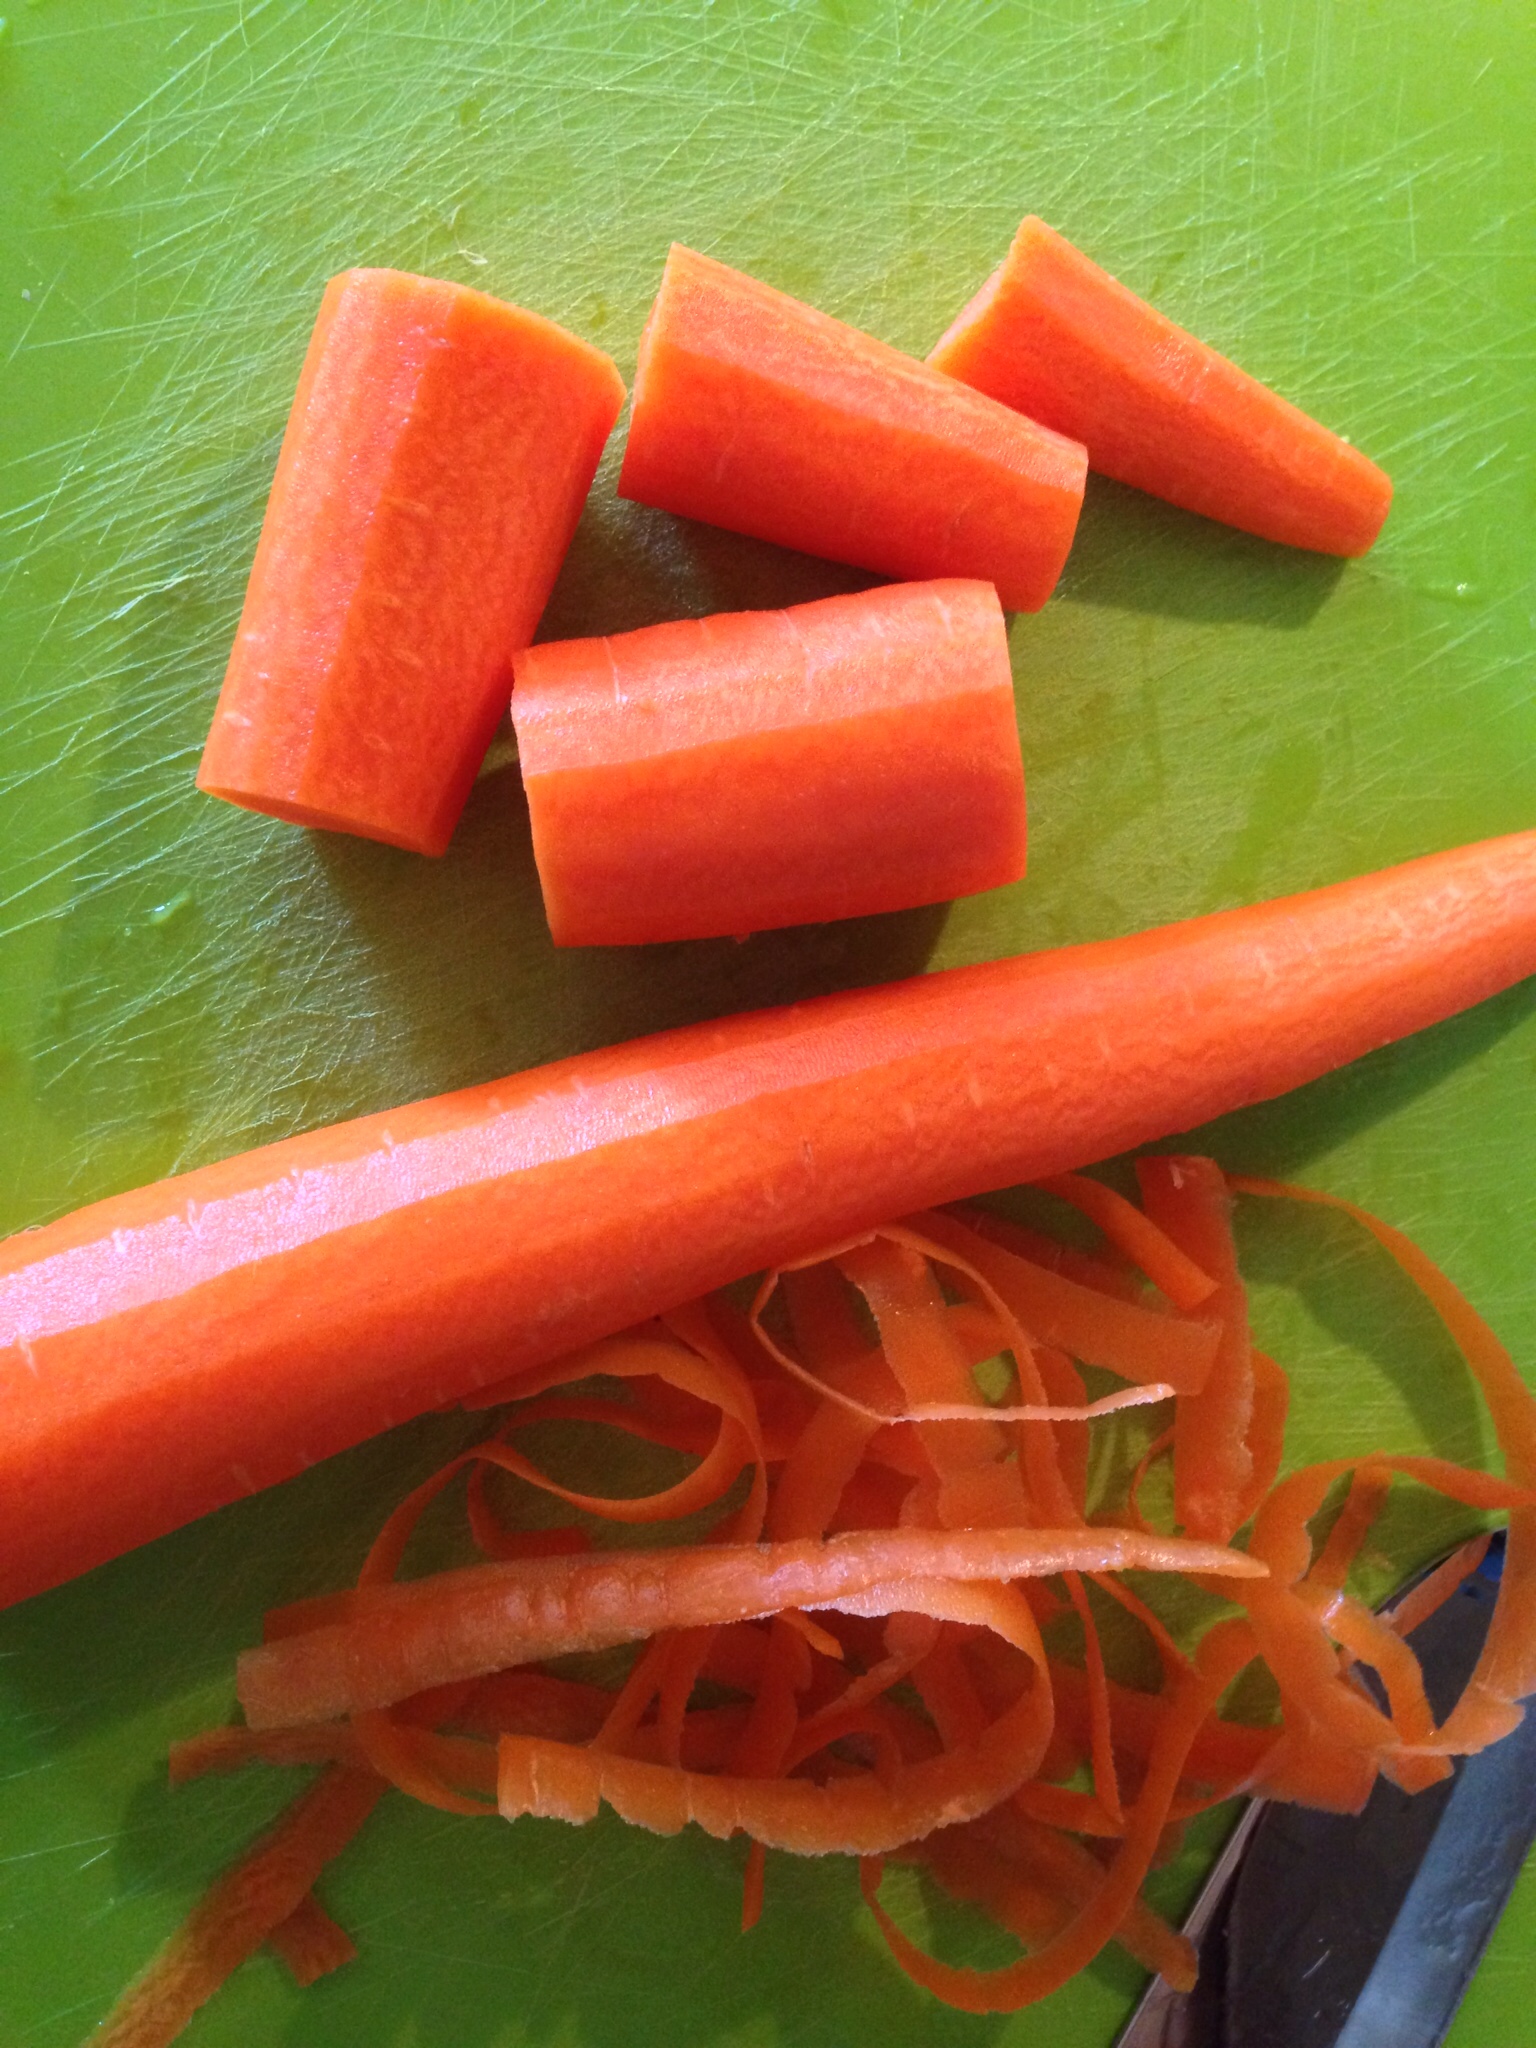
3. While the meat is simmering away, prepare the vegetables.

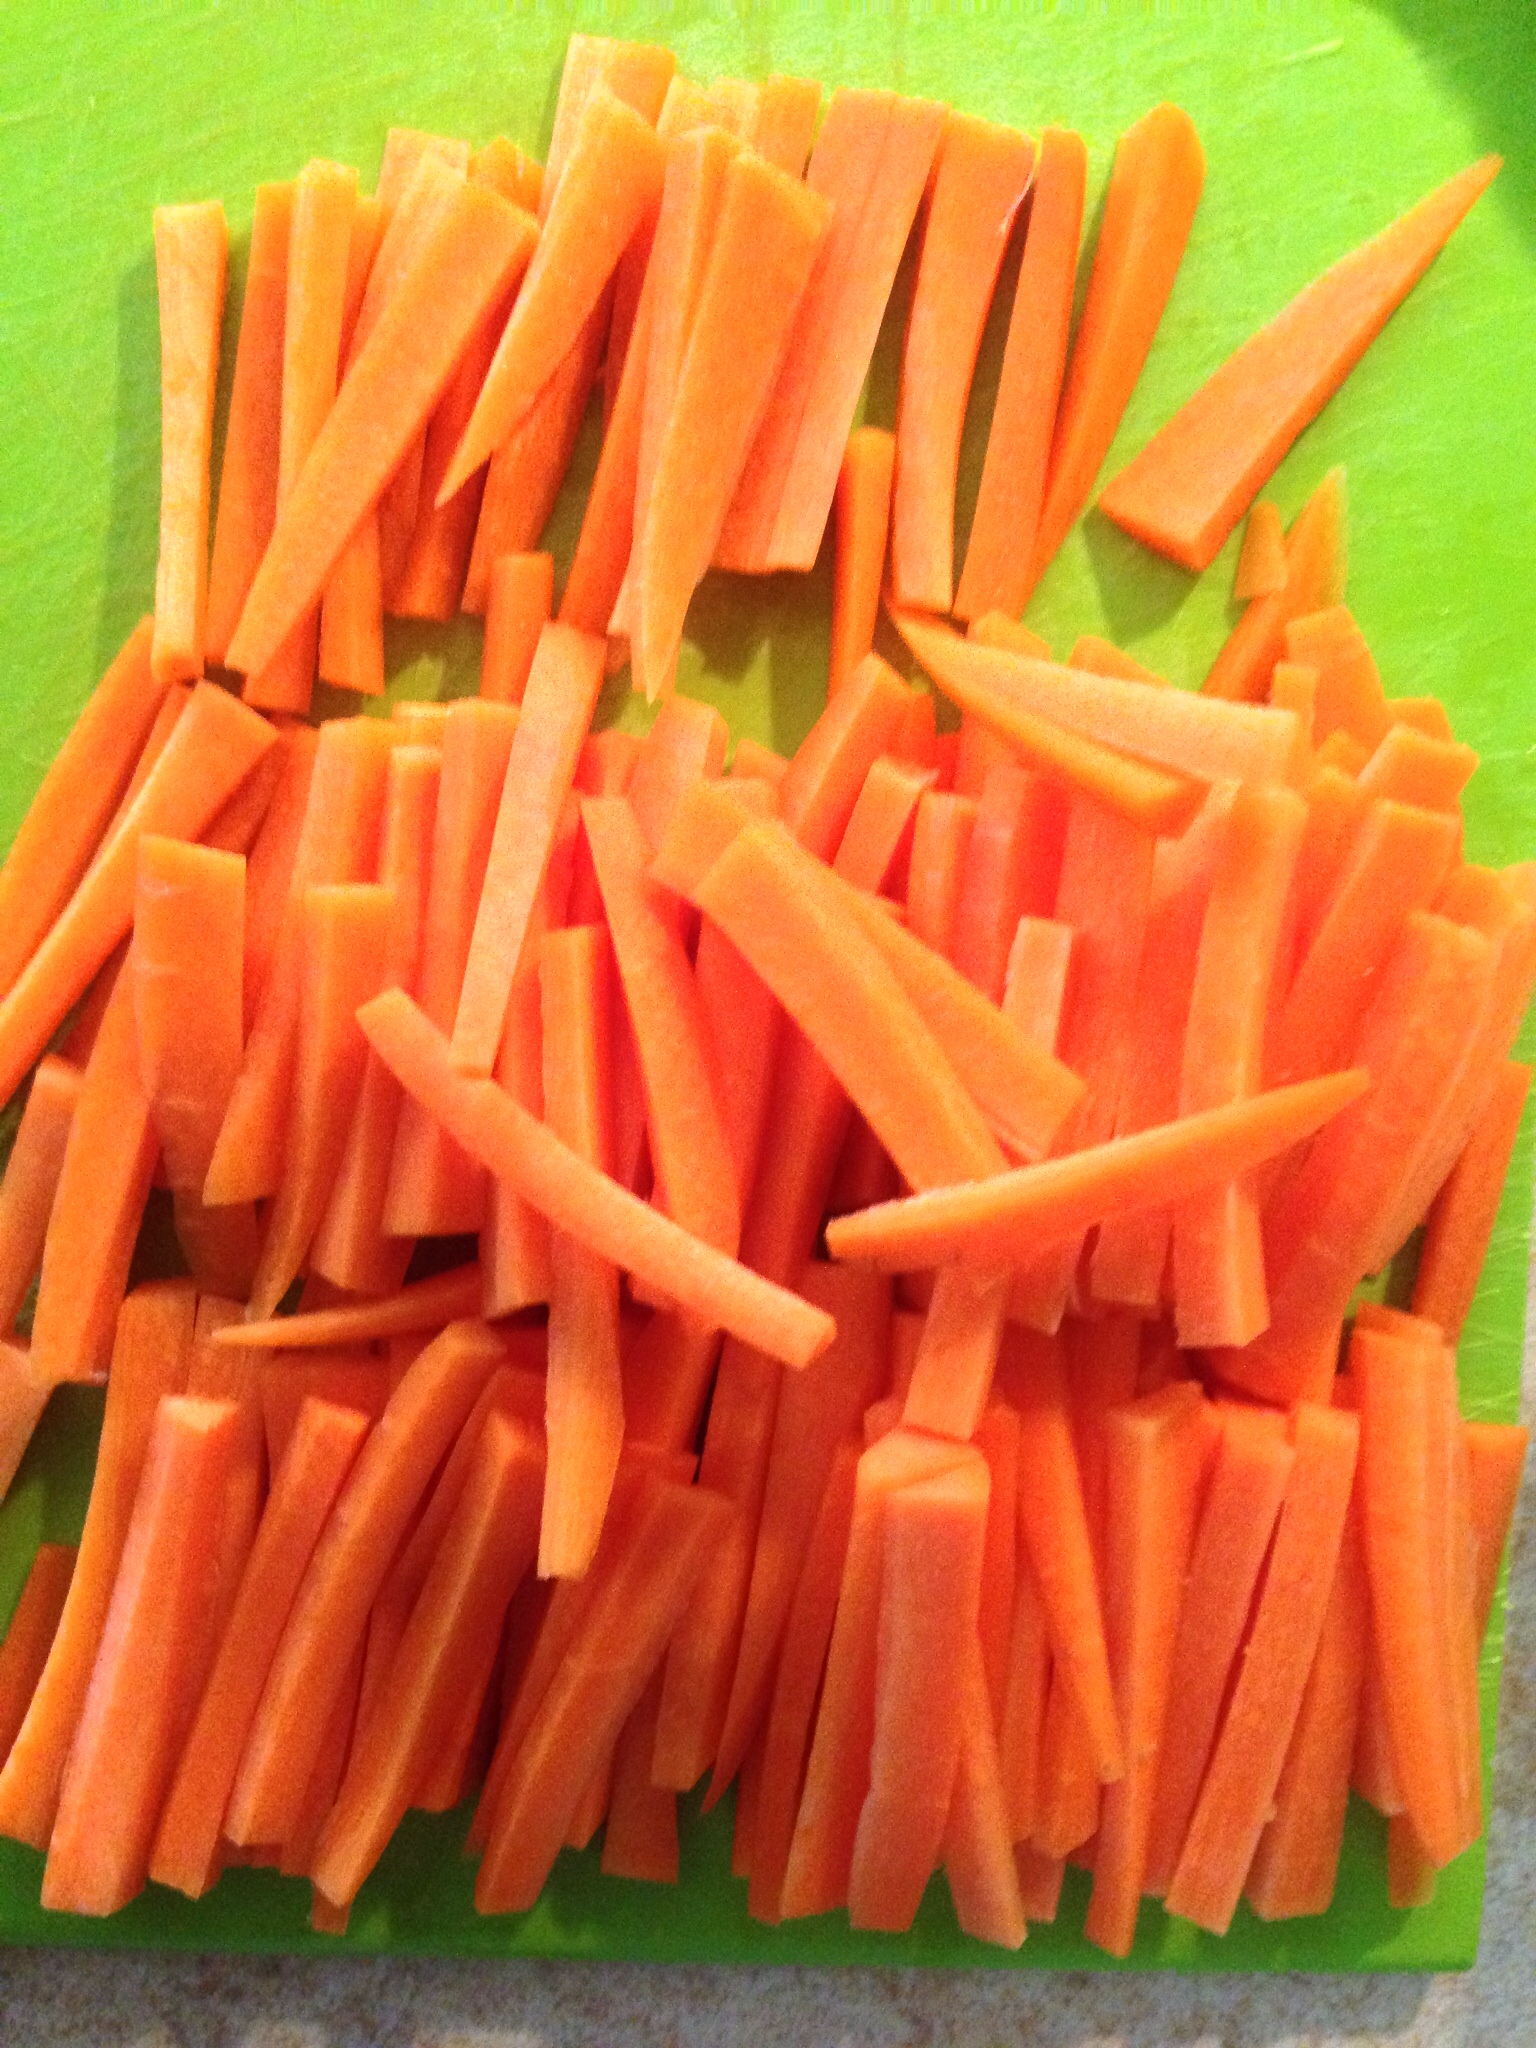
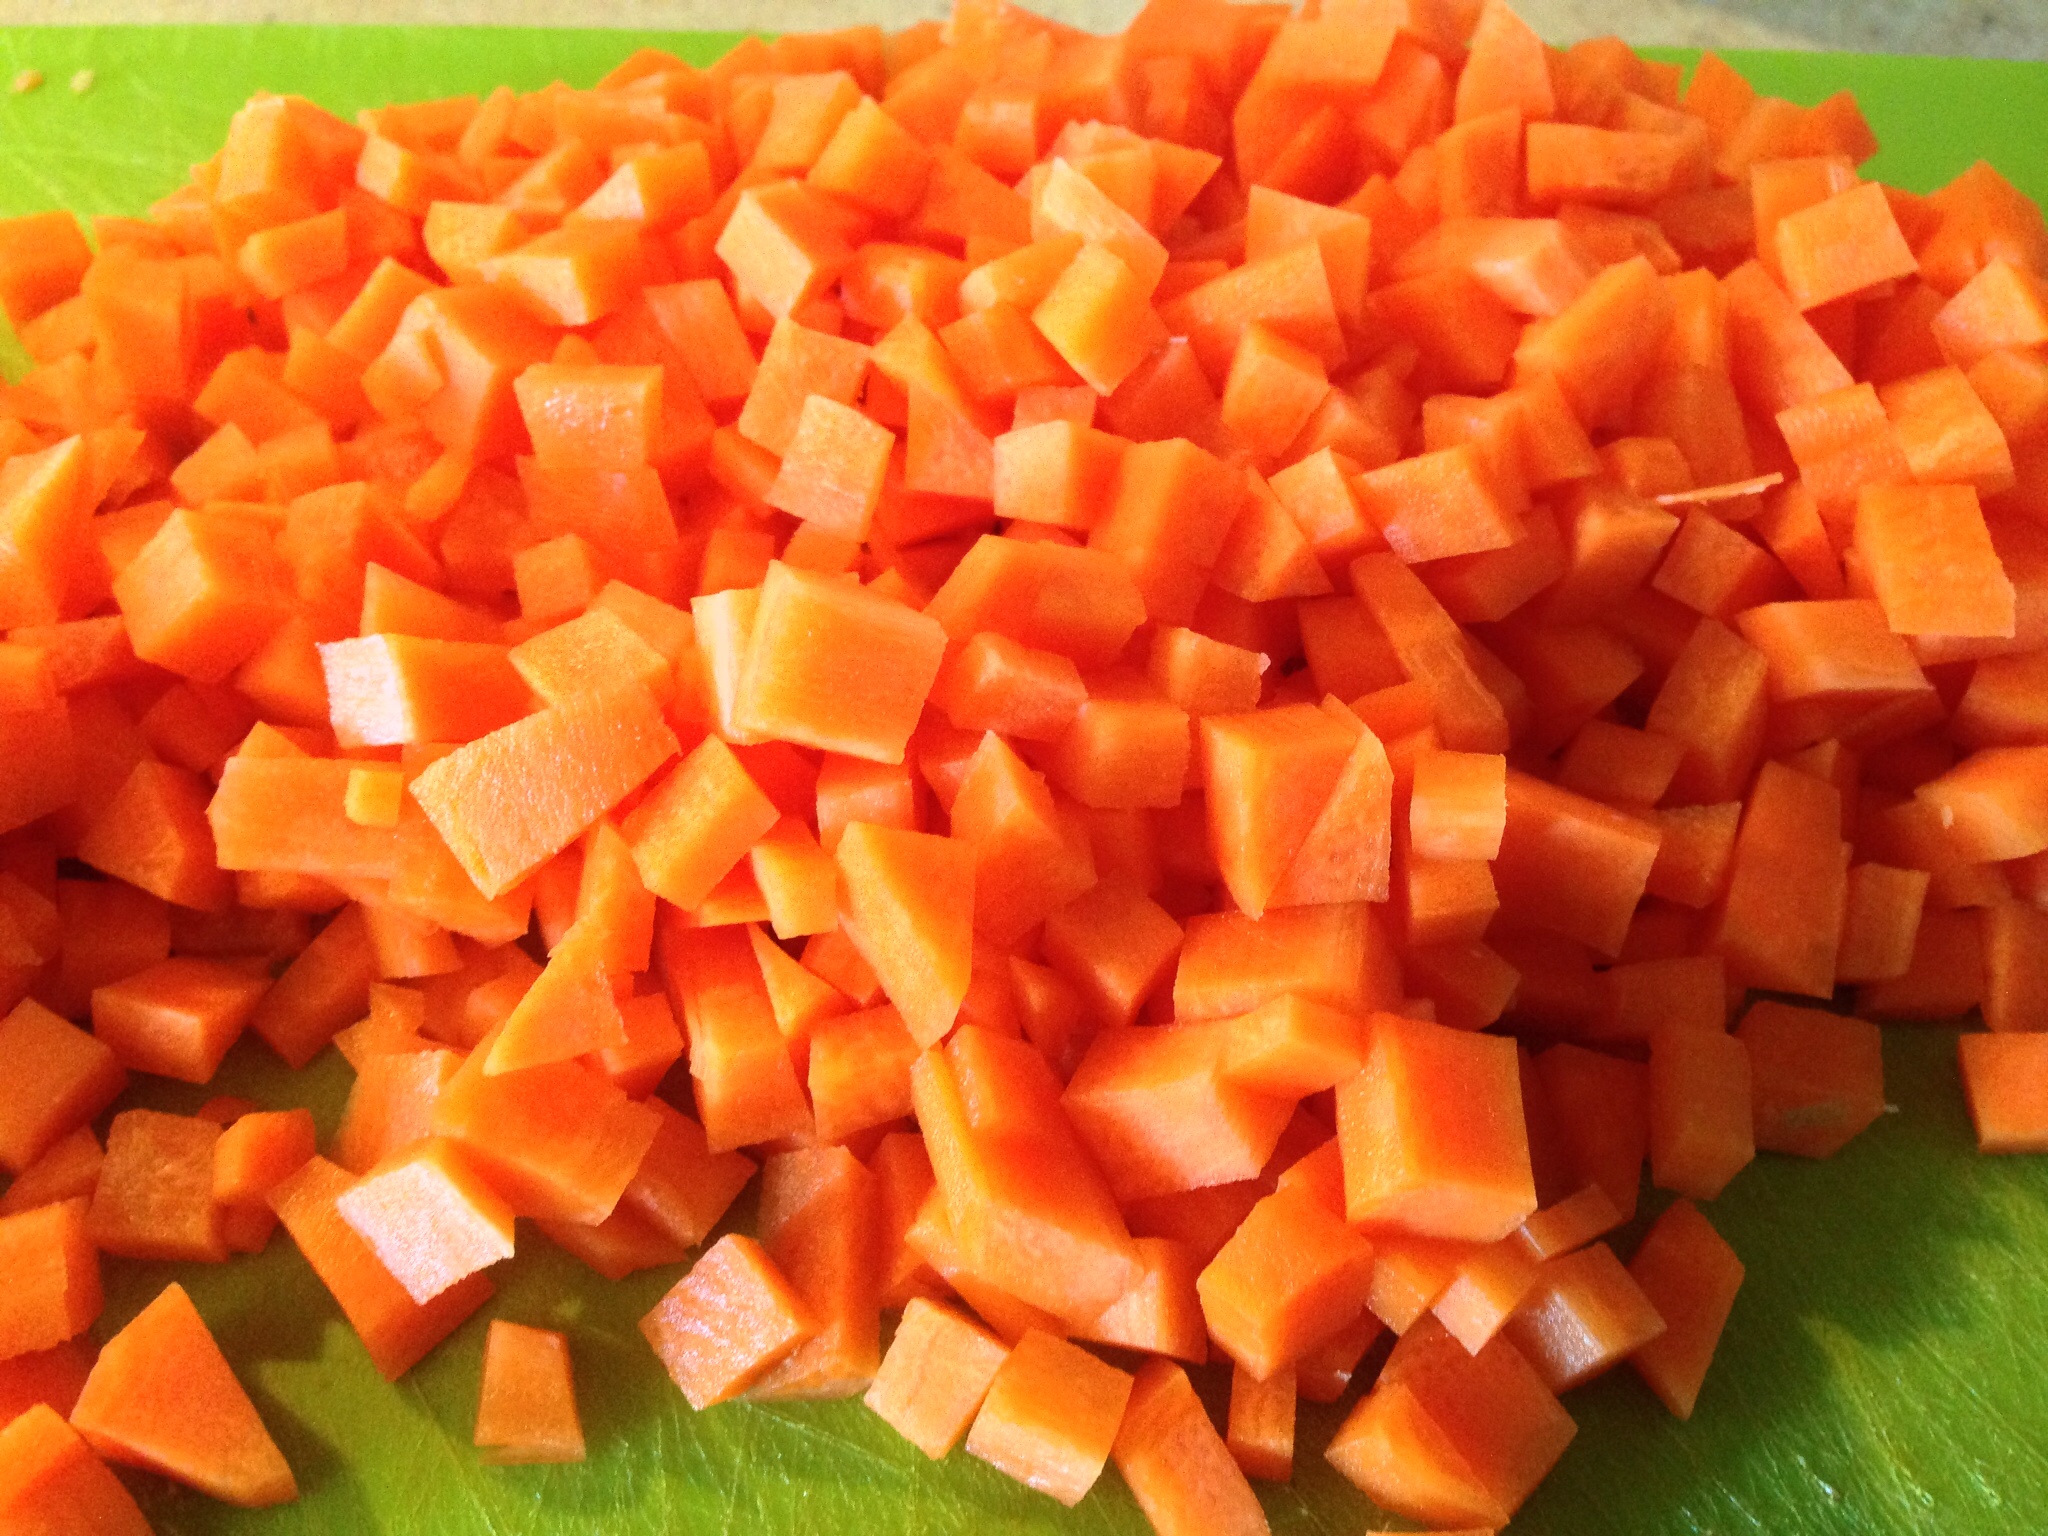
Prep the carrots: Peel the carrots. Slice into sticks, then dice.
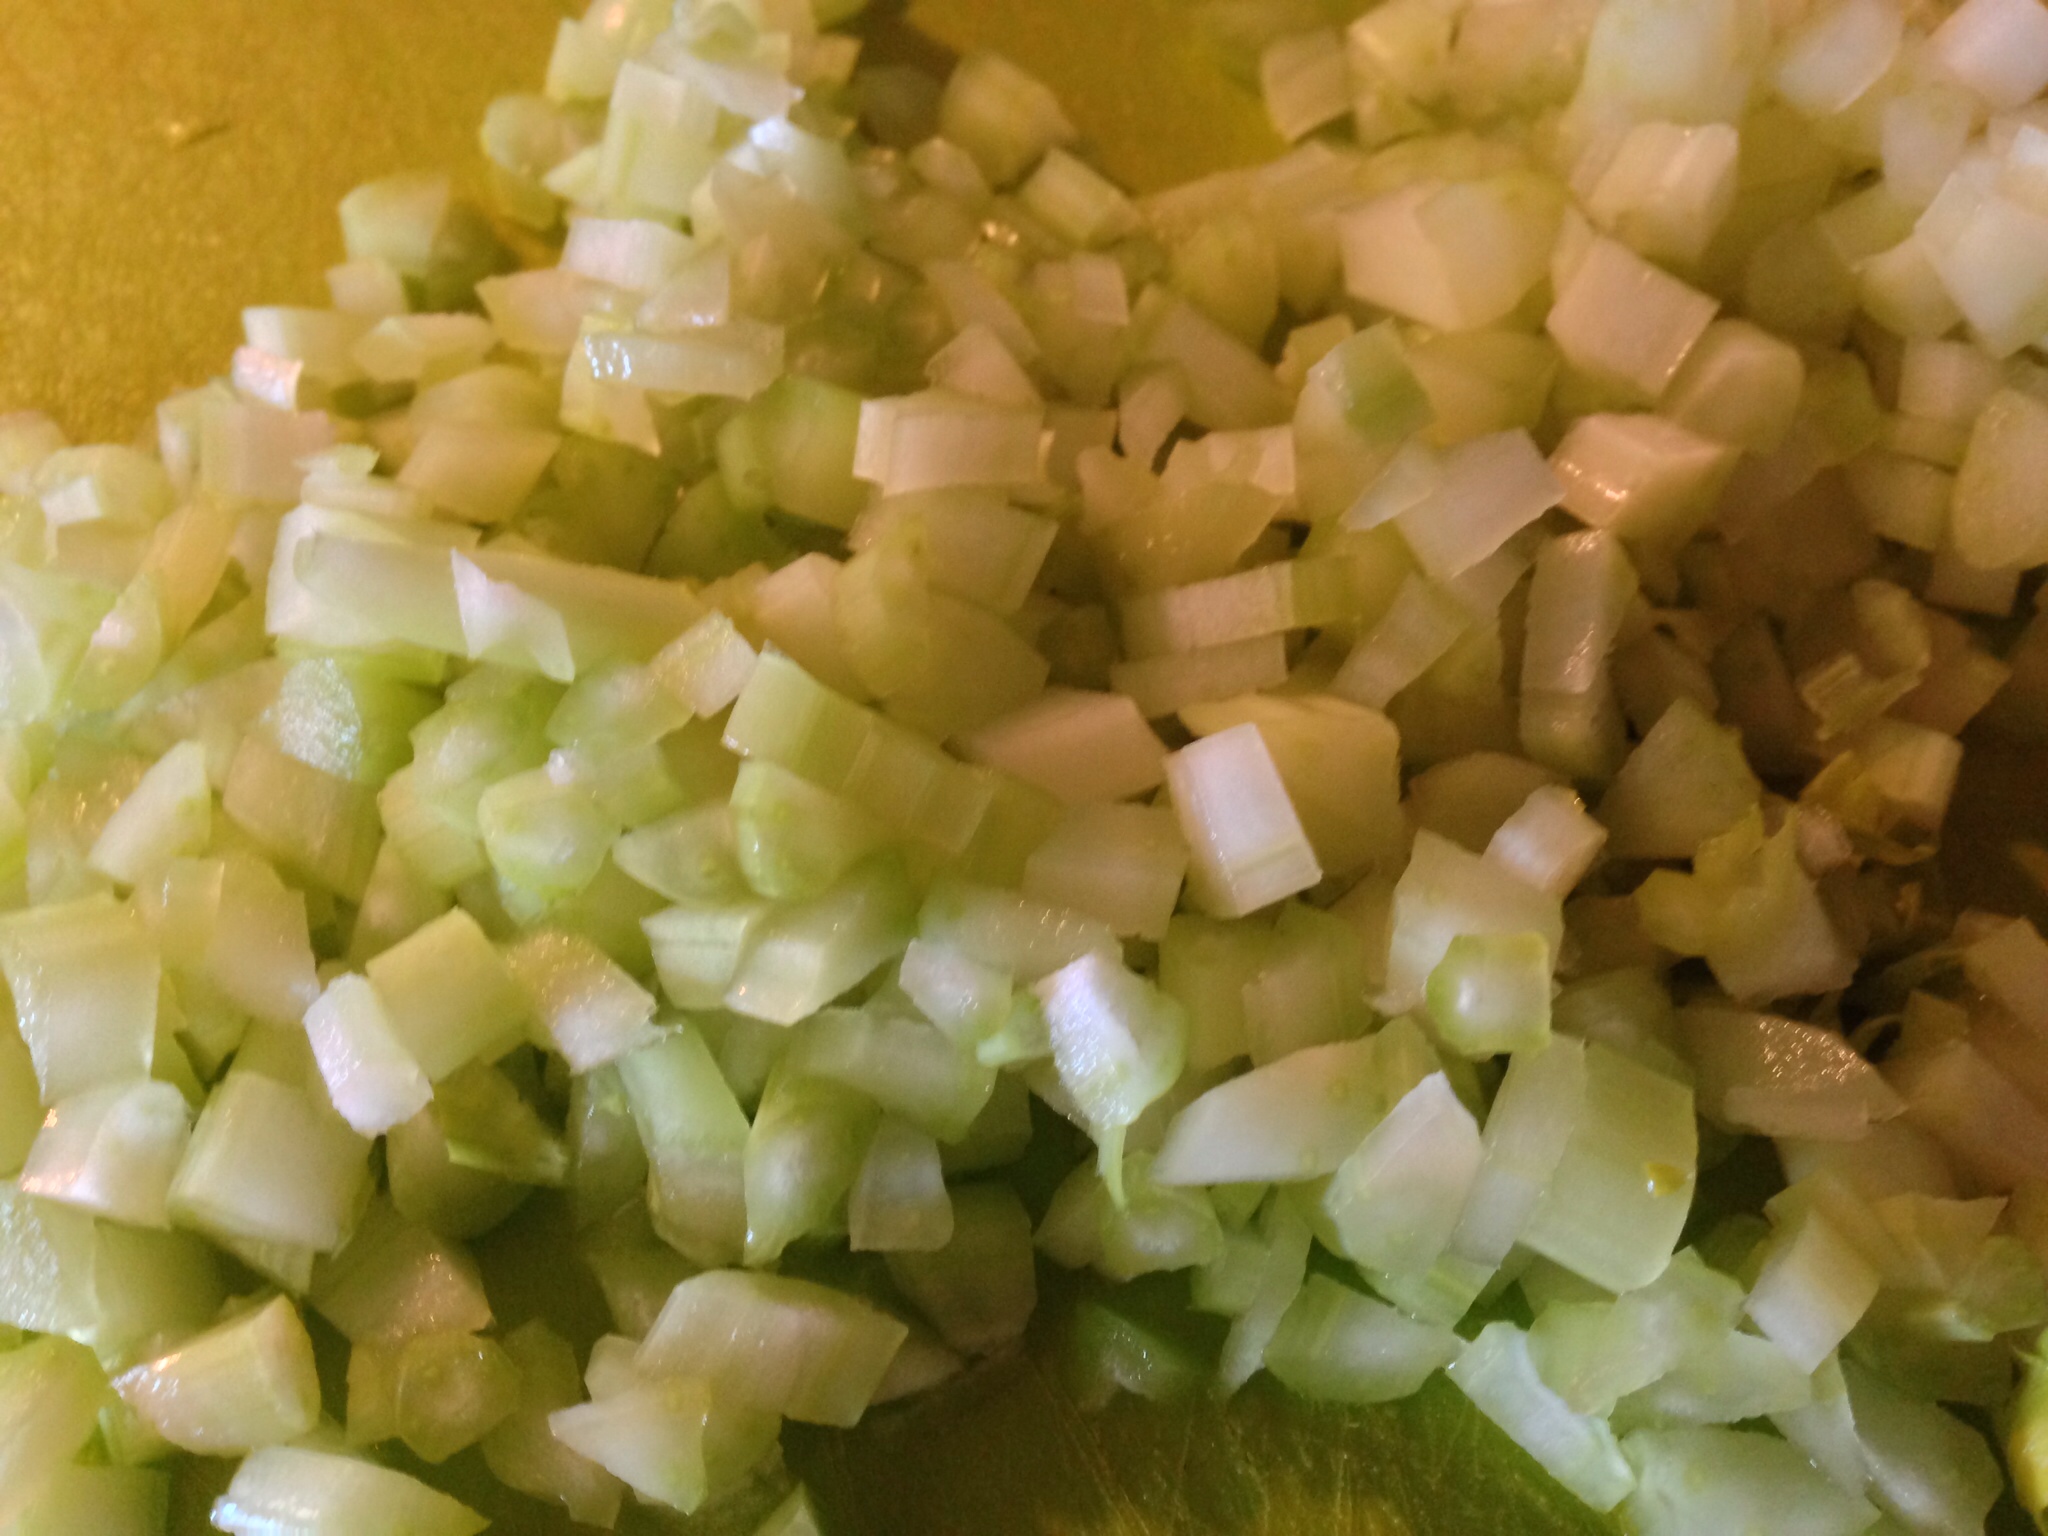
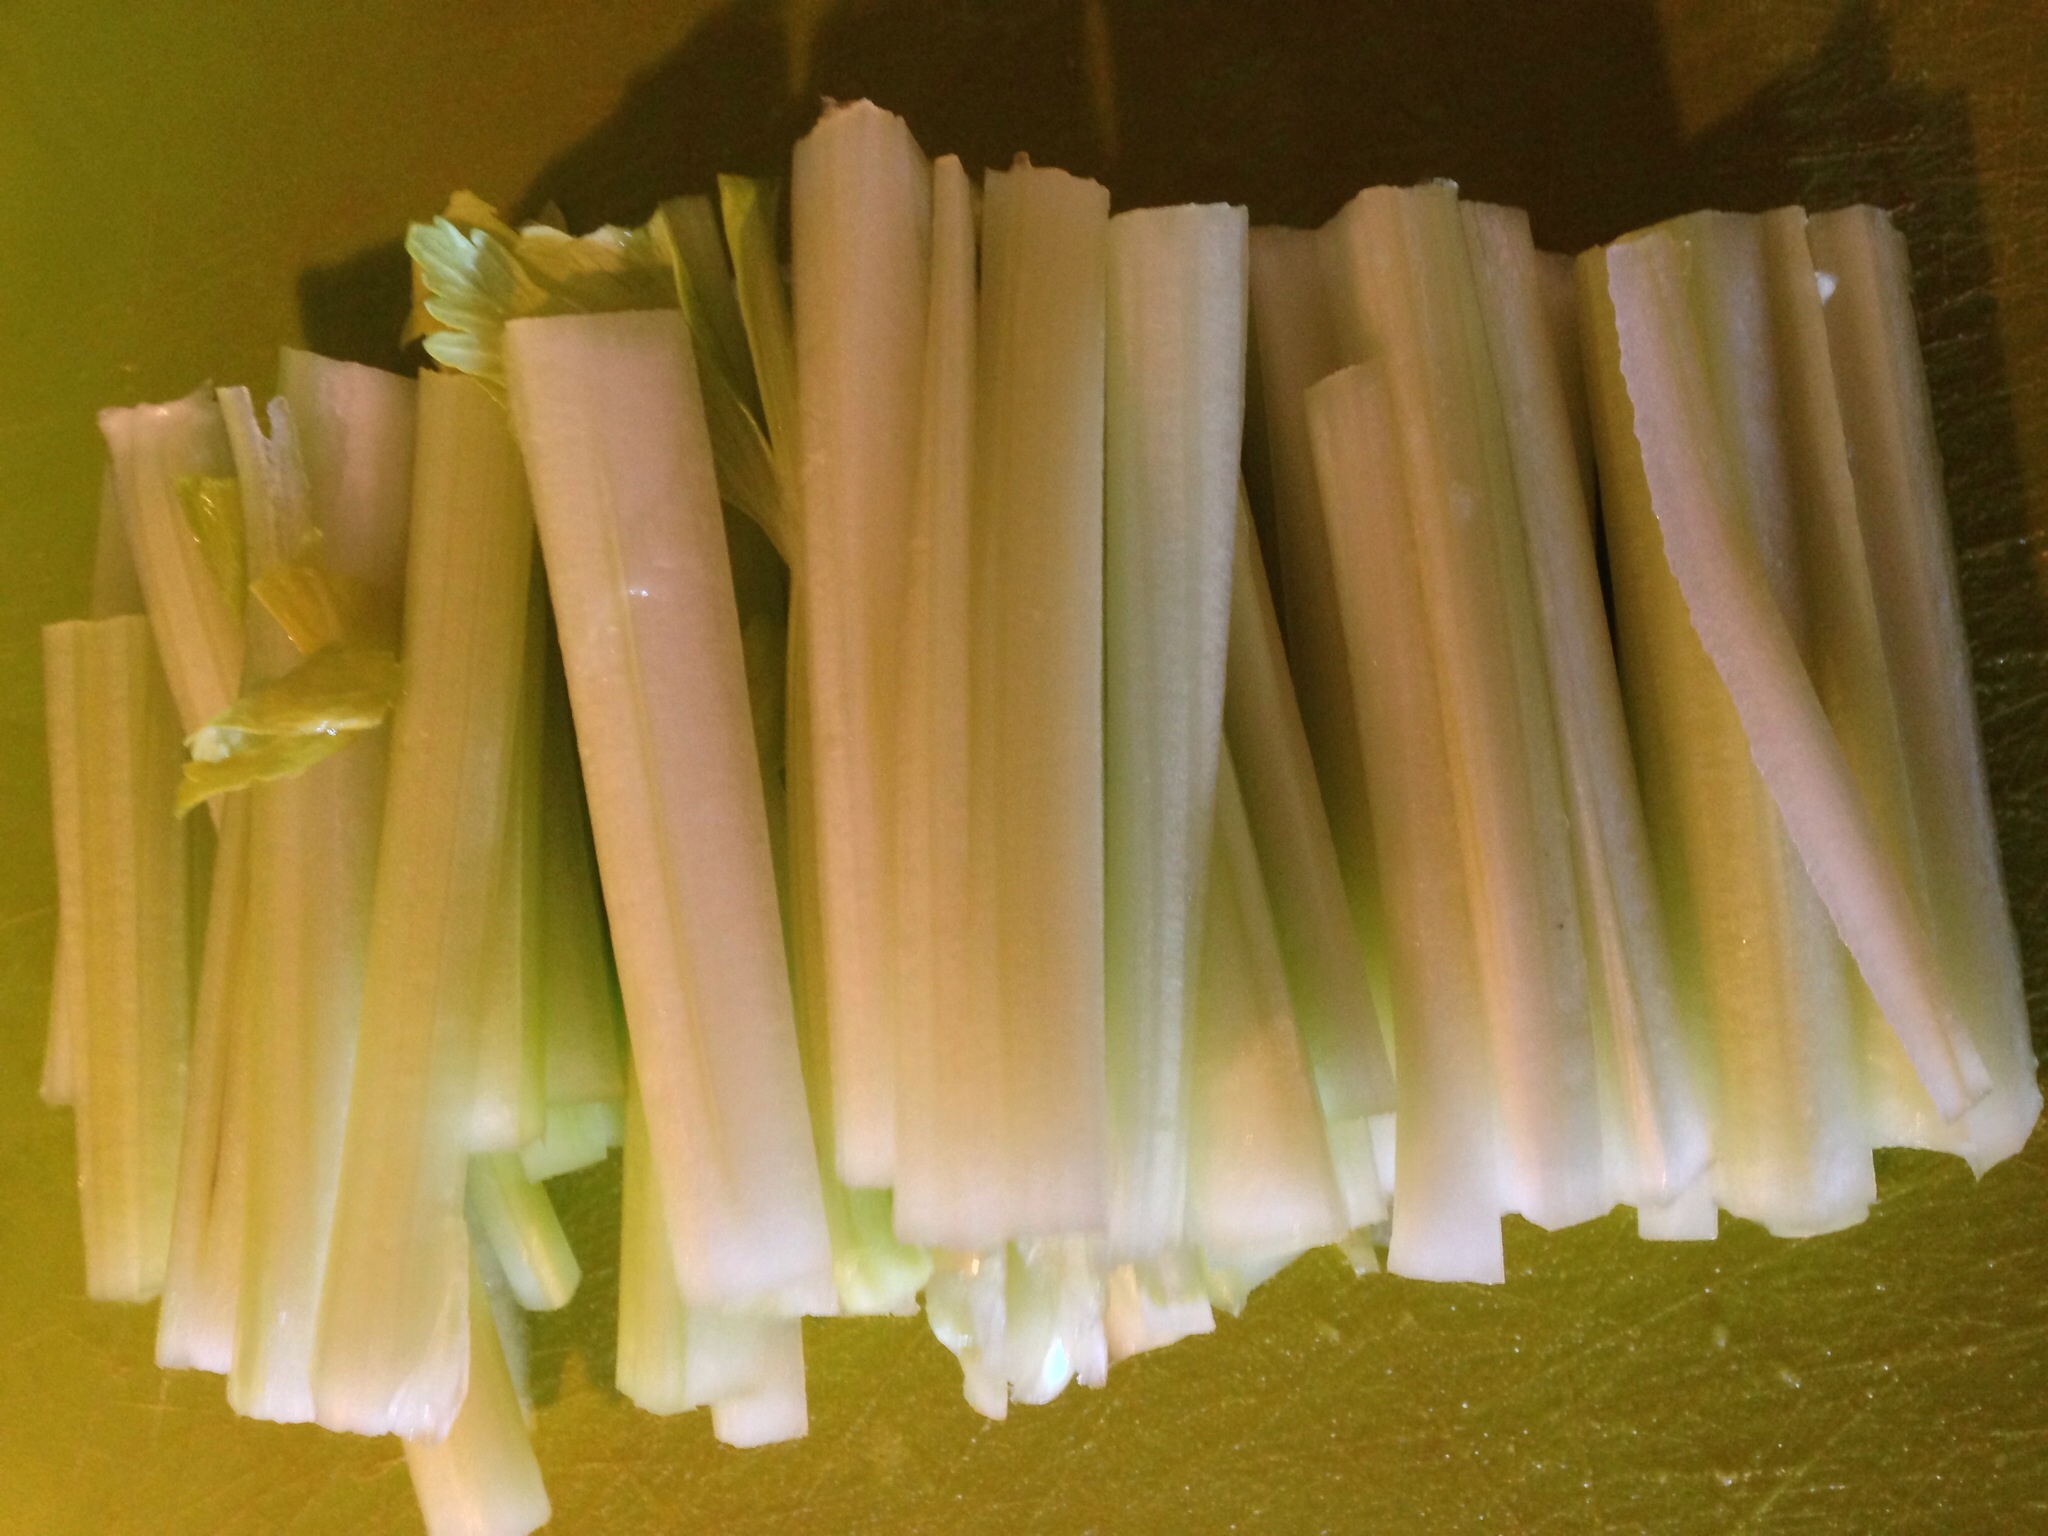
Prep the celery. Cut into sticks then dice.
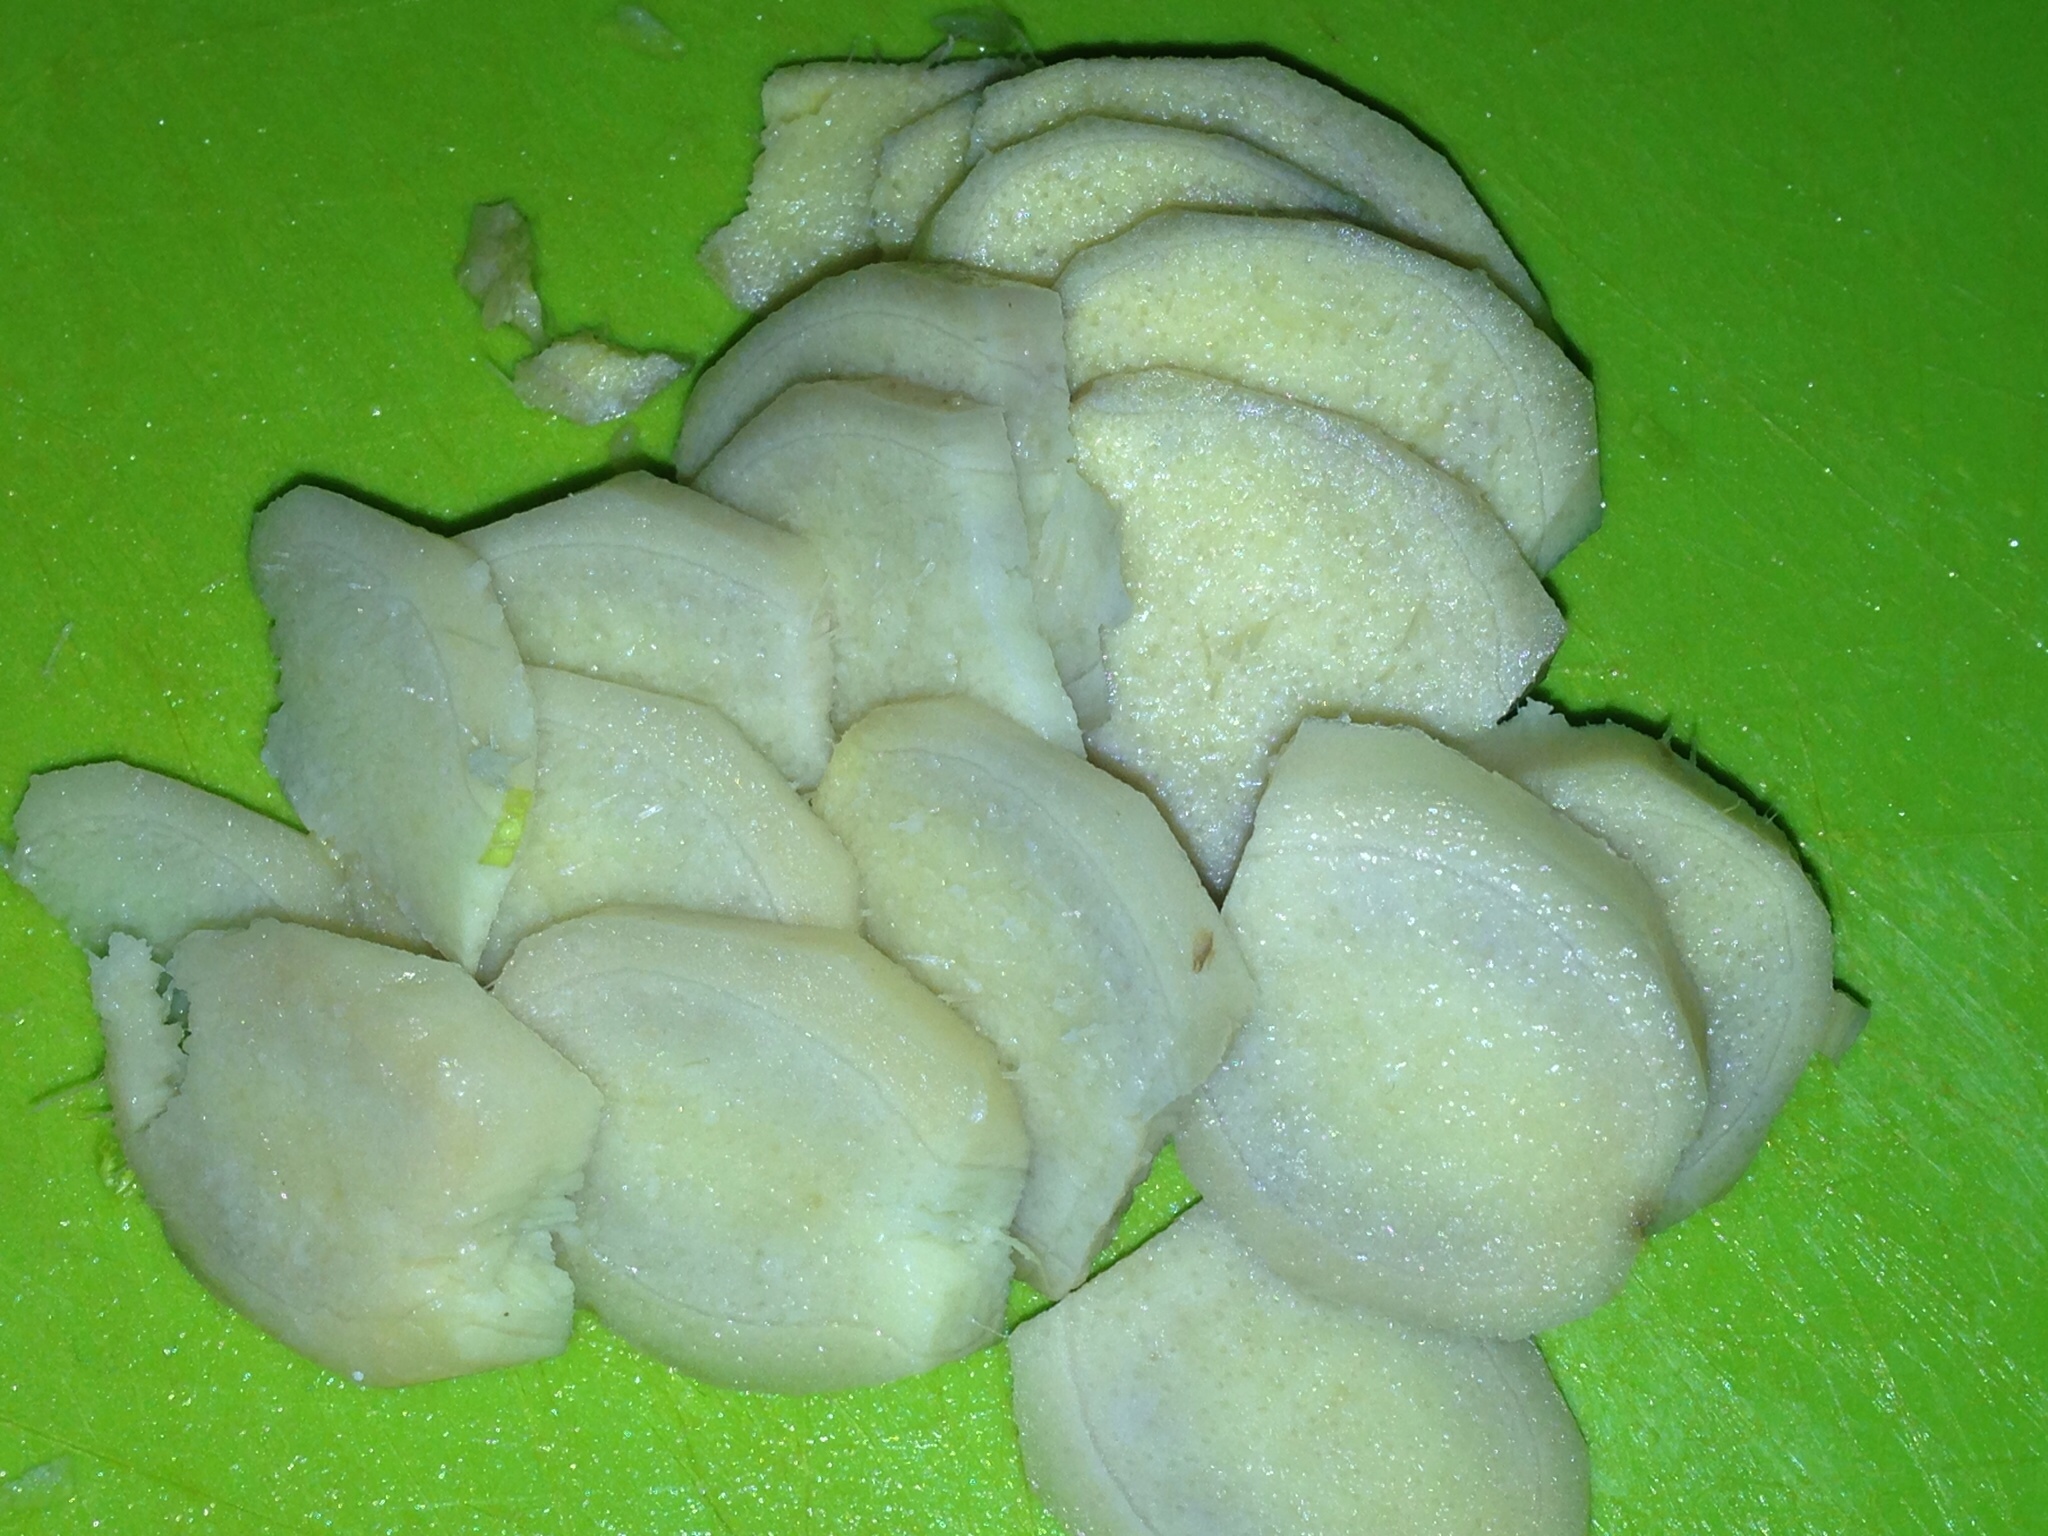
Prep the ginger. Peel (scrape the skin with a spoon) then thinly slice the ginger.
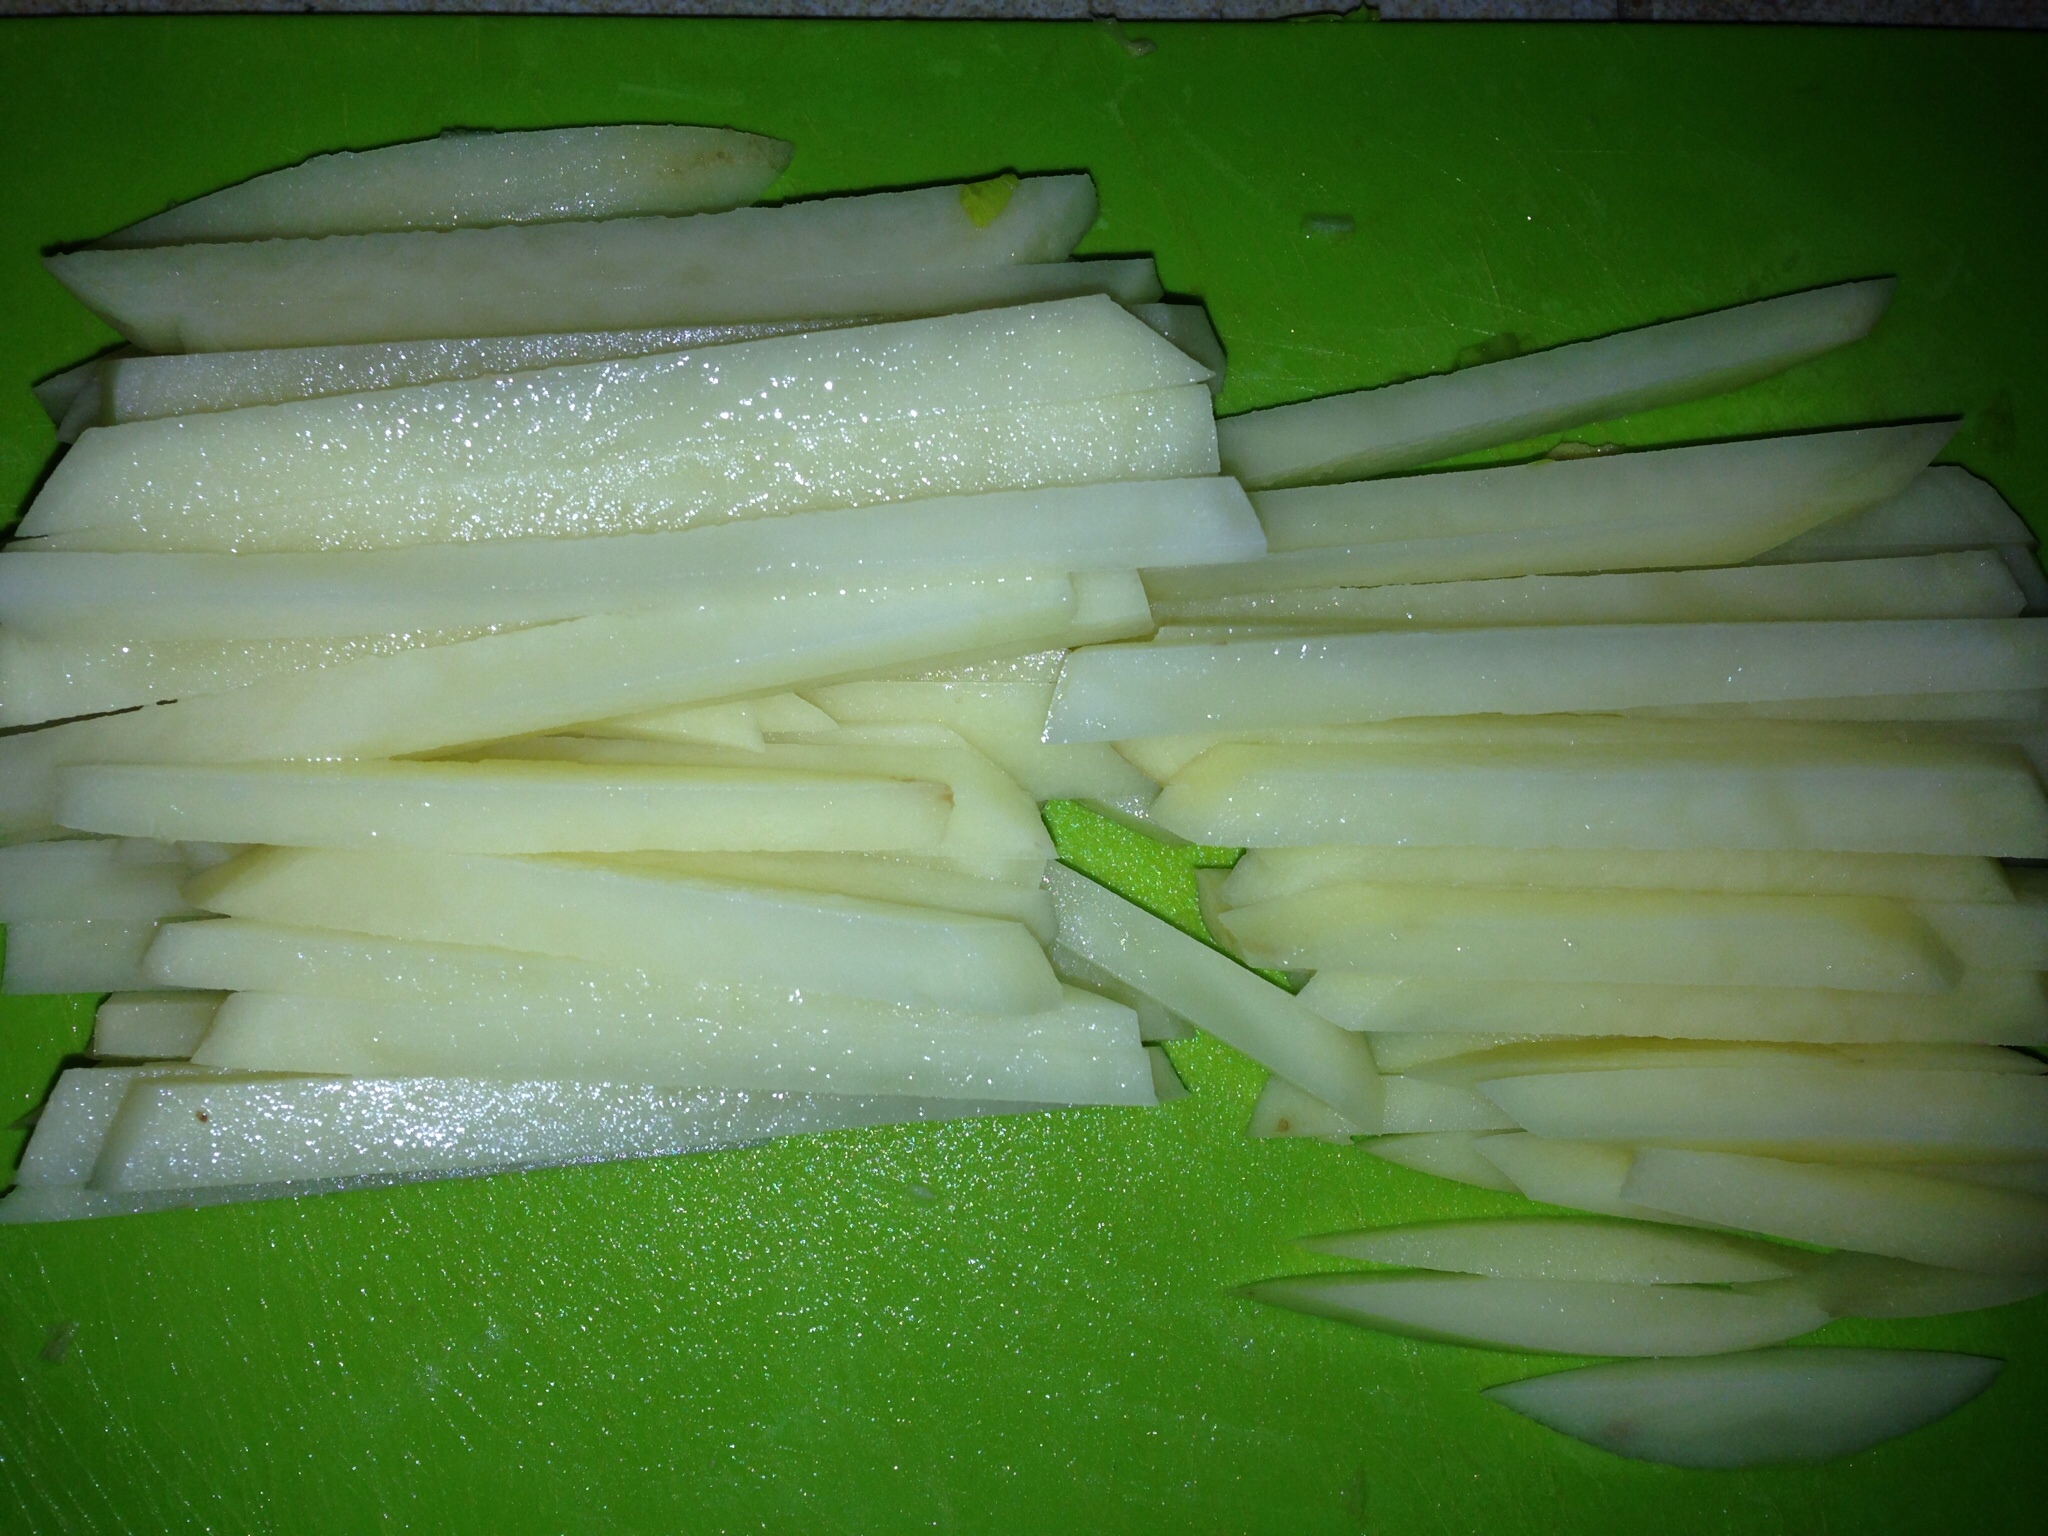
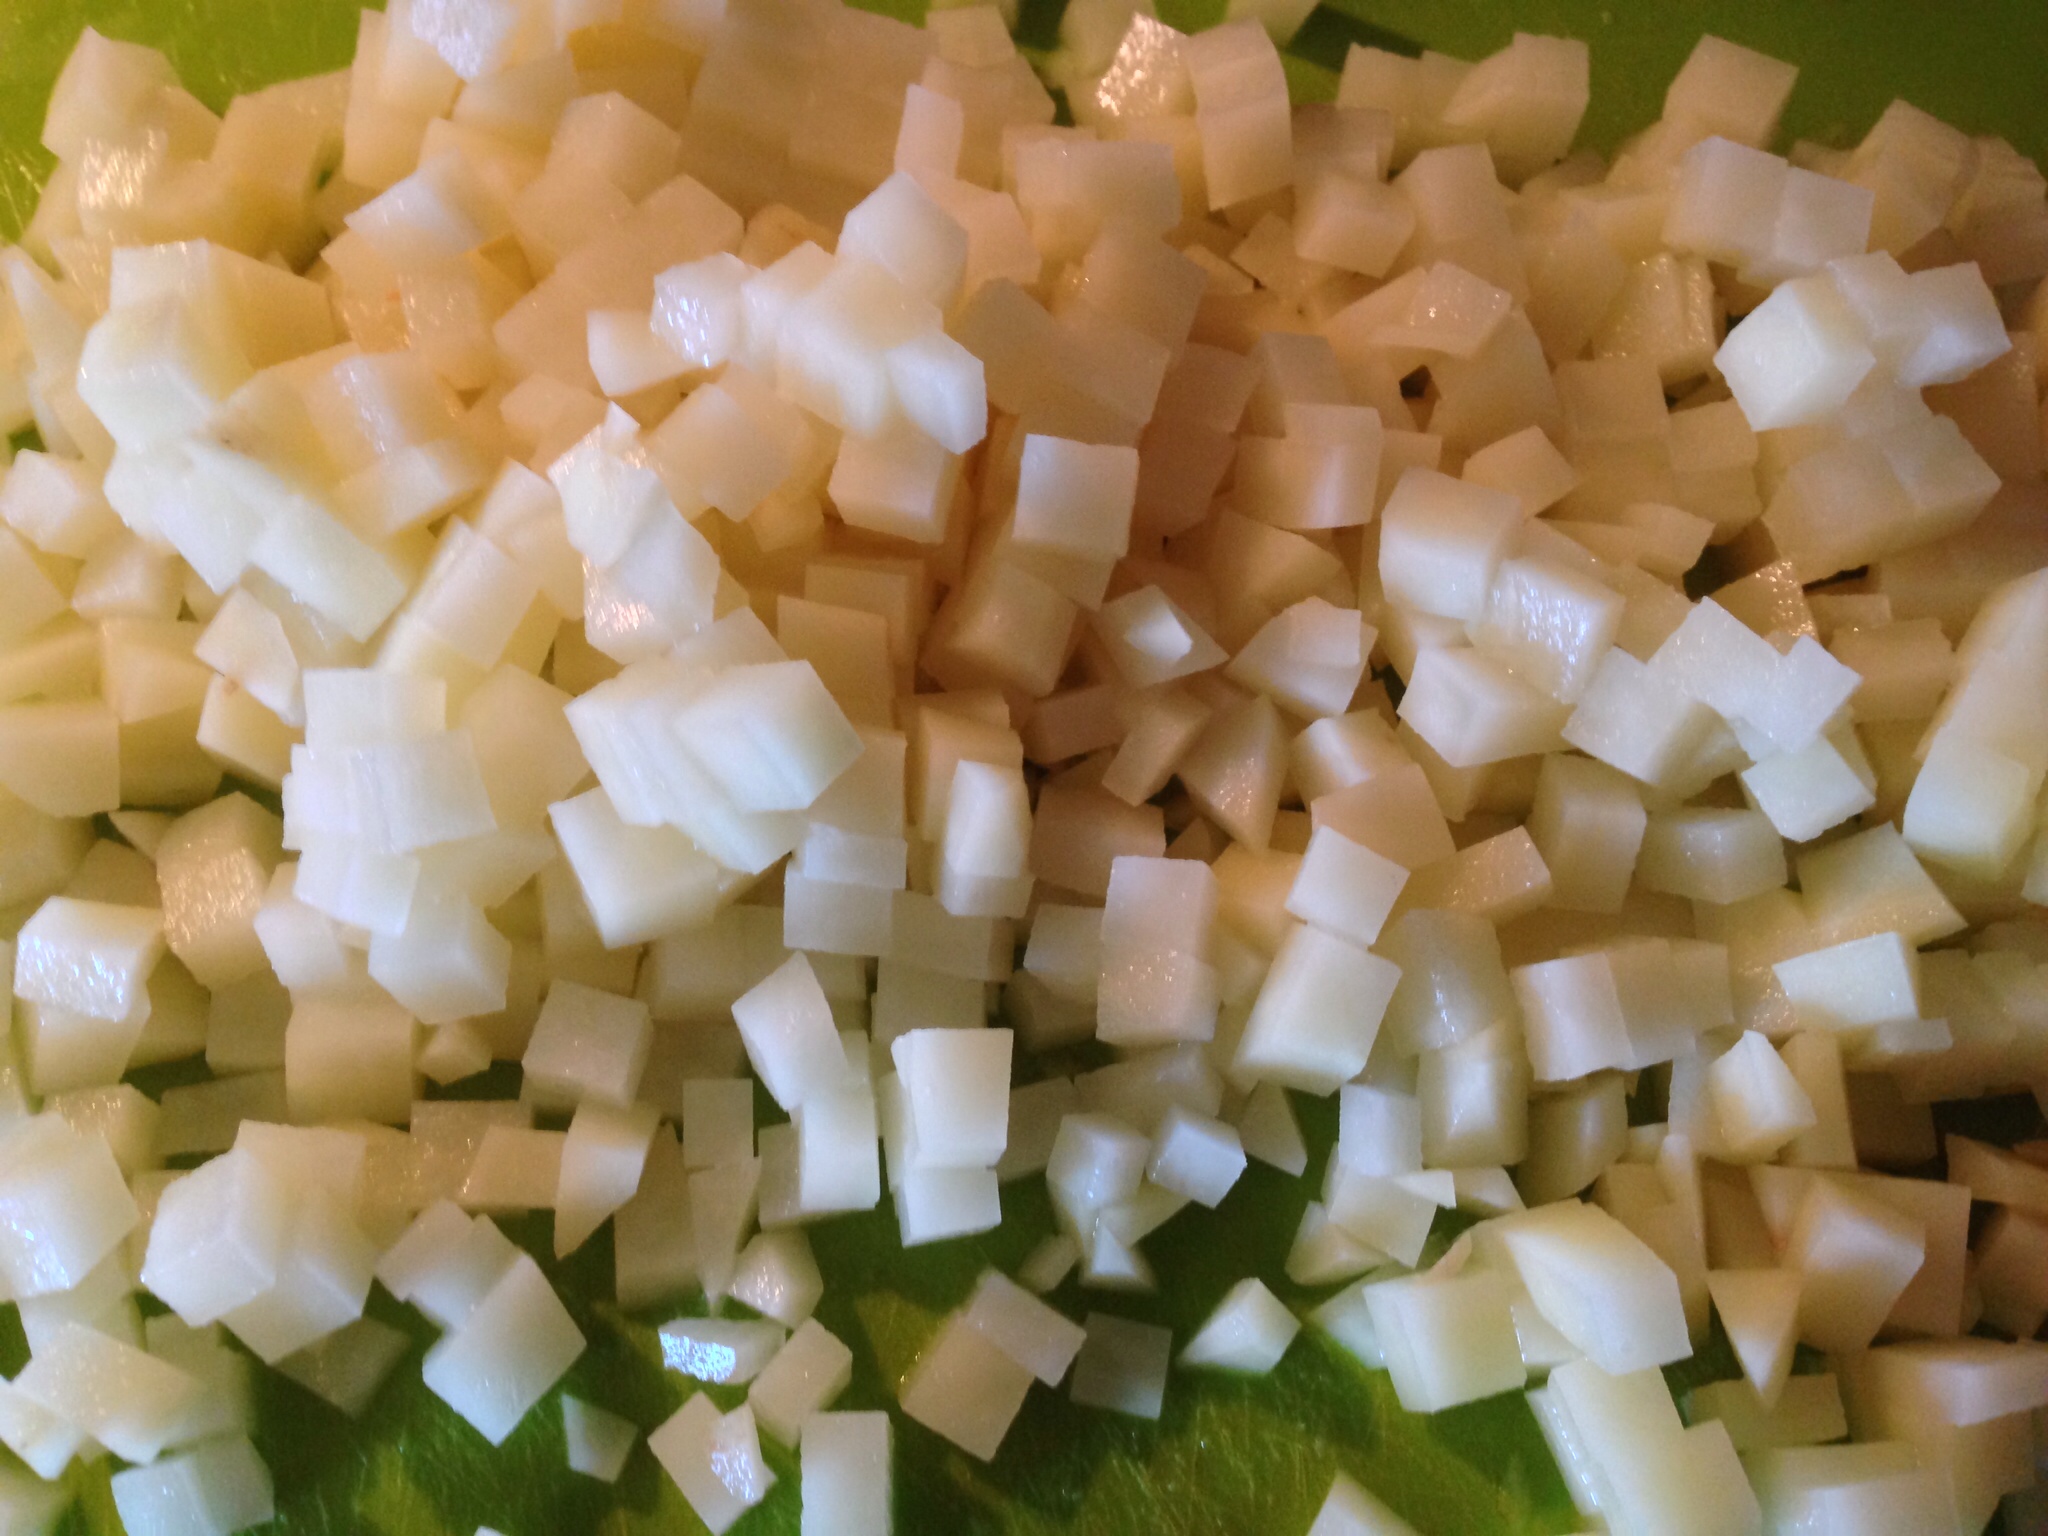
Prep the potato. Peel the potato. Cut into sticks (like french fries) then dice.
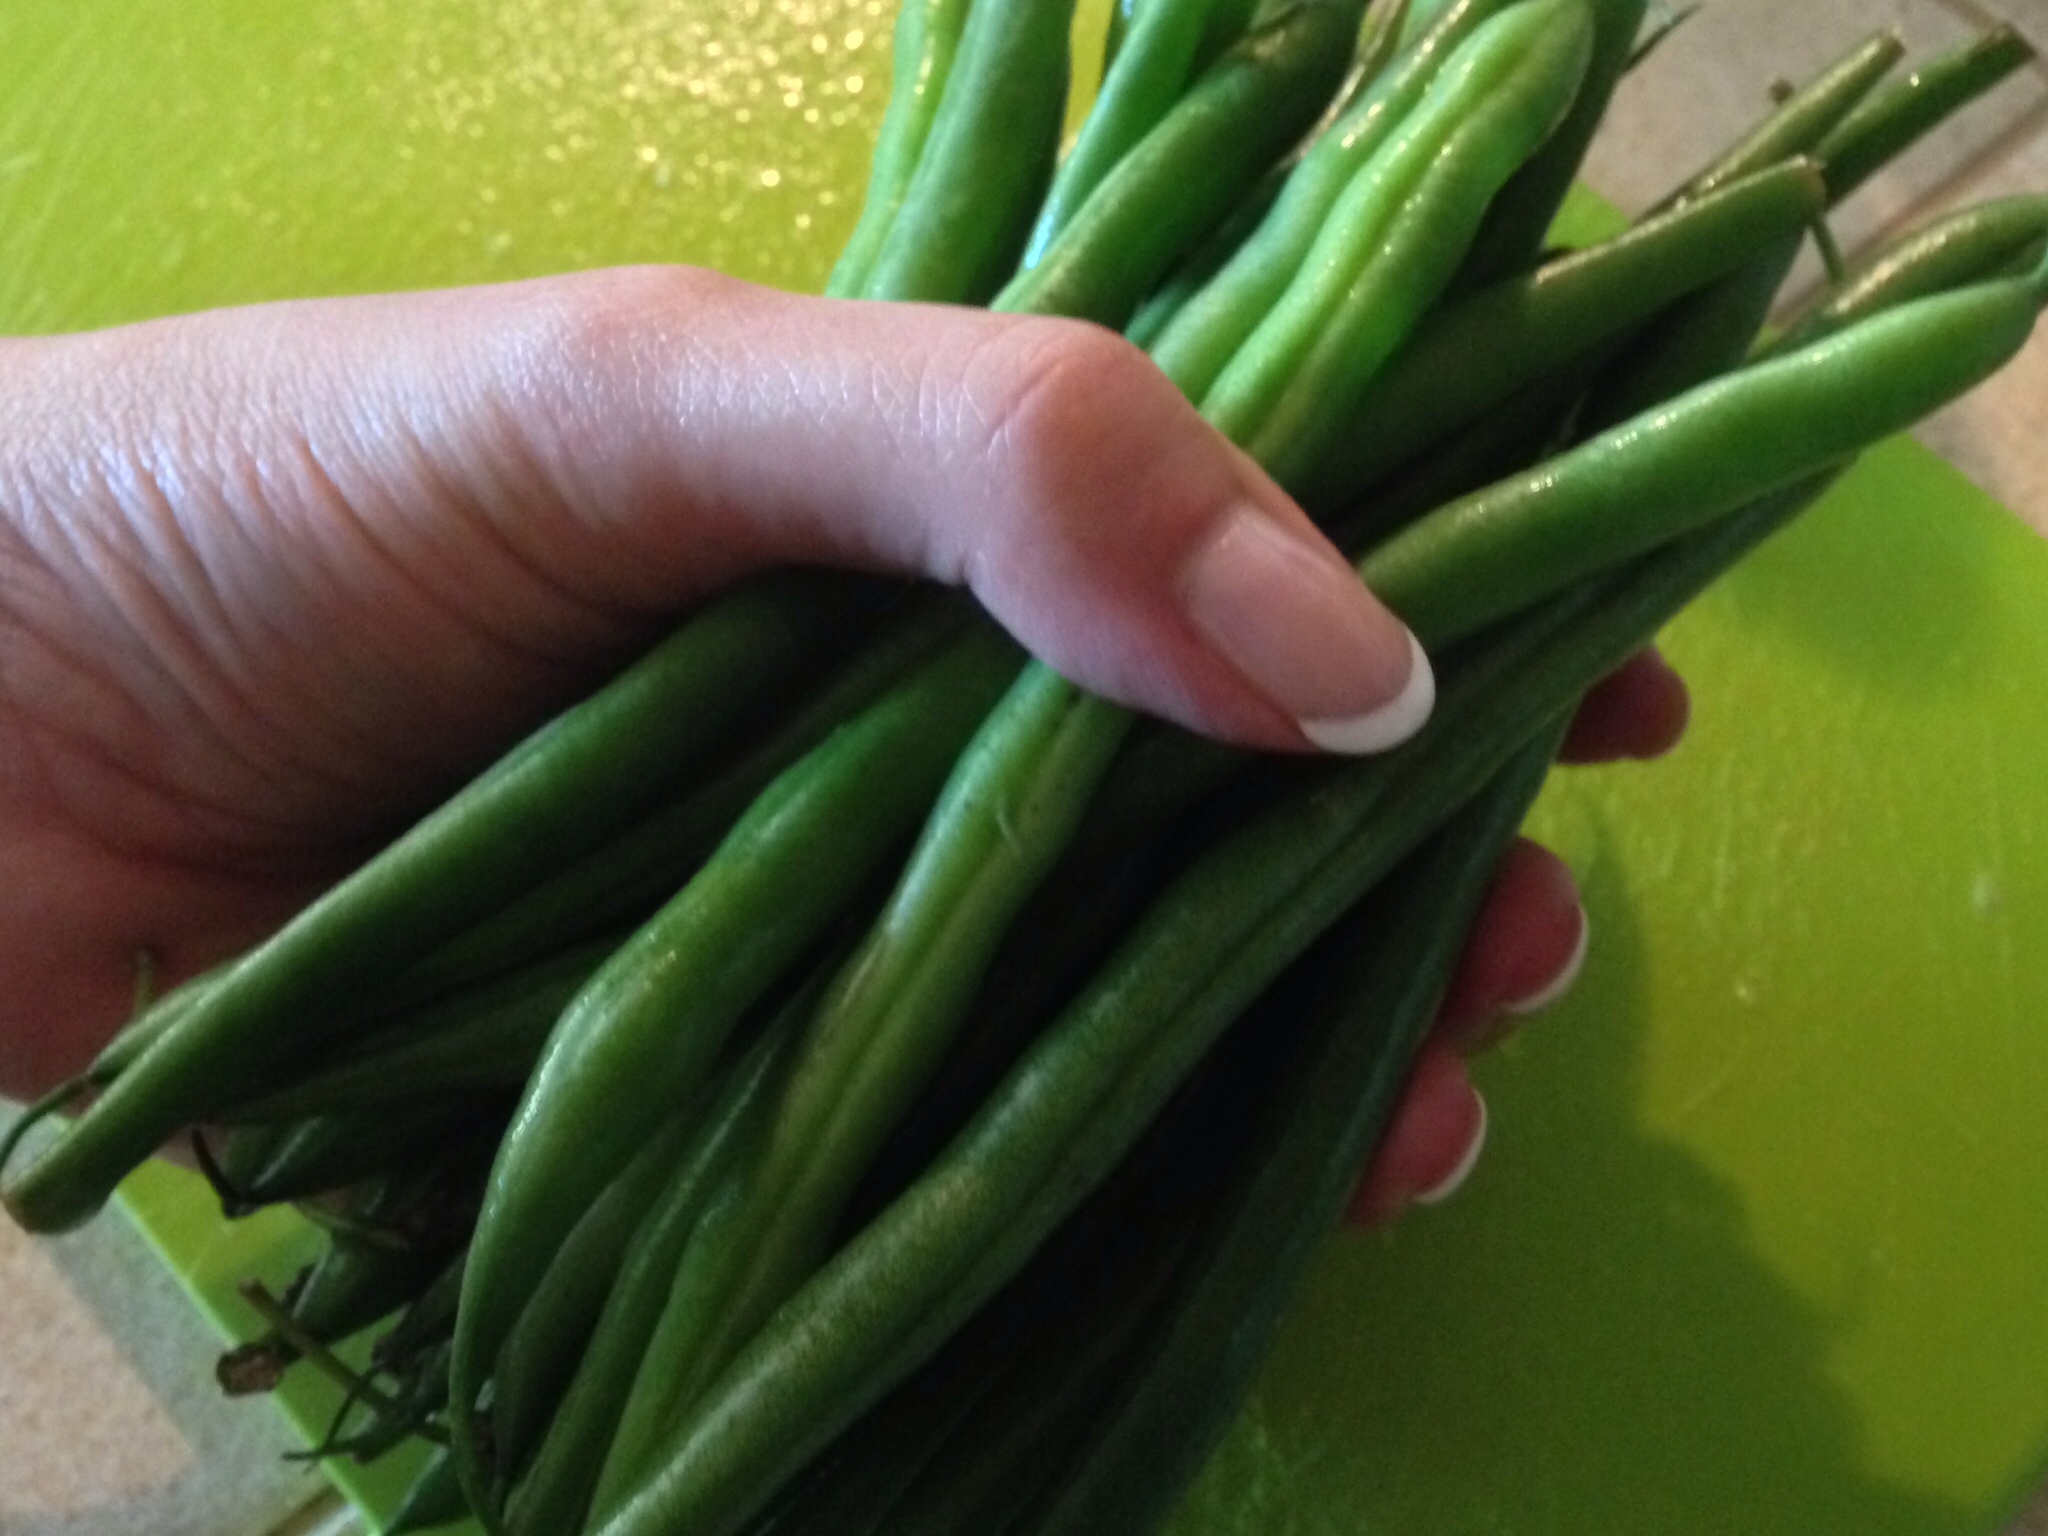
Prep the beans. In my list of ingredients, I stated “a handful” of beans was enough. This is what I mean by “a handful.”
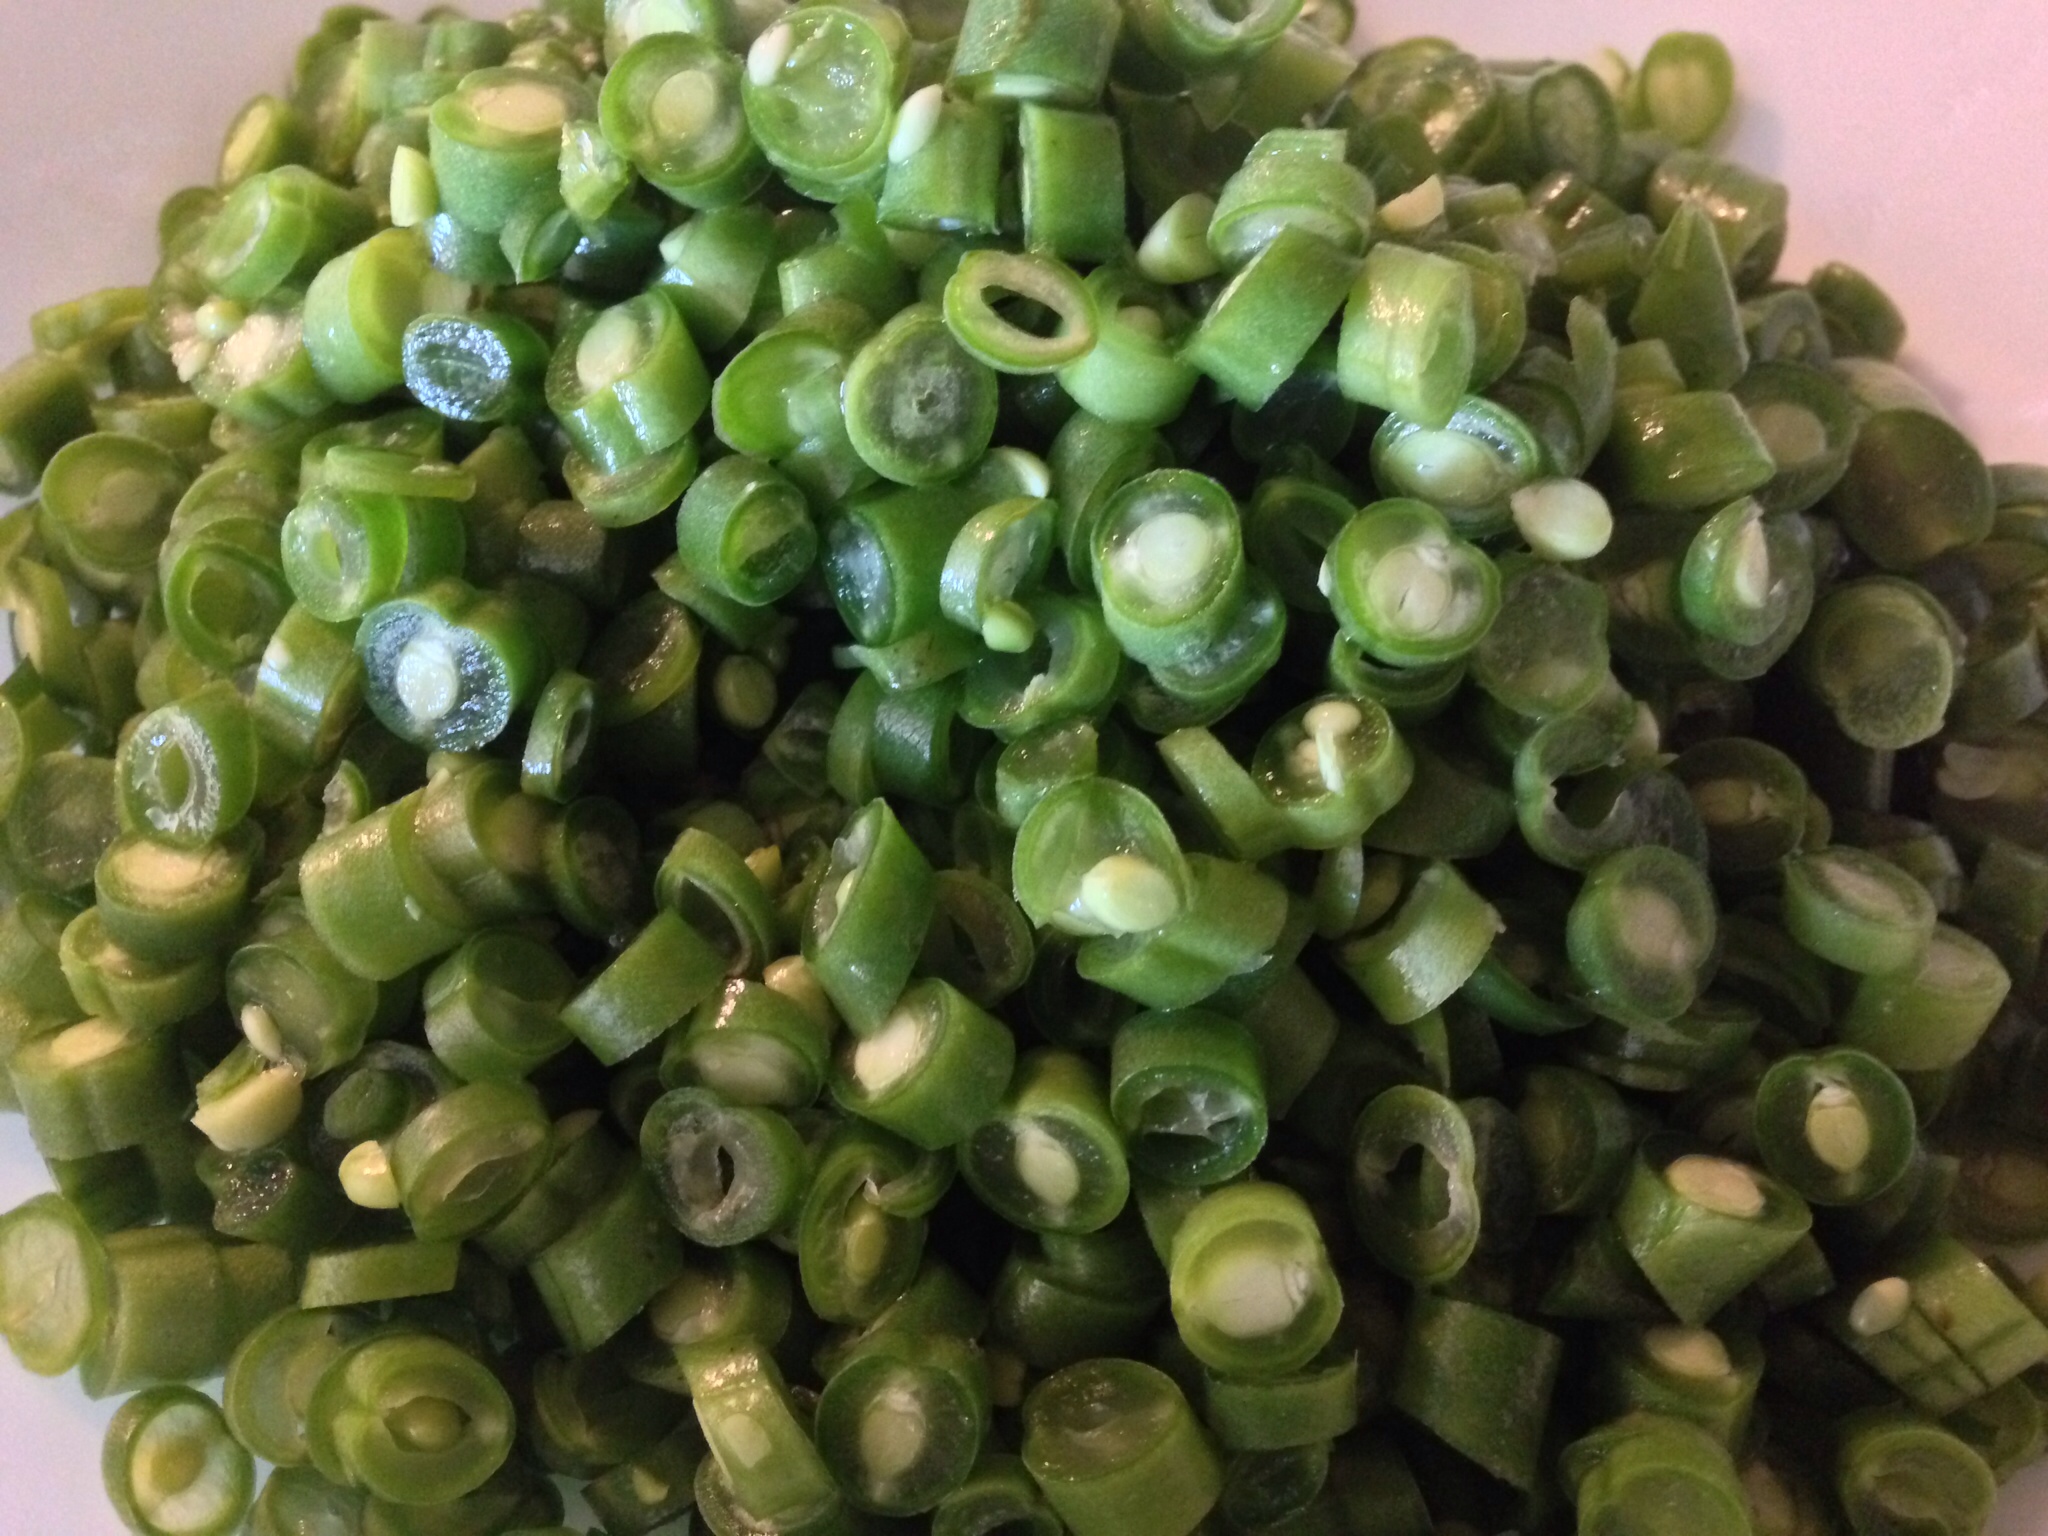
Cut the tips off the ends of the beans, then thinly slice them.
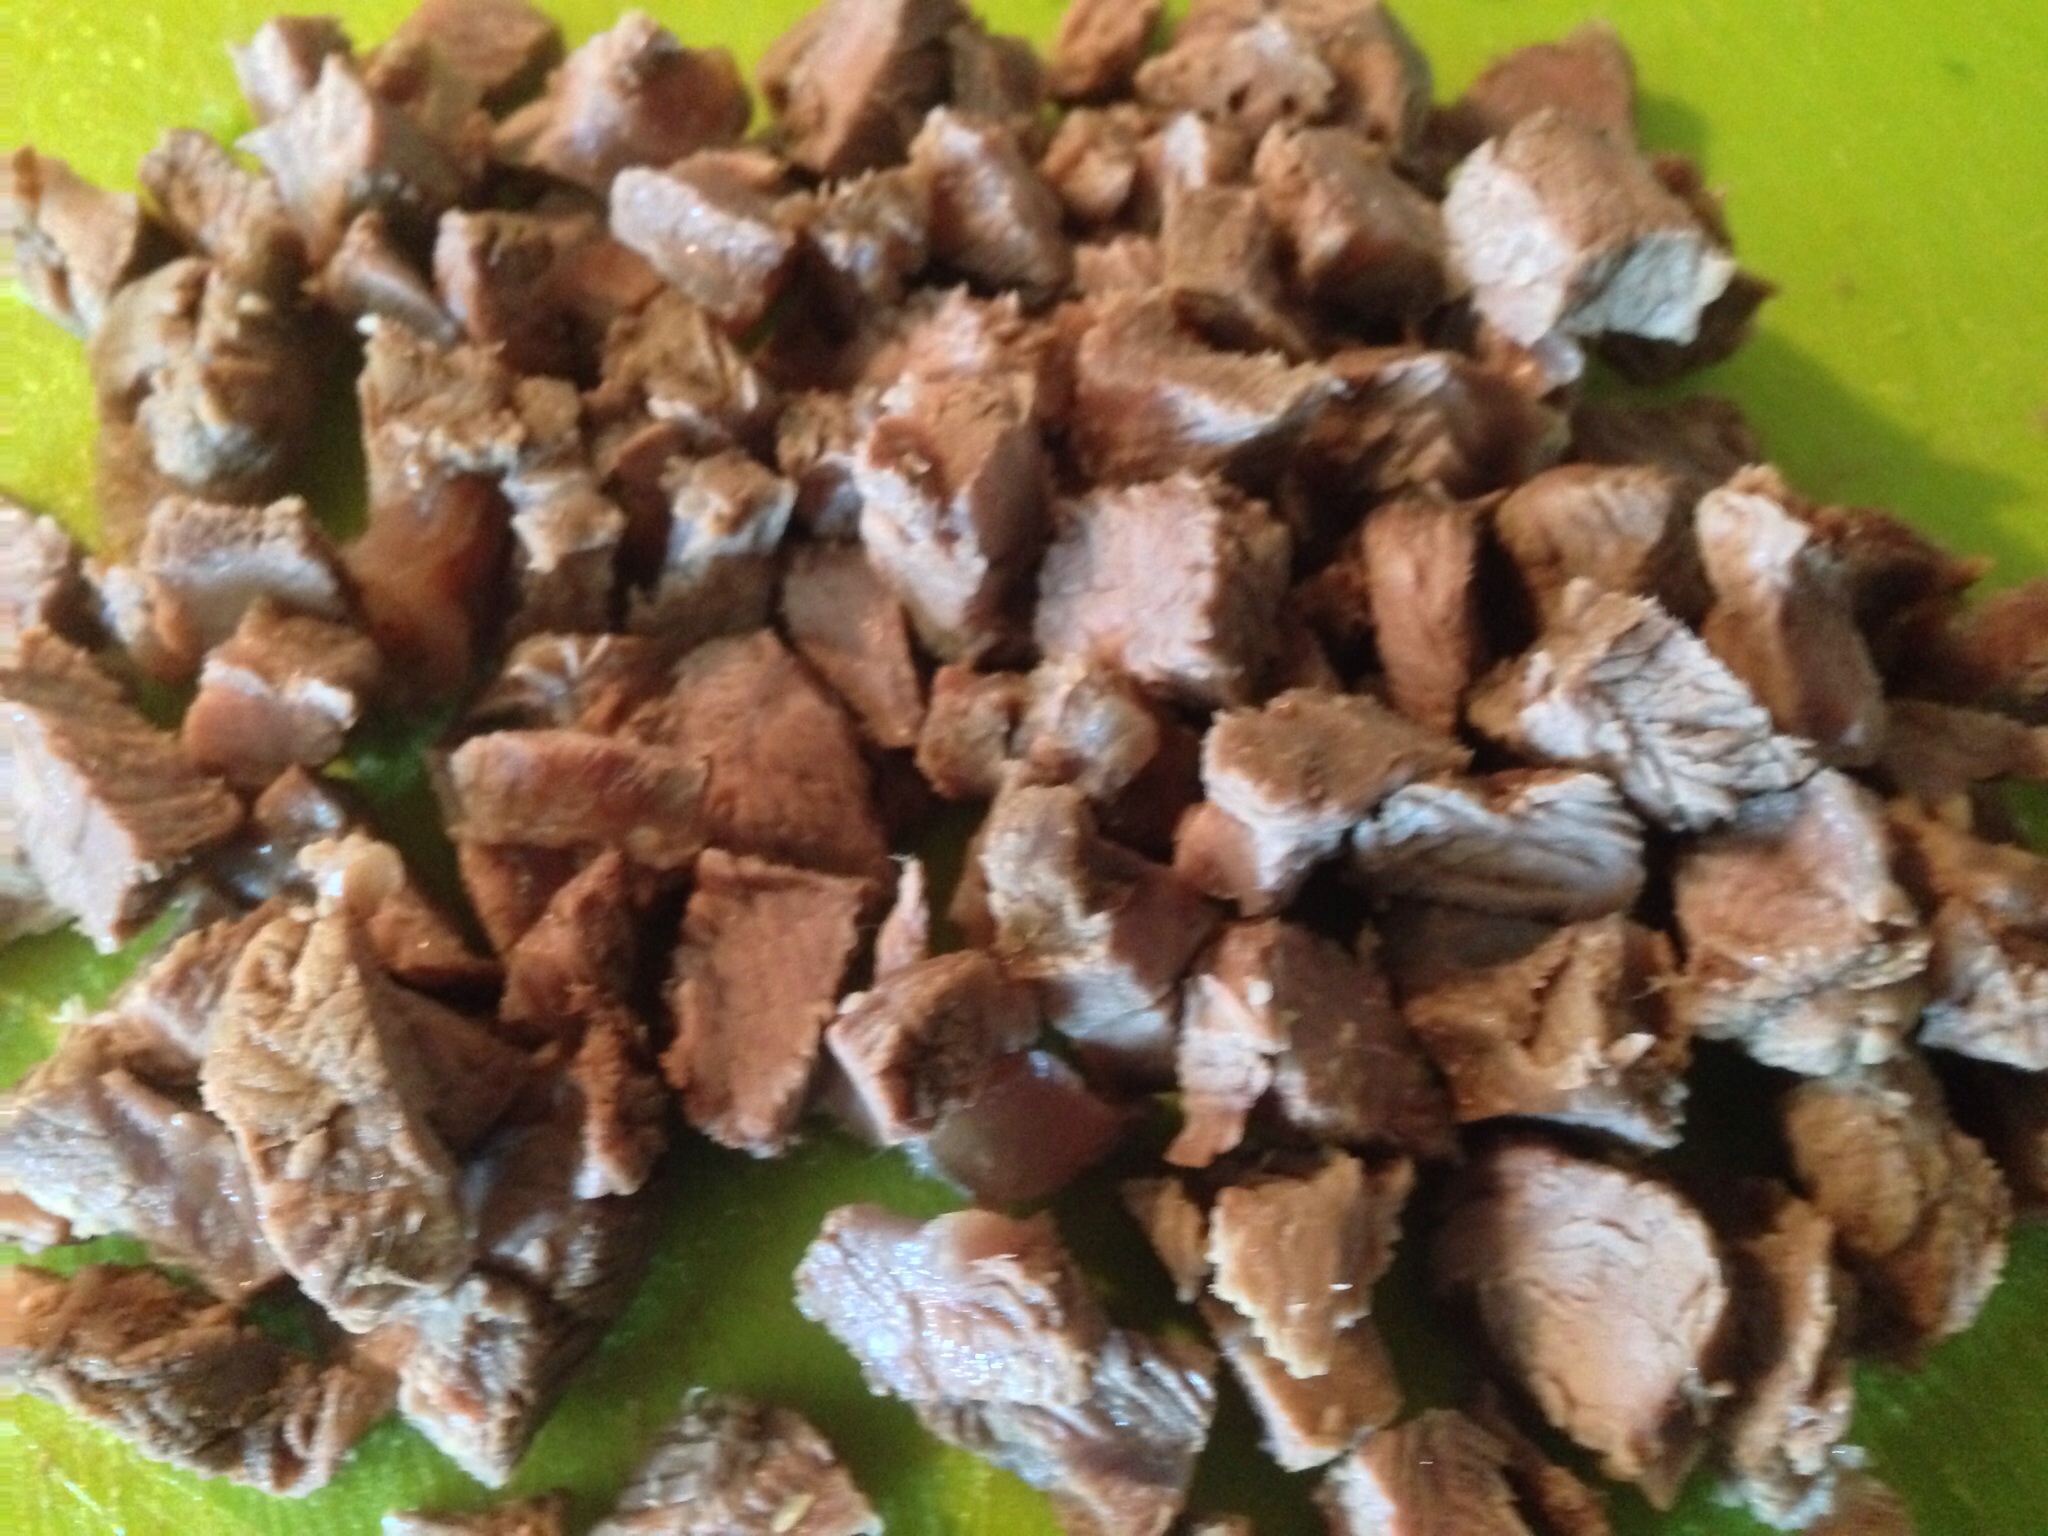
4. After a couple of hours of simmering, the sinew in the large chunks of shank meat should have broken down and softened. Remove the large chunks of meat from the pot. Let it cool then cut the meat into small pieces then return the meat to the pot.
5. Add the tomatoes (don’t forget to drain the liquid!) and cut vegetables to the pot. Stir to combine.
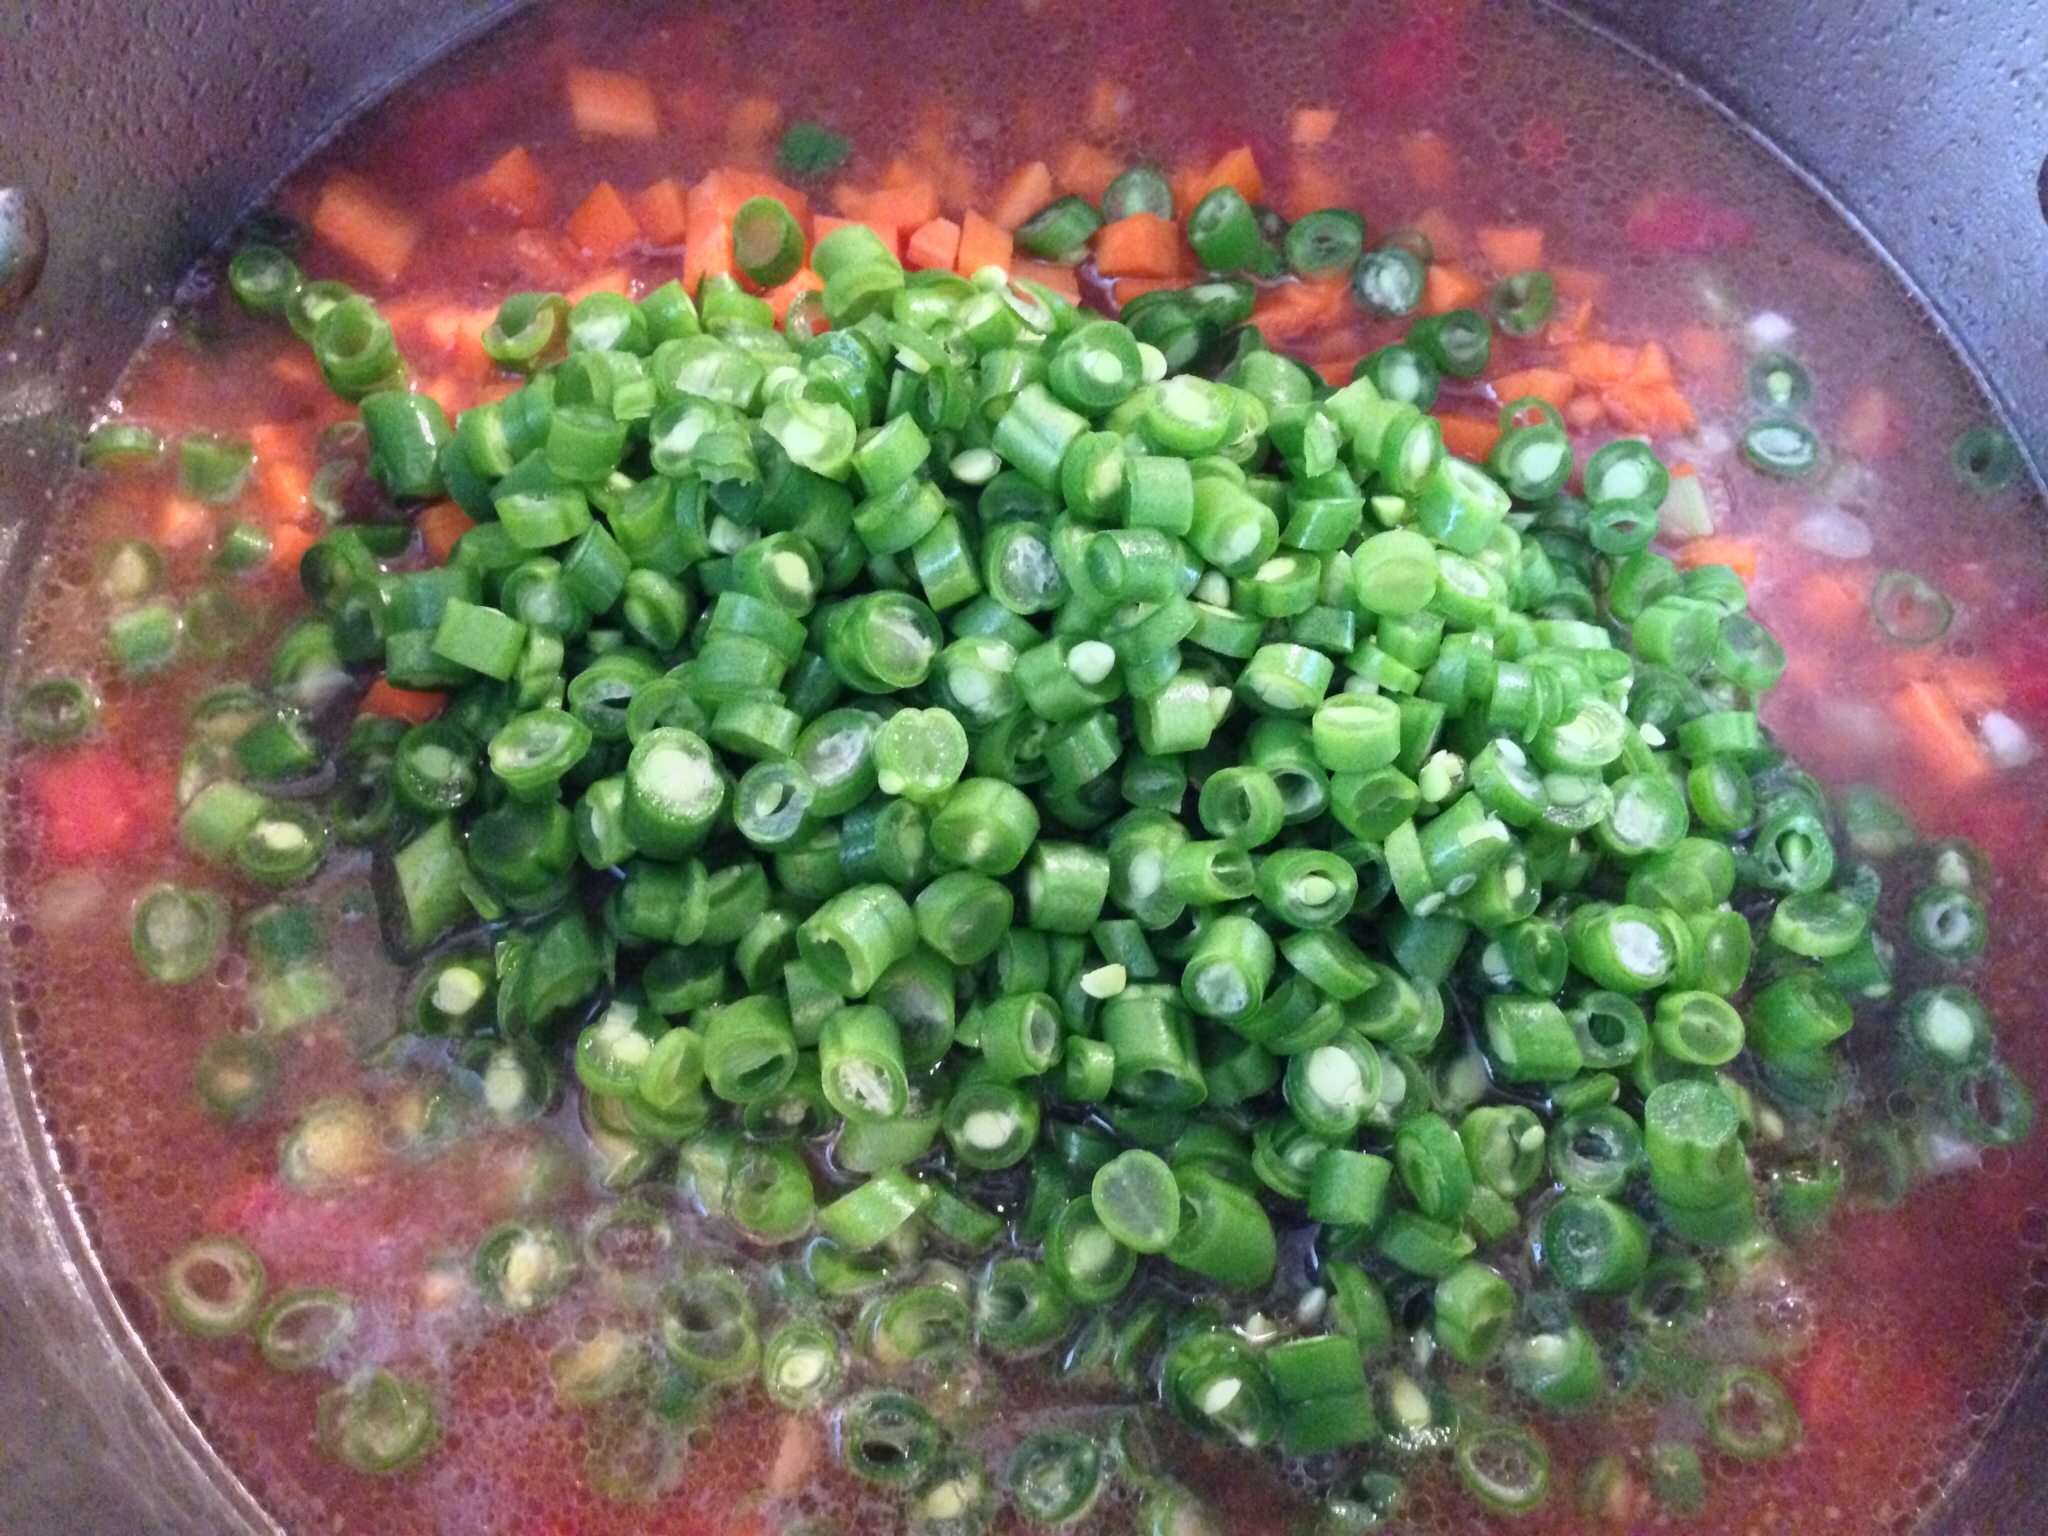
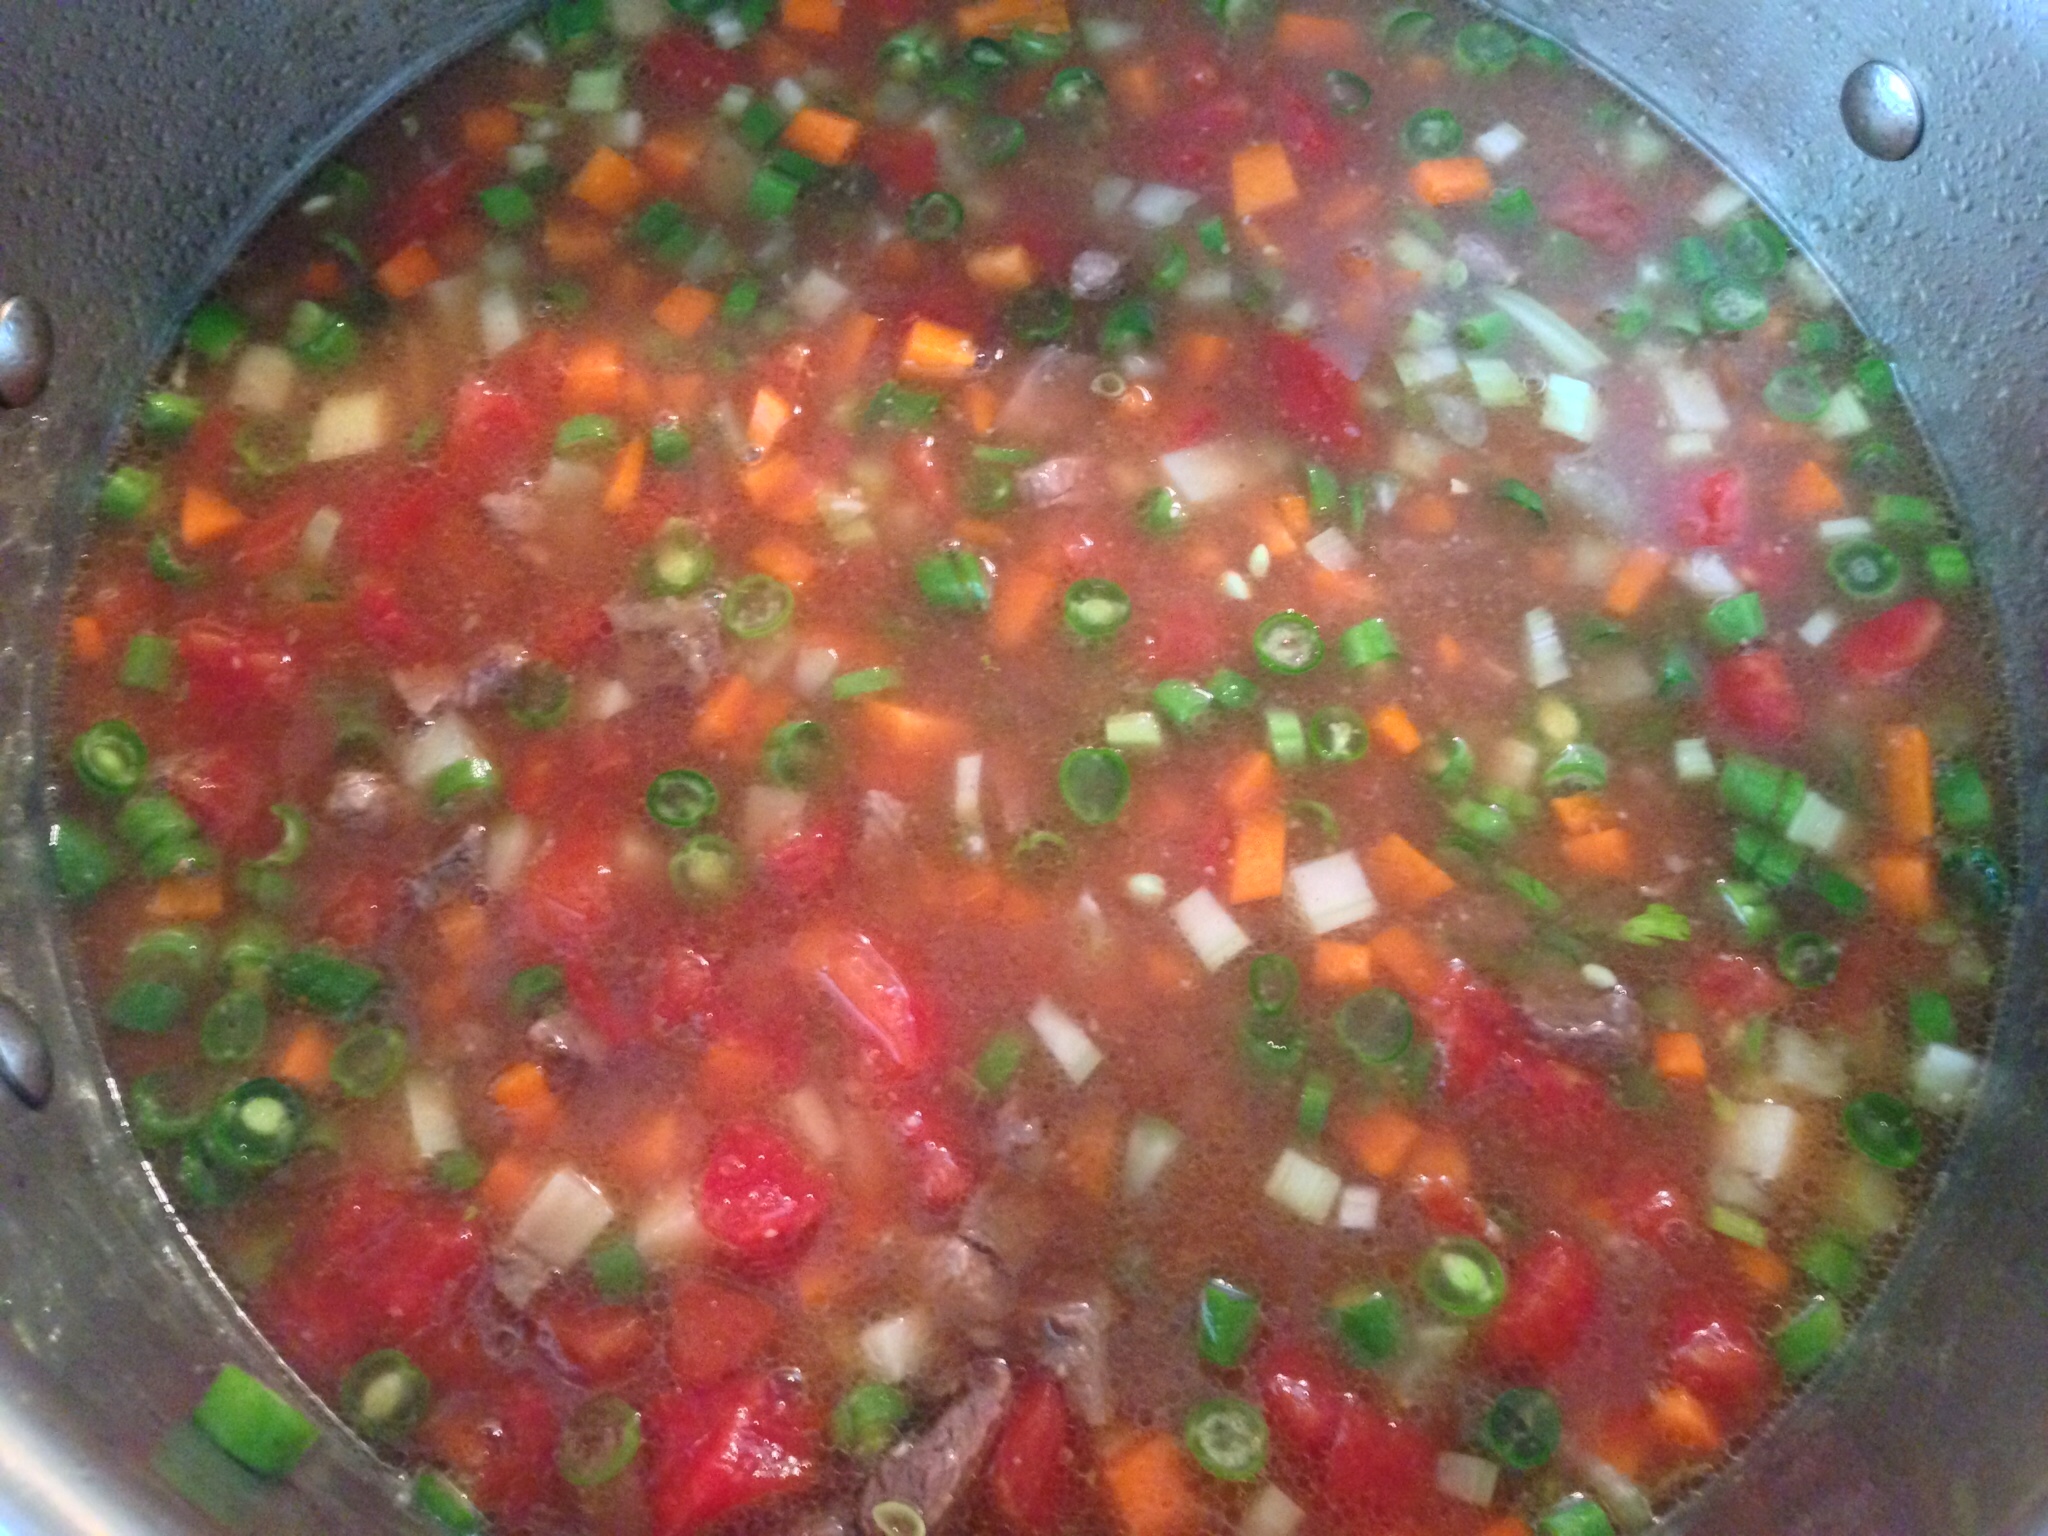
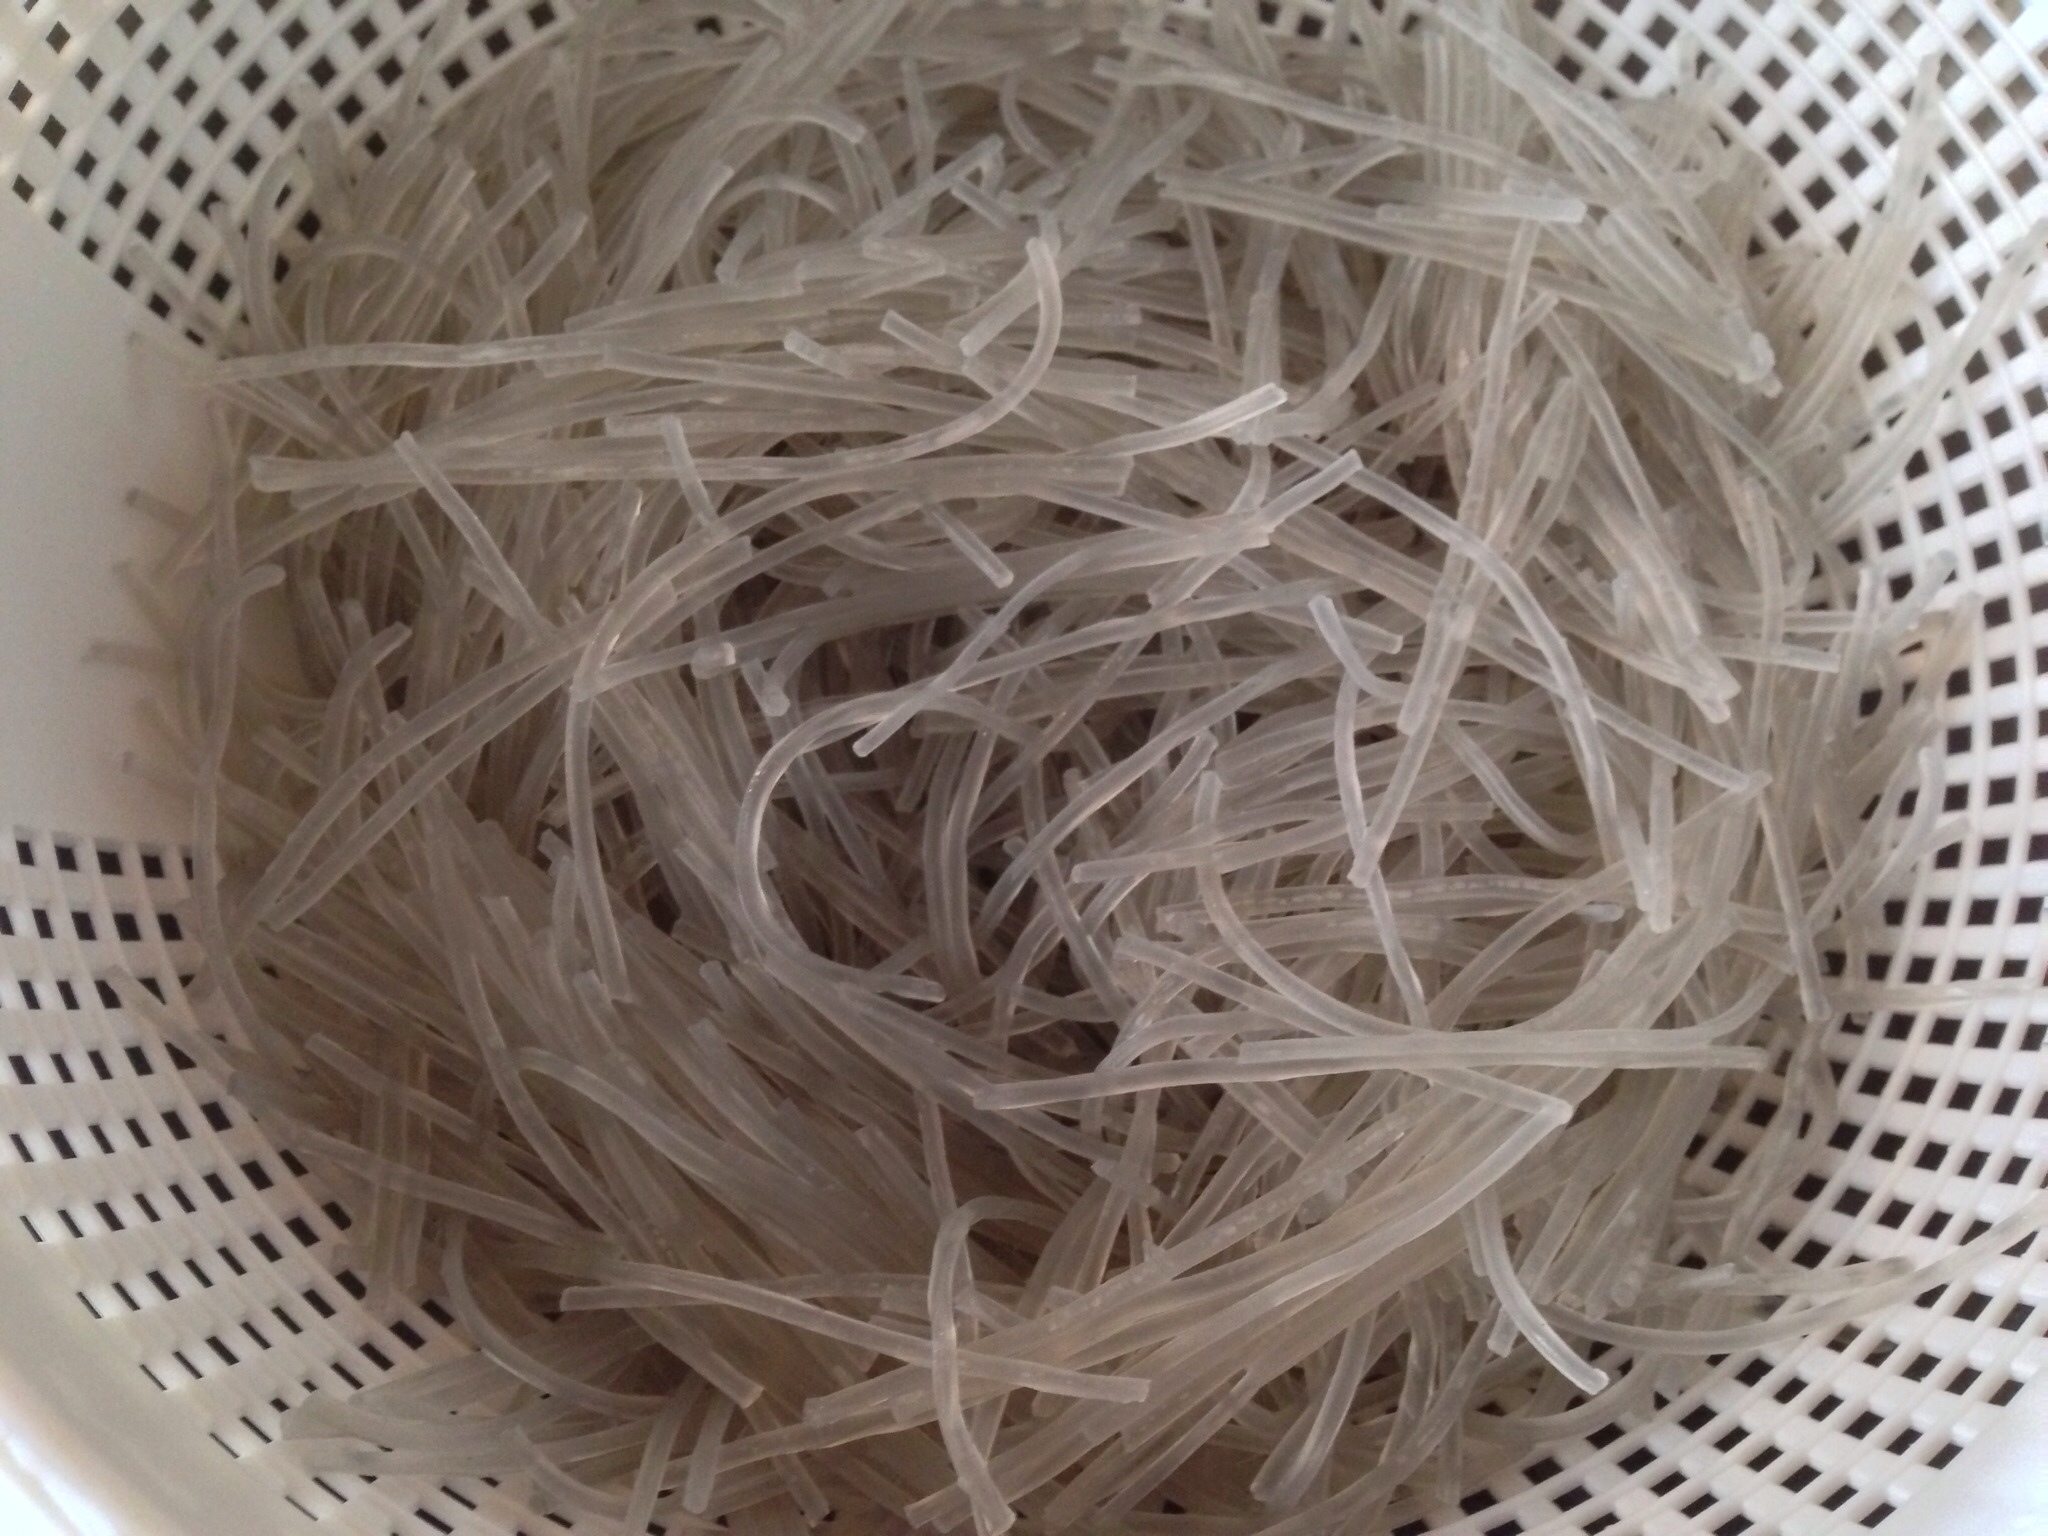
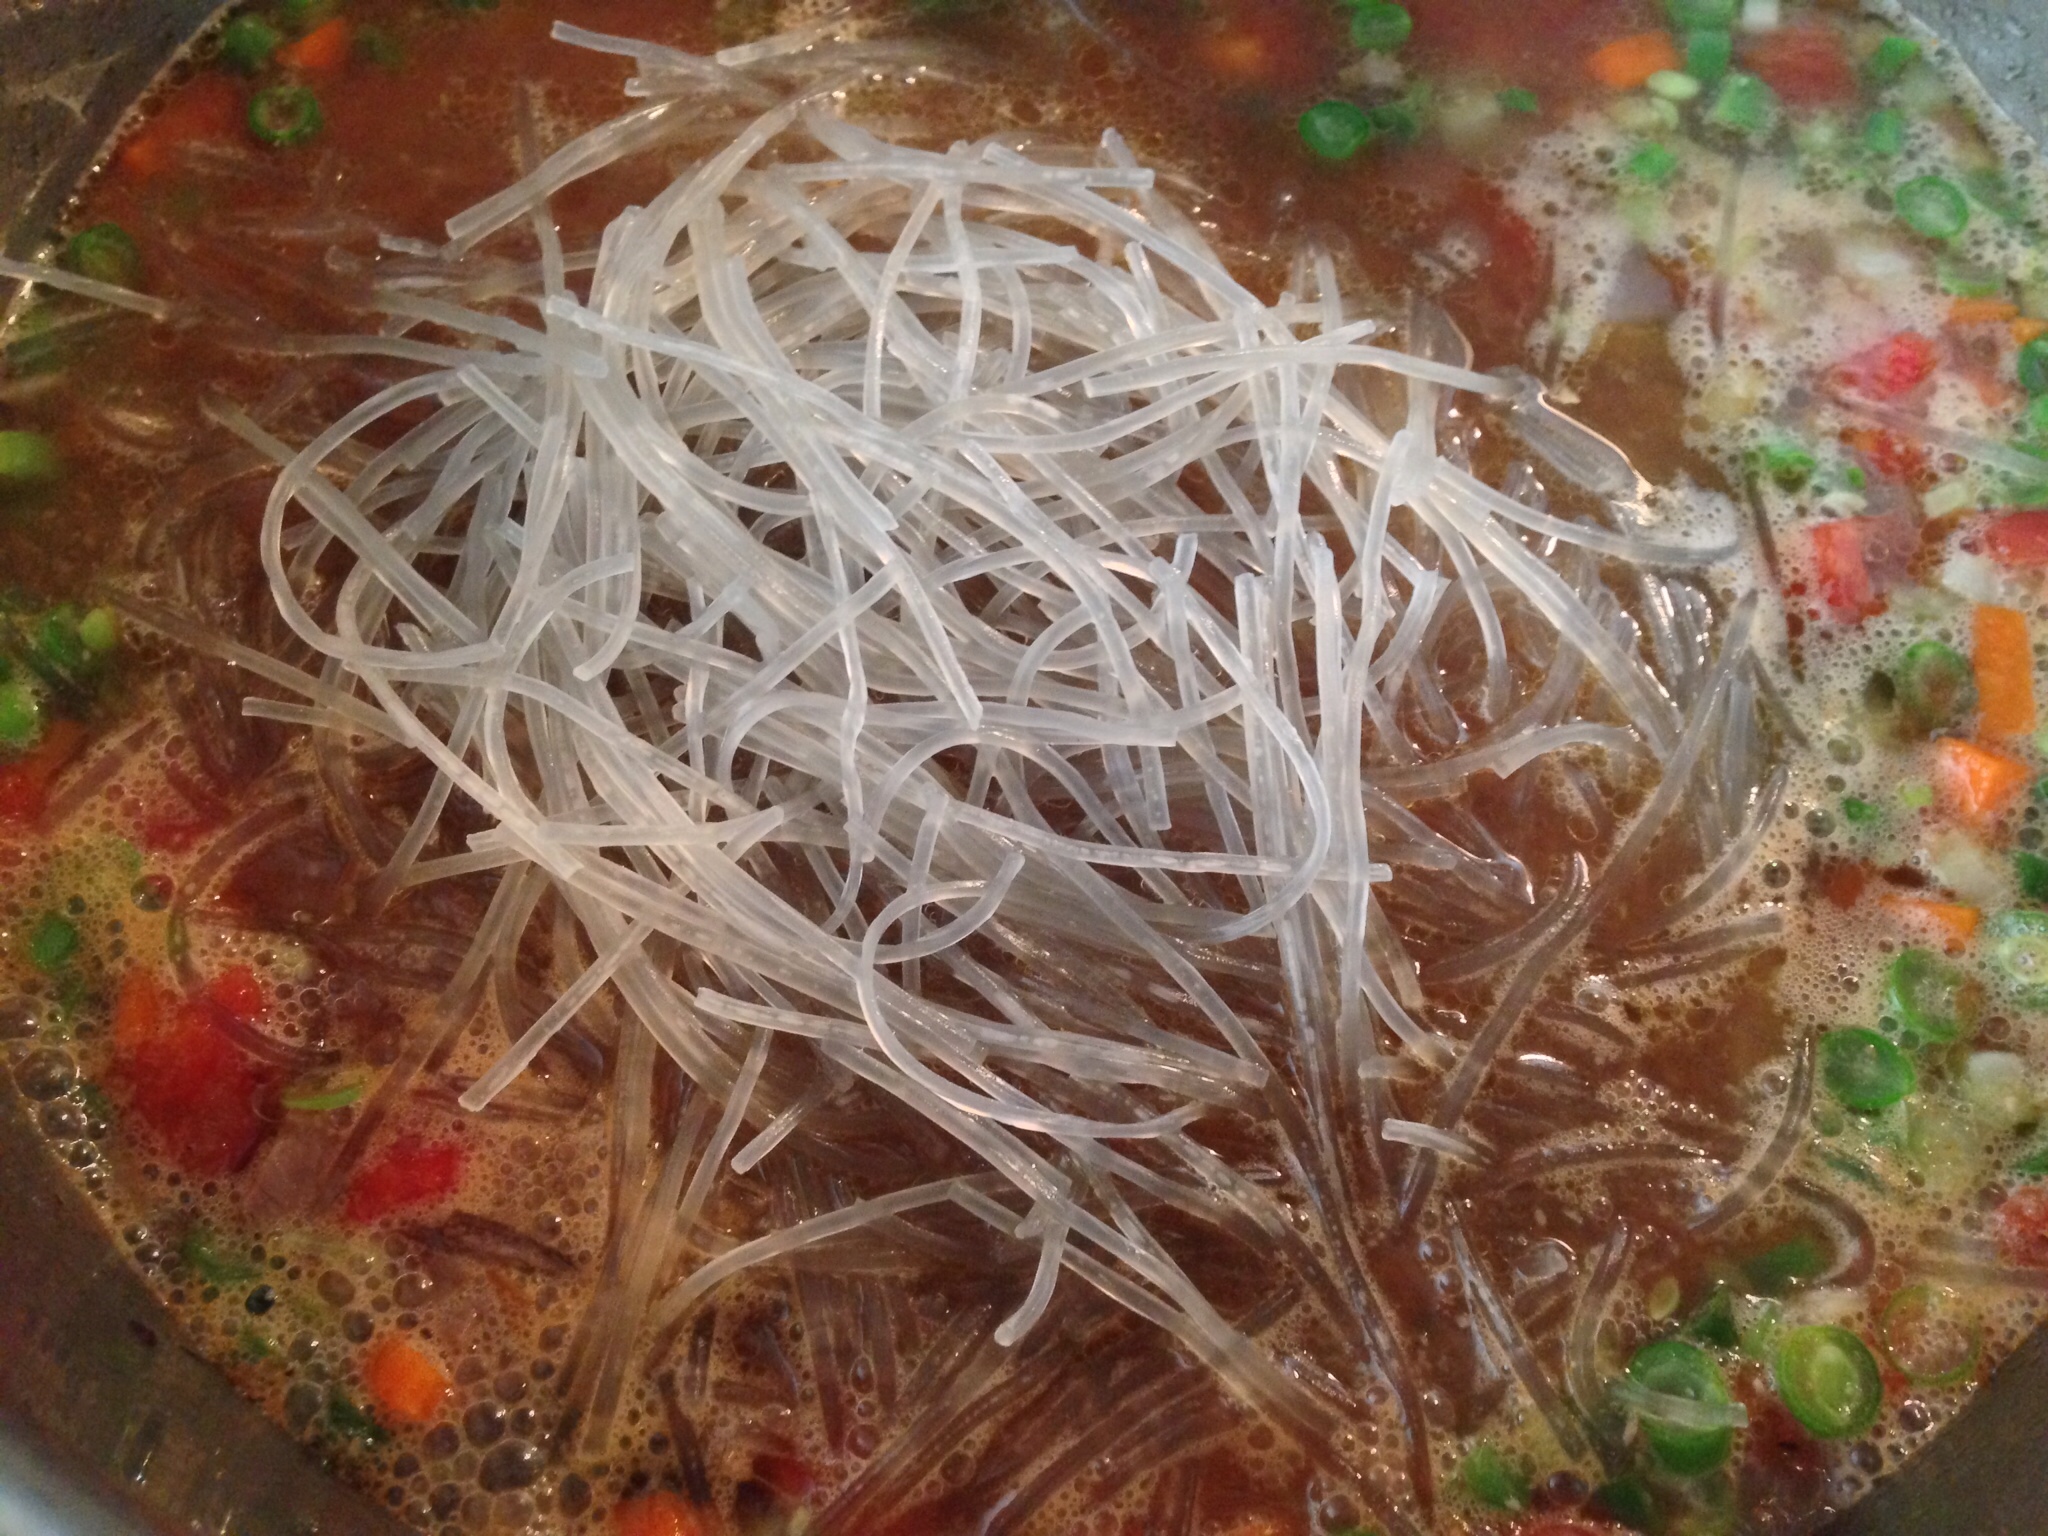
6. Simmer the vegetables over medium high heat for 10 minutes. Meanwhile, prepare the noodles. Place the noodles into a large bowl. Pour hot water (I used hot water from the tap) over the noodles; use enough water to completely submerge the noodles. Let the noodles sit in the hot water for 5 minutes to soften slightly. After the noodles have softened, use a pair of kitchen scissors to cut the noodles into small pieces, about 3 inches in length. Drain the noodles in a colander then add them to the pot, stirring to combine.
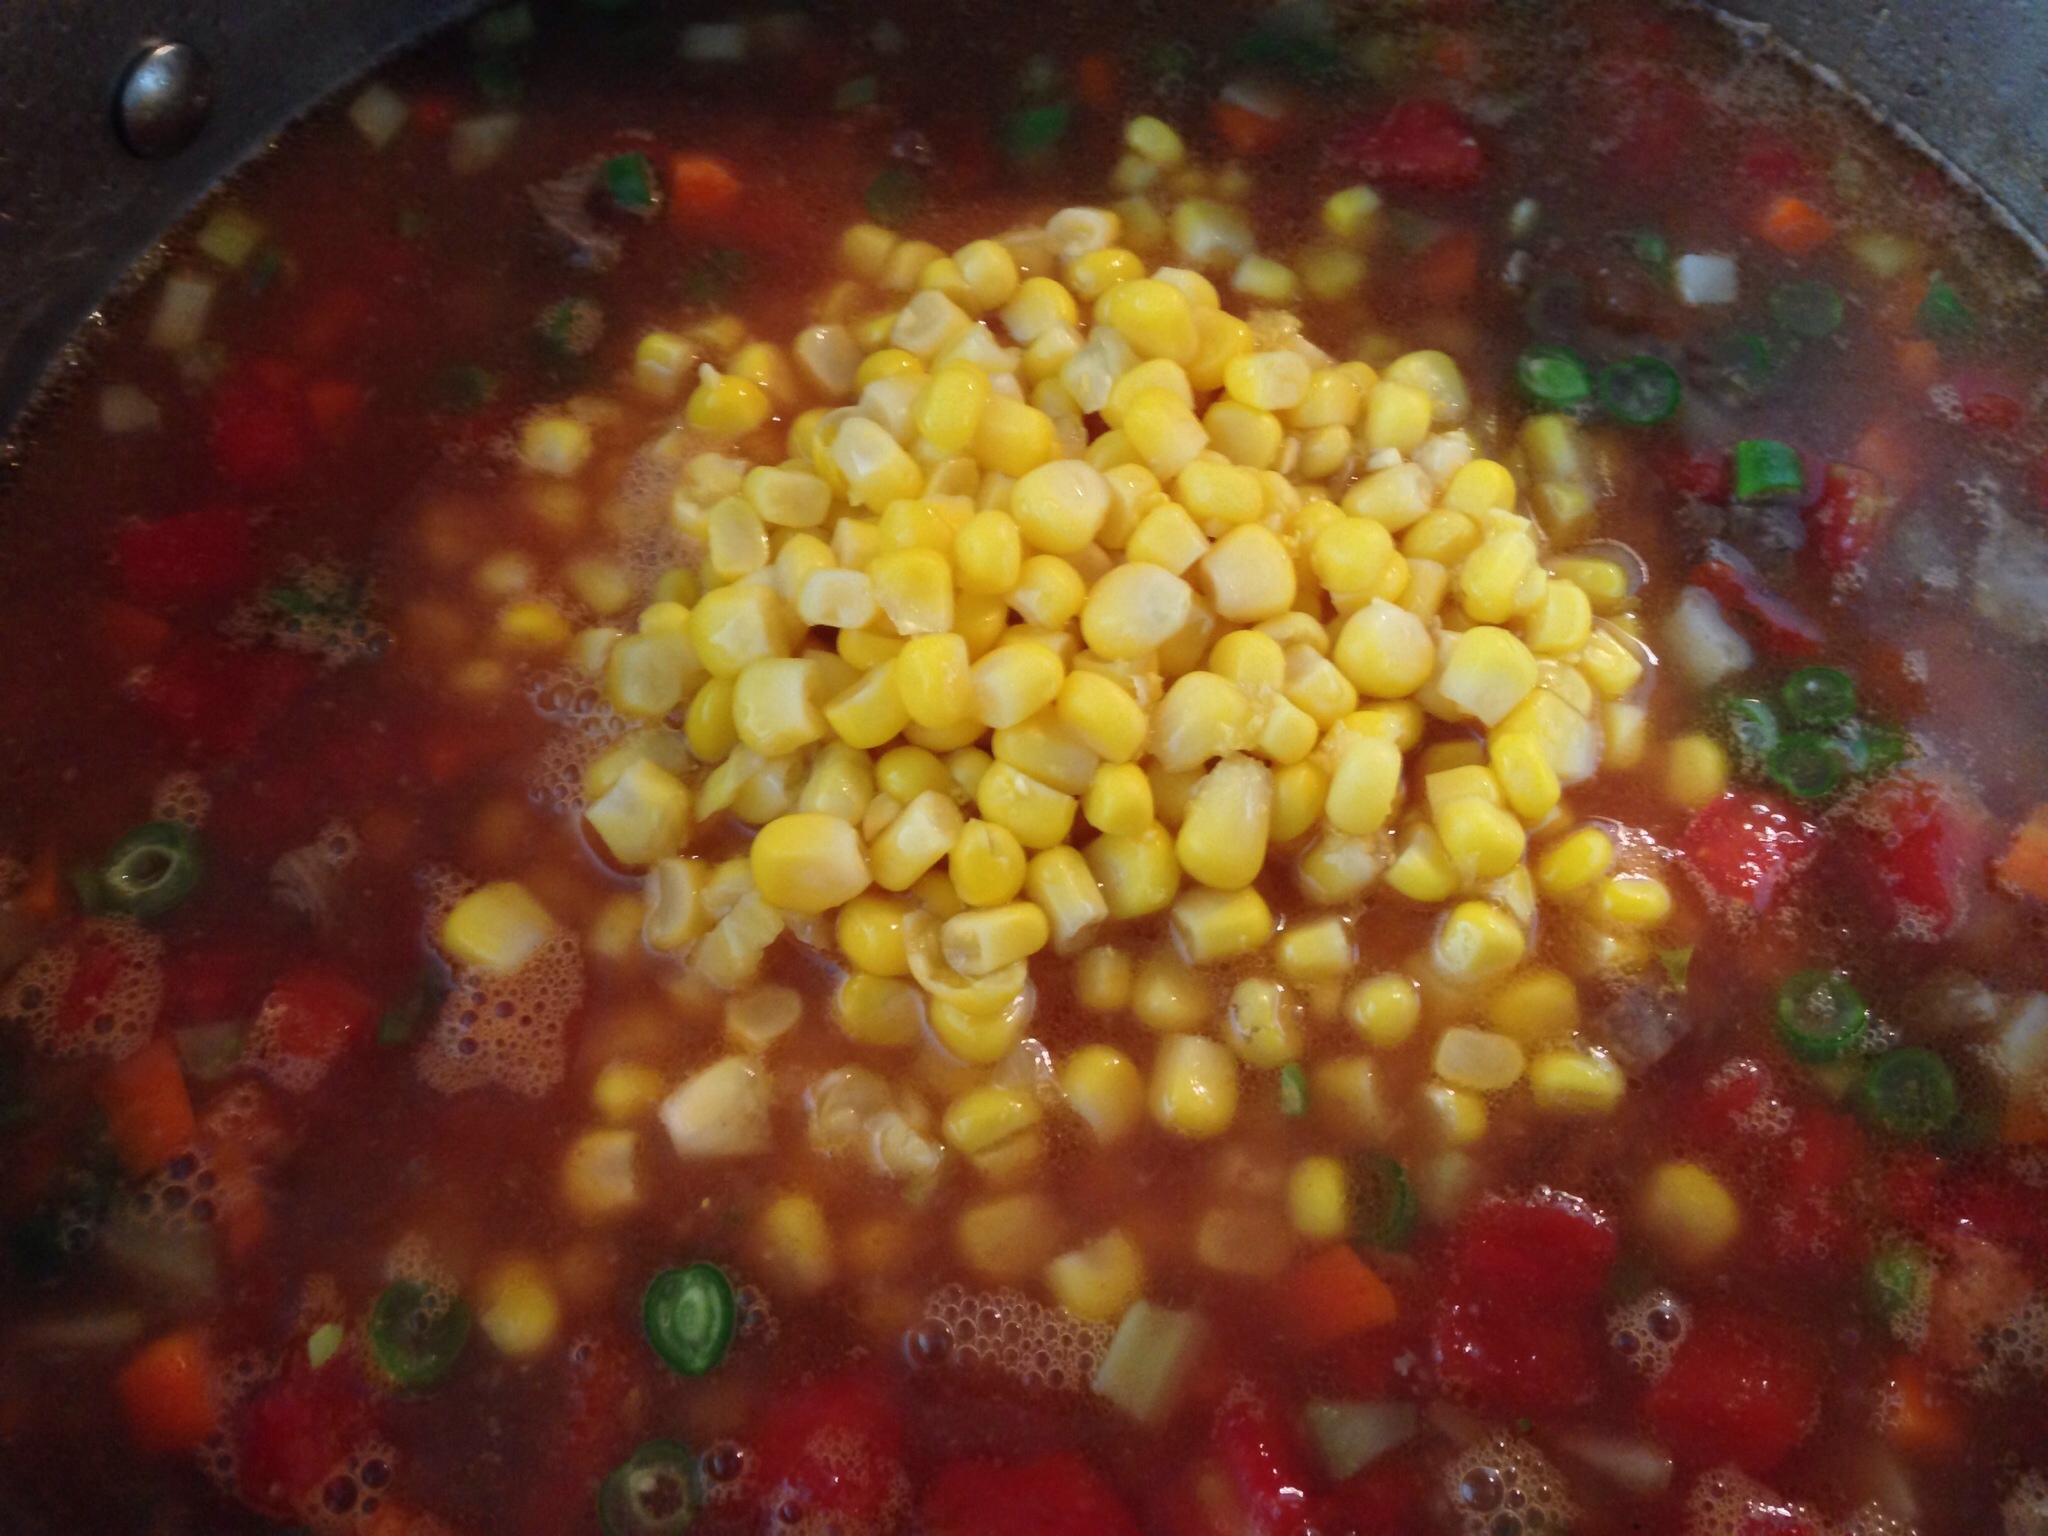
7. Add the drained corn to the pot. Stir to combine. Cook for another 10 minutes or so, or just until the potatoes and carrots are cooked through (don’t over cook them).
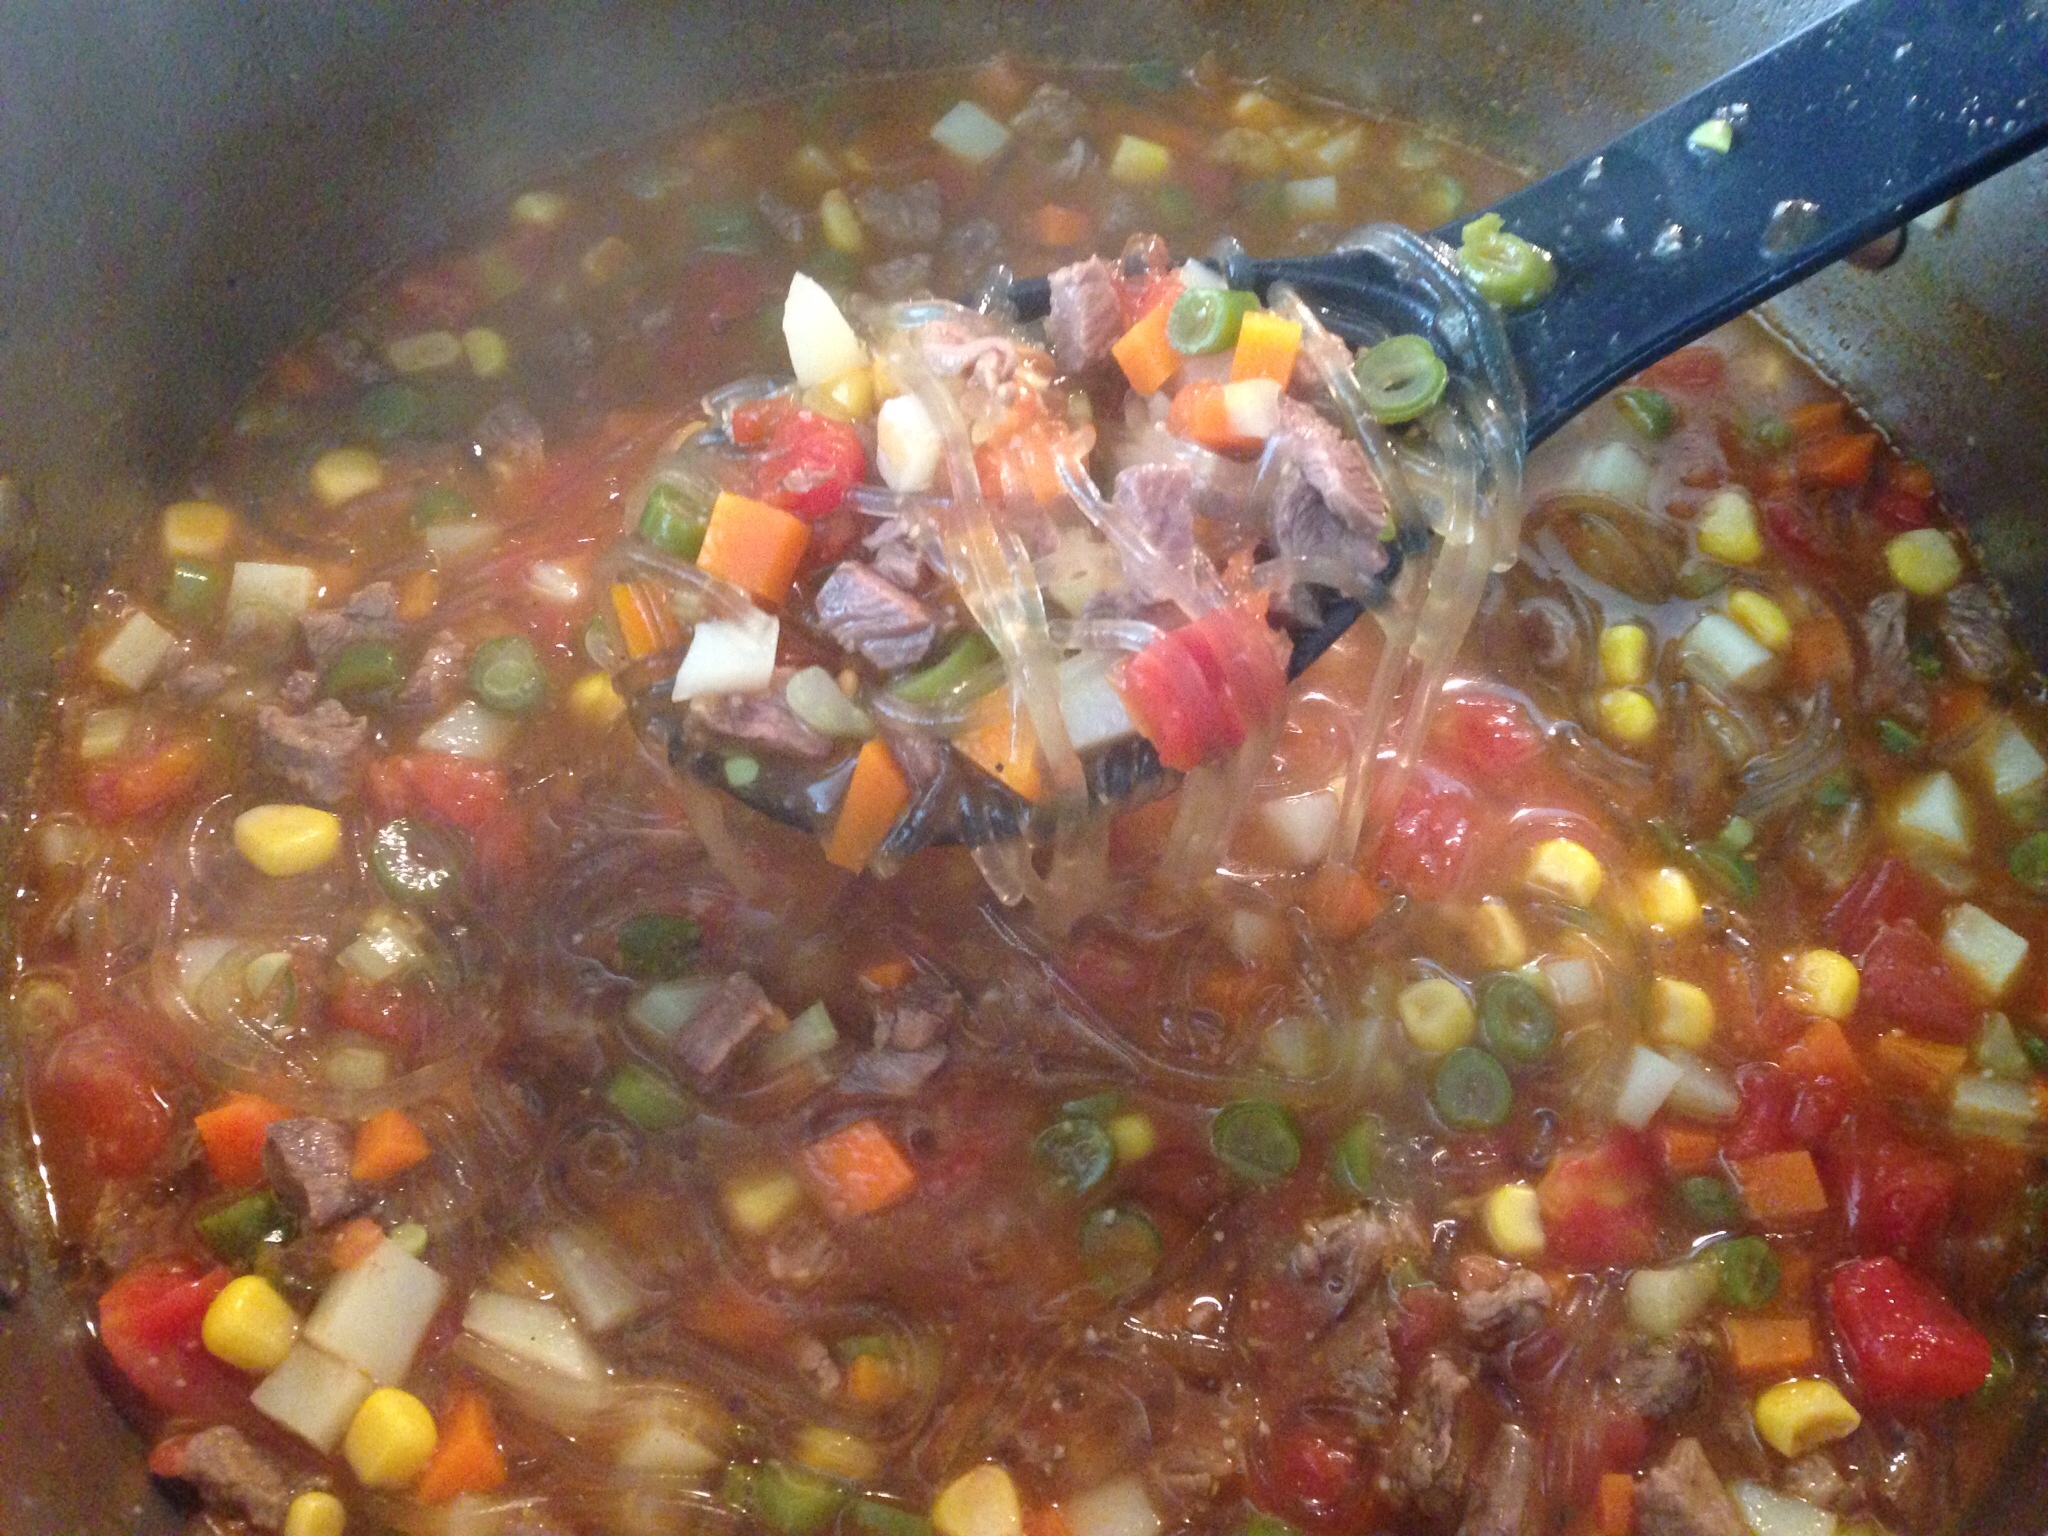
8. Remove from the heat and serve while hot. ENJOY!

Save the bone marrow for me, please! 🙂
 

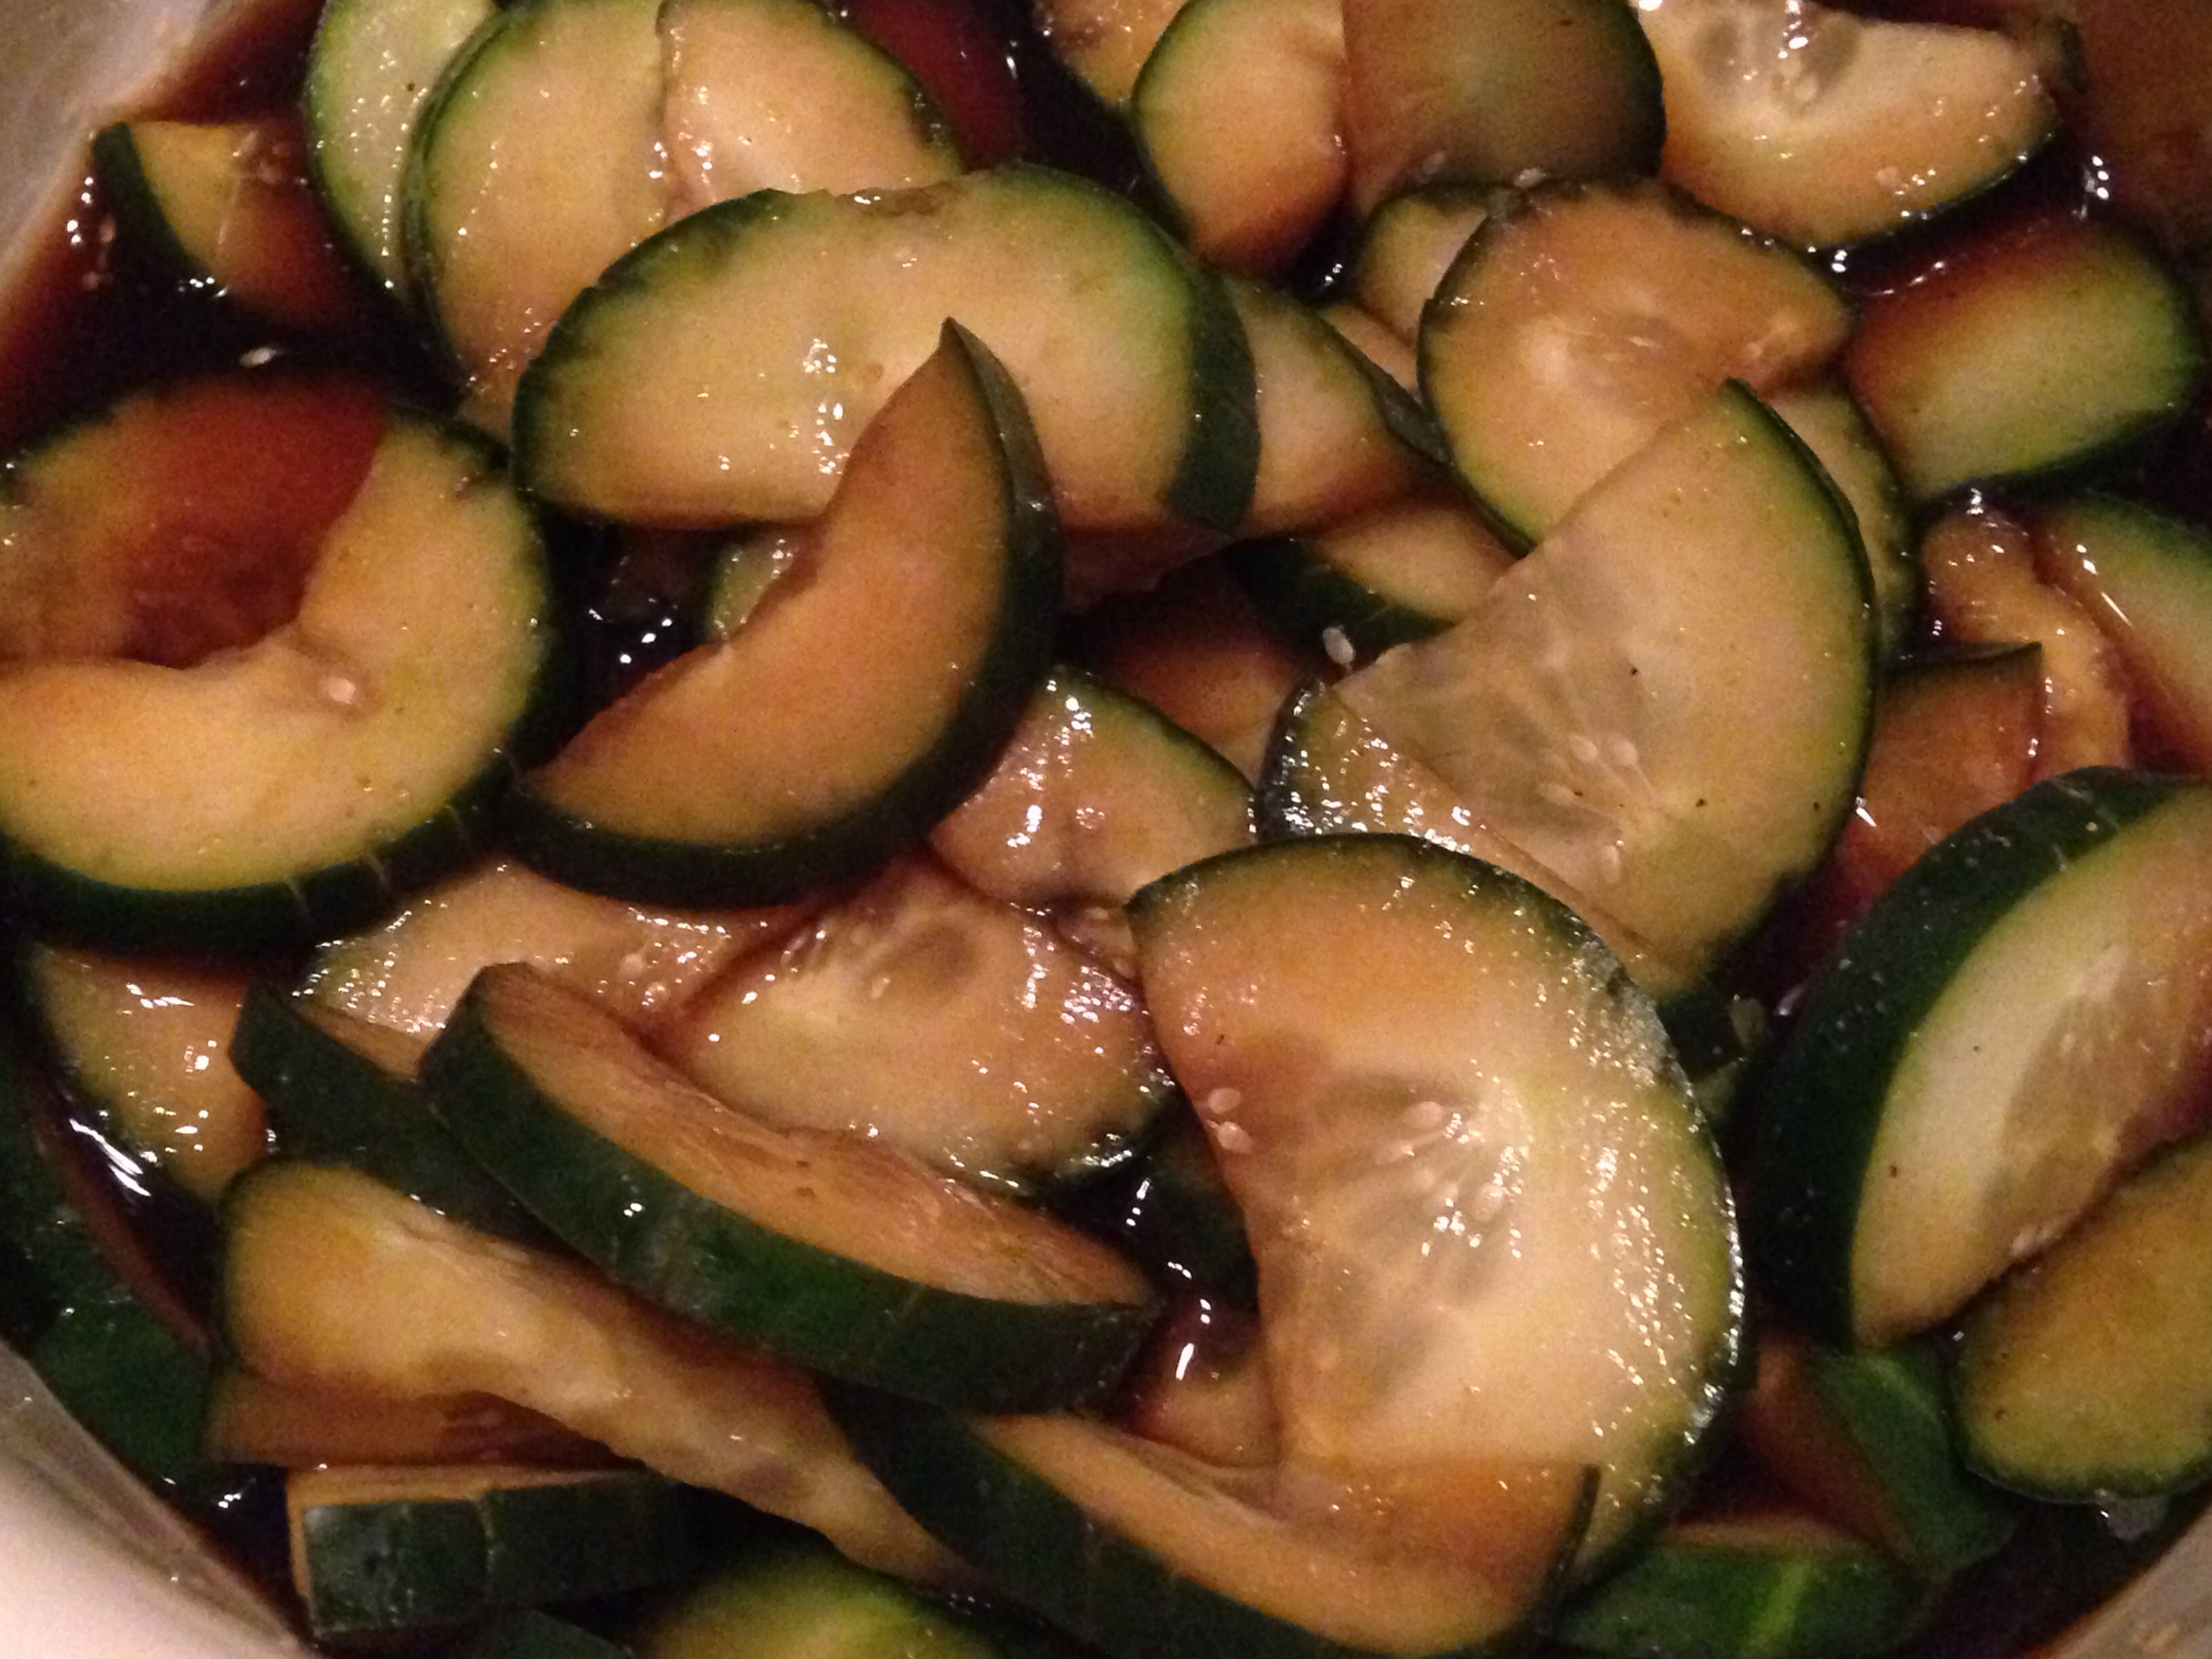
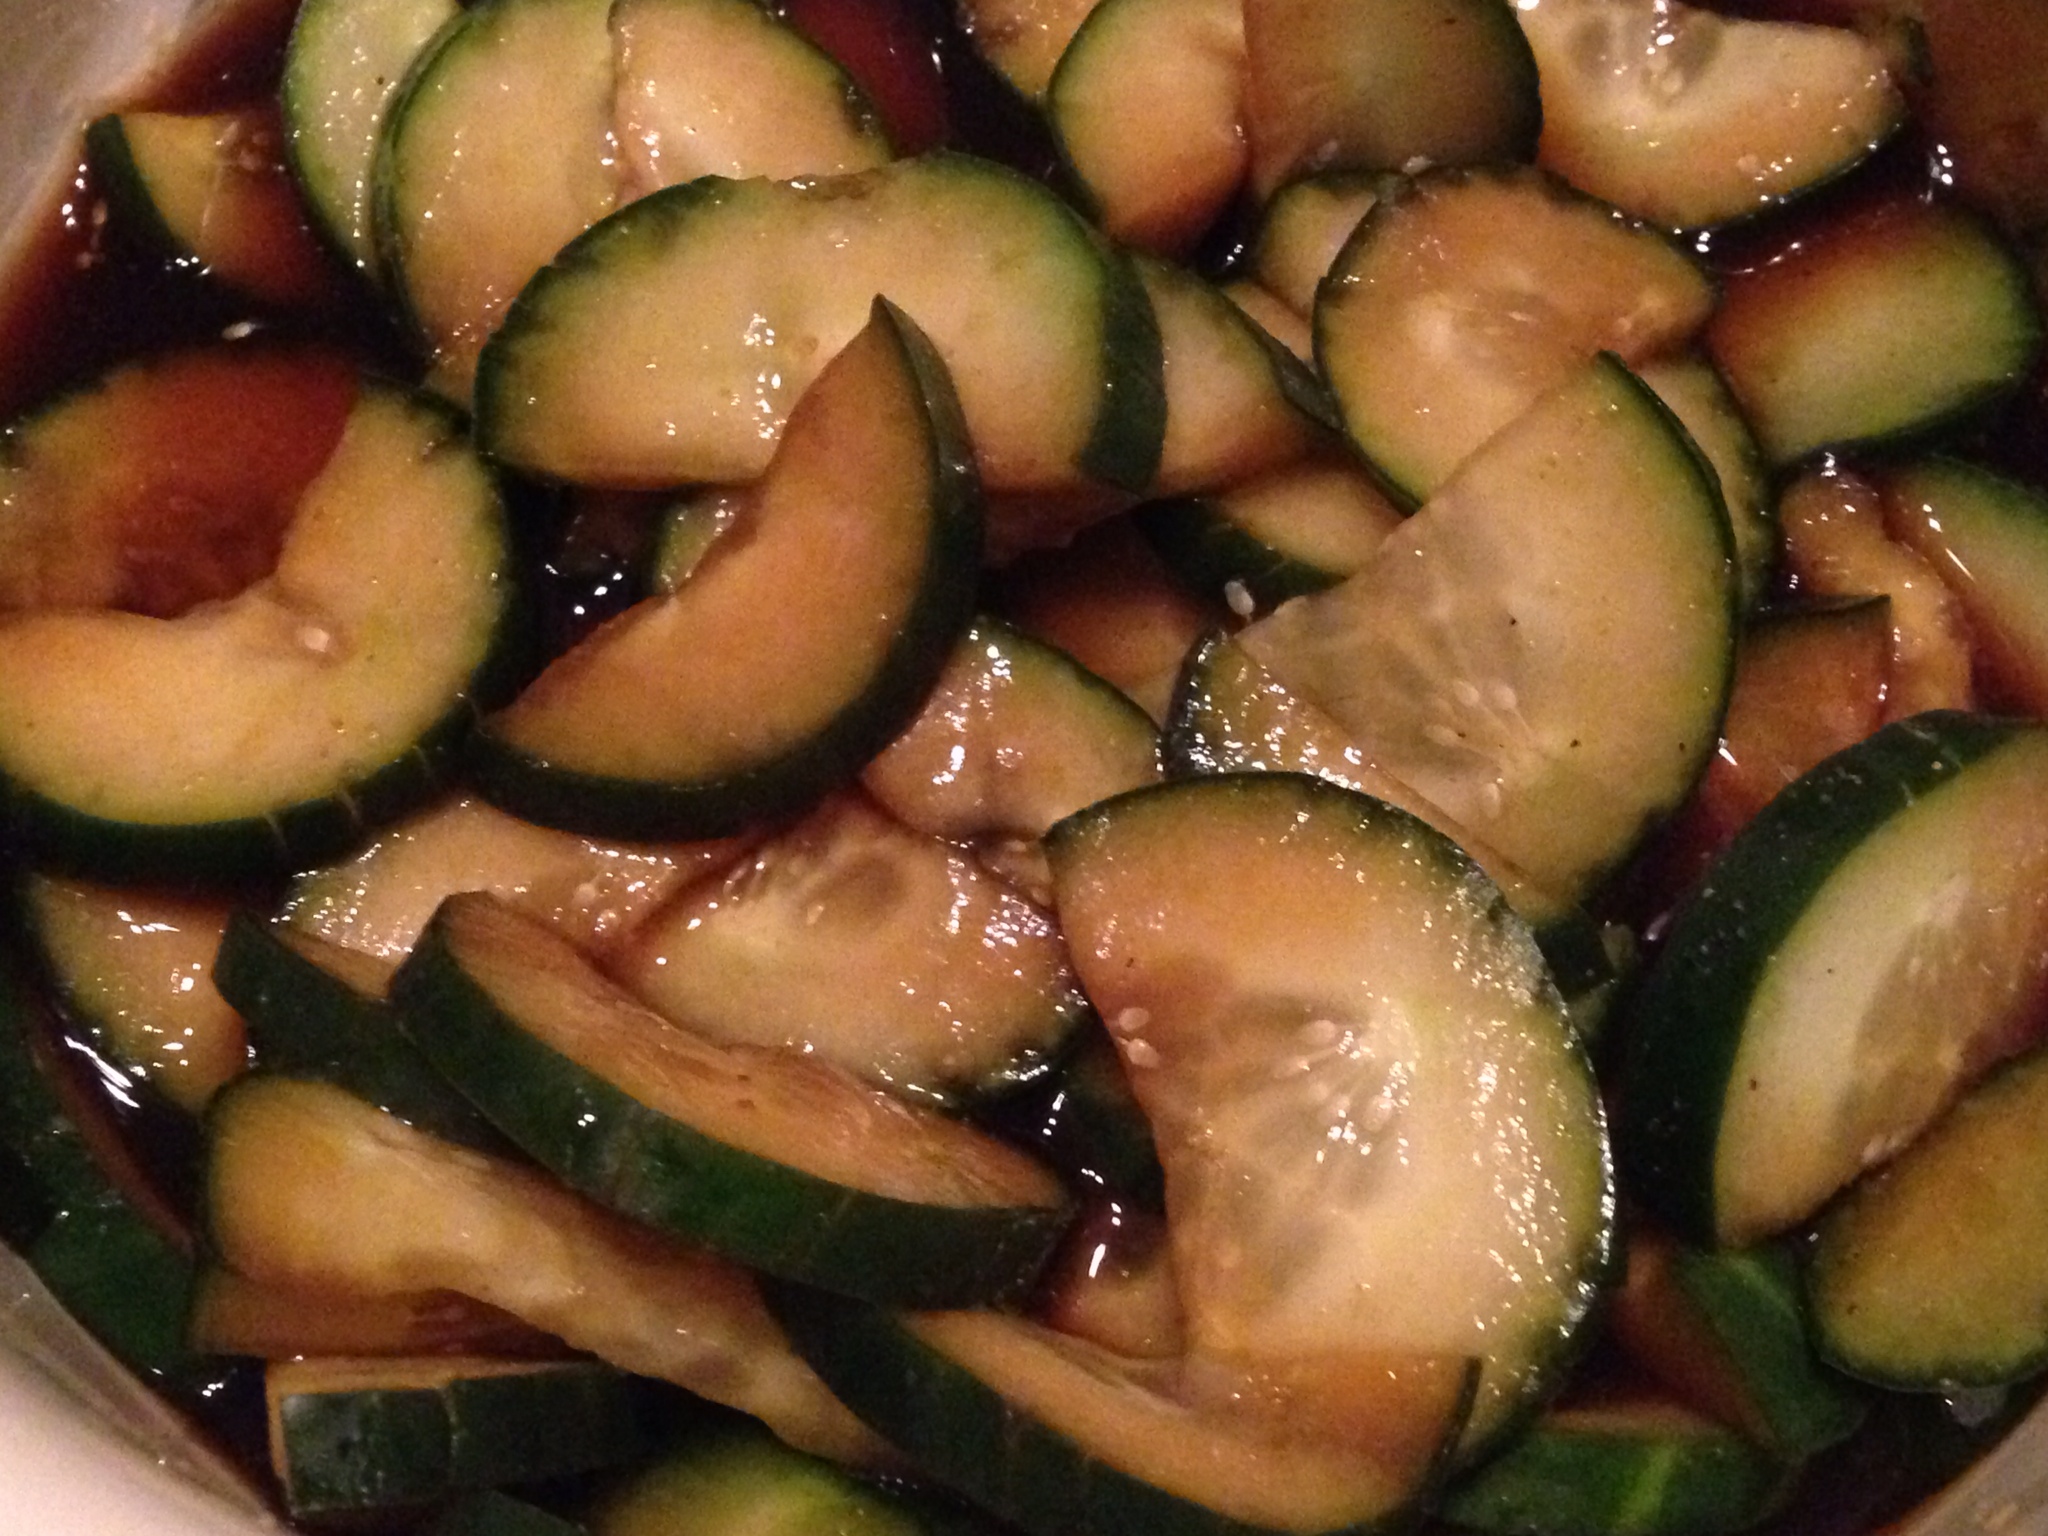
Chamorro Cucumber Salad

Chamorro Cucumber Salad is a staple on most fiesta tables. With just a few ingredients, you can whip it up and have it on your dinner table in minutes.

I love serving this cucumber salad with fried chicken and red rice, but it’s delicious served alongside most meat dishes.

Give my recipe a try. I think you’ll like it.

Chamorro Cucumber Salad

Ingredients:

  • 2 large cucumbers
  • 2 tablespoons salt
  • 1 small onion, thinly sliced
  • 4 cloves garlic, minced
  • 1 cup soy sauce
  • 1/2 cup white vinegar

Directions:

1. Slice the cucumbers about 1/4 inch thick. Place the cucumber slices into a plastic colander then place the colander into a large bowl. Sprinkle the salt over the cucumbers; stir to combine. Let the salted cucumber slices sit for about 15 minutes to allow excess water to drain out. After 15 minutes, pour out any water that drained into the bowl. Rinse the salt off the cucumbers; drain.
2. Place the rinsed and drained cucumbers into the large bowl. Add the onion, garlic, soy sauce and vinegar. Stir to combine.

3. Let the cucumbers sit for several minutes to allow the cucumbers to soak up all of the flavors. Serve with your favorite meat dish and enjoy!

« Older Entries Recent Entries »