Archive for CHAMORRO DISHES

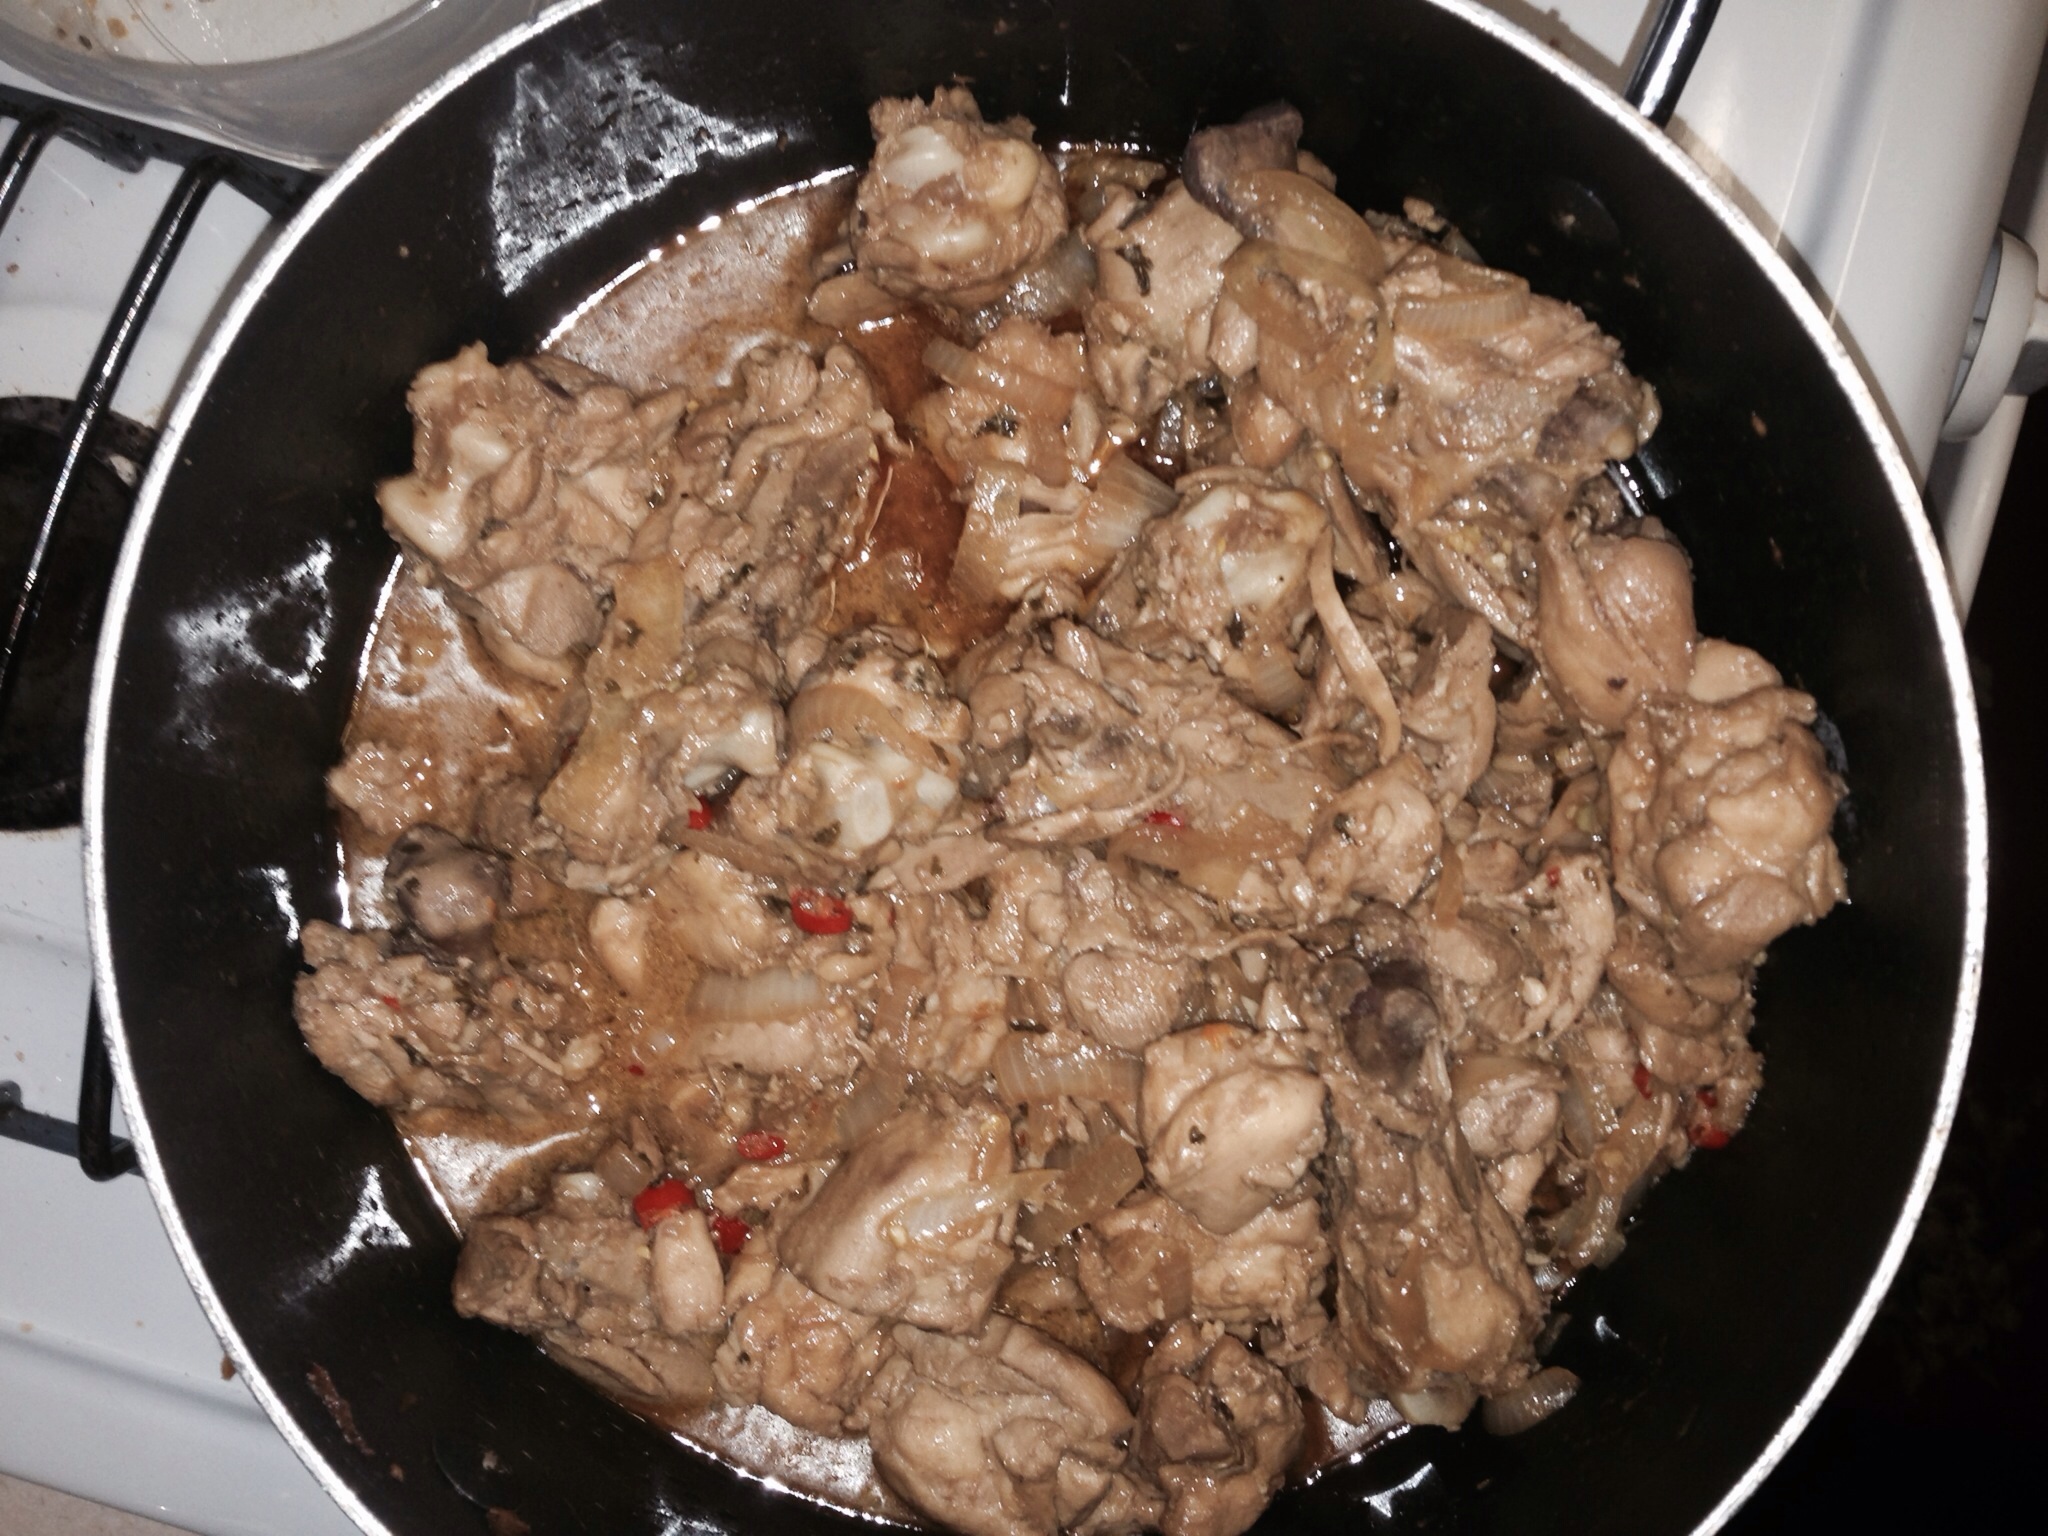
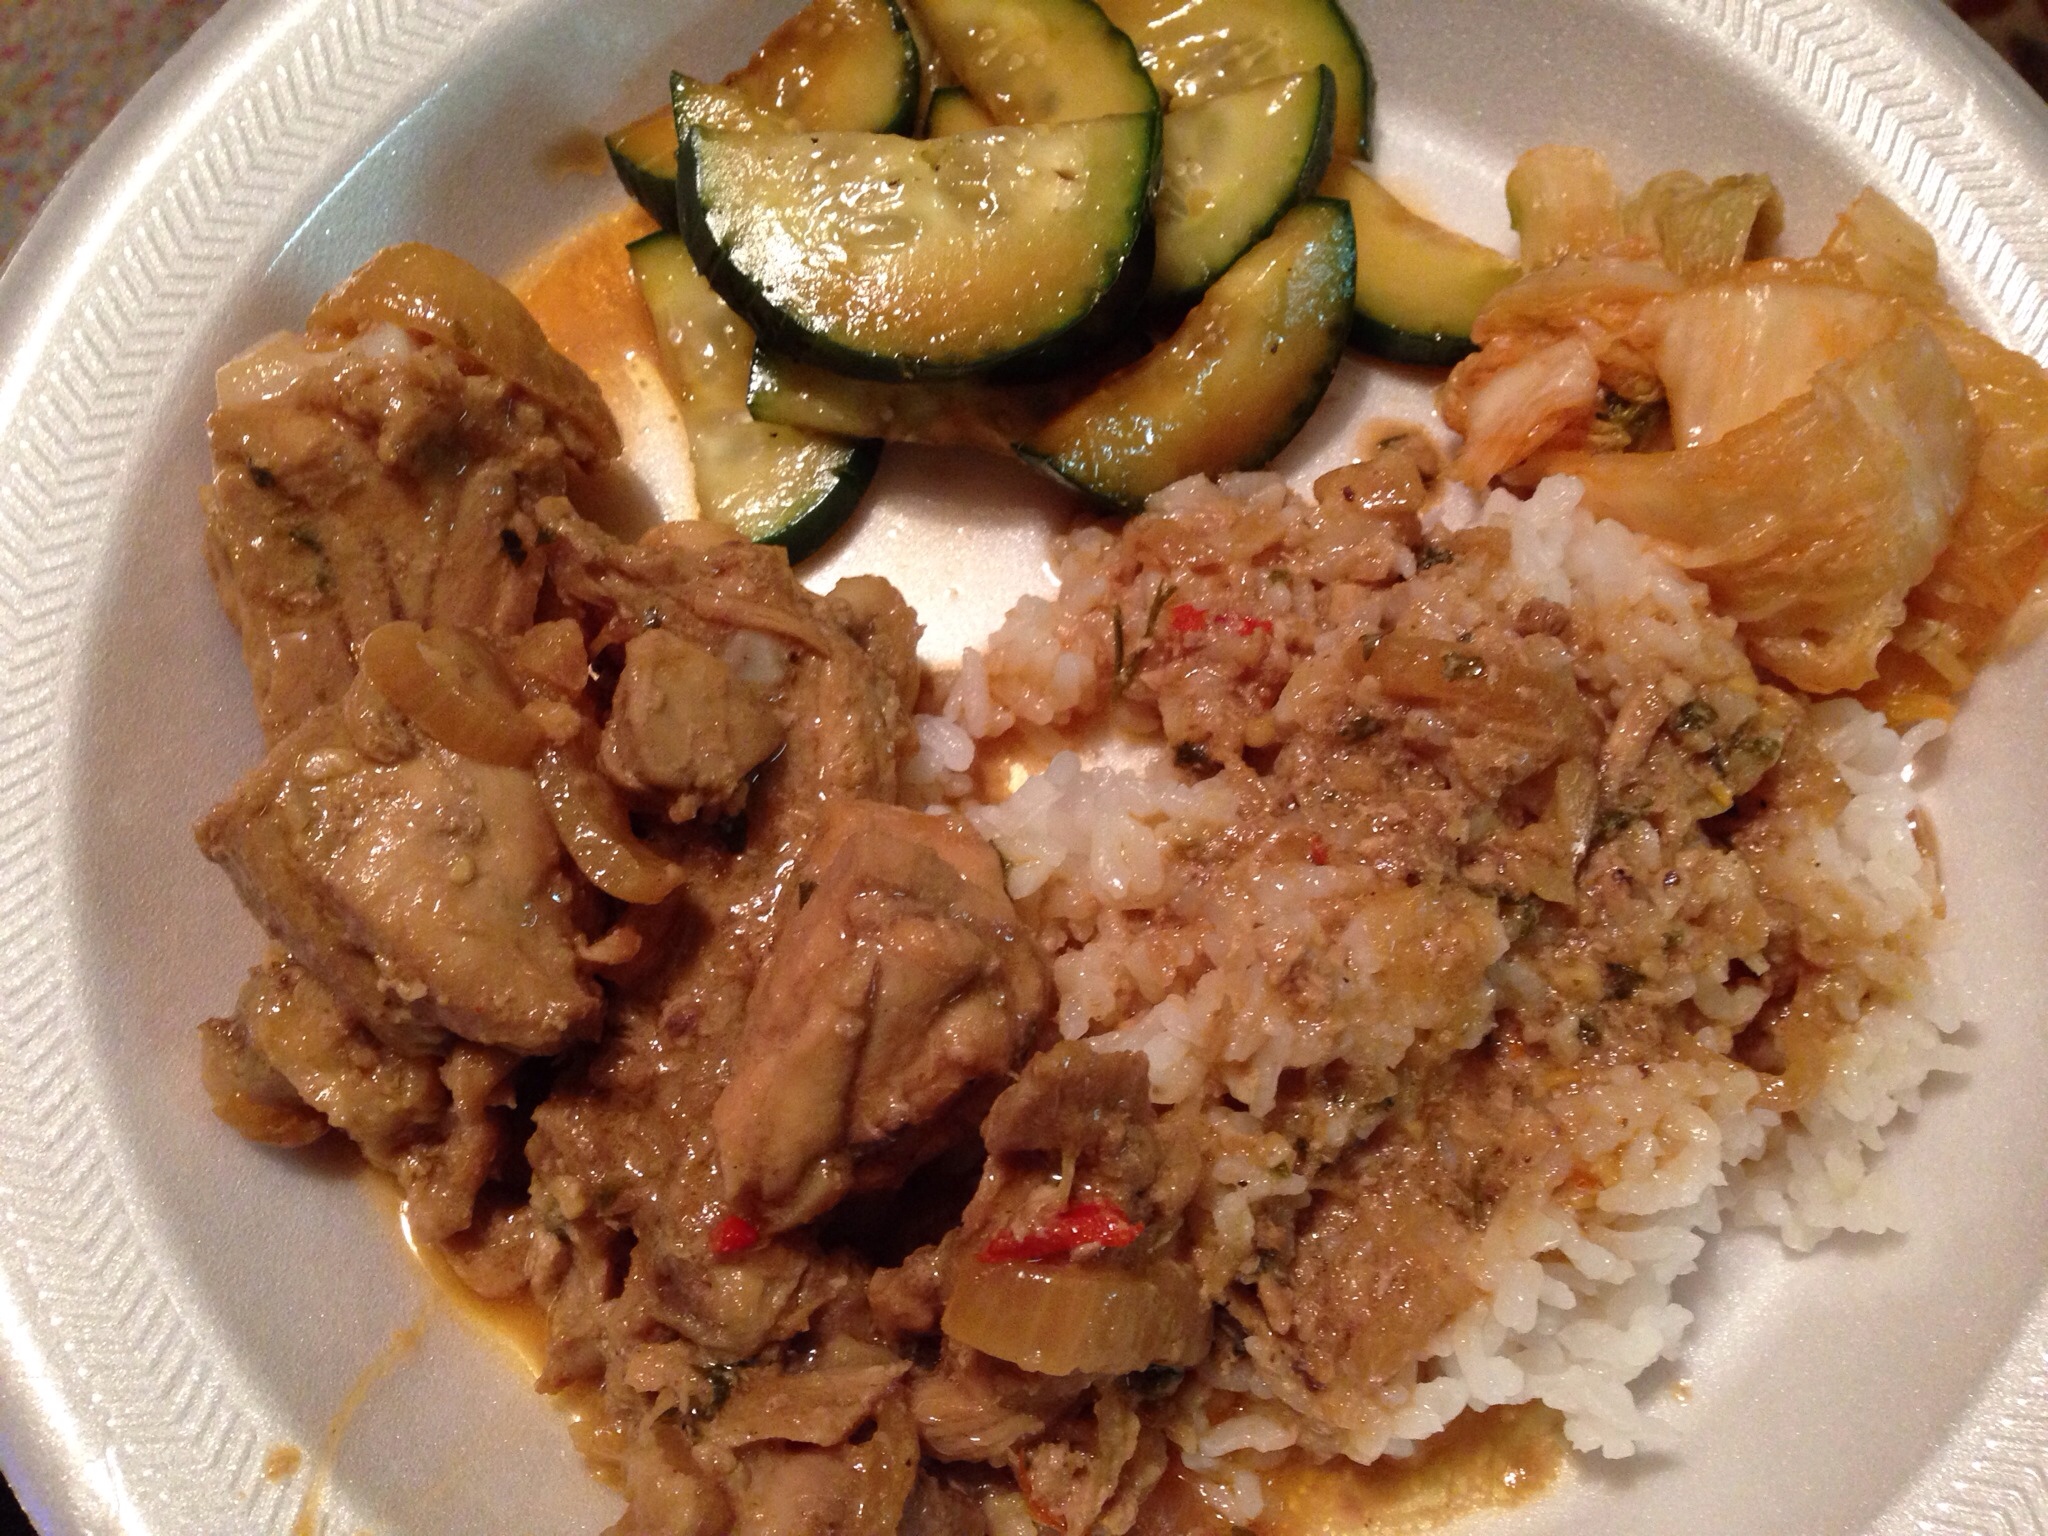
Carolyn’s Kådun Pika (Spicy Chicken)

Kådun pika is a spicy Chamorro chicken dish that’s somewhat similar to chicken adobo. It’s an easy dish to make — it takes only a few ingredients and a few simple steps and voila! — you’ll have dinner served in no time.

Pika means “hot” or “spicy” in Chamorro. You can omit the hot chili peppers in this recipe, but then it won’t be called Kådun Pika without the “pika”. 🙂 I have one daughter who doesn’t like anything spicy. I usually prepare this dish, omitting the peppers. When it’s done, I separate a small bowlful for my daughter, then add the peppers to the rest of the pot.

The recipe below is my sister, Carolyn’s. Give it a try. I think you’ll like it. 🙂

Carolyn’s Kådun Pika (Spicy Chicken)

Ingredients:

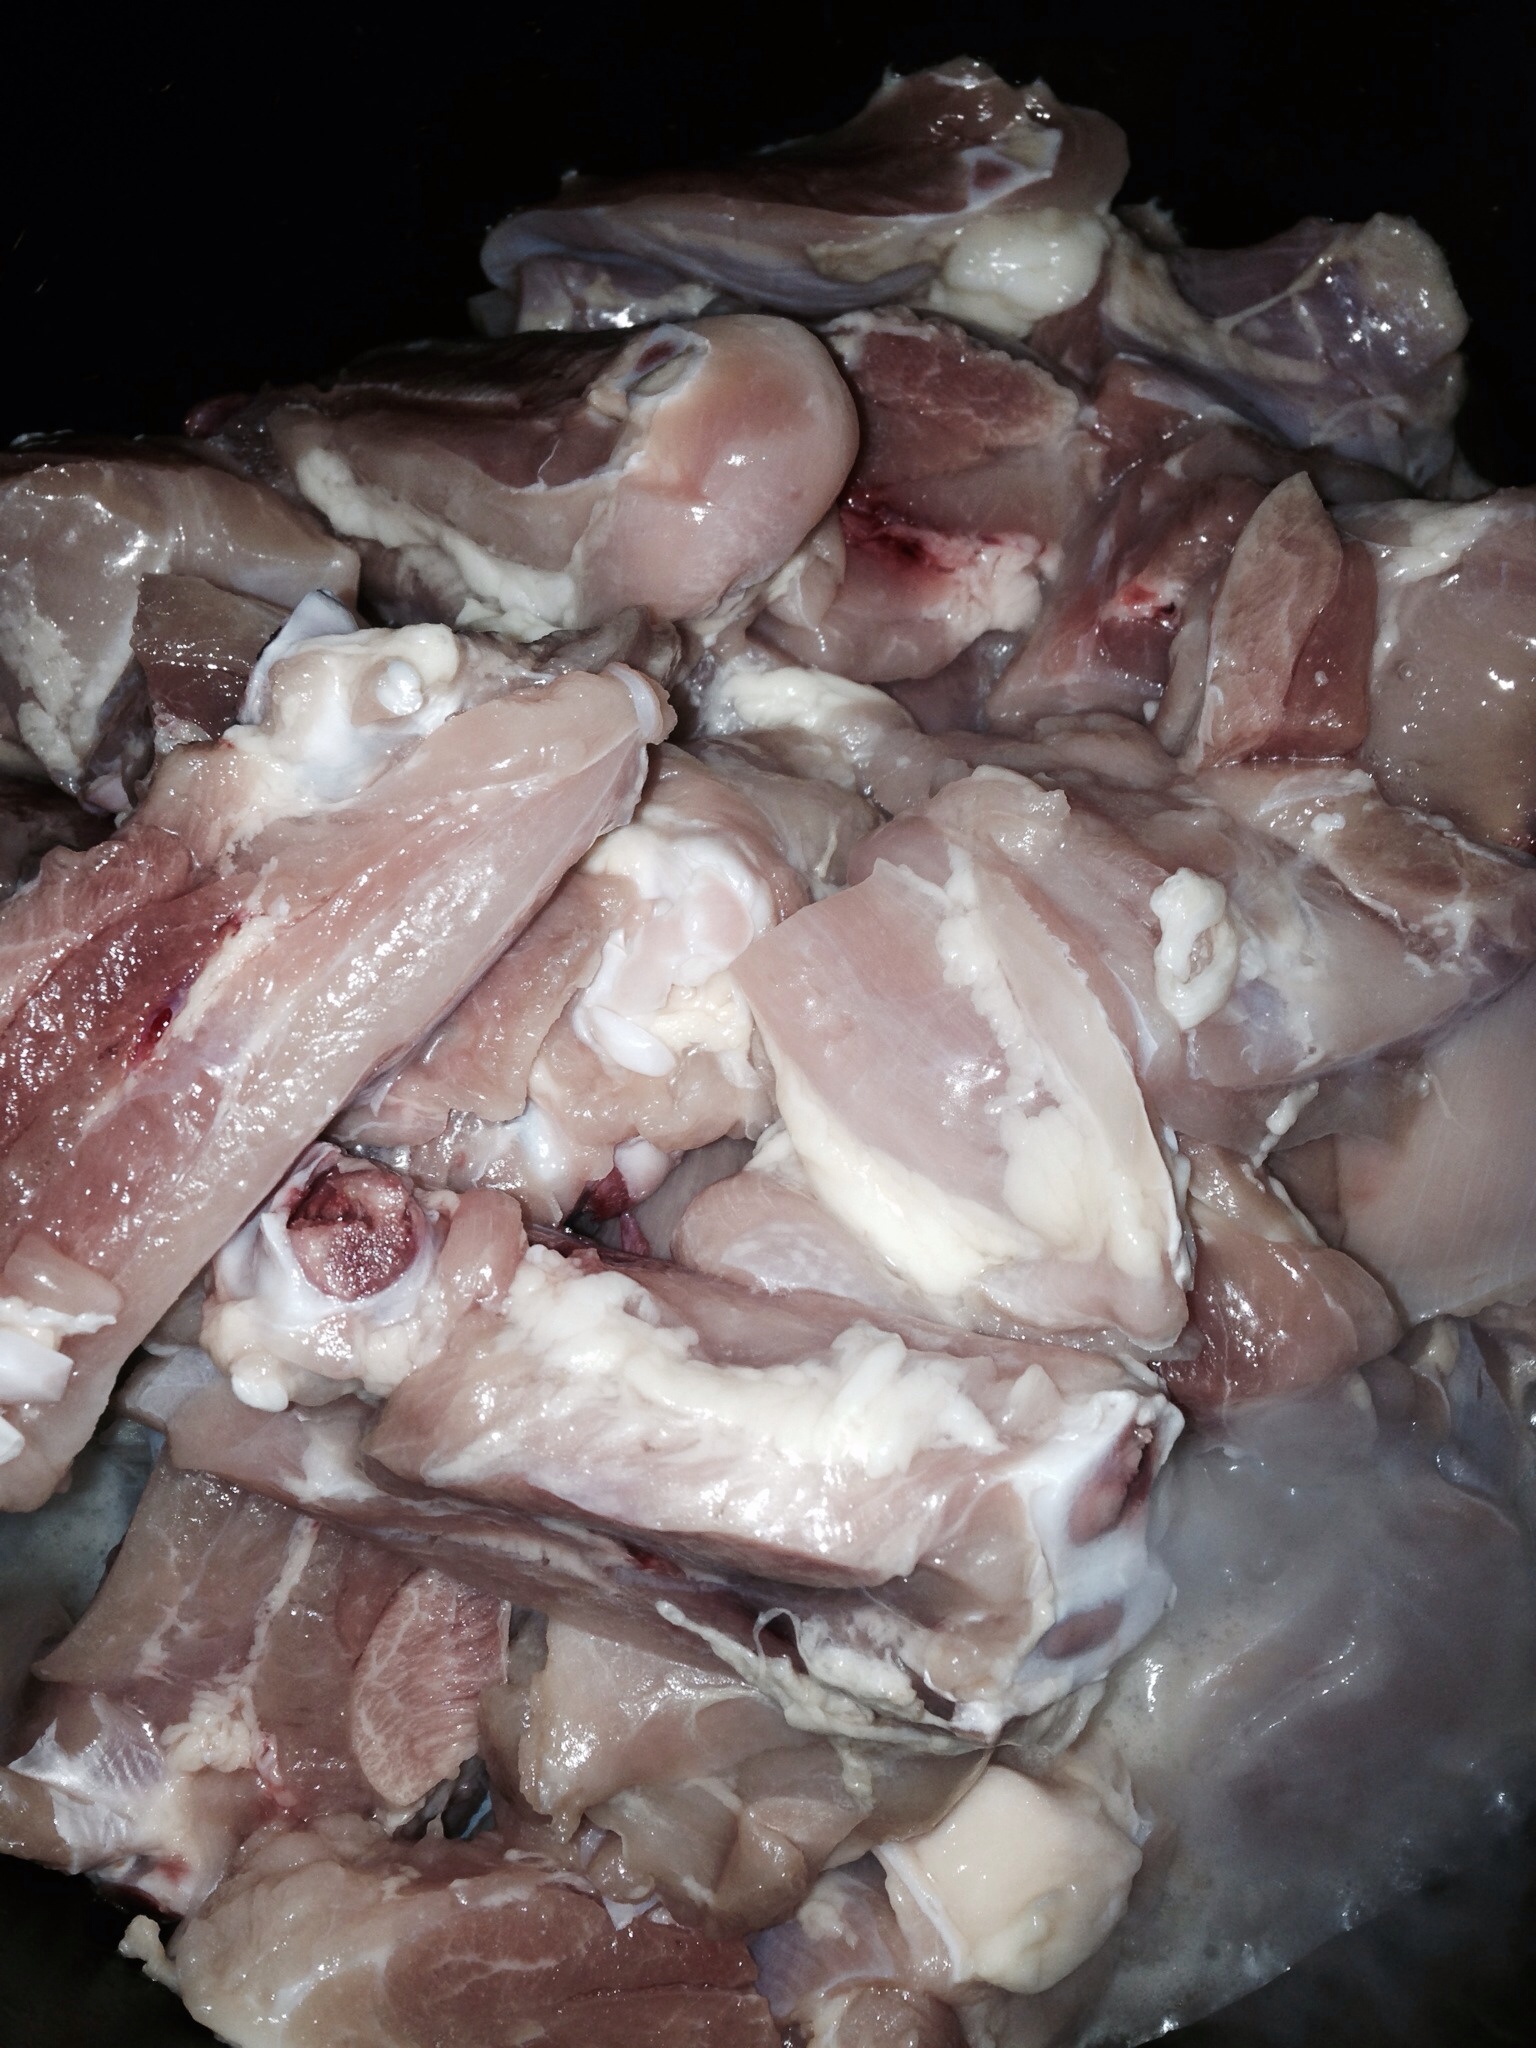
  • 5 pounds chicken pieces
  • 1 large onion, diced
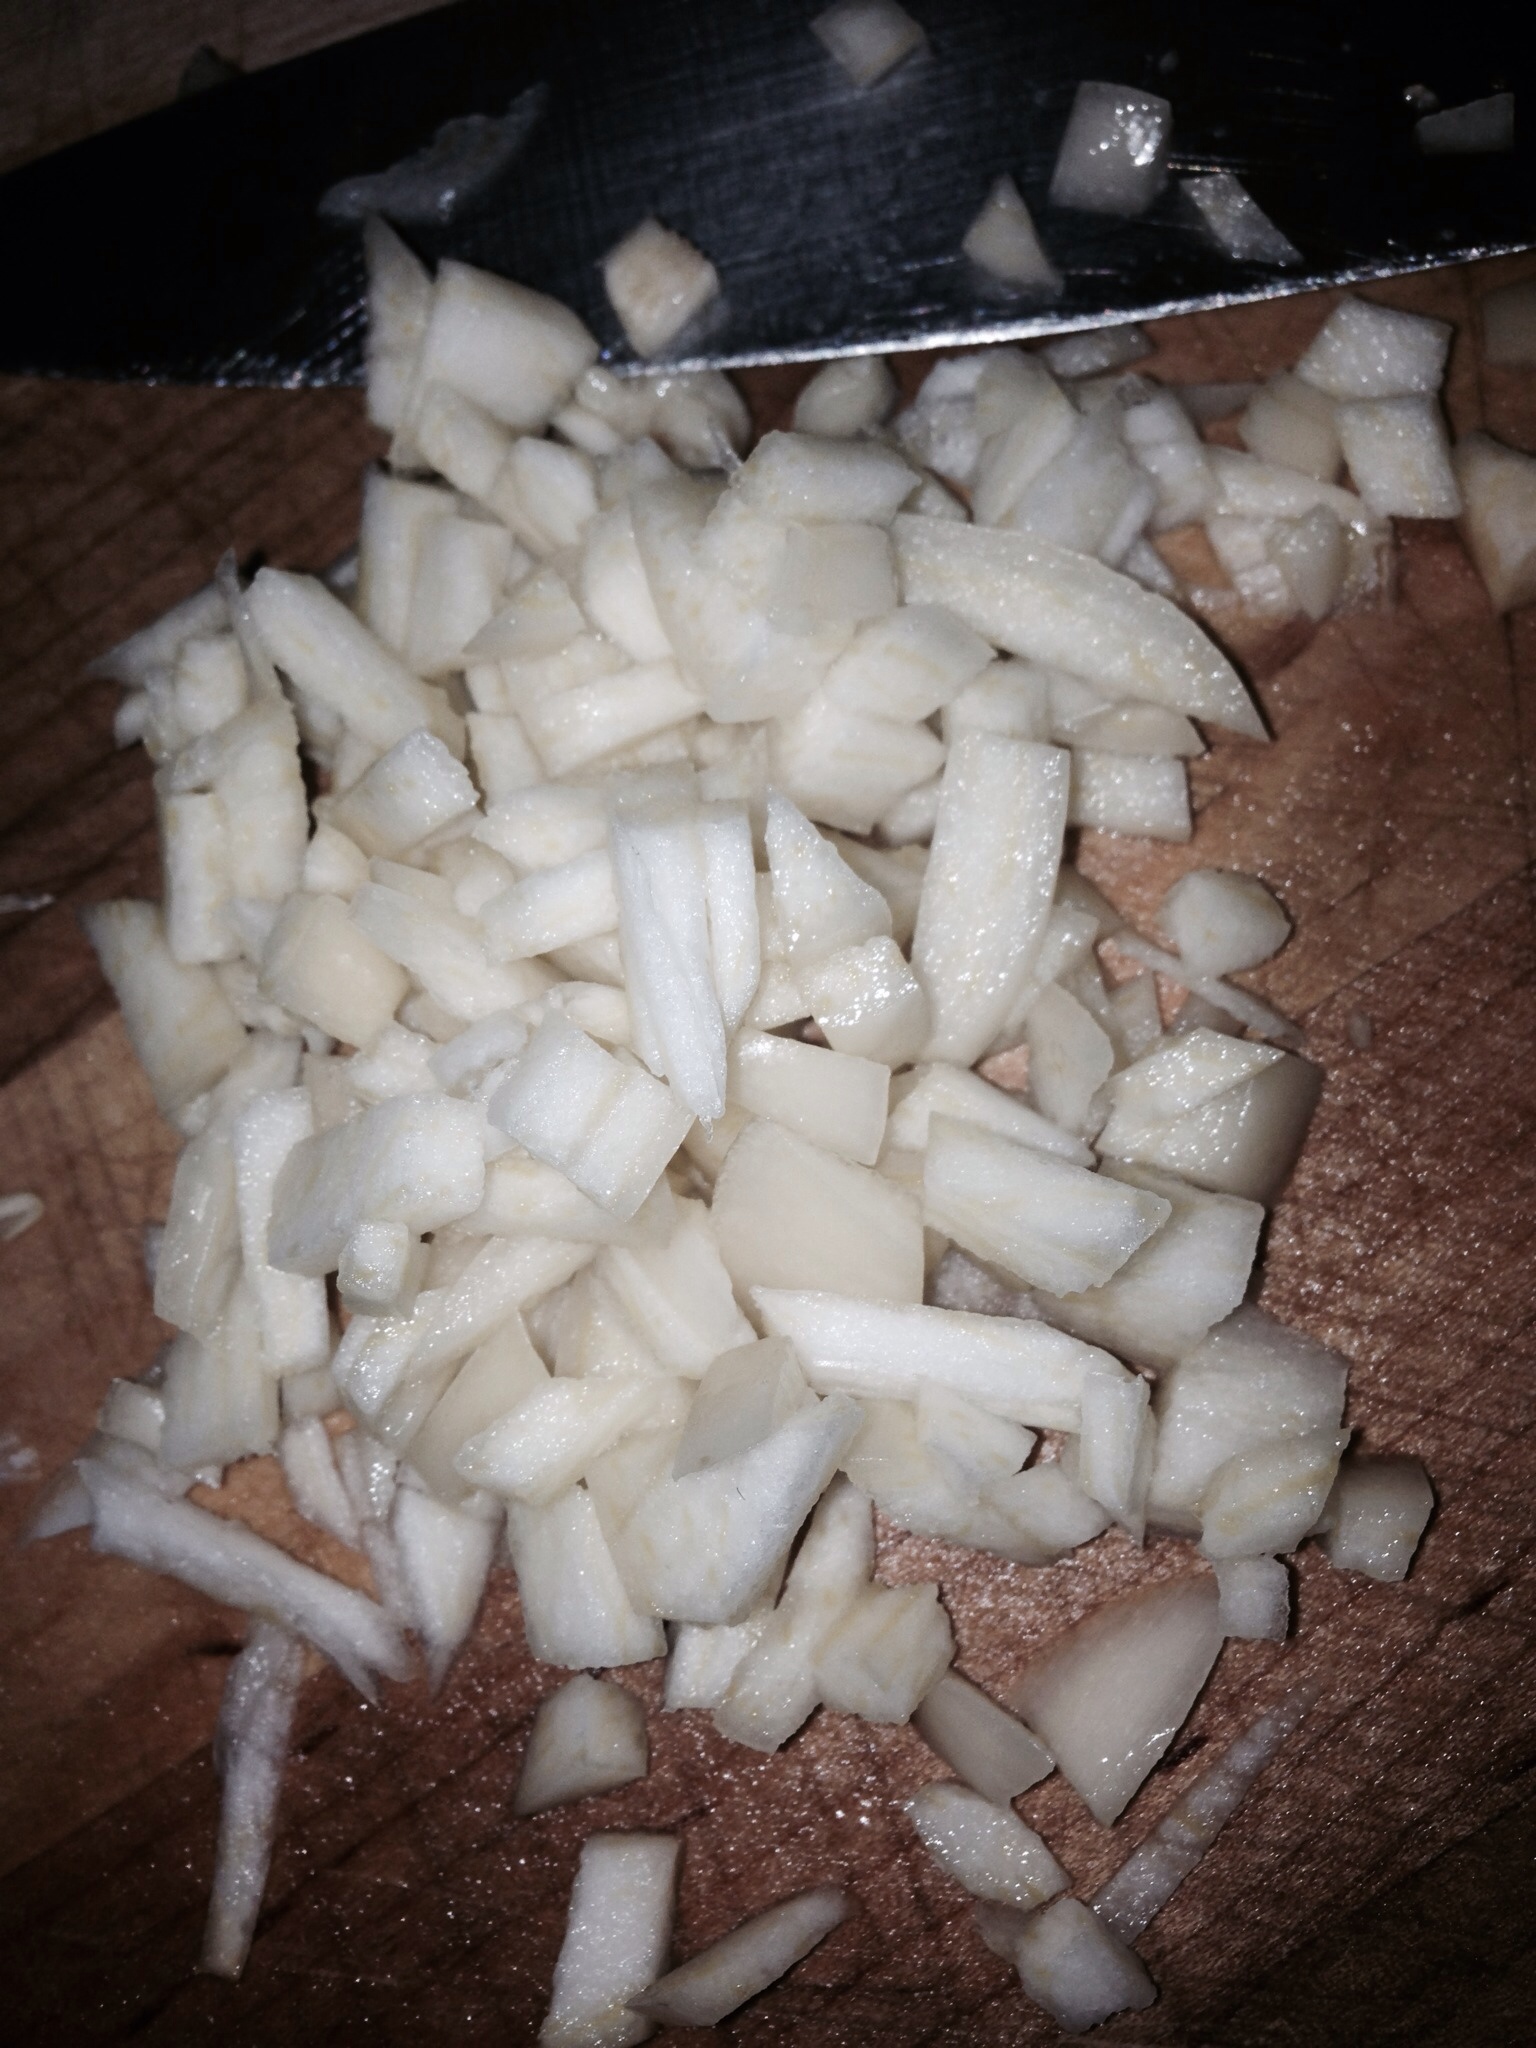
  • LOTS AND LOTS of garlic, as much as you like (or about 1/2 cup chopped garlic)
  • 1/2 cup soy sauce (more or less to taste)
  • 1/4 cup white vinegar
  • 1/2 teaspoon black pepper
  • 2 tablespoons tabasco sauce
  • 8 Thai chili peppers, chopped (more or less to taste)

Directions:

Rinse the chicken pieces; cut into smaller pieces if desired. Place the chicken in a large soup pot over medium heat. Add the onions and garlic. Cook for 5-10 minutes or until the chicken is slightly browned.

Add the rest of the ingredients to the pot. Turn the heat down to medium-low. Simmer for about 30 minutes or until the chicken is cooked through.

Taste, then adjust the seasonings (soy sauce, hot peppers) to taste.

Serve with hot white rice and ENJOY!


Fina’dene’ ~ Chamorro ‘Special Sauce’

Chamorro Special Sauce — that’s what my non-Chamorro friends call fina’denne’, the literal translation of which means made with pepper or donne’, the Chamorro word for hot chili pepper.

Fina’denne’ is a staple in most Chamorro homes.  It’s served with most meals.  Pour it over your freshly steamed rice or over your meat of choice.  It’s sure to enhance your dining pleasure. 🙂

There are many, many ways to prepare fina’denne’.  Soy sauce is usually the main ingredient; however, depending on the type of dish being served, you may choose to use salt instead.  For instance, I prefer a salt-based fina’denne’ over grilled fish, but I love a soy sauce-based fina’denne’ over fried fish.

The acidic ingredient is all up to you as well.  You can use white vinegar, cider vinegar, coconut vinegar, lemon juice or lime juice…it’s all up to you.  My brother, for example, likes only lemon or lime juice in his fina’denne’.  I, on the other hand, like to vary the acid I use depending on what I’m eating.  I mentioned fish above…I like a soy-lemon fina’denne’ with fried fish, and either a salt-lemon or salt-white vinegar fina’denne’ with grilled fish.

I also like using white vinegar when I add tomatoes to my fina’denne.  Tomatoes and vinegar pair really well, you know, like how a vinaigrette dressing goes great with a tomato salad.

Be sure to taste as you go…you might like your fina’denne’ more on the salty side, or you might prefer it a bit more sour (which is how I like it).

I like a 1:1 ratio of soy sauce to vinegar.  My husband prefers his fina’denne’ on the salty side, so when he makes it, he uses a 2:1 ratio of soy sauce to vinegar.  In other words, if I were to make a cup of fina’denne, I’ll use 1/2 cup soy sauce and 1/2 cup vinegar.  My husband, on the other hand, will make his using 1/2 cup soy sauce and 1/4 cup vinegar.

Try making different varieties of fina’denne’ and decide for yourself your personal preference. But by all means, give it a try.  I’m sure you too will love it. 🙂

Fina’denne’

image

Ingredients:

  • Soy sauce, to taste (you can substitute the soy sauce with salt)
  • Vinegar, to taste (you can use any type of vinegar, or you can use lemon or lime juice)

Optional ingredients:

  • Green onions, as much as you like
  • White onions, diced, as much as you like
  • Hot chili peppers, as much as you can stand
  • Cherry tomatoes, diced or sliced
For this batch of fina’denne’, I used:
  • 1/2 cup soy sauce
  • 1/2 cup vinegar
  • 1 jalapeño pepper
  • 2 Serrano chili peppers
  • 4 stalks green onions
  • 1/2 cup cherry tomatoes

Directions: 

In a small bowl, mix together the soy sauce and vinegar (or lemon juice if you prefer).  

image

I like adding hot green chili peppers to my fina’denne’, charring them slightly.  You don’t have to char the peppers, but doing so brings out so much more of the pepper’s flavor.  I grilled these peppers over the flame of my gas stove.  Use a metal skewer to keep the peppers together; it also makes it easier to turn the peppers over to ensure even grilling.

image

My mom and one of my sisters loves using the red, super-hot Thai peppers in their fina’denne’.  Those are great too, but beware!  Those suckers are MOUTH-ON-FIRE H-O-T!!!

red chili peppers

Slice the peppers then add them to the bowl.

image

Add the onions.  I used green onions here, but you can use white or yellow onions too.

image

Add the tomatoes.

image

Stir to combine.

image

Pour over your rice and meat and dig in! ENJOY! 🙂

image

Here’s a great tip:  for fina’denne’ at your fingertips and ready when you want it, buy a plastic squeeze bottle and fill it with fina’denne’, the liquid mixture only.   Squeeze bottles are sold at most grocery stores, but I bought this one at our local Korean store.  Add onions, tomatoes and peppers on the side when you’re ready to serve up your meal.

image

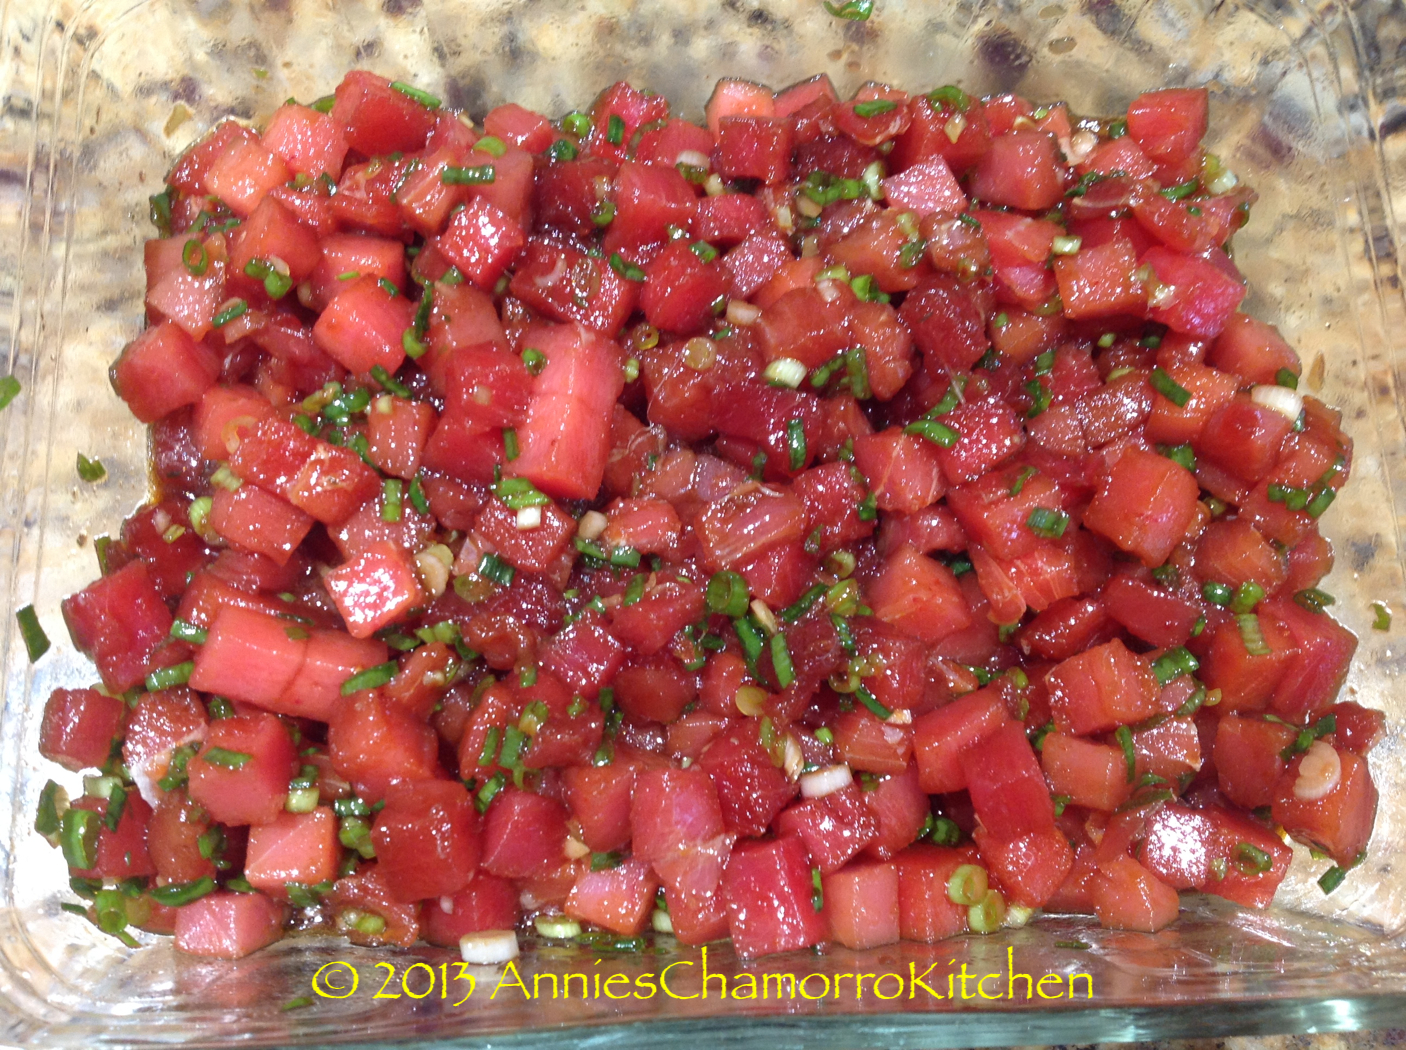
Ahi Tuna Poke

Poke is a Hawaiian dish traditionally served as an appetizer, but it can also be a main dish when served with rice or corn titiyas.

Modern versions of poke can vary depending on the ingredients you have on hand.  Poke is typically made with cubed ahi tuna marinated with soy sauce (some use sea salt), ground kukui nut (the meat in the inside, though, not the entire nut), sesame oil, ogo seaweed, and hot chili peppers.  You can also use fresh salmon or octopus instead of ahi.

Living in Colorado, I don’t have access to a lot of the traditional ingredients like ogo seaweed and kukui nuts, so I created a different version of poke that my family — especially my 11 year old daughter — loves.

It’s a simple recipe that you can take to entirely new levels by adding the other optional ingredients I listed below.

Give my recipe a try.  I think you’ll like it. 🙂

Poke

Poki - 07

Ingredients:

  • 1 pound ahi tuna
  • 2 tablespoons sesame oil
  • 2 tablespoons kimchee base
  • 1/2 cup soy sauce
  • 6 stalks green onions, thinly sliced
  Optional Ingredients:
  • 1 small cucumber, diced
  • 1 cup cherry tomatoes, diced
  • 1 small sweet onion (Maui onions are good), diced
  • 2 tablespoons furikake seasoning
  • 2 tablespoons ground macadamia nuts (if you can’t find or don’t have access to kukui nuts)
  • 1 teaspoon minced garlic
  • Hot chili peppers or Sambal Oelek chili sauce, to taste
  • You can also substitute the tuna with salmon or octopus

Directions:

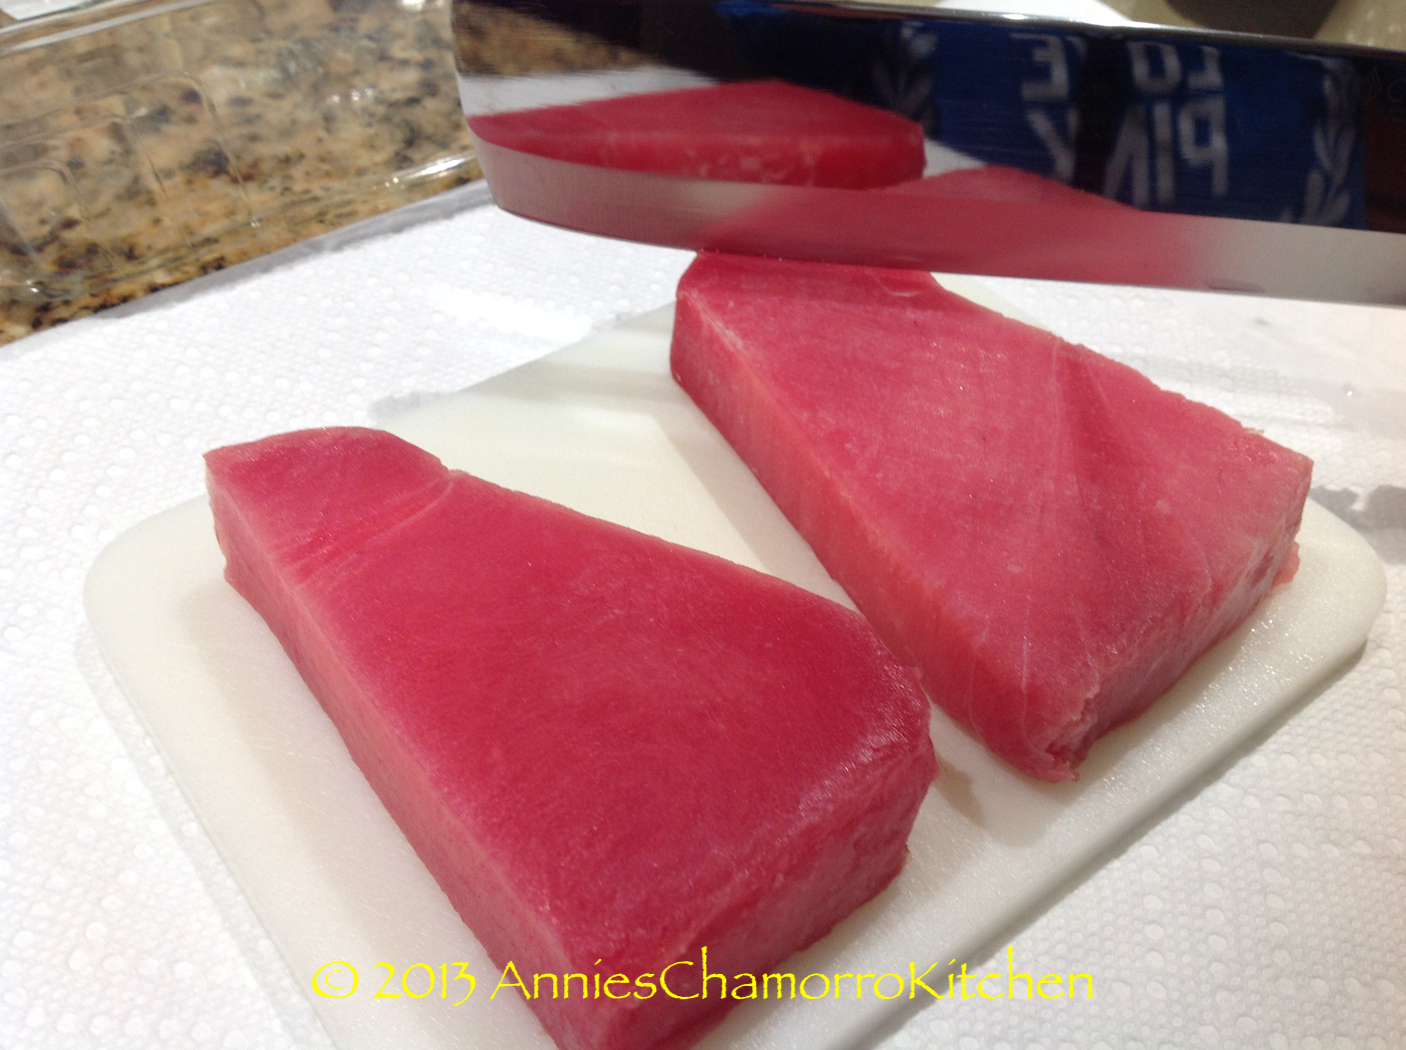
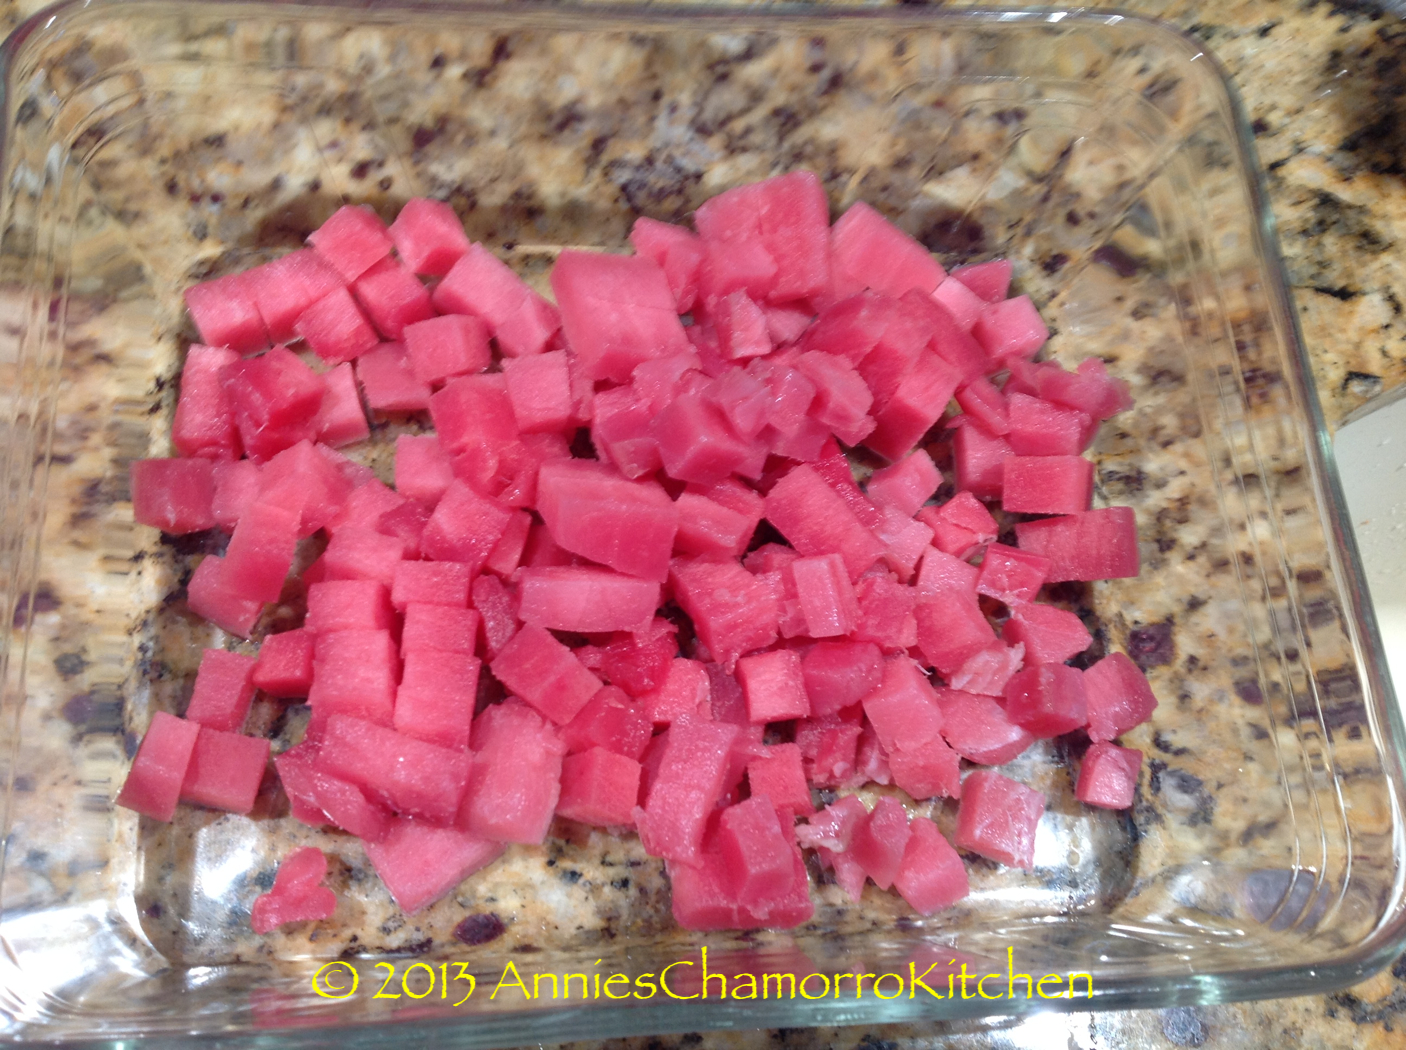
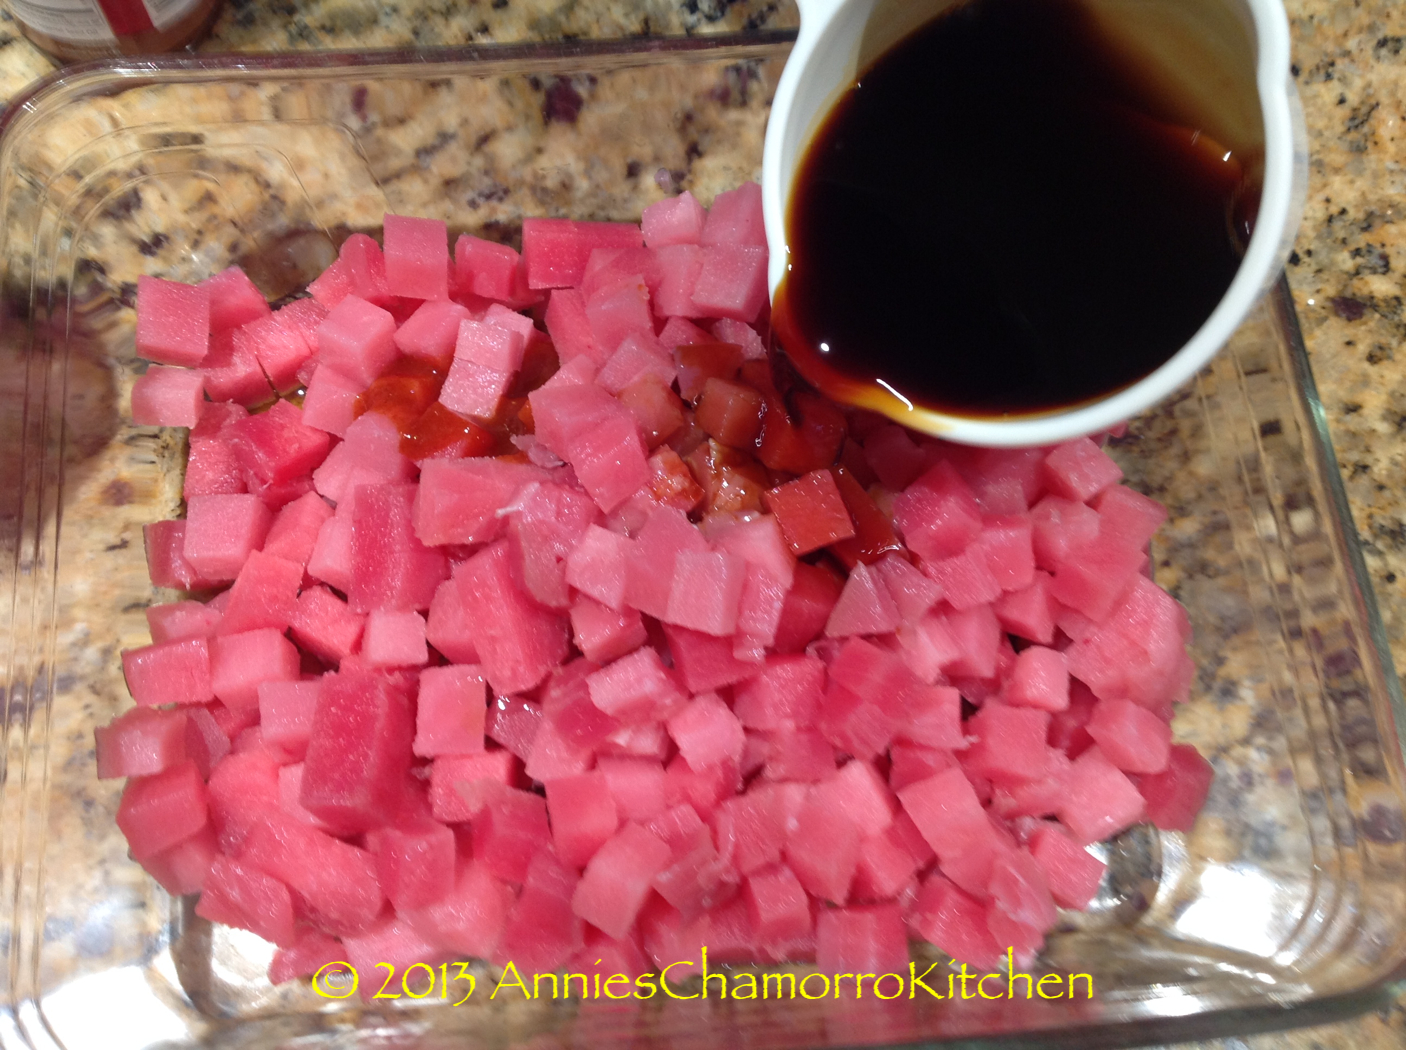
1.  Cut the ahi into small cubes.  I find it’s easier to slice the ahi when it’s partially frozen.

Poki - 01 Poki - 02

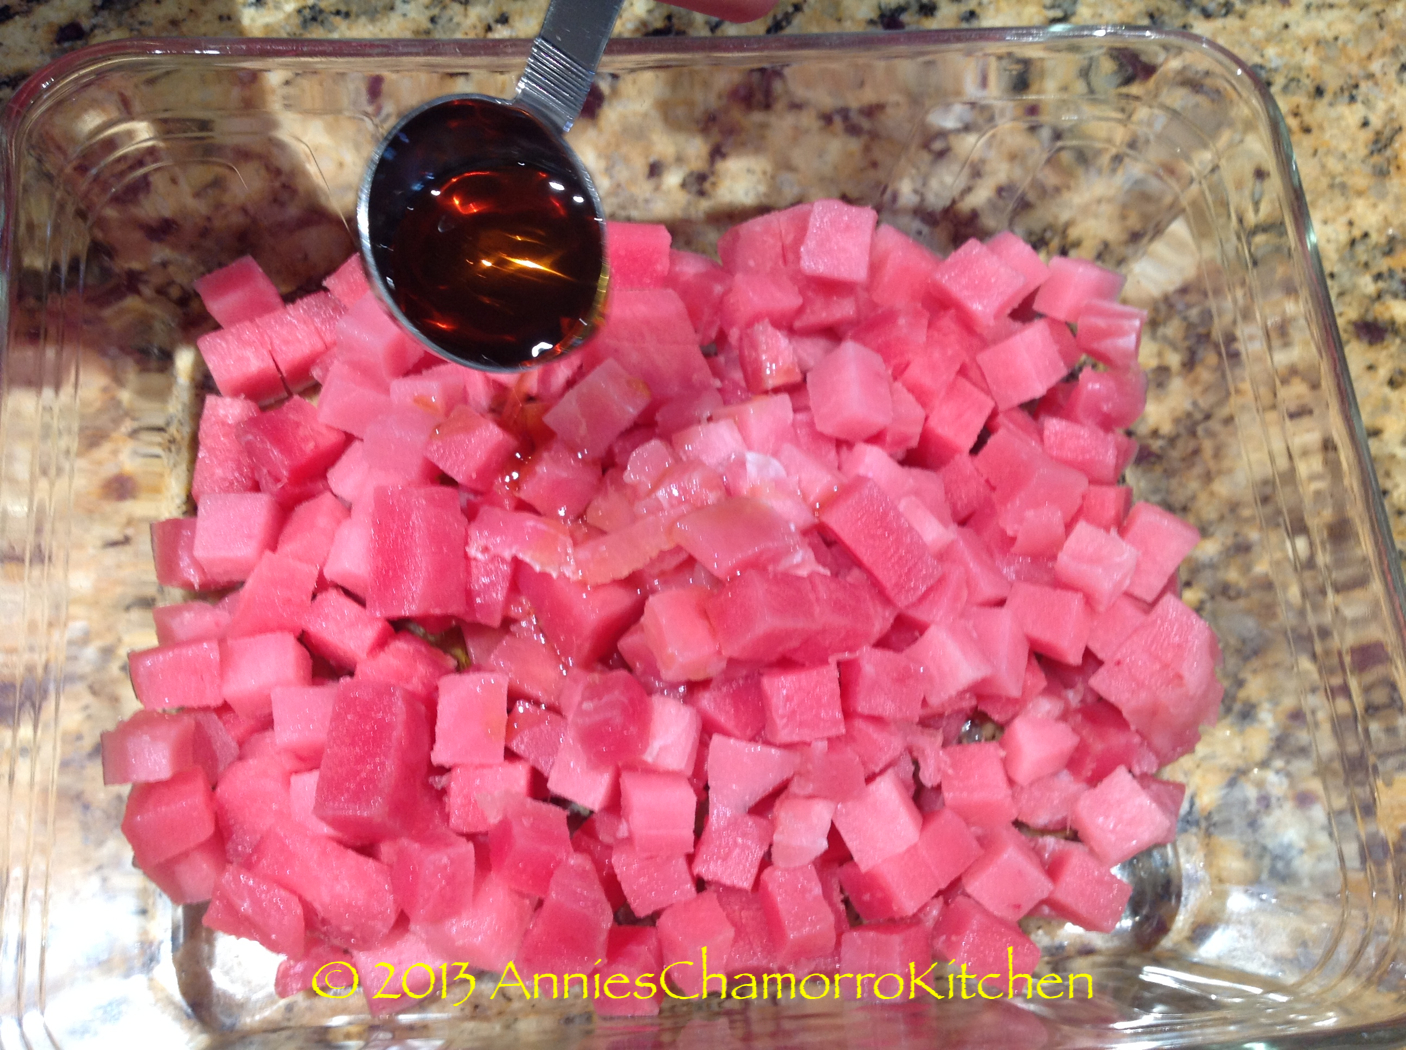
2.  Add the sesame oil.

Poki - 03

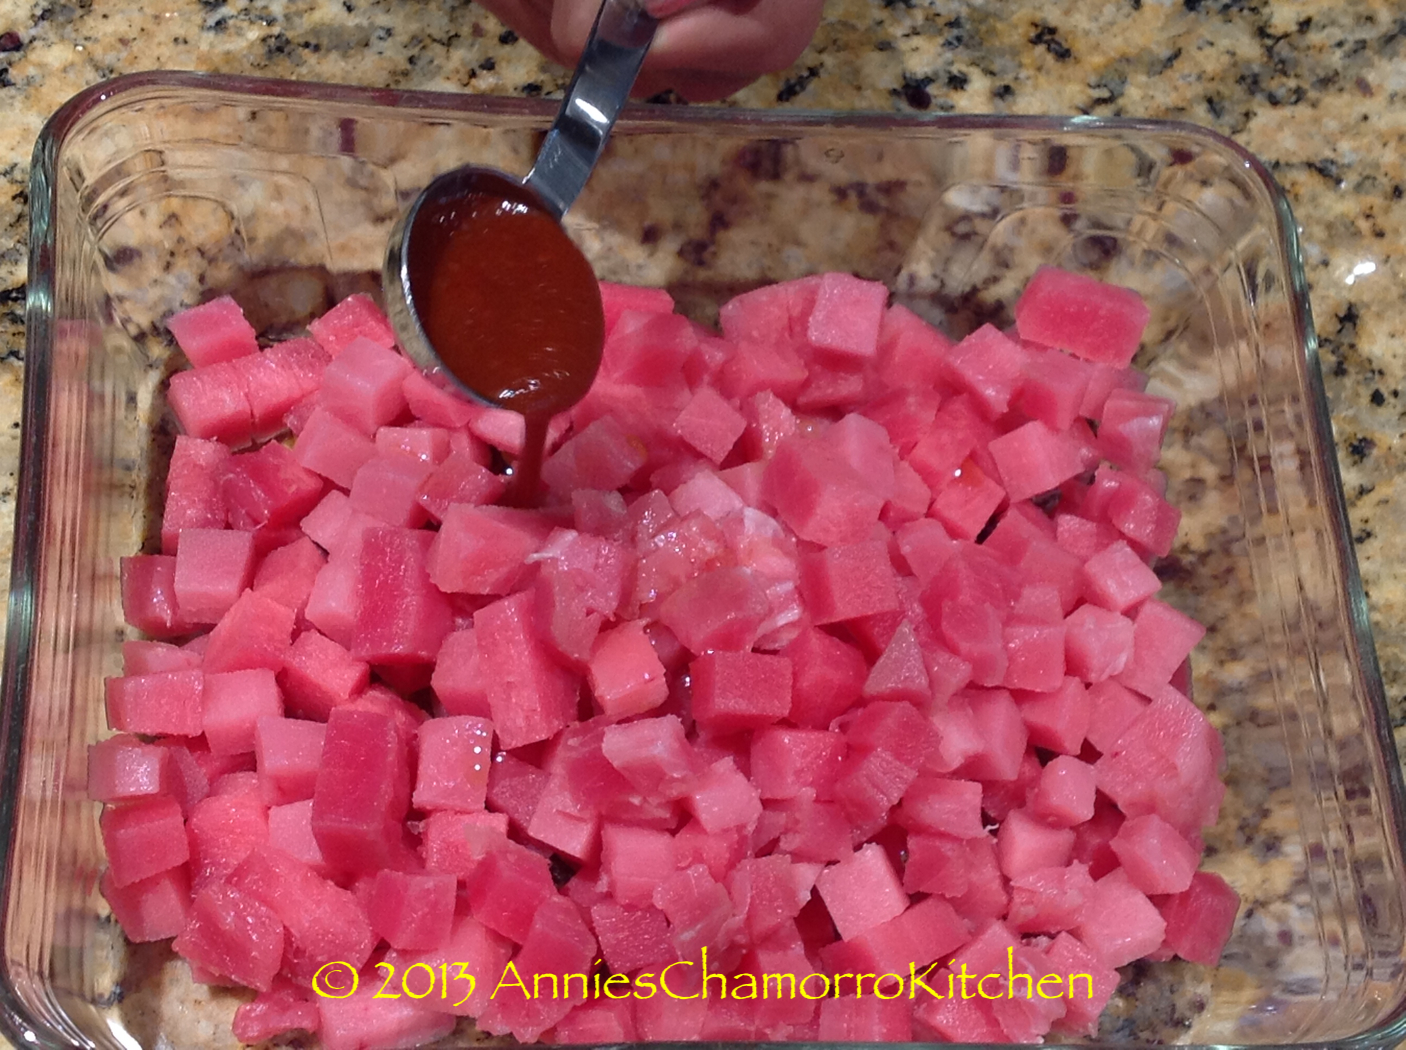
3.  Add the kimchee base (you can use a chili sauce like Sambal Oelek if you can’t find kimchee base).

Poki - 04

4.  Add the soy sauce.

Poki - 05

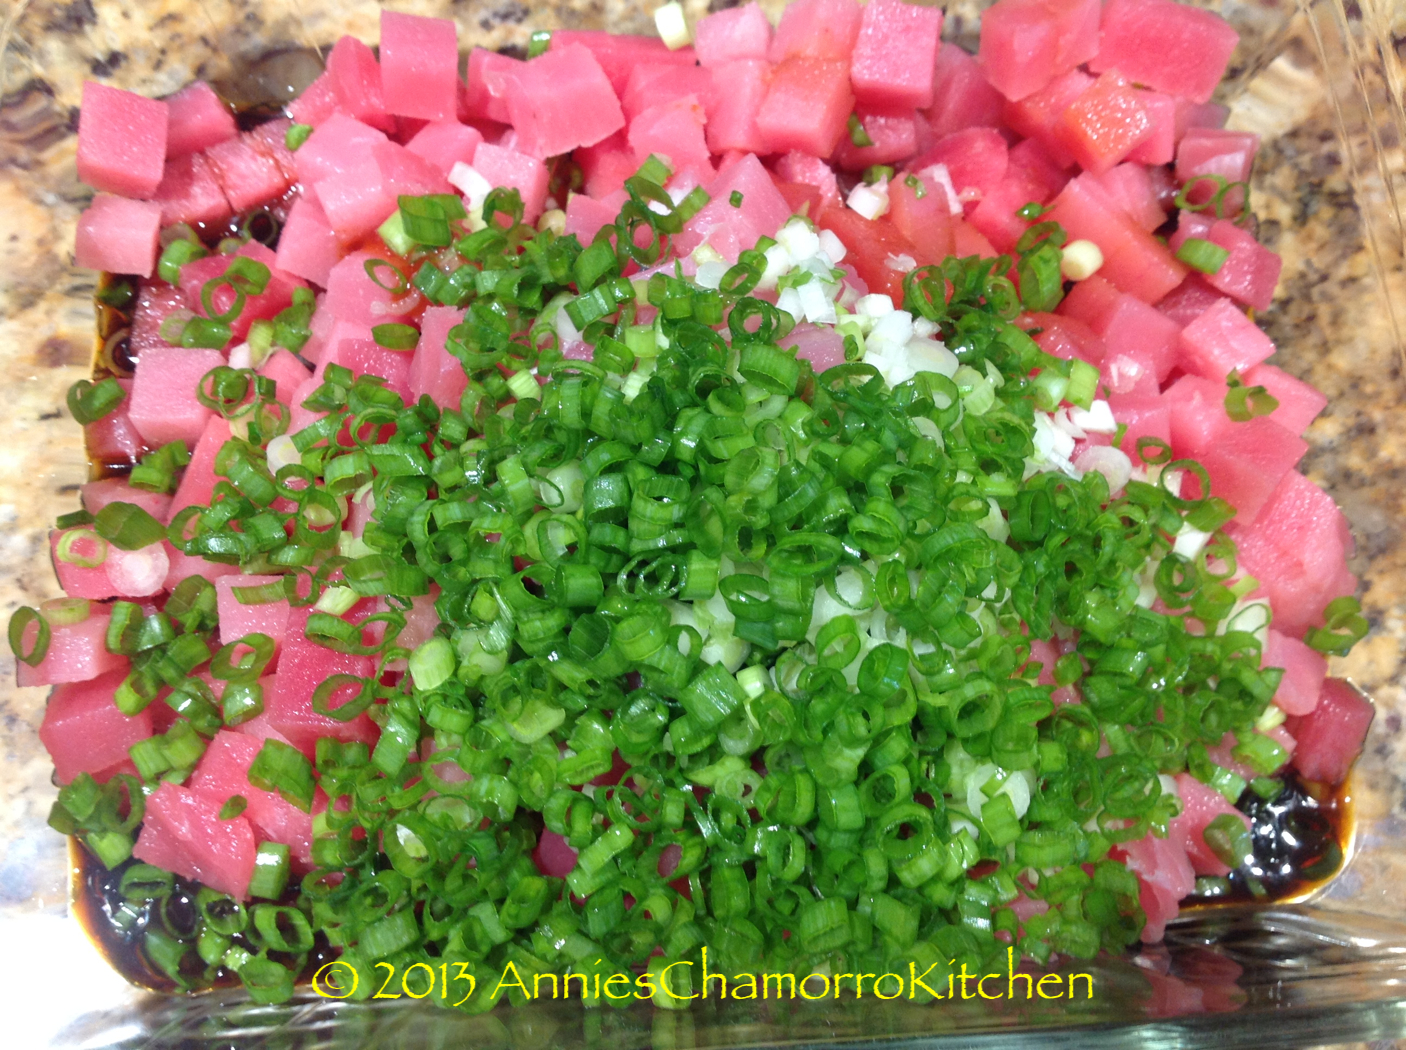
5.  Add the green onions.

Poki - 06

6.  Stir to combine.  Let the poke sit for at least 30 minutes (refrigerated) to allow the flavors to meld.

Poki - 07

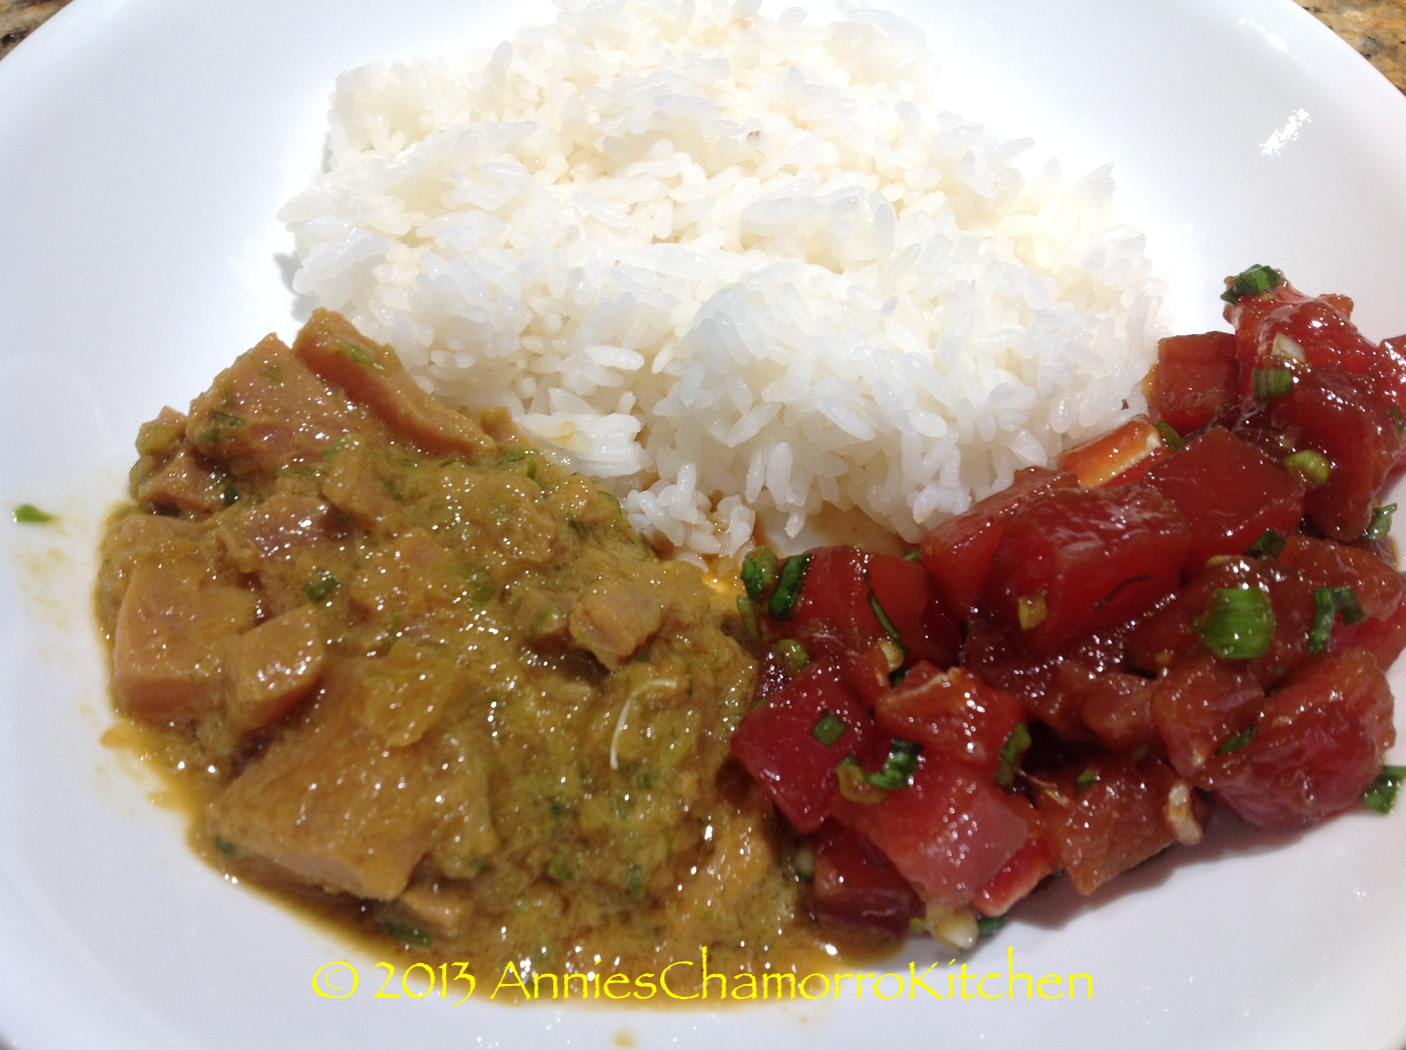
7.  Serve with hot white rice or freshly made corn titiyas (tortillas).  The photo below shows the ahi tuna poke (on the bottom right of the plate) and ahi tuna sashimi (that’s another recipe, to be posted soon) on the bottom left.

ENJOY!!

Poki - 08

Coconut Candy

Coconut candy is an island dessert that’s so simple to make, and fun to get the kids involved in making it.

Growing up, we’d make this a lot during Chamorro Week at school.  This was also a popular treat at bake sales; coconut candy was usually the first item to sell out.

Freshly grated coconut is a key ingredient, but you can easily substitute it with frozen grated coconut.  Just be sure NOT to use the sweetened coconut flakes.  I love the taste of coconut, but to me, the best part of this candy is the caramelized sugar (yum!).

Give my recipe a try…get the kids involved in making them too.  I’m sure they’d love making AND eating it. 🙂

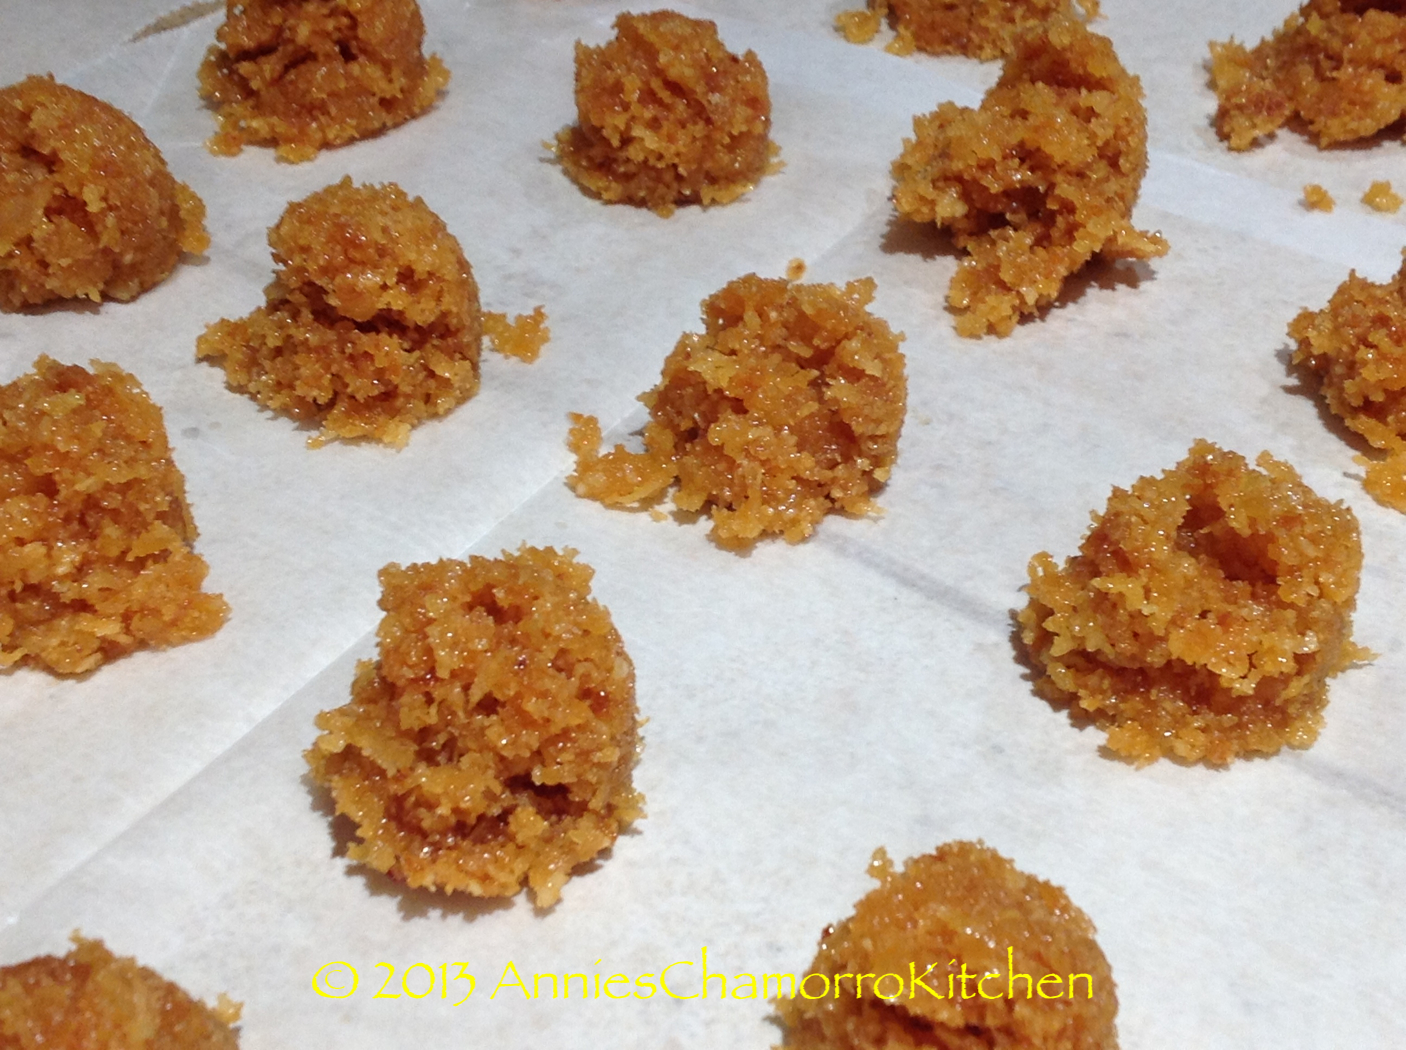
Coconut Candy
Coconut Candy - 14

Ingredients:

  • 2 large coconuts
  • 2 cups white, granulated sugar

Directions:

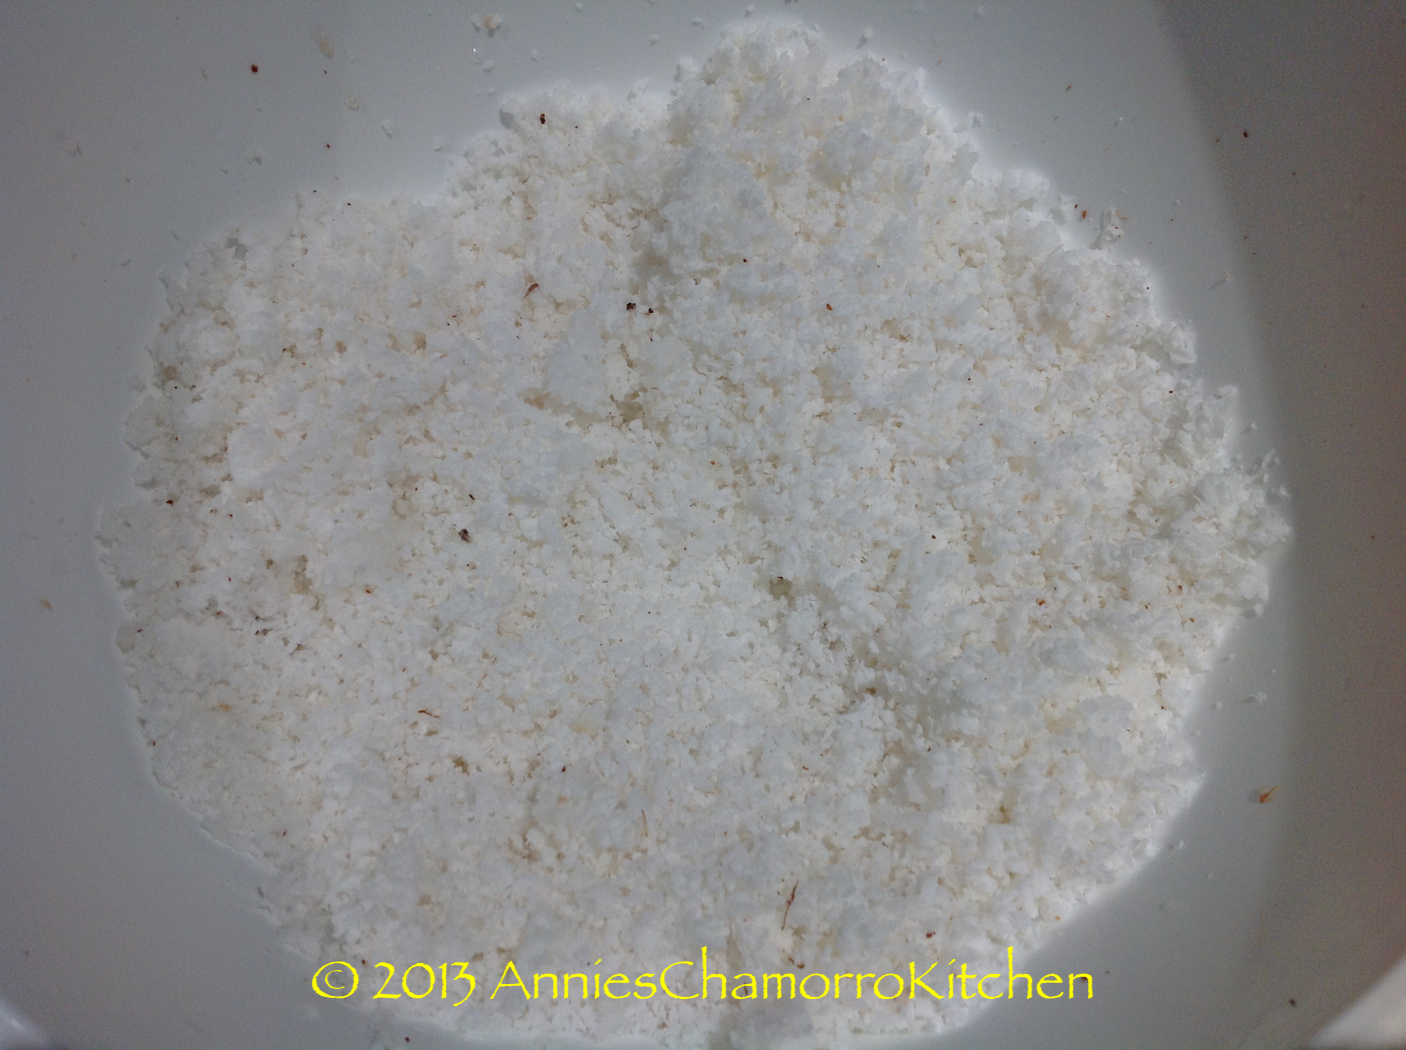
1.  Finely grate the coconut; the smaller/finer the coconut flakes, the better.  You should get roughly 4 cups of grated coconut from 2 large coconuts.  If you can’t find fresh coconuts or don’t have a kåmyu (coconut grater), you can buy frozen grated coconut–make sure you use the UNsweetened kind.
Coconut Candy - 01

Before continuing with the directions, I think it’s important to explain how to choose fresh coconuts.  On Guam, we either cut the coconuts off the trees or pick up the brown ones (niyok) off the ground, then shake them vigorously, listening for the telltale sloshing of the coconut juice.  If you live in the states, it’s sometimes difficult to find coconuts that haven’t already spoiled.  For this batch, I actually bought four coconuts knowing I only needed two.  Sure enough, two of them ended up being spoiled and moldy inside.  Before buying coconuts, shake them.  You should hear (and feel) liquid sloshing around inside.  If you don’t hear and feel any liquid while shaking the coconut, do NOT buy it–it’s gone bad already.  The coconut should also feel rather heavy.  A coconut that either has very little liquid sloshing around or feels light (compared to the weight of other coconuts) are an indicator that the coconut meat inside is dried out or spoiled.

The coconuts I bought–the ones that ended up being bad–had liquid in them when I shook them.  However, the coconuts must have sat in the store for who knows how long. In one of the coconuts, the liquid smelled sour (a sure sign of spoilage) and the meat felt slimy (yuck).  The other bad coconut, after cracking it open, had mold growing between the meat and shell (more yuck!).  And to think I paid about $2 for each coconut….

For those of you living on Guam or in a place where coconut trees abound and you don’t have to pay an arm and a leg for them, be thankful.  Ahh…how I miss those days when I could just go out to the back yard and husk open coconuts that just fell off the trees.

Anyhow, on to making coconut candy.

2.  Caramelize the sugar.

Place the sugar into a large frying pan set over low heat.
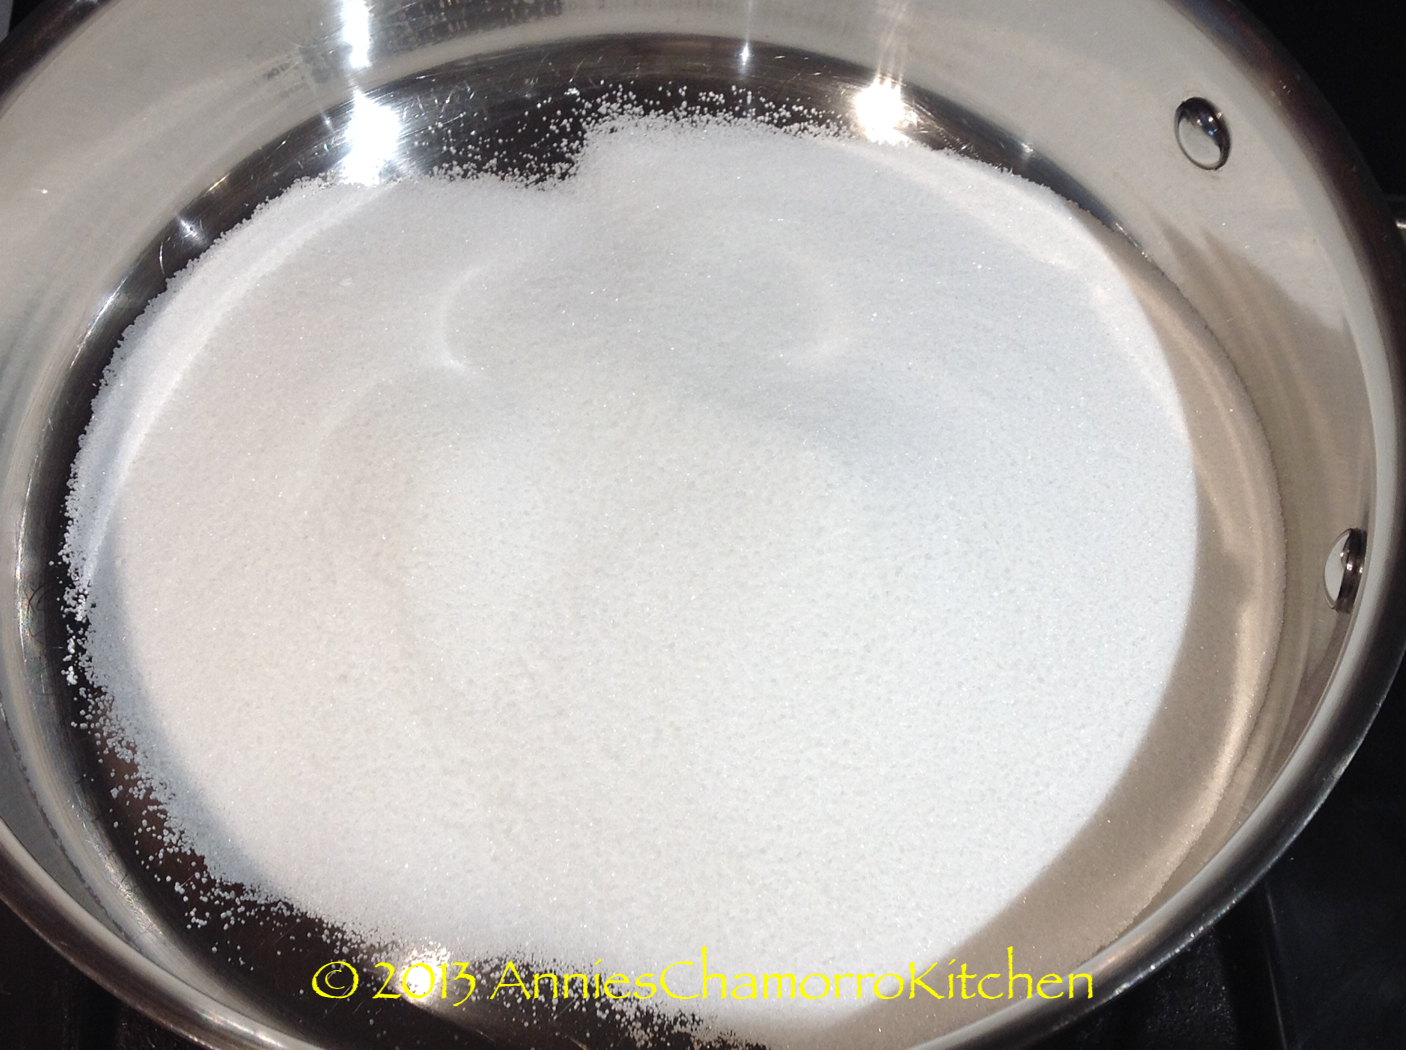
Coconut Candy - 02

Leave the sugar alone until you see it begin to melt.

Using a heavy duty spoon or heat-safe rubber spatula, scrape the sugar from the edge of the pan to the middle.  You’re doing this for a couple of reasons — first, you want to keep the melted sugar from browning too fast and burning.  Second, you’re moving the unmelted sugar to the hotter spots on the pan to begin melting.

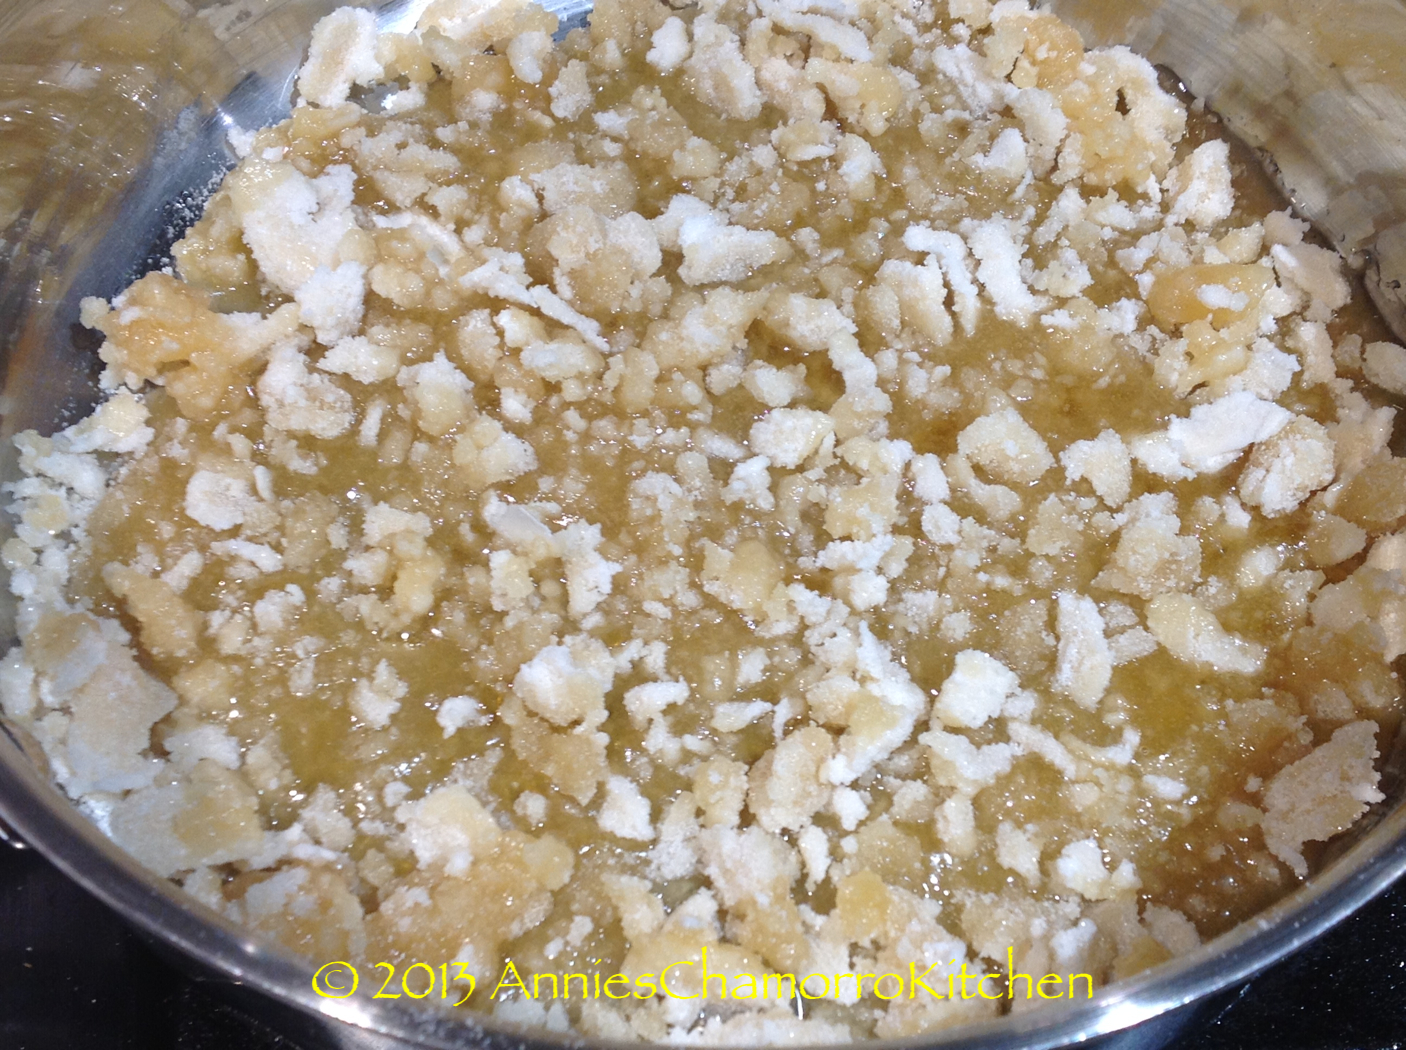
The photo below shows a bit of clumping of unmelted and melted sugar.  Don’t worry if yours looks like this — keep cooking the sugar over low heat and those clumps will melt right out.
Coconut Candy - 07

Keep cooking (and stirring) over low heat…

…and…cooking/stirring…

…and cooking/stirring some more.

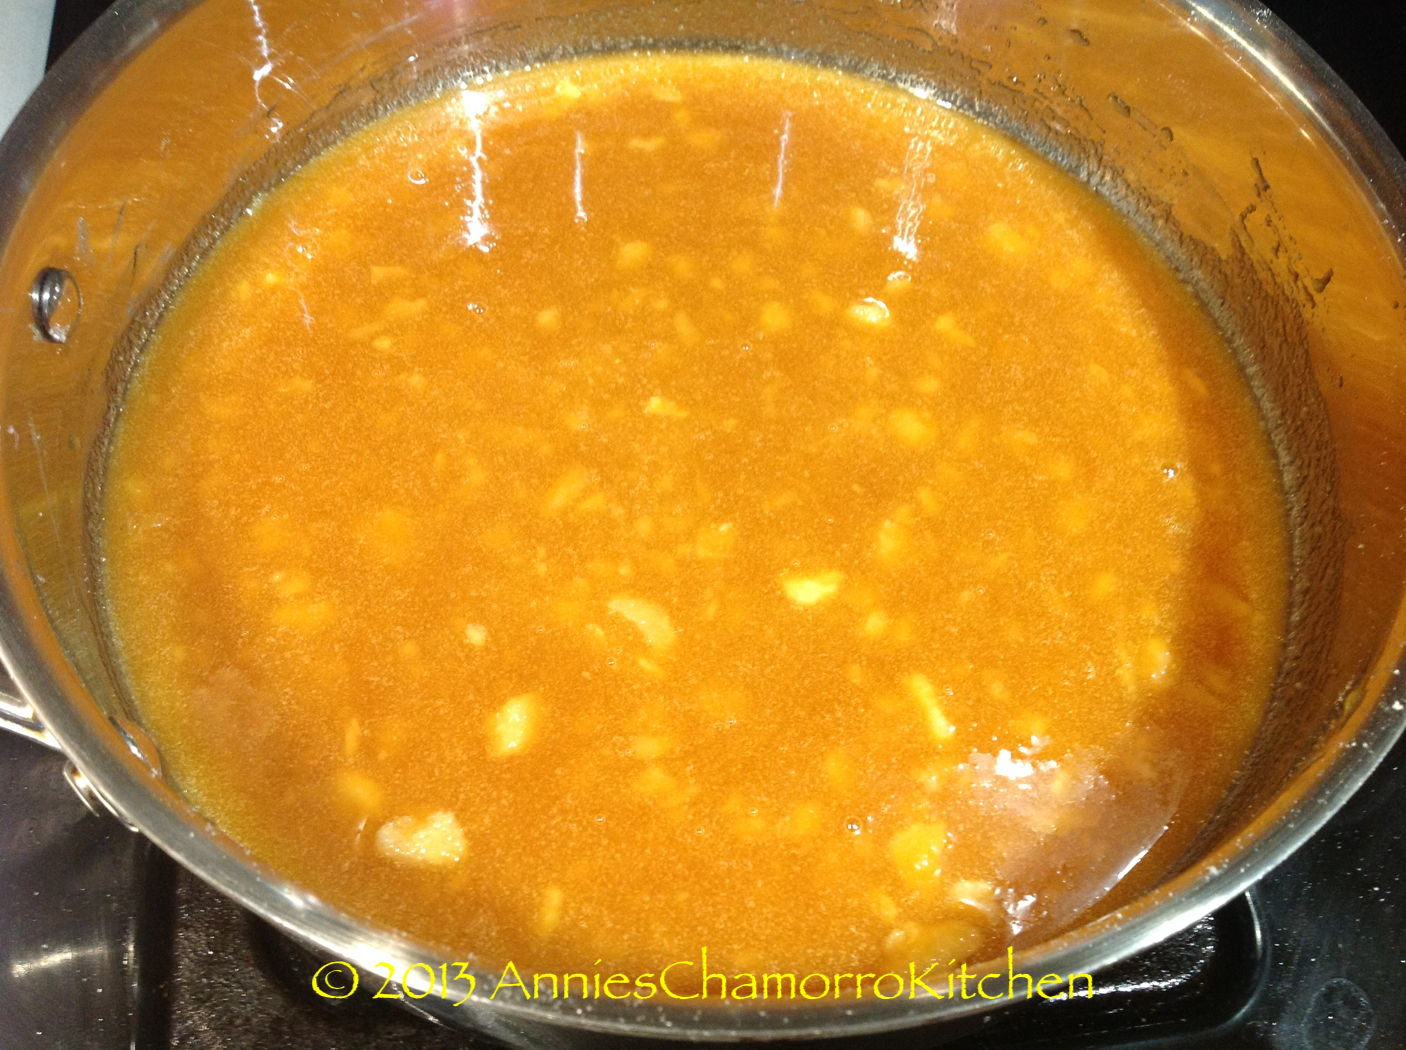
Whew!  FINALLY the sugar is melted with a nice caramel color.  Use the back of your spoon to smush any stray lumps of sugar (like the ones shown below).
Coconut Candy - 08

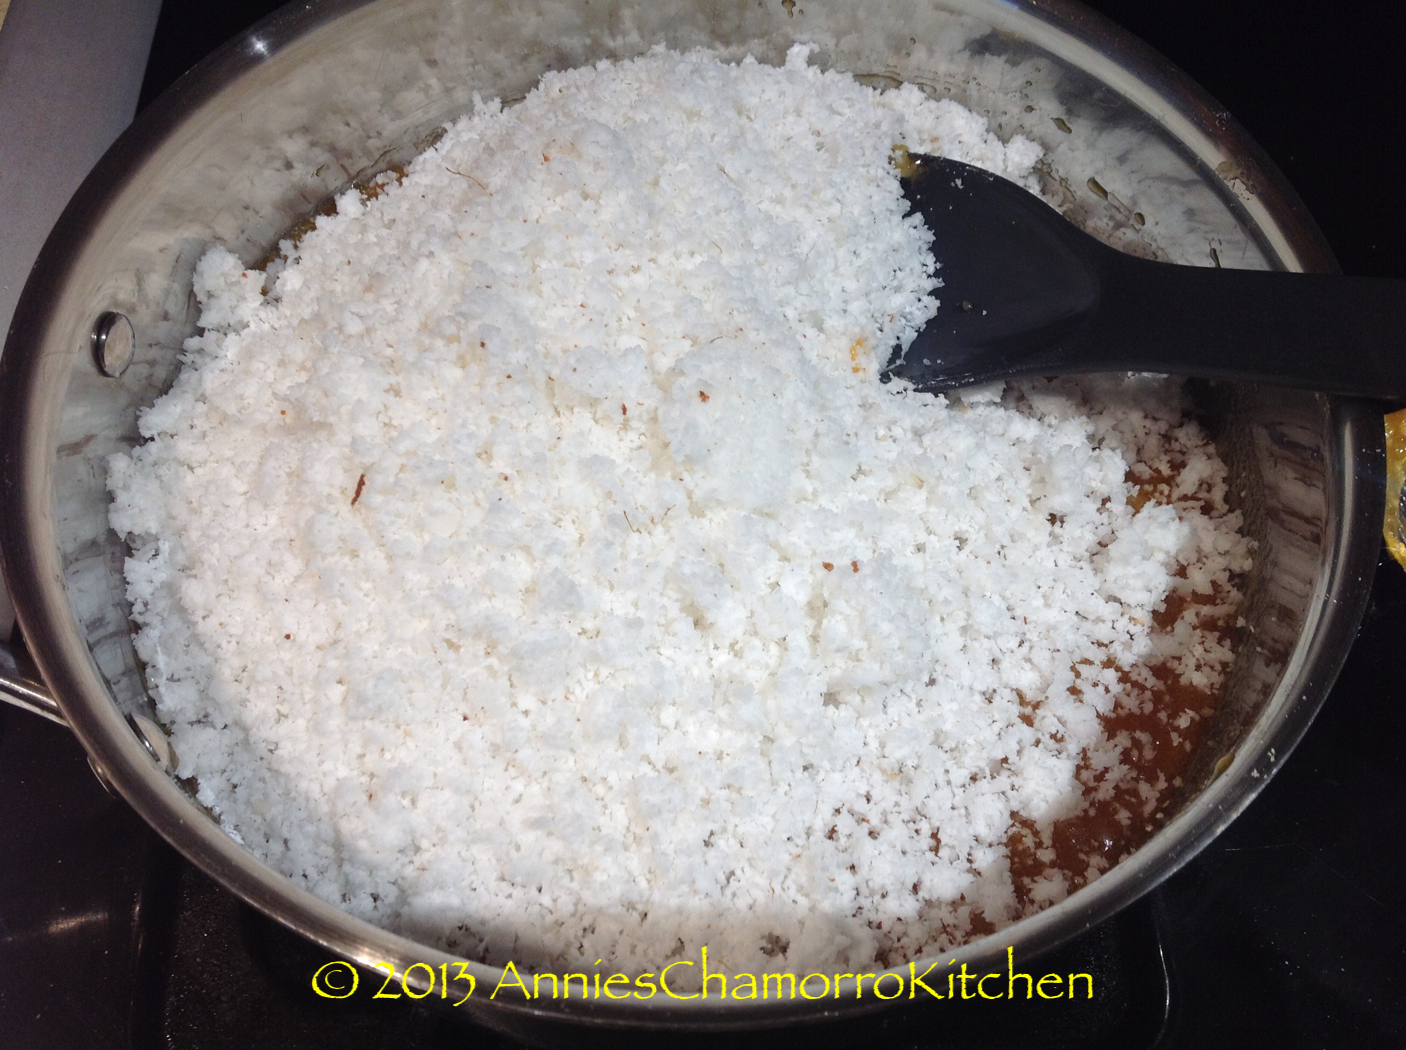
3.  Add the coconut to the caramelized sugar.

The sugar will solidify after adding the coconut, but don’t worry, the sugar will re-melt.
Coconut Candy - 09

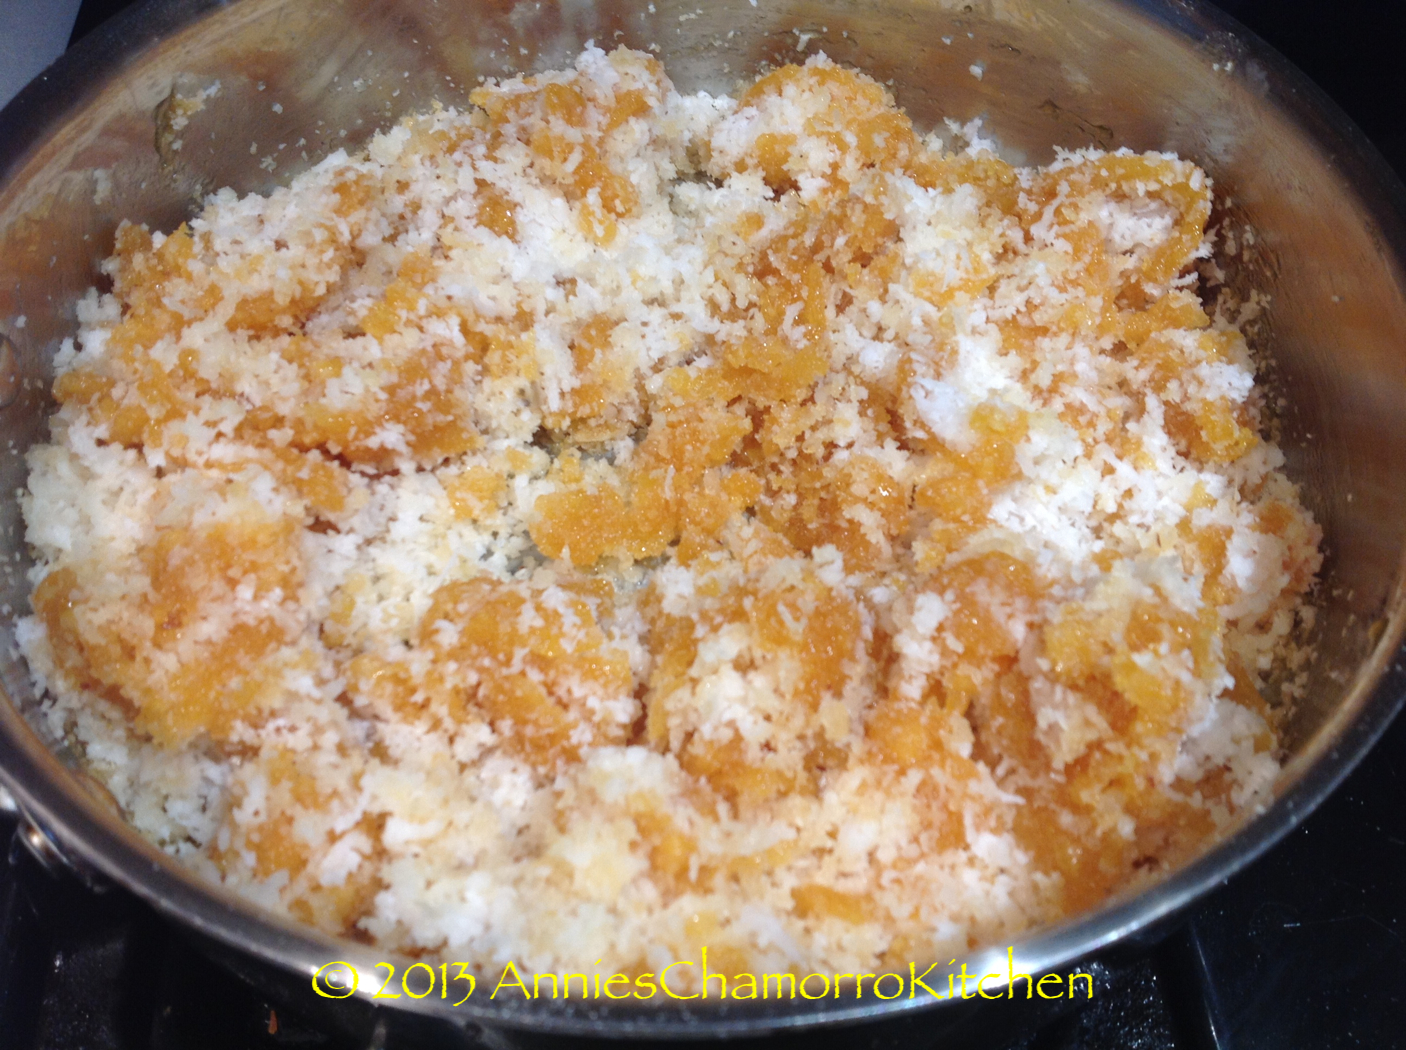
This is what the mixture looks like, with the sugar hardening after adding the coconut.
Coconut Candy - 10

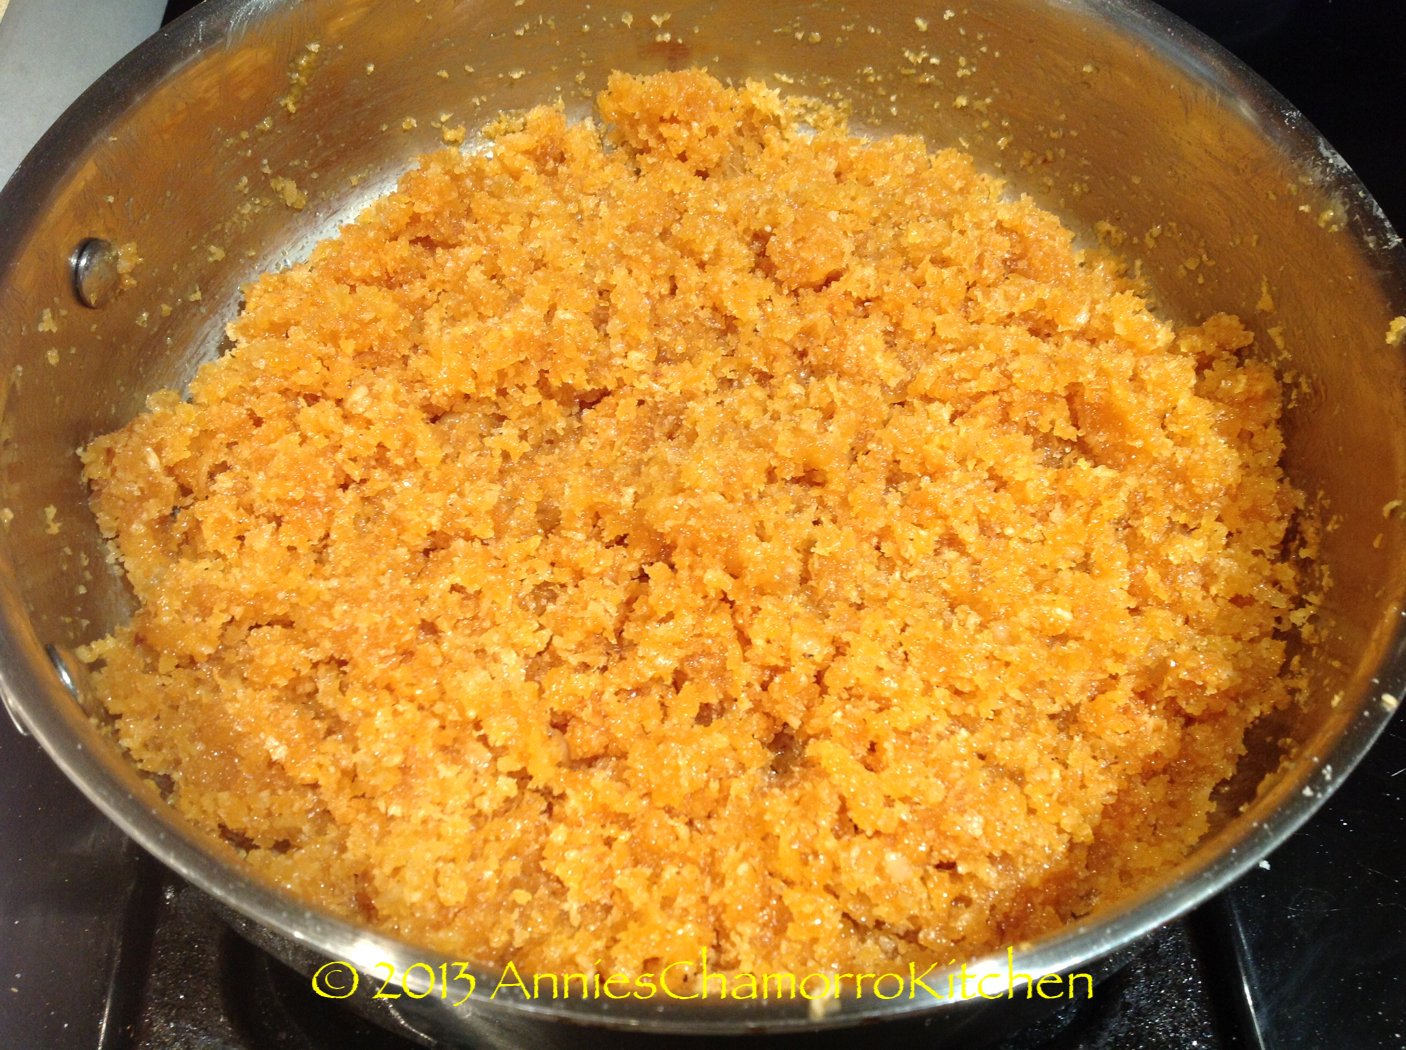
Keep cooking the coconut-sugar mixture over low heat, stirring occasionally until the sugar re-melts. Turn off the heat once the sugar is melted again.  Stir the mixture one last time to evenly mix the sugar and coconut together.
Coconut Candy - 11

4.  Form the candy.

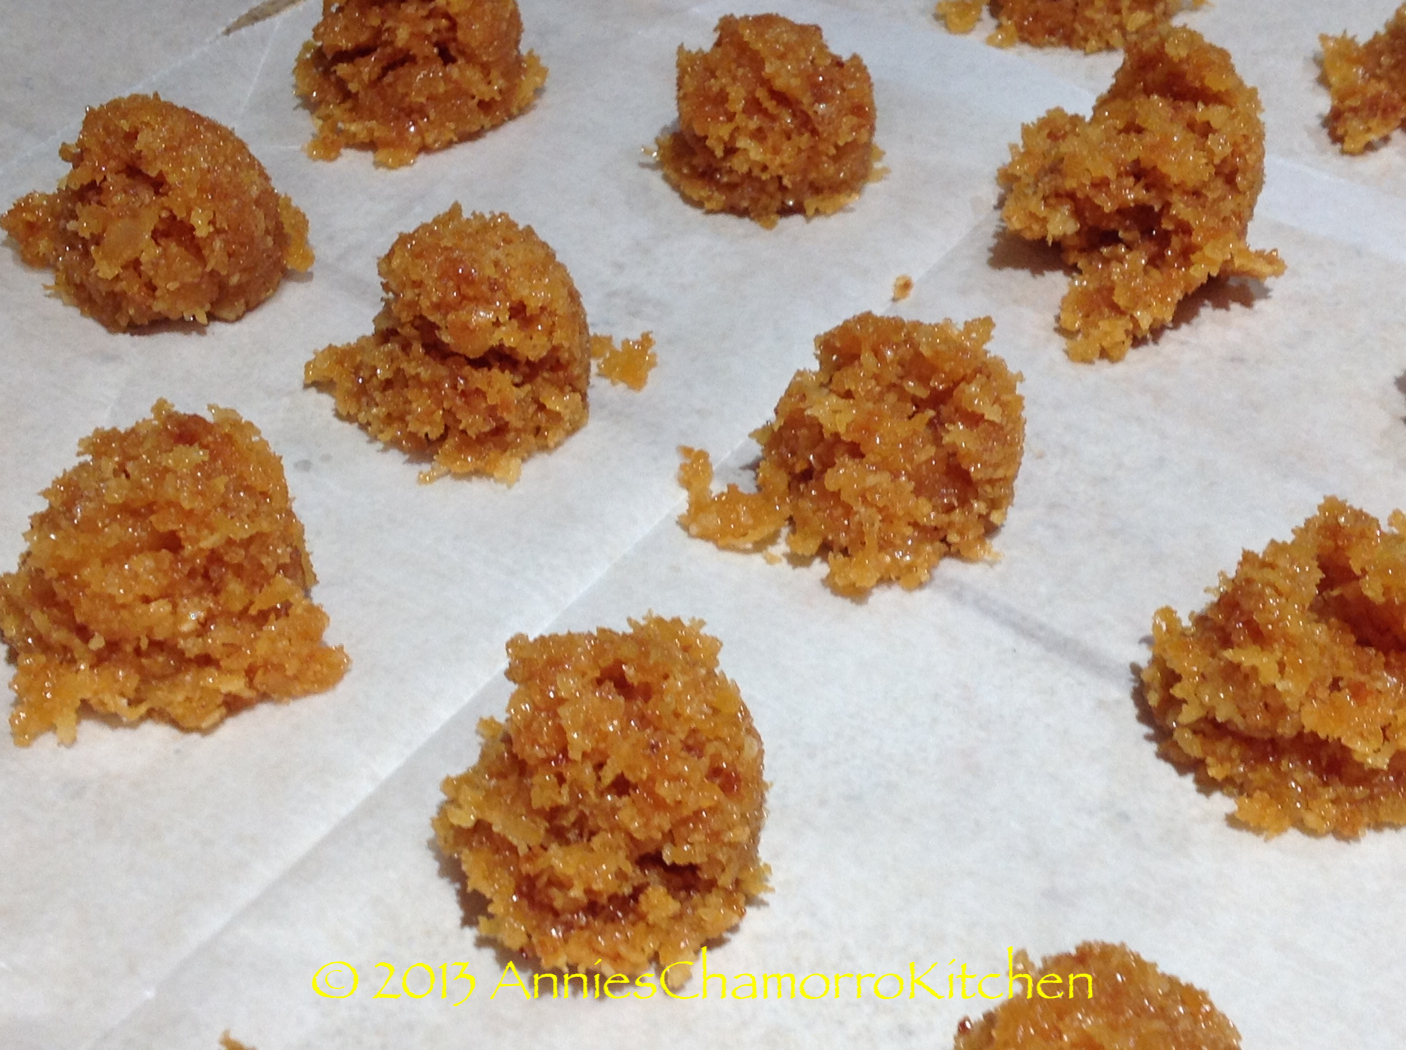
Using a couple of tablespoons (I used a small cookie scoop), scoop small amounts of coconut candy onto a piece of waxed or parchment paper.
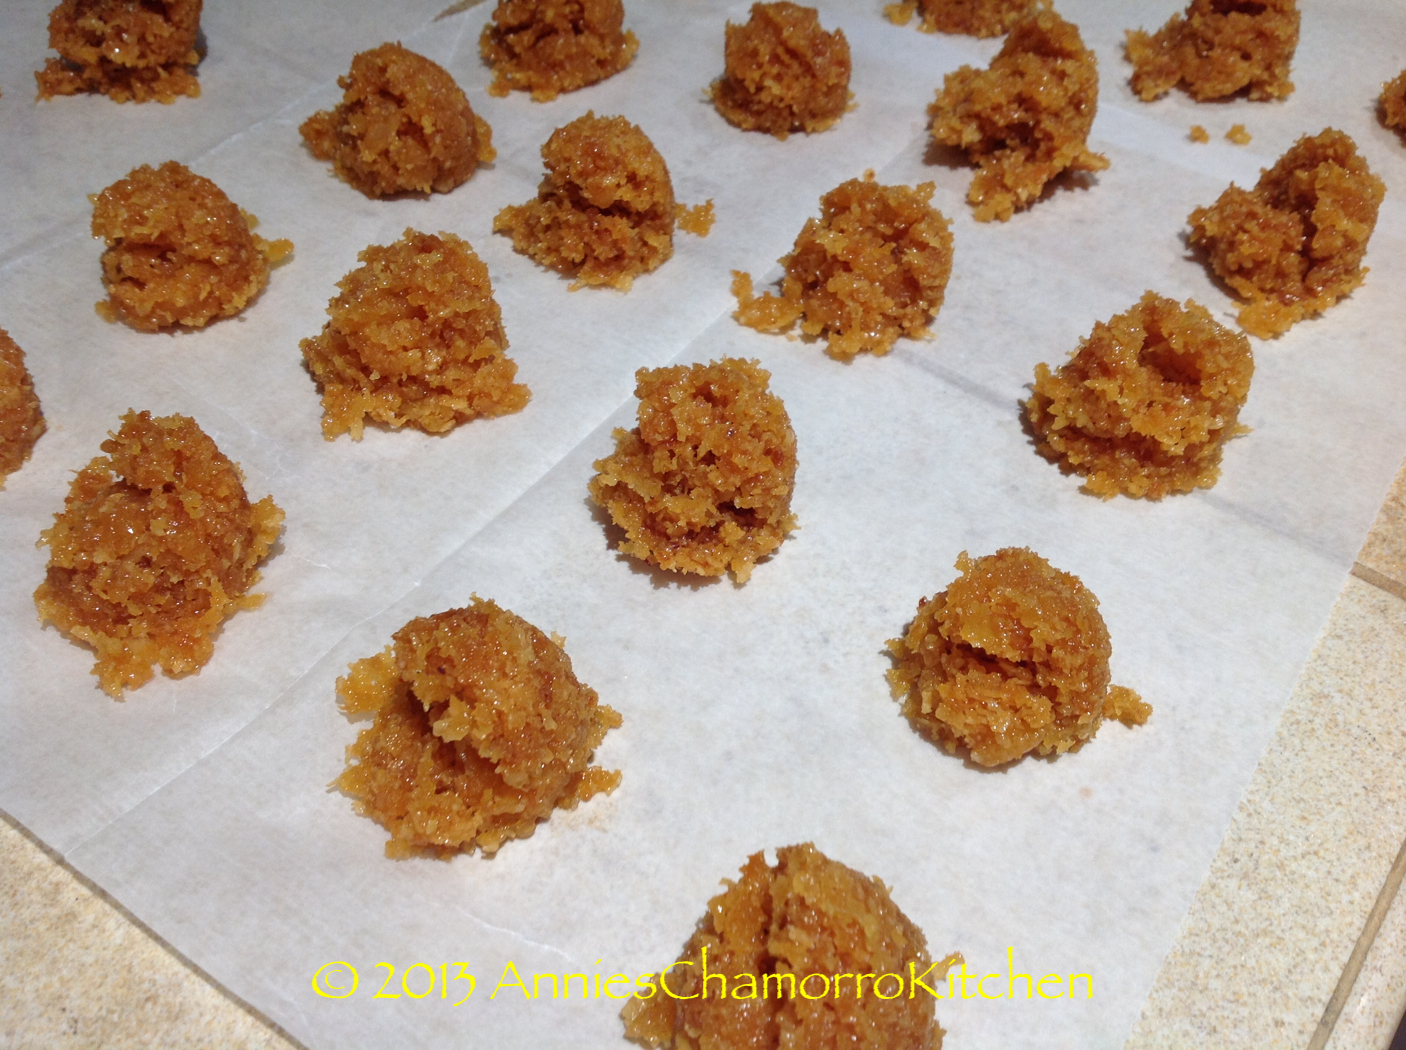
Coconut Candy - 12

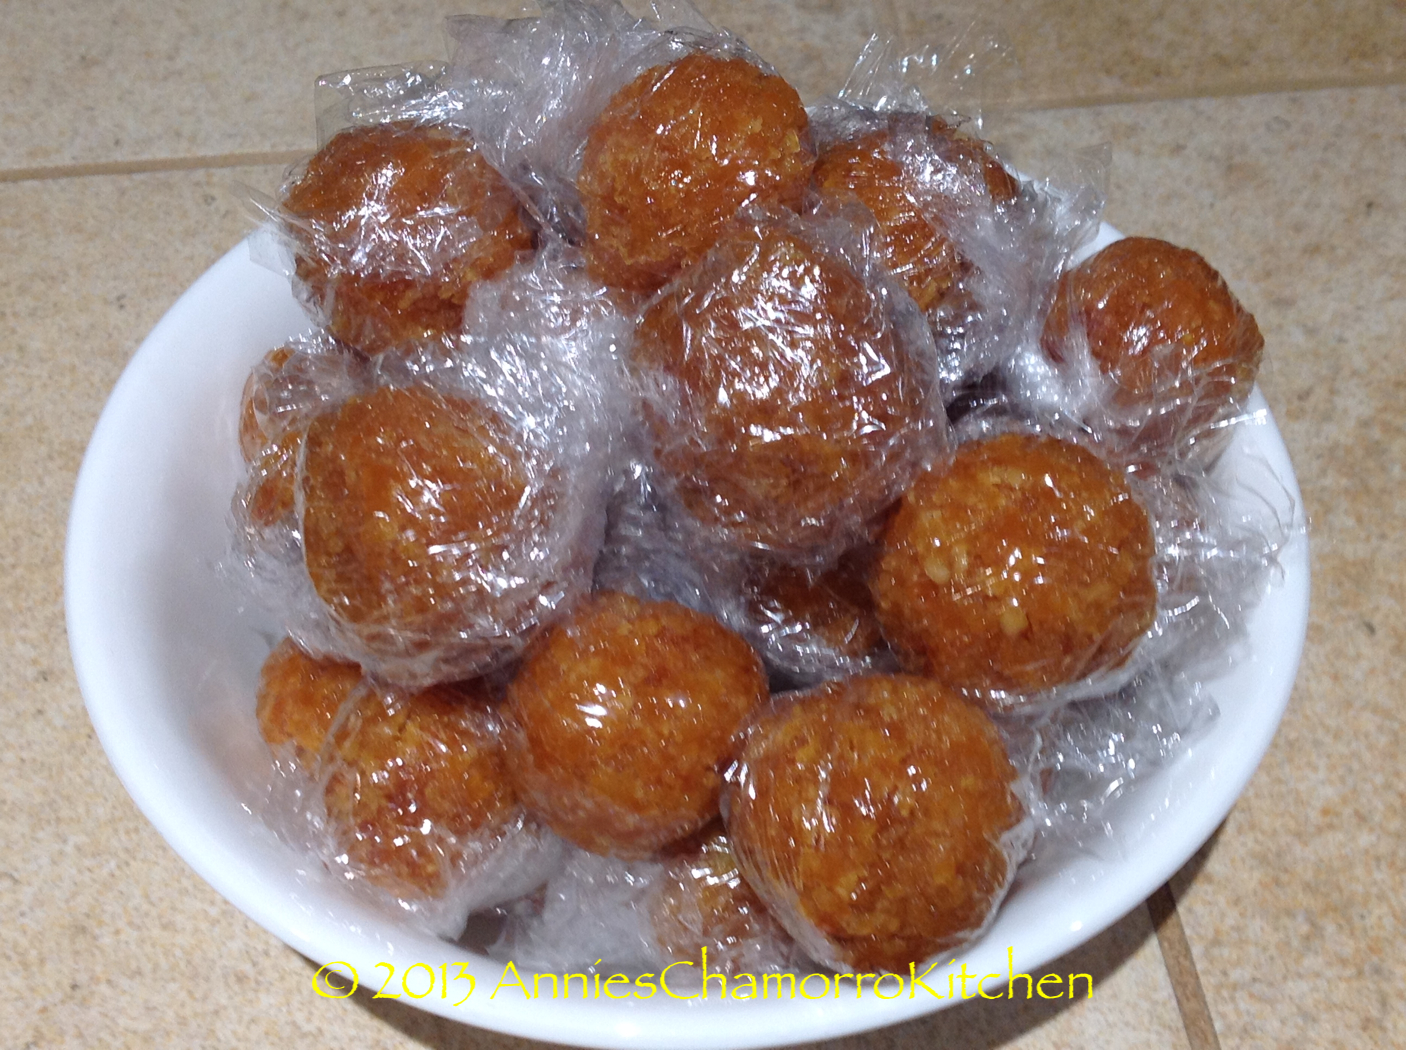
Let the candy cool for a couple of minutes, then use your impeccably clean hands to roll the candy into balls.  Wrap each ball of candy with plastic wrap.  The candy will keep for about 2 weeks (at room temperature), but I highly doubt they’ll last that long (before it gets devoured).  ENJOY! 🙂
Coconut Candy - 15


Riyenu ~ Chamorro Stuffing

Chamorro stuffing, or Riyenu, is a delicious side dish usually served during special holiday meals, alongside baked turkey, ham, or roast pig.

My mom taught me how to make this a very long time ago, when I was a very young girl.  In fact, this recipe is one of the few I added to a recipe book that I made when I was perhaps 8 or 9 years old.  I remember stacking small pieces of paper and gluing one side to make a spine, then creating a cover out of stiff cardboard and gluing a piece of scrap fabric with blue polka dots on it to make the cover soft and pretty.  Even at that young age, I loved to cook, and I made my very own recipe book, which I still have to this day.

I’ve been asked what makes this a Chamorro stuffing.  Well, I guess it’s the addition of potatoes, pimento and olives, kind of like our Chamorro Potato Salad.

A few optional ingredients that my mom sometimes puts in her Riyenu are finely diced celery and a small jar of sweet pickle relish.  I prefer my stuffing without those two ingredients, so I leave them out.

You don’t need to wait for a holiday to make this yummy stuffing.  Give my recipe a try.  I think you’ll like it. 🙂

Riyenu ~ Chamorro Stuffing

image

Ingredients:

  • 2 medium potatoes
  • 1 cup vegetable oil, for frying
  • 1 pound ground beef
  • 1 small onion, diced
  • 1 box Stove Top Stuffing Mix for Turkey
  • 2 small jars diced pimento, drained
  • 1 small can chopped black olives, drained
  • 1 cup raisins
  • 1 can evaporated milk
  • 1/2 stick unsalted butter, melted
  • Salt and pepper, to taste

Directions:

Peel and dice the potatoes into small pieces, about 1/4 inch square.

image

Place the vegetable oil in a shallow frying pan over medium heat.

image

Fry the diced potatoes in batches; cook until the potatoes are a very light golden brown and cooked through (use a fork to test for doneness).

image

Drain the cooked potatoes on a paper towel-lined plate.  Set aside.

image

Brown the ground beef in a medium sized pot.

image

Add the contents of the stuffing mix (dried bread pieces and seasoning), the cooked potatoes and onions to the pot.  Stir to combine.  Cook over medium heat, stirring occasionally.

image

Add the pimentos and olives to the pot.

image

Stir to combine.  Continue to cook over medium heat for a minute or so, stirring occasionally.

image

Add the raisins.  I actually like lots of raisins in my stuffing so I tend to add more than a cup.

image

Pour in the evaporated milk.  You can also use vegetable or chicken stock instead of milk.

image

Add the melted butter.  Cook for another minute or two.  Taste, then add salt and pepper if needed (the seasoning packet from the stuffing is already quite salty, so you might not need to add more salt).

image

Place the stuffing into an oven-safe baking dish.

image

Bake at 350 degrees for 20 minutes.

image

Serve and ENJOY!

image

This makes a wonderful side dish, served alongside my smoked/grilled turkey and brown sugar glazed ham.

image

ENJOY!

image

« Older Entries Recent Entries »