Archive for Cakes

Easy Strawberry Shortcake

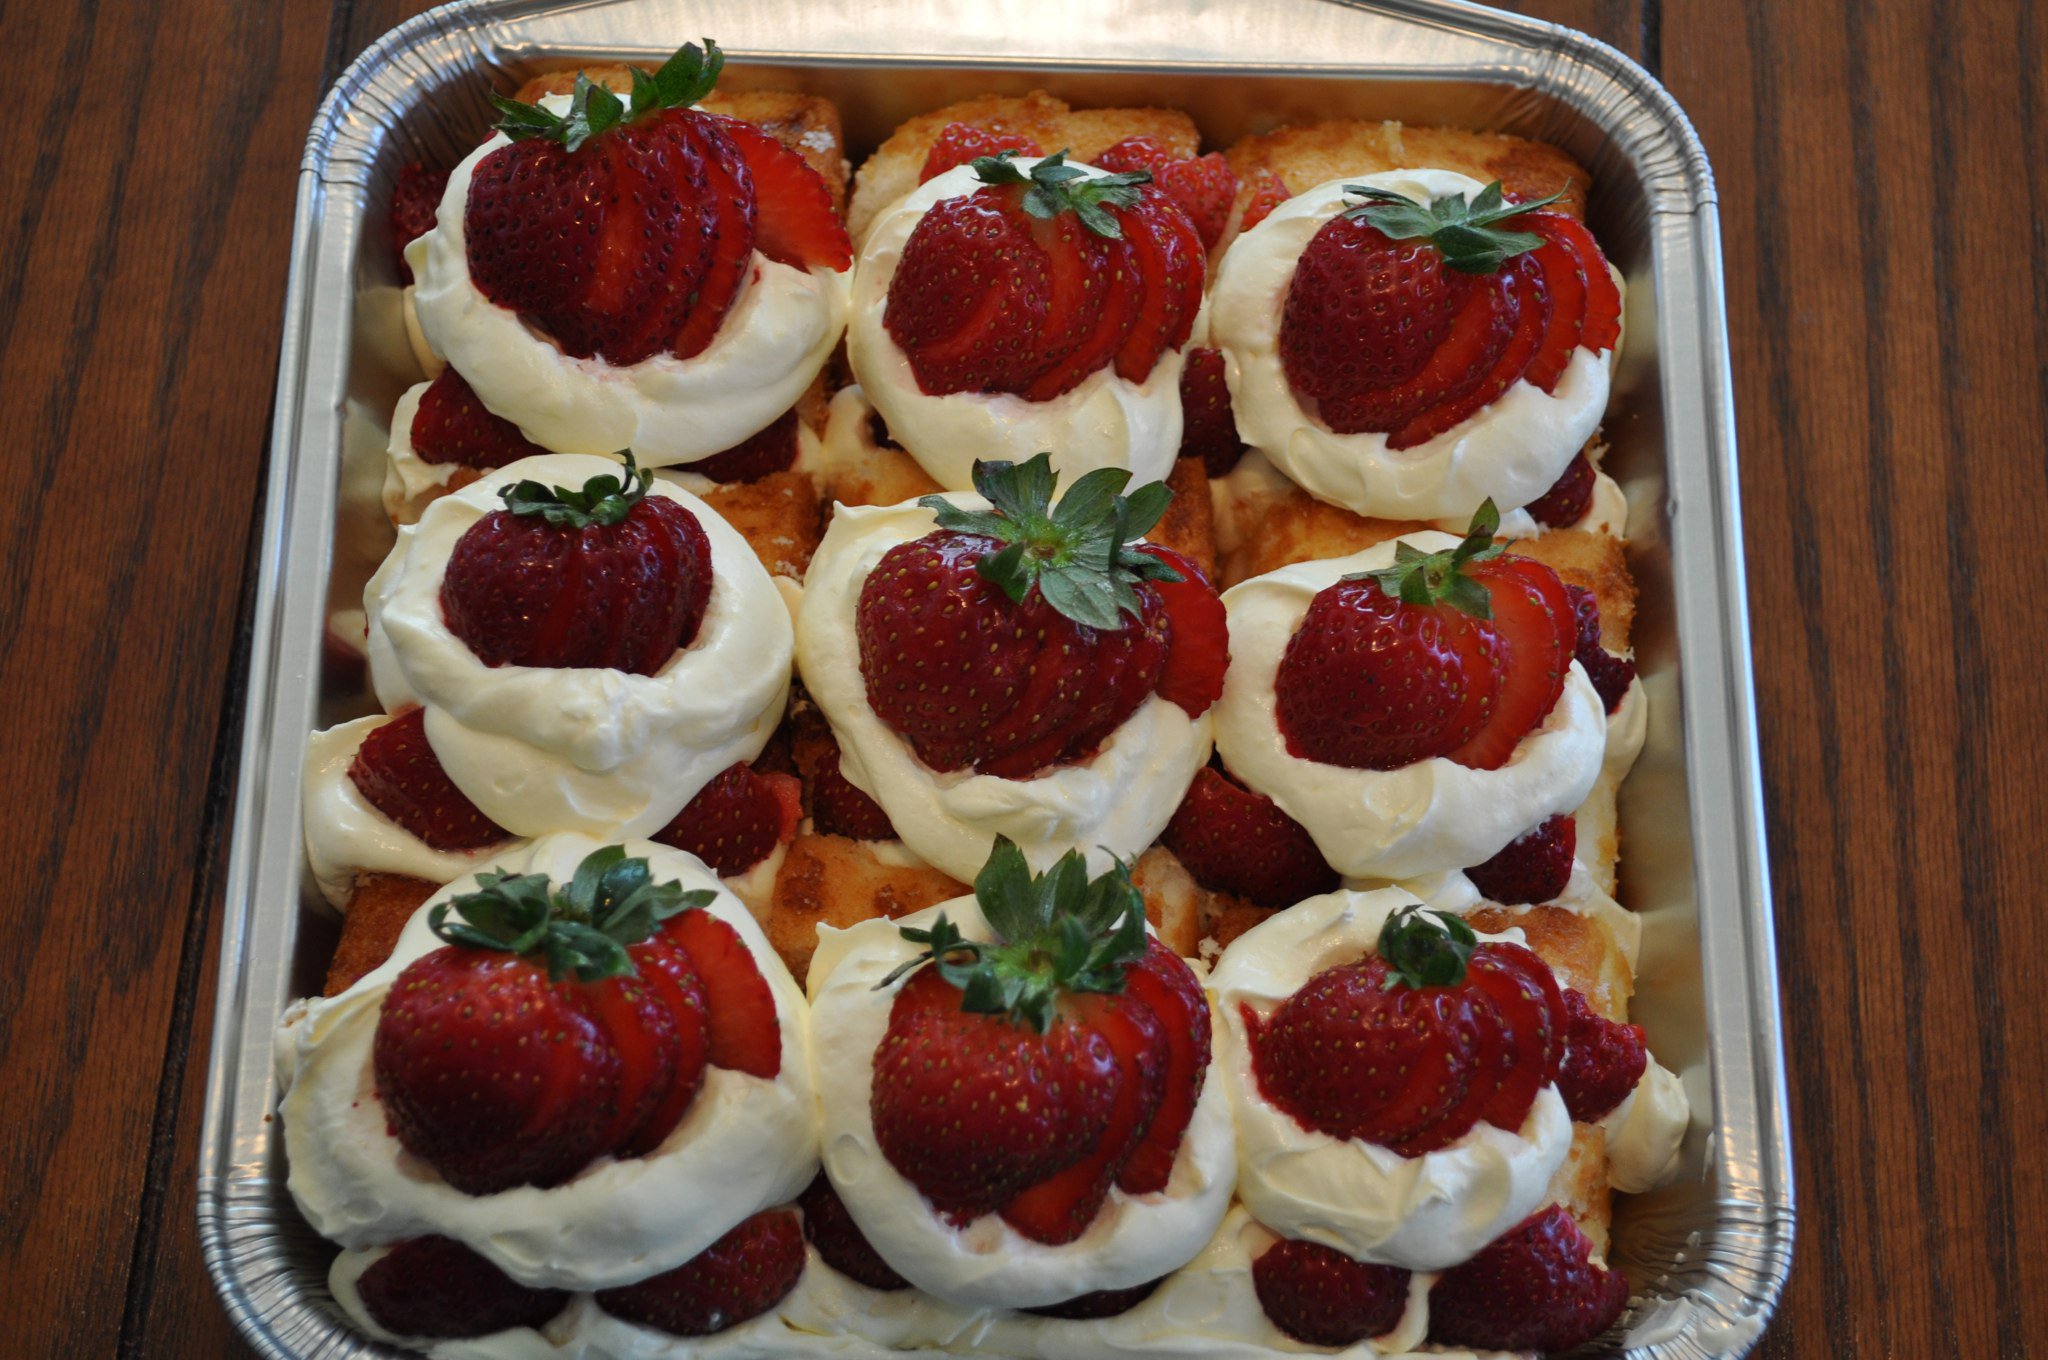
This is super simple and classic dessert that you can put together in minutes. It’s one of the desserts that is perfect for picnics or to bring to pot lucks too.  Everyone just oohs and aahs over it!


Easy Strawberry Shortcake
 
Author:
Ingredients
  • 1 small tub Cool Whip
  • 1 pkg instant vanilla pudding
  • 2 cups cold milk
  • 1 angel food cake loaf, sliced (or 12 individual shortcake cakes)
  • Sliced strawberries (1 container full, or approximately 2 dozen berries)
Instructions
  1. Whisk together the instant pudding mix and cold milk; set aside to thicken (about 5 minutes). After the pudding has thickened slightly, fold in the Cool Whip.
  2. Layer the sliced angel food cake in a shallow pan. Add a layer of the whipped topping mixture over the cake. Layer some of the sliced strawberries on top of the cake slices. Place dollops of the whipped topping mixture on top of the berries. Garnish with additional strawberries on top of the whipped topping.


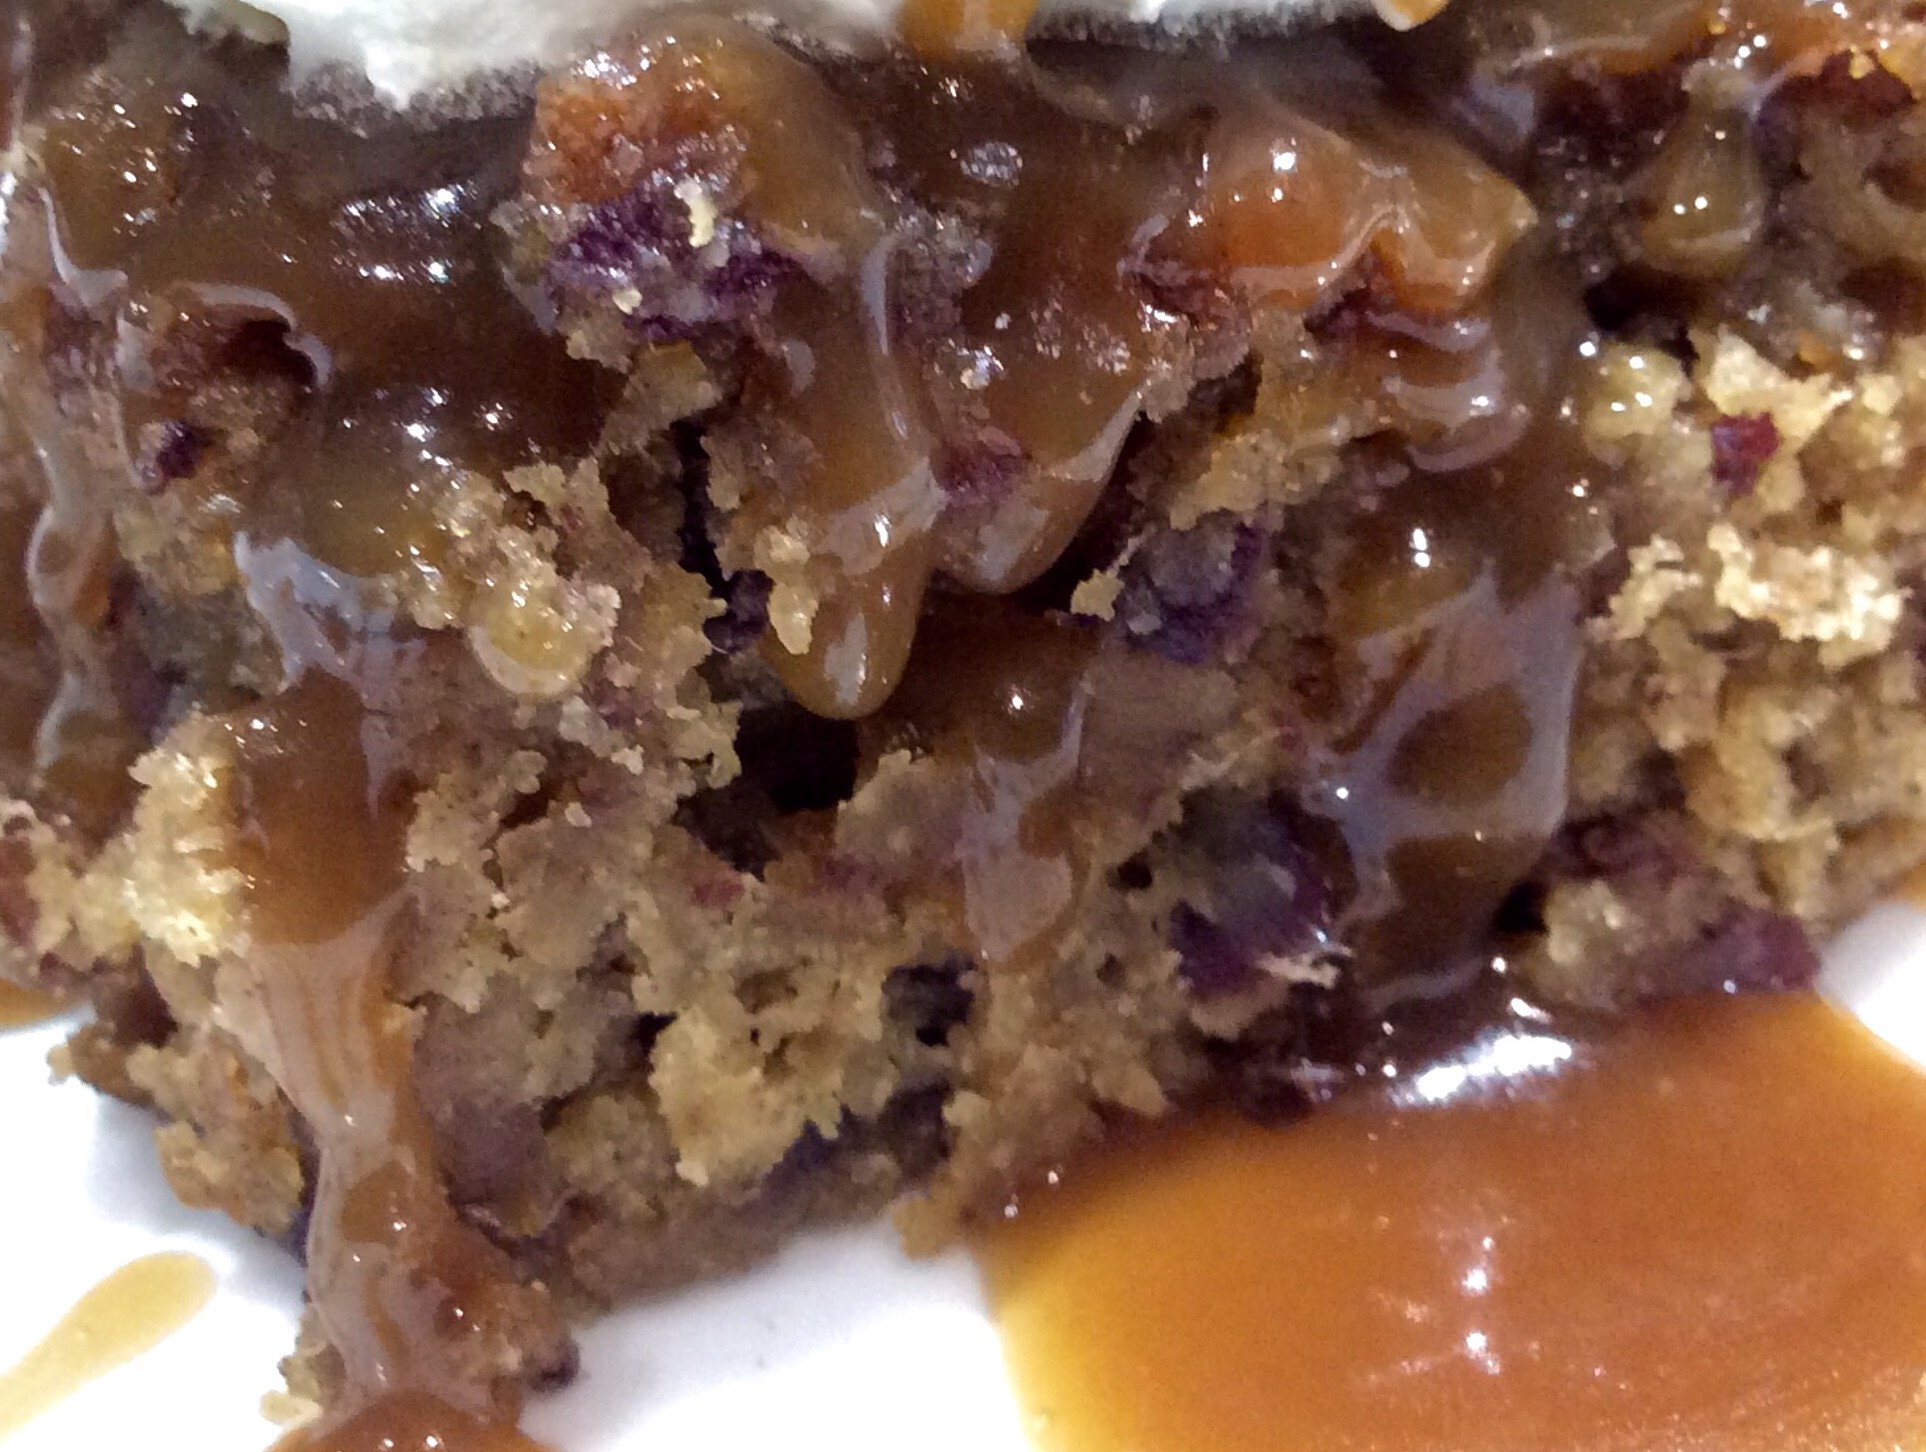
Sticky Toffee Pudding

If you’ve stumbled on this recipe by accident, search no more.

Y O U    M U S T    M A K E    T H I S    D E S S E R T……..T O D A Y.
image

Sticky toffee pudding is a deliciously decadent dessert.  This is really more of a cake than what you’re probably envisioning as a creamy pudding.

“Pudding” has origins as an English food, with “pudding” referring to either sweet or savory dishes that are steamed or boiled.  Sticky Toffee Pudding is neither steamed nor boiled, however, but rather it is baked in a water bath.

image

Don’t let the water bath baking deter you from making this wonderful dessert.  As incredible as it tastes, it is also incredibly easy to make (you can find my complete recipe at the bottom of this post).

image

Chances are you have most of the ingredients on hand already — flour, eggs, brown sugar, butter, baking soda, salt, eggs, and vanilla extract.  The only ingredient you most likely need to purchase are whole pitted dates.

You don’t need to buy exotic, expensive dates for this recipe.  The most common type of dates you see in most grocery stores are from California.  This is the type of dates I use.  You can use dried dates for this recipe, but if you can find them, use moist, undried dates.  A 10-ounce bag of dates is the perfect amount for this recipe (or about 1 1/2 cups of chopped dates).

image

If dried dates are all you can find, don’t worry, you can still use those.  To rehydrate them, place the dried dates in a bowl and cover it completely with boiling water.  Let the dates sit in the hot water for 15-20 minutes until they plump up; drain the water once rehydrated.  For added flavor, cover the dried dates with rum or your favorite liquor (brandy is good too) instead of boiling water.  Heat the liquor for about 90 seconds in the microwave then pour the hot liquid over the dried dates.

Chop the dates into small pieces.  You don’t have to cut them too small; I actually like the little bit of chewiness in the cake that you get with larger pieces.

image

Place the chopped dates into a small pot, along with a bit of water and baking soda.  If you soaked dried dates in some type of liquor, save a half cup of the soaking liquid and discard the rest; place the soaking liquid/liquor into the pot instead of water (see my recipe below).

image

Bring the mixture to a boil over medium high heat.  Turn the heat off once the mixture begins to boil. Leave the dates in the pot to cool. If using dried dates, this step also helps to fully rehydrate them.

image

While the dates cool, prepare the cake batter.  First off, preheat your oven to 350 degrees. Next, cream butter and brown sugar in a medium sized mixing bowl. You can use a hand-held mixer to do this.

image

Add a couple of large eggs and a some vanilla extract to the bowl.

image

Mix until creamy.

image

Set aside the mixer now.  You don’t want to overmix this batter.  The rest of the mixing will be done using a large mixing spoon or spatula.

Add the cooled dates to the bowl (add all the liquid in the pot as well).

image

Stir gently, just until the dates are mixed into the batter.  The batter will be very thin at this point.

image

Place the flour and salt in a small bowl.  Use a whisk to mix the flour and salt together then add the mixture to the batter.  Fold the flour into the batter; stop once you incorporate the dry mixture with the wet.  Don’t overmix.

image

Spread the batter into a small baking dish (I use a 2-quart, 11×7″ rectangular baking pan).

image

Now this is important — place the cake pan in a water bath.

To create a water bath, place the cake pan into a large roasting pan.  Fill the roasting pan with hot water until it comes half-way up the side of the cake pan.

image

If you don’t have a large pan to create a water bath, don’t worry.  Instead, place another baking pan half-full of hot water beneath the cake as it bakes.  The purpose of the water bath is to create moisture in the oven as well as to create a milder heat source than the direct heat of the oven so that the “pudding” can cook without cracking on top.

Bake in a 350-degree oven for one hour.  Because not all ovens are alike, your oven may cook faster or slower than others.  To determine if the cake is done, press the middle of the cake with your fingers (be careful — you’re only pressing the cake really quick so you shouldn’t burn yourself, but be careful nonetheless).  The cake should feel firm when you press it.  Additionally, the top of the cake should be a rich brown color.

Leave the cake in the water bath to cool.

image

Prepare the sticky toffee sauce while the cake cools.

In a small sauce pan, melt some butter.  Add brown sugar and vanilla extract to the melted butter.

image

Bring the mixture to a boil over medium heat, cooking until the sugar is completely melted.

image

Stir in the heavy cream.

image

Reduce the heat to low; simmer the sauce for a couple of minutes to thicken it slightly.  Remove the sauce from the heat. The sauce will continue to thicken as it cools.


image

Use a skewer or chopstick to poke holes all over the top of the cake (it’s okay if the cake is still warm at this point).

image

Pour about 3/4 to 1 cup of the warm, sticky toffee sauce over the top of the cake, filling all of the holes.

imageSet the sauce-covered cake aside to cool completely.

image

Place any remaining toffee sauce in a small bowl to drizzle over the cake when serving.

image

Serve with a dollop of whipped cream or and more sticky toffee sauce drizzled all over. ENJOY!
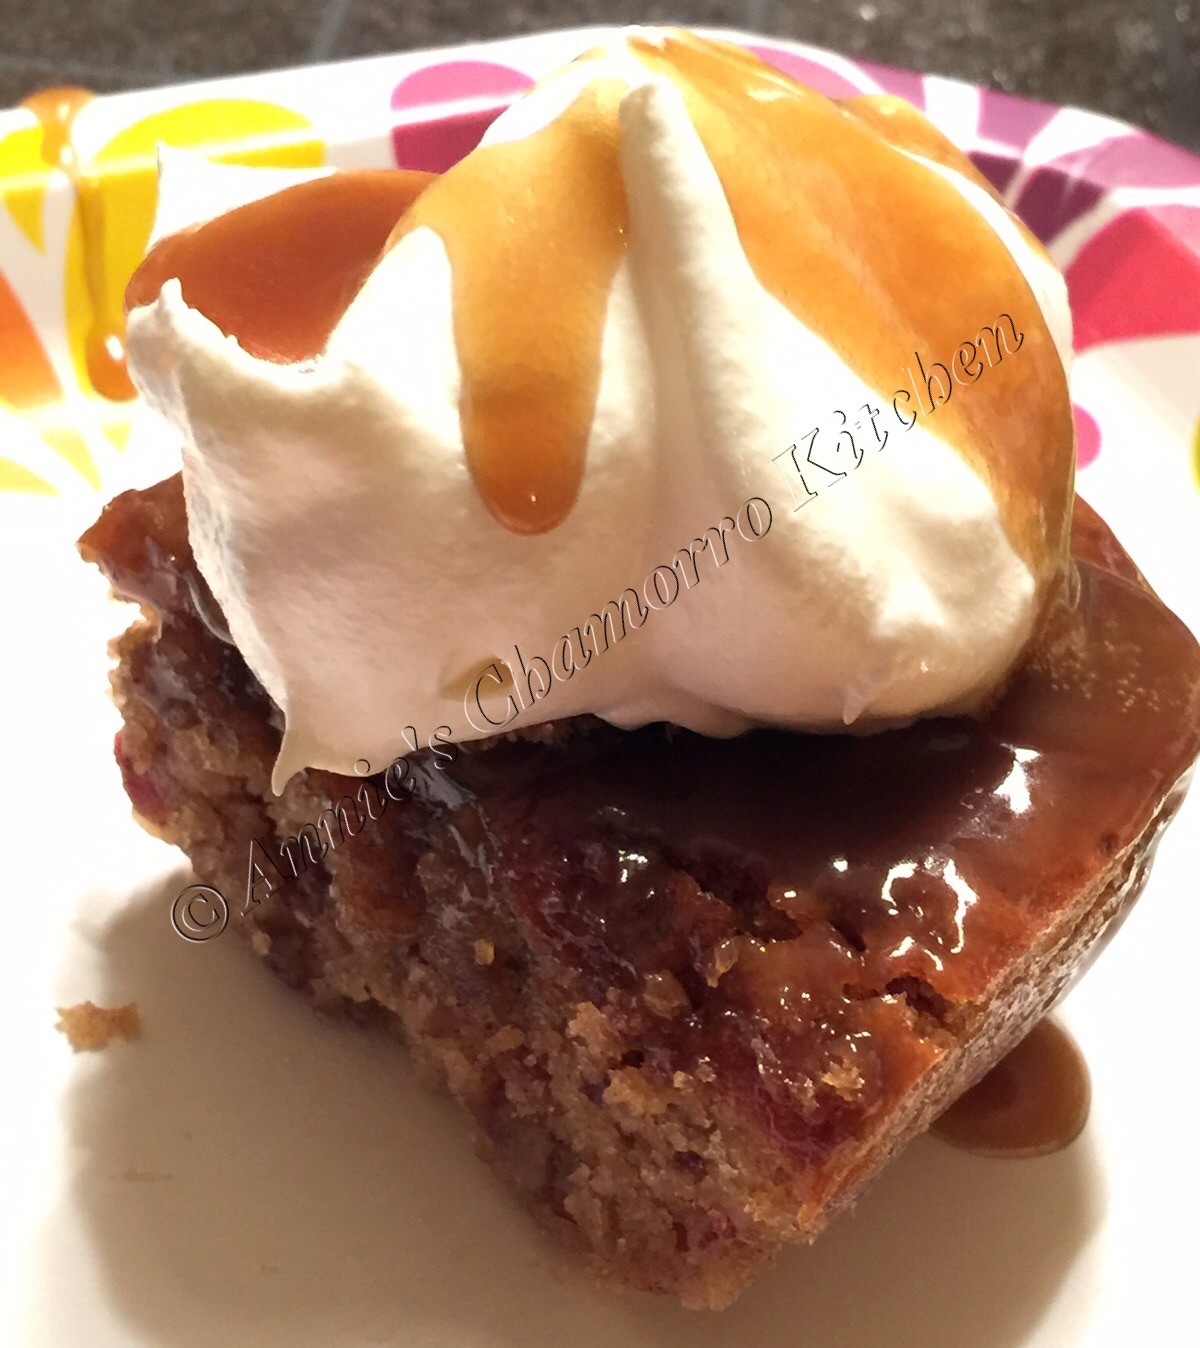
A scoop of vanilla ice cream is delicious with this too!

image

Mmmm mmmm good!

image


Sticky Toffee Pudding
 
A rich and decadent cake made with dates and topped with a sweet and flavorful toffee sauce.
Author:
Recipe type: Dessert
Ingredients
Dates:
  • 10 ounces dates, chopped
  • ½ cup water
  • 1 teaspoon baking soda
Batter:
  • 1 stick butter, softened
  • 1 cup dark brown sugar
  • 2 large eggs
  • 1 teaspoon vanilla extract
  • 1½ cups all-purpose flour
  • 1 teaspoon salt
Toffee Sauce:
  • 1 stick butter
  • 1 cup dark brown sugar
  • 1 teaspoon vanilla extract
  • ½ cup heavy whipping cream
Instructions
Prepare the dates.
  1. Place the chopped dates in a small sauce pan, along with the water and baking soda.
  2. Bring the mixture to a boil then remove from the heat. Set aside.
Mix the batter.
  1. Cream the butter and sugar. Add the eggs and vanilla extract; mix until creamy.
  2. Fold in the prepared dates, including any liquid in the pot.
  3. In a separate bowl, whisk together the flour and salt. Add to the butter-date mixture. Fold the flour mixture into the batter; mix just until the dry ingredients are incorporated. Do not overmix.
Bake the cake.
  1. Pour the batter into a 2-quart, 11x7" baking pan.
  2. Place the pan into a large roasting pan. Add hot water to the roasting pan to create a water wath. The water should come halfway up the side of the cake pan.
  3. Bake in an oven preheated to 350 degrees for one hour.
Make the toffee sauce.
  1. Place the butter in a small sauce pan over medium high heat. Cook until the butter melts.
  2. Add the brown sugar and vanilla to the pan. Cook until the sugar melts.
  3. Stir in the heavy cream; reduce the heat to low and simmer for a couple of minutes to thicken the sauce slightly. Remove from the heat.
Finish the cake.
  1. Poke holes all over the top of the cooled cake.
  2. Pour ¾ to 1 cup of warm toffee sauce over the top of the cake. Set aside to cool completely.
  3. Place any remaining sauce in a small bowl.
Serve with a dollop of whipped cream or ice cream; drizzle more toffee sauce over the top. ENJOY!


Chocolate Caramel Coconut Cake

image

Okay friends, if there was ever a recipe of mine you ought to try, this one is it!

This is my homage to my favorite Girl Scout Cookies, the Caramel Delites or Samoas.

My version of this cake combines all the things I love about the classic cookie — sweet coconut, rich chocolate and luscious caramel.

The super moist and fudgy cake gets a generous topping of my caramel cream cheese frosting.  Toasted sweet coconut gets pressed into the frosted cake, followed by drizzles of melted chocolate and MORE caramel!

Do I have you drooling yet and ready to bake this cake RIGHT THIS MINUTE??? 😉

My super easy recipe is made even more simple by using boxed cake mix. While you can certainly make a cake from scratch, there are several brands that bake up a very moist and delicious cake.

image

My complete recipe is at the bottom of this post. Give it a try and let me know how you like it. 🙂

Here’s how to make it.

I used a box of chocolate fudge cake mix.  You can use any brand you prefer, but I like Betty Crocker brand mixes.

Follow the instructions on the back of the box to make the cake.  This particular mix calls for adding 1 1/4 cups water, 1/2 cup vegetable oil, and 3 large eggs.  I also added 1 teaspoon of coconut extract to the batter to really amp up the coconut flavor.

image

Generously spray a bundt pan with baking spray (the one that also has flour in it).  Pour the batter into the prepared pan.

imageBake the cake for 50-55 minutes at 350 degrees.  Insert a thin skewer (or knife) into the middle of the cake to test if it’s done (no crumbs should stick to the skewer or knife).

Invert the cake onto a serving dish then let it cool completely.

imageWhile the cake cools, and while the oven is still hot, toast the coconut.

Spread out sweetened coconut flakes on a large baking pan.

image

Bake the coconut for 3 minutes at 350 degrees; use a spatula to stir the coconut around.  Bake for another 3 minutes; stir again to ensure even browning.

If the coconut is still too light, bake for 3 more minutes, but watch it carefully at this point.  Once browned, remove the coconut from the pan and allow to cool.

image

While the cake and coconut cool, prepare the frosting.

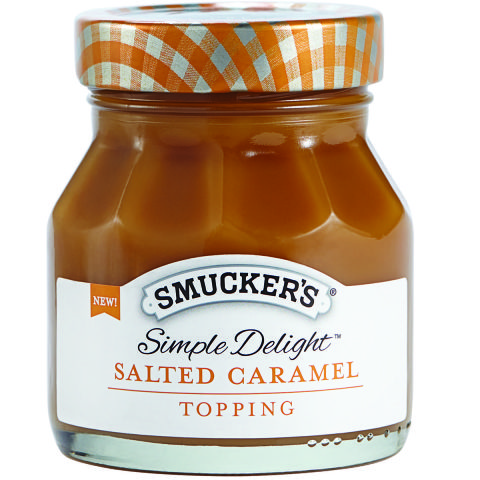
Using an electric handheld mixer, mix the softened cream cheese with the caramel sauce.  You can use the same caramel sauce that you pour over ice cream.  I used salted caramel sauce for this recipe, but any thick caramel sauce will do.  Beat until creamy.

This is the caramel sauce I used:

image

This tastes great already!  For future reference, this is the base for a delicious fruit dip — just mix in some marshmallow creme to the cream cheese-caramel mixture.

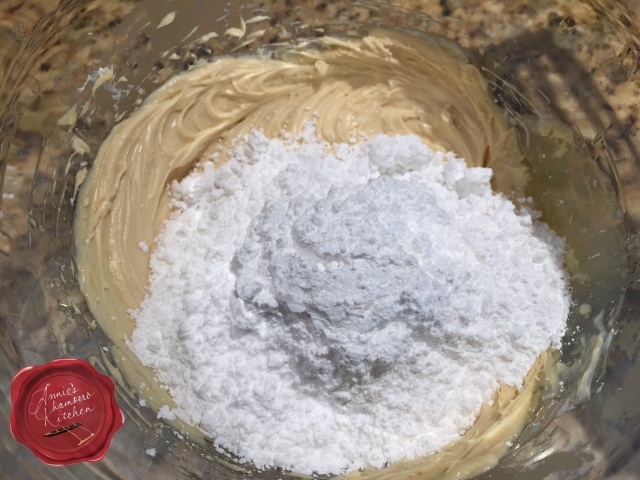
imageSo, back to the frosting.  Mix in up to 4 cups of powdered sugar, 1 cup at a time.  I used only 3 cups of powdered sugar, but if you want a very thick layer of frosting on top of your cake, use all 4 cups of powdered sugar.

image   image

Once the cake has cooled sufficiently, it’s time to frost it.

Spread the frosting all over the cake, covering it entirely.

imageImmediately sprinkle the coconut over the frosted cake.  To add the coconut to the sides, grab a handful of coconut and press it into the sides of the cake.  Shake off any excess coconut.

image

Now for the chocolate sauce.

Melt a cup of chocolate chips for 30 seconds in a microwave-safe glass bowl or cup.  Stir the chocolate — it might not be melted at this point, however, but stir it nonetheless.

image

Melt the chocolate for 30 more seconds then stir again.  Once again, it may not appear as if the chocolate is melted, but trust me — the chips are already mostly melted, and will continue to melt with the heat of the glass.  Do not microwave the chocolate any more or it will seize and become stiff, lumpy and unworkable.

imageScoop out the melted chocolate and place it into a sandwich bag.

image

Twist the top of the bag to keep the melted chocolate in one corner of the bag.  Use a pair of scissors to snip off a tiny piece of one corner of the bag.

Squeeze the melted chocolate over the top of the cake.  I’m sure you can decorate your cake a lot nicer than I did mine. 😉

Drizzle some caramel over the cake, in the spaces between the chocolate.

image

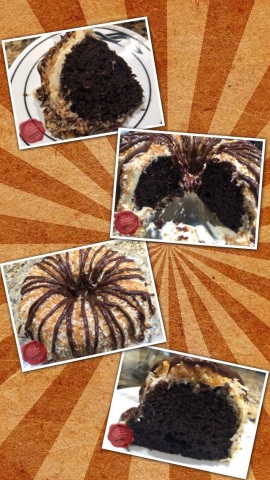
Oh my goodness…this cake is D E L I C I O U S!!!

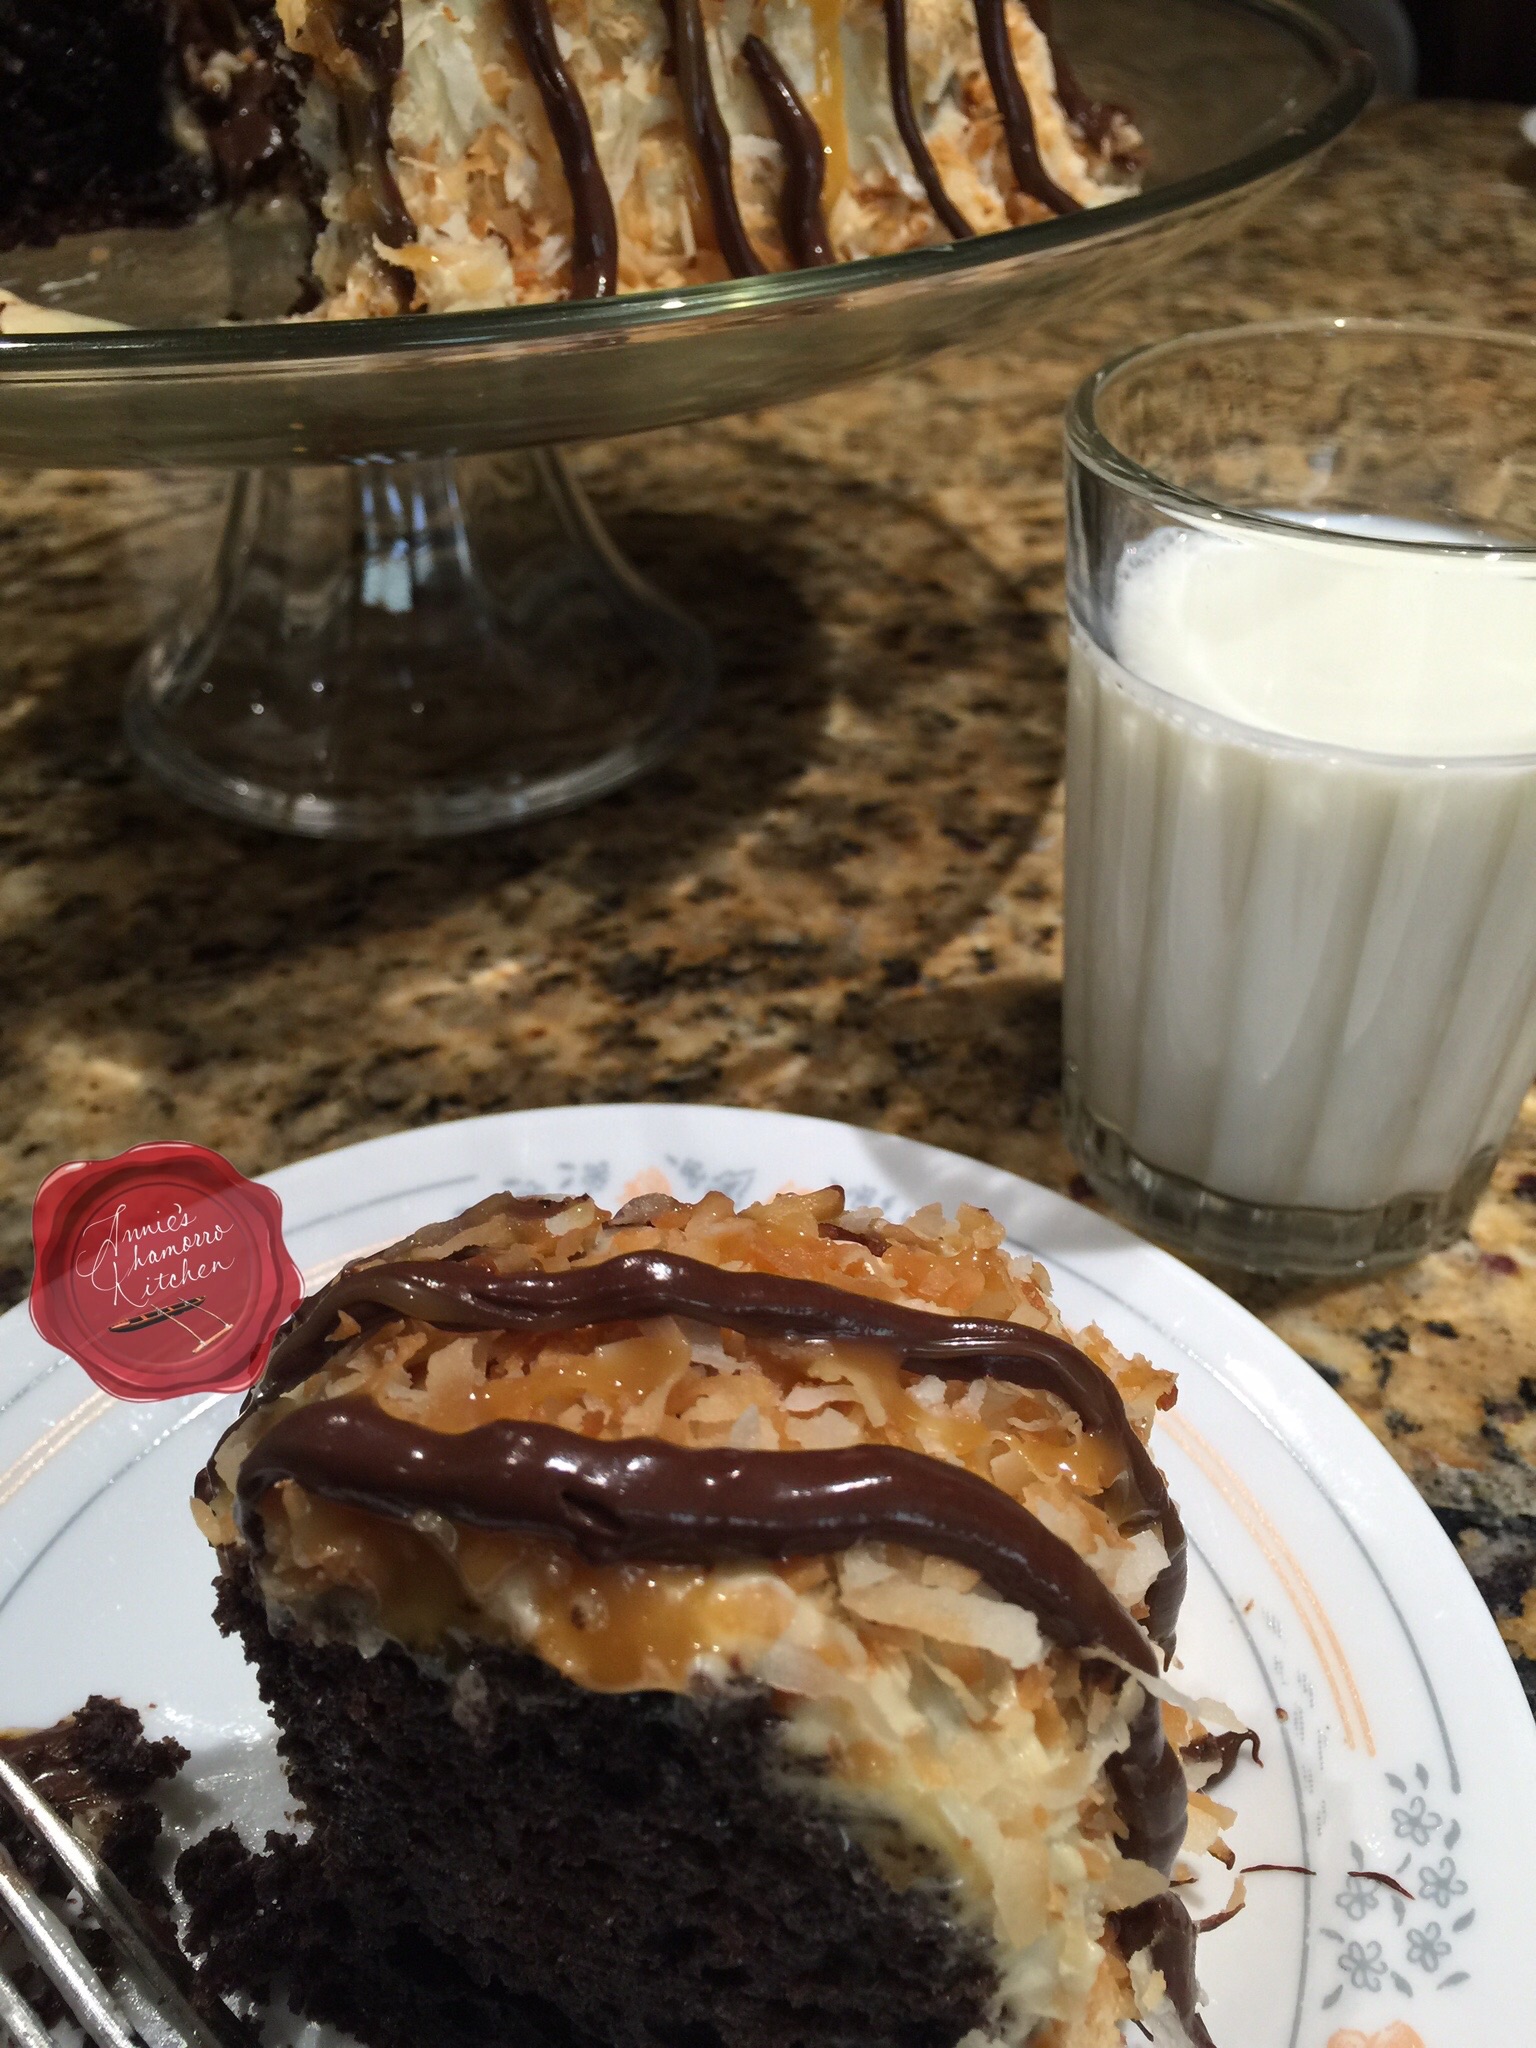
Serve a large slice of this incredible edible with a cup of coffee or a tall glass of milk. 🙂

image

Mmmmmm mmmmmm good!  Look how moist the cake is!

imageCare for a slice?  I’ll eat this one for you. 😉

image

Not convinced yet?  How about now? 😉

imageGive my recipe a try.  I KNOW you’ll like it. 🙂


Chocolate Caramel Coconut Cake
 
Moist chocolate fudge cake topped with a decadent caramel cream cheese frosting, toasted coconut, and drizzled with melted chocolate and caramel sauce.
Author:
Recipe type: Dessert
Cuisine: American
Ingredients
Cake:
  • 1 box Betty Crocker Chocolate Fudge cake mix
  • 1¼ cups water
  • ½ cup vegetable oil
  • 3 large eggs
  • 1 teaspoon coconut extract
Toasted Coconut:
  • 2 cups (packed) sweetened coconut flakes
Frosting:
  • 1 (8-oz) package cream cheese
  • ½ cup caramel sauce
  • 3 to 4 cups powdered sugar
Drizzled Sauces:
  • 1 cup semisweet chocolate chips
  • 4 tablespoons caramel sauce
Instructions
Bake the cake:
  1. Mix all of the ingredients for the cake together using a whisk. Mix just until combined and most of the lumps disappear. Do not over mix.
  2. Pour the batter into a bundt pan sprayed with baking spray. Bake for 50-55 minutes at 350 degrees. Invert the cake onto a serving plate. Let it cool completely.
Toast the coconut:
  1. Spread the coconut onto a large baking pan. Bake at 350 degrees for 8-10 minutes, stirring every 3 minutes to ensure even browning. Bake until golden brown.
  2. Remove the toasted coconut from the hot pan; allow to cool completely.
Make the Frosting:
  1. Beat the cream cheese and caramel sauce until creamy. Add the powdered sugar, one cup a time, mixing until thick and creamy. Use all four cups of powdered sugar if you like your cakes frosted with a thick layer of frosting, otherwise, three cups of sugar will suffice.
Drizzle on the Goodness:
  1. Place the chocolate chips into a microwave-safe glass cup or bowl. Microwave for 30 seconds then stir. Microwave for 30 more seconds then stir again. Place the melted chocolate into a small sandwich bag. Snip a tiny piece off one corner of the bag. Squeeze the melted chocolate over the top of the cake.
  2. Drizzle the caramel sauce over the top of the cake.
SERVE AND ENJOY! 🙂


Caramel Apple Cake

Fall is probably my favorite season because of all of the yummy fall fruits that abound this time of year.  Apples are in full season right now, and rather than wonder what to make with them, how about you bake my friend, Vikki’s Caramel Apple Cake?

image

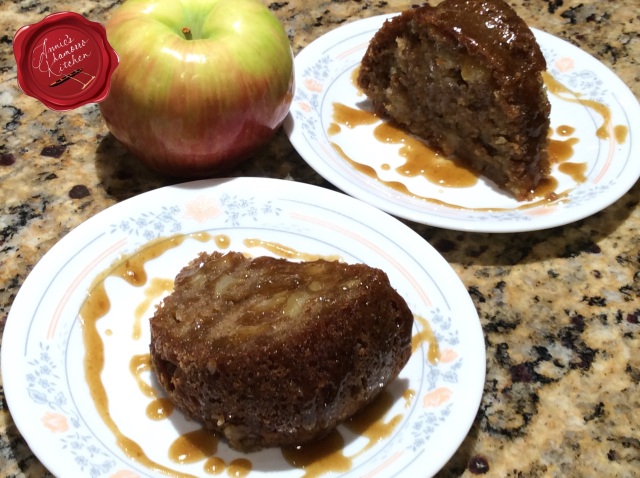
This cake is incredibly moist, and the thick batter suspends chunks of sweet apple so that they don’t sink to the bottom of the cake during baking.  You get a taste of sweet apple and cinnamony (my new word) goodness in every bite.

My husband took some cake to work and shared it with his boss, who said this was the best apple cake he’s ever had. (Thanks, Vikki!) 🙂

image

This cake is screaming your name…wait, it’s screaming MY name.  I need to make another one.  My family devoured the one I made the other night.  It’s that good.

Let’s get to it.

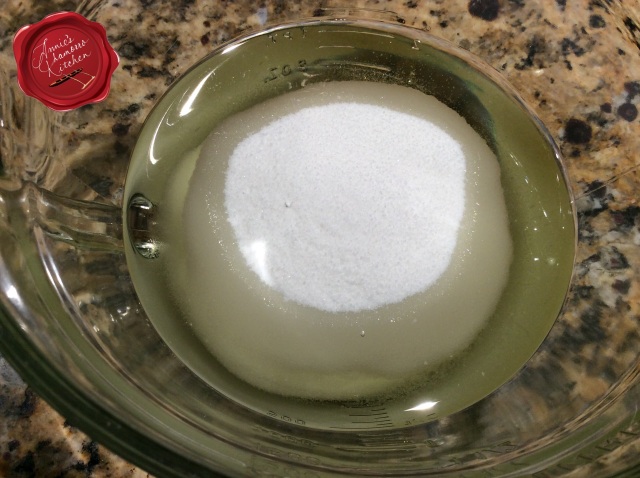
Whisk the oil and sugar together in a large mixing bowl.

image

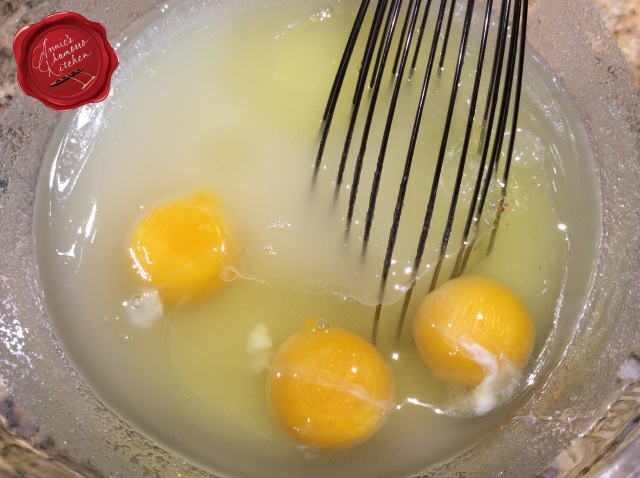
Whisk the eggs into the sugar-oil mixture.

image

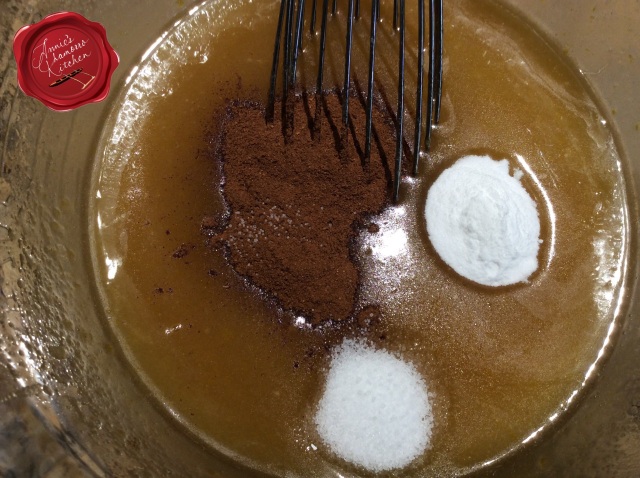
Add the vanilla extract, apple pie spice, salt and baking powder; whisk to combine.

image

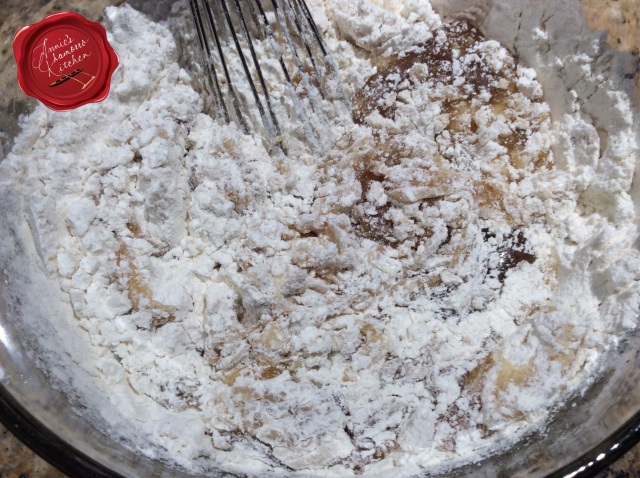
Add the flour to the bowl.  This batter is very thick.  Use a spatula to fold in the flour.

image

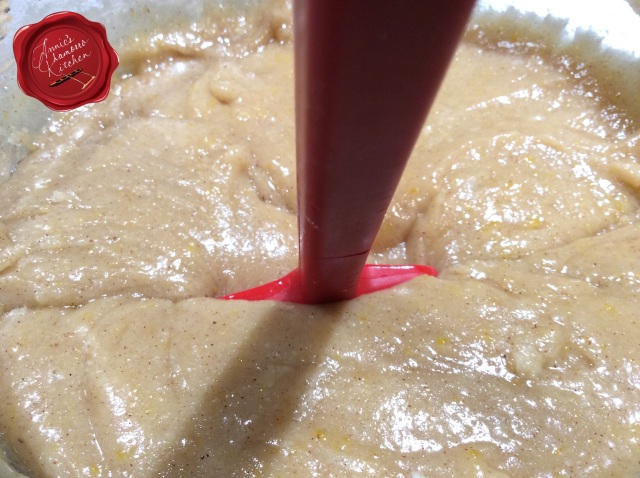
See how thick the batter is?  My spatula is standing straight up in the batter.

image

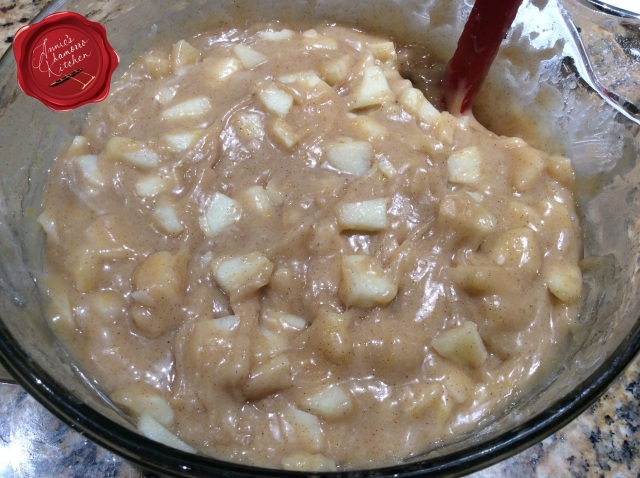
Fold in the chopped apples.  You can’t tell from the photo, but I cut the apples very small and relatively thin to ensure they cook through during baking, but not too small that they turn to mush.  I used Honeycrisp Apples in this recipe, which I recommend you use as well.  They are sweet, crisp apples that hold up to baking.  The apples were still somewhat firm after baking, but cooked through (not over cooked at all).

image

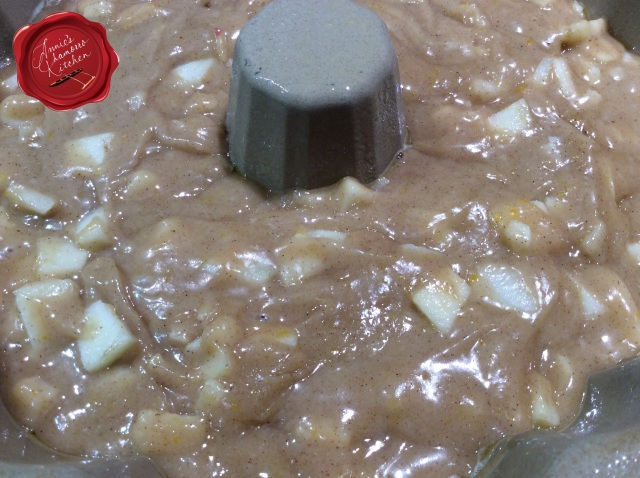
Pour the batter into a greased baking pan.  Bake at 350 degrees for 55 minutes or until it tests done (insert a knife or skewer into the middle; it should come out clean).

image

While the cake is baking, make the caramel sauce.

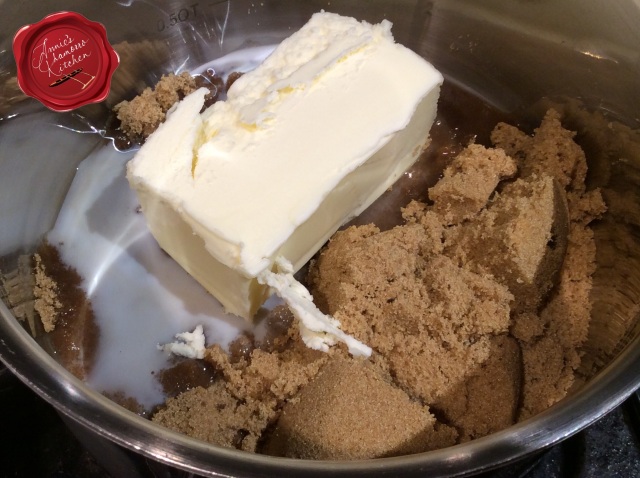
Place the butter, brown sugar, and milk in a small sauce pan over low heat.

image

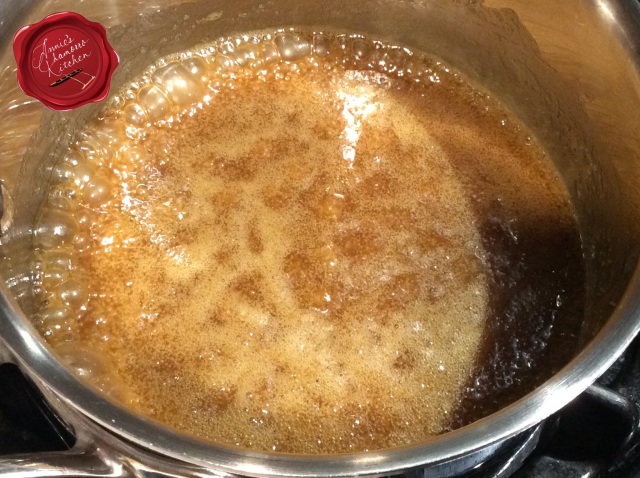
Whisk occasionally, cooking until the butter and sugar melt and the sauce thickens.

Don’t make the glaze until right before the cake is done, however.  The sauce thickens as it cools, so make it just minutes before the cake is done so that it’s thin enough to drizzle.

image

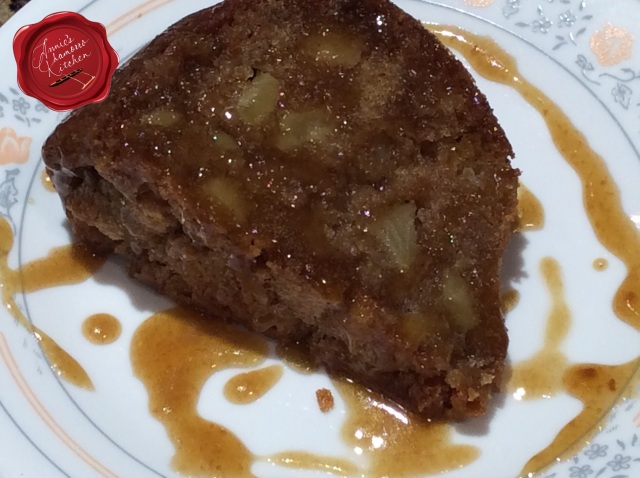
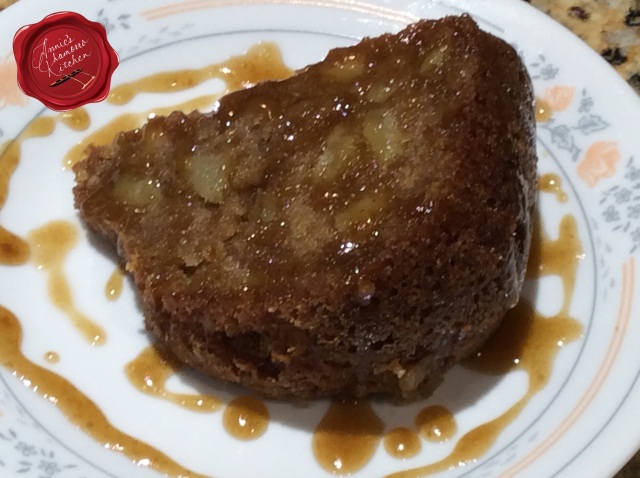
Drizzle the caramel glaze all over the top of the cake.

This is wonderful just as you see it below, but if you want to take it over the top, add a huge dollop of whipped cream and you’ll be in caramel apple heaven! 🙂

Vikki says this cake freezes well.  All you’ll need to do is defrost the cake at room temperature then make up a fresh pot of caramel sauce to drizzle over the cake just before serving.

image

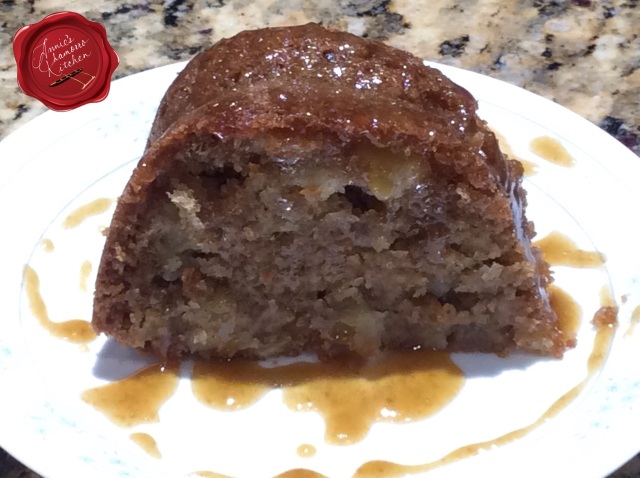
Cut yourself a huge slice of this sinfully delicious cake, serve and ENJOY!

Doesn’t that caramel sauce make you want to run your finger across that plate, scoop up some sauce, and lick your finger?  😉

image


Caramel Apple Cake
 
Prep time
Cook time
Total time
 
A super moist cake with chunks of sweet apples and a luscious caramel glaze
Author:
Recipe type: Dessert
Ingredients
CAKE:
  • 2 cups granulated sugar
  • 1½ cups vegetable oil
  • 3 large eggs
  • 2 teaspoons vanilla extract
  • 1½ teaspoons apple pie spice
  • 1 teaspoon salt
  • 1 teaspoon baking soda
  • 3 cups all-purpose flour
  • 2 medium apples, peeled and finely chopped
CARAMEL GLAZE:
  • ½ cup butter
  • ½ cup packed brown sugar
  • 2 teaspoons milk
Instructions
Make the Cake:
  1. Mix the sugar and oil together in a large mixing bowl.
  2. Add the eggs, vanilla extract, apple pie spice, salt and baking soda.
  3. Fold in the flour.
  4. Fold in the chopped apples.
  5. Bake at 350 degrees for 55-60 minutes or until the cake tests done.
Make the Glaze:
  1. Cook the glaze in a small sauce pan on the stove, just until the butter and sugar melt and the sauce thickens.
  2. Pour the glaze over individual pieces or over the entire cake while it's still warm.
NOTE: I used Honey Crisp Apples (2 of them) -- I recommend them for this recipe. The apples stayed somewhat firm during the baking; they were definitely cooked through, and I liked that the apples didn't become mushy after baking.


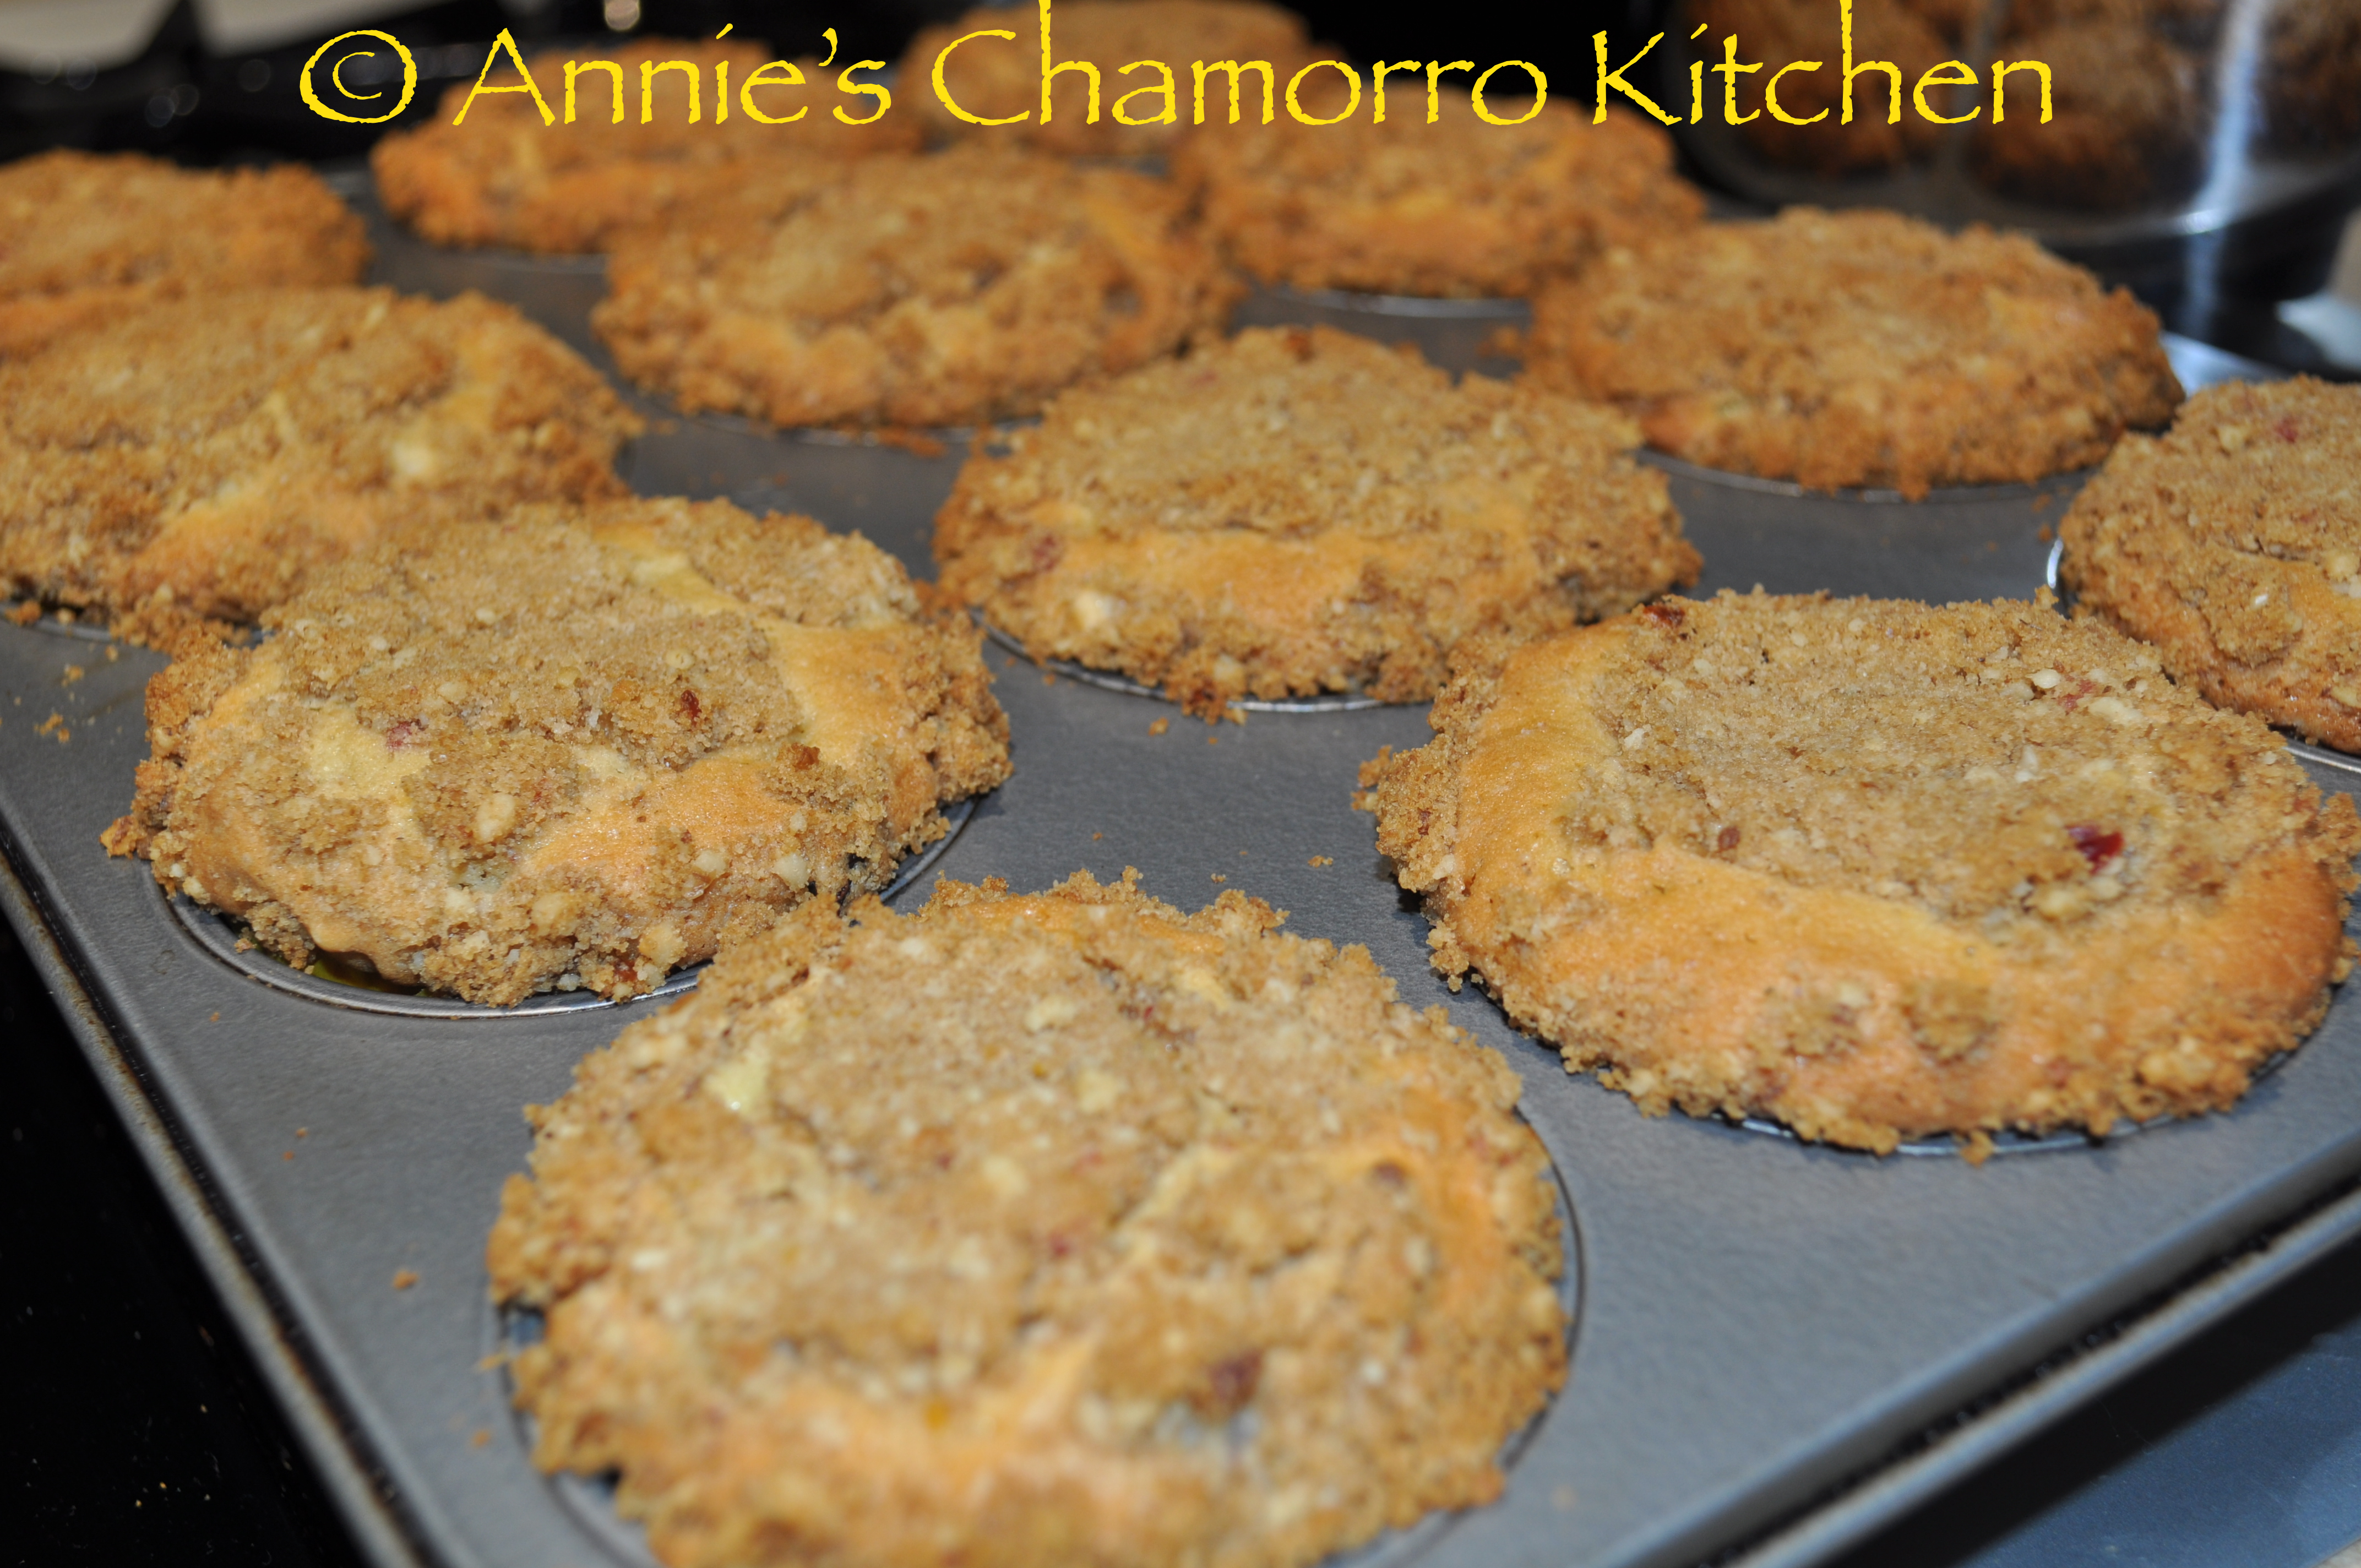
Apple Cranberry Muffins with Streusel Topping

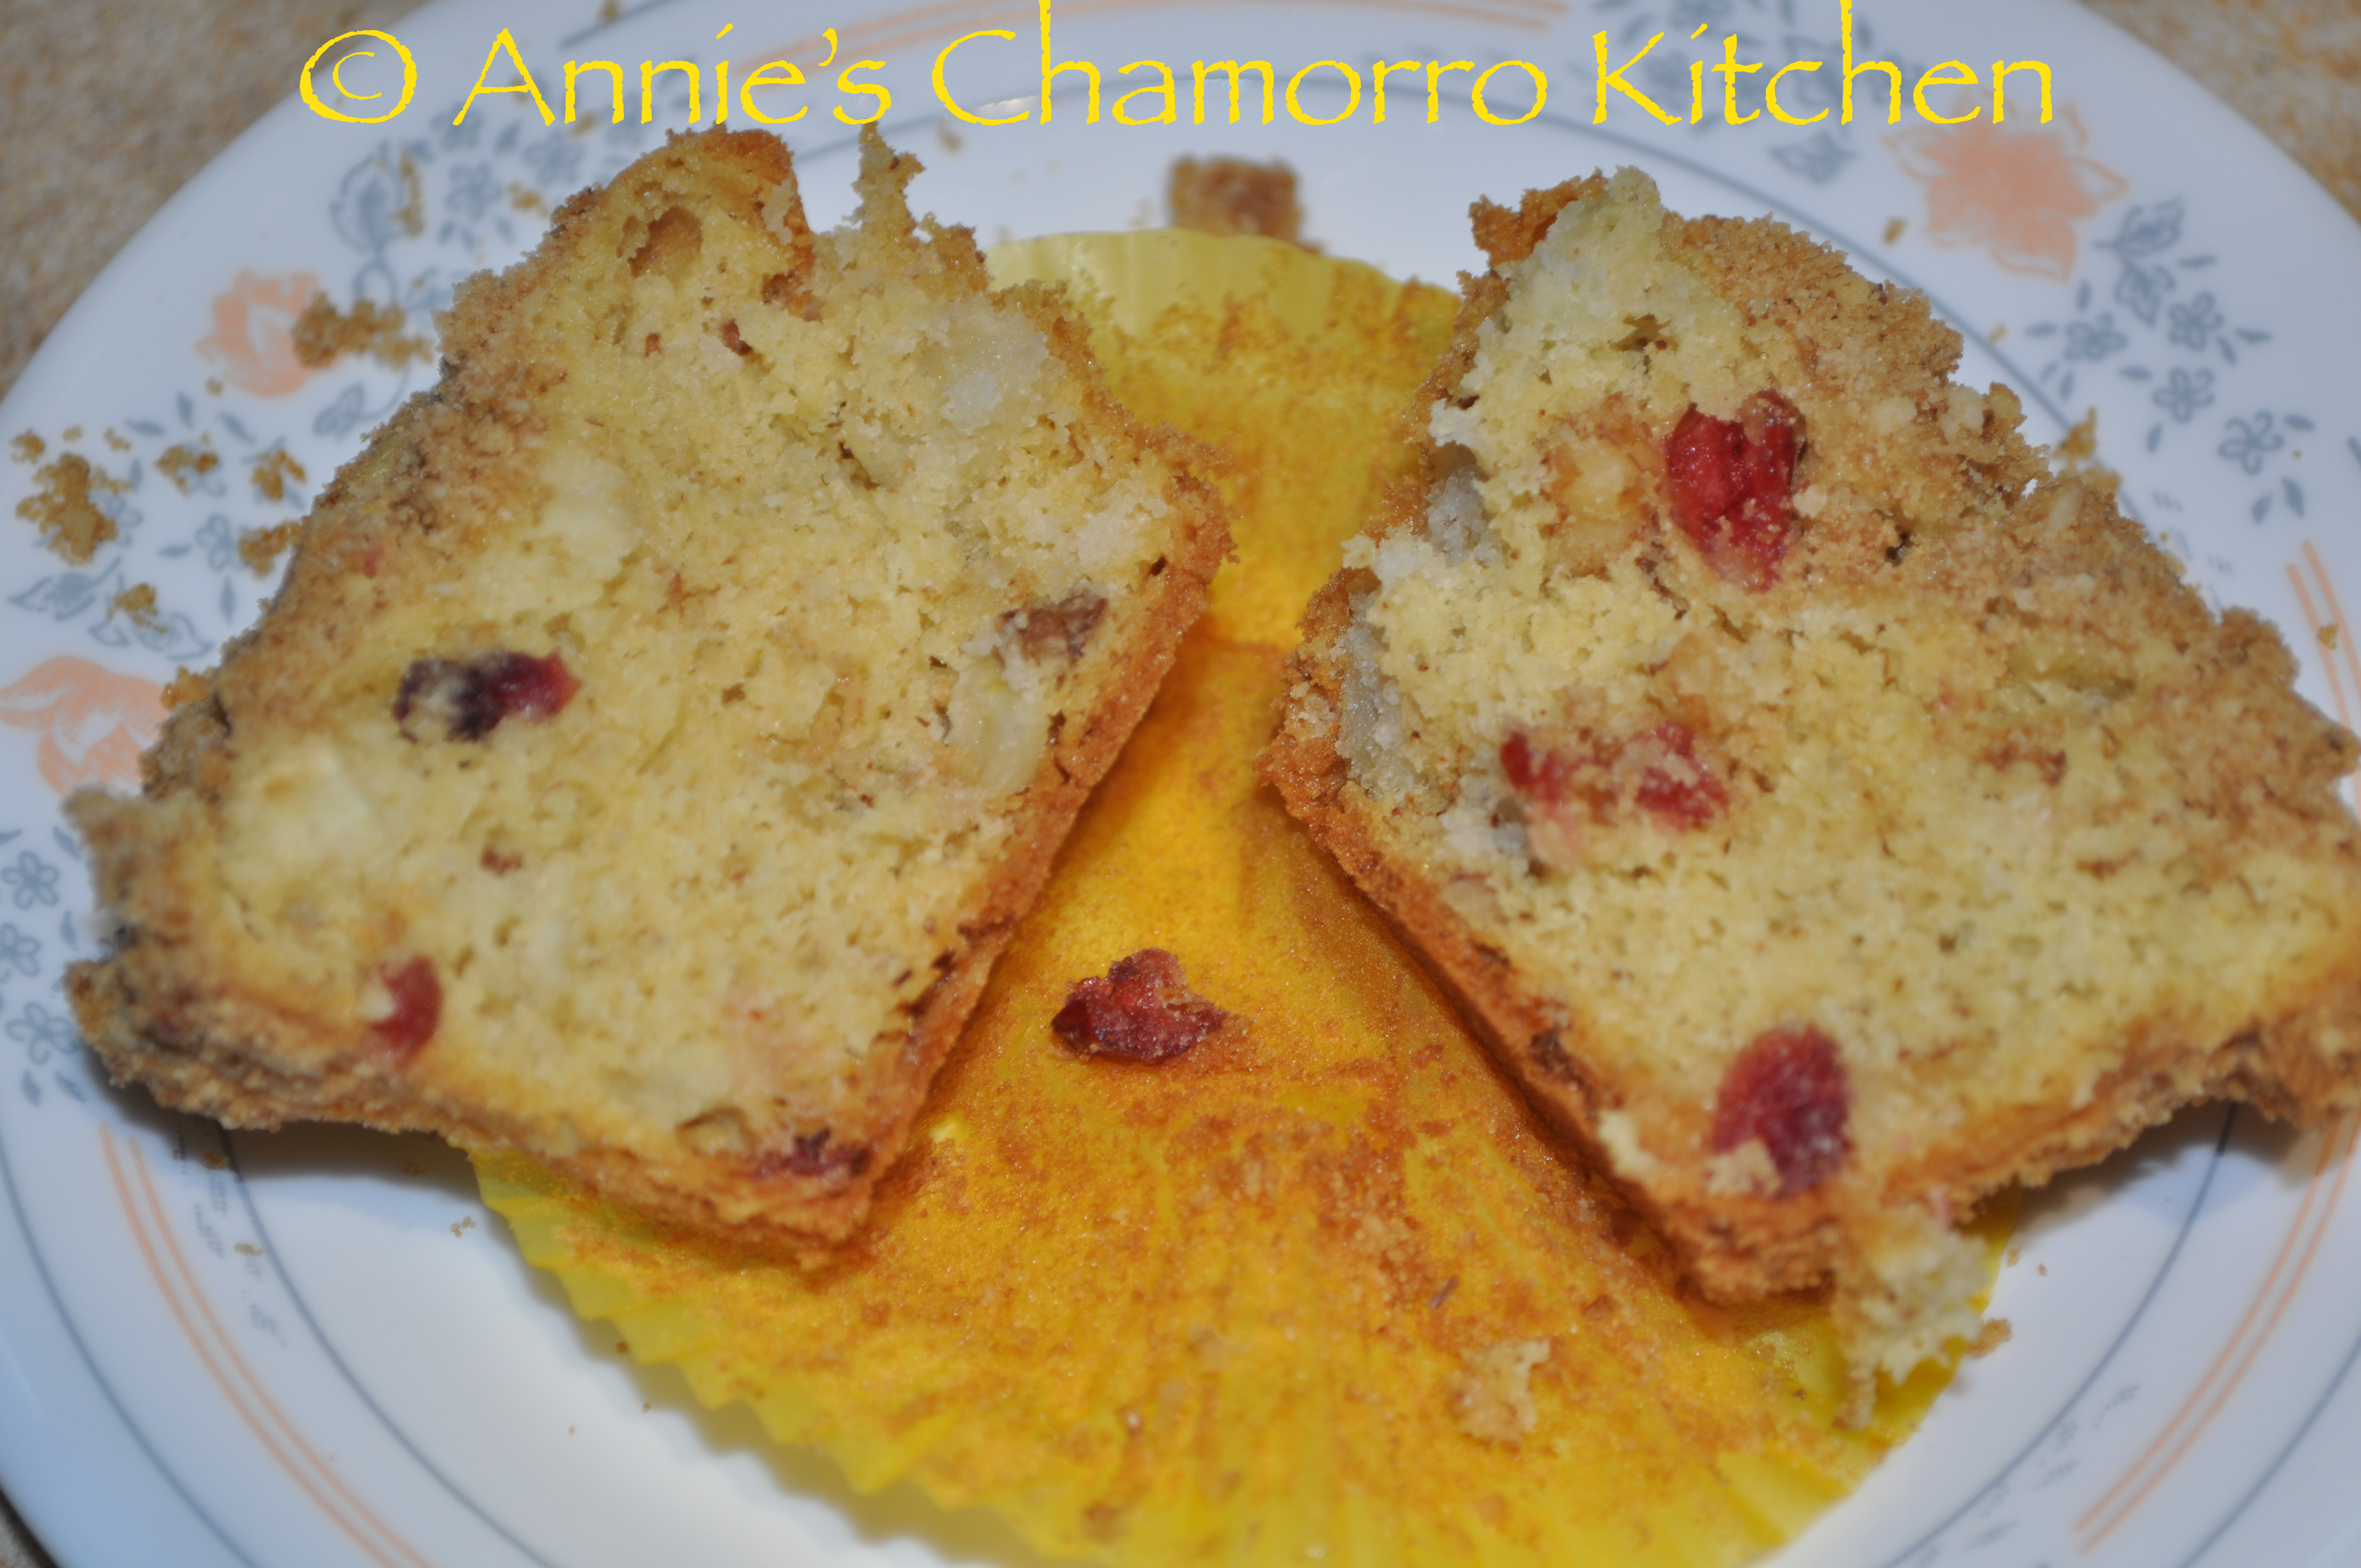
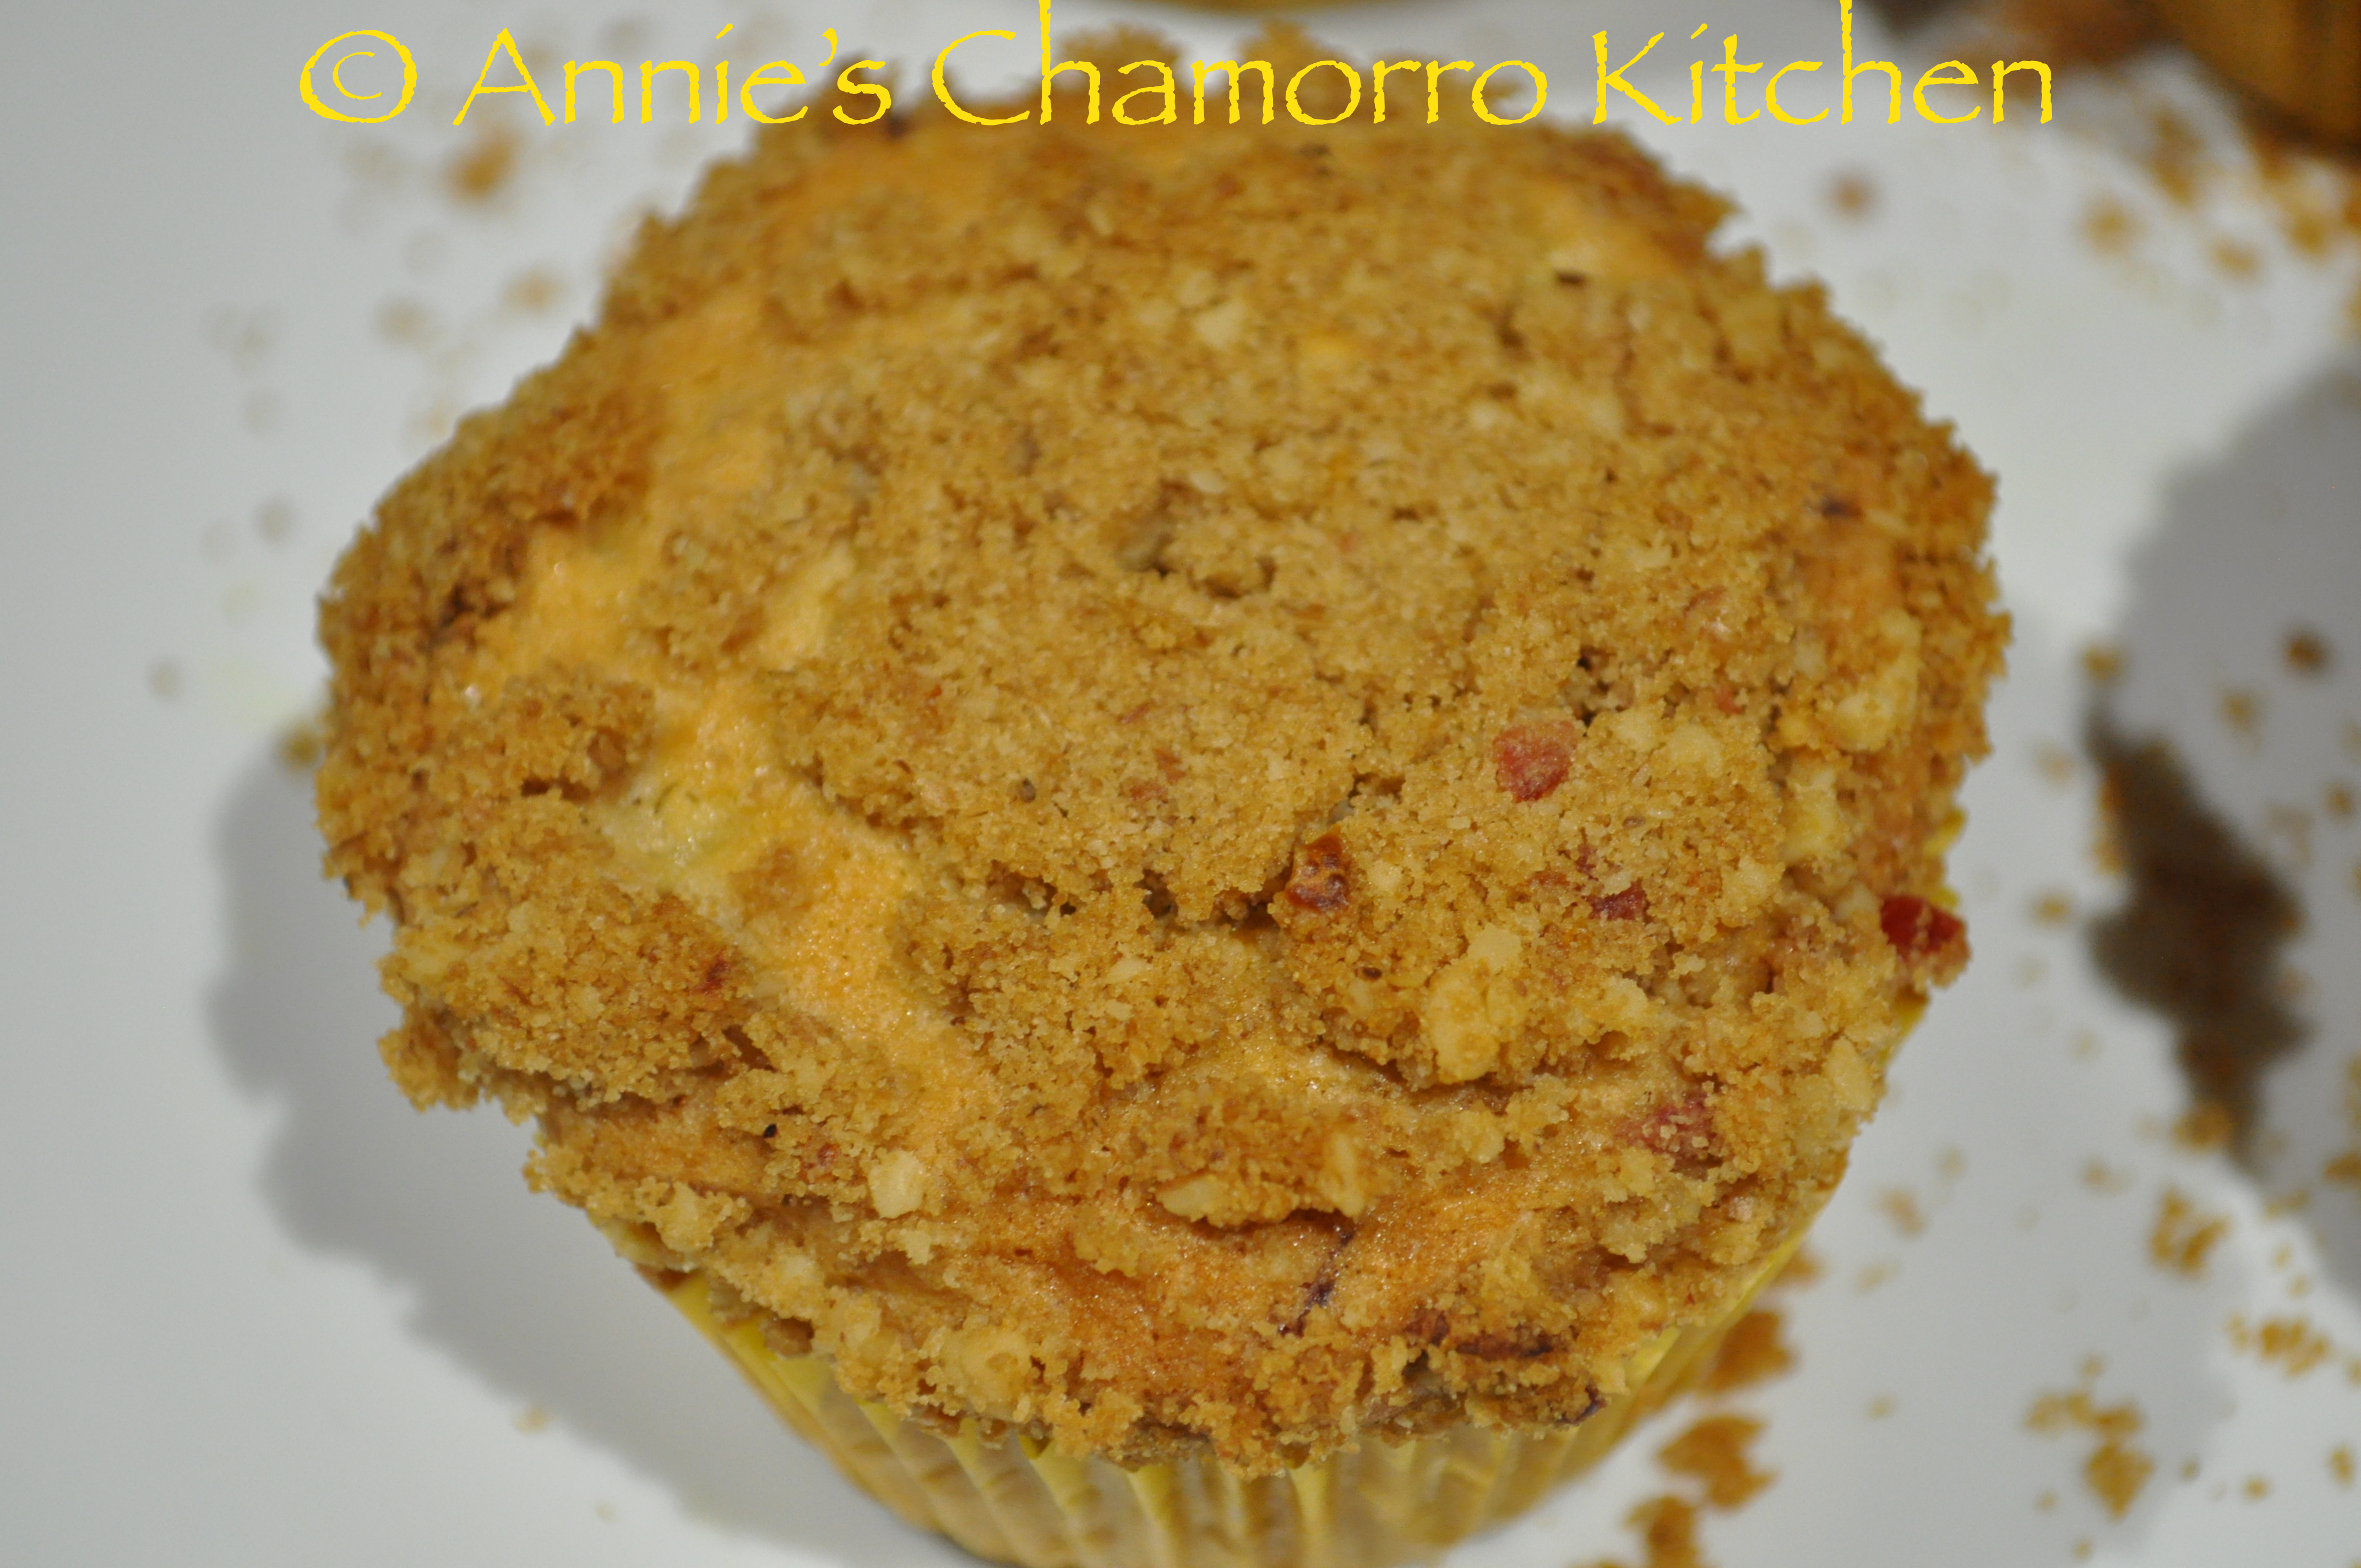
Apples and cranberries go so well together.  Pair them together in these muffins topped with sweet streusel topping and you’ve got a real treat on your hands.

I made these for a PTA-sponsored Teacher Appreciation Day one year and it was wiped out in no time.  These muffins are great for potluck breakfasts, and they make great snacks for a packed lunch.

Top the muffins with my apple cream cheese frosting (recipe below) and now you’ve got a decadent dessert.

Give my recipes a try.  I think you’ll like them. 🙂

Events - 4995Events - 4997Events - 4990


Apple Cranberry Muffins with Streusel Topping
 
Prep time
Cook time
Total time
 
Apple and cranberries baked in a moist muffin and topped with a sweet streusel and buttery apple frosting
Author:
Serves: 2 dozen
Ingredients
Ingredients for the Muffins:
  • 4 cups all-purpose flour (set aside 4 tablespoons out of the 4 cups of flour)
  • 2 granny smith apples, peeled, cored, and diced
  • 2 sticks butter, softened
  • 2 cups white, granulated sugar (you can use Splenda or Truvia made for baking)
  • 4 large eggs
  • 2 teaspoons vanilla extract
  • 2 teaspoons baking soda
  • 1 teaspoon salt
  • ⅔ cup orange juice (with pulp)
  • 1 cup craisins
  • ⅔ cup coarsely chopped walnuts, optional
Ingredients for Streusel Topping:
  • ⅔ cup packed brown sugar
  • 4 tablespoons all-purpose flour
  • 2 teaspoons lemon zest
  • 2 tablespoons butter, melted
  • ⅔ cup finely chopped walnuts, optional (or use your favorite nut)
Ingredients for the Apple Cream Cheese Frosting:
  • 1 granny smith apple, peeled, cored, and diced
  • 2 tablespoons brown sugar
  • 2 tablespoons butter
  • 1 stick butter, softened
  • 8 ounces cream cheese
  • 1 box powdered sugar
Instructions
Directions for the muffins:
  1. Place cupcake liners in two regular sized muffin pans. Preheat oven to 350 degrees.
  2. In a small bowl toss 4 tablespoons of flour with the diced apples; set aside.
  3. In a large mixing bowl cream the 2 sticks of butter with the granulated sugar. Add the eggs, vanilla and orange juice; mix until creamy.
  4. Mix together the remaining flour, baking soda and salt; add to the butter mixture.
  5. Fold the apple mixture, craisins and chopped walnuts into the batter (it will be quite thick).
  6. Spoon the batter into the cupcake liners, filling about ⅔ full.
  7. Top with streusel topping then bake for 20-25 minutes or until a toothpick inserted near the center comes out clean.
  8. Cool the cupcakes/muffins in the pan for 10-15 minutes then remove from the pan and cool completely on a wire rack.
Make the Streusel Topping:
  1. In a medium bowl combine the brown sugar, 4 tablespoons of flour, lemon zest, melted butter and chopped nuts (you can use a food chopper to chop these nuts very fine).
  2. Mix well (you can use a fork) until the mixture resembles coarse crumbs.
Make the Apple-Cream Cheese Frosting:
  1. Place the diced apples, brown sugar and 2 tablespoons butter in a small saucepan. Cook over medium heat until the apples have softened, stirring frequently to prevent burning. Place the cooked apple mixture in a blender or food processor to finely chop the apples (small bits are okay). Set aside to cool completely.
  2. In a mixing bowl, cream the butter and cream cheese together with an electric mixer. Add the apple mixture; mix until combined. Mix in the powdered sugar, one cup at a time, until creamy. Refrigerate the frosting until you’re ready to ice the cupcakes/muffins.


« Older Entries