Archive for DESSERTS

Yeast Donuts

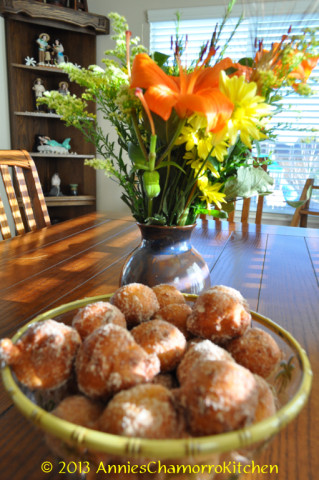
Yeast donuts are another favorite treat in my house.  Why wouldn’t it be?  Who doesn’t loved fried dough that’s rolled in sugar?  Uhh…NO one!  🙂

I remember when I was a kid, some neighbors would sell these sweet treats door-to-door.  We’d always buy a bag full!  Now my kids are learning to make these themselves.  They’re so delicious when eaten right after taking them out of the hot oil and rolling them in a bowl of sugar (cinnamon sugar is delicious too)!

Give these a try and let me know how you like them.

YEAST DONUTS

Events - 530

Ingredients:

  • 1/2 cup water
  • 1 tablespoon sugar
  • 1 envelope active dry yeast
  • 1 egg
  • 1/2 cup milk
  • 1/4 cup vegetable oil
  • 3/4 cup sugar
  • 3 cups flour
  • Oil, for frying
  • 1/2 cup sugar, for coating the donuts
  • Optional:  1 tablespoon cinnamon, for making cinnamon sugar

Directions:

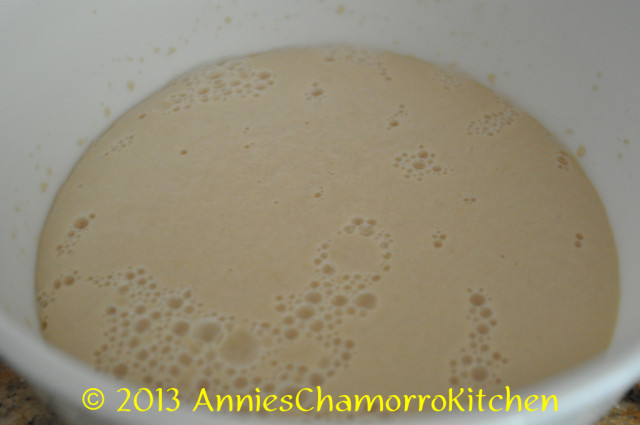
1.  Heat the water in a microwave-safe measuring cup for about 30 seconds.  The water should feel warm to the touch (like the temperature of your skin).  Stir in the tablespoon of sugar and yeast.  Set it aside for about 5 minutes.  *Note: The yeast should have more than doubled in volume from all the bubbles.  If you don’t see a lot of bubbles, your yeast wasn’t “active” anymore and you should start this step over.

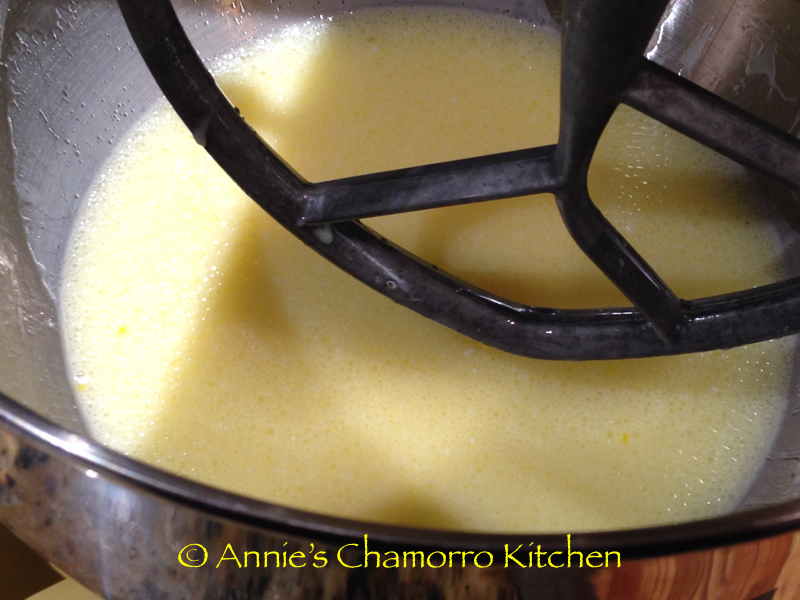
2.  In a mixing bowl, beat the egg then add the milk, vegetable oil, and sugar.

Siopao - 01

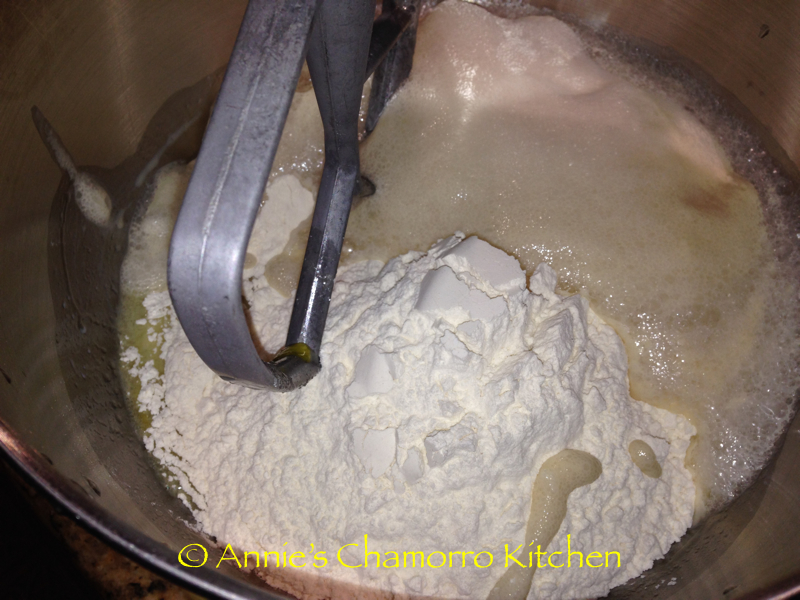
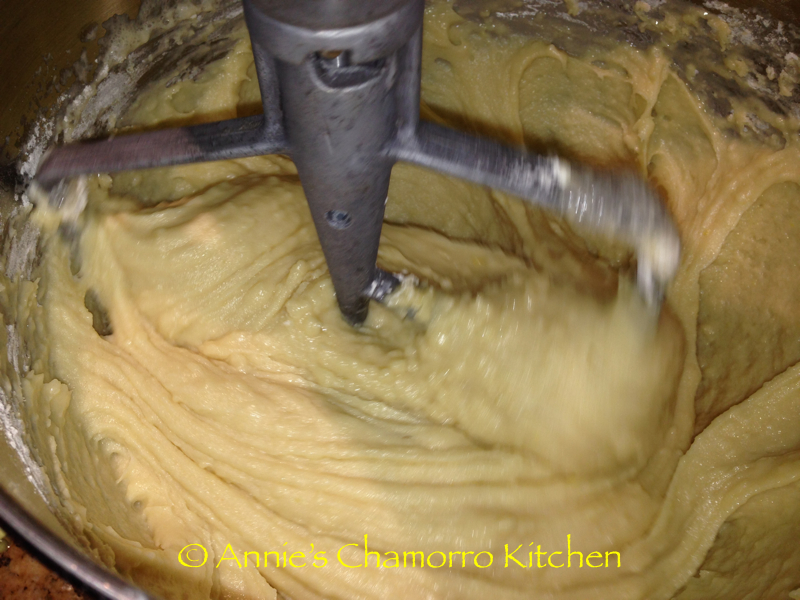
3.  Slowly mix in half of the flour to the egg mixture.  Add the yeast mixture and mix well. Gradually add the remaining flour.  The dough should begin to leave the sides of the bowl but it will still be a bit sticky.  After you’ve added all of the flour and the dough has not left the sides of the bowl, add up to 3/4 cup of flour (don’t use more than 3/4 cup), a spoonful at a time, until the dough leaves the sides of the bowl.  Once the dough leaves the sides of the bowl, switch from the paddle to the dough hook attachment of your stand mixer.

Siopao - 03  Siopao - 04

4.  Knead the dough for about 10 minutes or until the dough is smooth and elastic. Do not add more flour or it will make the dough tough.  If you’re kneading the dough by hand, if the dough is sticking to your hands, lightly spray your hands with cooking spray.

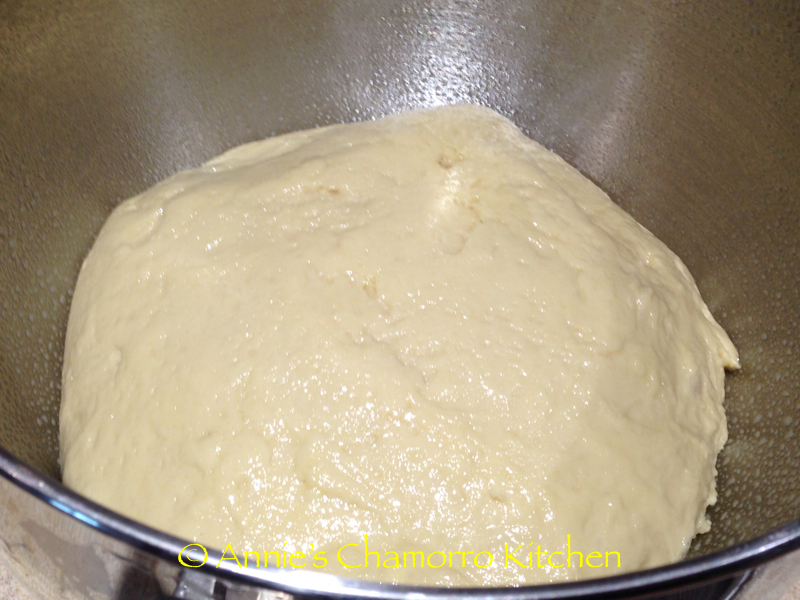
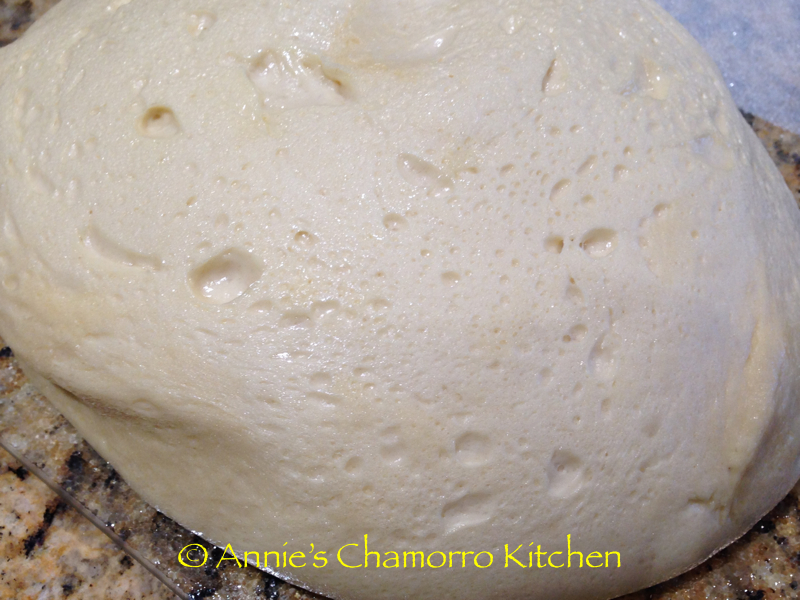
5.  Lightly oil (or use cooking spray) another bowl. Remove the dough from the mixing bowl and place it in the greased bowl, turning it around so all sides are greased. Cover the dough with a damp cloth and place in a warm place to rise. You want to let it rise until the dough doubles in size (about 1-2 hours, depending on how warm the room/area is).

Siopao - 05

6.  After the dough has risen, remove it from the bowl.  Lightly punch down the dough.  Divide the dough into small pieces. At this point, you can either form rings, twists, or donut “holes”.  Place the formed donuts onto a greased pan.  Cover with a clean cloth and let them rise again for about 30 minutes.

Siopao - 09

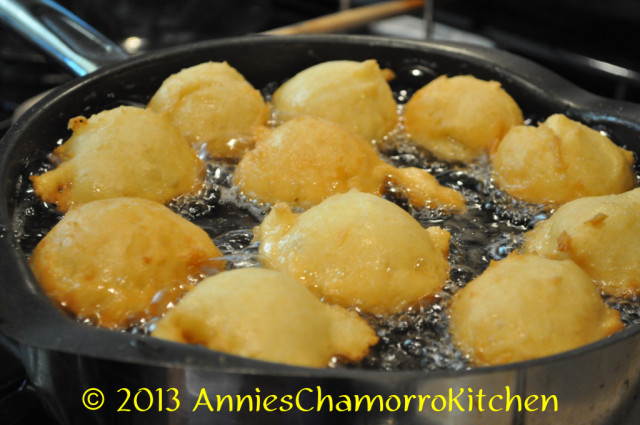
7.  Heat your oil.  Carefully lift up each piece of dough.  Lower into the hot oil and fry until golden brown.
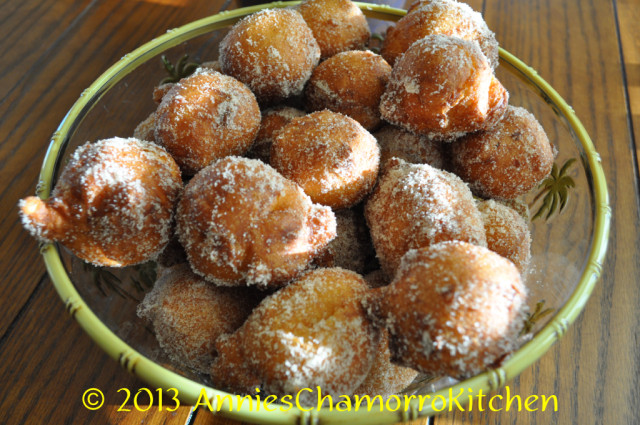
8.  Remove from the oil, place on paper towels to allow to drain for a few seconds, then roll the donuts in sugar while still hot.  Serve immediately and enjoy!
Pumpkin Turnovers (Pastit or Buchi Buchi)

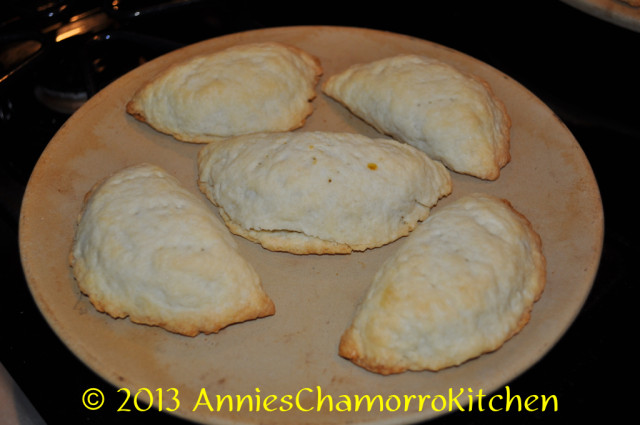
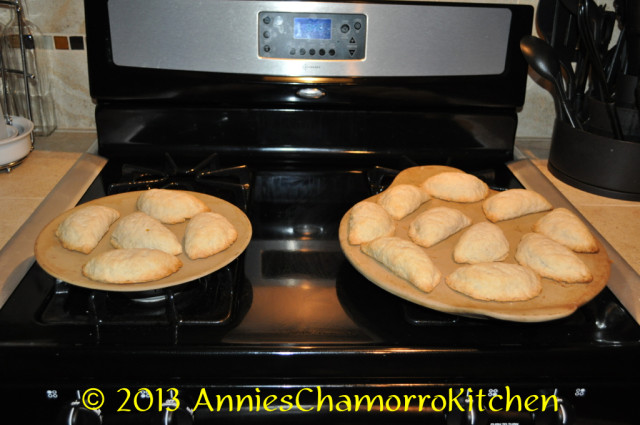
This is one of my most favorite desserts.  It’s a turnover filled with a sweet, cinnamon-flavored pumpkin jam.  In Chamorro, Pastit is the term for a baked turnover. Buchi Buchi is the term for fried turnovers.

Pastit

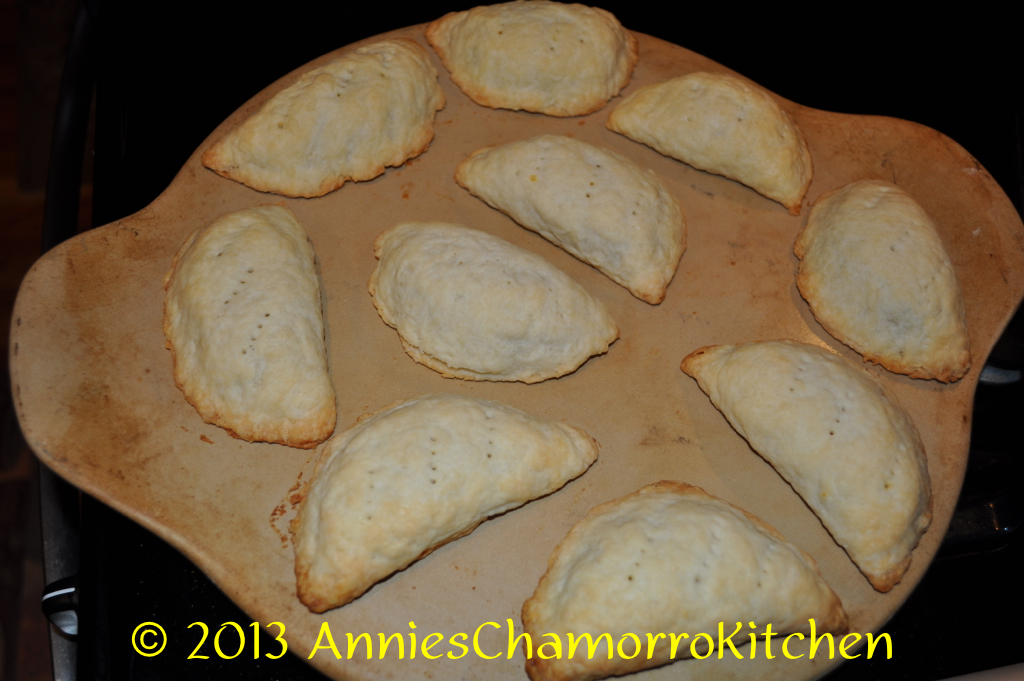
Pastit ~ Baked Pumpkin Turnovers

My mom used to make this for us all the time, only she used fresh pumpkins instead of canned.  Making pumpkin jam with fresh pumpkins took hours!  However time consuming that whole process was, that’s the way to do it–fresh is always best, in my opinion.

Using canned pumpkin has its advantages.  You can make Pastit any time of year if you used canned pumpkin (provided the grocery stores have it in stock).  I remember one year when you couldn’t find a can of pumpkin anywhere!  But I digress….This dessert can be enjoyed year-round is my point; you don’t have to wait for fall to bake up a batch of these delicious treats.

My dad loves these turnovers, but his favorite filling is made with papaya–the green kind, not the ripe ones.  You really can’t make a papaya jam with the right consistency if you use ripe papayas.  In Chamorro, preparing papaya this way is called Konsetba.  Konsetba is also used to refer to candied young (green) papaya.

I do have one daughter who won’t touch this with a 10-foot pole.  It’s something about the fact that pumpkin is an ingredient and it just isn’t right eating a vegetable pie for dessert.  No matter how many times I tell her it’s technically a fruit, she won’t have it.

More for us, I say.  🙂

Give my recipe a try. I think you’ll like it!  🙂

Pumpkin Turnovers (Pastit or Buchi Buchi)

My recipe makes between 12-15 turnovers.

Ingredients:

Crust:

  • 3 cups flour
  • 2 teaspoons salt
  • 1 stick butter (for especially flaky dough, use 2 sticks of butter, but freeze it prior to making your dough, and work fast so the heat from your hands doesn’t melt the butter while you handle the dough)
  • 1/2 – 3/4 cup ice-cold water
  • 1/4 cup sugar

Filling:

  • 1 small can pumpkin purée (do not use pumpkin pie filling)
  • 1 cup sugar
  • 1 teaspoon cinnamon

Directions:

Make the pumpkin jam:

1.  Drain the pumpkin overnight to remove excess water; pour the contents into a fine mesh strainer, then set the strainer over a bowl.  Cover with plastic wrap and refrigerate.  In the morning, most of the water will have drained out.  Instead of draining overnight, you can also heat the pumpkin over low heat, stirring constantly; cook until there isn’t much steam left rising from the pumpkin (an indication that most of the water has evaporated).

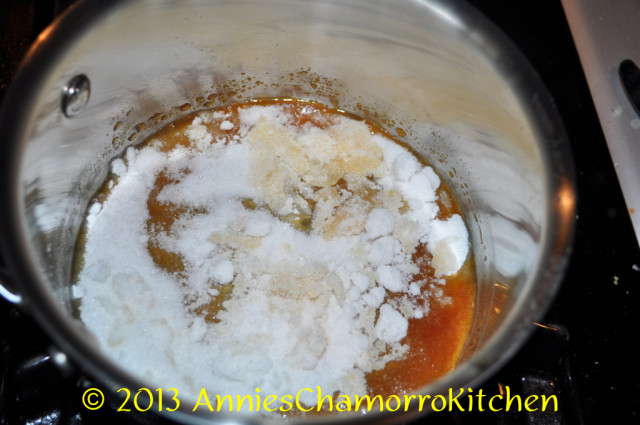
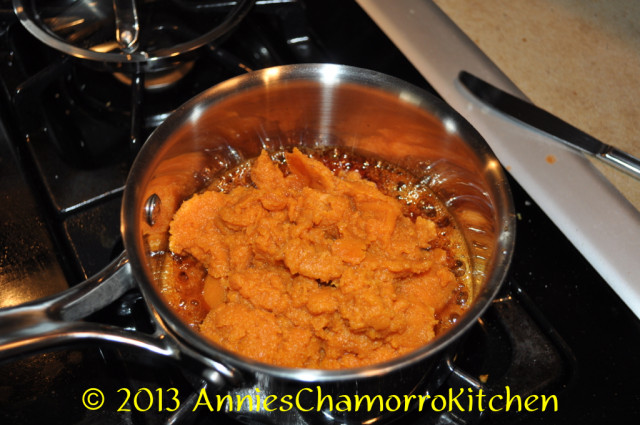
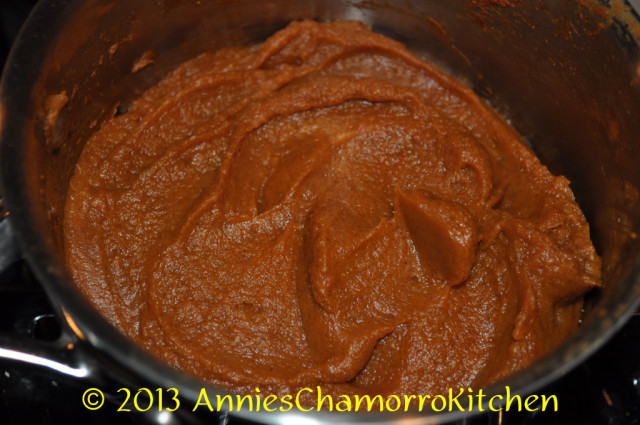
2.  In a separate pan, melt the sugar until browned; stir often to keep the sugar from burning.  Add the drained or heated pumpkin to the melted sugar. Add cinnamon (add more or less to taste).

Events - 0081

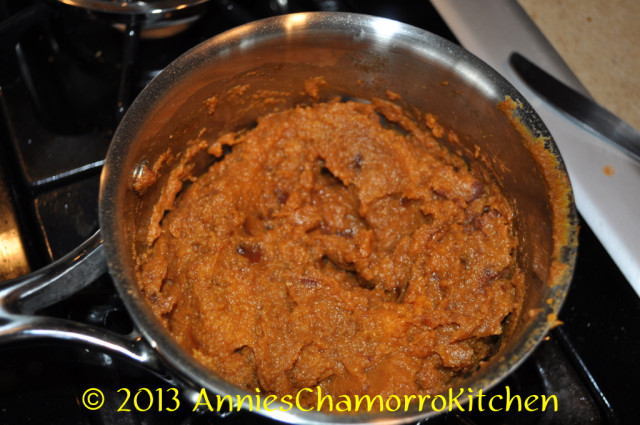
*Note: When you add the pumpkin to the melted sugar, it might SIZZLE like crazy! This is because the caramelized sugar is reacting to any remaining water in the pumpkin. When you mix the two, the sugar will actually harden and look like candy. At this point, turn your heat down to low and cover your pot; cook the pumpkin jam until all the hardened sugar has melted. Stir frequently to prevent the bottom from burning. Allow the jam to cool completely before filling the dough.

Events - 0083 Events - 0084 Events - 0085

Make the crust:

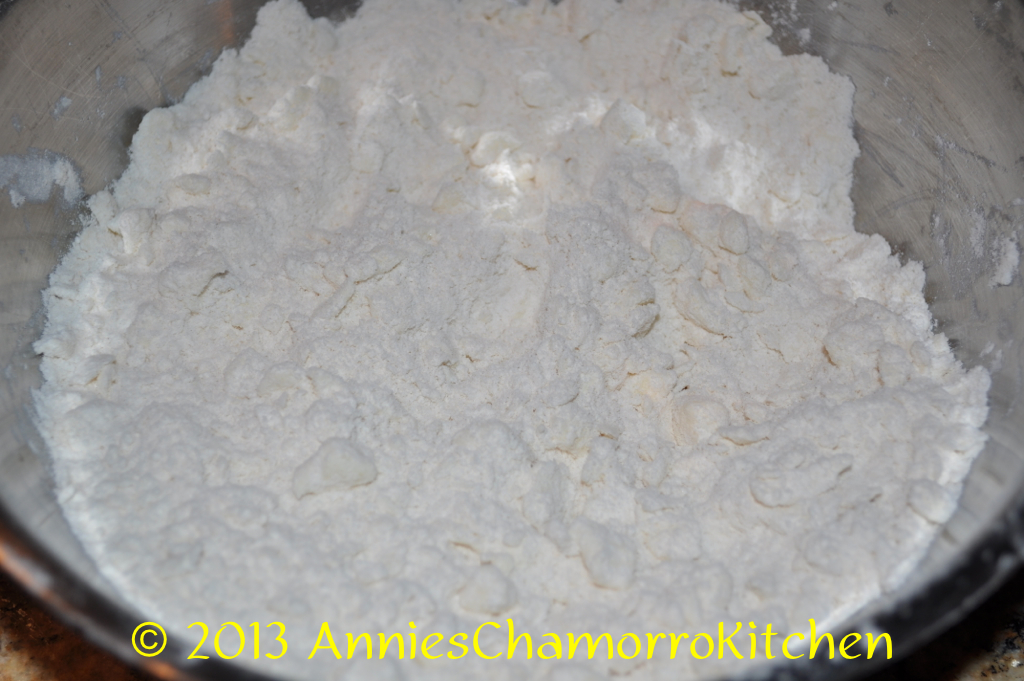
1.  Combine the dry ingredients for the crust.  Cut the butter into the flour until you get tiny bits of butter mixed with the flour.

There are several ways to do this:  you can use a pastry cutter, or if you don’t have a pastry blender, you can use two butter knives and literally cut the butter into the flour mixture.  You can also use a food processor.  Here is a neat idea I learned from a cooking show — freeze your stick of butter, then grate it using the largest holes of a box grater.  Lightly mix the grated butter into the flour then place the bowl into the freezer for a few minutes to get the butter to be really cold again before adding the water.

The thing to remember is that the butter should be as cold as possible when you do this (frozen butter is even better); having little bits of butter mixed in with the flour is key to a flaky crust.

Events - 0086

2.  Add cold water to the flour-butter mixture, a few spoonfuls at a time, and gently mix (or pulse in a food processor).  Stop adding water when the mixture starts to stick together and forms a dough.  How can you tell if it’s enough water?  Scoop some of the mixture into your hand then squeeze it together.  If the mixture holds its shape (no crumbs fall off), then you added enough water.  DO NOT knead the dough at this point.  You don’t want to handle the dough too much, and you most certainly want to make sure you still see bits of butter in the dough.

3.  Make golf ball sized pieces dough; use a rolling pin to flatten each ball into a thin circle.  Add 2-3 tablespoons of pumpkin filling to the center of the dough; spread the filling out to about 1/2 inch from the edge. Fold the dough over and seal edges by pressing down on it with a fork.

4.  Optional: brush the tops of the turnovers with a beaten egg then sprinkle liberally with turbinado sugar (also called sugar in the raw).

5.  Bake at 350 degrees for 35-40 minutes or until the crust is golden brown.

Events - 0091

*For buchi buchi (a fried version), decrease the amount of butter (use only 1 stick); follow the rest of the recipe instructions.  Deep-fry each turnover until golden brown.

ENJOY!

Latiya

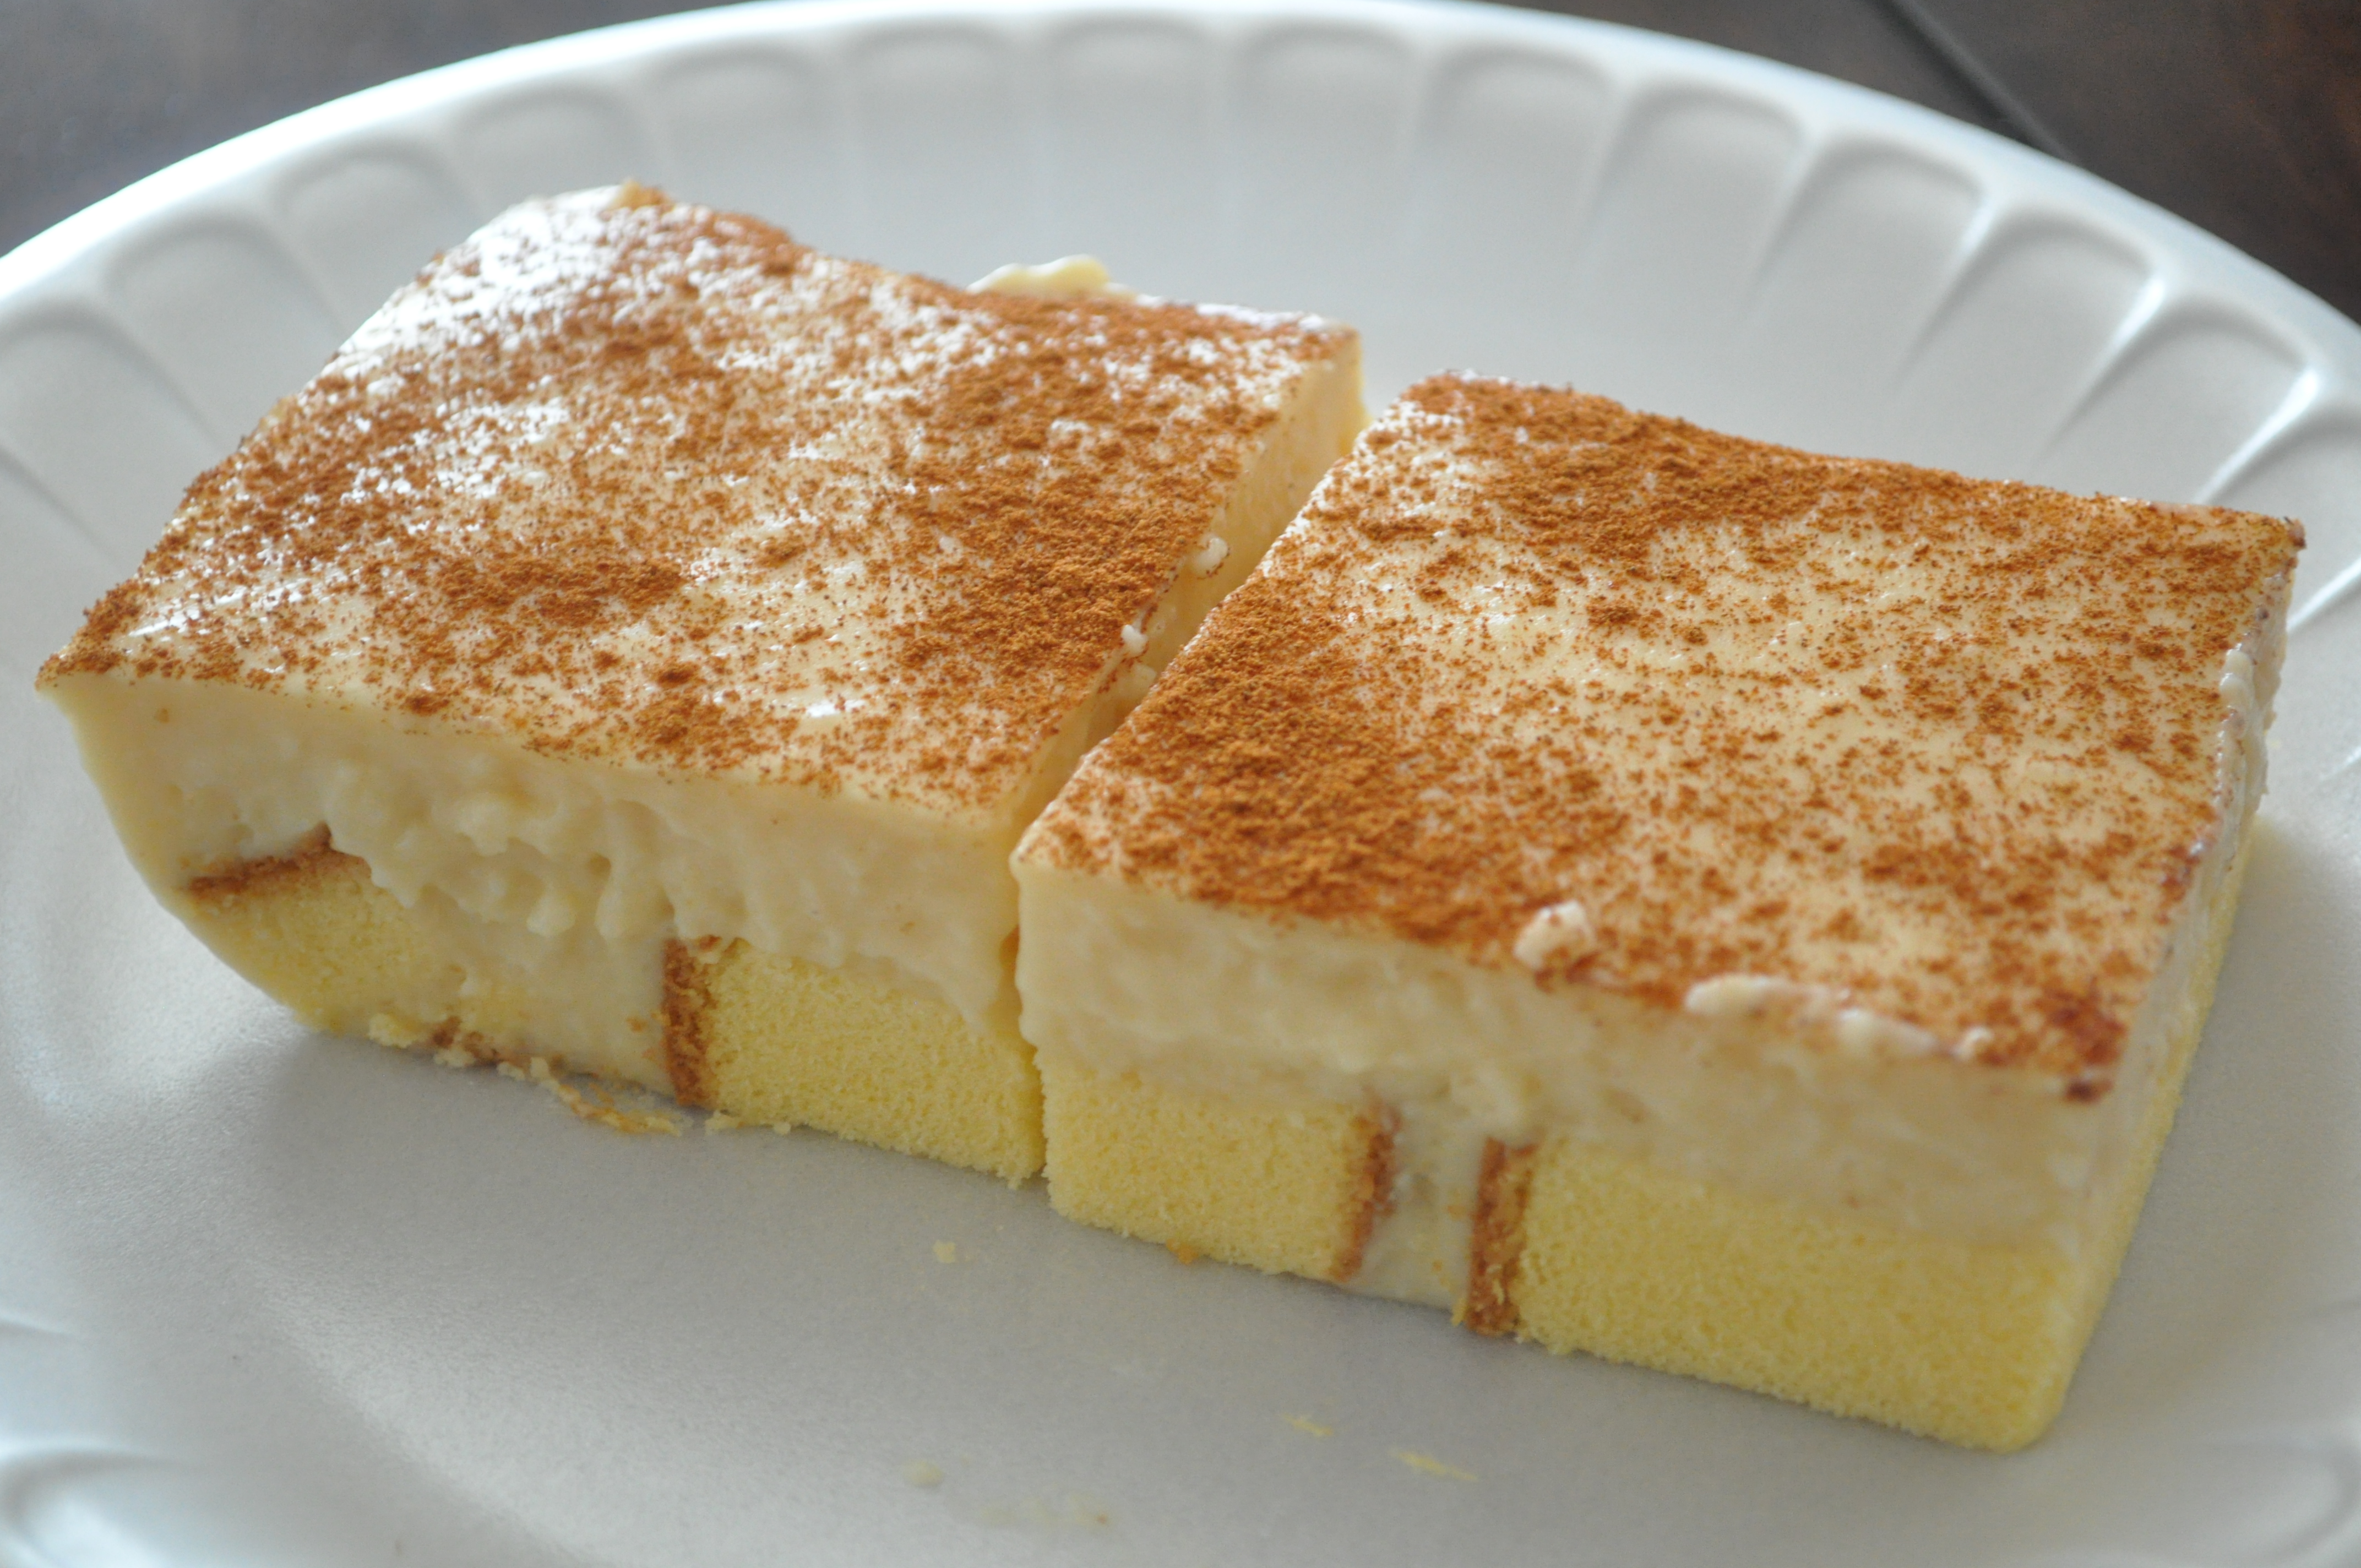
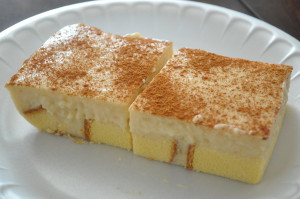
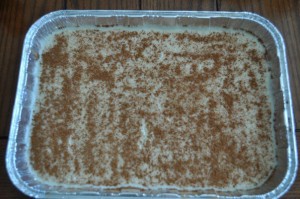
Pronounced ‘la-tee-ja’, this is a classic Chamorro dessert.  A light, creamy, custard-like pudding topped with a generous sprinkling of ground cinnamon tops a layer of scrumptious cake.  I say ‘custard-like’ only because my version of Latiya contains NO eggs, unlike most of the variations of this recipe.

The cake options are endless, but my favorite, by far, is carrot cake, and not just any carrot cake, mind you, but a moist rich version made with carrots (of course), pineapples, raisins, and lots and lots of nuts!

Pound cake is another favorite for this, as is another classic Chamorro dessert:  Chamorro Cake.

The key to assembling this oh-so-yummy dessert is to put lots of space between the pieces of cake.  This way, you can pour the creamy latiya topping in between the nooks and crannies.  Oh, I’m drooling just thinking about it.

Here’s my recipe for “classic” latiya…give it a try.  I think you’ll like it!  🙂

If you are a coconut-lover like me, scroll on down for my coconut version of my latiya recipe.

Latiya

Events - 2609

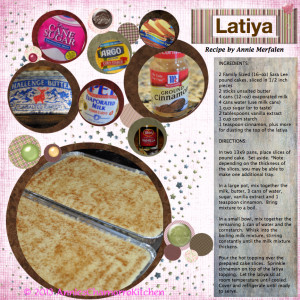
The photo below contains my recipe for “regular” Latiya.  Click on the thumbnail below to open a full-sized version of the photo to view my recipe.

Latiya


Drumroll please…..and now for my Coconut Latiya Recipe.  You don’t want to miss out on this one.

Annie’s Coconut Latiya:

Latiya

Ingredients:

  • 1 Sara Lee pound cake (I use the smaller one and slice it about the width of my thumb)
  • 1 can evaporated milk
  • 1 can water (use milk can)
  • 2 cans coconut milk
  • 1 stick butter
  • 1/2 cup sugar (more or less to taste)
  • 1 tablespoon vanilla extract
  • 1 cup sweetened coconut flakes
  • 8 HEAPING teaspoons corn starch
  • Cinnamon

Directions:

  1. In a medium pan, combine the evaporated and coconut milk (reserve the can of water), butter, sugar, vanilla and coconut flakes. Cook over medium heat.
  2. Mix the cornstarch with the can of water. When the butter has melted, add the cornstarch/water mixture.
  3. Stir constantly with a whisk until the mixture comes to a boil; continue cooking for about a minute longer then immediately pour over pound cake.
  4. Sprinkle the top of the latiya with cinnamon then allow to cool.

Rosketti ~ a Chamorro cookie

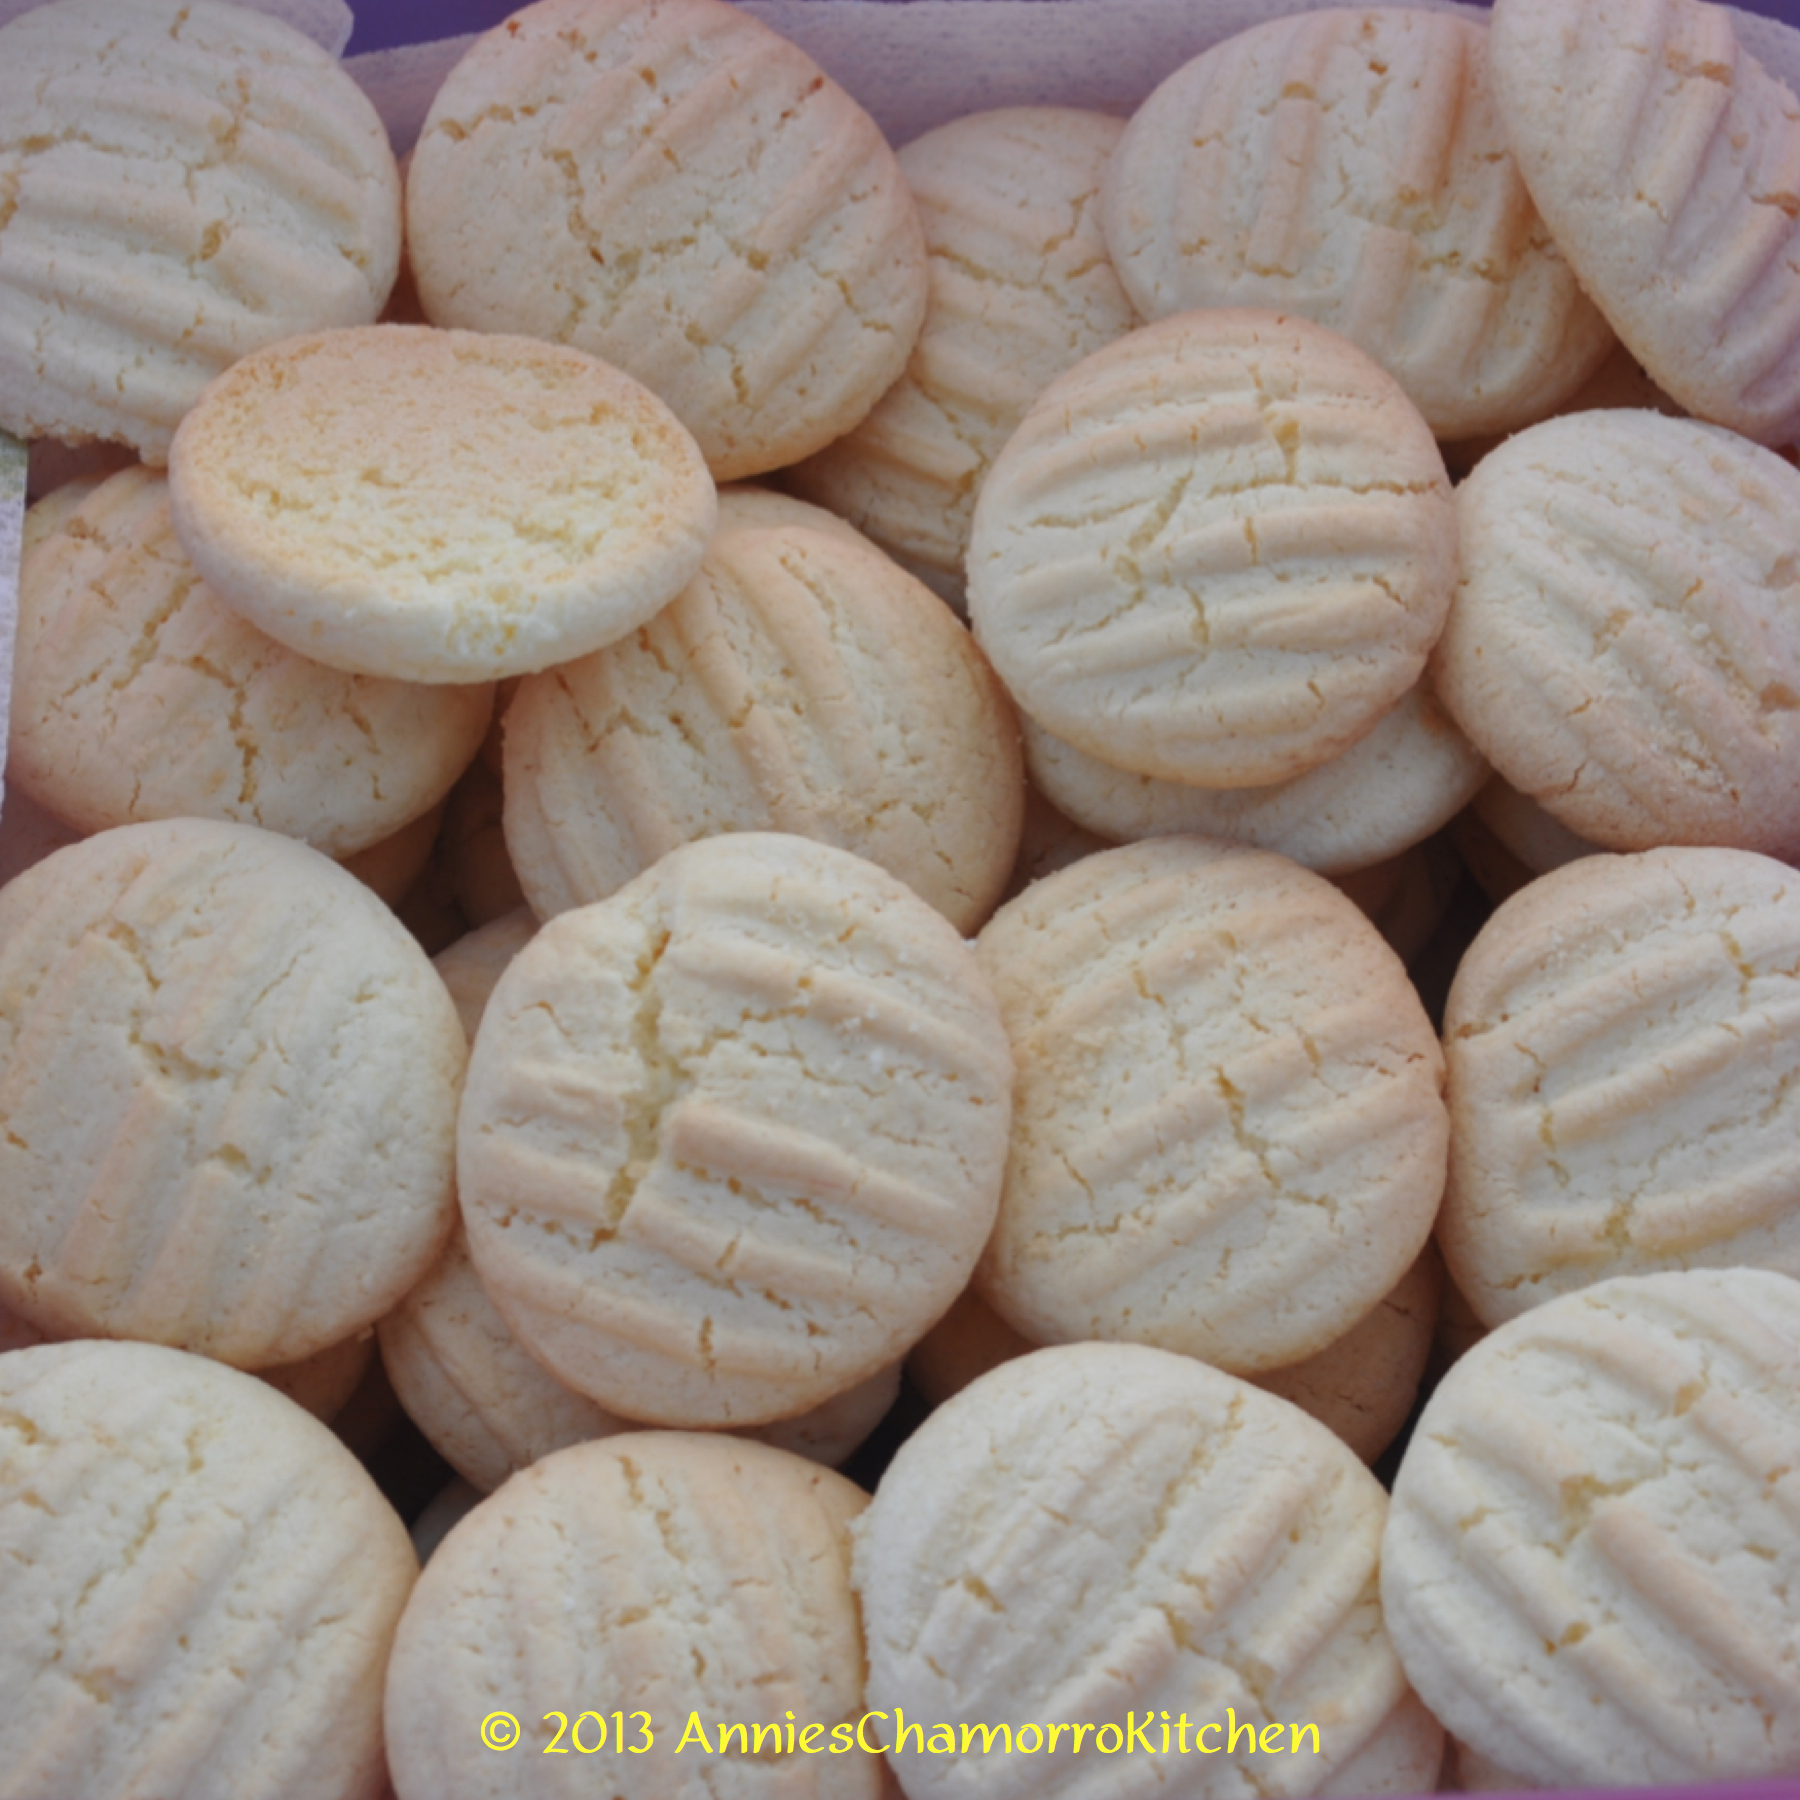
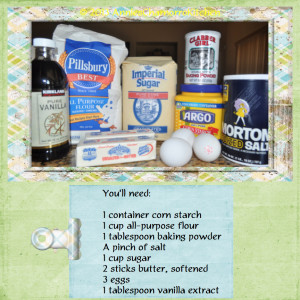
I won’t lie to you…you WILL need to have a tall glass of milk or water when you eat these starchy Chamorro cookies.  It calls for an entire container of corn starch after all, but despite all that starch, this is a melt-in-your mouth cookie you won’t want to miss out on.

As a little girl, I remember going to rosaries just so that I can have some of these yummy cookies.  I’d CAREFULLY (they crumble easily) wrap a couple of them in a napkin to bring home for later.

Nowadays, you’d expect to pay a good chunk of change to buy some ready-made for you.  I used to love receiving the occasional care package with a Crab Biscuit can inside.  That was the telltale sign, the can, for it wasn’t biscuits inside, but Rosketti, carefully packed so as not to break any.  But even if they did break, I didn’t dare throw any crumbs away!  Oh no!  I’d scoop those little bits up and eat them with a spoon, it was like gold to me!

But that was about oh, maybe 25 years ago.  I’ve since learned to make these crumbly, melt-in-your-mouth delights myself.

Since I originally posted this several years ago, I’ve since learned a bit about the origin of the name of this cookie.  This information is from the Guam Hispanic Heritage Facebook page:

“The ROSKAS of Guam. In many countries in the Hispanic world, on the Day of the Three Kings it is customary to serve a ring shaped sweet bread called ROSCA DE REYES. It is believed that in Guam, common Chamorro treats such as ROSKETI, BOÑELUS ROSKAS (commonly known as “yeast donuts”), and ROSKU shortbread were created as a simpler form of the traditional Spanish ROSCA. In Chamorro the word ROSKA refers to a ring or coil shape. ROSKETI and ROSKU are variants that carry the same meaning. The meaning and use of the word ROSKA seems to have been forgotten. And has resulted in ROSKETI being made other shapes in which they can’t truly be called ROSKETI.”

(Original post:  https://www.facebook.com/320261928099151/posts/1820010198124309/?extid=0&d=n)

Additionally, the owner of the Facebook page suggested that a more historically accurate name for what I have pictured below is “monedas” which means “coins.”

Well, whatever you choose to call it, it’ll be delicious regardless. 😁

Give my recipe a try, but have that glass of milk handy.  Enjoy!  🙂

Click on each thumbnail below to open up a full-sized photo.

Rosketti 1

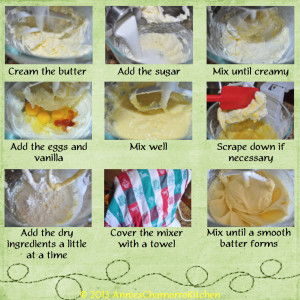
Rosketti 2

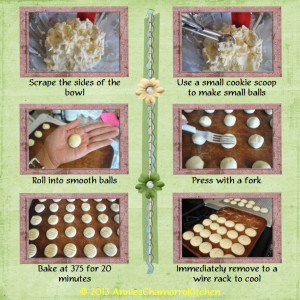
Rosketti 3

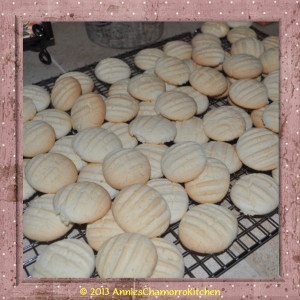
Rosketti 4

These are so fun to make with a cookie spritzer.  Oh, the fun shapes you can make!

ENJOY! 🙂

Rosketti


Recent Entries »