Archive for ETHNIC

Arroz Caldo

Arroz Caldo is a classic Filipino dish that made its way into Chamorro kitchens. This is my version of this delicious comfort food. It’s very quick and easy to put together. In fact, the longest part of making this dish is waiting for the rice to cook. 🙂

Give my recipe a try. I think you’ll like it. 🙂

Arroz Caldo

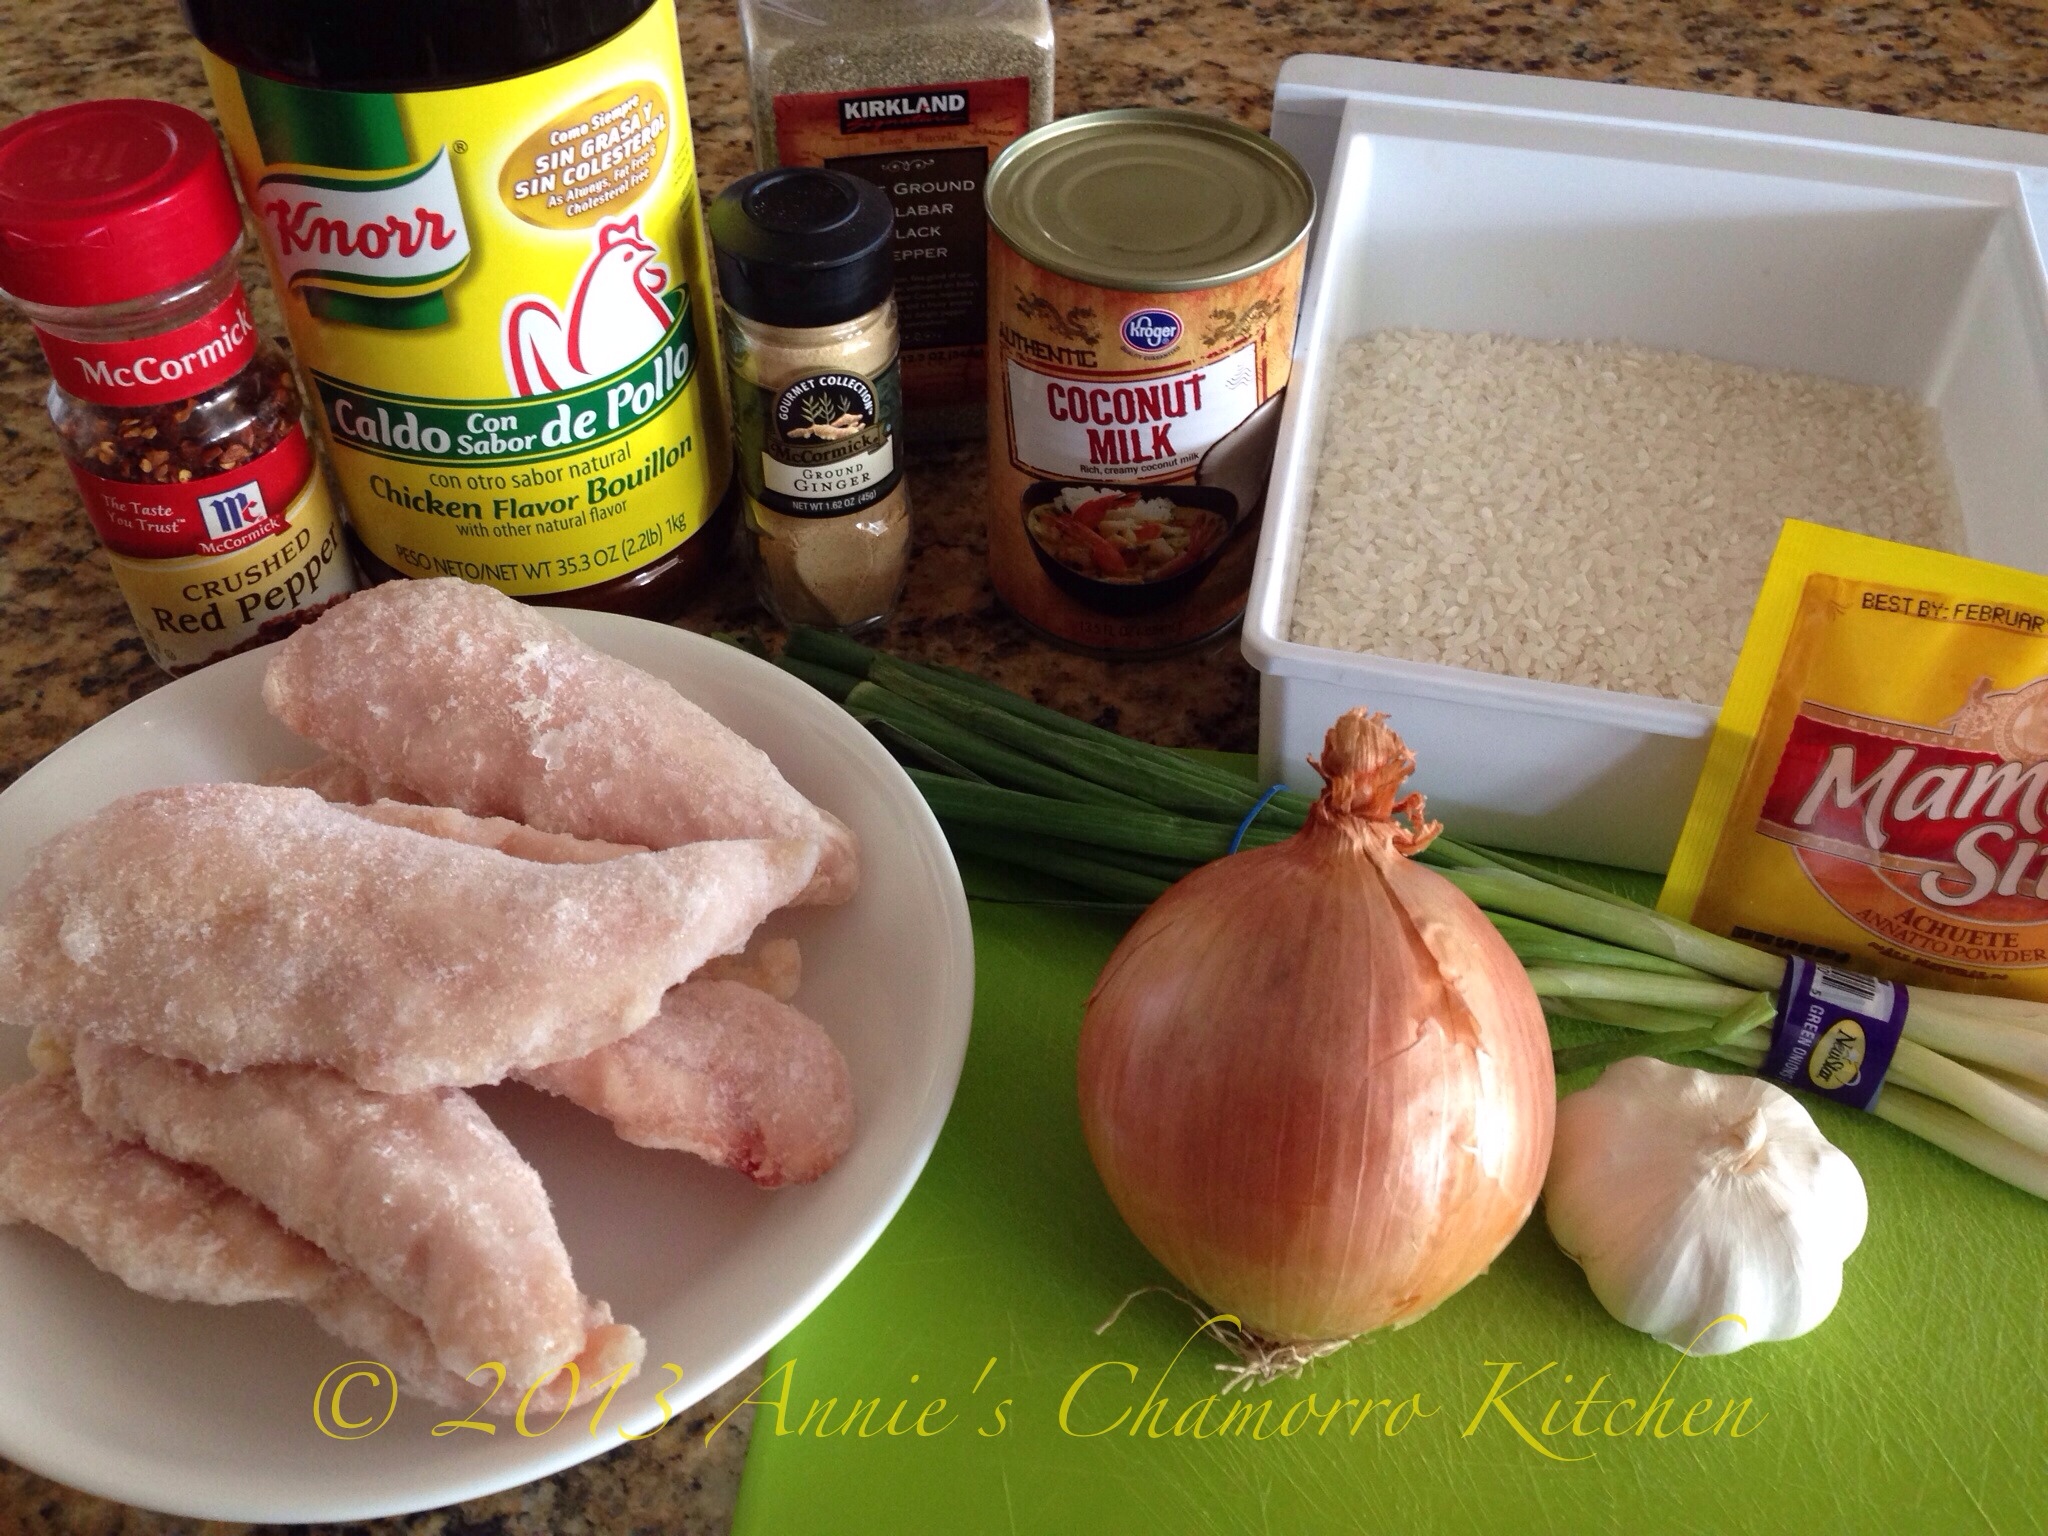
Ingredients:

  • 2 tablespoons vegetable oil
  • 2 tablespoons minced garlic
  • 1 medium onion, diced
  • 8 chicken tenders, cut into small pieces
  • 1 tablespoon fish sauce
  • 1/2 teaspoon achote powder
  • 1/2 teaspoon ground ginger
  • 4 tablespoons powdered chicken bouillon (or 4 bouillon cubes)
  • 1/2 teaspoon black pepper
  • 8 cups water
  • 2 cups uncooked rice
  • 1 can coconut milk
  • 3 hard-boiled eggs, sliced
  • 4 green onions, thinly sliced
  • Hot pepper flakes

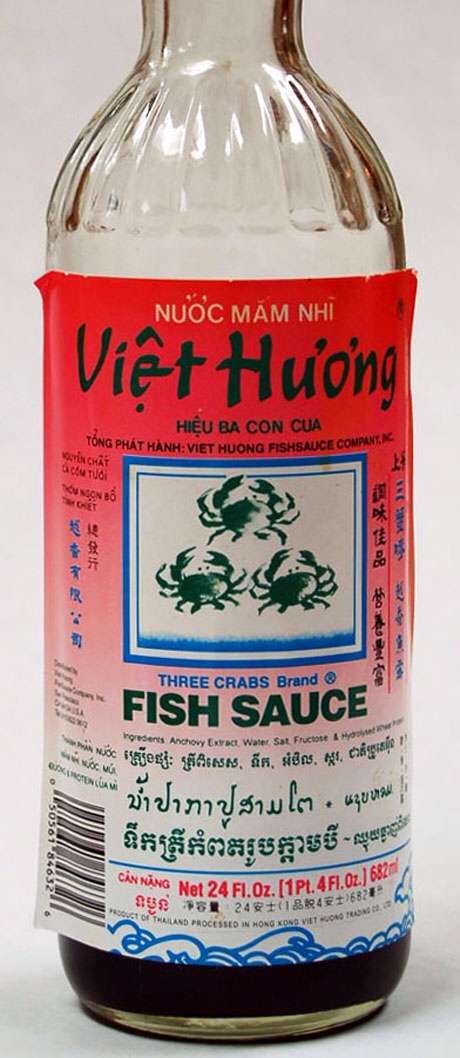
The only ingredient not shown above is the fish sauce. I like to use the brand that has three green crabs on the label; it’s not as pungent as most other brands of fish sauce. This is what the bottle looks like. You can find it at most Asian supermarkets.

Directions:

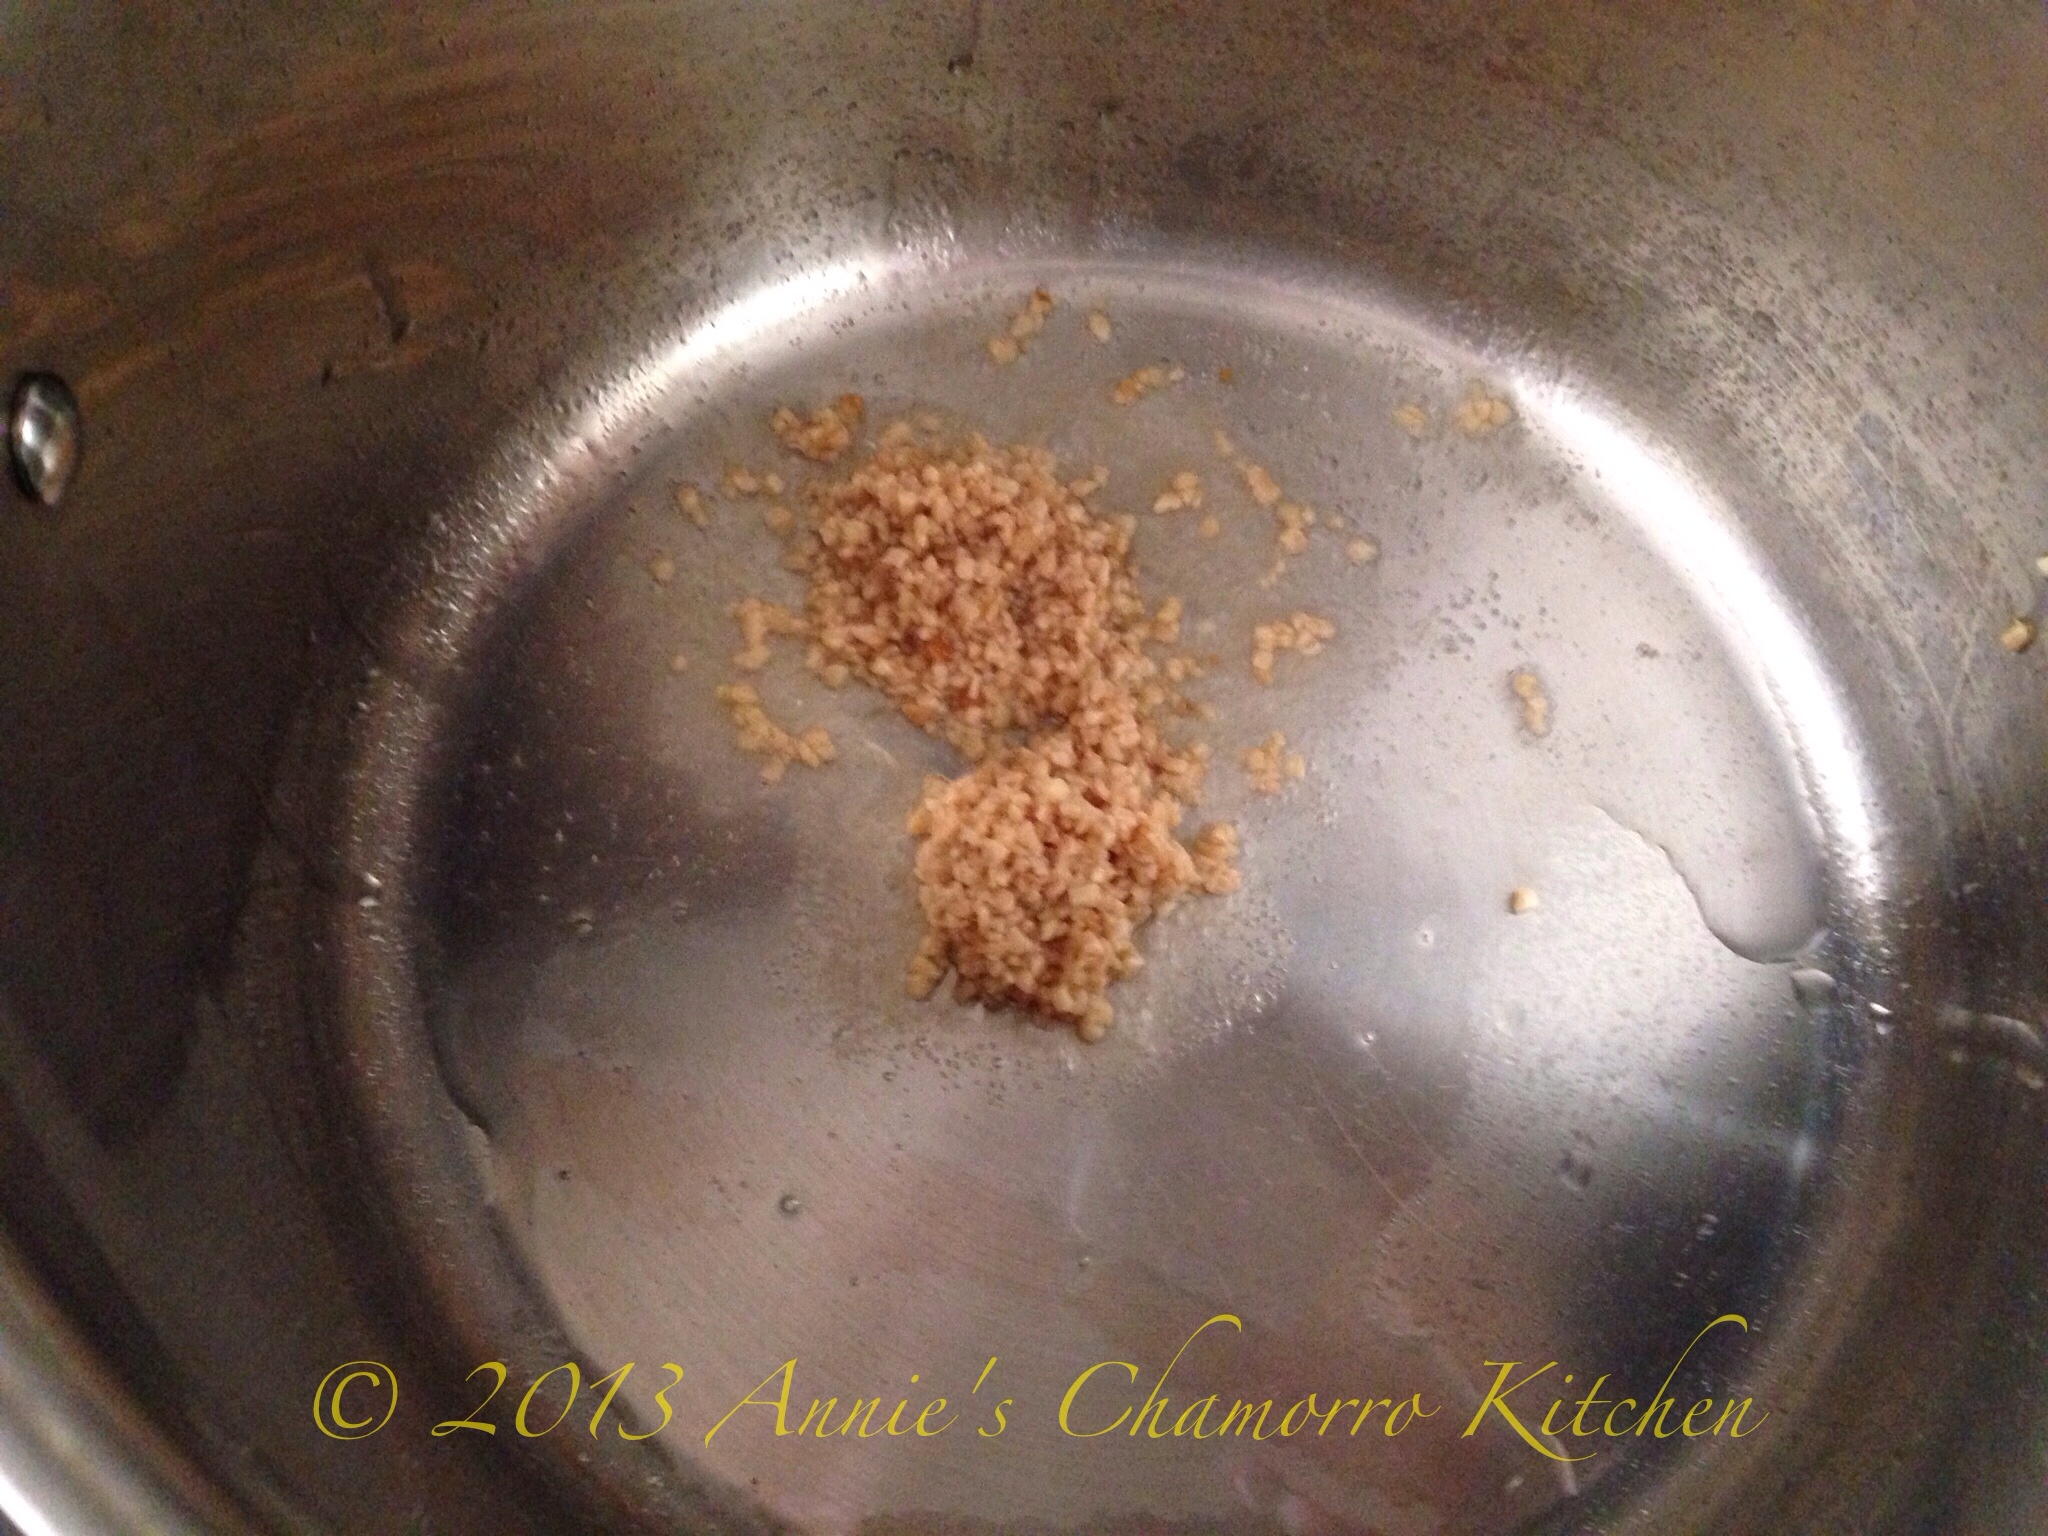
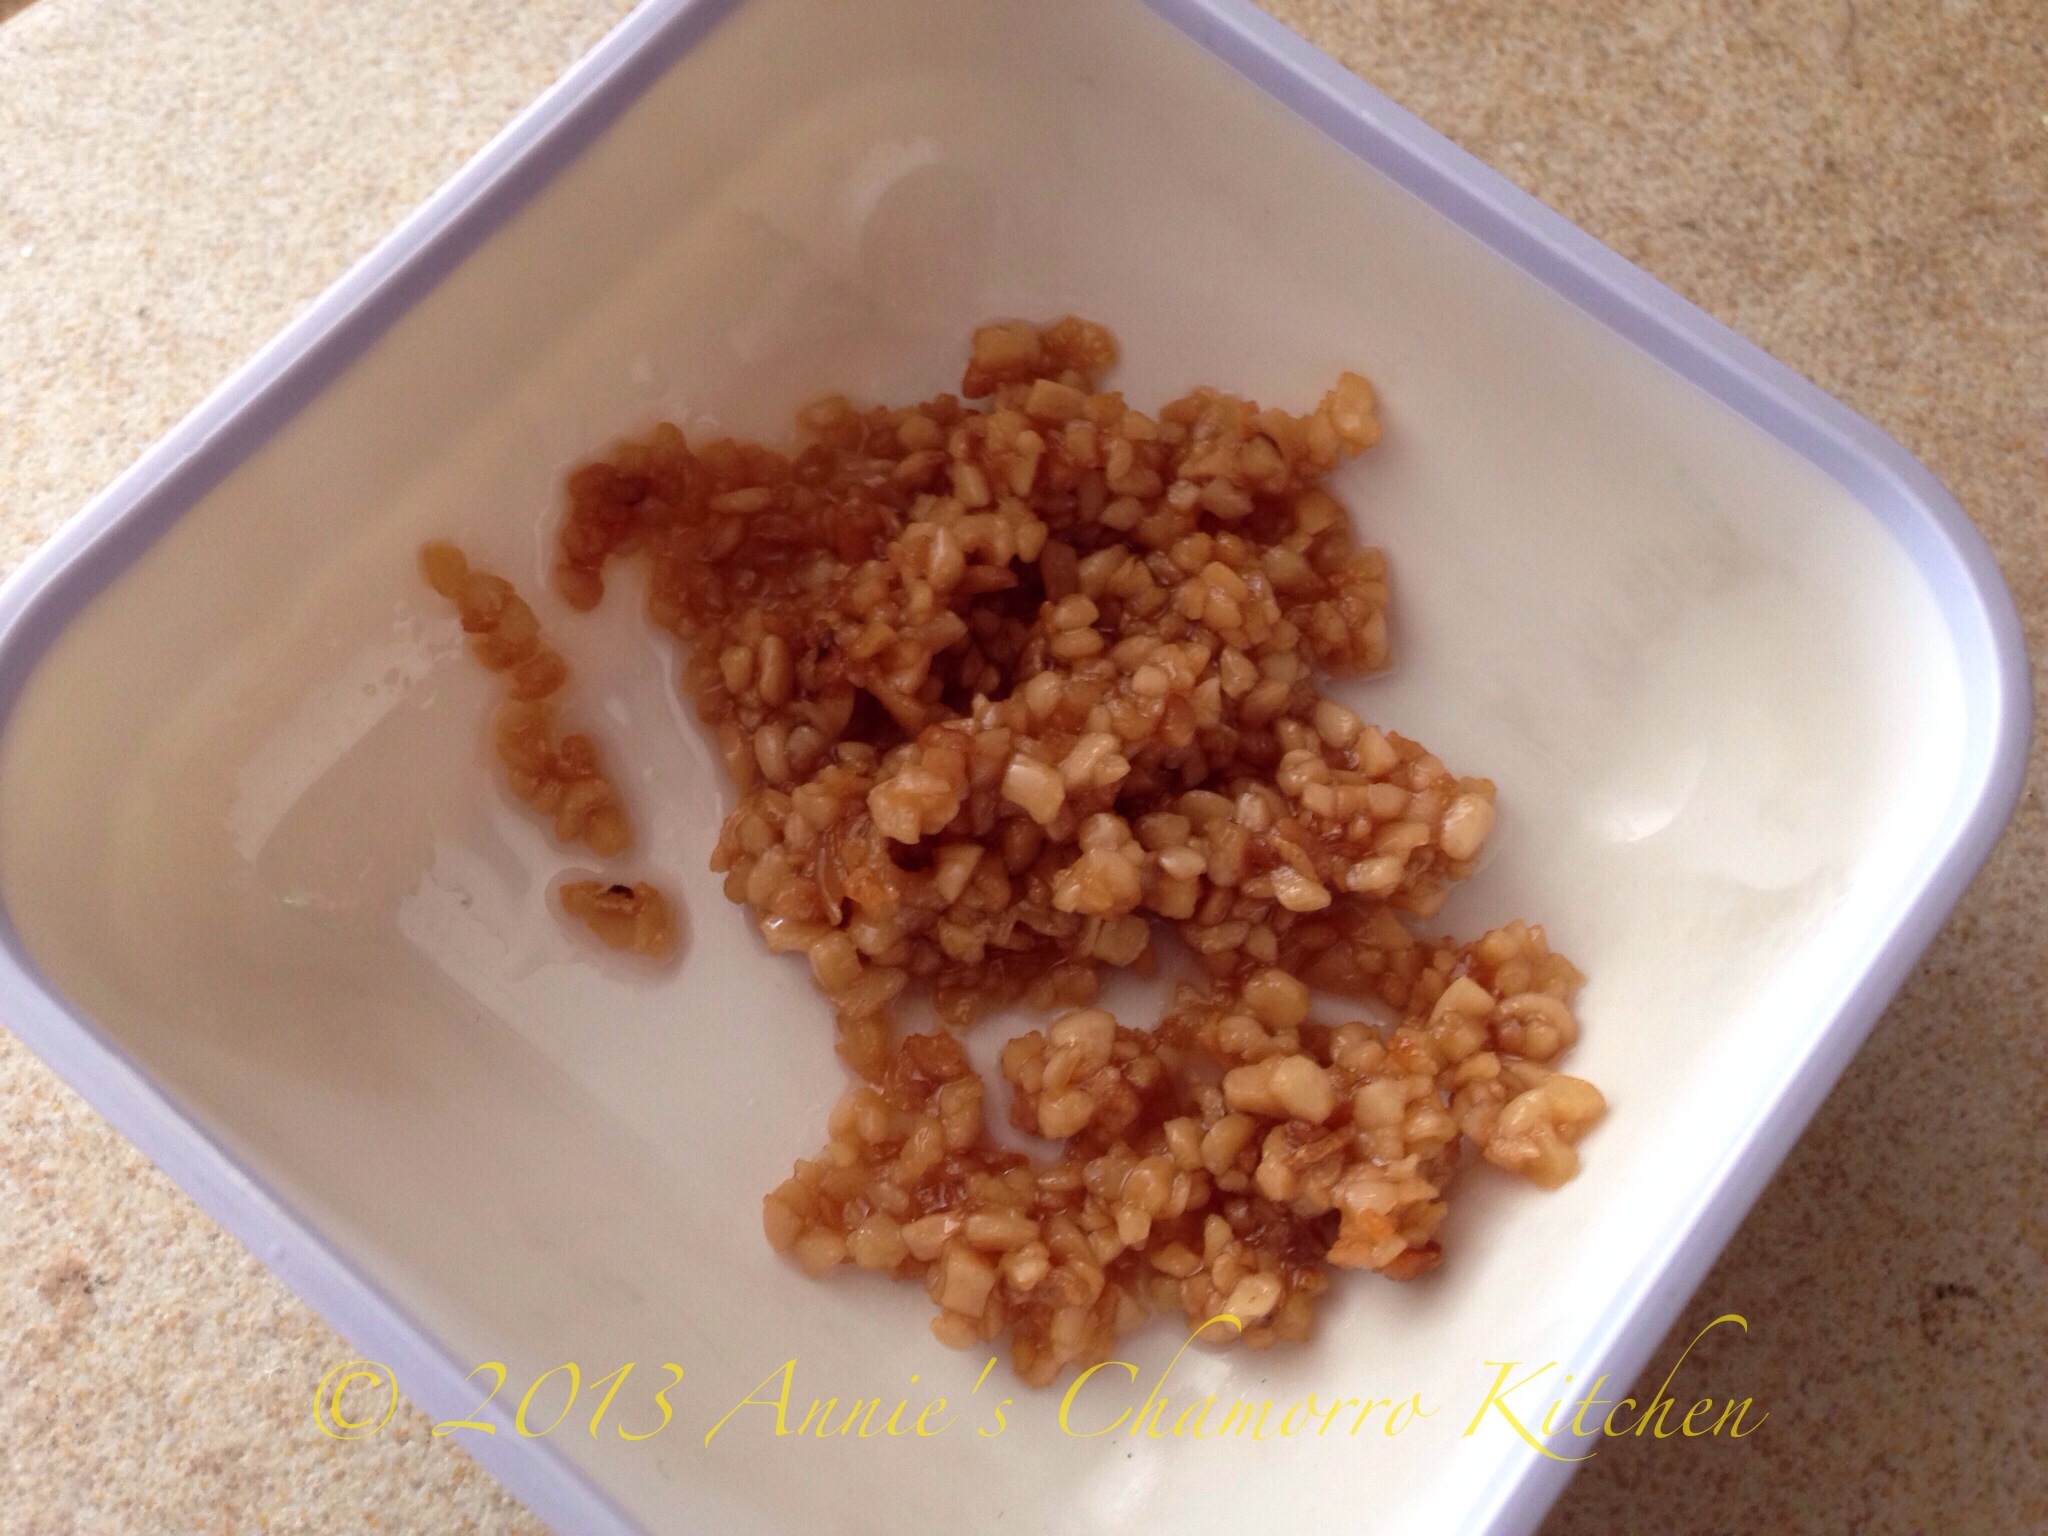
Place the oil in a large soup pot over medium heat. Once the oil is hot, add the garlic. Stir it around in the hot oil and fry until browned slightly. Place about 3/4 of the fried garlic in a small bowl and set aside.

Add the diced onions to the pot. Cook for a couple of minutes.

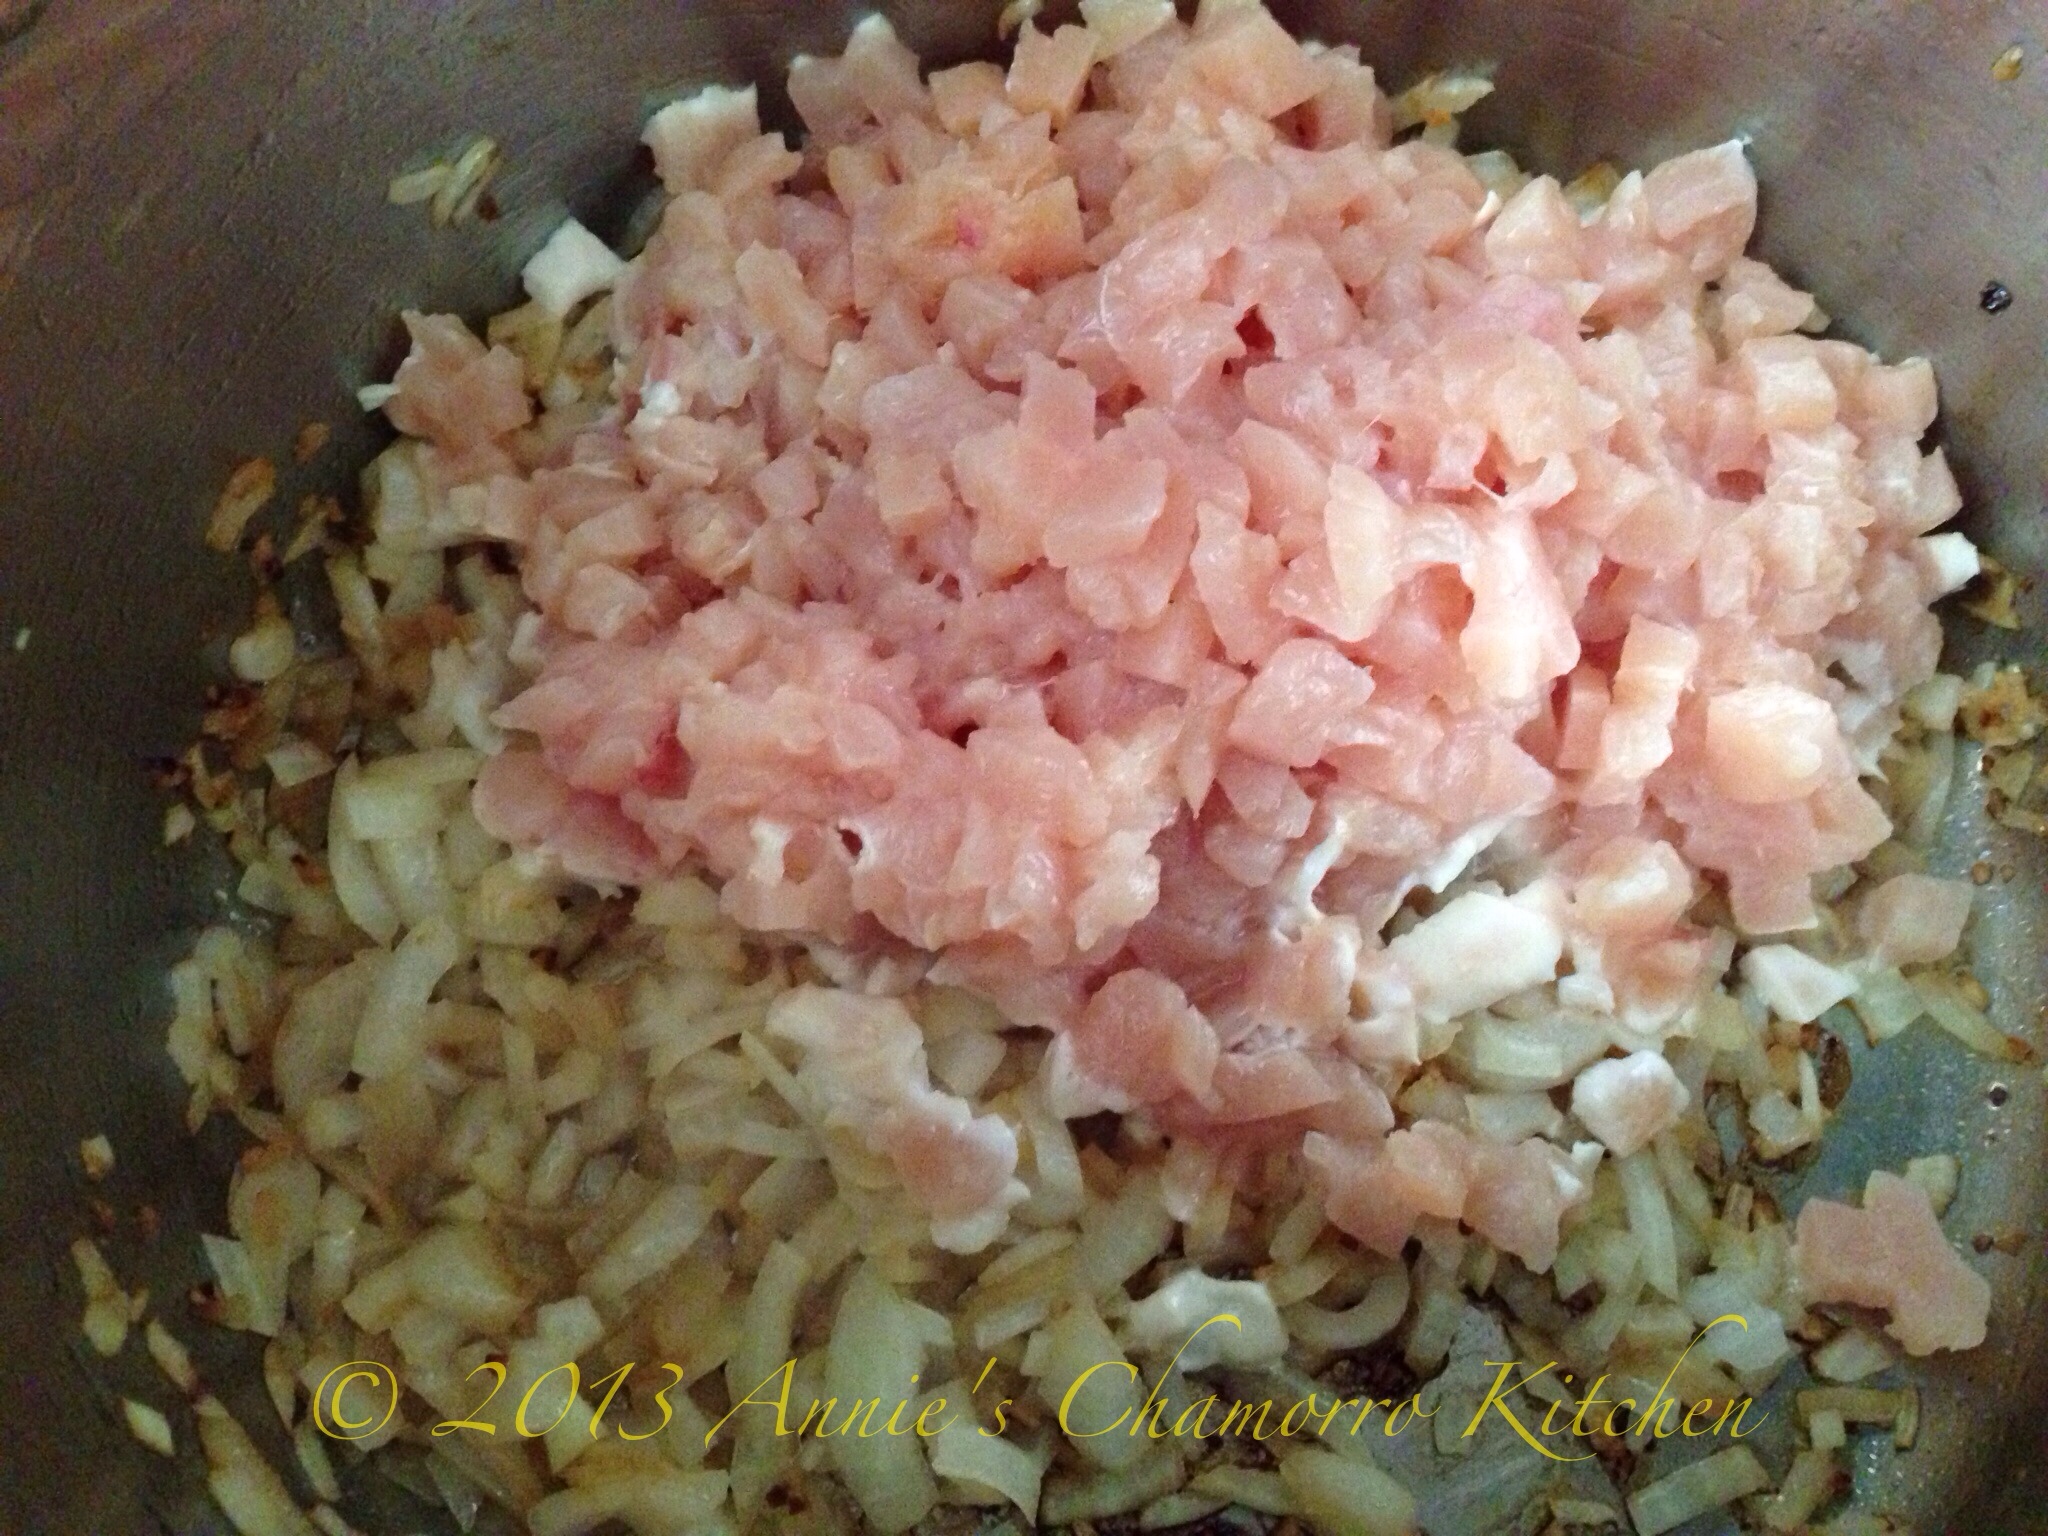
Add the chicken pieces to the pot. Stir to combine with the onions.

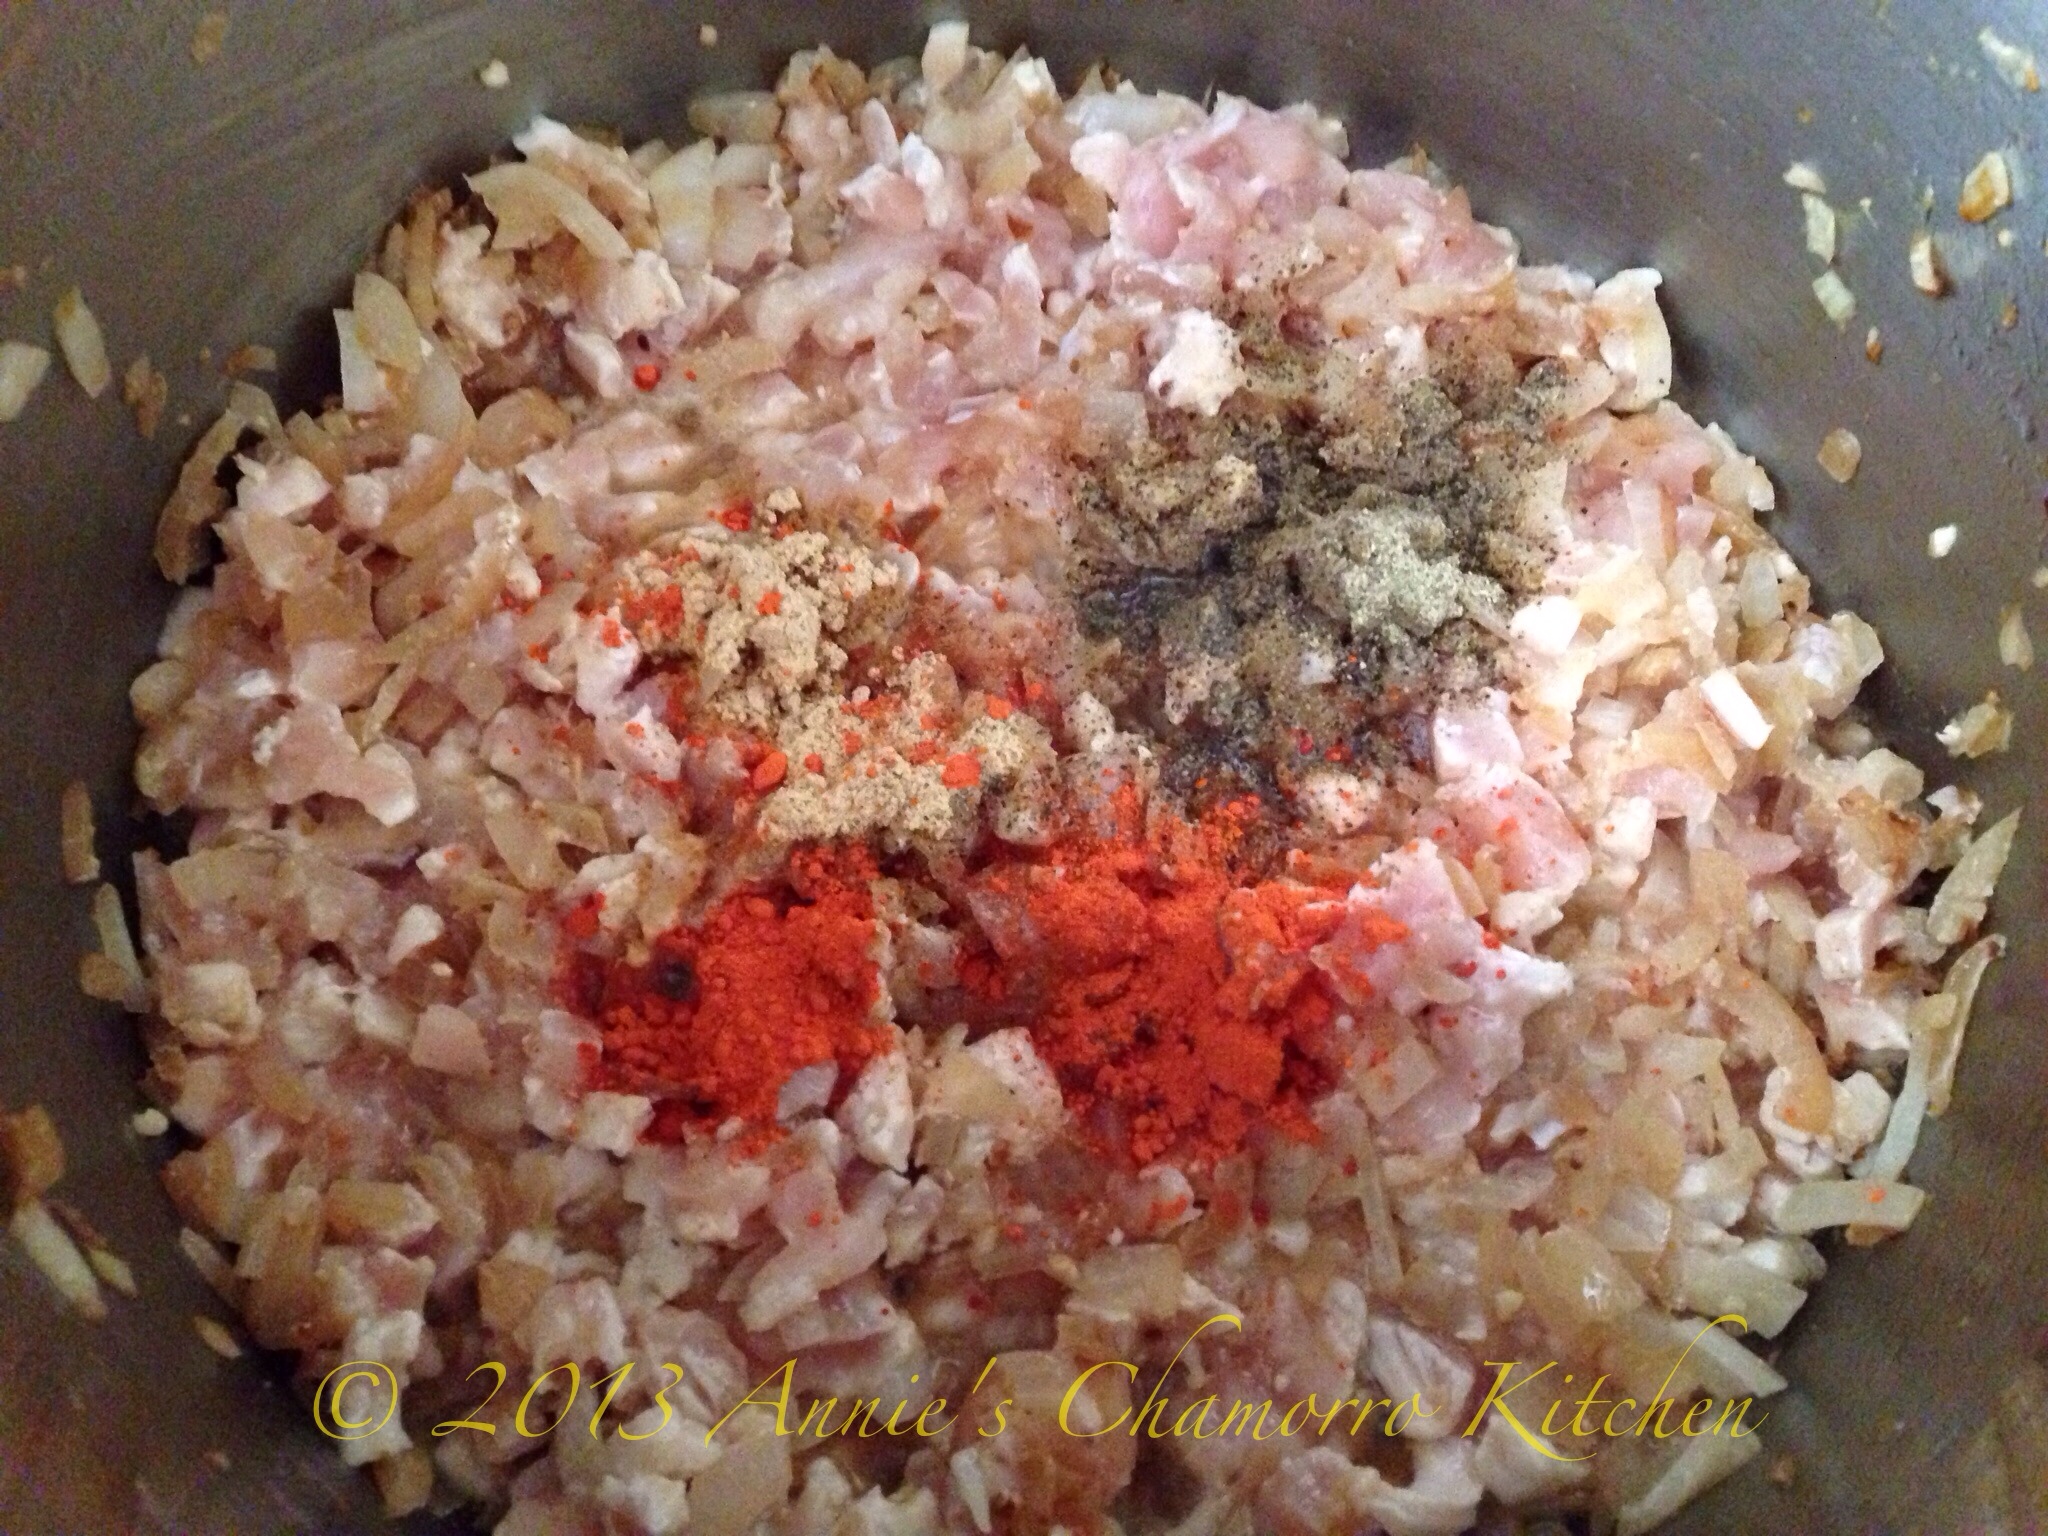
Add the fish sauce, achote powder, ginger, chicken bouillon, and black pepper to the pot.

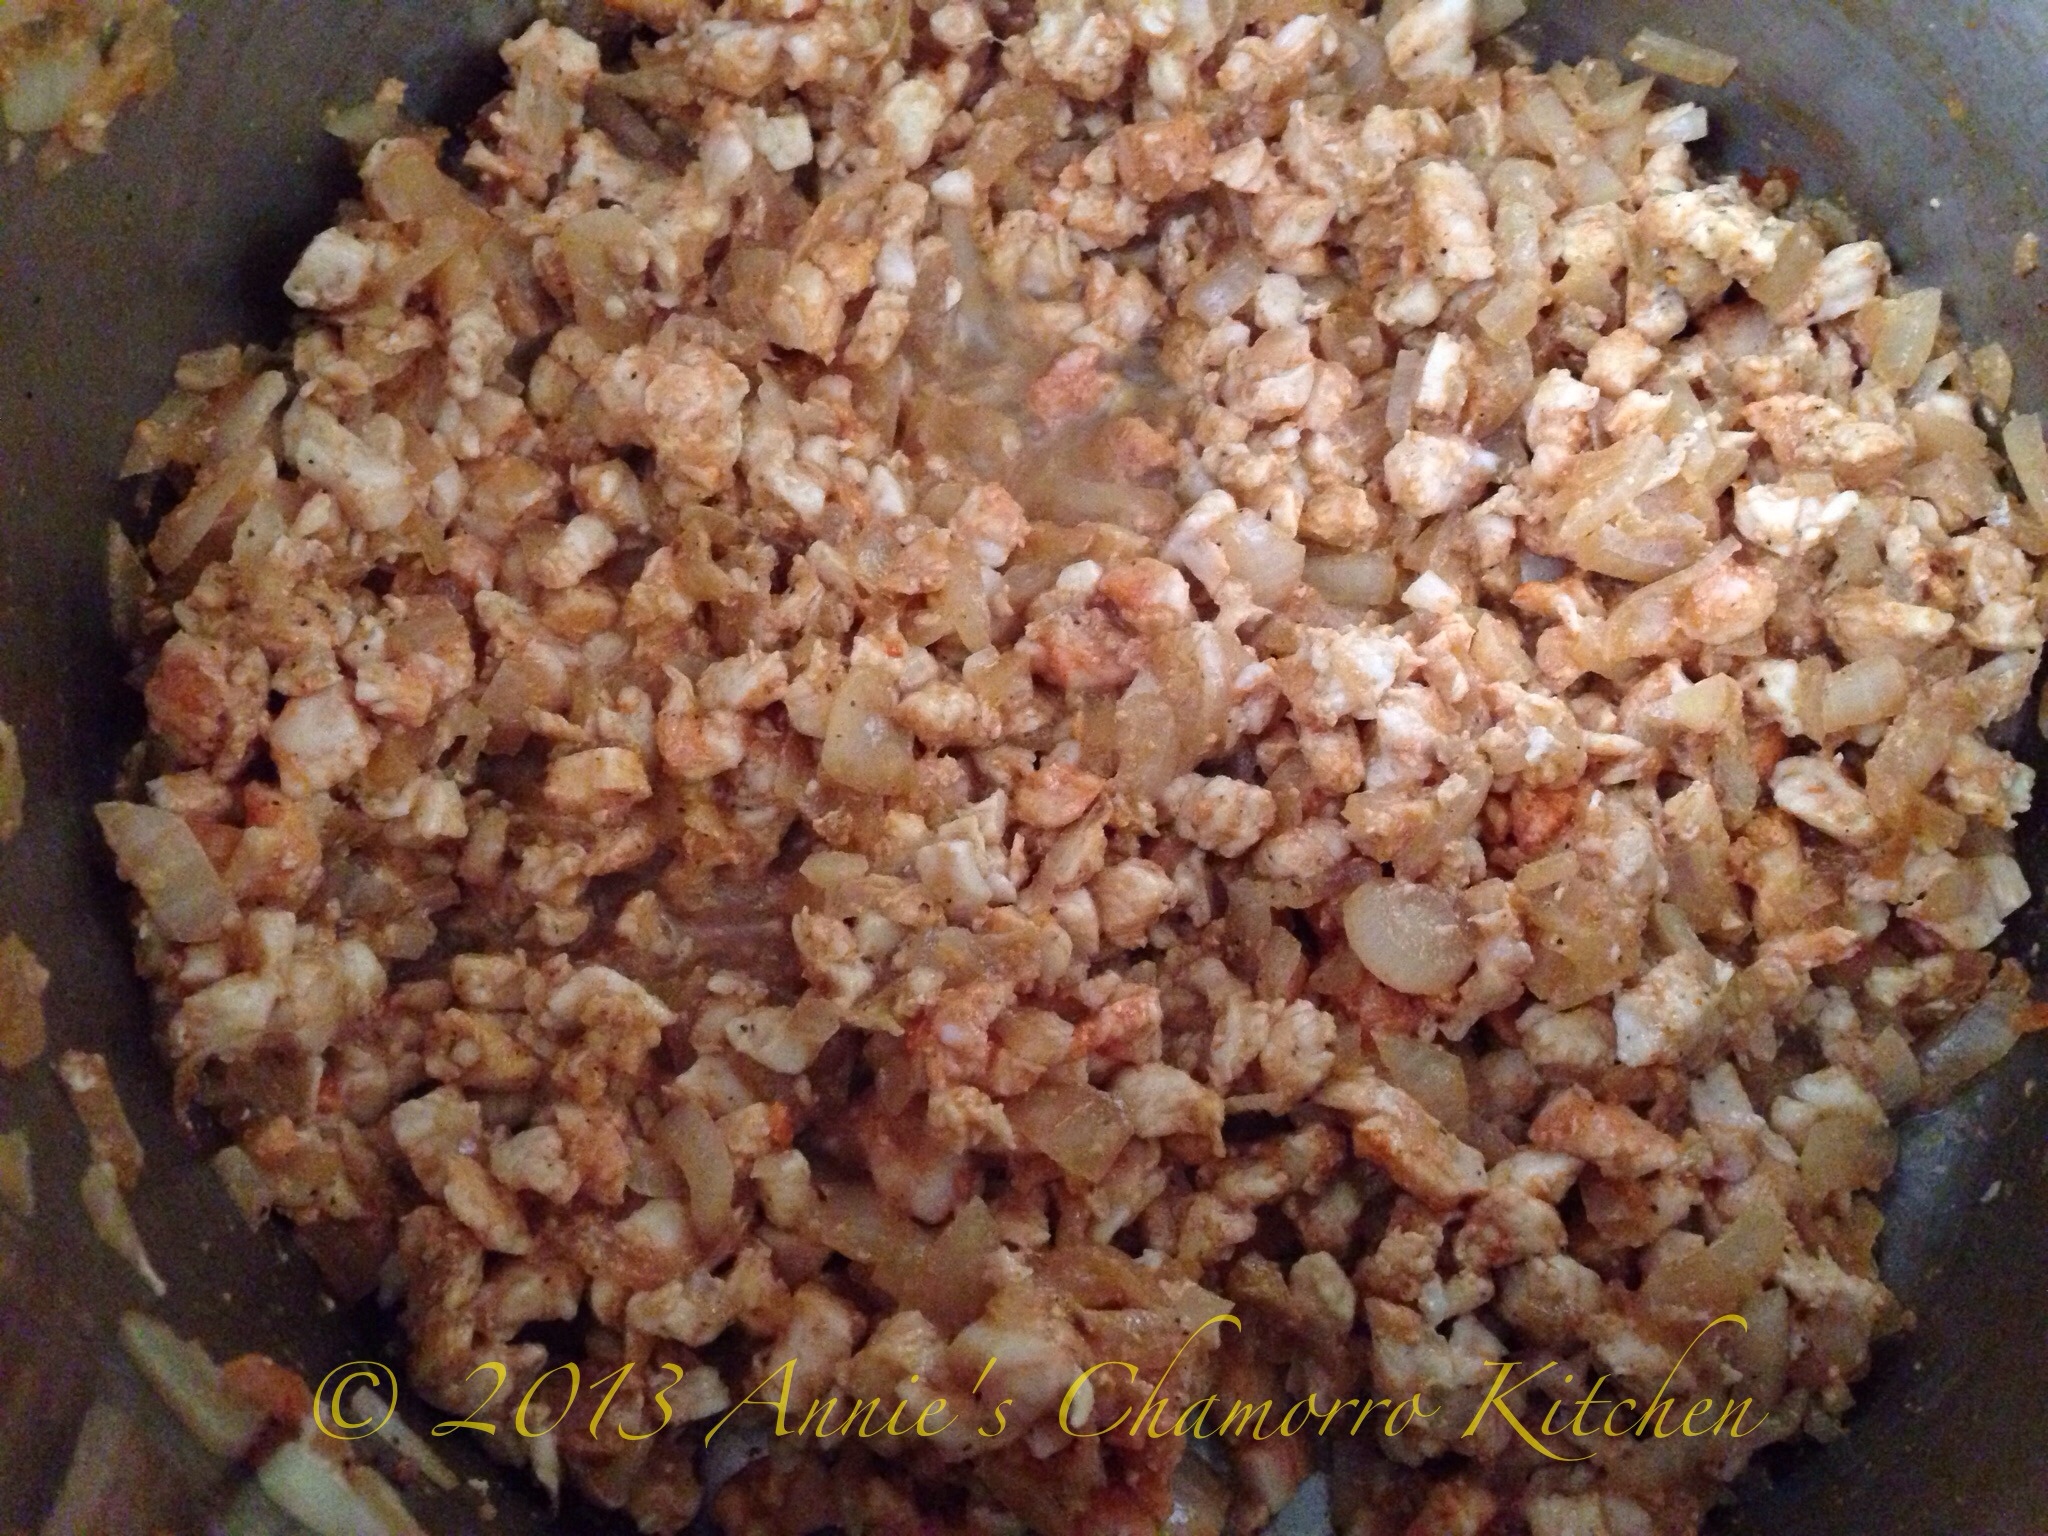
Stir to combine the ingredients. Cook for a couple of minutes, just long enough for the chicken to be cooked through and is no longer pink.

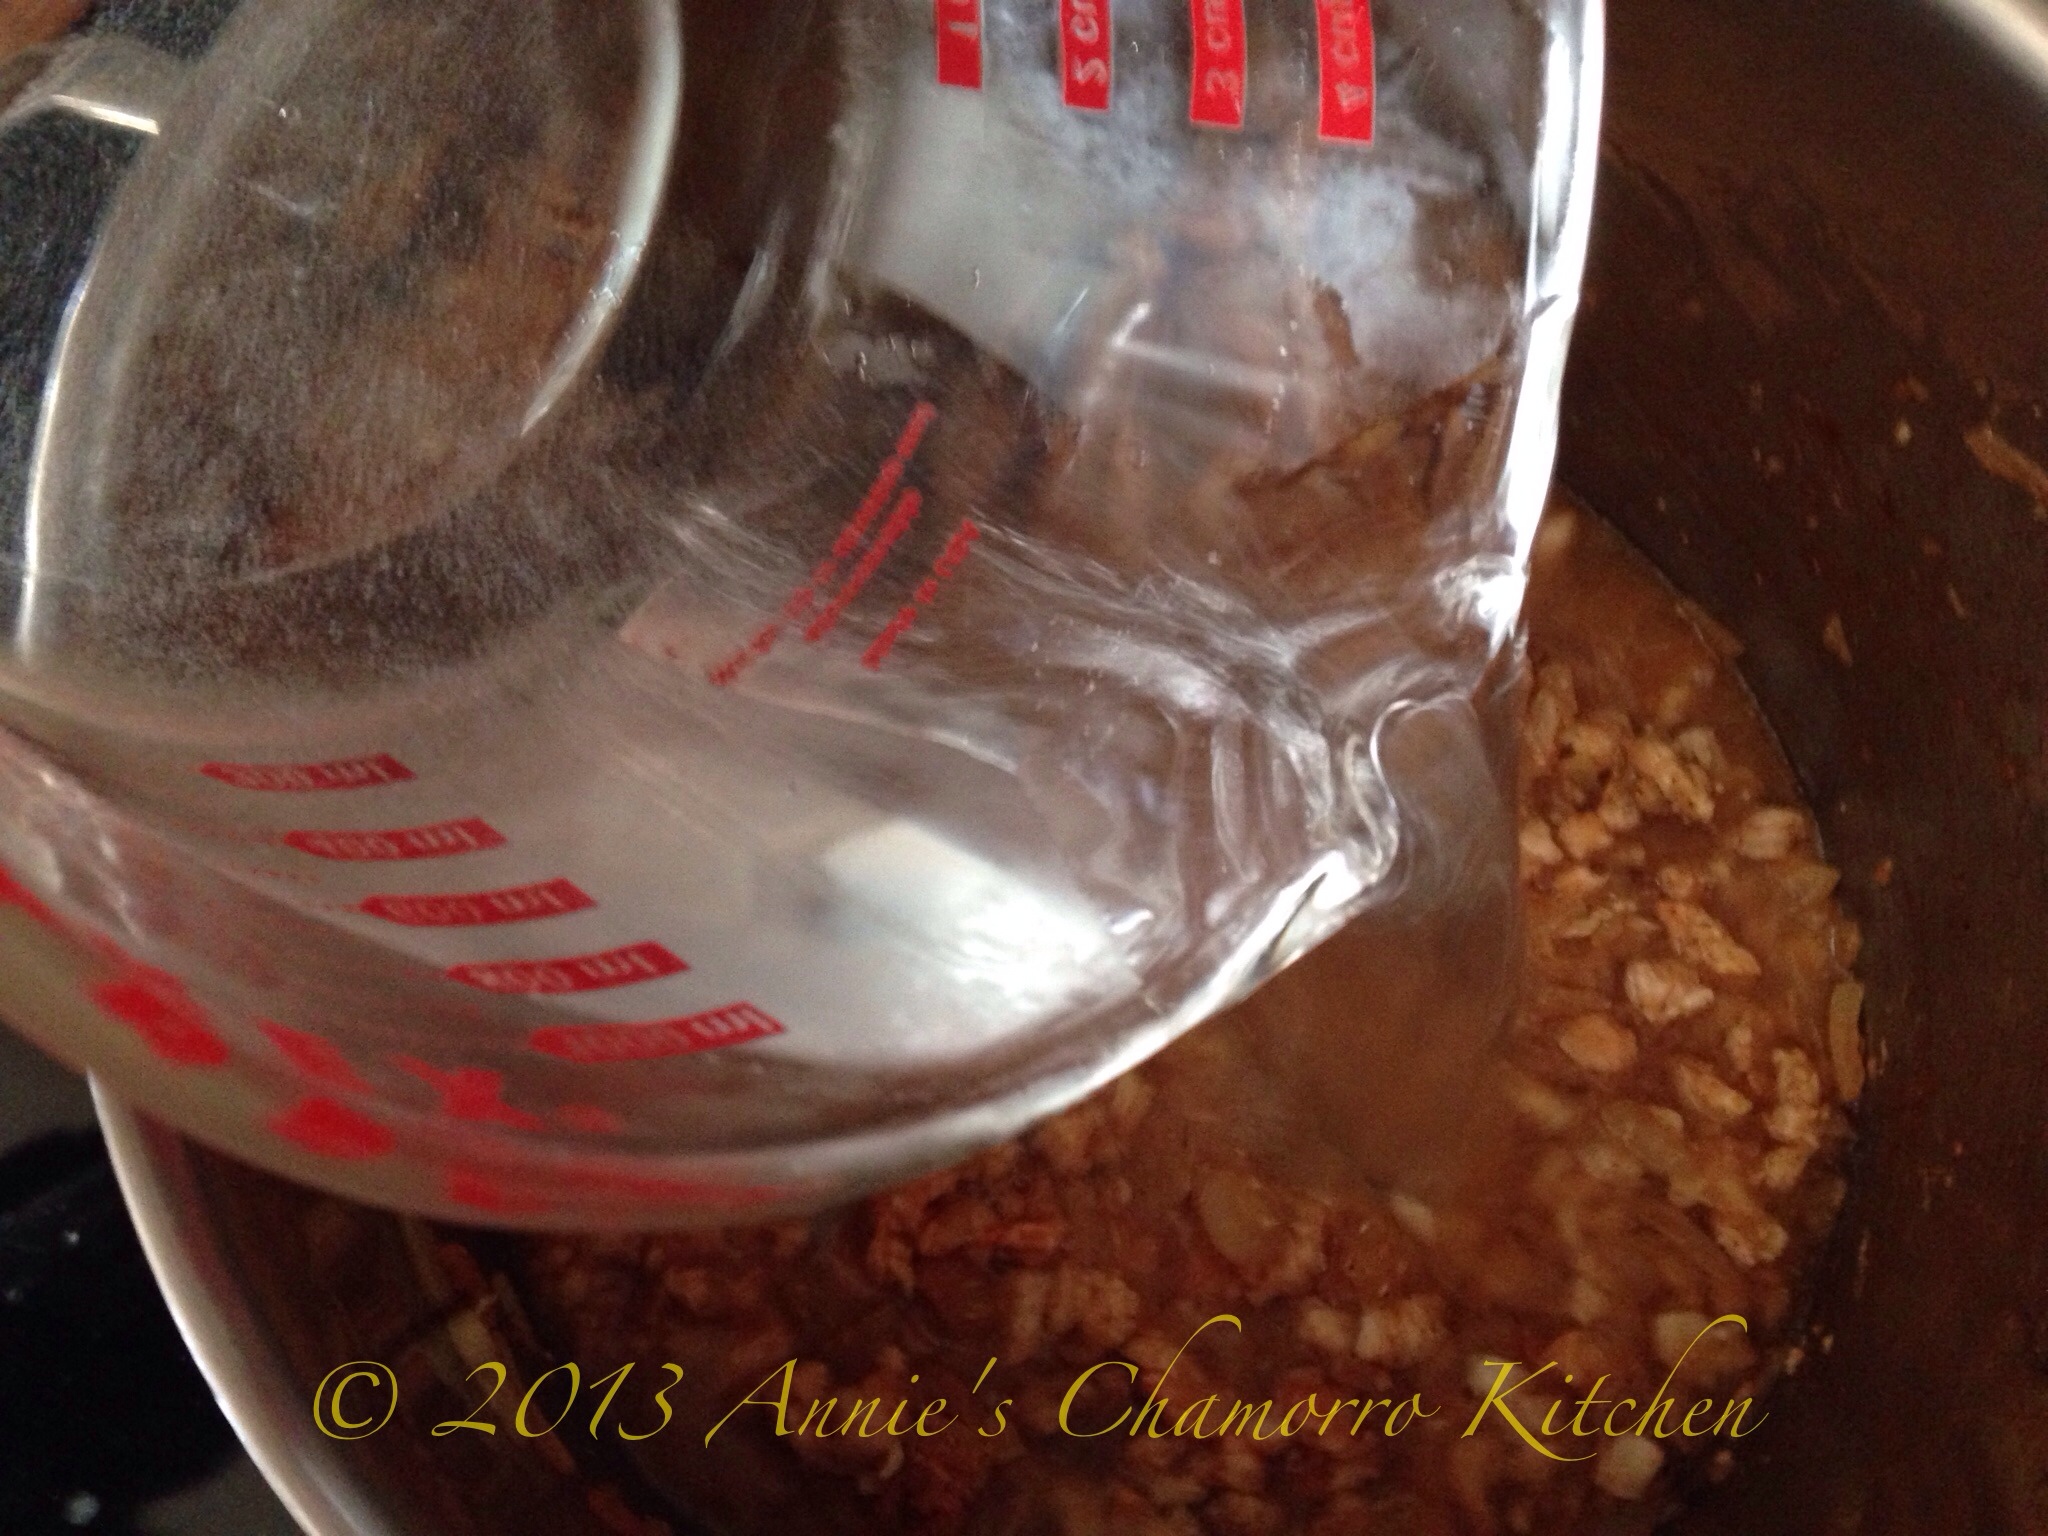
Pour the water into the pot. Turn the heat up to medium high.

Add the rice, stir, then cover the pot.

The easy part is done. Now for the hard part — waiting for the rice to cook. You want to cook the Arroz Caldo for about 45 minutes–this is so the rice can begin to break down and really thicken the soup.

In the meantime, you can be boiling the eggs if you haven’t already done so.

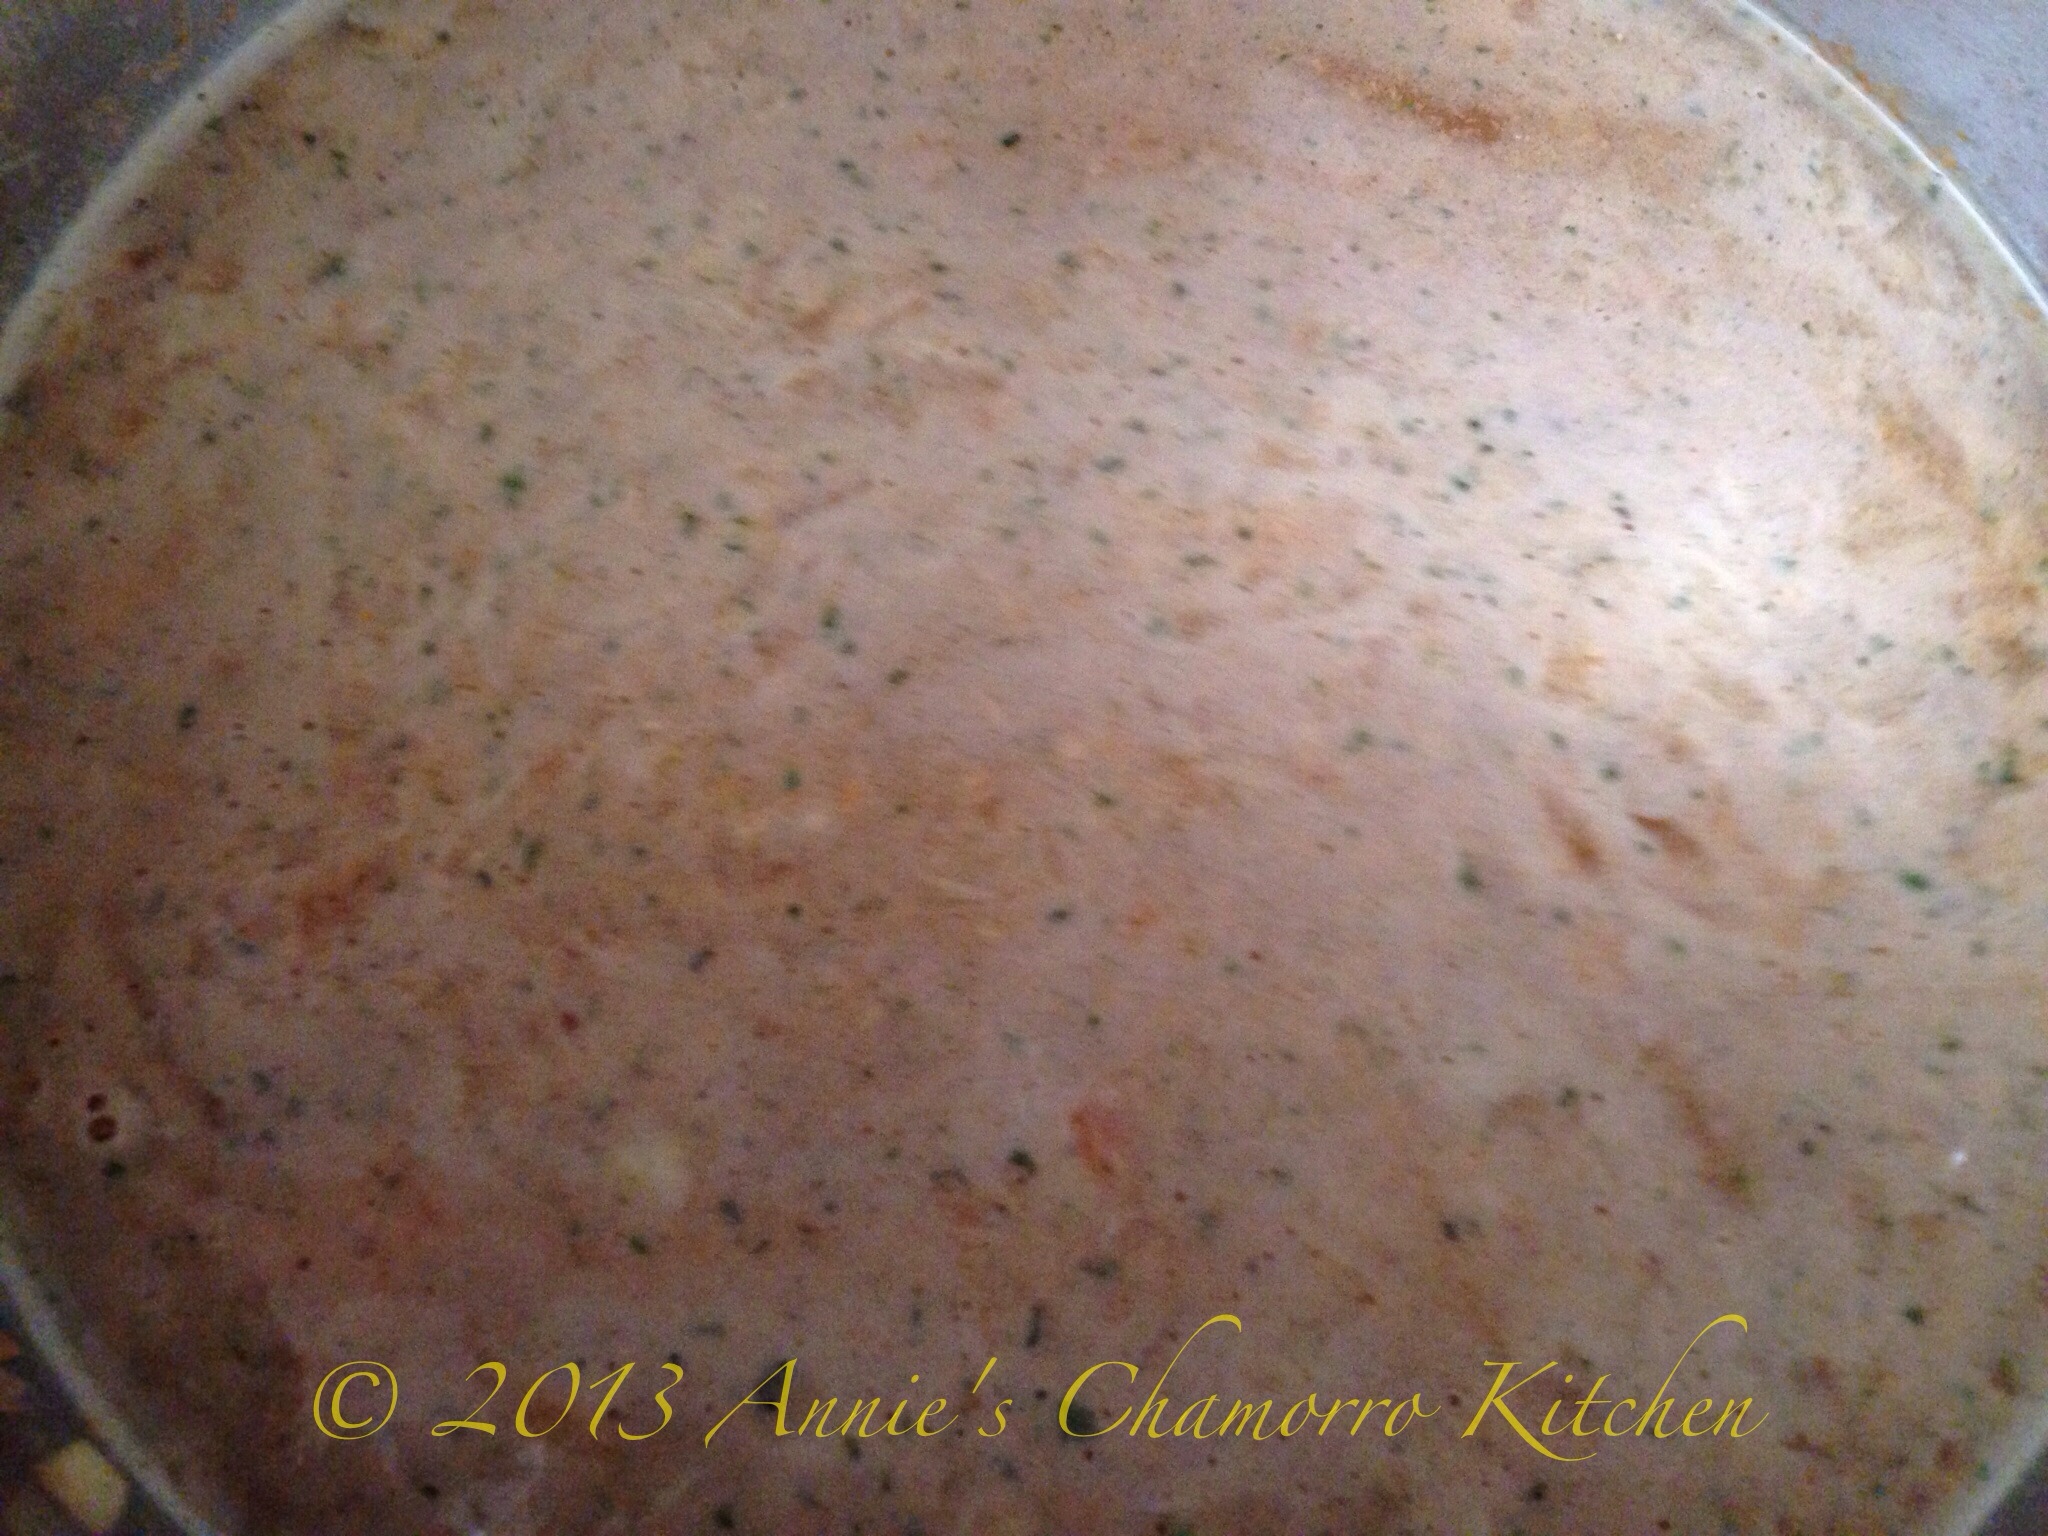
This is what the rice looks like after only 10 minutes of cooking. Give the mixture a stir, put the cover back on, and wait patiently. Trust me, it’s worth the wait. 🙂

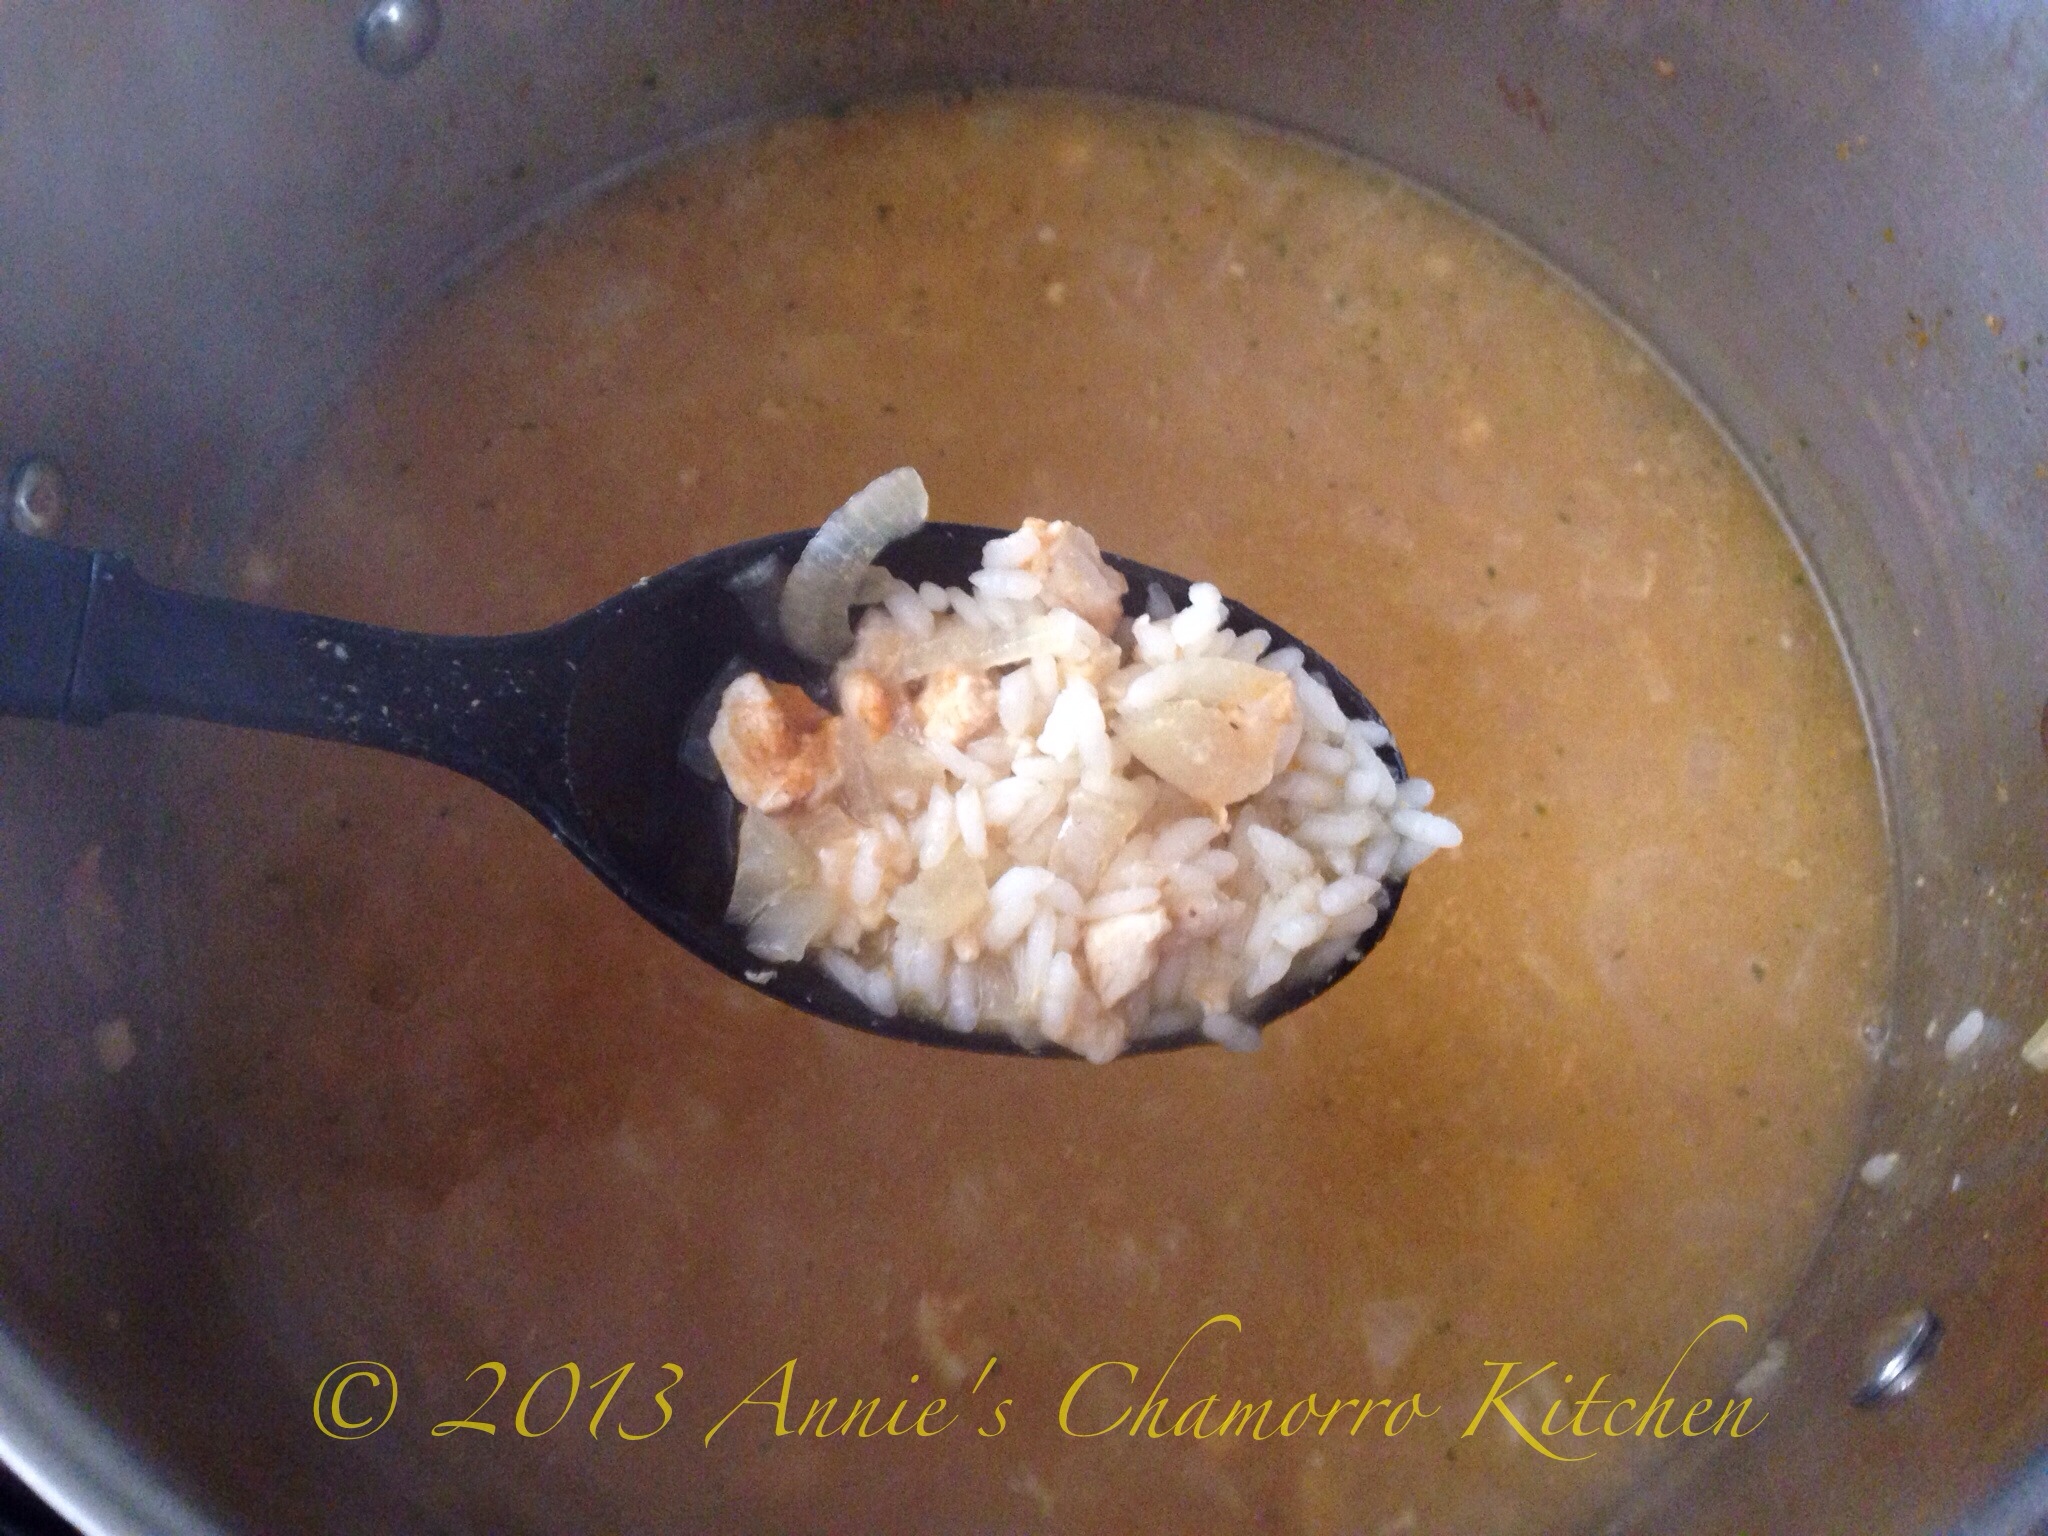
This is what the rice and broth looks like after 20 minutes. The rice is done at this point, but you want to cook it longer so that the soup gets nice and thick. Notice that the broth is starting to thicken up a bit.  Give the soup a stir, then place the cover back on the pot. Turn the heat down to medium.

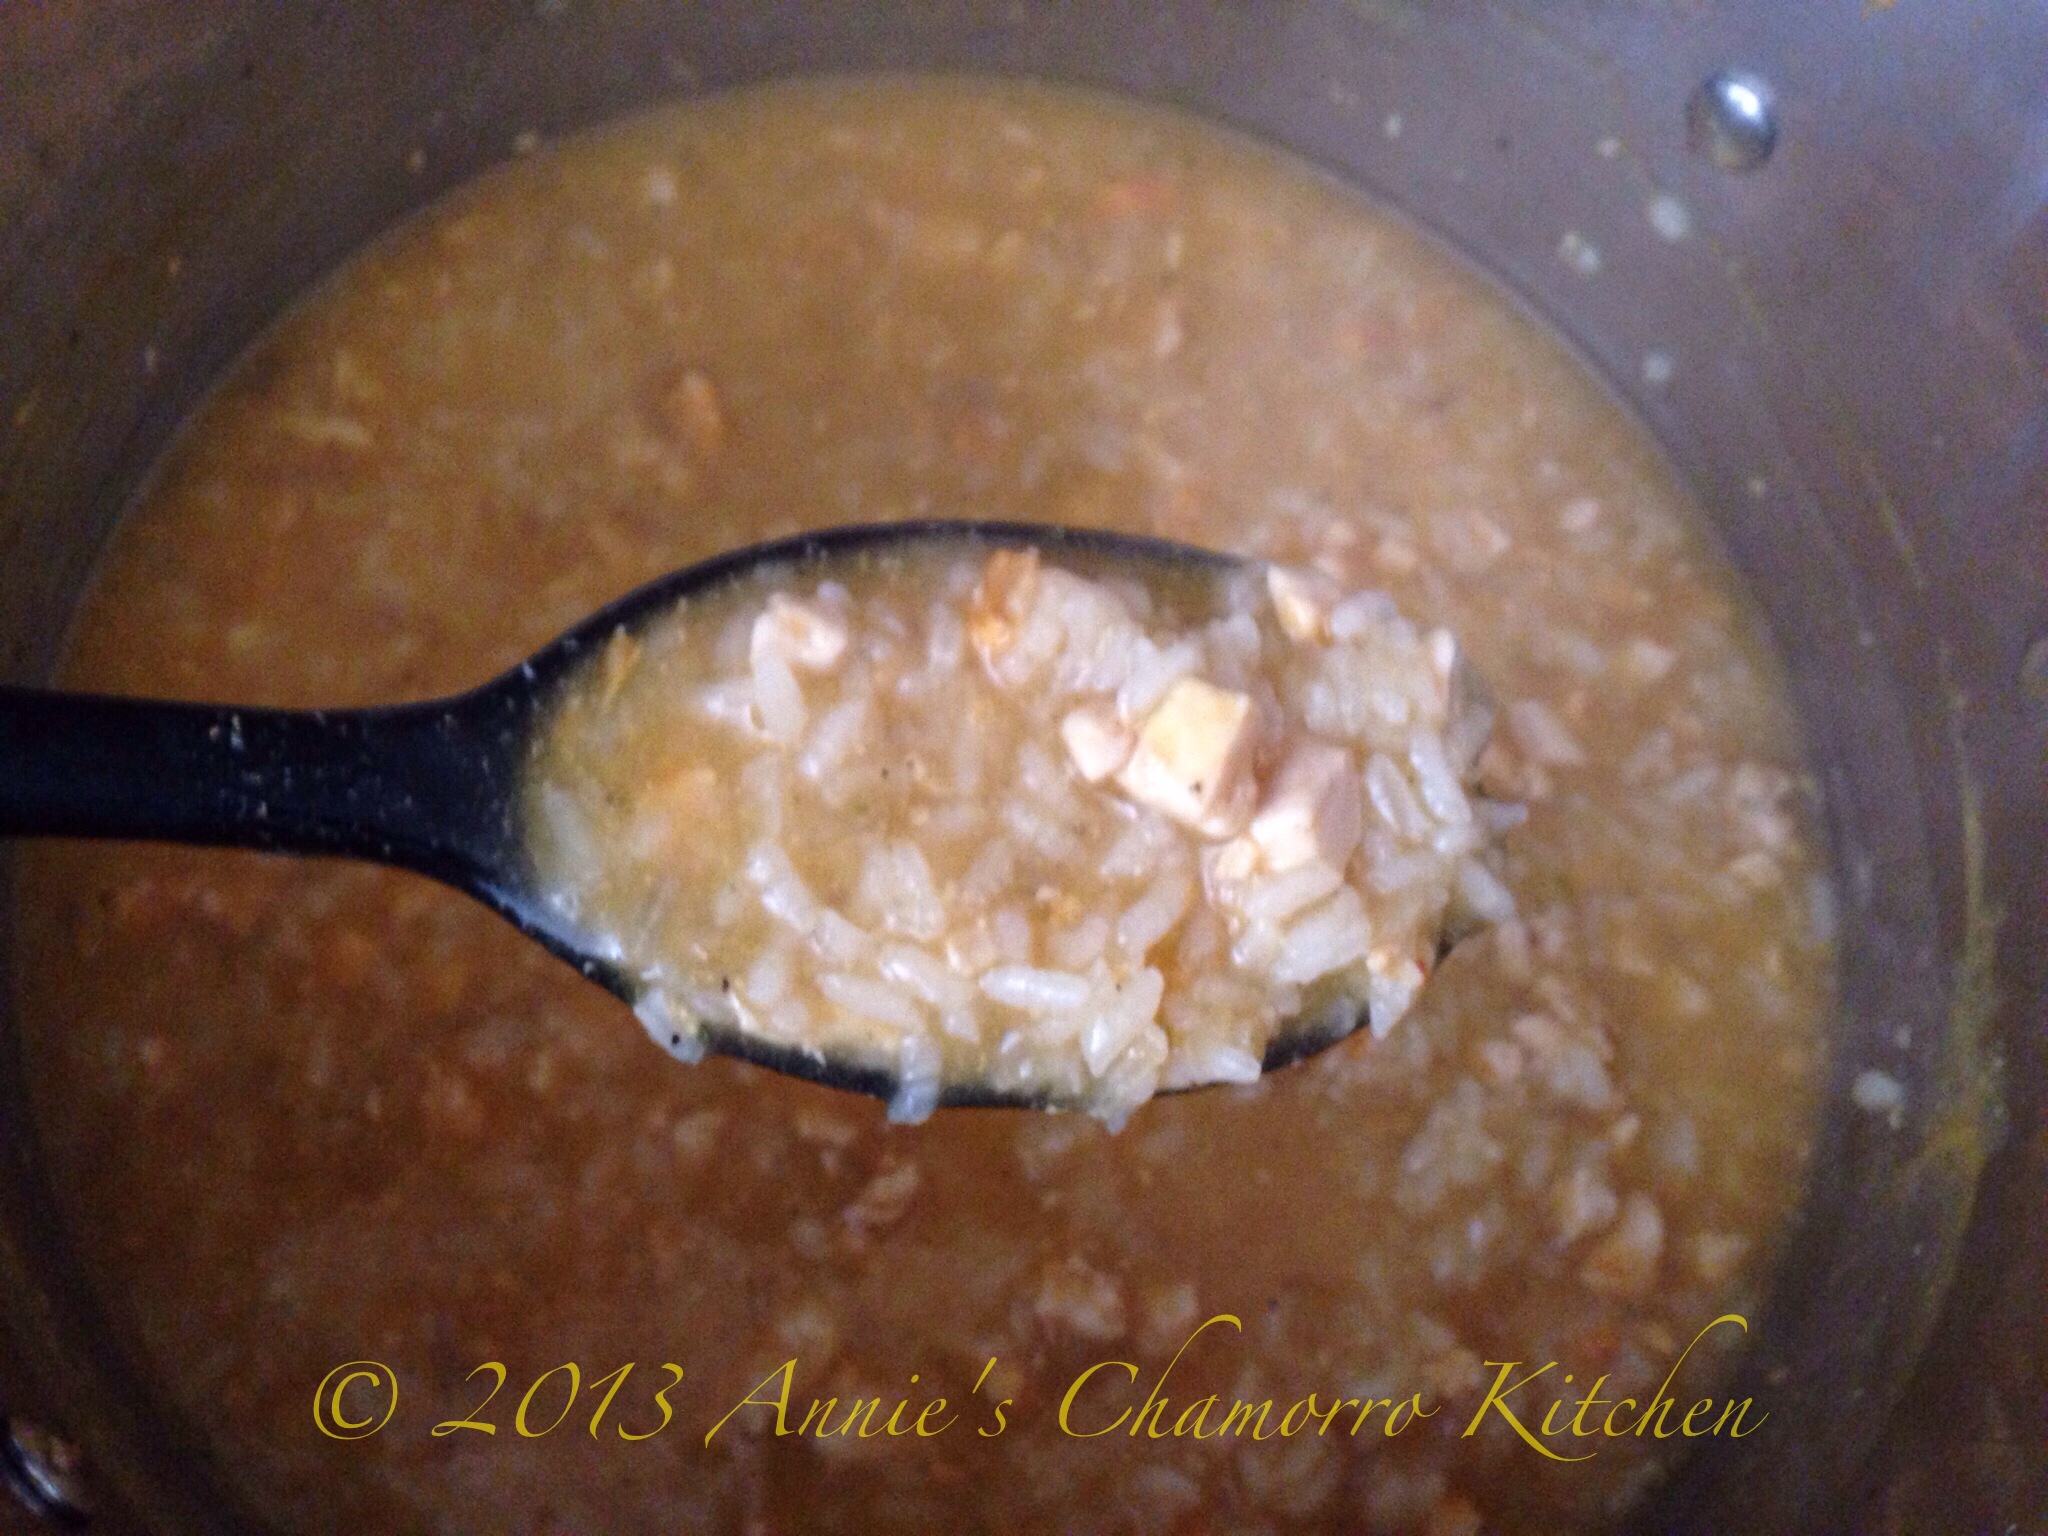
After 30 minutes, we’re almost there, but we still need to cook the soup for about 10-15 more minutes.

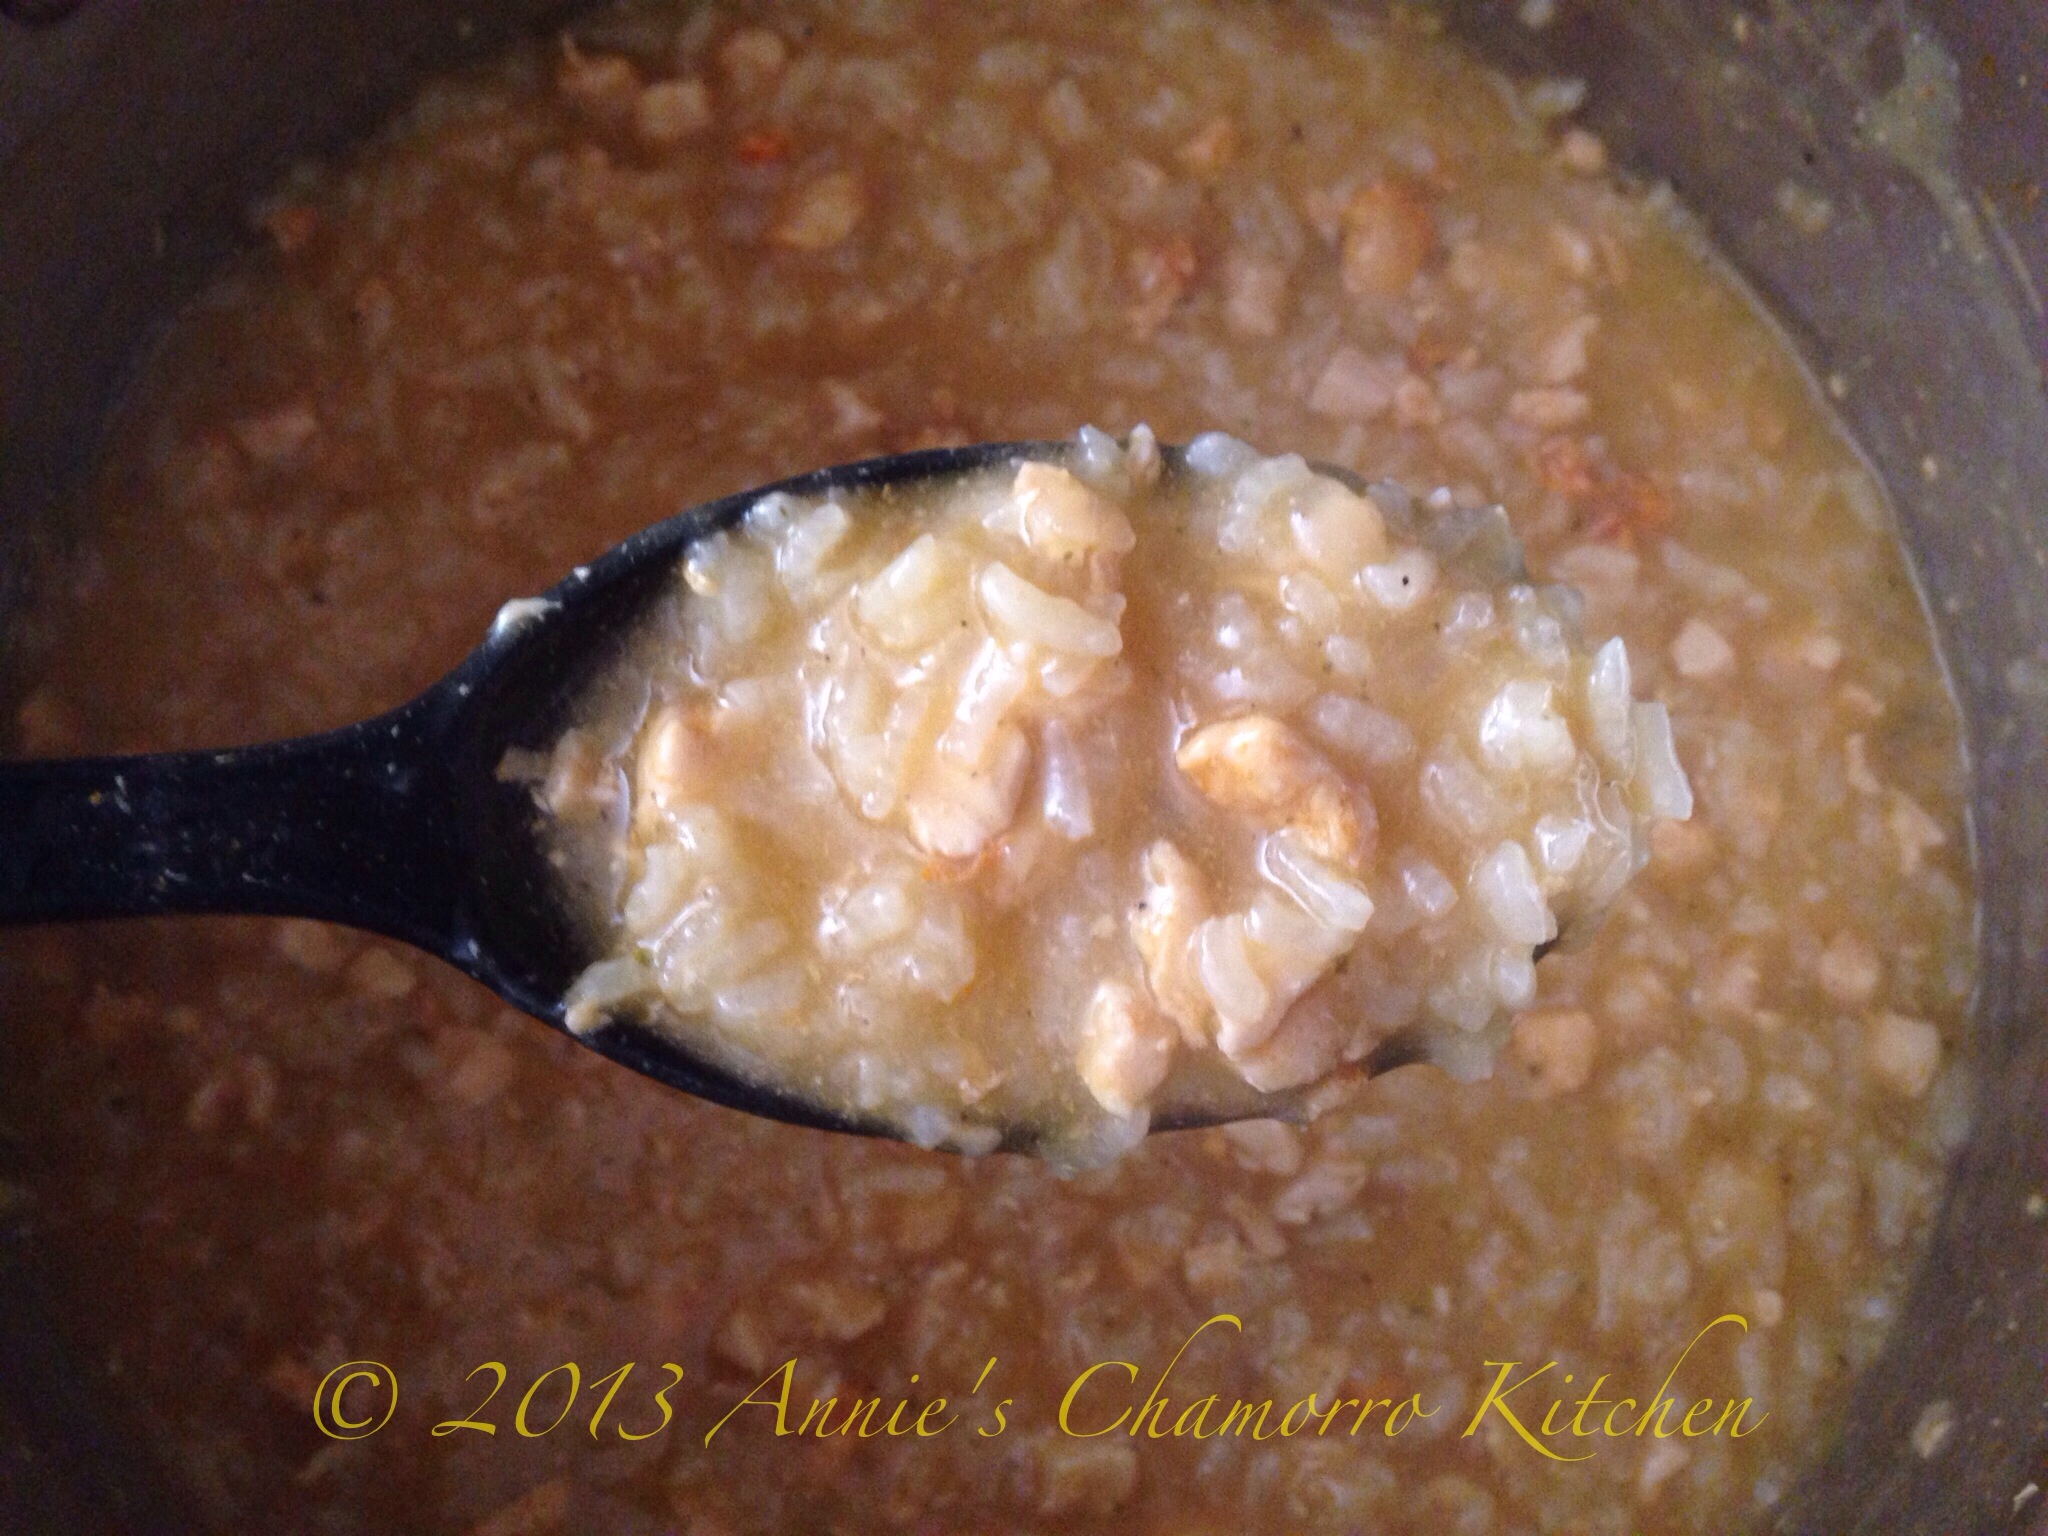
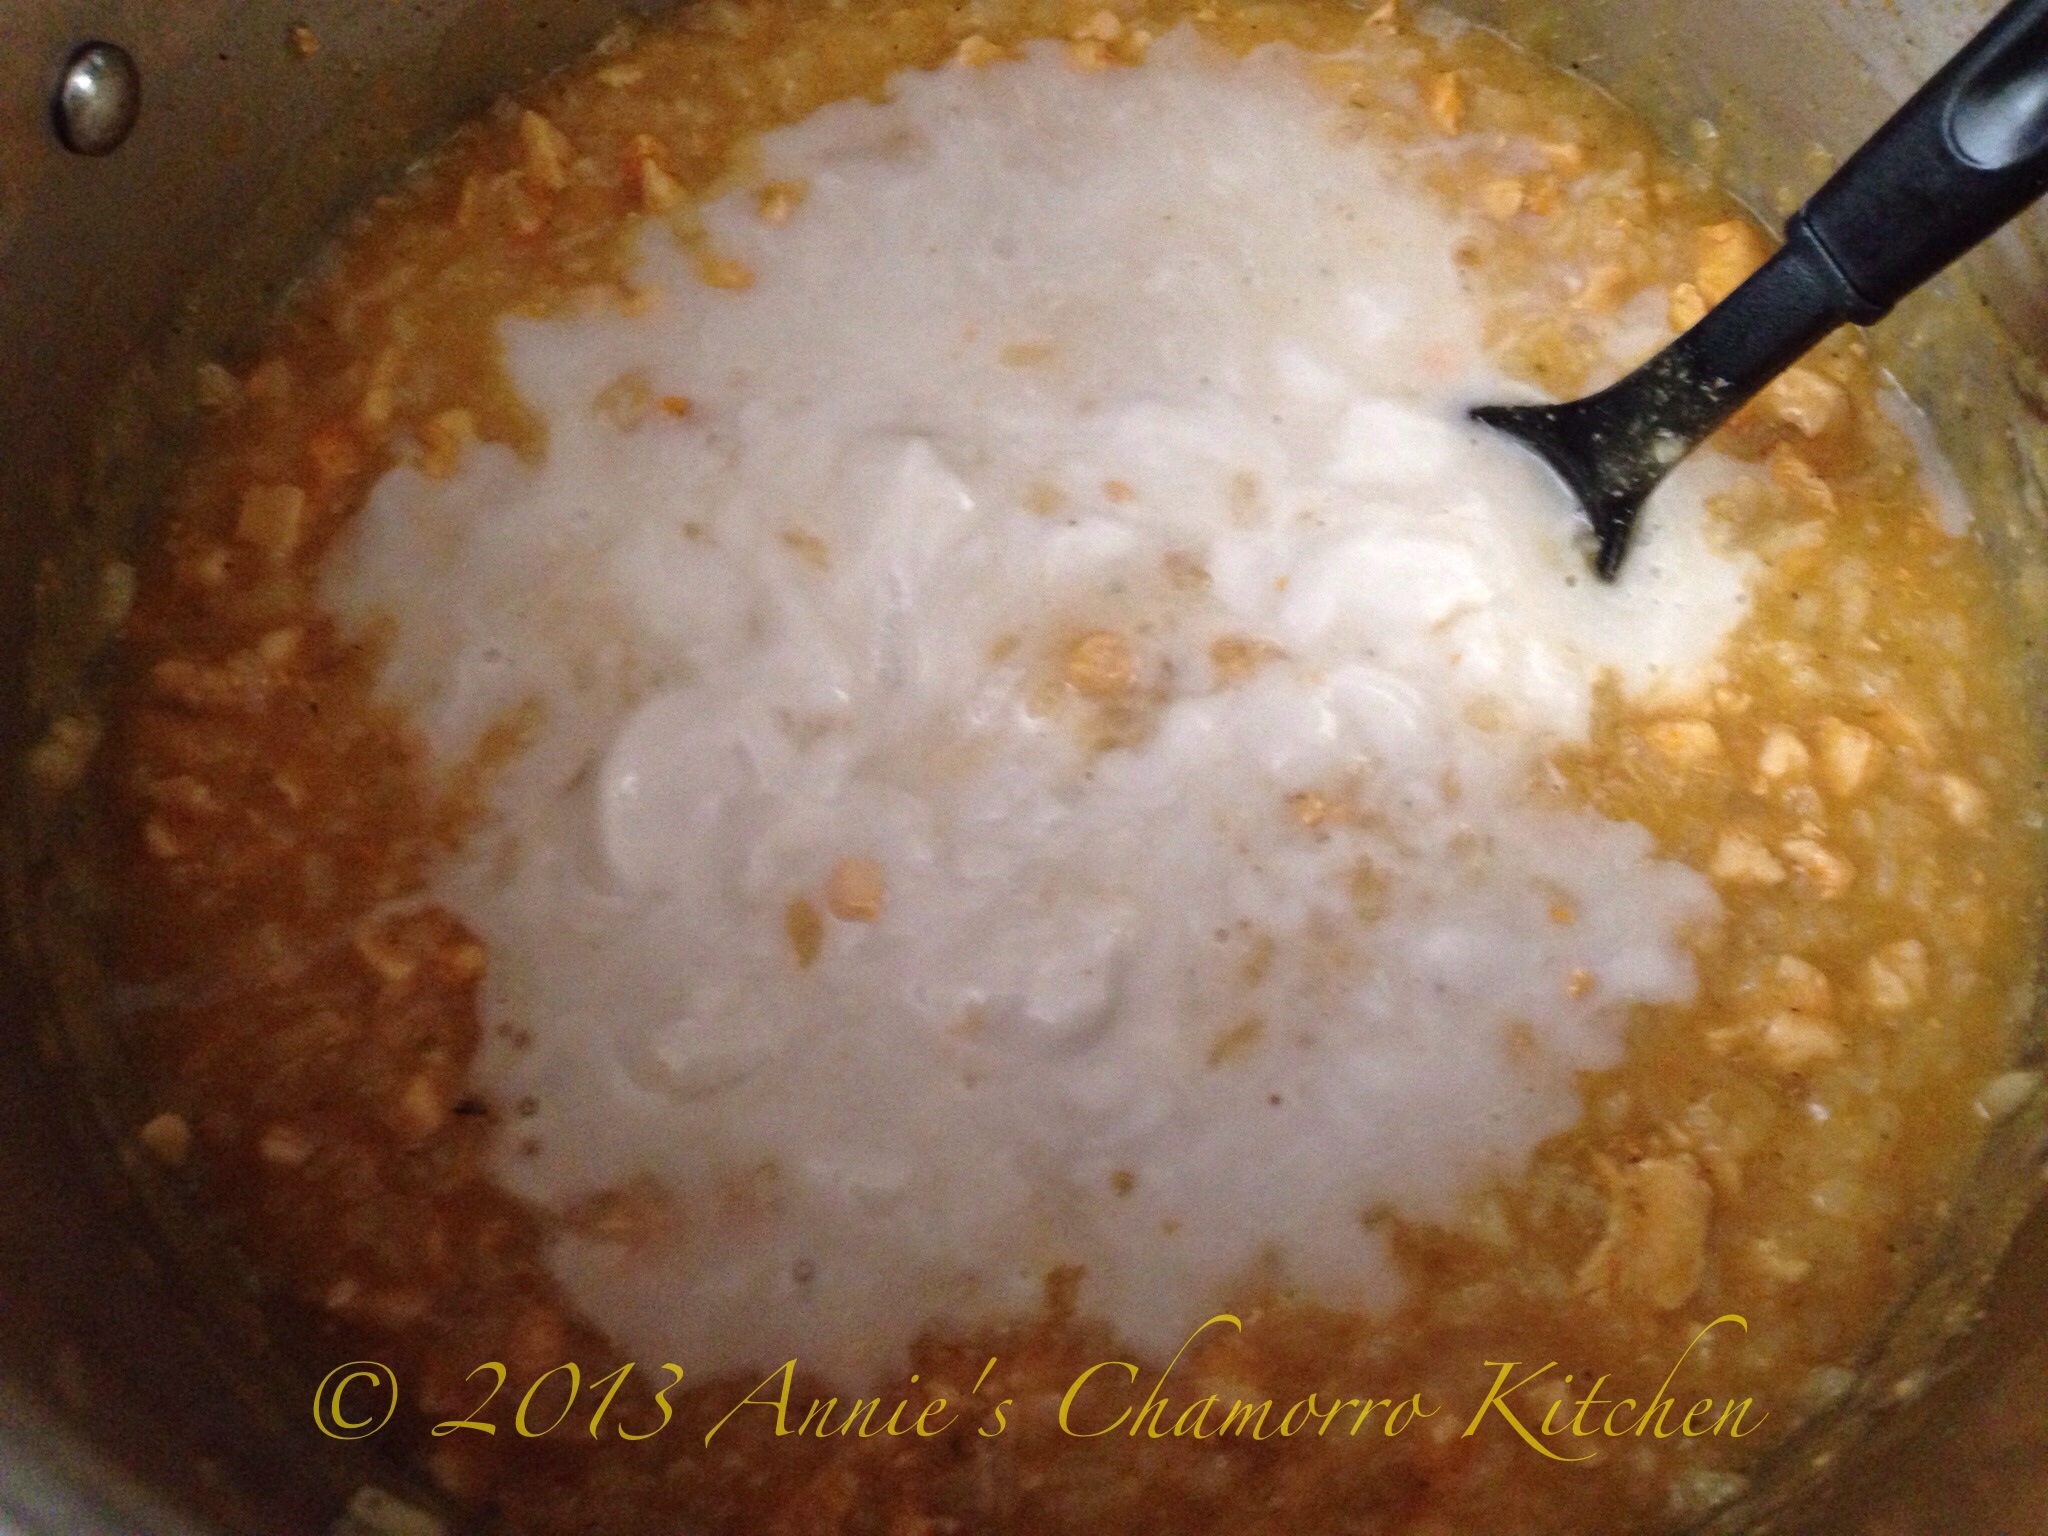
After 10-15 more minutes, the rice is cooked just how it should be and the soup is nice and thick — now it’s time to finish up the soup. Turn the heat down to low. Add the coconut milk to the pot.

Stir to mix the coconut milk into the soup. Cook only long enough to heat up the coconut milk — do not boil the soup. Remove from the heat.

It’s time to dish up some goodness! Pour some soup into a bowl. Garnish with green onions, fried garlic, and a couple of slices of hard-boiled eggs. If you’d like, add a lime wedge as well.

ENJOY!


Ahi Tuna Poke

Poke is a Hawaiian dish traditionally served as an appetizer, but it can also be a main dish when served with rice or corn titiyas.

Modern versions of poke can vary depending on the ingredients you have on hand.  Poke is typically made with cubed ahi tuna marinated with soy sauce (some use sea salt), ground kukui nut (the meat in the inside, though, not the entire nut), sesame oil, ogo seaweed, and hot chili peppers.  You can also use fresh salmon or octopus instead of ahi.

Living in Colorado, I don’t have access to a lot of the traditional ingredients like ogo seaweed and kukui nuts, so I created a different version of poke that my family — especially my 11 year old daughter — loves.

It’s a simple recipe that you can take to entirely new levels by adding the other optional ingredients I listed below.

Give my recipe a try.  I think you’ll like it. 🙂

Poke

Poki - 07

Ingredients:

  • 1 pound ahi tuna
  • 2 tablespoons sesame oil
  • 2 tablespoons kimchee base
  • 1/2 cup soy sauce
  • 6 stalks green onions, thinly sliced
  Optional Ingredients:
  • 1 small cucumber, diced
  • 1 cup cherry tomatoes, diced
  • 1 small sweet onion (Maui onions are good), diced
  • 2 tablespoons furikake seasoning
  • 2 tablespoons ground macadamia nuts (if you can’t find or don’t have access to kukui nuts)
  • 1 teaspoon minced garlic
  • Hot chili peppers or Sambal Oelek chili sauce, to taste
  • You can also substitute the tuna with salmon or octopus

Directions:

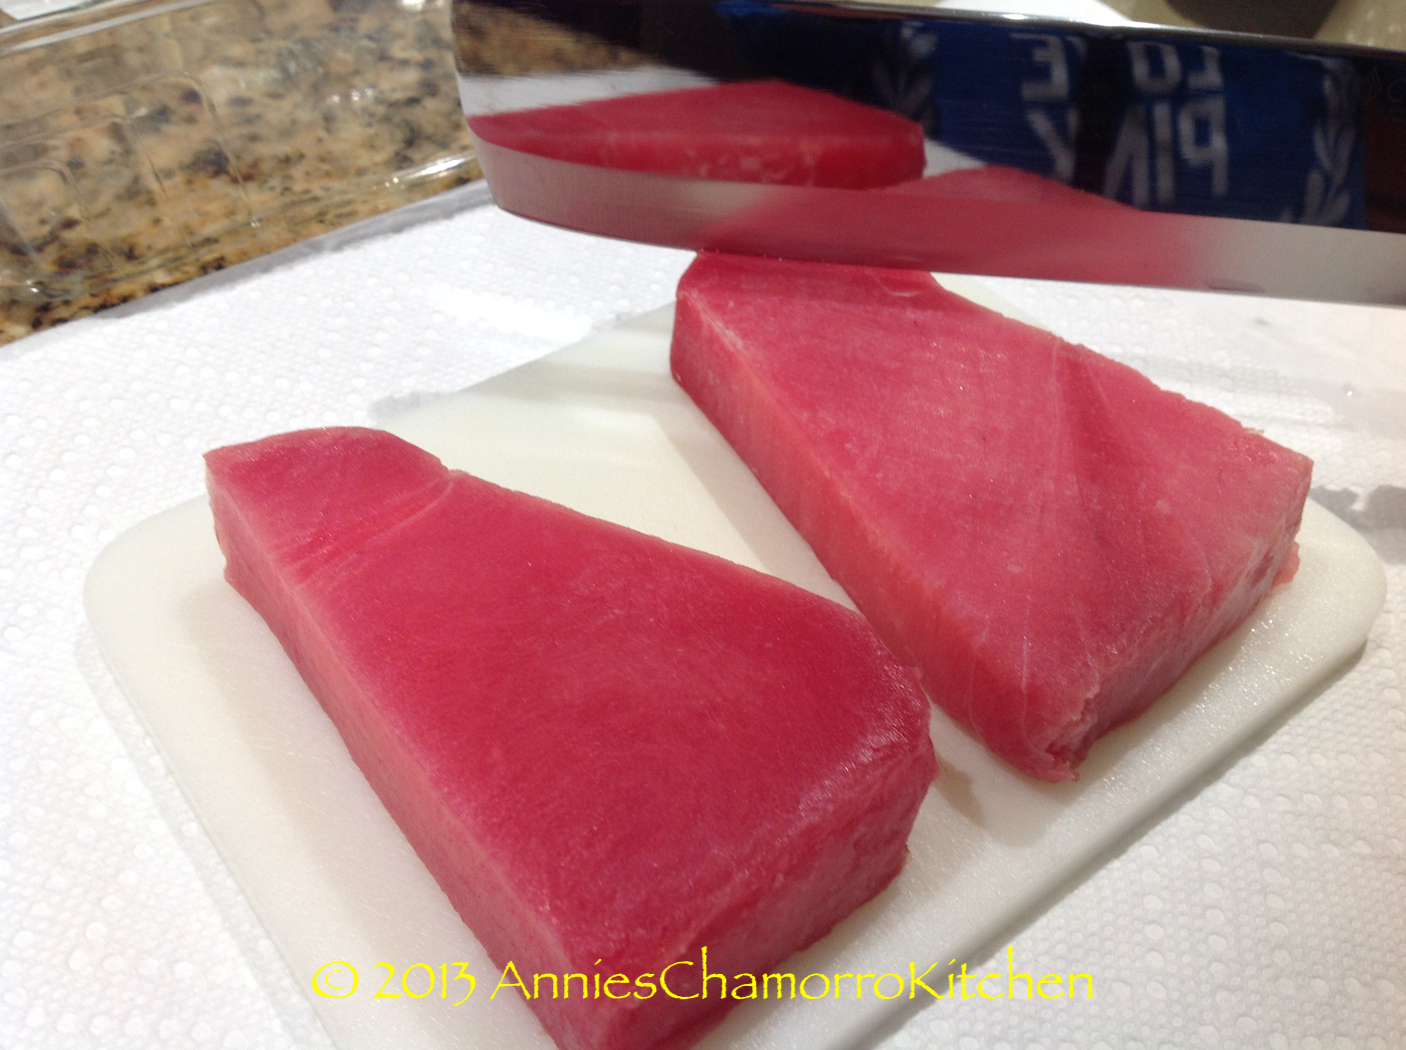
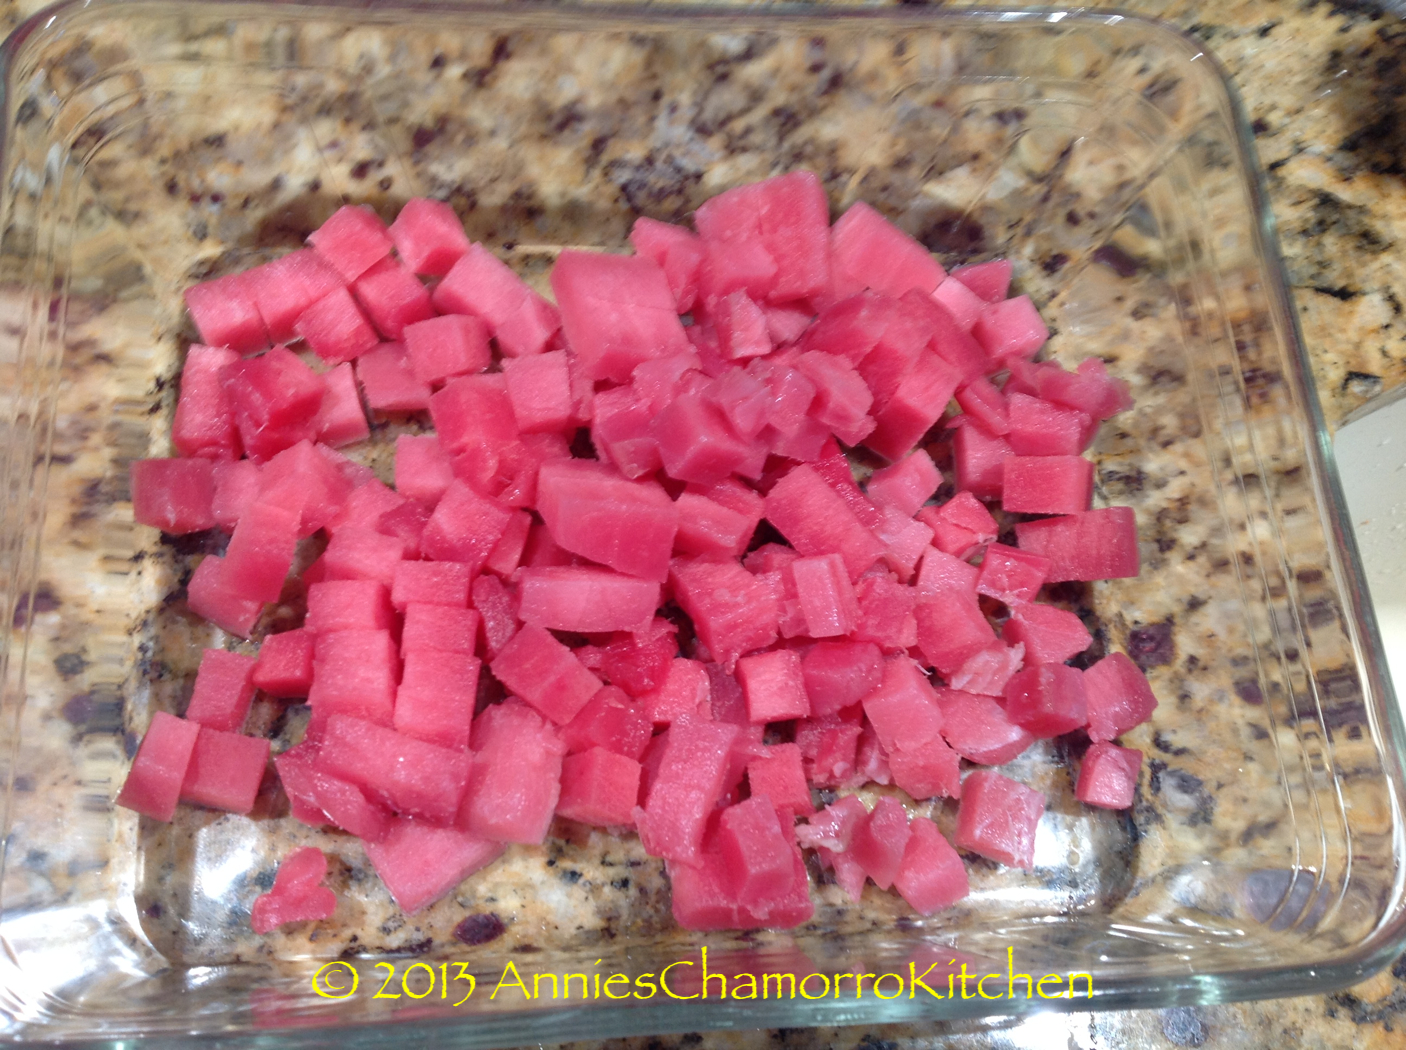
1.  Cut the ahi into small cubes.  I find it’s easier to slice the ahi when it’s partially frozen.

Poki - 01 Poki - 02

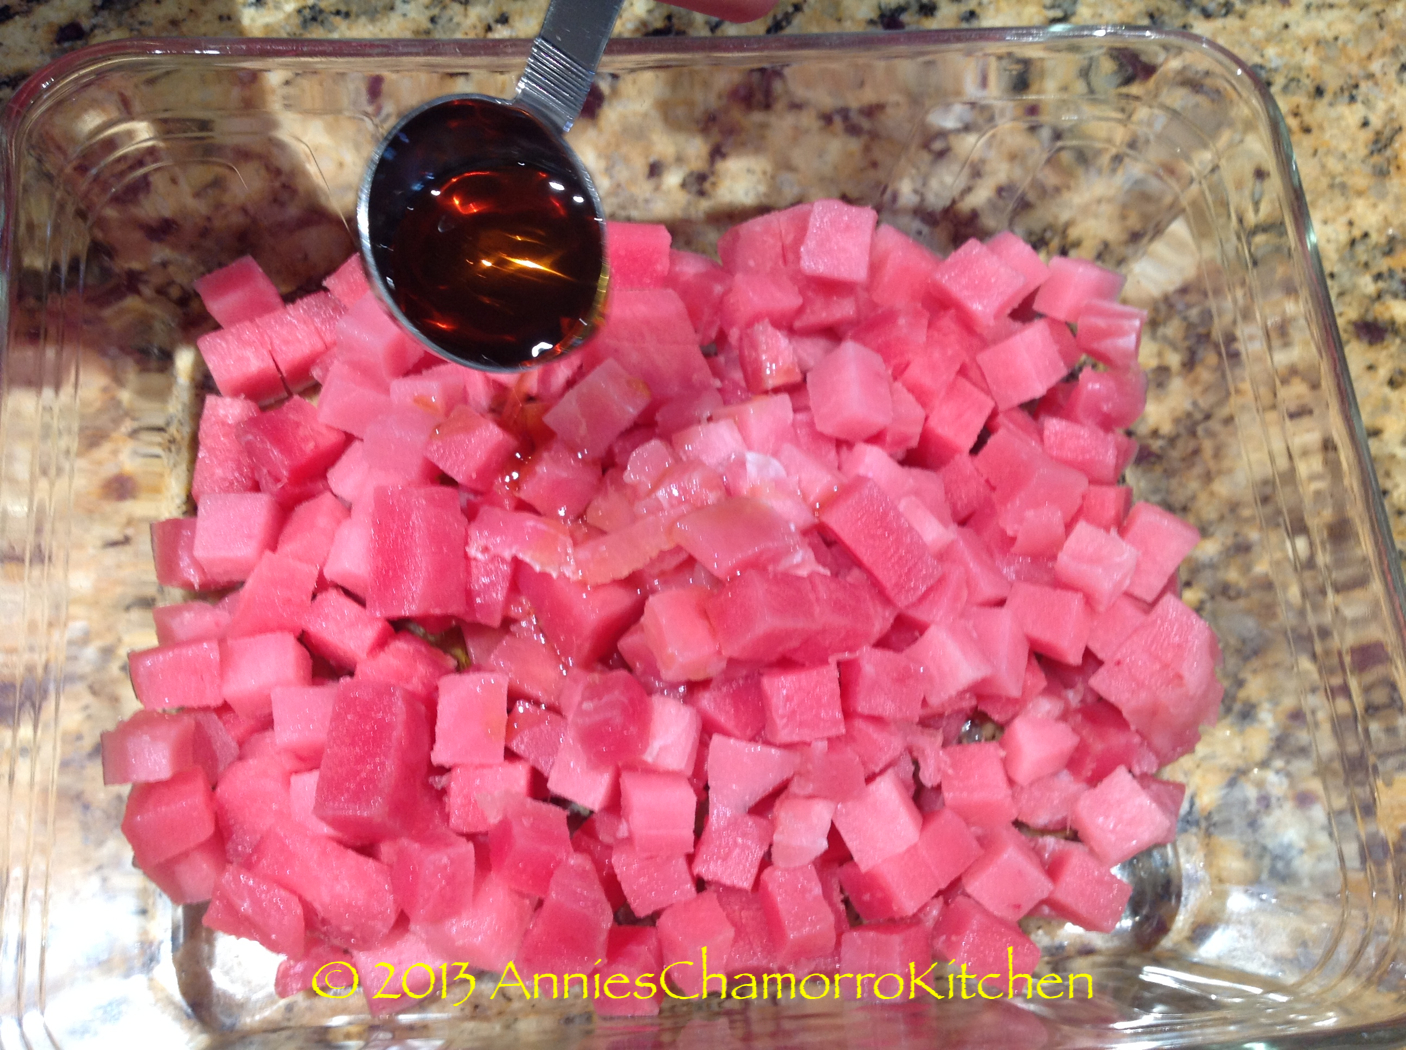
2.  Add the sesame oil.

Poki - 03

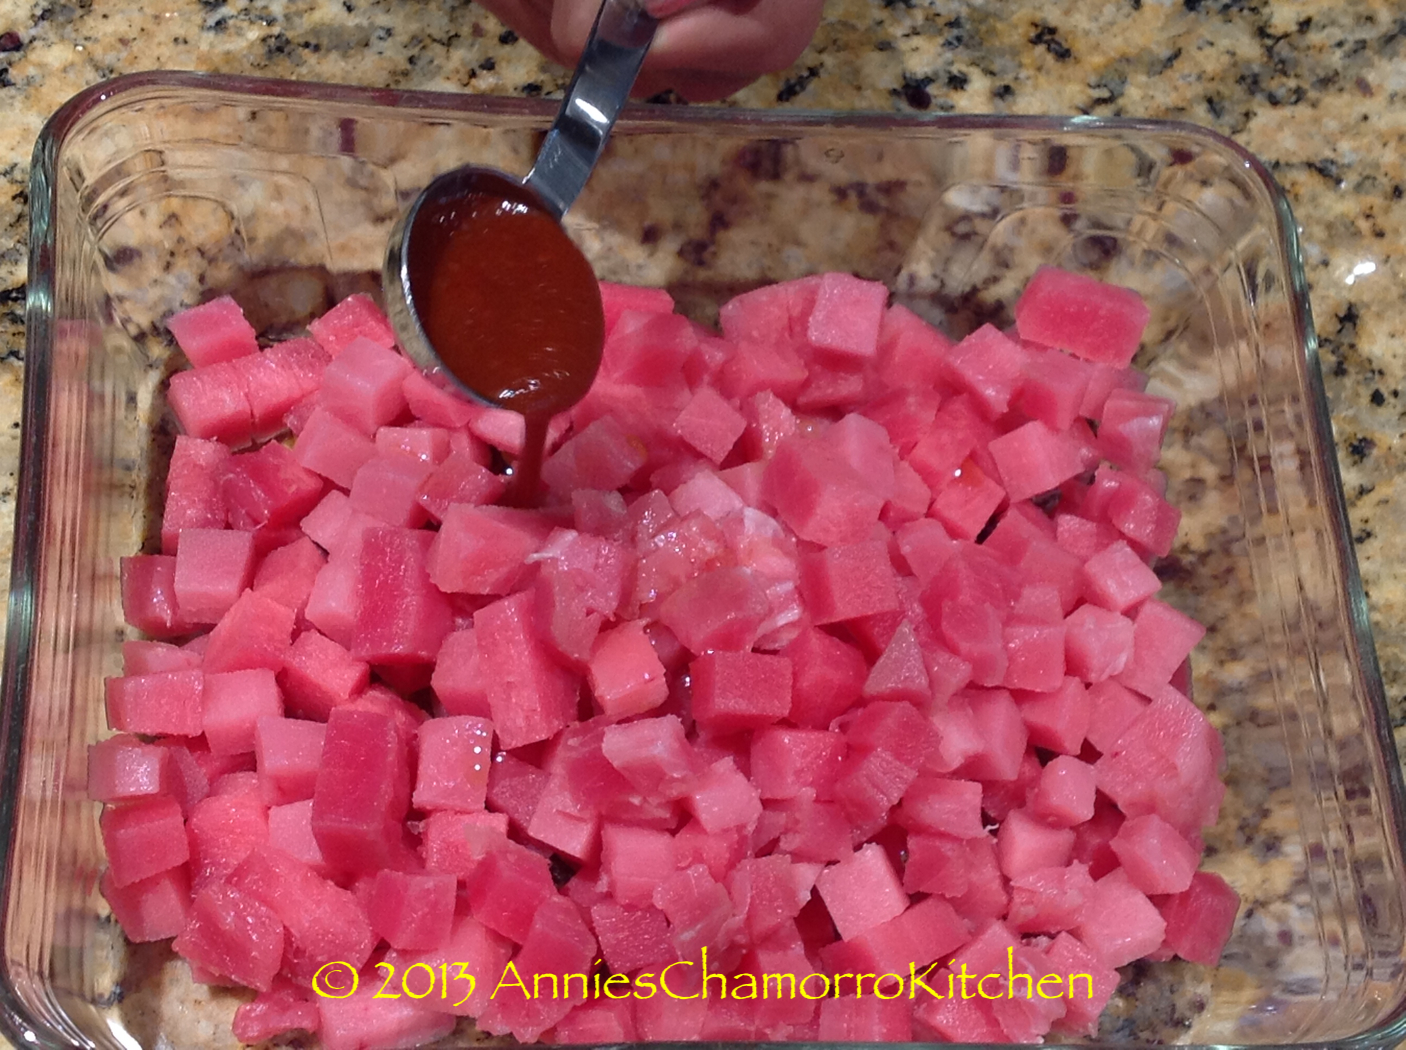
3.  Add the kimchee base (you can use a chili sauce like Sambal Oelek if you can’t find kimchee base).

Poki - 04

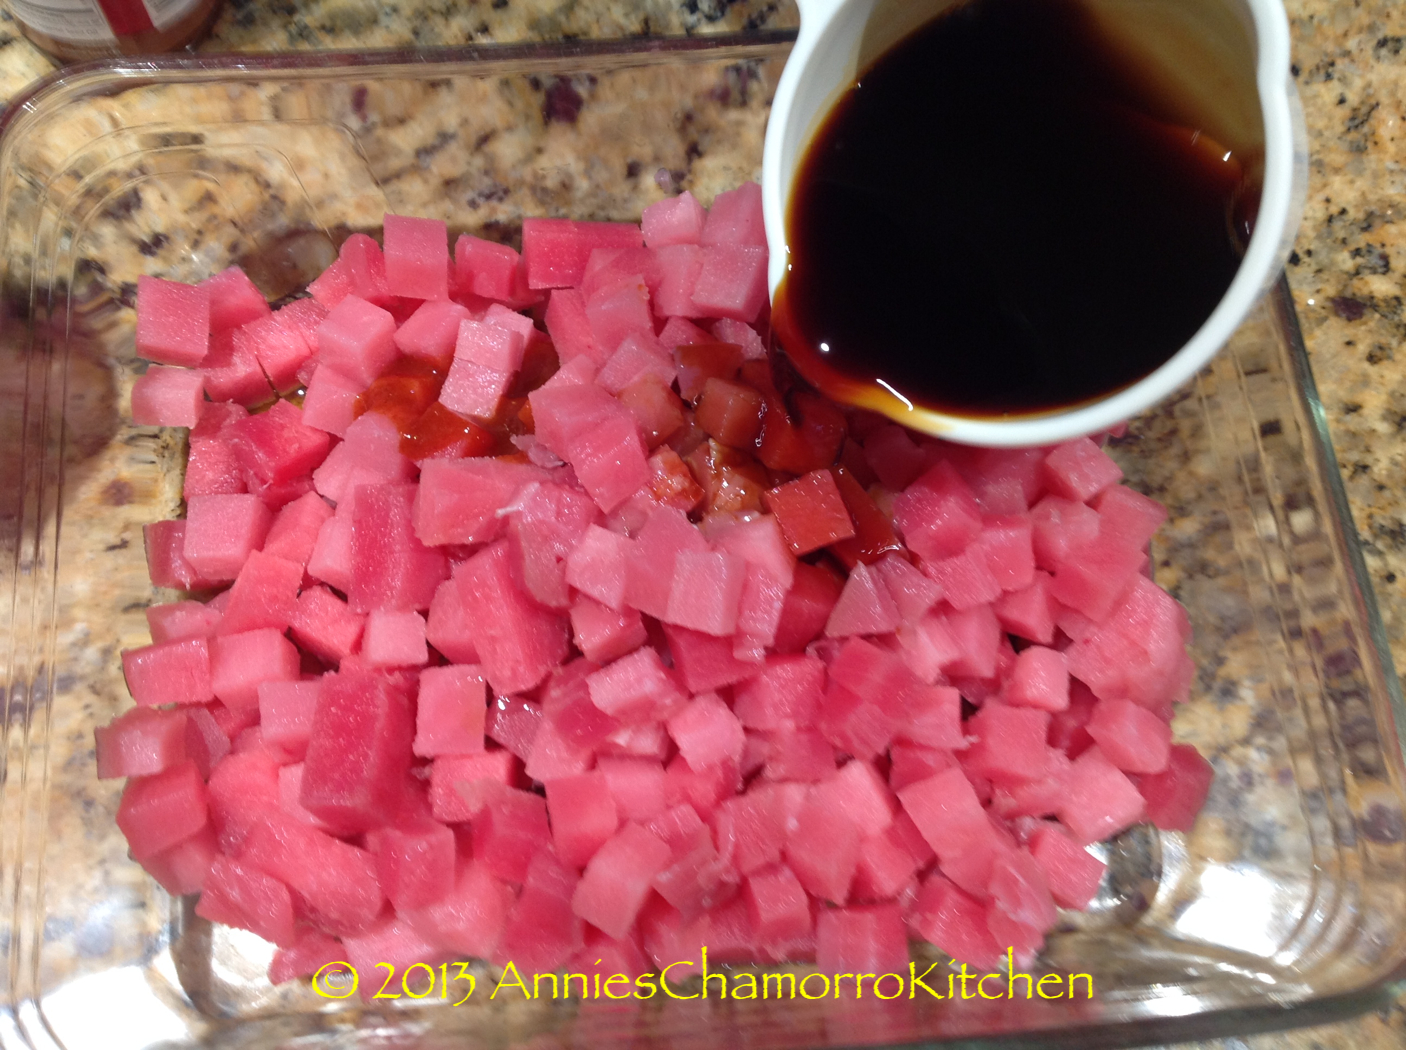
4.  Add the soy sauce.

Poki - 05

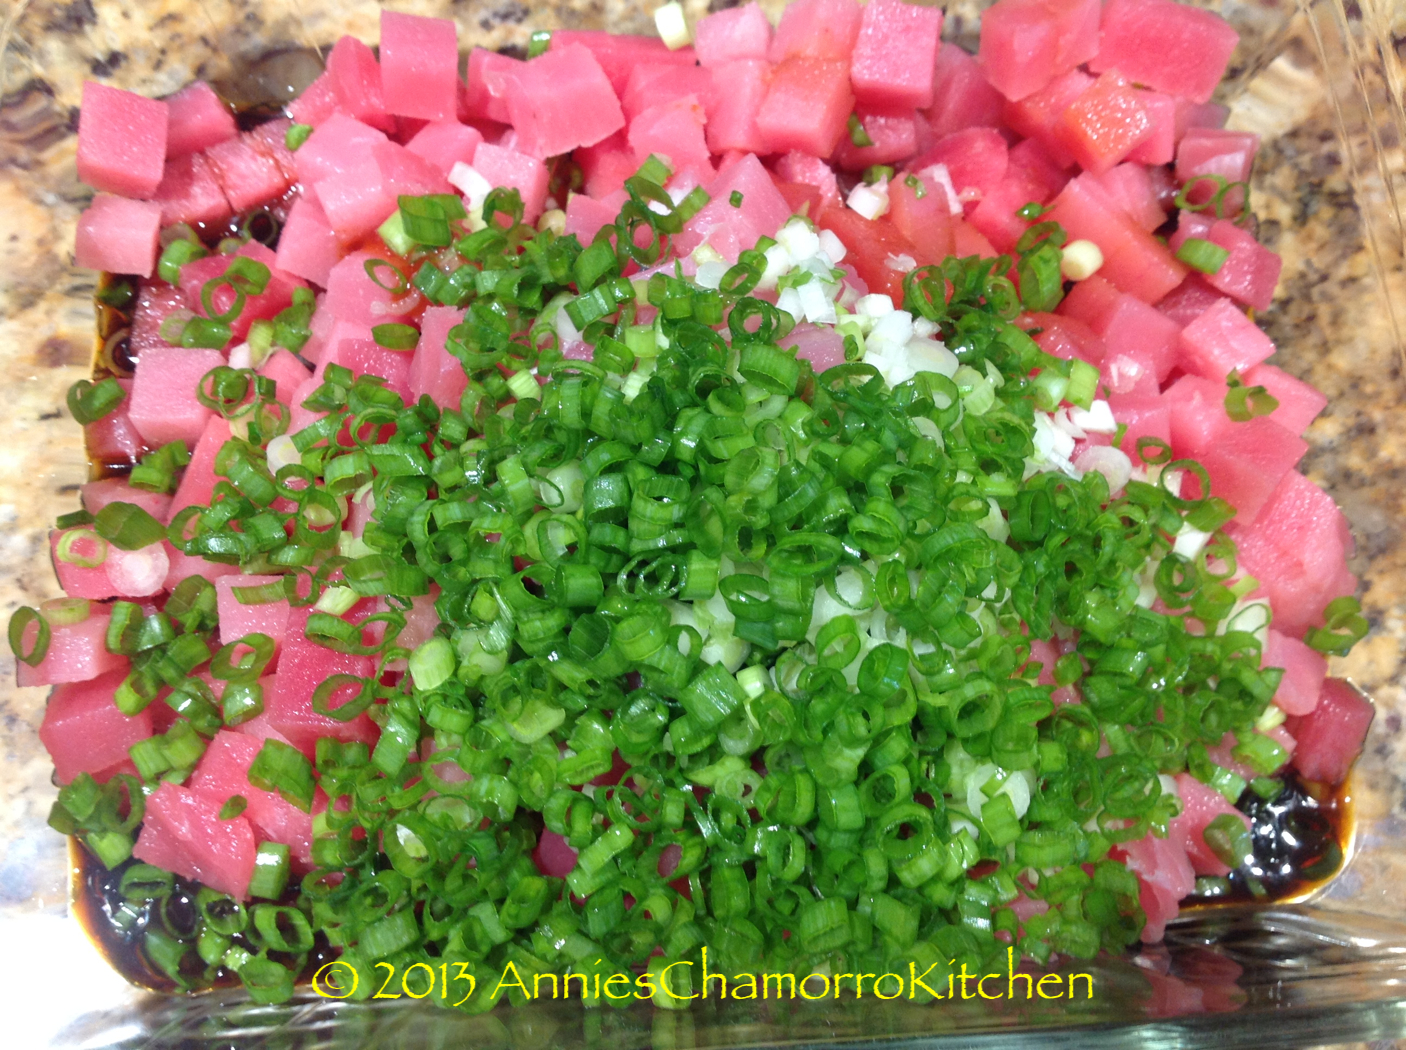
5.  Add the green onions.

Poki - 06

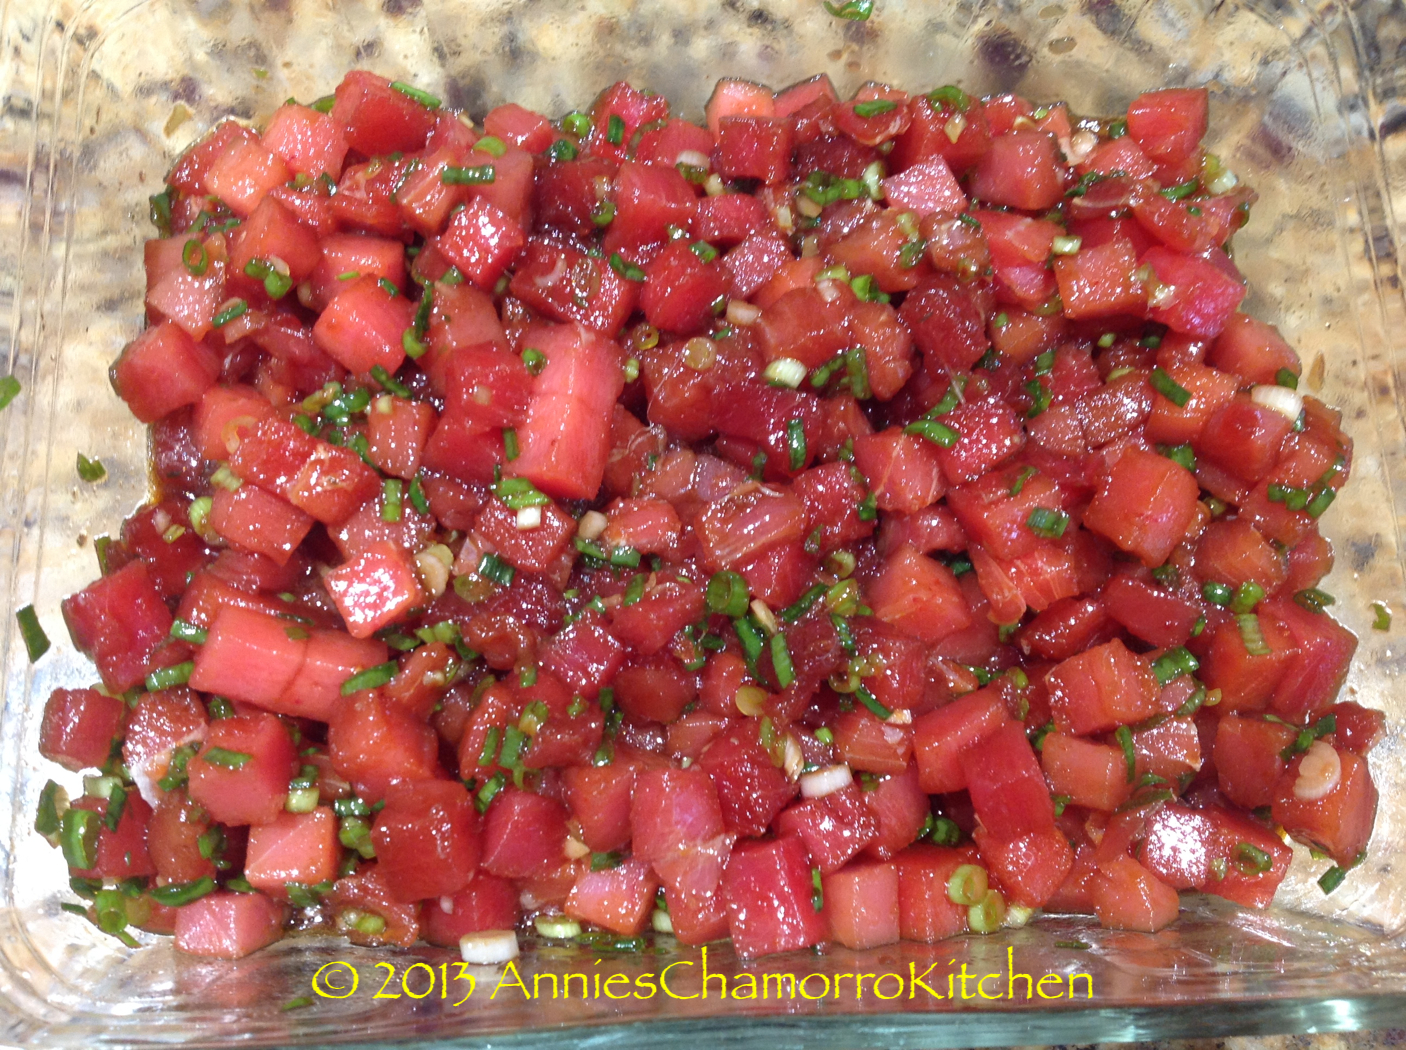
6.  Stir to combine.  Let the poke sit for at least 30 minutes (refrigerated) to allow the flavors to meld.

Poki - 07

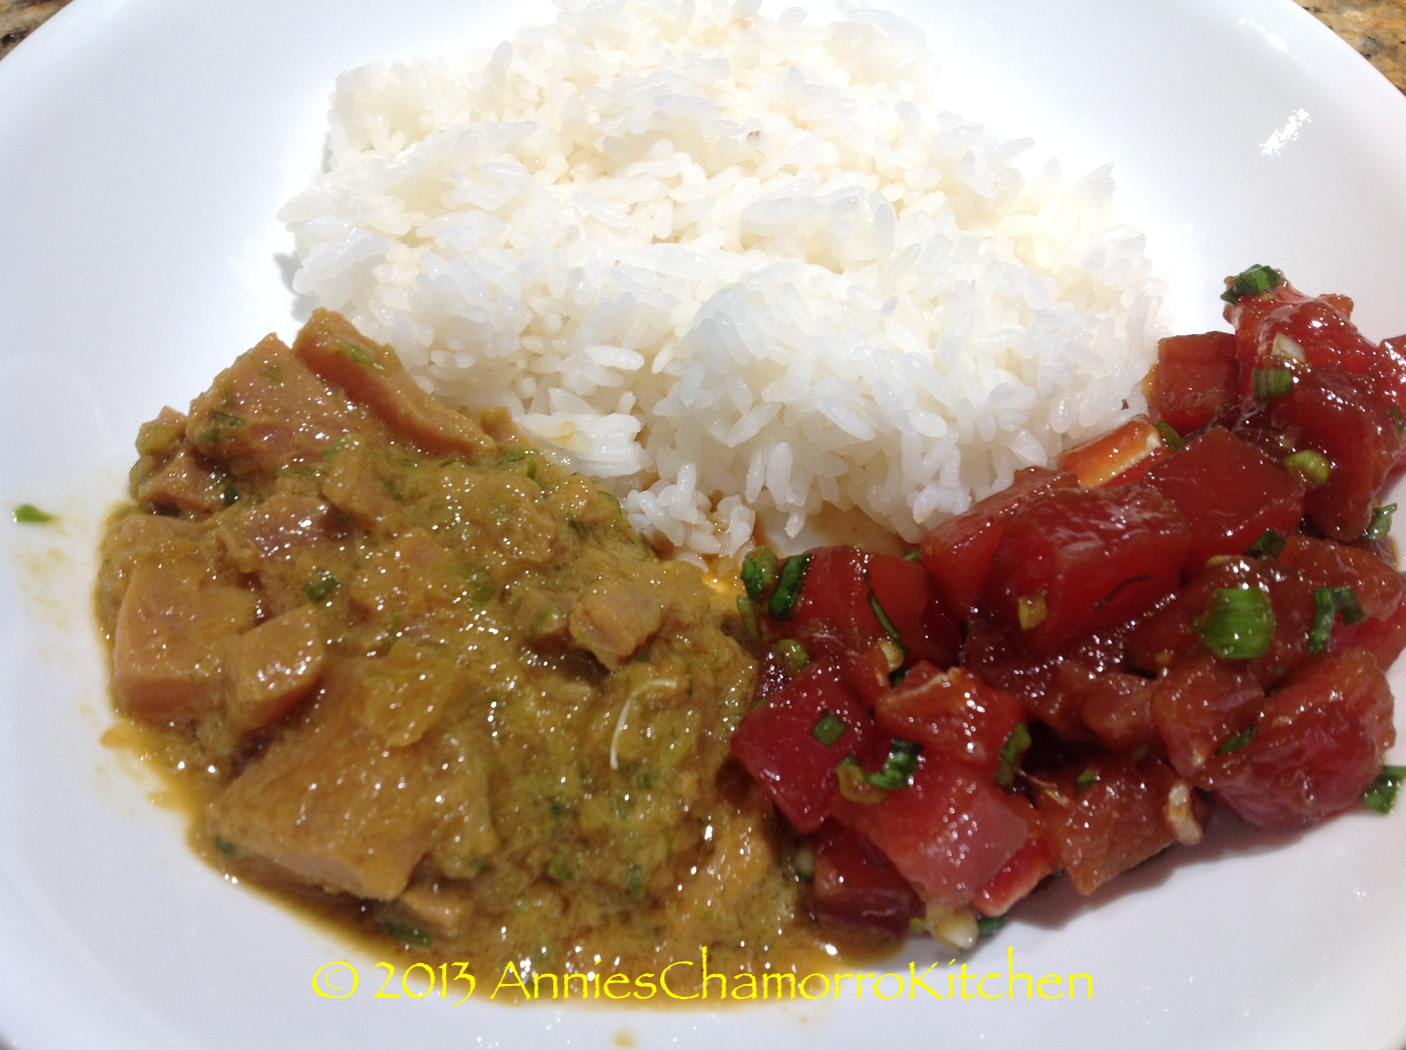
7.  Serve with hot white rice or freshly made corn titiyas (tortillas).  The photo below shows the ahi tuna poke (on the bottom right of the plate) and ahi tuna sashimi (that’s another recipe, to be posted soon) on the bottom left.

ENJOY!!

Poki - 08

Lasagne al Forno

I first made this lasagne years ago, when I lived in Germany (yes, Germany, not Italy).  There was this small family run Italian restaurant in the little German town we lived in.  Aside from the restaurants and cafés in Italy, that little Italian restaurant in Germany is the best I’ve ever been to.  It’s been over 15 years since I’ve been there, yet I have not yet found any Italian restaurant to compare to that one in Germany.

This recipe is my take on one of my favorite dishes served there.  The blend of the tomato and bechamel sauces take this pasta dish to a whole new level.  Give my recipe a try.  I think you’ll like it.  🙂 

LASAGNE AL FORNO

IMG_1045 

INGREDIENTS:

  • 1 box no-bake lasagne noodles (have a 2nd box on hand in case you use a large pan)
  • Meat sauce (see below)
  • Bechamel sauce (see below)
  • 1 bag (1 pound) shredded mozzarella cheese
  • 1 cup grated Parmesan-Romano cheese blend

Lasagne al Forno ingredients

Meat Sauce:
    • 1 pound mild Italian sausage
    • 1 pound lean ground beef (you can omit this if you want your sauce less meaty)
    • 1 medium onion, chopped
    • 2 teaspoons garlic powder
    • 2 tablespoons Dashida beef flavored seasoning
    • 2 tablespoons Italian seasoning
    • 6 leaves fresh basil, chopped into small pieces
    • Black pepper, to taste
    • 2 29-ounce cans tomato sauce
Directions to make the Meat Sauce:

1.  Brown the sausage and ground beef.  Drain any excess fat and liquid.

IMG_0982

 2.  After the meat has browned, add the Dashida, onions, garlic powder, Italian seasoning and basil.

IMG_0983

IMG_0987

3.  Cook until the onions are translucent. 

IMG_0991

4.  Add the tomato sauce to the ground meat mixture.  Stir to combine.  Simmer for 5 minutes then turn off the heat.  Set aside.

IMG_0995

IMG_1002

 
Bechamel Sauce:
  • 4 tablespoons butter
  • 6 tablespoons flour
  • 2 cups milk
  • 3 cups heavy cream
  • 1/2 teaspoon salt
  • 1 teaspoon grated nutmeg
  • Black pepper, to taste
  • 1 5-ounce bag grated Parmesan cheese
Directions to make the Bechamel Sauce:

1. In a medium sauce pan, melt the butter.

IMG_0988

2.  Add the flour (all at once) to the melted butter.

IMG_0998

3.  Use a whisk to mix the flour and butter together.  Cook over medium low heat for about 2-3 minutes.  Whisk constantly to prevent burning.

IMG_1003

4. Slowly whisk in the milk and cream.  Whisk vigorously to ensure there are no lumps. 

IMG_1009

5.  Add the grated Parmesan cheese to the milk mixture.  Turn the heat up to medium high. Continue whisking; cook until the cheese melts and the sauce thickens.

IMG_1020

You know the sauce is thick enough when you dip a spoon into it, run your finger down the spoon, and you leave a line down the spoon that doesn’t disappear with runny sauce.

IMG_1024

6.  Add the grated nutmeg, and salt and pepper to taste.  Turn the heat off and set the sauce aside.  NOTE:  This sauce is EXCELLENT for fettuccine alfredo.  🙂

IMG_1023 


Assemble the Lasagne al Forno:

1. Using a large lasagne pan, or a deep dish baking/roasting pan, spread a thin layer of meat sauce on the bottom of the pan.

IMG_1021

2.  Add a layer of noodles.  Don’t worry about filling in the spaces with noodles; these no-cook noodles will expand during the baking process.

IMG_1022

3.  Pour some bechamel sauce over the noodles, just enough to cover the noodles.

IMG_1027

4.  Sprinkle shredded and grated cheese over the bechamel sauce.  Top with another layer of noodles.

IMG_1028

5.  Repeat the layering process — meat sauce, noodles, bechamel sauce, cheese, noodles — until you’ve used up all of your sauce and/or noodles.  The last layer (on top) should be bechamel sauce topped with cheese.

IMG_1033

6.  Heat the oven to 375 degrees.  Place the pan of lasagne on top of a large baking sheet.  Cover the pan of lasagne with aluminum foil.  Bake at 375 degrees for 25 minutes. 

IMG_1038

IMG_1039

7.  After 25 minutes, remove the aluminum foil.  Turn the oven to Broil — continue to bake the lasagne for 5 more minutes to brown the cheese on top.

IMG_1044

8.  Once the cheese has browned, remove the pan from the oven.  Before serving, let the lasagne sit for at least 15 minutes (don’t worry, it will still be hot) to allow the sauces to set.  If you serve immediately after removing the lasagne from the oven, the sauces will run all over the place (it will still taste delicious, but your presentation won’t be as “pretty”).  Serve with your favorite crusty bread and ENJOY!  🙂

IMG_1045


“Crack” Chicken

When I was stationed in Korea a few years ago, my family and I used to frequent a fried chicken place that served the most delicious chicken wings.

The menu included spicy (mouth on fire) wings, plain, but our favorite had a garlic-soy glaze on it.  They were so good (and addicting) that my friends and kids nicknamed it “crack chicken”.  🙂

This is my version of those wings.  A word of warning — it’s HEAVY on the garlic (just the way I like it).

Give it a try.  I think you’ll like it!  🙂

“CRACK” CHICKEN

crack chicken

INGREDIENTS FOR THE FRIED CHICKEN:

  • 5 pounds chicken wings (I like drummettes)
  • 1 tablespoon salt
  • 2 teaspoons black pepper
  • 4 tablespoons garlic powder
  • 1 cup flour
  • 1 cup corn starch
  • 4 eggs, slightly beaten
  • 1/2 cup water
  • oil, for frying

INGREDIENTS FOR THE SAUCE:

  • 2 cups water
  • 1/3 cup soy sauce
  • 2 cups loosely packed brown sugar
  • 1/3 cup honey
  • 1/2 cup rice vinegar
  • 1 teaspoon ground ginger
  • 5 cloves garlic, chopped (use 10 cloves if you LOVE garlic like I do)
  • 4 tablespoons corn starch
  • Optional: Pepper flakes

Cooking Instructions:

Make the Sauce:

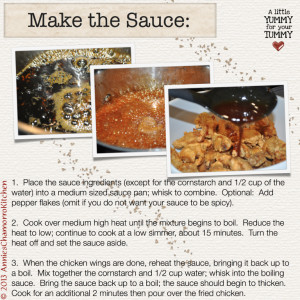
1. Place the sauce ingredients (except for the cornstarch and 1/2 cup of the water) into a medium sized sauce pan; whisk to combine. Optional: Add pepper flakes (omit if you do not want your sauce to be spicy).

2. Cook over medium high heat until the mixture begins to boil. Reduce the heat to low; continue to cook at a low simmer, about 15 minutes. Turn the heat off and set the sauce aside.

3. When the chicken wings are done, reheat the sauce, bringing it back up to a boil. Mix together the cornstarch and 1/2 cup water; whisk into the boiling sauce. Bring the sauce back up to a boil; the sauce should begin to thicken. Cook for an additional 2 minutes then pour over the fried chicken.

Batter the Chicken:

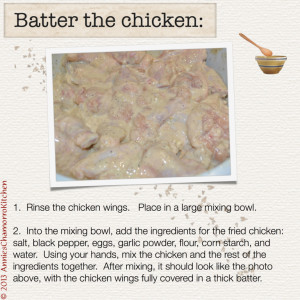
1. Rinse the chicken. Place in a large mixing bowl.

2. Into the mixing bowl, add the ingredients for the fried chicken: salt, black pepper, eggs, garlic powder, flour, corn starch, and water. Using your hands, mix the chicken and the rest of the ingredients together. After mixing, the chicken should be fully covered in a thick batter.

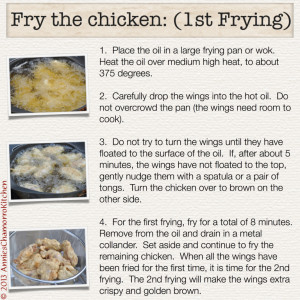
Fry the Chicken (1st Frying):

1. Place the oil in a large frying pan or wok. Heat the oil over medium high heat, to about 375 degrees.

2. Carefully drop the chicken into the hot oil. Do not overcrowd the pan (the chicken needs room to cook).

3. Let the chicken cook for about 5 minutes on each side.

4. For the first frying, fry for a total of 10 minutes. Remove from the oil and drain in a metal colander. Set aside and continue to fry the remaining chicken. After all the chicken pieces have been fried for the first time, it is time for the 2nd frying. The 2nd frying will make the wings extra crispy and golden brown.

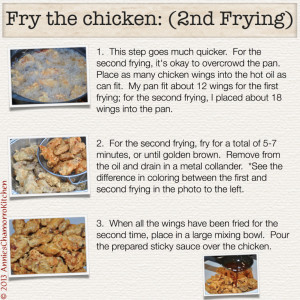
Fry the Chicken (2nd Frying):

1. This step goes much quicker. For the second frying, it’s okay to overcrowd the pan. Place as many chicken wings into the hot oil as can fit. My pan fit about 12 wings for the first frying; for the second frying, I placed about 18 wings into the pan.

2. For the second frying, fry for about 8 minutes, or until golden brown. Remove from the oil and drain in a metal colander. *See the difference in coloring between the first and second frying in the photo attached to this recipe.

3. When all the wings have been fried for the second time, place in a large mixing bowl. Pour the prepared sticky sauce over the chicken.

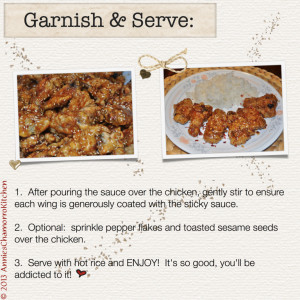
Garnish and Serve:

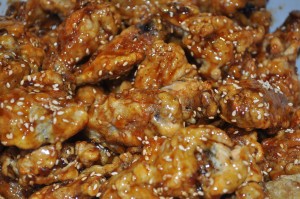
1. After pouring the sauce over the chicken, gently stir to ensure each wing is generously coated with the sticky sauce.

2. Optional: sprinkle pepper flakes and toasted sesame seeds over the chicken.

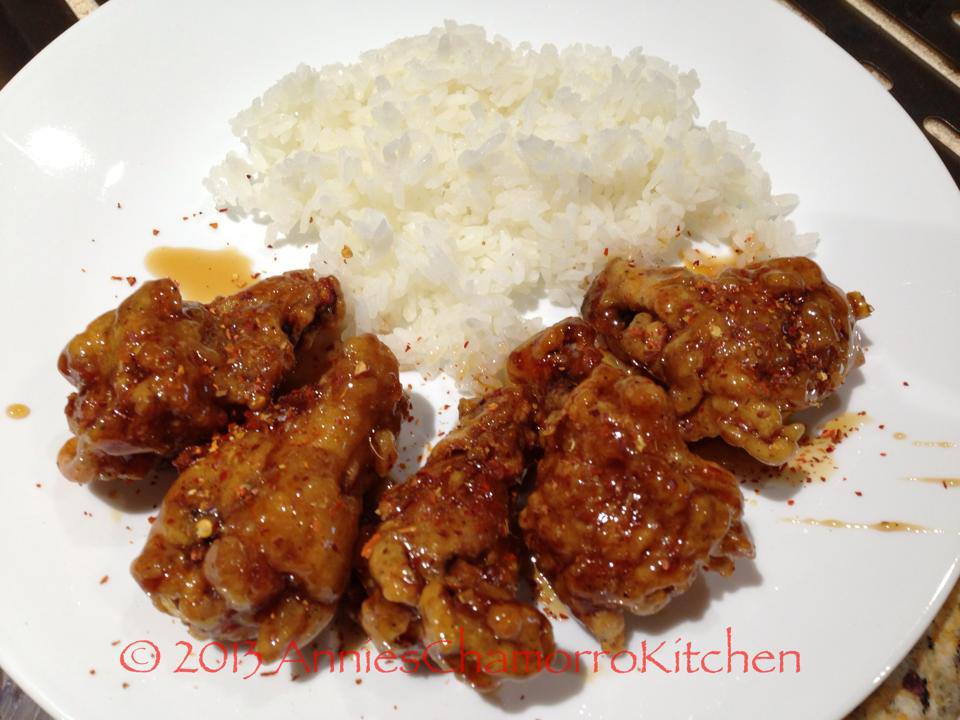
3. Serve with hot rice and ENJOY! It’s so good, you’ll be addicted to it!


The photos below illustrate my step-by-step process.  I hope this makes it easier to understand.  Give it a try and let me know how you like it.  🙂

1 - Crack Chicken

2 - Fried Chicken Ingredients

3 - Sauce Ingredients

4 - Make the Sauce

5 - Batter the Chicken

6 - First Frying

Oops!  # 4 (above) should read, “fry for a total of 10 minutes” (not 8).


7 - Second Frying

8 - Garnish and Serve

DSC_0098

Korean Lettuce Wraps (Ssambap)

When my family and I lived in Seoul, we had a favorite restaurant that was nestled along the Han River.  Like many Korean BBQ restaurants, this one served the popular dishes, Ssamgyeopsal (BBQ pork belly), Bulgogi, Galbi, Denjang Chigae, Yukejang, Kimchi Chigae, and another one of my favorites — Ssambap, or lettuce wraps, or what foreigners call Beef and Leaf.

This is delicious with just the lettuce leaf stuffed with rice, the meat of choice (I’m using bulgogi in this recipe), and ssamjang, but it’s also delicious with a piece of grilled garlic, a slice of grilled hot green peppers, and a piece of kimchi all wrapped in a neat little package — or as little as you can make it with all of that stuffed into the lettuce leaf.

During my first tour to Korea over a decade ago, a Korean officer told me that to be “polite”, one must never wrap more than what can be stuffed into your mouth in one bite-sized serving.

But to do that, you can’t wrap as much “stuff” (kimchi, garlic, pepper, meat, rice, etc) into it without having your cheeks bulge out for being so full.

Try as I might to make these into small lettuce wraps, I always end up taking two or three bites with one little package.  I guess this is okay if you’re making this at home.  And make this at home is a must — it’s so delicious that you cannot overlook this dish.  A word or warning, though.  If you add grilled garlic to this, I advise you to make this on a Friday so that you have all weekend to get the smell out of your pores by the time you have to go to work on Monday.

It’s either that or invite your entire office staff to your house for dinner so that you can ALL smell the same for the next couple of days!  🙂

All kidding aside, this is a very simple dish to make.  Give it a try — I know you’ll like it.  🙂

Enjoy!


KOREAN LETTUCE WRAPS (SSAMBAP)

Beef and Leaf - 15

INGREDIENTS:

Bulgogi:

  • 2 pounds lean beef, cut into strips
  • 1 cup soy sauce
  • 1/4 cup vinegar
  • 1/4 cup honey
  • 1 tablespoon minced garlic

Ssamjang:

  • 1/2 cup Korean pepper paste, or Gochujang
  • 2 tablespoons soy sauce
  • 1 tablespoon sesame oil
  • 1 tablespoon minced garlic
  • 1 tablespoon sugar
  • Sesame seeds
  • Optional:  1 stalk green onions, sliced thinly

 Other Ingredients:

  • 1 head of green, leafy lettuce
  • 2 tablespoons sesame oil, for stir frying the bulgogi
  • Cooked white rice
DIRECTIONS:

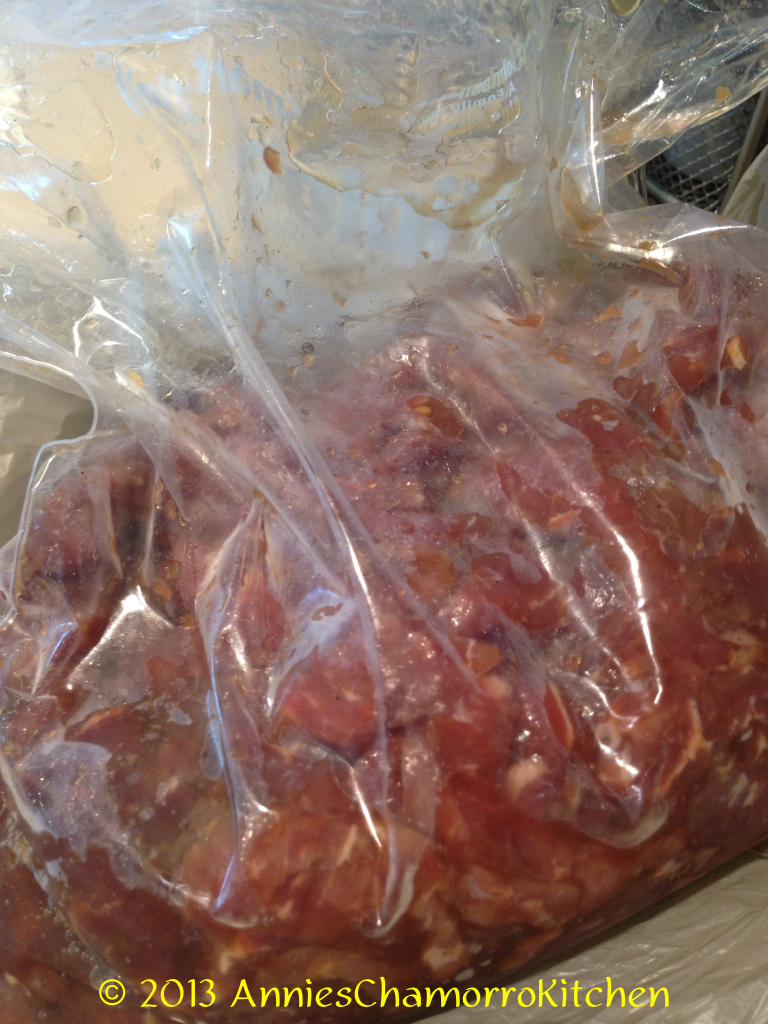
1.  Place the beef into a ziplock bag.  Add the rest of the ingredients.  Seal the bag; allow the meat to marinate for a couple of hours.

Beef and Leaf - 03

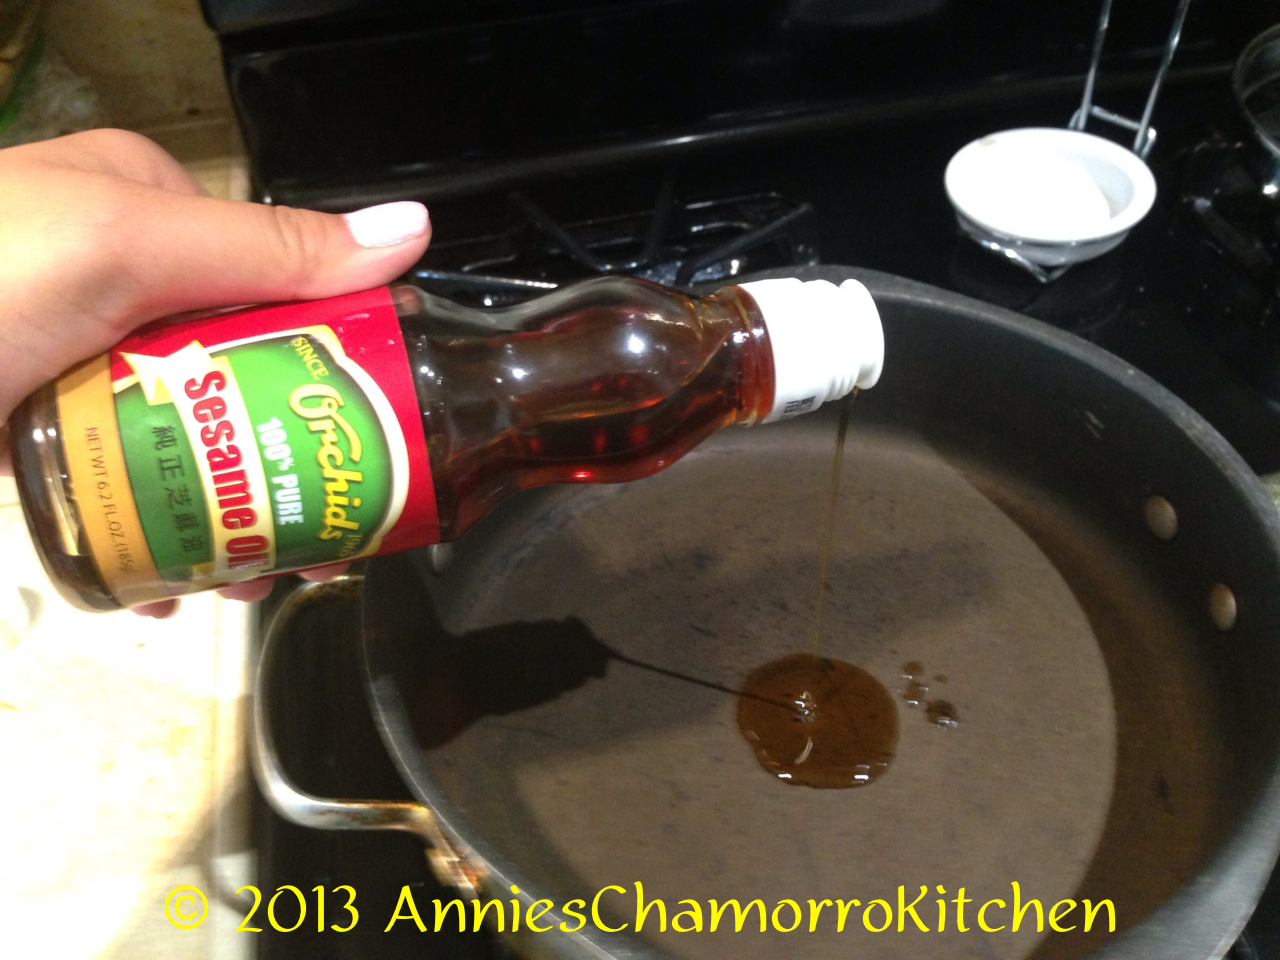
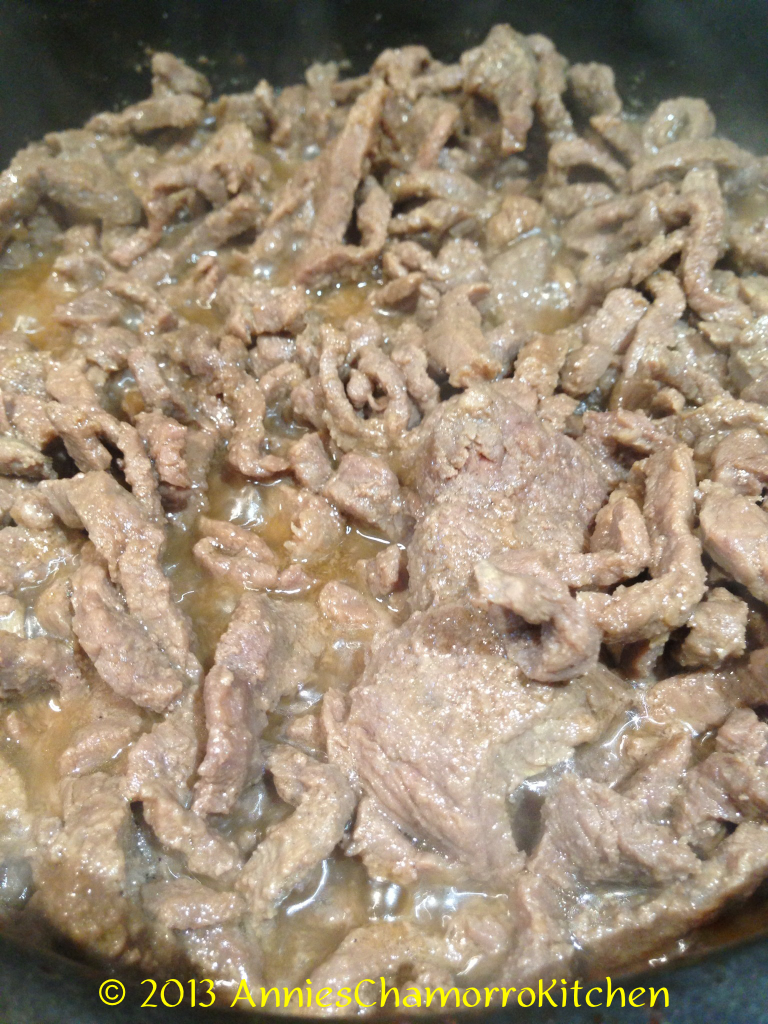
2.  Place 2 tablespoons sesame oil into a large skillet.  Add the contents of the ziplock bag — the meat and marinade together.  Cook over medium high heat until the meat is done and the sauce has thickened.

Beef and Leaf - 01

Beef and Leaf - 07

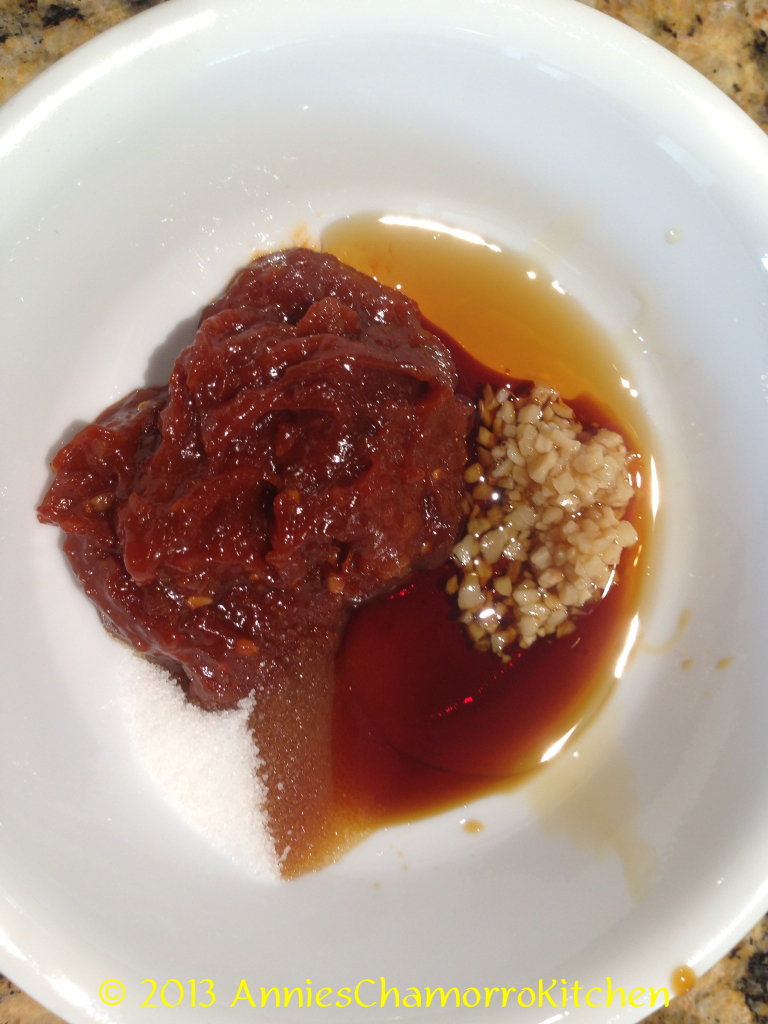
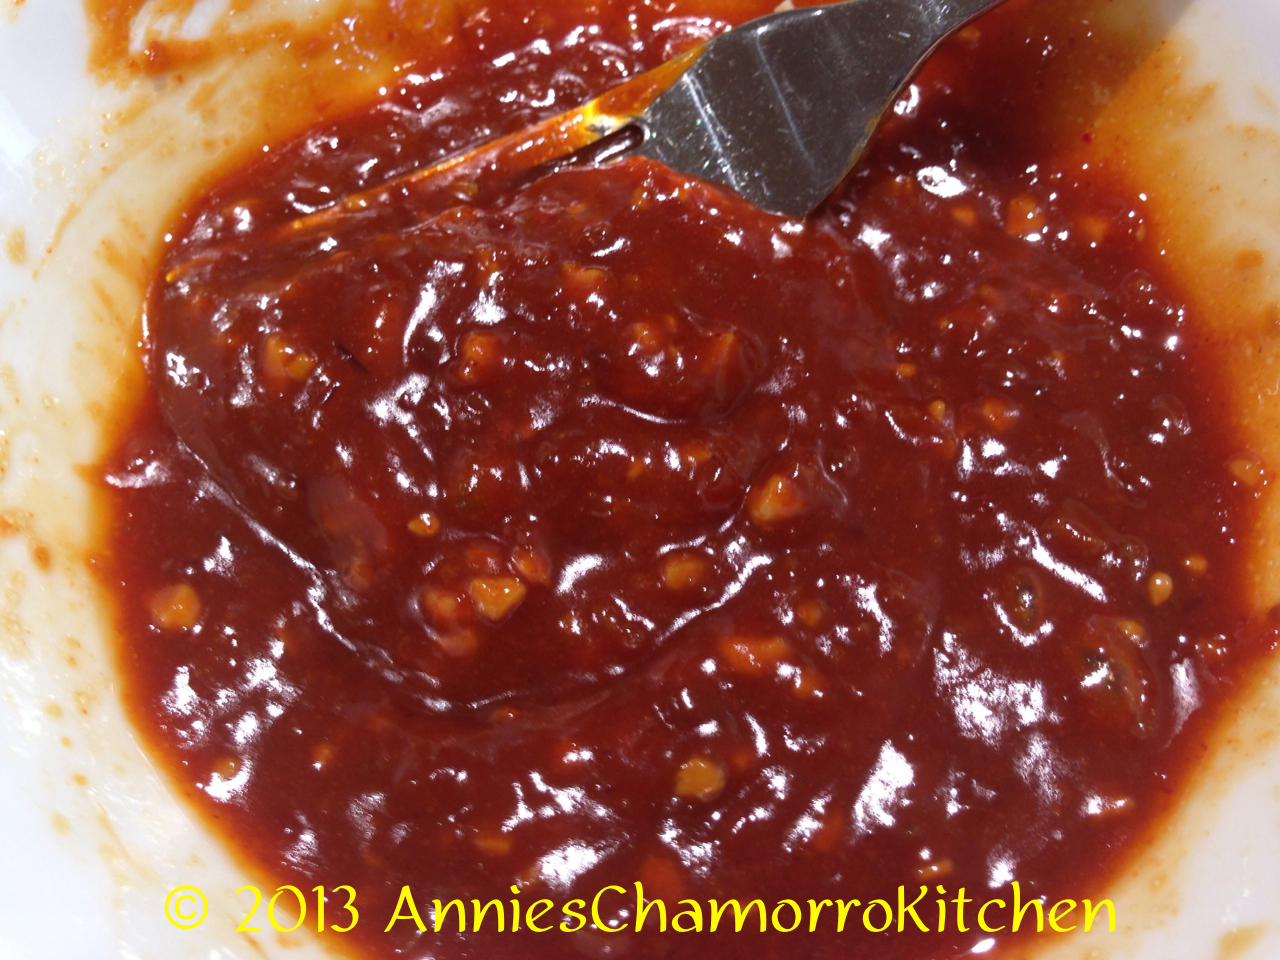
3.  In a small bowl, mix together all of the ingredients for the ssamjang.  Set aside.

Beef and Leaf - 11 Beef and Leaf - 12

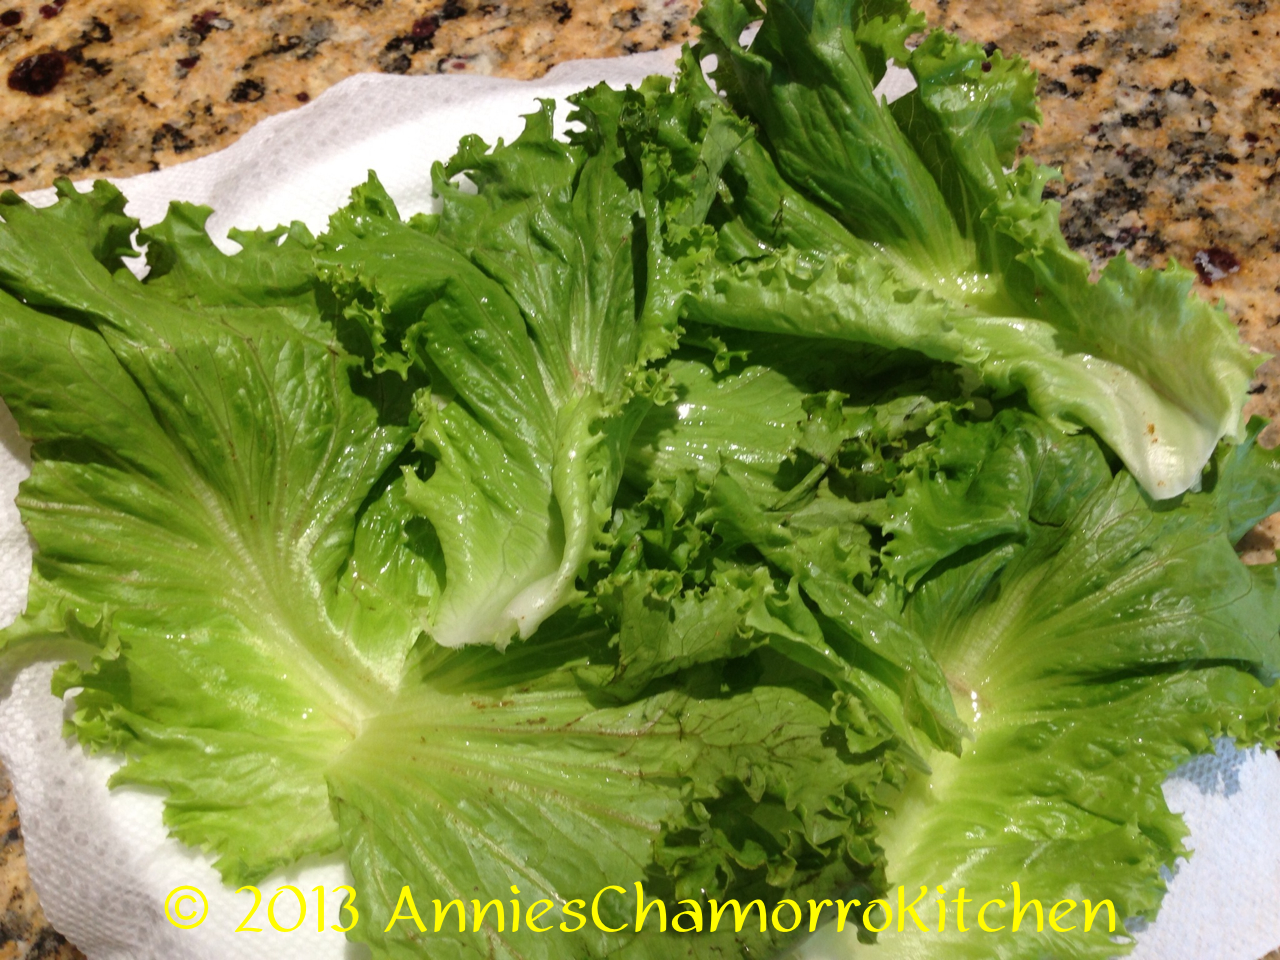
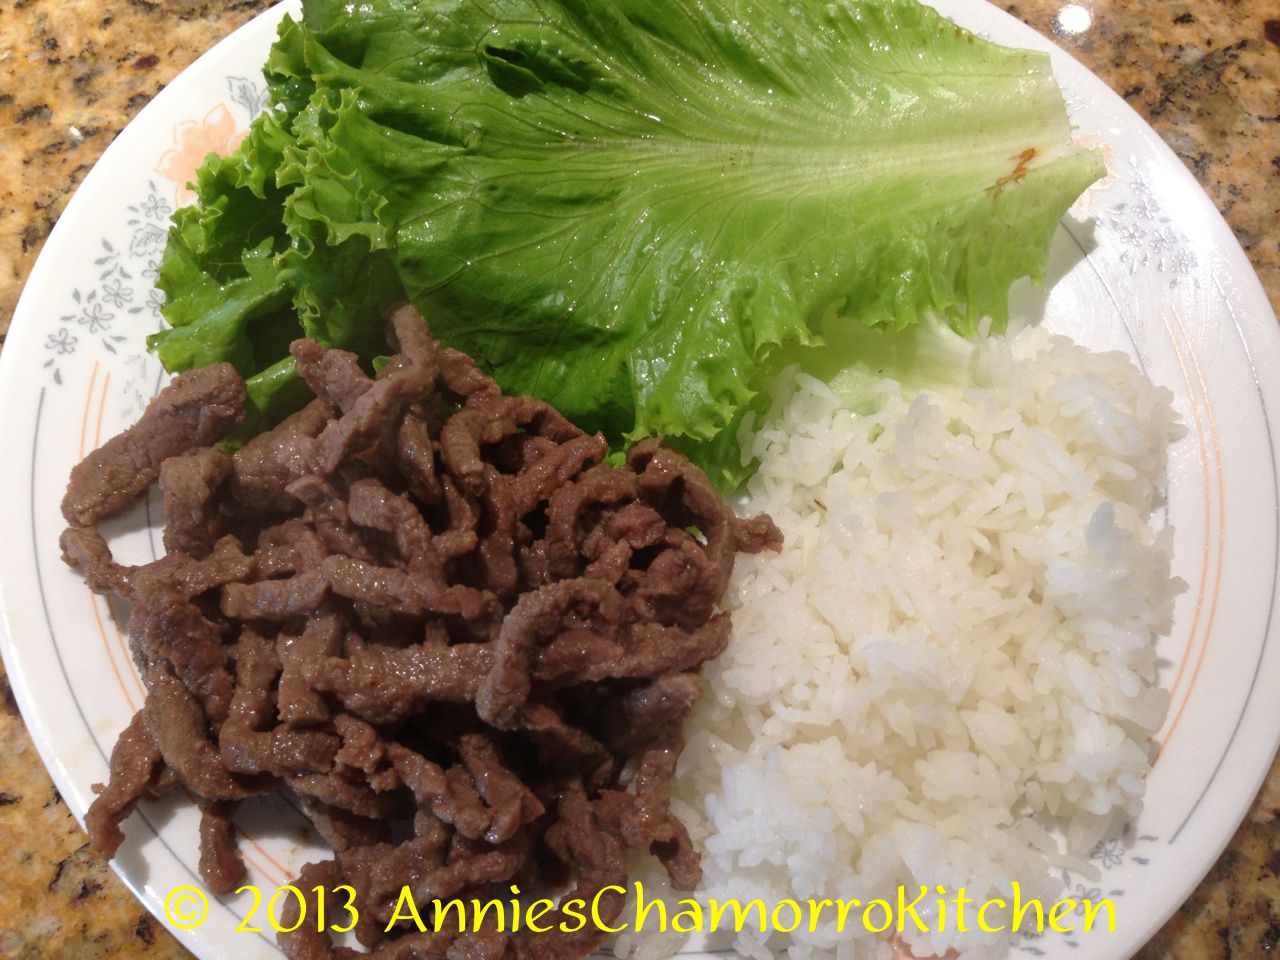
4.  Separate and rinse the lettuce leaves.  Dry with a paper towel.

Beef and Leaf - 10

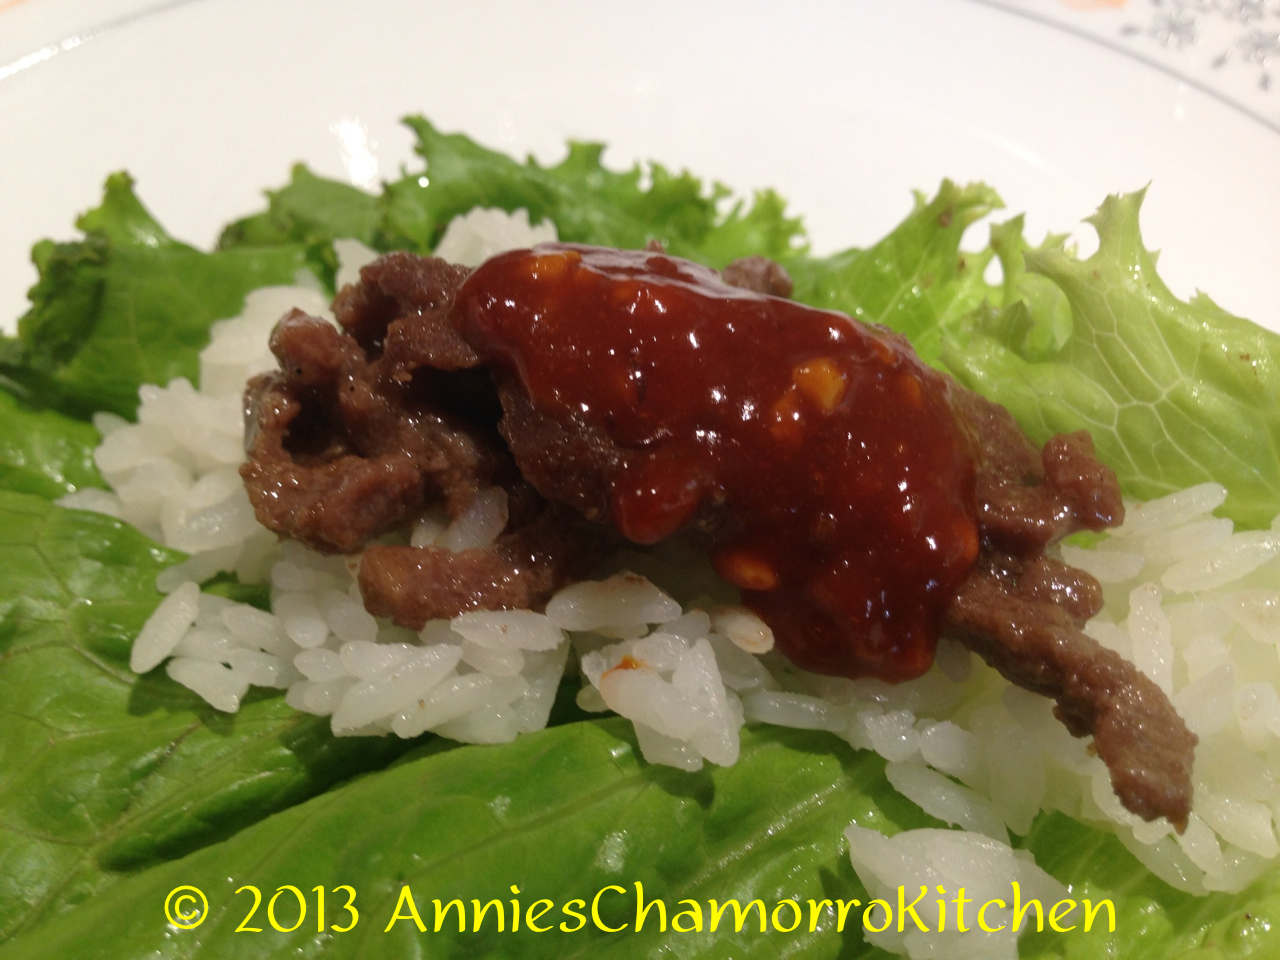
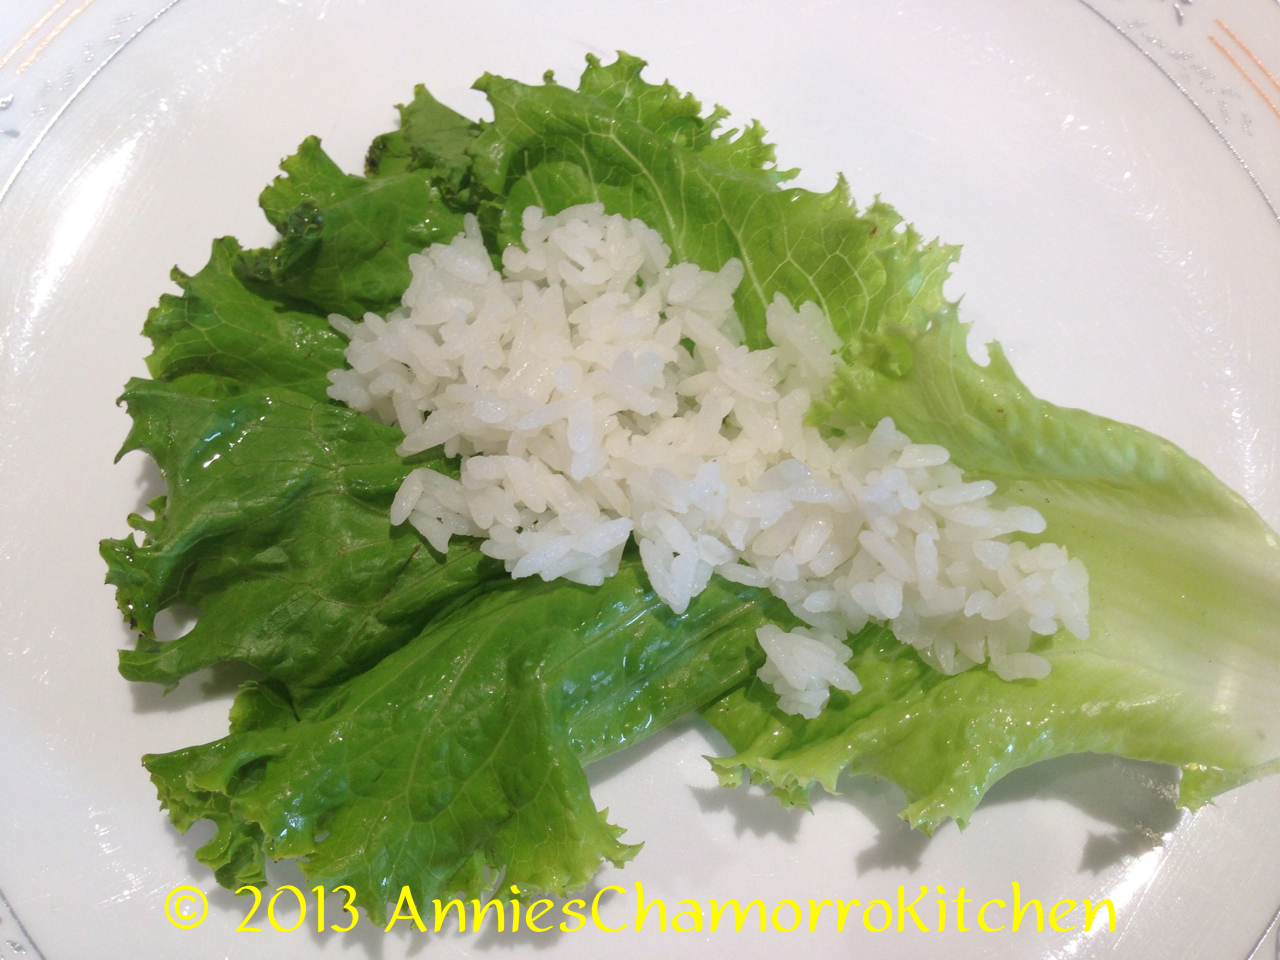
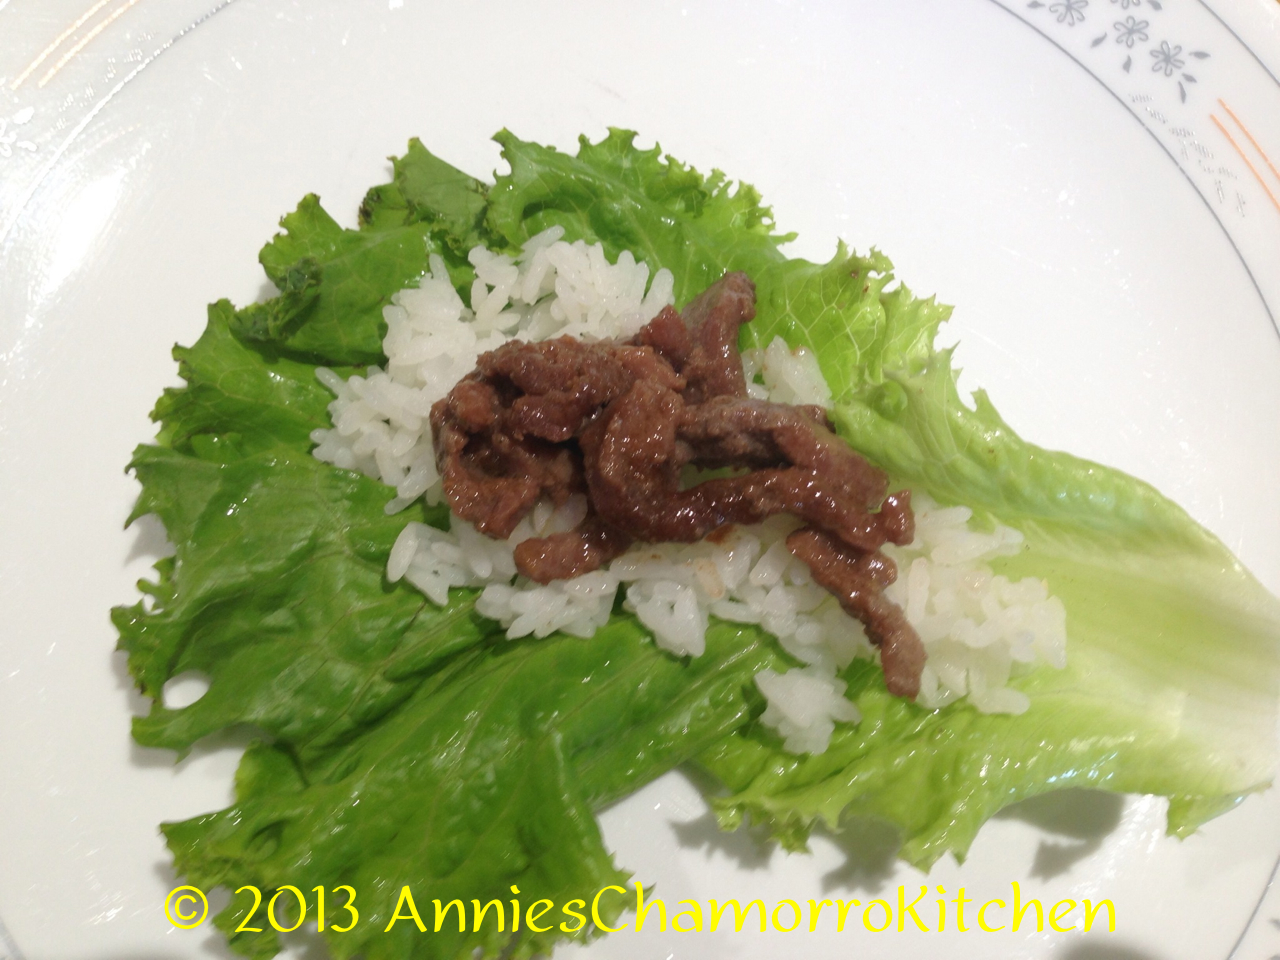
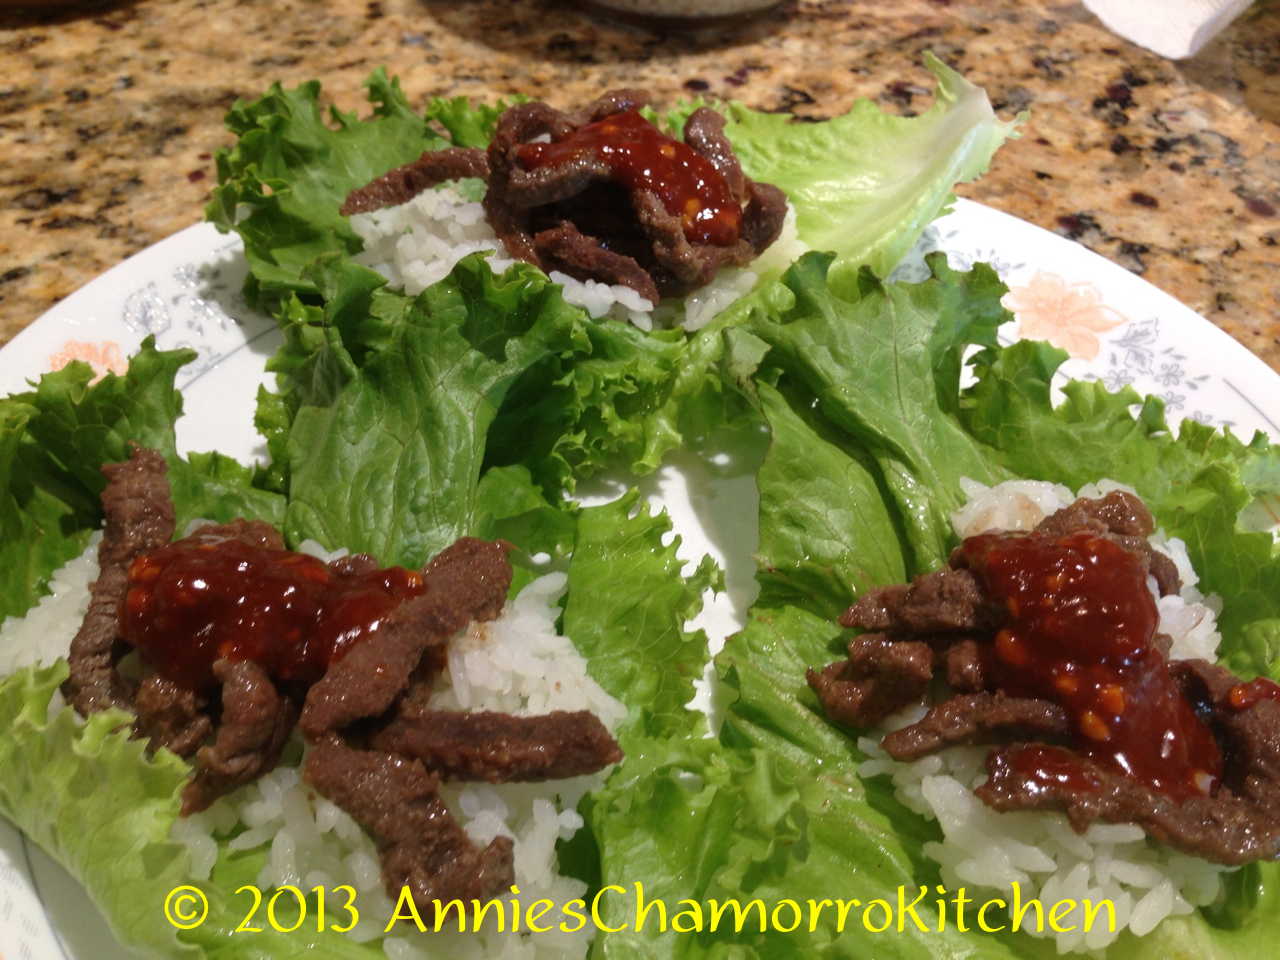
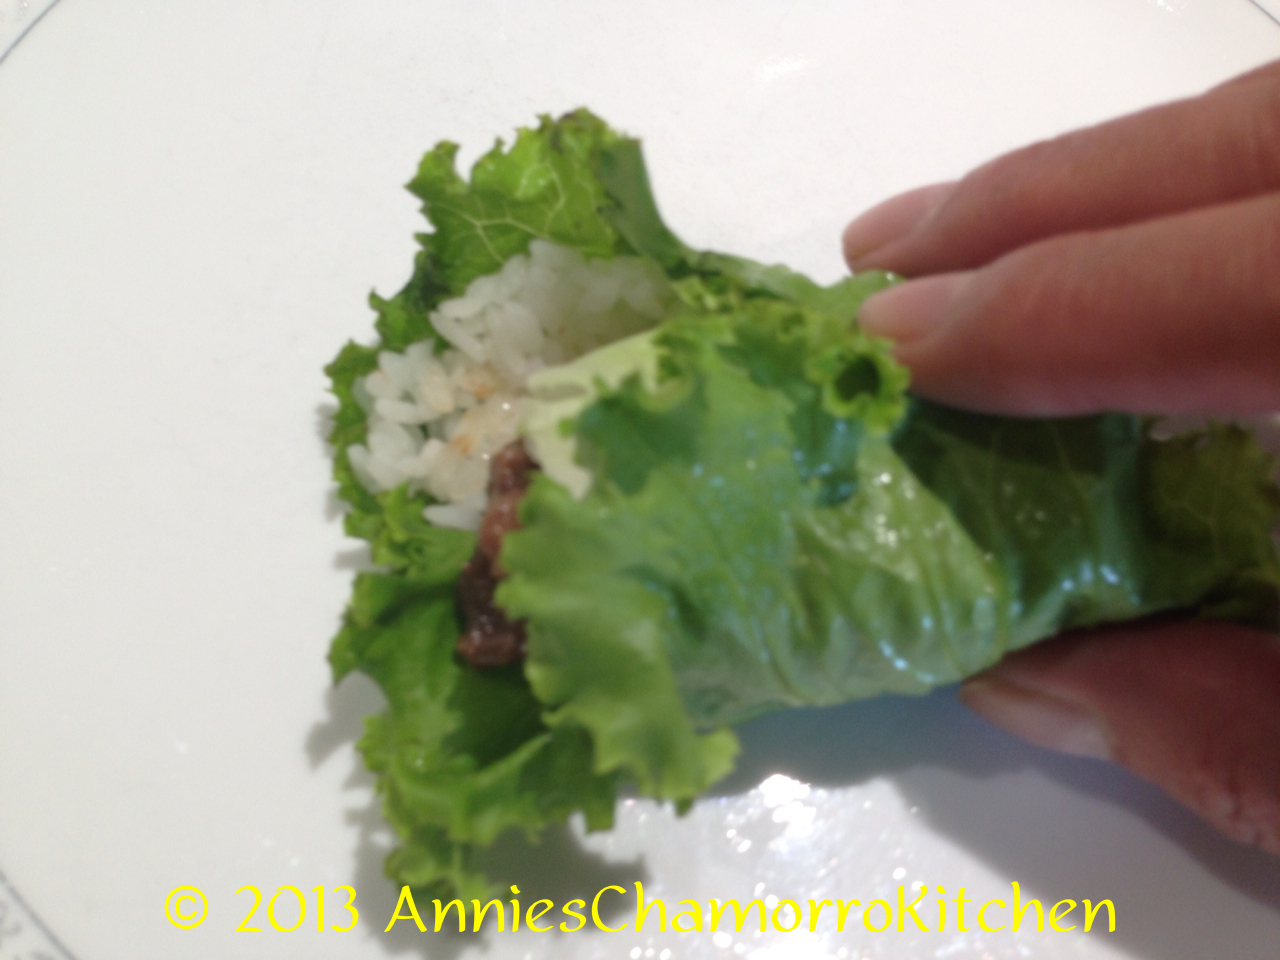
5.  Assemble the lettuce wraps.  Place a lettuce leaf on a plate.  Add rice, bulgogi, and ssamjang.  Optional:  add a piece of kimchi.  Roll up into a little package or wrap, eat, and ENJOY!

Beef and Leaf - 13 Beef and Leaf - 14 Beef and Leaf - 15 Beef and Leaf - 17

Beef and Leaf - 16

Beef and Leaf - 09 

« Older Entries Recent Entries »