Archive for HOLIDAY MENU

Crepes

Life is short…have dessert for breakfast.  😀

Okay, this is not really a dessert, but it could be.  In fact, crepes are one of those versatile foods that can be sweet OR savory (cheese, mushroom, spinach, and chicken crepes are a favorite!).

My family loves fruit-filled crepes with a sweet cream filling.  We have it for breakfast, as snacks, and they’re a special treat for dessert.

image

My youngest loves filling hers with Nutella and strawberries, but add some sliced bananas (oooh, and maybe some peanut butter too) for an Oh-My-Goodness flavor experience!

image

These crepes and tender and sweet all on their own, and do not taste eggy like the ones served in some restaurants.

Speaking of restaurants, I used to think that crepes were an indulgence we could only have at those popular breakfast restaurants.  Not anymore.  Crepes are really quite simple to make.

image

Have I tempted you enough to make some for yourself?  No?  How about now? 😀

image

So what are you waiting for?  Head into that kitchen and get started.  Here’s how to make it.  (If you’re new to my blog, you will always find my complete recipe at the bottom of my post.)

For the batter, you’ll need the same basic ingredients you use to make pancakes — eggs, sugar, butter, milk, and flour.  I also add a pinch of salt and vanilla extract my batter.

Place the eggs into a large mixing bowl.  Beat it slightly with a whisk.

image

Add sugar to sweeten it a bit.  If you plan on making savory crepes, I recommend decreasing the amount of sugar or omitting it completely.

image

Vanilla extract gets mixed in next.  You could also use lemon extract, or some lemon zest instead of vanilla extract, but remember that a little goes a long way.

image

Add a pinch of salt to the mixture.  Did you know that salt is a natural antioxidant?  Salt also adds taste and helps bring out the flavors present in the flour and other ingredients.

image

Melted butter gets mixed in next.  The butter serves two purposes in this recipe.  It adds flavor, but it also helps the crepes not stick to the pan during cooking.

image

Whisk in the milk.

image

Next comes the flour.  It may seem like you’re adding way too little flour for the amout of liquid.  However, unlike pancake batter, the ratio of milk to flour is 2:1 for crepe batter, which makes a very thin batter.

image

Whisk until you get a smooth batter.  A few tiny lumps of flour left in the batter are okay.

image

Set the batter aside while you heat up your pan.  I recommend using a non-stick skillet.  I use a well-seasoned cast iron skillet.

Lightly spray the pan with butter-flavored cooking spray (just to be on the safe side to ensure your crepes don’t stick to the pan).  Pour 1/2 cup of batter onto the heated skillet.

image

Cook the crepe over medium-low heat; you may need to adjust the heat as you go along, turning it down or up, depending on how quickly the crepes cook.

Use a spatula to gently lift the edges. If the crepe feels like it is still stickng to the pan, let it cook for a little while longer.  A telltale sign the crepe is ready to be flipped over is when you see it start to “wrinkle.”

image

Flip the crepe over to lightly brown the other side; this should only take a minute or less.

image

Continue making crepes until all of the batter is used up.  This recipe makes 8 crepes (more if you use less than 1/2 cup of batter per crepe).

image

So now that the crepes are done, it’s time to make the filling.  This recipe is for a sweet filling.

Cream together softened cream cheese and a bit of powdered sugar.

image

It should resemble cream cheese frosting at this point.

image

To lighten it up, mix in whipped cream.  I use Cool Whip to make things easier.  Hey, I’m all about making things from scratch, but sometimes semi-homemade is just fine. 🙂

image

Okay, so let’s see where we are in this endeavor.

Crepes — CHECK.

Sweet cream filling — CHECK.

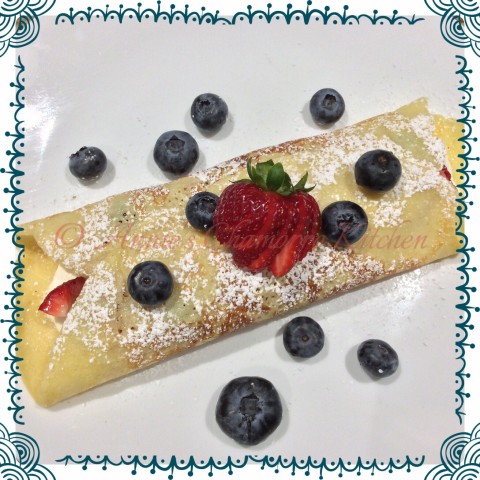
All that’s left to do is fill the crepes with filling and your favorite fruit.  We like — okay, we LOVE — fresh berries in ours.

image

Spread some filling down the middle of a crepe.

image

Add fruit, as much as you like.

image

Fold each side over the middle, sprinkle with powdered sugar, and ENJOY! 😀

image

Scroll down for my complete recipes.


Crepes
 
Tender crepes filled a sweet cream; it's perfect for breakfast or served as a dessert.
Author:
Ingredients
Crepe batter:
  • 3 eggs
  • 3 tablespoons sugar
  • 2 tablespoons butter, melted
  • 1 teaspoon vanilla extract
  • ½ teaspoon salt
  • 2 cups milk
  • 1 cup flour
Filling:
  • 8-oz cream cheese
  • 3 tablespoons powdered sugar
  • 8-oz cool whip
  • Fresh berries
Other:
  • Powdered sugar
  • Butter-flavored cooking spray
Instructions
Make the crepes:
  1. Place the eggs in a large mixing bowl; beat slightly with a whisk.
  2. Mix in the remaining ingredients for the batter. Whisk until smooth.
  3. Pour ½ cup of batter onto a heated skillet. Cook over medium-low heat until lightly browned on one side. Flip the crepe and cook the other side until lightly browned.
Make the filling:
  1. Place the cream cheese and powdered sugar into a small mixing bowl. Use a hand mixer to mix until creamy.
  2. Mix in the Cool Whip.
Assemble the crepes:
  1. Spread some cream filling down the middle of a crepe.
  2. Top with fresh fruit.
  3. Fold the sides over the middle. Sprinkle with powdered sugar.
ENJOY!

Rice Krispy Treat Easter Eggs

This is a fun and yummy project you and your kids can make this Easter.

image

To make these delicious and cute treats, you’ll need:

  • 6 cups Kellogg’s® Rice Krispies® cereal
  • 3 tablespoons butter
  • 1 package (10 oz.) marshmallows
  • Sweetened shredded coconut
  • Green food coloring
  • Pretzel sticks
  • Peeps marshmallow chicks
  • Large plastic eggs that can open/split in half
  • Butter-flavored cooking spray
  • Small candies

image

Make some Rice Krispy treats using the recipe printed on the cereal box.

Spray the insides of large (and clean) plastic eggs with butter-flavored cooking spray.  Fill each plastic egg half with the cereal treats while still warm and pliable.  Use your thumb to create an indentation inside each egg half.

Carefully remove the formed cereal treat from each egg half.

Fill the thumbprint hole with your favorite candy (we like jelly beans and peanut m&m’s).  Press the halves together to form the cereal treat eggs.

Decorate with marshmallow Peeps, “grass” and “twigs” and enjoy!

To make the “grass”, tint sweetened coconut flakes green using a few drops of green food coloring.  Use pretzel sticks for the twigs.

Have fun and enjoy these delicious treats!

image

Soft and Chewy Gingerbread Cookies

Gingerbread cookies are so much fun to make — and eat!  My daughter even says they “taste like Thanksgiving and Christmas.” 😉

image

These aren’t the kind of cookies that you bake and form into shapes suitable for ornaments or making gingerbread houses.

In fact, this dough cannot be rolled out like traditional gingerbread.  Rather, the dough is soft and moist (and actually requires chilling in order to handle it better), and the cookies bake up super fluffy, soft, and chewy.

image

Funny story here…

I brought a couple dozen cookies to work and offered them to my coworkers. They all smiled politely when I said they were gingerbread cookies, but then politely declined to eat any. The SECOND I told them they were SOFT and CHEWY, not the hockey-puck-rock-hard-gingersnap cookies, they ate them like they hadn’t eaten in days! 😀

image

So, let’s get to it, shall we?

Start by placing the flour into a medium sized mixing bowl.

image

Now for the heart and soul of these incredible gingerbread cookies.  You’ll need baking soda, cinnamon, ground cloves, nutmeg, salt and ginger.  Even before the cookies bake, the aroma of these spices make you think of fall and Thanksgiving, and all that comes with holiday baking.

image

Mix the spices with the flour.  I use a whisk to really mix it all together.  You don’t want any of the seasonings to clump together when you mix it with the wet ingredients.  Set this flour mixture aside for now.

image

Place the softened butter in a large mixing bowl.  I use a stand mixer because this makes a lot of cookie dough, but you can use a hand mixer as well.

As mentioned above, this makes a large batch of cookie dough, but don’t worry.  These cookies are so good, you’ll be glad you made a lot of them. 🙂

image

Beat the butter until creamy.

image

Add the brown sugar to the mixing bowl.

image

Mix until light and fluffy.

This is a great mixture to spread over hot dinner rolls, by the way.  Just add a teaspoon of ground cinnamon and voila! Sweet Cinnamon Butter!

image

Now I want to make some dinner rolls, but I digress.

Anyhoo…back to the cookies.

Add the molasses, eggs and vanilla extract to the mixing bowl.

image

Mix on low speed for a minute or so, or until you get a nice creamy consistency like what’s pictured below.  Scrape down the sides of the bowl if you need to then mix again.

image

Add the flour mixture, one cup at a time, mixing on low speed just until the flour mixture is incorporated into the wet batter.

image

Continue mixing in the dry ingredients, a cup at a time, until a dough forms.  Stop mixing when you no longer see clumps of dry ingredients.  Do not over mix the dough.

Because this is a really wet dough, you need to chill it for several hours before making dough balls.  I usually prepare the dough while dinner is cooking, then I pop the mixing bowl into the freezer while we eat dinner.  After dinner, I take the dough out of the freezer and bake the cookies.

image

Now that your dough chilled sufficiently enough to handle, scoop out small amounts (about 1 1/2 to 2 tablespoons) and form into balls.  I use a small cookie scoop to do this — I have a bit of OCD; I like all of my cookies to be the same size. 😉

Roll the balls of dough in a bowl of granulated sugar.  Ensure the entire ball is well-coated with sugar.

image

Place each ball of dough onto a baking pan.  If you have regular baking pans, make sure to line the pan with parchment paper first.  I use stoneware pans; there is no need to line them with parchment paper.

Place the balls about 1 1/2 to 2 inches apart.  These cookies will spread, but they won’t spread too much.

image

Bake the cookies for 10 minutes.  Let the cookies cool on the pan for a couple of minutes then remove them to a wire rack to finish cooling completely.

See how nicely they puff up?  As the cookies cool, they will settle just a little bit, but they will still be a bit puffy, and they will most definitely be soft and chewy.

image

Place any uneaten cookies in an airtight container.  They will stay soft and chewy for several days (if they last that long). 🙂

image

Here’s my complete recipe.  I think you’ll really like this one.  ENJOY!


Soft and Chewy Gingerbread Cookies
 
Prep time
Cook time
Total time
 
SOFT & CHEWY gingerbread cookies that make you think of Thanksgiving and the holidays, all year round. These are NOT at all like the typical rock-hard gingersnap cookies.
Author:
Recipe type: Cookies
Cuisine: American
Ingredients
  • 6 cups all-purpose flour
  • 2 teaspoons baking soda
  • 1 tablespoon cinnamon
  • ½ teaspoon ground cloves
  • ½ teaspoon nutmeg
  • ½ teaspoon salt
  • 1½ tablespoons ground ginger
  • 1½ cups (or 3 sticks) unsalted butter, softened
  • 1½ cups dark brown sugar
  • ⅔ cup dark molasses
  • 2 large eggs
  • 2 tablespoons vanilla extract
  • ¾ cup white, granulated sugar (for coating the cookie dough balls)
Instructions
  1. In a medium sized bowl, place the flour, baking soda, cinnamon, cloves, nutmeg, salt, and ginger. Whisk to combine all the dry ingredients then set aside.
  2. Place the butter in a large mixing bowl. Using a stand or handheld mixer, beat the butter until creamy.
  3. Add the brown sugar to the creamed butter. Mix until fluffy.
  4. Add the molasses, eggs and vanilla extract to the butter-sugar mixture. Mix until well incorporated. Scrape down the sides if required and mix again.
  5. Mix the dry ingredients, one cup at a time, with the butter mixture. Stop mixing once the last bit of the dry ingredients are mixed into the dough (do not over mix).
  6. Cover the mixing bowl with plastic wrap and refrigerate the dough for 2-3 hours. (I placed my bowl in the freezer for 30 minutes to speed things up.)
  7. Scoop out some chilled dough and roll into a ball. I use a small cookie scoop that holds 1½ tablespoons.
  8. Roll each ball of dough in the granulated sugar, coating the entire ball. Place the coated balls onto a parchment paper lined baking sheet (if you use a stoneware pan you don't need to line it), about 1½ inches apart. These cookies will spread only a little, so you don't need to space them too far apart.
  9. Bake in a preheated 350 degree oven for 10 minutes. Let the cookies cool on the pan for a couple of minutes then remove to a wire rack to finish cooling.
These cookies are soft and chewy, and will stay soft for several days (if they last that long!) when stored in an airtight container. This recipe makes about 6 dozen small cookies.


Chamorro Potato Salad

Chamorro Potato Salad is a must-have at any Chamorro gathering.  Your fiesta menu would not be complete without it.

There are several variations to this classic side dish, but Chamorros pretty much make it the same basic way.  We use potatoes (of course) — any kind good for baking, but russets are most common — eggs, black olives, pimentos, sweet pickle relish and mayo (more on this later).

Some people add other vegetables such as celery, carrots, or freshly diced pickles, but I like mine with just the ingredients I listed above.

I like a lot of eggs in my salad.  I usually add anywhere between 8 and 12 eggs for 5 pounds of potatoes.  When I was little, before I knew what I was missing, I would get my mom and sisters to pick out all of the eggs from their potato salad and give it to me — that was all I’d eat out of it, just the eggs.  Now I know better and eat it ALL.  It’s so good.

My complete recipe is at the bottom of this post.  Give it a try.  I think you’ll like it. 🙂
image

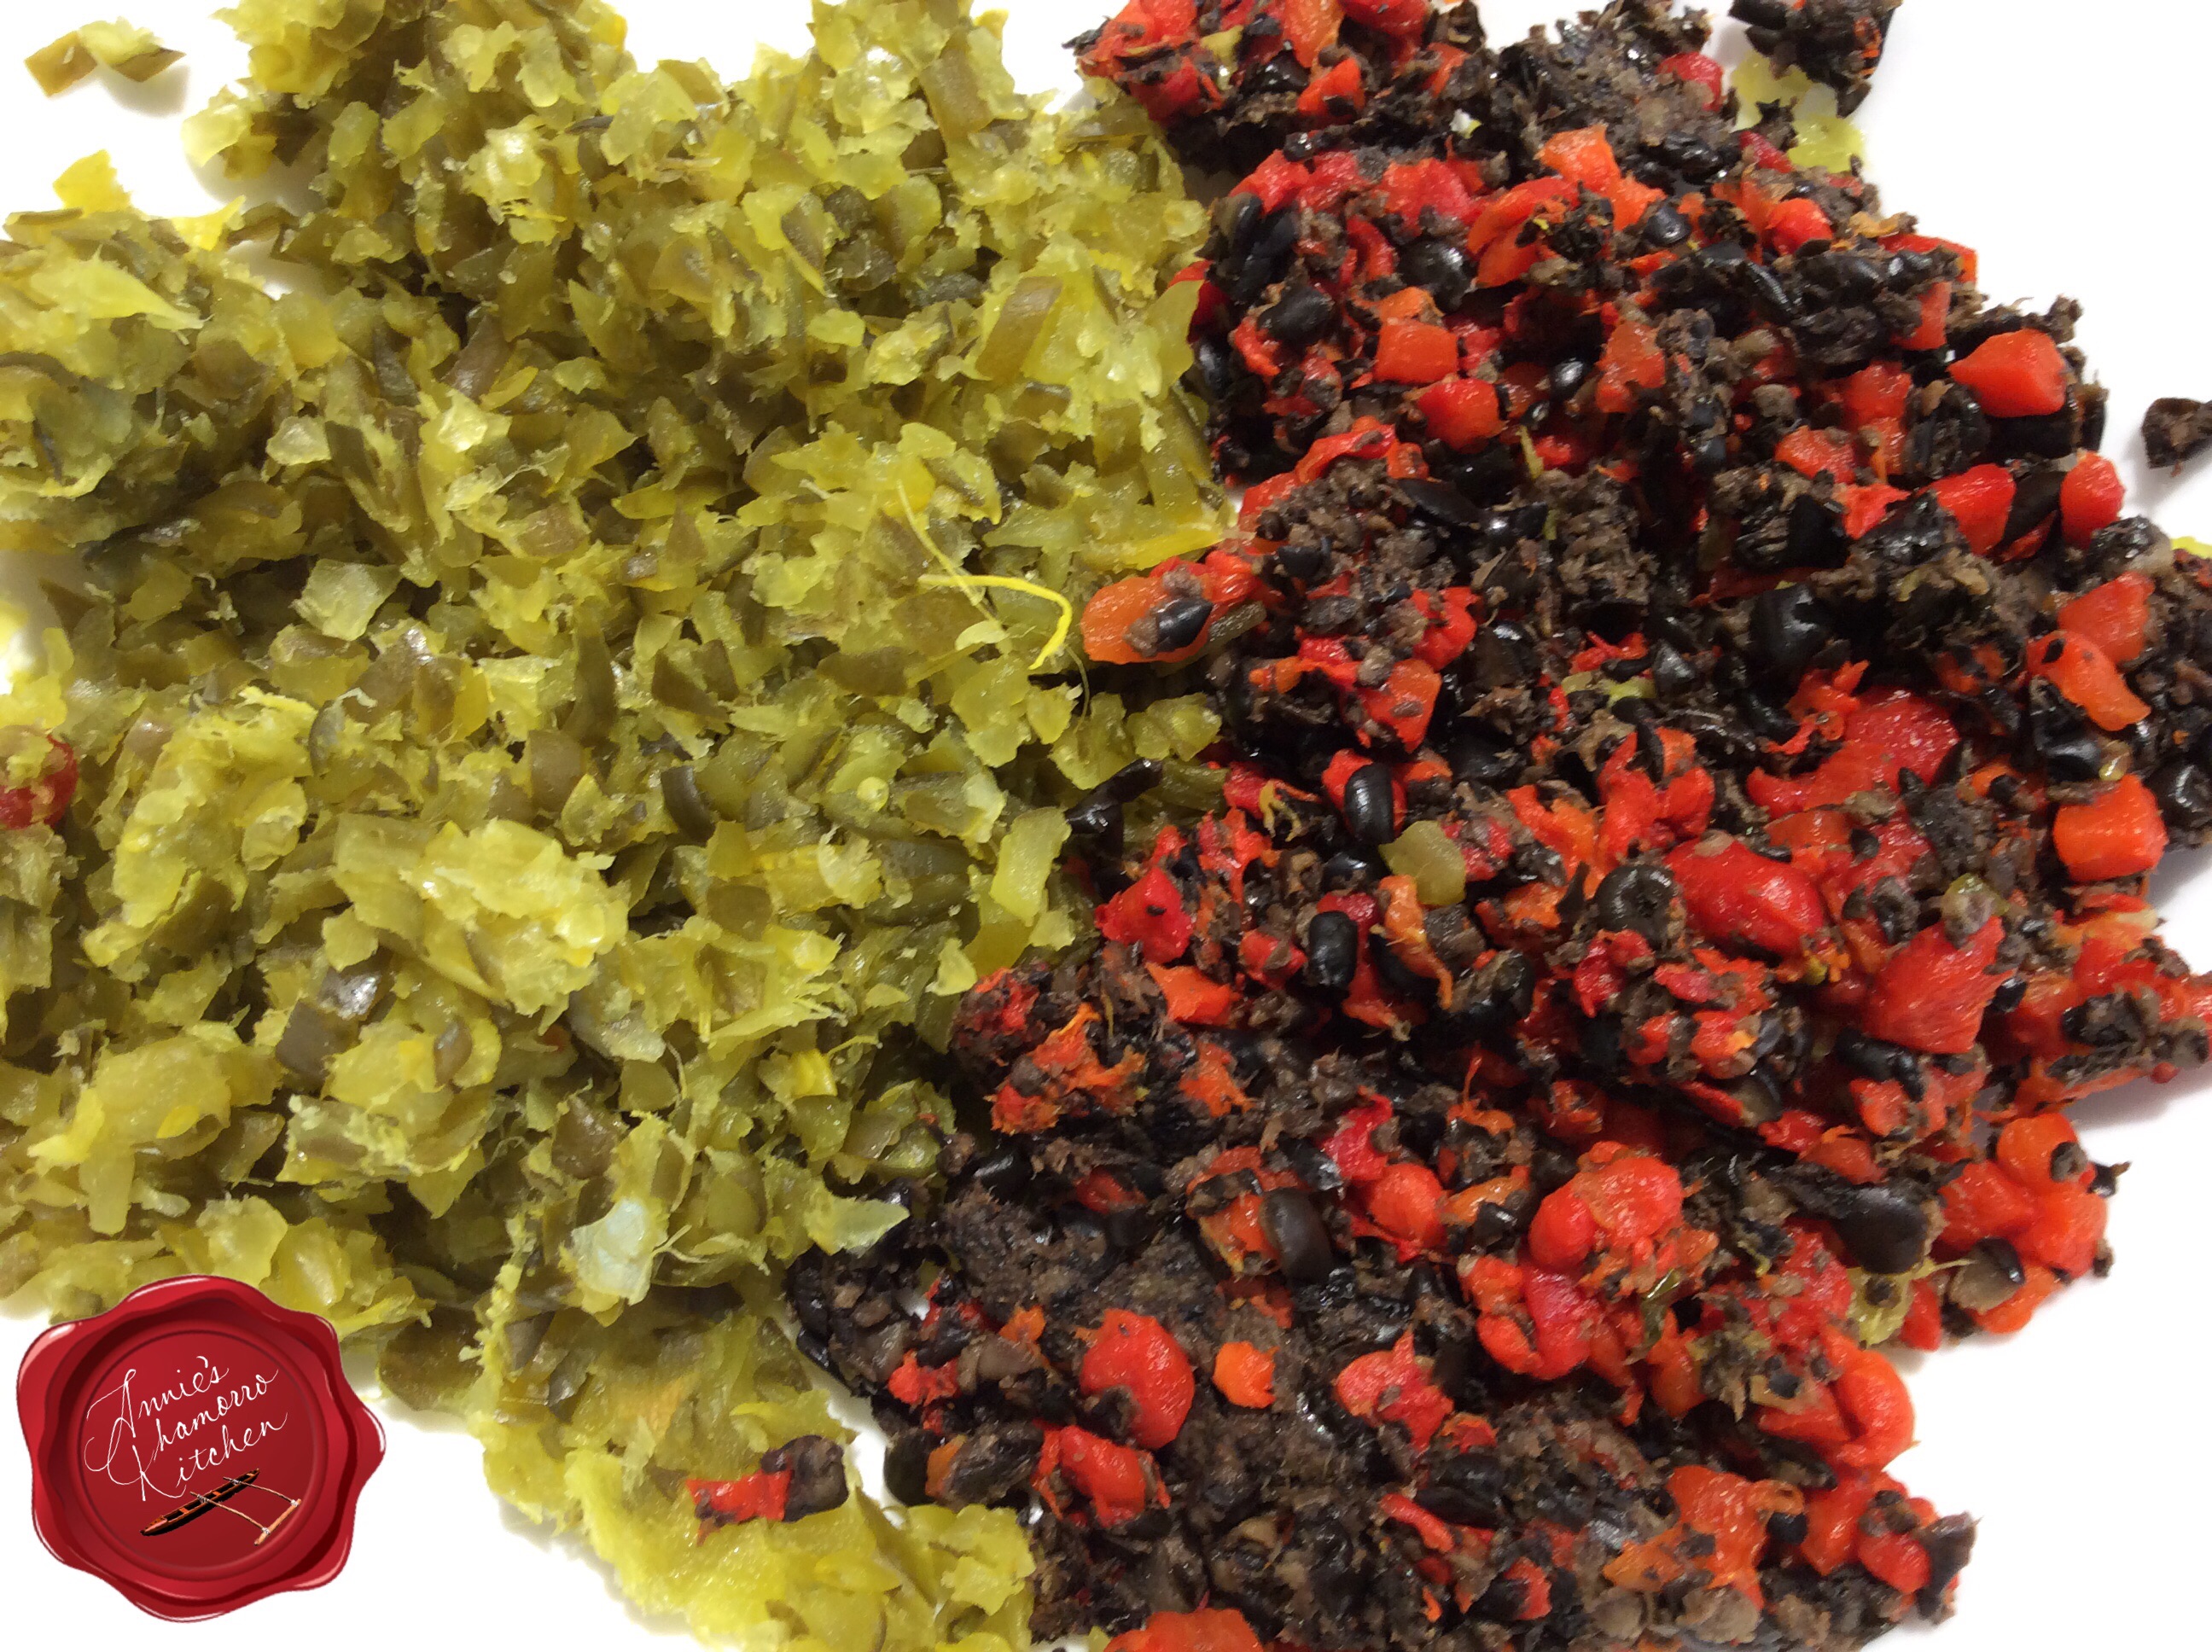
 Start by squeezing out as much liquid from the relish, pimentos and olives.

If you don’t squeeze out as much liquid as possible, your salad will be wet and runny, not to mention died the color of the olives, pimentos and relish.

Who wants to eat a mushy blackish-reddish-greenish concoction?  If that description had you grimacing in disgust, then it served its purpose.  Squeeze out the liquid.  Trust me, you’ll be glad you did. 😉

You can dump out all of the contents into a fine-mesh strainer, and using the back of a large spoon, press out as much liquid as possible.  I managed to press out about 3/4 cup of liquid from the relish, and that was BEFORE I used a cloth to really get the liquid out (see more about this technique below).image

image

Another option — which is my preferred method — is to place all of the wet ingredients into the center of a clean cheesecloth or kitchen rag (don’t use towel-like cloths or you’re likely to get strings of fabric into your salad).  Gather the edges of the cloth together, twisting at the top to compress the ingredients.  Squeeze the balled up portion to get out as much liquid as you can.  Keep squeezing until no more (or very little) liquid extrudes through the cloth.

Set the relish, pimentos and olives aside.image

Meanwhile, rinse the potatoes and place them into a large pot of hot water.  Add the eggs to the pot.  Bring the water to a boil.  Cook the eggs (in the boiling water) for 10-12 minutes then remove them from the pot.  Keep cooking the potatoes until they are done (insert a butter knife or metal skewer into the center of a potato — if it slides in smoothly and easily, the potatoes are done).
image

Remove the potatoes from the boiling water.  If you let cooked potatoes sit in water for too long, they soak up too much water, becoming mushy.

image

Allow the potatoes and eggs to cool before peeling the skin and shell off.  If you want to decorate the top of your salad, set aside one egg yolk.
image

Cut the potatoes and eggs into small cubes.  You can make them as big or as small as you like.  Don’t cut them too small, however, or you’ll end up with a mashed potato salad.
image

Add the seasonings to the dry mixture — I like adding onion powder, black pepper and salt.  The seasonings get distributed easier with the dry potatoes.  If you add the seasonings after adding the mayo and wet condiments (relish, olives and pimentos), you might get clumps of seasonings that don’t get mixed well.

Stir gently to mix the seasonings with the potato-egg mixture.  Taste it at this point and add more seasonings to your liking.  Don’t add more salt, however.  Mayonnaise has salt; wait until you mix the mayo into the salad before adding more salt.
image

Add the relish, olives and pimentos to the bowl.  Stir gently to combine.
image

Doesn’t it look so festive already?  If you like more olives, relish, and/or pimentos in your salad, by all means, add more.  Just be sure to squeeze out as much liquid as you can.

image

Fold in the mayo.  Chamorros will tell you that you MUST use Best Foods or Hellmann’s brand mayonnaise in Chamorro Potato Salad.  I must admit that I hold true to that sentiment as well.  Our classic Chamorro potato salad just doesn’t taste the same if you use “Dressing” (aka Miracle Whip).

I like my potato salad a little heavy on the mayo.  Use less if you like your salad a bit more on the dry side.
image

♩ ♪ ♫ ♬   Ta daaa!  ♬ ♫ ♪ ♩

It’s almost done.

My mom ALWAYS decorated the top of her potato salad, even if we were just eating it at home and not serving it at a party or family gathering.
image

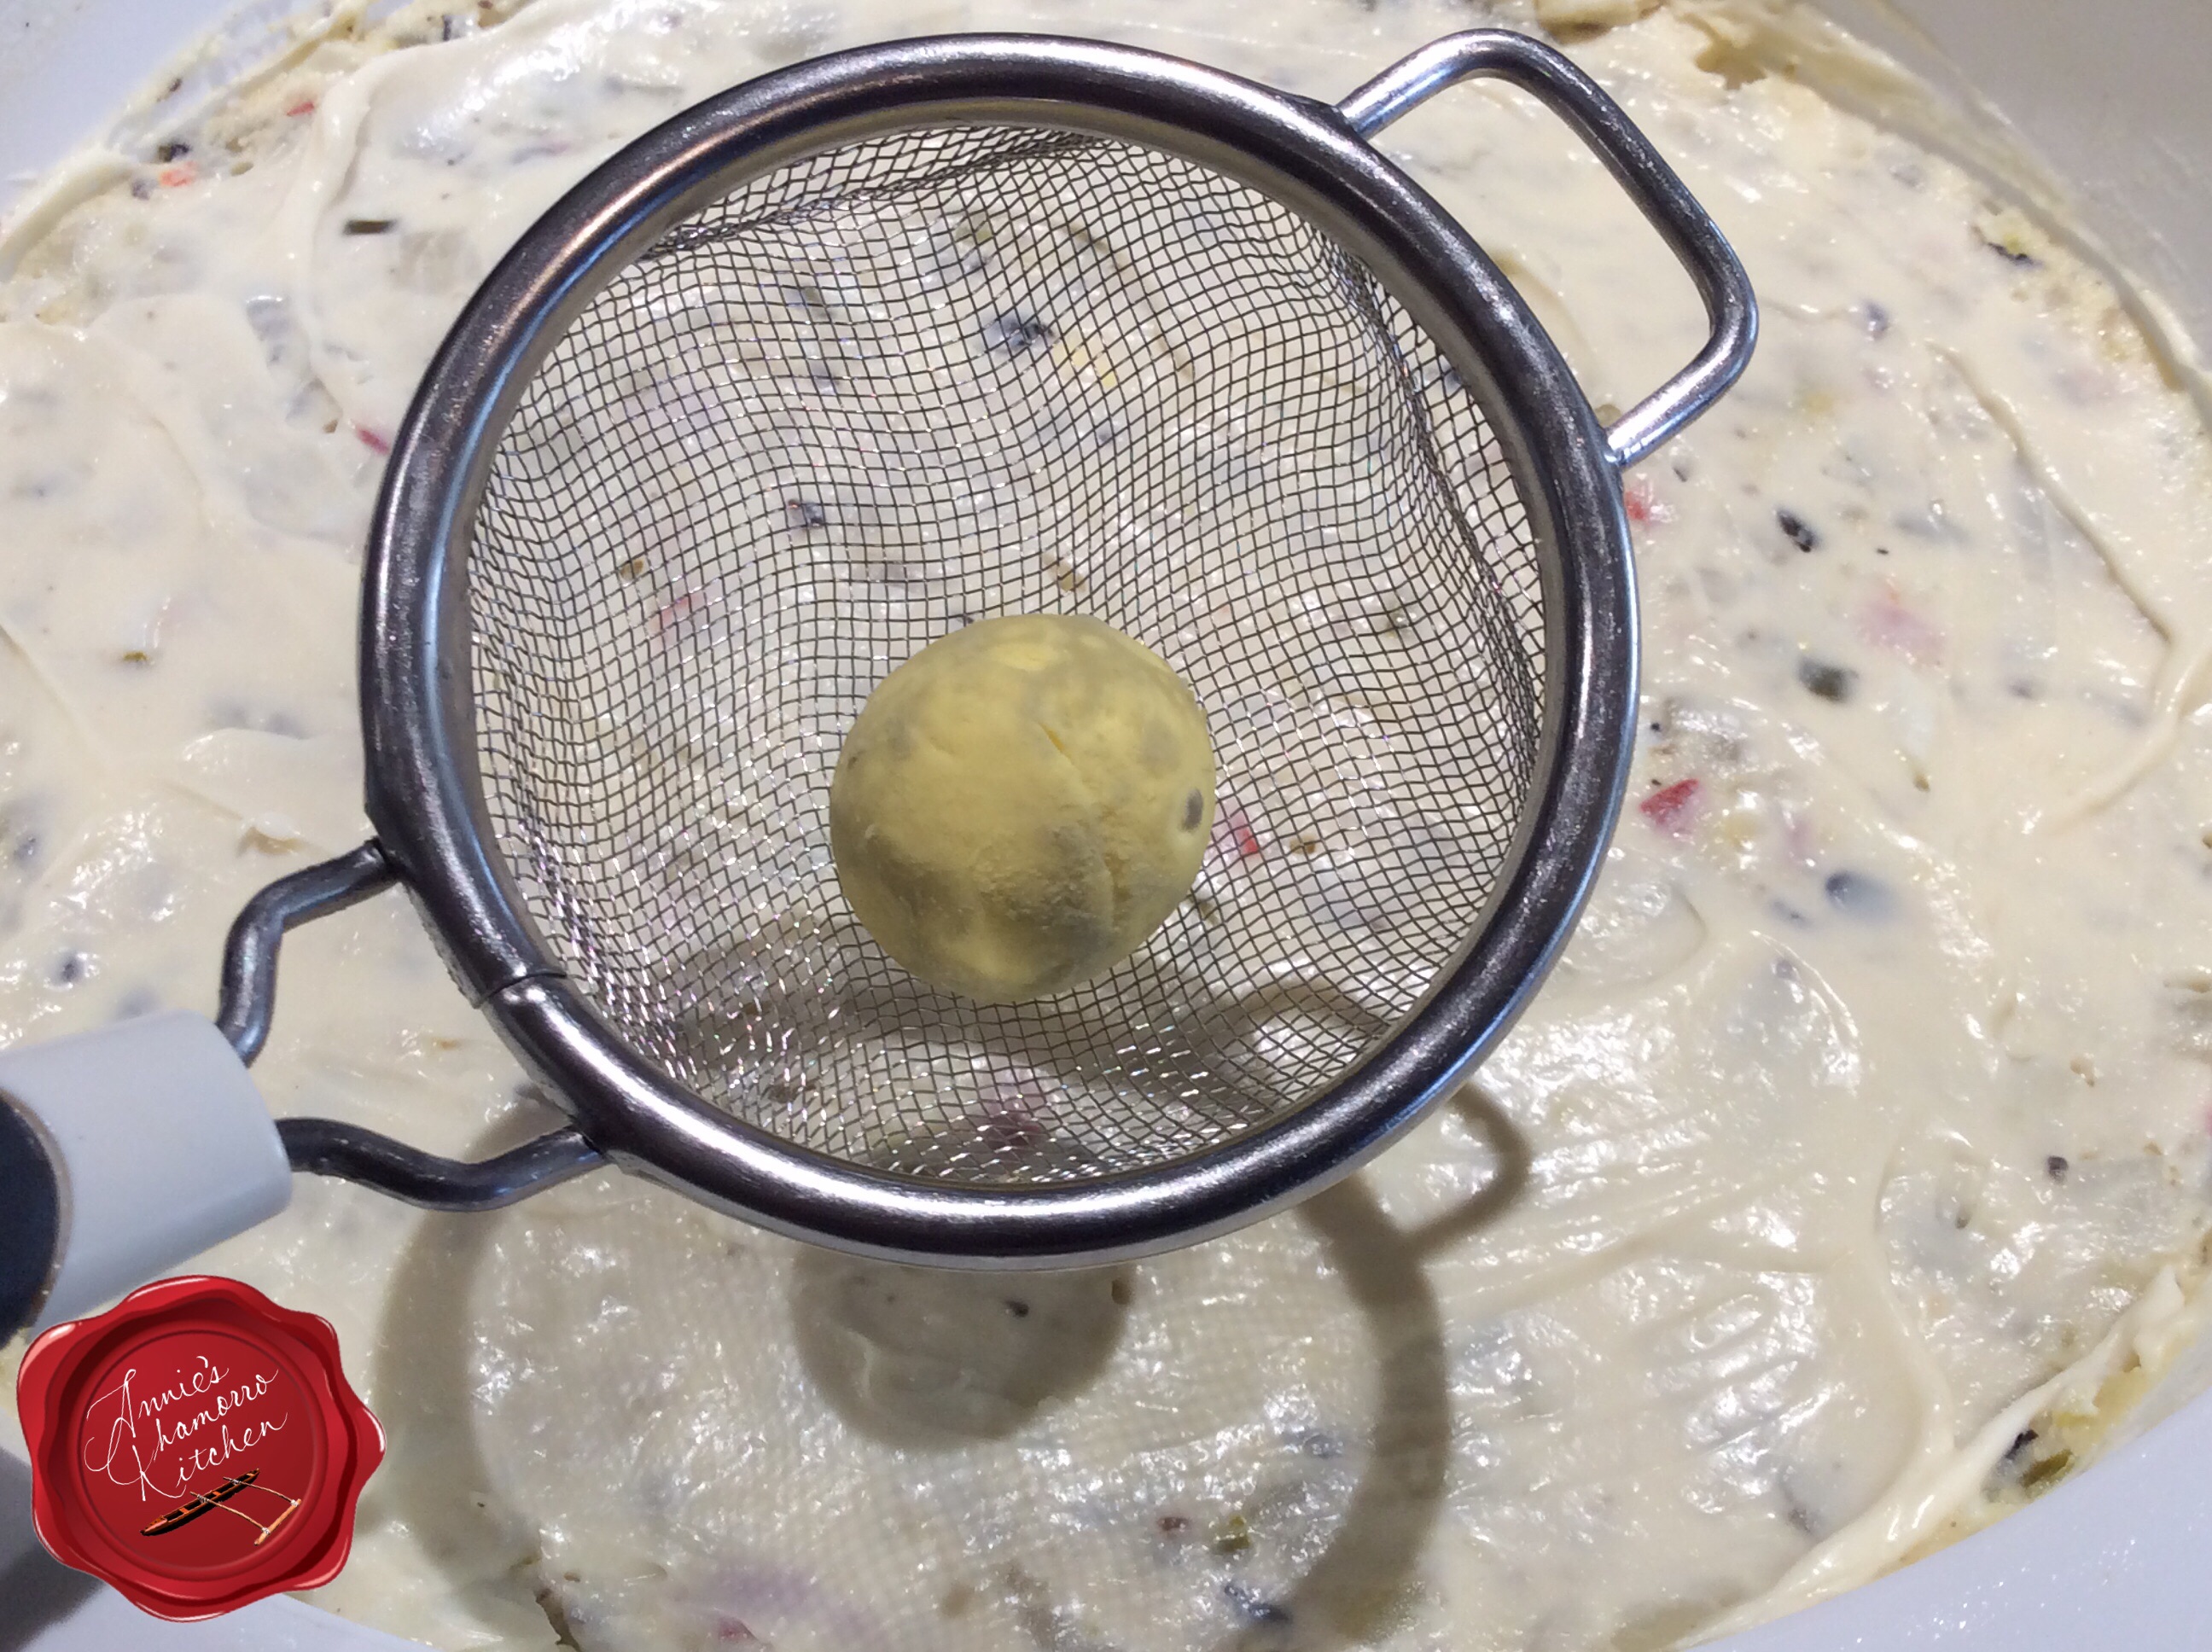
Remember that egg yolk I told you to set aside?  Well, it’s time to for it to make its debut.  Place the yolk in a small fine-mesh strainer.

Oh…wait…before you do anything with the yolk, spread a very thin layer of mayo (a couple of tablespoons should do it) over the top of the salad.  This serves as the “canvas” for your egg yolk decoration.

image

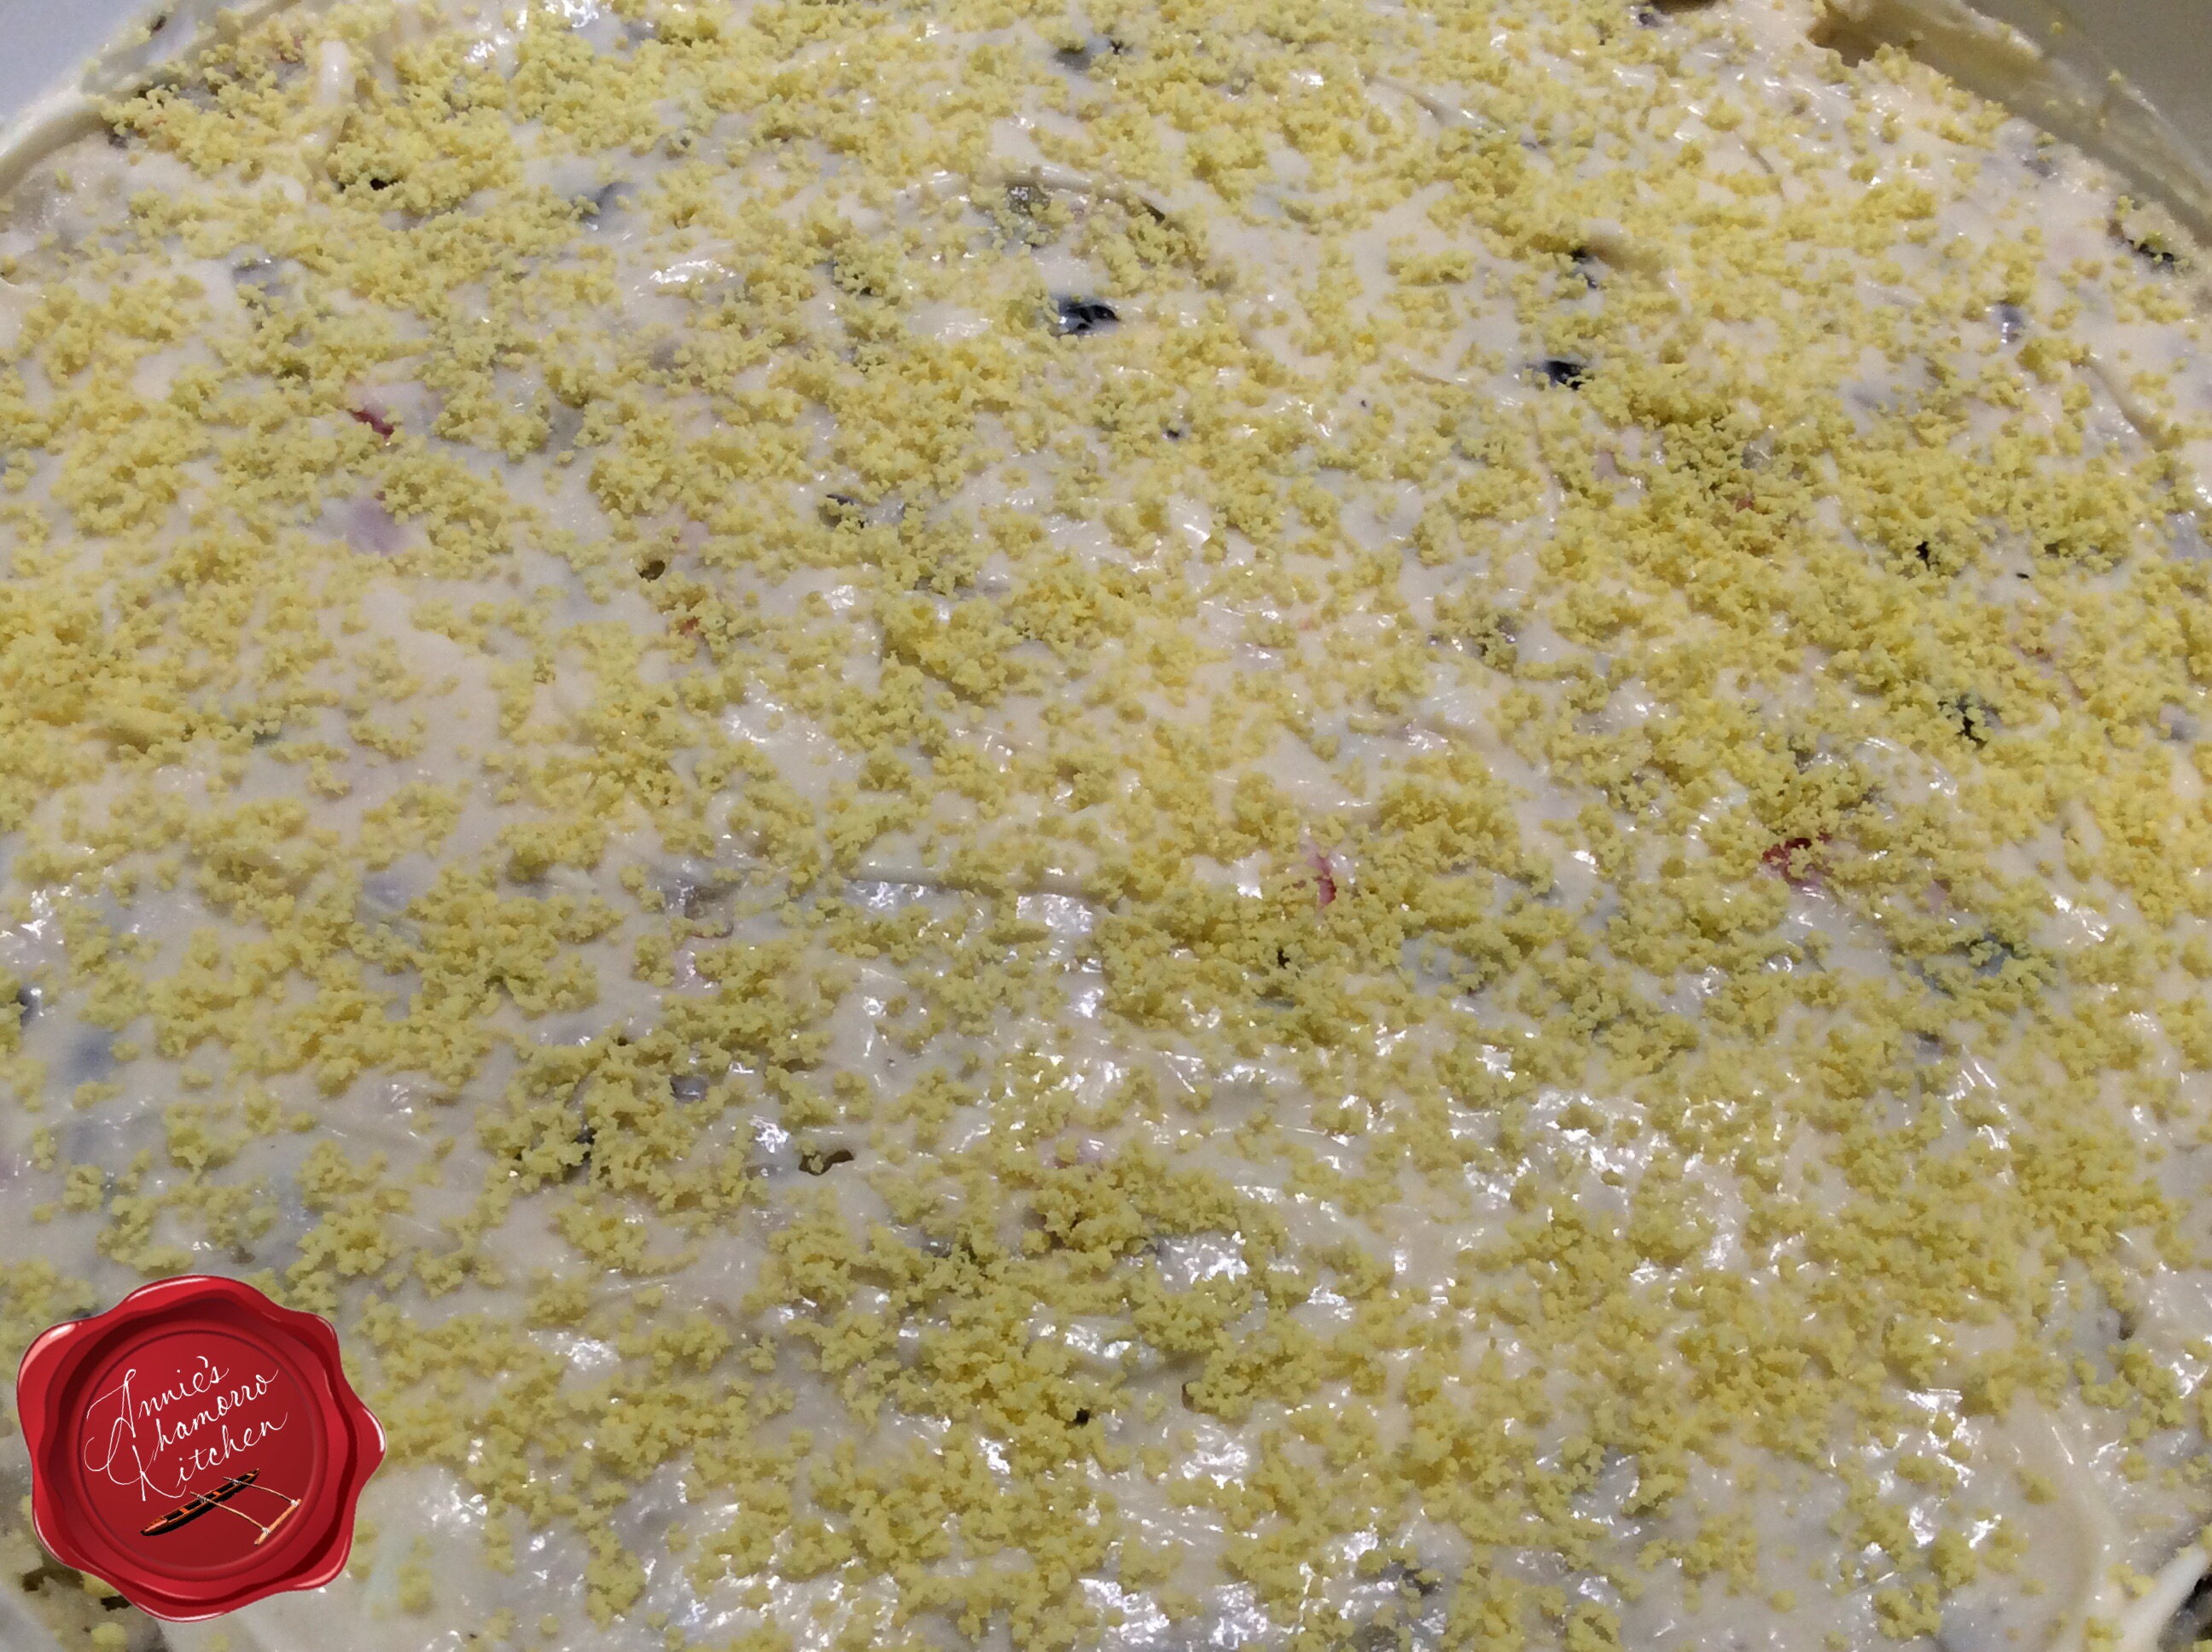
Use a spoon or fork to gently push the yolk through the strainer, creating a “snowfall” of egg yolk over the top of the potato salad.  Mom always saved some pimento and olives to make pretty flowers as well, and she’d make flower stems using celery leaves.  Be as creative as you like.

image

See, isn’t this pretty (even without pimento and olive “flowers”)? 🙂

imageServe and ENJOY!

My potato salad goes perfectly with Red Rice, BBQ Chicken, Pancit and Diago’ Kimchi. 🙂

10177415_10205032220313494_3992143486966150129_n


Potato Salad
 
A classic Chamorro side dish that is a must-have on your Fiesta table.
Author:
Recipe type: Side
Cuisine: Chamorro
Ingredients
  • 5 pounds potatoes
  • 8 hard boiled eggs (set aside one yolk), diced
  • 1 tablespoon onion powder
  • 2 teaspoons salt
  • 1 teaspoon black pepper
  • 1 can (4.25 oz) chopped black olives, squeezed to remove as much liquid as possible
  • 2 jars (4 oz) diced pimentos, squeezed to remove as much liquid as possible
  • 1 jar (10 oz) sweet pickle relish, squeezed to remove as much liquid as possible
  • 3 cups mayonnaise
Instructions
  1. Rinse the potatoes then place in a large pot filled with hot water. Bring the water to a boil. Cook until the potatoes are done (it's done when a knife or fork easily pushes through the potato when pierced). Remove the cooked potatoes from the water; allow to cool completely then peel and discard the potato skin. Cut into small cubes.
  2. Place the cubed potatoes and diced eggs into a large mixing bowl.
  3. Add the onion powder, salt and black pepper. Stir gently to combine.
  4. Add the drained and squeezed olives, pimentos and relish to the bowl. Stir to combine.
  5. Fold in the mayonnaise. Taste and adjust the seasonings.
Serve and ENJOY!

Paranormal Pretzels

My niece, Chrystina and her son, Damian have so much fun making snacks together.

Damian shared these cute pretzel snacks with his friends at school, but they’d be perfect for a kid’s party or for Halloween (being that they look like aliens or bugs). 🙂

image

Chrystina adapted this recipe from one she found in Parent magazine.  Here’s how she and Damian made them.

You’ll need to buy pretzels already covered in yogurt, but you can buy plain pretzels and coat them with white candy melts.

Use candy melts and multi-colored sprinkles for the eyes. Melt the candy melts in the microwave in 30-second intervals then pour into a frosting bag fitted with a small tip to do the eyes.  If you don’t have a frosting bag, you can also use a resealable bag, cutting a tiny piece off one corner.

NOTE: You need a helper to be putting the sprinkles on because the candy melts settle real quick!

From Chrystina:  “A lot of our little paranormal friends ended up looking like their eyes were gorged out and left empty and bloody — which is ok too.  Damian went as fast as he could. ☺️”

Have fun making these cute snacks.  Chrystina and Damian sure did. 🙂

« Older Entries