Archive for Lunch

Tater Tot Casserole

If you’re looking for a stick-to-your-ribs comfort dish, this one is it.  Tater tots, seasoned ground beef and cheese sauce are all baked into a casserole that will make your tummy and taste buds happy, happy, happy.

My complete recipe is located at the bottom of this post.  Give it a try.  I think you’ll like it. 🙂

Tater Tot Casserole

image

Although the name of this dish is “Tater Tot Casserole,” the real star is the cheese sauce that ties it all together.  If you do an online search, you’ll find that quite a few tater tot casserole recipes call for cream of mushroom or chicken soup.

While I do like the canned condensed soup, I thought I’d make my own for this recipe, and I’m glad I did.  Not only can you control the quality of ingredients that go into the dish, you can also control the amount of sodium as well.

Start by placing vegetable broth into a large pot.  You’ll use this same pot to eventually make the cheese sauce, so make sure your pot is big enough to fit the sauce base and all of the cheese and other delicious ingredients that go into it.

Bring the broth to a boil over medium-high heat.

image

Add chopped mushrooms, Dashida, garlic powder, black pepper, onion powder, and thyme to the pot.  Stir to combine, then place a lid on the pot.  Reduce the heat to medium and cook until the mixture returns to a boil.

image

While the broth is simmering, whisk some flour and milk together.

image

Pour the flour mixture into the boiling liquid, whisking as you pour so as to prevent lumps from forming.

image

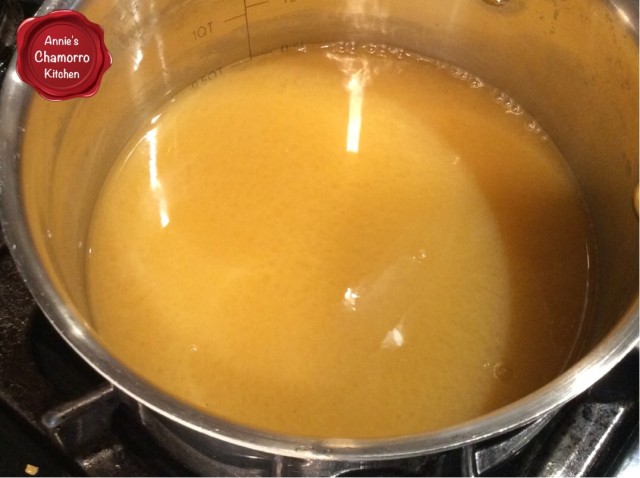
Turn the heat down to medium-low.  Cook for a couple of minutes to allow the base to thicken.  See, doesn’t this look better than the canned condensed soup?

It tastes better too. 🙂

image

Once you’ve got the base done, you can finish up the cheese sauce.

Whisk in some milk.

image

Add shredded cheese and sour cream to the pot.  Stir the mixture until the cheese melts.  Turn the heat off and place a lid on the pot.  Set the cheese sauce aside for now while you cook the ground beef.

image

Brown lean ground beef in a skillet over medium-high heat.  Add onions, garlic powder and Dashida; cook for 5 minutes or until the onions become translucent.

imagePreheat the oven to 400 degrees.

Place a layer of frozen tater tots in the bottom of a DEEP baking dish.  A deep roasting pan works well.

Pack those babies in there!

image

I don’t show it here, but add half of the cheese sauce to the pan, on top of the tater tots.

Add all of the ground beef to the pan, on top of the cheese sauce.

image

Pour the remaining cheese sauce over the ground beef.

image

Top with more tater tots.  Bake for 25 minutes, or until the tater tots are golden brown and crispy on top and the sauce is bubbly.

Serve and ENJOY!

image


Tater Tot Casserole
 
Prep time
Cook time
Total time
 
Delicious comfort food combining the childhood favorite, Tater Tots, with seasoned ground beef and a creamy, cheesy sauce.
Author:
Recipe type: One Dish Meal
Cuisine: American
Serves: 8
Ingredients
Meat and Potato Filling:
  • 2 pounds lean ground beef
  • ½ small onion, diced
  • 2 teaspoons garlic powder
  • 2 tablespoons Dashida (Korean beef flavored seasoning)
  • 1 large bag Tater Tots
Sauce Base:
  • 2 cups vegetable broth
  • ¾ cup chopped mushrooms
  • 2 teaspoons Dashida
  • 1 teaspoon garlic powder
  • ½ teaspoon black pepper
  • ½ teaspoon onion powder
  • ½ teaspoon dried thyme
  • ¾ cup milk
  • ½ cup flour
Cheese Sauce:
  • 2 cups milk
  • 16 ounces shredded cheddar cheese (I like to use a Mexican cheese blend)
  • 1 cup sour cream
Instructions
Prepare the Sauce Base:
  1. Bring the broth to a boil over medium-high heat.
  2. Add the mushrooms, Dashida, garlic powder, black pepper, onion powder and thyme. Return the mixture to a boil.
  3. Whisk the milk and flour in a small cup or bowl. Pour the mixture into the boiling liquid, whisking as you pour to prevent lumps from forming. Reduce the heat to medium-low; cook for a couple of minutes to thicken the base.
Make the Cheese Sauce:
  1. Whisk the remaining milk into the sauce base.
  2. Stir in the shredded cheese and sour cream. Set the sauce aside.
Brown the Meat:
  1. Brown the ground beef in a skillet over medium-high heat.
  2. Add the onions and Dashida. Cook for 5 minutes or until the onions become translucent.
Layer the Casserole:
  1. Pre-heat the oven to 400 degrees.
  2. Using a DEEP DISH pan, layer the casserole as follows:
  3. ~ Tater tots, half the cheese sauce, meat, remaining sauce, then tater tots.
  4. Bake for 25 minutes or until the top layer of tater tots are golden brown and crispy and the cheese sauce is bubbly.
Serve and ENJOY!


Asian Chicken Lettuce Wraps

These chicken lettuce wraps are a good choice if you’re looking for a quick dish to make for an appetizer or a light meal.  I created this recipe when I was craving the popular appetizer served at a famous Chinese Restaurant chain.  It’s quite easy to make.  It only takes a few minutes to chop up the chicken and vegetables; you can have this on your table in about 30 minutes.

This is also a great dish if you have picky eaters like I do.  My youngest daughter opted to eat the filling with rice instead of the “yucky green lettuce”, but boy did she devour the savory, saucy chicken and VEGETABLE-laden filling! 😉  (Shhhh….don’t tell her.)

My complete recipe is located at the bottom of this post.  Give it a try.  I think you’ll like it. 🙂

Asian Chicken Lettuce Wraps

image

Make the stir fry sauce.

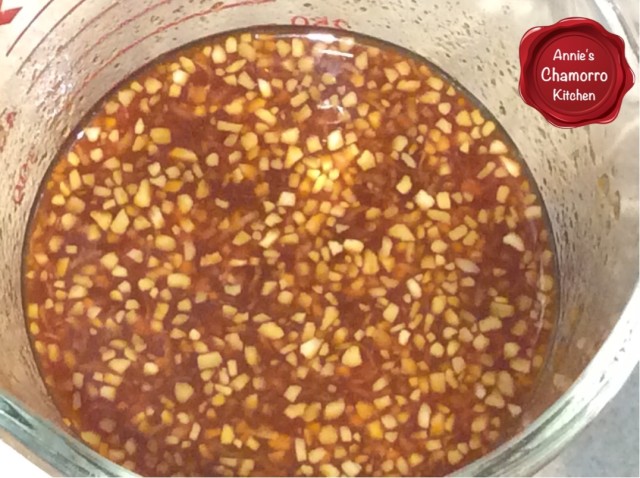
In a small bowl, mix all of the sauce ingredients together EXCEPT for the water and cornstarch mixture.

image

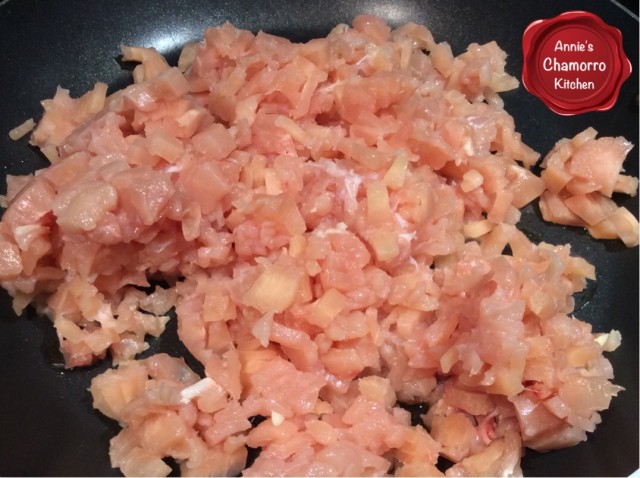
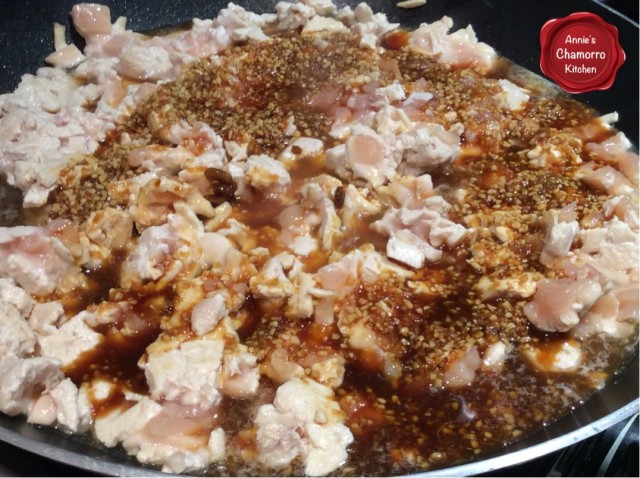
Heat a large pan or wok over medium-high heat.  Add the sesame oil and chicken.

image

Pour the sauce into the pan with the chicken.

image

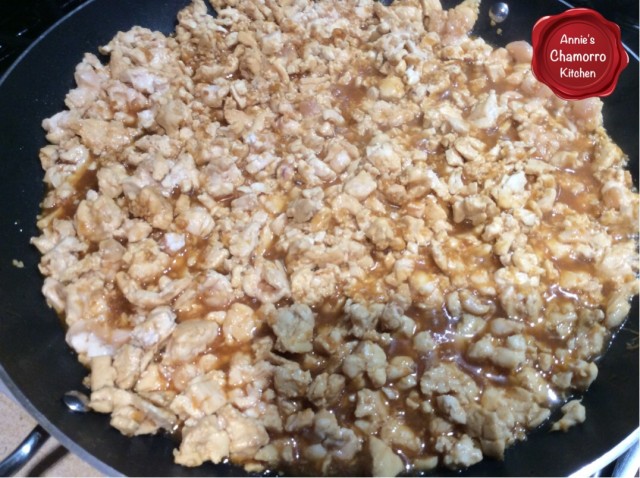
Stir occasionally, cooking until the chicken is no longer pink.

image

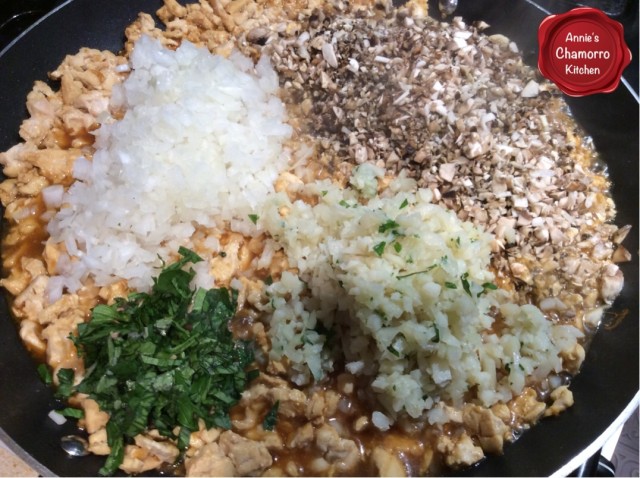
Add the water chestnuts, mushrooms, onion and Thai basil leaves.

image

Cook the chicken and vegetable mixture for a couple of minutes.

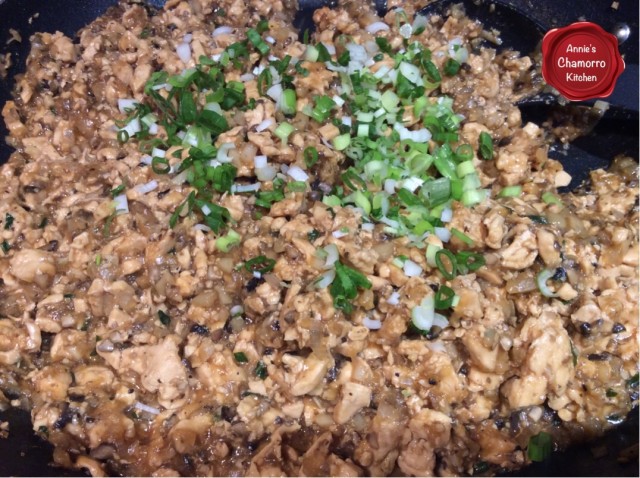
Stir the cornstarch-water mixture then pour into the pan, stirring the chicken mixture as you pour.  Cook for a couple more minutes, stirring constantly.  The sauce will thicken as it cooks.
Stir in half of the green onions.  Cook for a minute longer then remove from the heat.

image

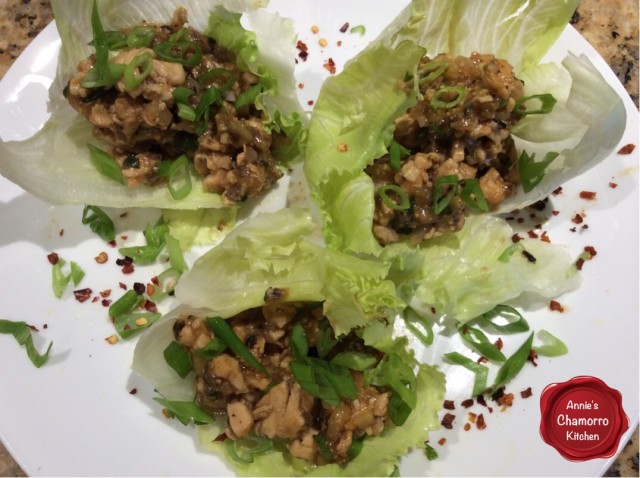
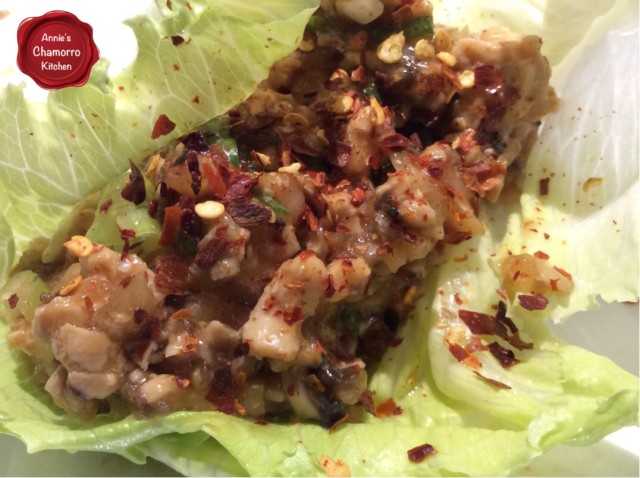
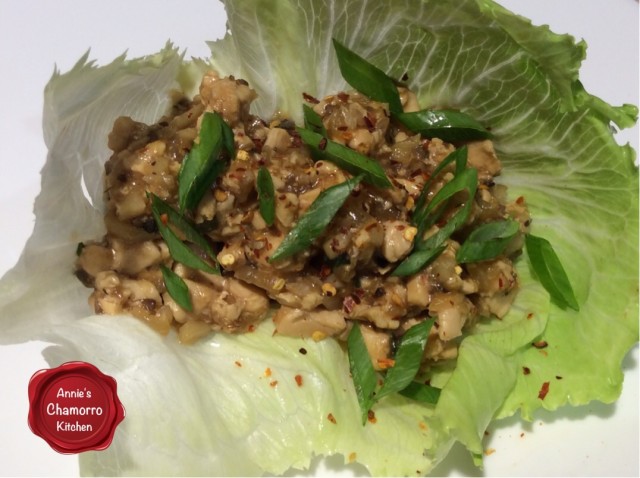
Fill the lettuce leaves with the chicken mixture.  Top with more green onions and hot pepper flakes.

ENJOY!

image


Asian Chicken Lettuce Wraps
 
Prep time
Cook time
Total time
 
Crispy lettuce filled with a savory mixture of chicken, water chestnuts, ginger, garlic and hoisin sauce that make a delicious appetizer or a light lunch or dinner meal.
Author:
Recipe type: Appetizer
Cuisine: Chinese
Serves: 6
Ingredients
Chicken Stir Fry
  • 4 tablespoons sesame oil
  • 4 boneless skinless chicken breasts, diced (or 1 pound ground chicken)
  • 2 cans water chestnuts, drained and diced
  • 1 package fresh mushrooms, chopped
  • 1 small onion, diced
  • 8 Thai basil leaves, optional
  • 8 stalks green onions, sliced
Stir Fry Sauce
  • 2 tablespoons chopped garlic
  • 1-inch piece of ginger, peeled and grated
  • ¼ cup brown sugar
  • ¼ soy sauce
  • ¼ cup hoisin sauce
  • 2 tablespoons rice wine vinegar
  • ¼ cup water mixed with 2 tablespoons corn starch
Lettuce Wraps
  • 1 large head butter or iceberg lettuce, wash, dried and leaves separated
  • Red pepper flakes, optional
Instructions
Make the stir fry sauce:
  1. In a small bowl or measuring cup, mix together the garlic, ginger, brown sugar, soy sauce, hoisin sauce, and rice wine vinegar.
  2. Set aside the cornstarch and water mixture for now.
Cook the chicken:
  1. Heat a large pan or wok over medium-high heat. Add the sesame oil and chicken.
  2. Pour the sauce over the chicken. Cook until the chicken is no longer pink, stirring occasionally.
  3. Add the water chestnuts, mushrooms, onion, and Thai basil leaves to the pan. Cook for 2-3 minutes.
  4. Stir the cornstarch-water mixture the pour into the pan, stirring as you pour. Cook for another couple of minutes until the sauce thickens.
  5. Stir in half of the green onions. Cook for a minute longer then remove from the heat.
Assemble the chicken wraps:
  1. Scoop some filling into the lettuce leaves.
  2. Top with some sliced green onions and pepper flakes.
ENJOY!


Chicken Macaroni Salad

Macaroni salad one of my family’s favorite side dishes.  There are many, many macaroni salad variations, but we’re simple…we like two specific kinds.  The first is a Hawaiian style macaroni salad and the other is Filipino style Macaroni salad.

My recipe below is for a very basic Filipino macaroni salad.  It has chicken, cheese, pineapple, and sweet relish, but you can also add other ingredients such as hard-boiled eggs, ham, and raisins.  Some of my Filipino friends also add a spoonful or more of sweetened condensed milk, but I don’t like mine too sweet (to me, the relish and pineapples add just the right amount of sweetness) so I don’t add it.

This dish is best made the night before you intend to serve it.  An overnight stay in the ‘fridge allows all the pasta to absorb all the delicious flavors.

I like to add lots of chicken (more than what I have in my recipe below) whenever I want to serve this as my main dish.  It’s great for packed lunches, and it’s also a quick and easy pot-luck dish.

Give my recipe a try.  I think you’ll like it. 🙂

Chicken Macaroni Salad

image

Ingredients:

  • 1 large chicken breast
  • Salt, black pepper, and garlic powder (for the chicken)
  • 1/4 cup all-purpose flour
  • 2 tablespoons vegetable oil
  • 5 cups cooked macaroni
  • 1 teaspoon black pepper (for the macaroni salad)
  • 1 10-ounce jar sweet pickle relish, with as much juice squeezed out as possible
  • 1 20-ounce can crushed pineapple, with as much juice squeezed out as possible
  • 7 ounces shredded cheddar cheese
  • 1 1/2 cups mayonnaise

Optional Ingredients:

  • 1/2 cup raisins
  • 2 hard boiled eggs, diced

Directions:

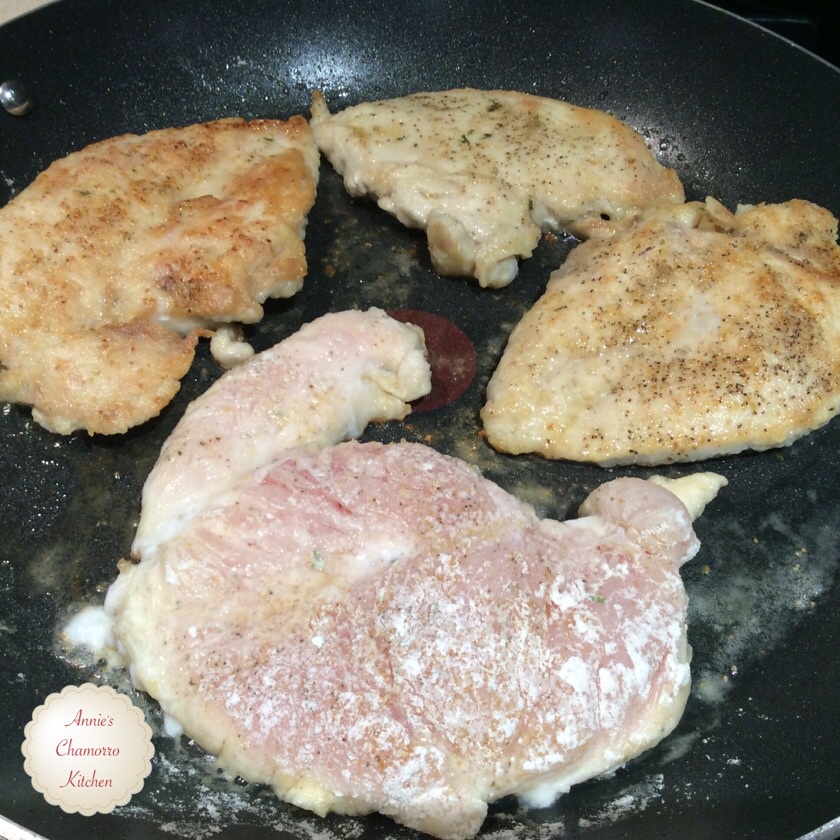
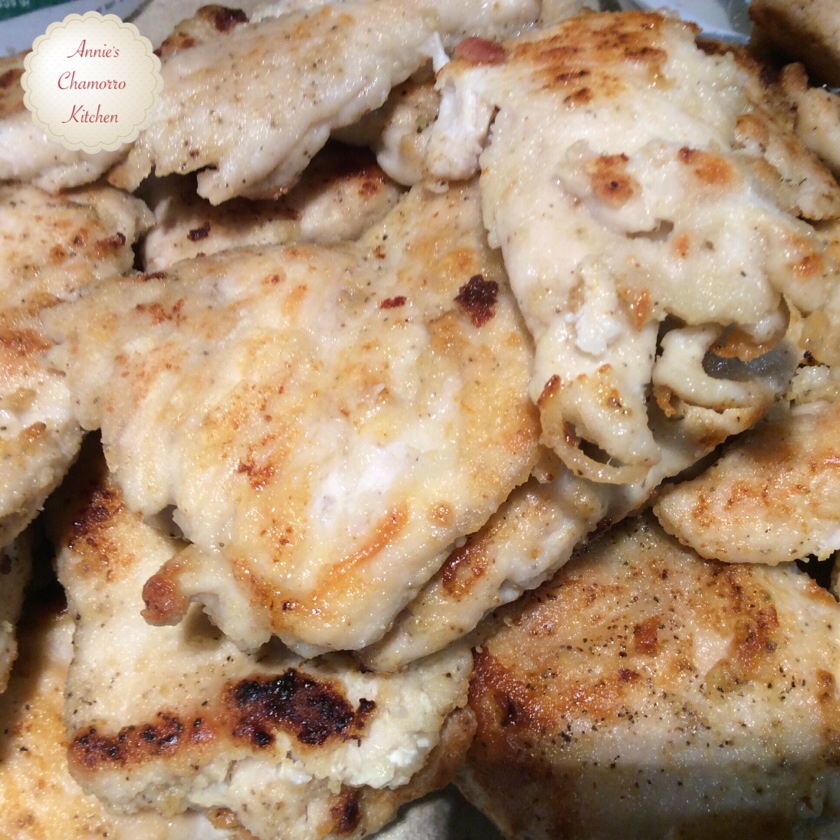
NOTE:  The photos below of the chicken show around 9 or 10 chicken breasts.  We like to cook several chicken breasts at a time so that we can use it throughout the week in various dishes.  We used one breast to make this salad; about 6 breasts were used in my daughter’s Chicken Marsala, and a couple more went into my daughter’s other dish, Mac-n-cheese with Chicken.  Cooking in bulk is a great way to save time during the week, especially if you’re pressed for time each morning.  It saves time at night too, when you’re trying to prepare dinner after a long day at work or school.

Prepare the chicken.

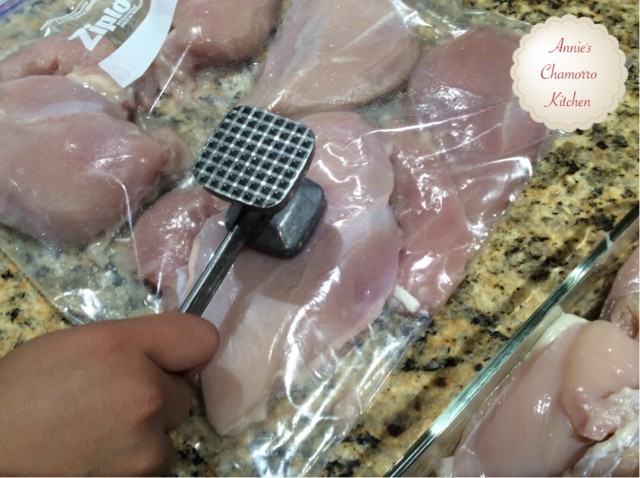
Place the chicken breast into a ziplock bag.  Use a kitchen mallet to flatten the chicken into about 1/4-inch thickness.

image

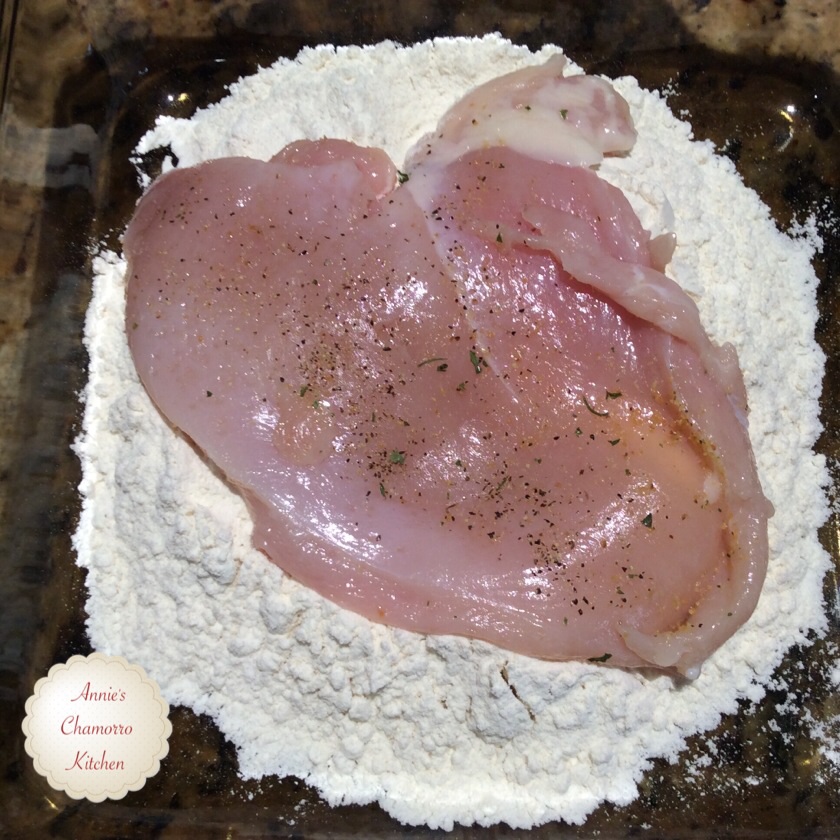
Sprinkle both sides of the chicken breast with salt, black pepper and garlic powder.

image

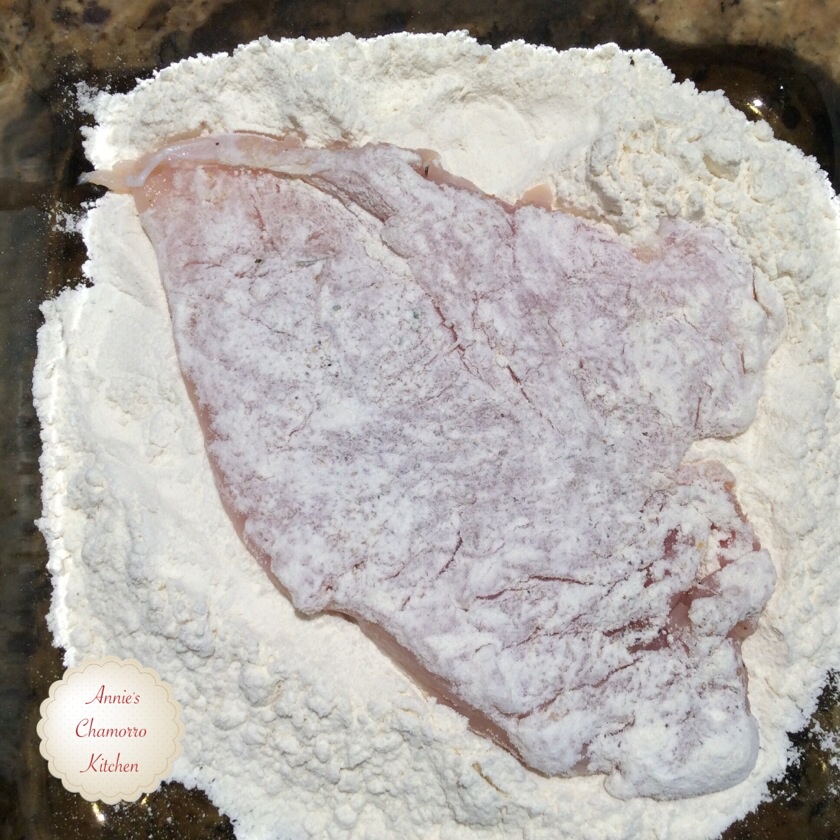
Dredge the seasoned chicken breast in the flour, covering both sides.

image  image

 Place a skillet over medium-high heat.  Add the vegetable oil to the pan.

image

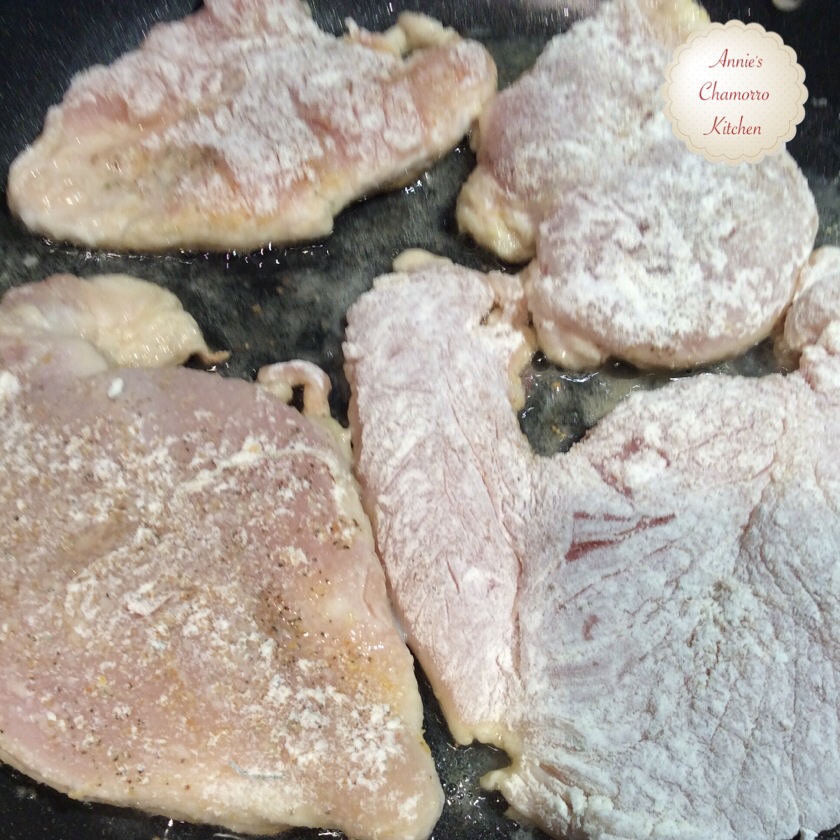
 Place the chicken in the pan when the pan and oil are hot.  Reduce the heat to medium.

image

 Cook the chicken for about 4-6 minutes on each side.

Turn occasionally to evenly brown both sides.

image

 Shred or thinly slice the cooked chicken and set it aside.

image


Prepare the macaroni salad.

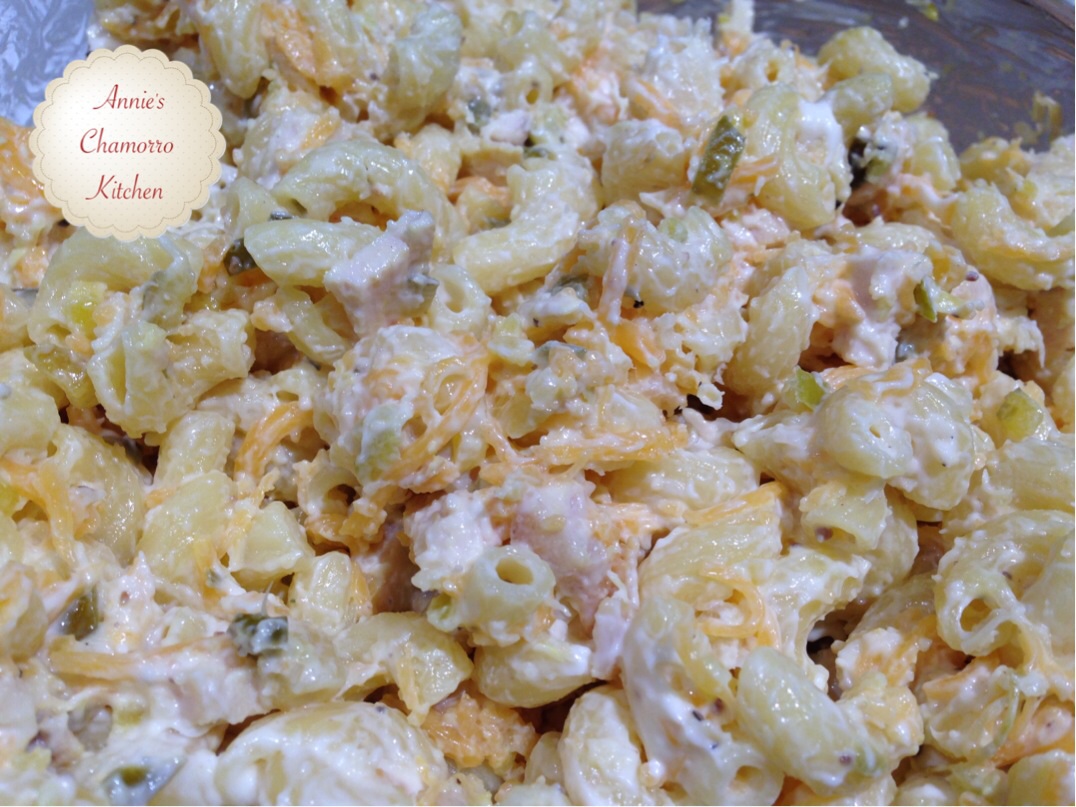
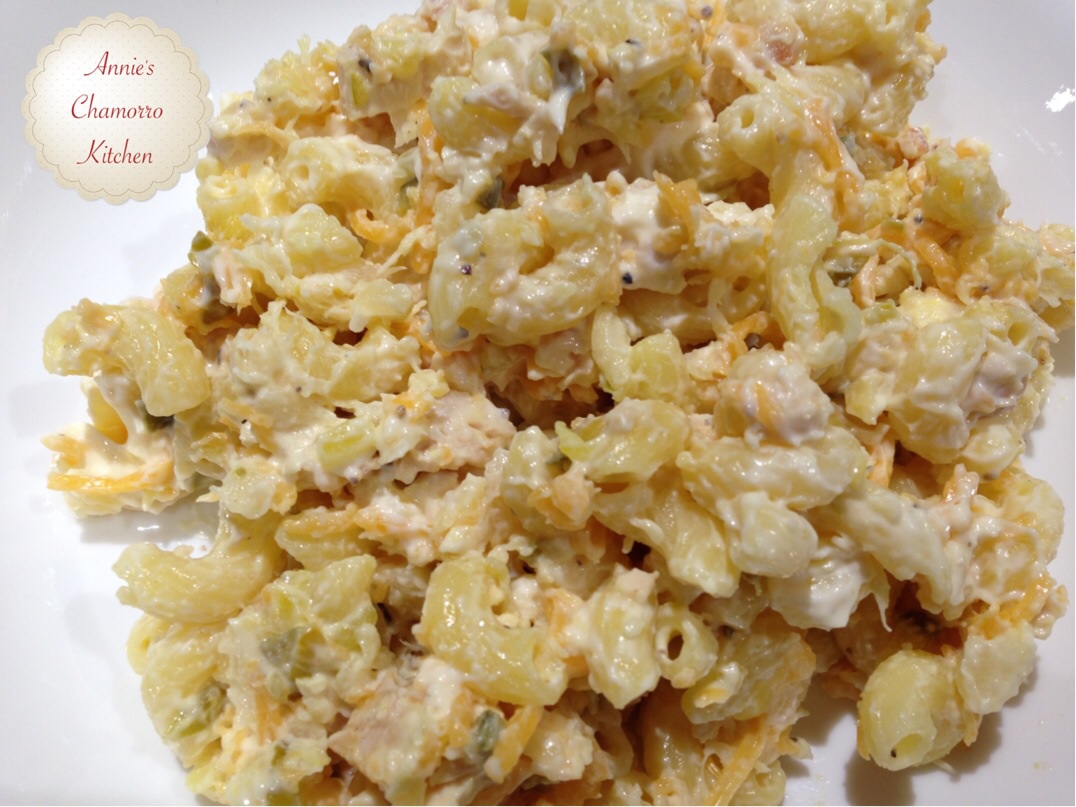
Place the shredded chicken breast, cooked macaroni, black pepper, relish, crushed pineapple, cheese and mayo in a large mixing bowl.  Add in any other optional ingredients.

Gently fold all of the ingredients together.  Refrigerate for 30 minutes to an hour to allow the flavors to meld.

Serve and ENJOY!

image


Hawaiian Pulled Pork

This is a cross between two of my family’s favorites — Kahlua Pork and traditional pulled pork with BBQ sauce.

The pork has that hint of smokiness like with Kahlua Pork, thanks to a bit of liquid smoke.  The addition of pineapple juice and brown sugar gives the pork a touch of sweetness, but not too much sweetness that you can’t eat the roast pork with our Chamorro standard fare of steamed rice and fina’denne if that’s what you prefer. 😉

In fact, my household is split in how we eat this succulent, fall-apart, fork-tender pork roast.  My oldest daughter and I like to create pulled pork sandwiches topped with my sweet and tangy Pineapple BBQ Sauce.  My husband and youngest daughter prefer it without the sauce — hubby likes it with rice, fina’denne’ and Tabasco, and daughter dearest likes it as a sandwich with a side of the broth (au jus) to dip her sandwich into.

If you’re as busy as I am, you’re usually looking for quick meals to prepare.  One of the last things I want to do when I come home from work is figure out what to cook for dinner.  Thankfully, this is a very easy recipe to prepare.  The pork itself cooks for several hours in a slow cooker or crock pot, and the sauce takes only minutes to cook.  Start cooking the roast in your crock pot when you wake up in the morning, and you’ll have dinner ready by the time you get home from work later in the day.

If you have any leftover pork and sauce, mix them together for the perfect filling for siopao.

Give my recipe a try.  I think you’ll like it. 🙂

Hawaiian Pulled Pork

IMG_4659

Ingredients:

  • 9-10 pounds boneless pork butt or shoulder
  • 1 medium onion, chopped
  • 2 tablespoons SEA salt (do not use regular table salt or it will be too salty)
  • 1/2 cup dark brown sugar
  • 1 cup pineapple juice
  • 1/4 cup soy sauce
  • 1 tablespoon liquid smoke
  • 2 tablespoons chopped garlic
  • 1 teaspoon whole black peppercorns

Directions:

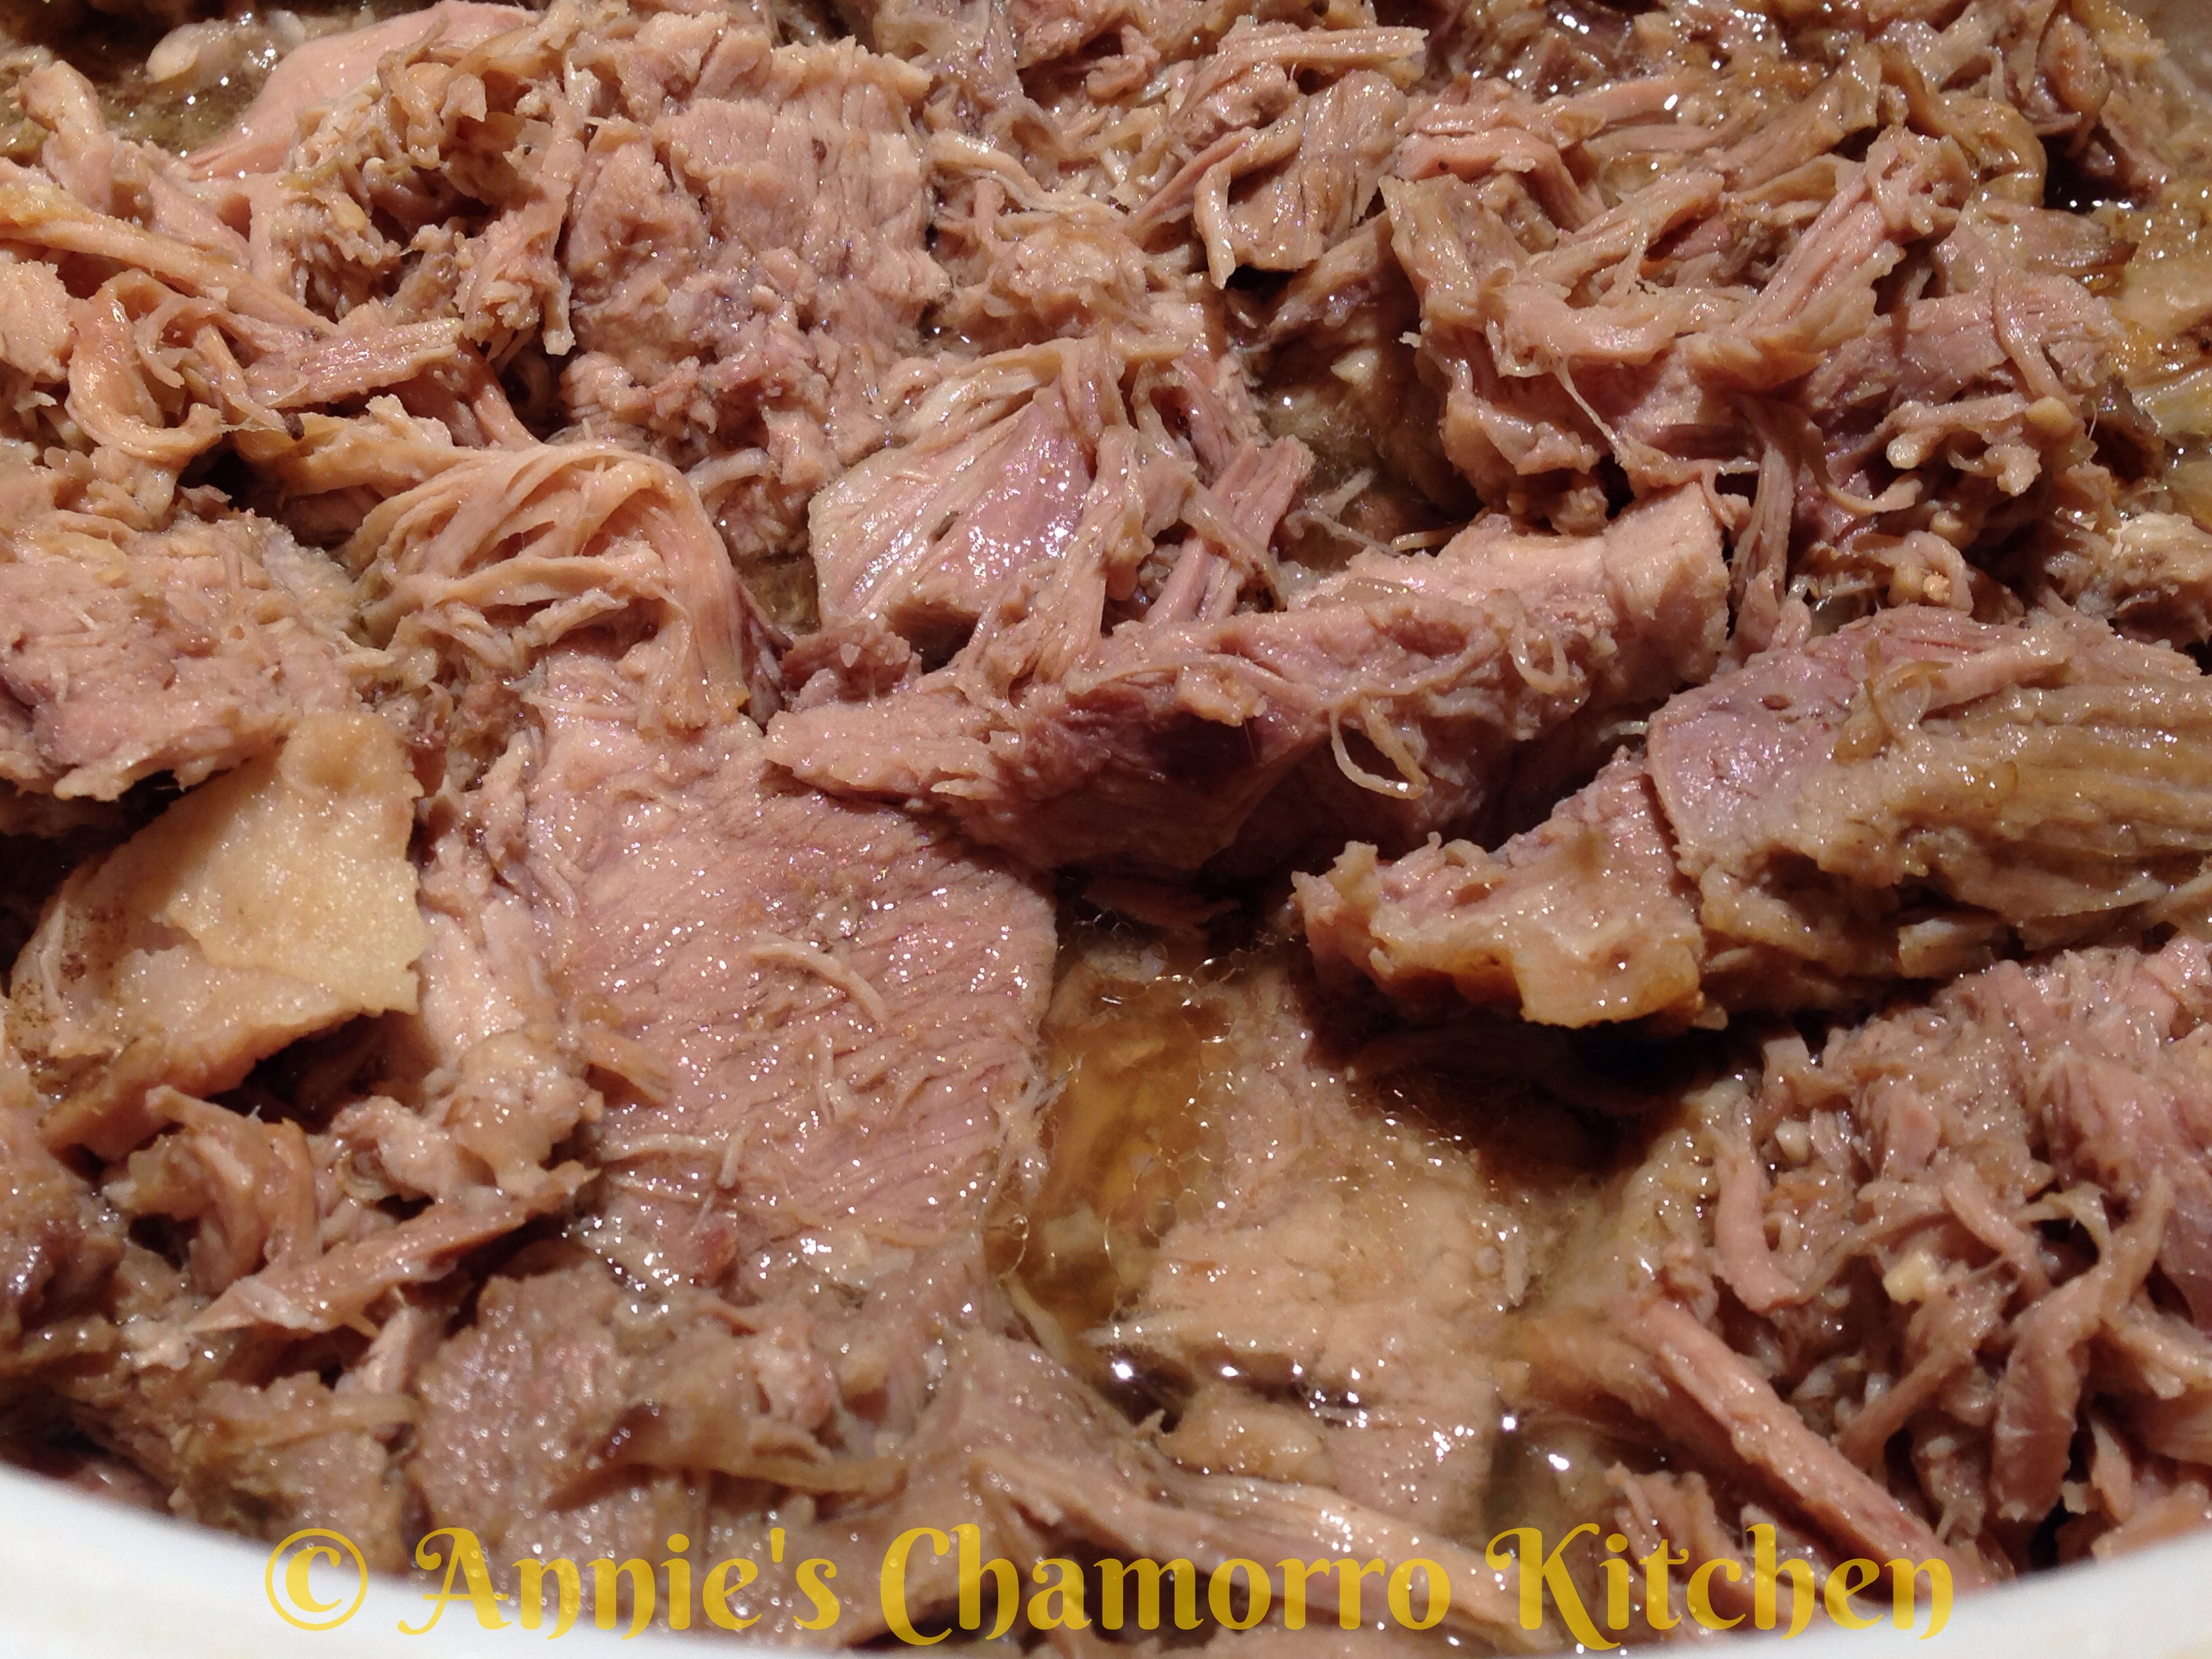
1.  Rinse the pork and trim off any excess fat.  Poke holes over the entire piece of pork (or pierce it with a sharp knife).  Place the pork into a crock pot with the remaining ingredients for the roast.  Give it a stir to roughly mix the ingredients together.  Set the crock pot to it’s medium-high setting (I use “auto-shift” on mine).  Cook the pork for at least 8 or 9 hours, 10 if you have the time.

image

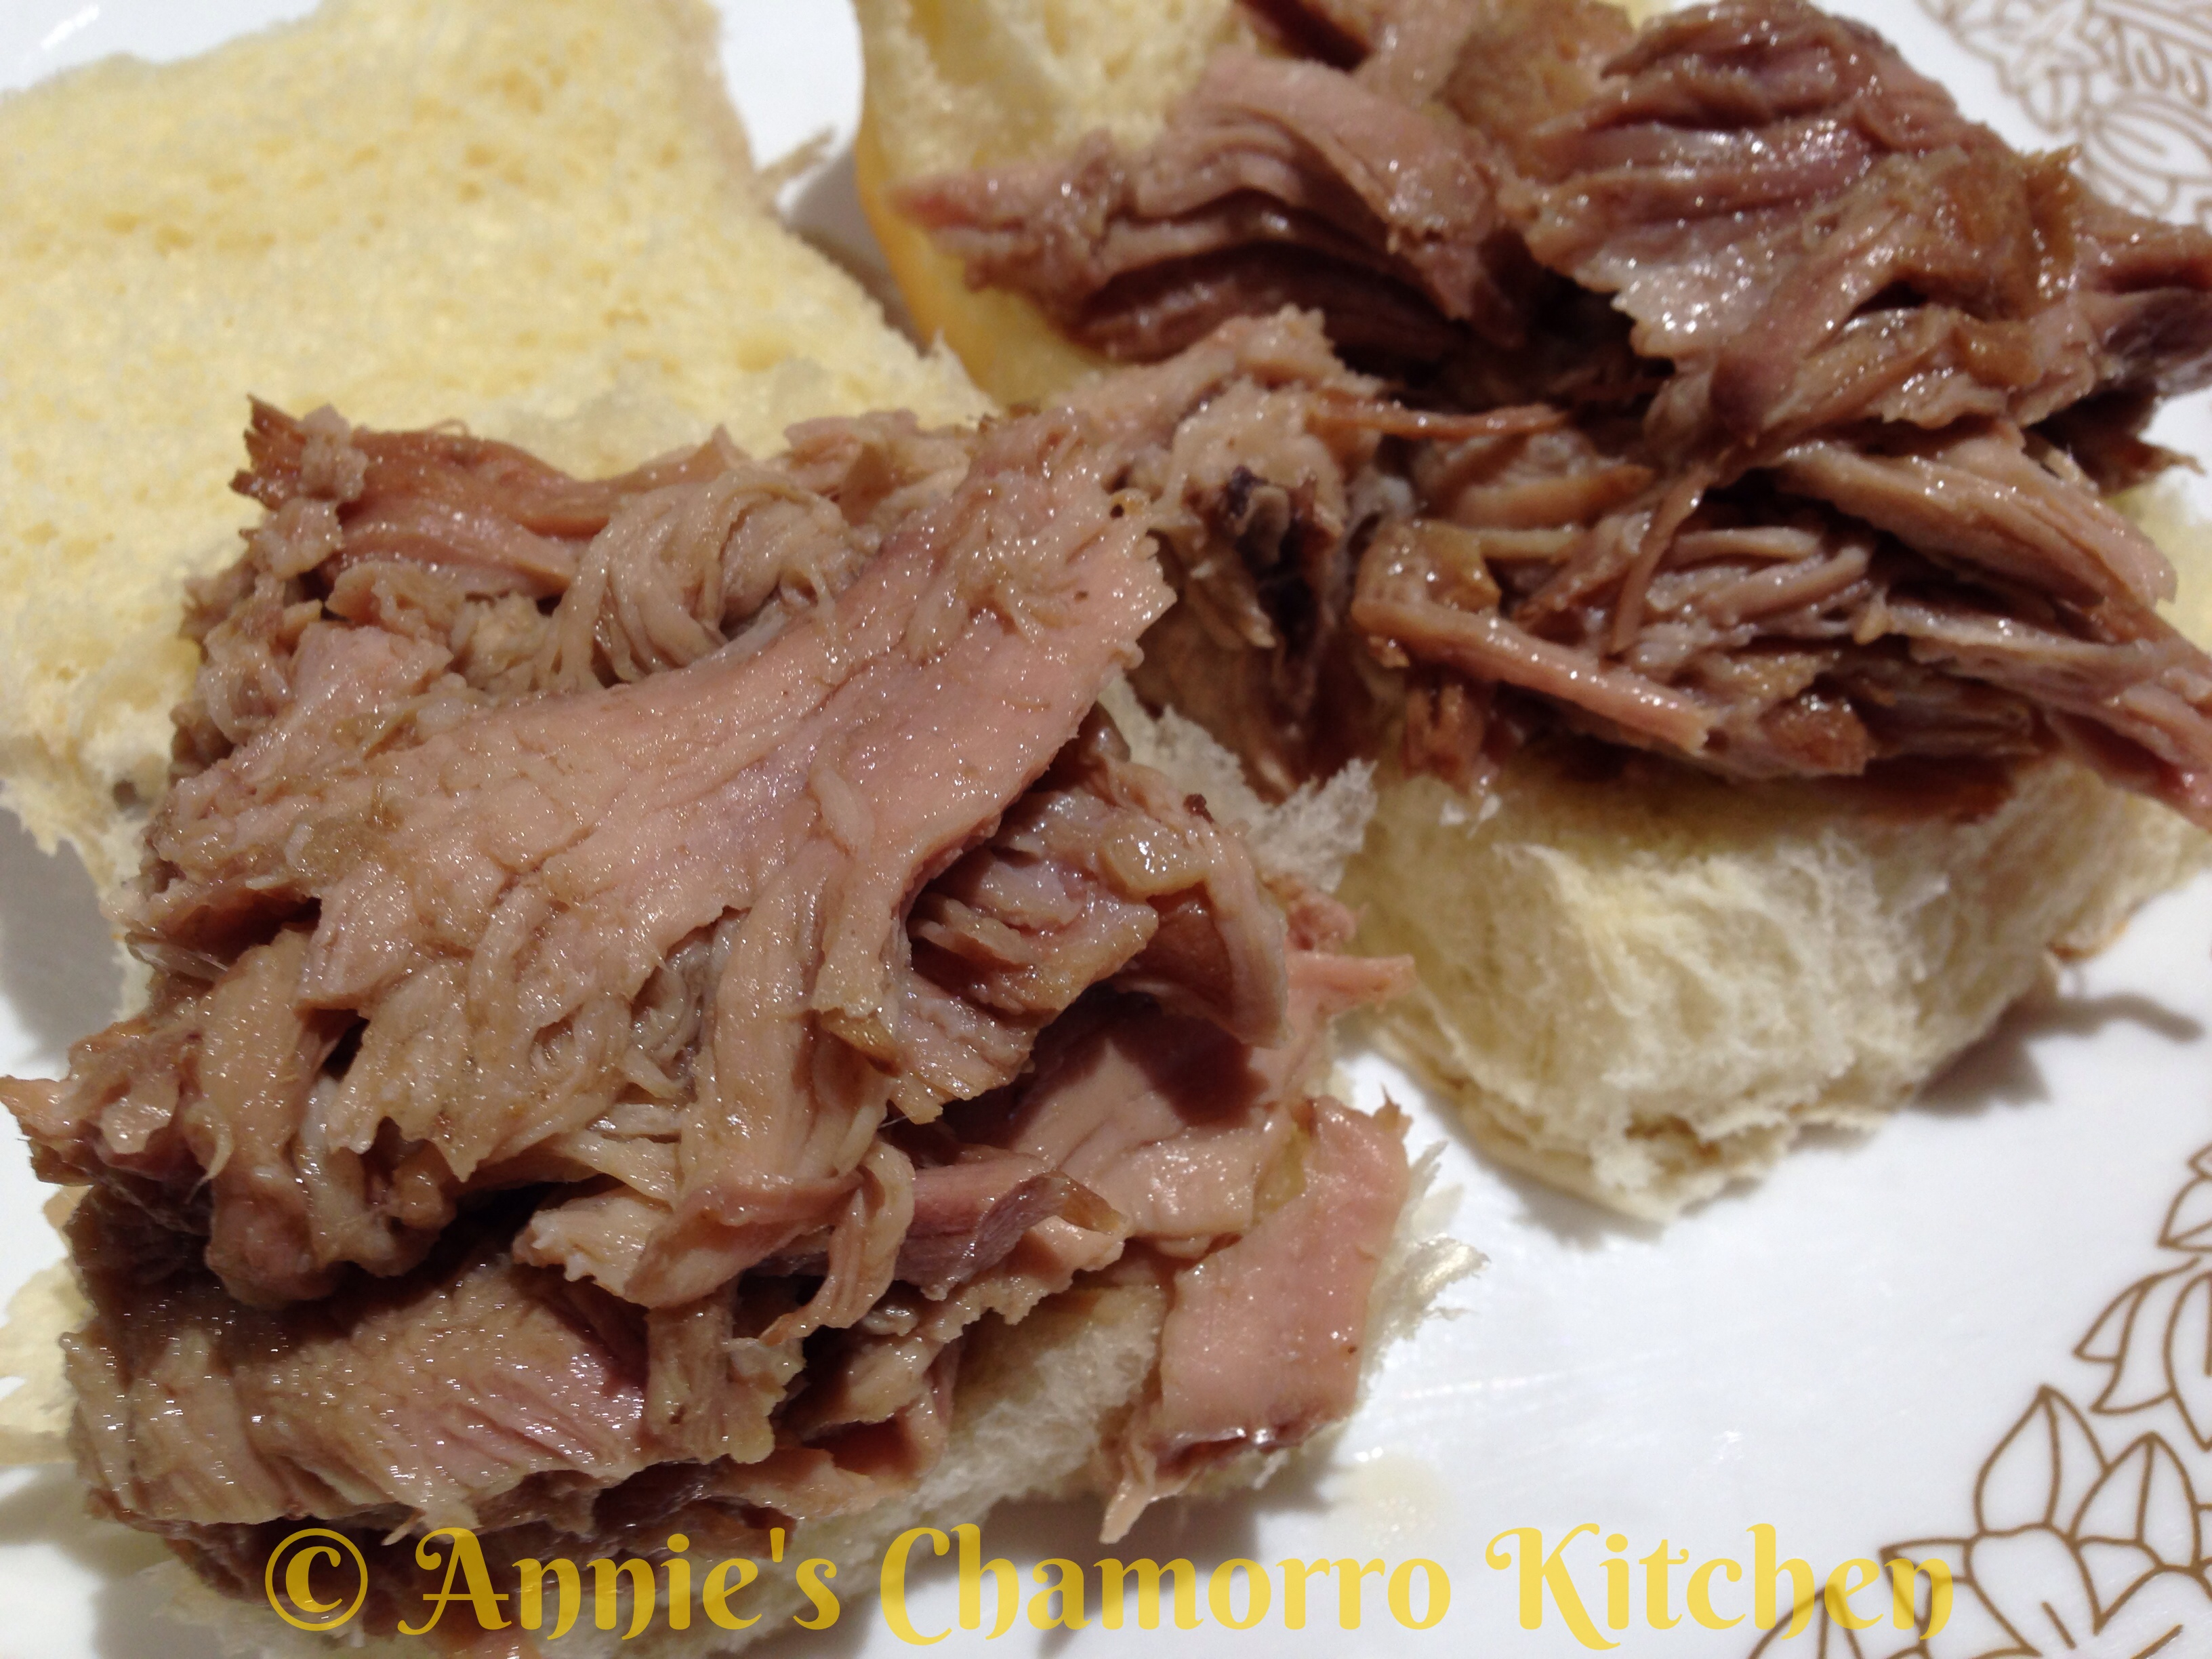
2.  After 8-9 hours of cooking, the pork will be tender enough to shred.  Skim off the fat from the broth and discard.

IMG_4657

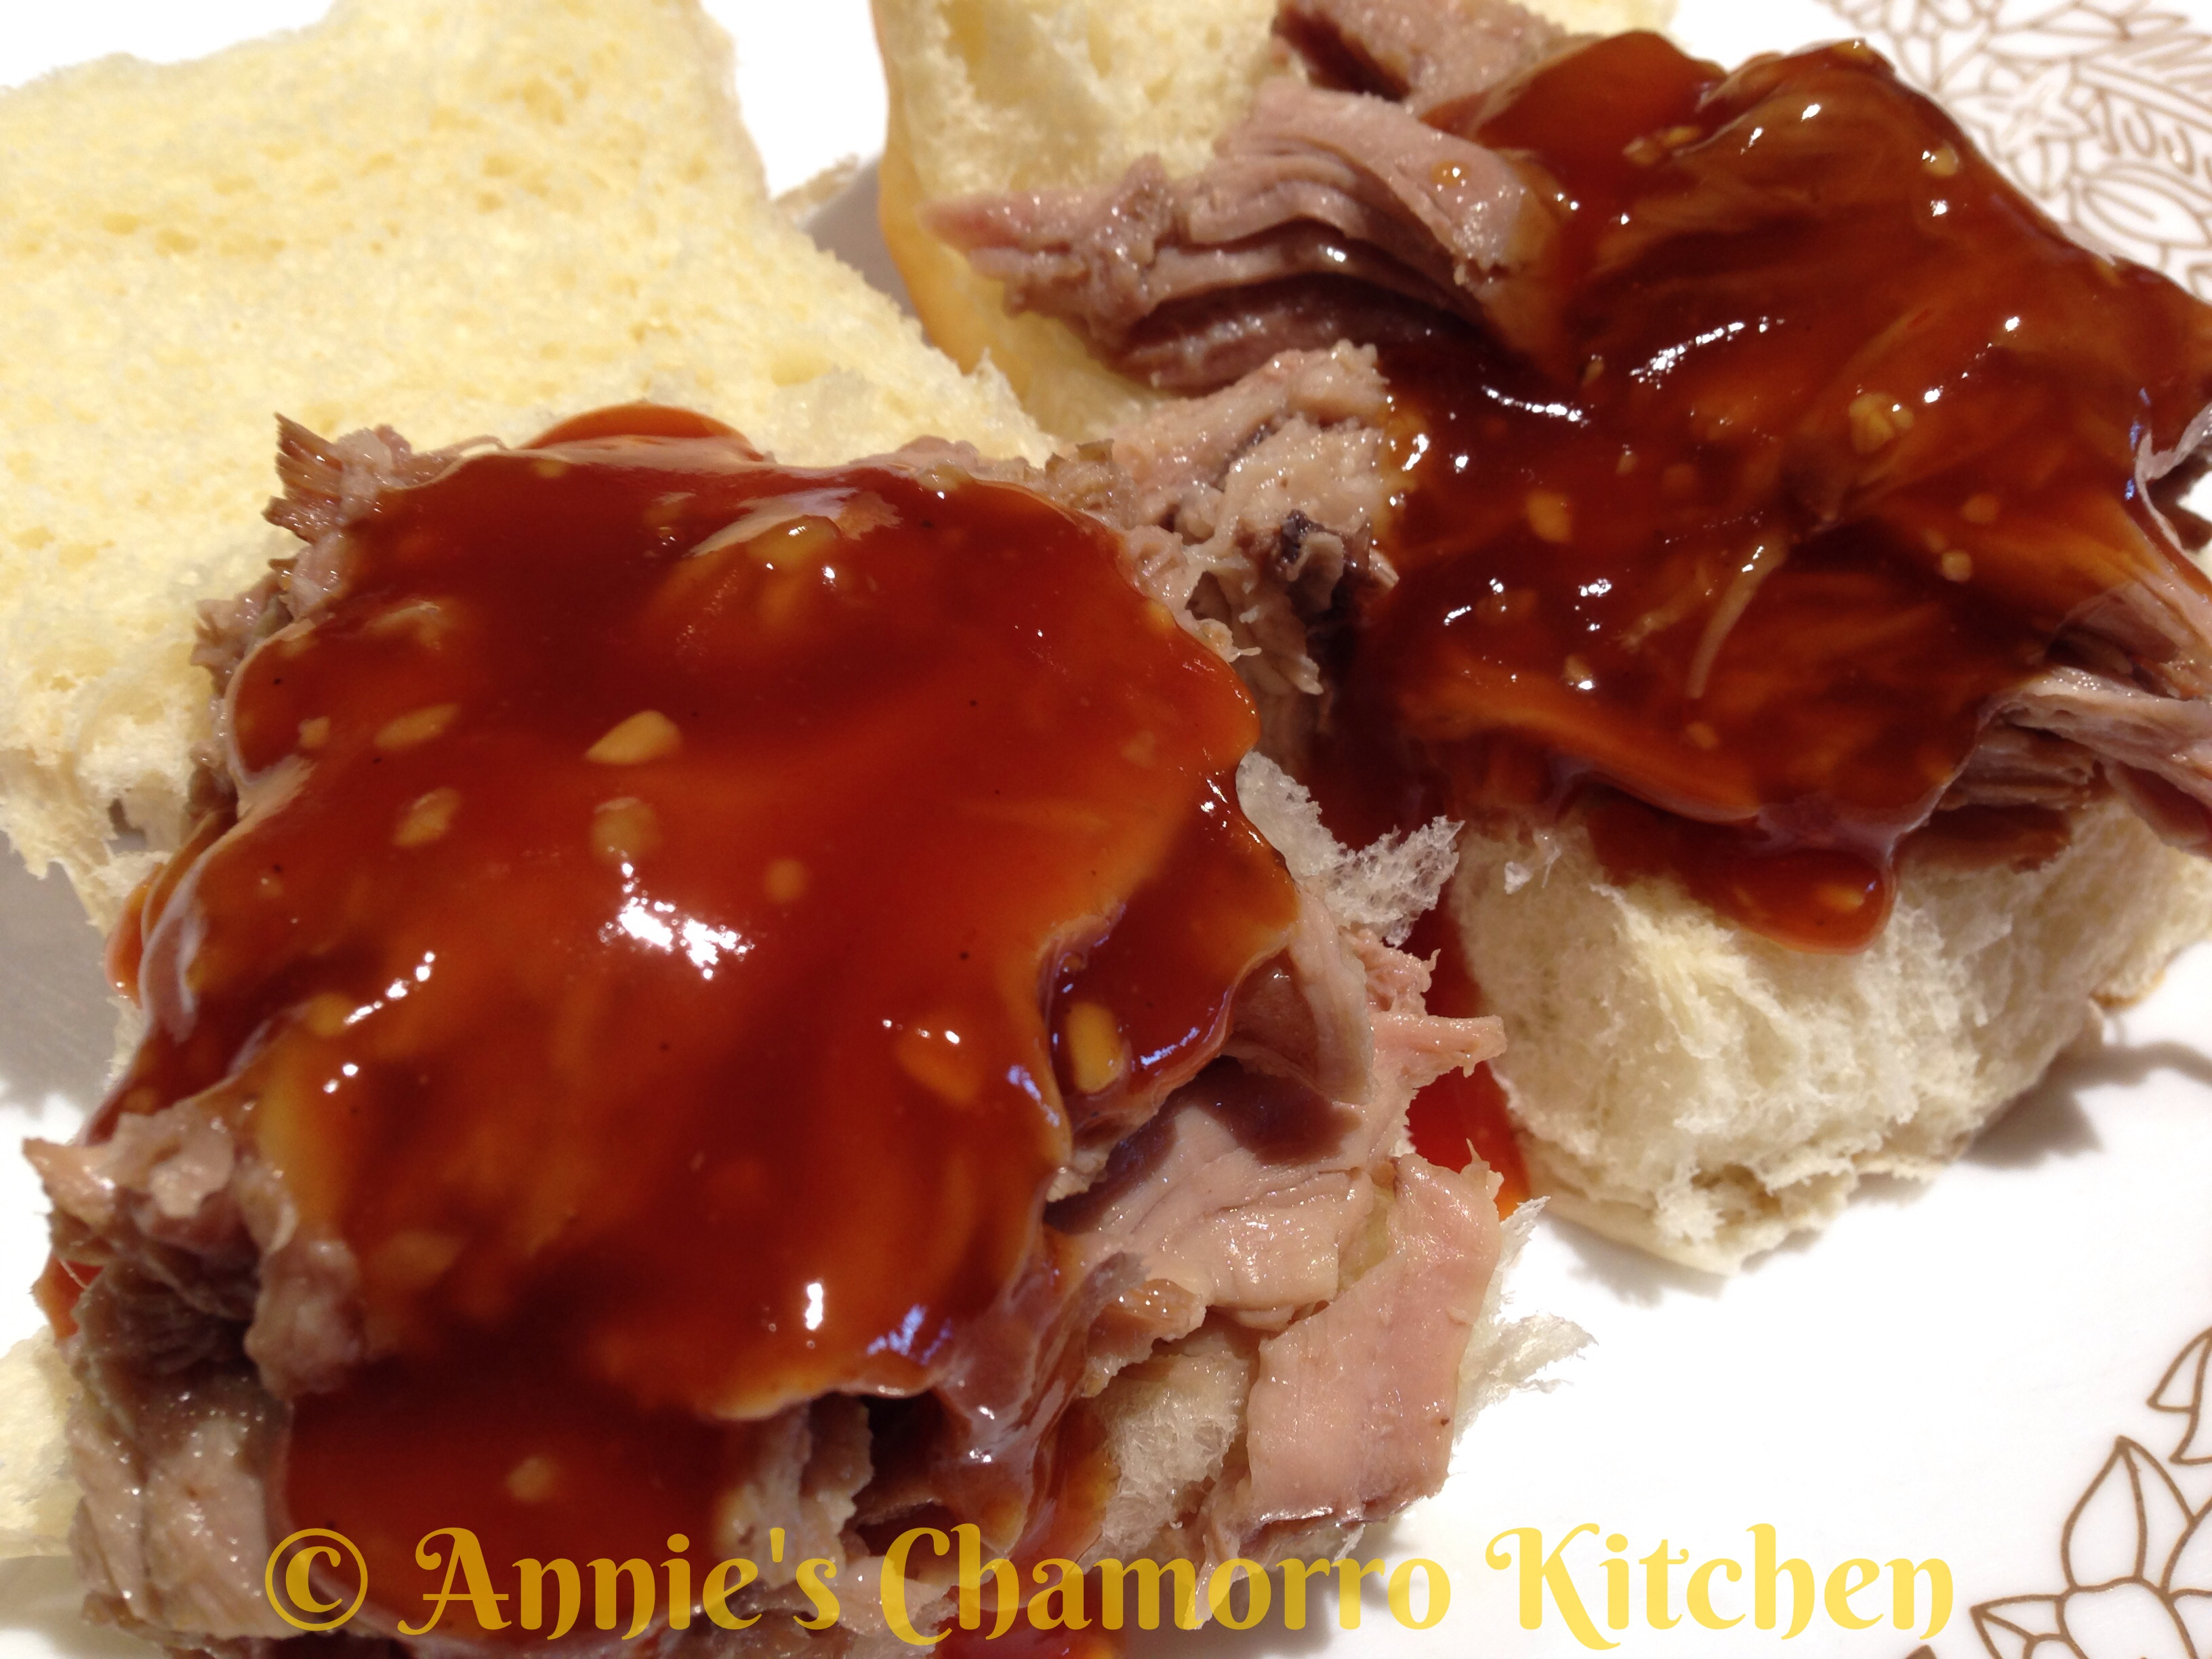
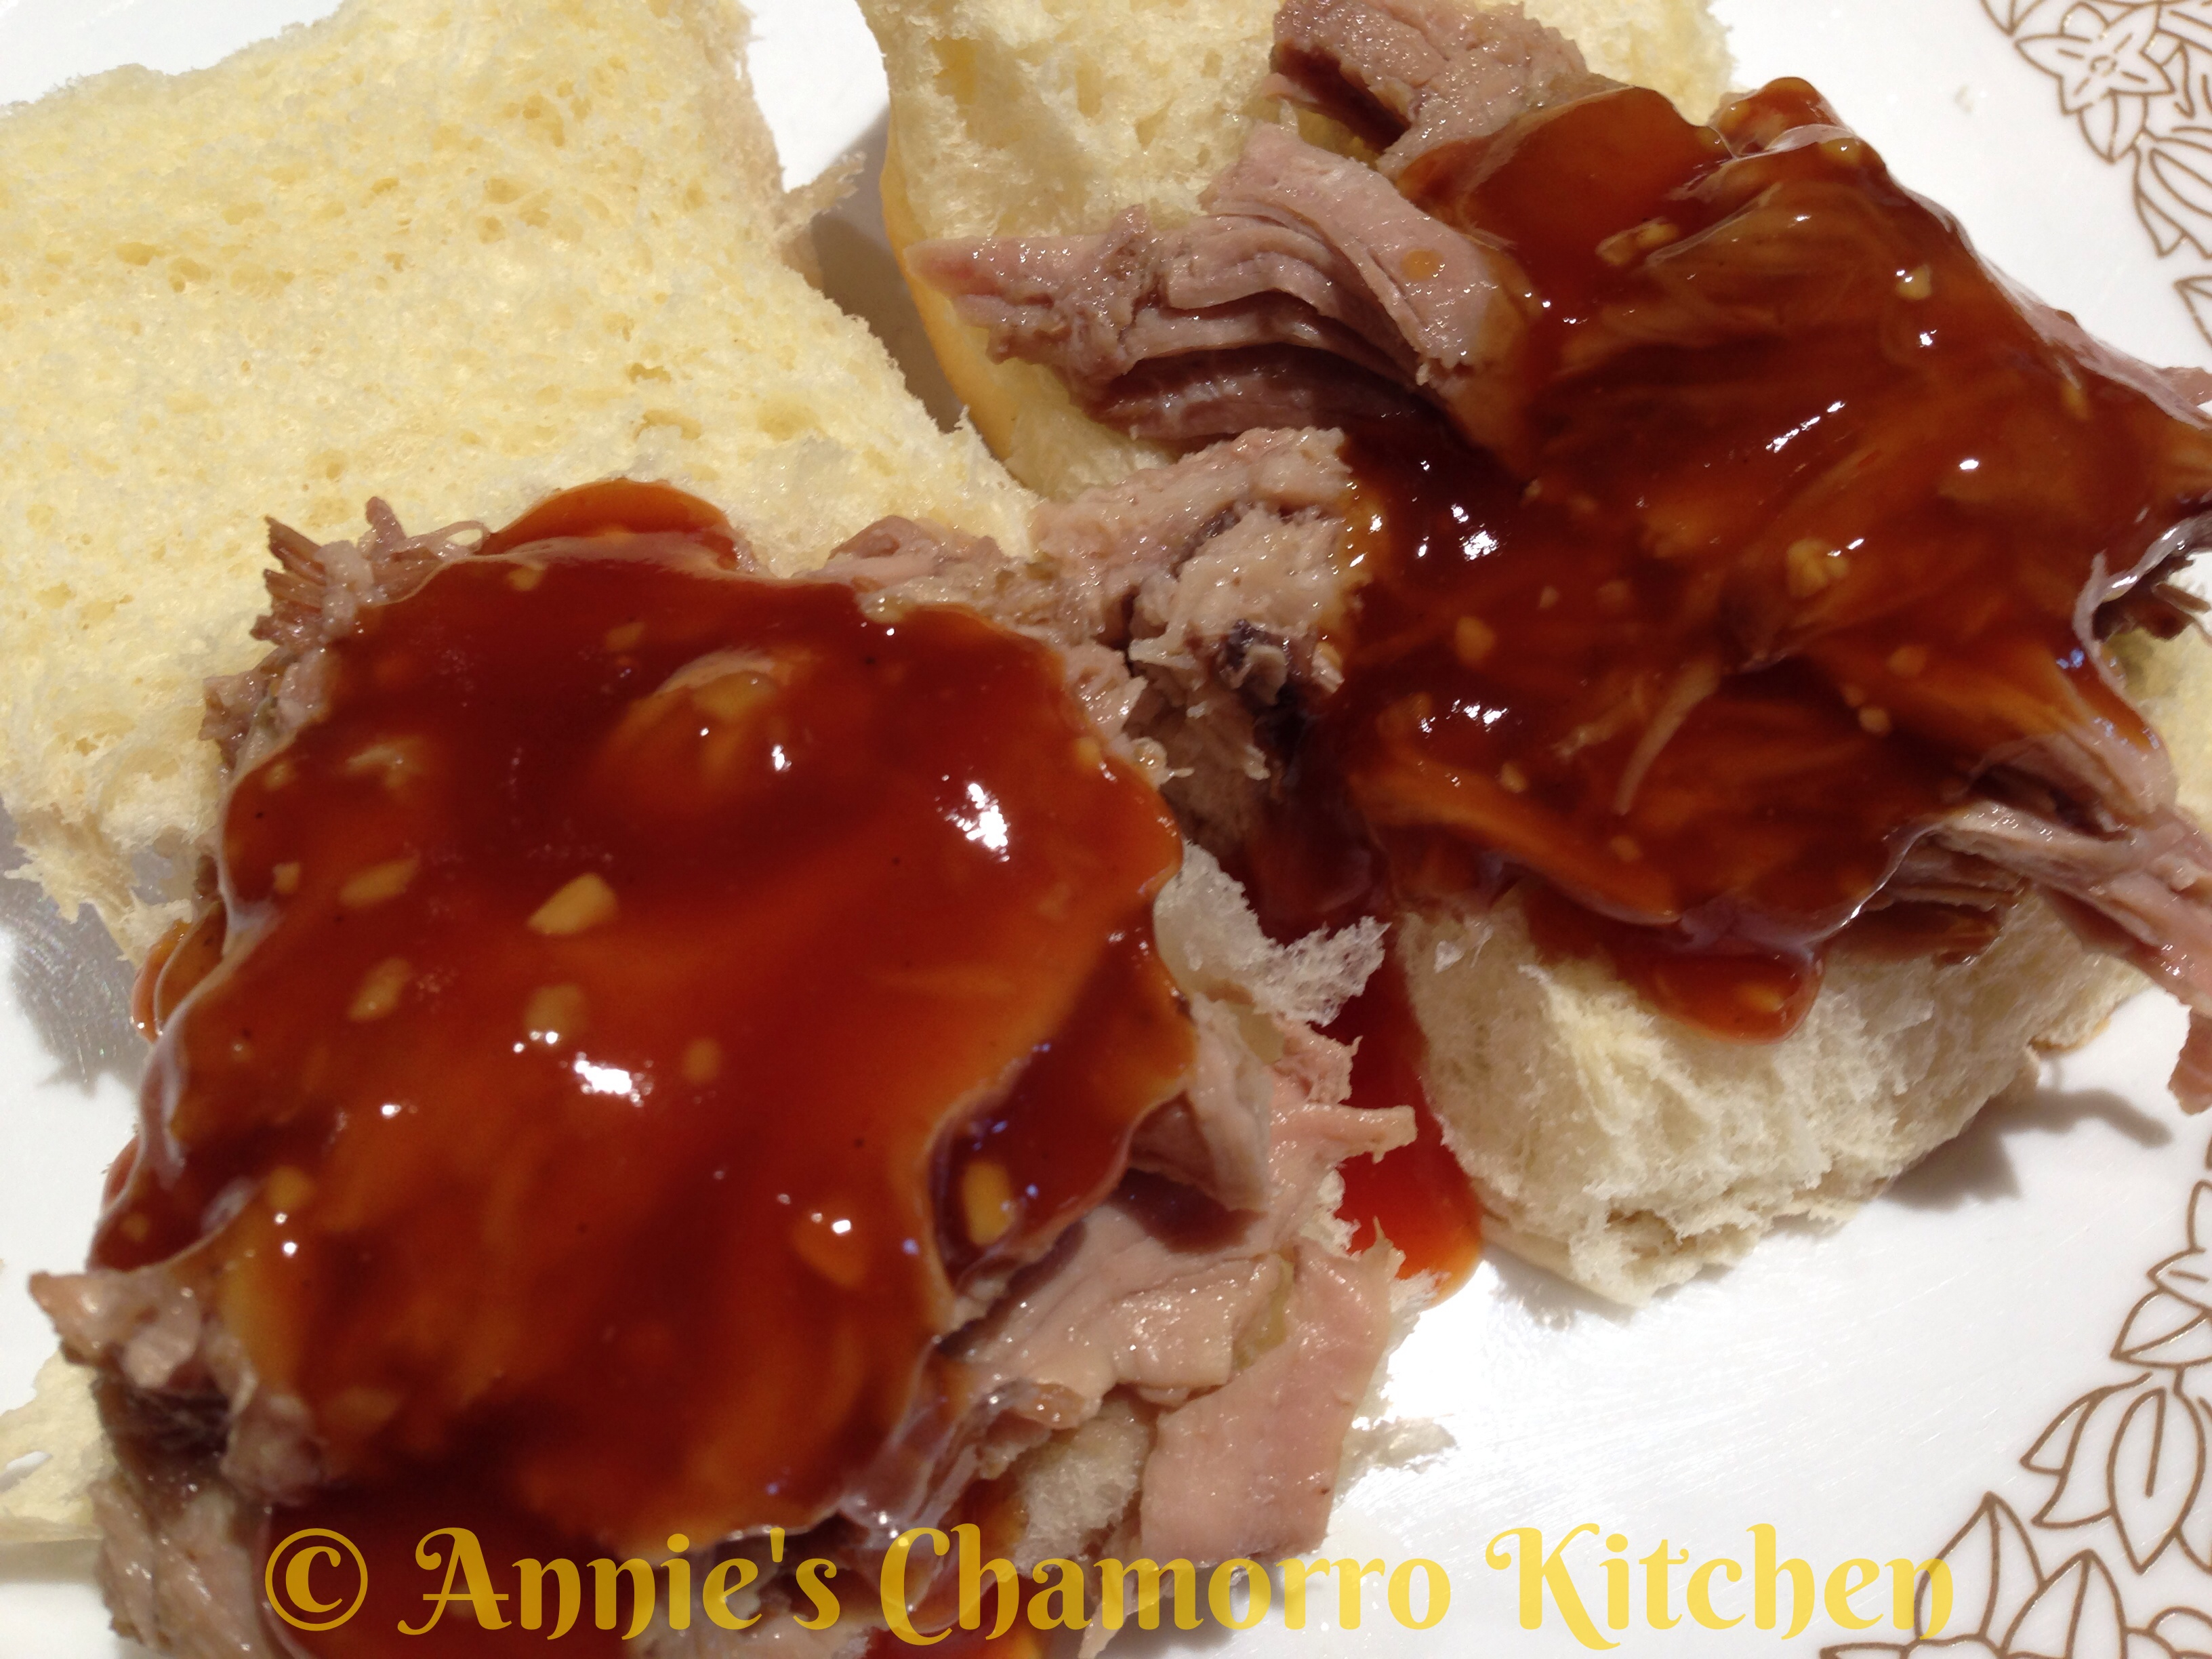
3.  Serve with rolls and top with Pineapple BBQ Sauce or with some broth in a small dish on the side to dip your sandwich in.

 IMG_4660    IMG_4658

ENJOY!


Pineapple BBQ Sauce

image

Ingredients:

  • 3/4 cup pineapple juice
  • 1/4 cup soy sauce
  • 1/2 cup ketchup (you can also use chili sauce)
  • 1/4 cup plus 1 tablespoon dark brown sugar
  • 1/2 teaspoon ground ginger
  • 1 tablespoon chopped garlic
  • Pinch of ground black pepper
  • 1/4 cup pineapple juice mixed with 1 tablespoon corn starch

Directions:

1.  Place all of the ingredients into a small sauce pan, EXCEPT FOR the pineapple juice-corn starch mixture.  Bring the mixture to a boil.

image

2.  Whisk in the pineapple juice-corn starch mixture.  Cook for a minute or two, just until the sauce thickens.

image   image

Serve with my Hawaiian Pulled Pork and ENJOY!

IMG_4659


If you have any leftover pulled pork (about 4 cups of meat), use it to make my Pork Siopao.  Find my recipe here.

Corned Beef with Cabbage and Onions

This is another classic Chamorro comfort dish.  Most Chamorros grew up eating corned beef, maybe because it used to be inexpensive.  Now, it’s become something our family eats only once in a while since a can of corned beef has become quite pricey!

Made with canned corned beef, sliced cabbage and onions (and a few seasonings), this is another one of those quick and easy dishes that you can prepare and serve within minutes.

Feel free to substitute the cabbage with (or add) your favorite vegetables.  I like sliced eggplant and fresh green beans in this dish in addition to the cabbage.

Comment below to let me know how you like my recipe, or let me know your favorite way to prepare canned corned beef. 😉

Corned Beef with Cabbage and Onions

image

Ingredients:

  • 2 cans corned beef
  • 1 medium onion, sliced
  • 1 tablespoon chopped garlic
  • 1 teaspoon Dashida seasoning (or you can use salt)
  • 1/2 teaspoon black pepper
  • 1 small head cabbage, sliced

Directions:

1.  Sauté the corned beef in a large pan over medium high heat.

image

2.  Add the onions, garlic, Dashida, and black pepper.  Cook for a few minutes until the onions become translucent.

image

3.  Add the sliced cabbage to the pan.  Cook over medium heat until the cabbage wilts and softens enough to your liking, about 10 minutes.

image

image

4.  Serve with hot white rice and enjoy!

image

« Older Entries Recent Entries »