Archive for MEALS

Fluffy Vanilla Pancakes

Hi!  I’m Alyssa, Annie’s youngest daughter. My mom let me be a guest blogger today.

It’s my turn to make breakfast for my family. I chose to make fluffy vanilla pancakes.

It’s really very easy to make. In fact, it’s so easy that when my older sister, Hannah, was about 3 years old, she had this recipe memorized and she’d always ask our mom to help her make it for breakfast.  The only thing I changed to my mom’s original recipe was to add vanilla extract and I used butter instead of vegetable oil.  (I love butter!)

If my sister (when she was 3) could help do it, and if I can make this all by myself, then maybe your kids can make this too. It’s a fun way to get kids in the kitchen.

Try making my fluffy vanilla pancakes, and please let me know how you like it. 🙂

Here’s how I did it. After you view all of my photos, you can find my recipe all the way at the bottom of this post.

Oh, one more thing.  This made 2 regular sized (big) pancakes and about 7 smaller pancakes (they were small, and a little bigger than dollar pancakes).

My Fluffy Vanilla Pancakes 🙂

image

First, crack the egg into a small mixing bowl. You might not be able to tell, but the bowl I’m using is a Tupperware bowl with Minnie Mouse on it. My mom got it for me when I was around 3 or 4 years old, the same age my older sister was when she started helping my mom make pancakes.

image

Next, measure out your milk. Pour the milk into the bowl with the egg. Use a whisk to mix it together.

image

image

image

Add the vanilla to the bowl. Whisk the mixture together again.

image

image

Next, melt the butter. Pour the melted butter into the mixing bowl. The milk was really cold, so if you look carefully, you can see that the melted butter started to solidify again after I poured it into the bowl. If that happens to you, that’s okay. It will all get mixed together in the end.

image

image

Now the dry ingredients gets mix in. First, add the salt. I usually measure out the salt over the counter in case I pour out too much. Salty pancakes would taste horrible.

image

image

Add the sugar next.

image

Add the flour to the bowl. Whisk again to mix the flour into the batter.

image

Add the baking powder last. The baking powder reacts as soon as it’s mixed with liquid. As soon as you mix in the baking powder, get ready to cook up the pancakes.

image

Oh, I forgot to mention that before you add the baking powder, you should start to heat up your pan. We like using this cast iron skillet.

image

This is what the batter looks like. It should be very thick, not thin and runny.  It’s almost as thick as cake batter.

image

image

When the skillet is hot, spray lightly with butter cooking spray. You don’t have to use cooking spray. You can use regular butter or you don’t have to use anything at all if you have a non-stick pan. I just like the way the pancakes taste when you use butter to cook them.

image

One of my favorite kitchen tools is a small cookie scoop. I use a 2-tablespoon scoop to scoop out pancake batter. It’s easier than trying to pour out even amounts of batter each time. Plus, it doesn’t make a mess. For big pancakes, scoop out two scoops of batter. You might have to use the back of the cookie scoop to sort of spread out the batter since it’s rather thick. But don’t spread it out too much! This thick batter is what makes the pancakes really tall and fluffy!

image

image

I like to add chocolate chips to my pancakes. If you want to, sprinkle some semisweet chocolate chips over the pancake.  I would have added more chocolate chips but my mom made me stop.  That and I kept eating them. 😉

image

You have to use your finger to press the chips into the batter.

image

After a couple of minutes, use a spatula to check if the bottom of the pancake is turning golden brown. When it’s a nice golden brown, it’s time to flip the pancake. It took a bit of practice to learn to flip pancakes, but it’s really easy. If you’re going to teach your kids to flip pancakes without actually doing it on real pancakes, I recommend using a slice of bread to practice. Practice makes perfect. This reminds me–after practicing and practicing, I now know how to crack an egg with ONE hand and NOT get any shells into the bowl!

image

Okay, back to my pancakes. After the pancake is golden brown on both sides, it’s done. I also press down on the middle of the pancake to test if it’s done–if it feels sort of firm and not squishy, it’s done.  Look on the sides of the pancake too.  If the side still looks wet, cook it a bit longer.

image

I don’t put any syrup on my pancake when I add chocolate chips, but you can if you want to.

image

My sister likes plain pancakes (without chocolate chips). Today she wanted dollar pancakes. To make small pancakes, just use one scoop of batter. Our skillet can fit three small pancakes. Flip them over when the bottoms are golden brown.

image

Serve with butter and syrup and ENJOY!!

image

Here is my recipe, with the ingredients written out.  I hope you give my recipe a try. 🙂

Alyssa’s Fluffy Vanilla Pancakes

Ingredients:

  • 1 large egg
  • 3/4 cup milk
  • 2 tablespoons melted unsalted butter
  • 1 tablespoon vanilla extract
  • 1/4 teaspoon salt
  • 1 tablespoon sugar
  • 1 cup all purpose flour
  • 1 tablespoon baking powder
  • Optional: semisweet chocolate chips

Directions:

1. Mix the egg, milk, butter and vanilla in a small mixing bowl.

2. Whisk in the salt, flour and baking powder.

3. Cook on a heated skillet until golden brown on both sides. Optional: sprinkle chocolate chips on one side of the pancake before flipping it over.

4. Serve with butter and syrup. Enjoy! 🙂

image

Beef Stir Fry with Mushrooms, Tomatoes, Bell Peppers and Onions

I posted a recipe a while back for another version of Beef Stir Fry (with mushrooms, onions, broccoli, eggplant and bean sprouts).  Here is another version — this time I added mushrooms (we LOVE mushrooms in our house), bell peppers, onions and diced grape tomatoes.

I didn’t make this version spicy because one of my daughters doesn’t like to eat spicy food.  However, if you like pika (hot) foods, by all means, add your favorite hot pepper to this–even dried pepper flakes are good in this.

Give my recipe a try.  I think you’ll like it.   🙂

Beef Stir Fry

image

Ingredients:

  • 2 pounds thinly sliced beef
  • 1 cup diced cherry or grape tomatoes
  • 1 medium onion, sliced
  • 1 package fresh mushrooms, sliced
  • 1 green bell pepper, sliced
  • 2 tablespoons minced garlic
  • 2 tablespoons Dashida beef flavored seasoning
  • 1/2 teaspoon black pepper
  • 1 cup water
  • 2 tablespoons corn starch
  • 1/4 cup soy sauce
  • Hot pepper flakes, optional

Directions:

1.  In a large frying pan, place the beef, tomatoes, onions, mushrooms, bell pepper, garlic, and seasonings.  Cook over high heat until the beef is cooked.

image

2.  Mix together the water, cornstarch and soy sauce.

image

image

3.  Pour the cornstarch mixture into the frying pan; bring to a boil.  It is only when the liquid comes to a boil that the cornstarch will start to thicken.  Stir frequently, cooking until the sauce thickens.

image

4.  Remove from the heat and serve over hot white rice.  ENJOY!

image


Pot Roast, Chamorro Style

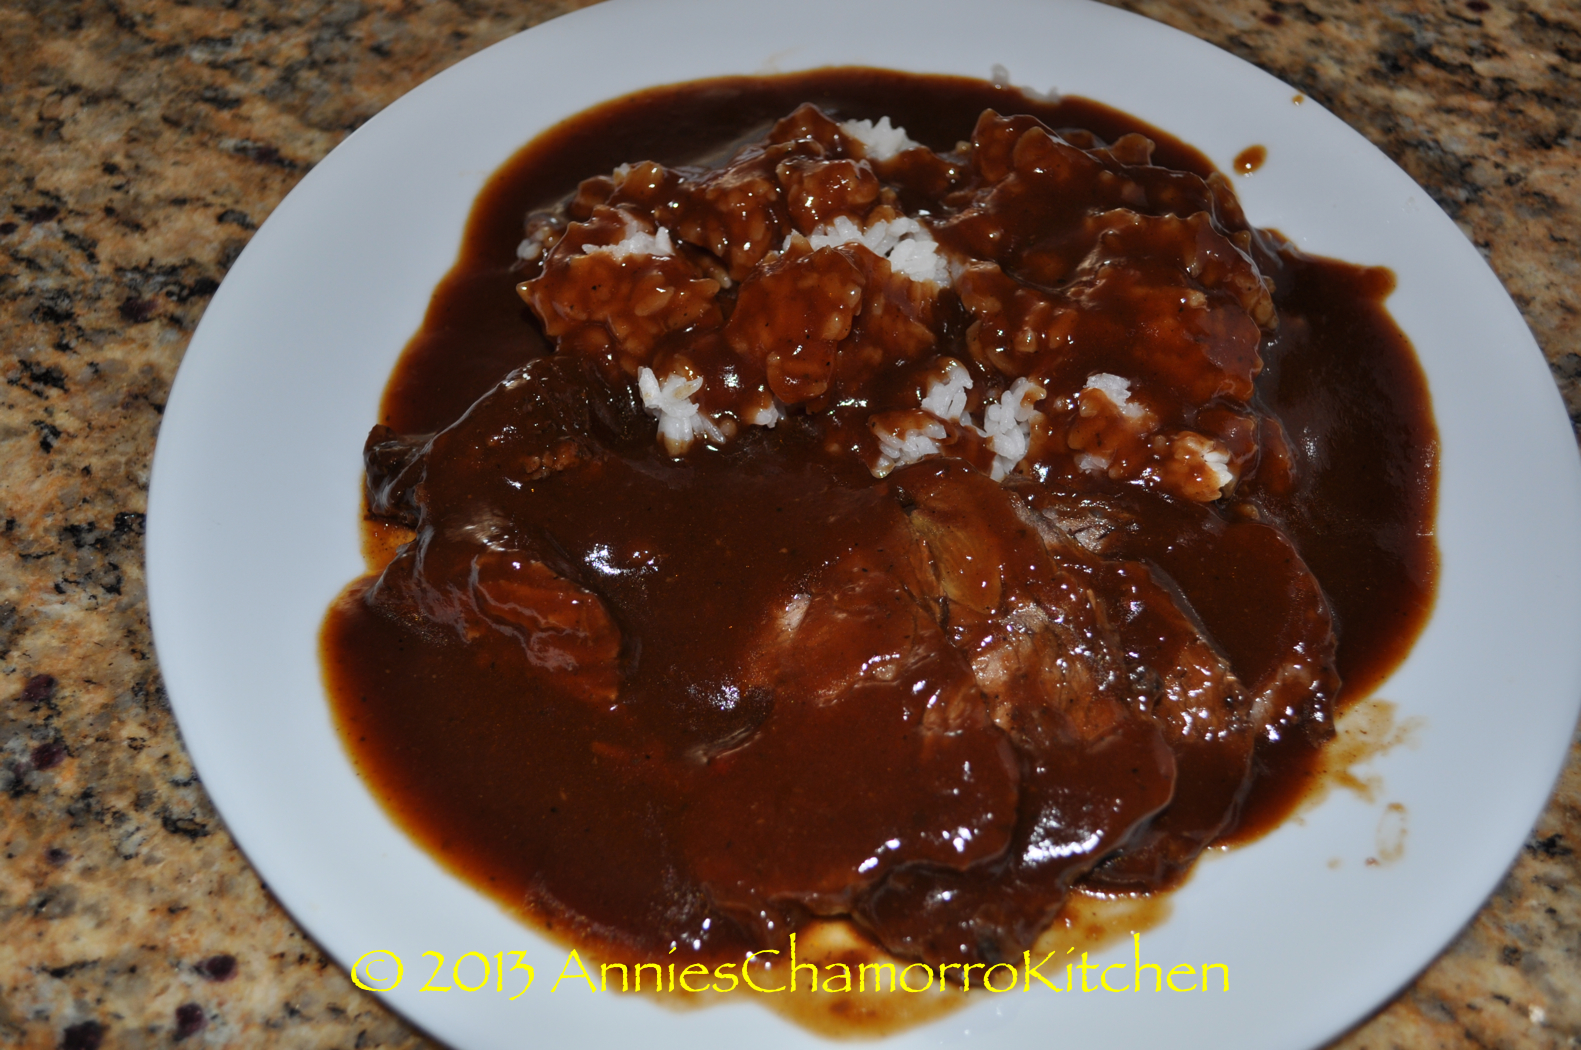
Whenever I find myself feeling a bit homesick, I think of something to cook that soothes my longing for my island home. Chamorro Pot Roast is one of those dishes. This is a dish that was usually on the menu for Chamorro gatherings. I remember going to parties when I was younger, and before the table was opened, I’d check to see if there was any pot roast. If there was, the ONLY things I’d have on my plate were rice (red or white), pot roast (with as much gravy as I could scoop up), and lots of fina’denne’. These days, I use a crock pot to cook my pot roast. Set it and forget it…what could be easier?

Give my recipe a try.  I think you’ll like it.  🙂  

Chamorro Pot Roast

image

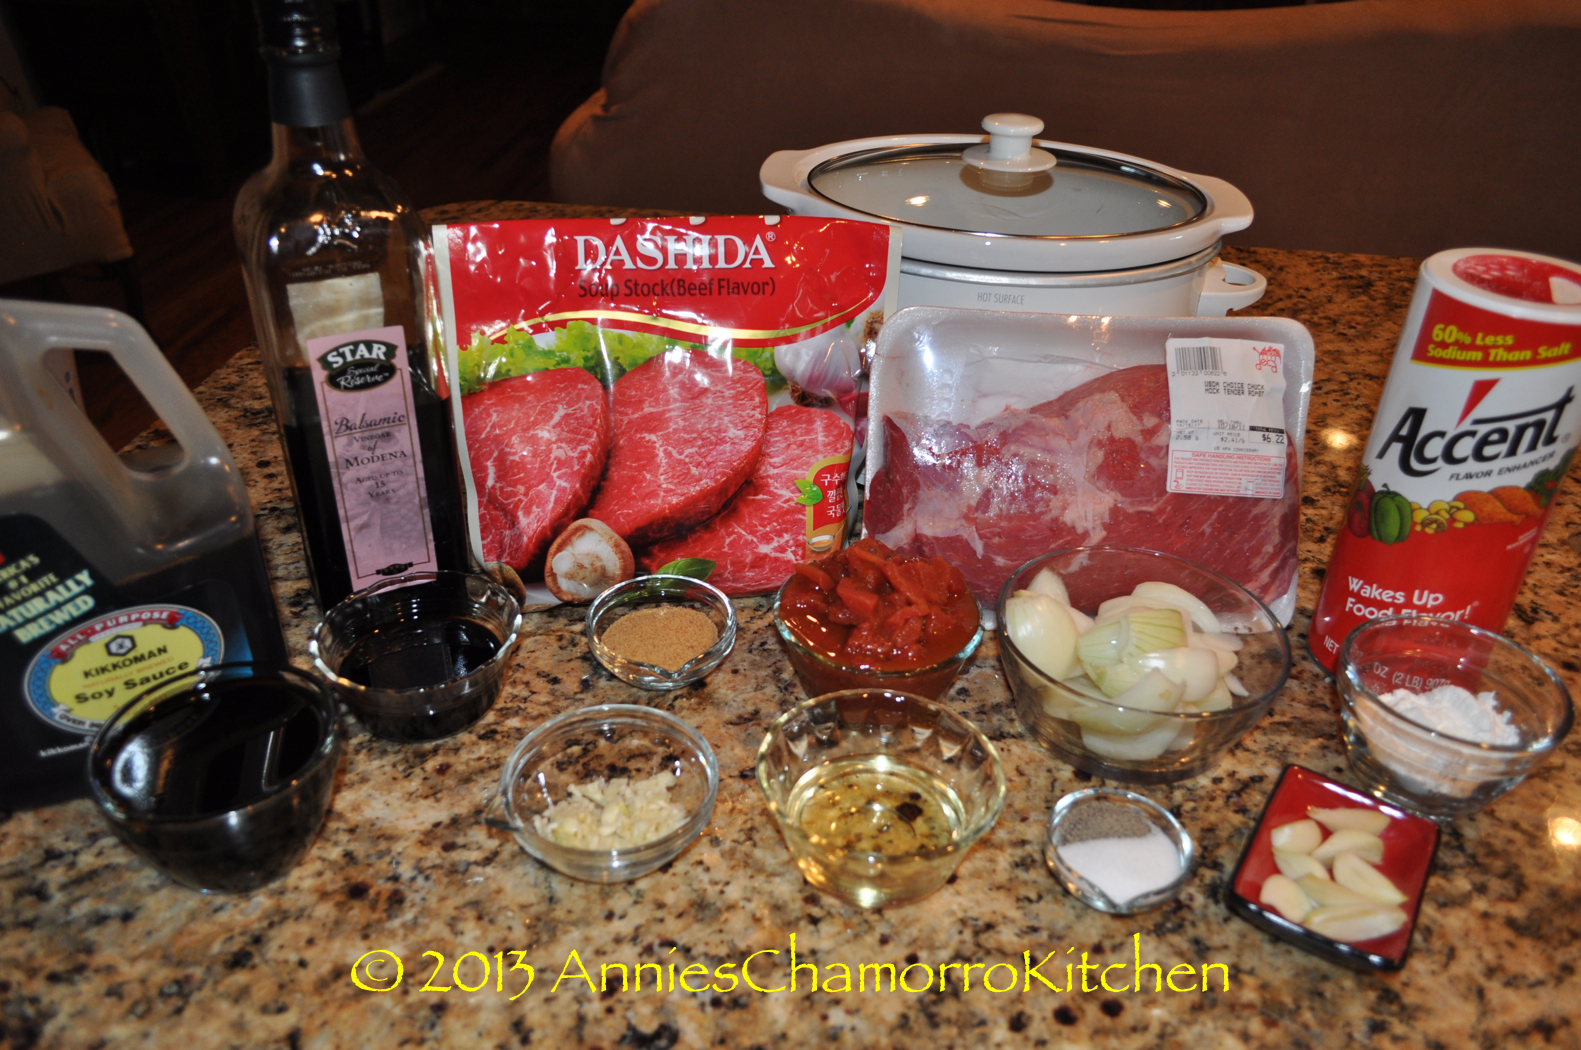
Ingredients:

  • 1 2-lb chuck roast (look for one that is nicely marbled with fat)
  • 2 teaspoons salt
  • 1 teaspoon black pepper
  • 8 whole garlic cloves
  • 1/4 cup vegetable oil
  • 1 medium onion, chopped into large chunks
  • 5-6 garlic cloves, minced
  • 1 cup soy sauce
  • 1 14.5-oz can diced tomatoes with juice
  • 1/3 cup balsamic vinegar (you can use white vinegar instead)
  • 2 tablespoons Dashida seasoning (Korean beef soup stock)
  • 1 teaspoon Accent or Ajinomoto
  • 1 cup water (if cooking this on the stovetop, use 2 cups water)
  • 4 tablespoons corn starch plus one cup water

Chamorro Pot Roast - 02

Directions:

1.  Place a large skillet or dutch oven over high heat.

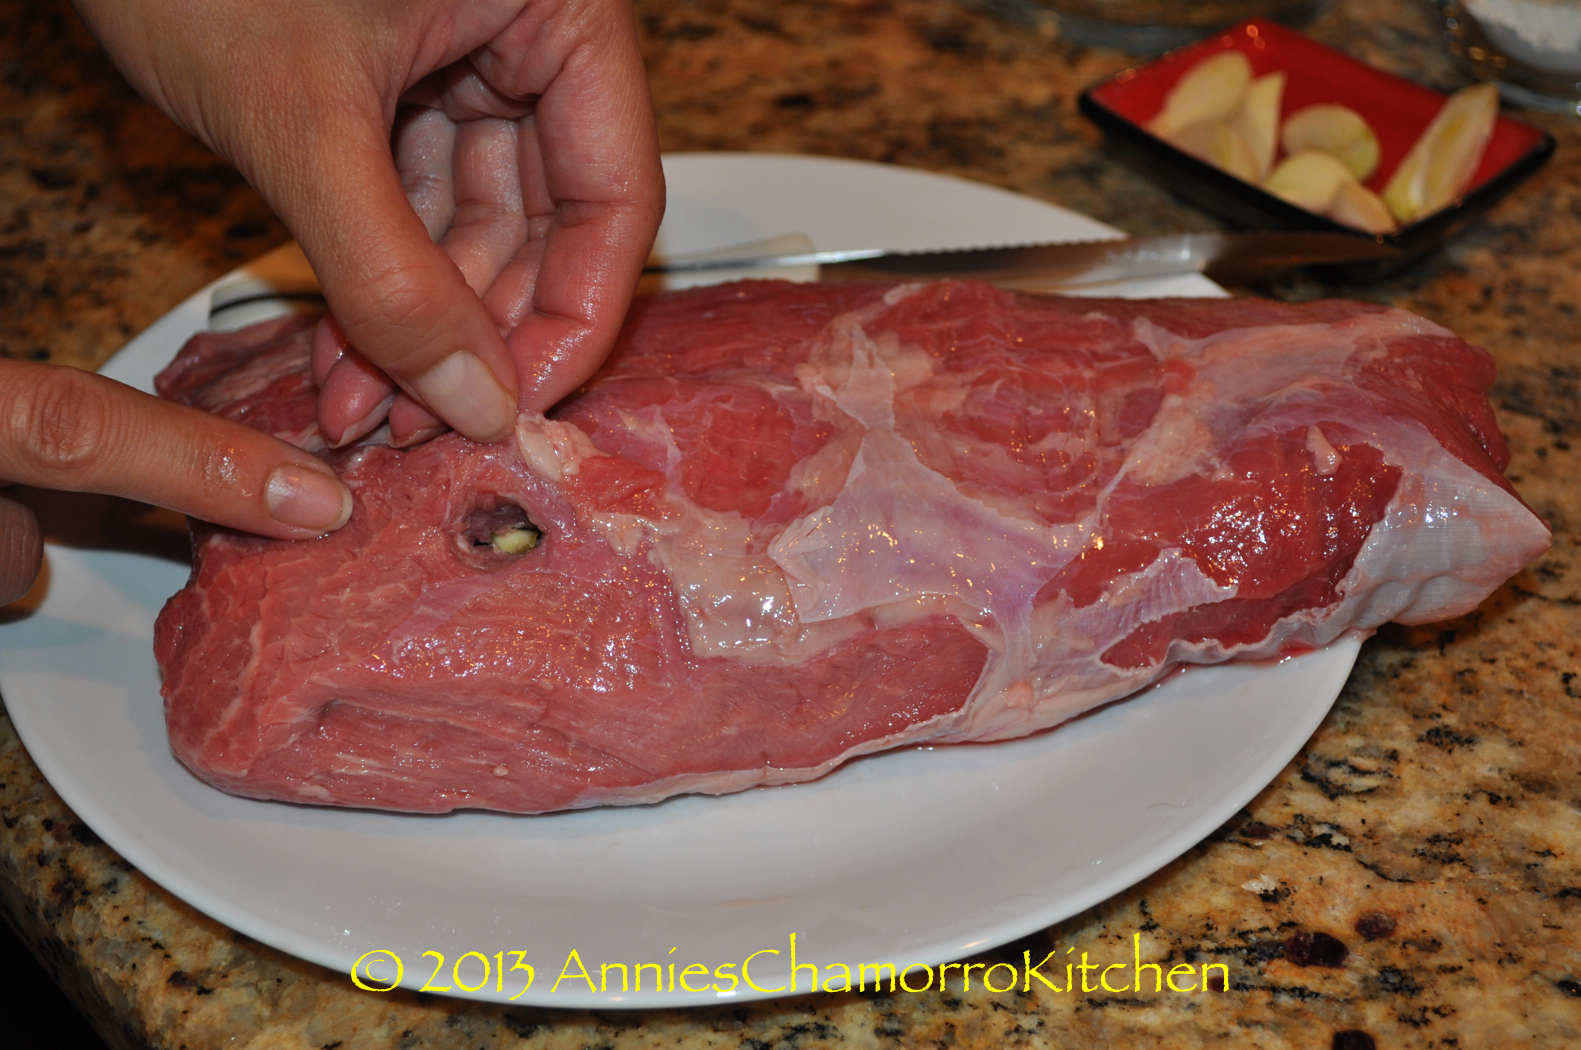
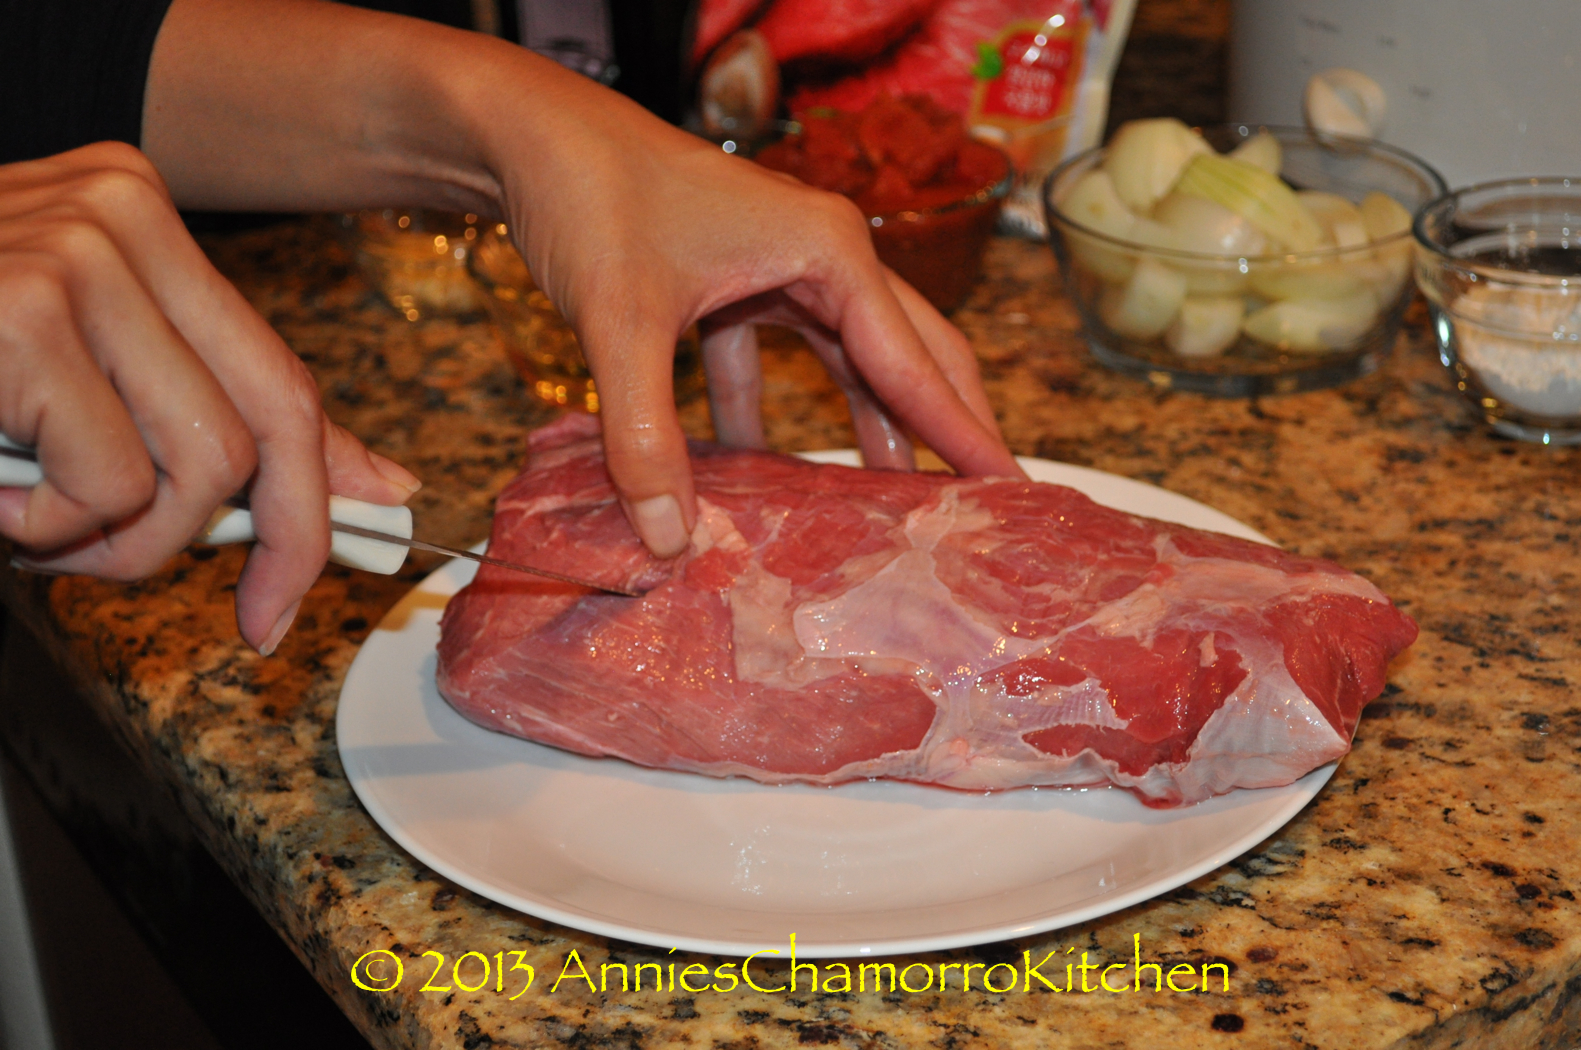
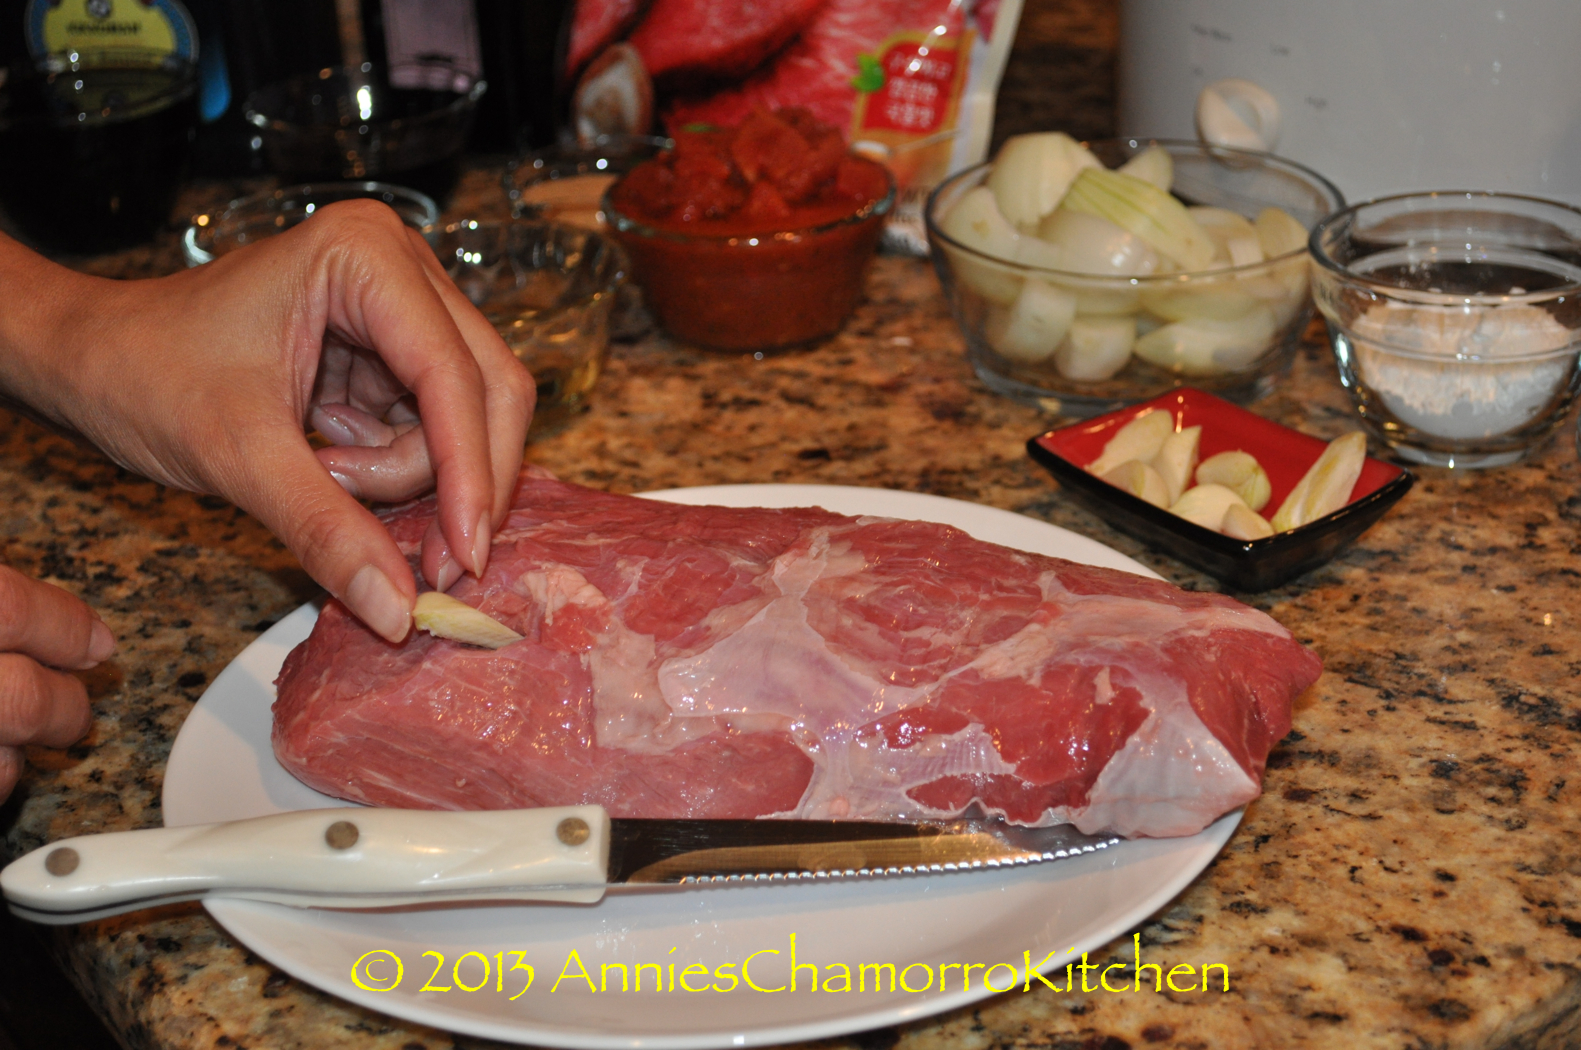
2.  Using a long, sharp knife, CAREFULLY cut 8 deep slits into the sides of the roast. Push a whole clove of garlic into each slit.

Chamorro Pot Roast - 03

Chamorro Pot Roast - 04

Chamorro Pot Roast - 07

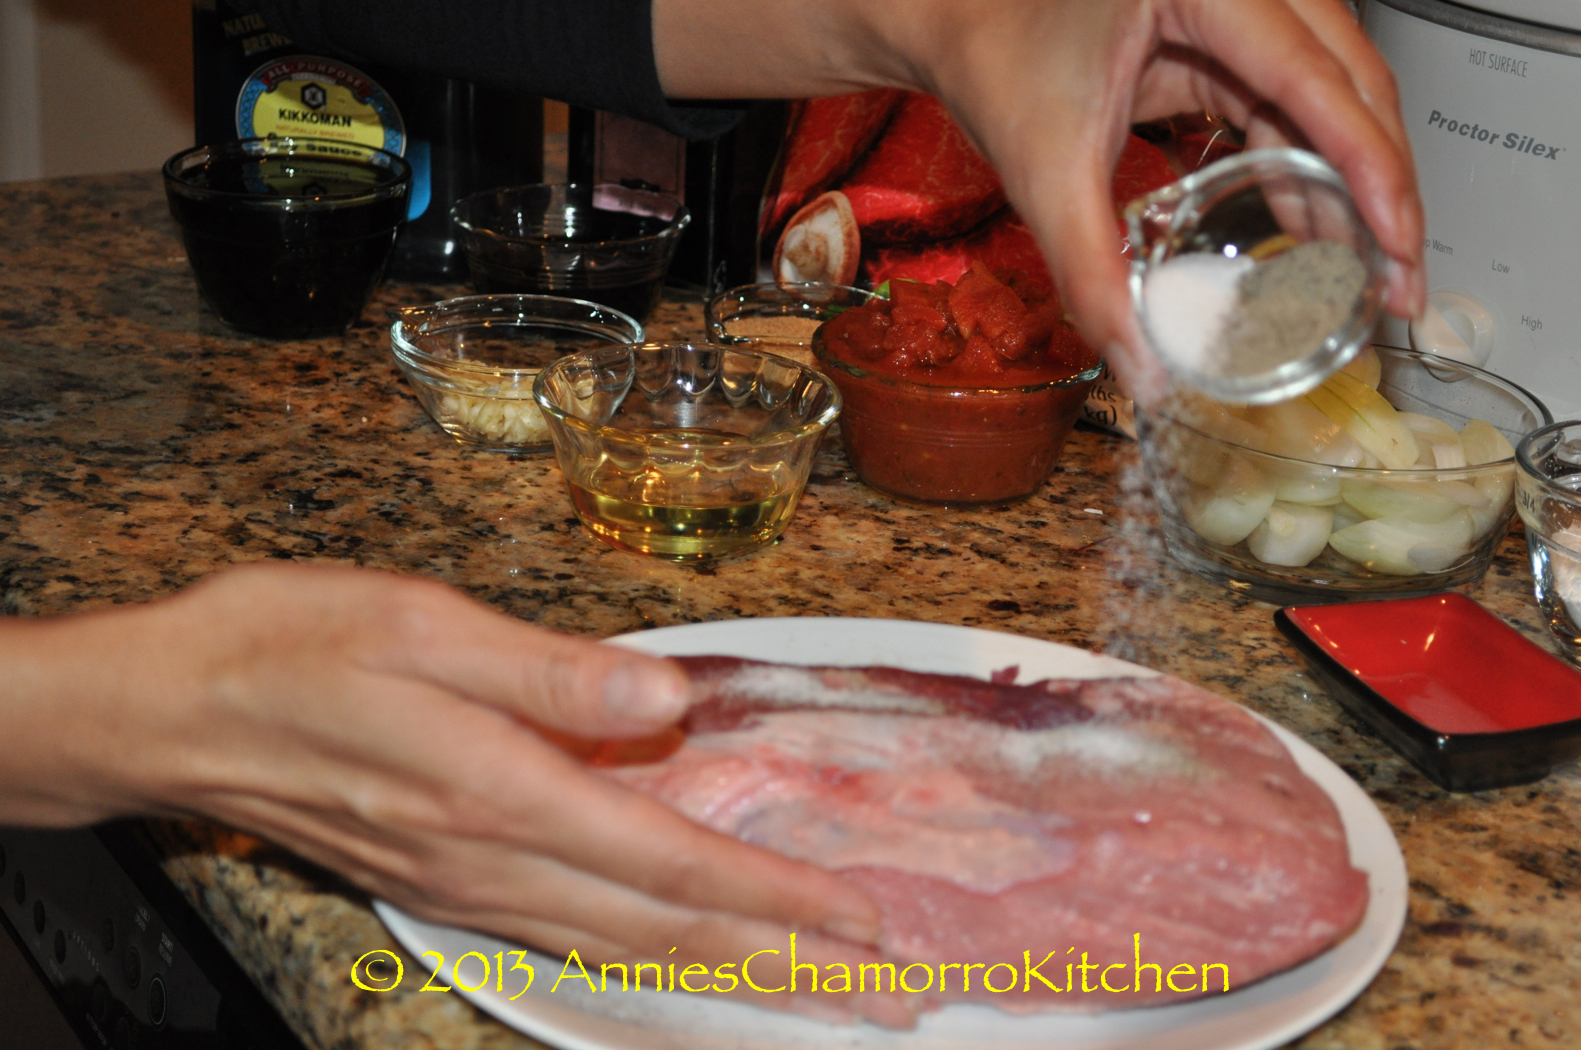
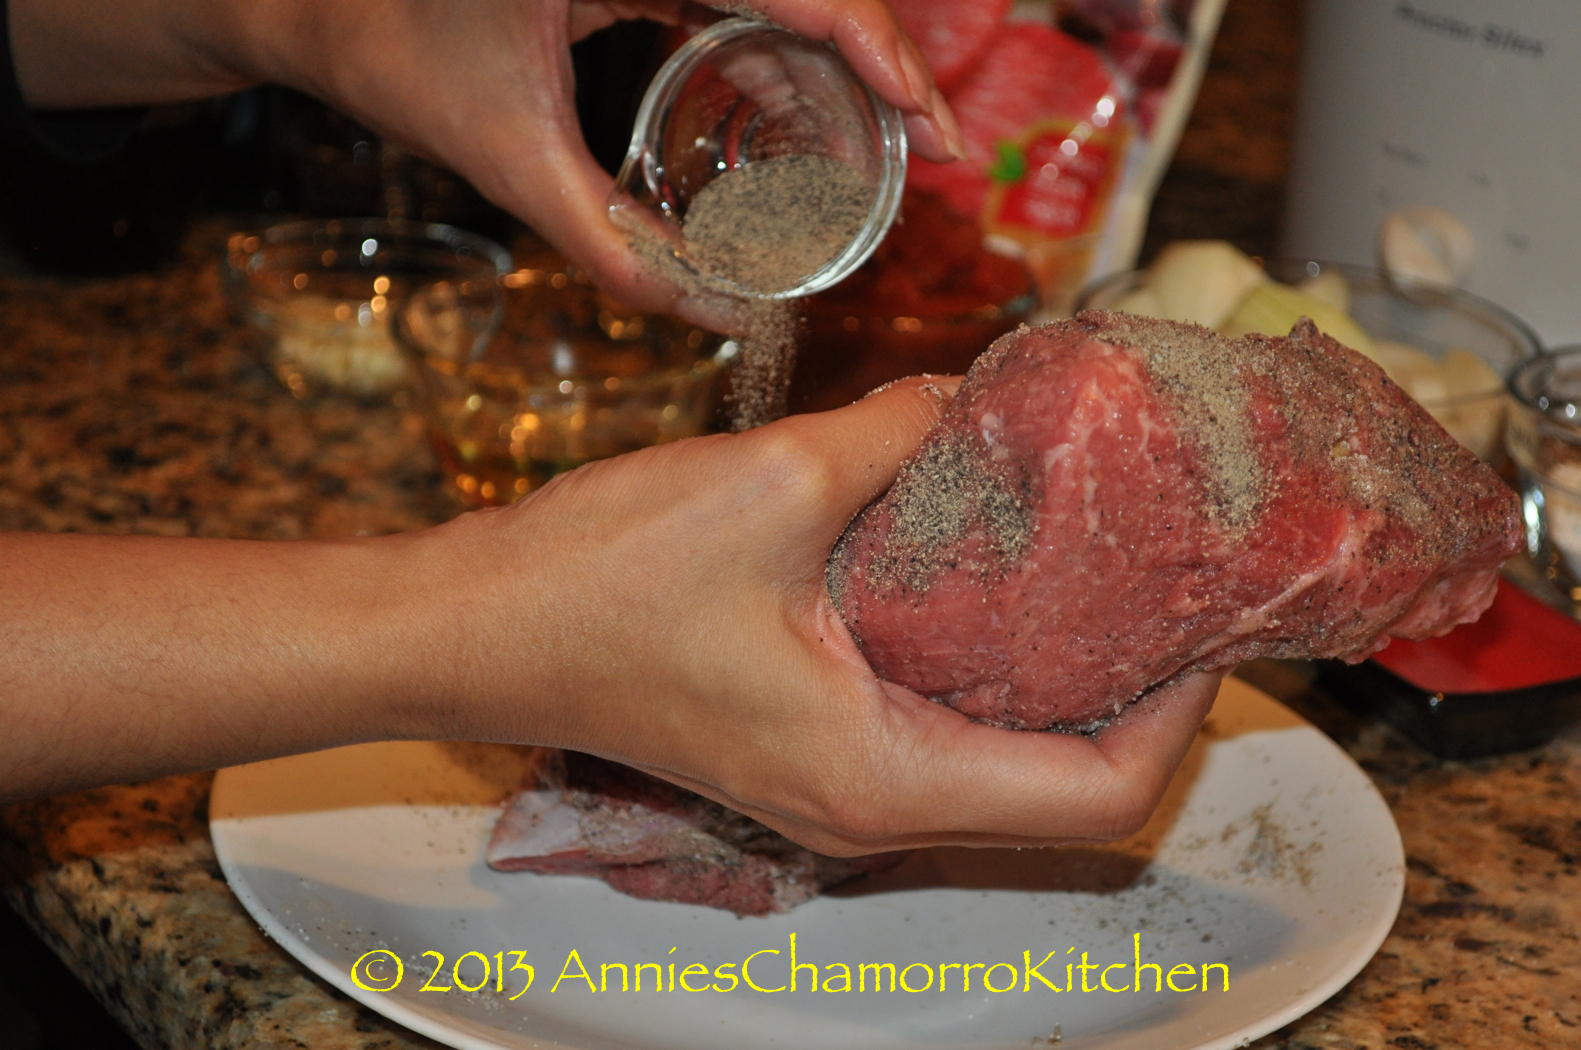
3.  Rub the sides of the roast with salt and pepper.

Chamorro Pot Roast - 11

Chamorro Pot Roast - 18

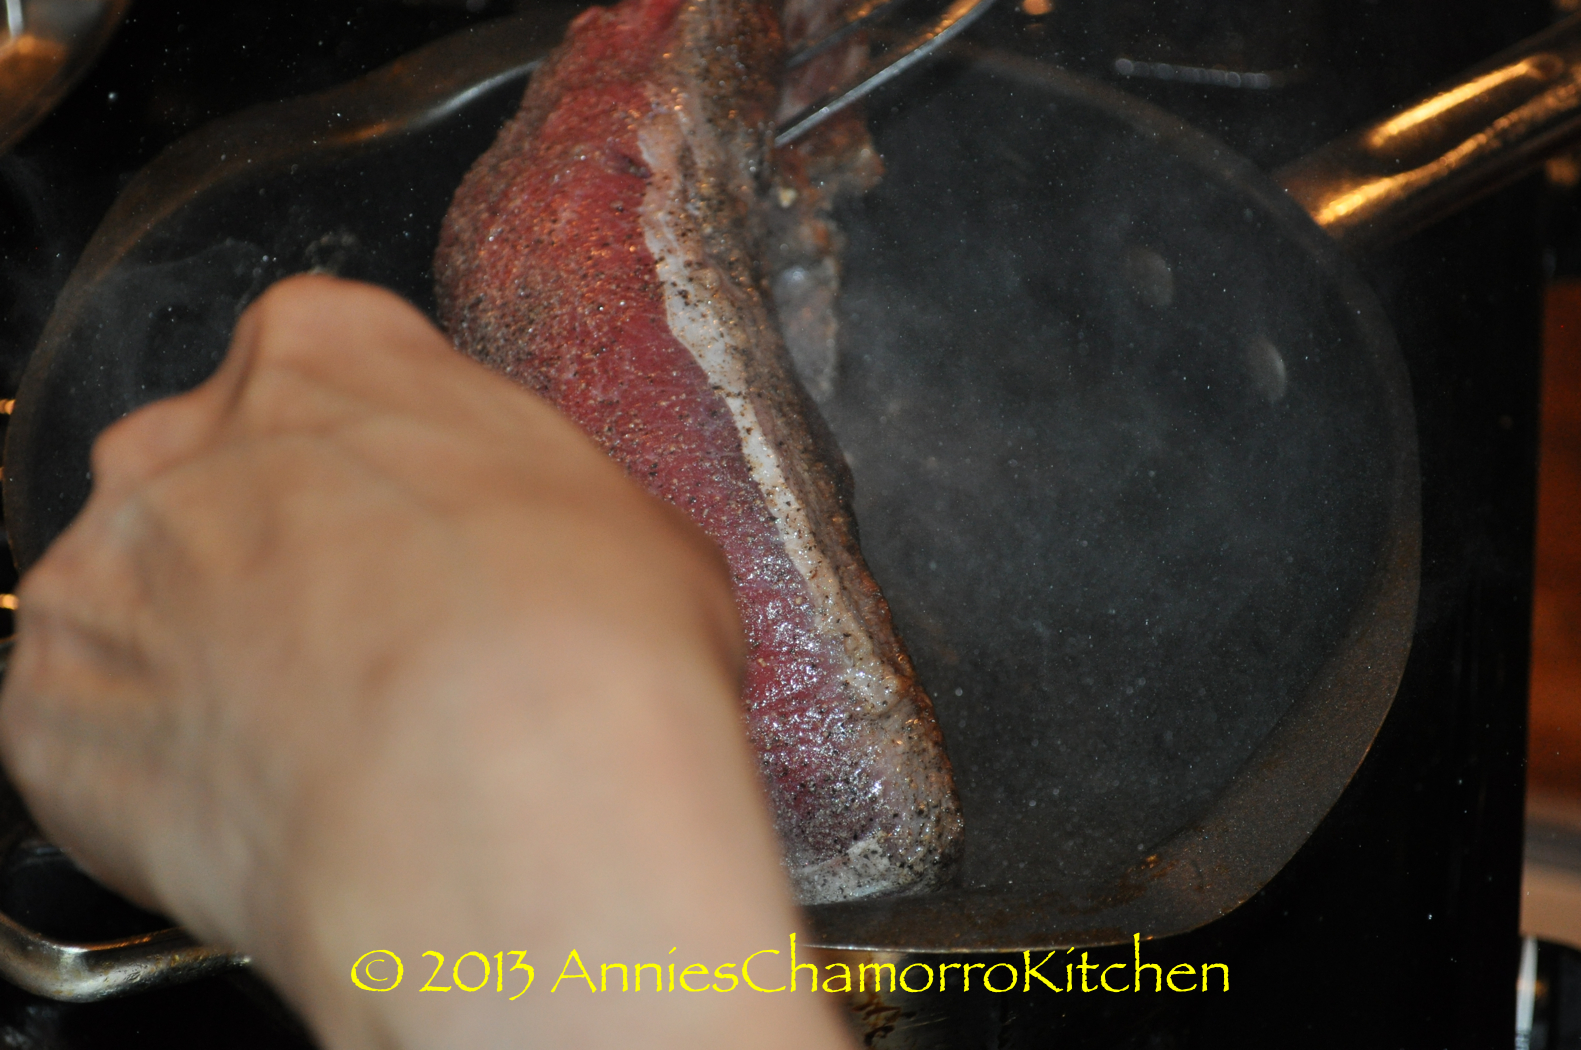
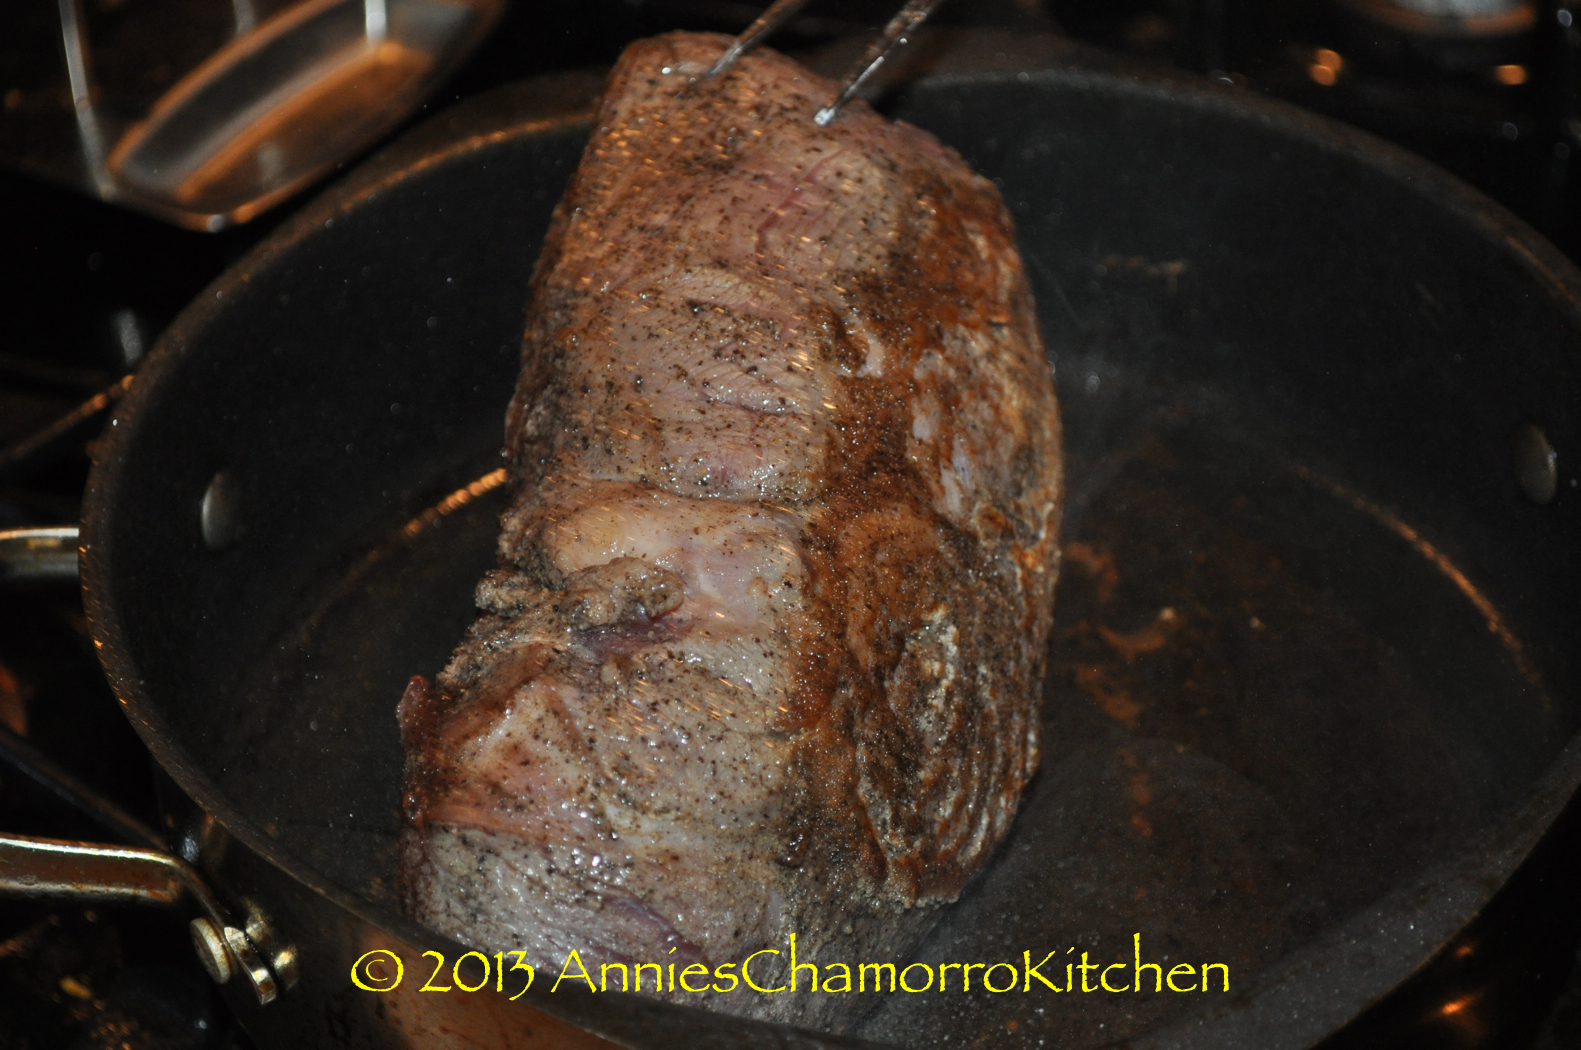
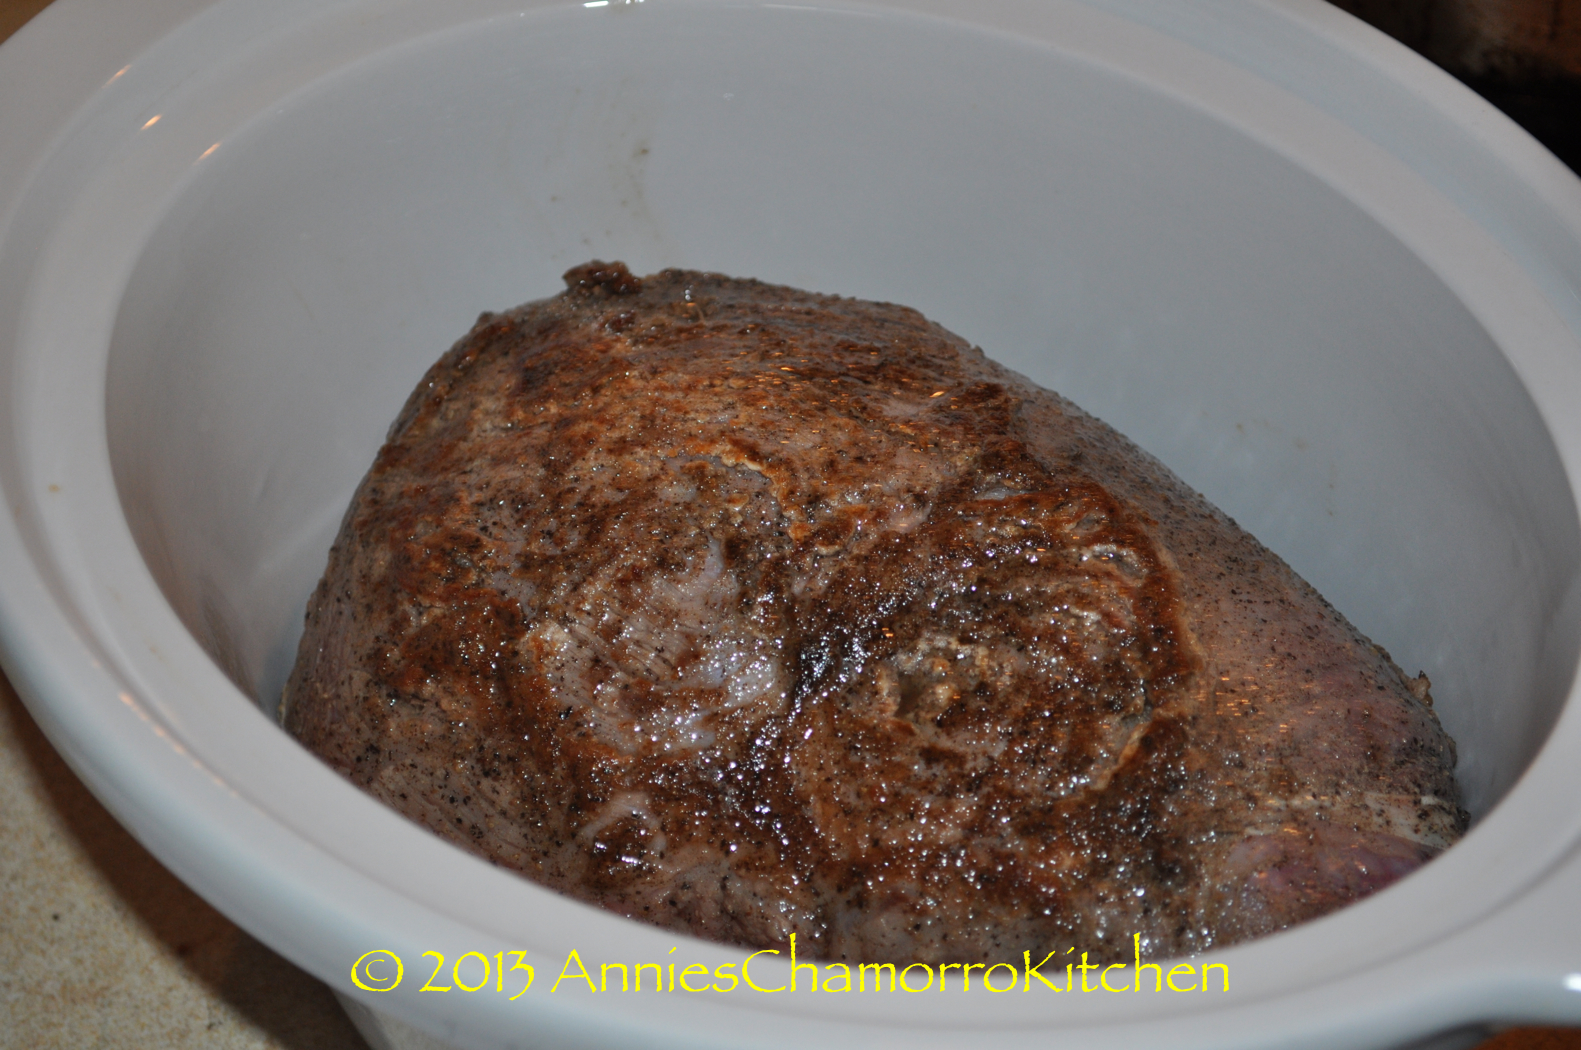
4.  When the pan is hot, add half of the oil into the pan. Brown the roast on all sides then remove it from the pan and place it into a slow cooker or crock pot set to HIGH.

Chamorro Pot Roast - 21

Chamorro Pot Roast - 24

Chamorro Pot Roast - 27

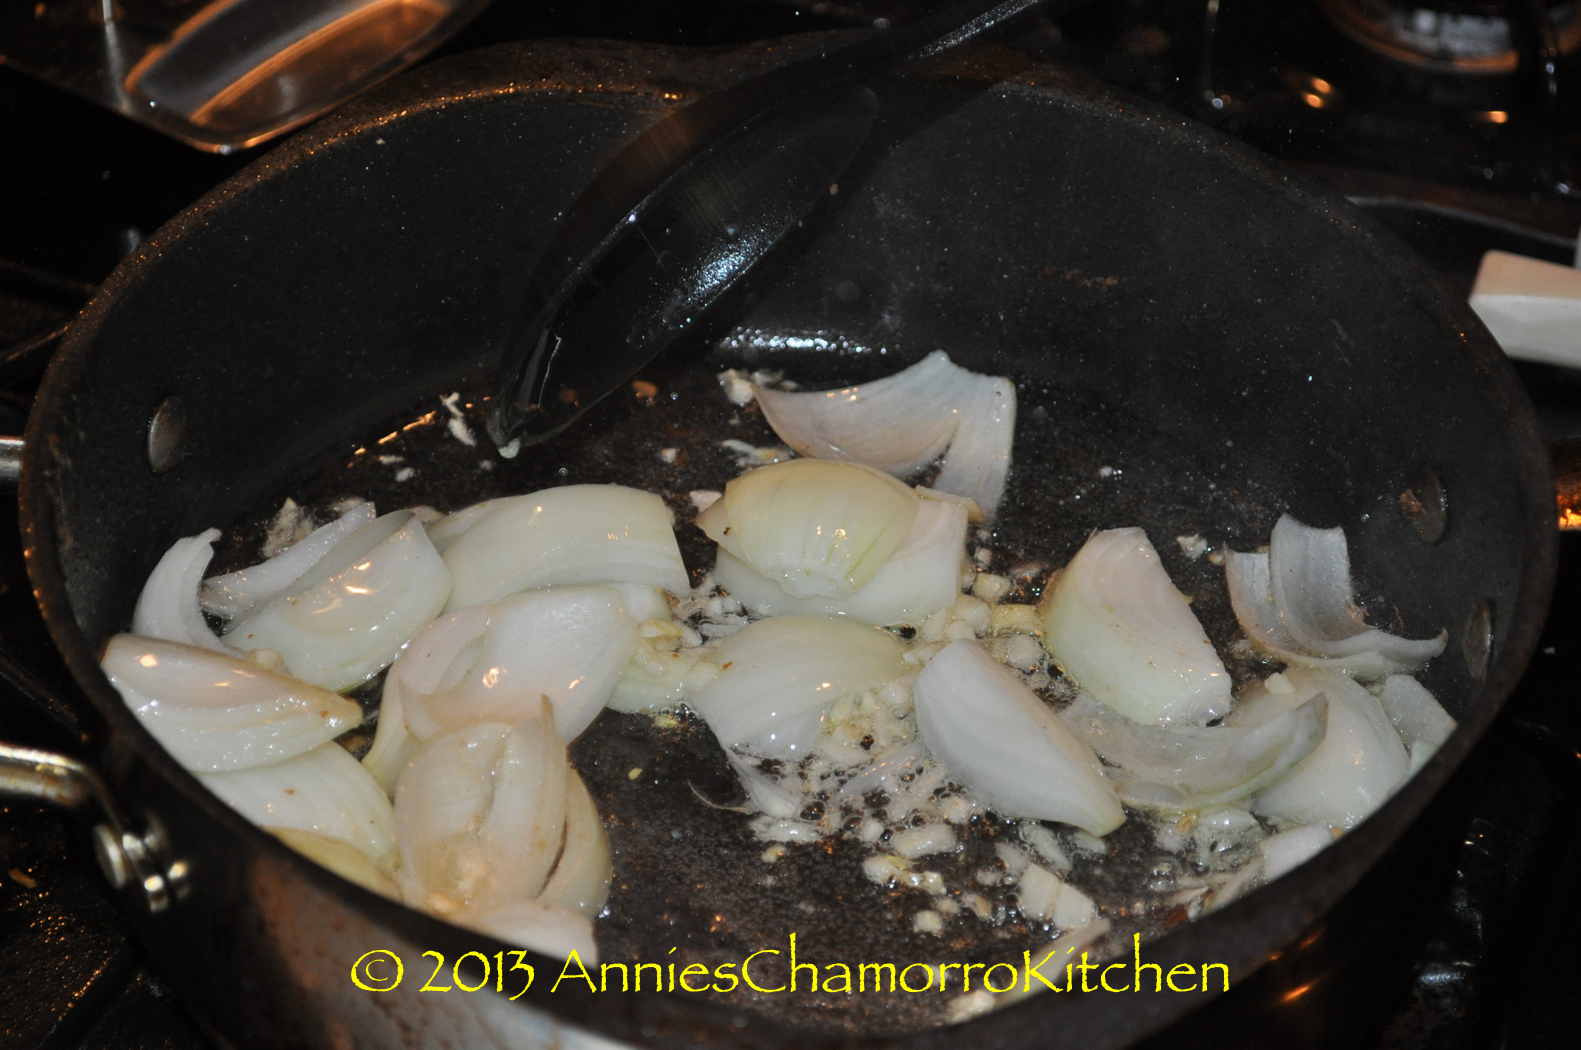
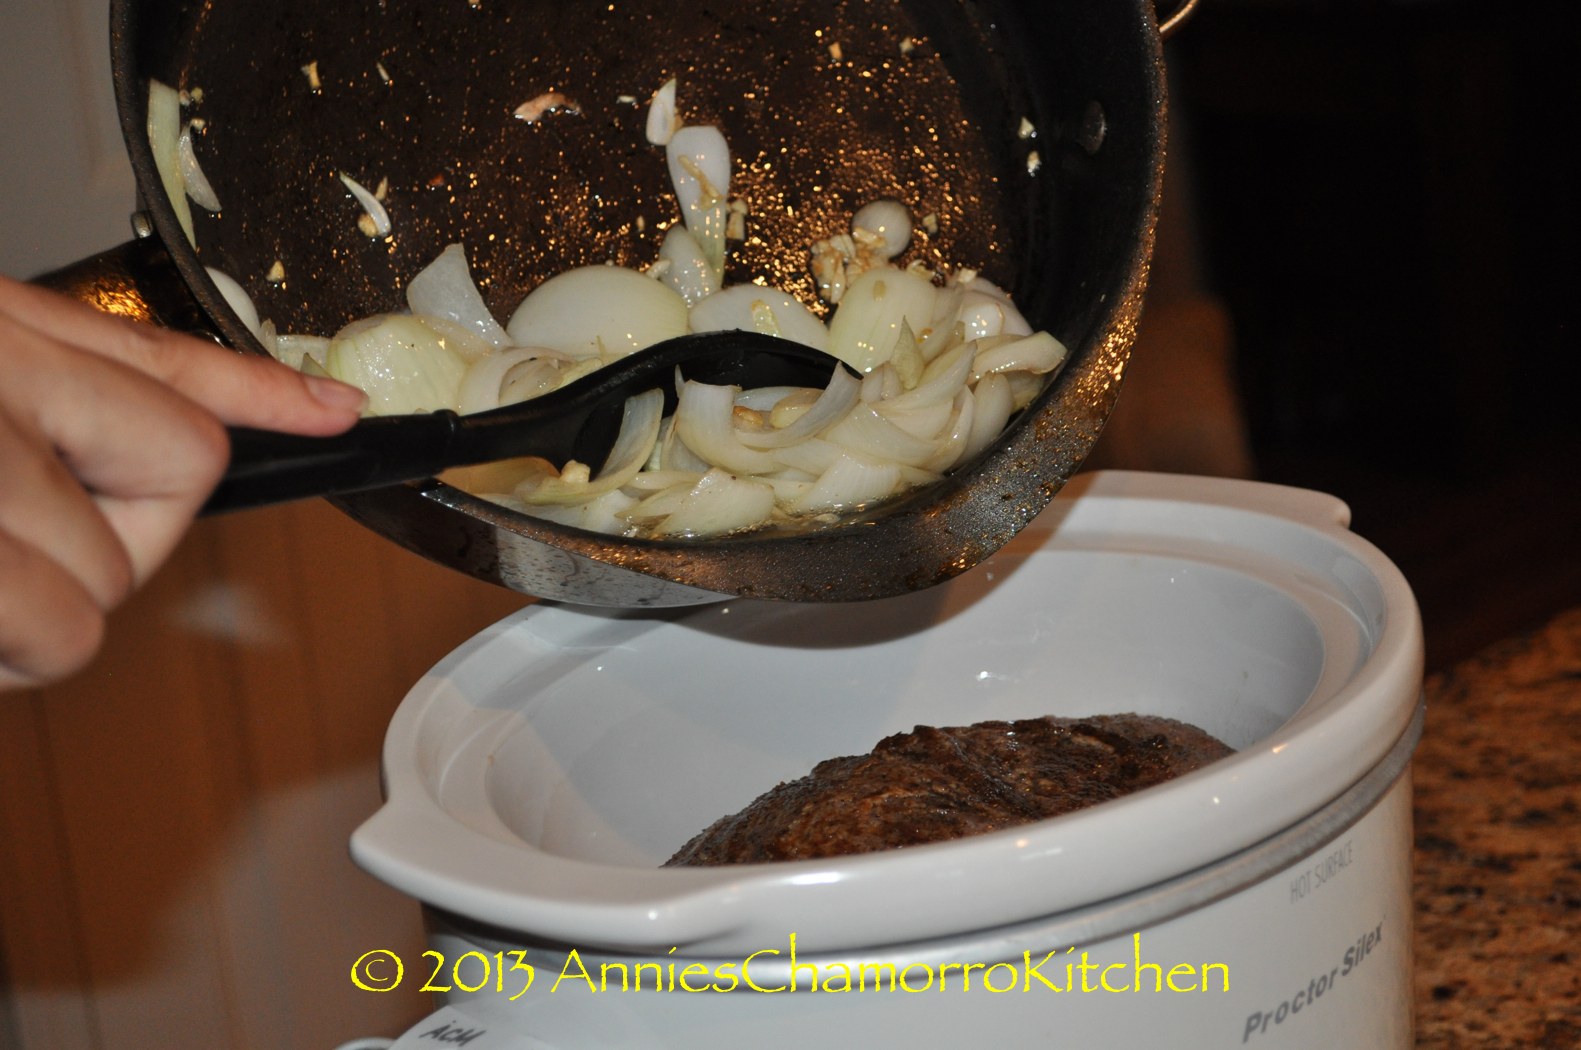
5.  Add the remaining oil to the pan used to brown the roast. Add the onions and garlic and sauté until the onions are translucent.  Add the sautéed onions and garlic to the slow cooker.

Chamorro Pot Roast - 28

Chamorro Pot Roast - 31

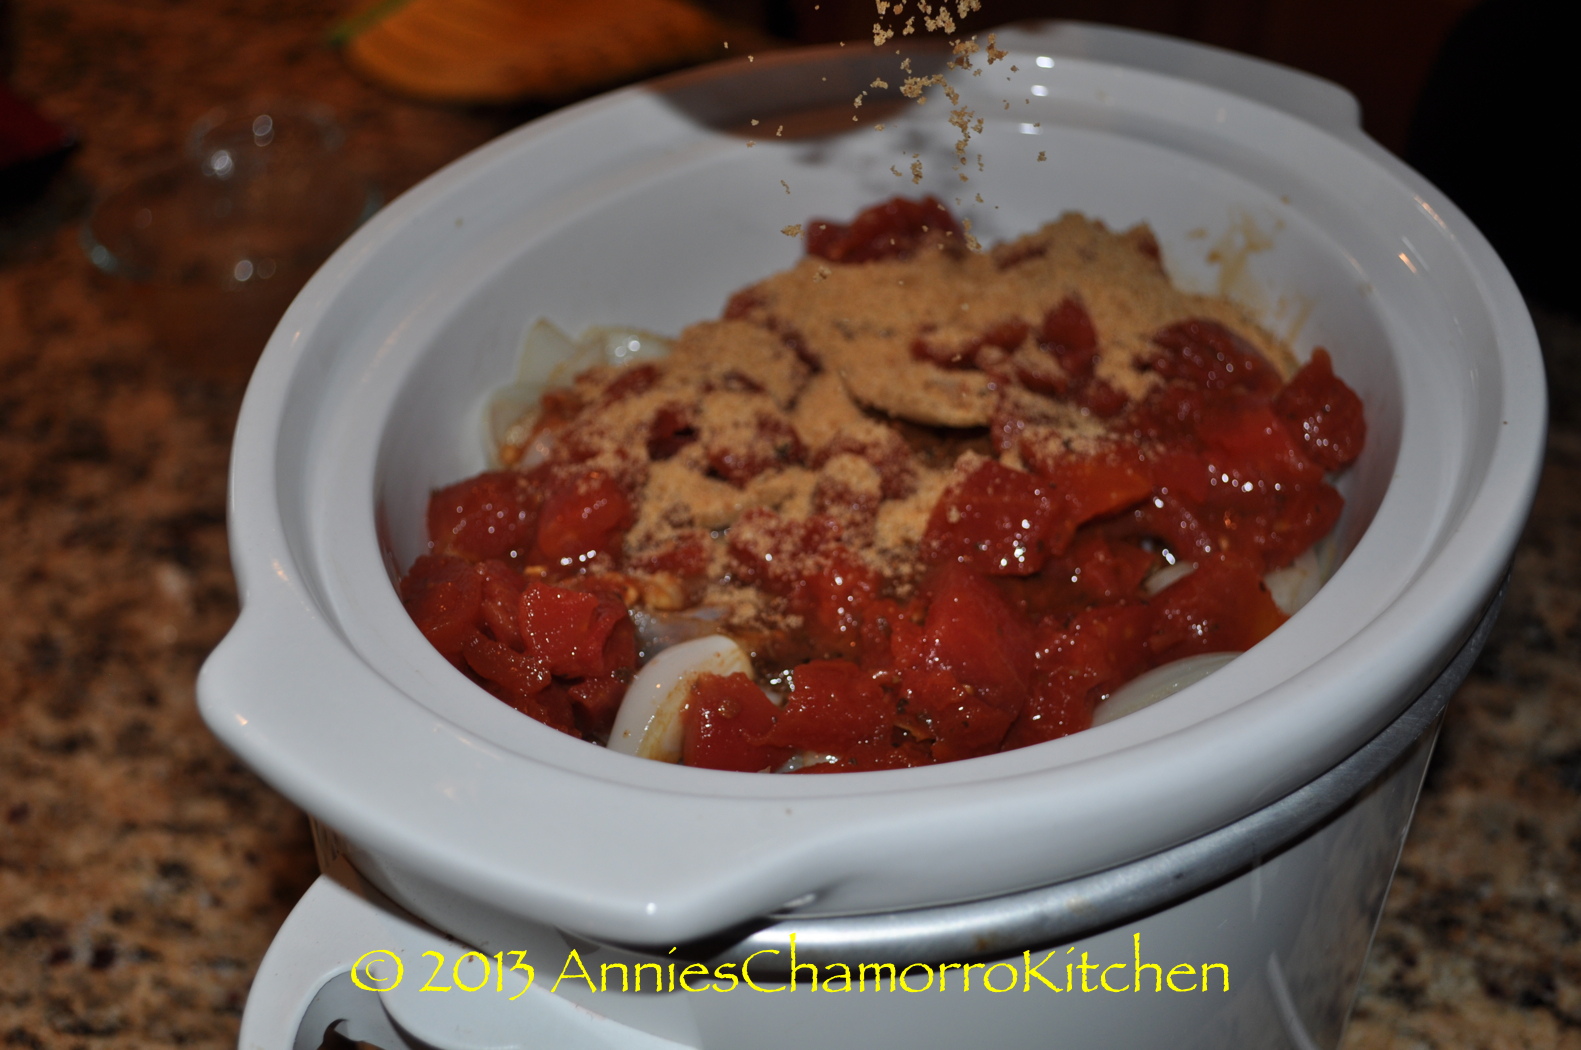
6.  Into the crock pot, add:

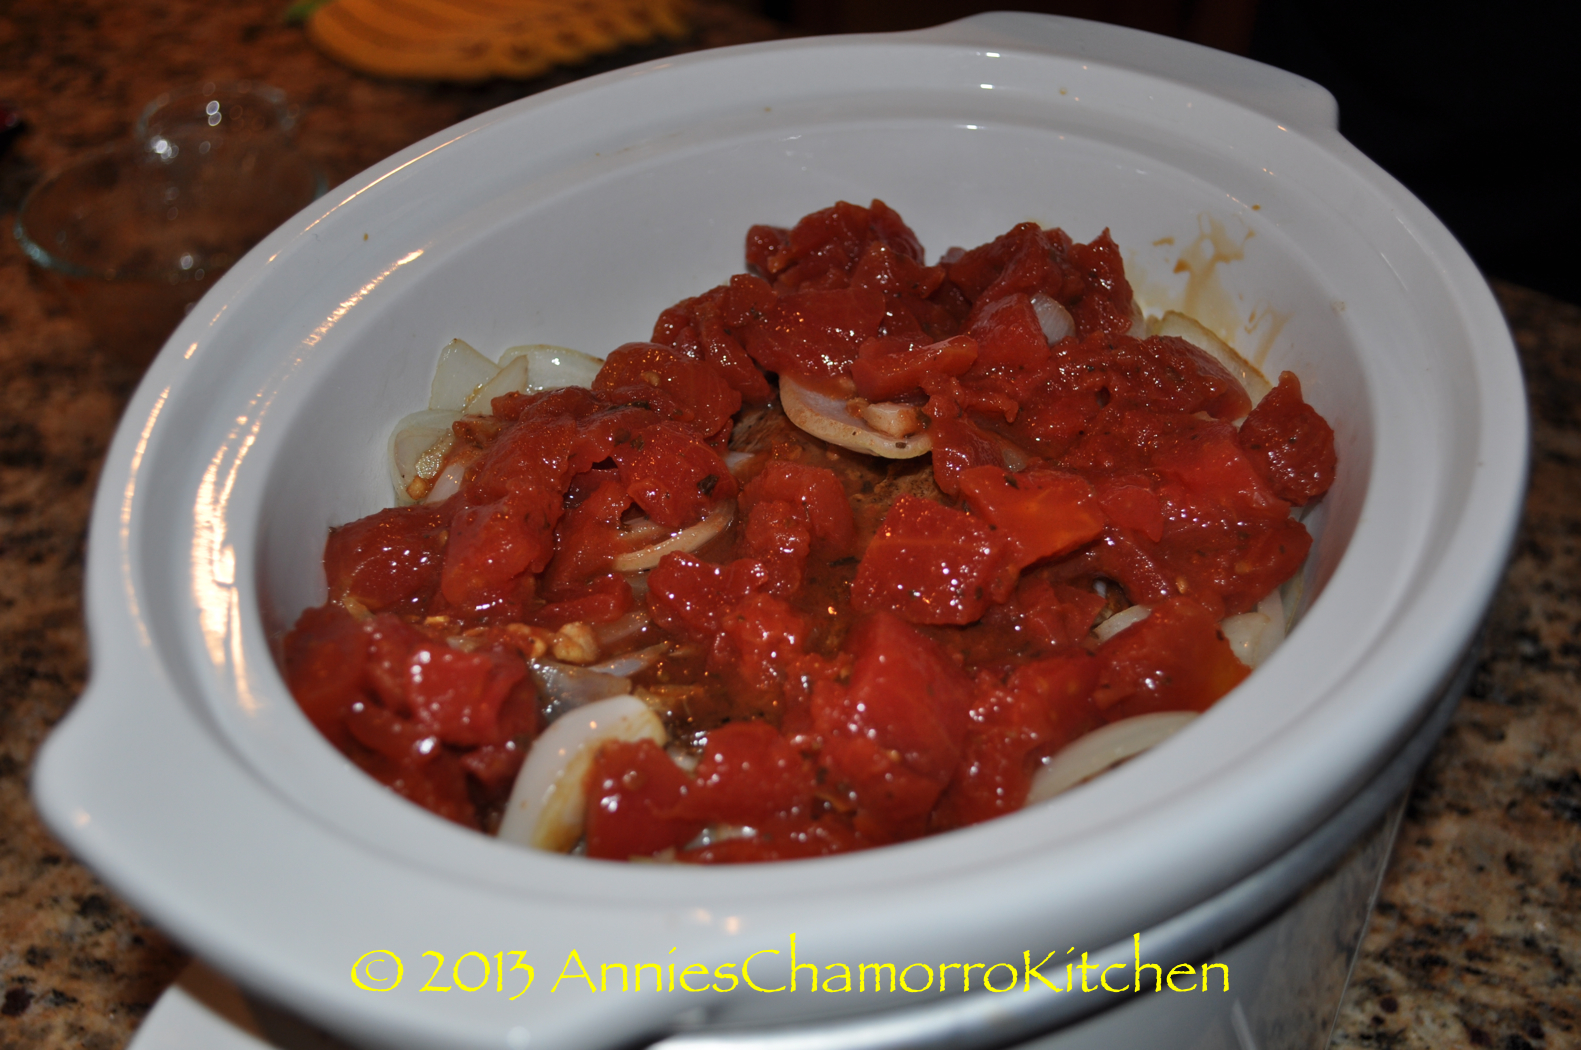
the tomatoes with juice…

Chamorro Pot Roast - 37

the Dashida seasoning…

Chamorro Pot Roast - 38

the accent or aji…

Chamorro Pot Roast - 39

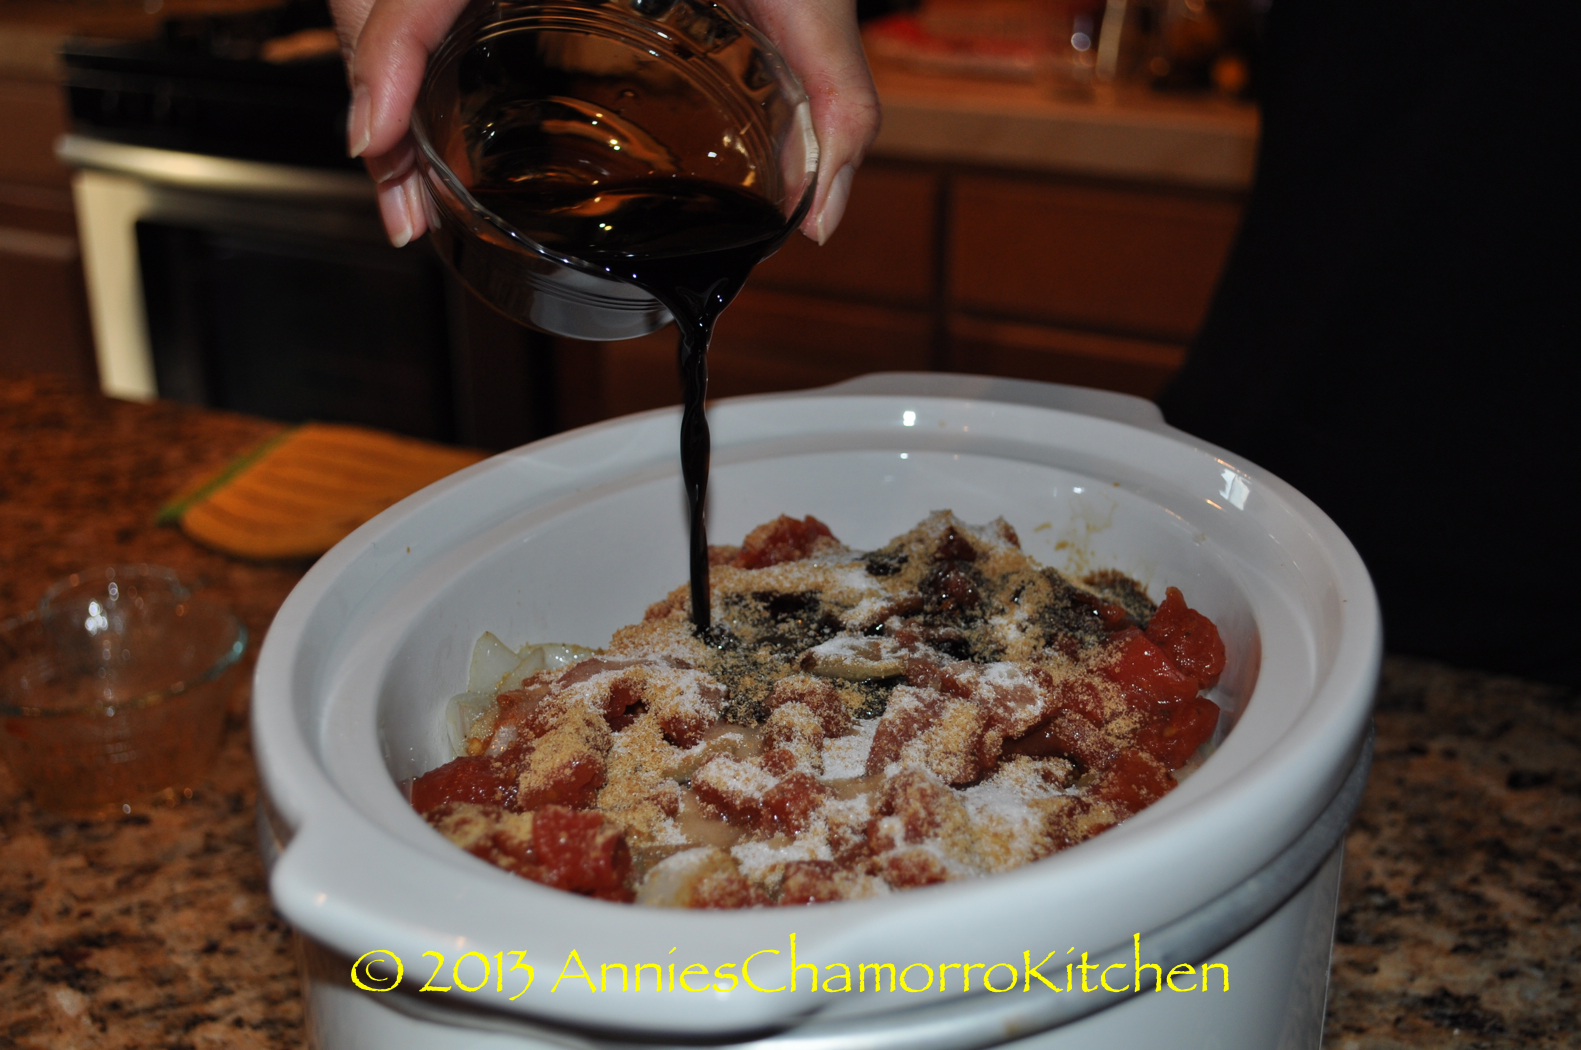
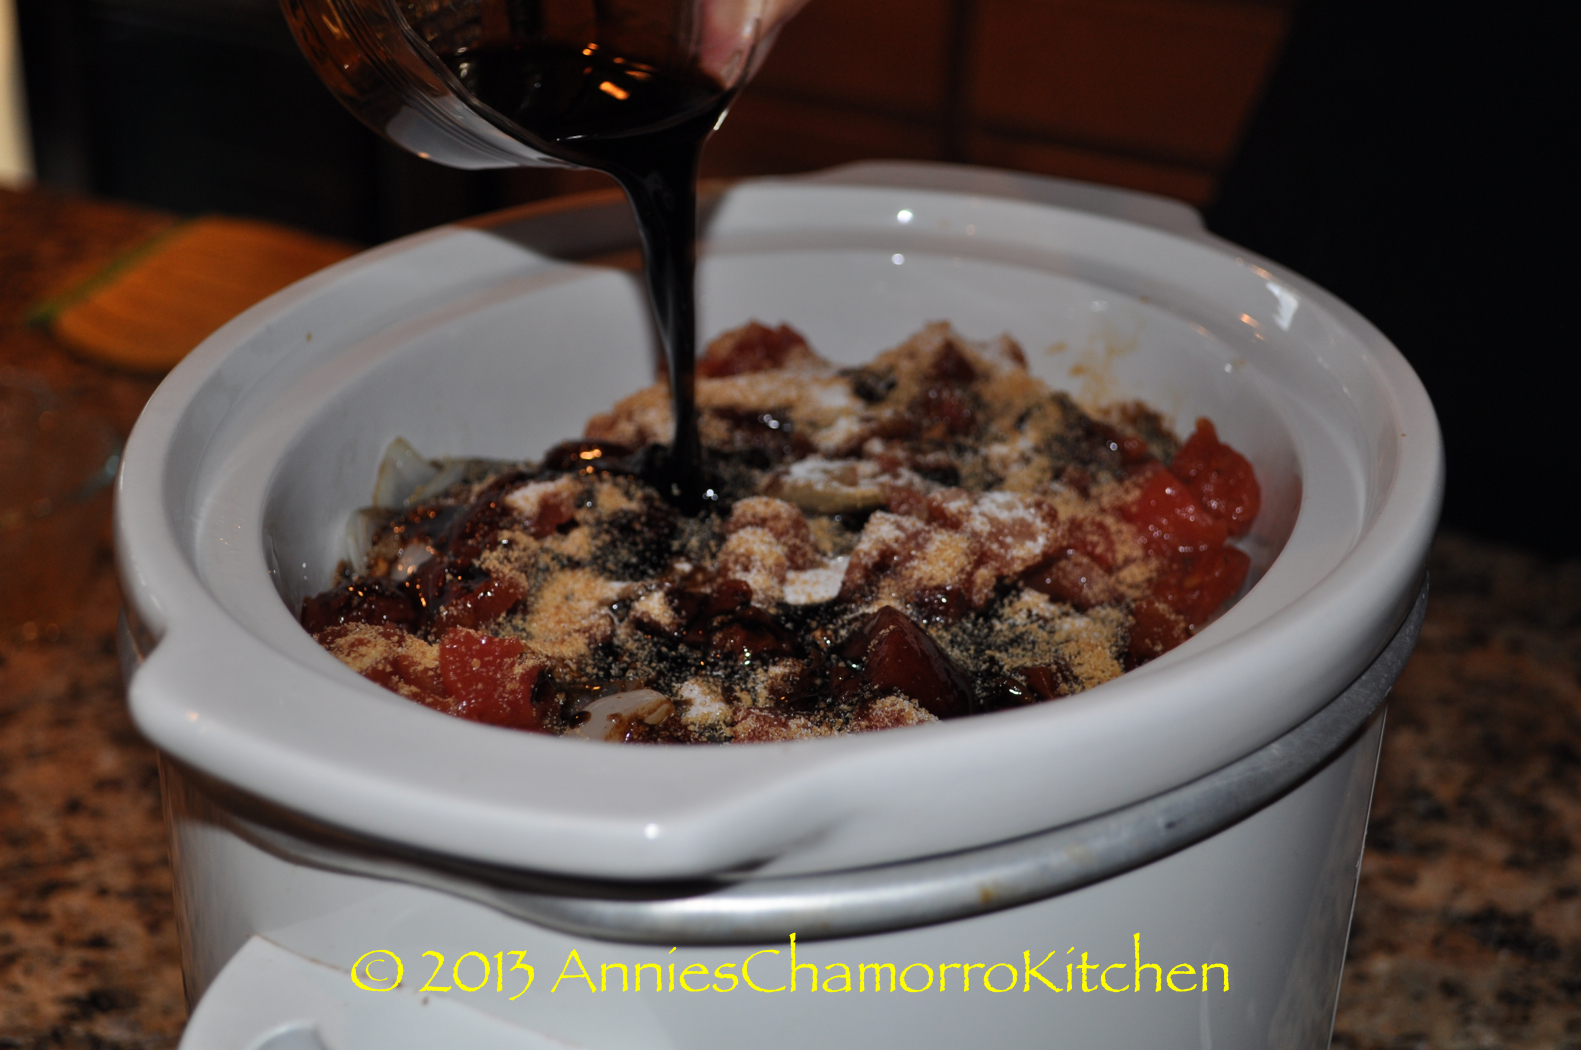
the balsamic vinegar…

Chamorro Pot Roast - 40

the soy sauce…

Chamorro Pot Roast - 41

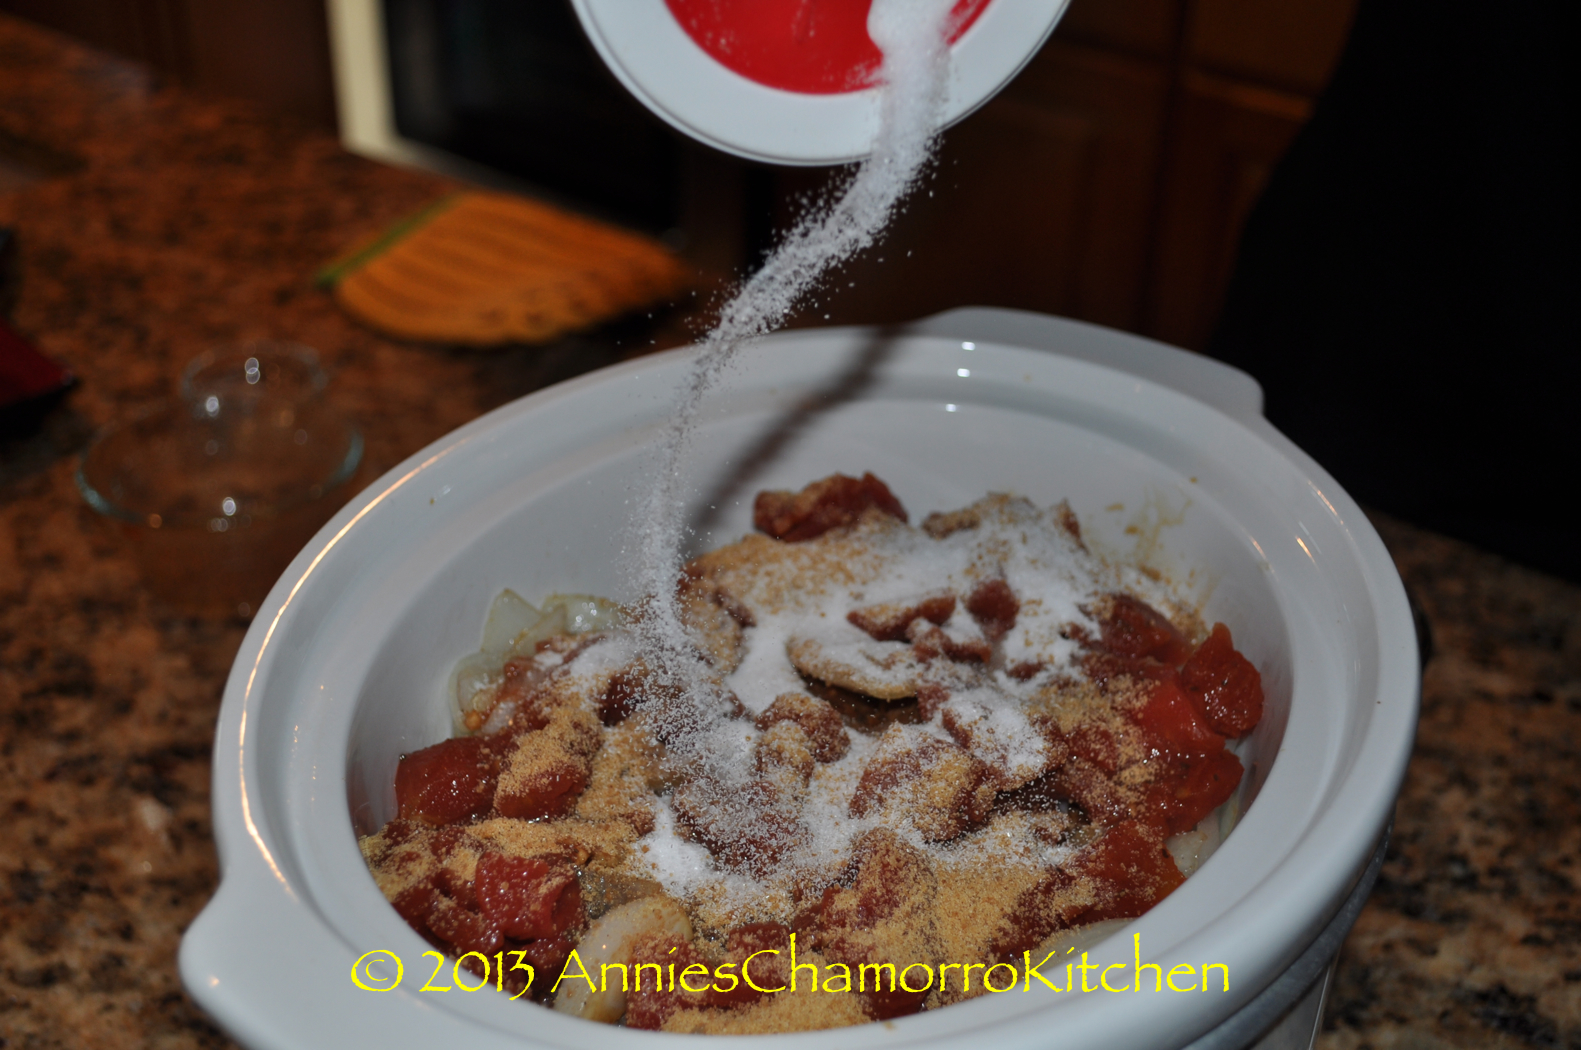
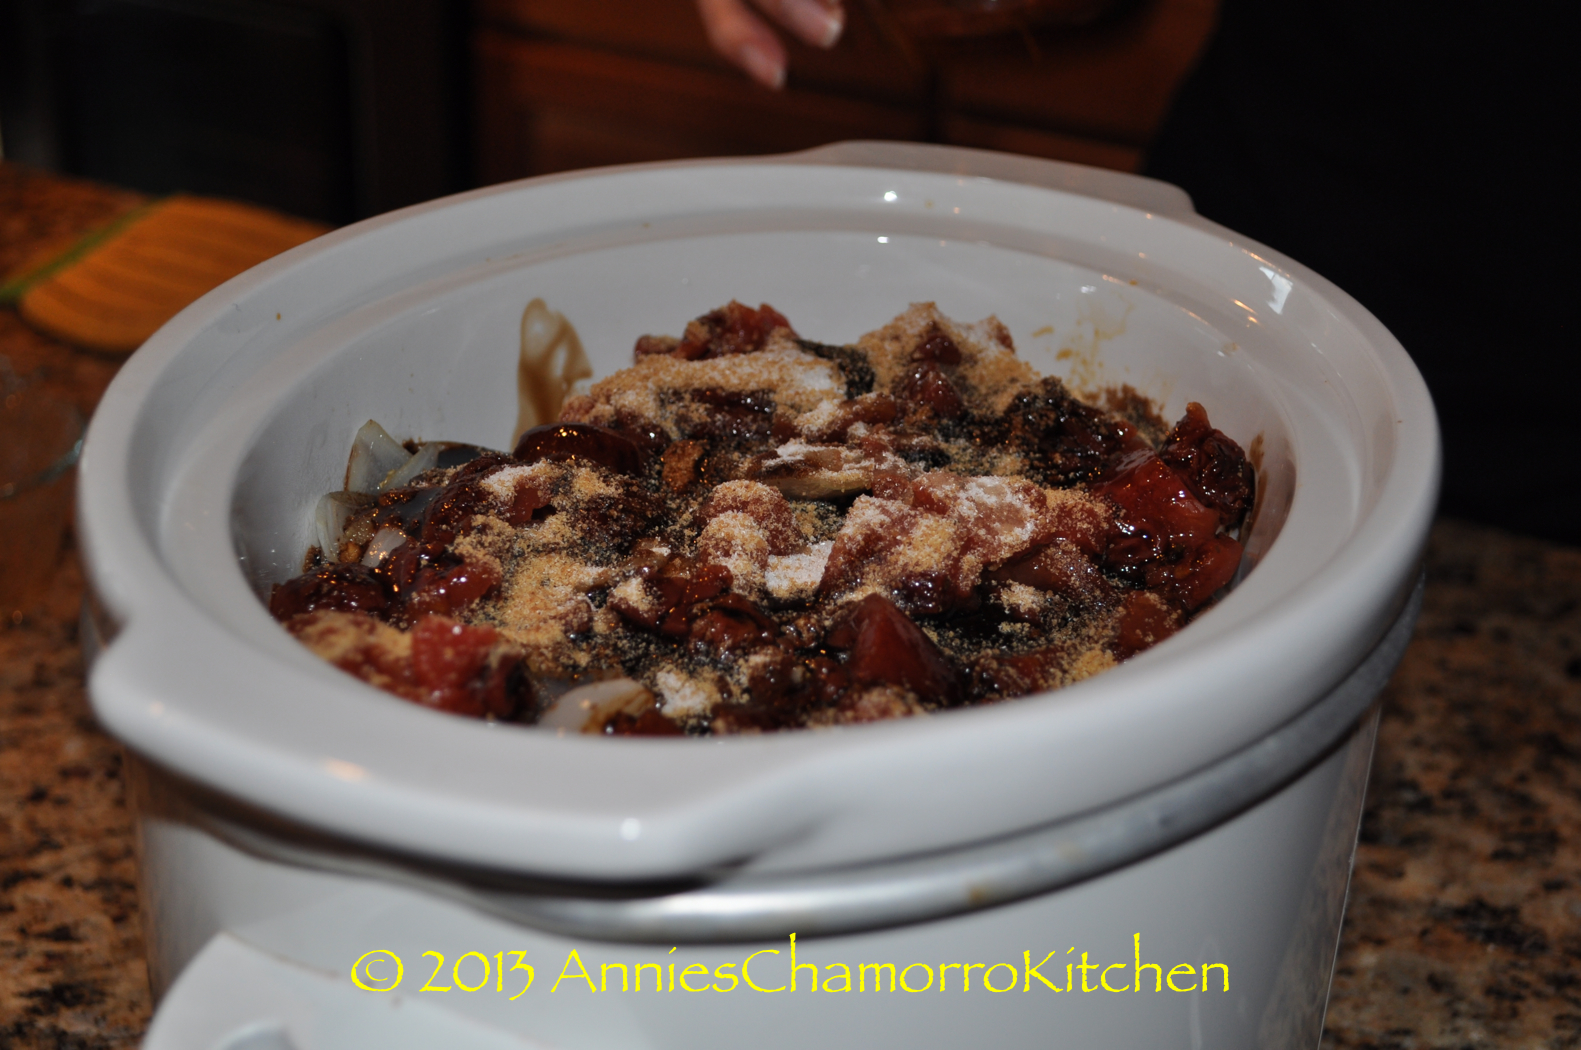
and 1 cup of water (see note below) plus any remaining salt and pepper.

NOTE:  If making this on the stovetop, add 2 cups of water instead (a lot of water will evaporate as the roast cooks).

Chamorro Pot Roast - 42

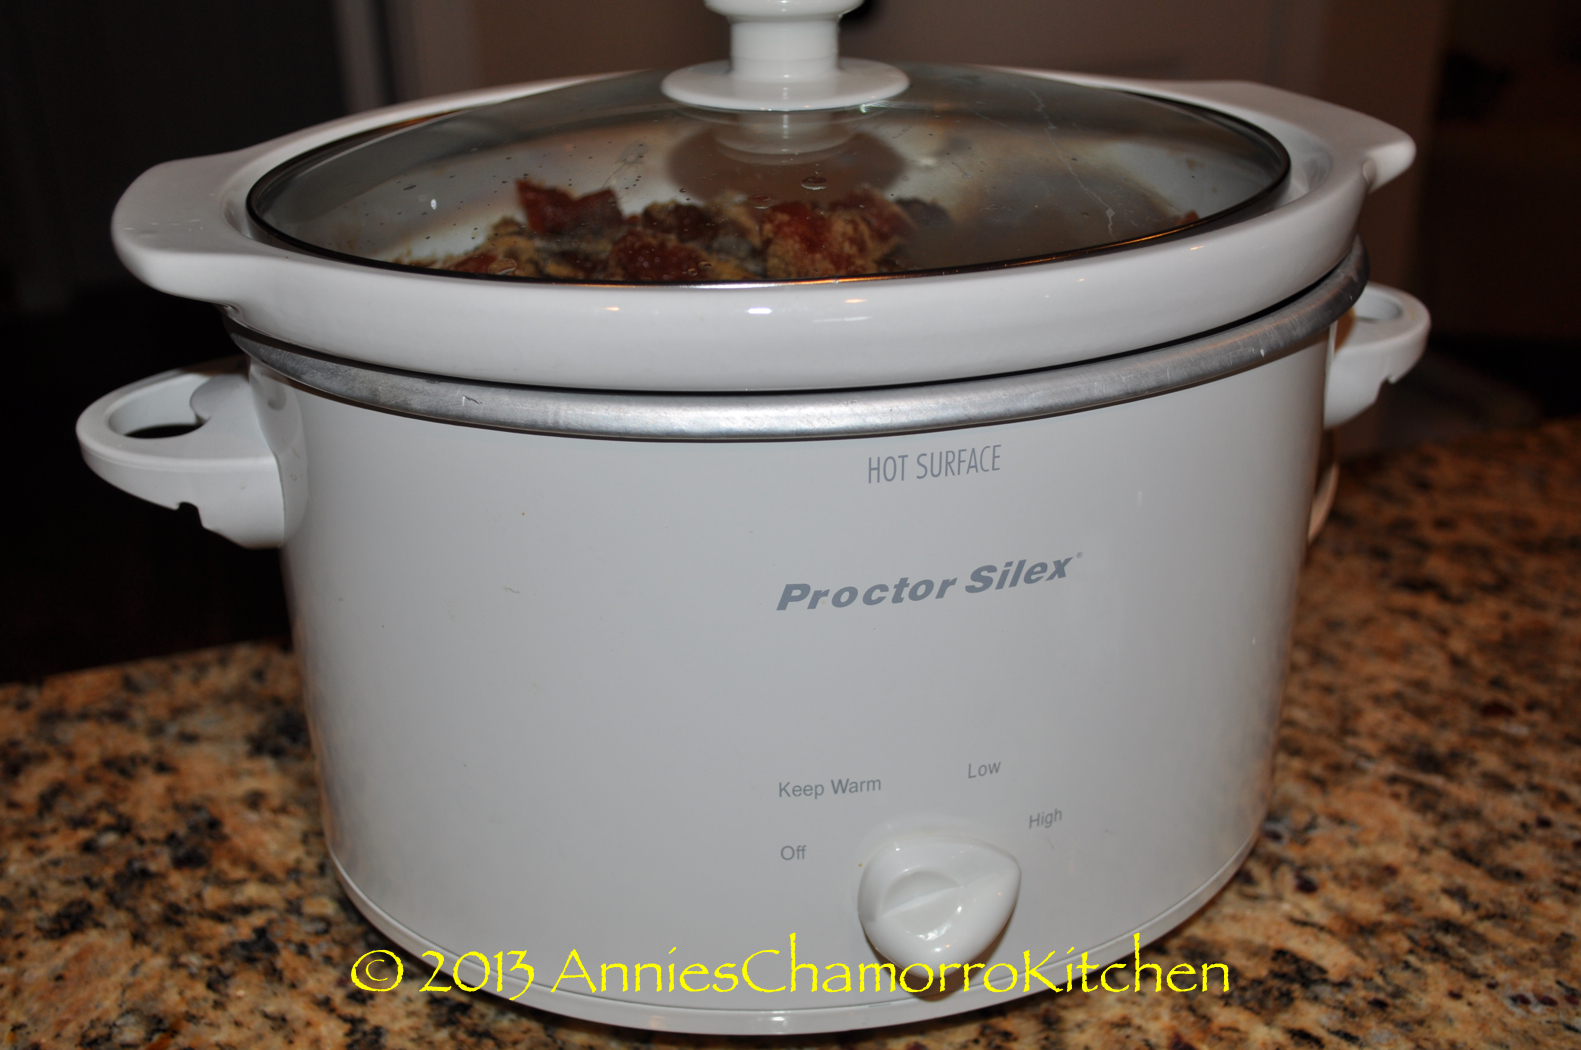
7.  Place the lid on the slow cooker. Cook on HIGH setting for 2 hours then lower the heat to LOW and cook for an additional 2 hours then turn off the slow cooker.  If cooking this on the stovetop, cover the pot and cook over medium-low heat for 2 hours.

Chamorro Pot Roast - 46

8.  When the roast is done, remove the roast to a plate or cutting board and allow to rest for at least 10 minutes before slicing (don’t cut it sooner that this or all the juices will flow out and leave your roast dry).

image

9.  In the meantime, while the roast is resting, prepare the gravy. Using an immersion blender, purée the chunks of vegetables in the gravy until it is completely smooth. If you don’t have an immersion blender, transfer all of the gravy (the liquid and all vegetables) from the slow cooker to a blender and blend until smooth.

image

image

10.  Pour the puréed mixture into a small pot; bring the mixture to a boil.

image

11.  Mix the cornstarch with the remaining 1 cup of water.

image

Whisk the cornstarch mixture into the gravy and return to a boil, stirring constantly until the mixture thickens.  Turn off the heat once the gravy has thickened.

image

12.  After the roast has rested, use a serrated knife or very sharp carving knife to slice the roast into 1/4 to 1/2 inch slices.

image

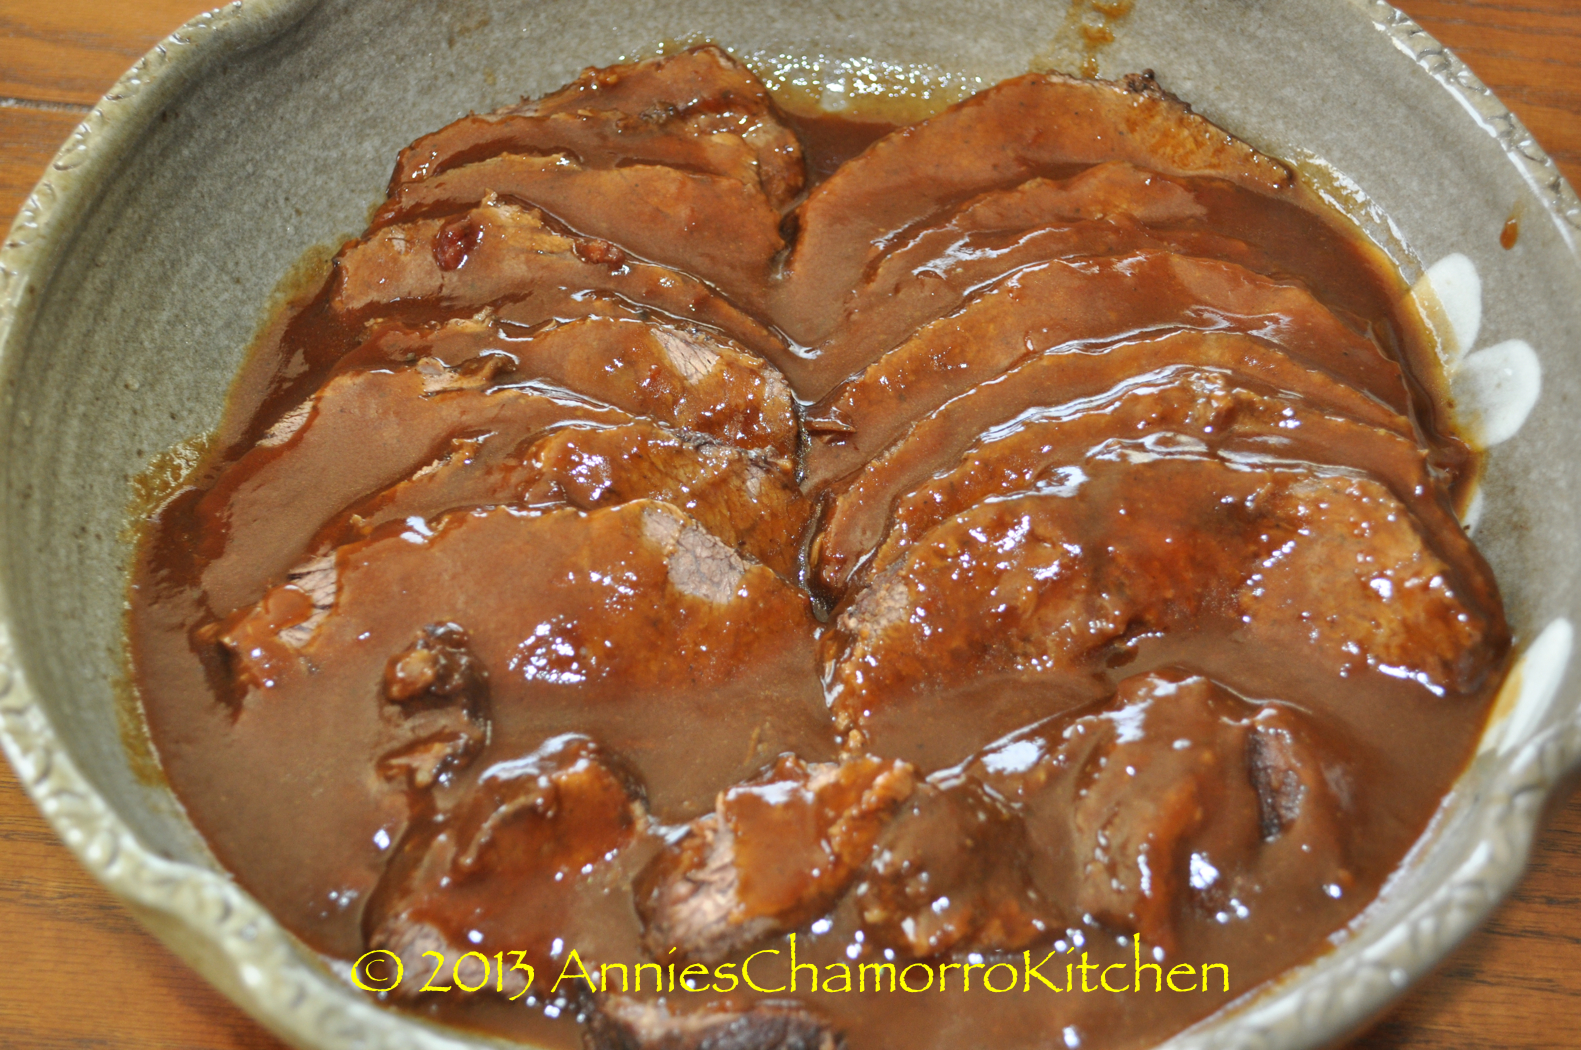
Pour gravy over the sliced roast beef.

Chamorro Pot Roast - 50


Serve with hot white rice and Enjoy!  I love to “drown” my pot roast and rice in lots and lots of gravy!  🙂

Chamorro Pot Roast - 51

Chamorro Bistek (or Bisteak)

Bistek (or Bisteak) is a favorite Chamorro dish.  The addition of achote (or annatto) gives a unique flavor, along with the tanginess of the added vinegar.  

image

If you have it, I prefer using achote water made with fresh achote seeds.  Fresh is always best, but of course, using achote powder works quite well too.  This is what the packet of achote powder looks like.  As with the Sazon Goya seasonings, achote powder is another item that is commonly found in either the Asian aisle of most grocery stores.  If your local store doesn’t carry it, try looking for it in your local Asian supermarkets.


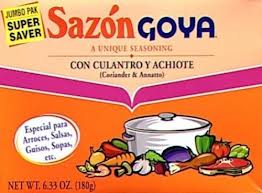
goya achoteIf you don’t have fresh achote seeds or achote powder, you can substitute with Sazón Goya seasoning that contains achote.  This is what the packaging looks like.  It’s a common item in the Hispanic aisle in most grocery stores.


This dish usually includes peas as a main ingredient.  Some think that if you DON’T add peas, it isn’t Bistek, but my family prefers this dish made WITHOUT peas.  We like using fresh or steamed green beans or sugar snap peas instead.  It’s all up to you, really.  With peas (or vegetables, for that matter) or without, it’s still a very tasty dish that is a must-add to your list of menu choices.

Scroll all the way to the bottom to find my recipe.  Give it a try.  I think you’ll like it.  🙂

Chamorro Bistek (or Bisteak)

image


Place thinly sliced beef into a large frying pan.  I like to use minute steak for this.

image


Add Dashida seasoning, minced garlic, black pepper, and thinly sliced onions.  Stir to combine all the ingredients.  Cook over medium high heat until the meat is browned.

image


Add to the pan white vinegar and soysauce.  Stir to combine.

image

image


Add water to the pan.  Add more or less water, depending on how much gravy you like.  We like a lot of kådu (gravy)–adding about a cup of water will yield a lot of kådu.  Cook for a couple of minutes–just long enough to reheat the gravy–then stir in achote powder (the achote powder will dissolve better if the liquid is HOT). 

NOTE:  You can substitute the water and achote powder with achote water made using achote seeds.

image

image


Cook for another couple of minutes then stir in fresh or frozen peas (OPTIONAL).  My family actually prefers to use fresh sugar snap peas.  Cook for a few more minutes, or just long enough to either reheat the frozen peas, or to cook the sugar snap peas to your liking (we like it al dente, or cooked but still crisp).  You can also use fresh green beans instead of peas.  In the photo below, I used steamed sugar snap peas.

image

image

image


After the vegetables are cooked/reheated to your liking, remove the Bistek from the heat and serve with steaming hot white rice.  ENJOY!

image


Chamorro Bistek (or Bisteak)

Ingredients:

  • 2 pounds thinly sliced beef
  • 4 tablespoons Dashida beef flavored seasoning
  • 2 tablespoons minced garlic
  • 1/2 teaspoon black pepper
  • 1 large onion, thinly sliced
  • 3/4 cup white vinegar
  • 1/4 cup soy sauce
  • 1 cup water*
  • 1 packet achote powder*
  • *If using achote seeds, make enough achote water to yield 1 cup
  • Optional:  1 cup frozen or fresh peas, sugar snap peas, or green beans

Directions:

1.  Place the beef, Dashida, garlic, black pepper, and onions in a large pan.  Cook until the beef is browned.

2.  Stir in the vinegar, soy sauce, water and achote powder.  Cook for about 5 minutes.

3.  Stir in your vegetables.  Cook long enough to reheat the vegetables (if frozen), or until the fresh vegetables are cooked to your liking.

4.  Serve with hot white rice and ENJOY!  🙂
 

Lasagne al Forno

I first made this lasagne years ago, when I lived in Germany (yes, Germany, not Italy).  There was this small family run Italian restaurant in the little German town we lived in.  Aside from the restaurants and cafés in Italy, that little Italian restaurant in Germany is the best I’ve ever been to.  It’s been over 15 years since I’ve been there, yet I have not yet found any Italian restaurant to compare to that one in Germany.

This recipe is my take on one of my favorite dishes served there.  The blend of the tomato and bechamel sauces take this pasta dish to a whole new level.  Give my recipe a try.  I think you’ll like it.  🙂 
LASAGNE AL FORNO

IMG_1045 

INGREDIENTS:

  • 1 box no-bake lasagne noodles (have a 2nd box on hand in case you use a large pan)
  • Meat sauce (see below)
  • Bechamel sauce (see below)
  • 1 bag (1 pound) shredded mozzarella cheese
  • 1 cup grated Parmesan-Romano cheese blend

Lasagne al Forno ingredients

Meat Sauce:
    • 1 pound mild Italian sausage
    • 1 pound lean ground beef (you can omit this if you want your sauce less meaty)
    • 1 medium onion, chopped
    • 2 teaspoons garlic powder
    • 2 tablespoons Dashida beef flavored seasoning
    • 2 tablespoons Italian seasoning
    • 6 leaves fresh basil, chopped into small pieces
    • Black pepper, to taste
    • 2 29-ounce cans tomato sauce
Directions to make the Meat Sauce:

1.  Brown the sausage and ground beef.  Drain any excess fat and liquid.

IMG_0982

 2.  After the meat has browned, add the Dashida, onions, garlic powder, Italian seasoning and basil.

IMG_0983

IMG_0987

3.  Cook until the onions are translucent. 

IMG_0991

4.  Add the tomato sauce to the ground meat mixture.  Stir to combine.  Simmer for 5 minutes then turn off the heat.  Set aside.

IMG_0995

IMG_1002

 
Bechamel Sauce:
  • 4 tablespoons butter
  • 6 tablespoons flour
  • 2 cups milk
  • 3 cups heavy cream
  • 1/2 teaspoon salt
  • 1 teaspoon grated nutmeg
  • Black pepper, to taste
  • 1 5-ounce bag grated Parmesan cheese
Directions to make the Bechamel Sauce:

1. In a medium sauce pan, melt the butter.

IMG_0988

2.  Add the flour (all at once) to the melted butter.

IMG_0998

3.  Use a whisk to mix the flour and butter together.  Cook over medium low heat for about 2-3 minutes.  Whisk constantly to prevent burning.

IMG_1003

4. Slowly whisk in the milk and cream.  Whisk vigorously to ensure there are no lumps. 

IMG_1009

5.  Add the grated Parmesan cheese to the milk mixture.  Turn the heat up to medium high. Continue whisking; cook until the cheese melts and the sauce thickens.

IMG_1020

You know the sauce is thick enough when you dip a spoon into it, run your finger down the spoon, and you leave a line down the spoon that doesn’t disappear with runny sauce.

IMG_1024

6.  Add the grated nutmeg, and salt and pepper to taste.  Turn the heat off and set the sauce aside.  NOTE:  This sauce is EXCELLENT for fettuccine alfredo.  🙂
IMG_1023 


Assemble the Lasagne al Forno:

1. Using a large lasagne pan, or a deep dish baking/roasting pan, spread a thin layer of meat sauce on the bottom of the pan.

IMG_1021

2.  Add a layer of noodles.  Don’t worry about filling in the spaces with noodles; these no-cook noodles will expand during the baking process.

IMG_1022

3.  Pour some bechamel sauce over the noodles, just enough to cover the noodles.

IMG_1027

4.  Sprinkle shredded and grated cheese over the bechamel sauce.  Top with another layer of noodles.

IMG_1028

5.  Repeat the layering process — meat sauce, noodles, bechamel sauce, cheese, noodles — until you’ve used up all of your sauce and/or noodles.  The last layer (on top) should be bechamel sauce topped with cheese.

IMG_1033

6.  Heat the oven to 375 degrees.  Place the pan of lasagne on top of a large baking sheet.  Cover the pan of lasagne with aluminum foil.  Bake at 375 degrees for 25 minutes. 

IMG_1038

IMG_1039

7.  After 25 minutes, remove the aluminum foil.  Turn the oven to Broil — continue to bake the lasagne for 5 more minutes to brown the cheese on top.

IMG_1044

8.  Once the cheese has browned, remove the pan from the oven.  Before serving, let the lasagne sit for at least 15 minutes (don’t worry, it will still be hot) to allow the sauces to set.  If you serve immediately after removing the lasagne from the oven, the sauces will run all over the place (it will still taste delicious, but your presentation won’t be as “pretty”).  Serve with your favorite crusty bread and ENJOY!  🙂

IMG_1045


« Older Entries Recent Entries »