Archive for Chicken

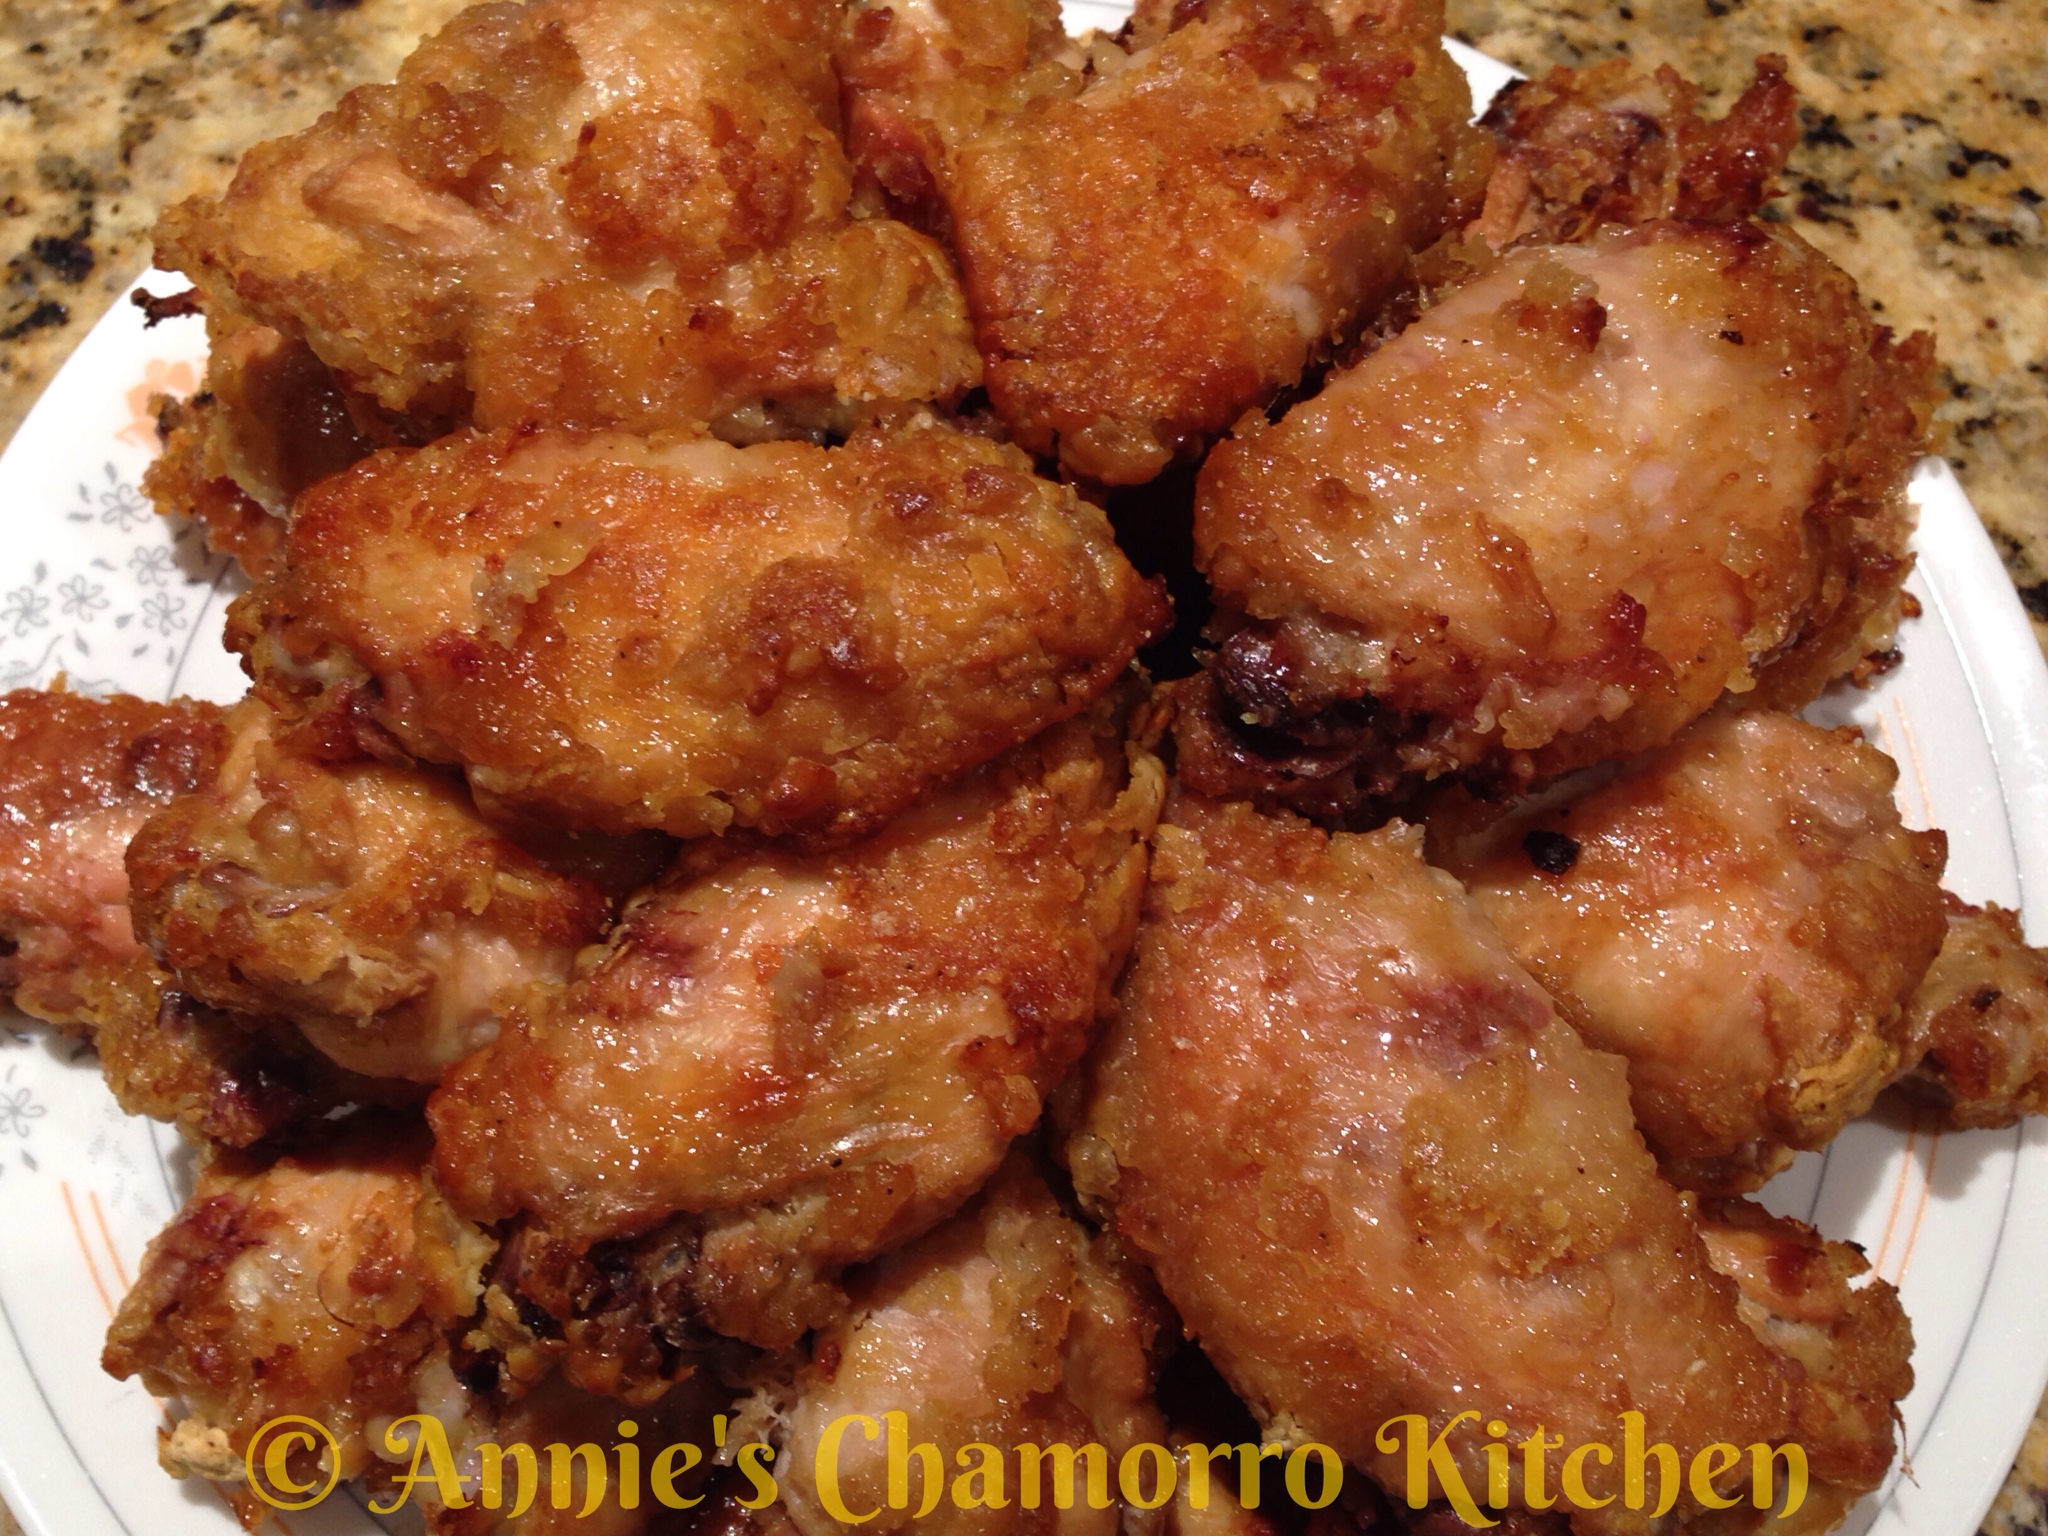
Baked “Fried” Chicken

Healthy Fried Chicken — is there even such a thing? 🙂

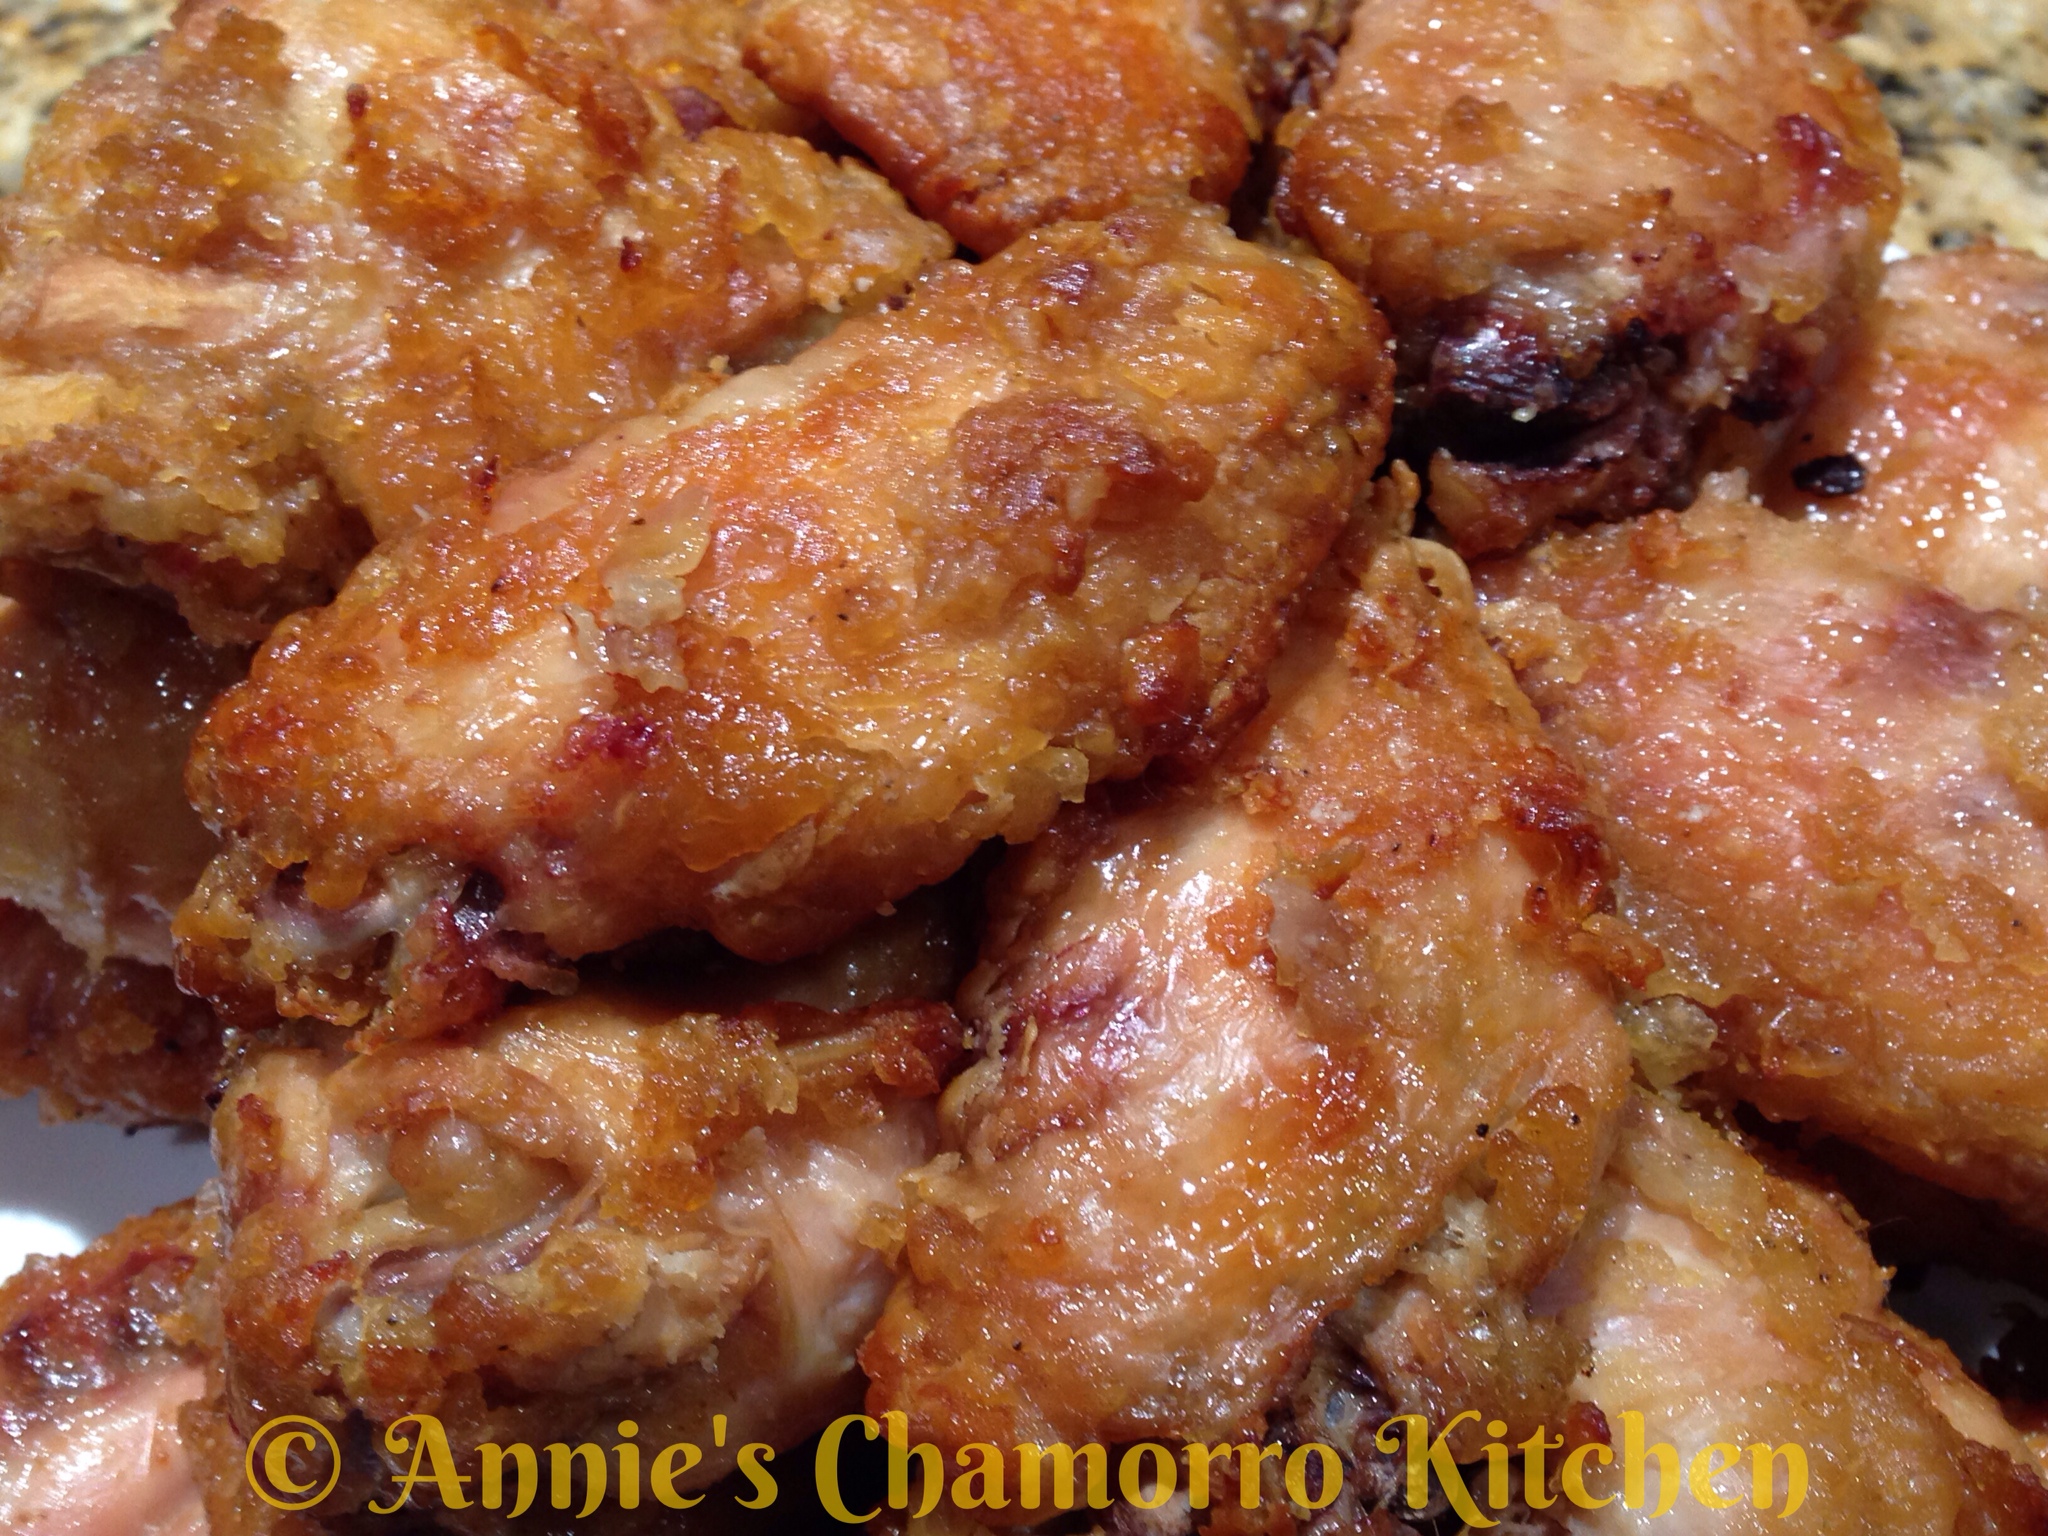
My recipe below is healthy, or at least it’s a less unhealthy version, and it does not skimp on flavor. Despite being baked, you still get that crispness we equate to delicious fried chicken. How, you ask? Well, let me tell you.

Use chicken WITH the skin on. The fat from the skin will crisp the chicken as it bakes.

I also marinate the chicken for several hours — up to a day. My marinade is very similar to what you’d use to make Karaage Chicken. Don’t skip the marinade — it takes it to a whole other level, let me tell you!

This is also a gluten-free recipe since I dredge the chicken in corn starch instead of flour. Be sure to look on the corn starch label to ensure it’s gluten-free (not all brands are). I use Argo brand cornstarch, one of the few that is gluten-free.

Give my recipe a try. I think you’ll like it. 🙂

Baked “Fried” Chicken

Ingredients:

  • 5 pounds chicken wings (or your favorite chicken pieces, skin on)
  • 3 cups cornstarch, for dredging the chicken pieces in
  • 1 tablespoon garlic powder
  • 1/2 teaspoon black pepper


Marinade Ingredients:

  • 2-inch piece of ginger
  • 3 tablespoons sherry cooking wine
  • 3 tablespoons rice vinegar
  • 3/4 cup soy sauce
  • 2 tablespoons chopped garlic
  • 4 tablespoons sugar

Directions:

1. Prepare the marinade.

In a small bowl, mix all of the marinade ingredients together.

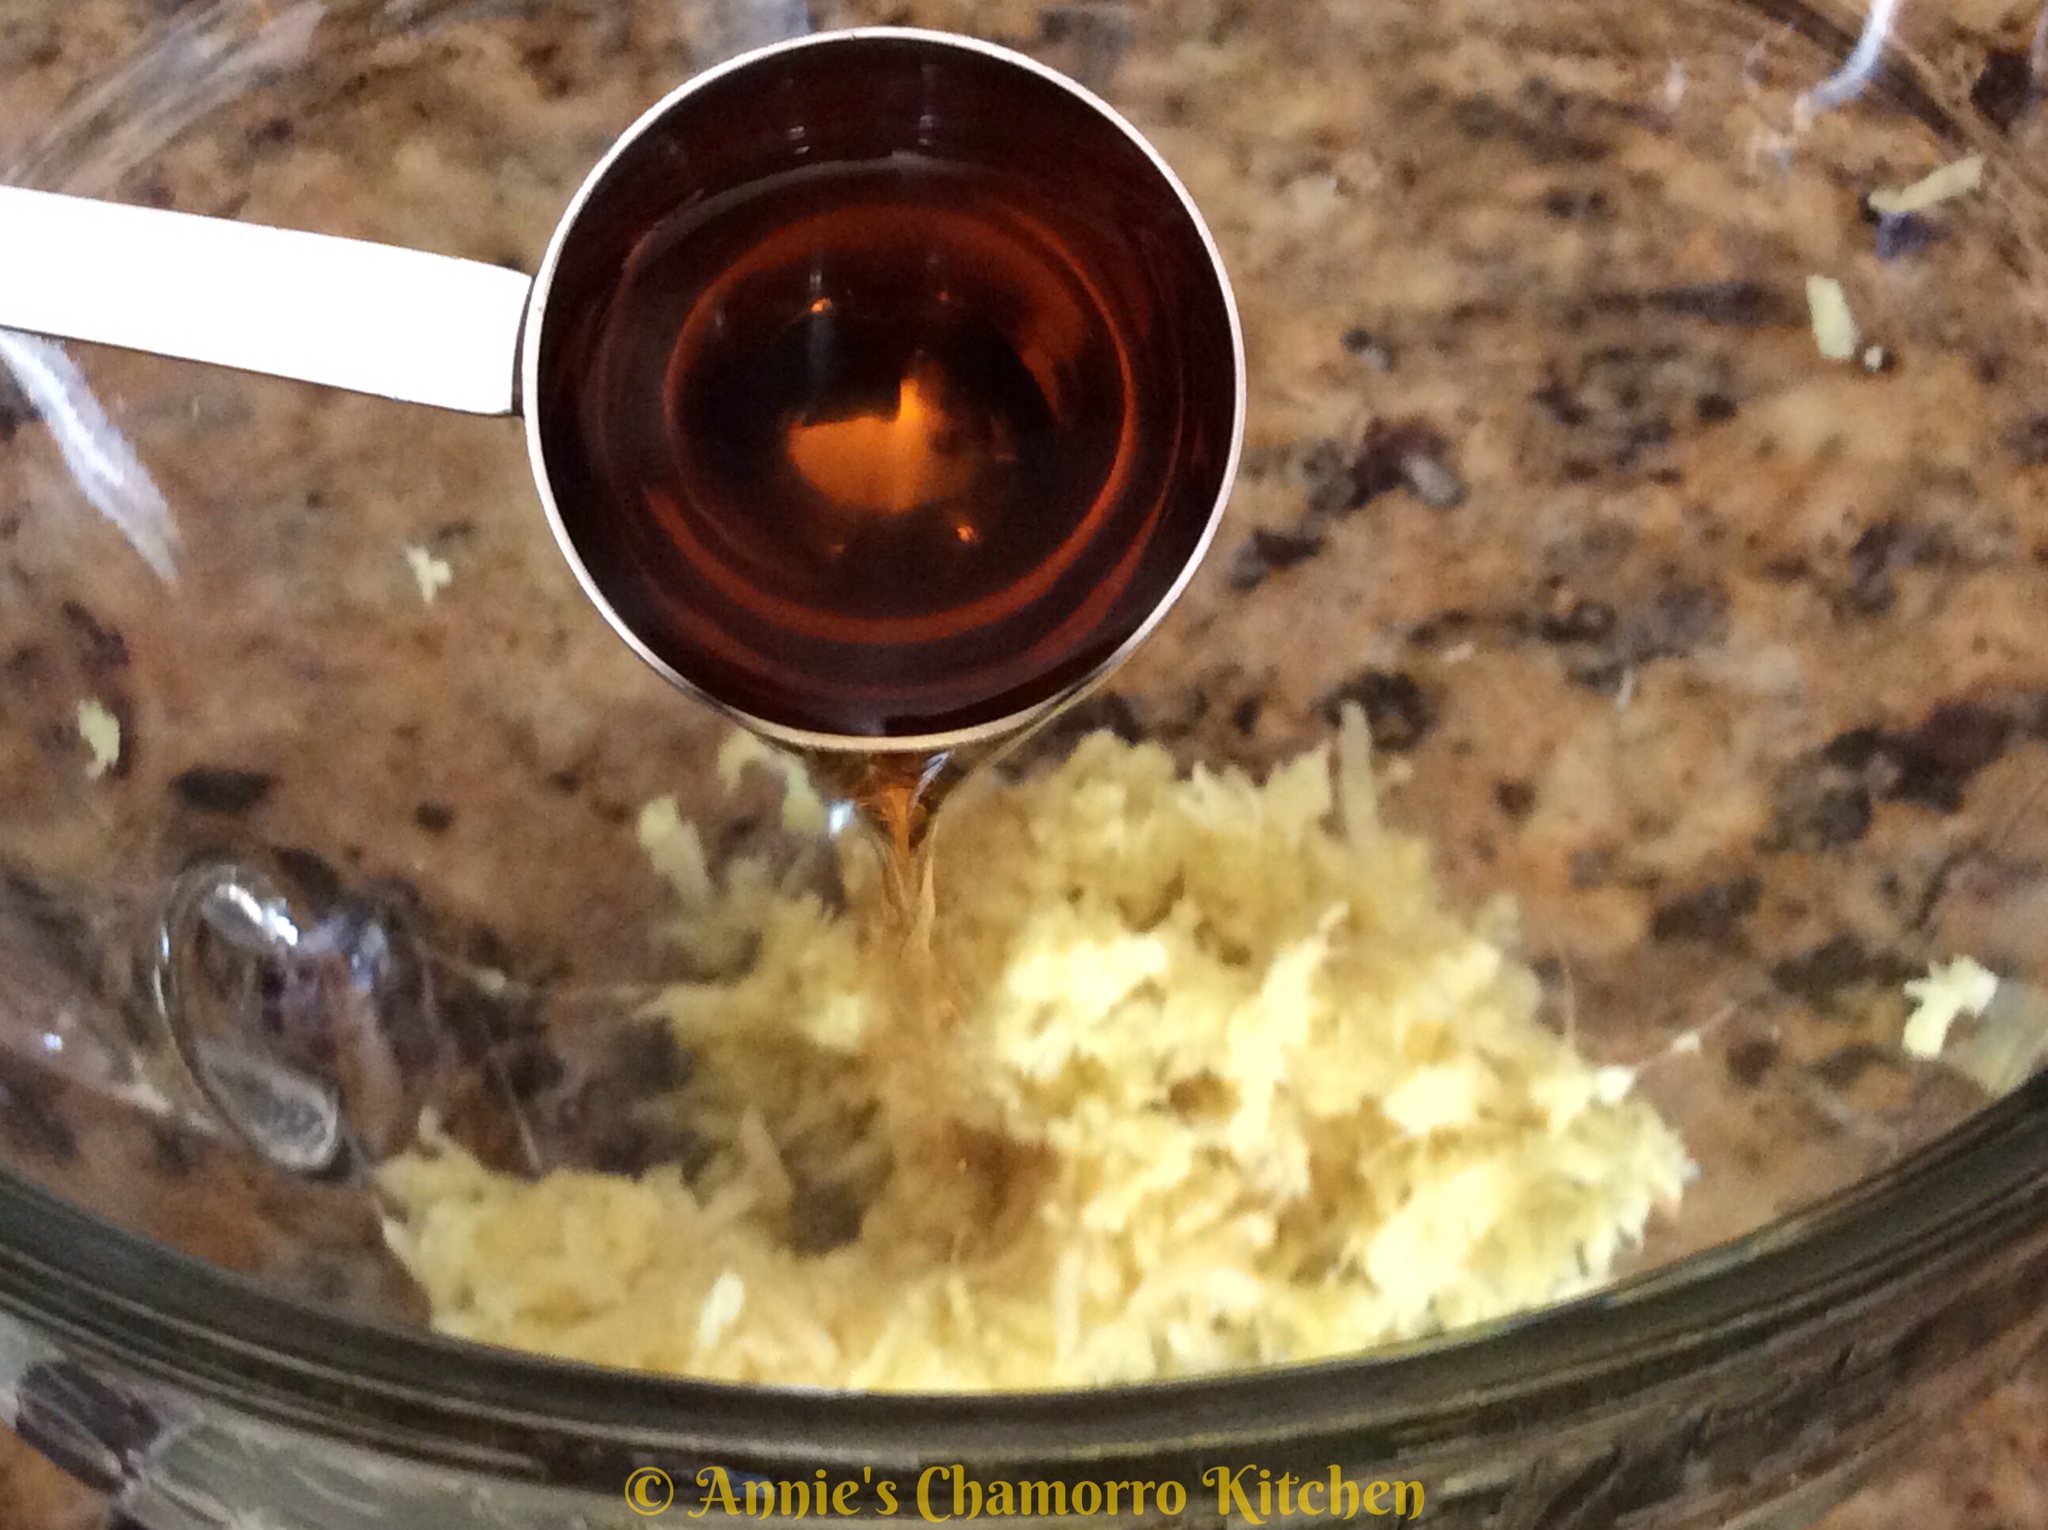
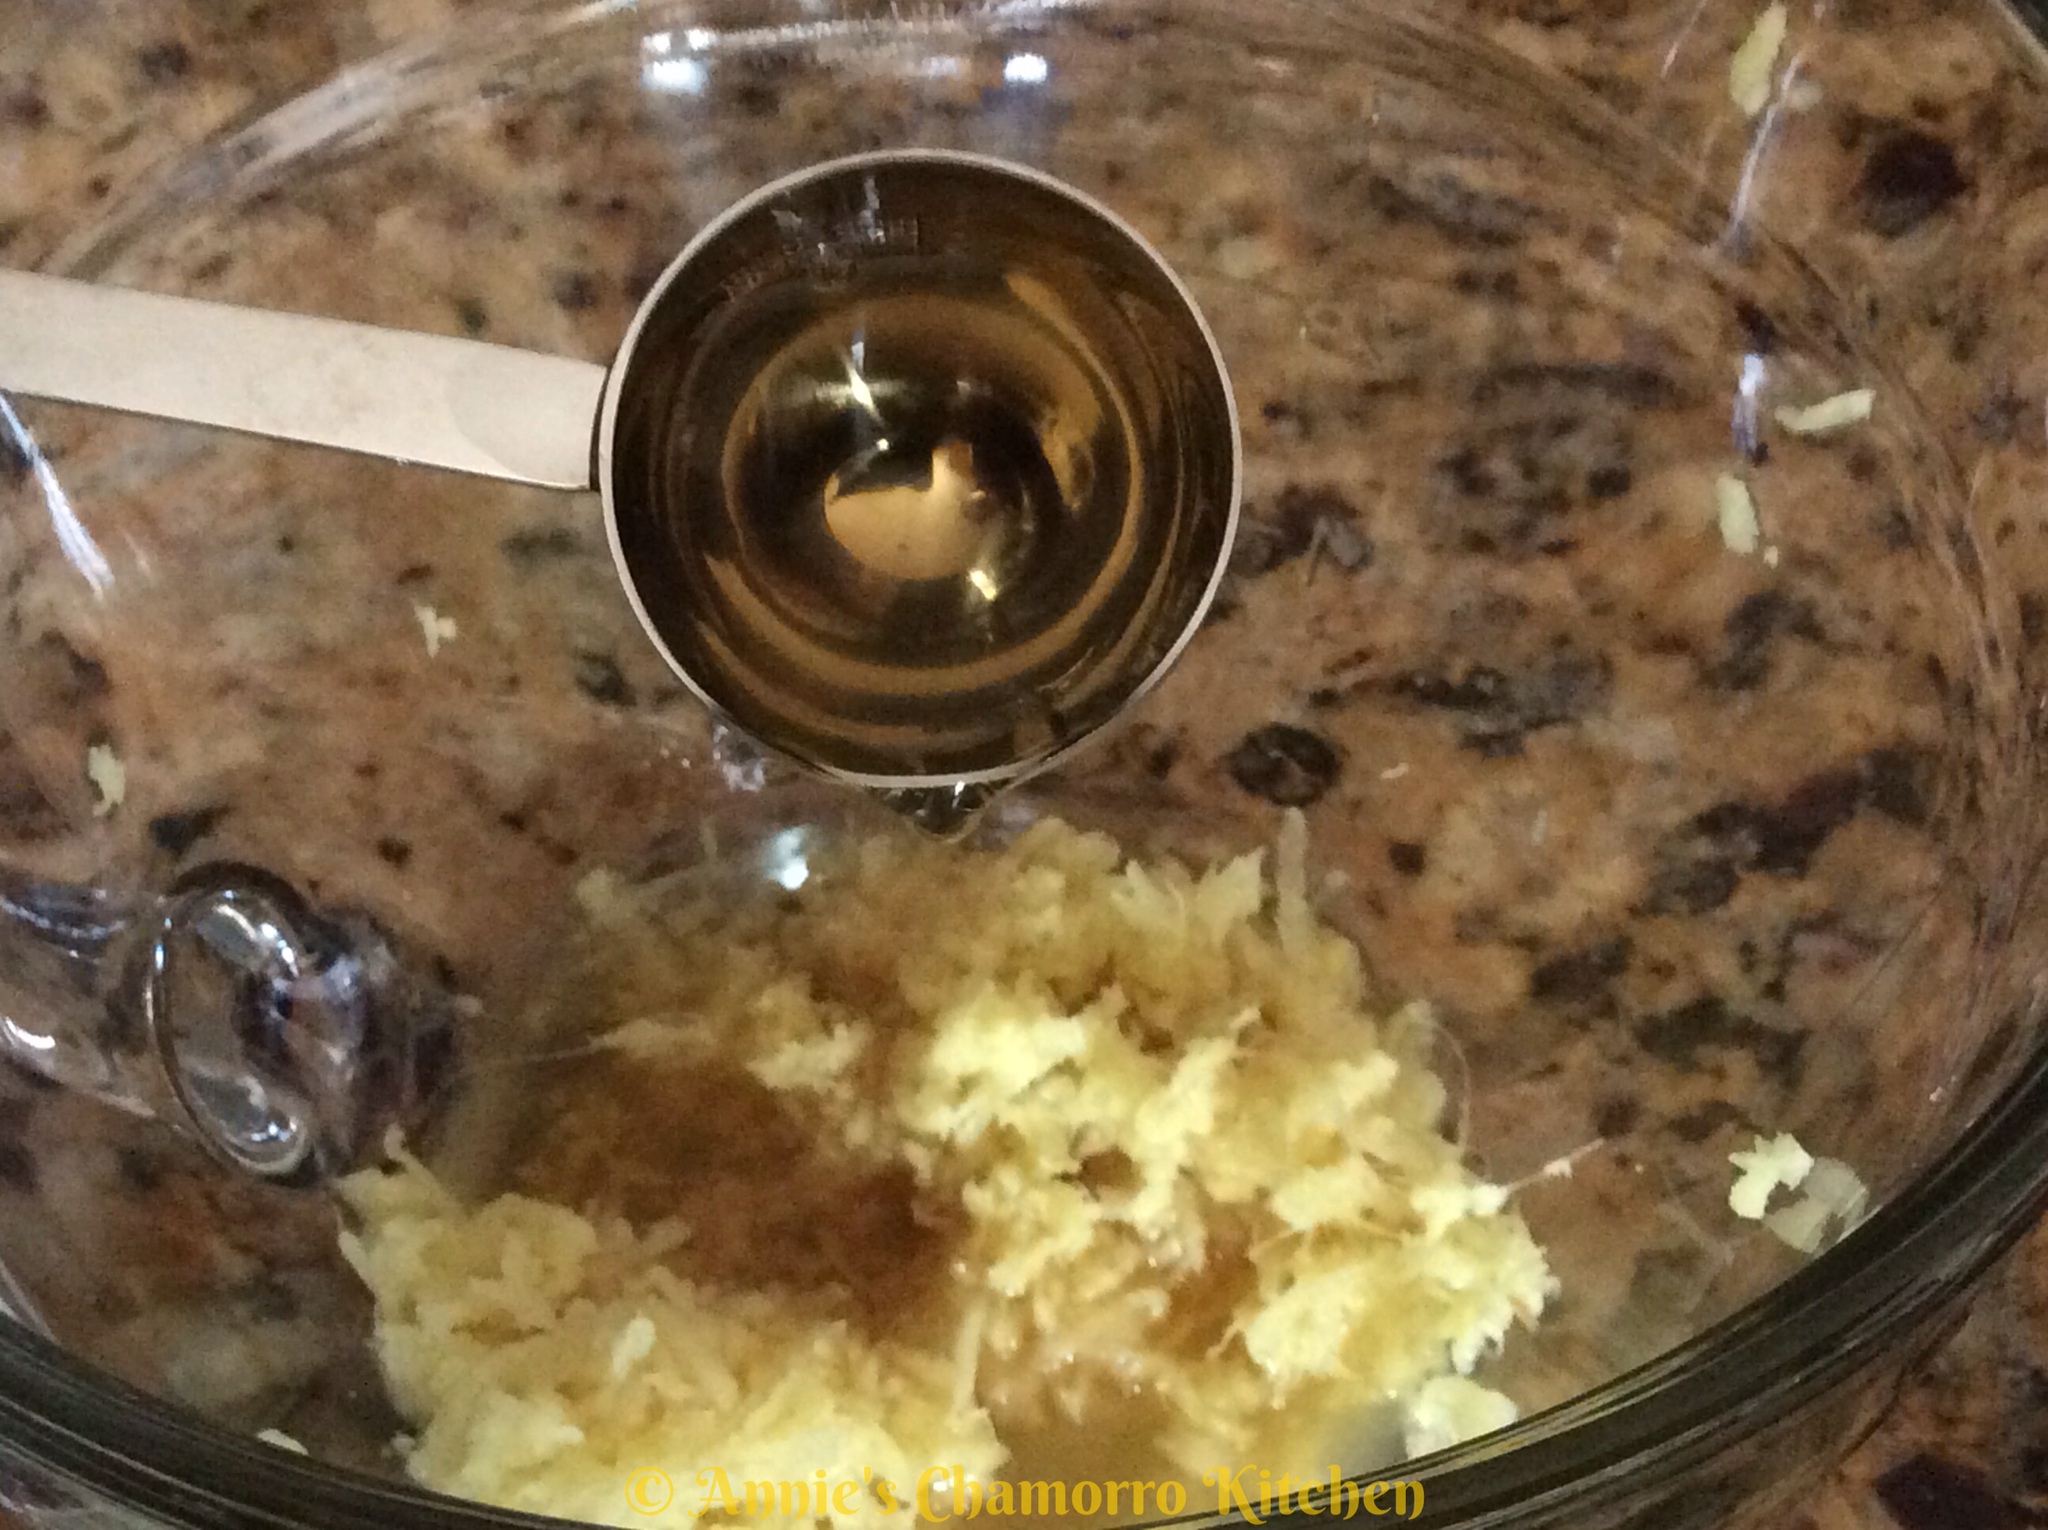
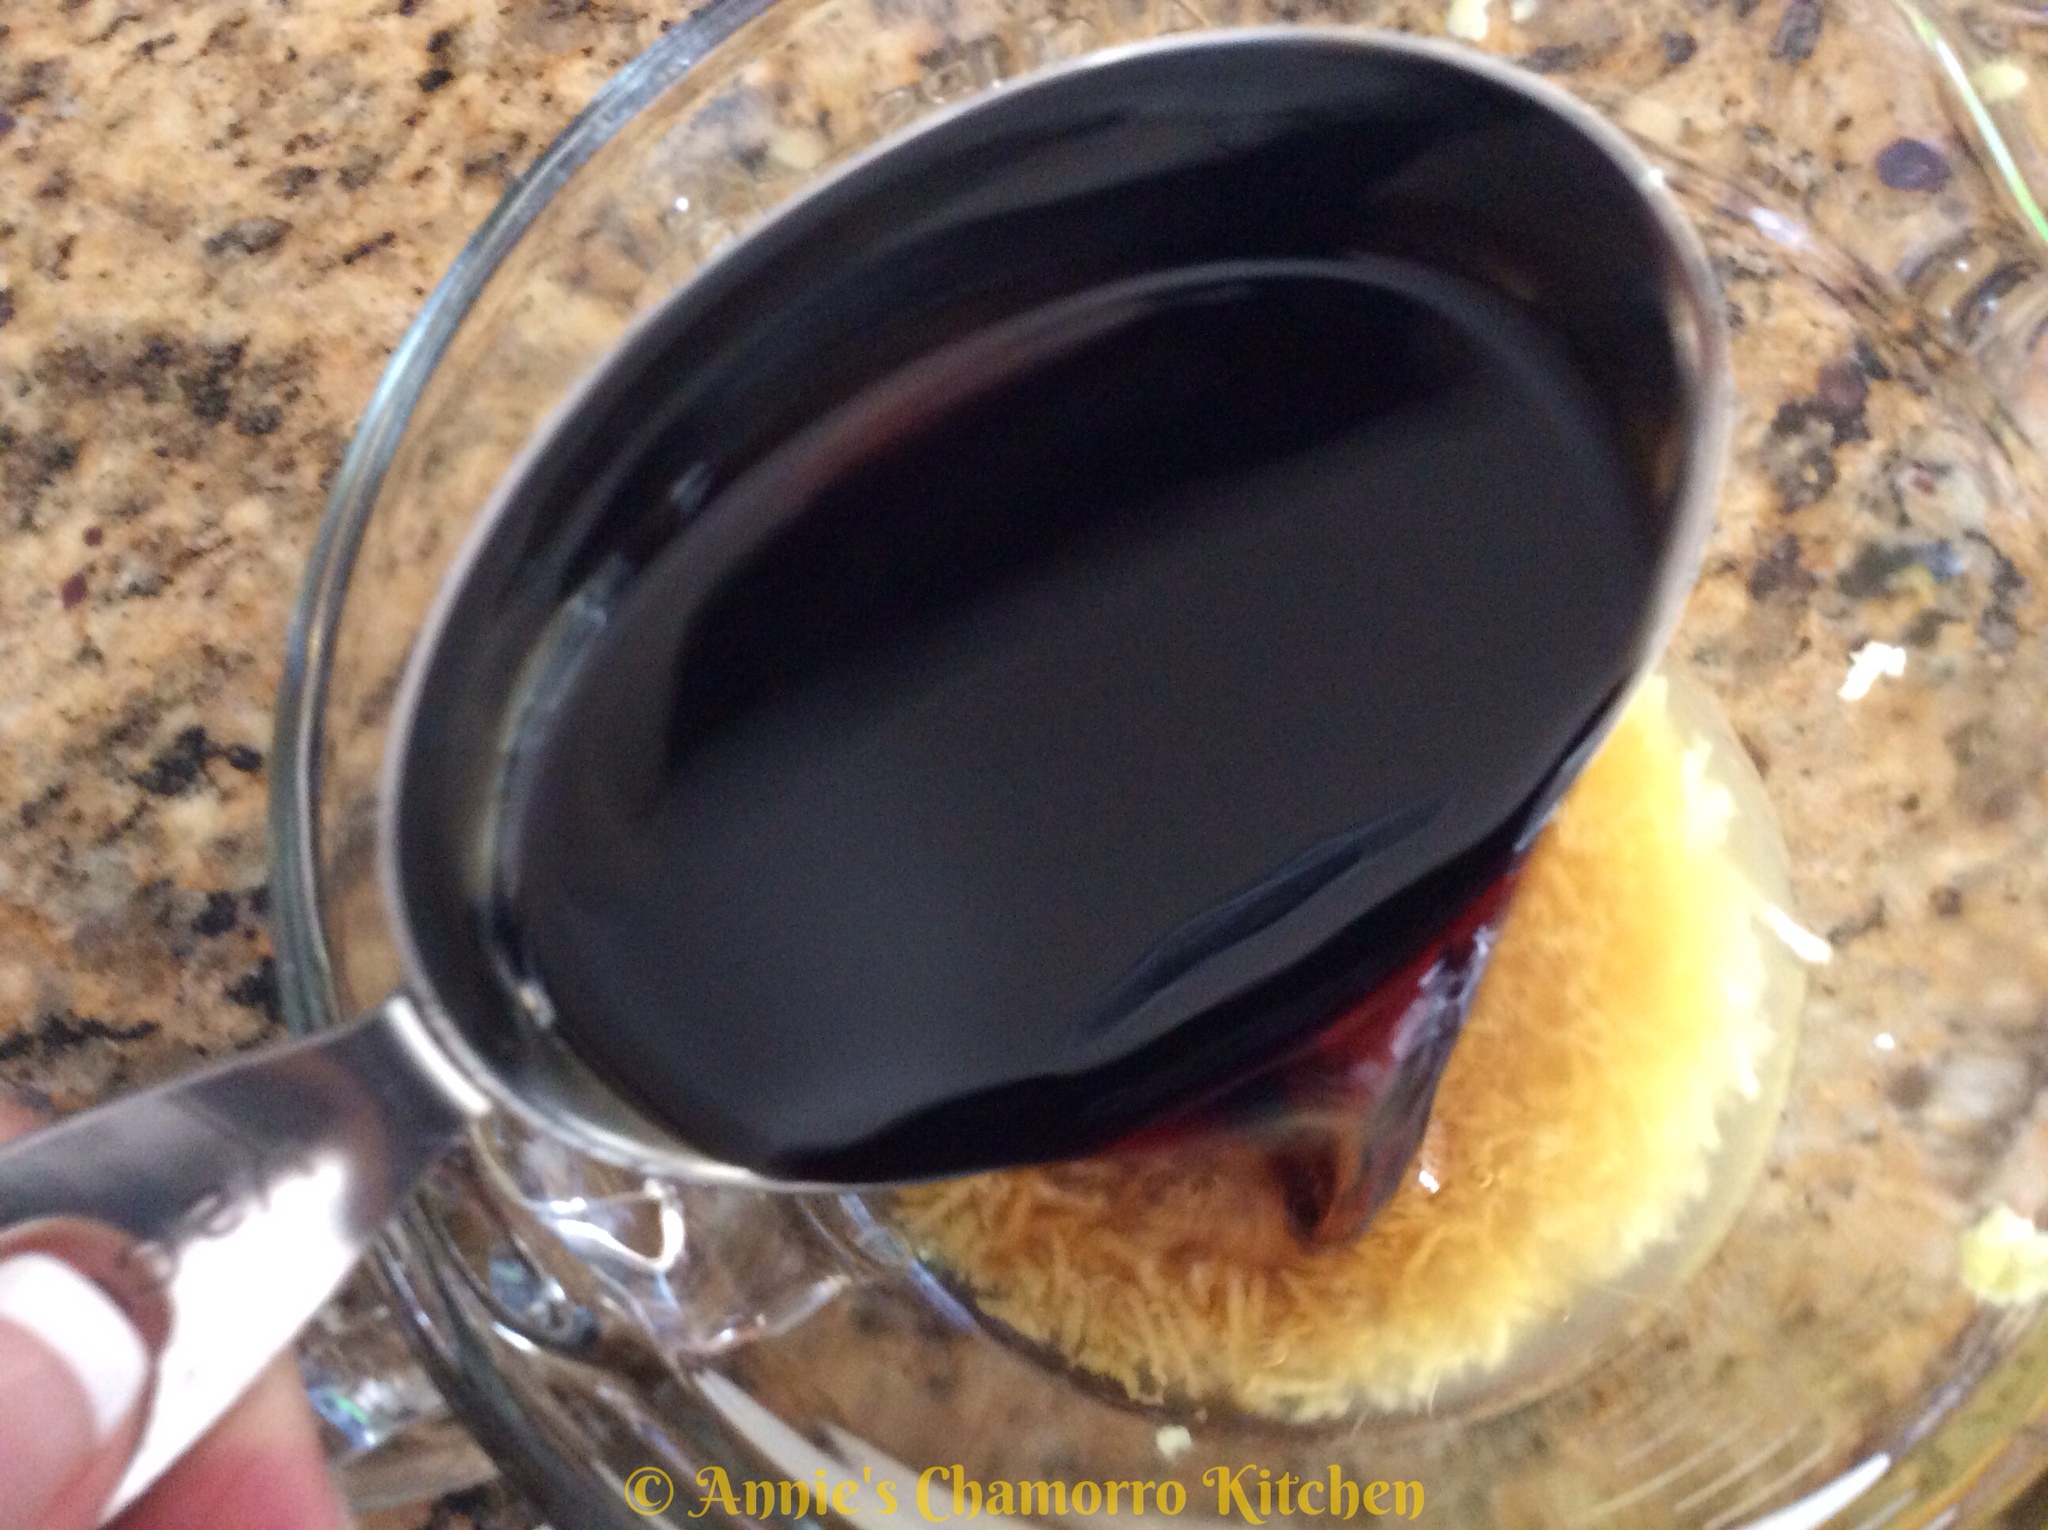
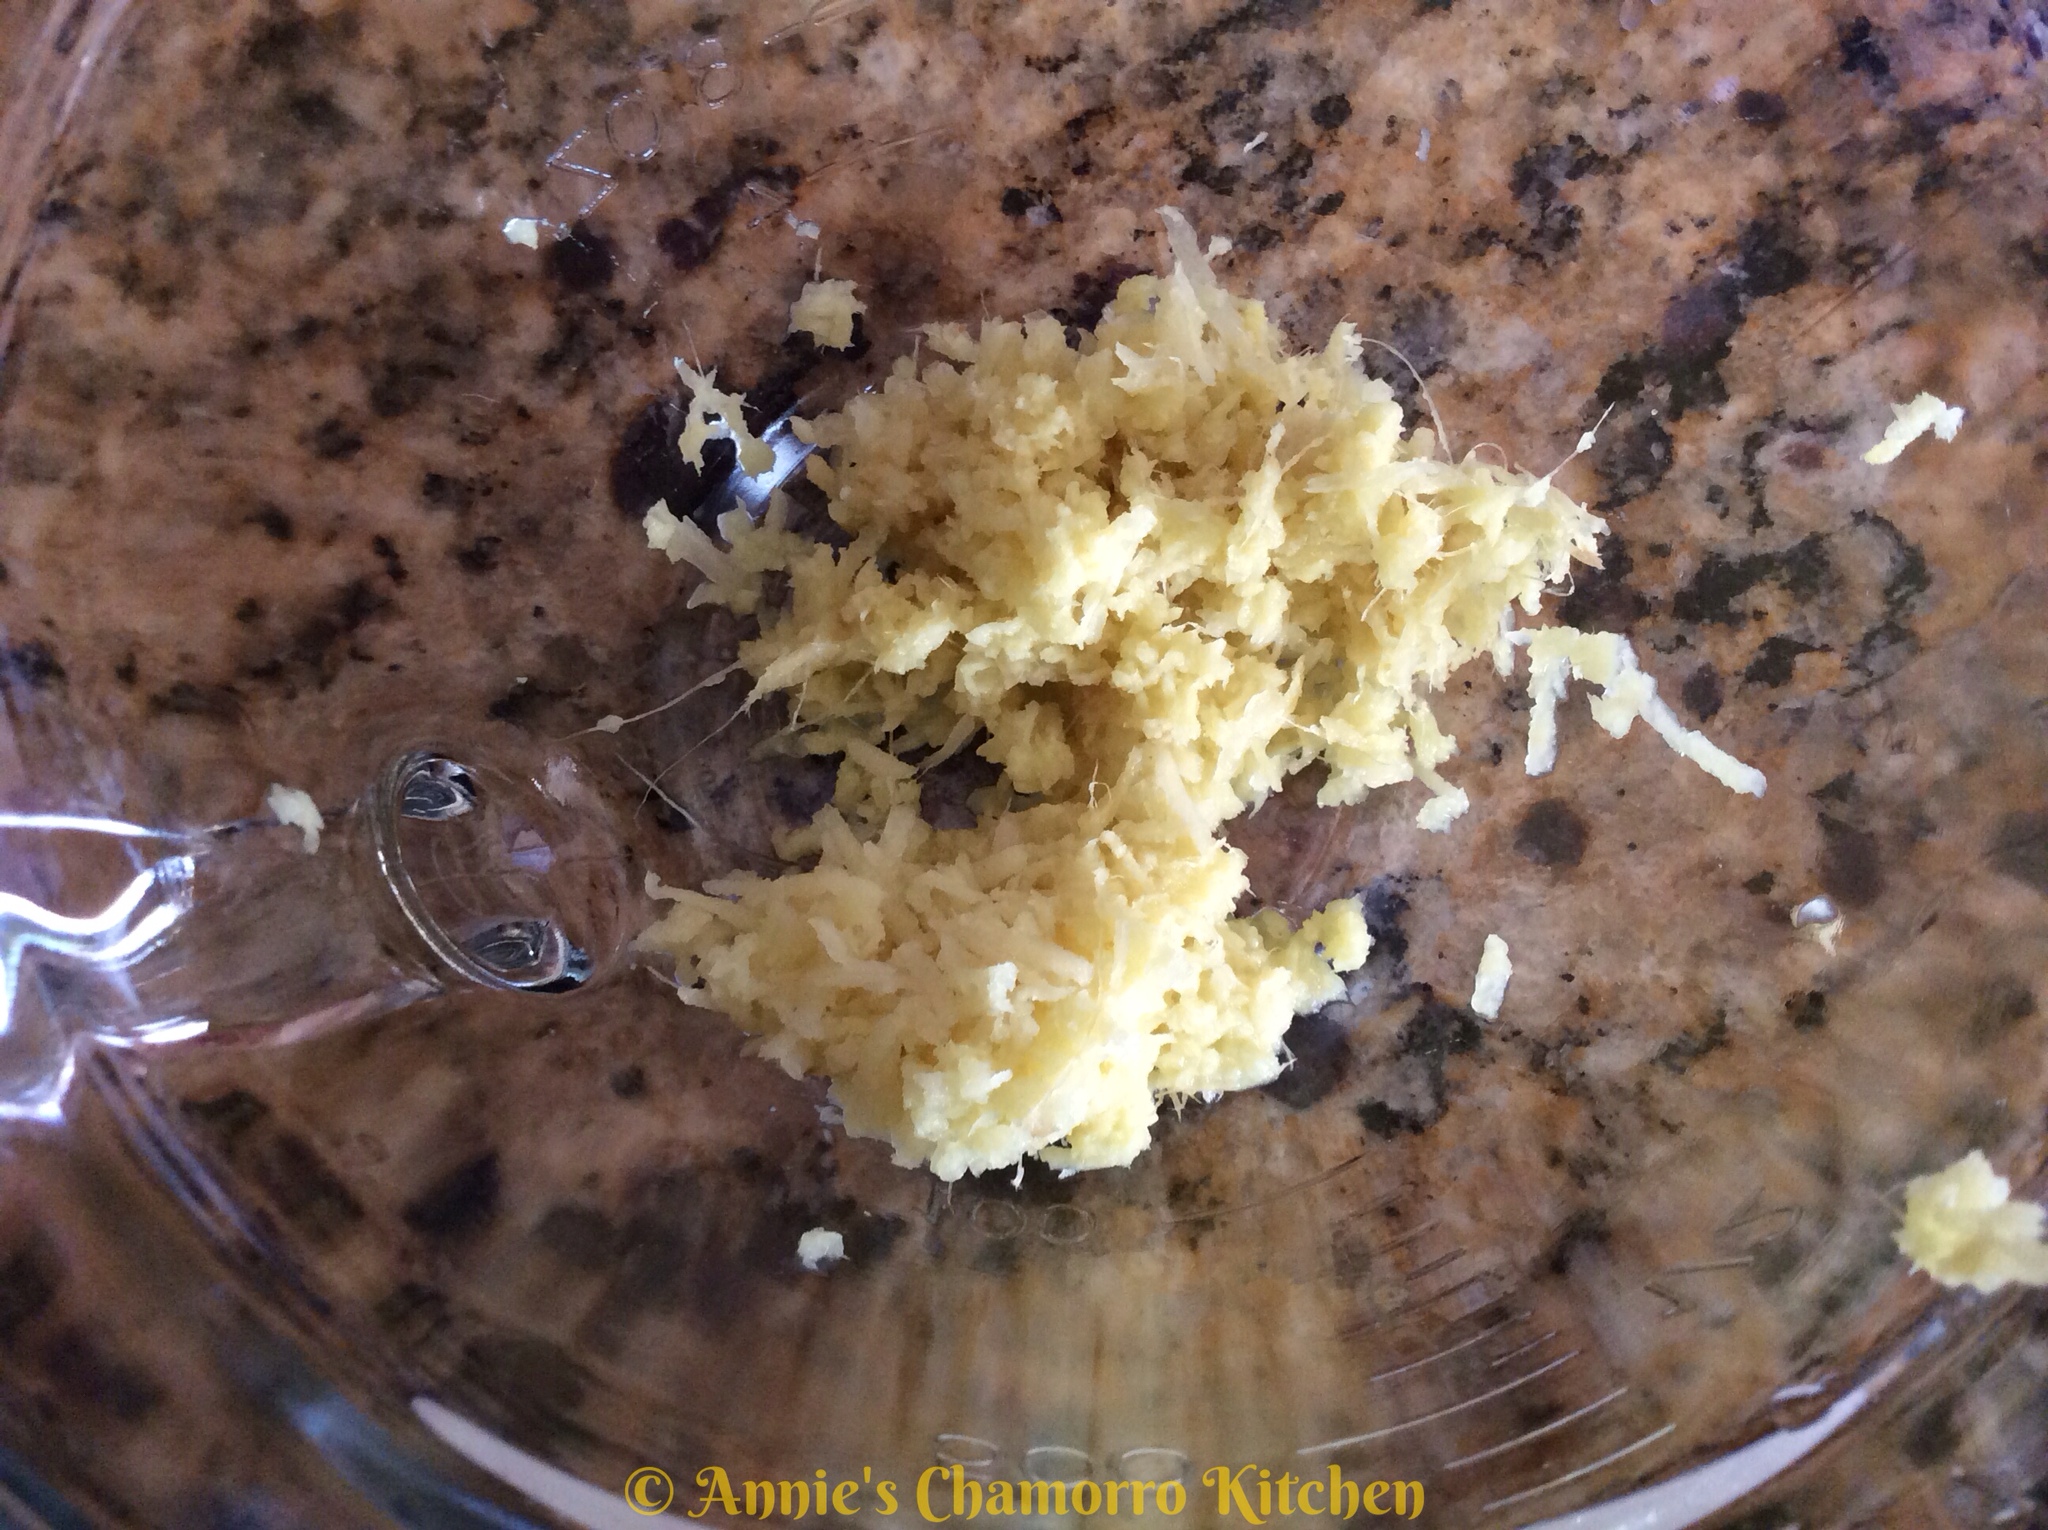
Grate the ginger into the bowl.  Add the sherry cooking wine, rice vinegar, and soy sauce.


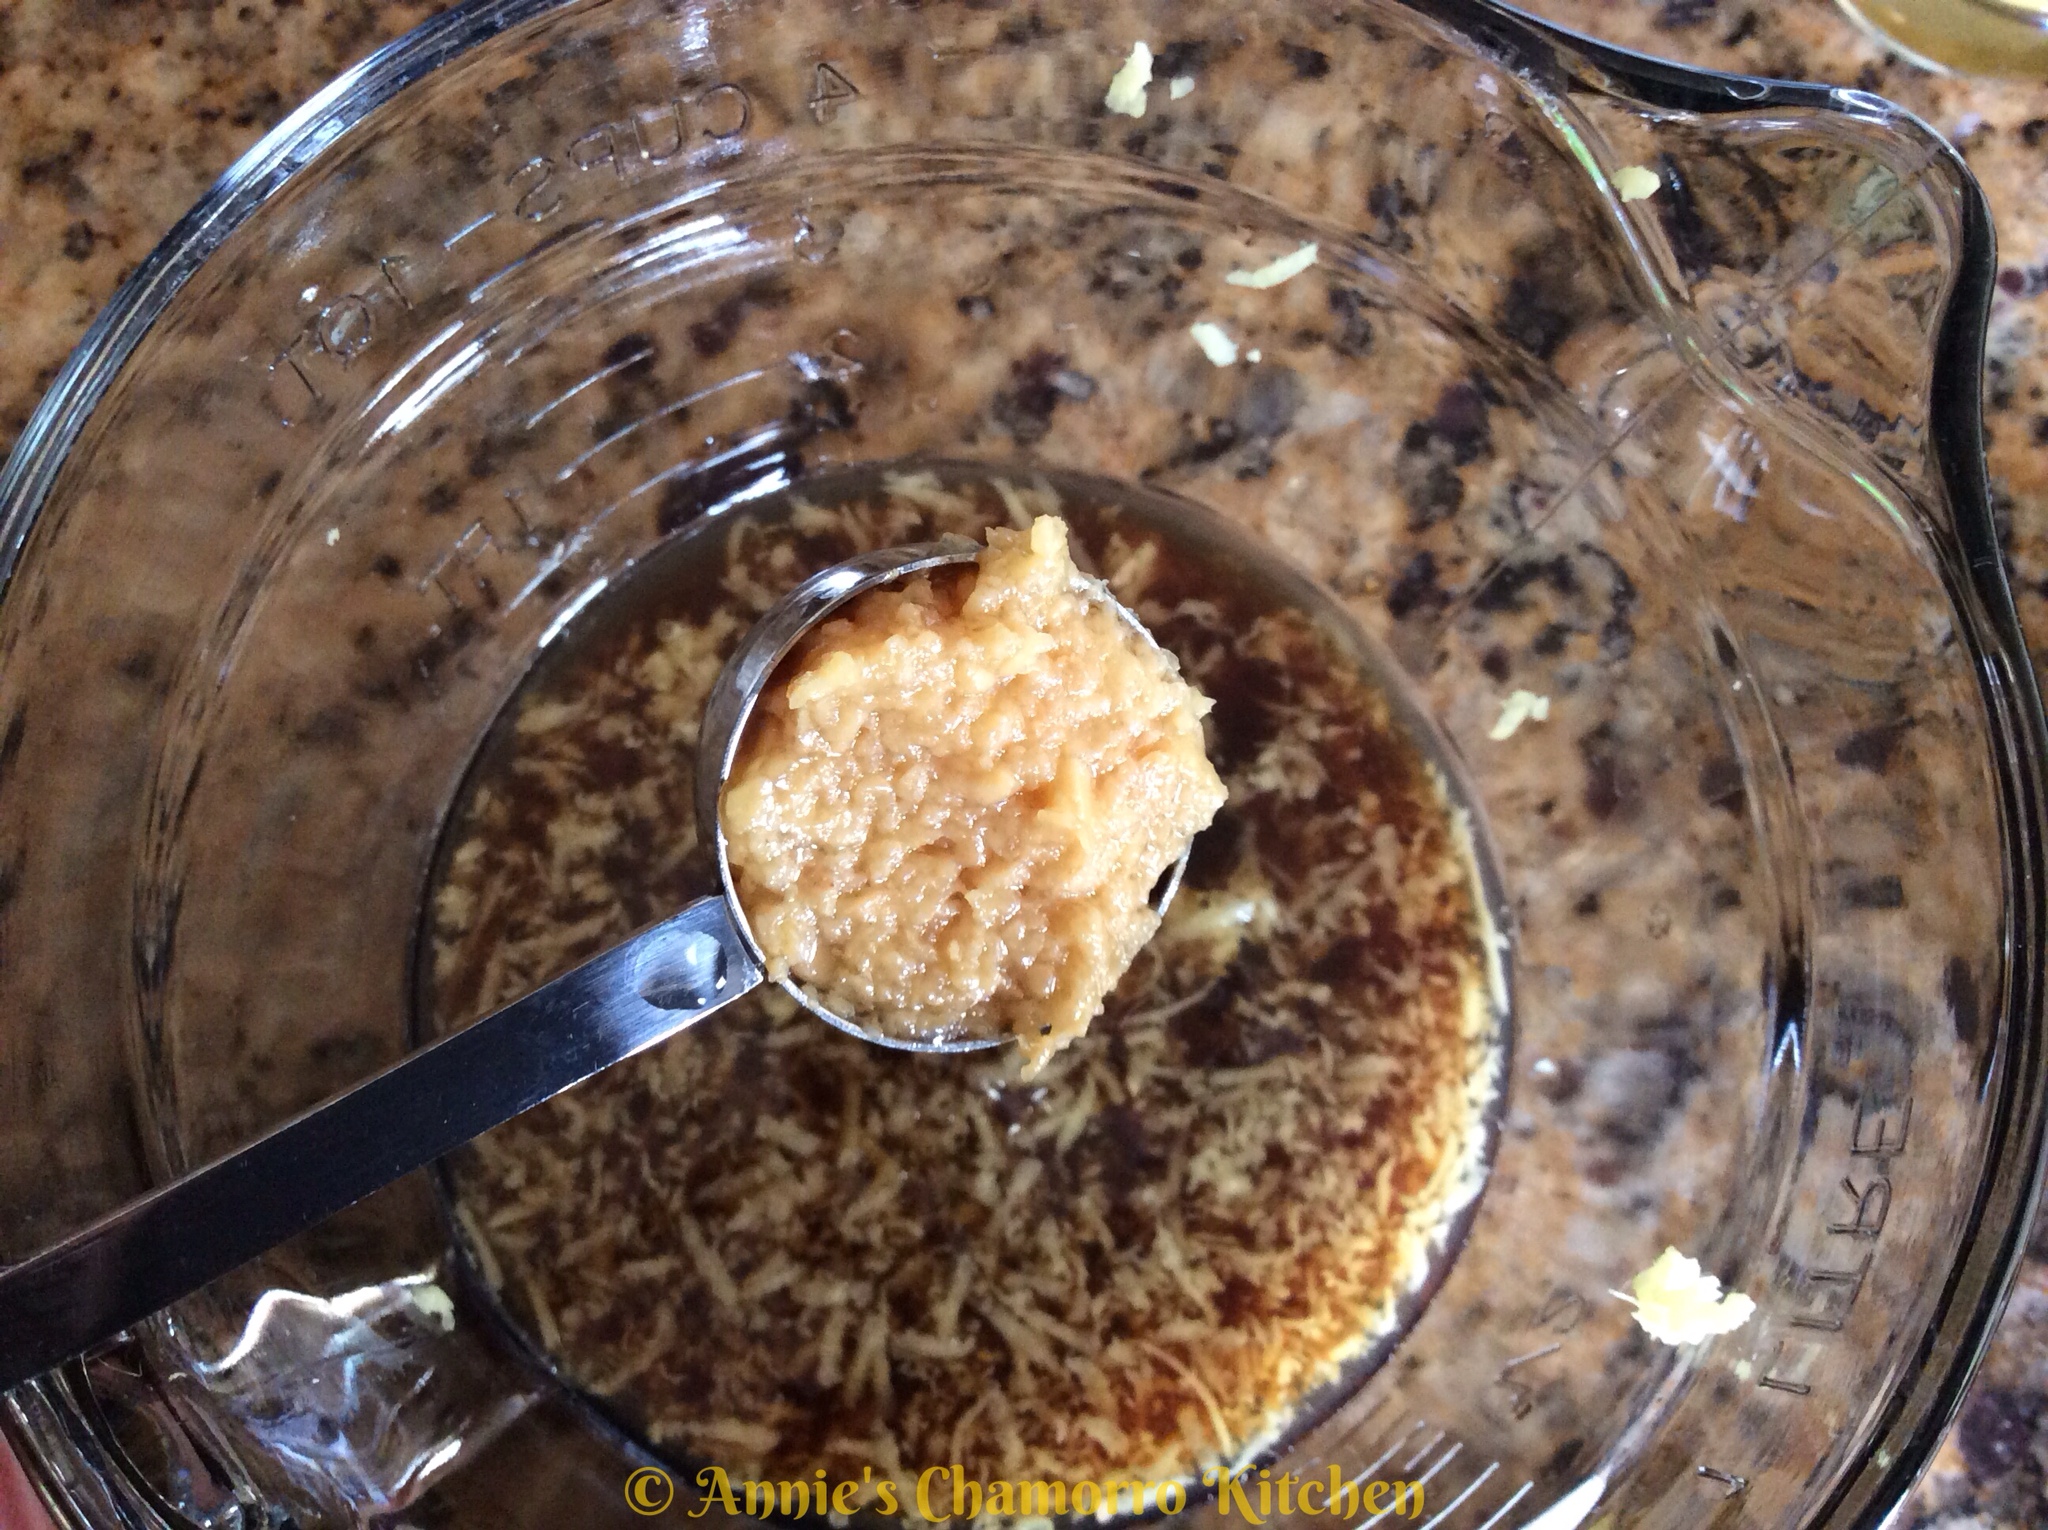
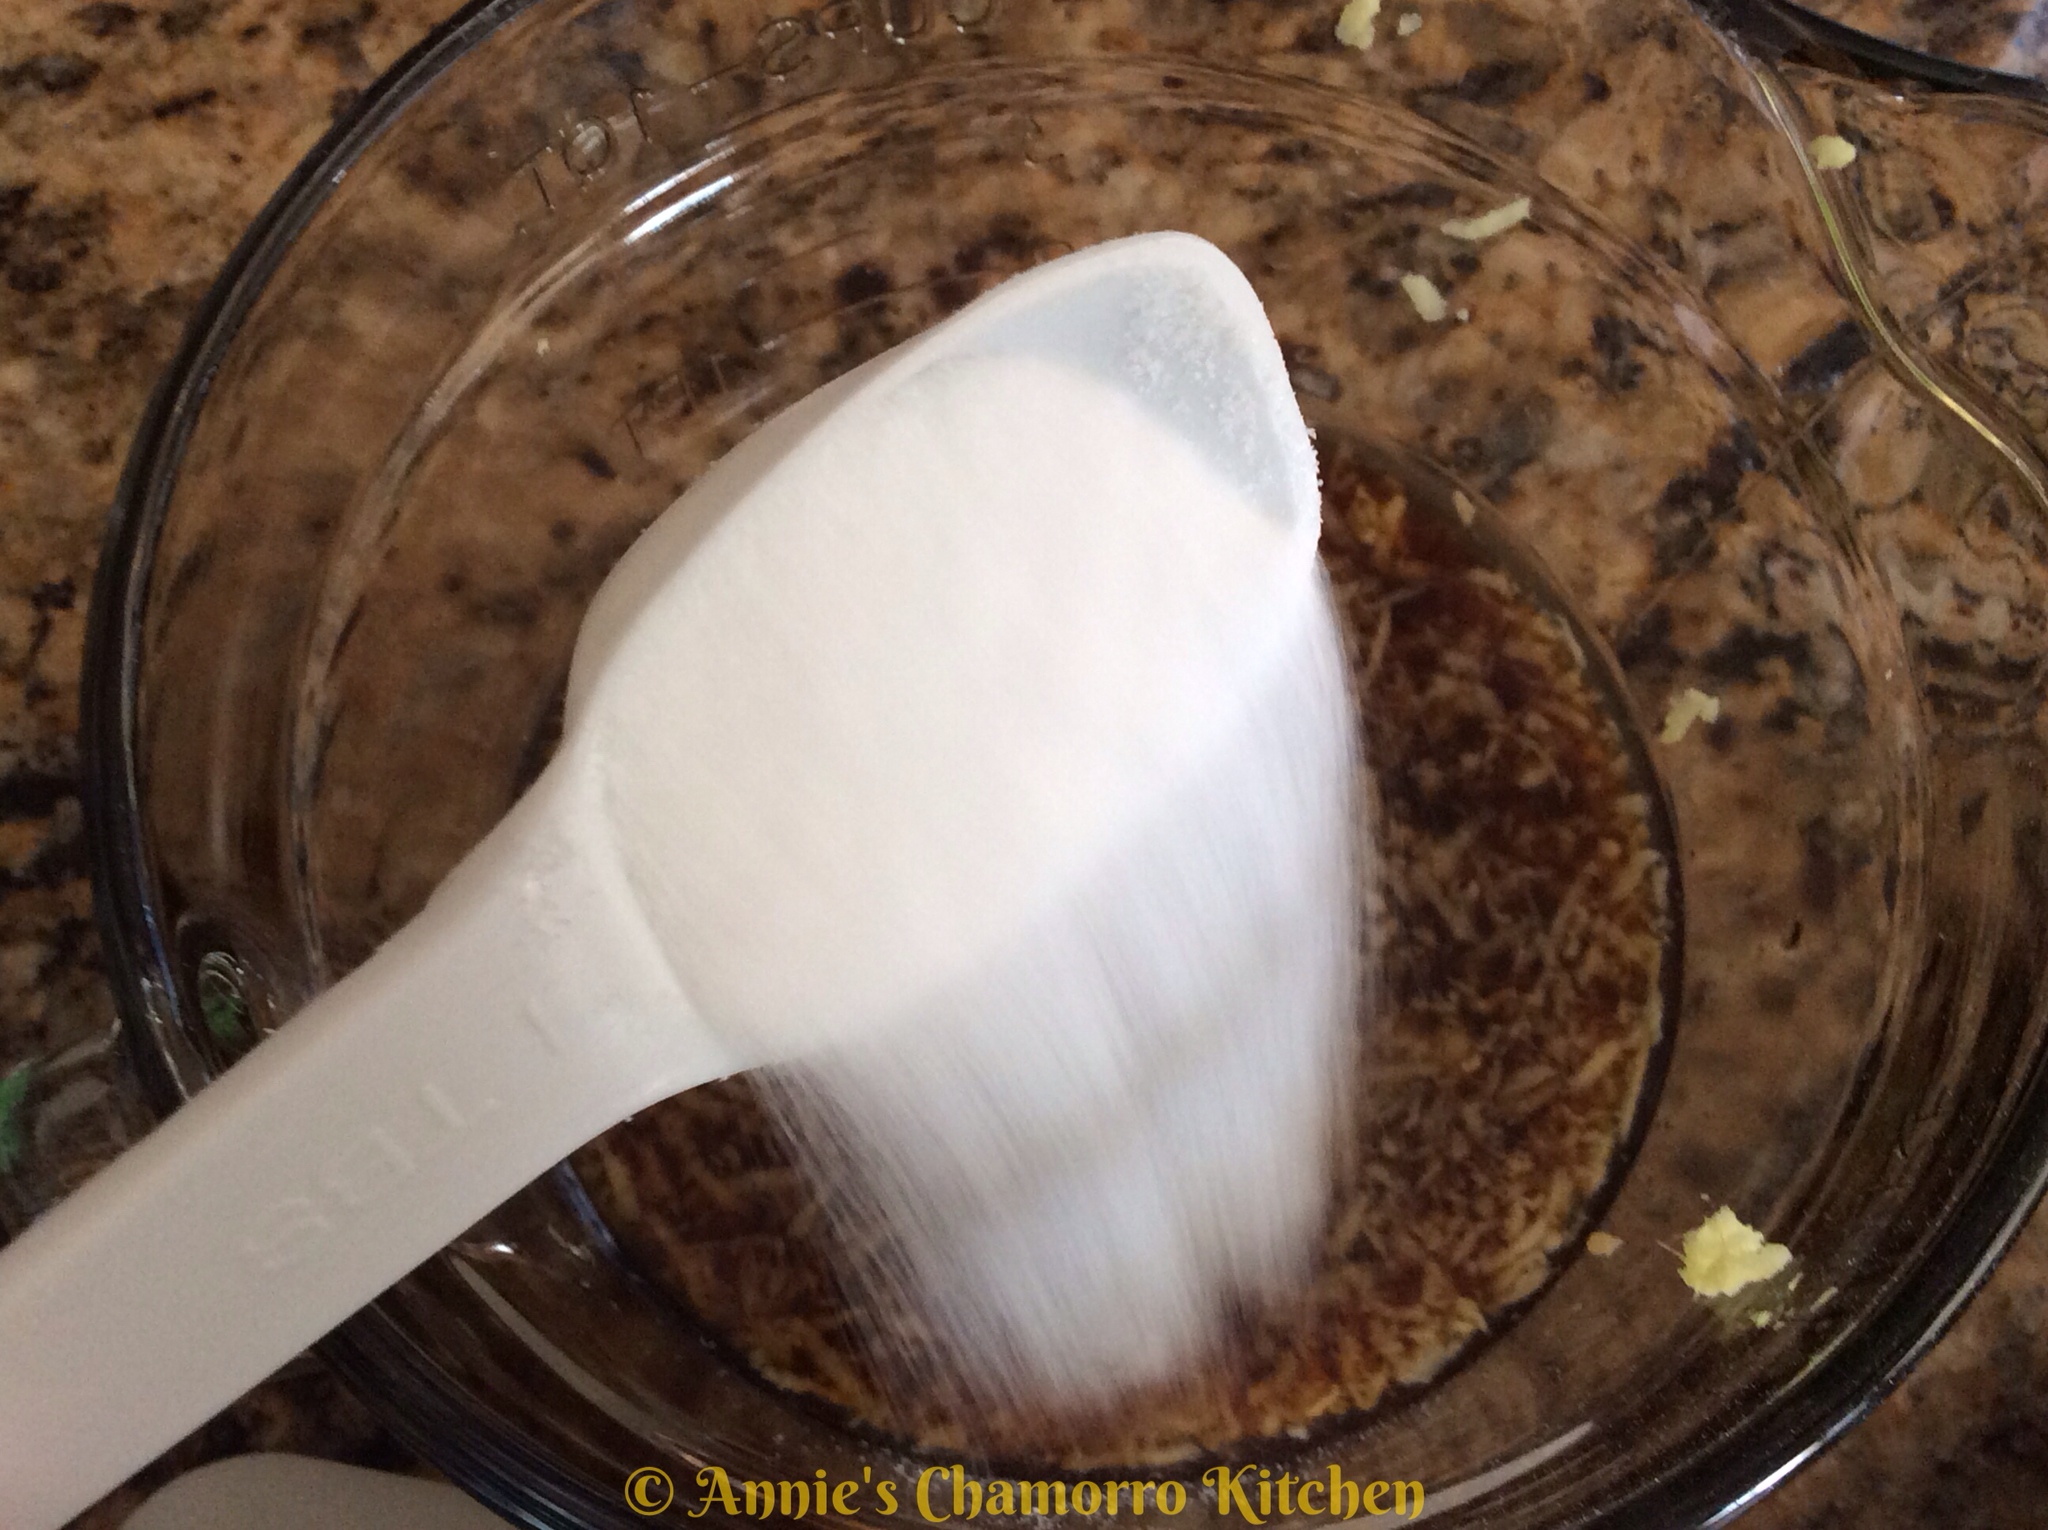
Add the garlic and sugar.


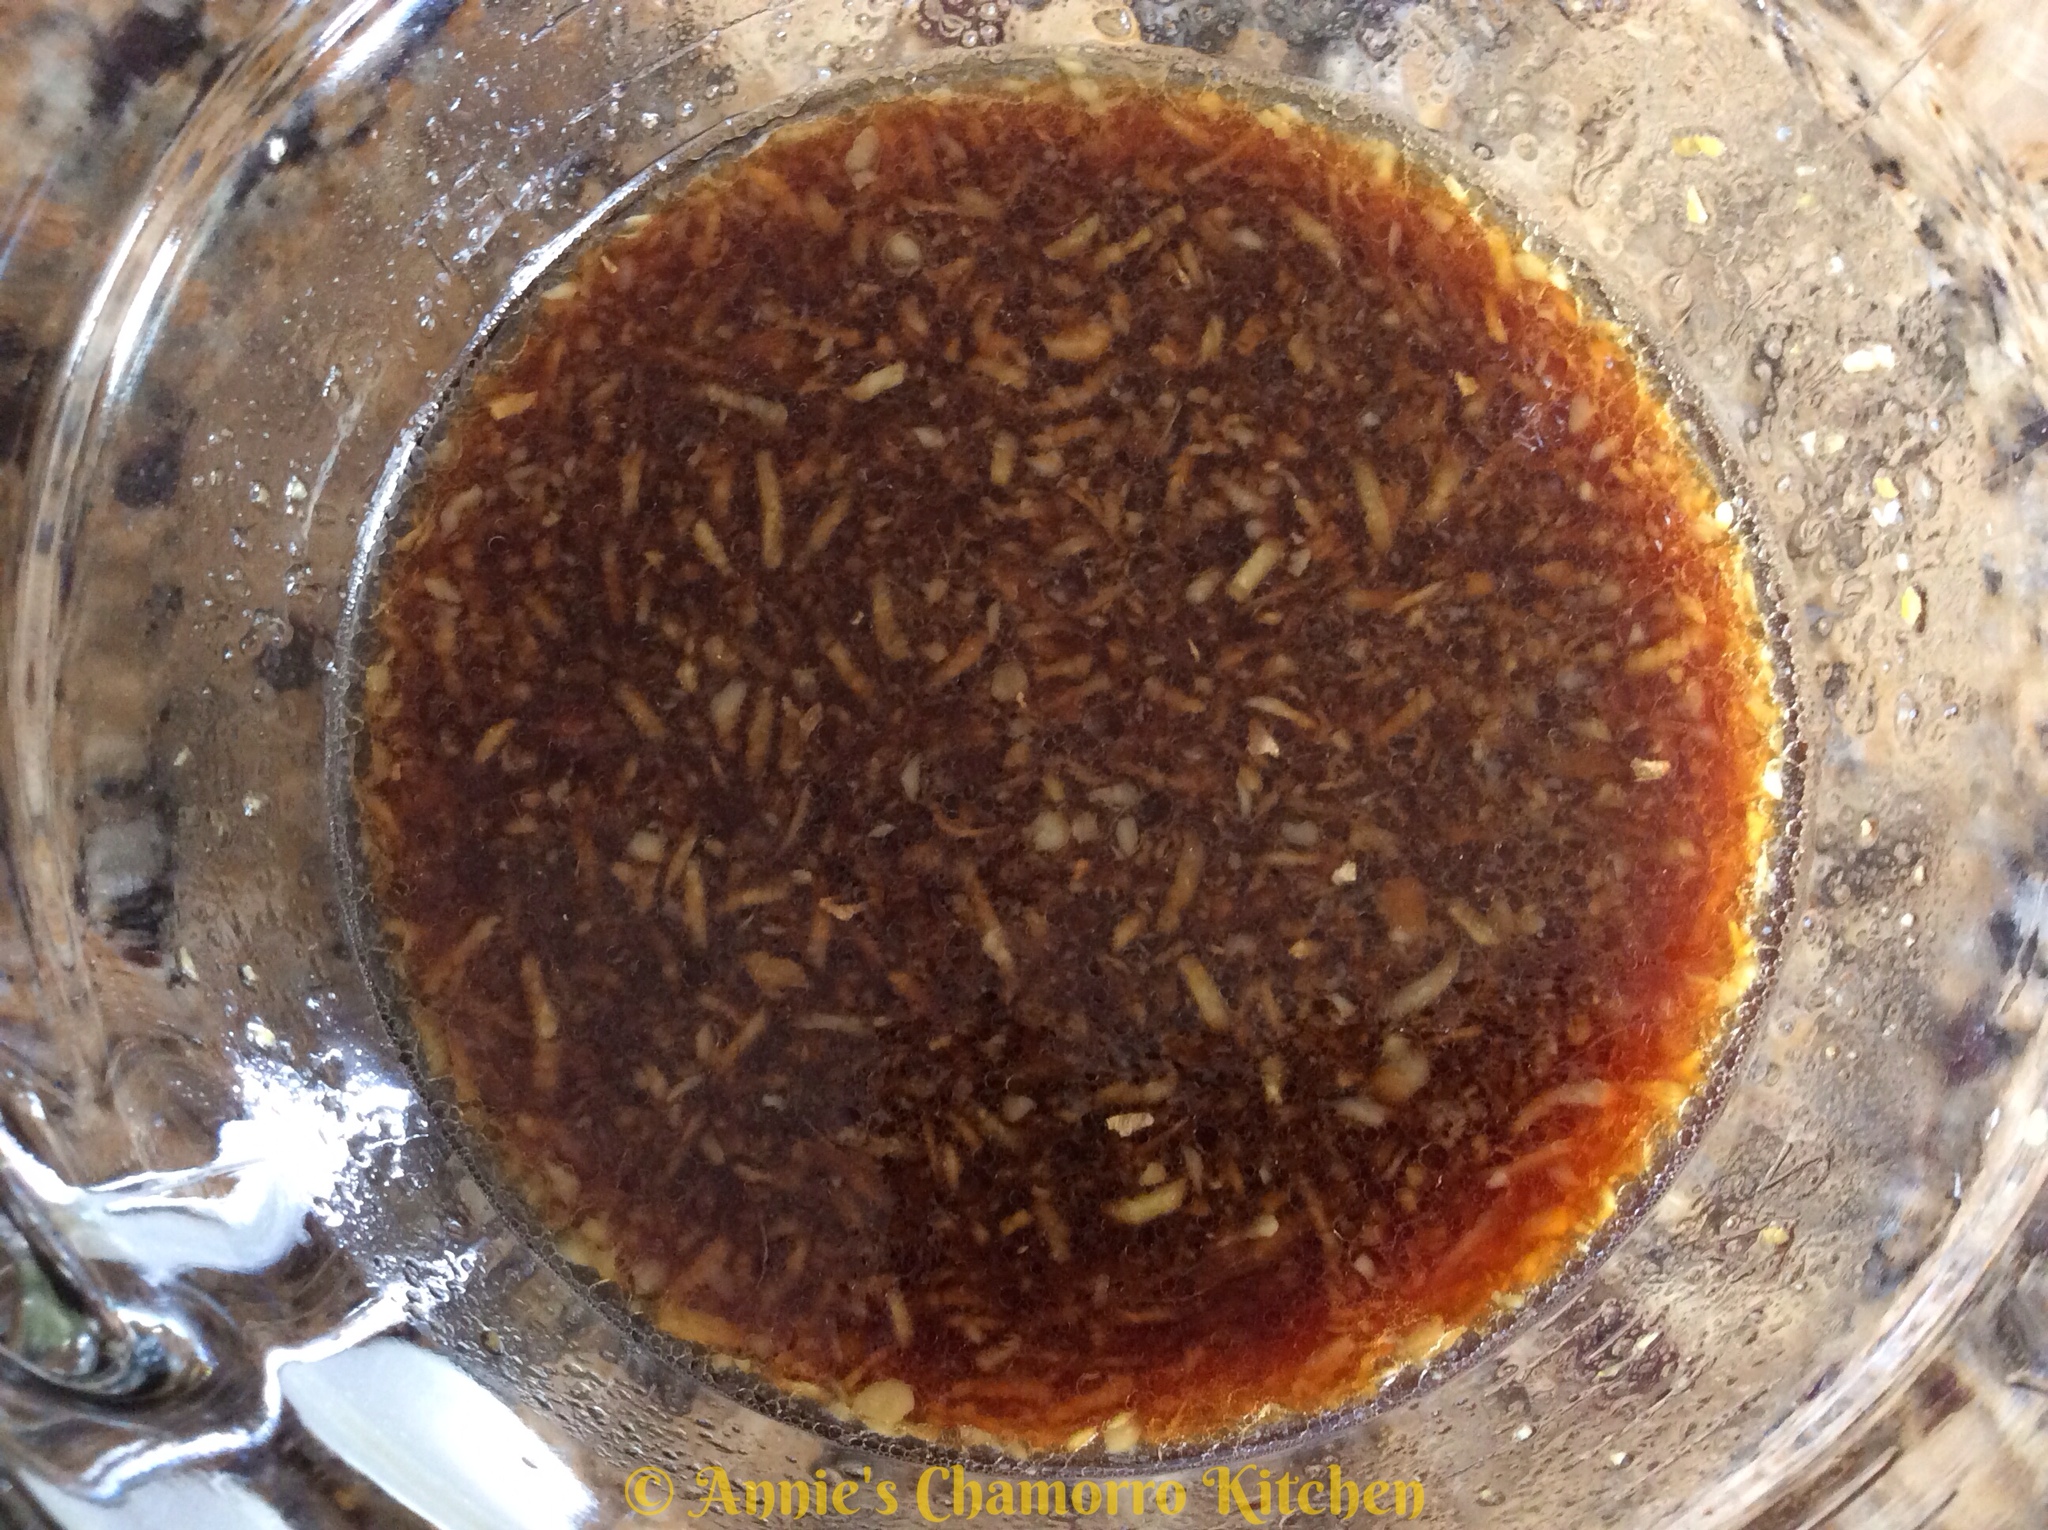
Stir to combine. Set the marinade aside for now.

2. Marinate the chicken.

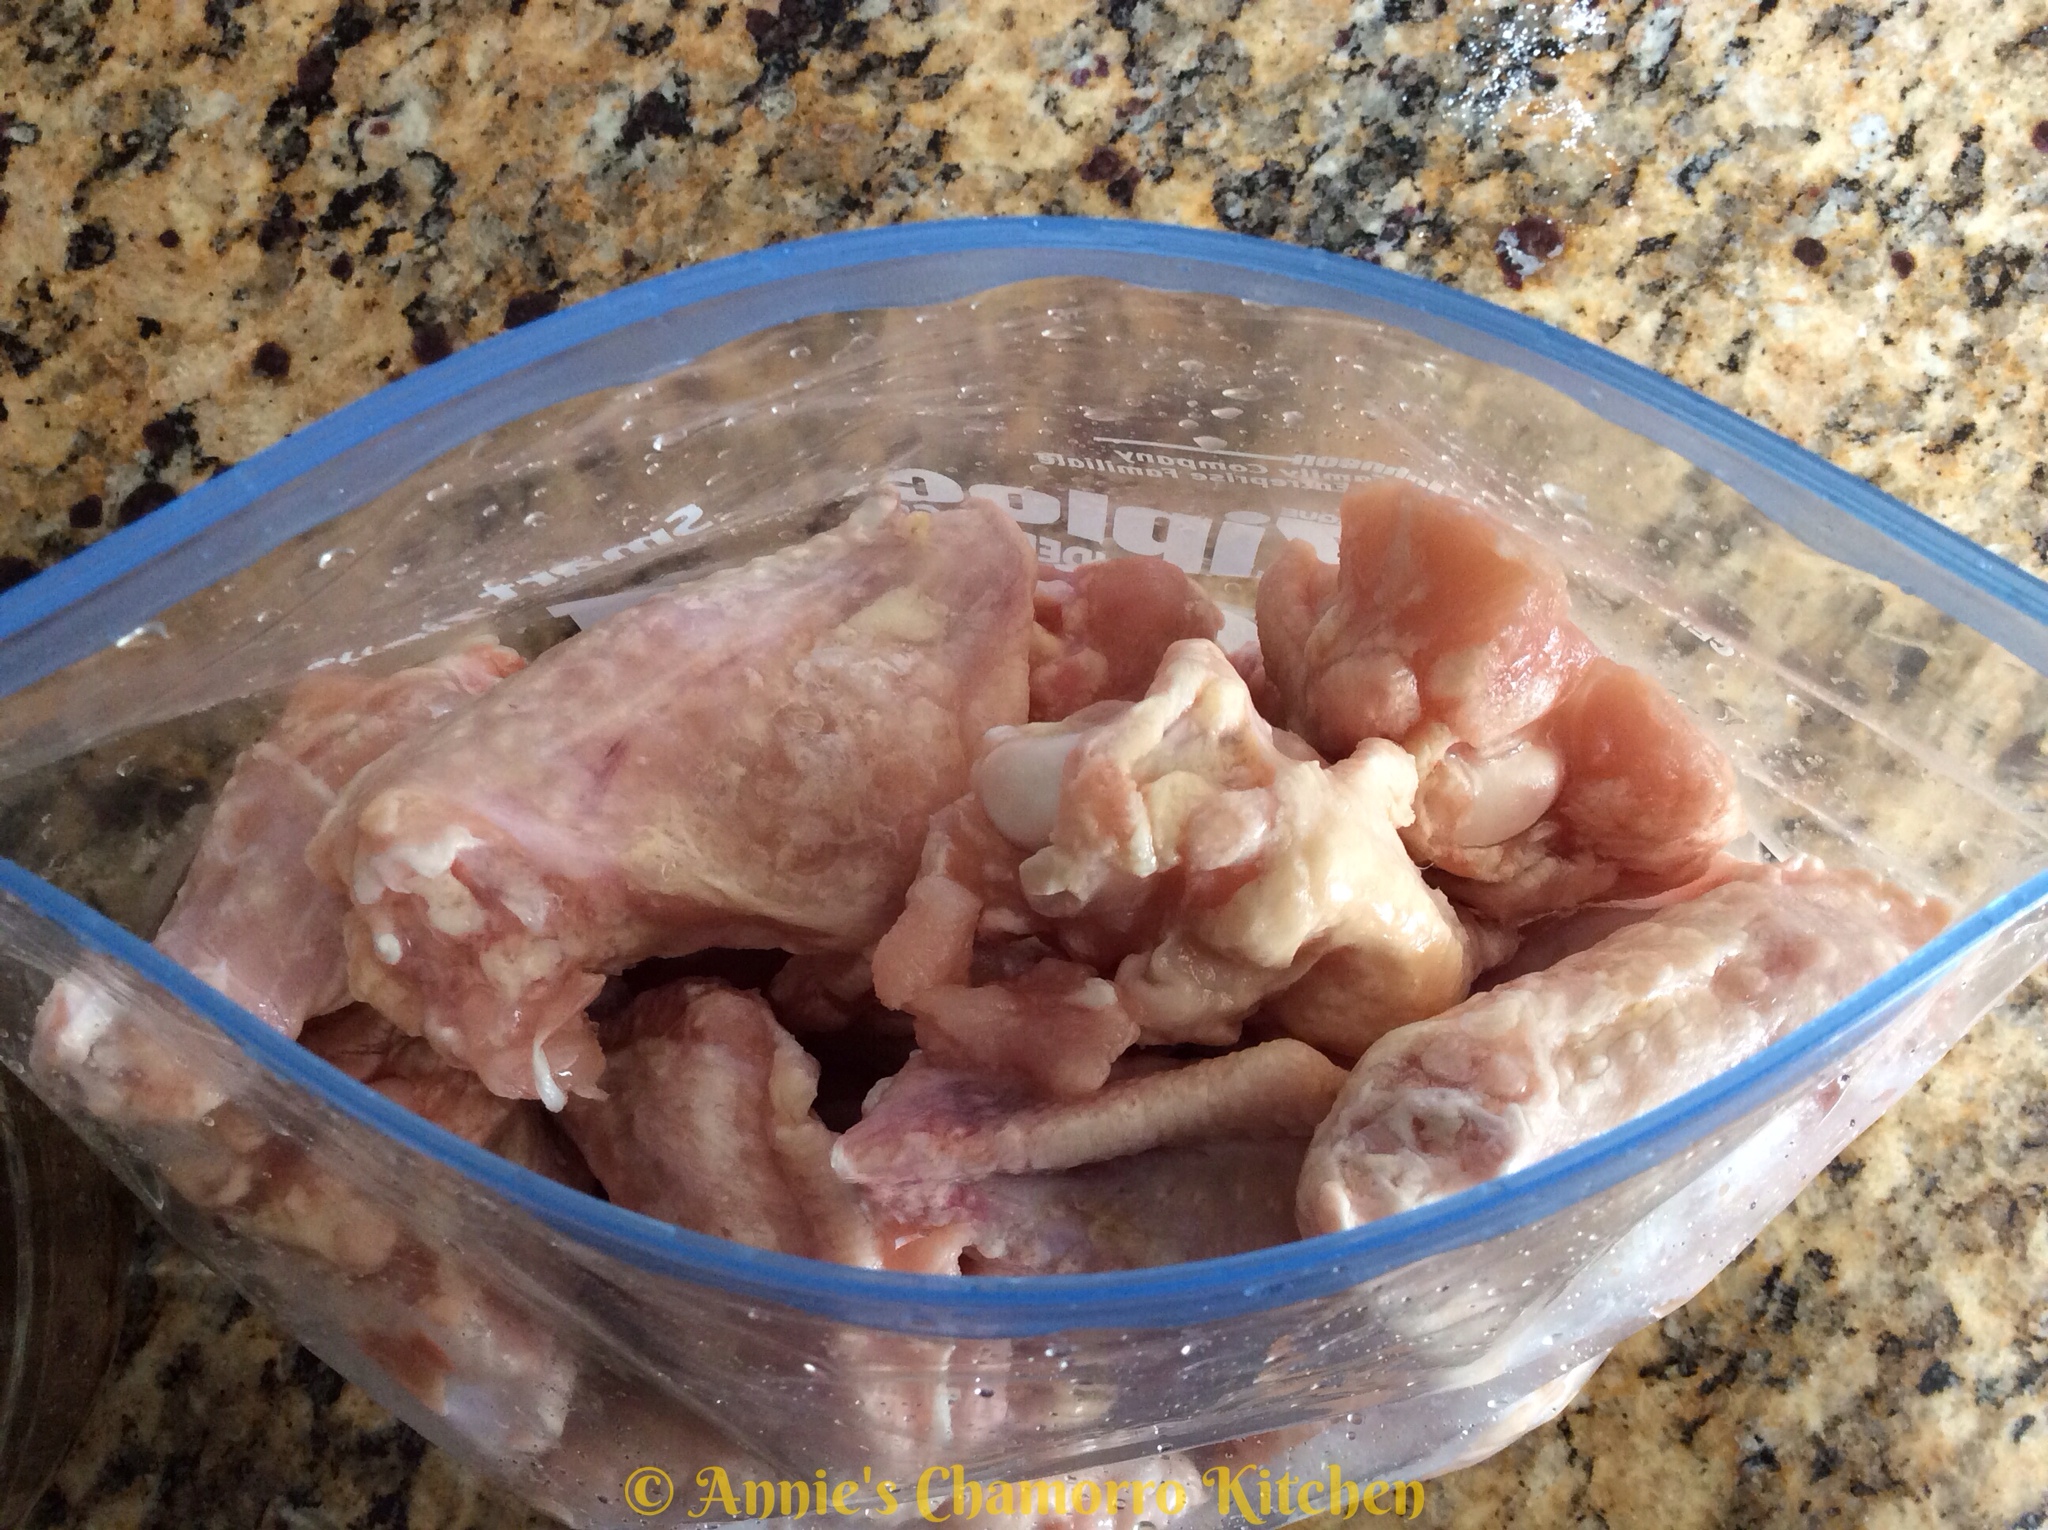
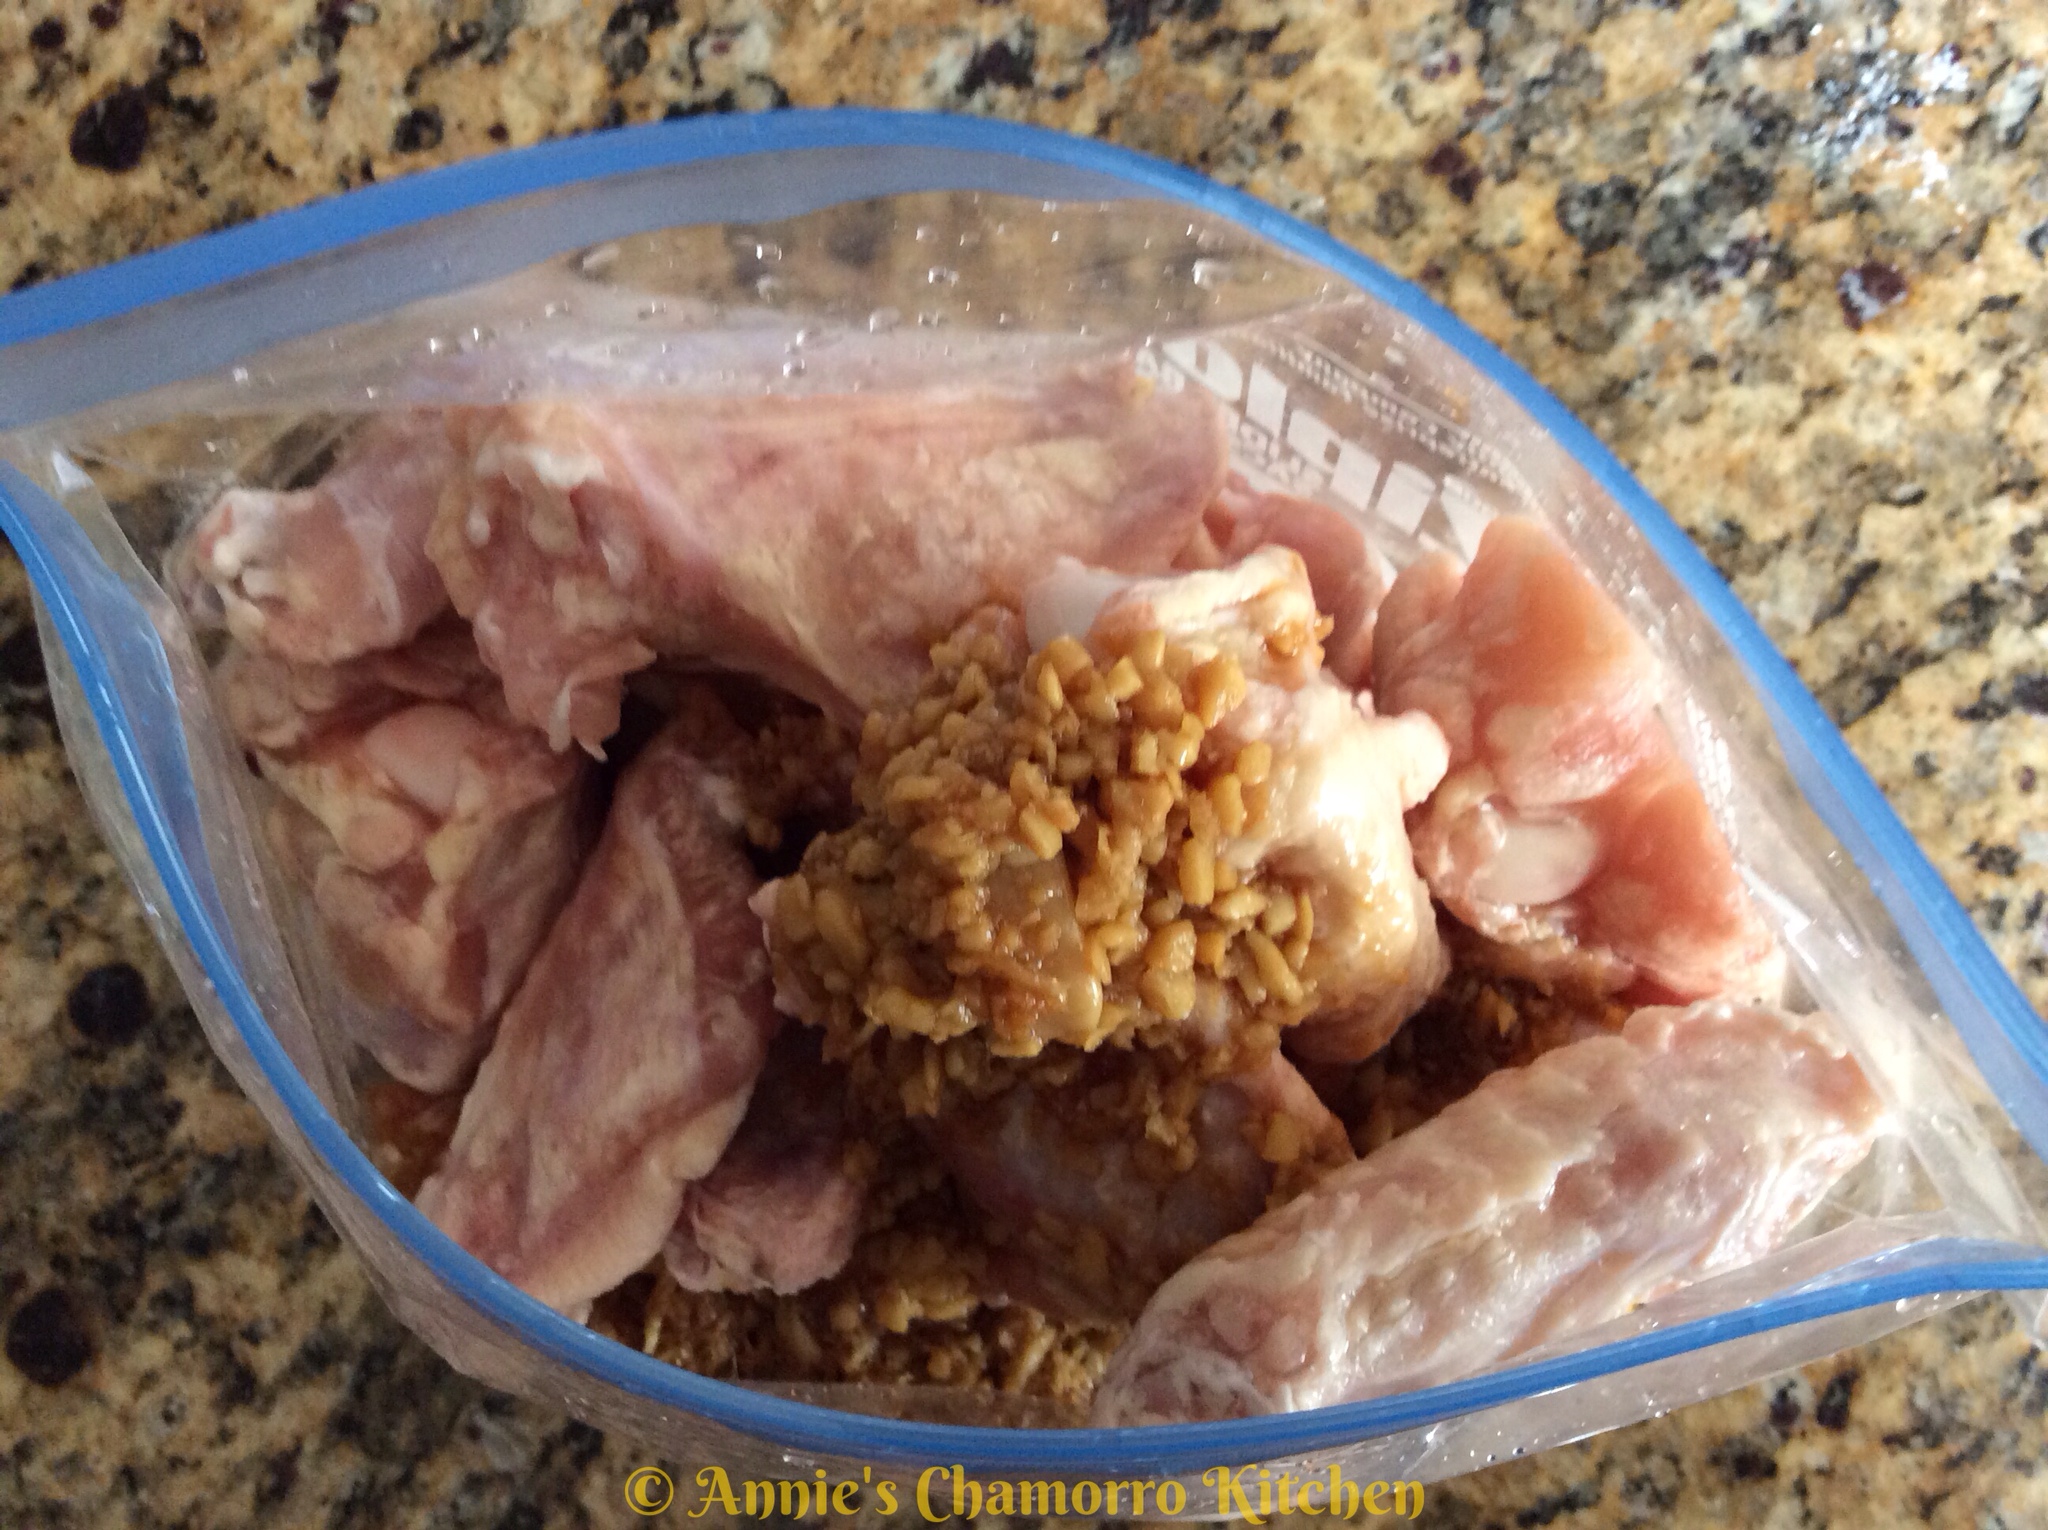
Rinse and clean the chicken pieces. Place into a large ziplock bag.

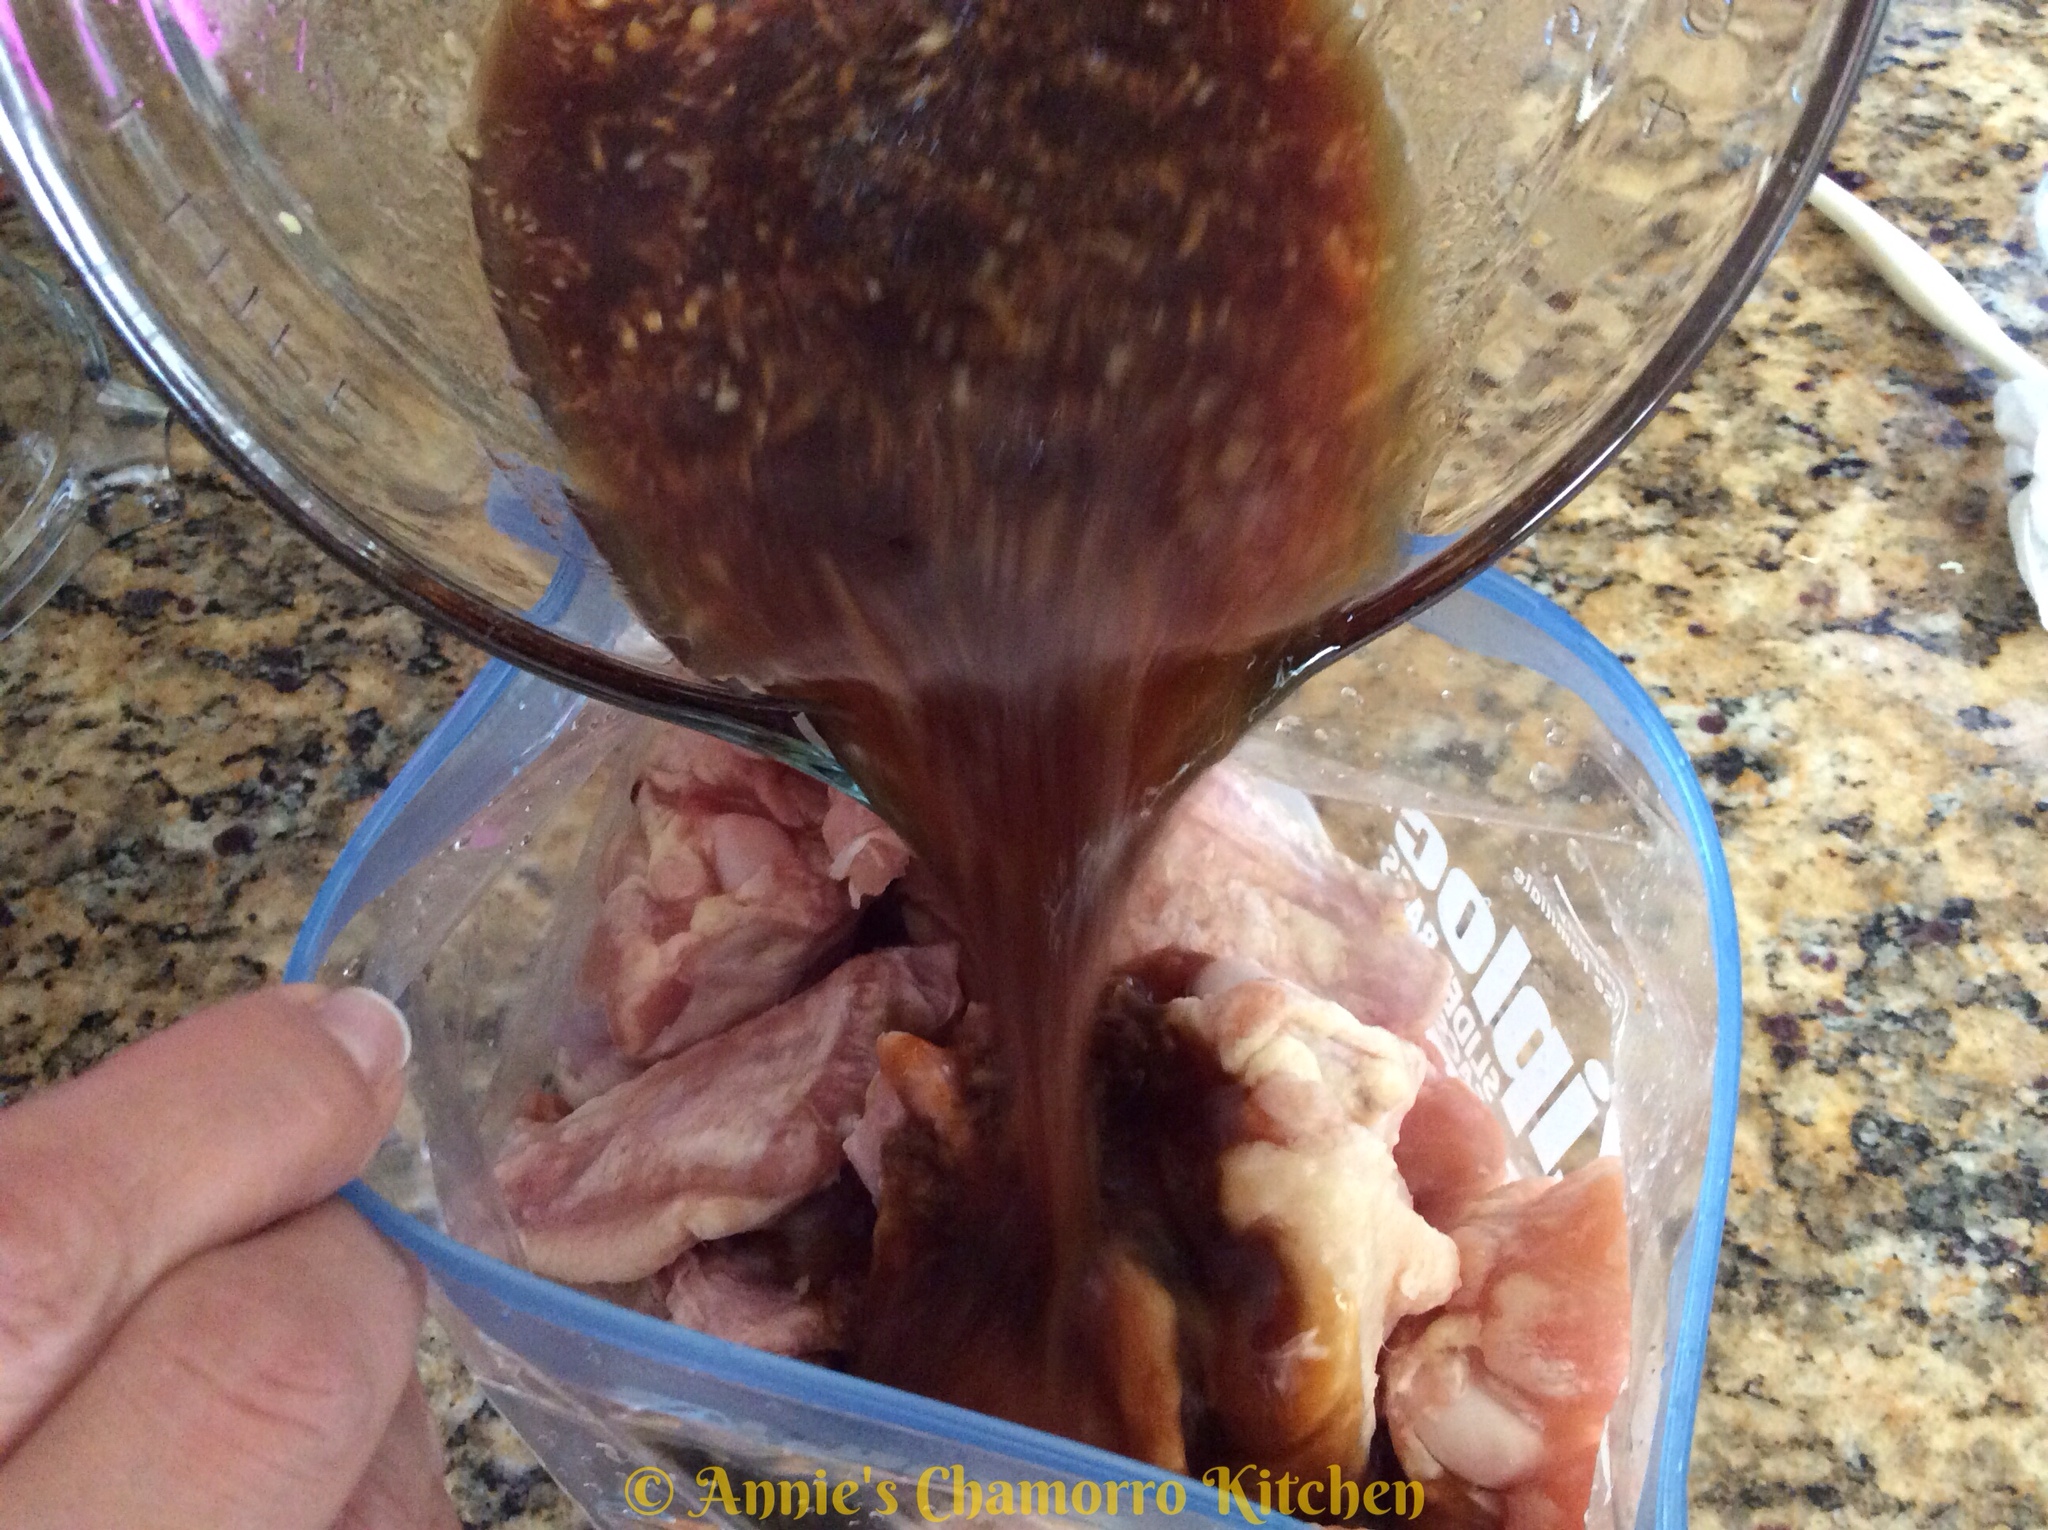
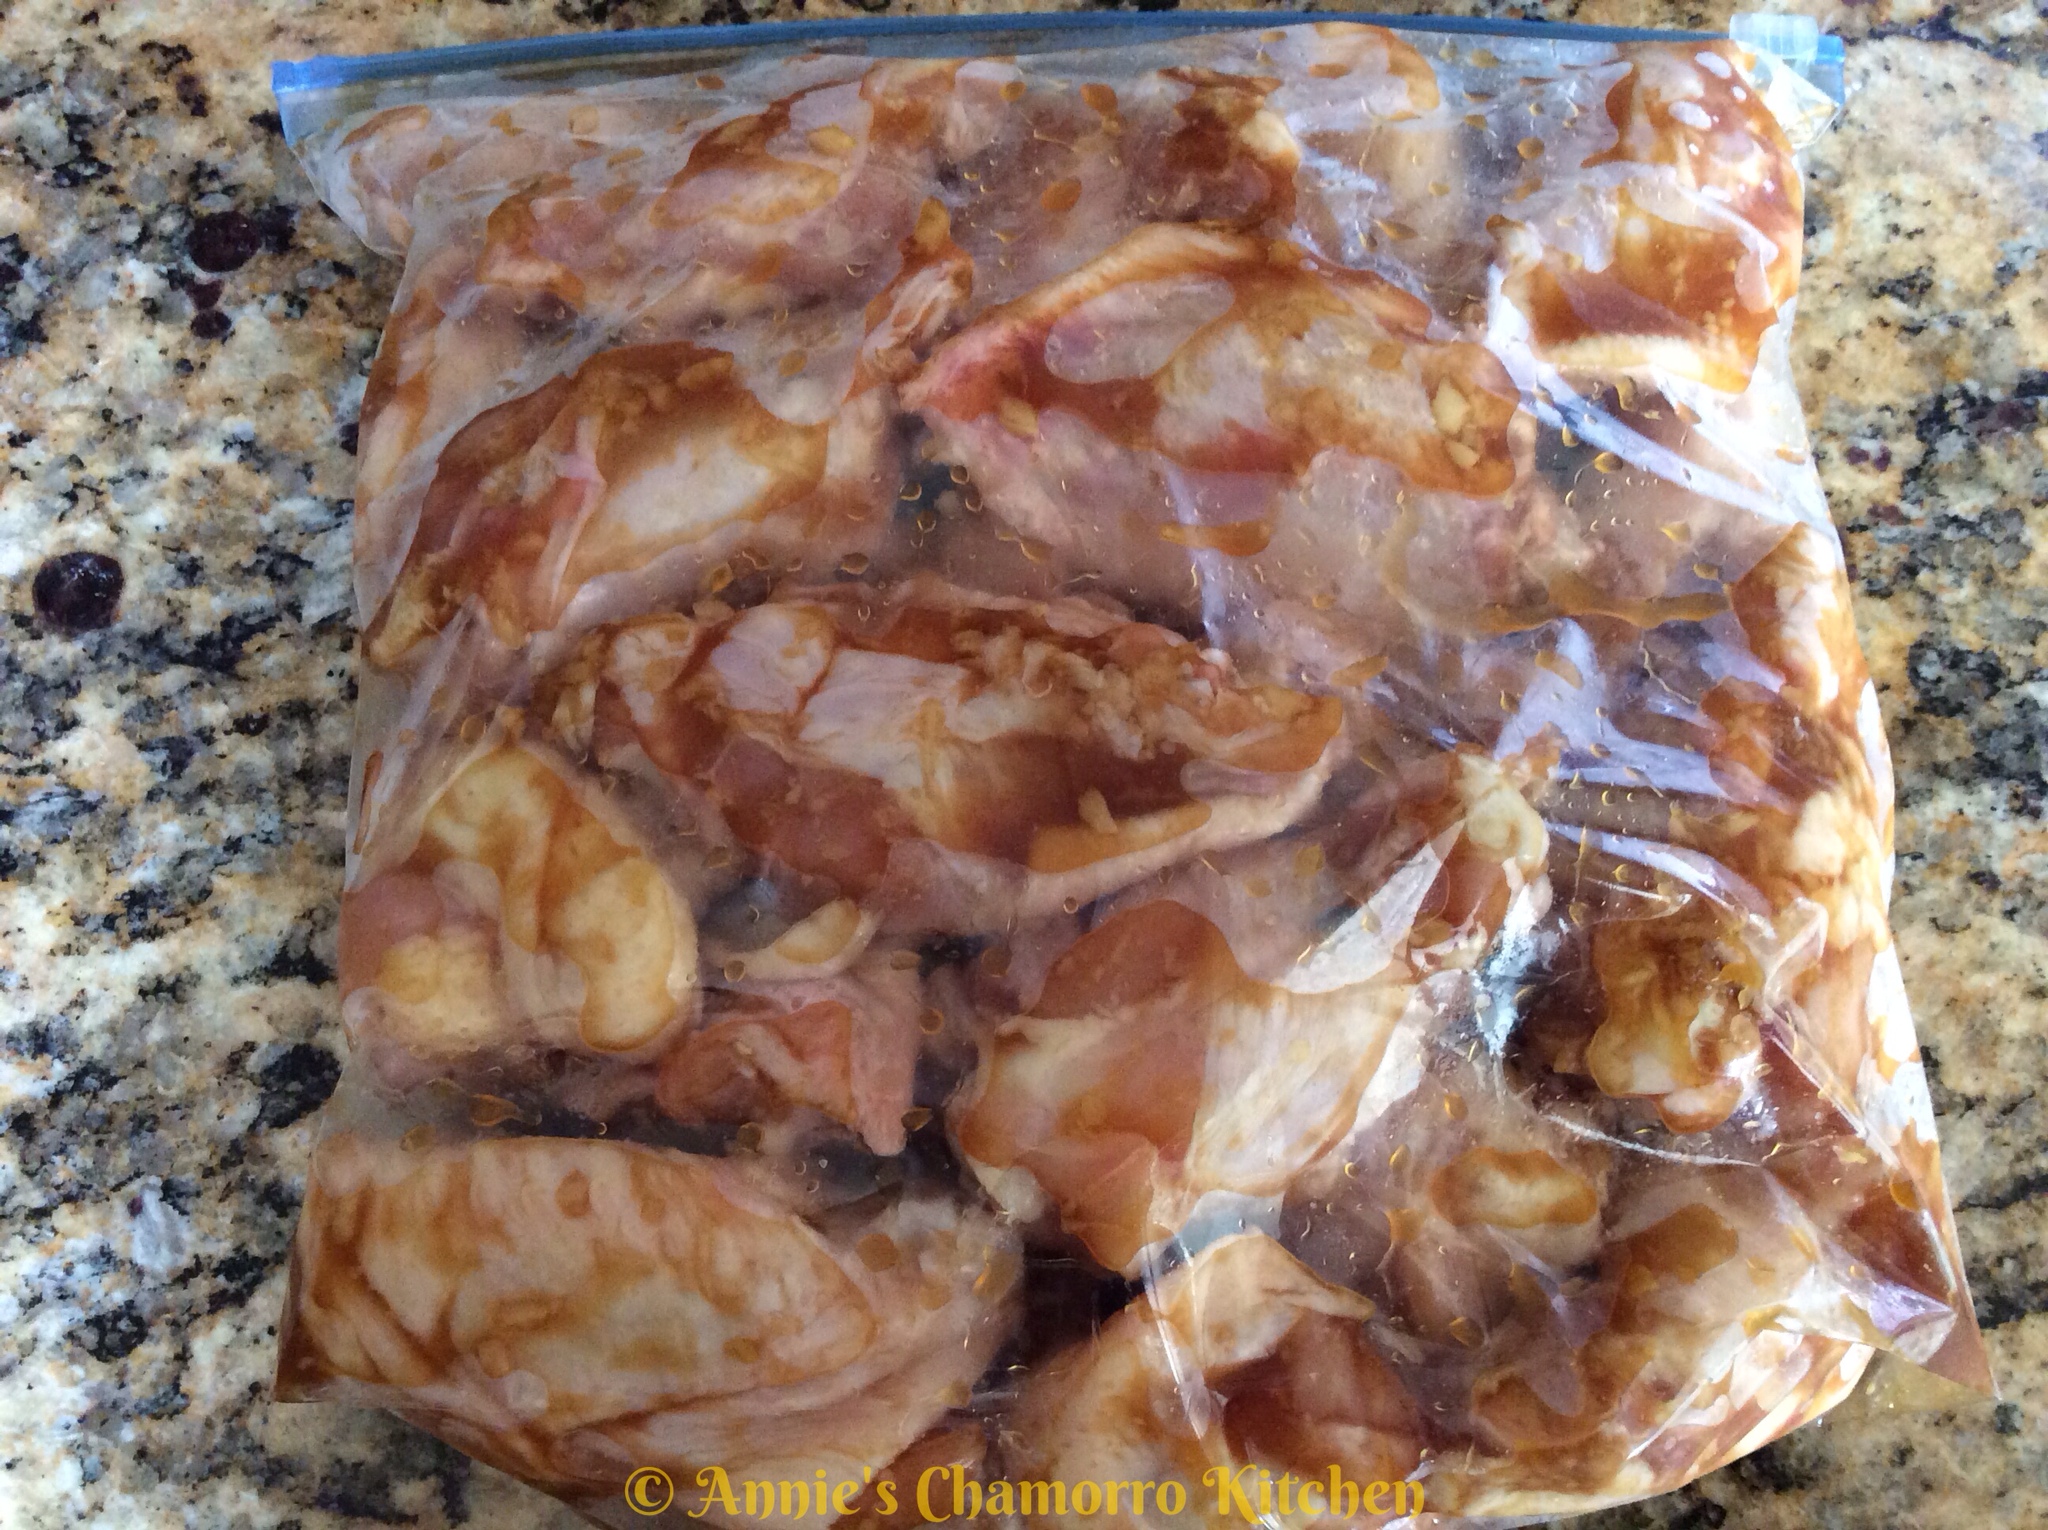
Pour the marinade into the bag.

Make sure to get all the garlic and ginger out!

Squeeze any excess air out of the bag before sealing. Marinate the chicken for a few hours or up to a day. Keep the bag refrigerated while the chicken marinates.

3. Bake the chicken.

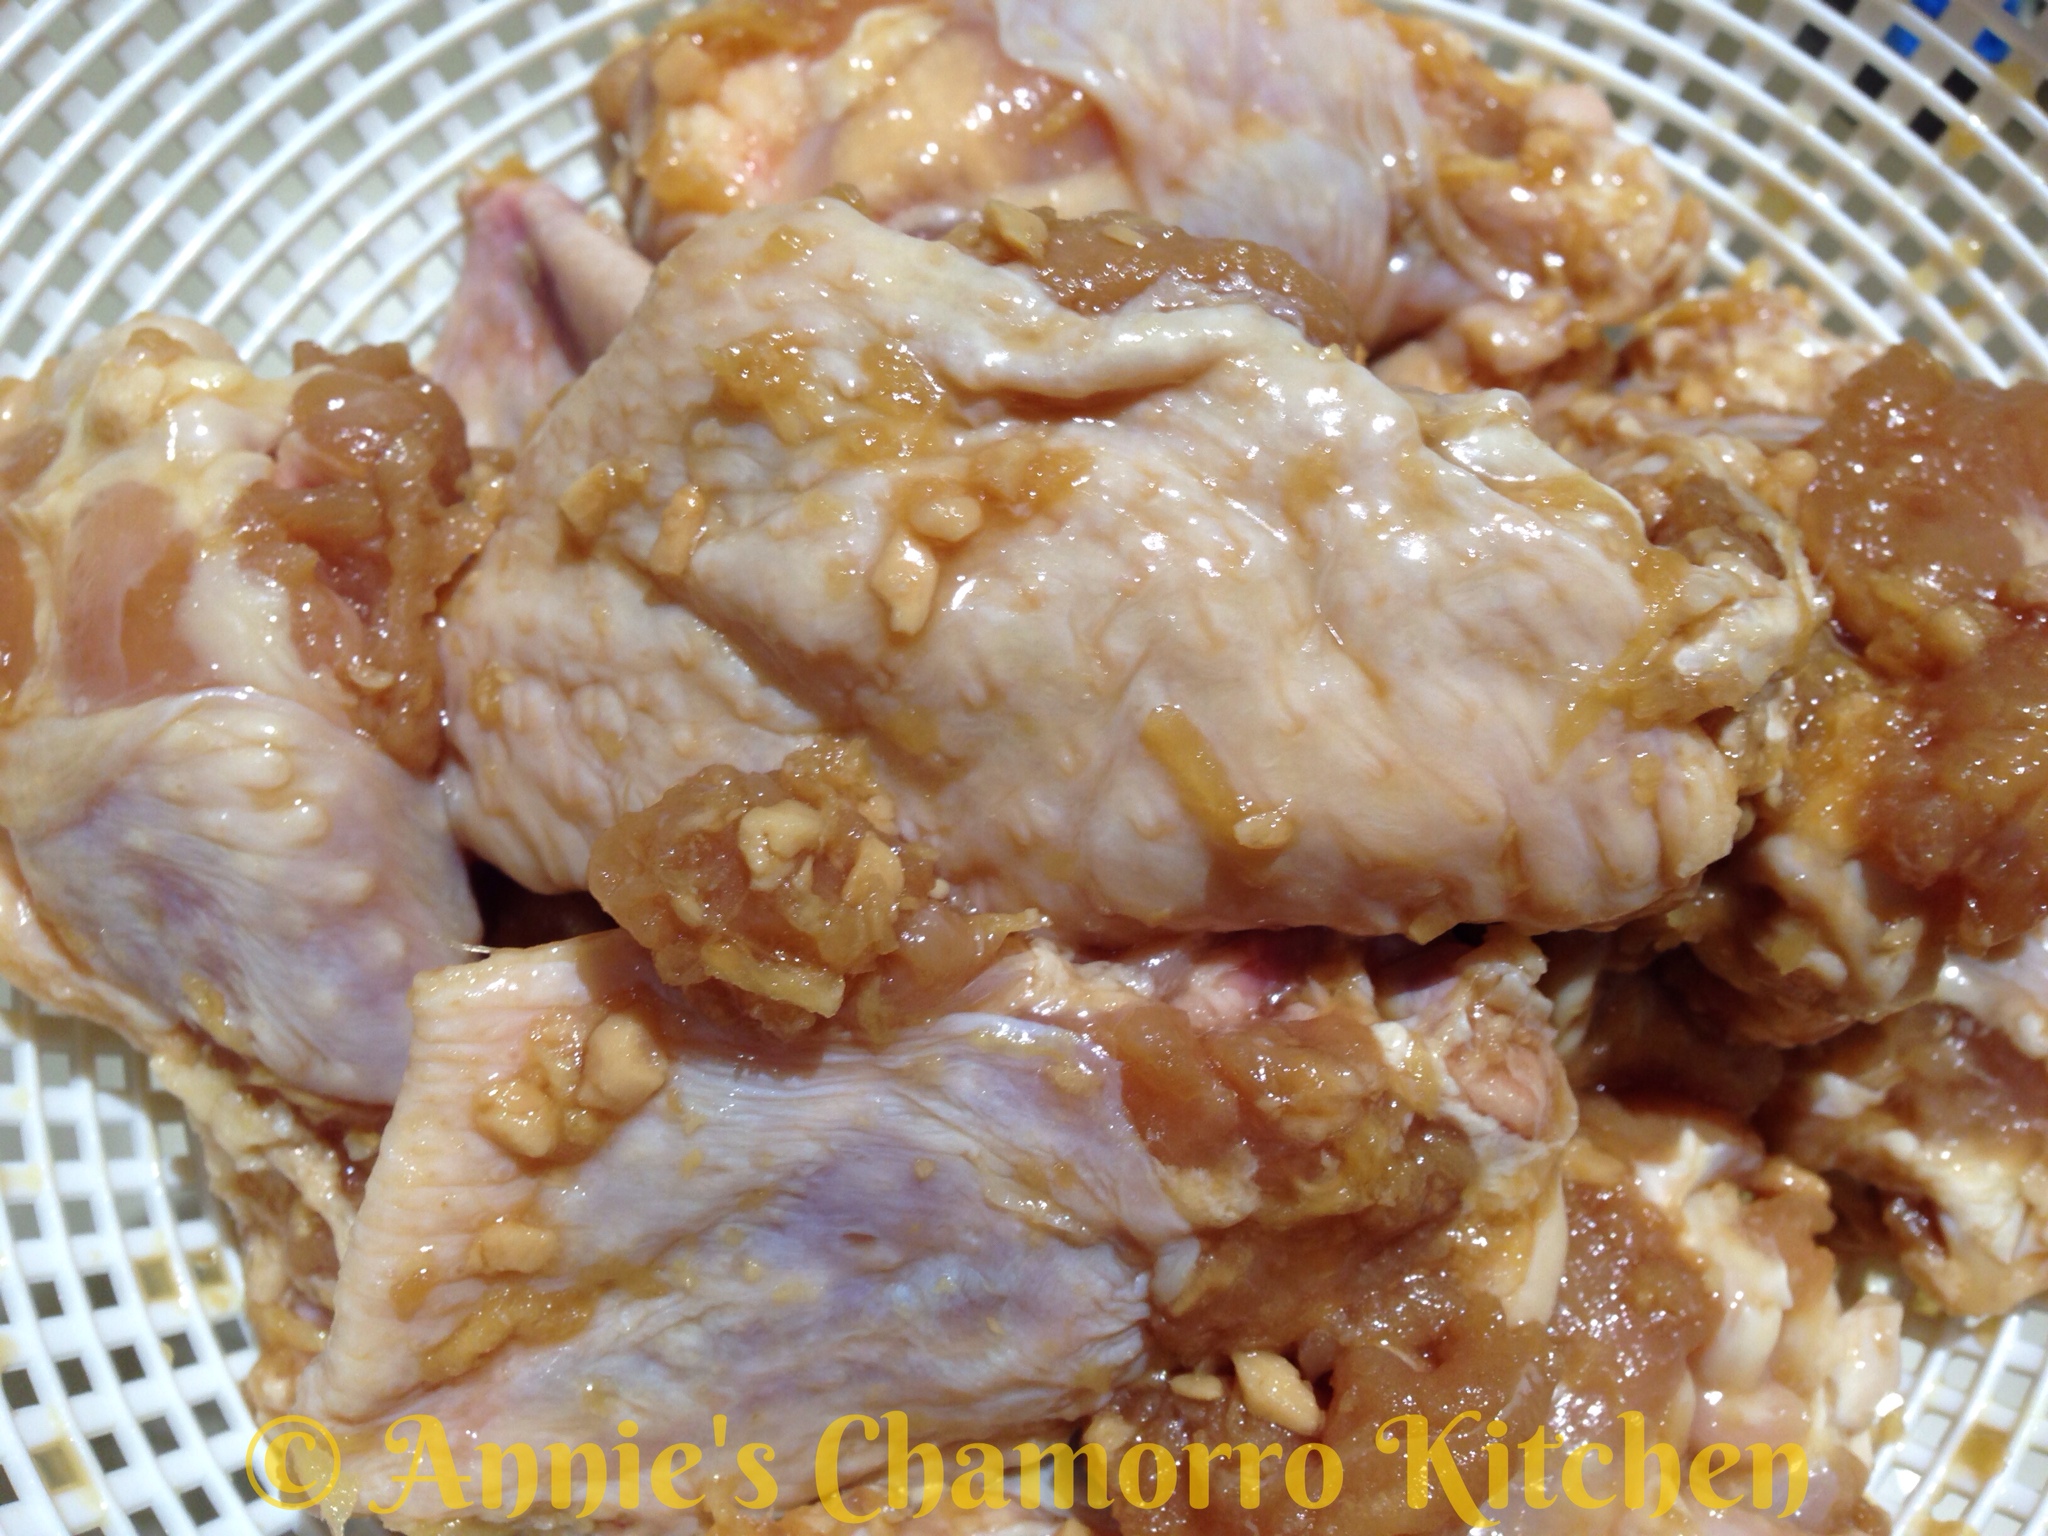
Pour the chicken out into a colander to drain out the marinade.

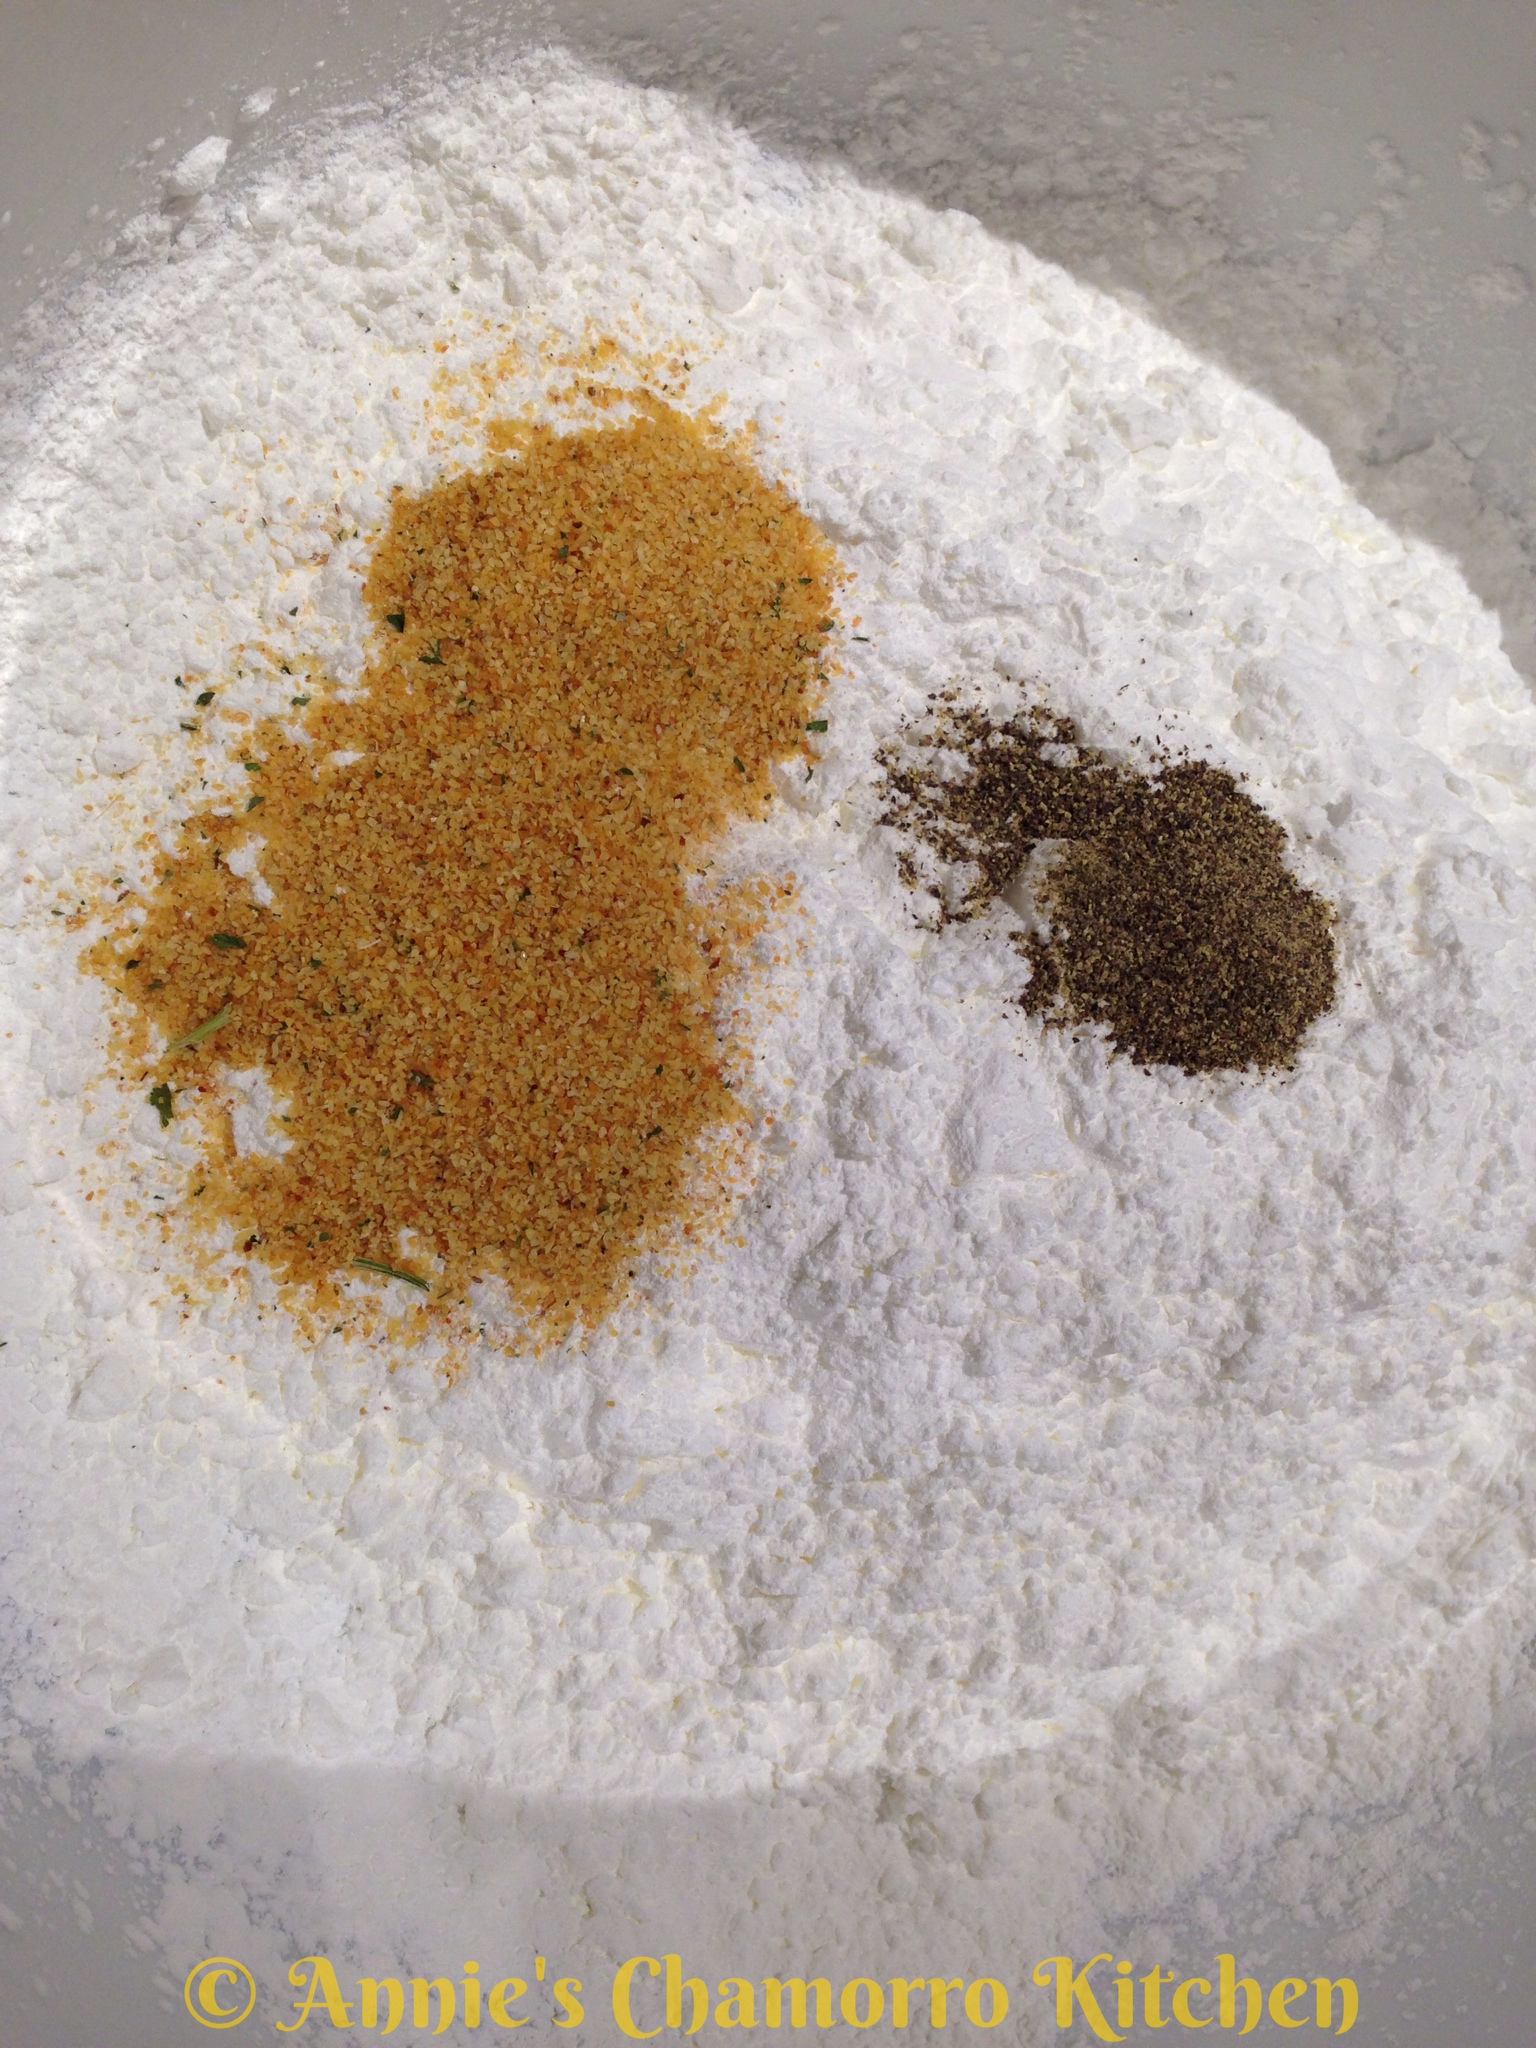
Prepare the cornstarch mixture. Mix together the cornstarch, garlic powder and black pepper.

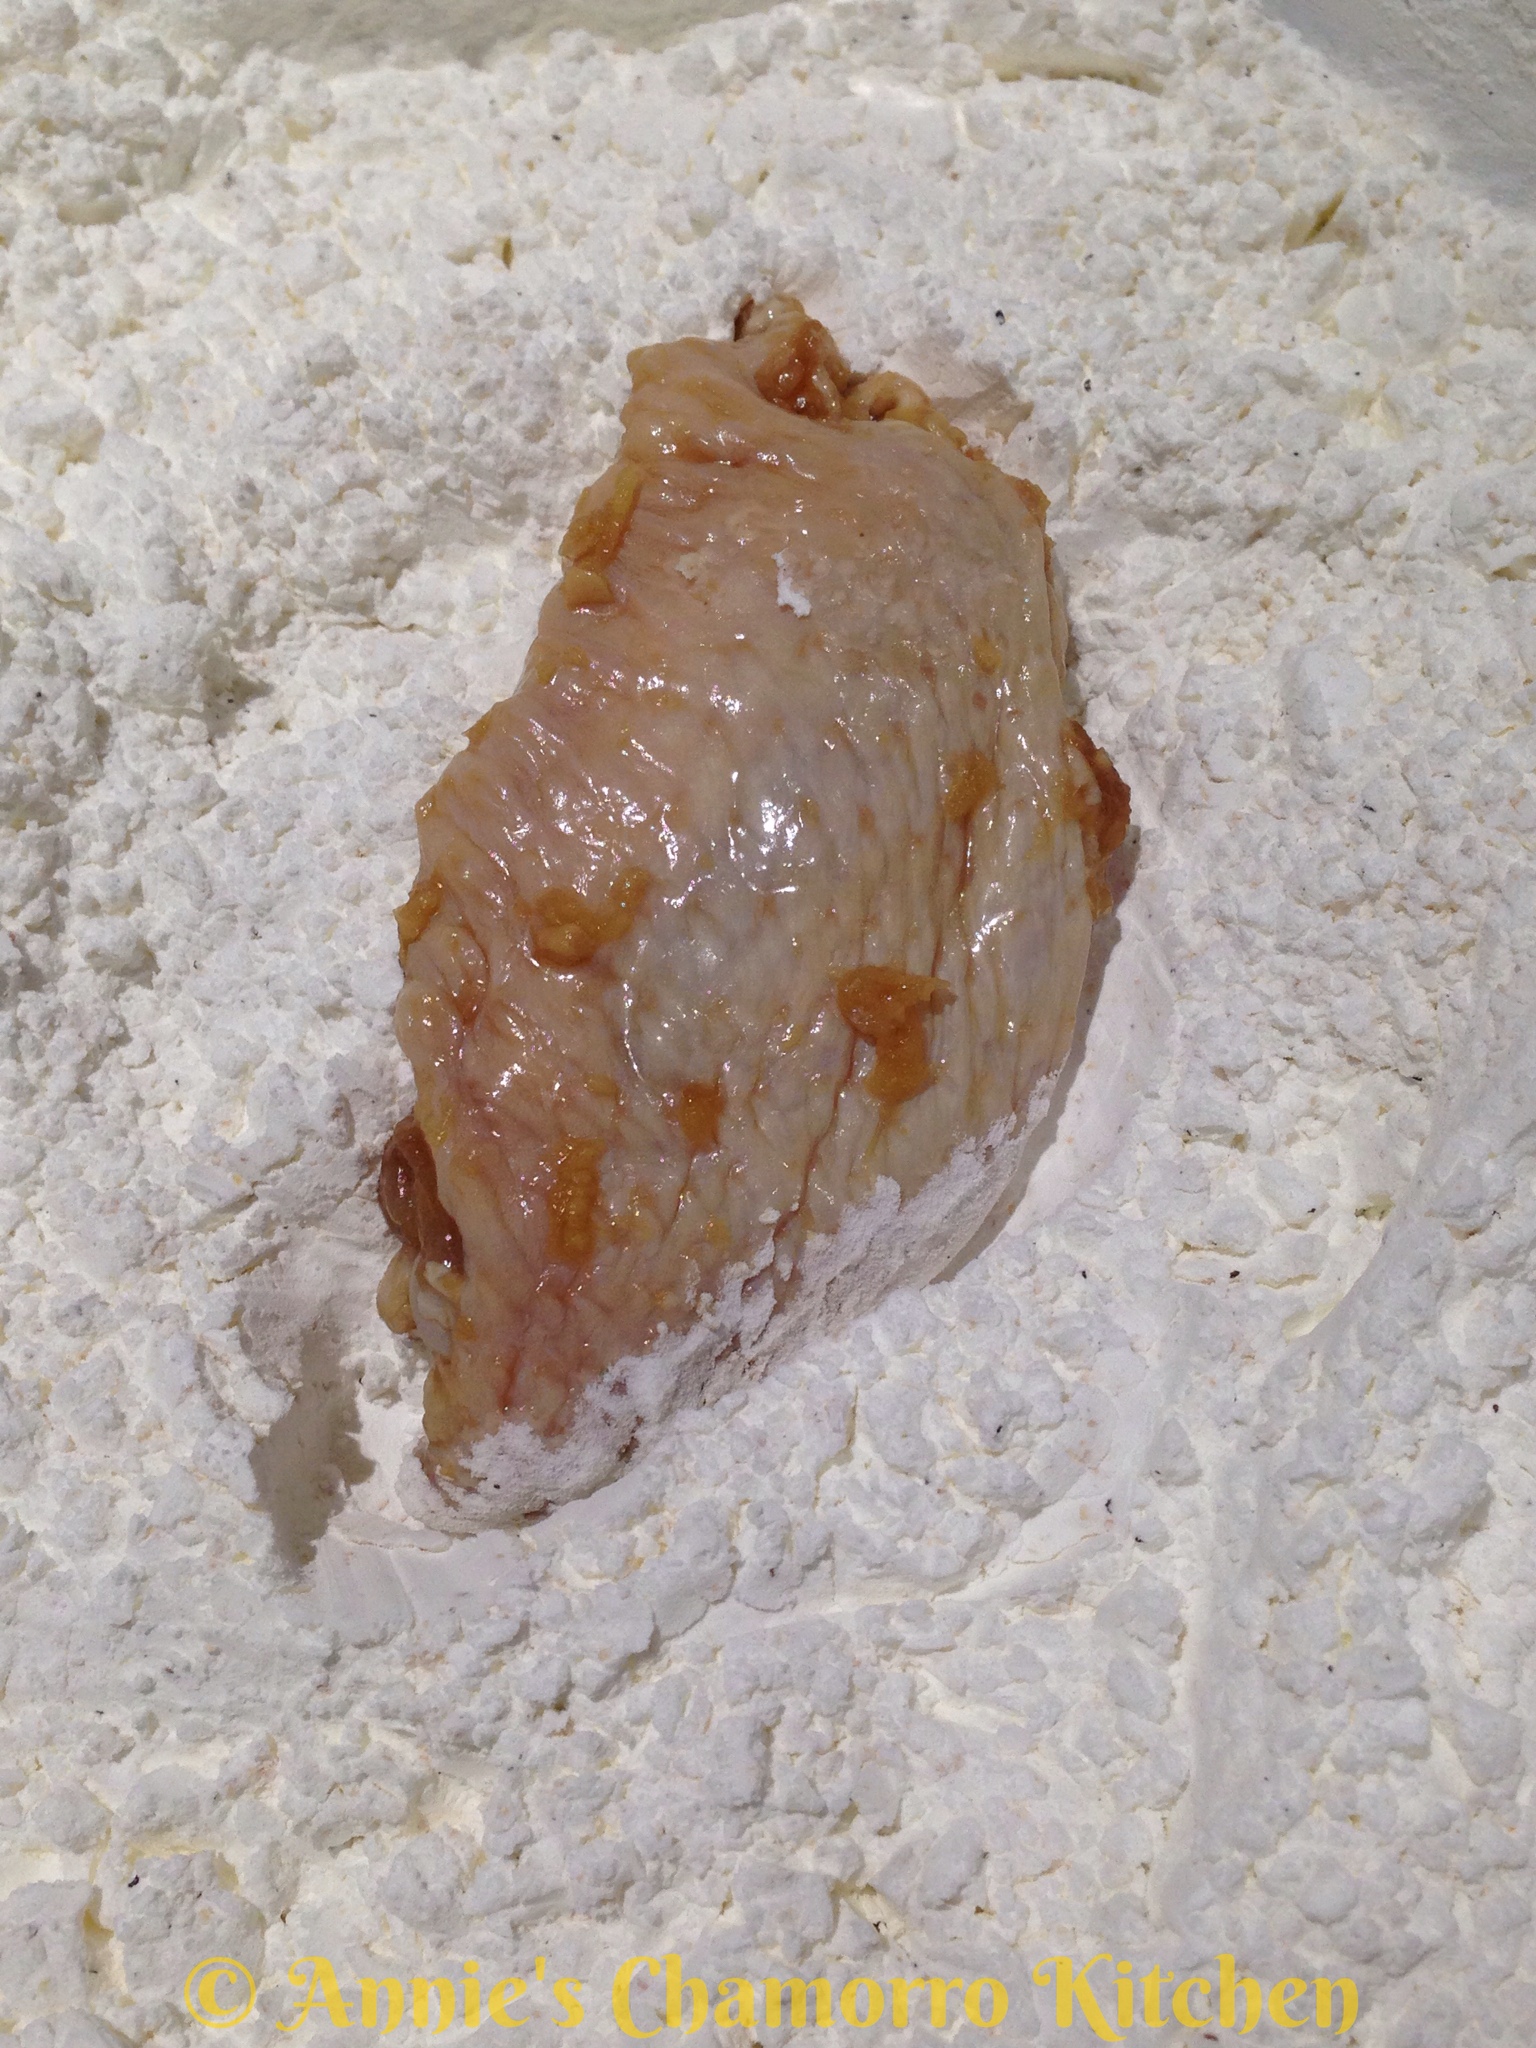
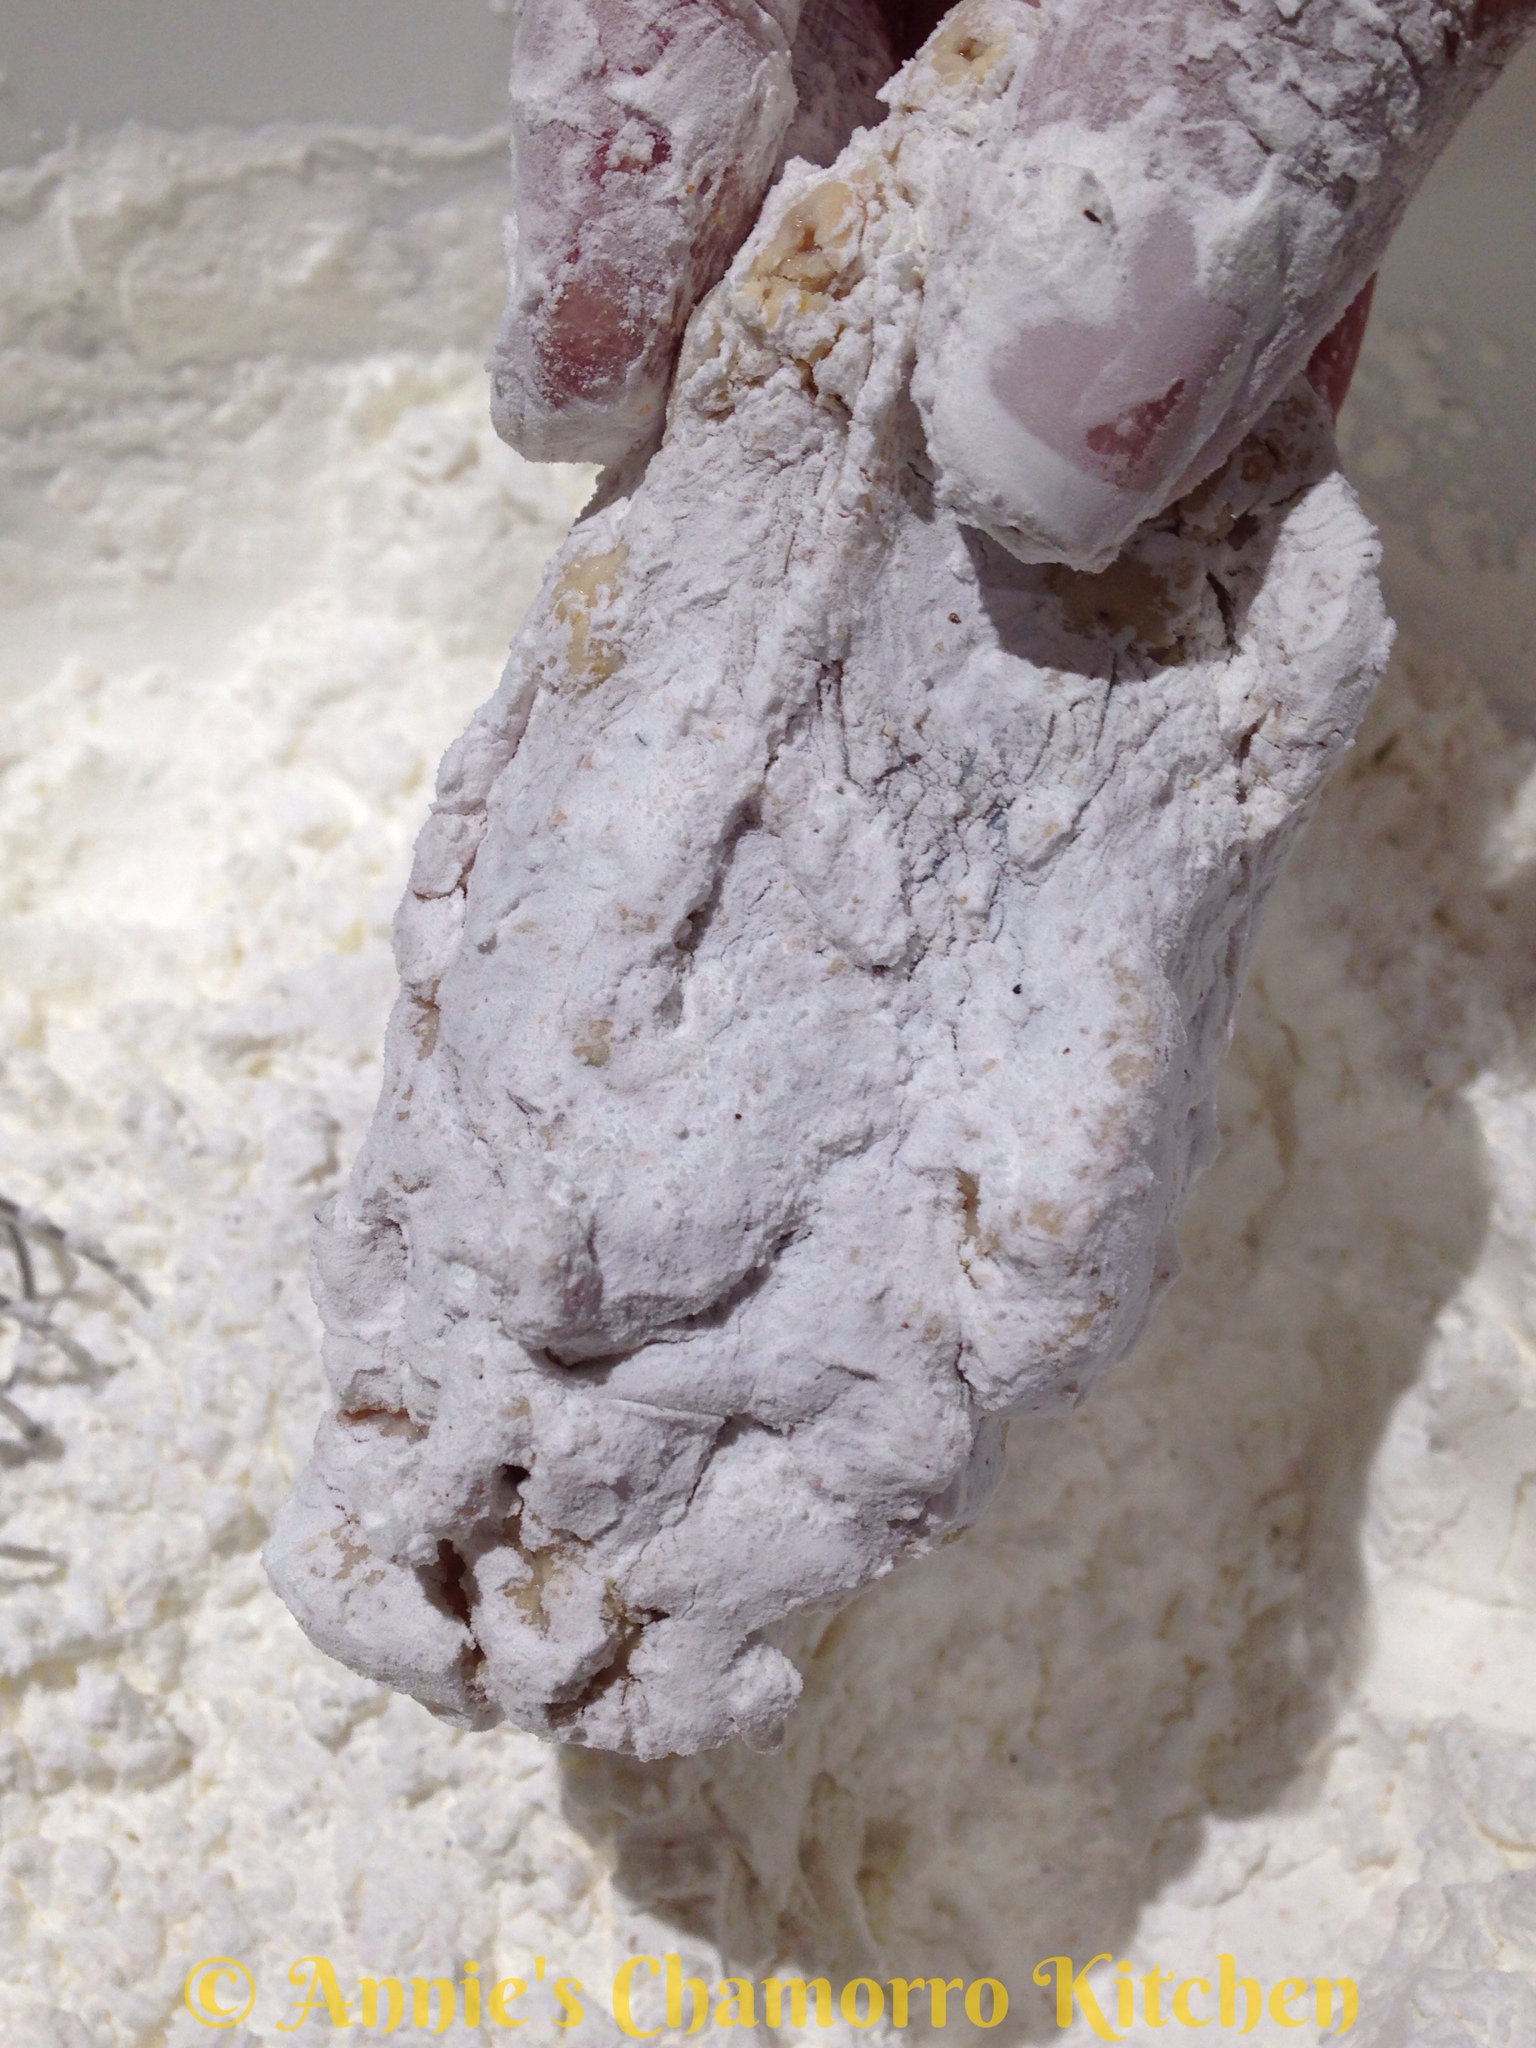
Dredge the chicken pieces in the cornstarch mixture.


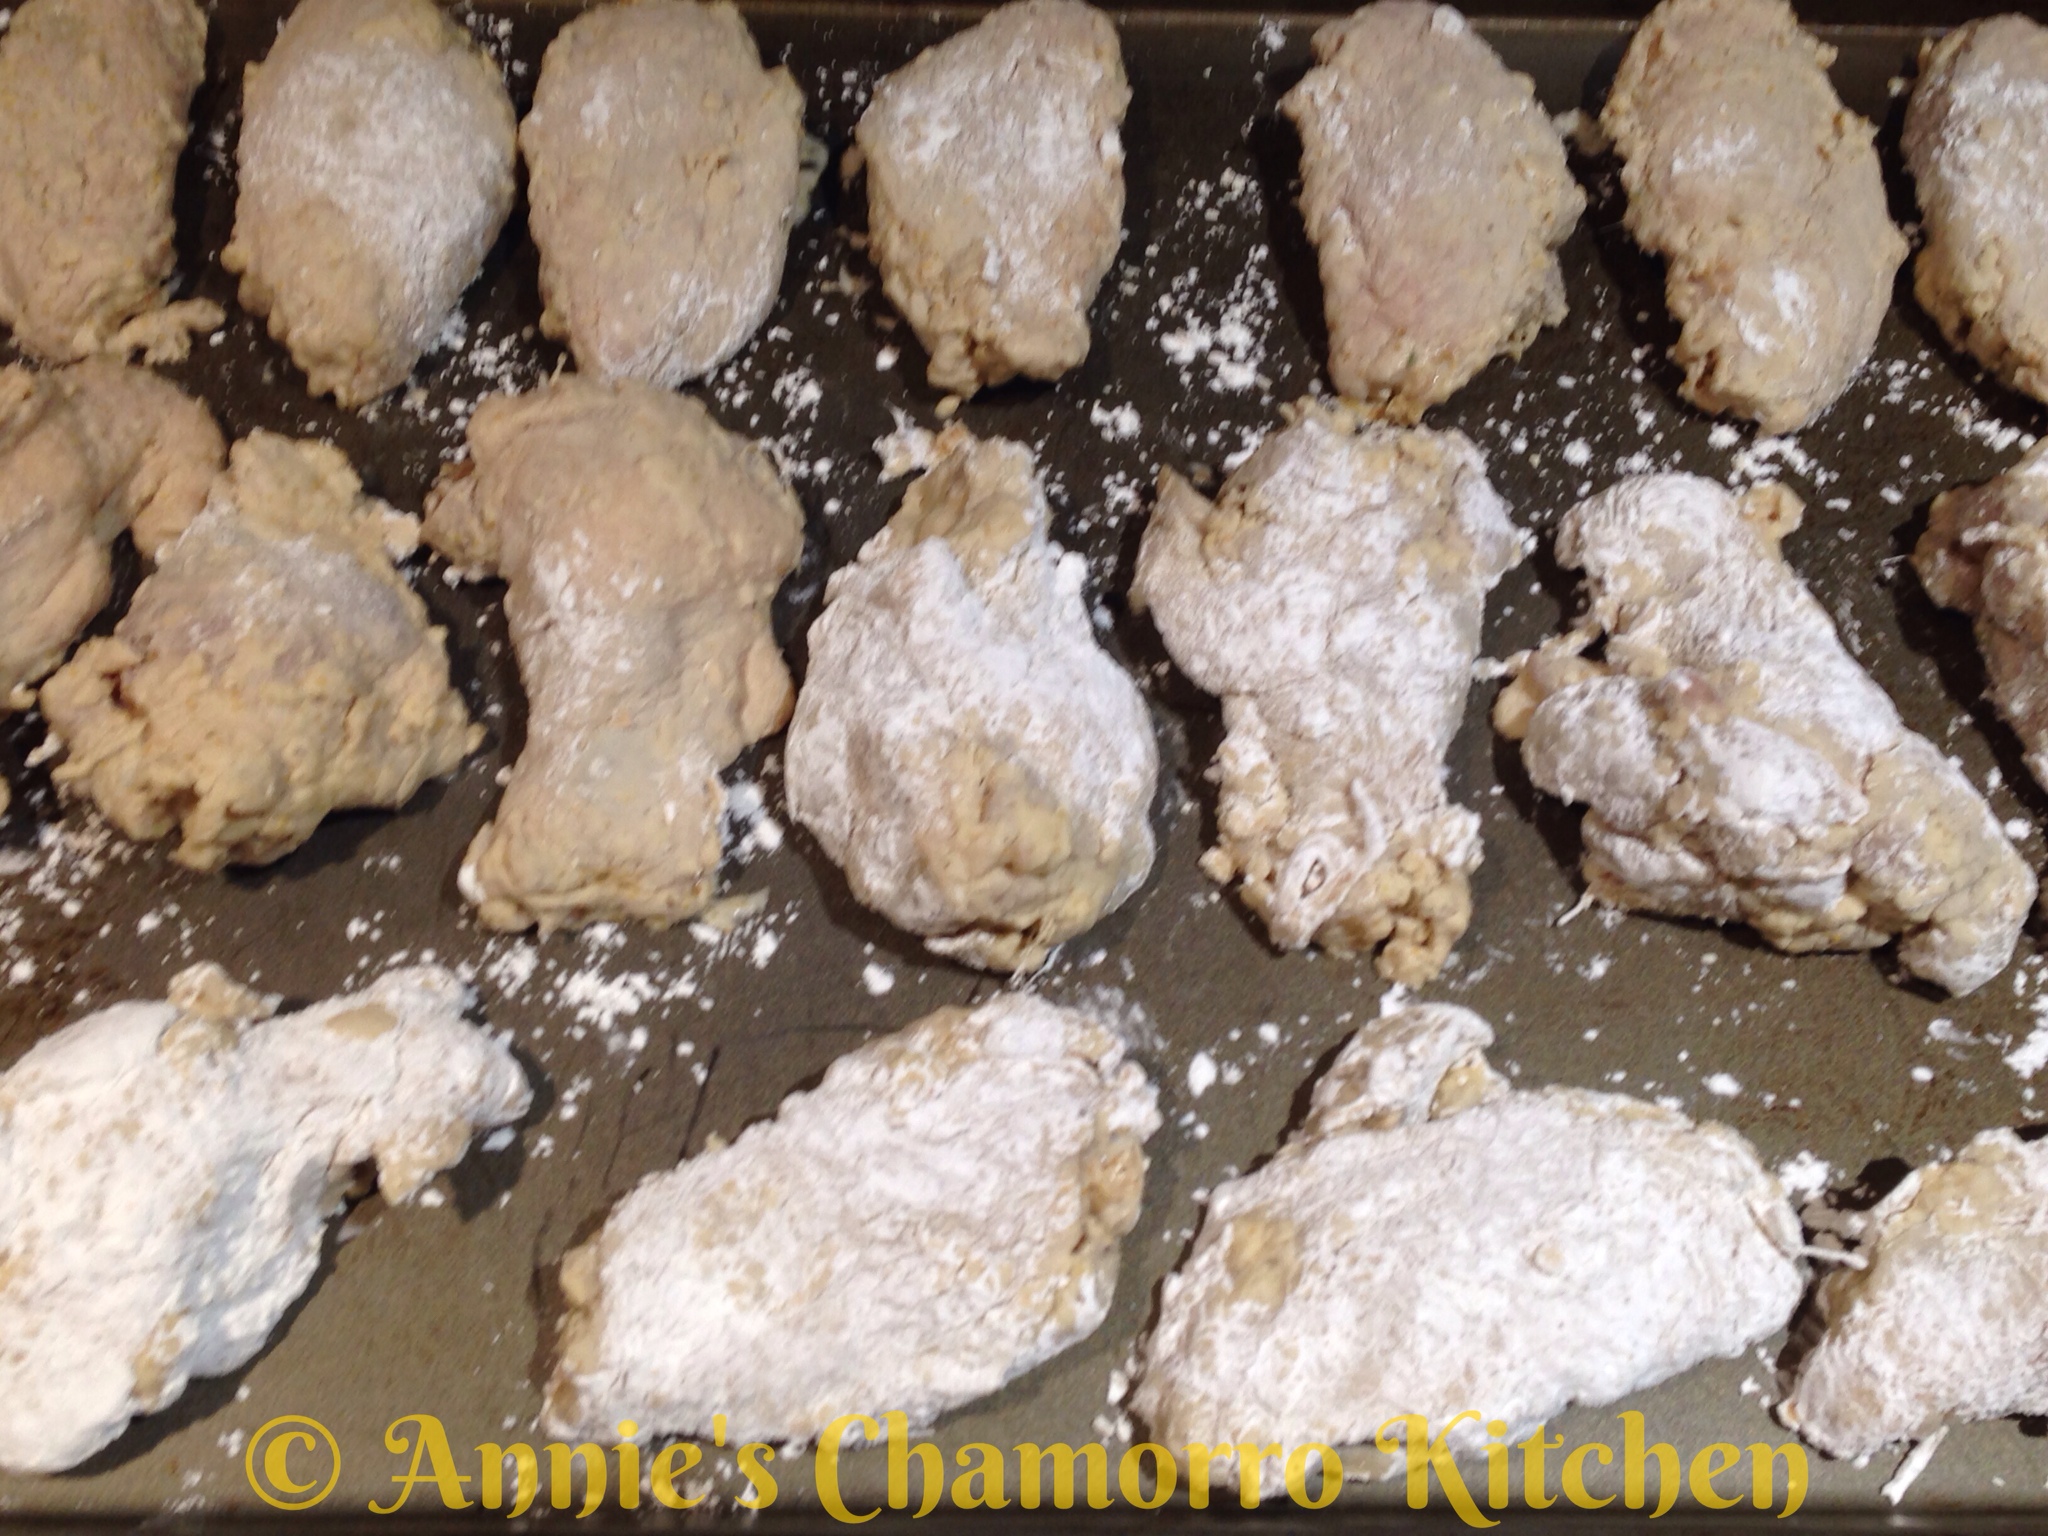
Place the chicken (skin side up) onto a baking pan lined with parchment paper.

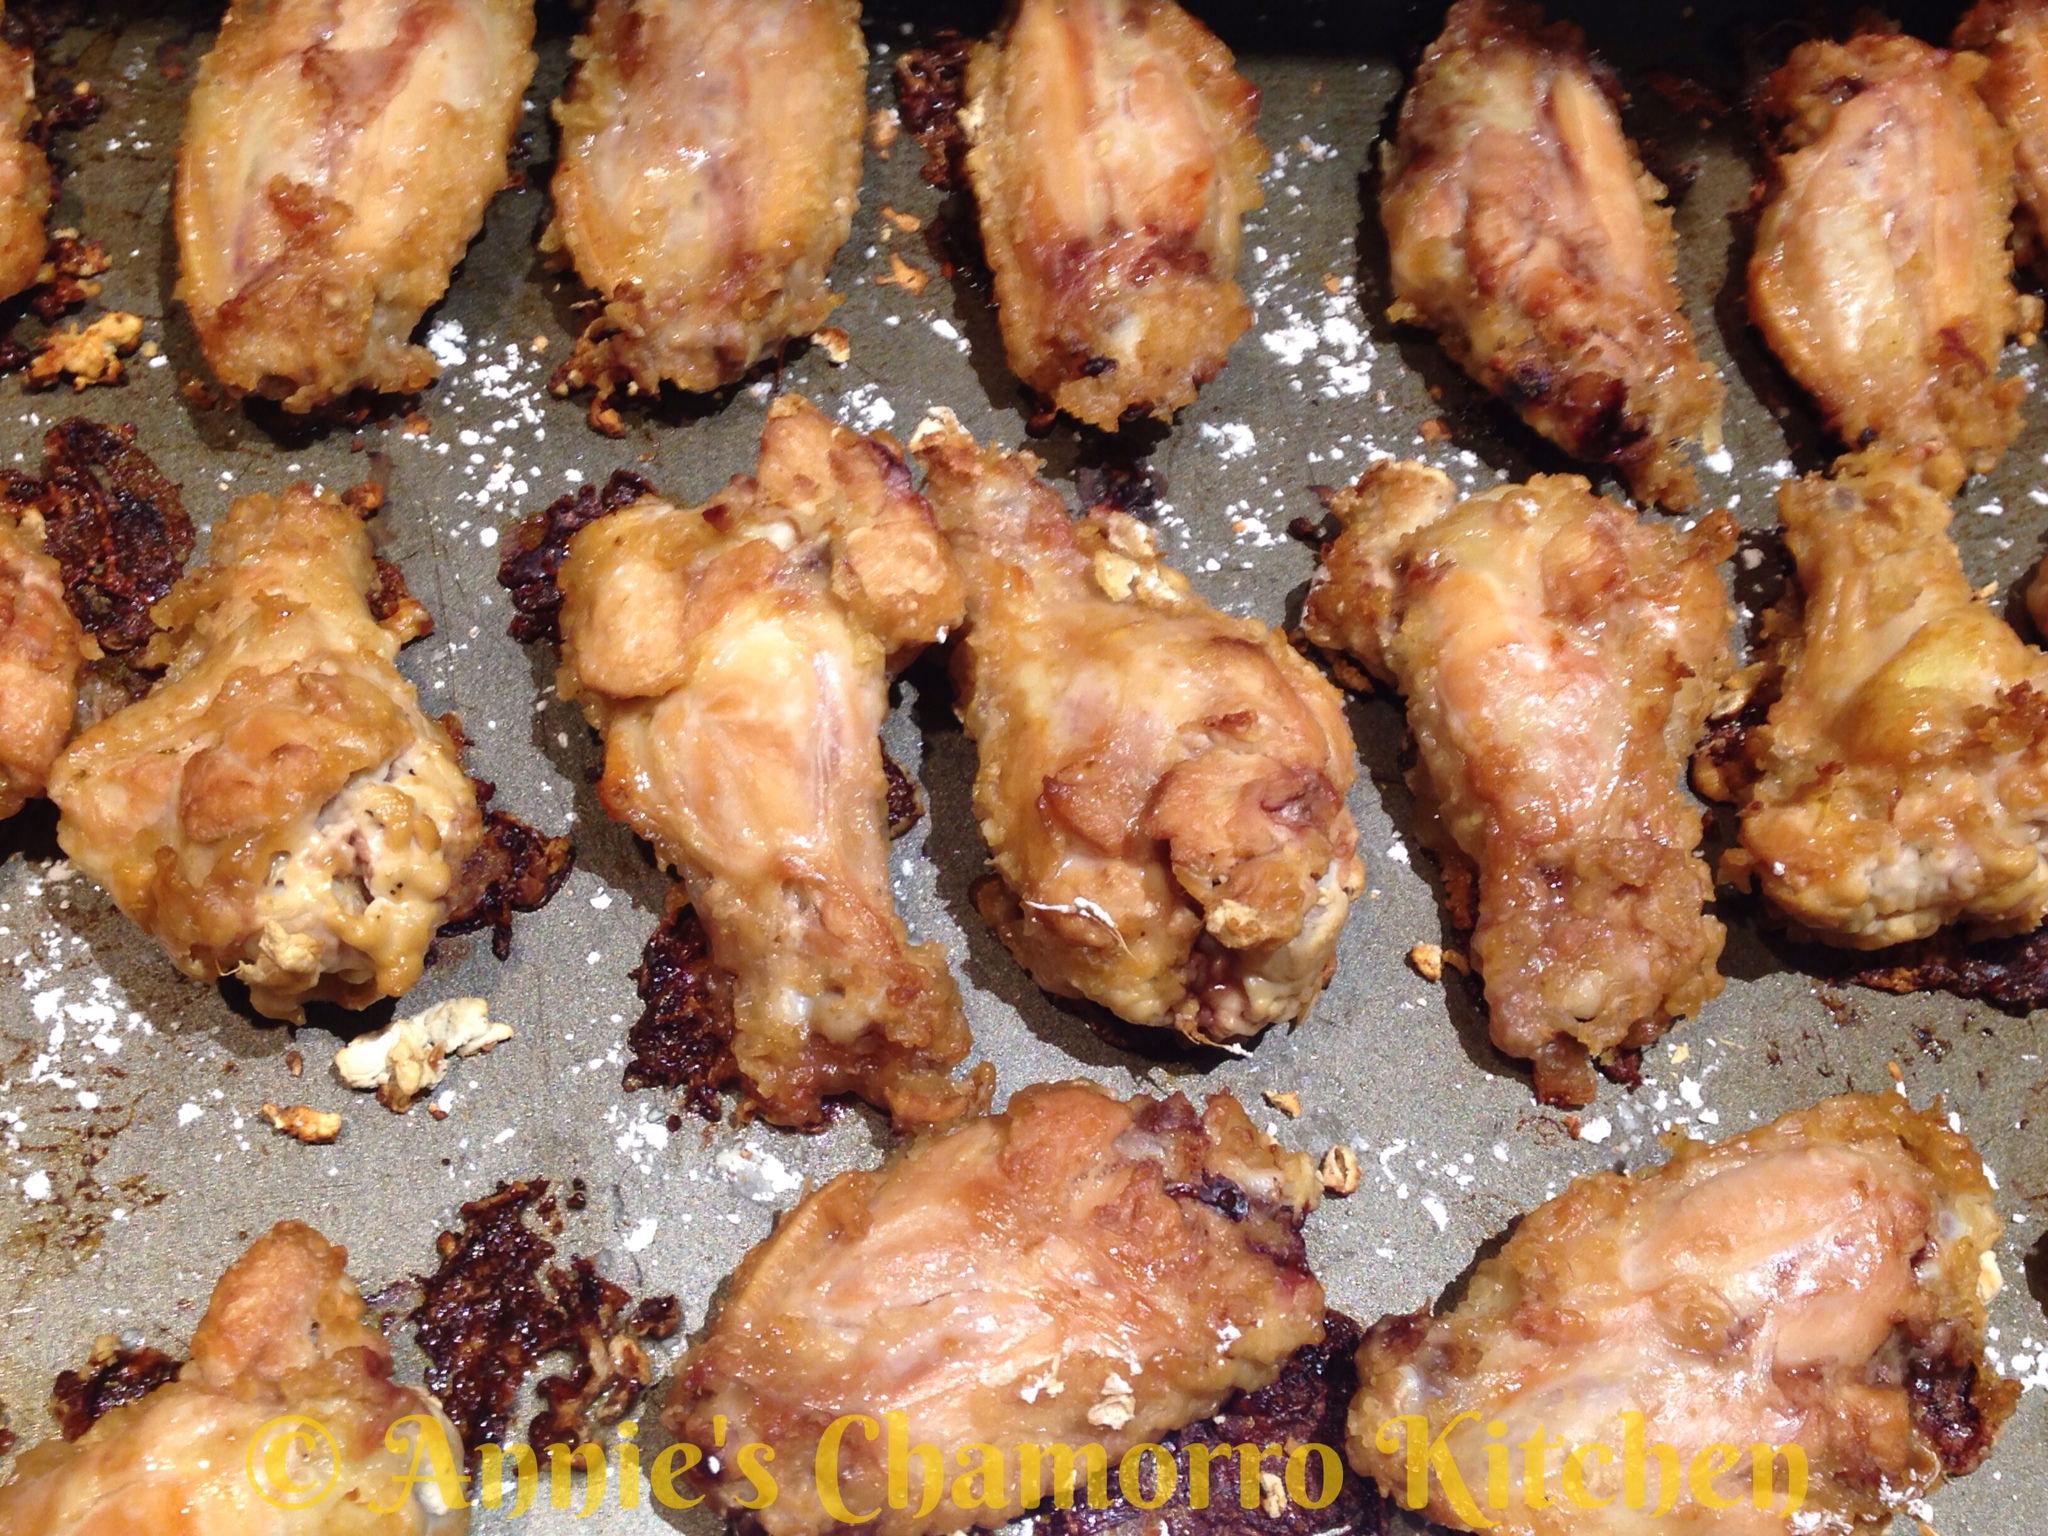
Note: In the photo below, the pan is not lined with parchment paper (I forgot to do it). DO NOT forget like I did or the chicken skin will stick to the pan as it bakes…especially metal pans. I also baked half of the chicken on a stoneware pan; the chicken baked up better on the stoneware pan without being lined with parchment paper (most of the wings didn’t stick but some still did).

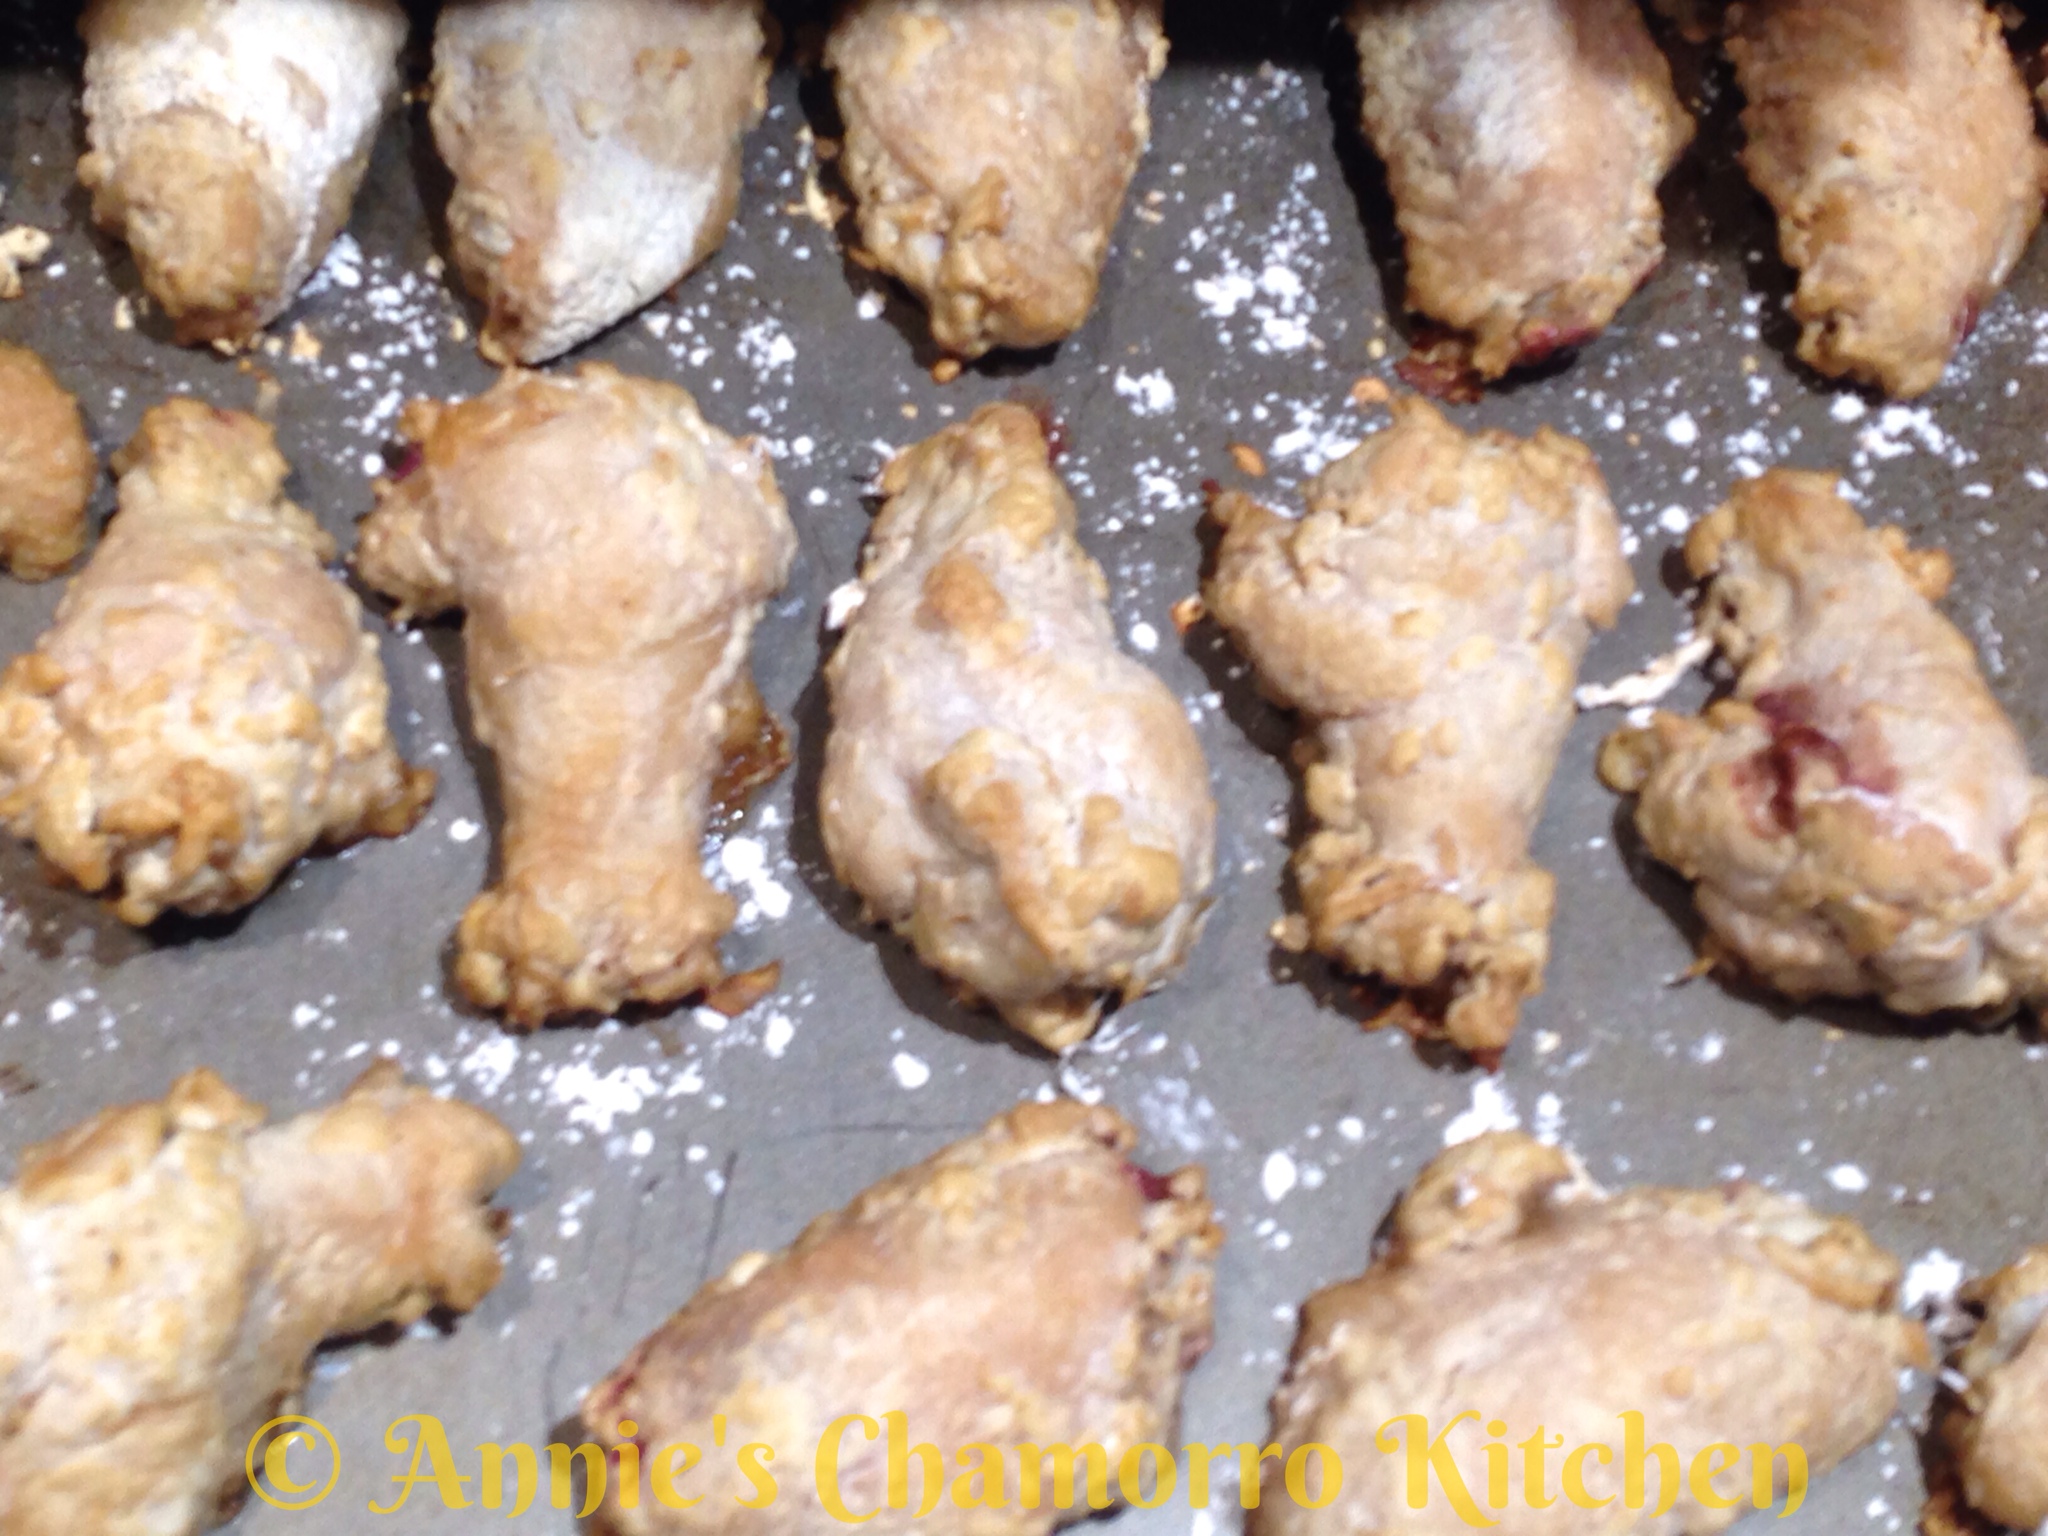
Bake the chicken at 400 degrees for a total of 45 minutes.

After baking for 15 minutes, turn the chicken over. Bake for another 15 minutes, skin side down.

After 30 minutes of baking, turn the chicken over, making it skin side up again. Bake for the final 15 minutes.

Serve immediately and ENJOY! 🙂

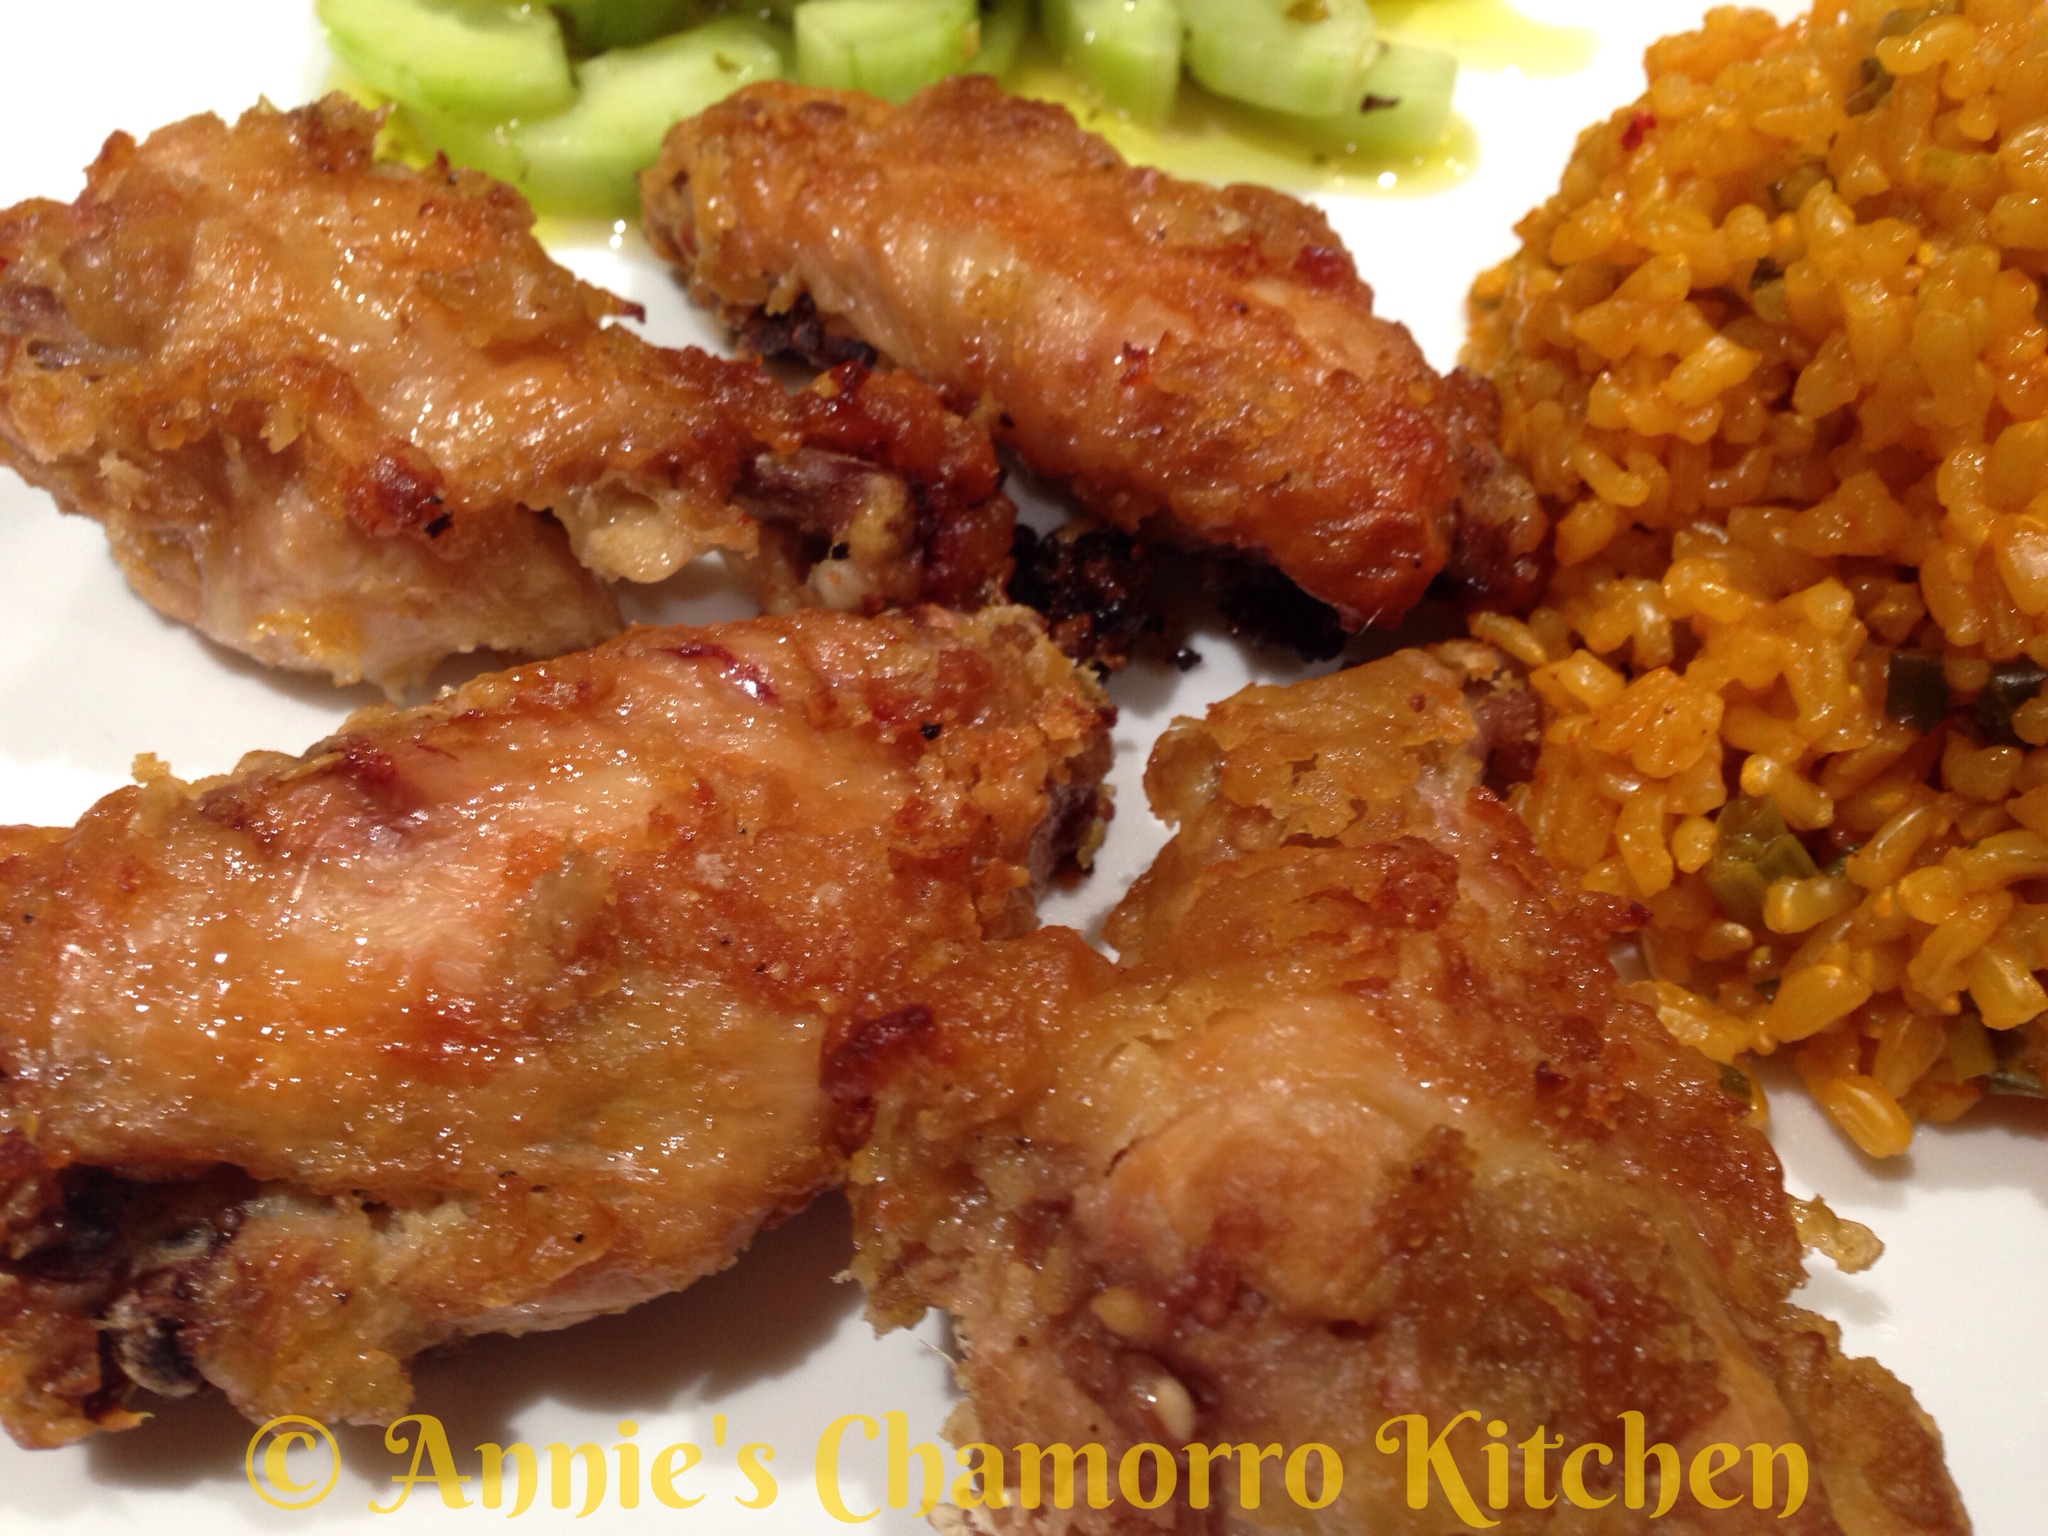
This goes great with red rice. Click here for my recipes for Red Rice and Red Rice using Brown Rice.

 

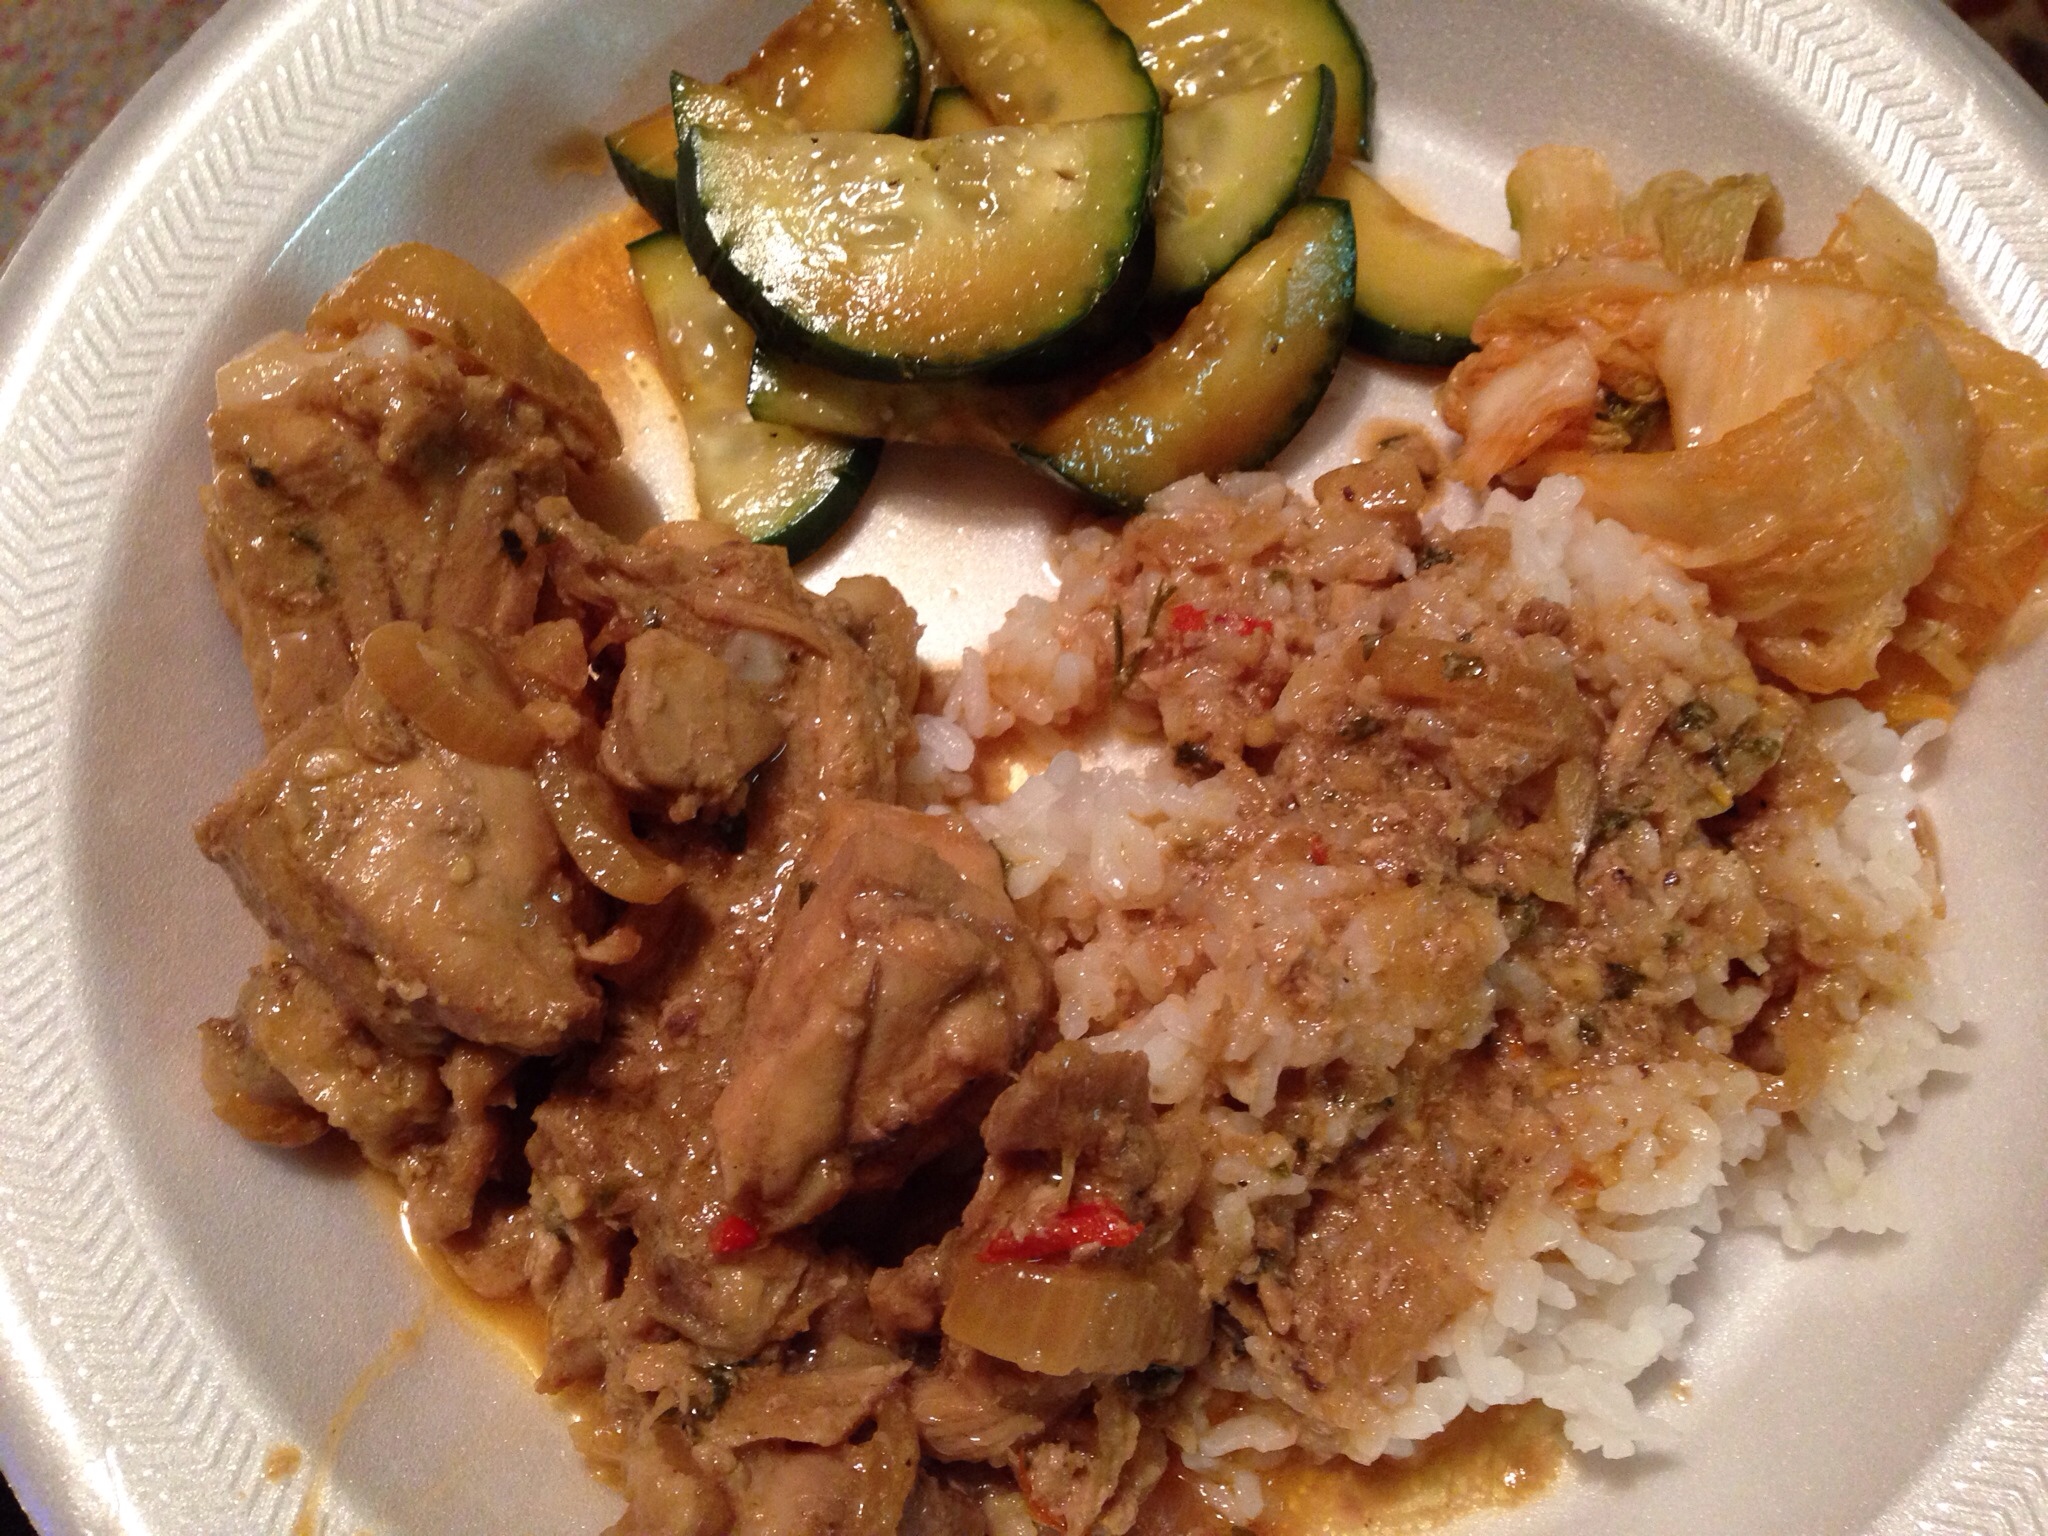
Carolyn’s Kådun Pika (Spicy Chicken)

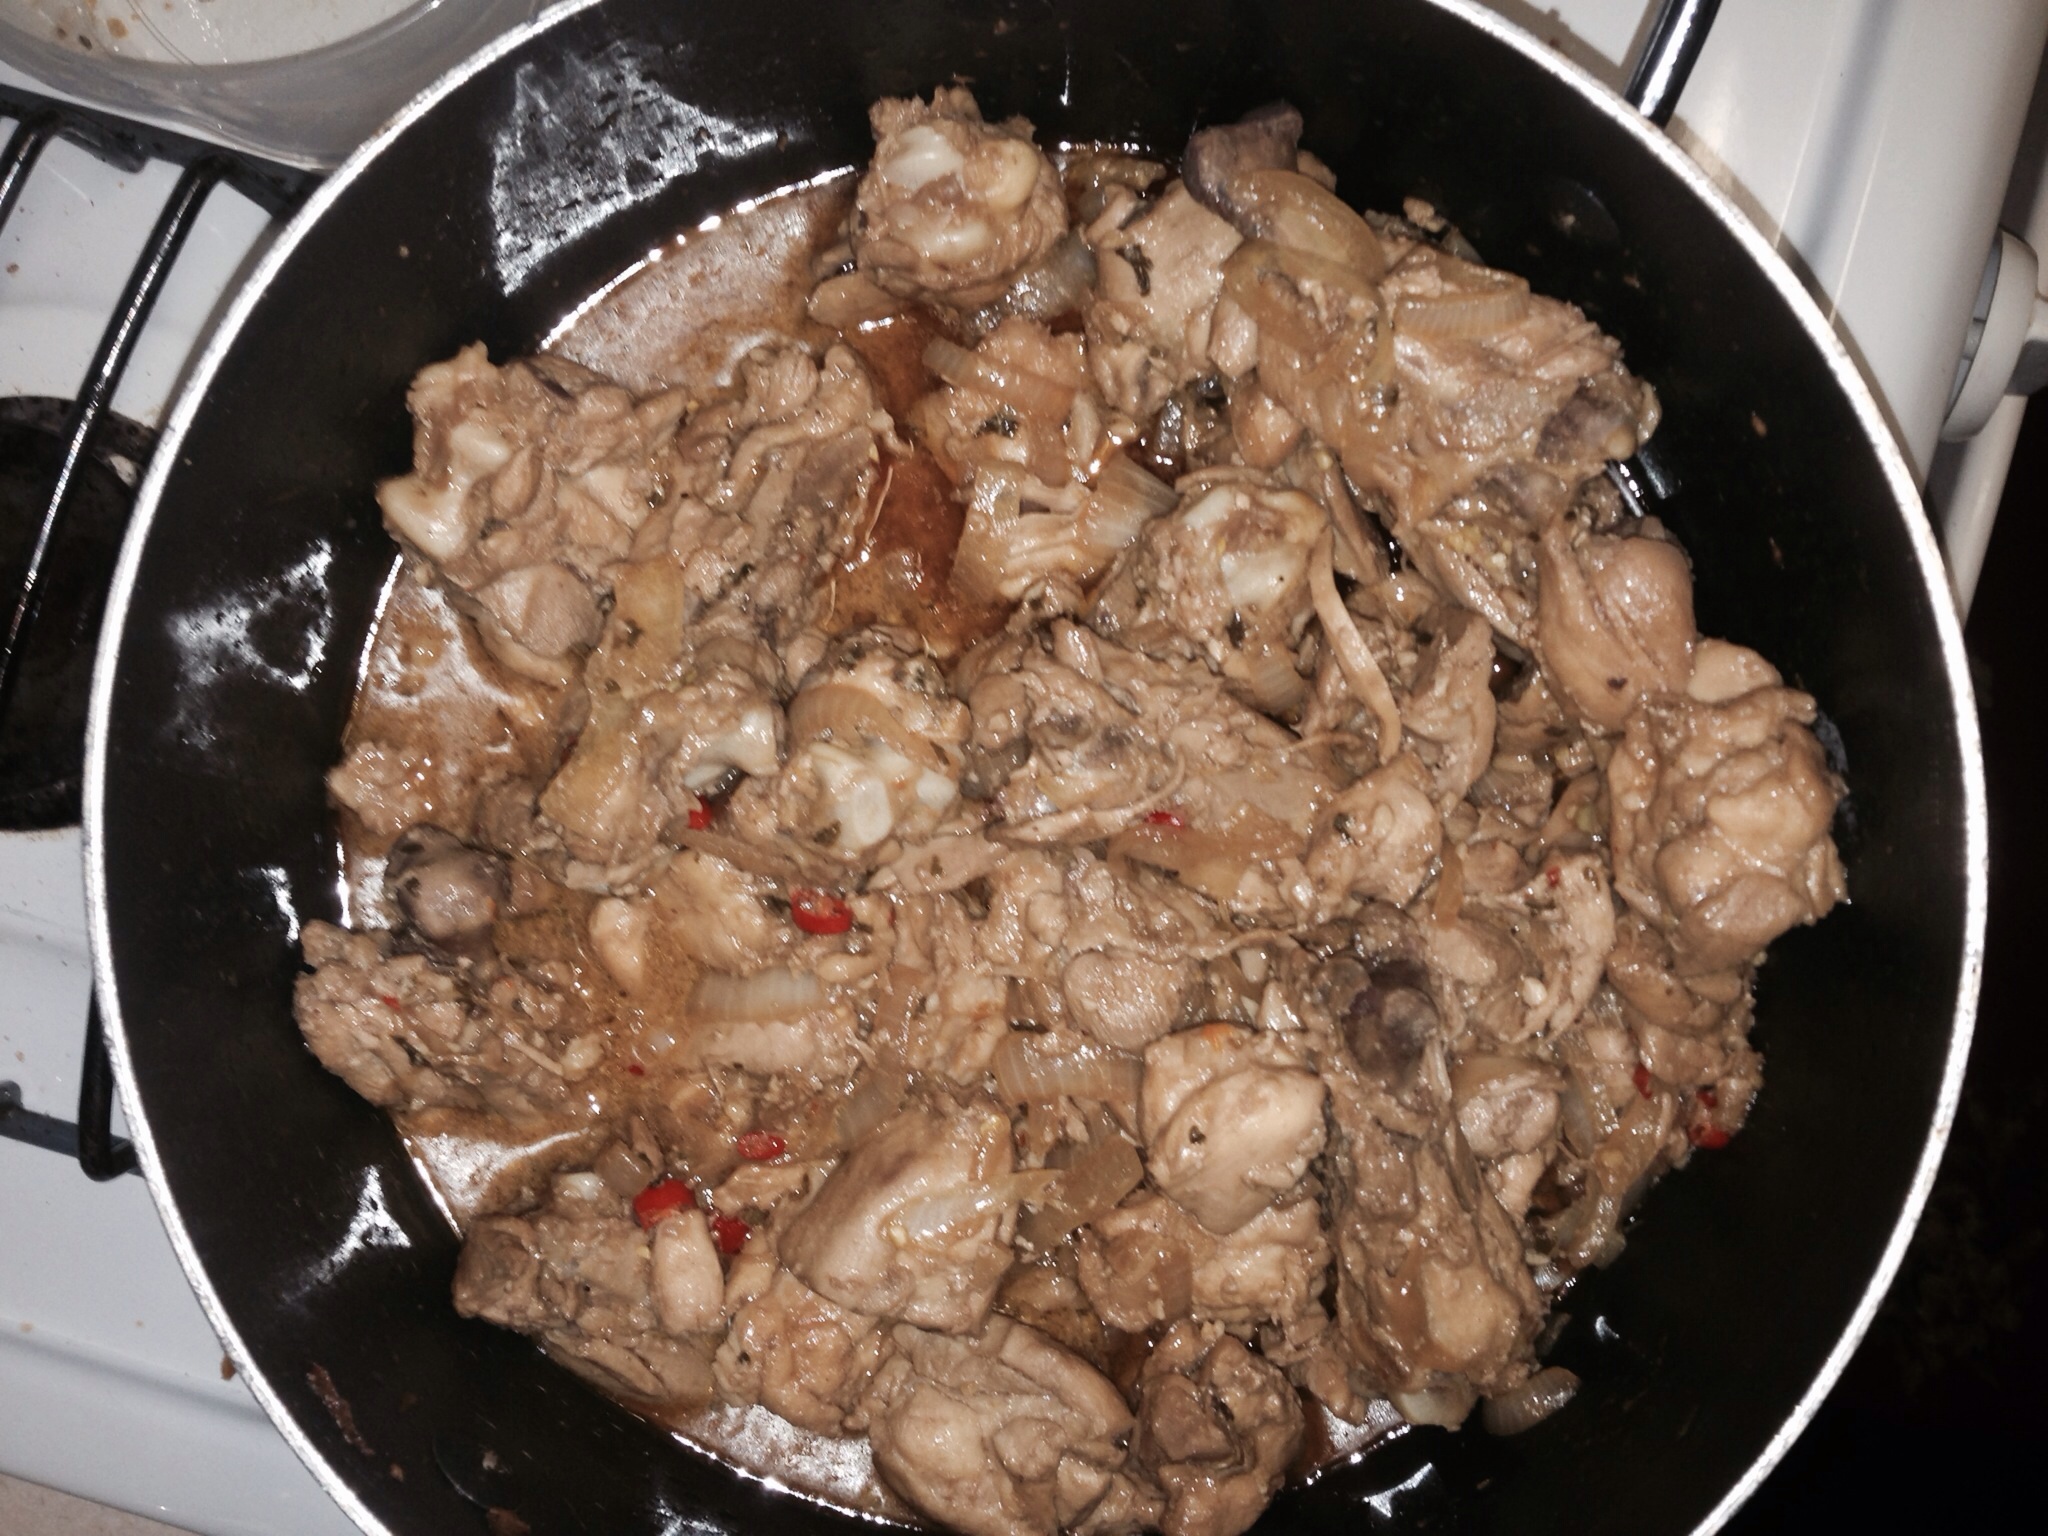
Kådun pika is a spicy Chamorro chicken dish that’s somewhat similar to chicken adobo. It’s an easy dish to make — it takes only a few ingredients and a few simple steps and voila! — you’ll have dinner served in no time.

Pika means “hot” or “spicy” in Chamorro. You can omit the hot chili peppers in this recipe, but then it won’t be called Kådun Pika without the “pika”. 🙂 I have one daughter who doesn’t like anything spicy. I usually prepare this dish, omitting the peppers. When it’s done, I separate a small bowlful for my daughter, then add the peppers to the rest of the pot.

The recipe below is my sister, Carolyn’s. Give it a try. I think you’ll like it. 🙂

Carolyn’s Kådun Pika (Spicy Chicken)

Ingredients:

  • 5 pounds chicken pieces
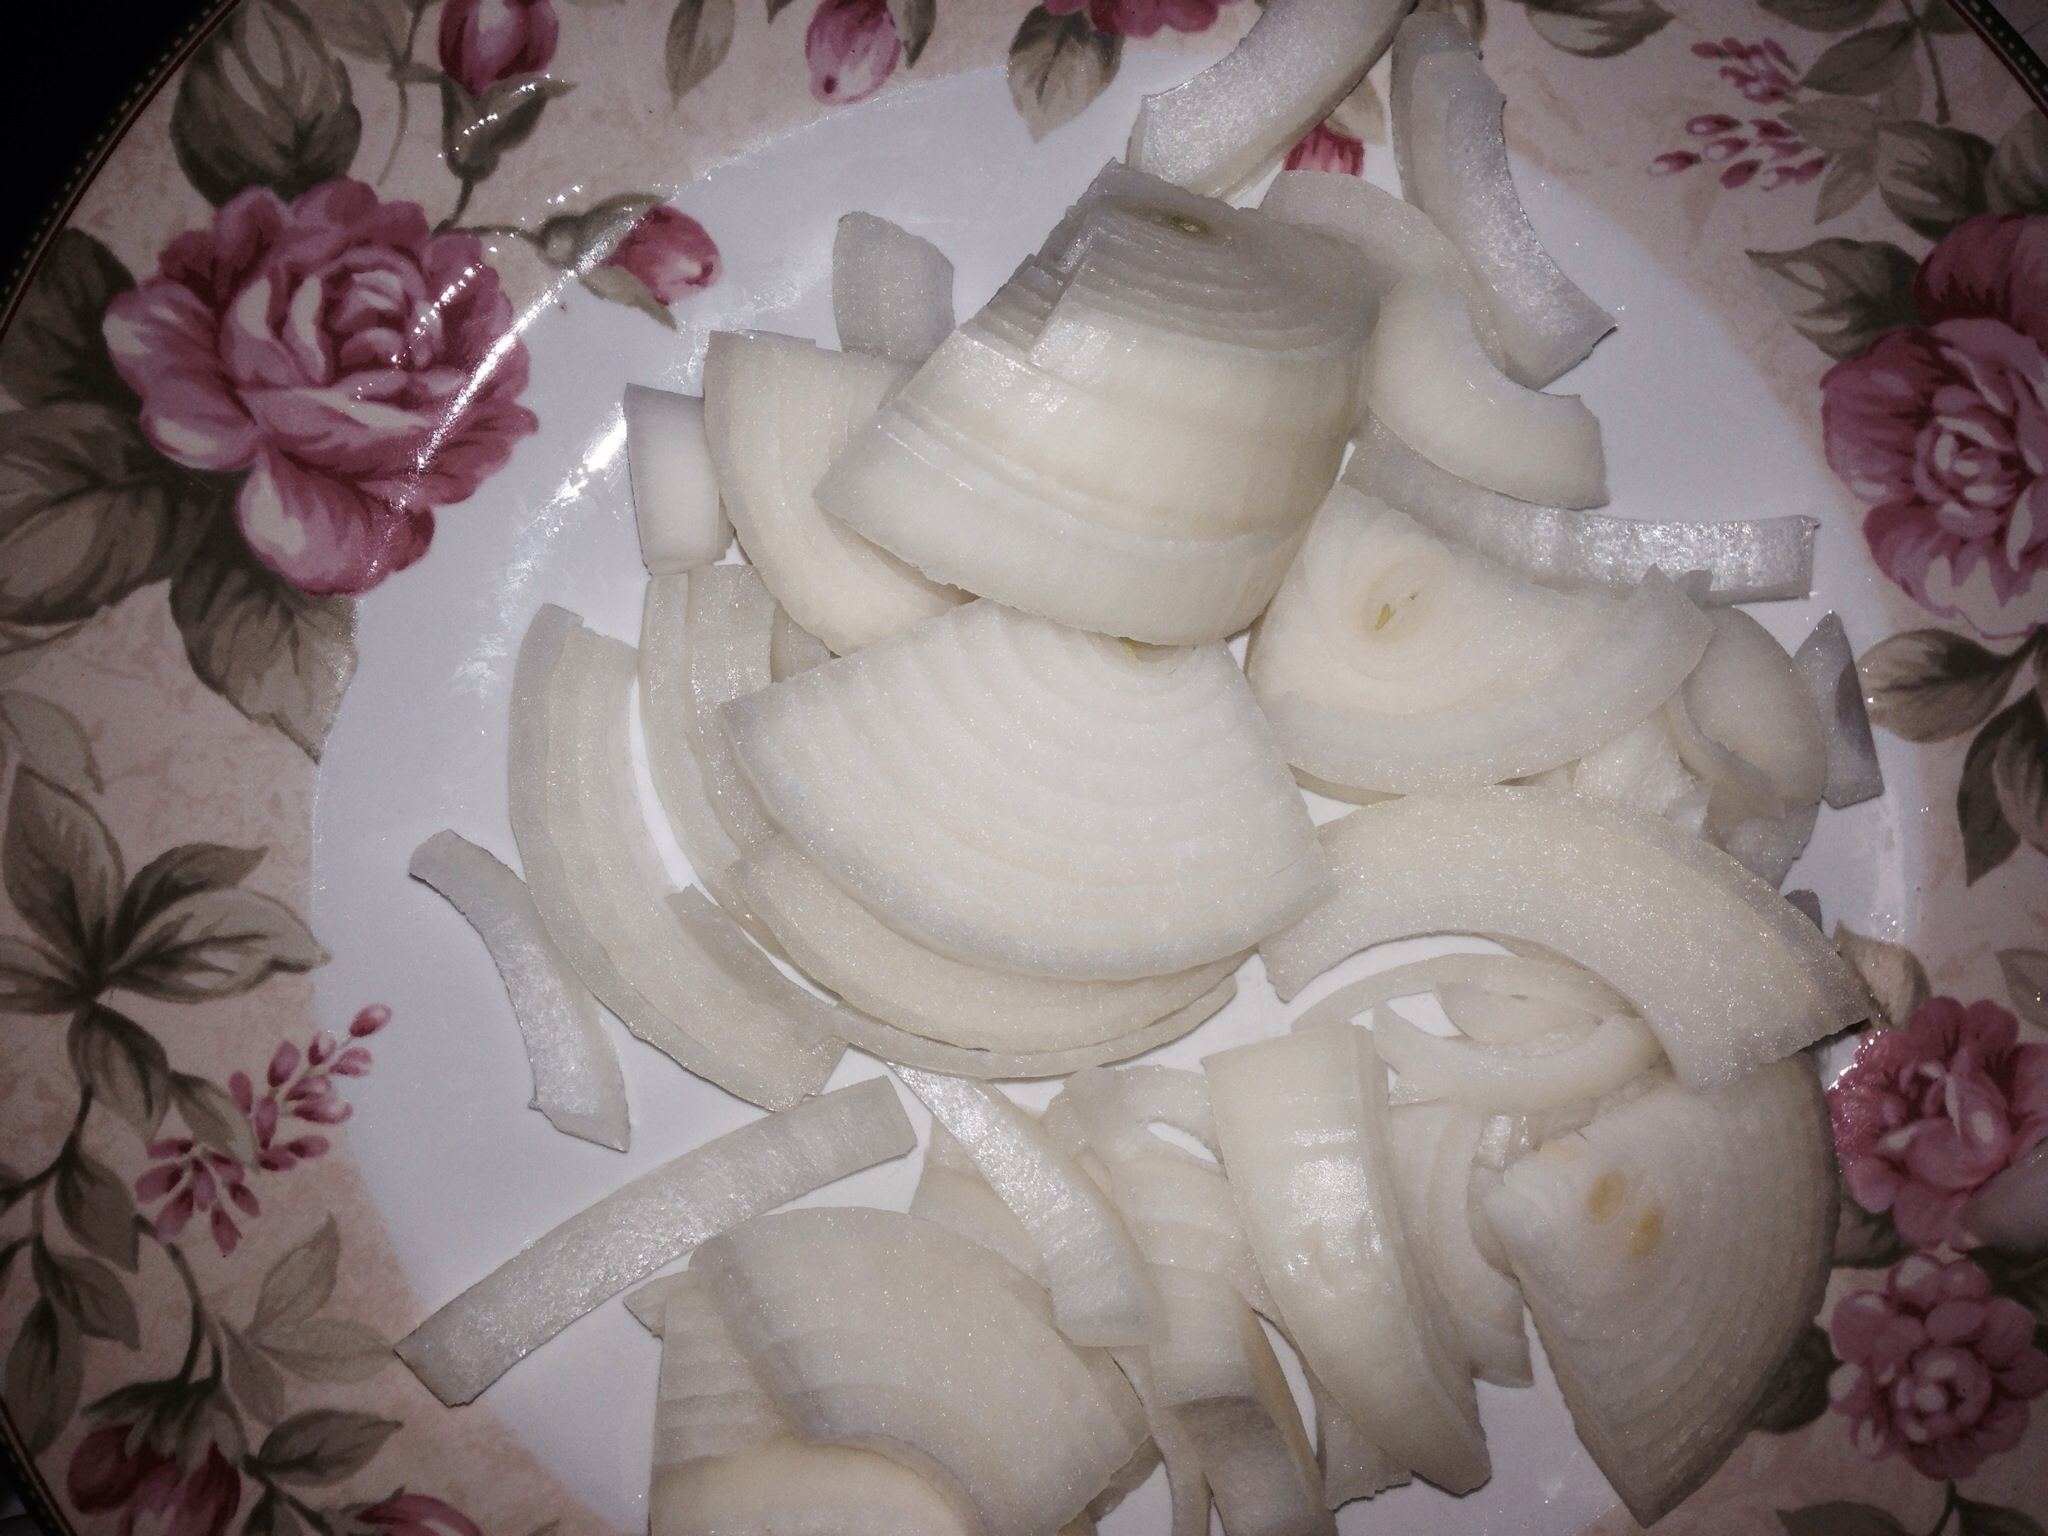
  • 1 large onion, diced
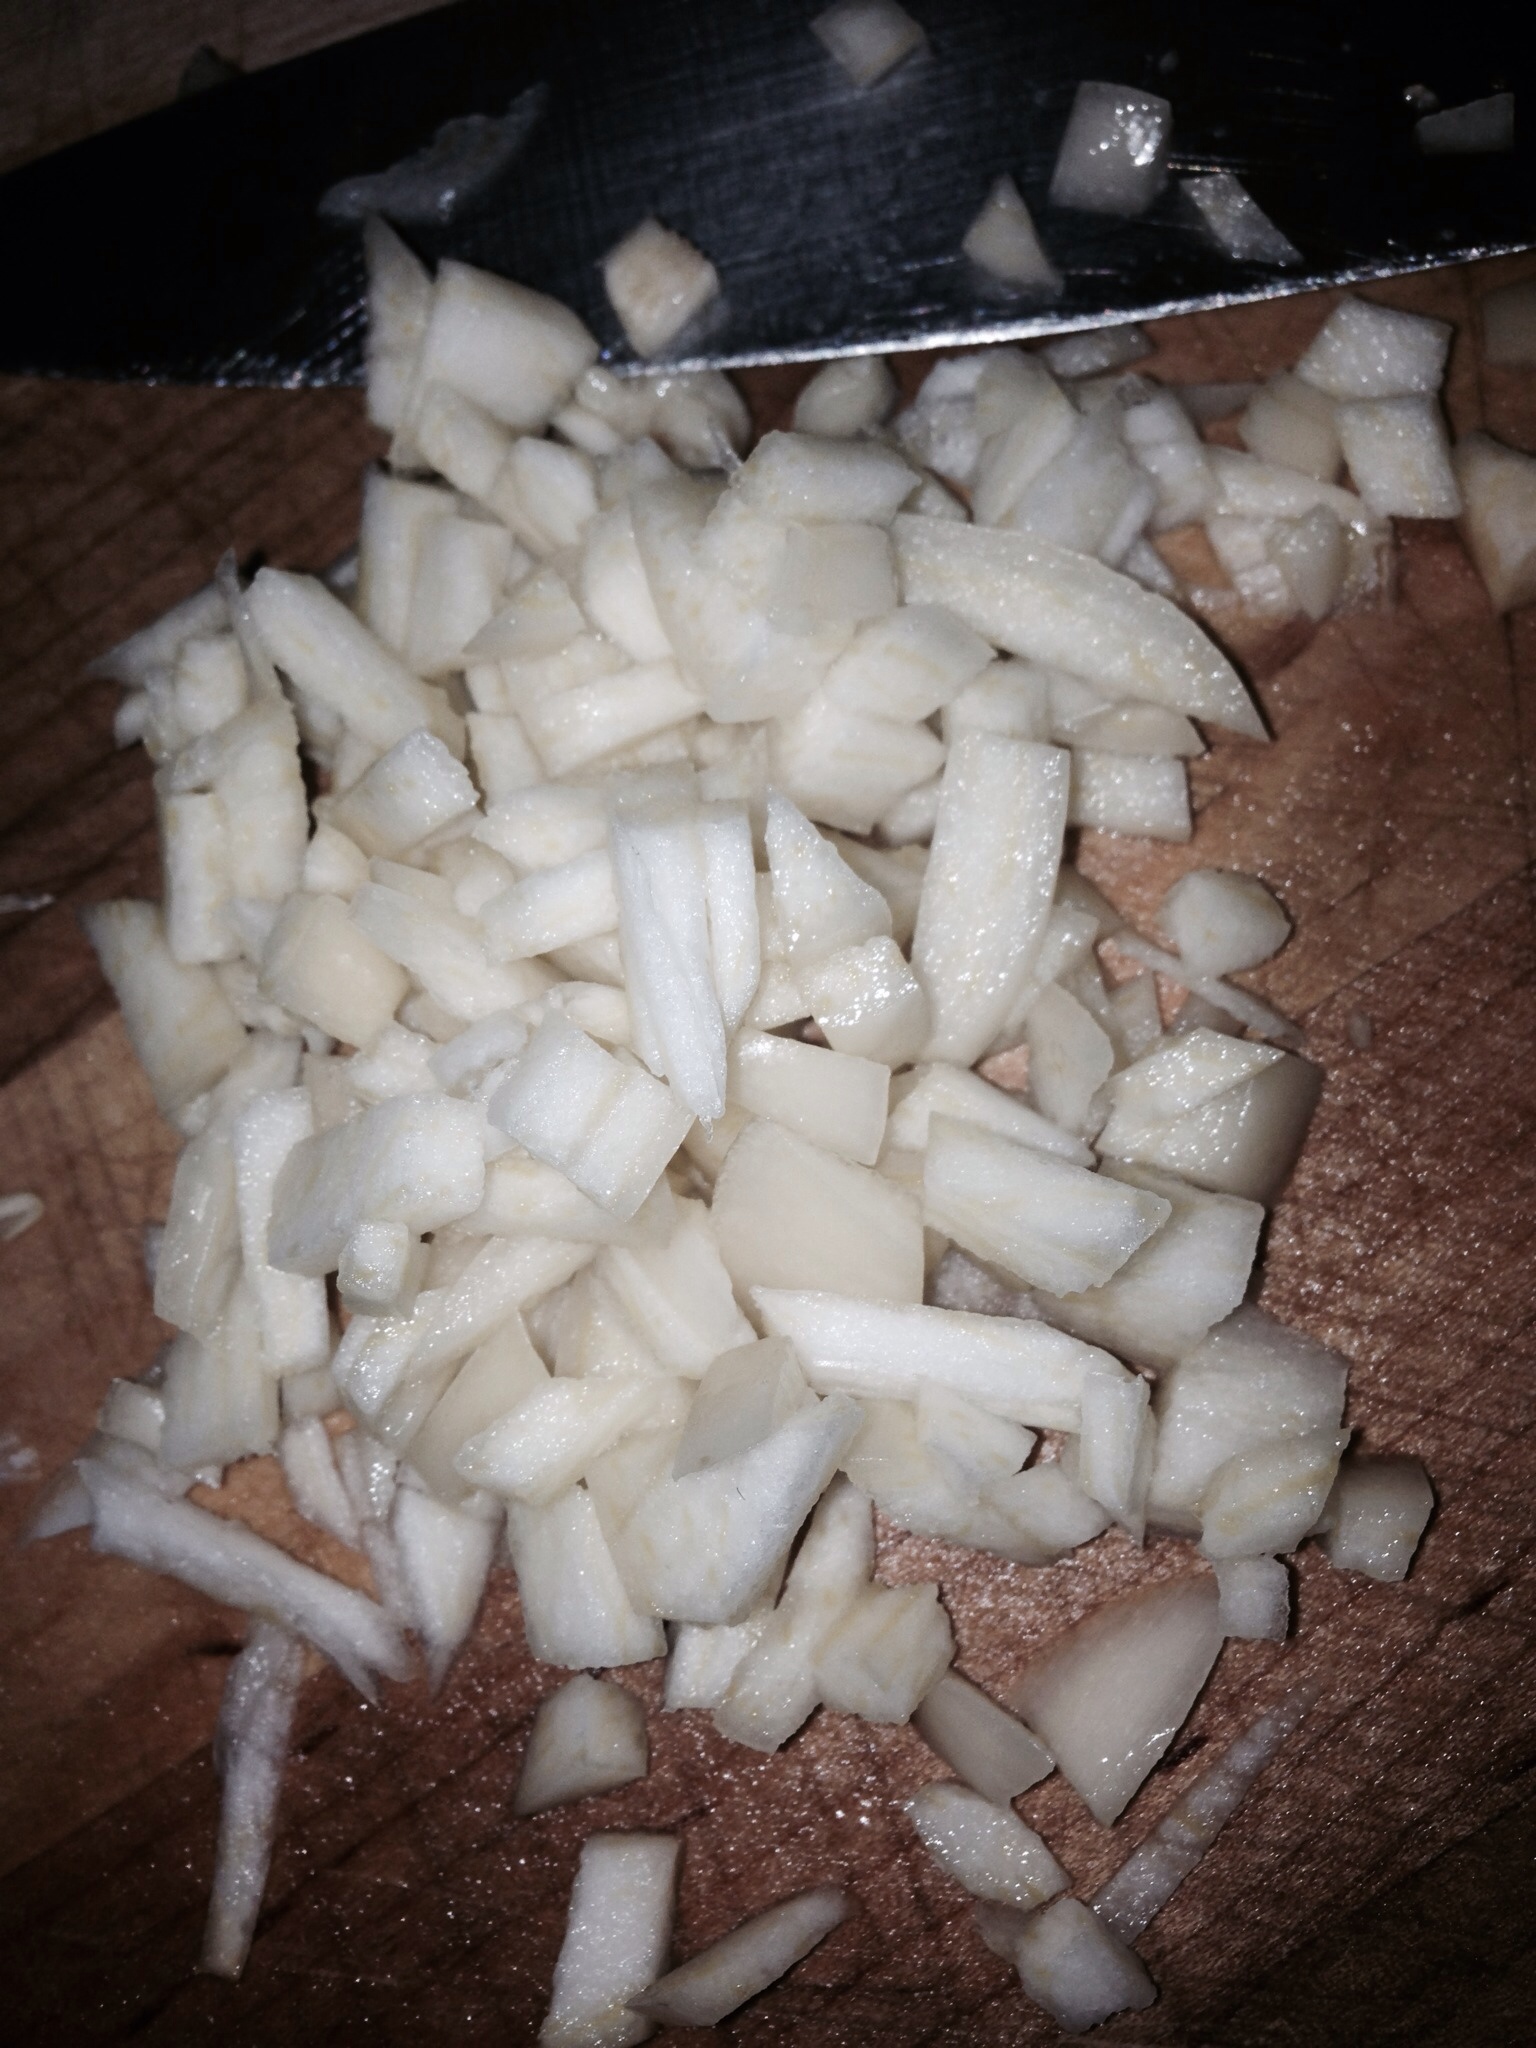
  • LOTS AND LOTS of garlic, as much as you like (or about 1/2 cup chopped garlic)
  • 1/2 cup soy sauce (more or less to taste)
  • 1/4 cup white vinegar
  • 1/2 teaspoon black pepper
  • 2 tablespoons tabasco sauce
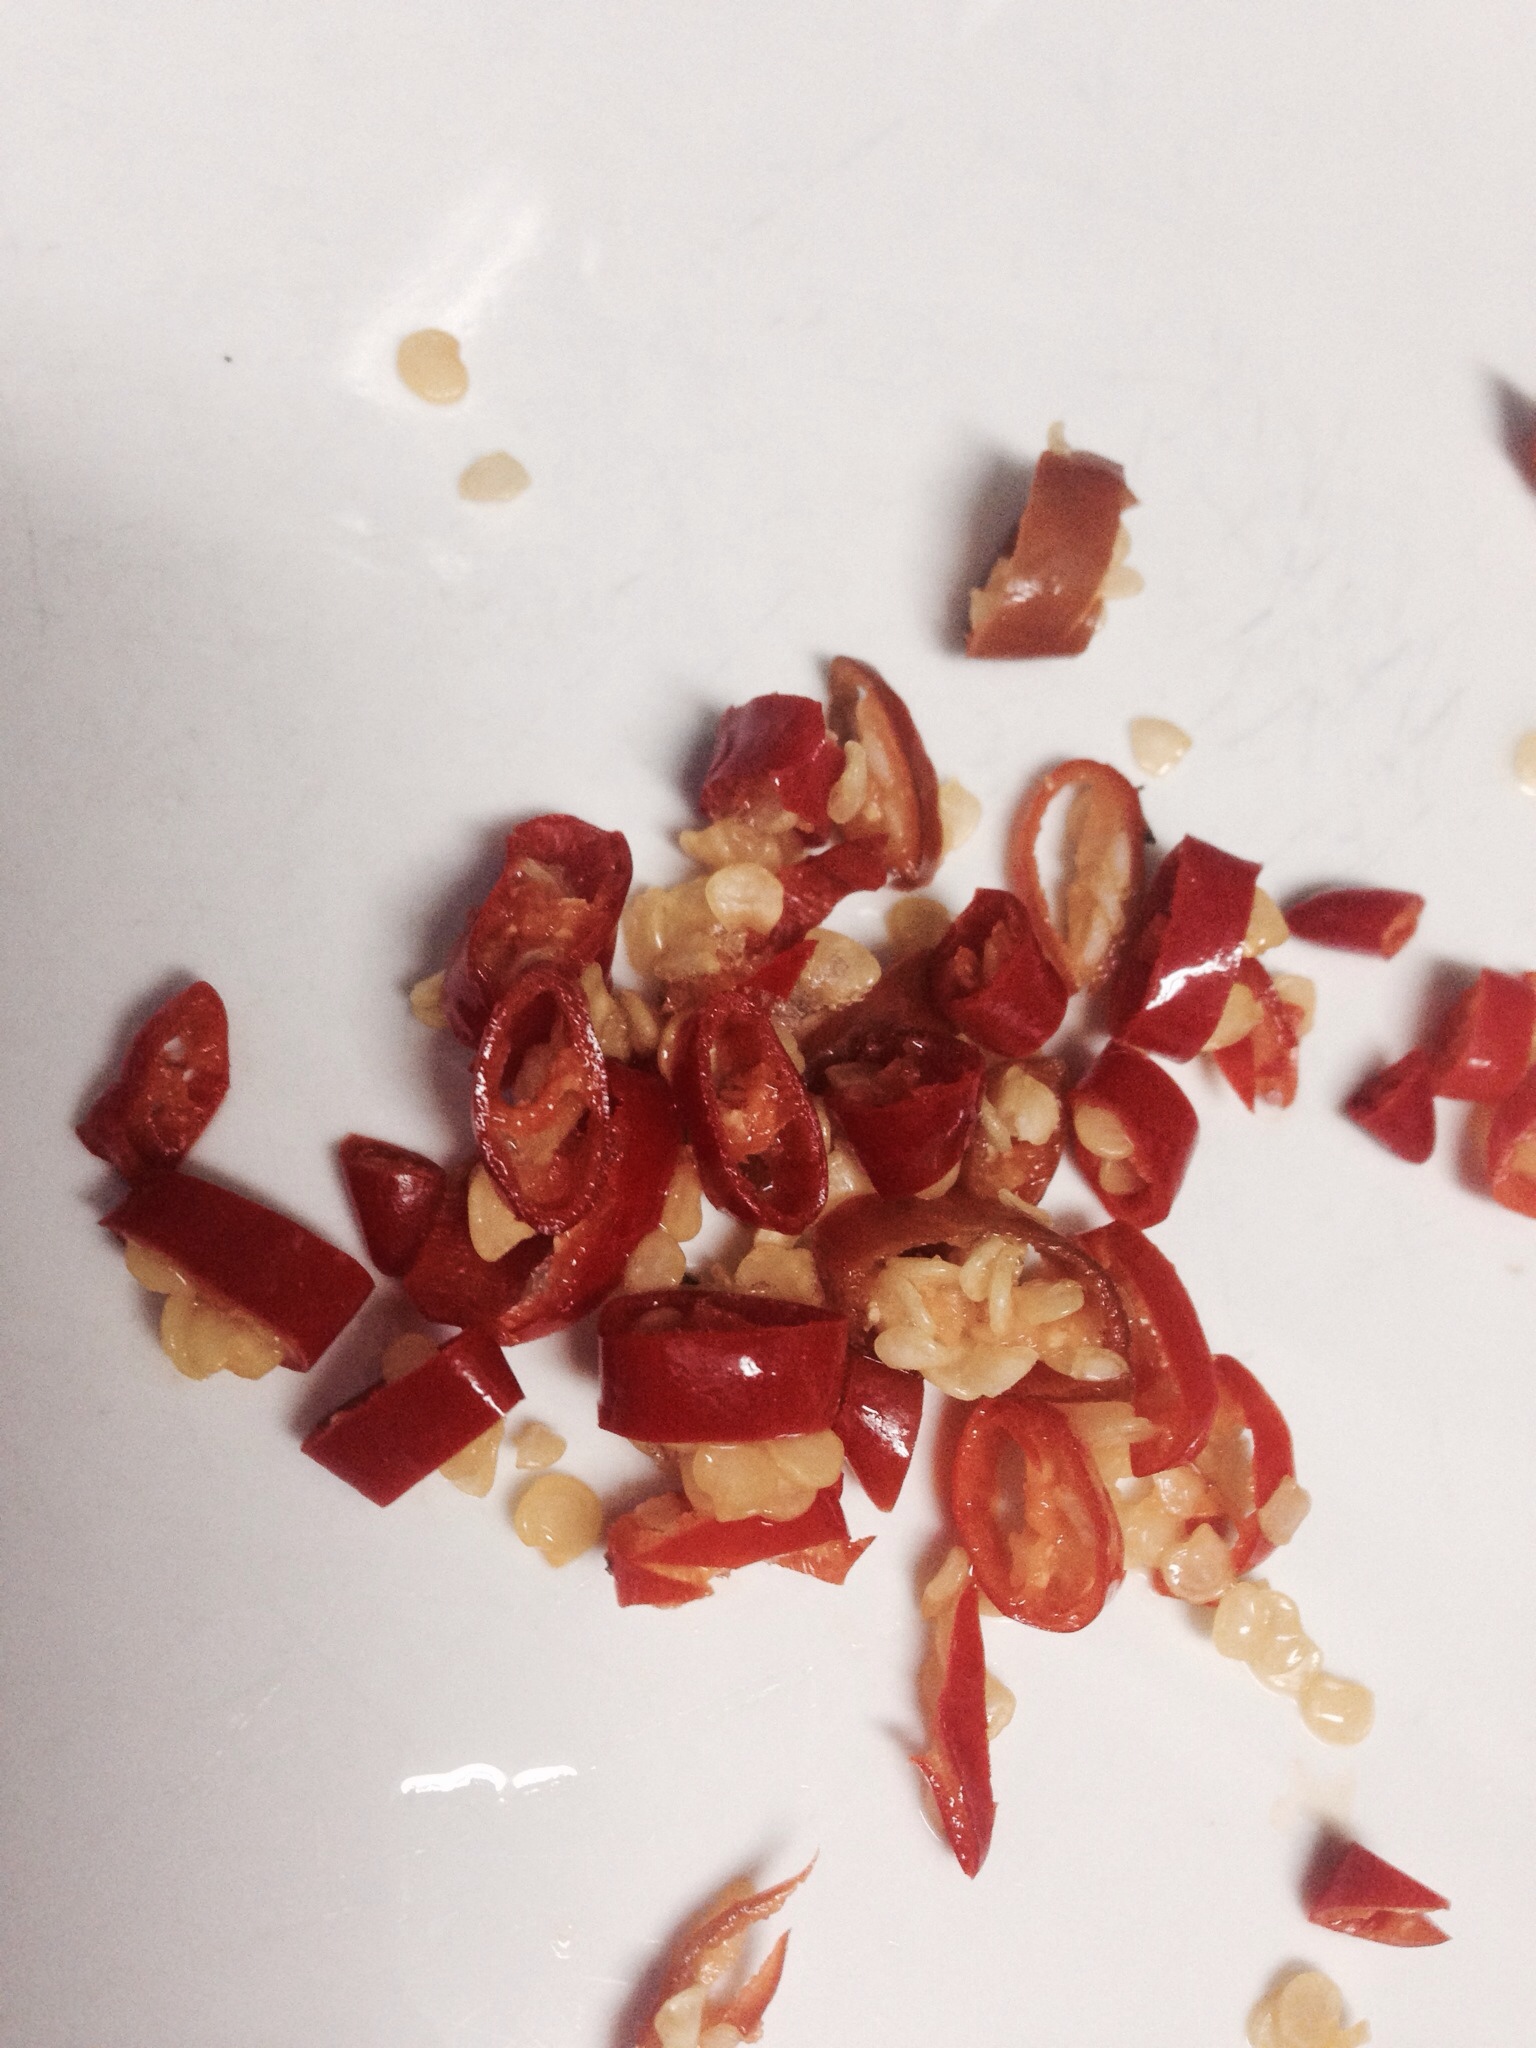
  • 8 Thai chili peppers, chopped (more or less to taste)

Directions:

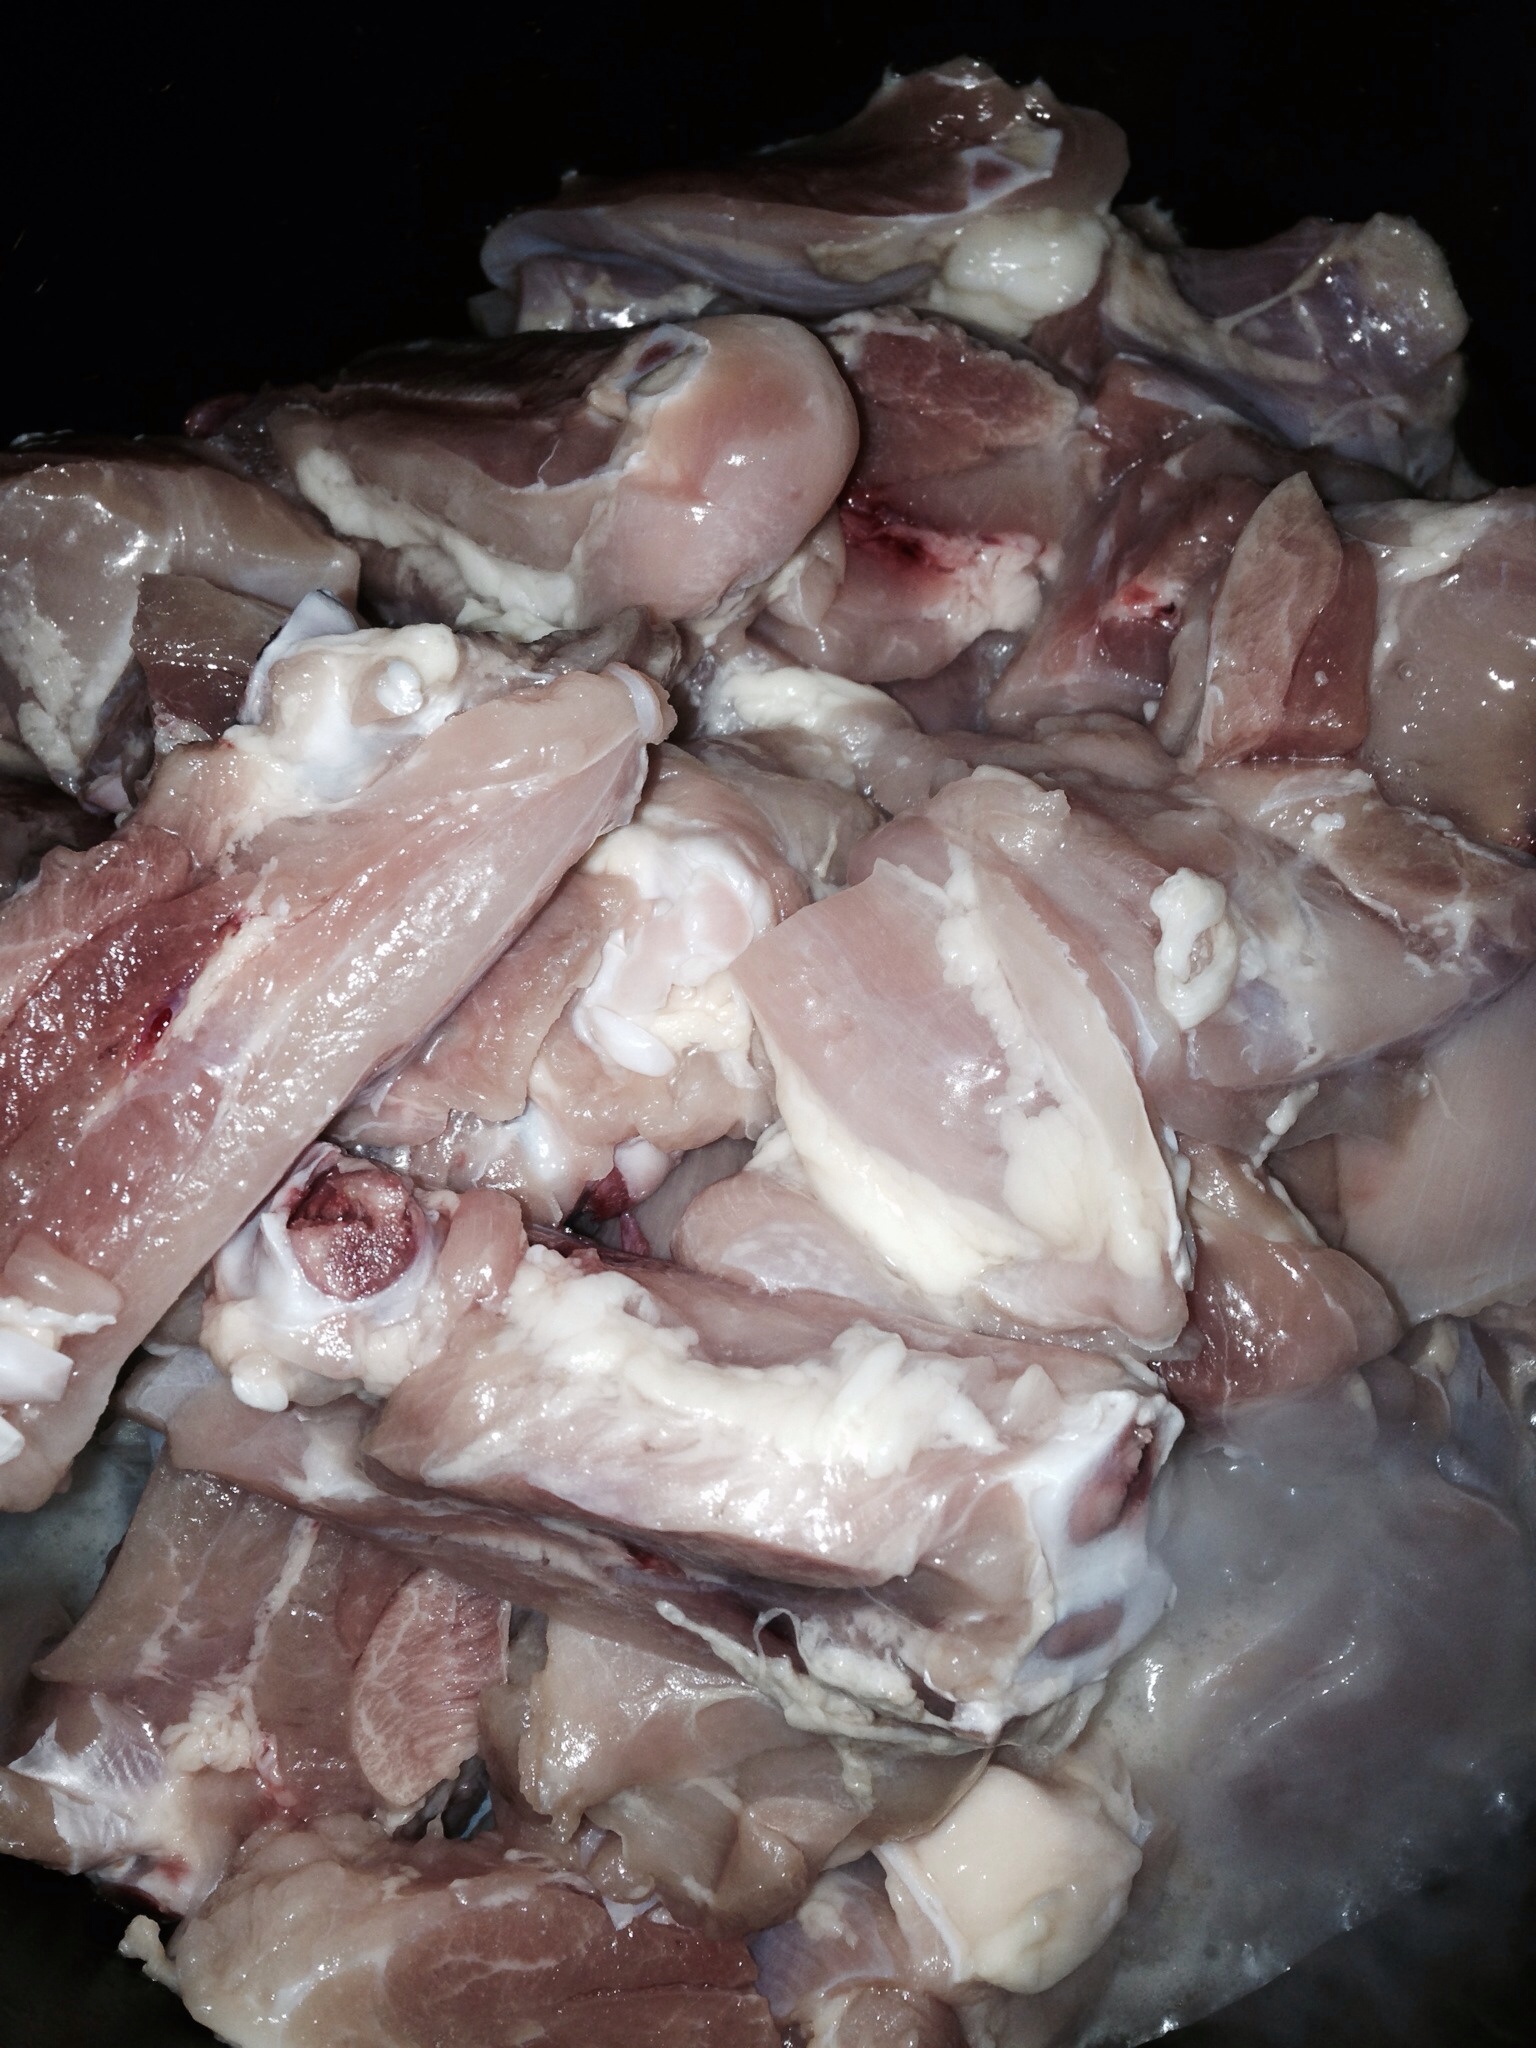
Rinse the chicken pieces; cut into smaller pieces if desired. Place the chicken in a large soup pot over medium heat. Add the onions and garlic. Cook for 5-10 minutes or until the chicken is slightly browned.

Add the rest of the ingredients to the pot. Turn the heat down to medium-low. Simmer for about 30 minutes or until the chicken is cooked through.

Taste, then adjust the seasonings (soy sauce, hot peppers) to taste.

Serve with hot white rice and ENJOY!


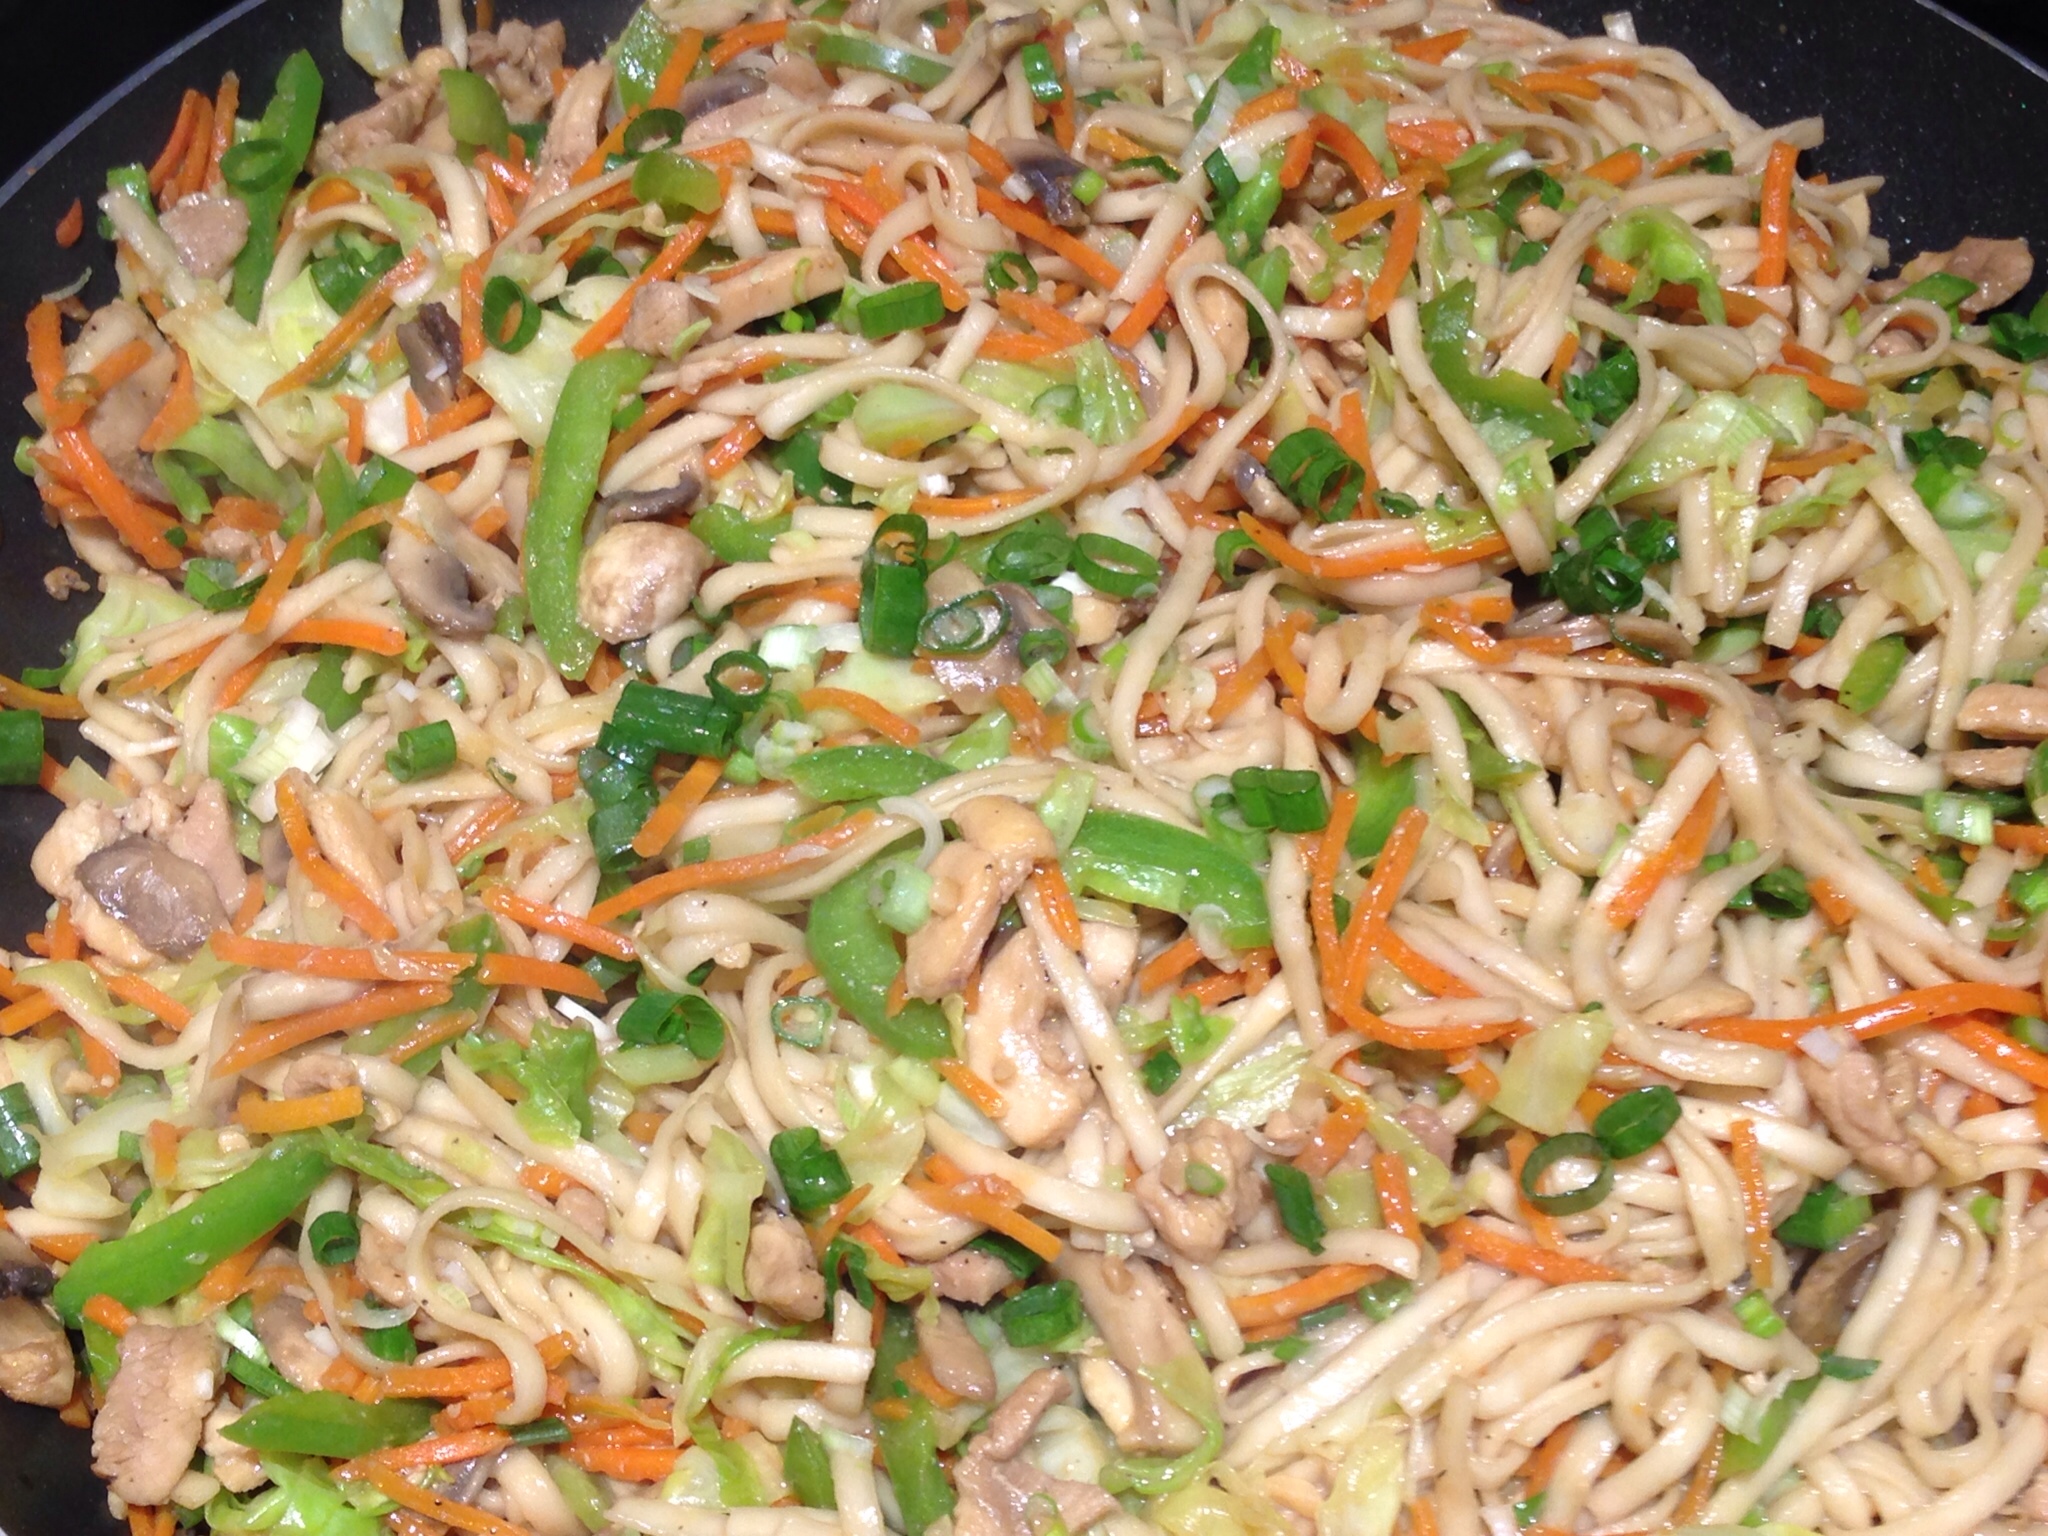
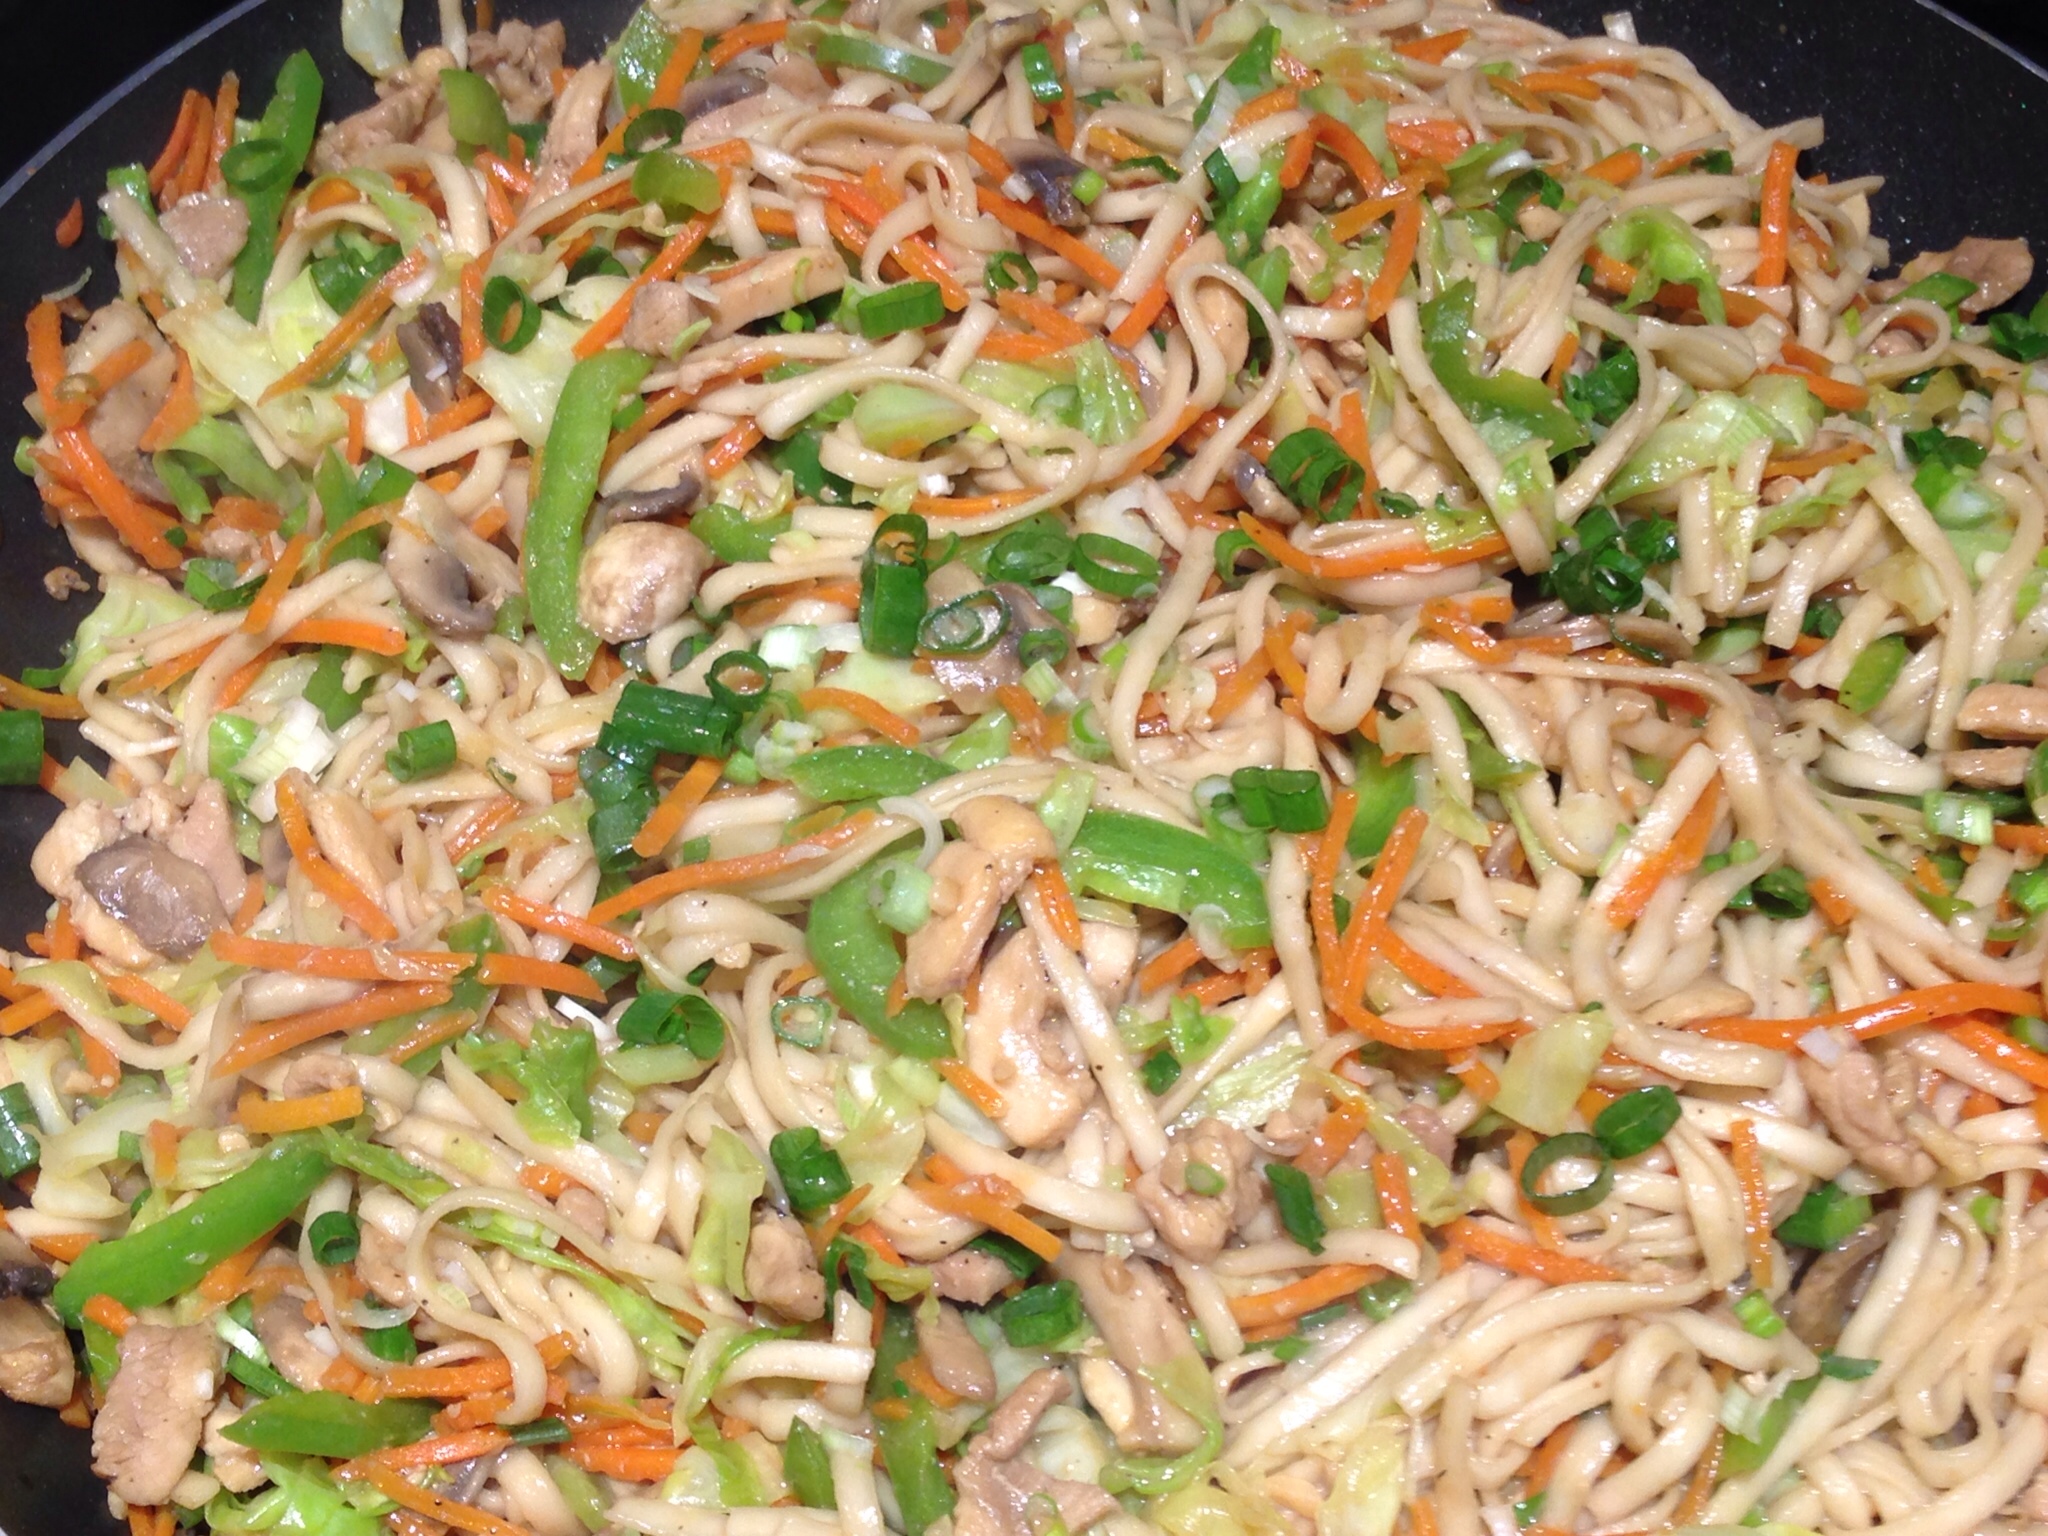
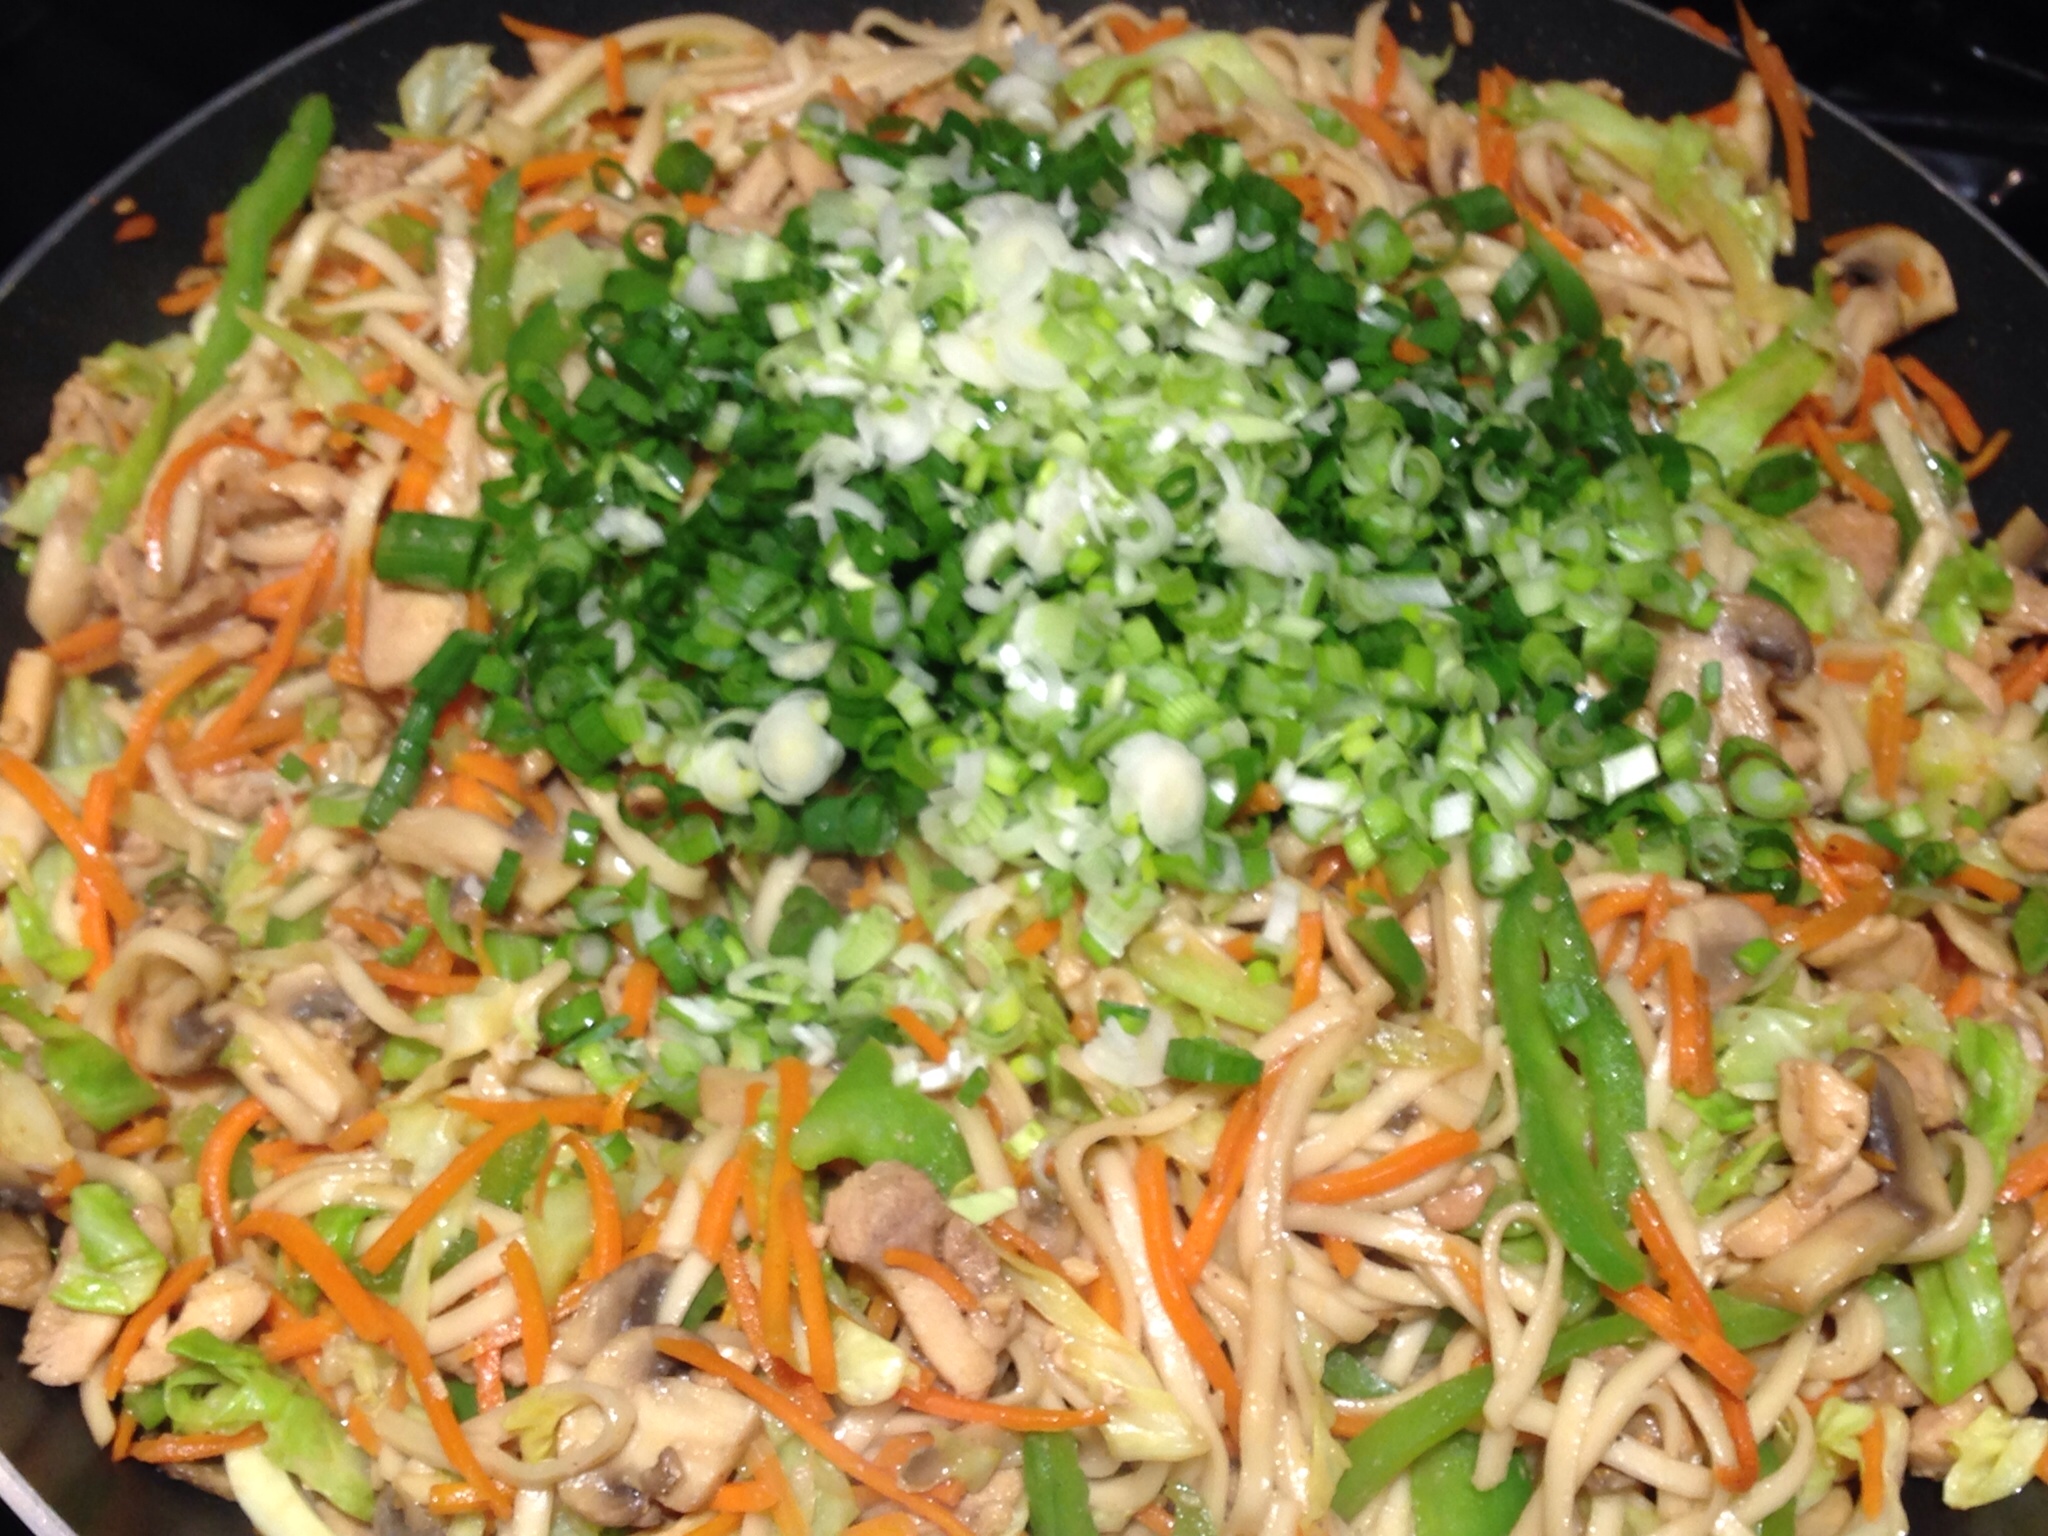
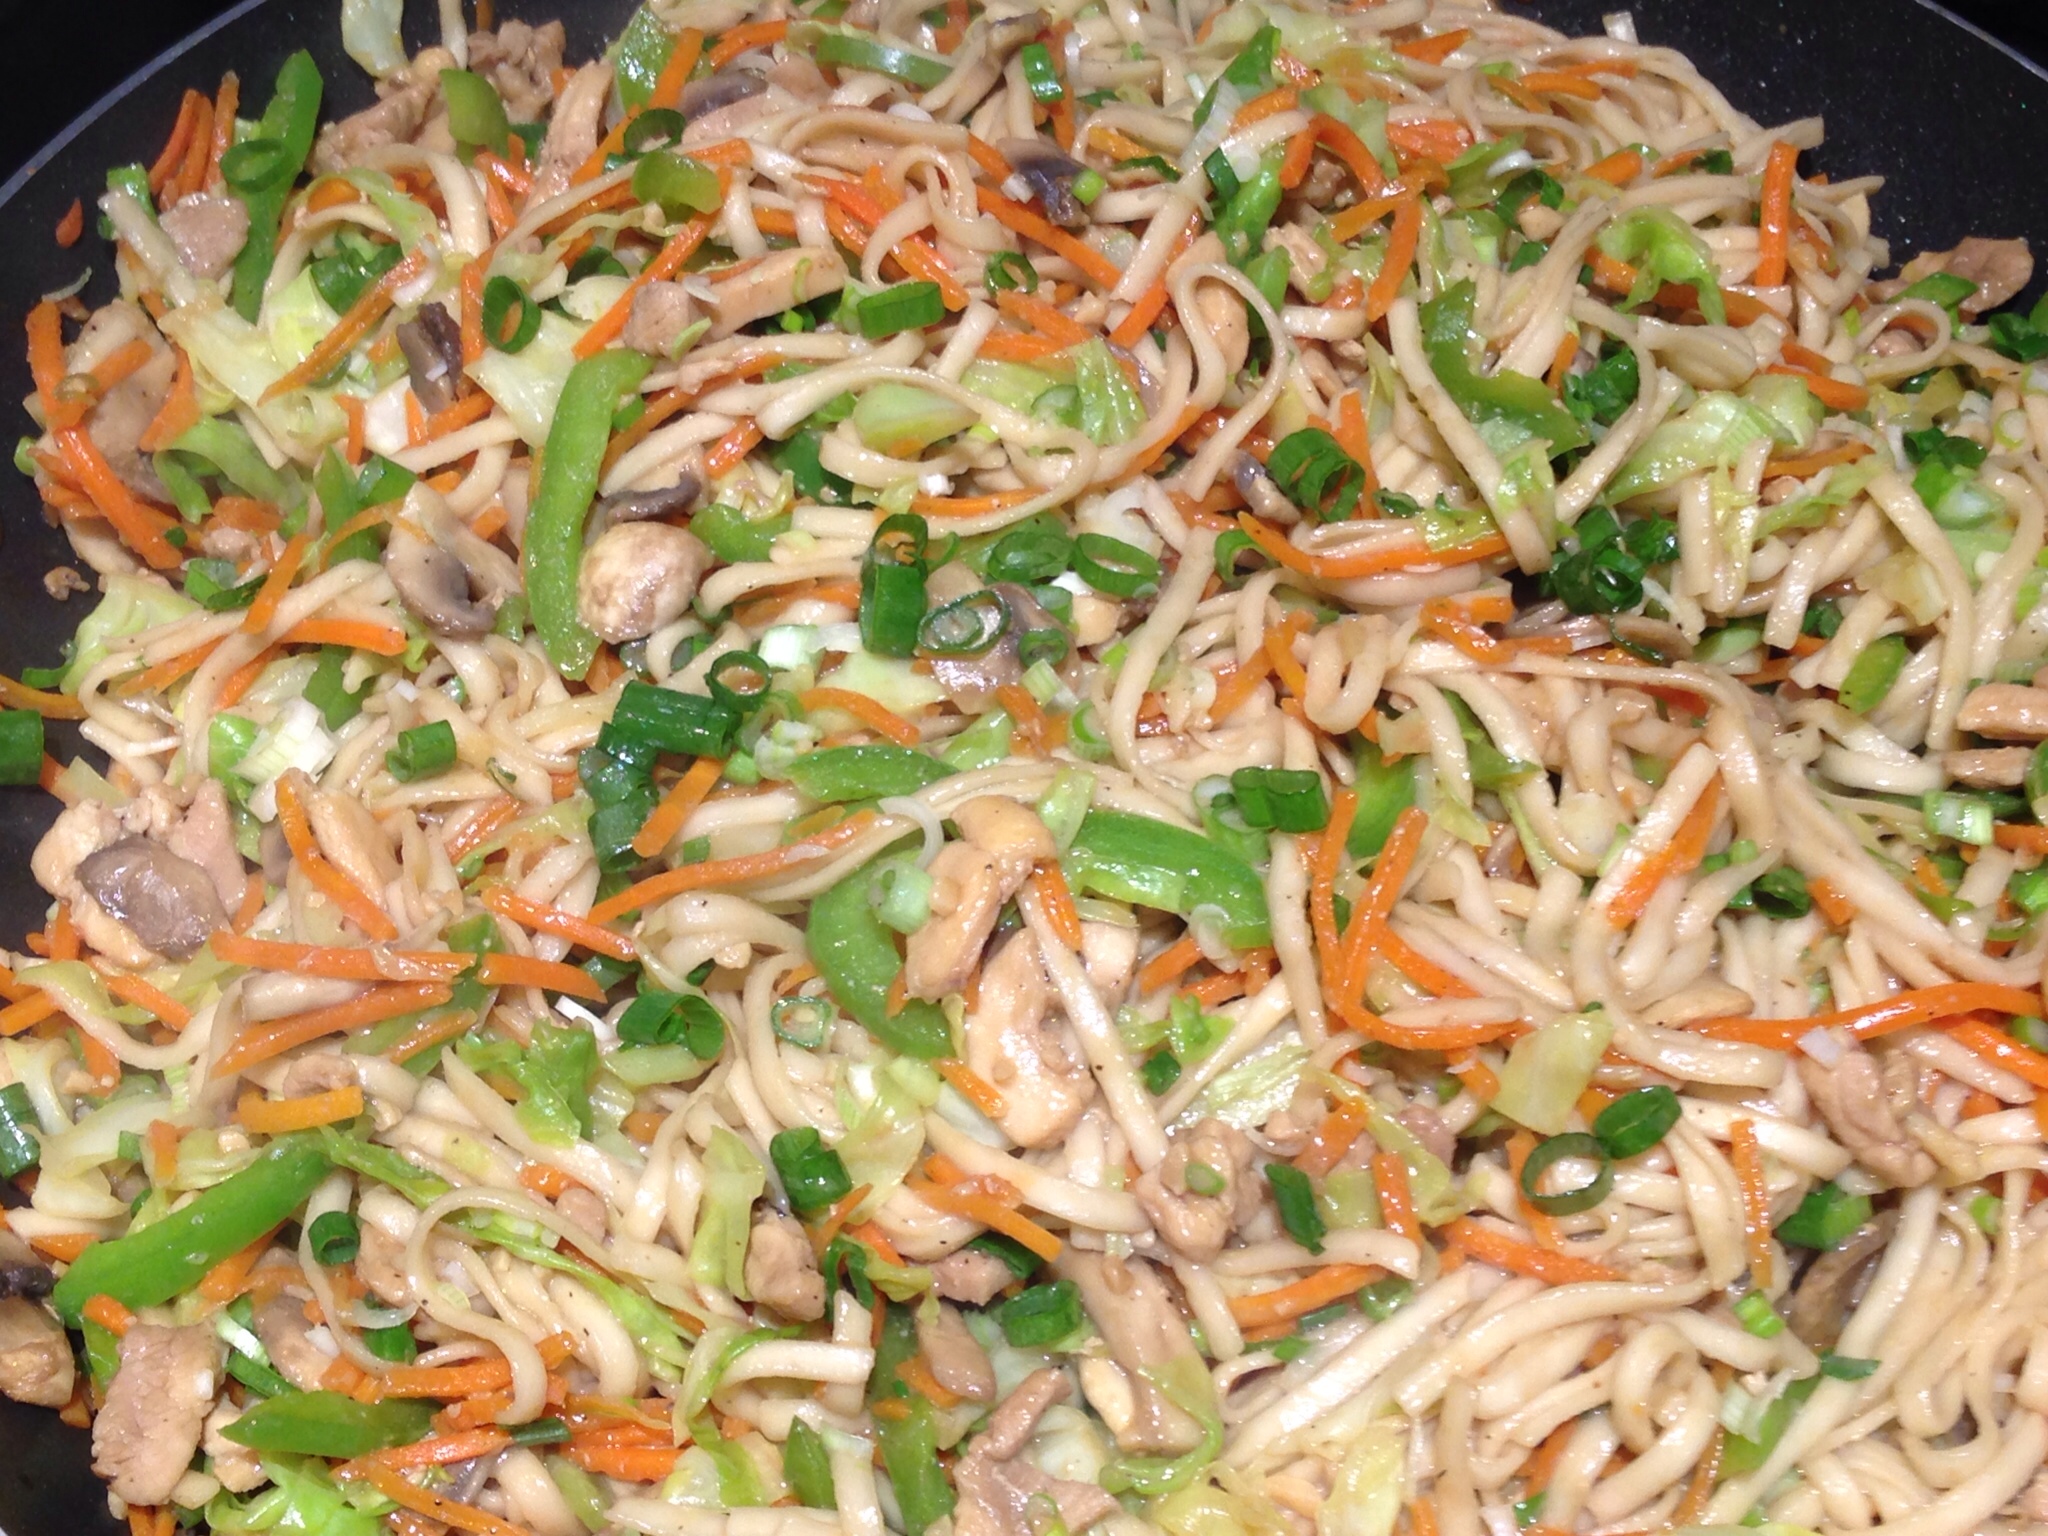
Chicken Stir Fry with Udon Noodles

According to Chinese folklore, noodles represent long life and good health. So, here’s my contribution to living a long, healthy life! 🙂

All kidding aside, you can add this recipe to you list of healthy options by changing up a few of the ingredients (read more below for my healthy substitutions).

This also is another of those versatile dishes that can be changed up according to the vegetables and meat you prefer. The vegetables I add to this recipe vary depending on what looks most fresh in the grocery store.

Chicken Stir Fry with Udon Noodles

INGREDIENTS:

  • 6 chicken thighs (or 2 chicken breasts if you want a healthier version)
  • 1 small head of cabbage
  • 4 stalks green onions
  • 1 package mushrooms
  • 1 green bell pepper
  • 1 package pre-cut carrots
  • 1 package udon noodles
  • 1 tablespoon minced garlic
  • 1 teaspoon black pepper
  • 3 tablespoons hoisin sauce
  • 5 tablespoons soy sauce

DIRECTIONS:

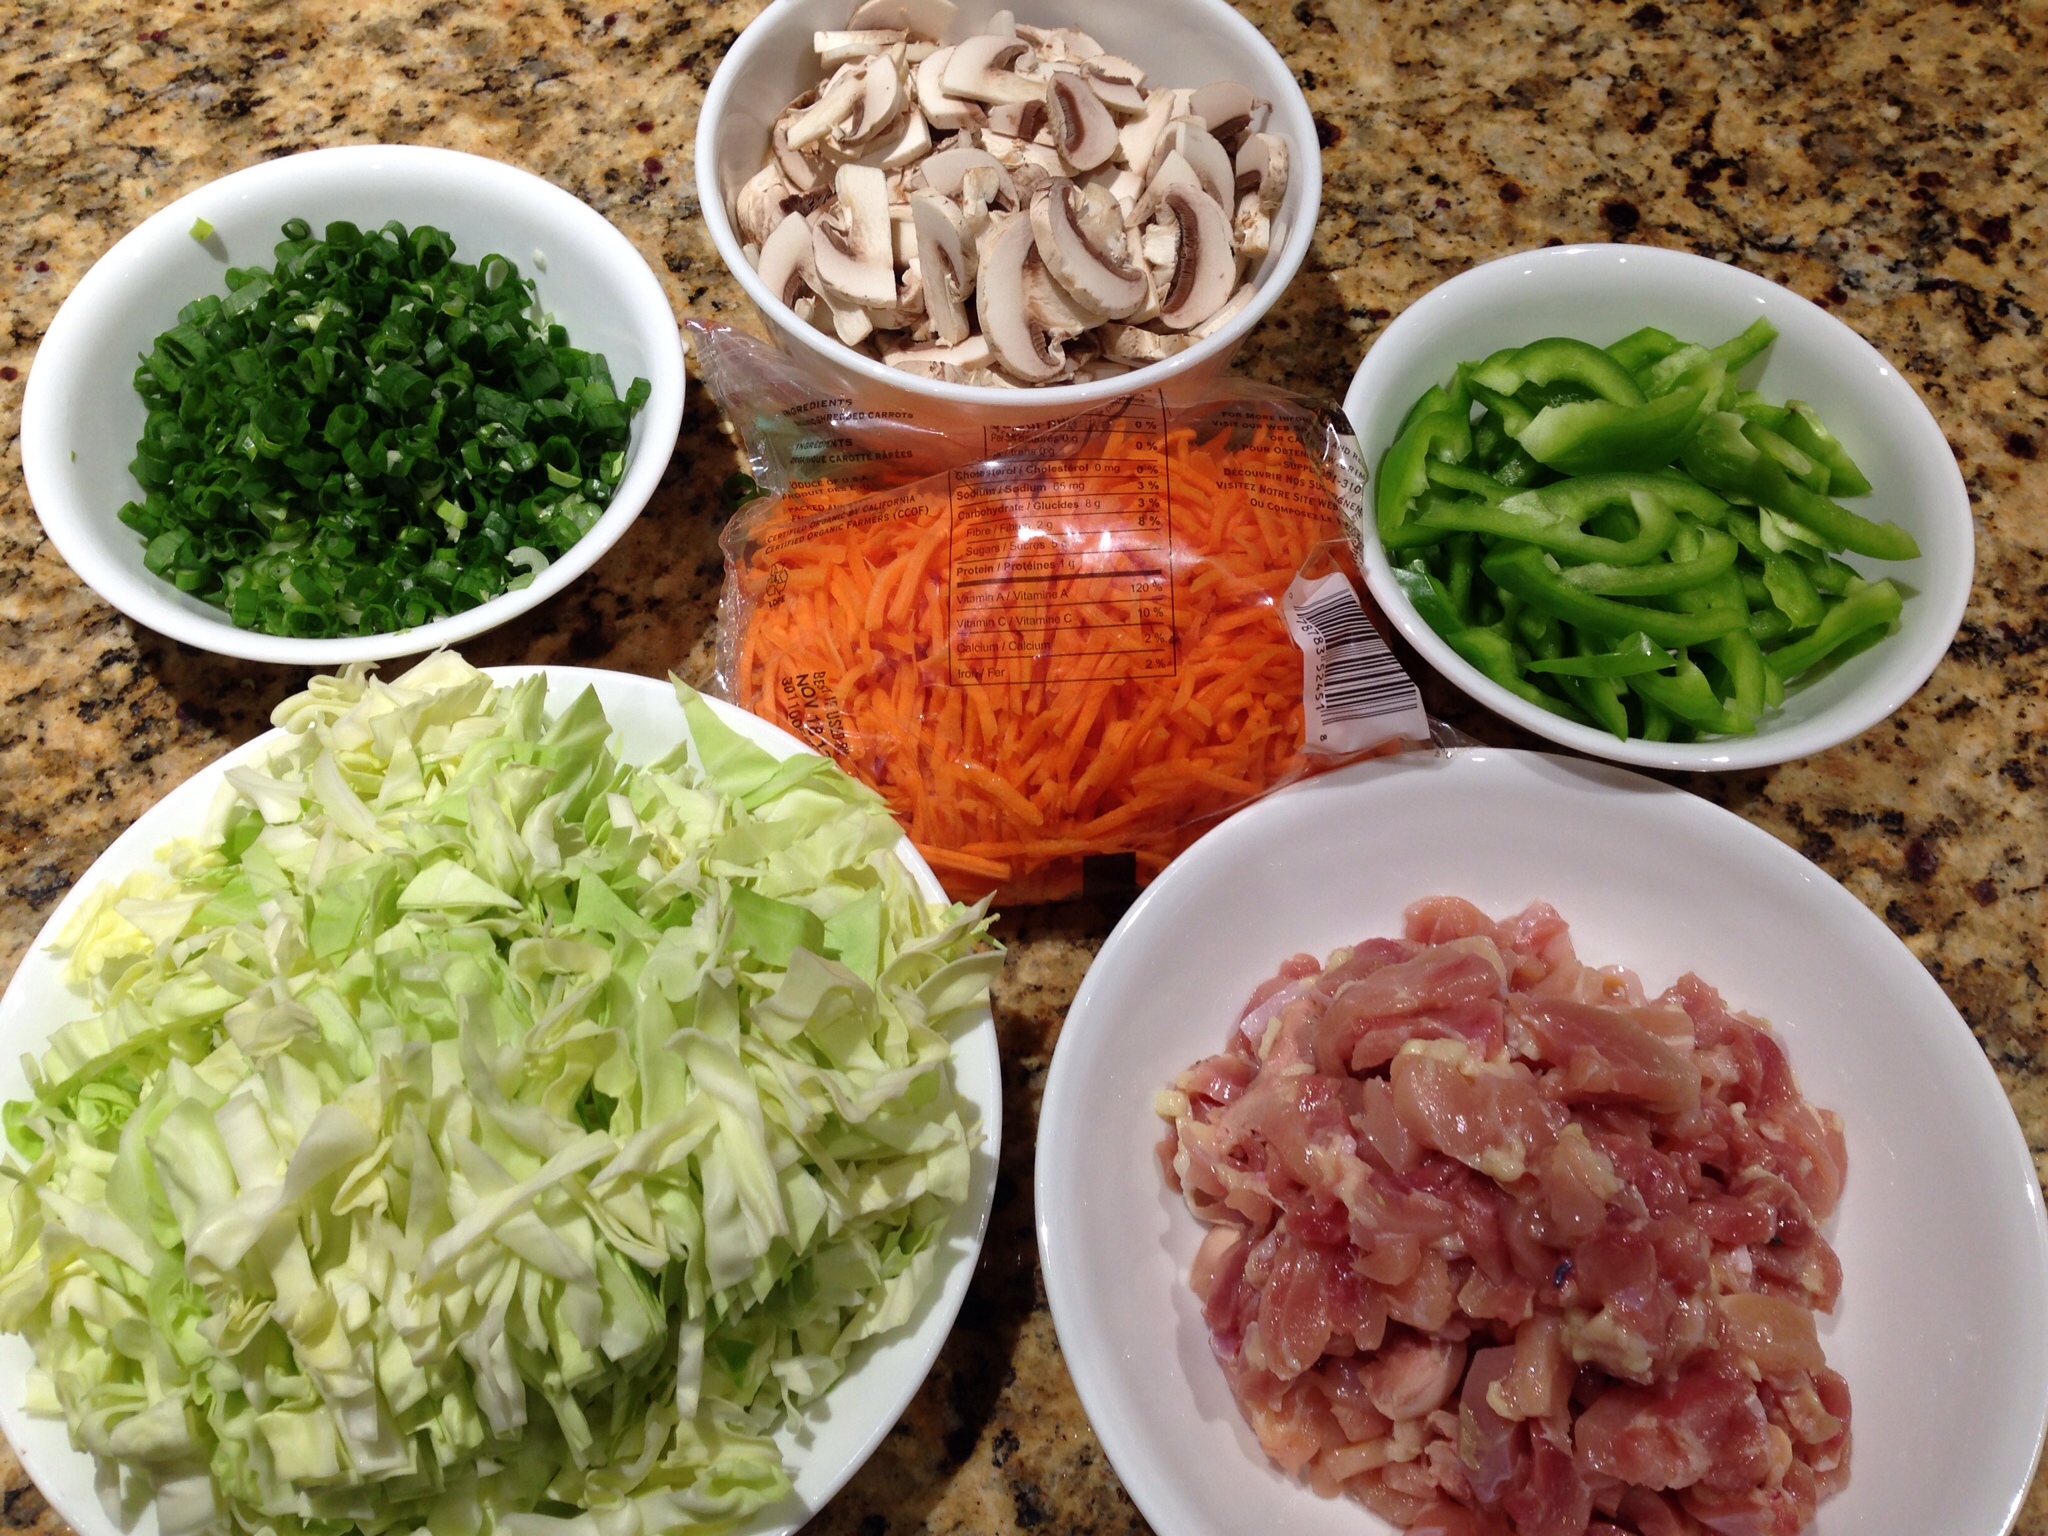
Prepare the ingredients — thinly slice the chicken, cabbage, green onions, mushrooms and bell pepper.

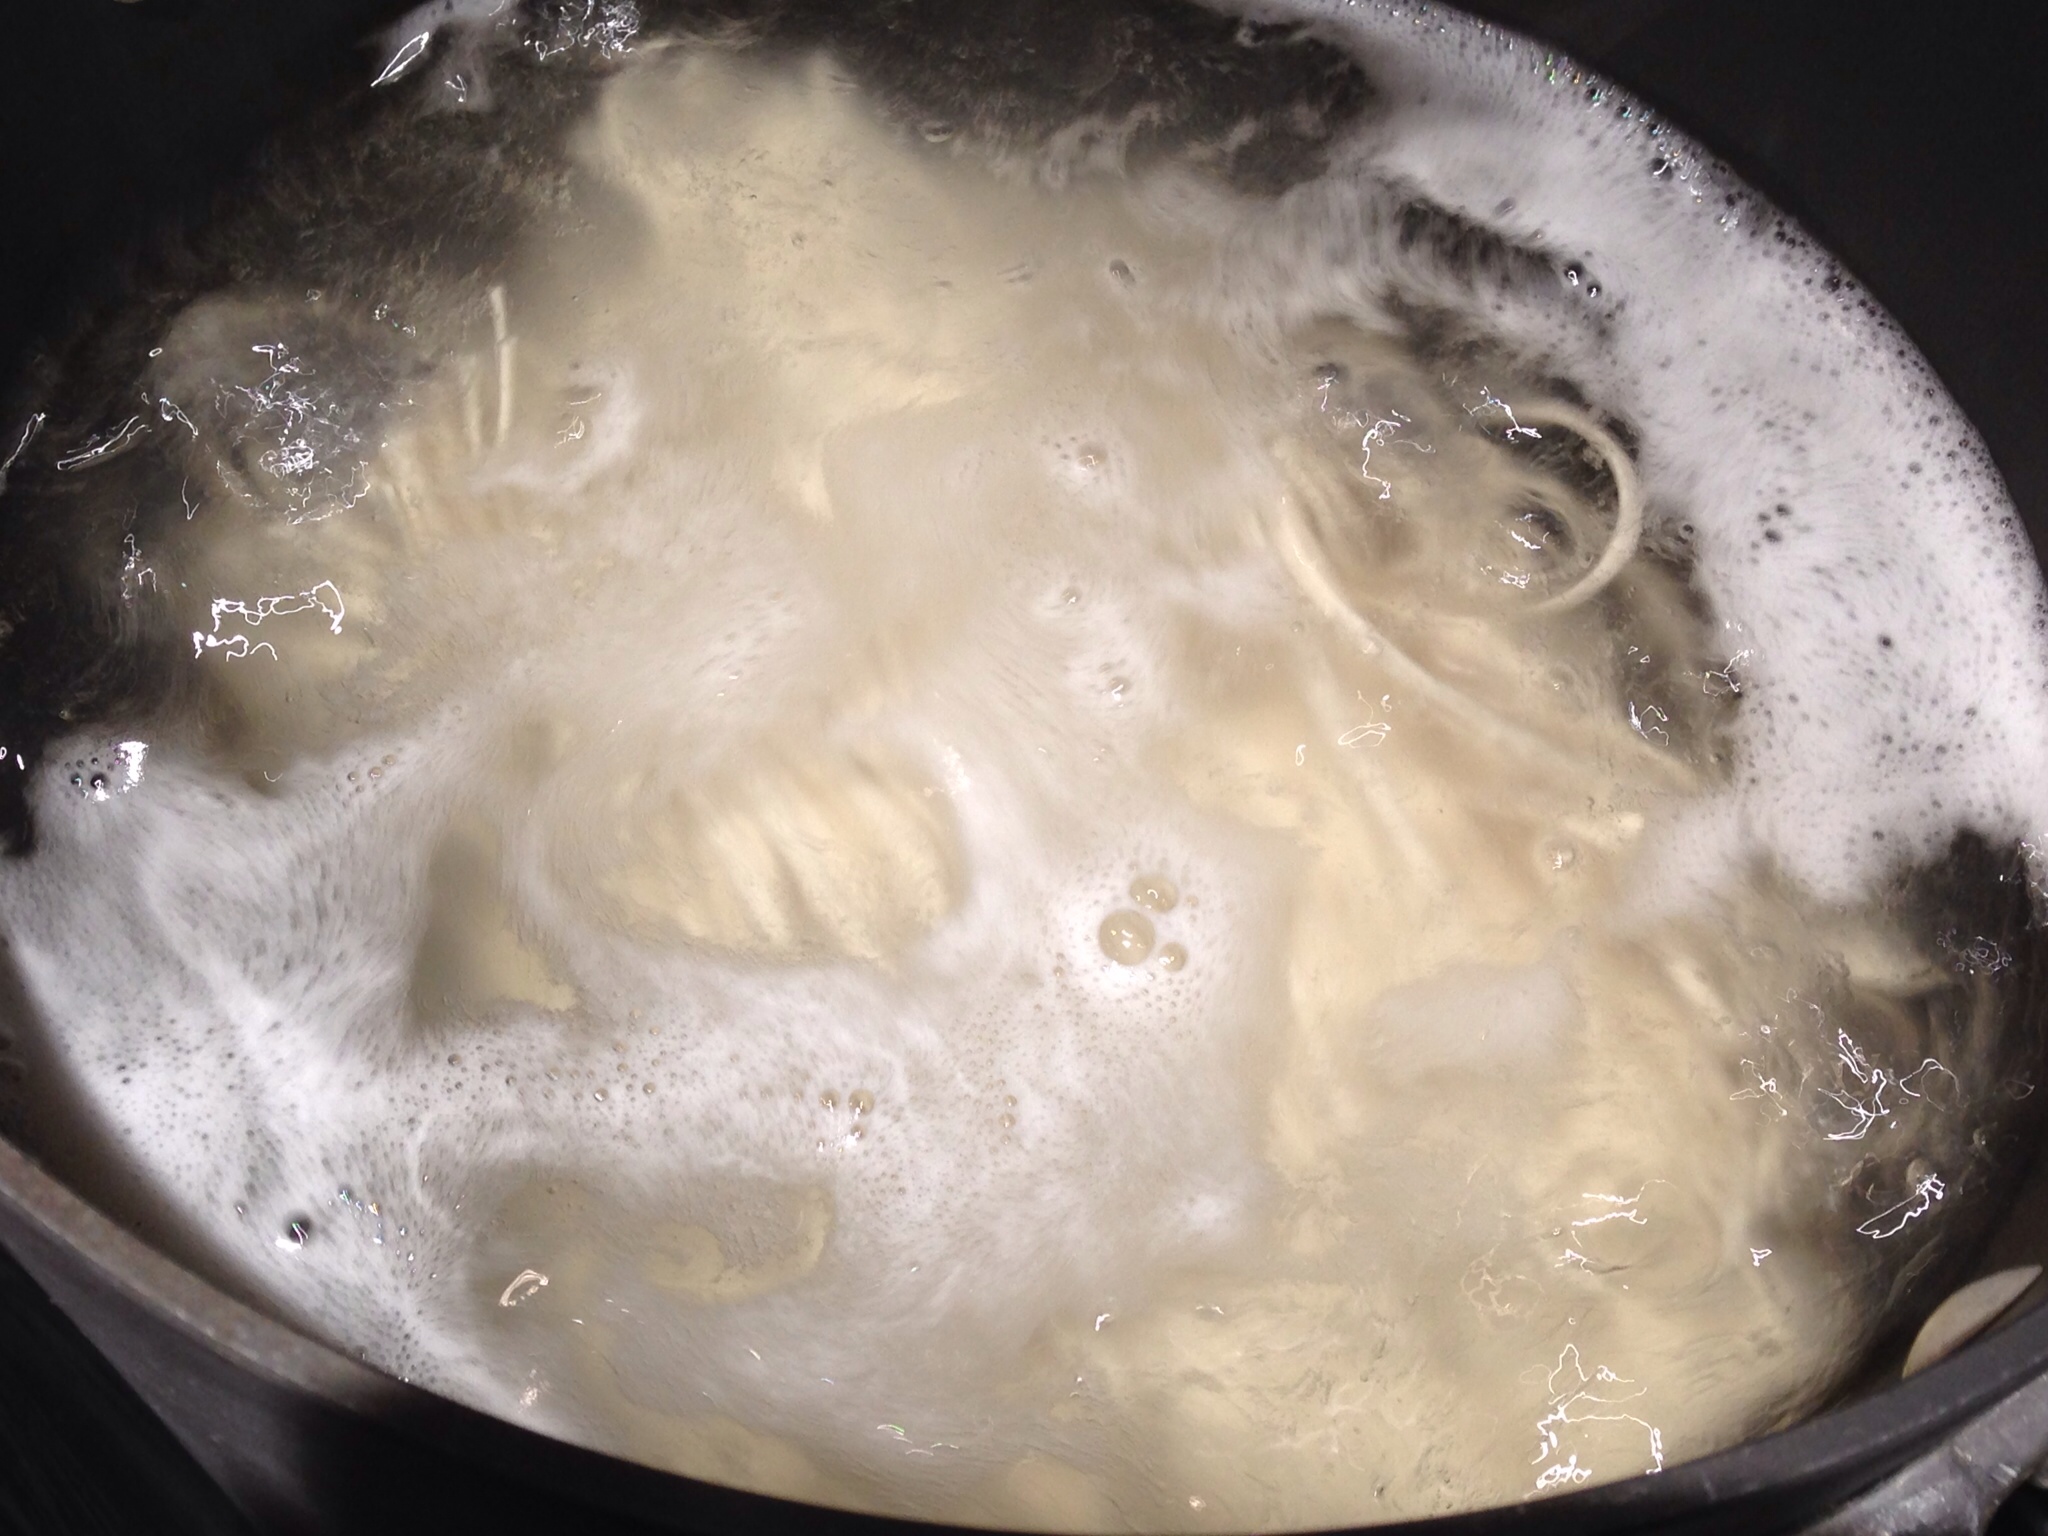
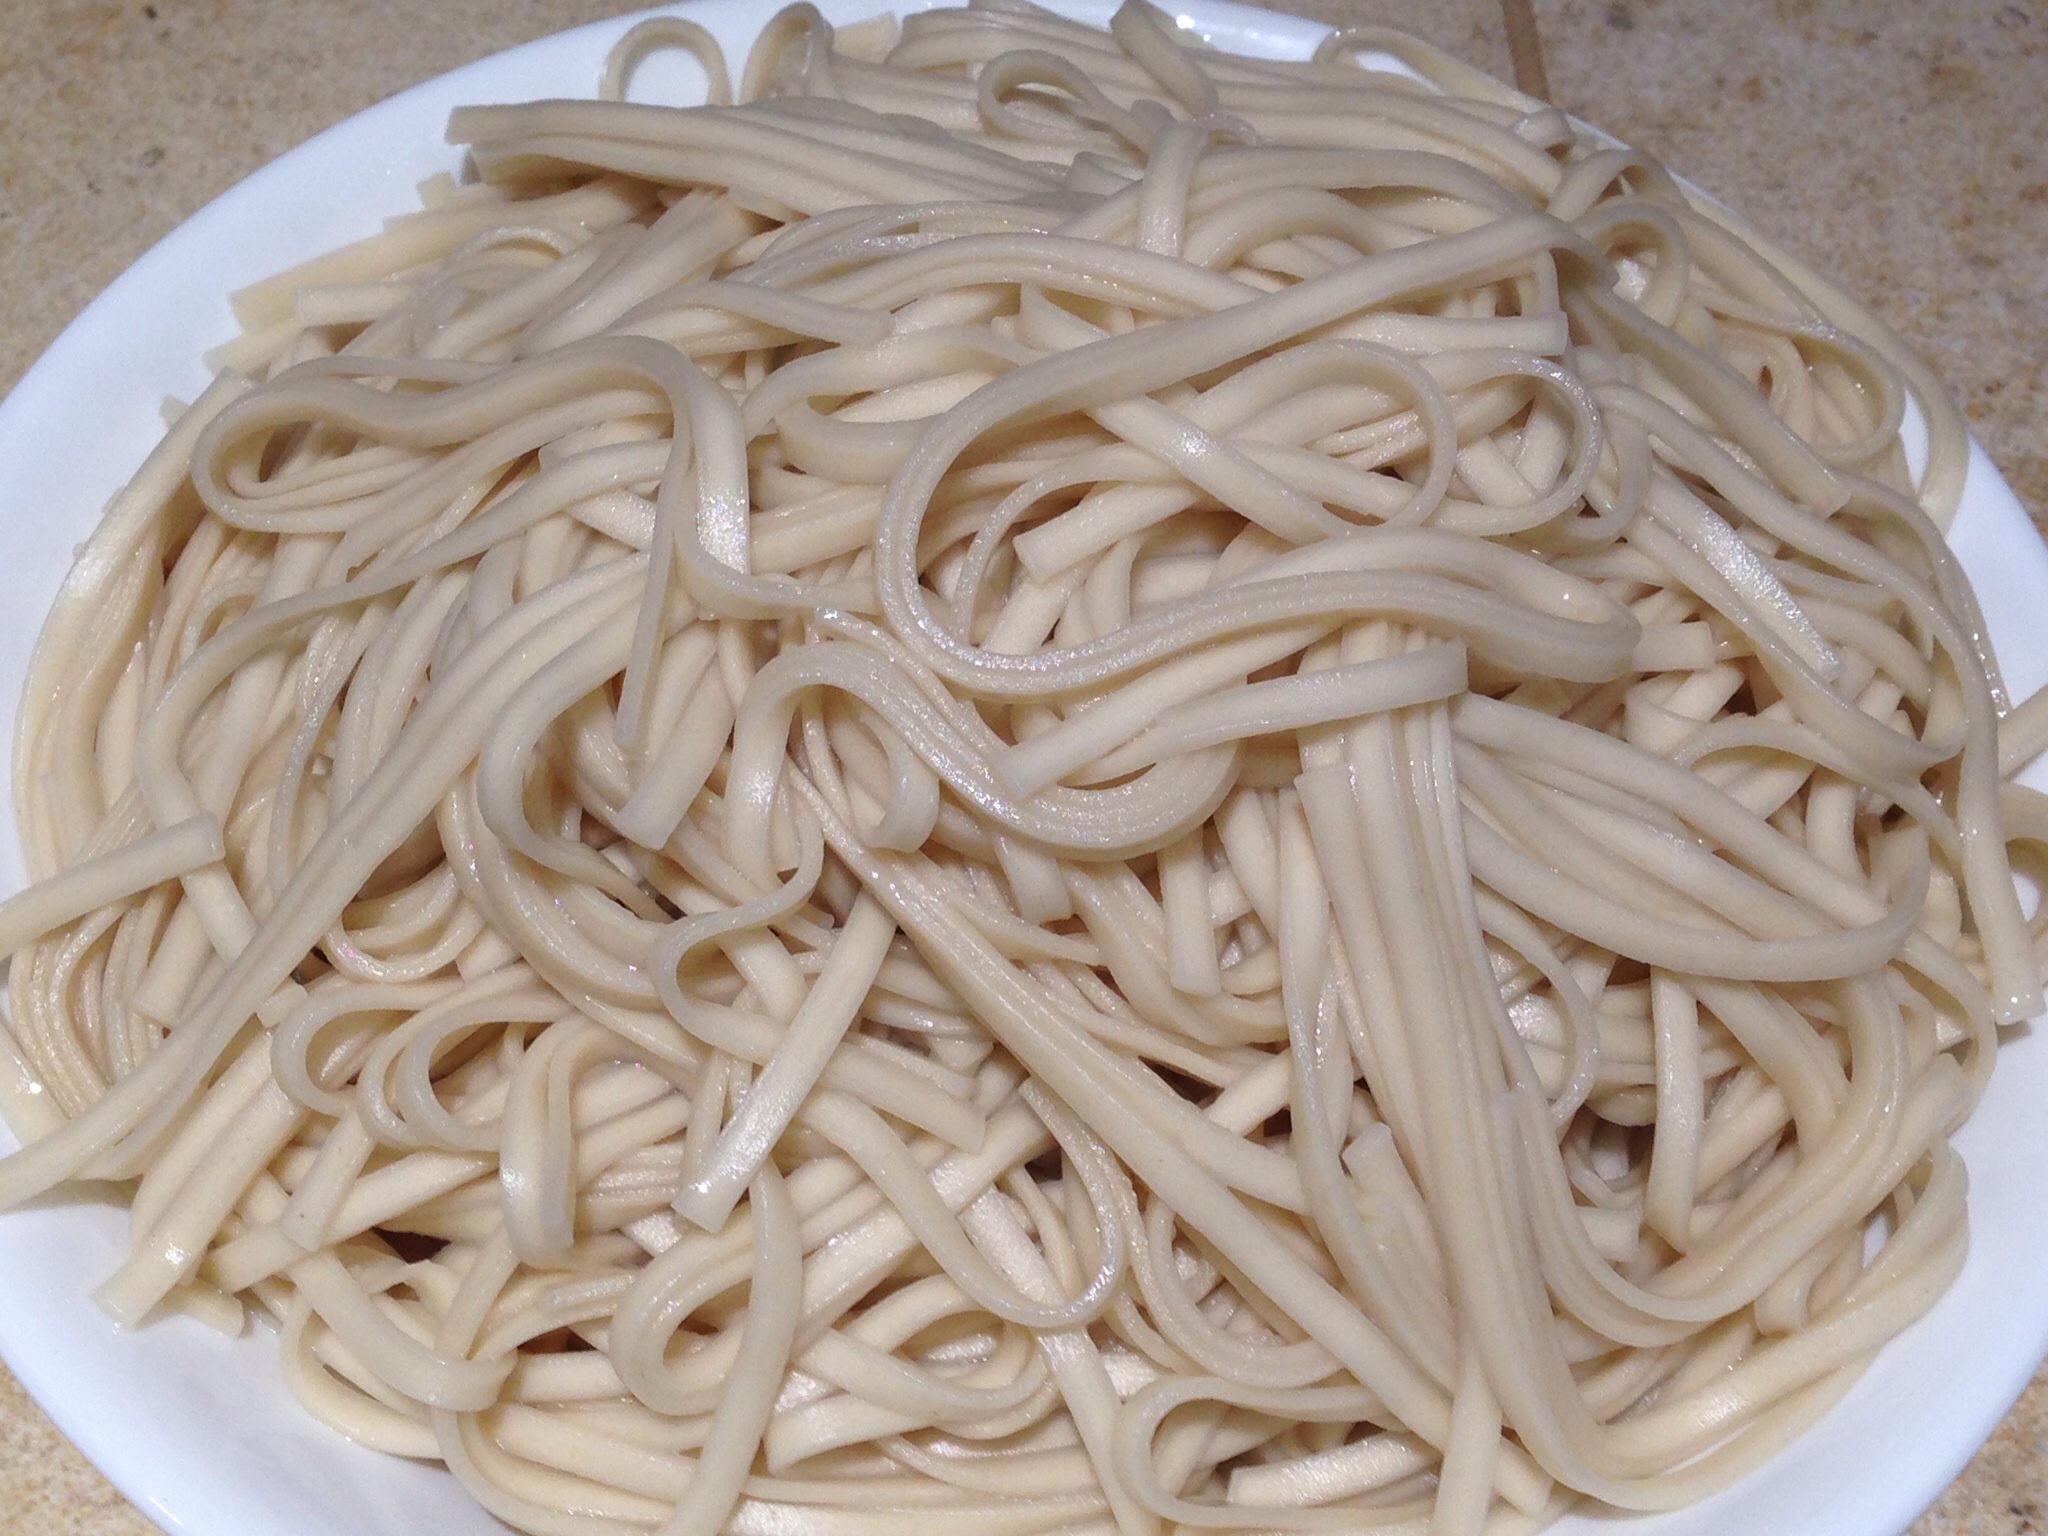
Cook the noodles according to the directions on the package. You can substitute the udon noodles for a gluten-free or whole wheat noodle of your choosing.

Set the cooked noodles aside.

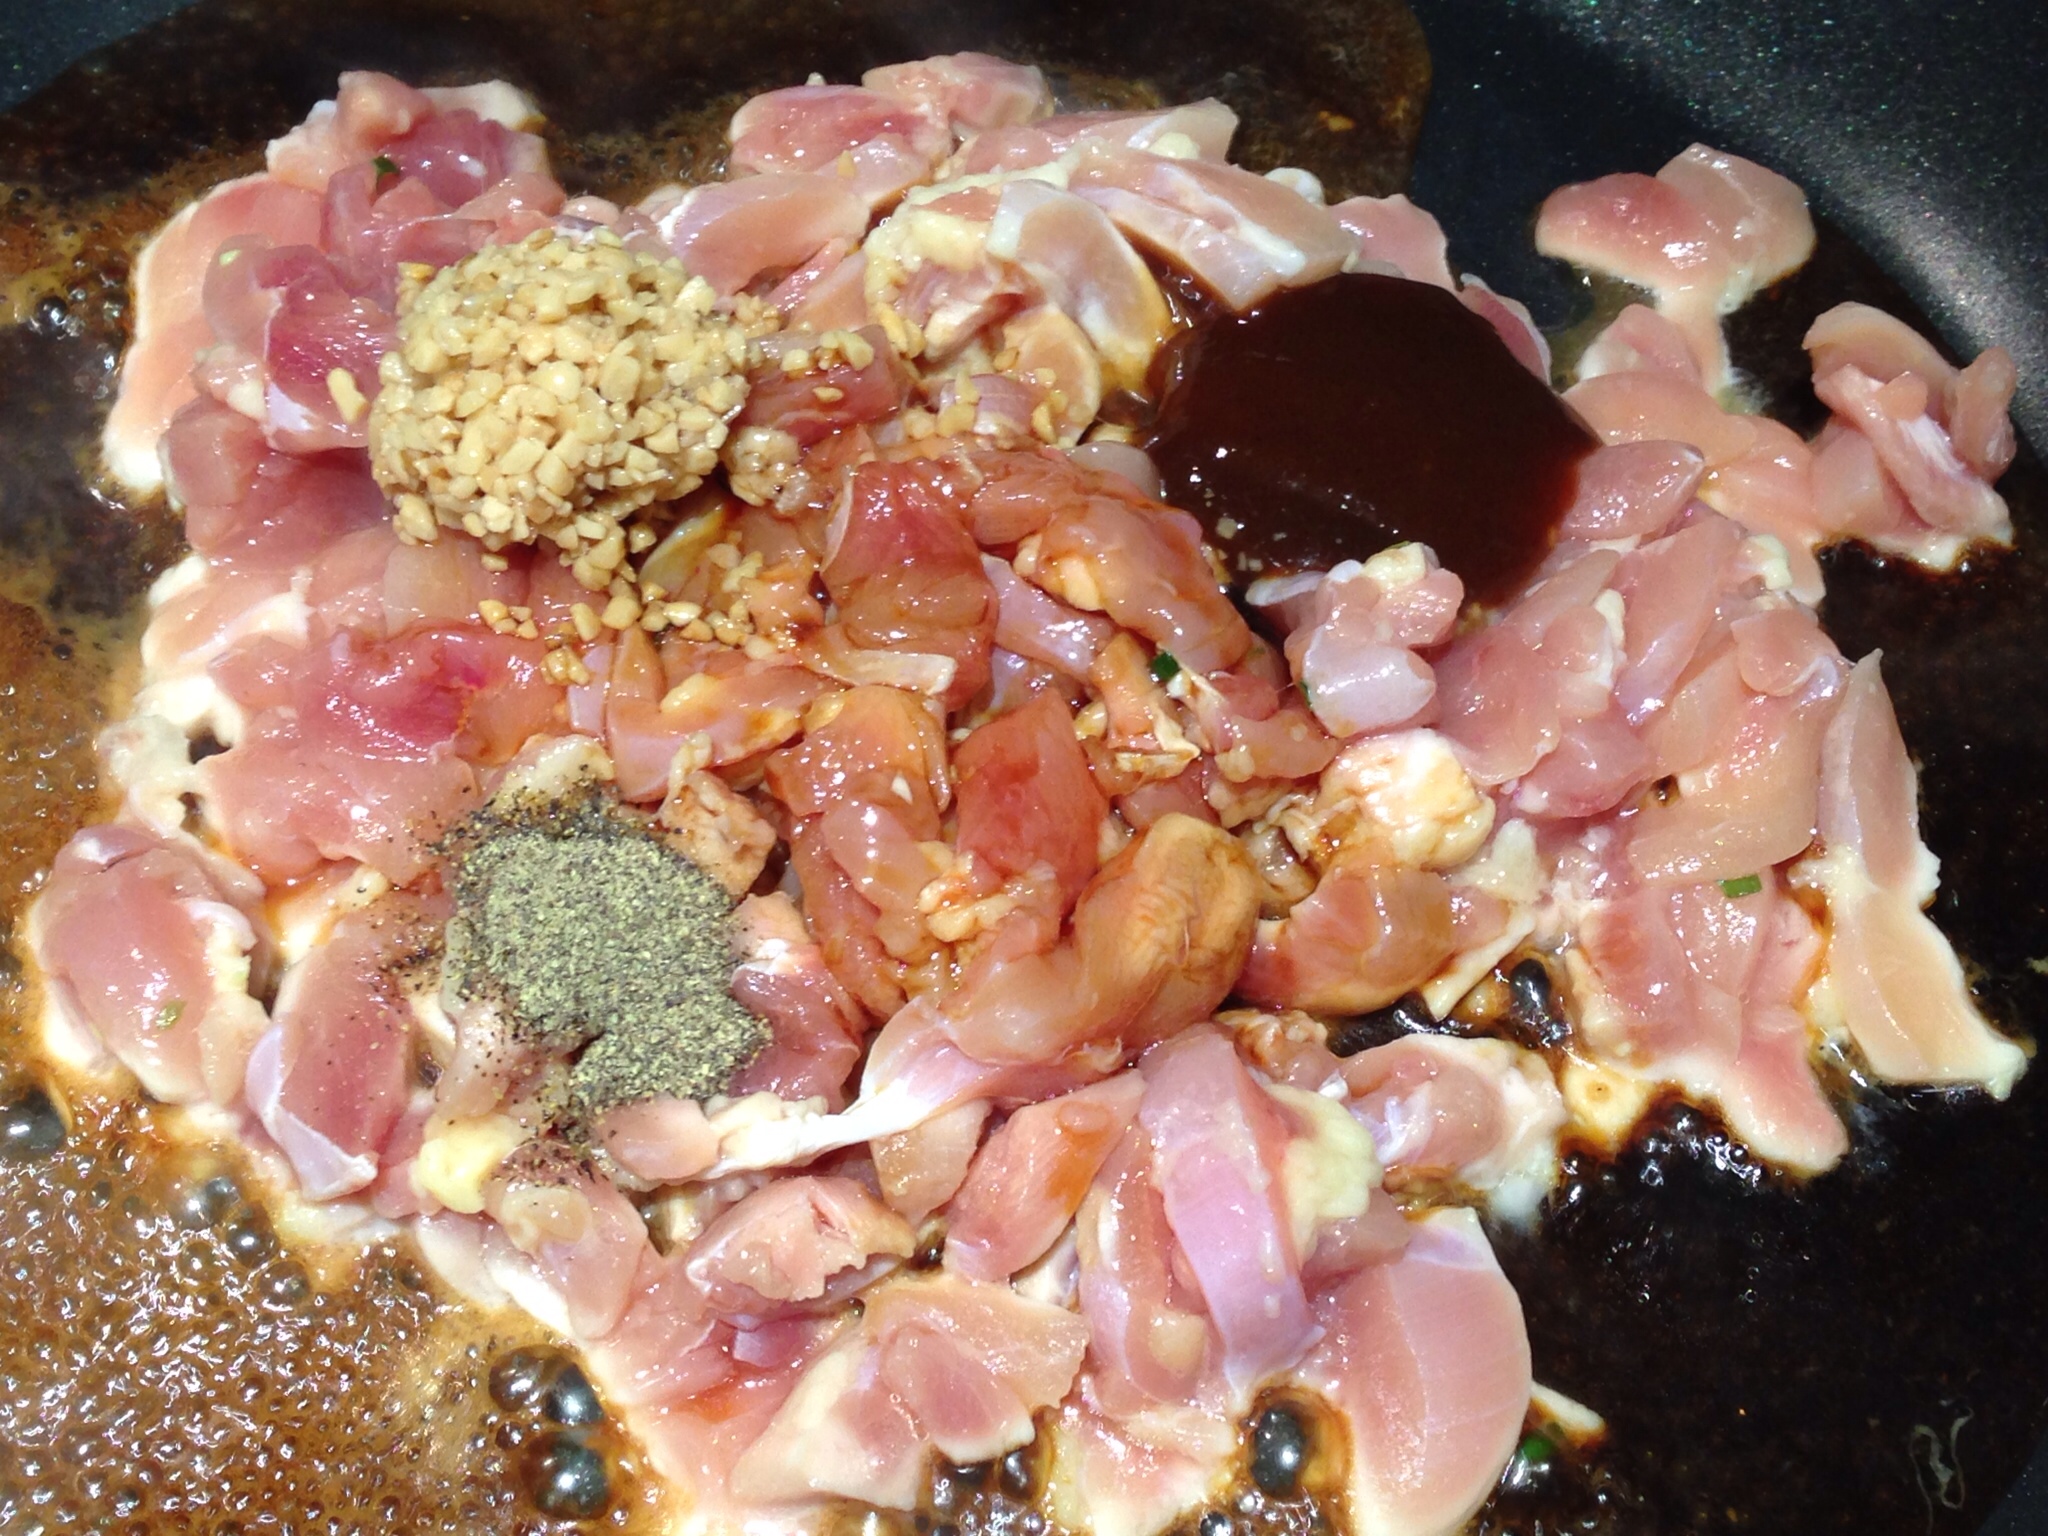
Place the chicken in a large skillet over medium high heat. If you use a non-stick skillet, you do not need to add any oil to the pan, although a bit of sesame oil will add flavor to this dish.

Add the garlic, seasonings, hoisin sauce and soy sauce. To cut back on the sodium in this dish, cut the hoisin sauce in half and use low sodium soy sauce.
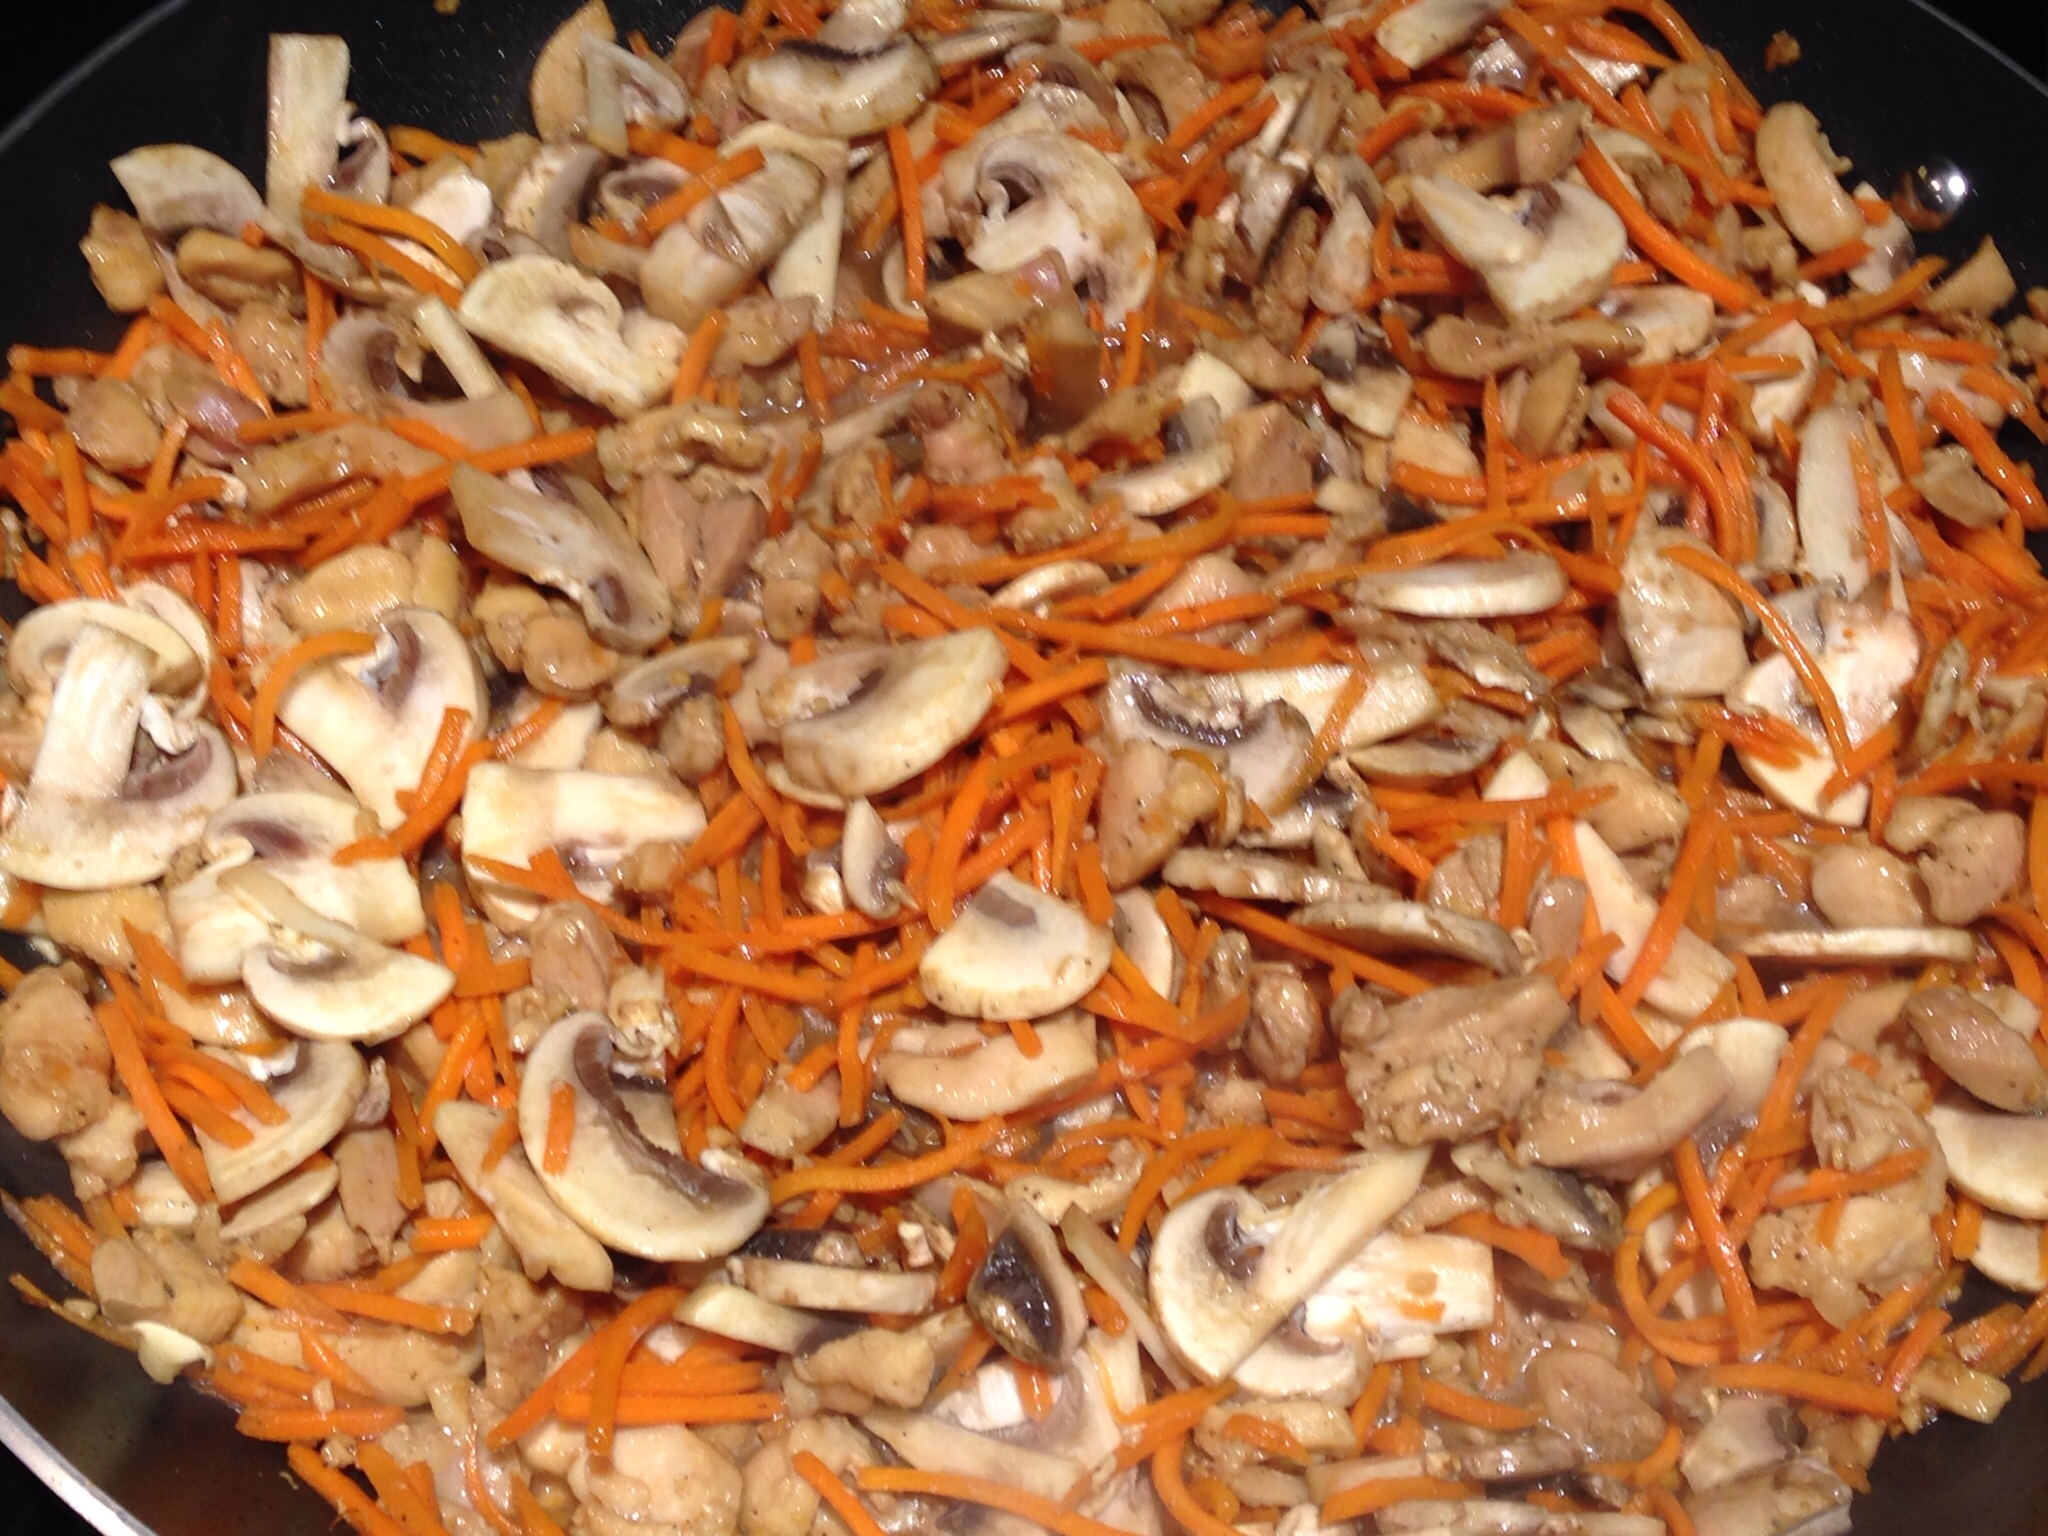
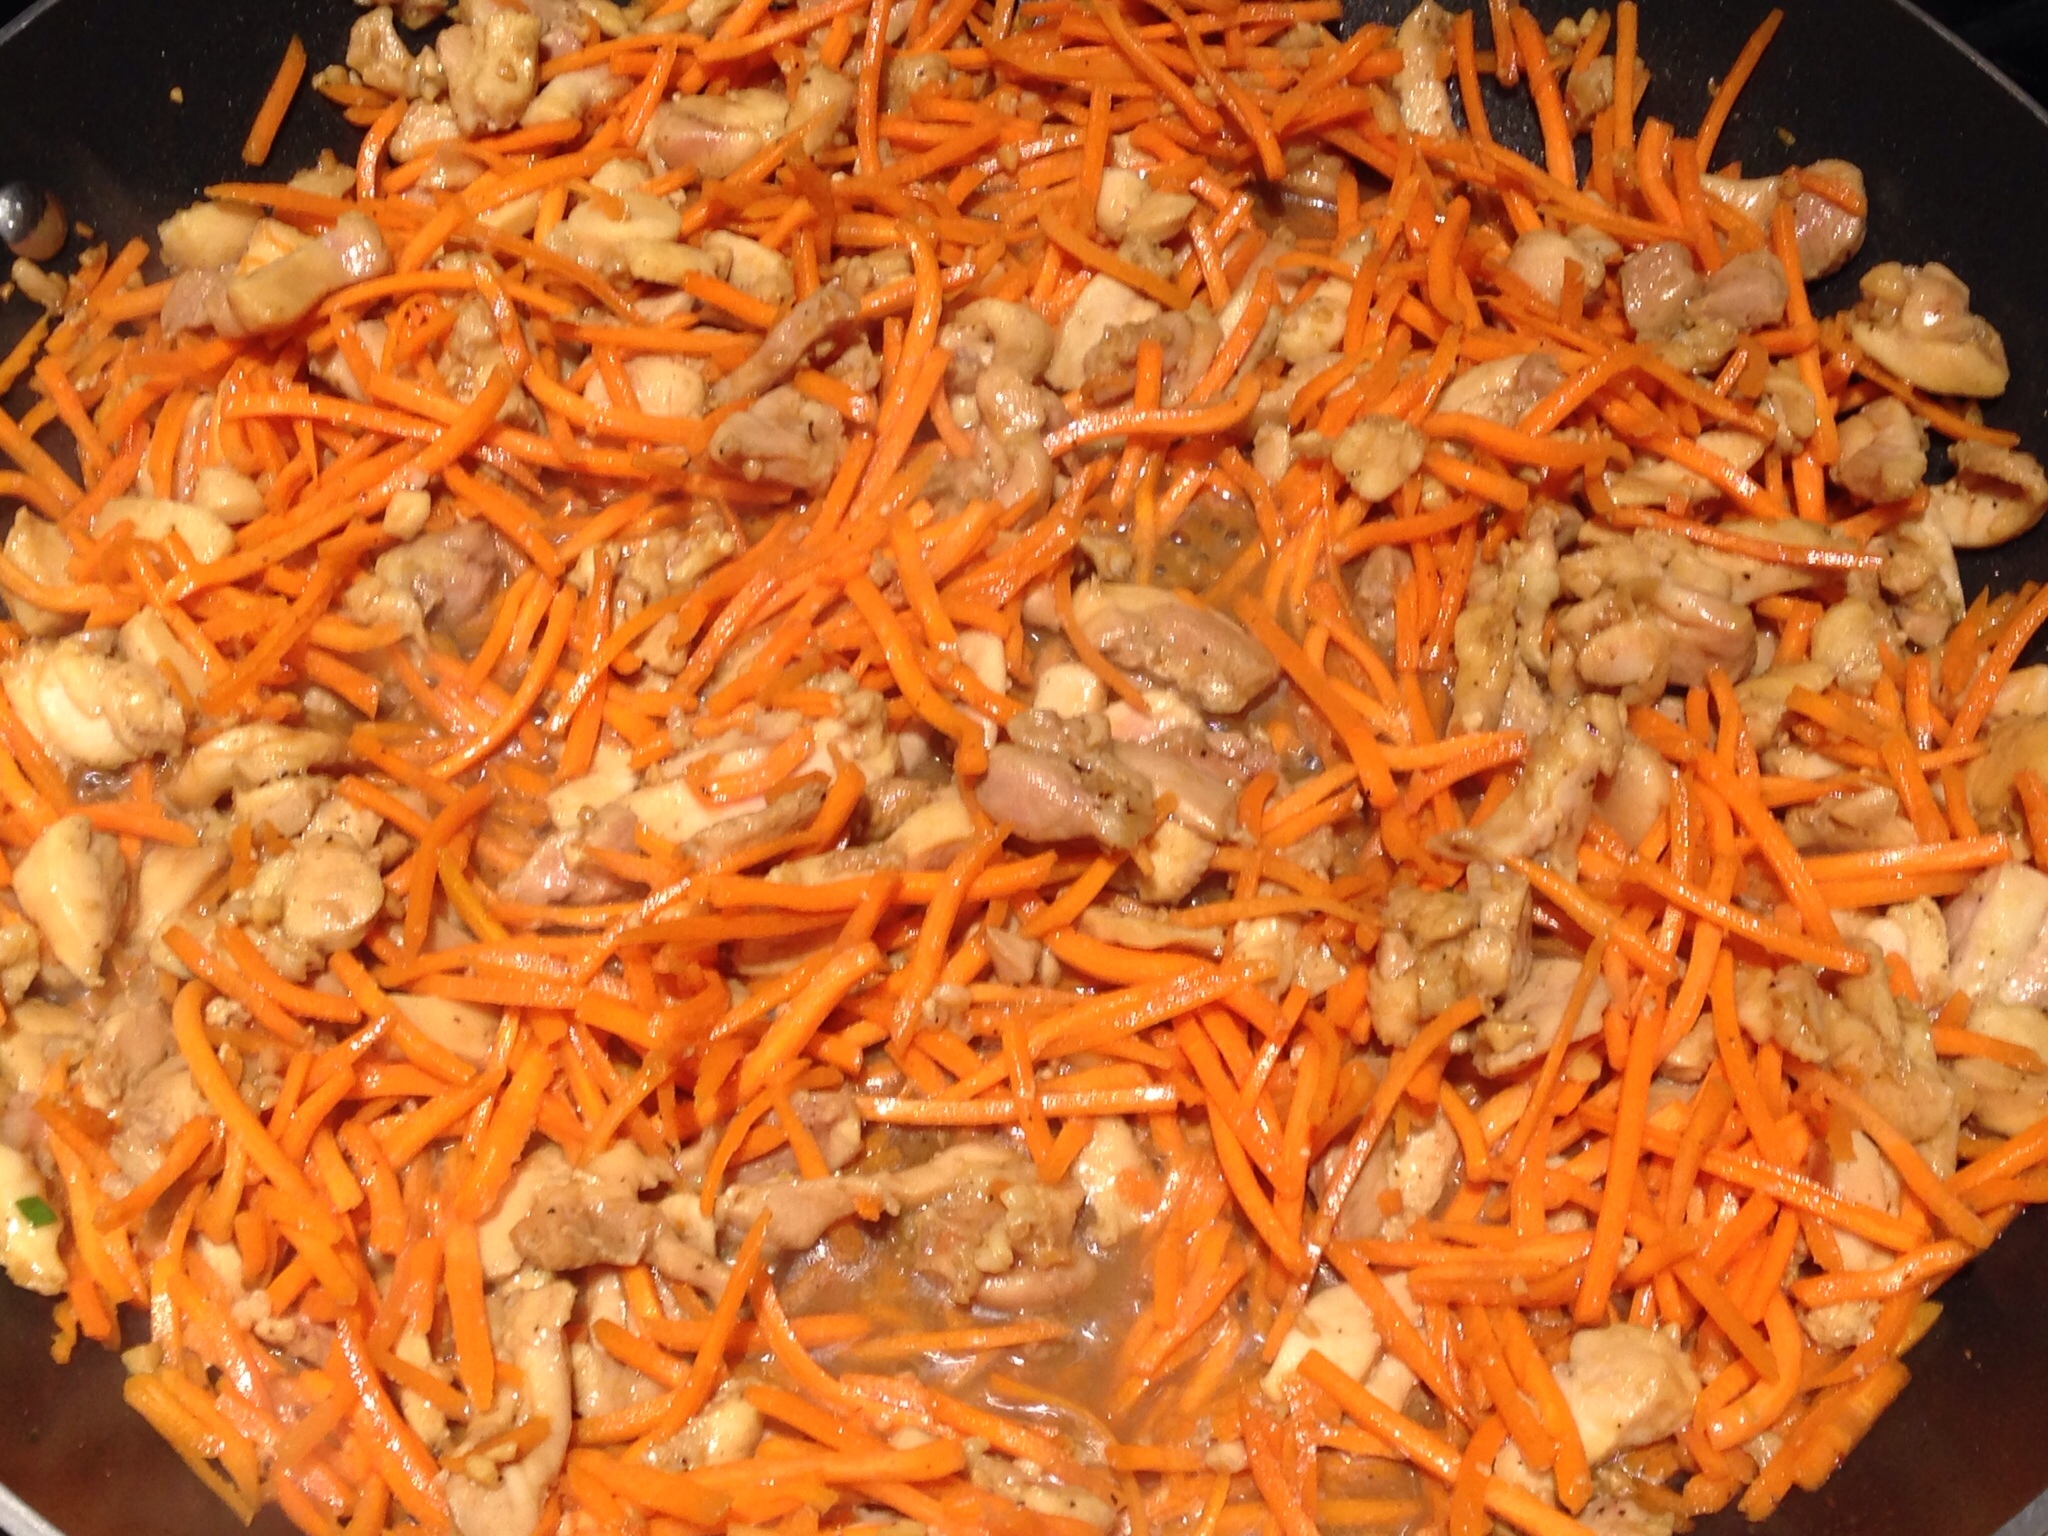
Add the carrots to the pan.
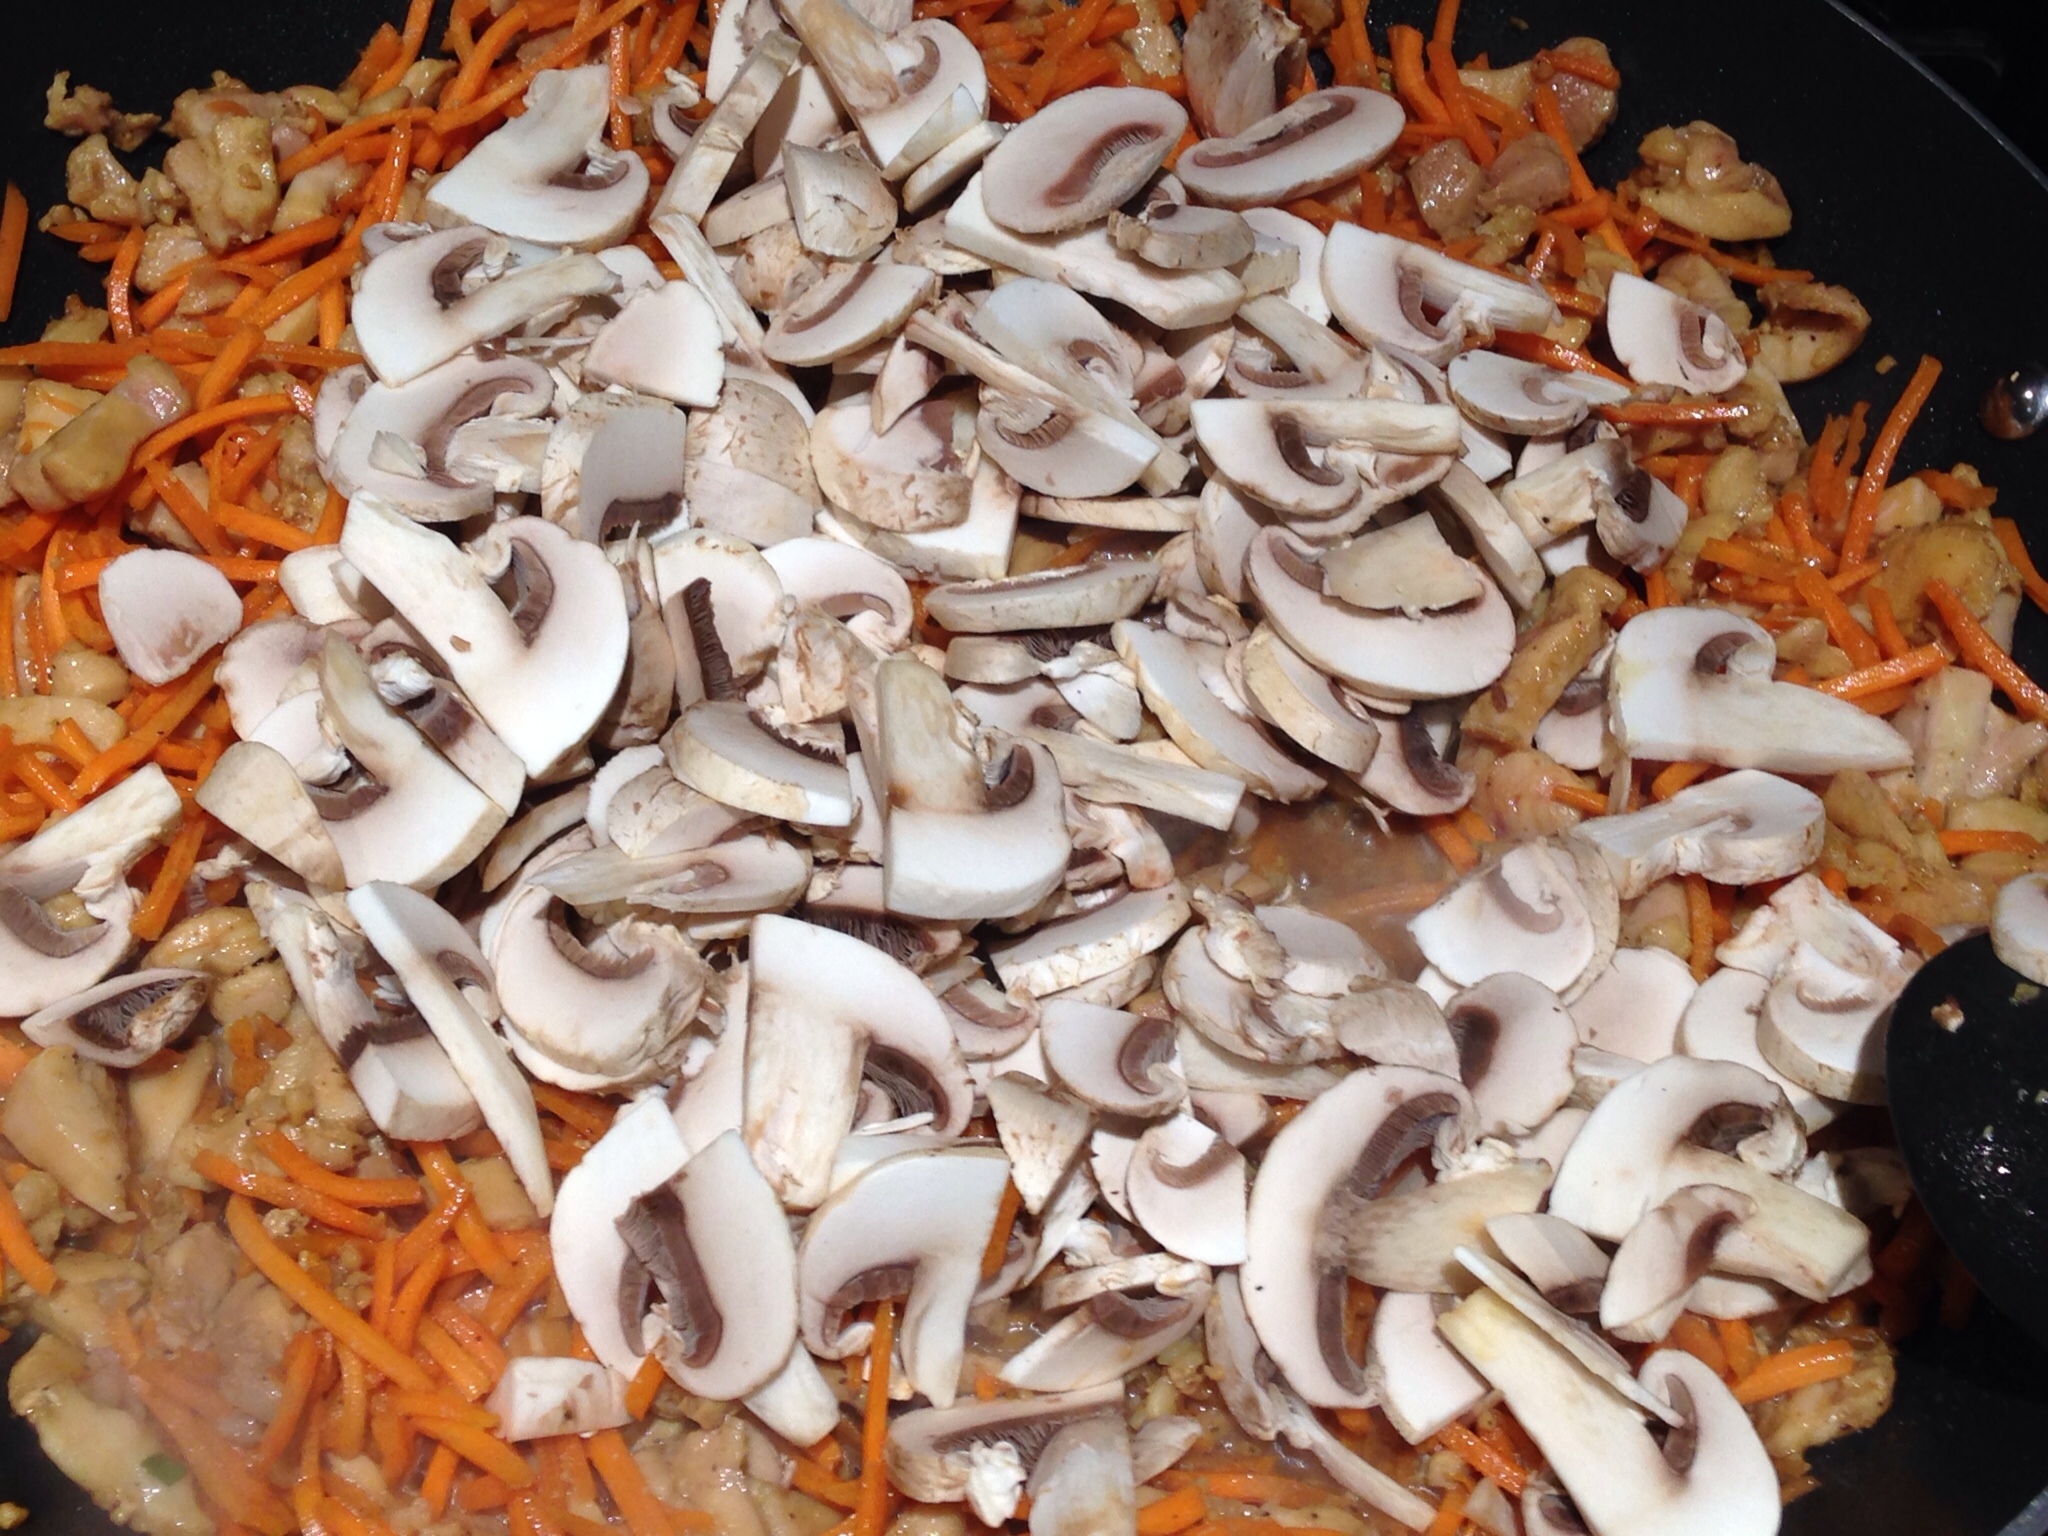
Add the sliced mushrooms to the pan.

Stir to combine. Cook for a couple of minutes.

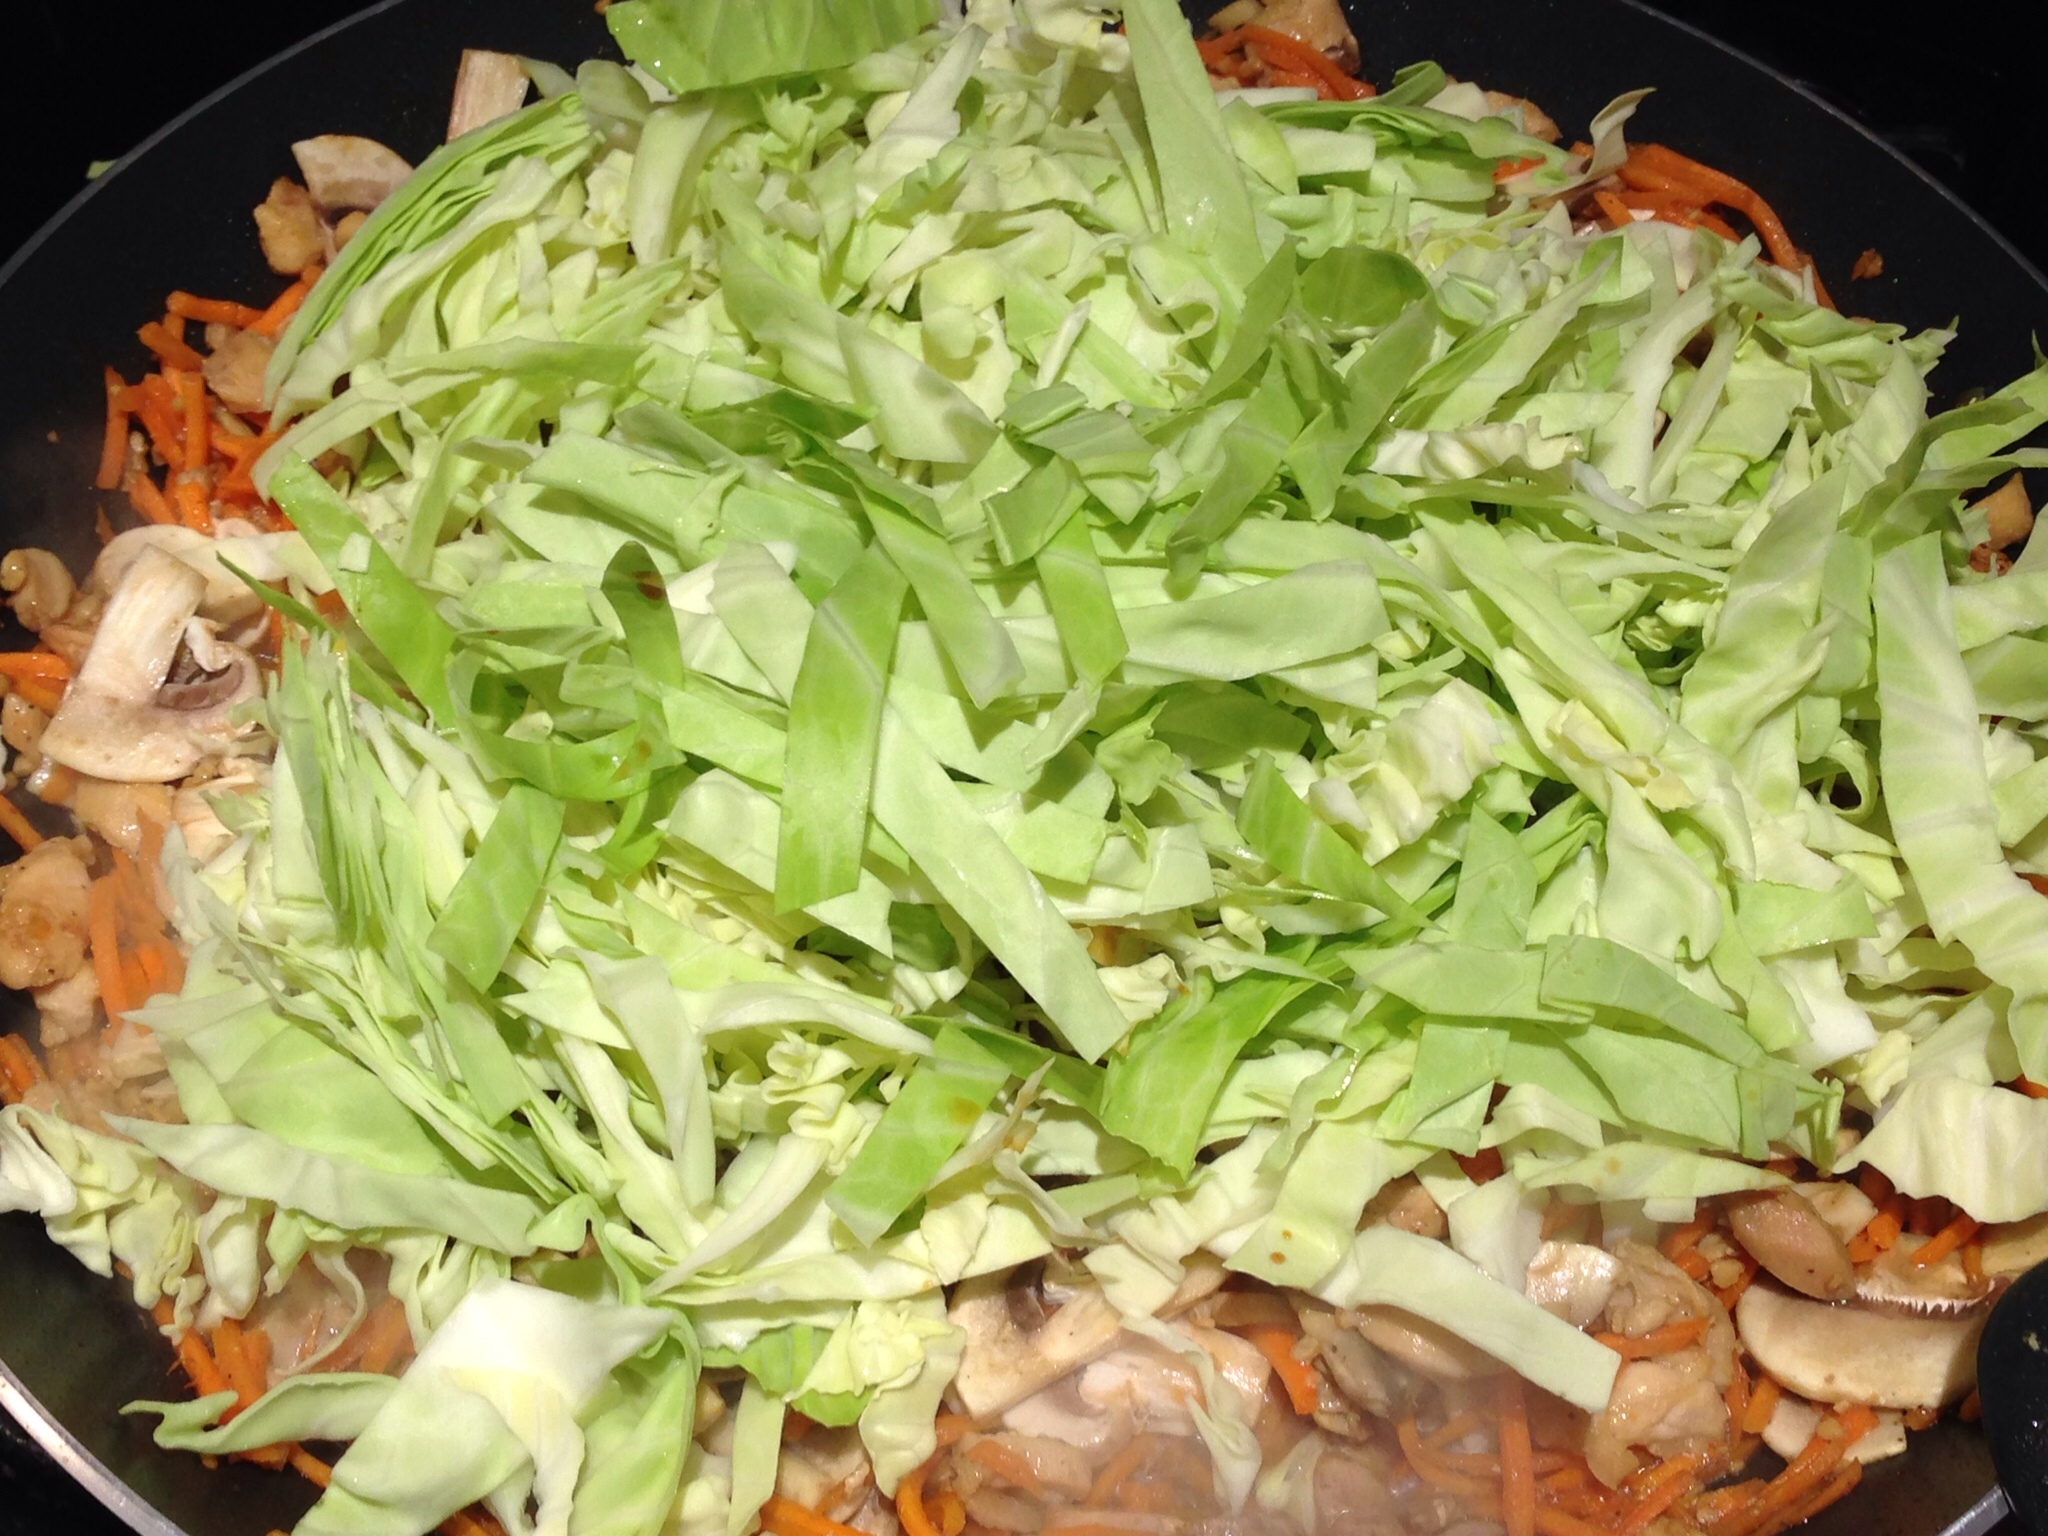
Add the sliced cabbage.

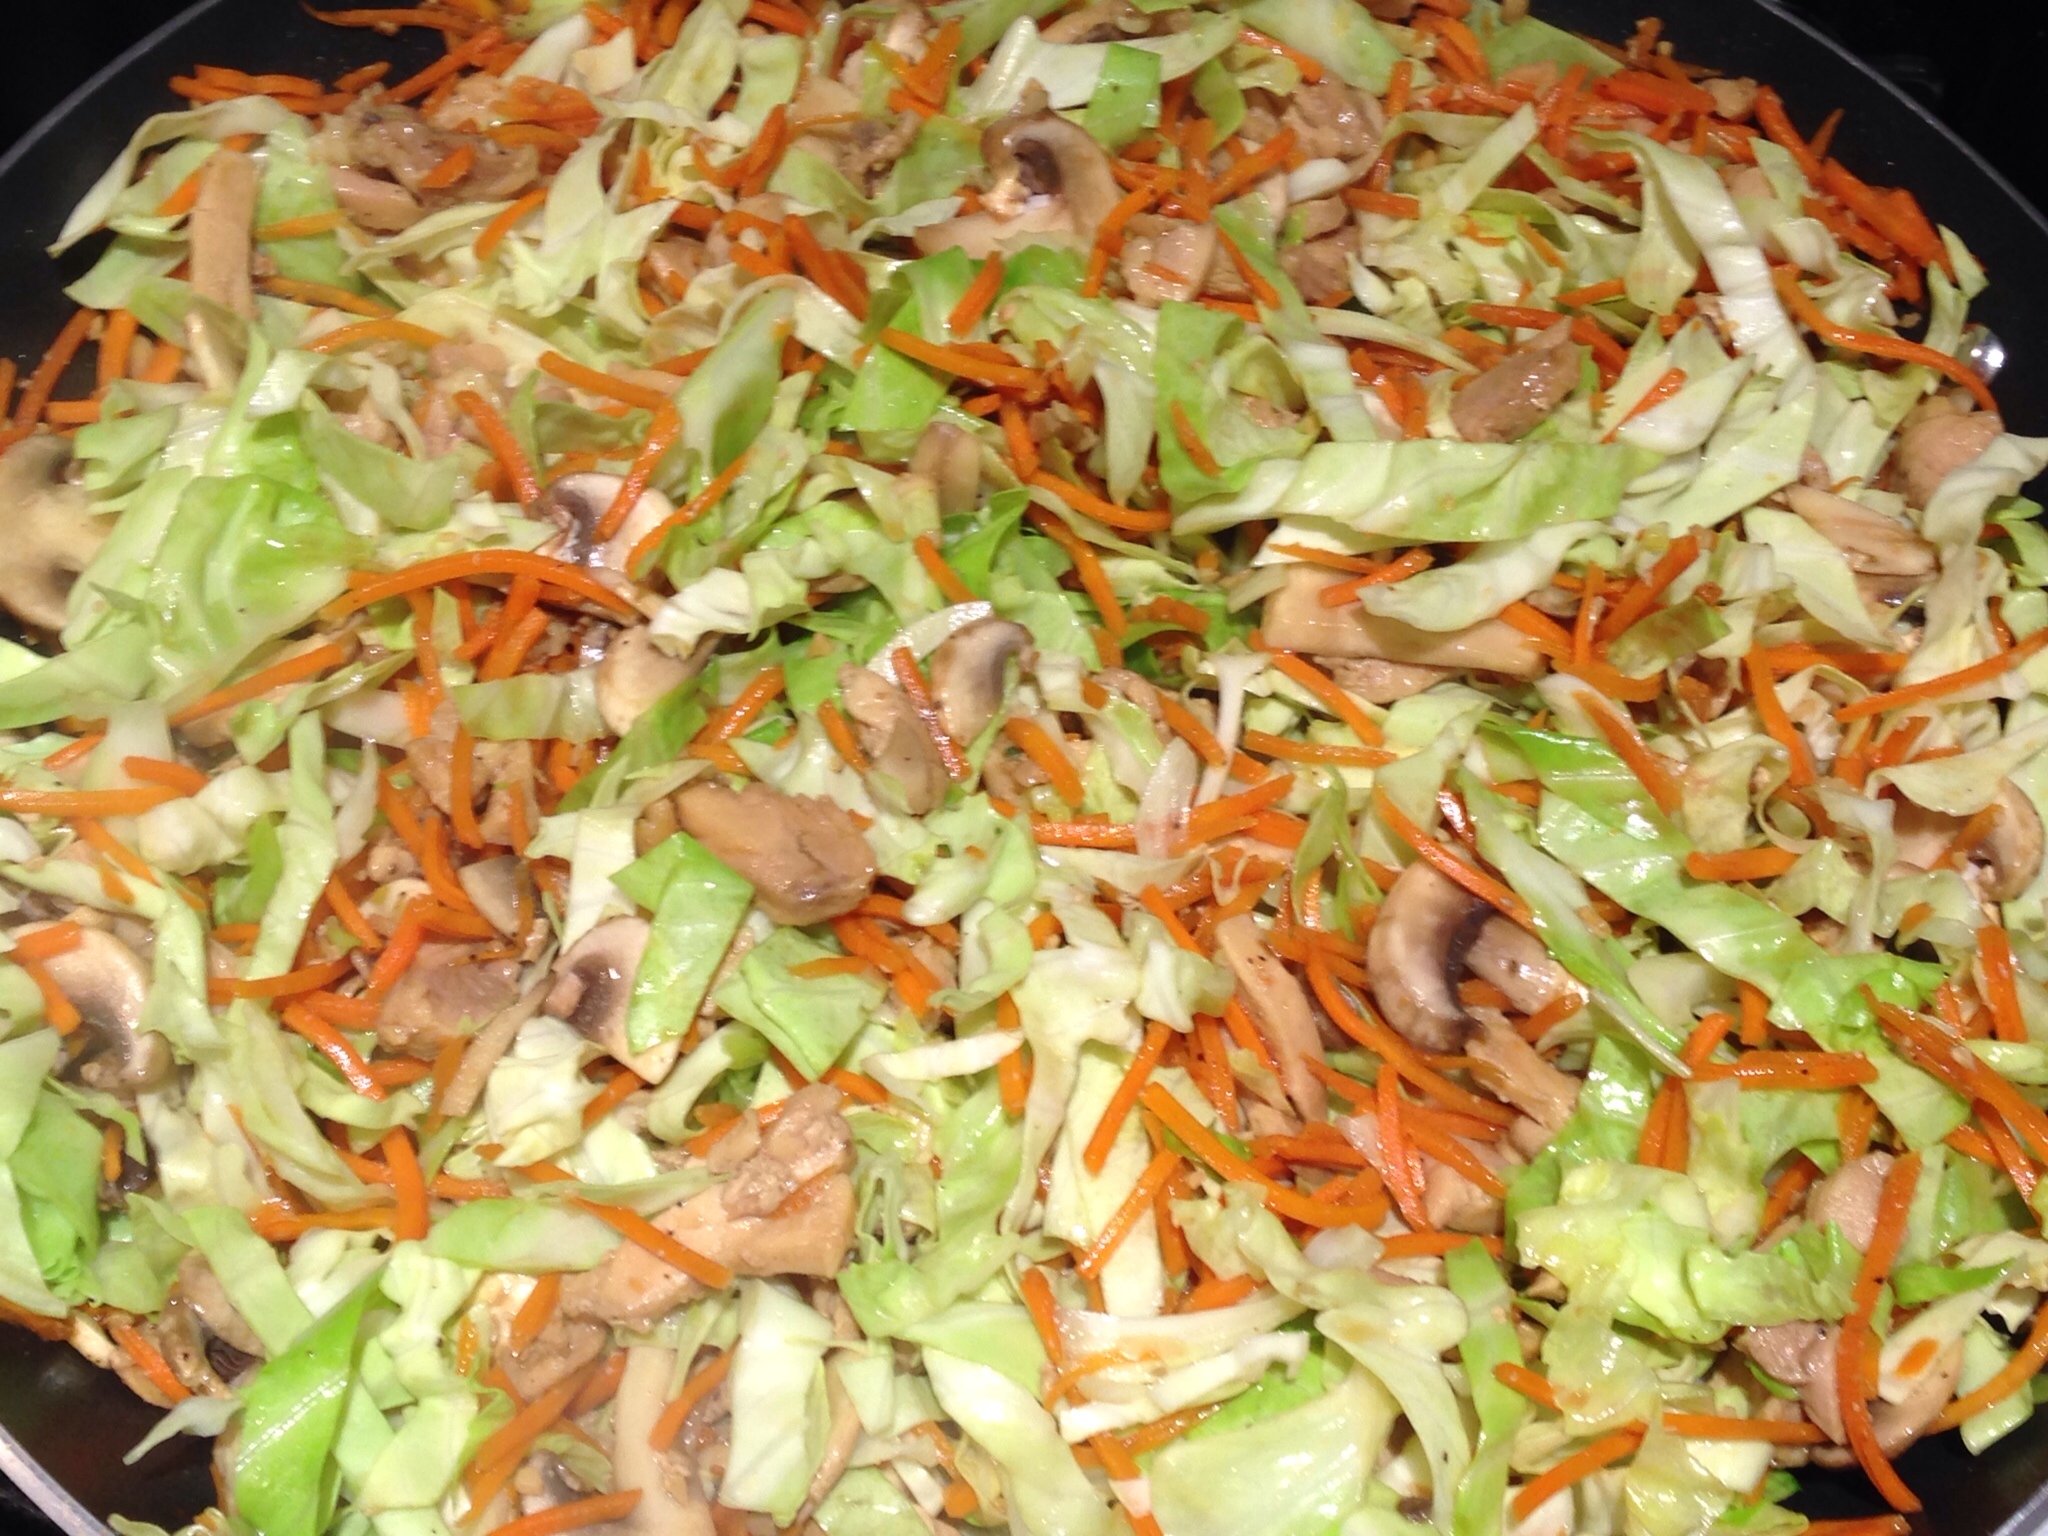
Stir and cook for another couple of minutes, just until the cabbage starts to wilt.

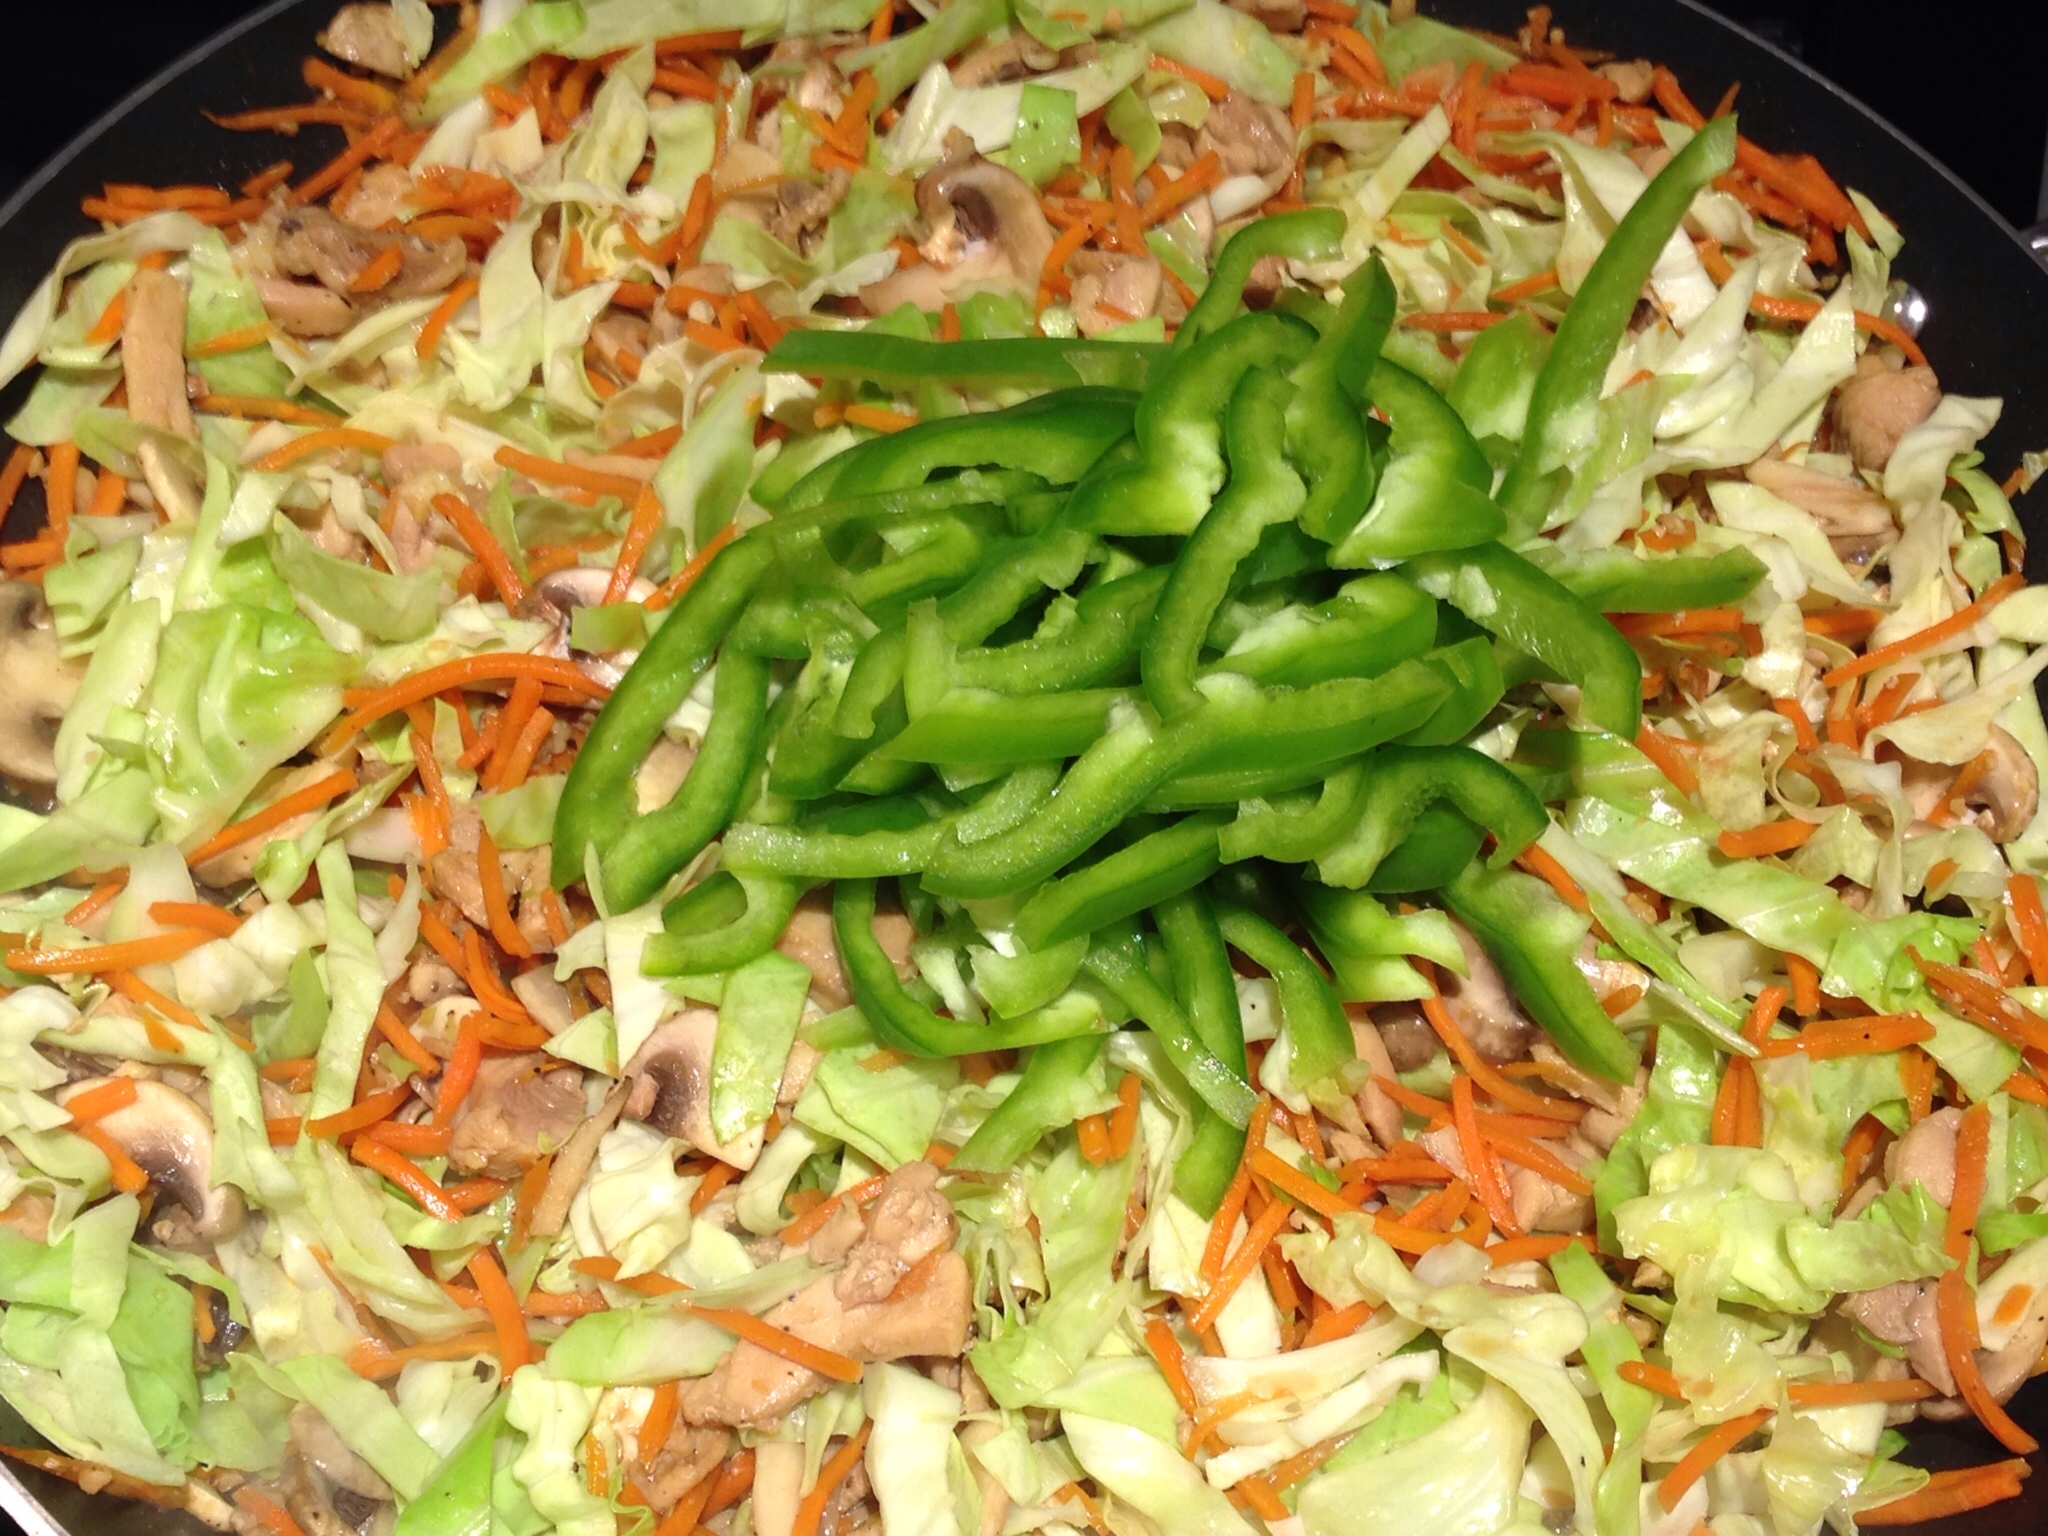
Add the bell peppers.  If you prefer the peppers to be cooked longer, add them when you add the carrots.  I like mine cooked only just a little so that they’re still crunchy, so I add them almost at the end of the cooking process.

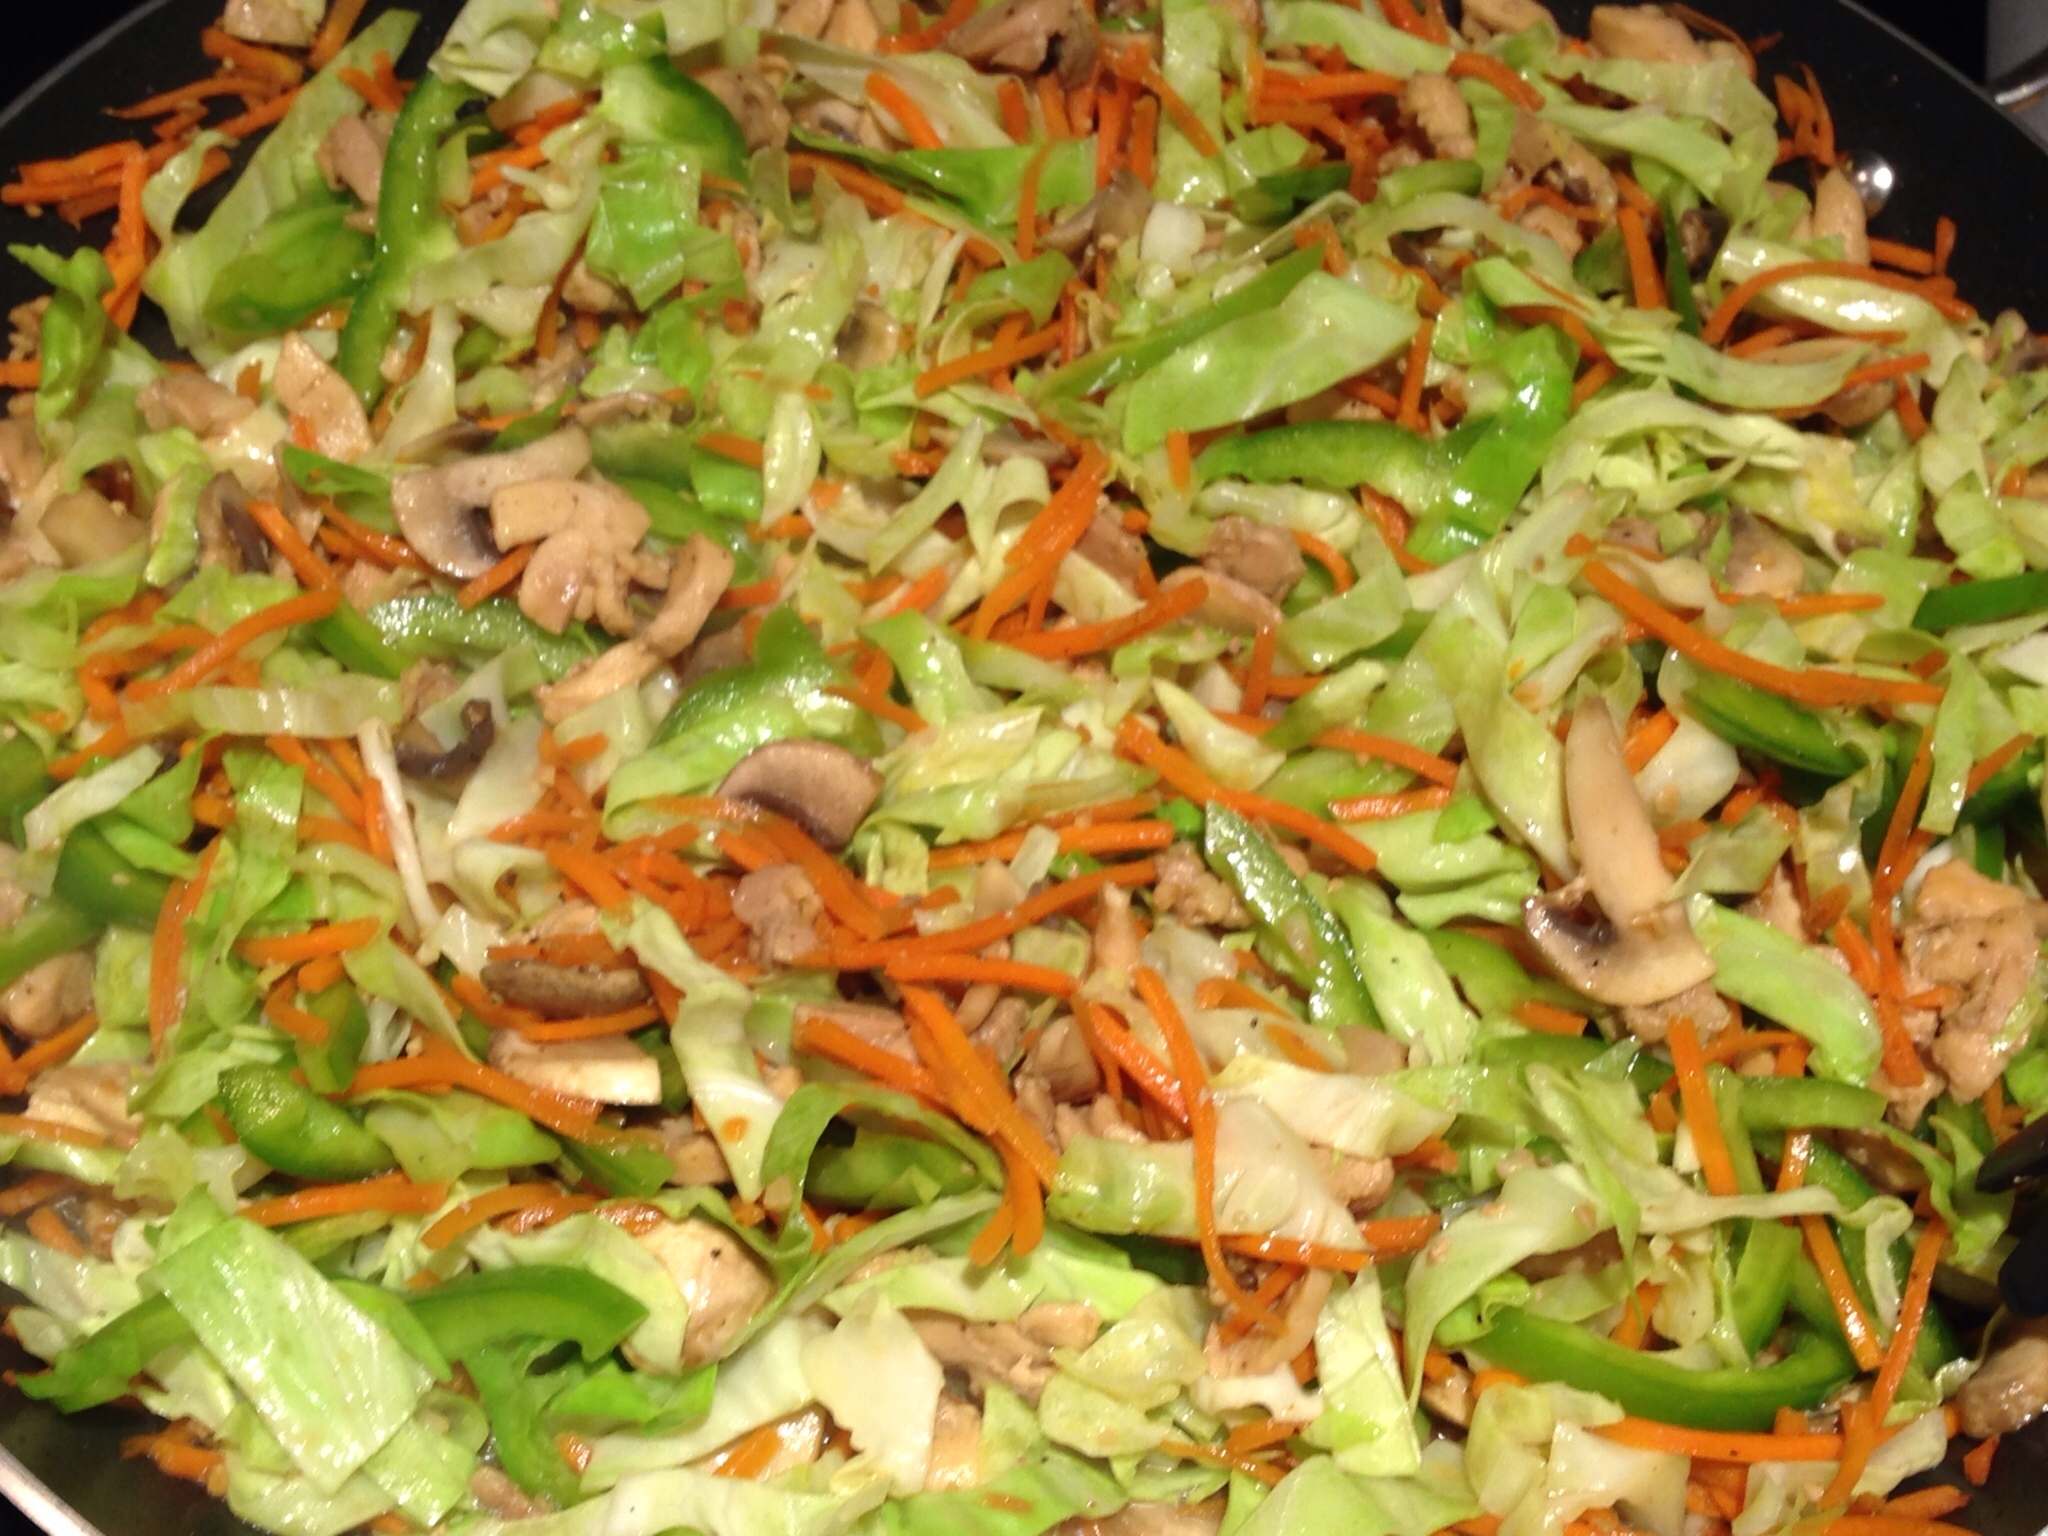
Stir to combine.

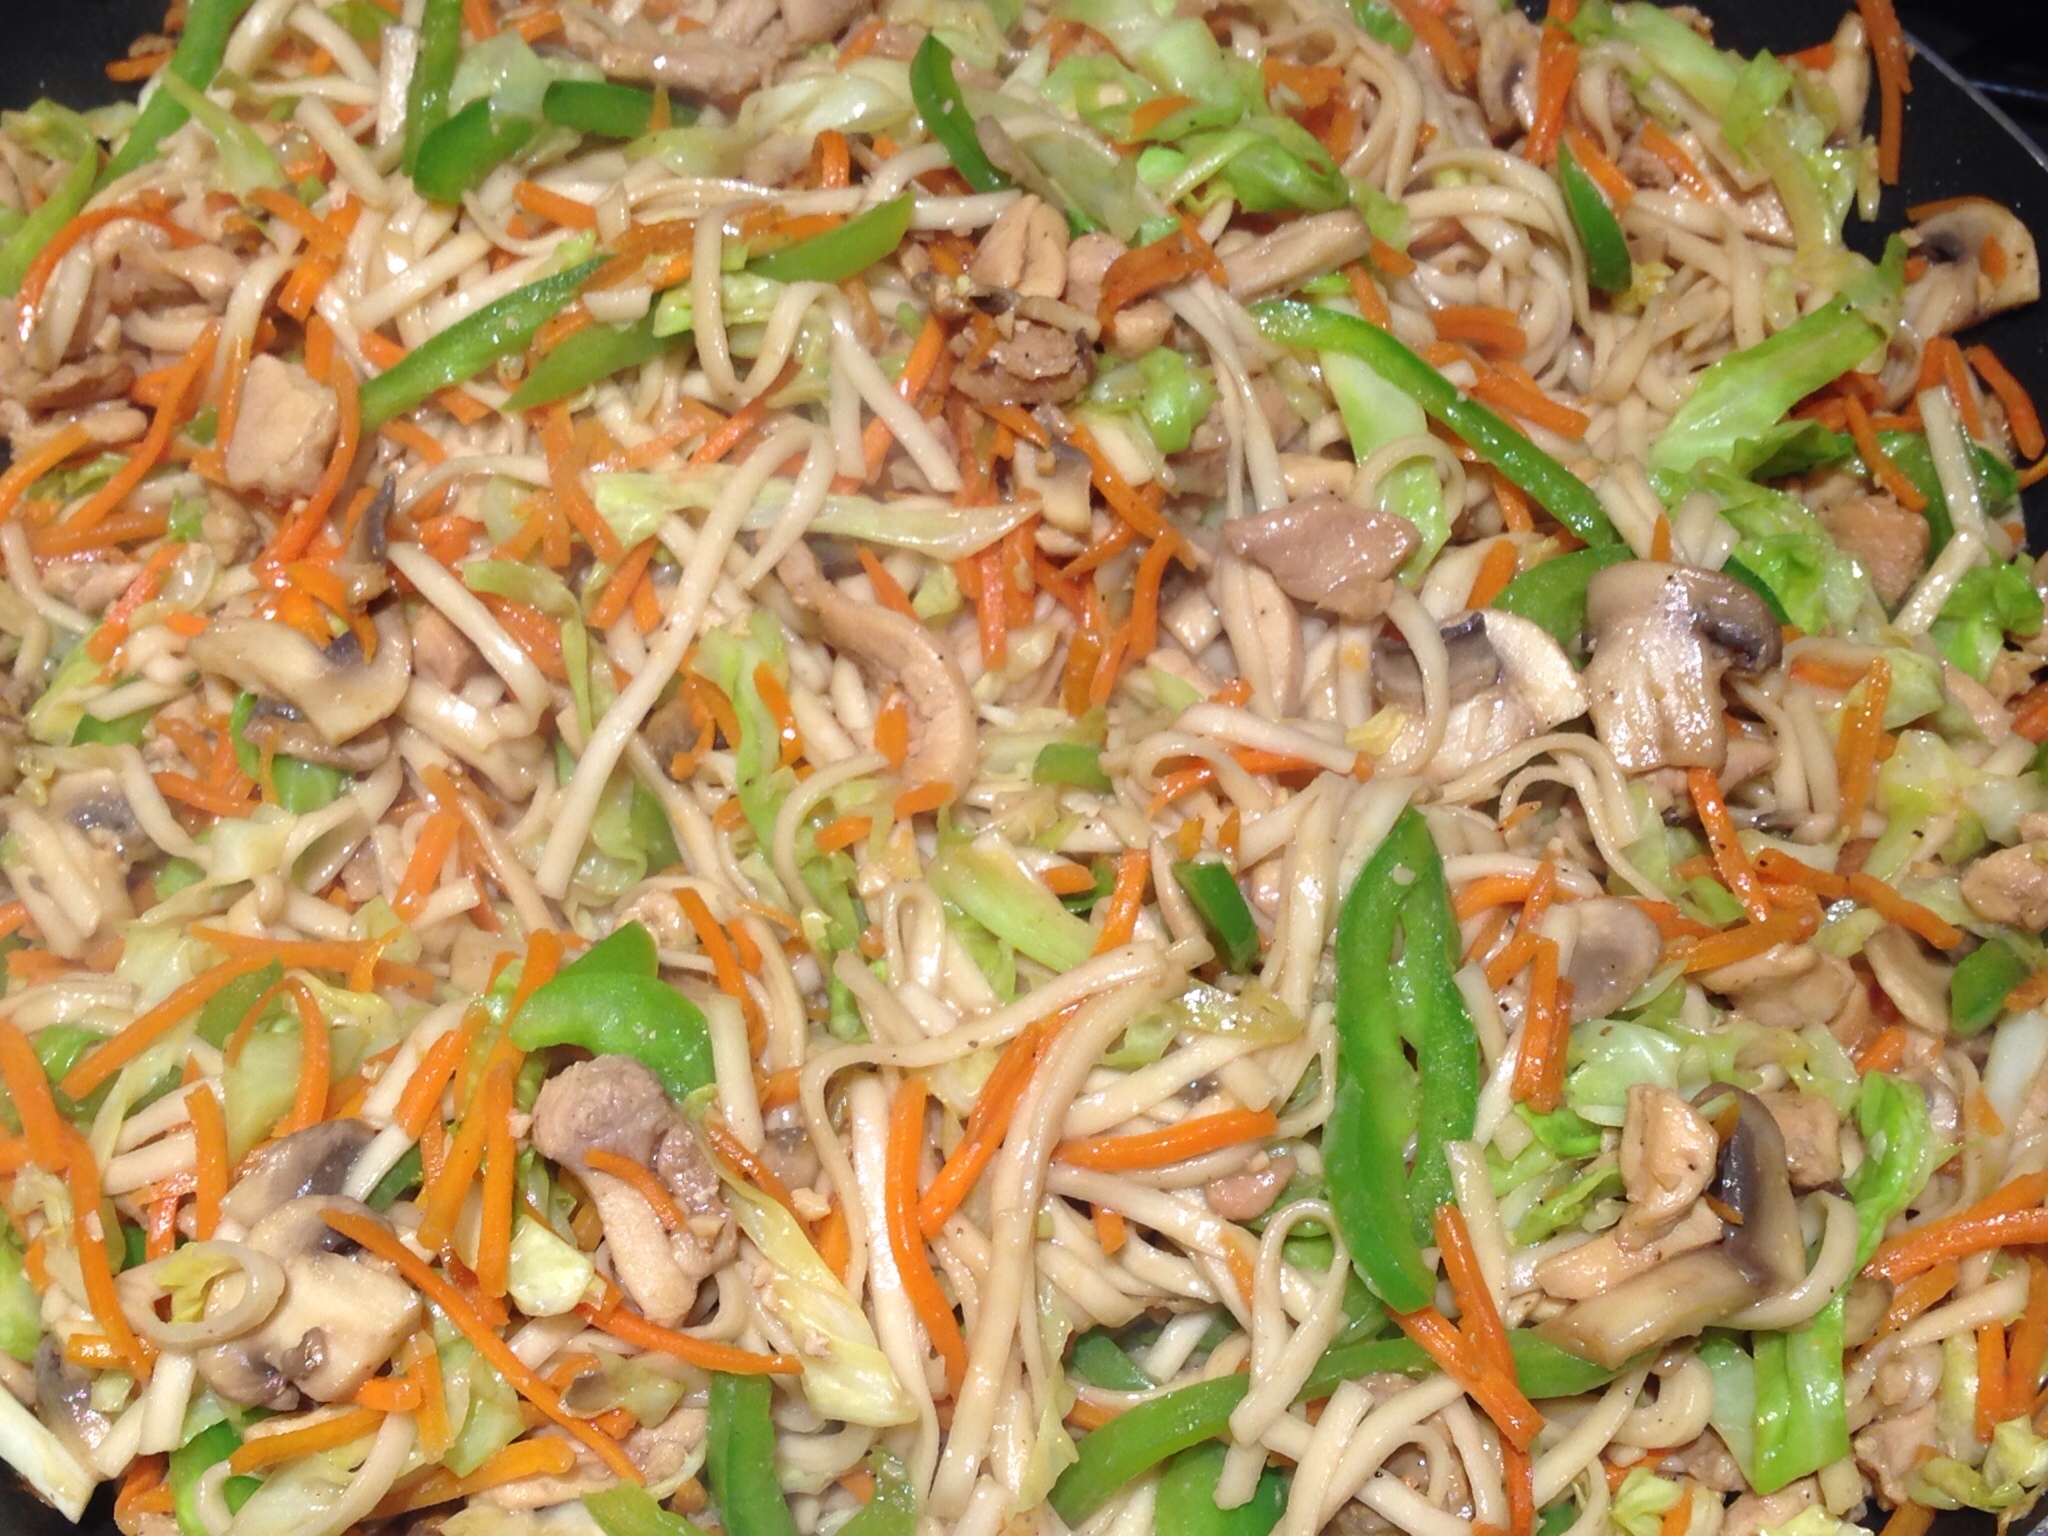
Gently stir in the noodles.

Add the green onions.

Stir gently so you don’t mash the noodles. Cook for another minute then serve and ENJOY!

Chicken & Spinach Alfredo Lasagne Roll-ups

I love good pasta.  Two of my favorites are chicken alfredo and lasagne, so how about we combine the two?

This is a rolled version.  I love how easy it is to serve up individual portions — all you have to do is scoop up a roll (or two).  There’s no messy cutting involved here!

To make this dish a bit more nutritious, I added frozen spinach — two entire boxes of it too! Even my daughter (who is an extremely picky eater) scarfed up her dinner, green stuff and all!

Give my recipe a try.  It’s so tasty, I know you’ll love it! 🙂

Chicken & Spinach Alfredo Lasagne Roll-ups

image

Ingredients:

The meat of 1 small roasted chicken
20 lasagne noodles, cooked al dente
2 10-oz packages frozen spinach, thawed and excess water squeezed out
1 15-oz. package shredded Parmesan cheese
2 large eggs
1 tablespoon garlic powder
1 teaspoon black pepper
1 teaspoon salt
4 stalks green onions
2 15-oz containers ricotta cheese
3 jars alfredo sauce
2 cups shredded mozzarella cheese

Directions:

Shred the chicken. I’m all for a bit of convenience here and there so I used a small rotisserie chicken to save time.  Here are the Before and After photos. 🙂

image

image

Place the spinach into a medium sized mixing bowl.

image

Add the Parmesan cheese.

image

Add the eggs.

image

Add the seasonings.

image

Add the green onions.

image

Add the ricotta.

image

Mix all of the ingredients together. (It looks ‘kinda like spinach dip, doesn’t it?) 🙂

image

Lay the noodles on a flat surface.

image

Spread about 4 teaspoons of the spinach mixture onto the noodle.

image

image

Add shredded chicken to the top of the spinach mixture.

image

Roll up the noodle, jelly roll style.

image

Pour alfredo sauce in the pan, just enough to cover the bottom.

image

Place the pasta rolls over the sauce.

image

Pour alfredo sauce over the top of the pasta.

image

This recipe made enough for one 9×13 pan plus a smaller square pan! Yay! There will be enough leftover to pack 4 lunches the the next day!

image

Sprinkle the mozzarella cheese all over the top.

image

Cover with foil and bake at 350 degrees for 30 minutes or until the cheese is melted and bubbly.

image

It’s done!

image

Serve with a slice of garlic toast.  Enjoy!

image

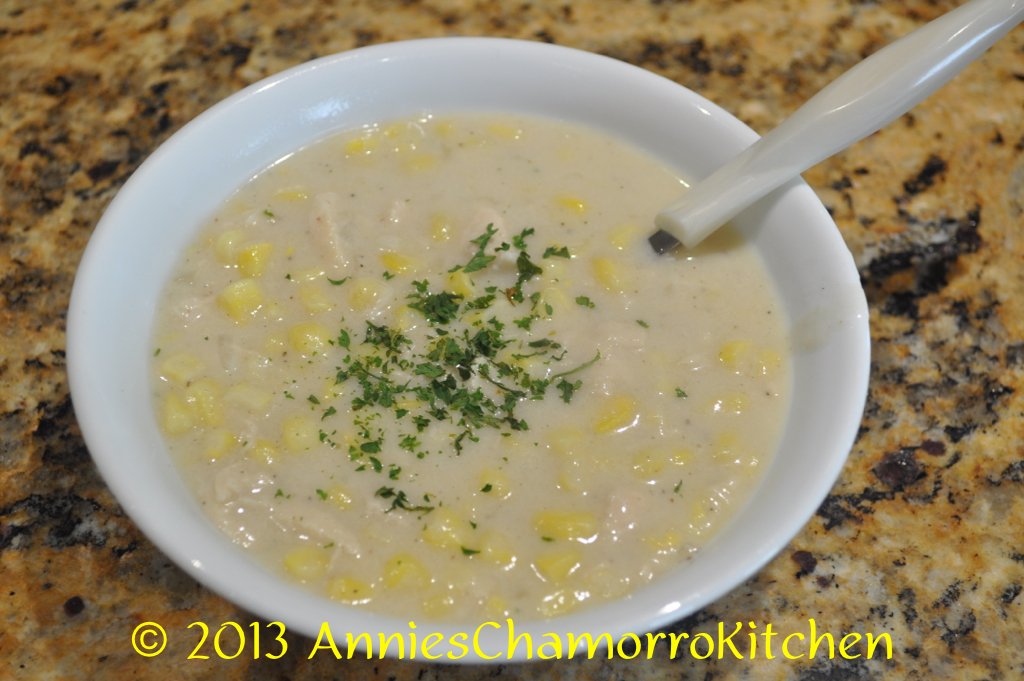
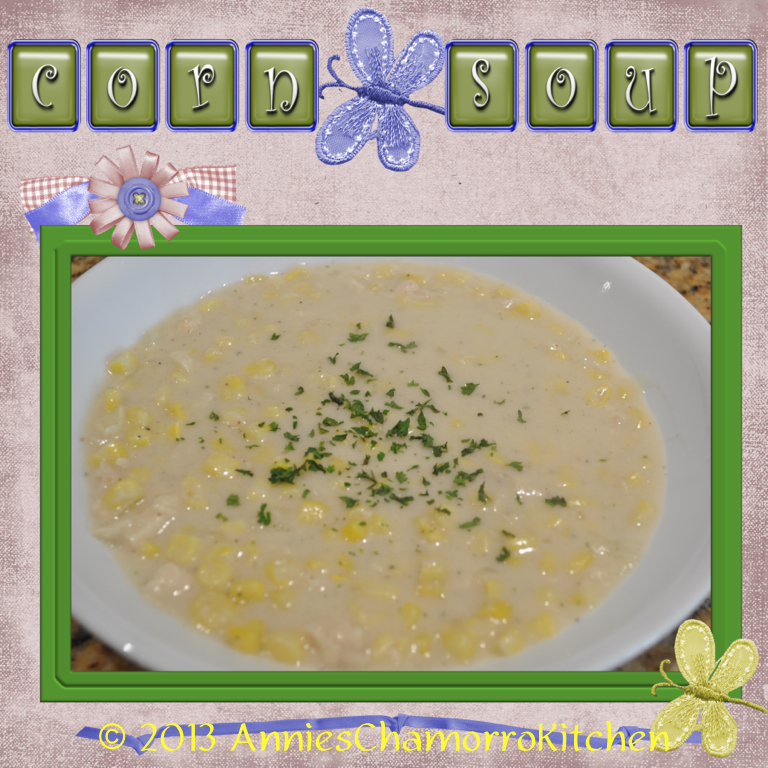
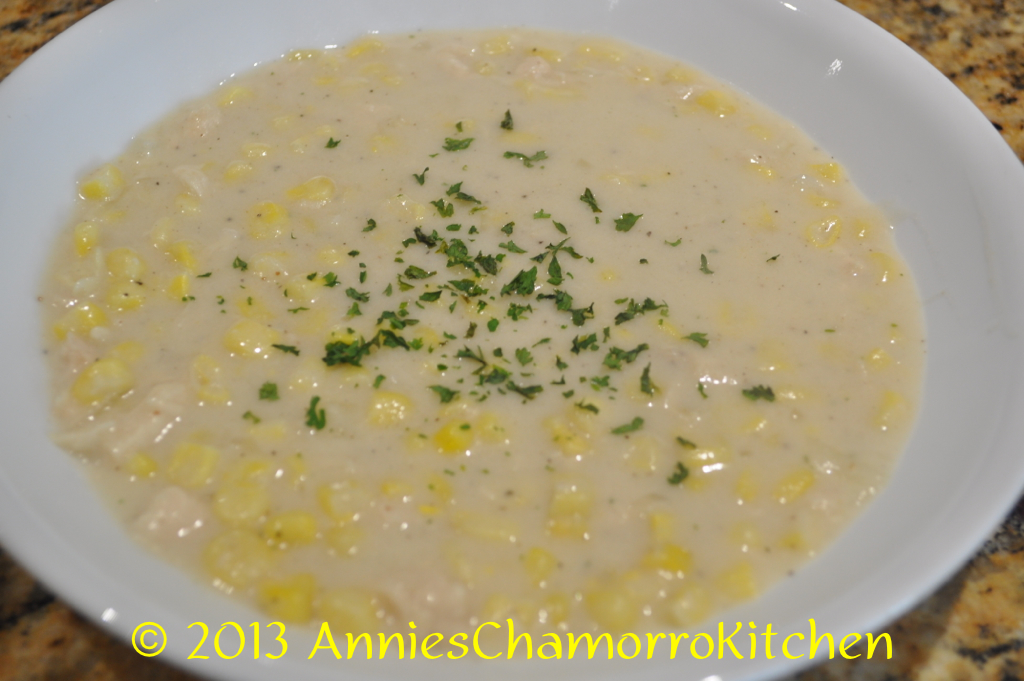
Corn Soup

Chicken corn soup is a classic dish on Guam.  It’s made many different ways, from cutting corn kernels off fresh ears of corn to using canned or frozen corn.

As with most recipes nowadays, you can find fresh ingredients right in the freezer section of your grocery store–ingredients frozen right at the peak of ripeness so that we can enjoy them year round.

My version of chicken corn soup is relatively quick and easy to make.  On a side note, I have an even simpler version of corn soup that I’ll share soon.  In fact, it’s so super-simple that I call it “Cheater Corn Soup”.  Come back soon for that one. 😉

Cook a pot of my chicken corn soup.  It’s perfect when you’re craving comfort food, or if you want something to warm up your insides on a cold, blustery day.

Give my recipe a try.  I think you’ll like it. 🙂

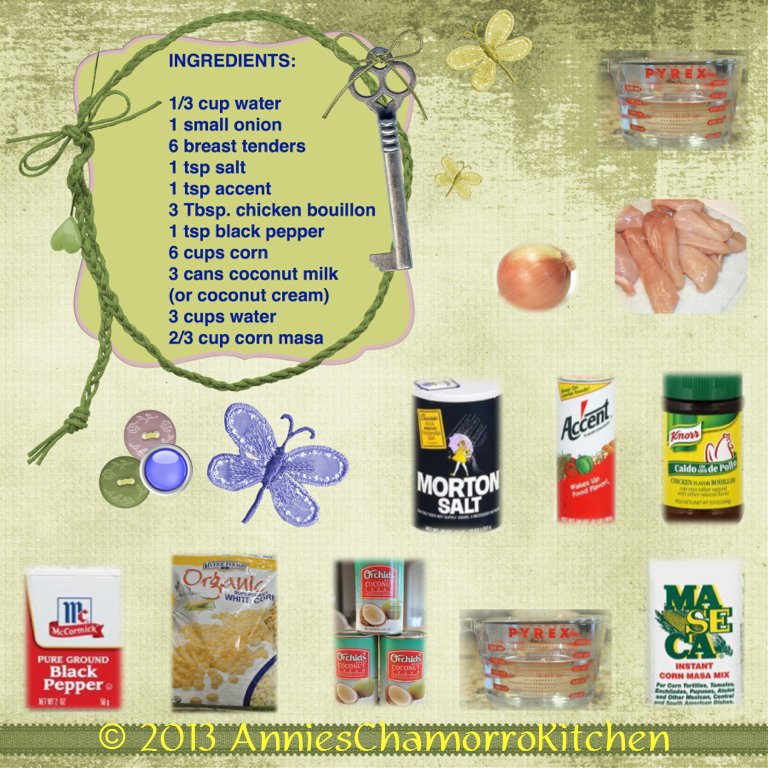
Corn Soup Tutorial - 01

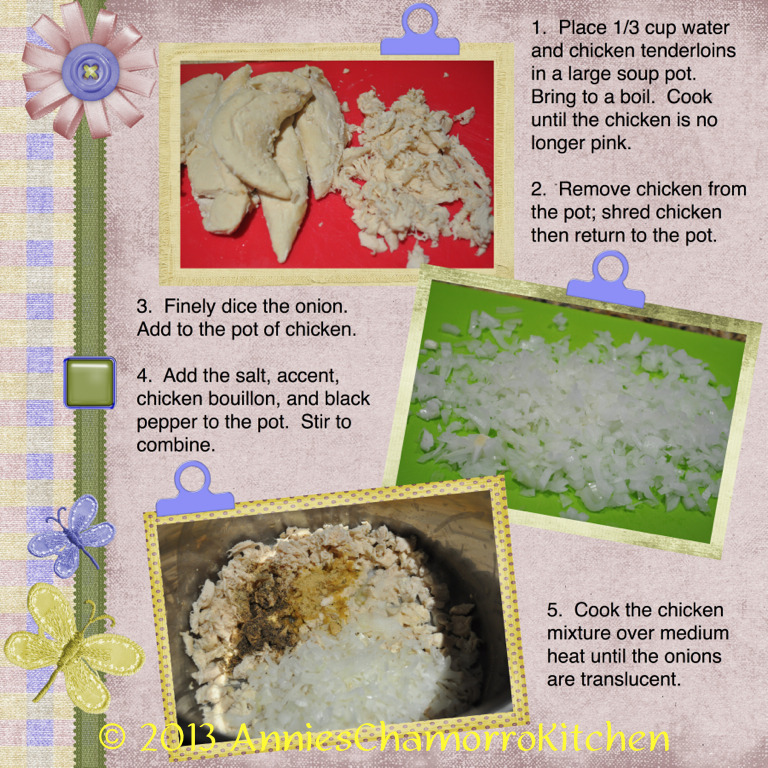
Corn Soup Tutorial - 02

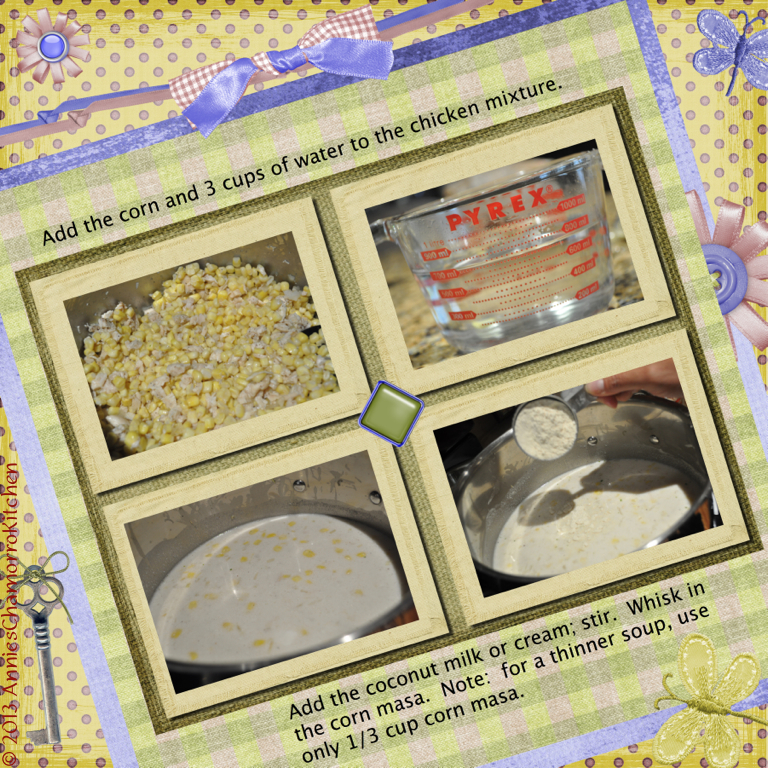
Corn Soup Tutorial - 03

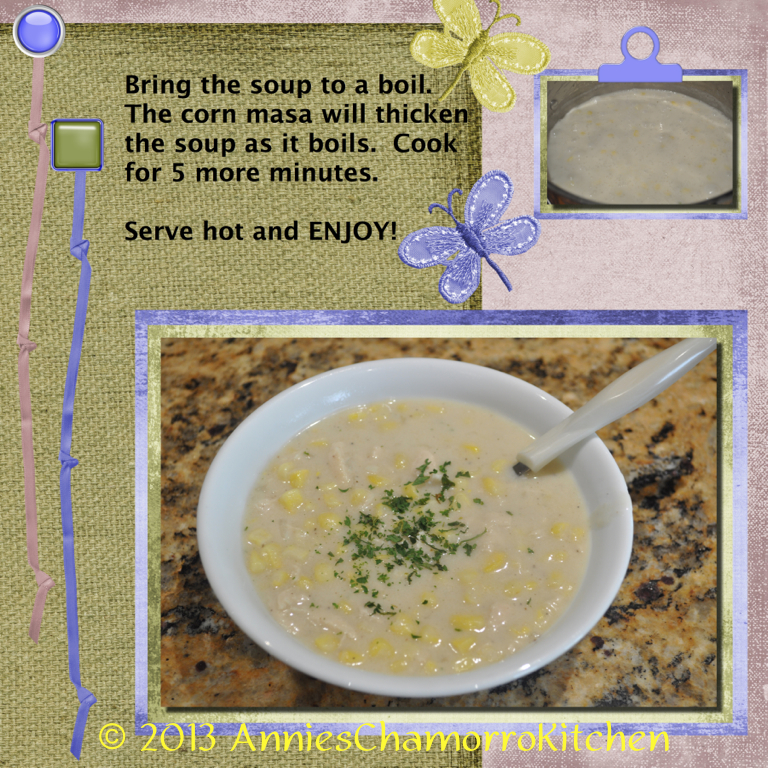
Corn Soup Tutorial - 04

Corn Soup Tutorial - 05

Corn Soup - 14


« Older Entries Recent Entries »