Archive for MEAT

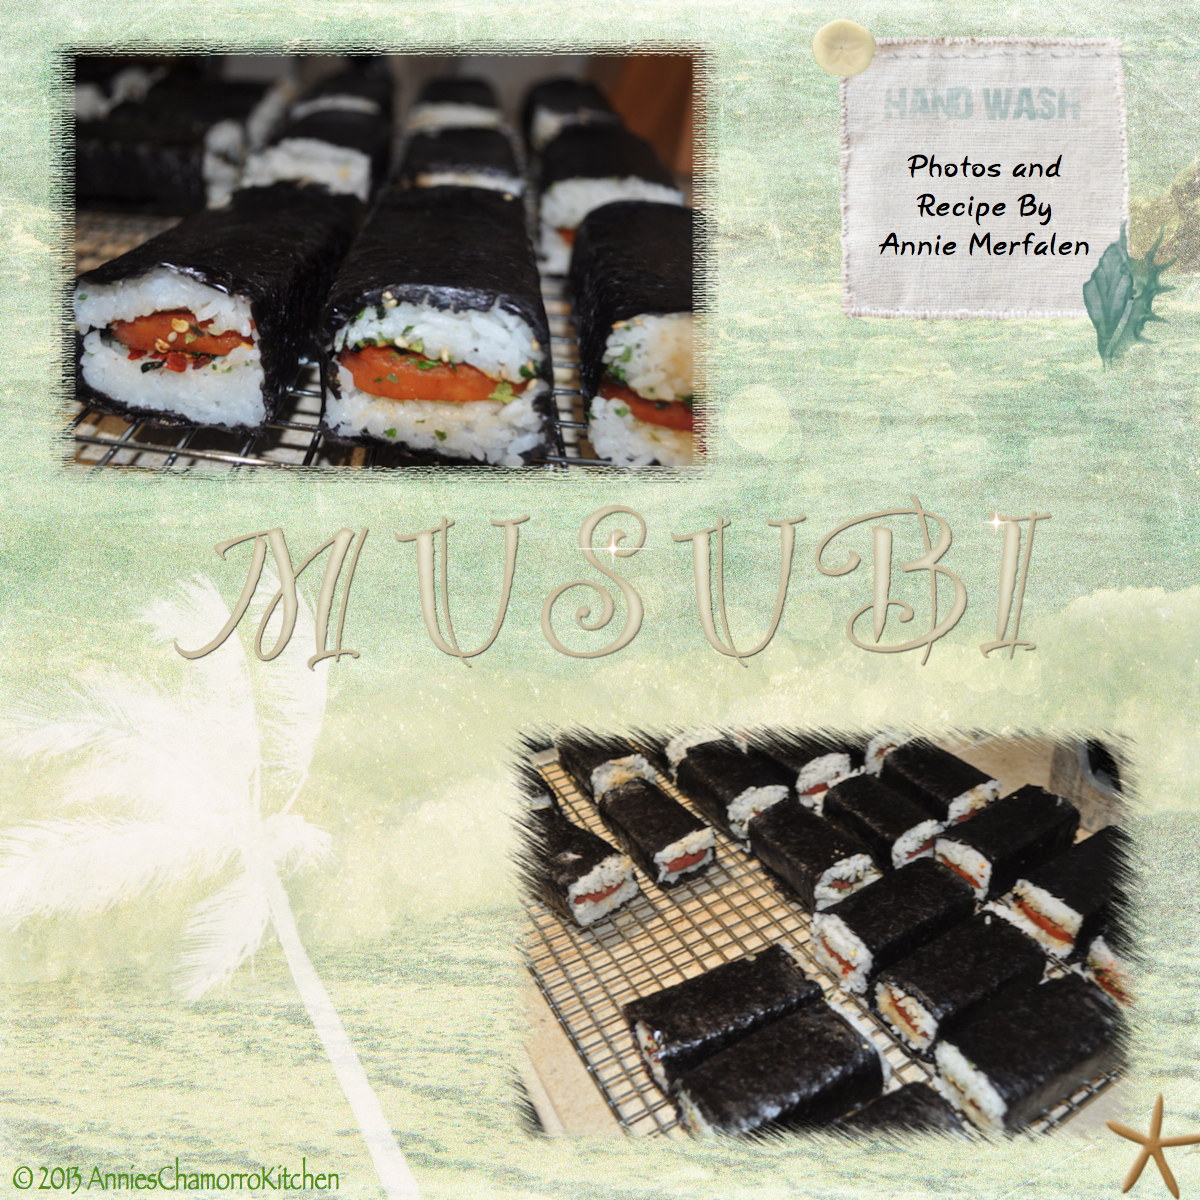
Musubi

I am so happy to be FINALLY writing this post!  Not just because I love musubi, but because it’s my inaugural SPAM post!!!  (Applause, applause, LOL)

I love SPAM!  If you’re from Guam, chances are you love spam too.  If not, well, don’t criticize until you try it.

This reminds me of a time when I was a young Army Captain several years ago.  I was an instructor at the time, and our unit took the students out for a week-long field training exercise.  Being the good Chamorro that I am, I did NOT pack any MREs (meals, ready to eat).  Instead, I packed some pan-de-leche and SPAM!  🙂  My students knew I brought Spam to the field.  Their reaction was, “Ewwww!  Spam!  No thank you!  Never in a million years would we eat SPAM!  They wouldn’t dare corrupt their bodies with SPAM!”  I told them they didn’t know what they were missing.  My NCO (non-commissioned officer) brought along a field stove and later that evening, we fried up some spam and made sandwiches with the pan-de-leche.  As the spam was cooking, we heard some trampling in the bushes–soon, a couple of our students showed up, asking what it was they were smelling.  I asked why–they replied, “It smells GOOOOD!!”  Of course, being the good instructor I was, I told them I wouldn’t DARE corrupt their bodies with my delicious fried SPAM……….and my NCO and I promptly ate the last few sandwiches in front of them.  😉

Now, back to the important stuff…MUSUBI!

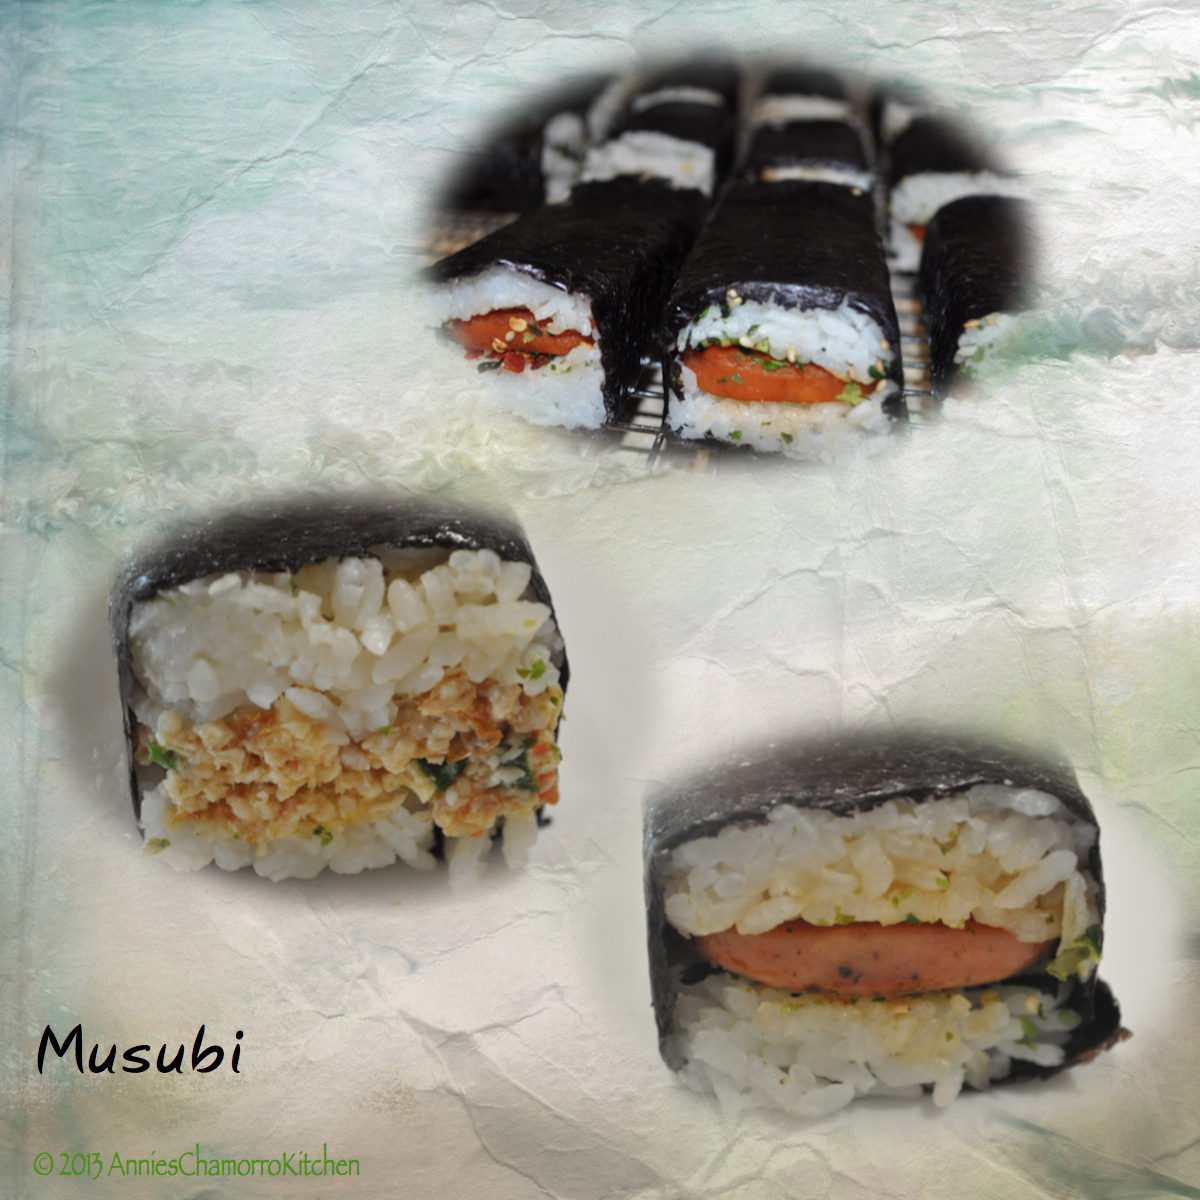
Musubi is a popular snack, not just on Guam, but in Hawaii as well.  Sometimes you’ll hear it referred to as Spam Sushi.

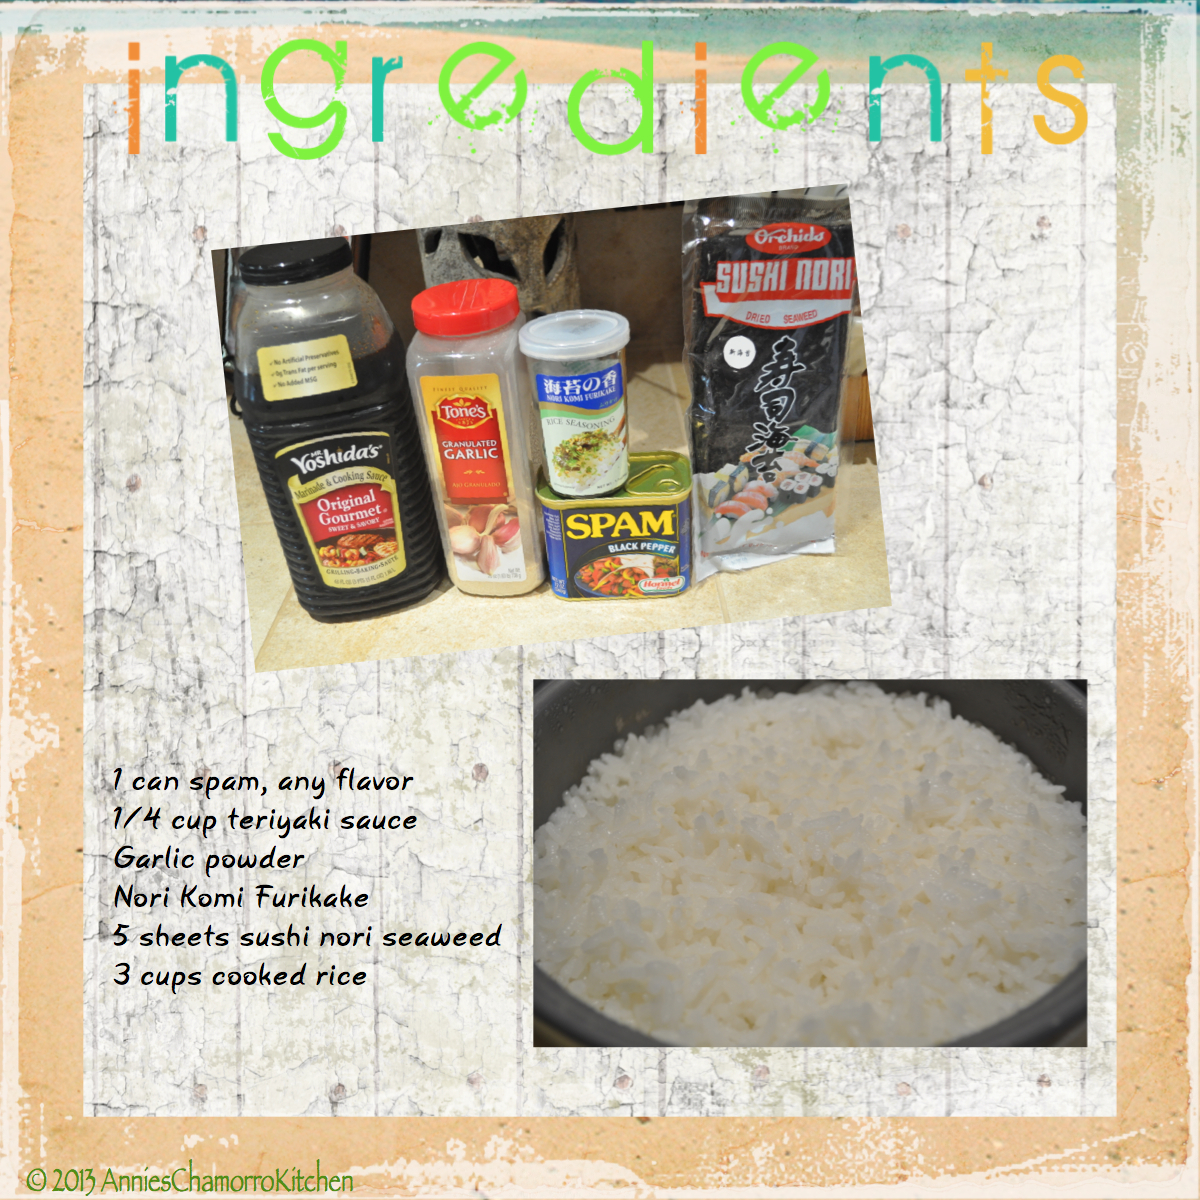
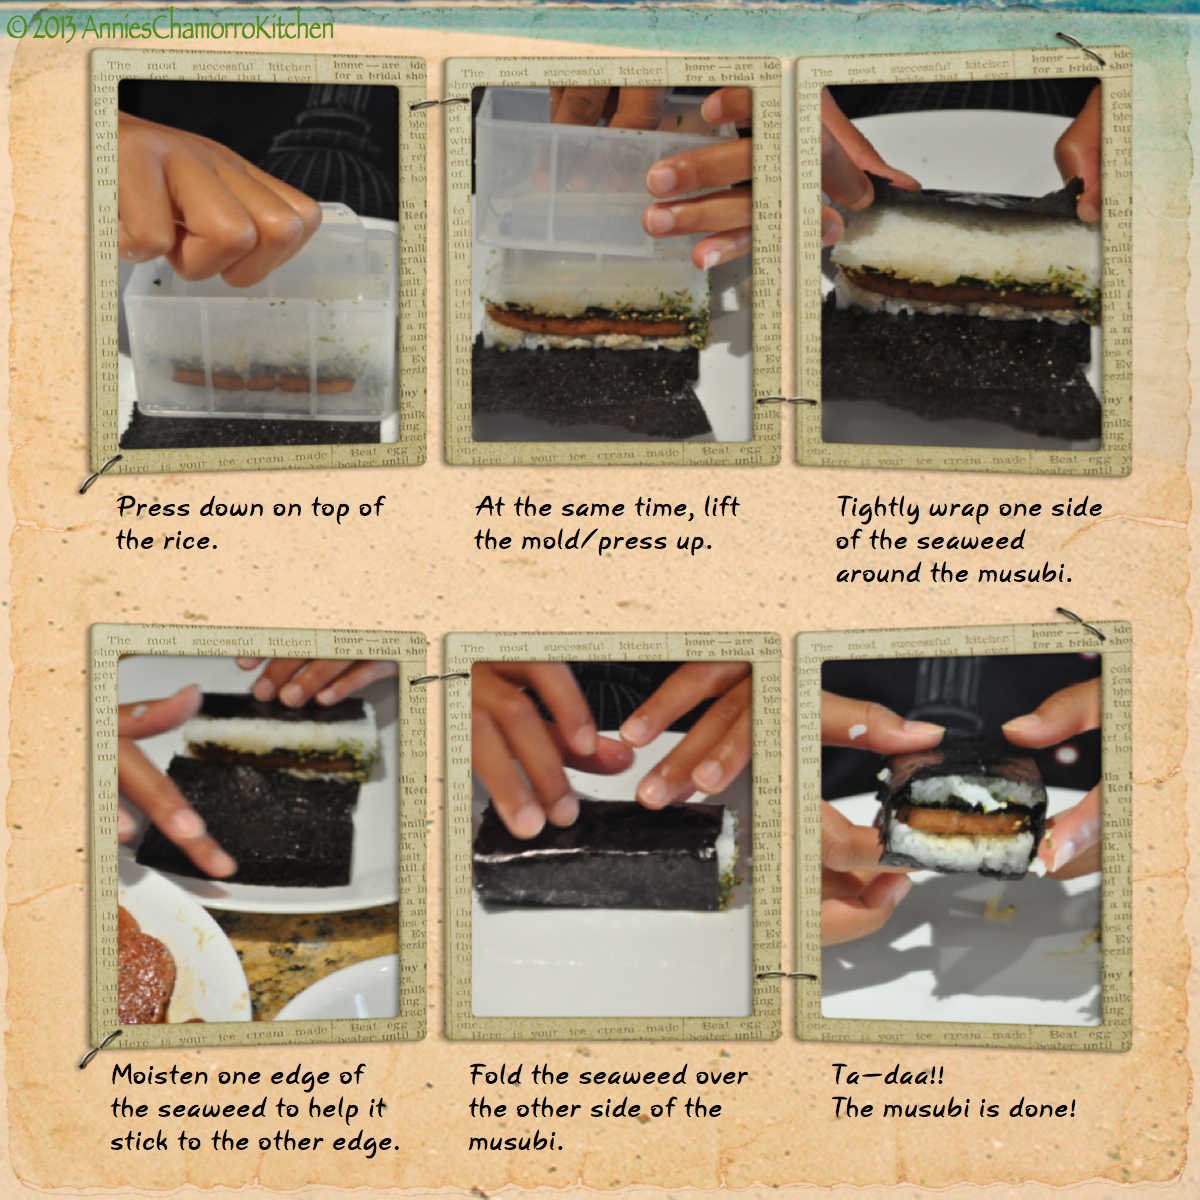
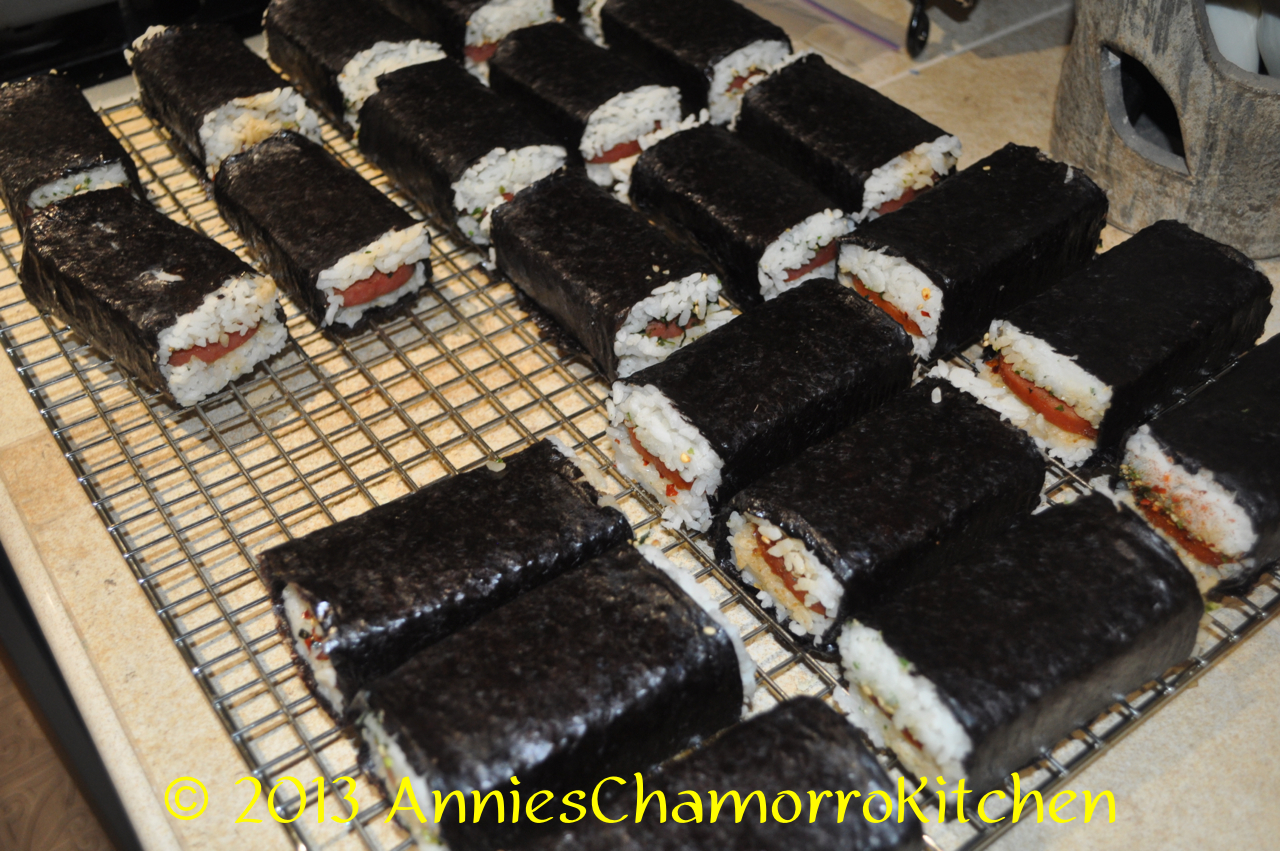
It’s made of a slice of spam that’s been grilled, then topped with rice and wrapped in nori seaweed wrapper.

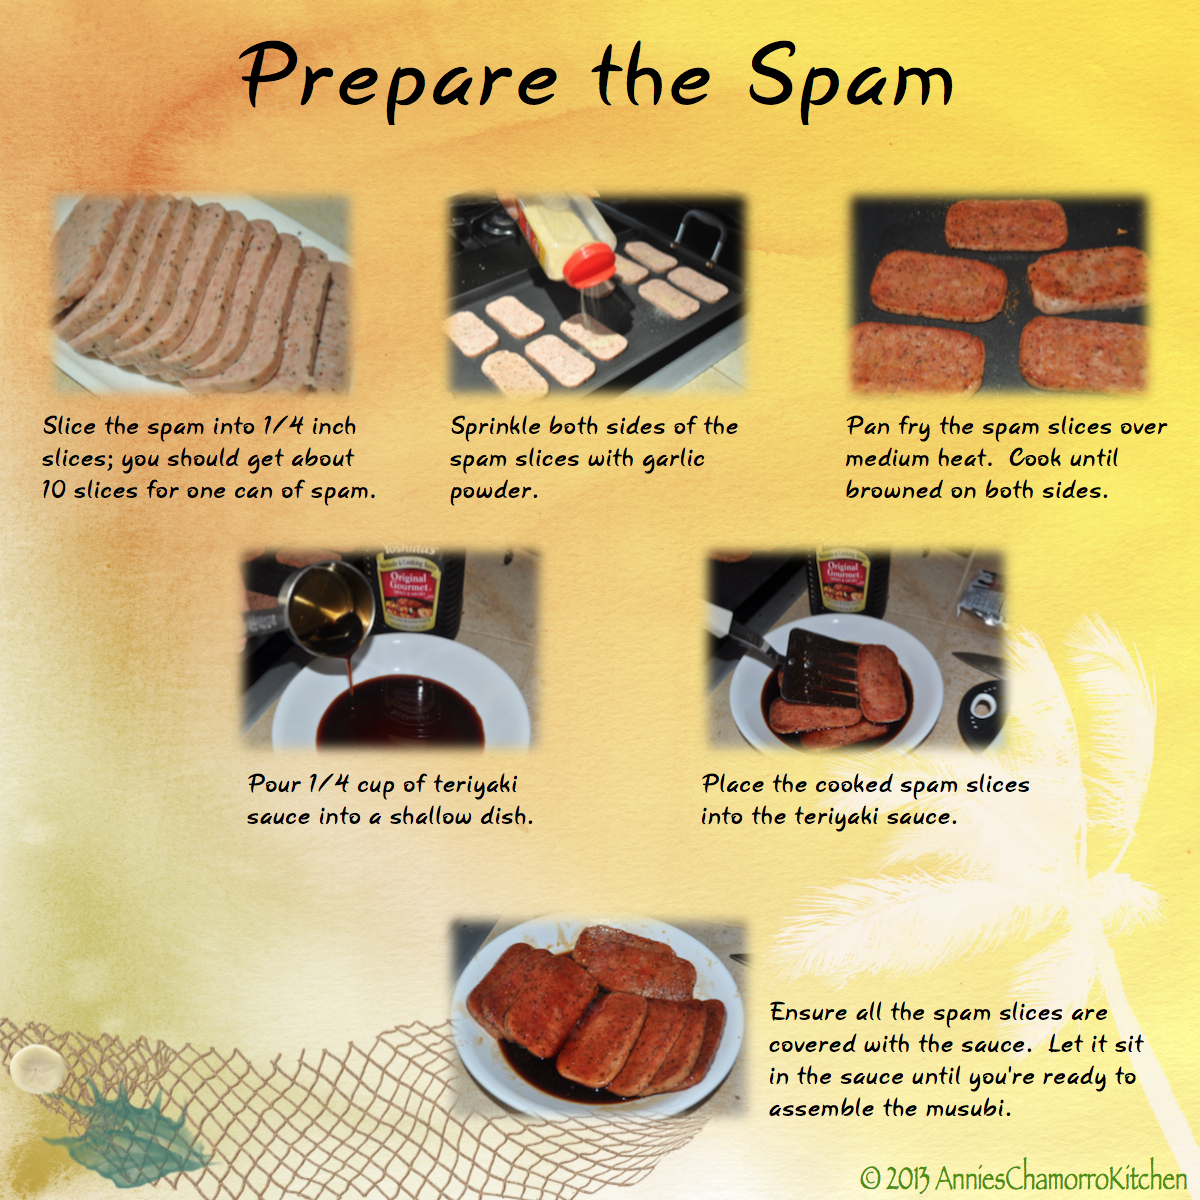
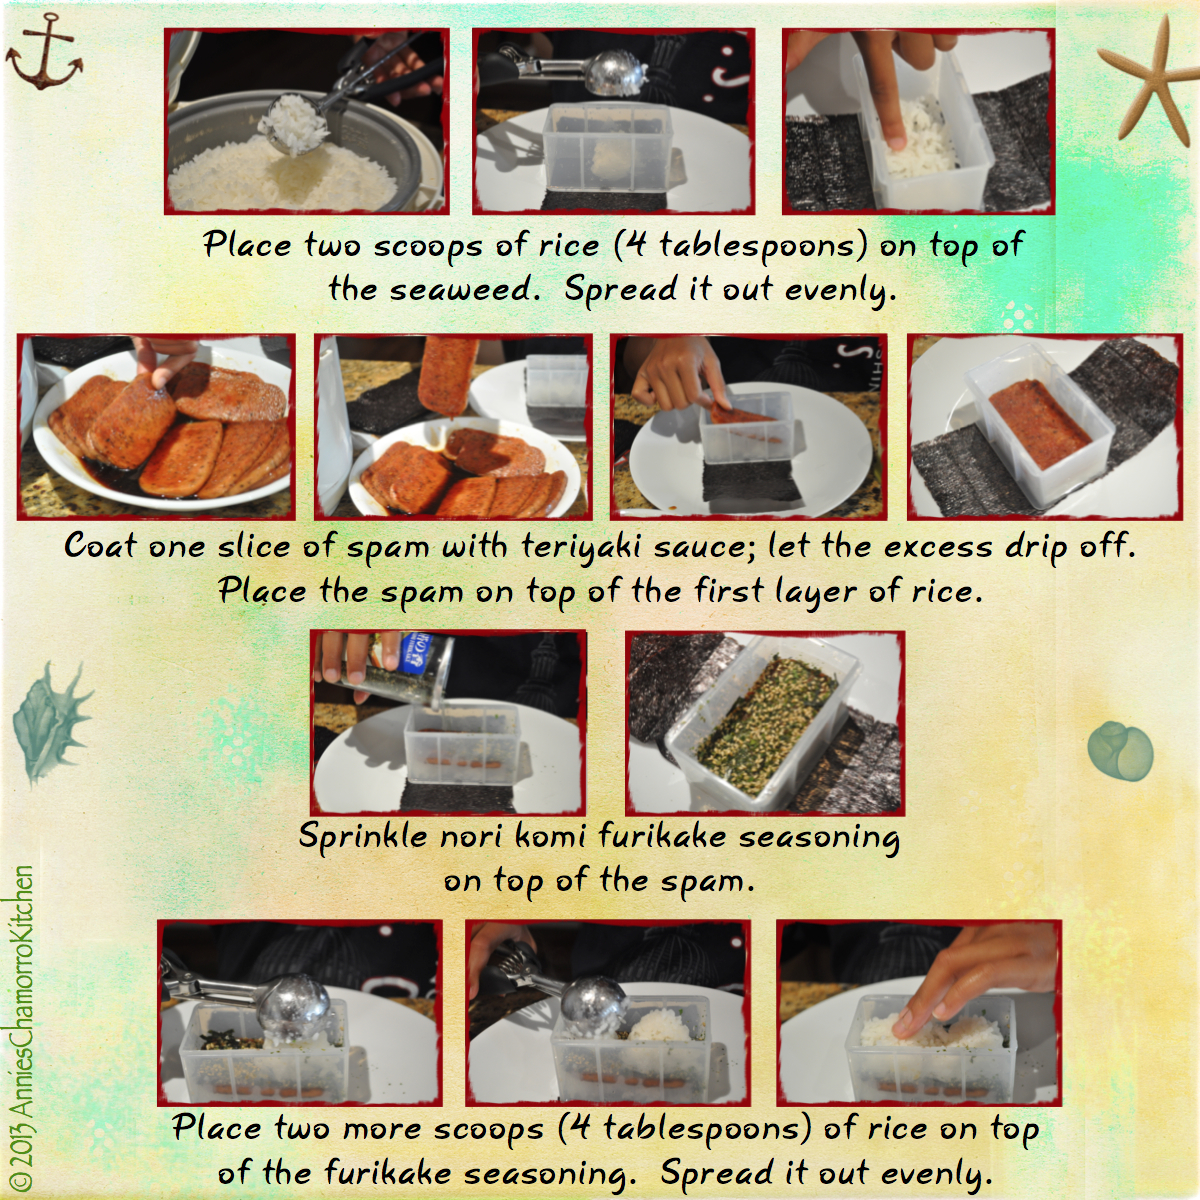
I like to soak the fried spam in a sweet soy sauce mixture before assembling the musubi.  The sweet-saltiness of the spam takes this to a whole new level.

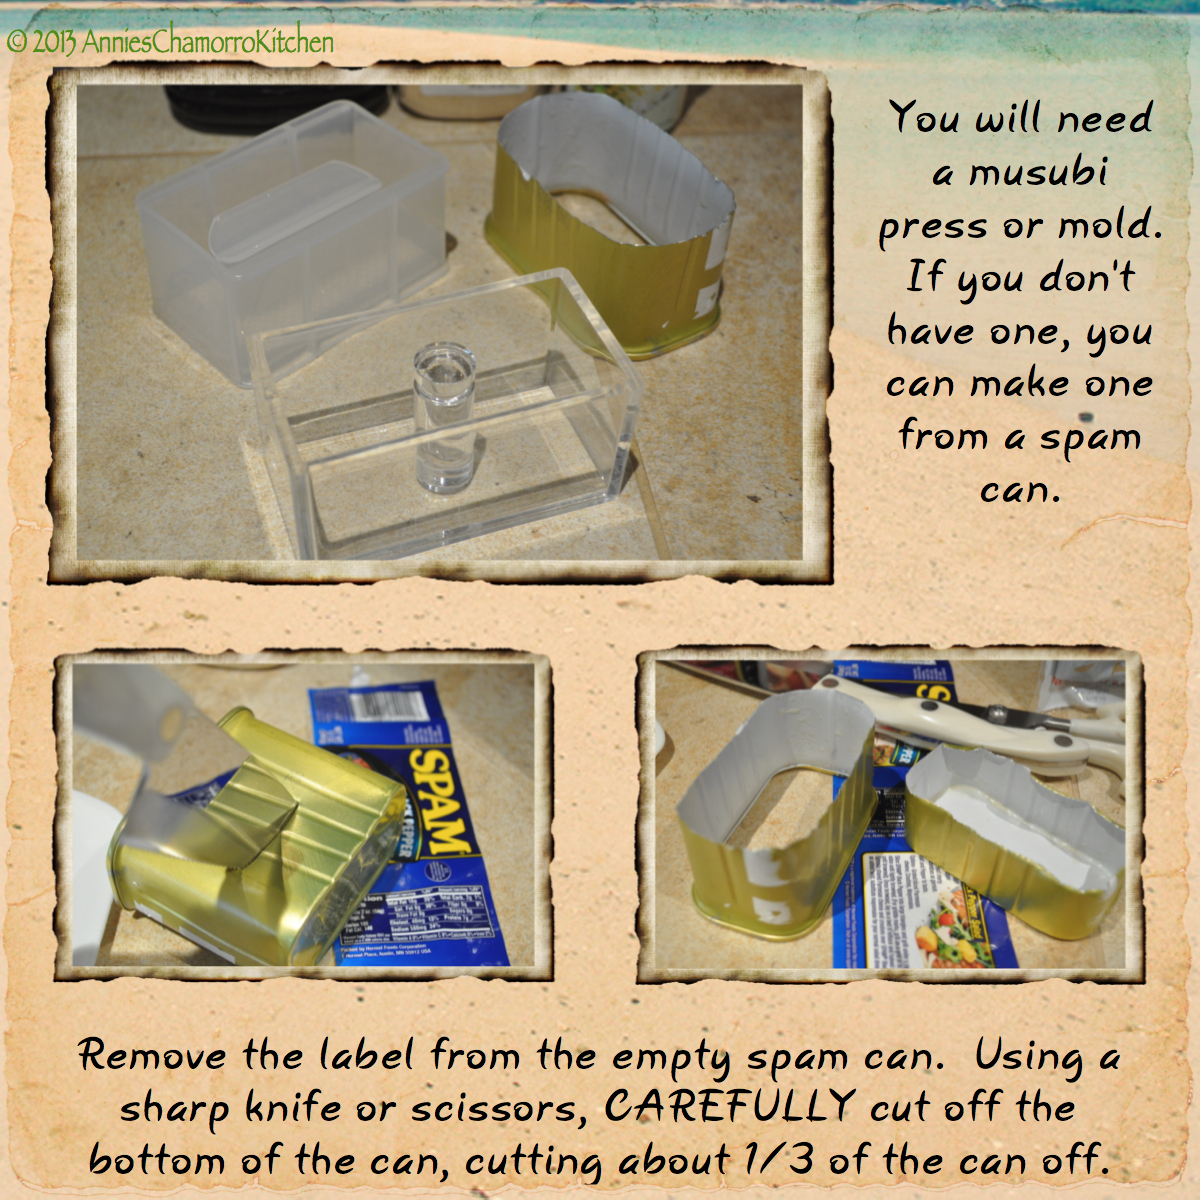
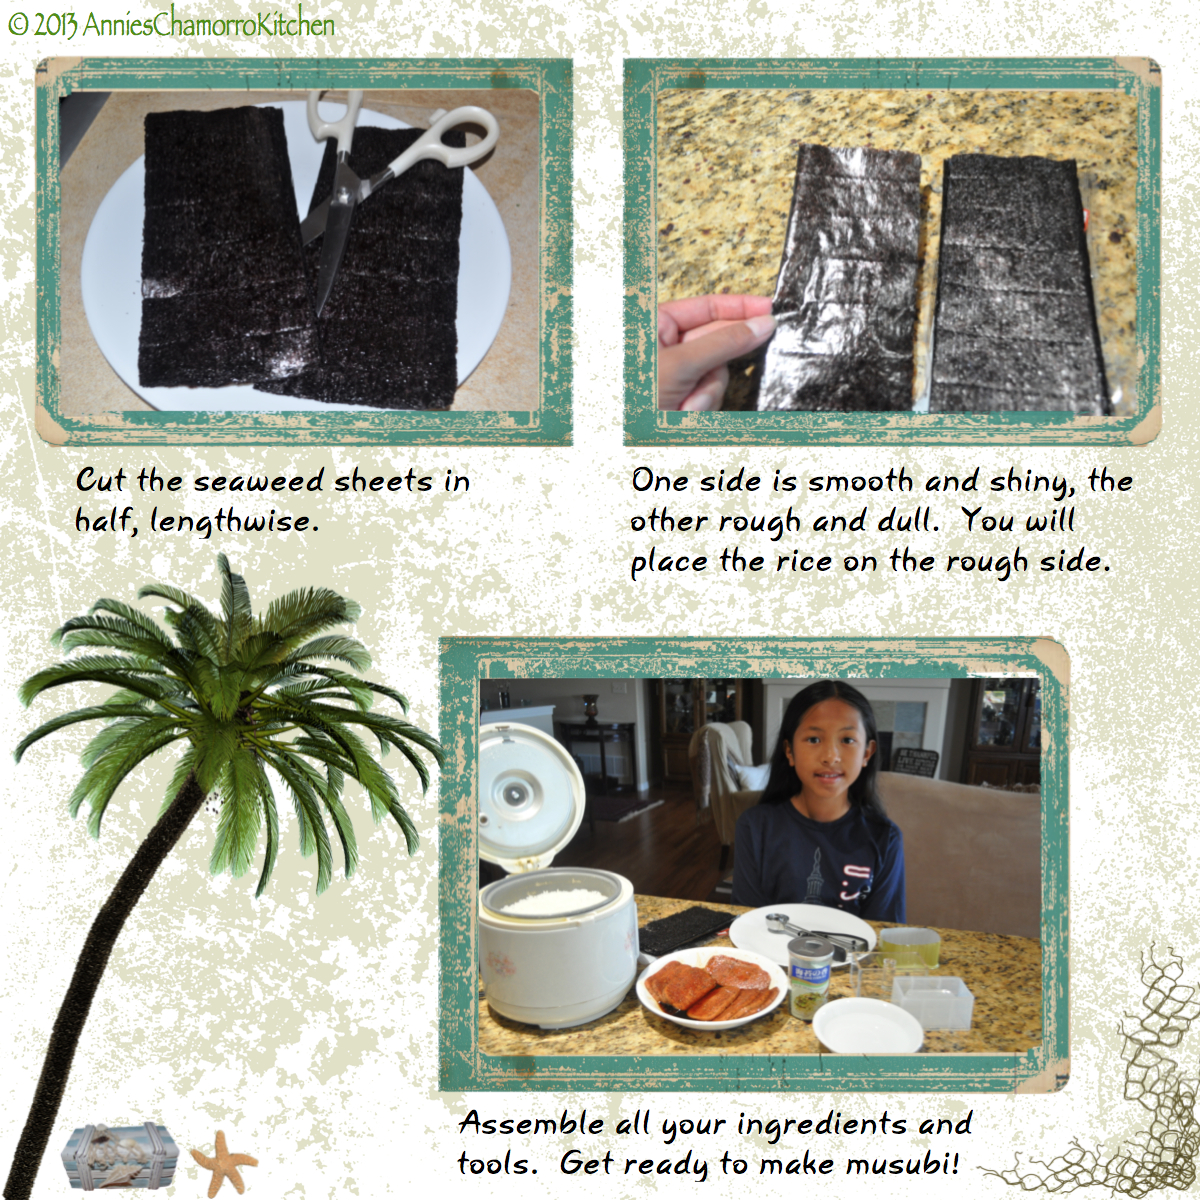
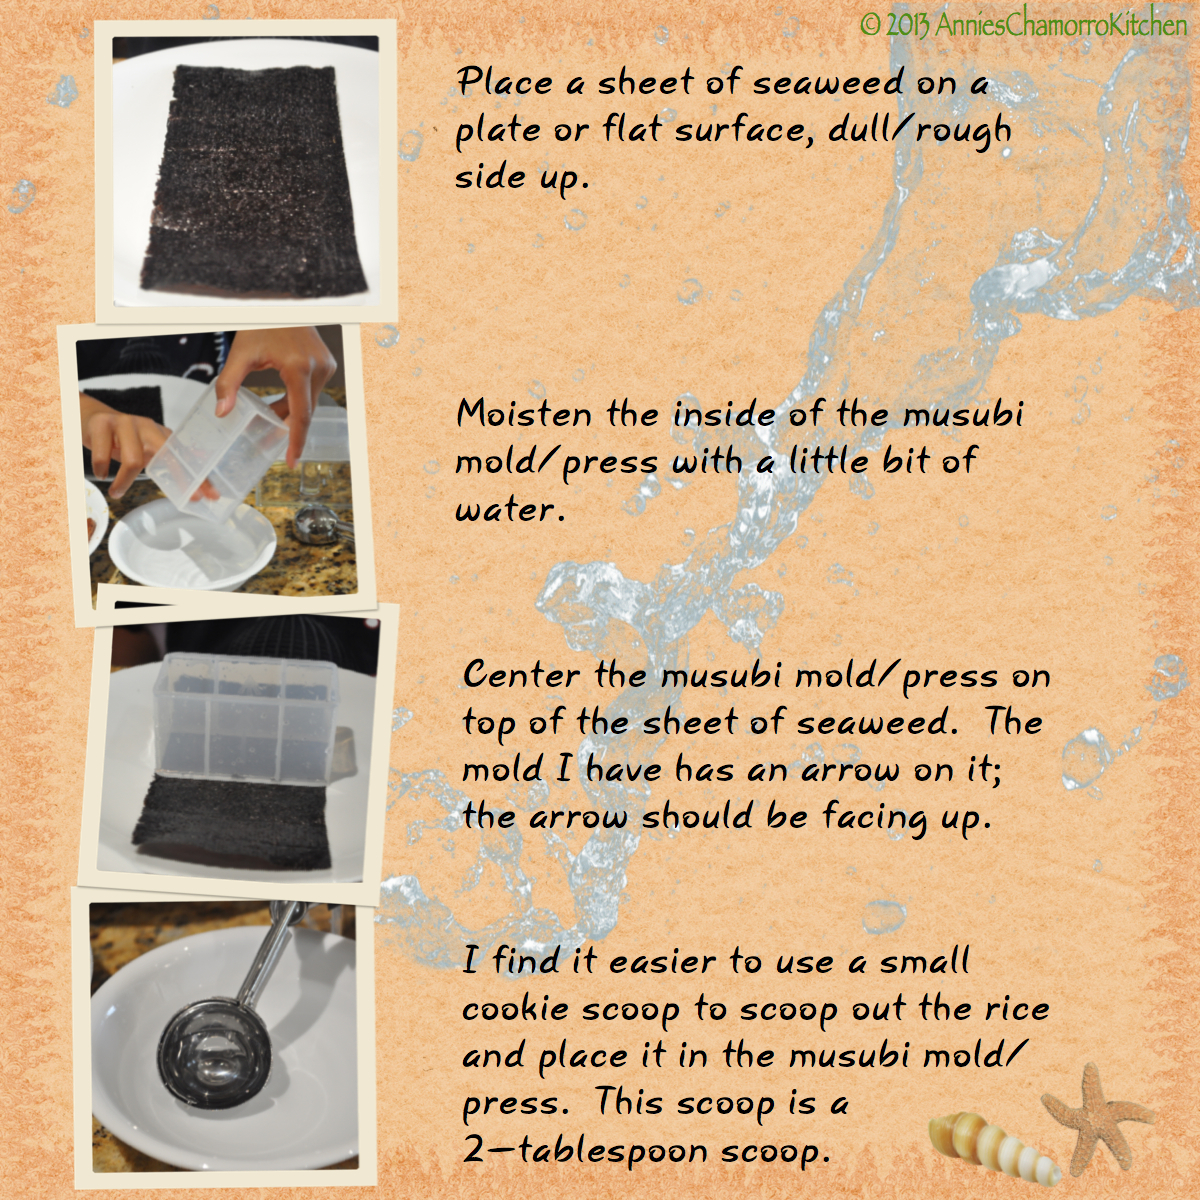
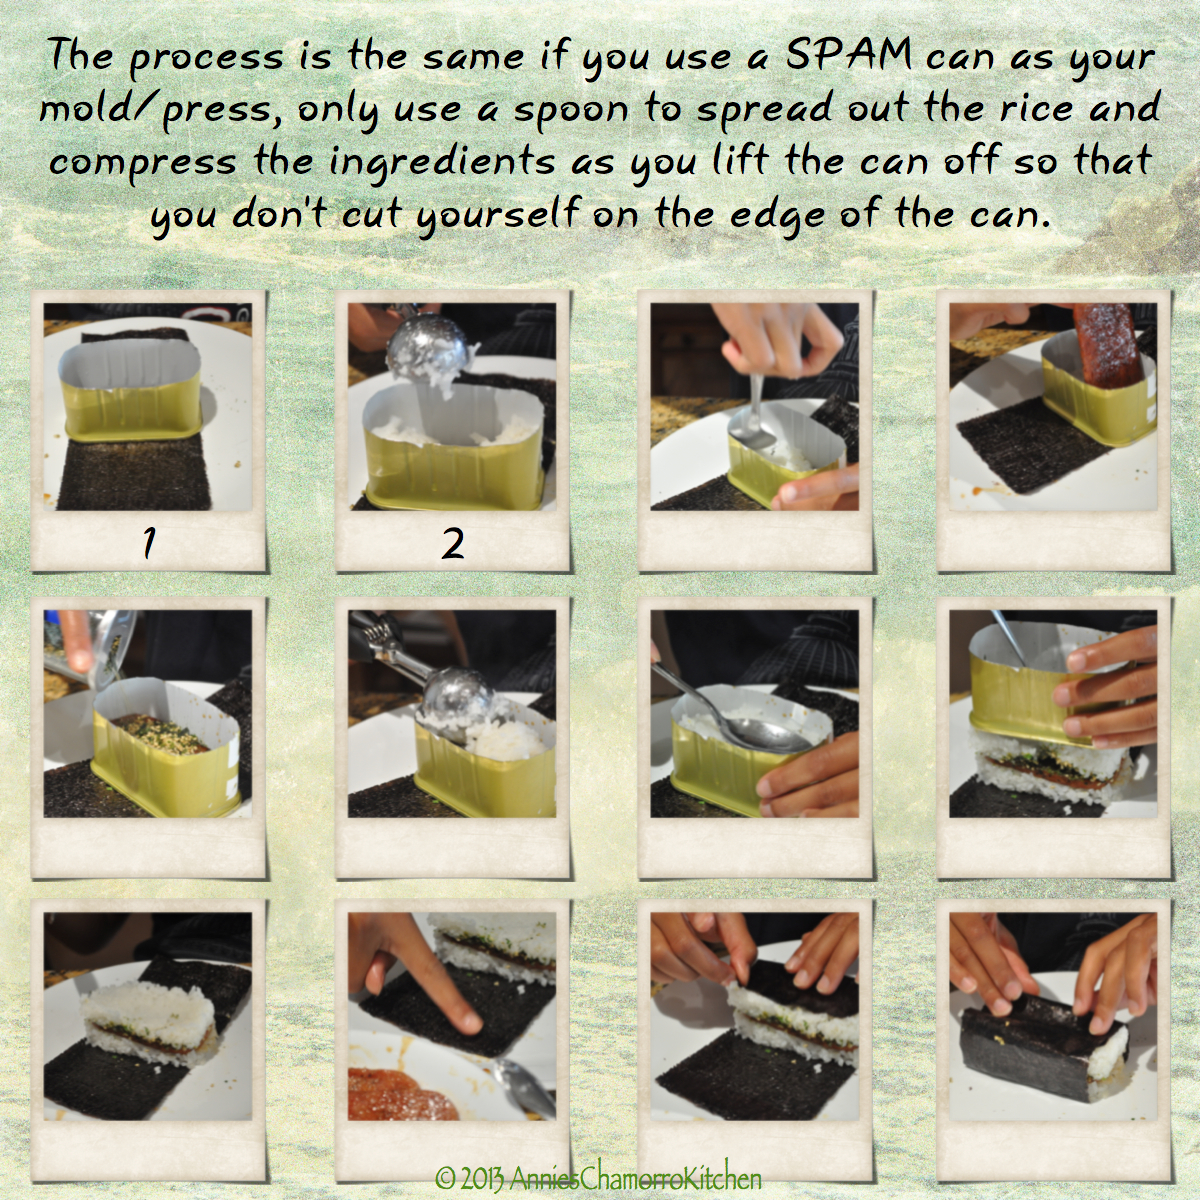
The photos below show my step-by-step process for making Spam Musubi.  If you’ve never tried it, now’s the time.

I just remembered ANOTHER story about Spam…one where I won a radio contest…but I’ll save that for another Spam recipe post.  In the meantime, make some Musubi.  Or, just fry up some Spam and serve it with hot white rice, fina’denne’ and some kimchi.  Mmm Mmm Good!

SPAM MUSUBI

Musubi 1


Musubi 2


Musubi 3


Musubi 4


Musubi 5


Musubi 6


Musubi 7


Musubi 8


My OFFICIAL TASTE TESTER, my 11 yo daughter, Alyssa.  🙂

Musubi 9


Musubi 10


Musubi 12


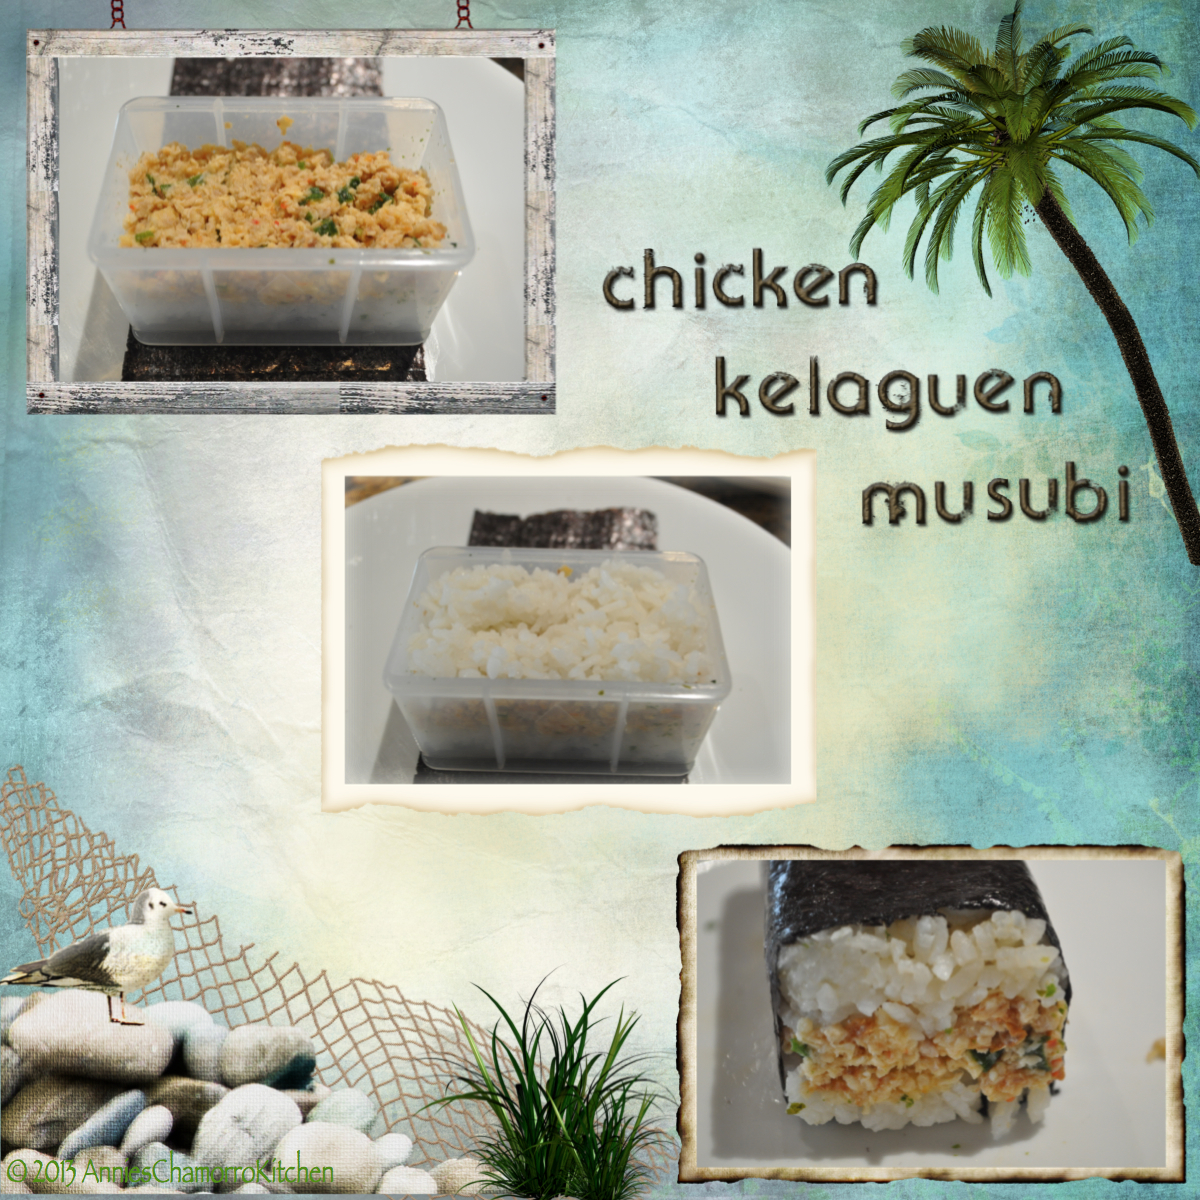
Be creative!  You can make Musubi with any type of filling.  I used Chicken Kelaguen to make the musubi pictured below.

Musubi 11


Events - 2863

Beef Stir Fry with Eggplant, Mushrooms and Bean Sprouts

Beef…it’s what’s for dinner.  🙂  I love that commercialized tag line.

Beef stir fry is another one of those versatile dishes that you can change by adding different vegetables.  I like using whatever looks freshest at the grocery store.  Use whatever vegetables you like, or modify this further by substituting the beef with chicken, pork, or even shrimp!  You can even make this a vegetarian dish by stir frying firm tofu in place of the beef.  The options are virtually endless.

Beef Stir Fry

Ingredients:

  • 3 pounds thinly sliced beef
  • 3 tablespoons sesame oil
  • 1/2 teaspoon black pepper
  • 1 teaspoon accent (or aji), optional
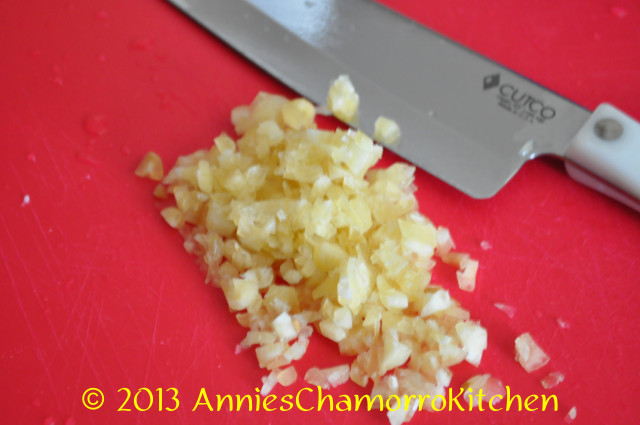
  • 8 cloves garlic, minced
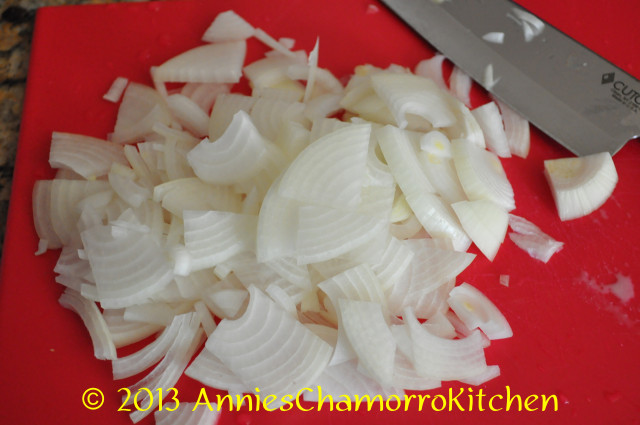
  • 1 medium onion, sliced
  • 1 head broccoli, cut into small pieces
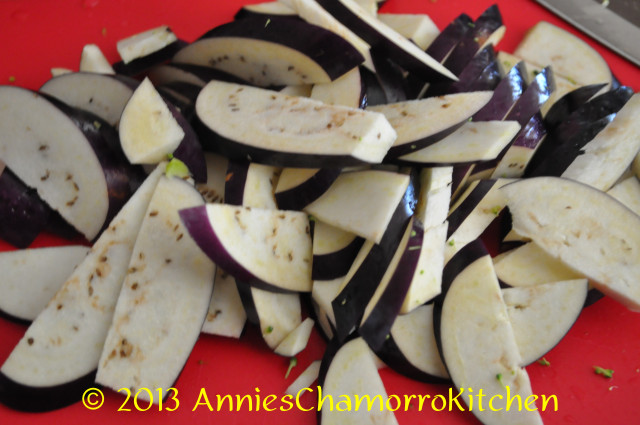
  • 2 medium Japanese eggplants, sliced
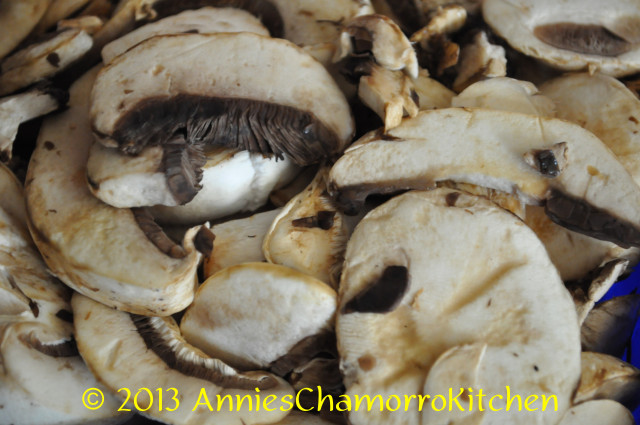
  • 1 package sliced mushrooms, about 2 cups
  • 1/2 cup soy sauce
  • 1 tablespoon hoisin sauce
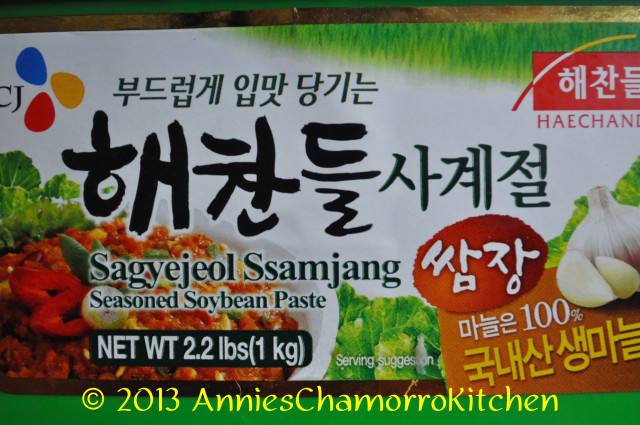
  • 4 tablespoons Korean seasoned soybean paste (see note)
  • 1 bag fresh bean sprouts

Directions:

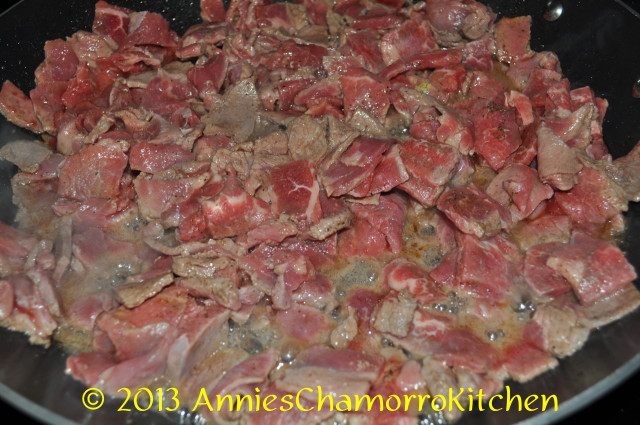
1.  In a large pan or wok, brown the beef over high heat along with the sesame oil, black pepper, accent and garlic.

DSC_0057

DSC_0060

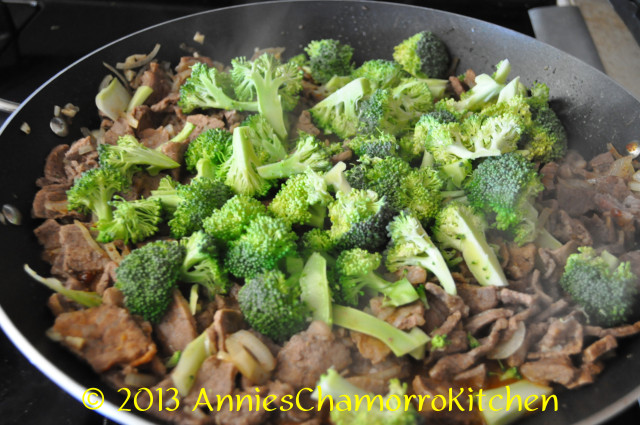
2.  When the beef is browned, add the onions, broccoli, eggplant and mushrooms. Cook over medium high heat until the eggplant and mushrooms have wilted slightly.

DSC_0061

DSC_0067

DSC_0068

DSC_0069

3.  In a small bowl, mix the soy sauce, hoisin sauce, and Korean seasoned soy bean paste. NOTE: If you can’t find the soybean paste, substitute with like amounts of hoisin sauce. Add the soy sauce mixture to the pot; stir to combine all the ingredients.

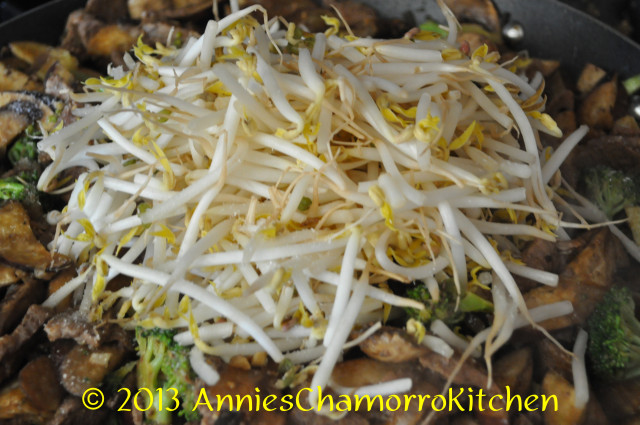
4.  Add the bean sprouts. Reduce the heat to low and simmer for about 5 minutes until the bean sprouts have wilted only slightly.

DSC_0070

5.  Serve with hot rice and enjoy!

This makes enough for about 8-10 servings.

  DSC_0081

Pork & Shrimp Chop Suey with Noodles

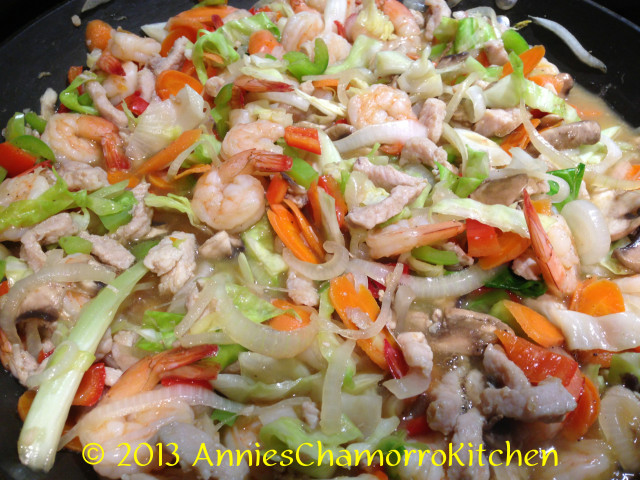
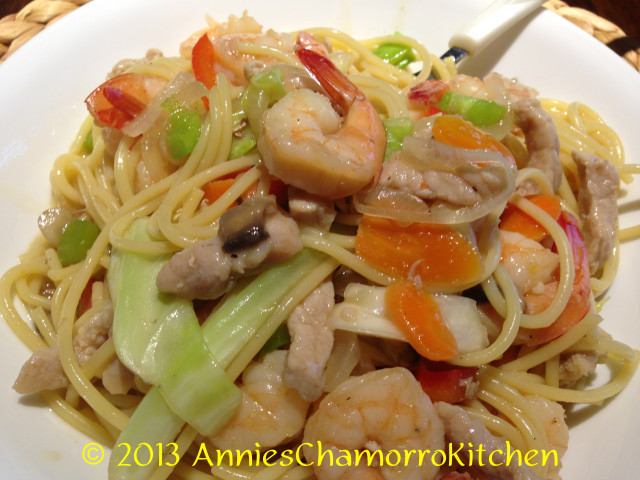
Chop suey most often refers to a stir fried noodle dish, but I like my version of chop suey with a bit of gravy.  I guess my brain refuses to separate spaghetti noodles from sauce, so my chop suey is saucy.  That’s got a nice ring to it, doesn’t it?  Saucy Chop Suey?  🙂

Anyhow, my recipe is made with slices of pork, shrimp, and a variety of veggies — I like adding carrots, cabbage, mushrooms, peppers, and onions.  My mom adds celery in hers, but that’s one vegetable I am not too keen on, so it stays out in my version.

Add your favorite ingredients to make it your own.  Give it a try and let me know how you like it.  🙂


CHOP SUEY

IMG_0382

This recipe makes enough to feed a family of four, plus enough leftover for a couple of packed lunches the next day.

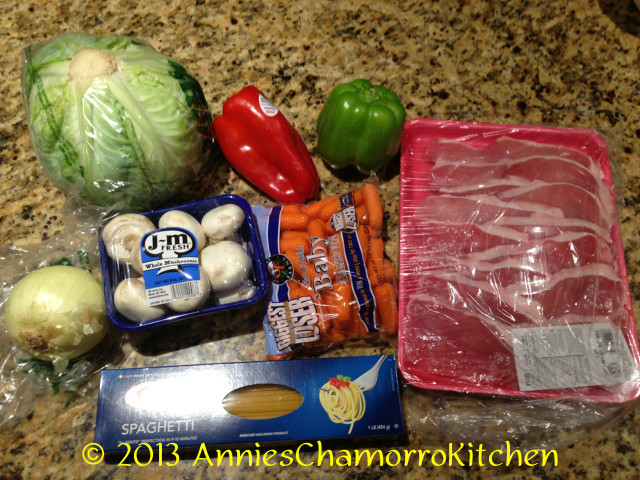
Ingredients:

  • 2 pounds lean pork, sliced into 1-inch long strips
  • 2 tablespoons vegetable oil
  • 2 cups carrots, thinly sliced
  • 3 cups cabbage, sliced into 4×1-inch pieces
  • 1 large onion, thinly sliced
  • 2 cloves garlic, minced
  • 1 red bell pepper, sliced
  • 1 green bell pepper, sliced
  • 1 cup sliced mushrooms
  • 2 pounds raw shrimp, shelled and deveined
  • 1/4 cup soy paste (or regular soy sauce will do)
  • 2 beef bouillon cubes
  • Salt and pepper to taste
  • 2 cups water
  • 3 tablespoons corn starch
  • 1 box spaghetti noodles, cooked per package directions

IMG_0350

Directions:

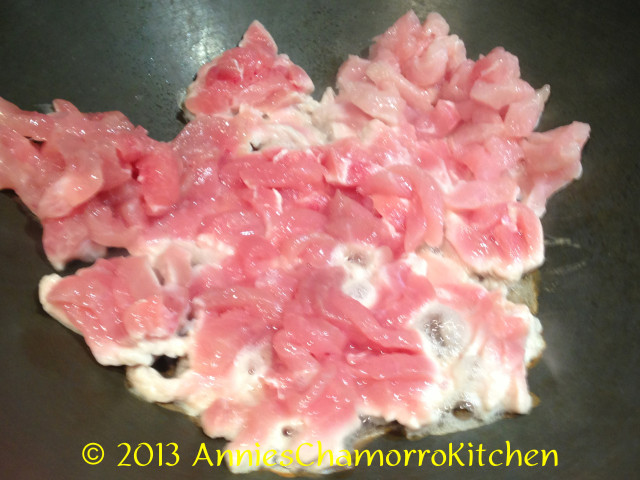
1.  Using a wok or large pan, cook the pork with the 2 tablespoons vegetable oil, about 5 minutes.  Stir occasionally to keep the pork from burning and sticking to the pan.

IMG_0356

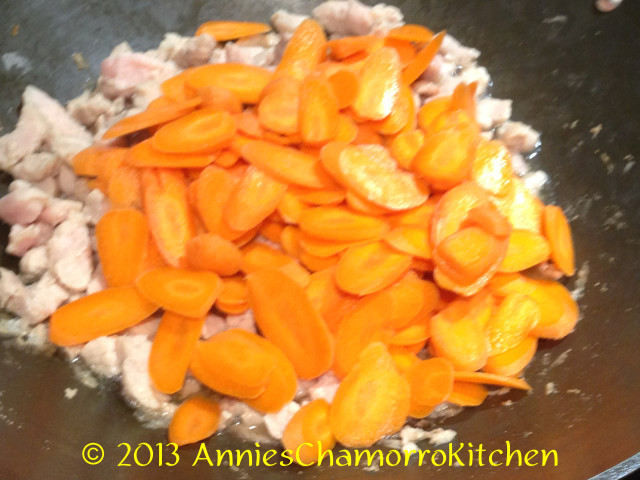
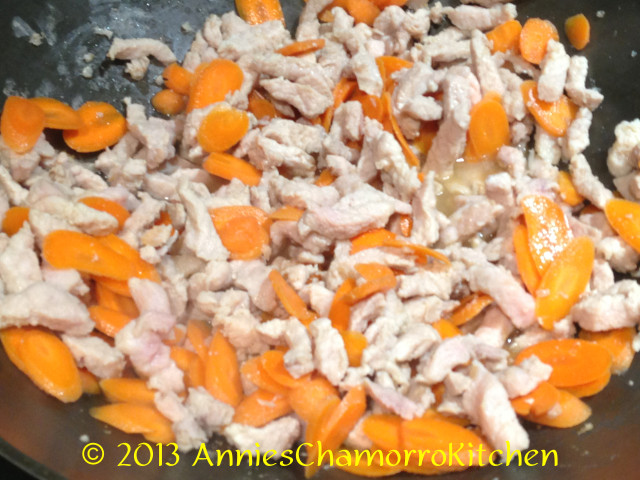
2.  Add the carrots; stir to mix then cook for another 2 minutes.

IMG_0360 IMG_0362

3.  Mix in the cabbage and onions; cook for another 2 minutes.

IMG_0363

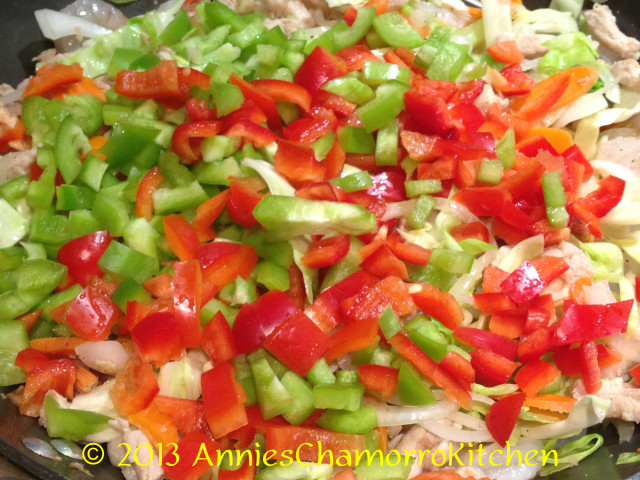
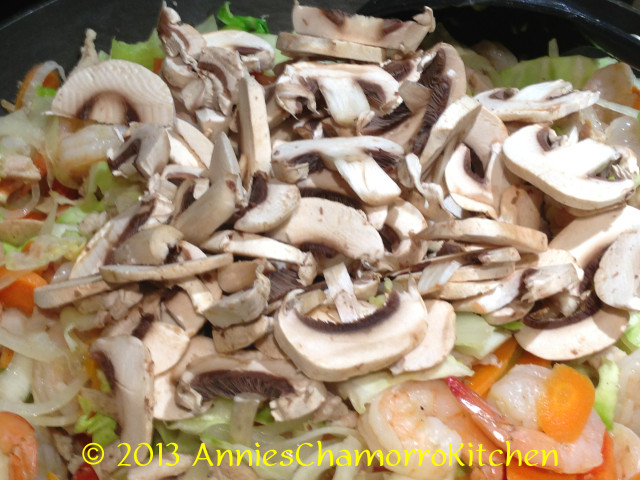
4.  Add the garlic, peppers and mushrooms.  Stir to combine then cook for a minute or two.

IMG_0368      IMG_0369

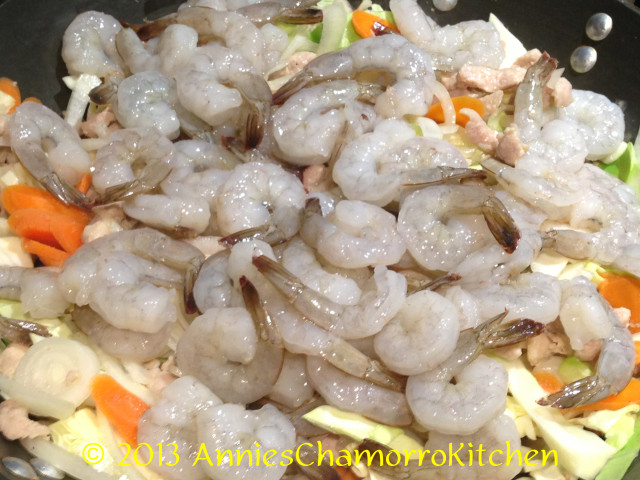
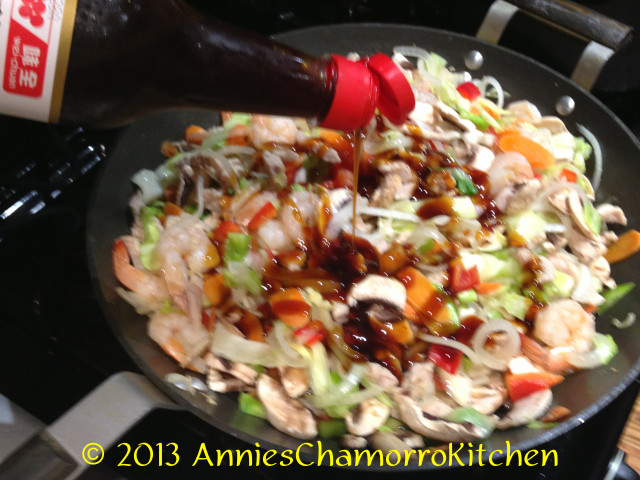
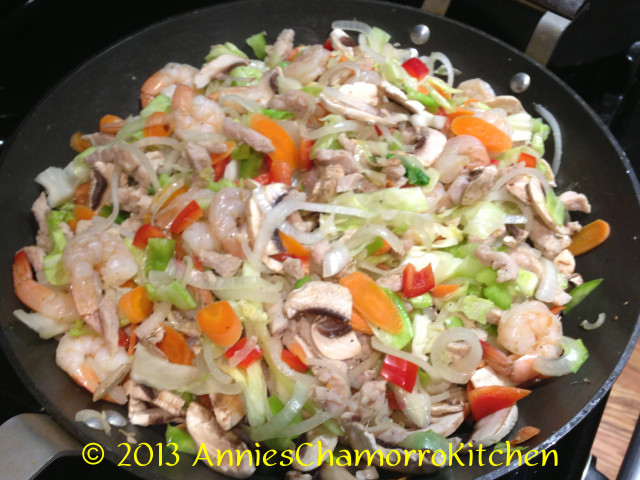
5.  Add the shrimp, soy paste, bouillon cubes, and 1/4 cup of water (set the remaining water aside).  Stir then cook for about 3 minutes; the shrimp should begin to turn pink.

IMG_0367 IMG_0377 IMG_0373

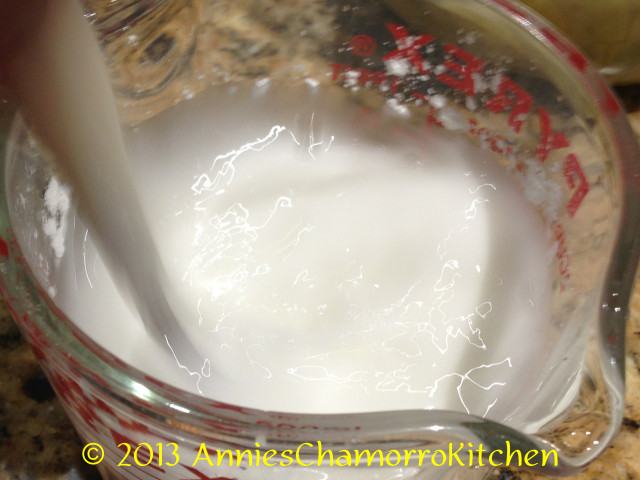
6.  Turn the heat to high.  Mix the remaining water with the cornstarch; stir until the cornstarch is completely dissolved.  Pour the cornstarch mixture into the pan, stirring constantly to prevent lumps from forming.  Cook for a minute over high heat; the mixture should start to thicken.

IMG_0365 IMG_0379

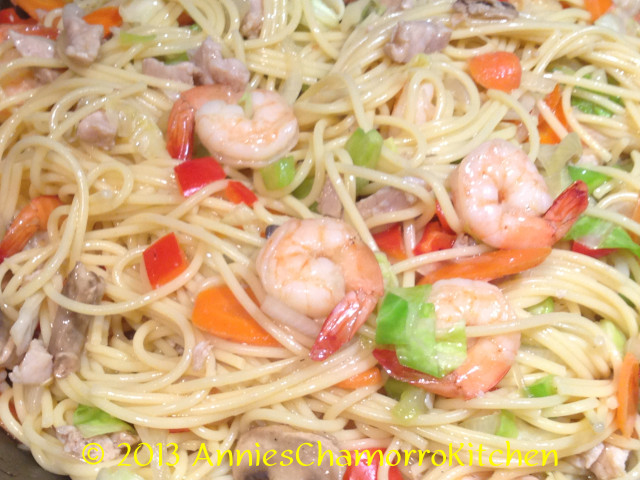
7.  Turn the heat to low.  Add the cooked spaghetti noodles to the pan.  It’s easier if you use a pair of tongs to mix the pork mixture with the noodles.  Once the noodles have heated through, remove from the heat and serve.

IMG_0385

Enjoy!

Pork & Shrimp Chop Suey with Noodles


Chicken Kelaguen & Flour Titiyas

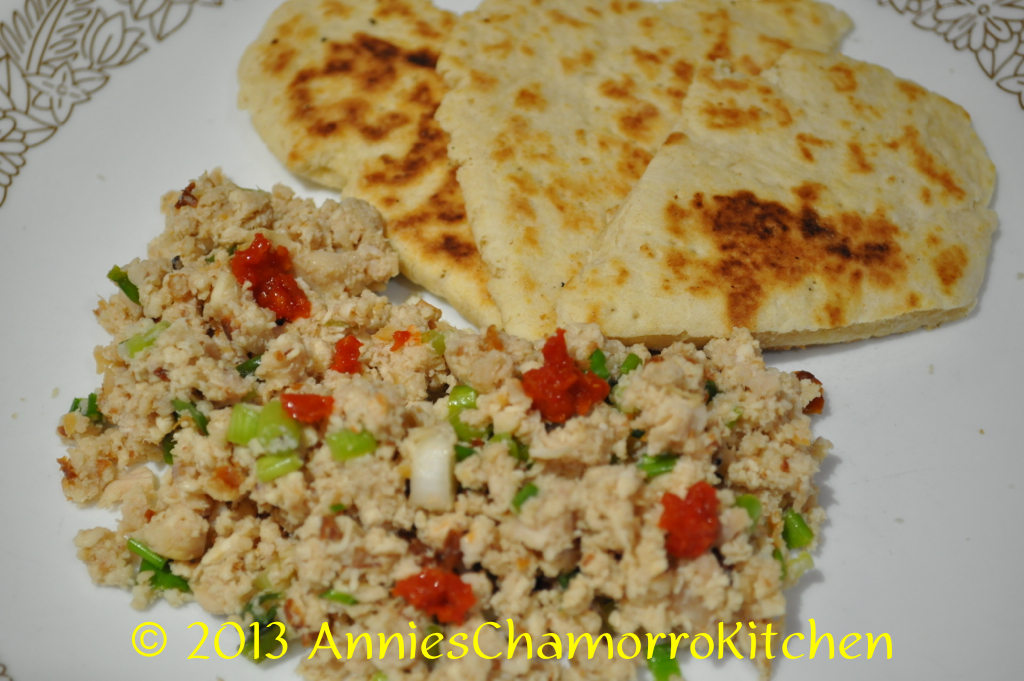
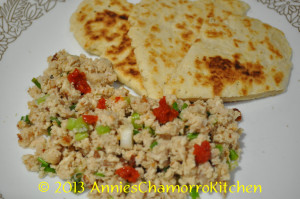
Kelaguen and Titiyas ~ both staples on a Chamorro fiesta table.  But you don’t have to be invited to a fiesta in order to enjoy these tasty dishes — they are so easy to make that you can have it anytime you get the craving!

My two daughters (ages 11 and 15) prepared the dishes pictured in the photos below; if THEY can do it, so can you!

Give my super easy recipes a try.  I think you’ll like them!  🙂

Annie’s Chicken Kelaguen

DSC_0419

Ingredients:

  • 1 small rotisserie chicken
  • 6 stalks green onions
  • 1 1/2 tablespoons lemon powder plus 3 tablespoons water (or use the juice of 1 large lemon)
  • 2 teaspoons salt (more or less, to taste)
  • Hot pepper, optional
  • Freshly grated coconut (unsweetened), optional

Directions:

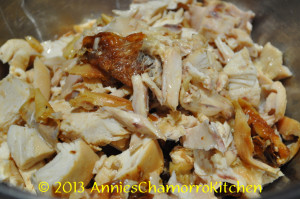
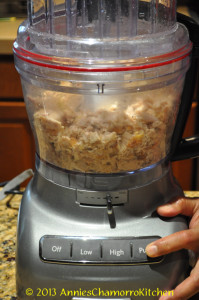
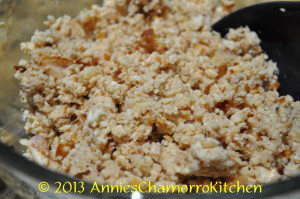
1.  Debone the chicken; shred or cut into small pieces (I used a food processor to roughly chop the chicken).

DSC_0371

 DSC_0375 DSC_0377

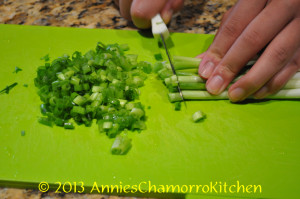
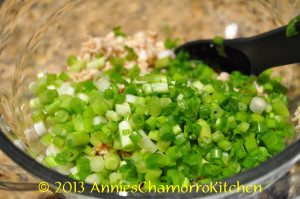
2.  Thinly slice the green onions then add it to the chicken.

DSC_0383 DSC_0386

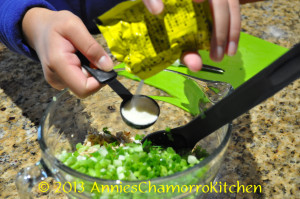
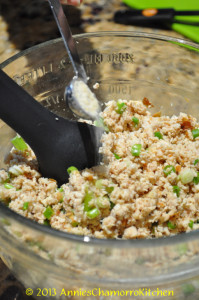
3.  Add the lemon powder, water, salt and pepper to the bowl of chicken; mix to combine.  Taste; adjust seasoning if required.

DSC_0389 DSC_0398

4.  Stir in the grated coconut (optional).

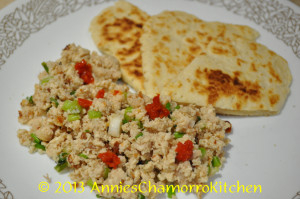
5.  Serve with my super easy sweet flour titiyas (see recipe below) and enjoy!

DSC_0417


Annie’s Sweet Flour Titiyas

DSC_0416

Ingredients:

  • 3 cups all purpose flour
  • 4 teaspoons baking powder
  • 1/2 teaspoon salt
  • 3/4 cup coconut milk (see note below)
  • 1/4 cup melted butter
  • 1/4 to 1/2 cup cream of coconut (the sweet one, used for mixed drinks)
    (see note below)

NOTE:  If you don’t find or have any cream of coconut, just increase the coconut milk to 1 cup, and add 1/2 cup white granulated sugar.  Follow the rest of the instructions below.
 

This is what the can of cream of coconut looks like.  This is incredibly sweet so you do not need to add more sugar.  Cream of Coconut is NOT the same as coconut cream (thick coconut milk).
cream of coconut

Directions:

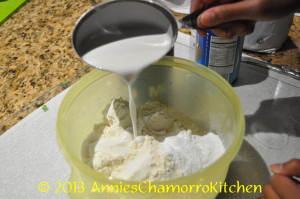
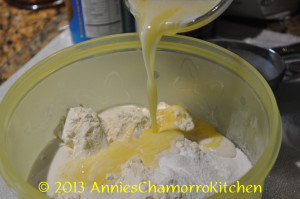
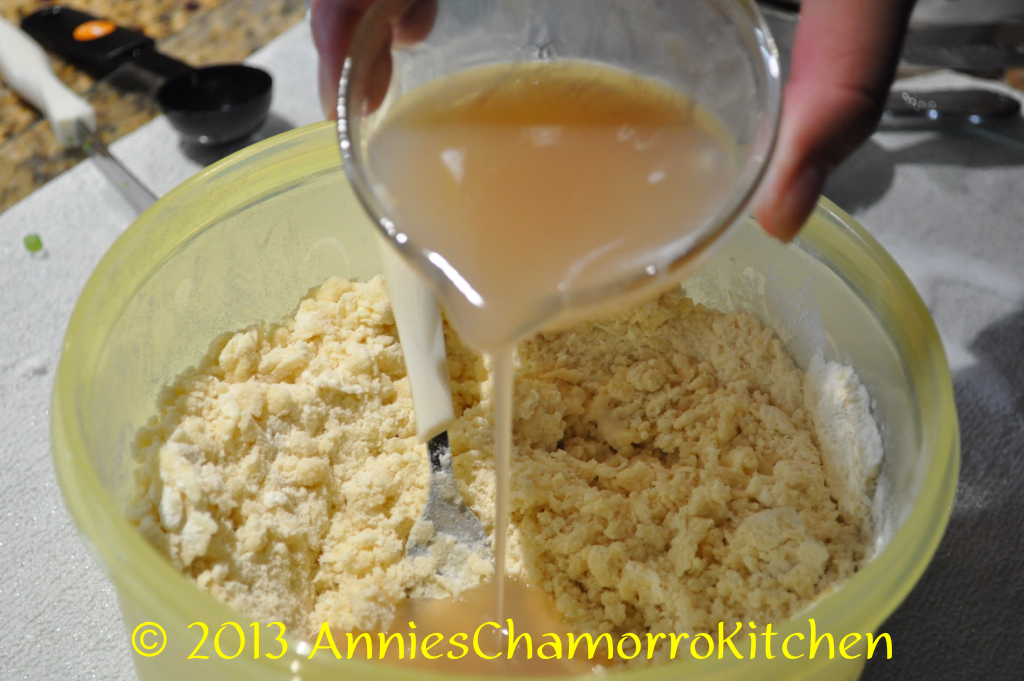
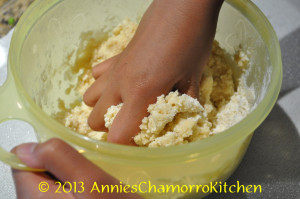
1.  Mix the dry ingredients together in a large mixing bowl. Add the coconut milk, melted butter, and cream of coconut (start out with 1/4 cup; increase to a total of 1/2 cup, depending on how humid your day is–more humid means less liquid). Mix together until a dough forms; knead gently to form a smooth ball of dough.

DSC_0395 DSC_0401 DSC_0404 DSC_0407

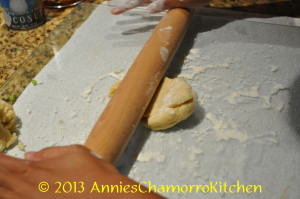
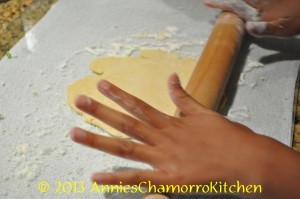
2.  Break off golf-ball sized pieces. Flour your rolling surface and rolling pin.  Roll out the piece of dough into a flat disc (about 1/8-inch thick). Place the titiyas on a dry skillet; prick all over with a fork to prevent bubbling during the cooking process.

DSC_0409 DSC_0410

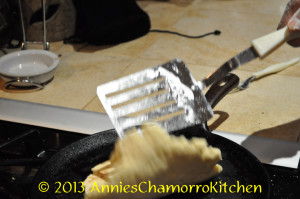
3.  Pan-fry on a dry skillet over medium-low heat for about 3-4 minutes on each side, or until the bottom begins to turn a golden brown; flip over and cook the other side until it turns a nice golden brown.  For thicker titiyas, cook over low heat for 4-5 minutes on each side; the titiyas is done when you gently press down on the center and it feels somewhat firm to the touch.

DSC_0412 DSC_0414 DSC_0415

4.  Place cooked titiyas on a plate covered with a clean kitchen towel to keep warm.  Serve with my delicious chicken kelaguen.  Enjoy!

DSC_0418

Recent Entries »