Archive for MEAT

Beef Tinaktak

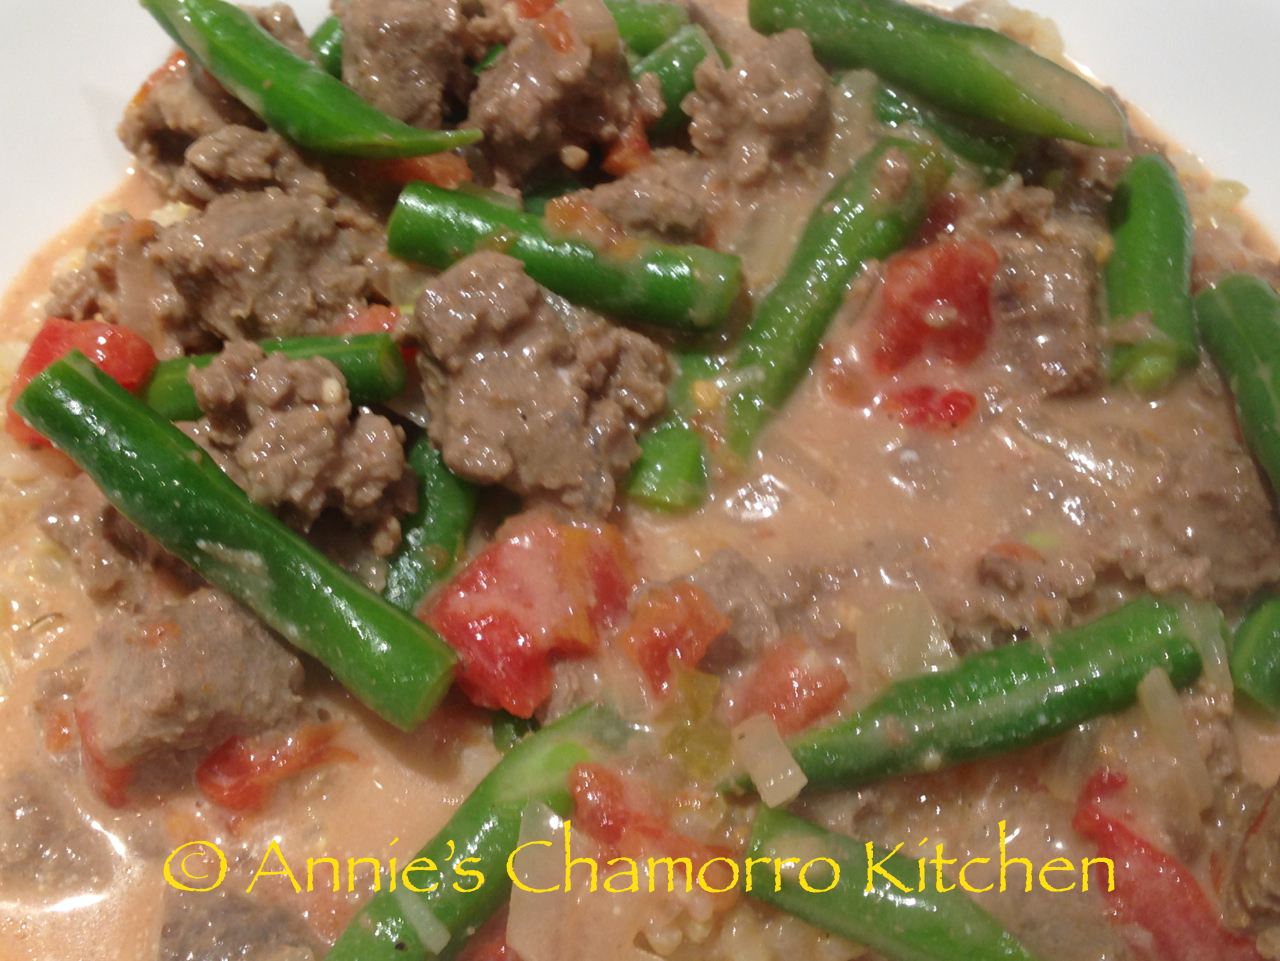
Beef Tinaktak is a delicious Chamorro dish.  It’s one of my favorite comfort foods–I love drowning my rice with the coconut milk kådu (broth).

Tinaktak–I love saying that.  I think the name came from the sound made when pounding pieces of steak with a knife to tenderize it (tak tak tak tak tak).  Well, maybe that’s not really where the name of this dish originated from, but it sounds good, doesn’t it? 🙂

Rather than pounding a piece of steak, you can use minute steak or ground beef in this recipe.

Give my recipe a try. I think you’ll like it.

Beef Tinaktak

IMG_3279

Ingredients:

  • 3 pounds minute steak, cut into bite sized pieces (or substitute with 3 pounds lean ground beef)
  • 2 cans coconut milk
  • 1 medium onion, diced
  • 2-3 cloves garlic, minced
  • 2 cans stewed tomatoes, undrained (chop tomatoes into small pieces)
  • 2 cups fresh green beans, cut into 2-inch pieces
  • 4 tablespoons Dashida seasoning (or salt, to taste)
  • 1/2 teaspoon black pepper
  • donne’ (hot pepper), optional

Directions:

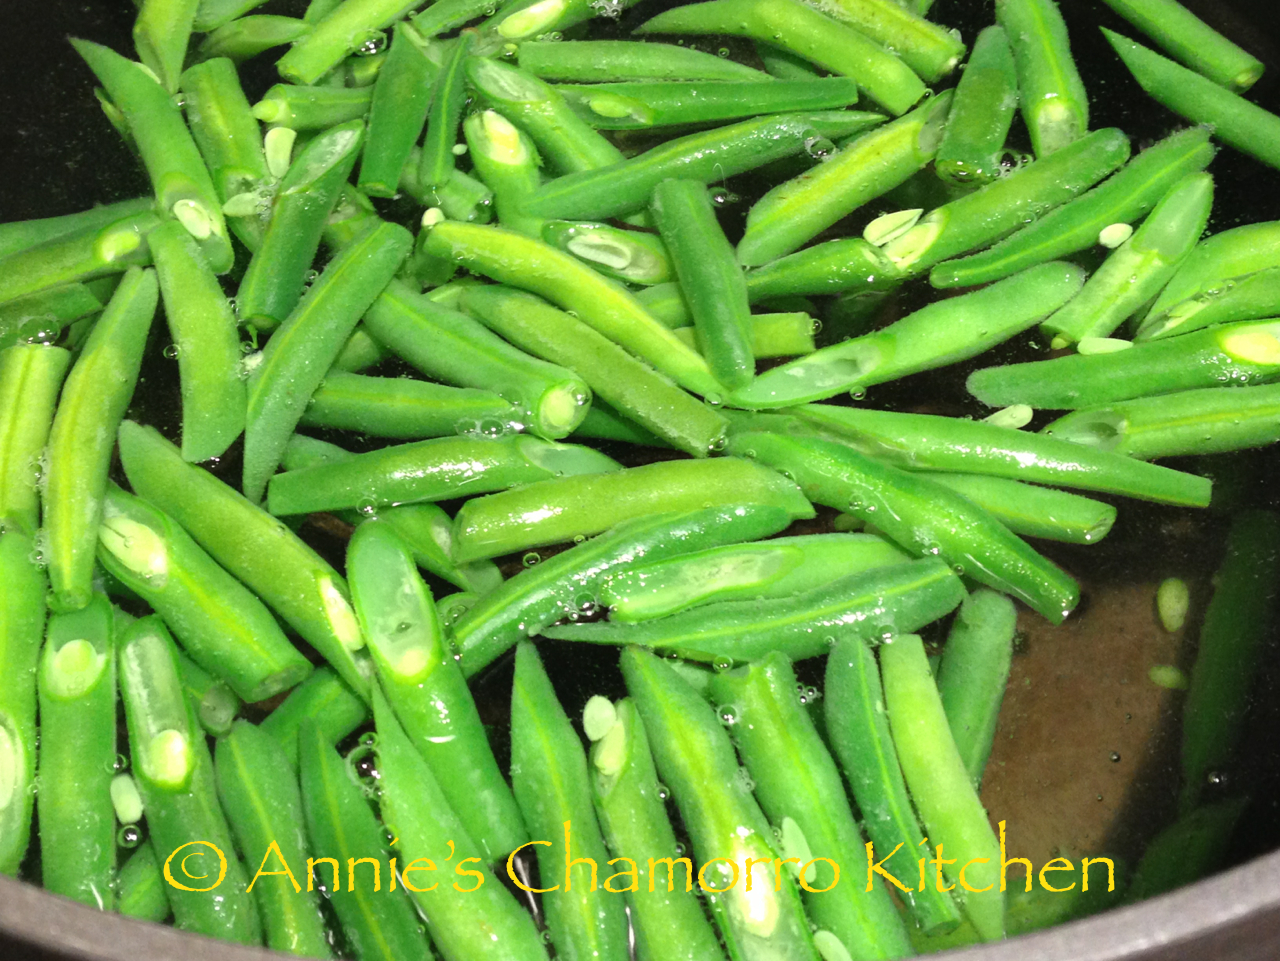
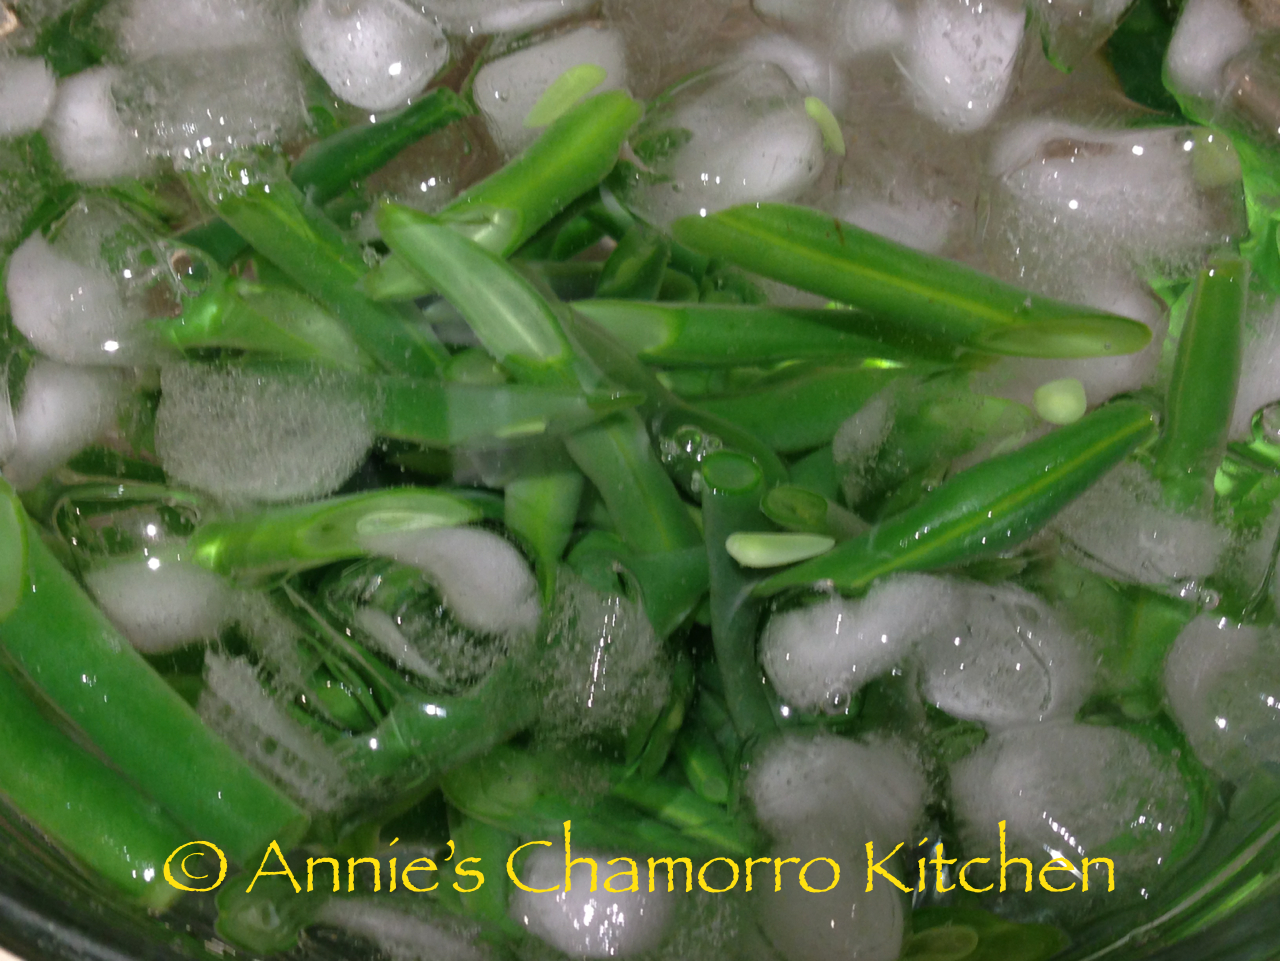
1.  If you’re using fresh green beans, you’re going to want to blanch them first.  Blanching means to put vegetables into a pot of boiling water, let it cook for a few minutes, then remove the vegetables and immediately place them into a bowl of ice water to stop the cooking.

Here’s how it’s done.

In a large pot, bring about 5 cups of water to a rapid boil over high heat. Add enough salt so the water tastes faintly salty. While the water heats, fill a medium sized bowl about three quarters full with ice, then add enough cold water to cover the top of the ice.

IMG_3247

When the water is boiling and the ice bath is ready, trim the green beans to the size you need. It’s best to trim them just prior to cooking so they won’t oxidize or dehydrate. Add the beans to the boiling water in batches small enough to ensure that the water doesn’t lose its boil. Boil the beans only until they’re barely cooked through but still tender. To test, remove one piece with a slotted spoon, dip it into the ice bath to cool, and eat it.

IMG_3246

As soon as the beans are done, remove them as fast as you can and submerge them in the ice bath. Remove them from the ice bath as soon as they are no longer warm.  Set aside.

IMG_3248

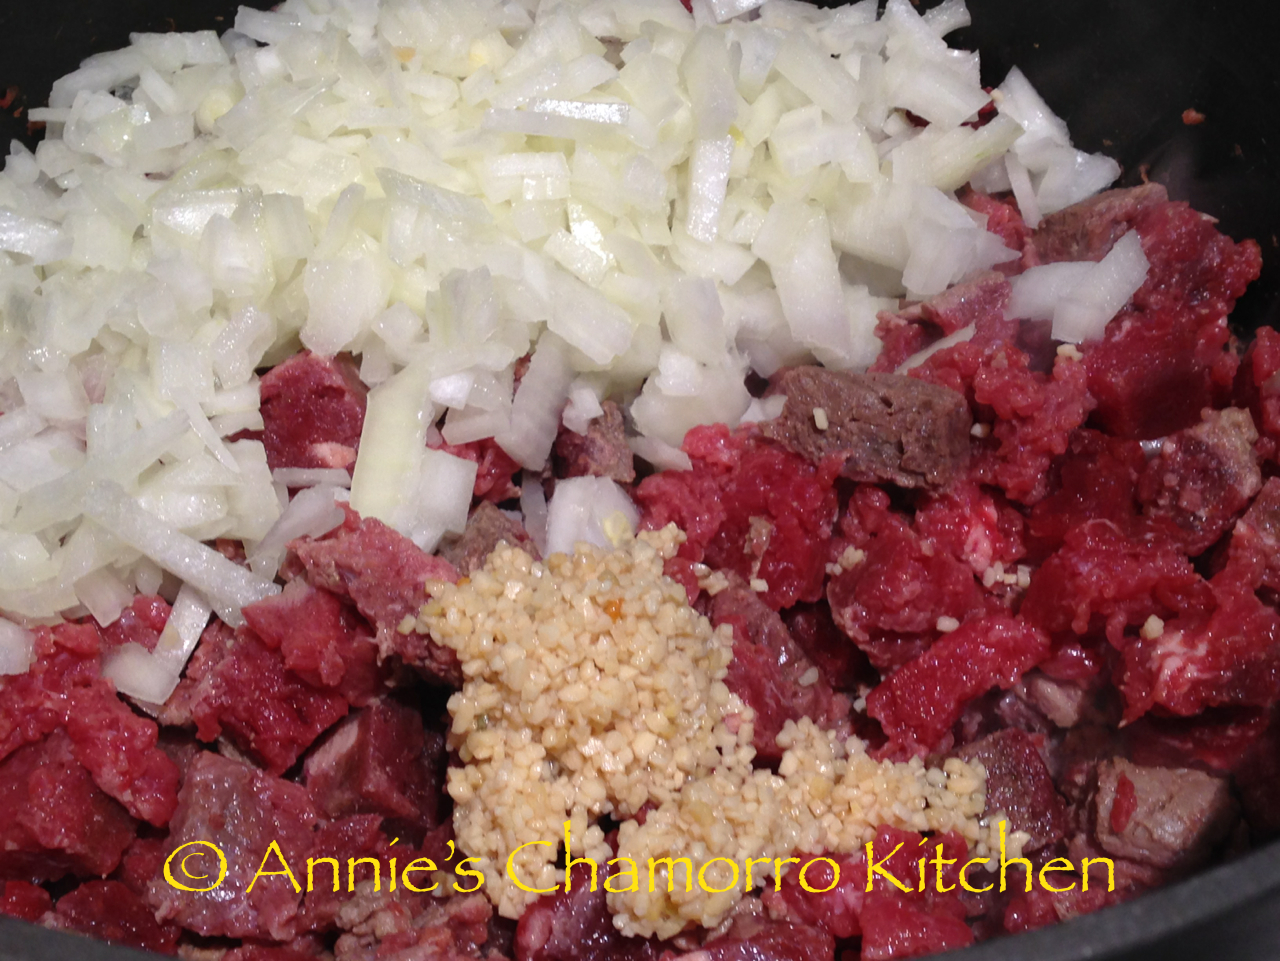
2.  In a medium-sized pan, sauté the meat, onions and garlic over medium high heat; cook until meat is browned and onions are translucent.

IMG_3253

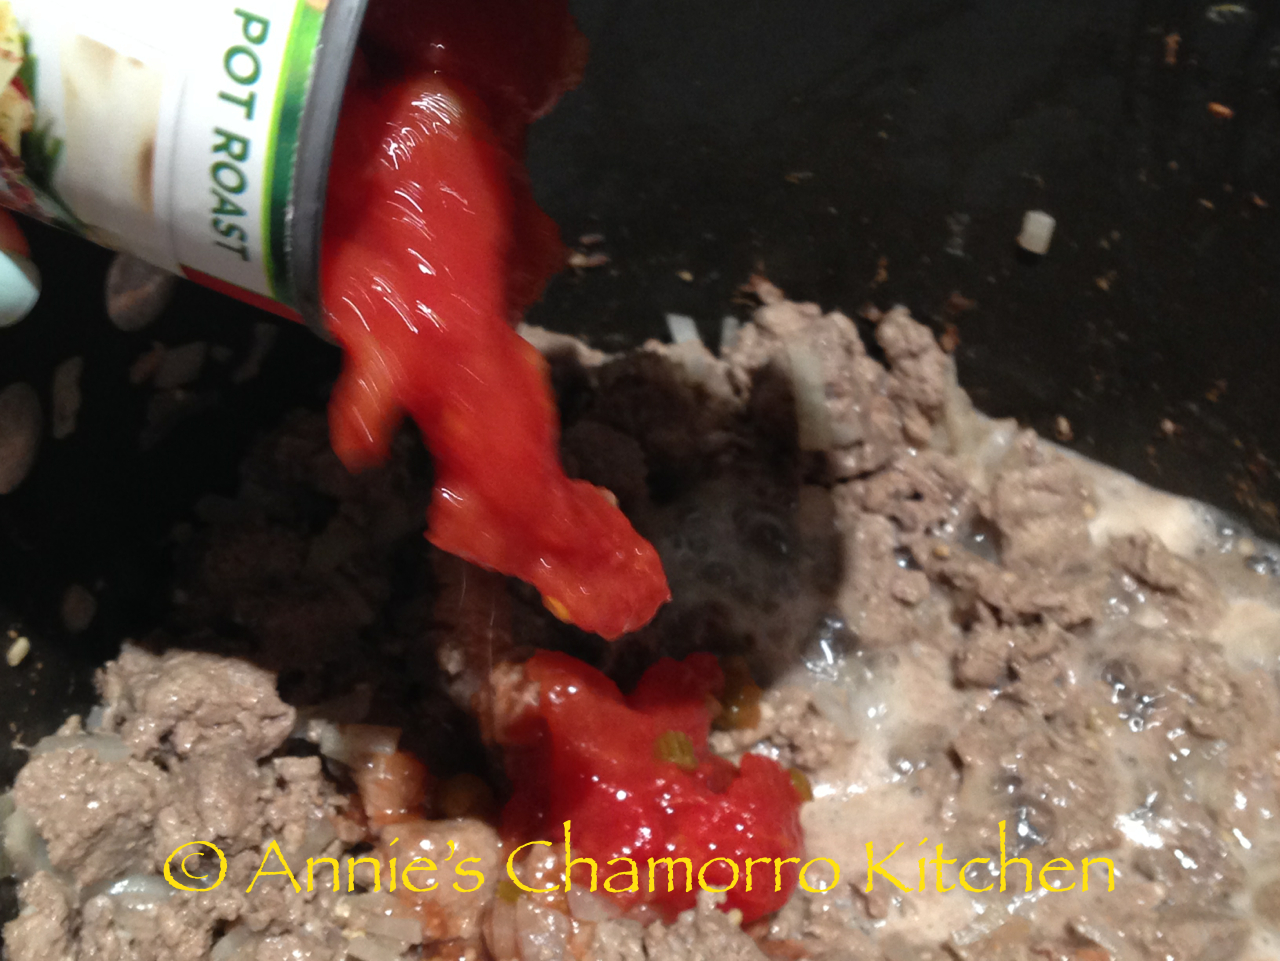
3.  Add tomatoes to the meat mixture, juice and all.

IMG_3258

4.  Add the blanched vegetables to the meat and tomatoes mixture.

IMG_3271

5.  Add the Dashida and black pepper.  Stir, taste, and adjust the seasonings if needed.

IMG_3272

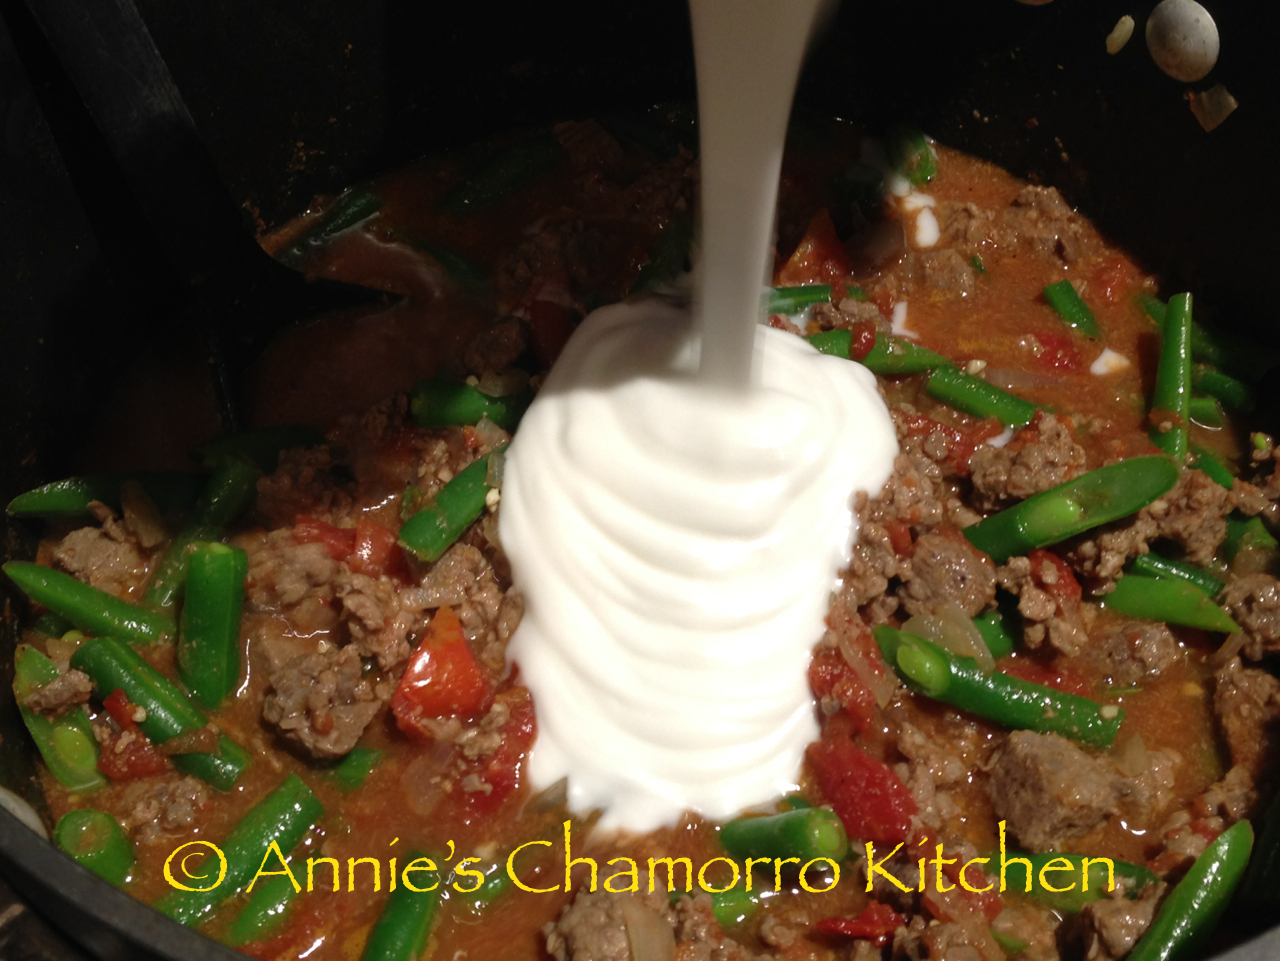
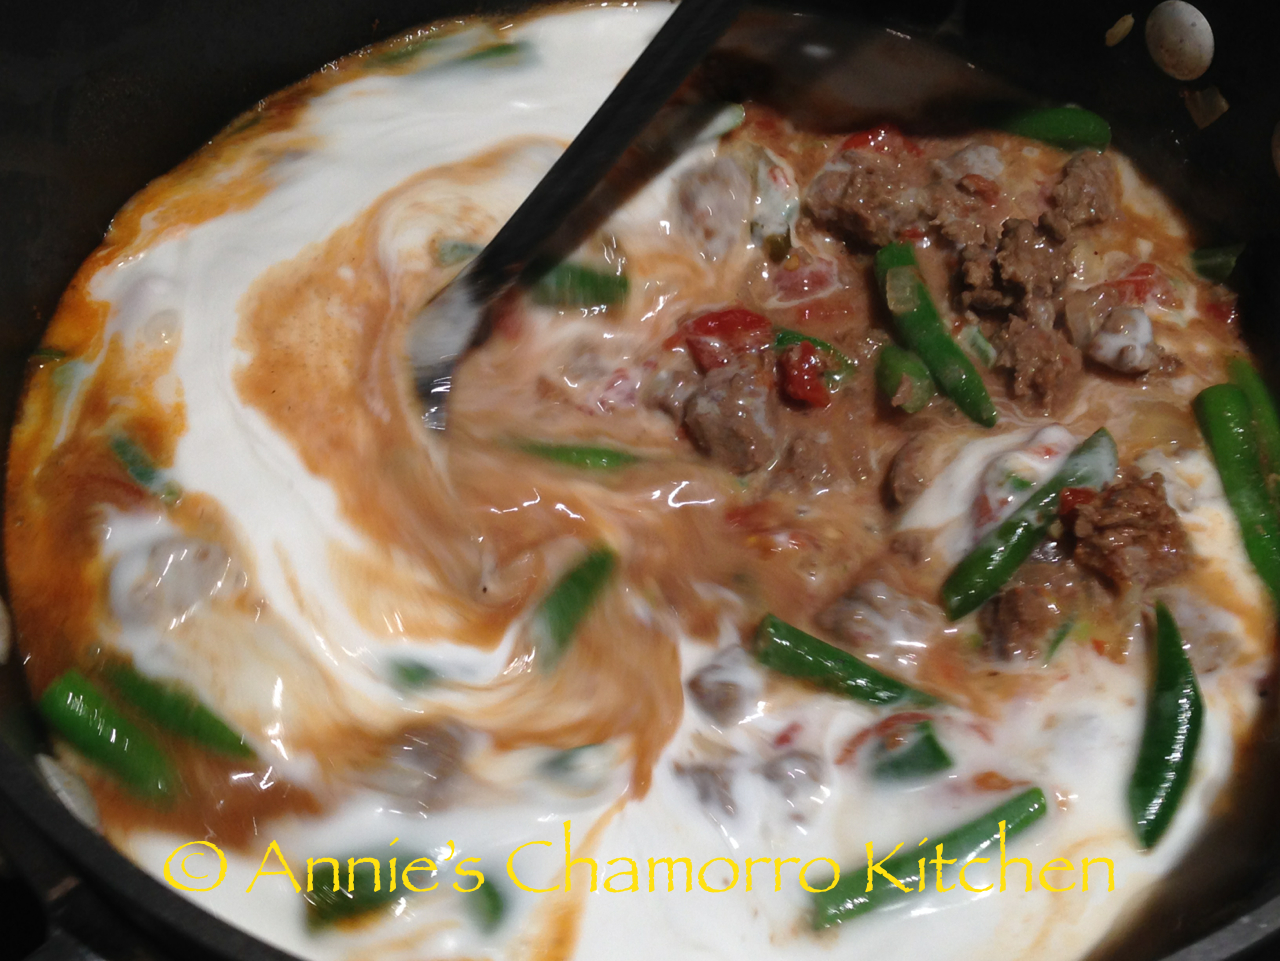
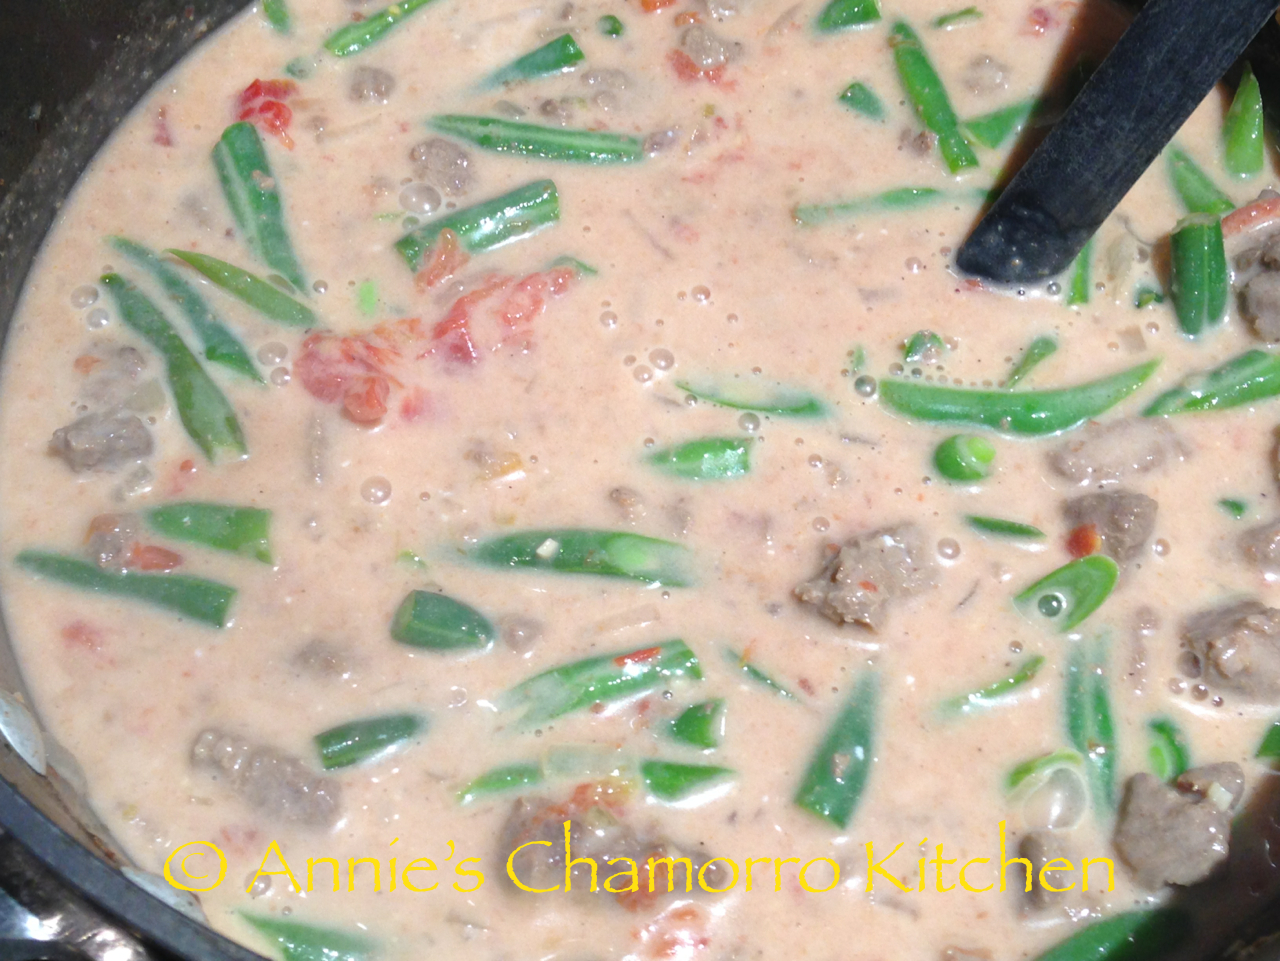
6.  Slowly stir in the coconut milk; lower the heat and simmer for 5 minutes or until the coconut milk is heated (do not boil).

IMG_3275 IMG_3276

IMG_3277

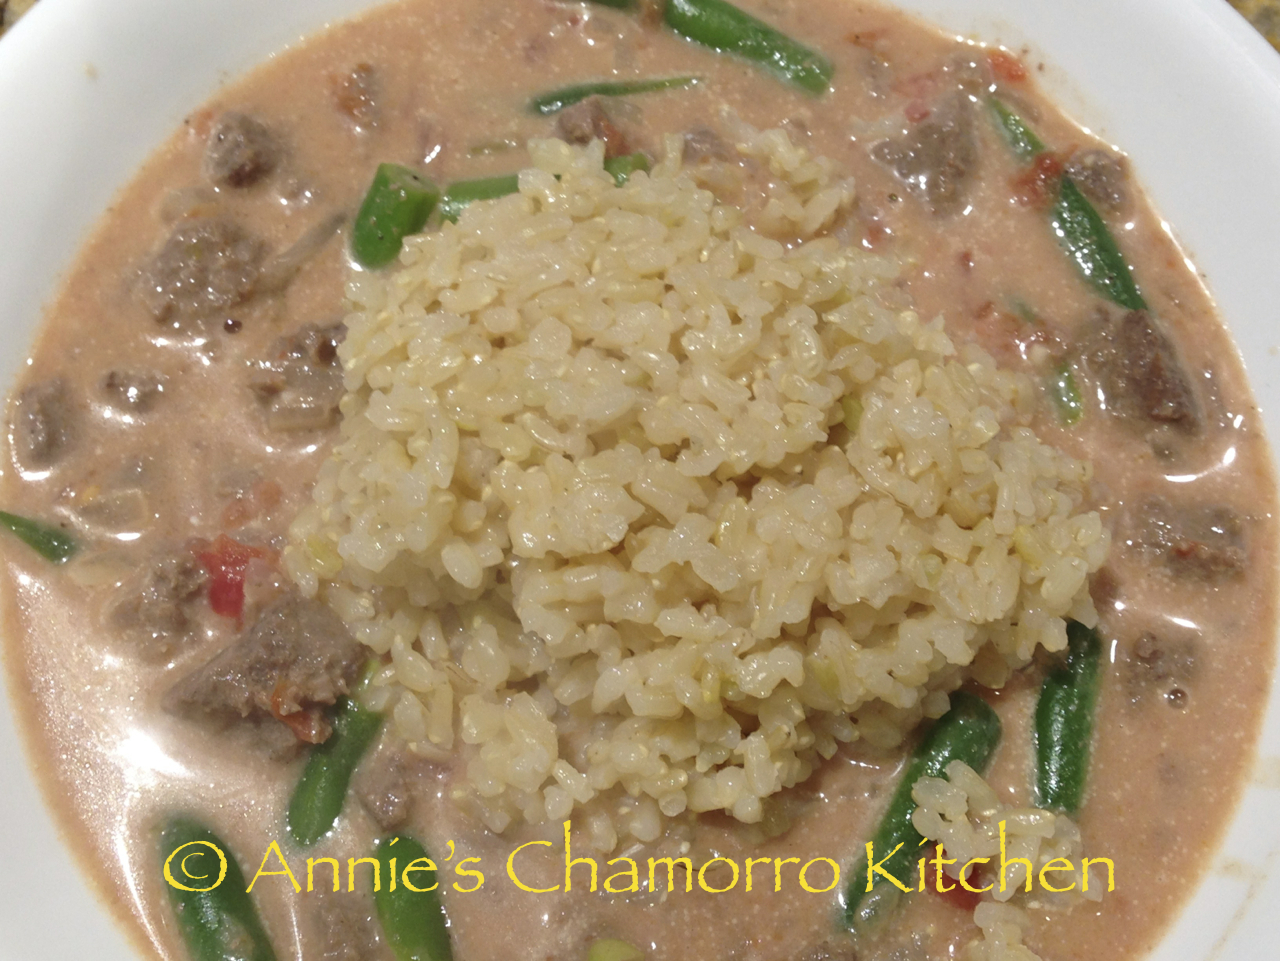
7. Add donne’ if desired.  Serve over hot rice (steamed white or brown) and ENJOY!

IMG_3278 IMG_3279

Smoked & Slow-Grilled Brisket

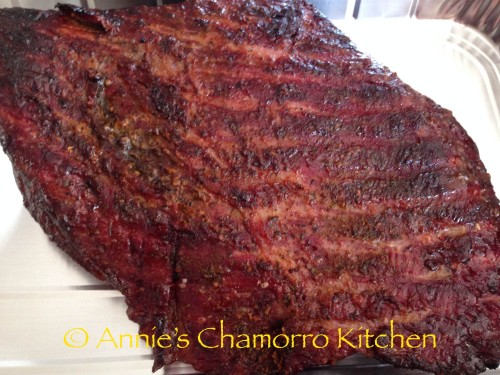
There’s nothing like a good BBQ, be it pork ribs, a good steak, or a brisket.  But to get a great tasting, tender brisket, you need to cook it long and slow.  While you can certainly roast a brisket in an oven, the taste of smoked brisket just can’t be beat.

It takes time and attention to get it right, but when it’s done, you’ll be so happy you spent all those loving hours smoking then grilling the brisket.  In fact, you’d be surprised at how many neighbors you never knew you had–they’ll be coming out of the woodwork when their noses pick up the scents wafting from your grill.

Give my recipe a try.  I think you’ll like it. 🙂

Smoked Brisket

IMG_3205

Ingredients:

  • 1 6-pound brisket flat, trimmed
  • BBQ Rub (find my recipe here)
  • 2 cups beef broth
  • 1 bottle beer
  • 1 can cola
  • 1/4 cup apple vinegar
  • 2 tablespoons Worcestershire sauce

Directions:

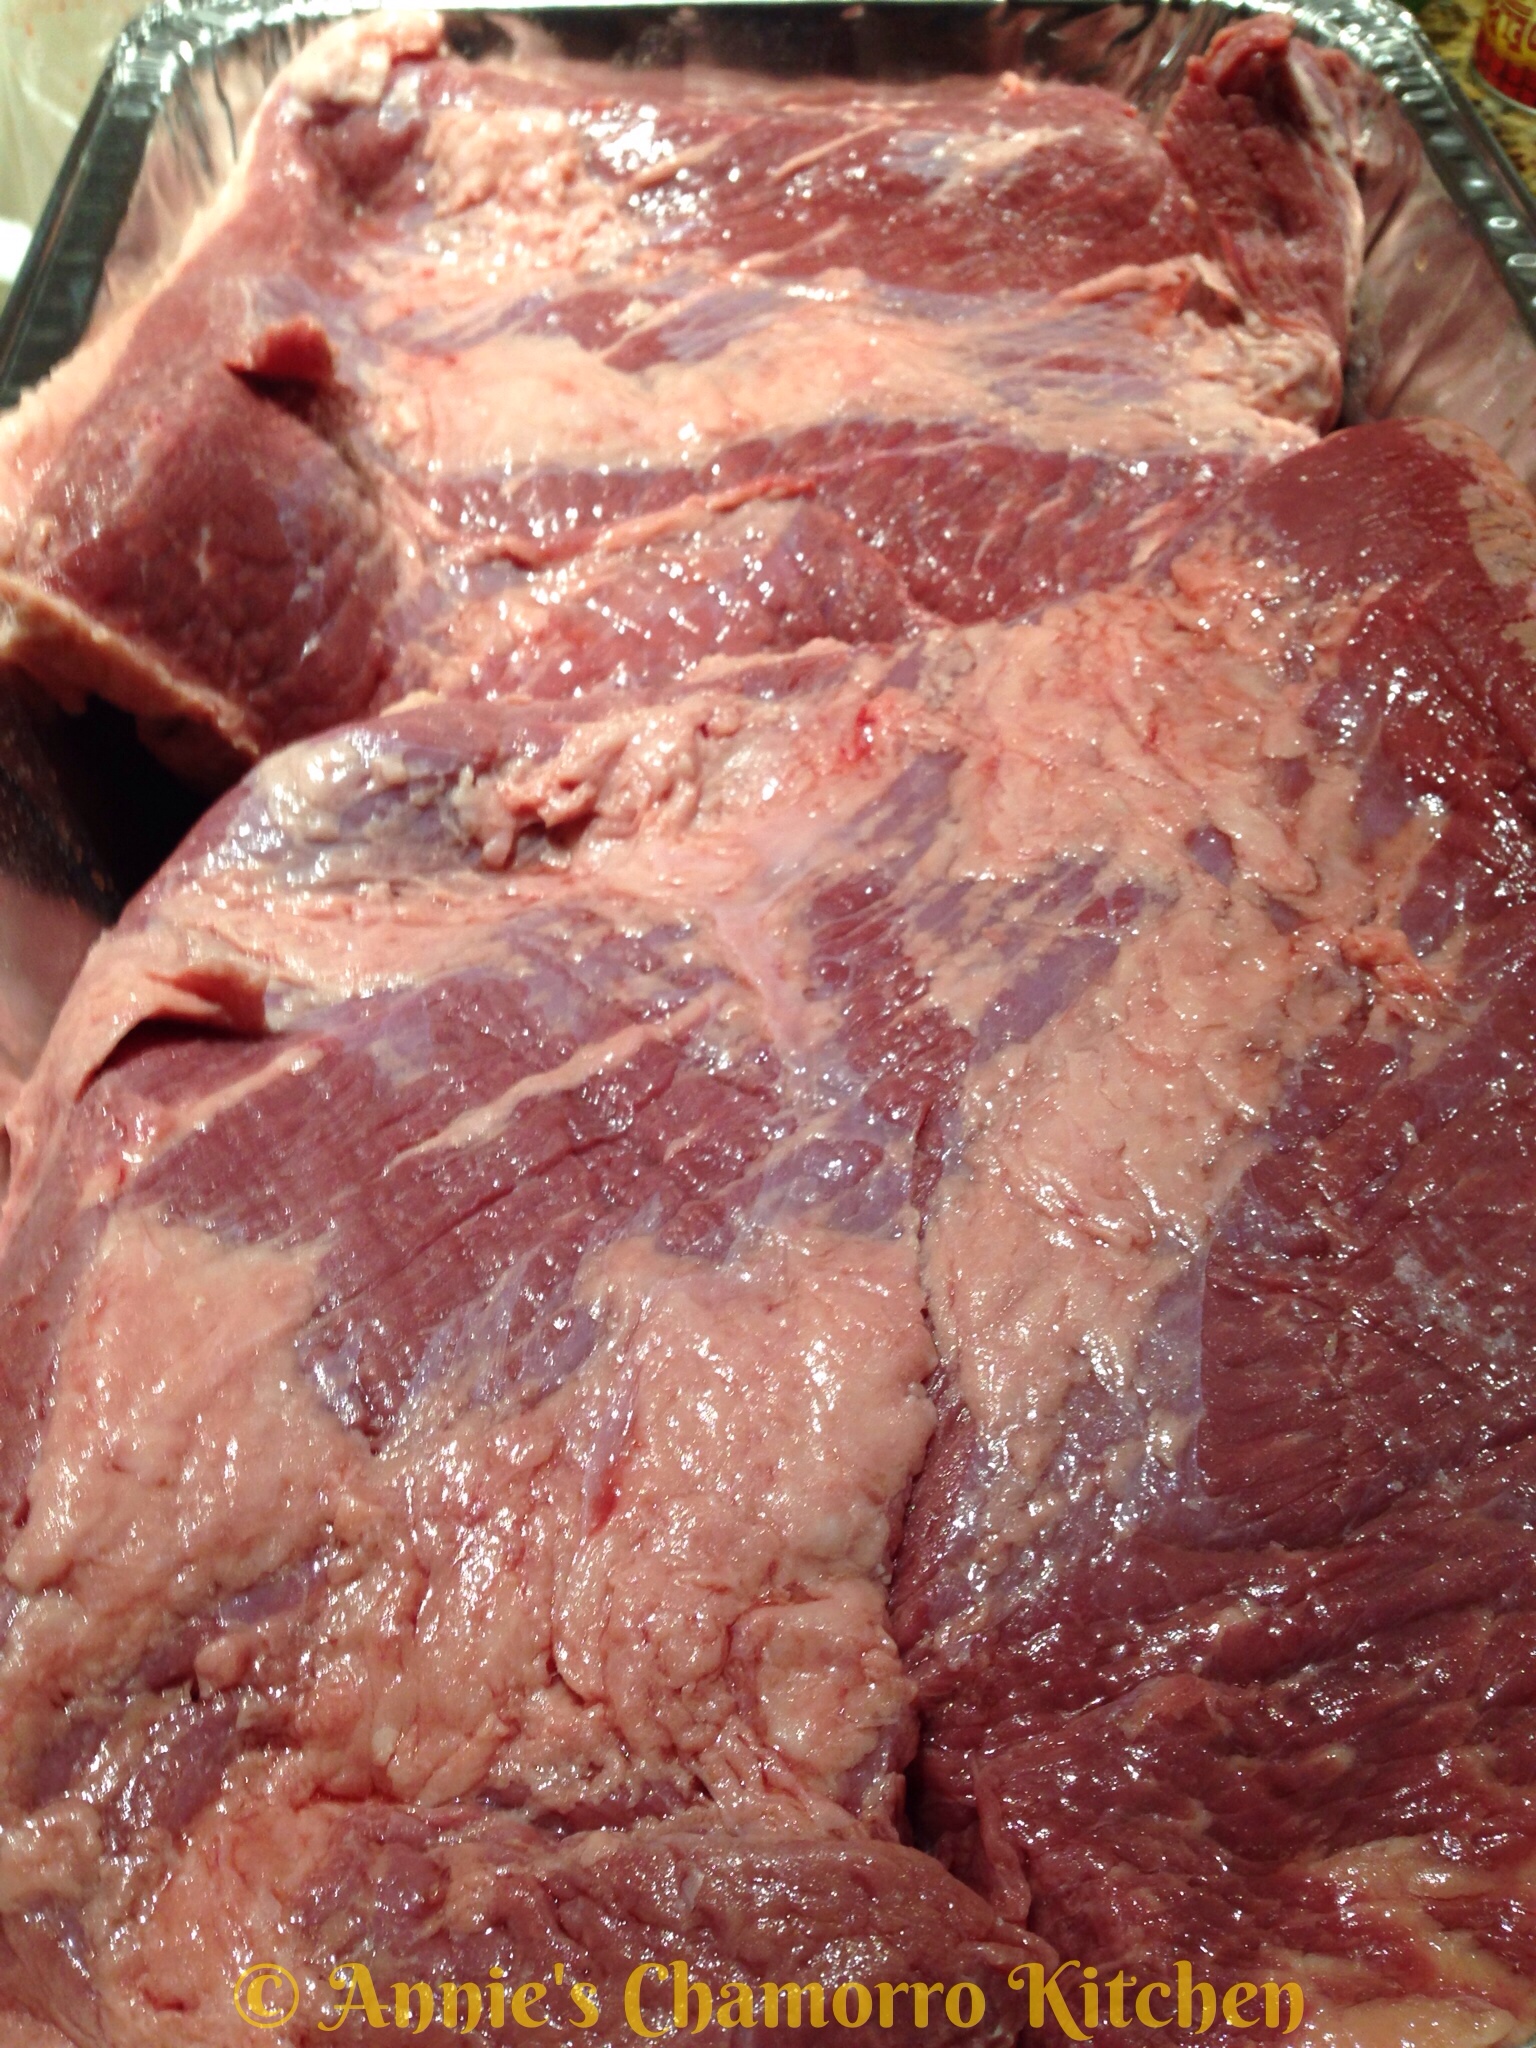
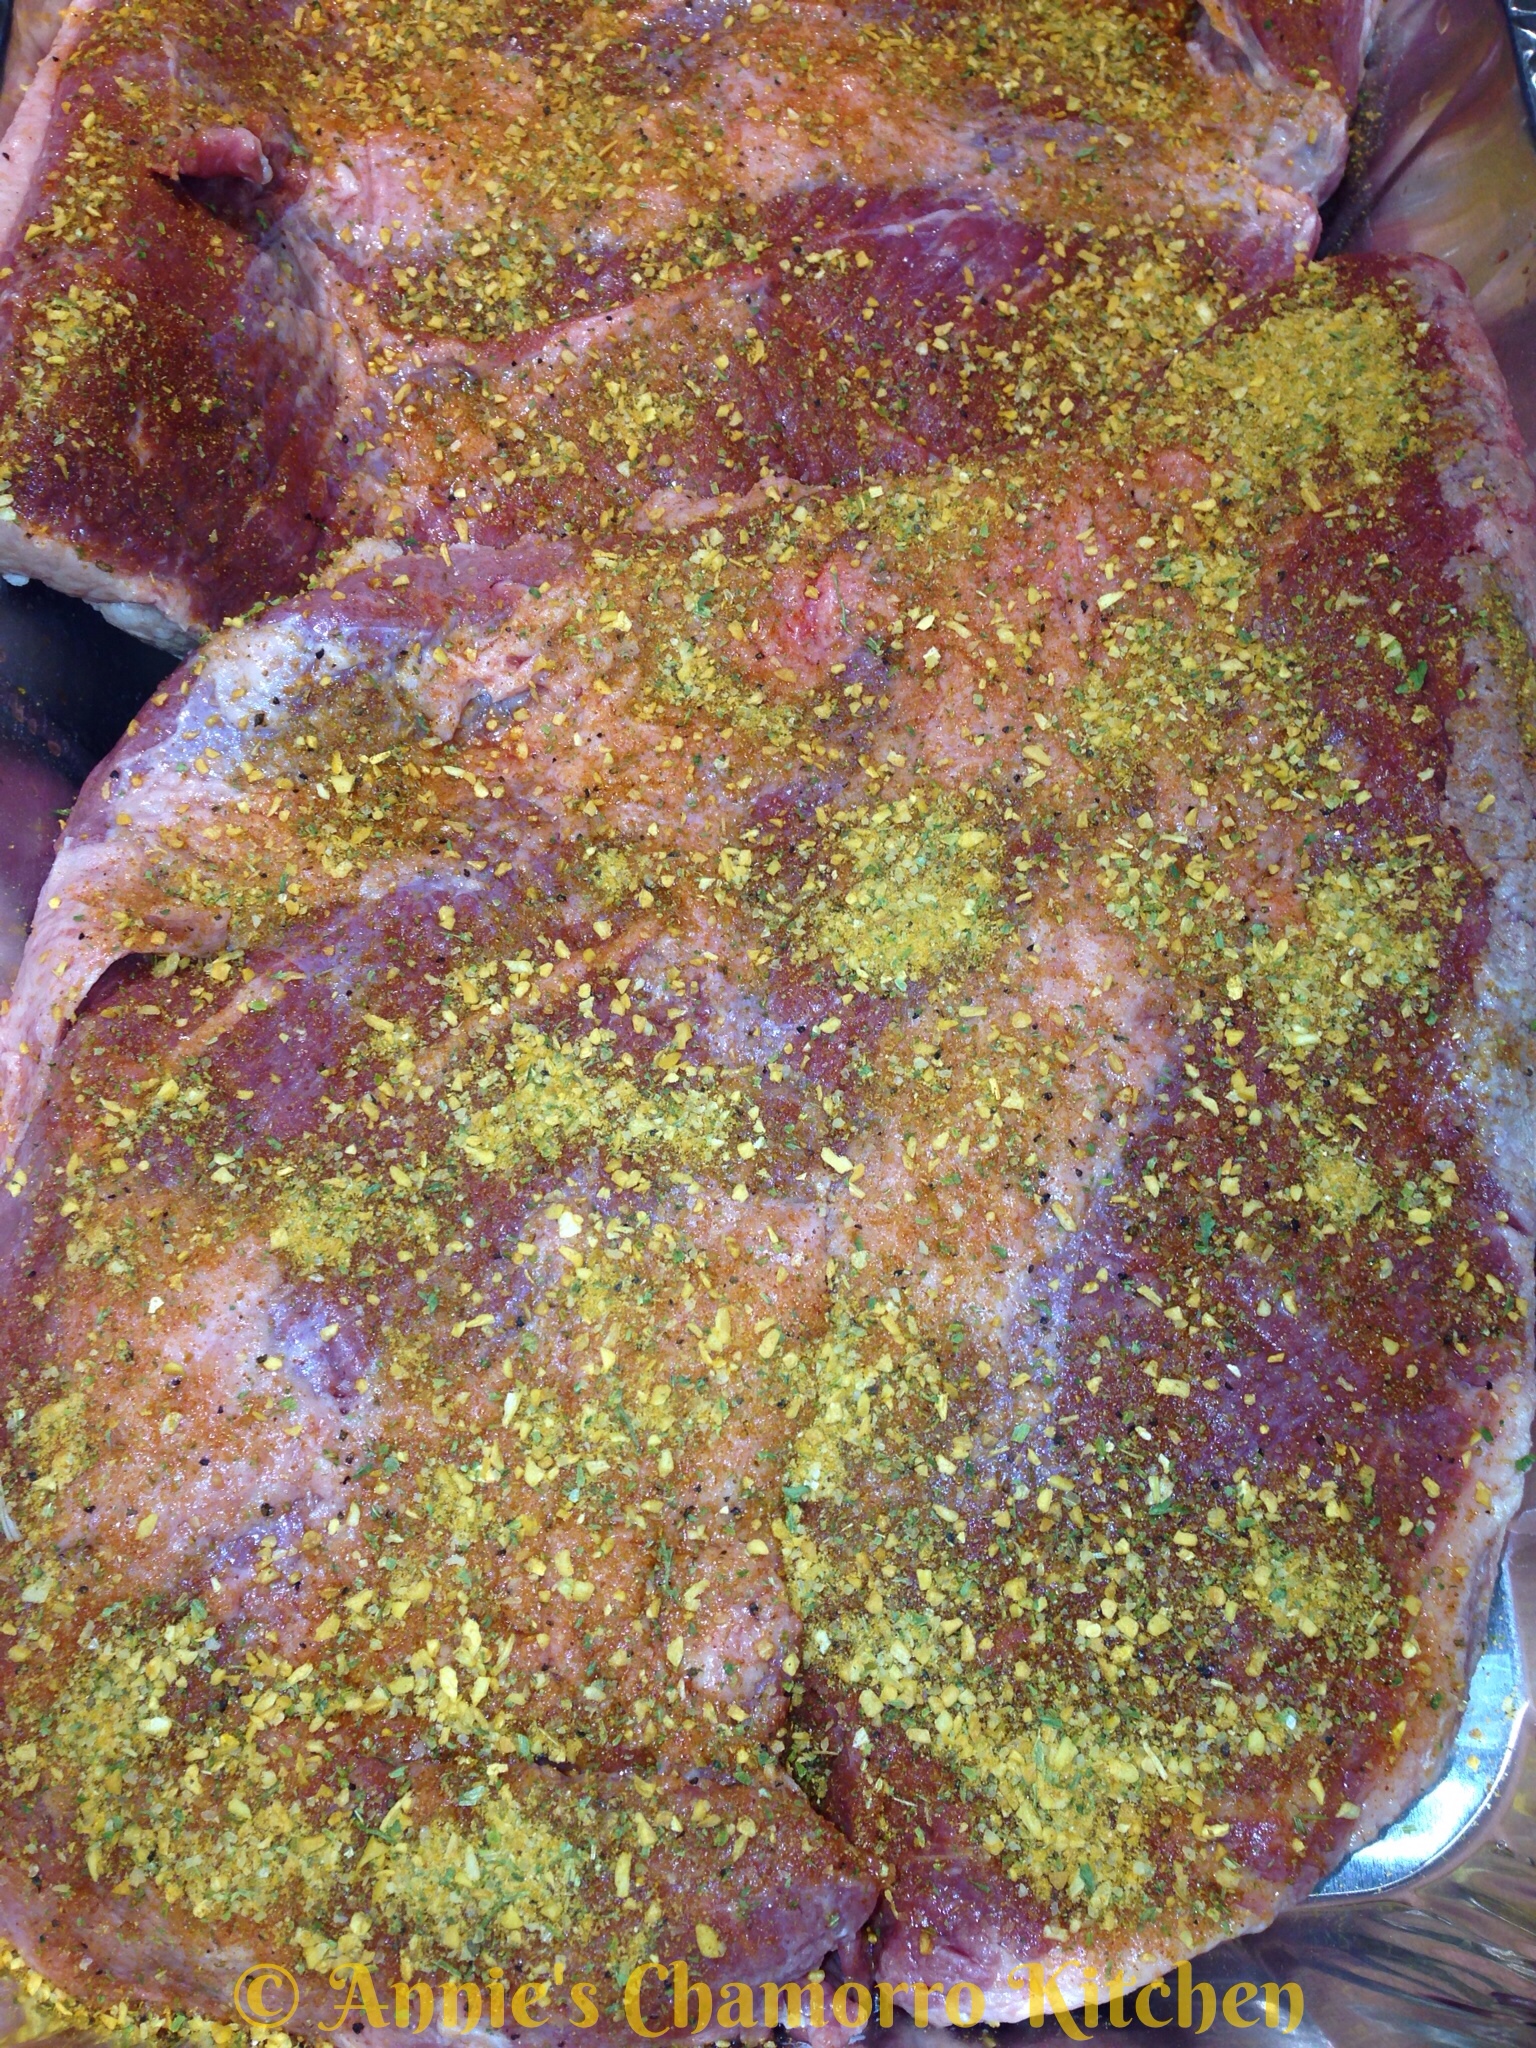
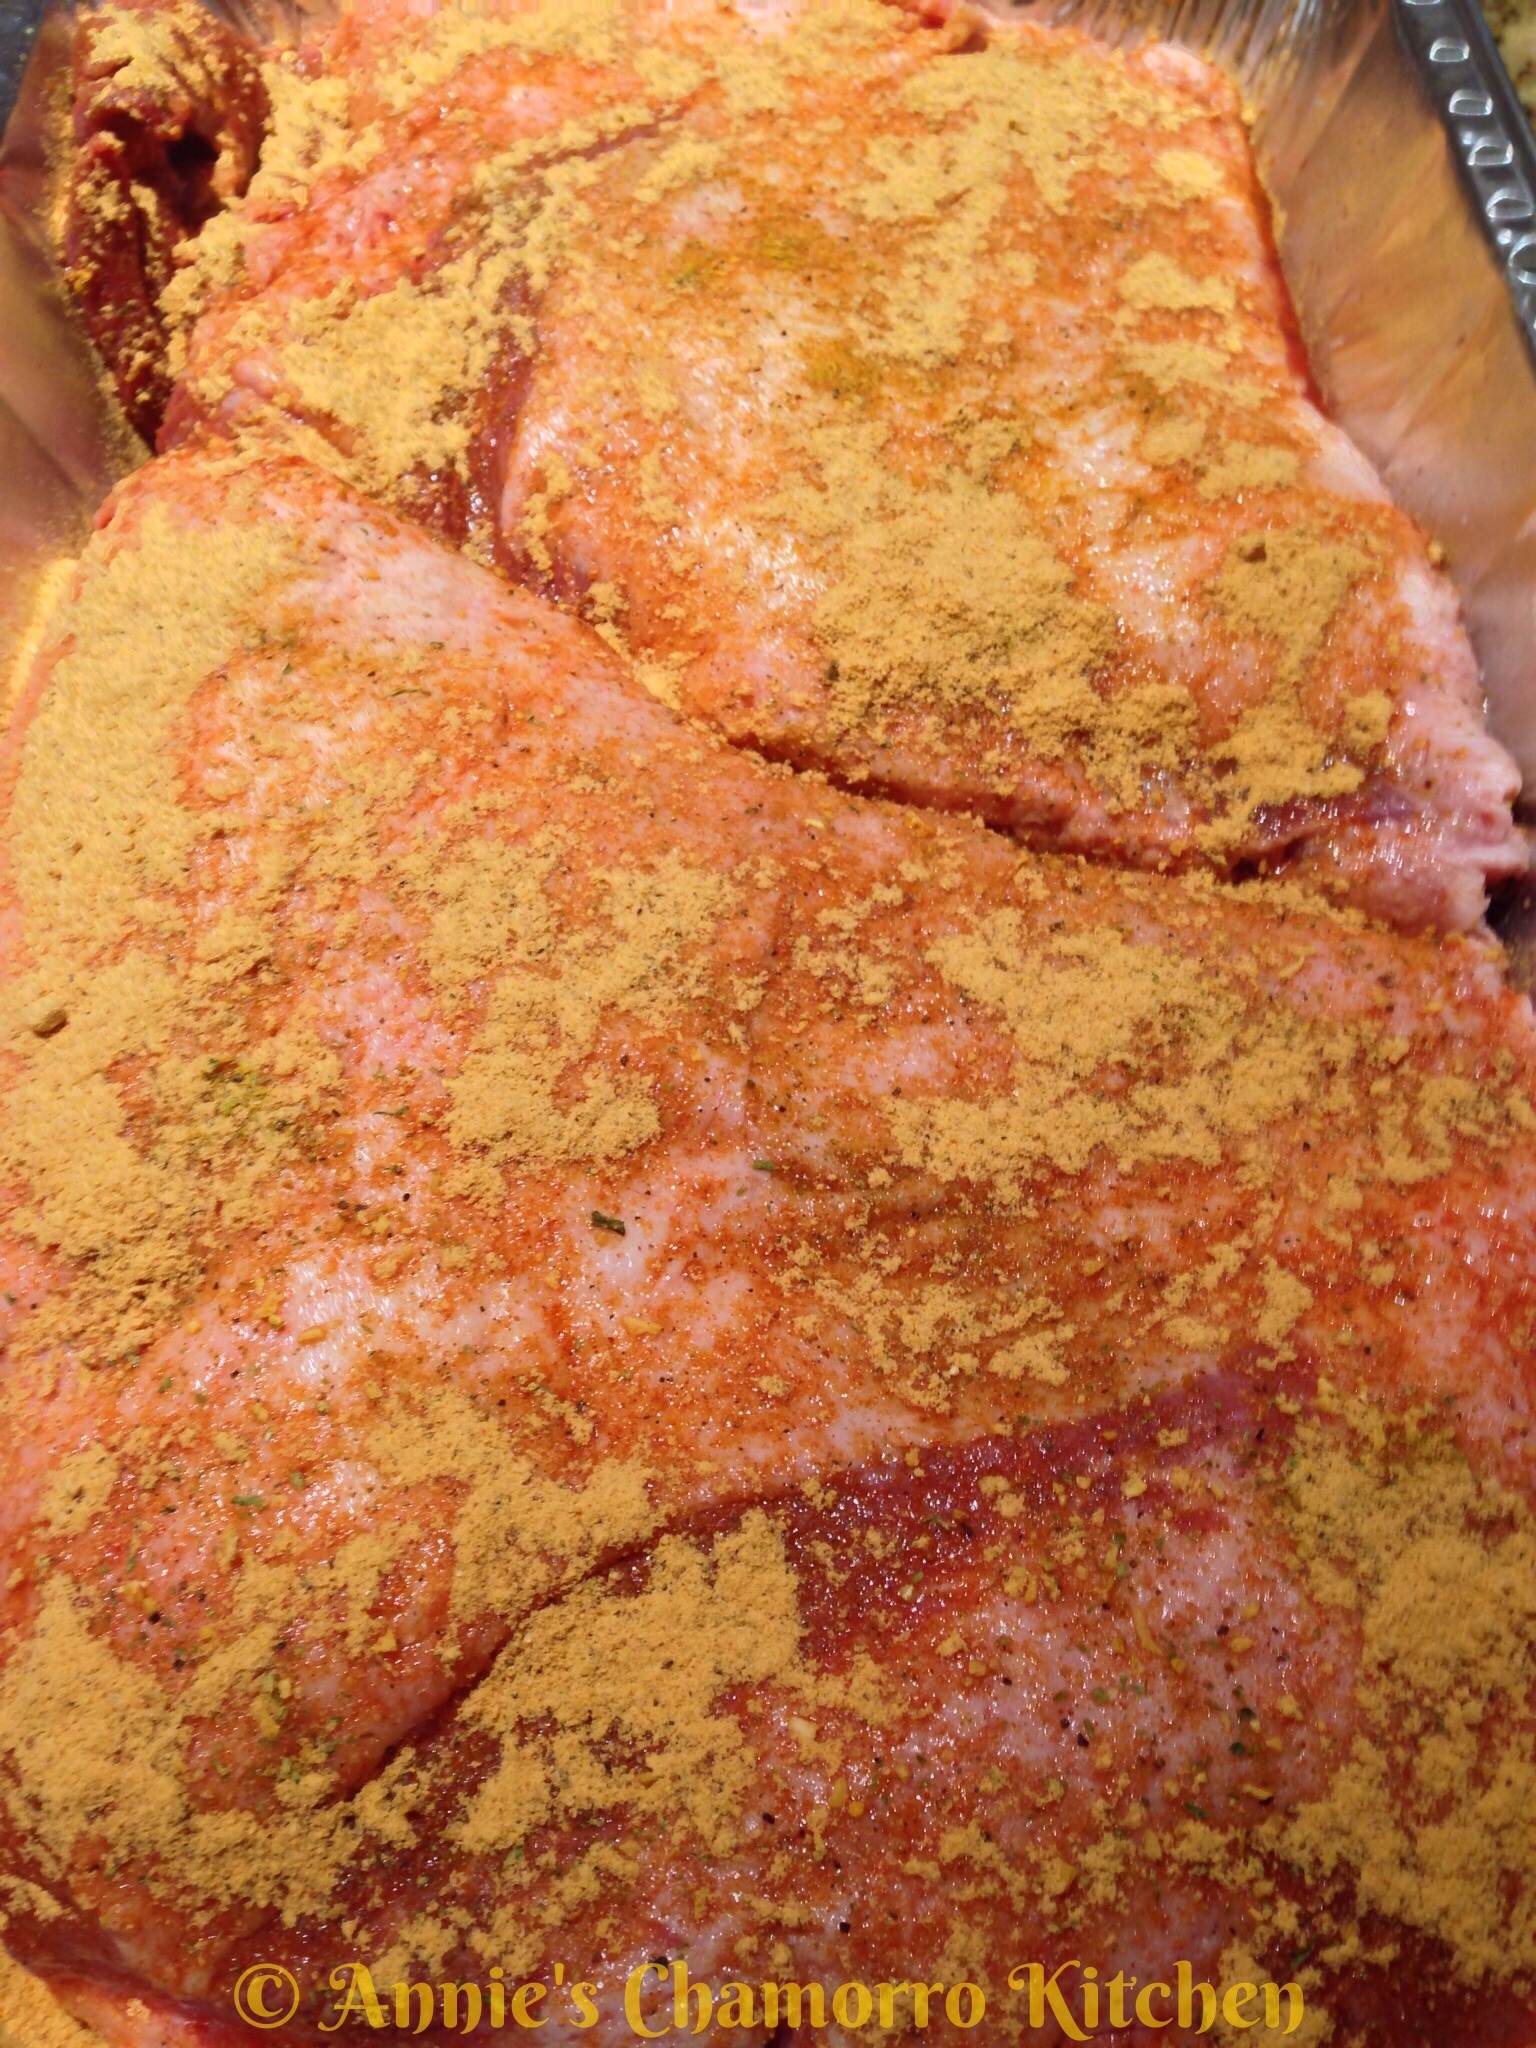
1. Prepare the brisket by trimming off some of the excess fat (leave some fat on–it’ll keep the meat moist during smoking-grilling).  Season the brisket on both sides with the BBQ Rub.  Let it sit (refrigerated) for several hours or overnight.


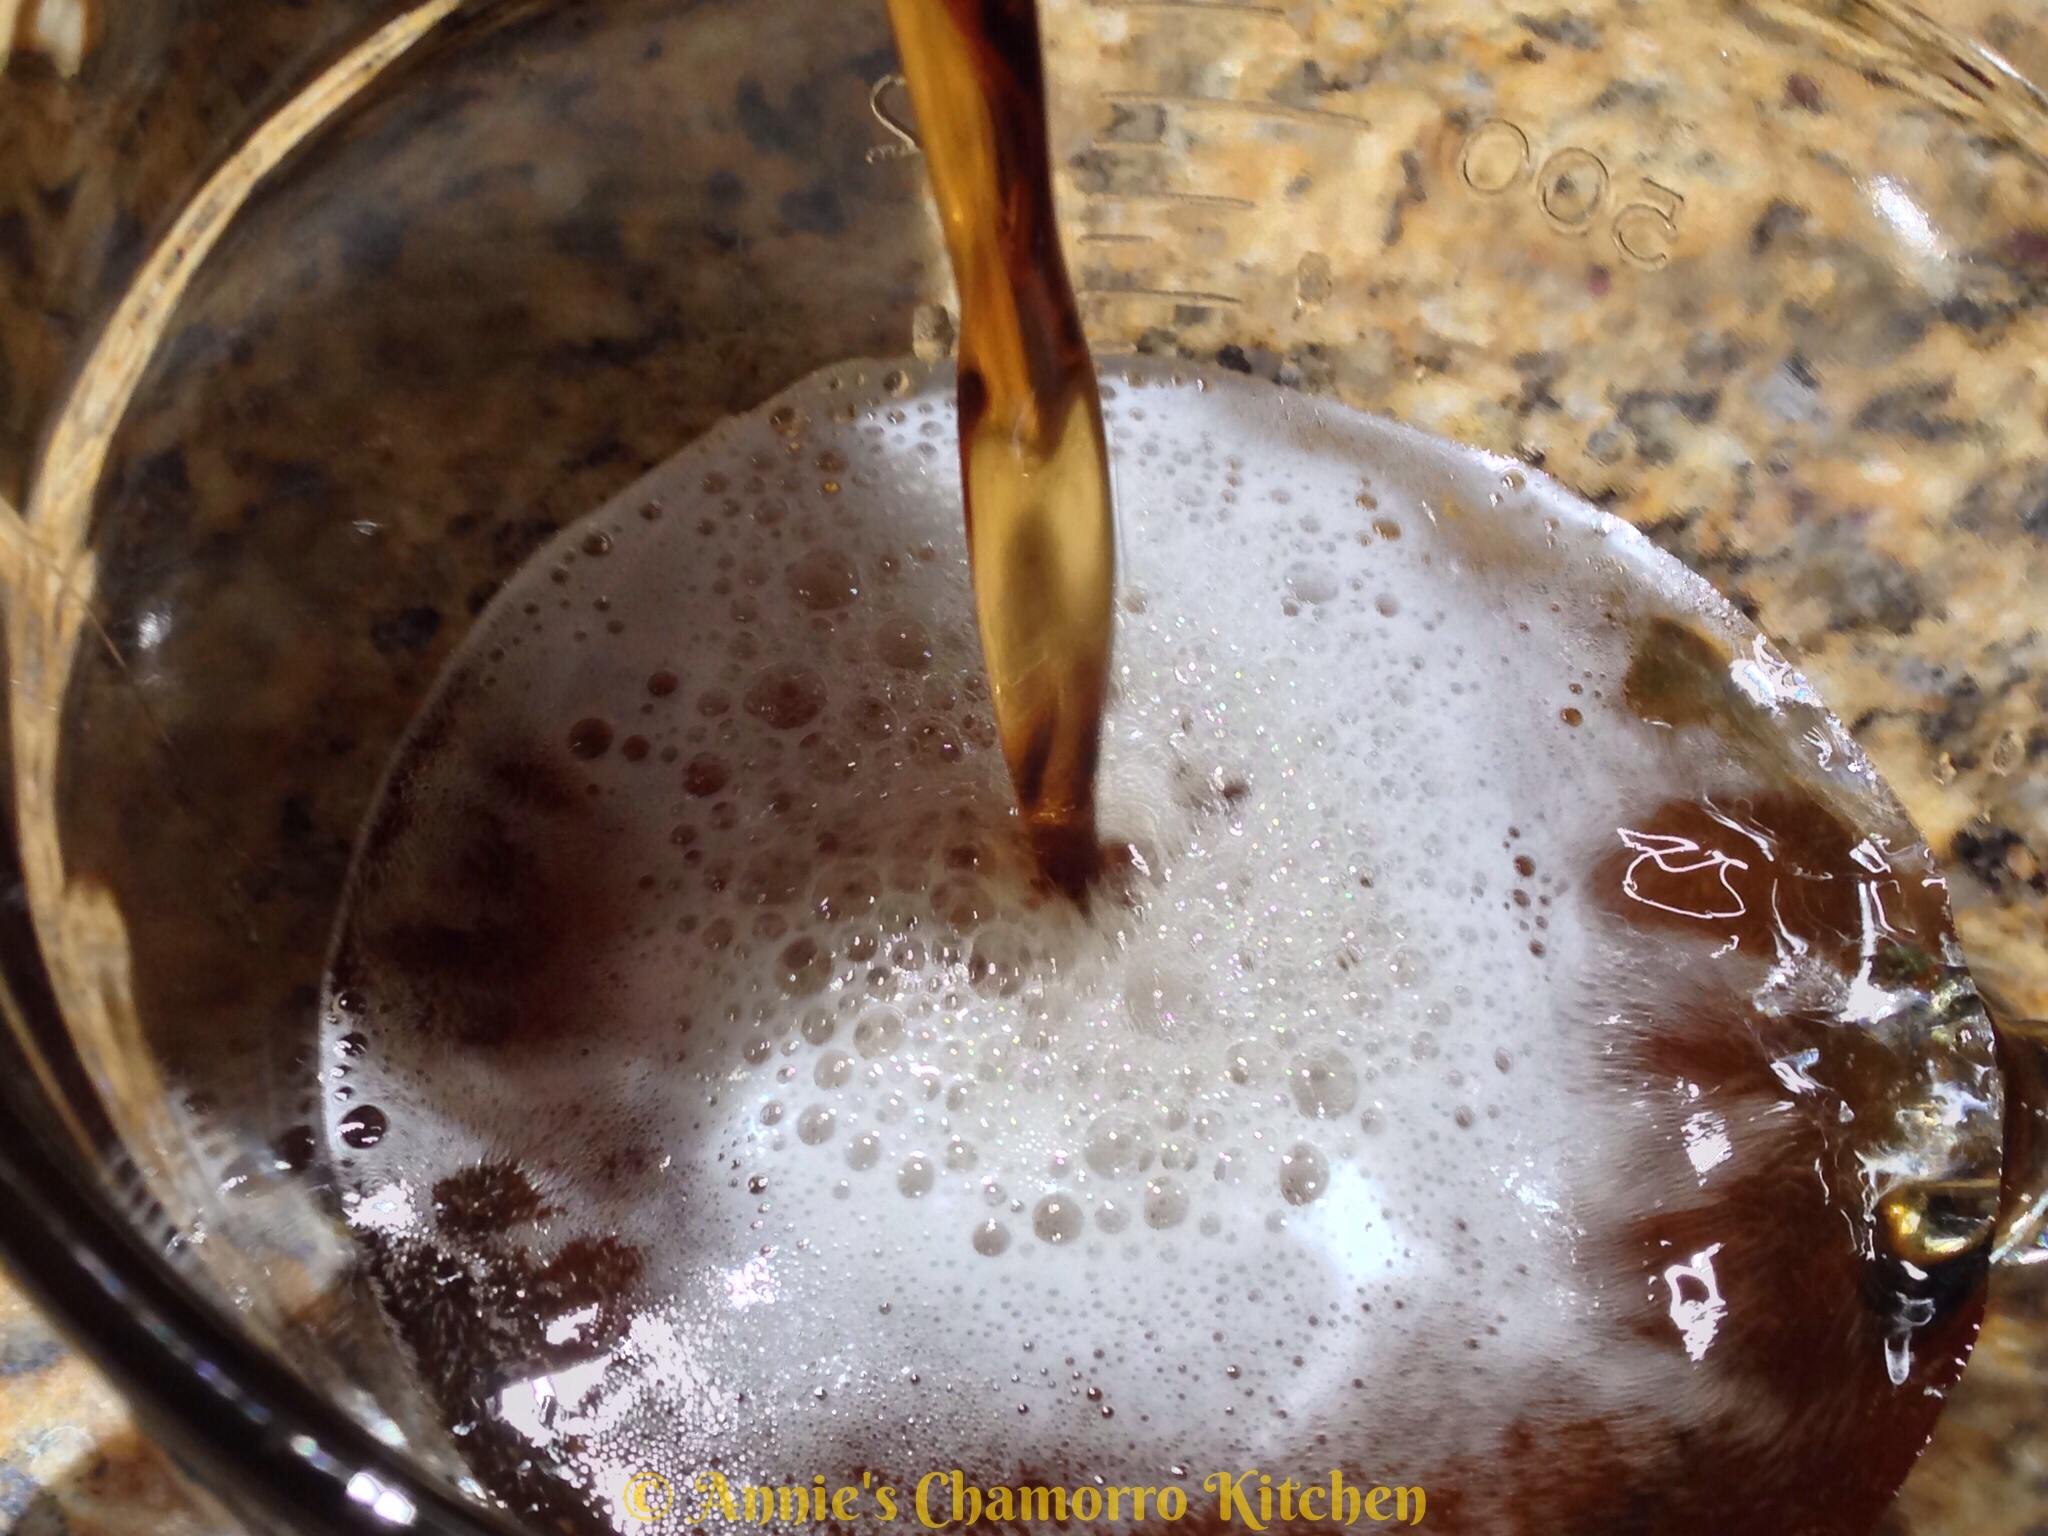
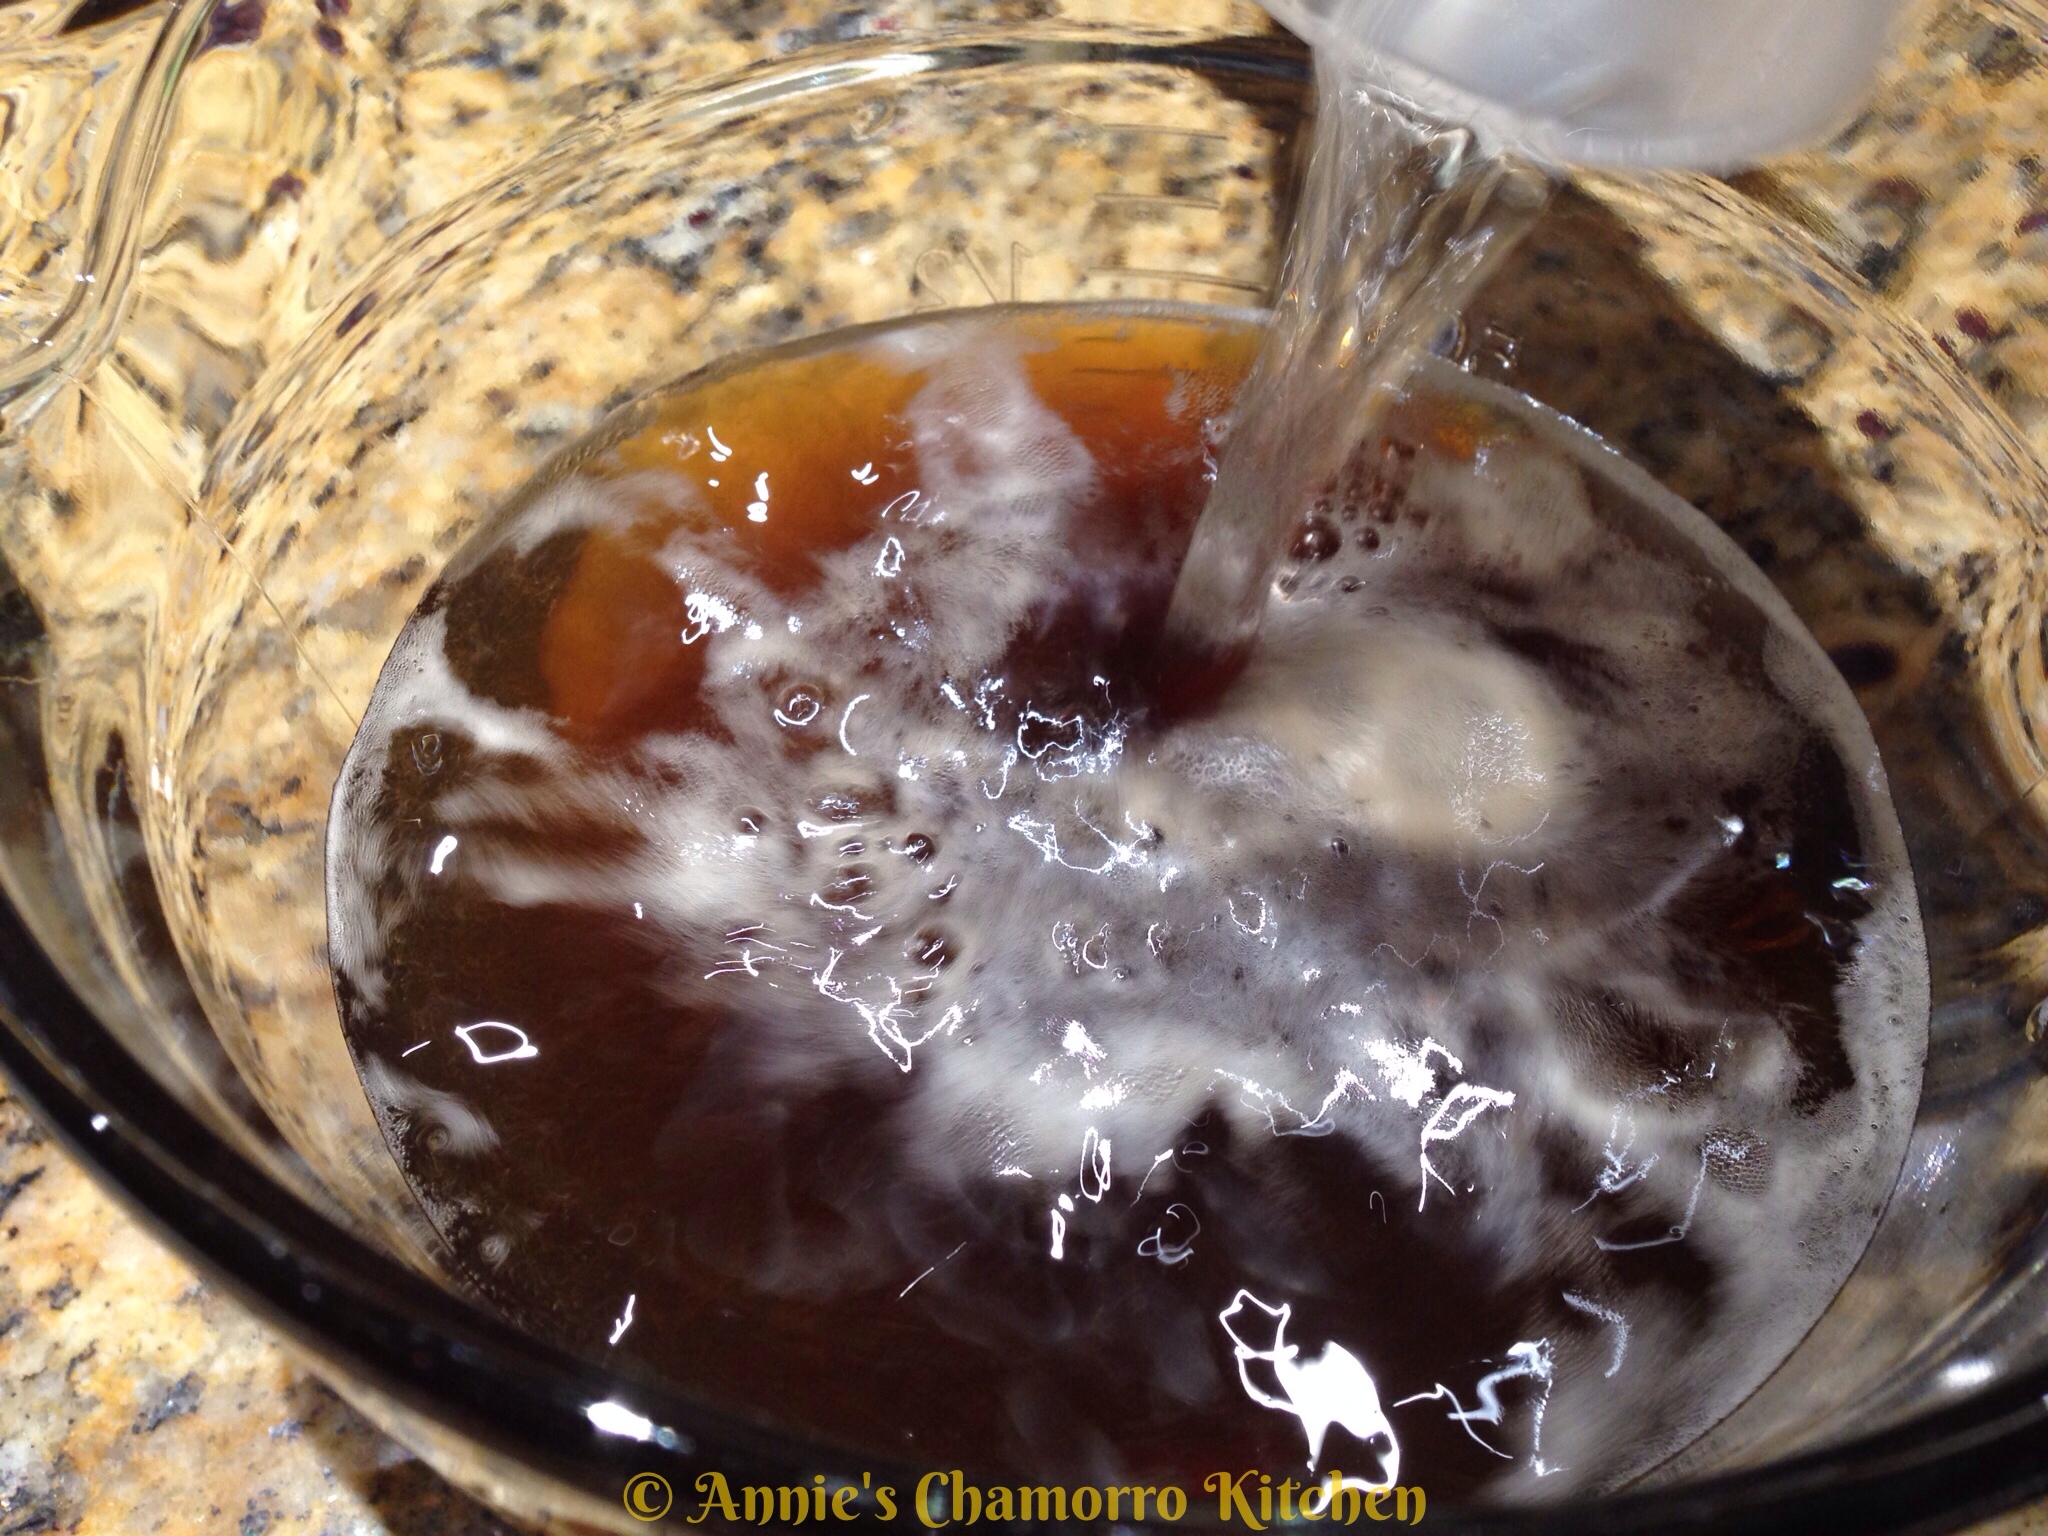
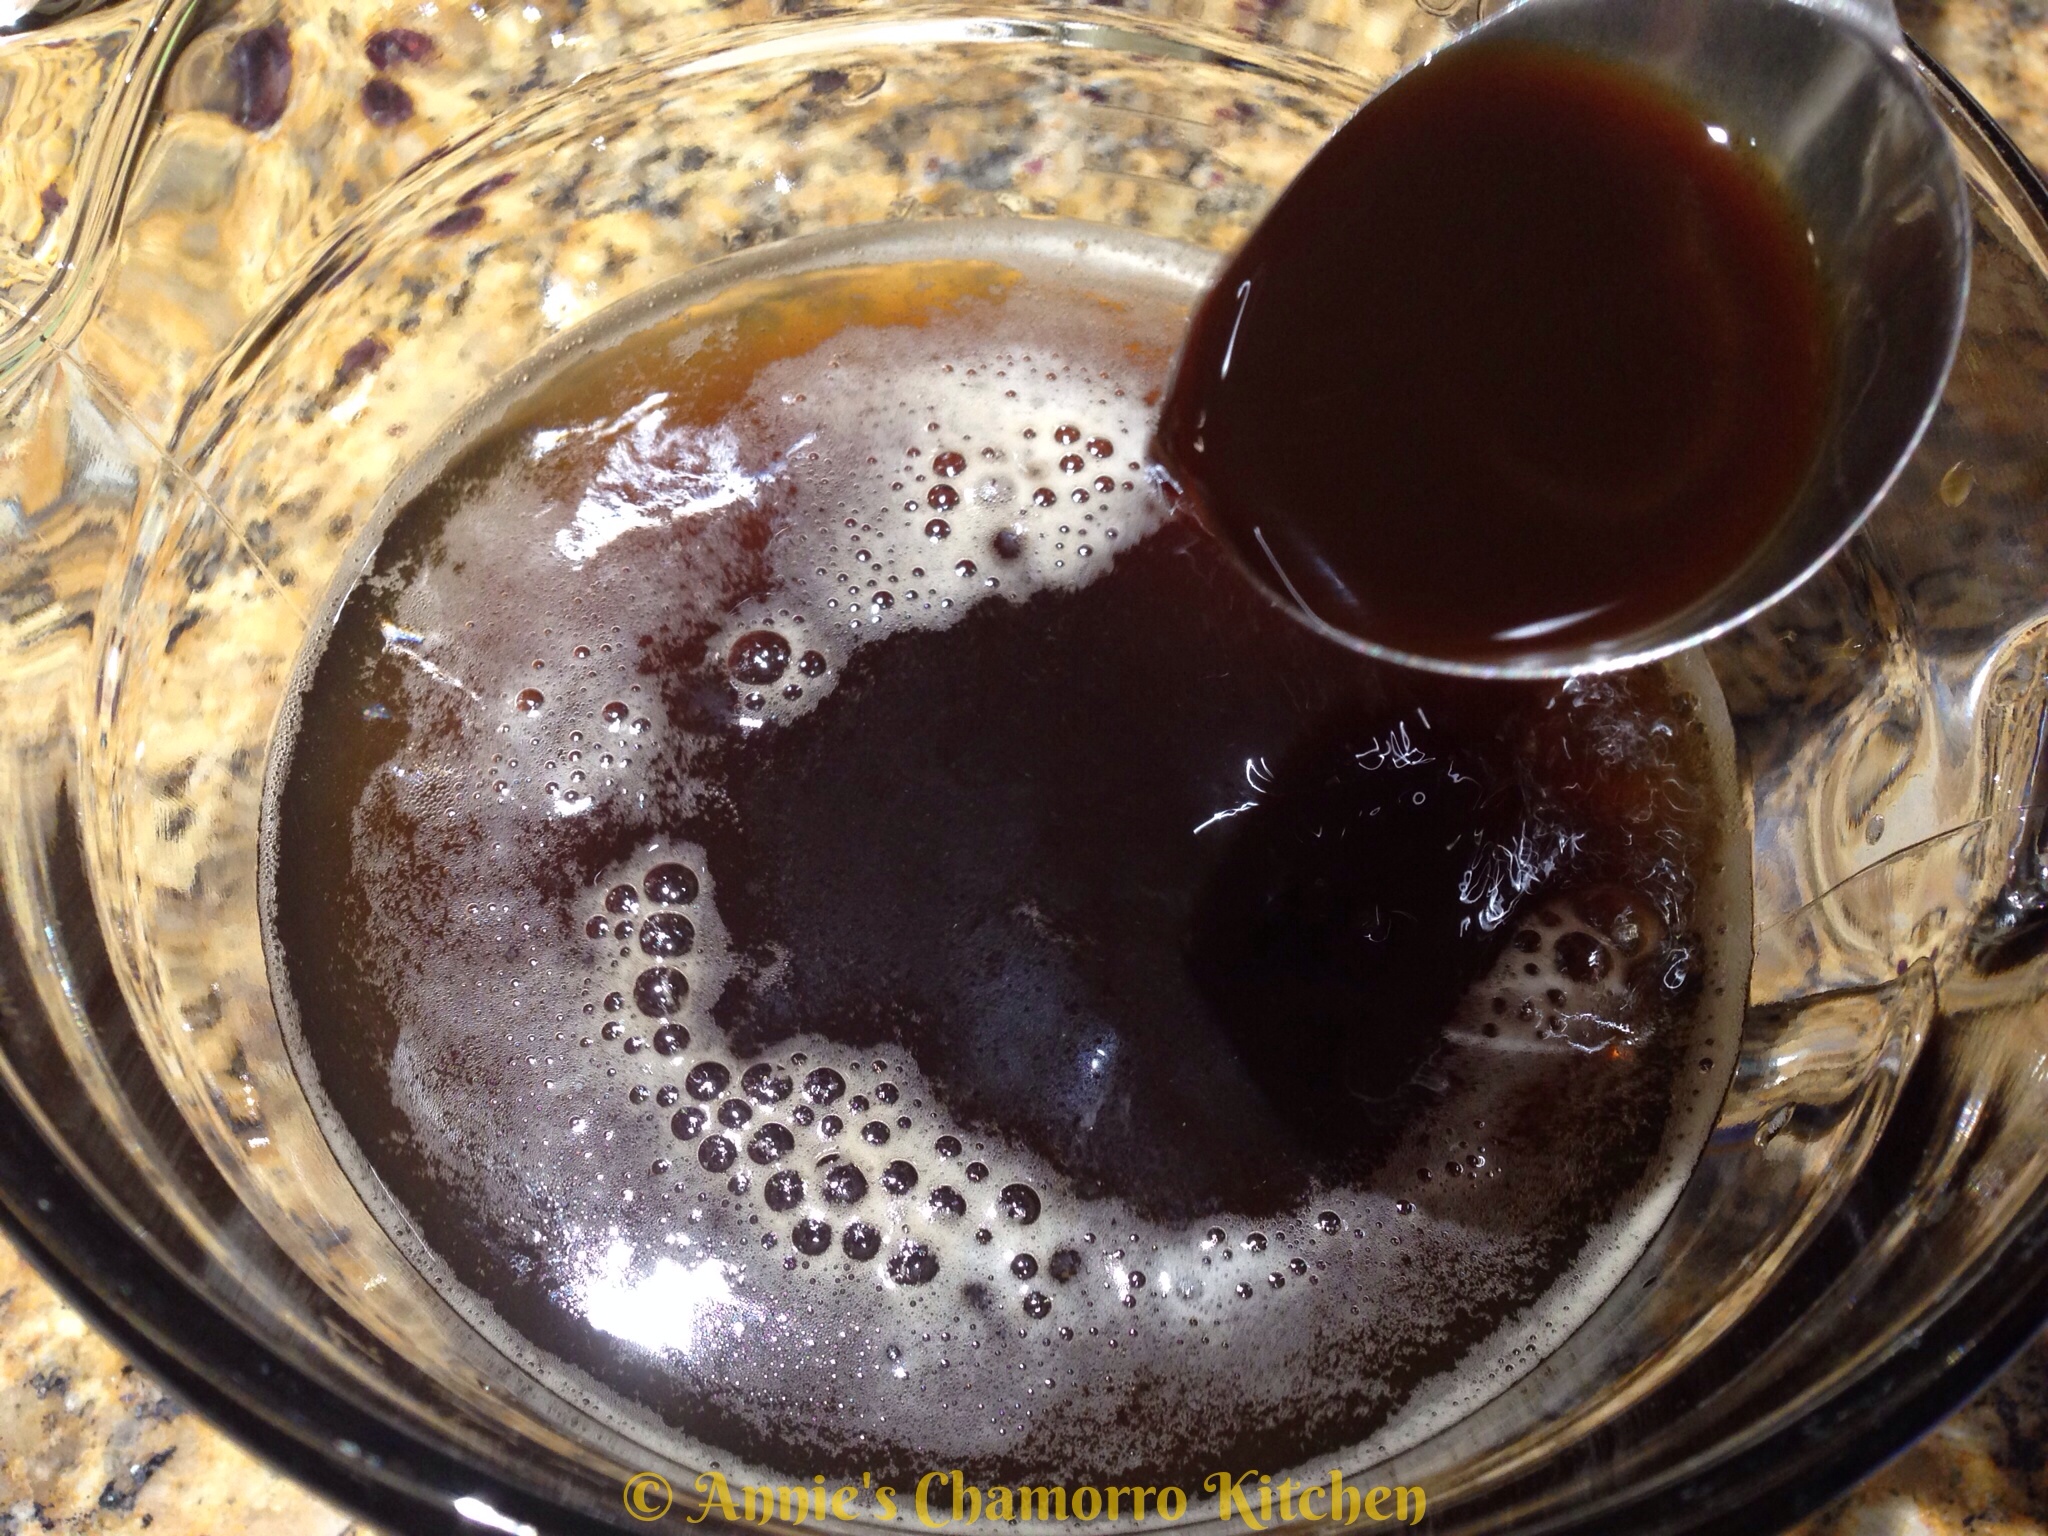
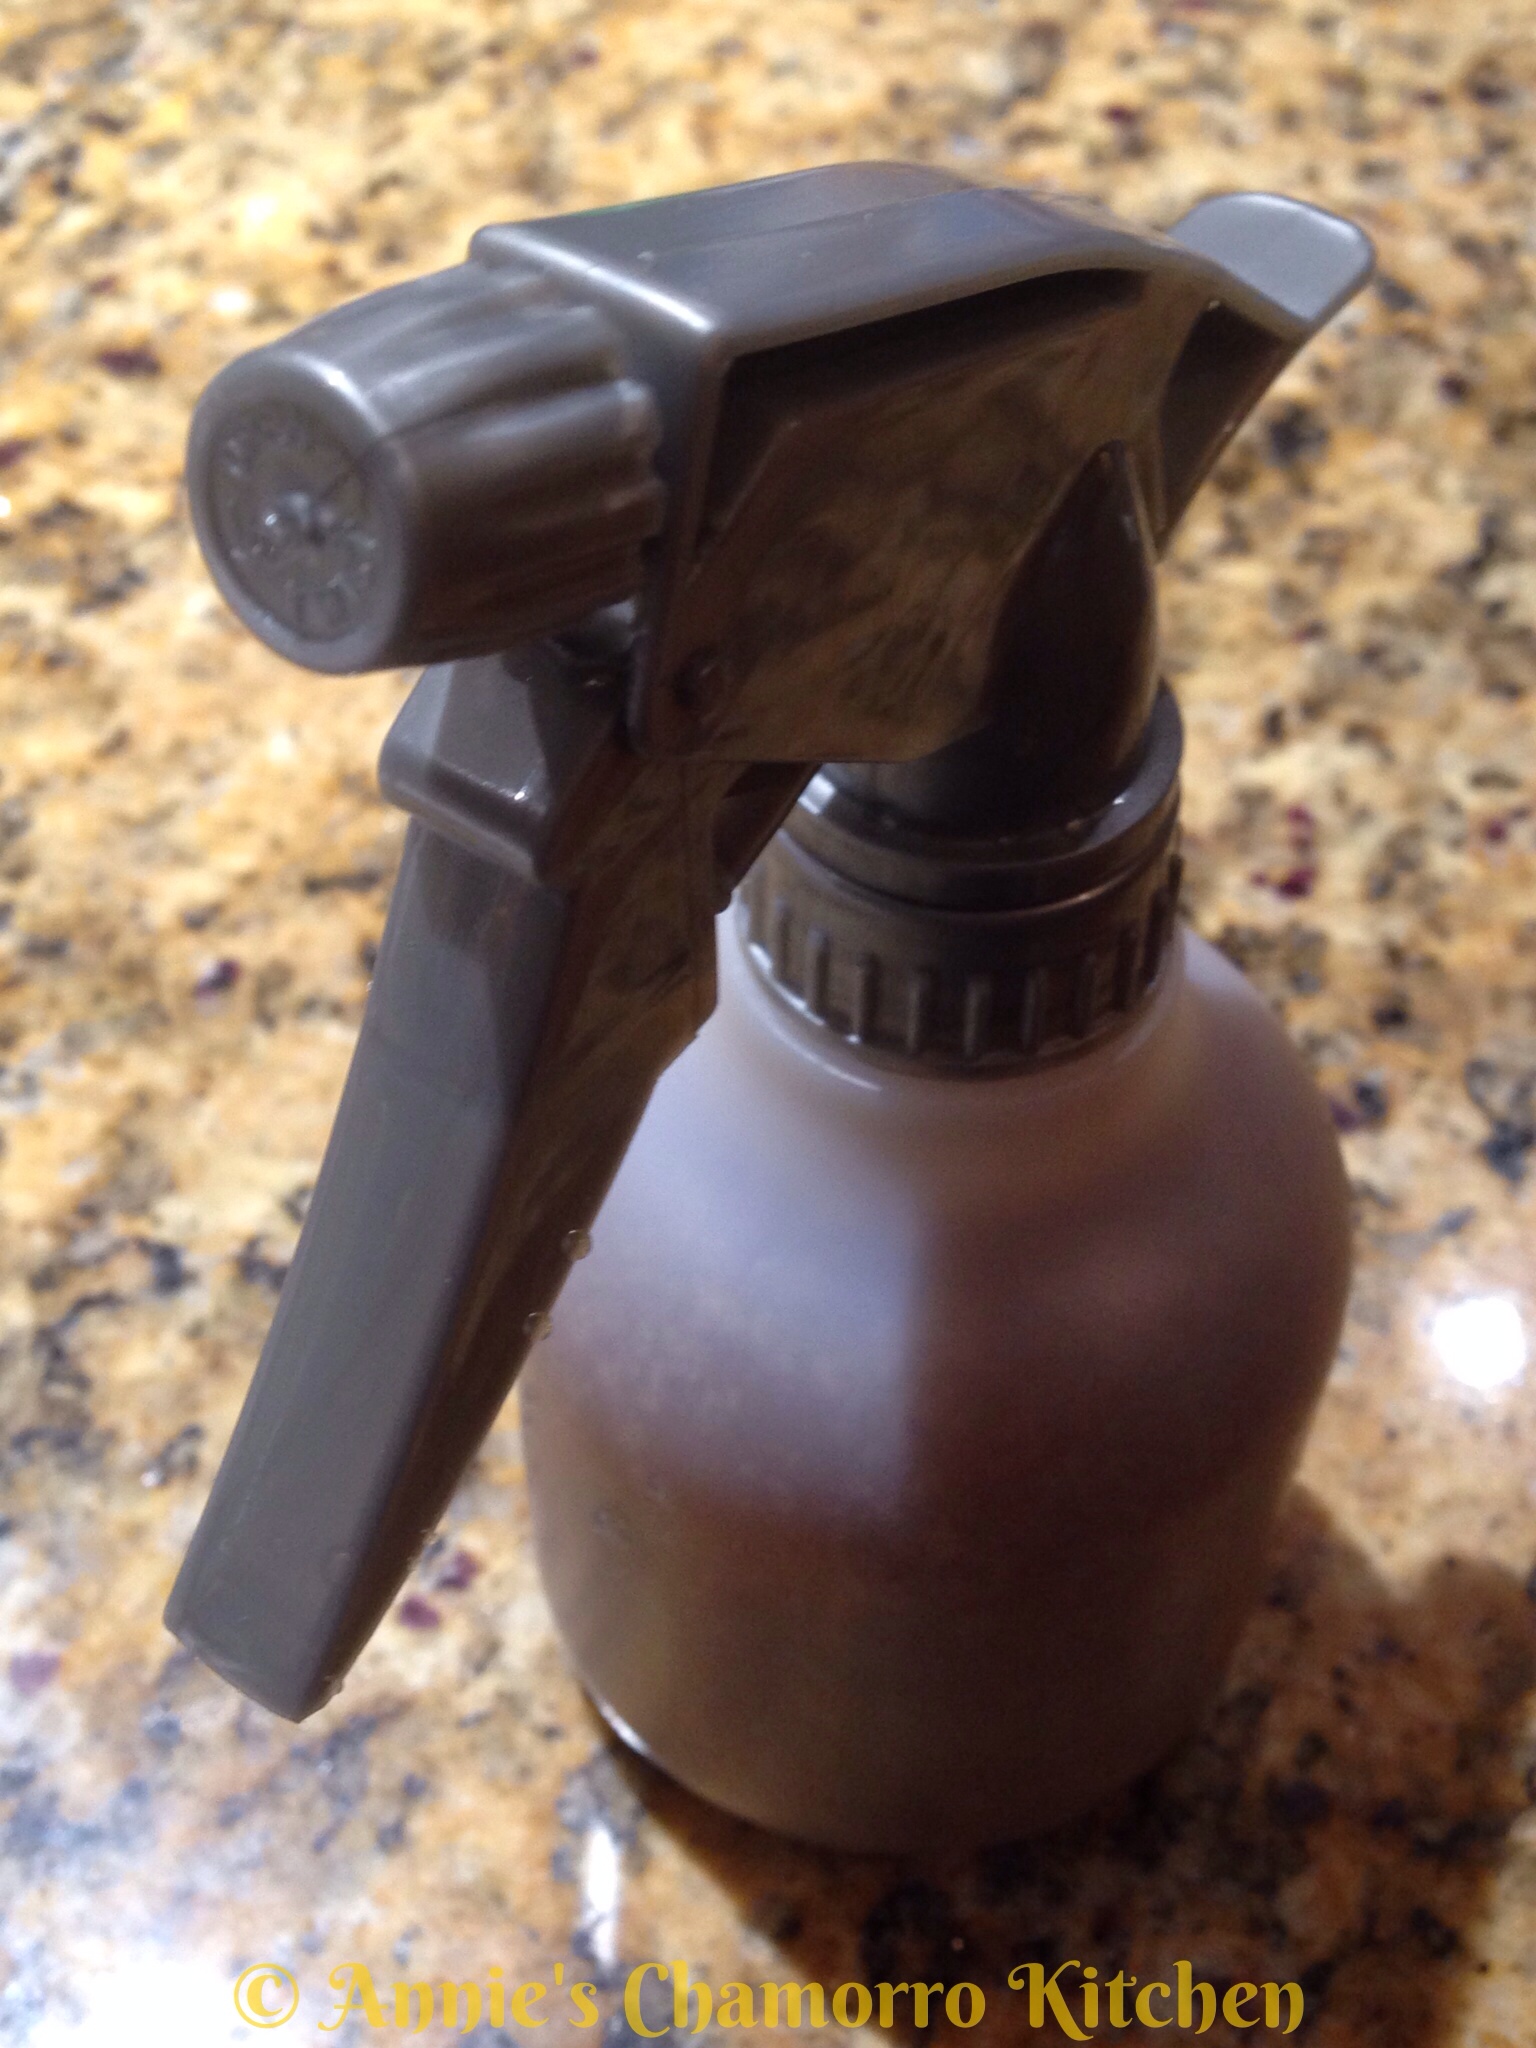
2.  Make the basting sauce: In a clean spray bottle, combine the beef broth, beer, and cola with the vinegar and Worcestershire sauce.


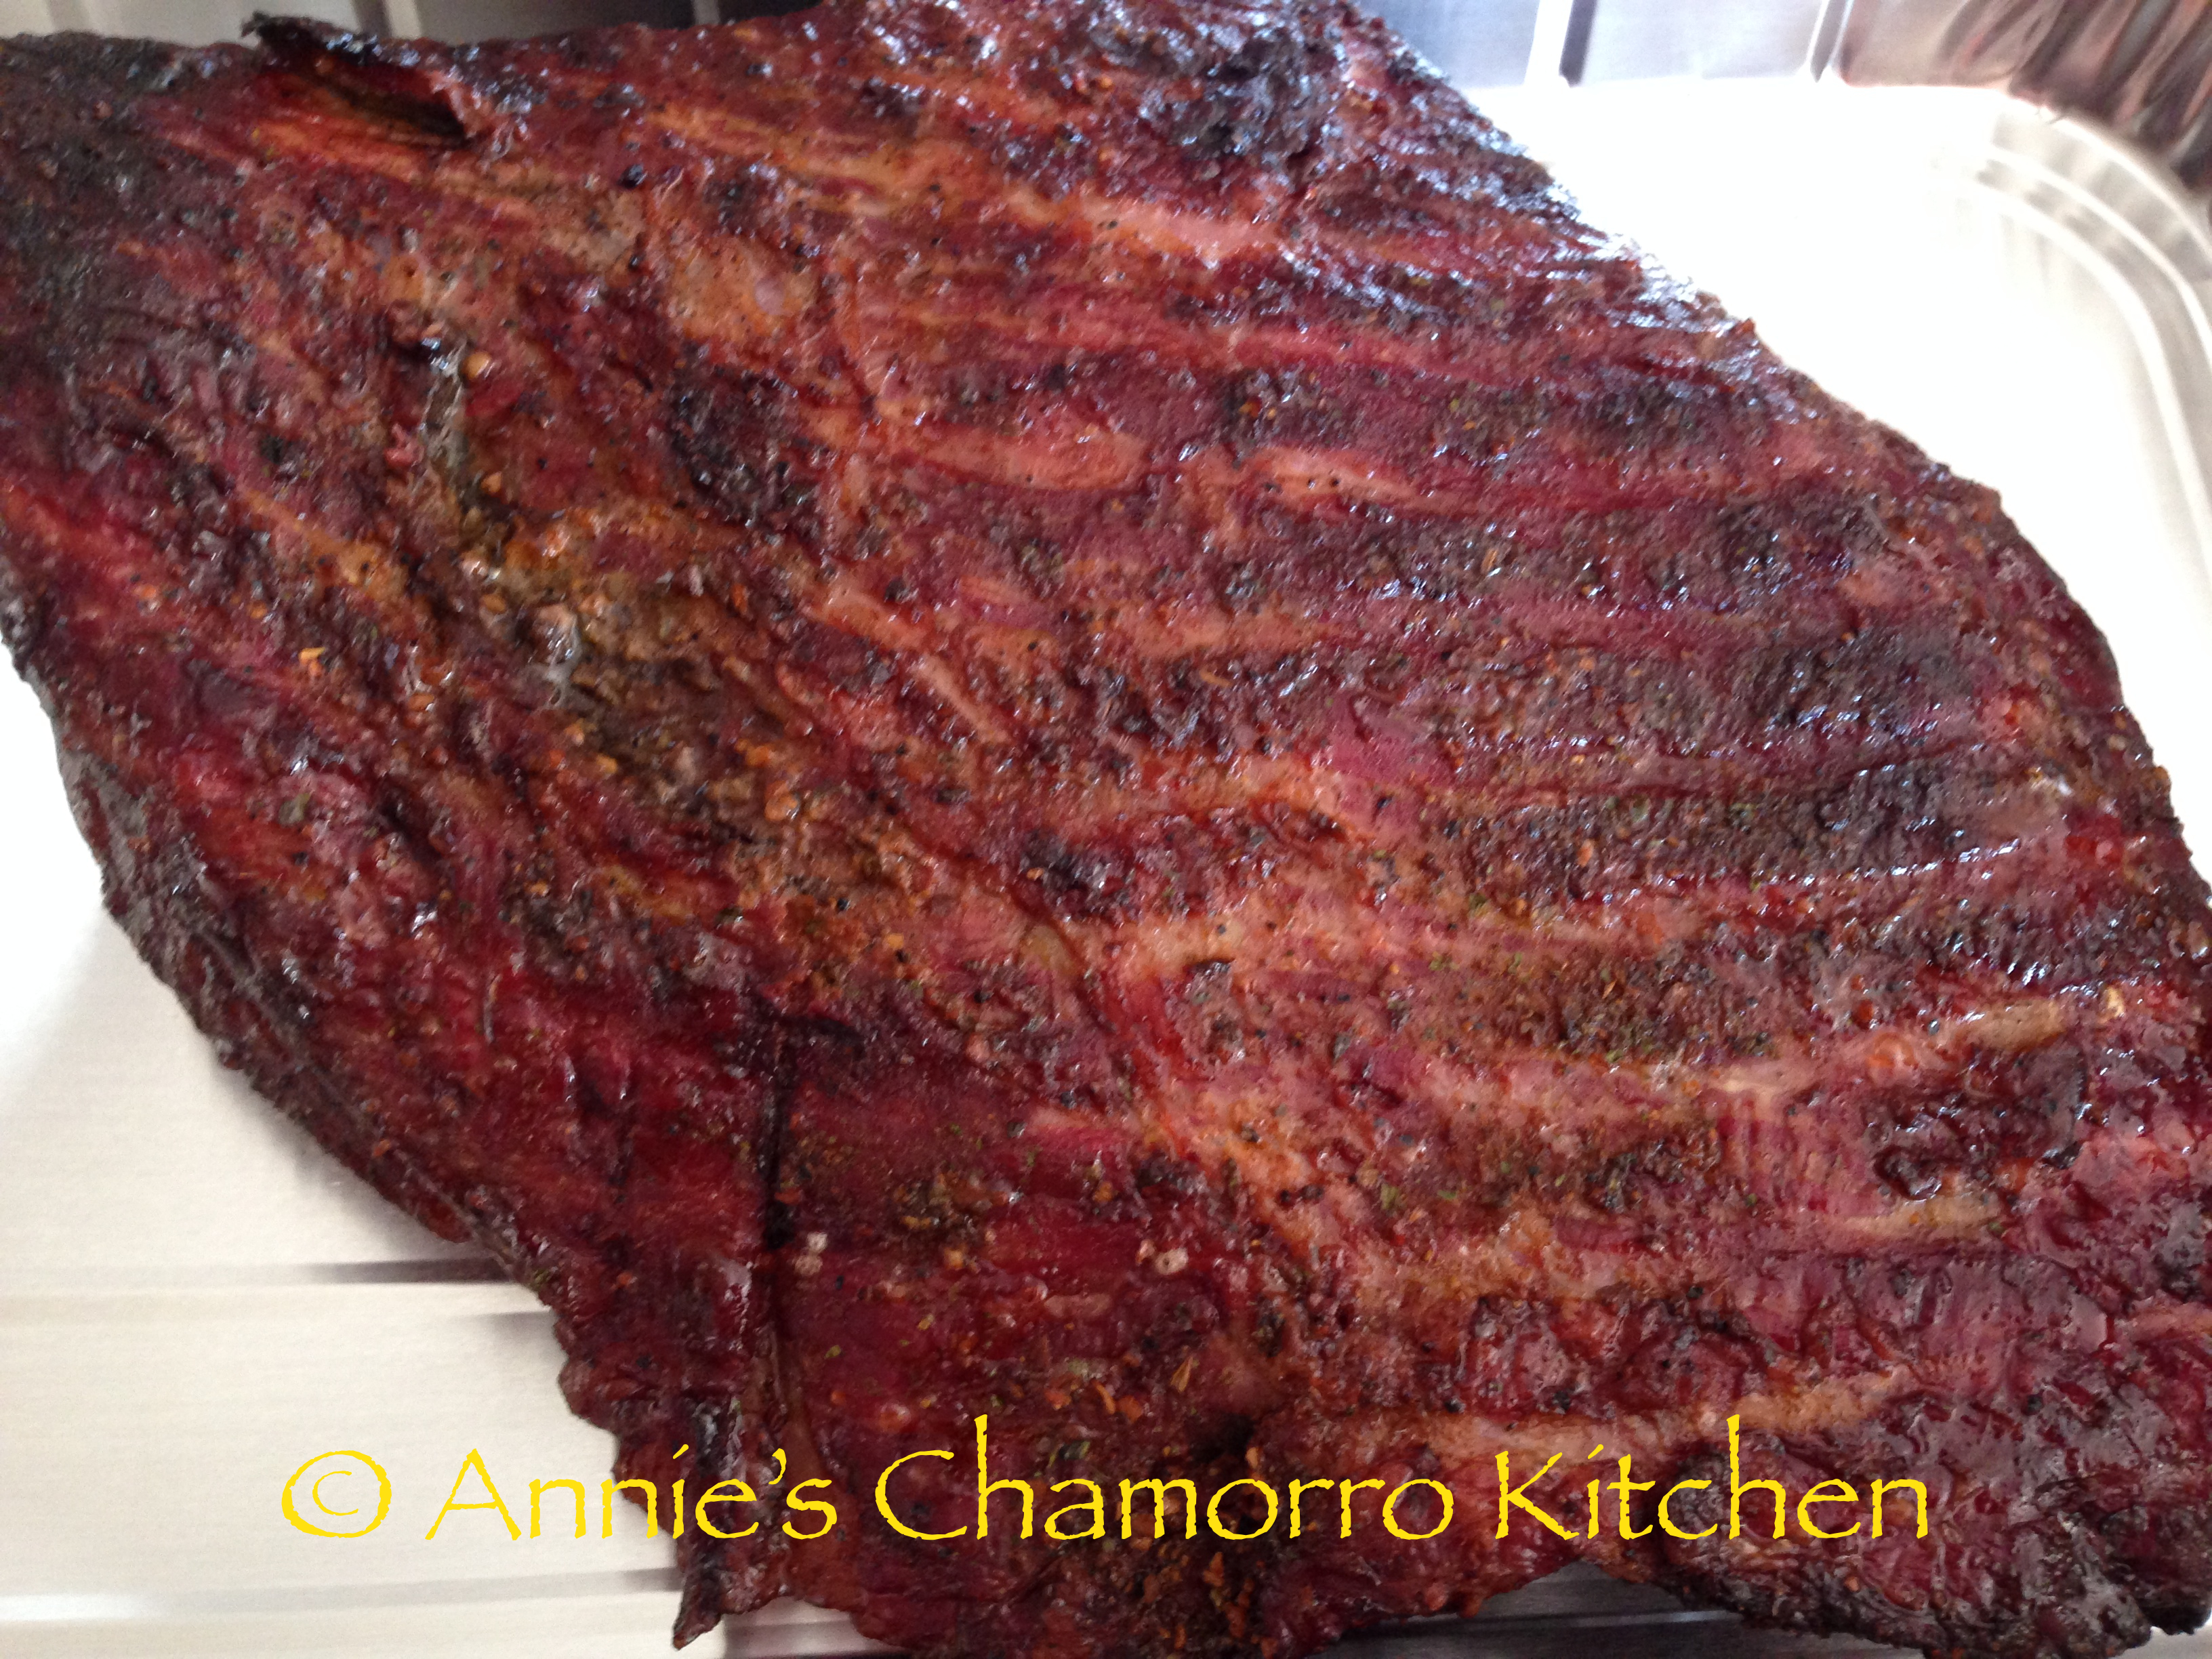
3.  Arrange the brisket fat-sideup on the grill.  If you have a smoker-grill, smoke the brisket for 4 hours.  Spray the top of the brisket every hour with the basting sauce.  After smoking for 4 hours, set your grill’s temperature to 225 degrees.  Continue to cook the brisket for about 6 more hours, spraying occasionally with the basting sauce.

IMG_3187

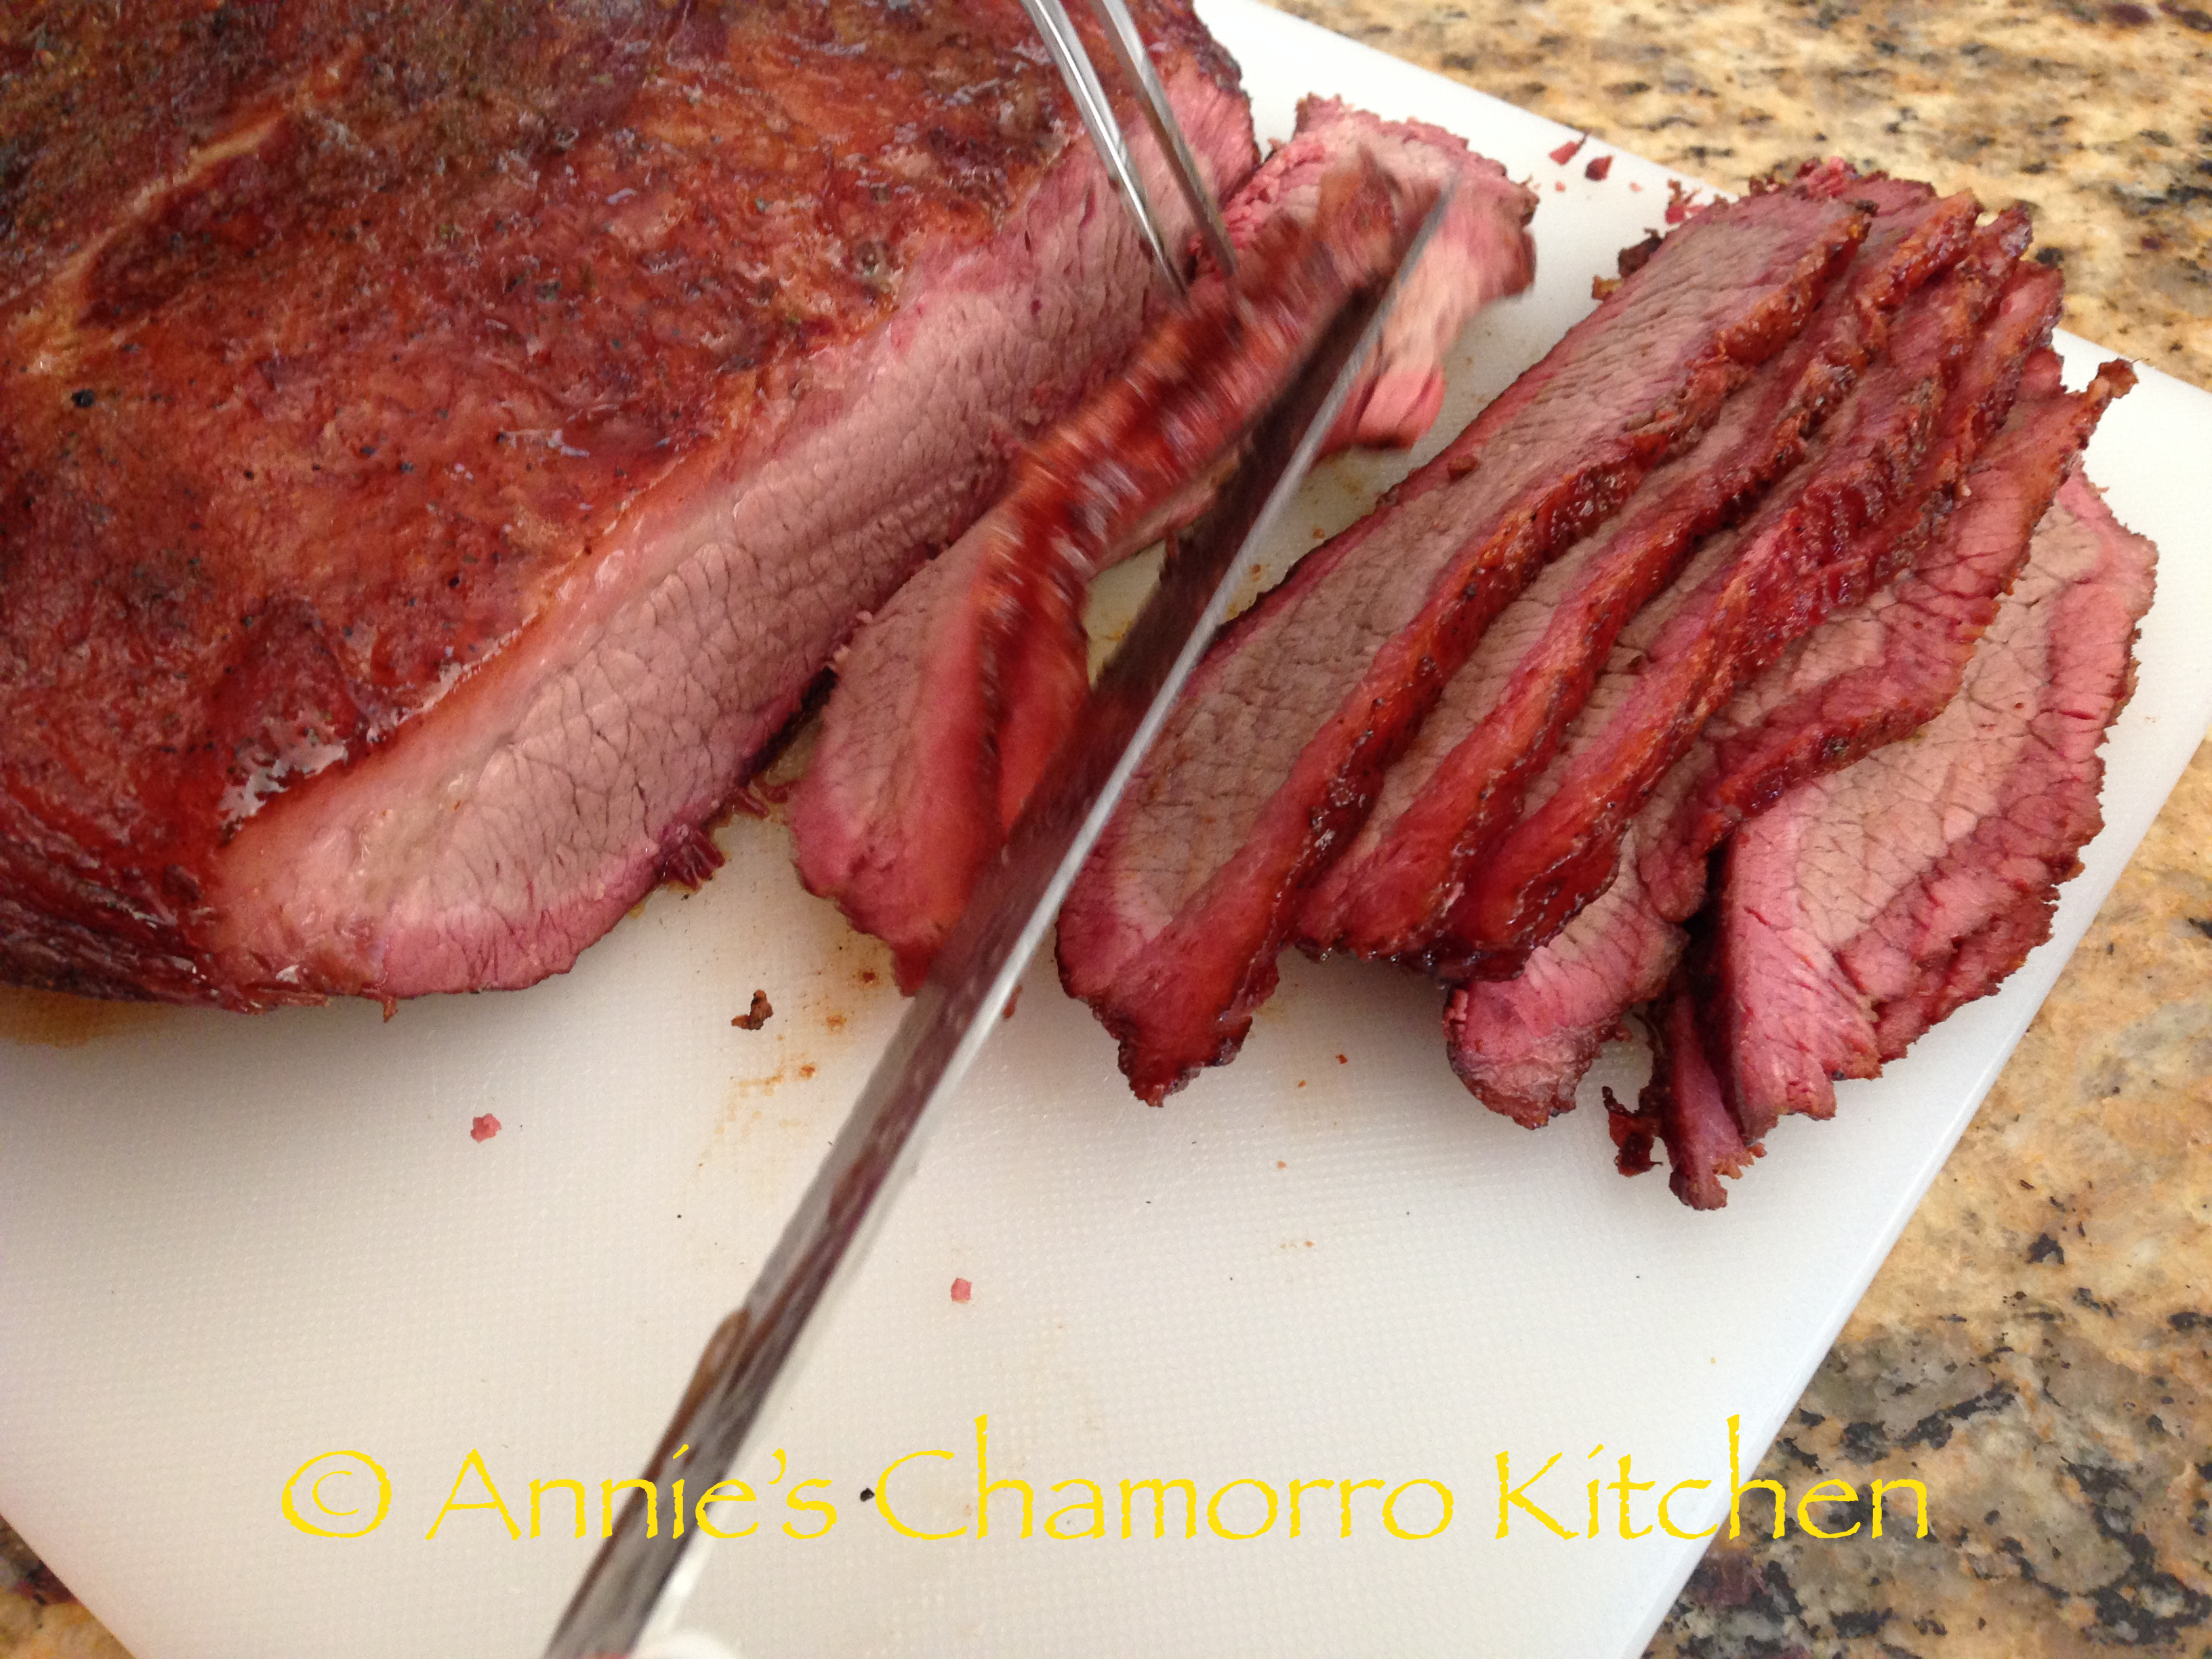
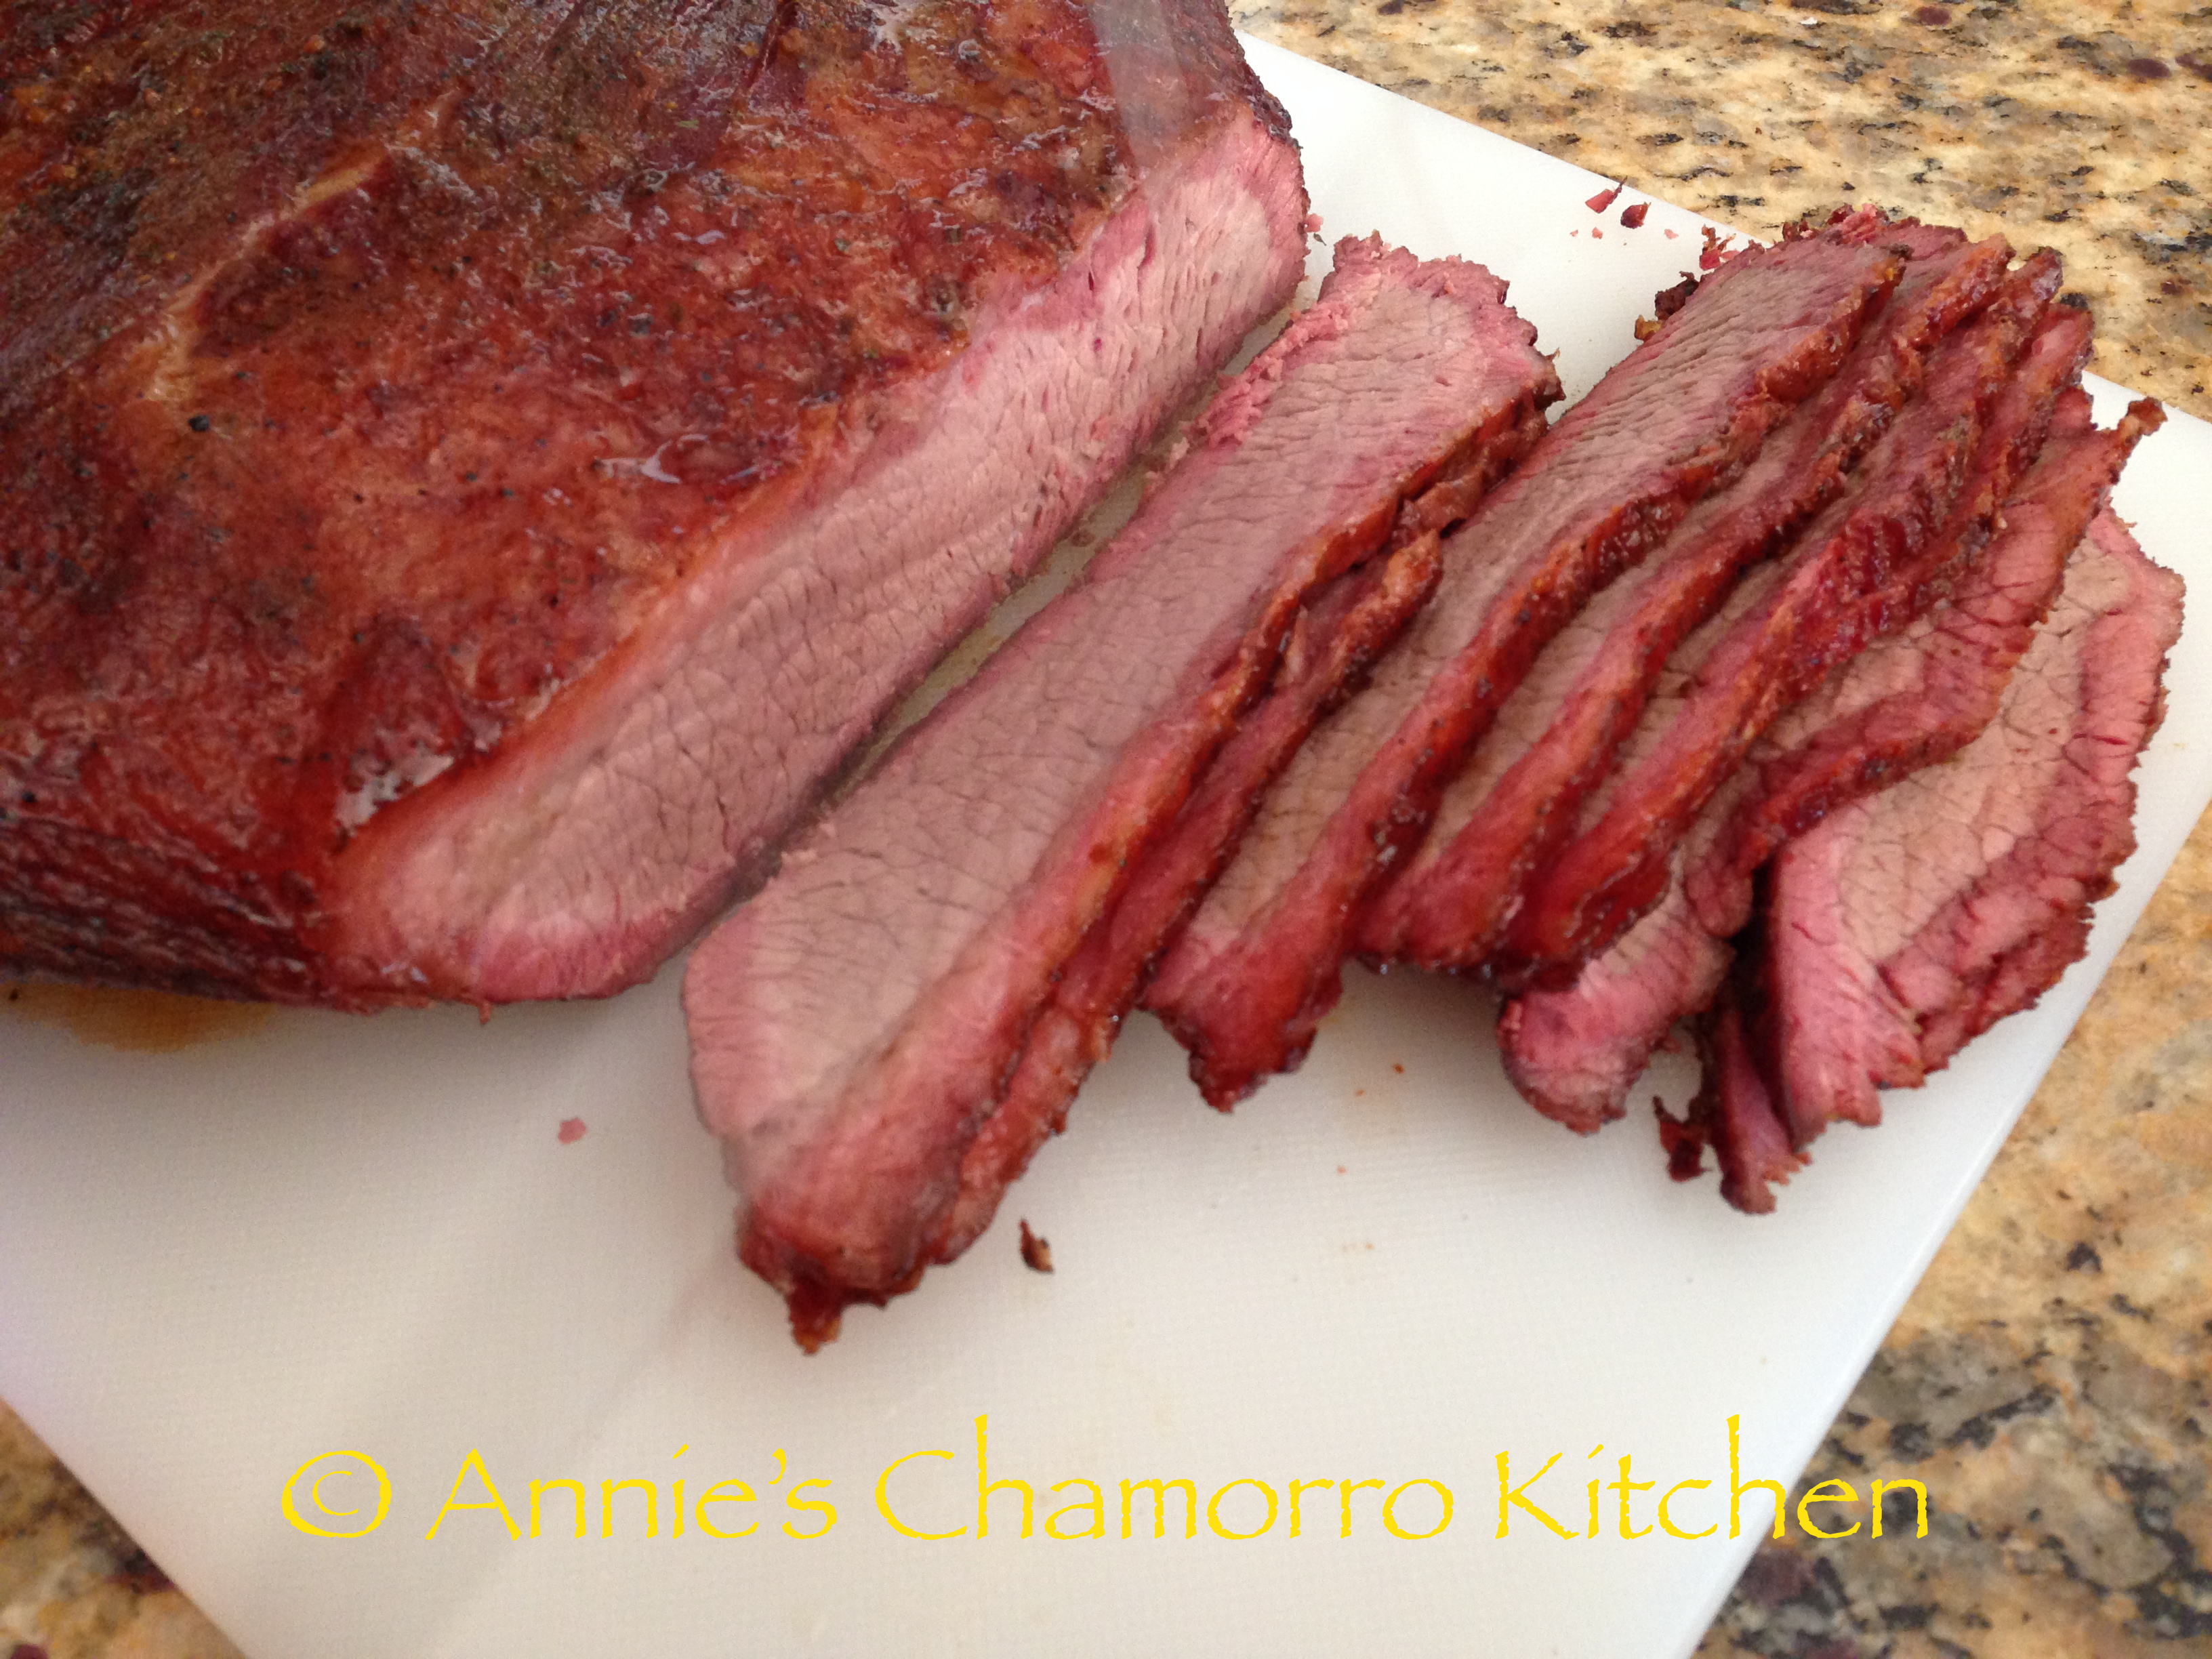
4.  When the brisket is (finally) done, place in a pan and cover tightly with aluminum foil.  Let the brisket rest for 30 minutes prior to slicing.  Slice with a sharp knife across the grain.  Serve with fina’denne’ and hot steamed (or red) rice.

ENJOY!

IMG_3203

IMG_3204

Beef Shank Kådu with Fresh Vegetables and Vermicelli Noodles

It’s currently 9 degrees outside, with a windchill of -11 degrees — it’s the perfect time for a pot of my delicious Beef Shank Kådu (which means soup, in Chamorro) with fresh vegetables and vermicelli noodles. Come to think of it, this soup is good at ANY time, not just when it’s cold and blustery outside. After all, we make kådu on Guam, where the temperature is in the 80’s year-round! 😉

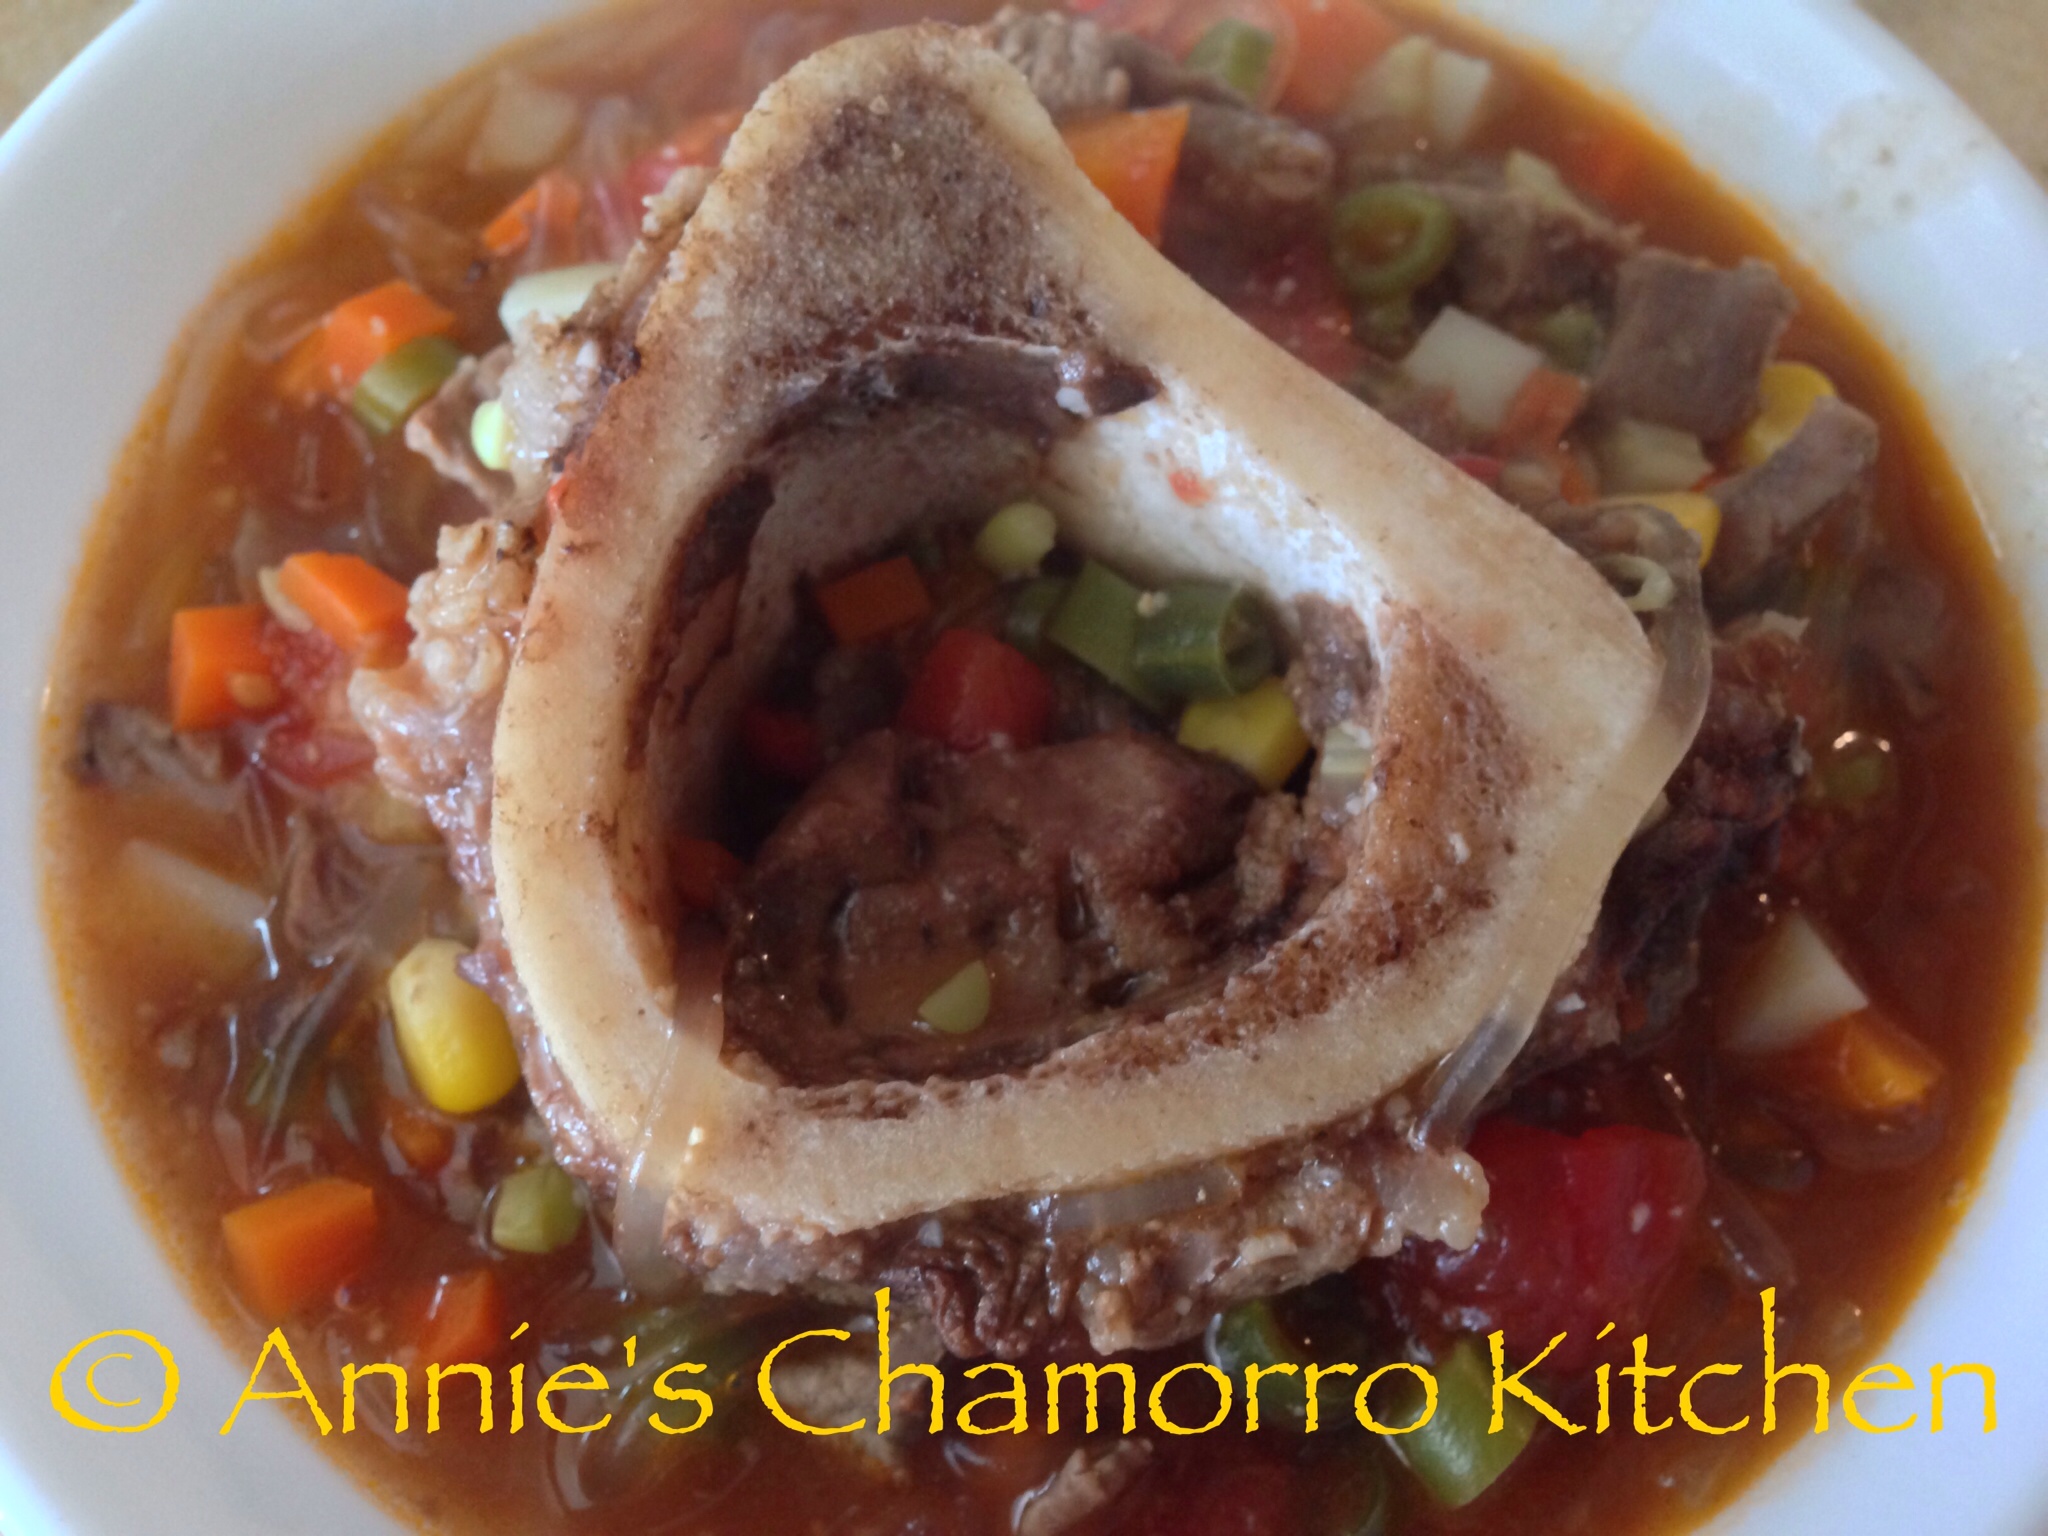
I used beef shanks (with bones) for this recipe, but you can use any lean cuts of beef you like. I like shanks because the bone marrow in the bones give the broth an extra rich and concentrated beef flavor. Most shanks are marbled with sinew. If I’m pressed for time, I’ll cook the meat in a pressure cooker, along with some onions, garlic and water, just long enough to break down the sinew and tenderize the meat. I started this soup around 8 am, cooked the meat low and slow for a couple of hours, then added the vegetables the last half hour before eating. If you don’t braise the meat long enough, the sinew in the meat won’t break down enough and you’ll end up with tough, dry meat in your soup.

I prefer using fresh vegetables when I make soup (with the exception of canned tomatoes and corn). I know, you can cut your prep and cooking time by more than half if you use frozen vegetables, but I don’t particularly like that the frozen vegetables are cut so large (I end up cutting each one smaller–that’s very time consuming), nor do I like that it’s overcooked by the time my soup is done. Nope — it’s fresh vegetables for this soup or I don’t make it.

I know what you’re thinking by now…you’re probably thinking, “gosh, she sure is picky.” Well, for this soup, I am. I think it’s because this is how my mom made it, using vegetables picked fresh from my dad’s ranch. Sometimes we’d have wing beans and green beans in our soup, along with squash and onions. Other times we’d have fresh corn and tomatoes picked fresh off the vines.

If you thought I was picky with my choice of fresh over frozen vegetables, let me tell you about my choice of noodles. I’ve tried making this soup with rice noodles, but it’s just not the same as using vermicelli or glass noodles. There are many brands of vermicelli noodles (not the kind used for Italian pasta dishes, mind you). I like using Korean vermicelli noodles, namely the kind used for Jap Chae (or Chap Chae). If you don’t know what type to buy, go to your local Korean or Asian market and ask a clerk for Korean Jap Chae noodles.

Give my recipe a try. I think you’ll like it. 🙂

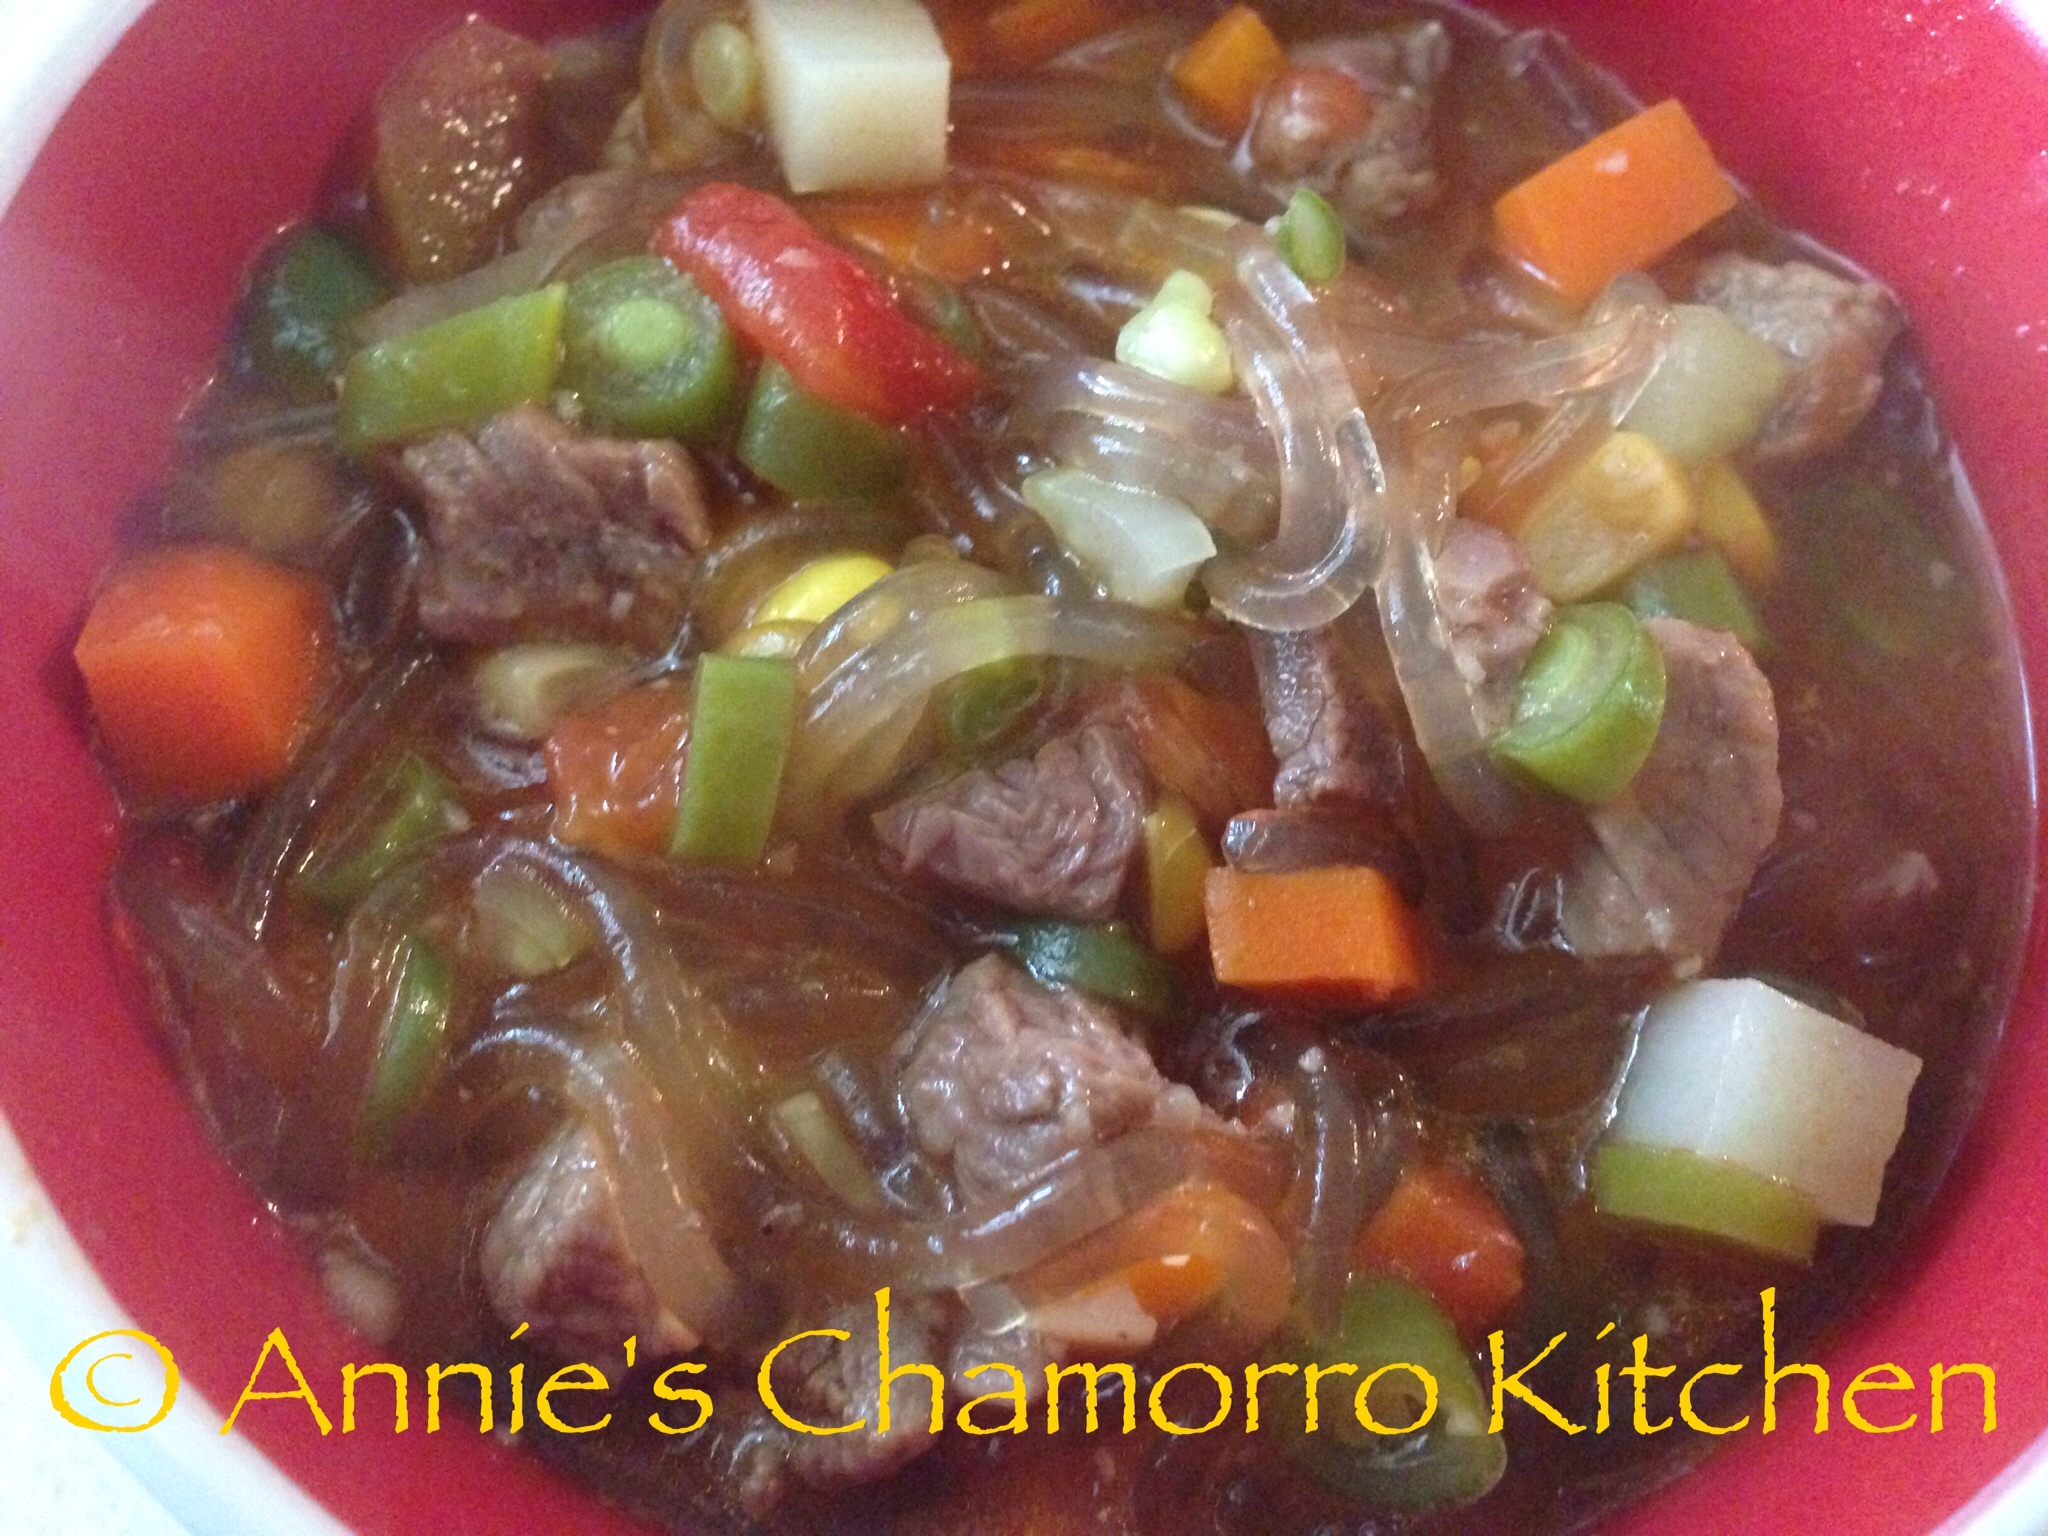
Beef Shank Kadu with Fresh Vegetables and Vermicelli Noodles
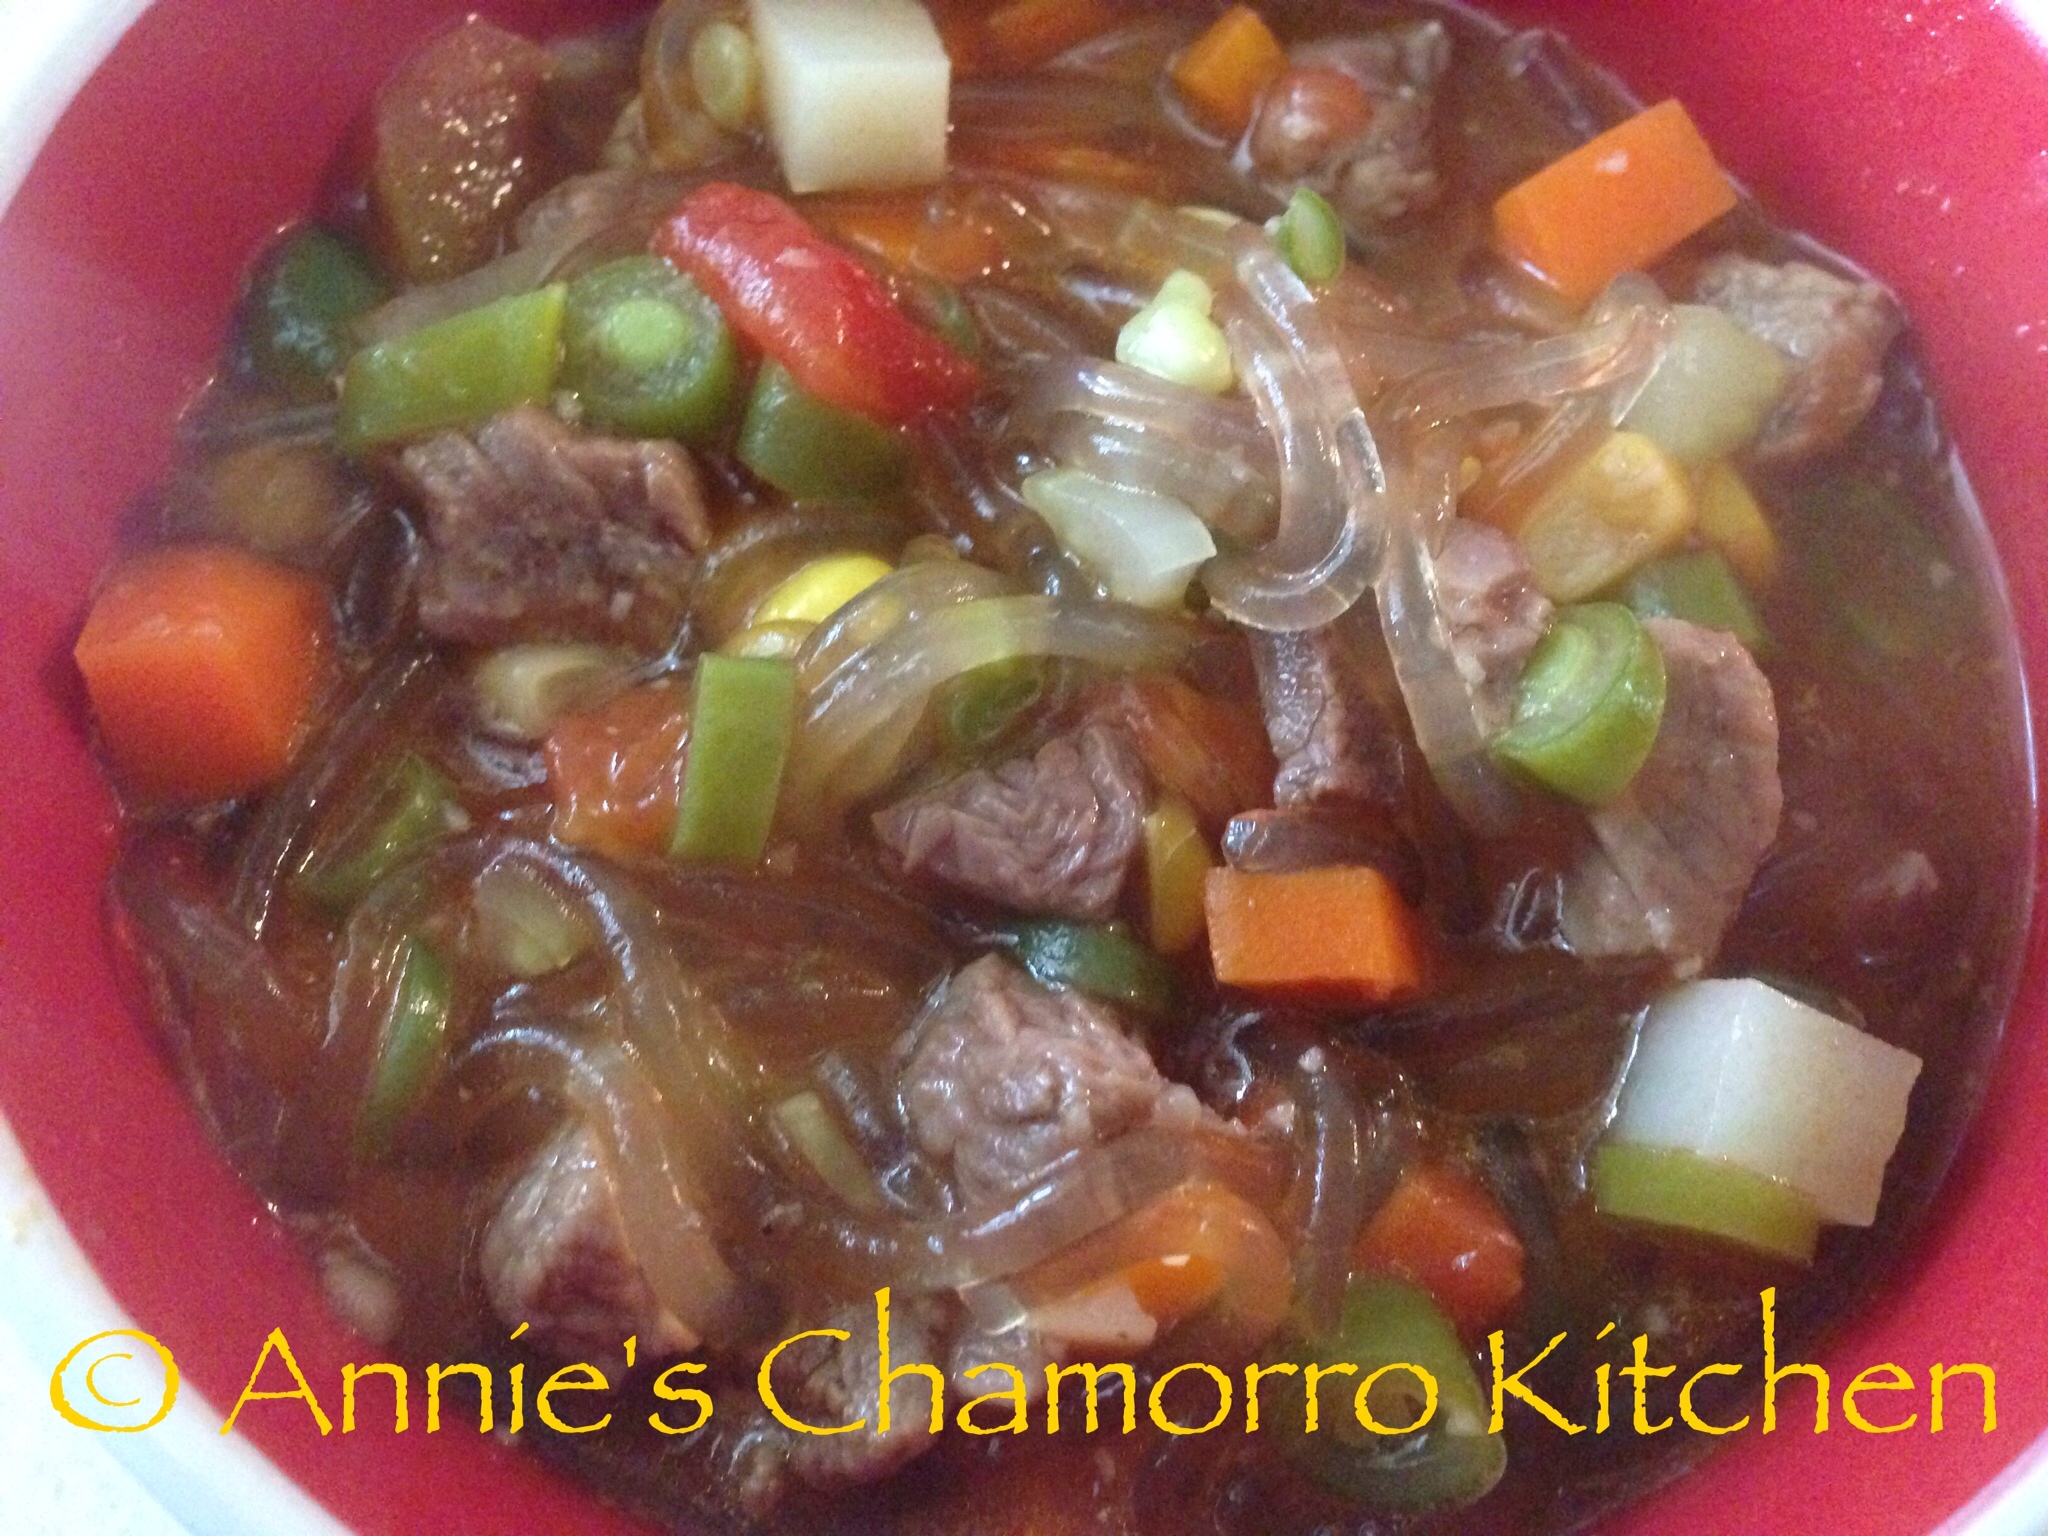
Ingredients:

  • 5 medium sized beef shanks, with bone
  • 1/2 teaspoon black pepper
  • 2 tablespoons garlic powder (or 6 cloves fresh garlic, minced)
  • 1 tablespoon onion powder (or 1 small onion, diced)
  • 6-8 tablespoons Dashida (Korean beef flavored powdered seasoning)
  • 10 cups water
  • 2 large carrots
  • 2 stalks celery
  • 1 (2-inch) piece of ginger root
  • 1 medium potato
  • 1 handful of green beans
  • 1 can (28 oz.) petite diced tomatoes, drained
  • 1 can (15.25 oz.) corn kernels
  • 1 bag Korean vermicelli noodles (plus enough hot water to submerge the noodles in)

Directions:

1. Rinse each piece of meat. Trim off and discard any excess fat around the meat. Cut around the bones to separate them from the meat. Place the bones in a large stock pot over medium low heat.
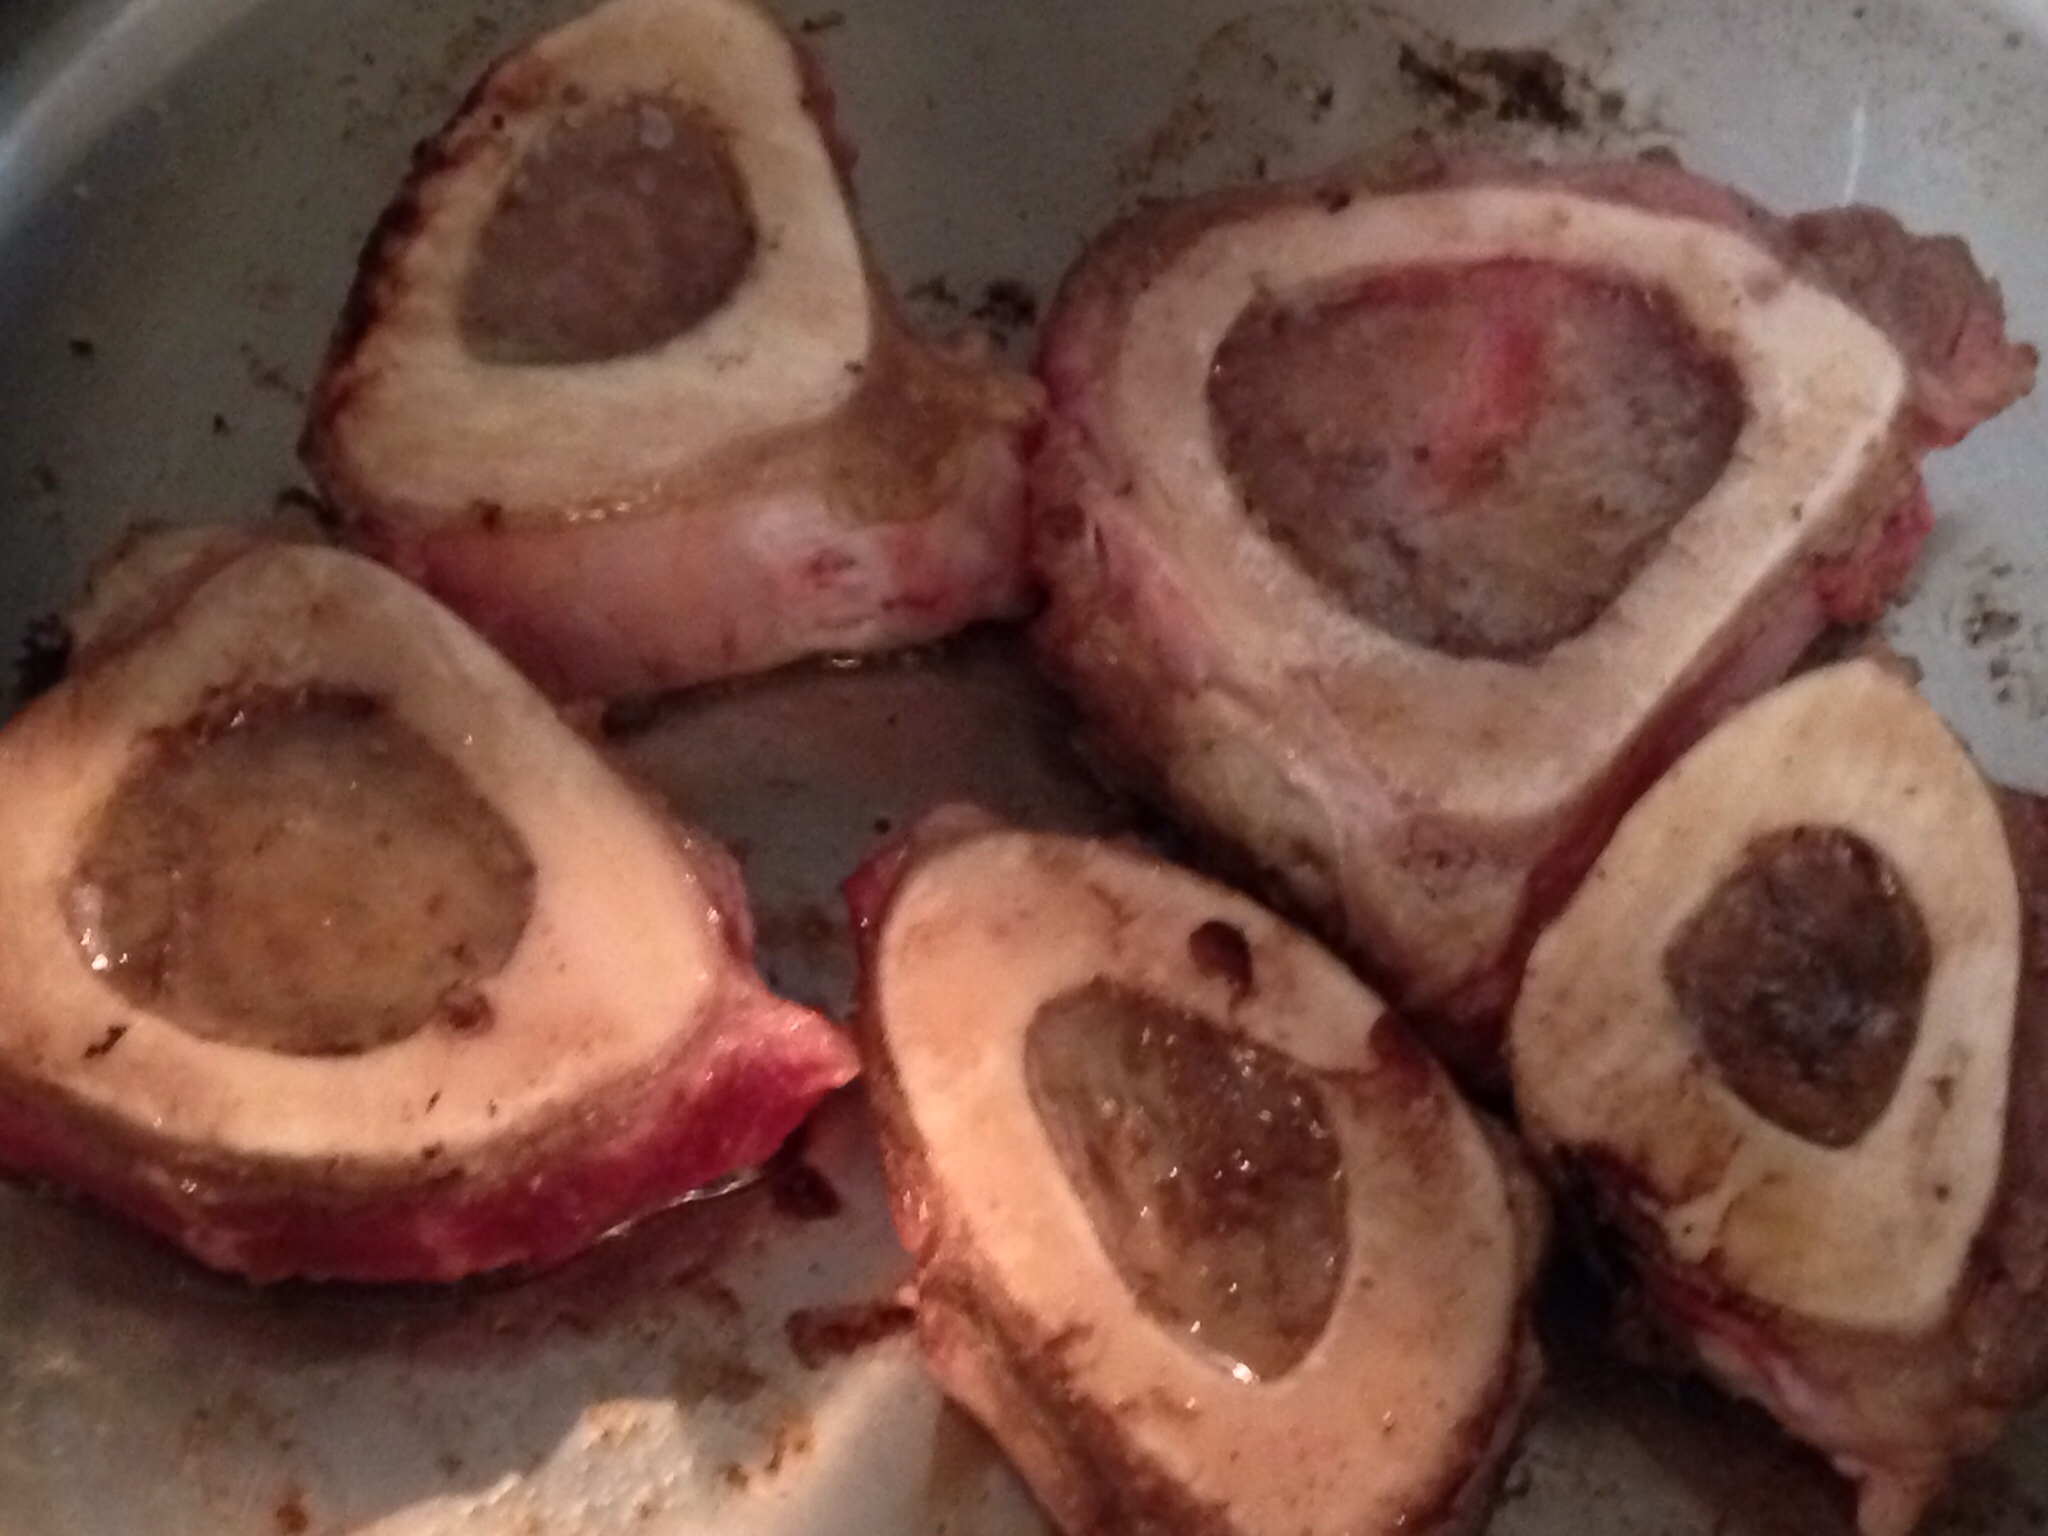
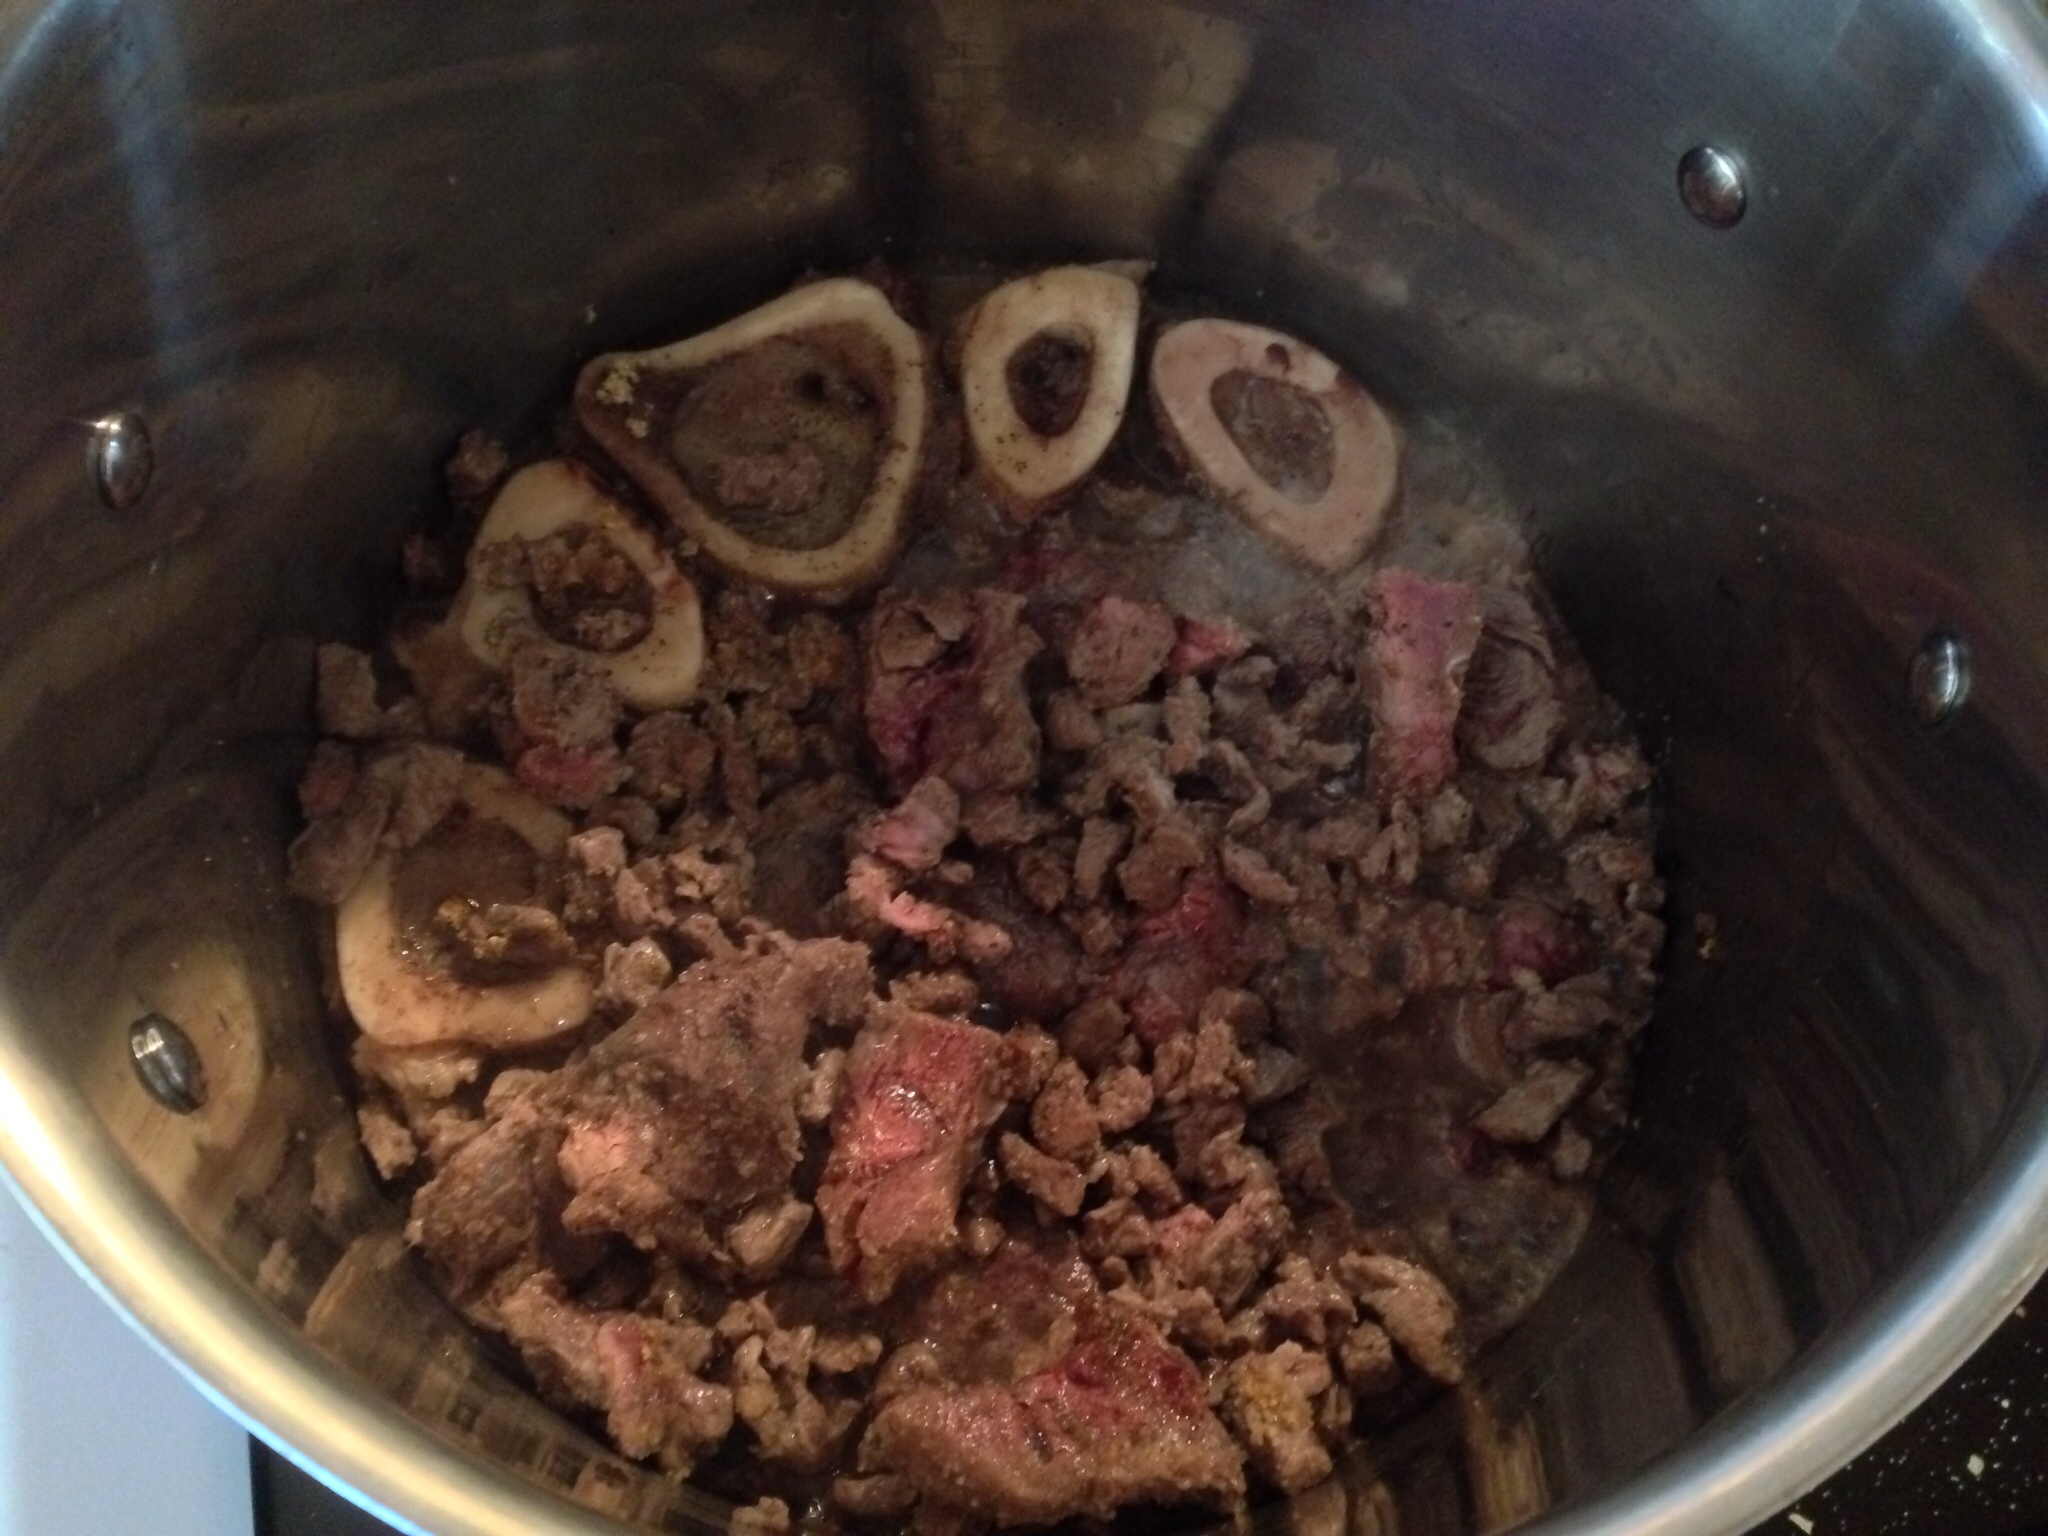
2. Cut the meat into small pieces; I cut the shank meat that had a lot of sinew marbled through it into large chunks.  Place the meat into the pot. Cook over medium low heat until the meat starts to brown. After most of the meat has browned, add the black pepper, garlic and onion powders (or fresh garlic and onions), and Dashida. Stir to combine, then add the 10 cups of water. Keep the heat at medium low. With the pot covered, simmer for about 2 hours. Every now and then, skim off any fat and sediment from the surface of the broth and discard.

Tip: After cooking, let the meat and broth cool to room temperature then place in the refrigerator. After several hours, remove the solidified fat off the surface of the broth and discard. Continue with the remaining steps below.
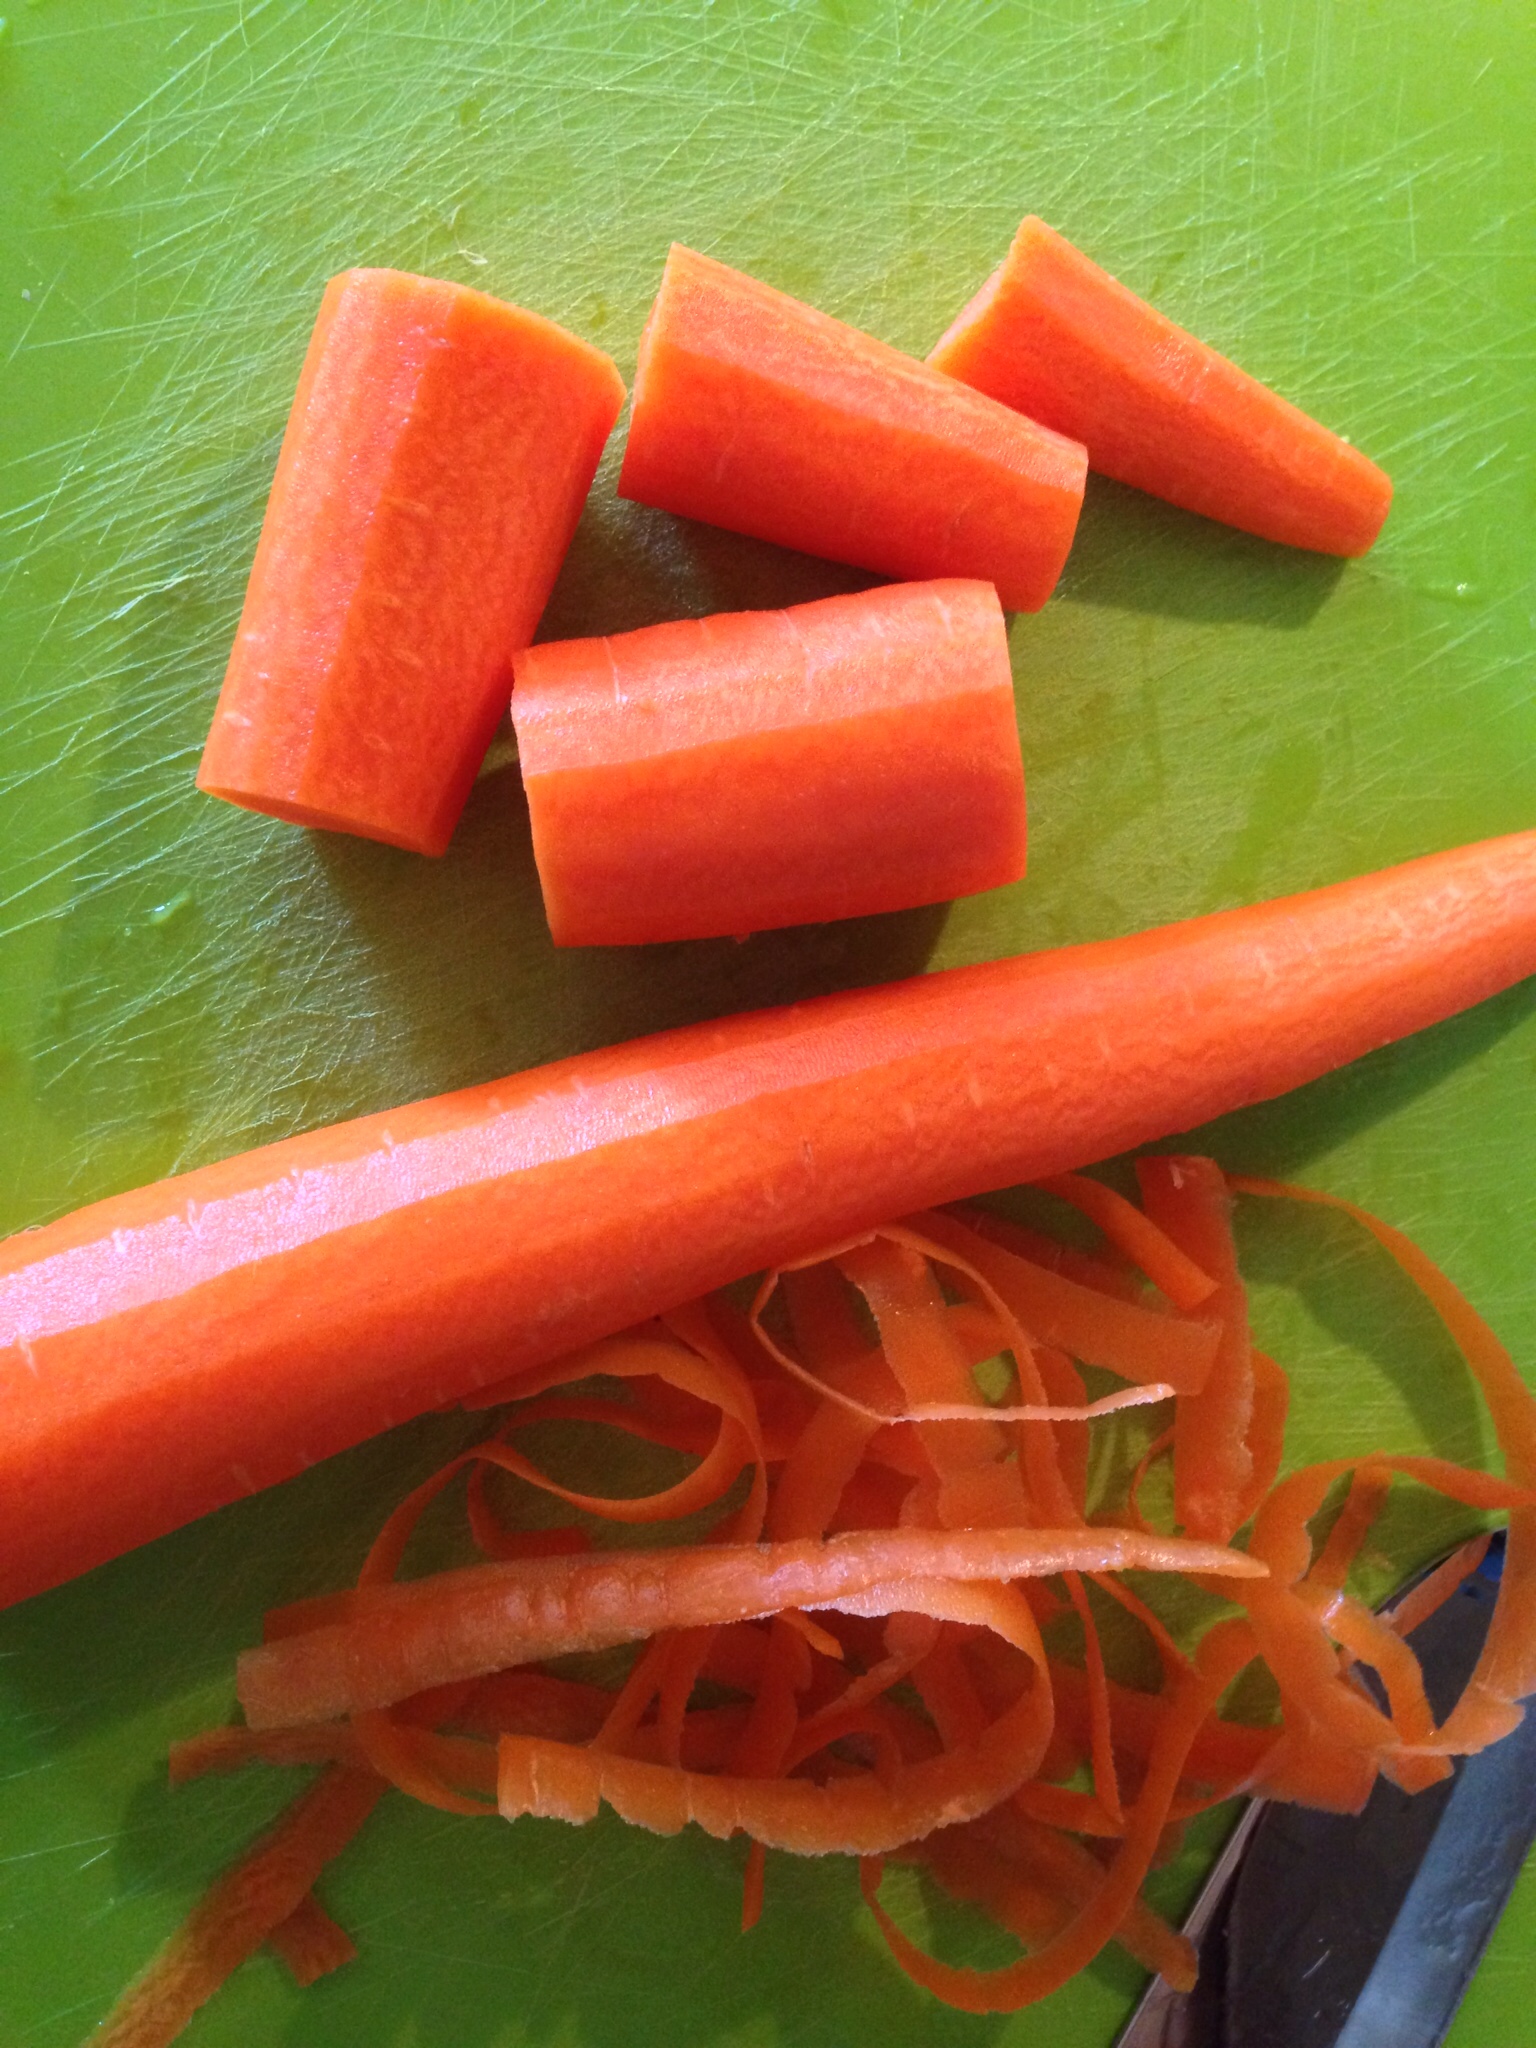
3. While the meat is simmering away, prepare the vegetables.

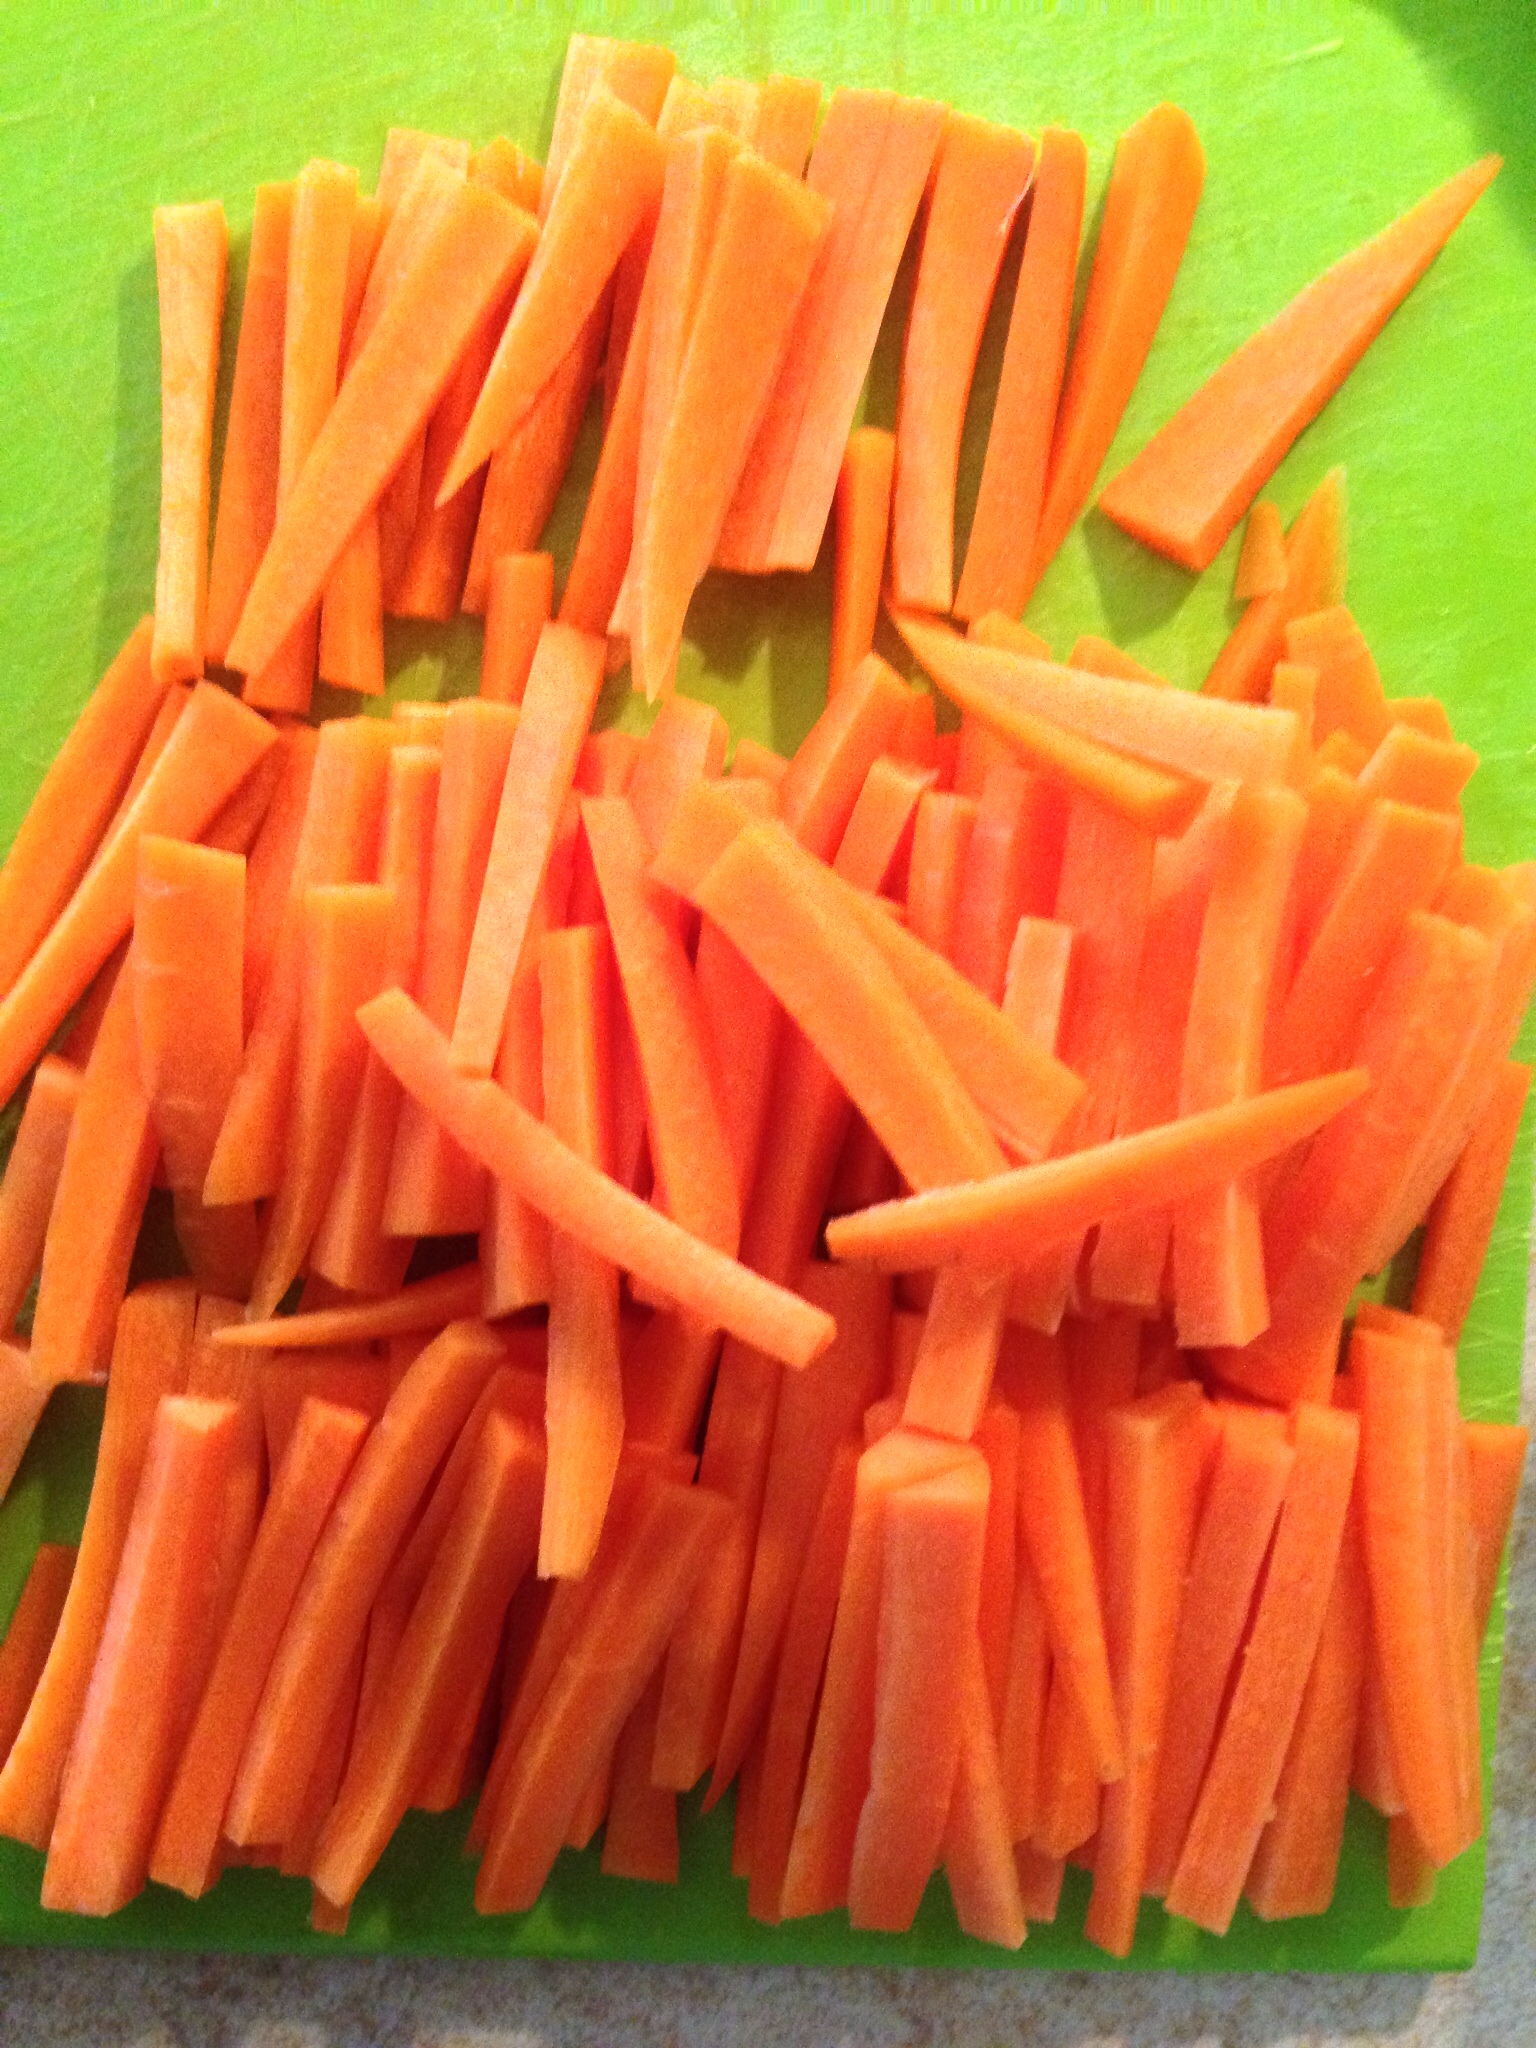
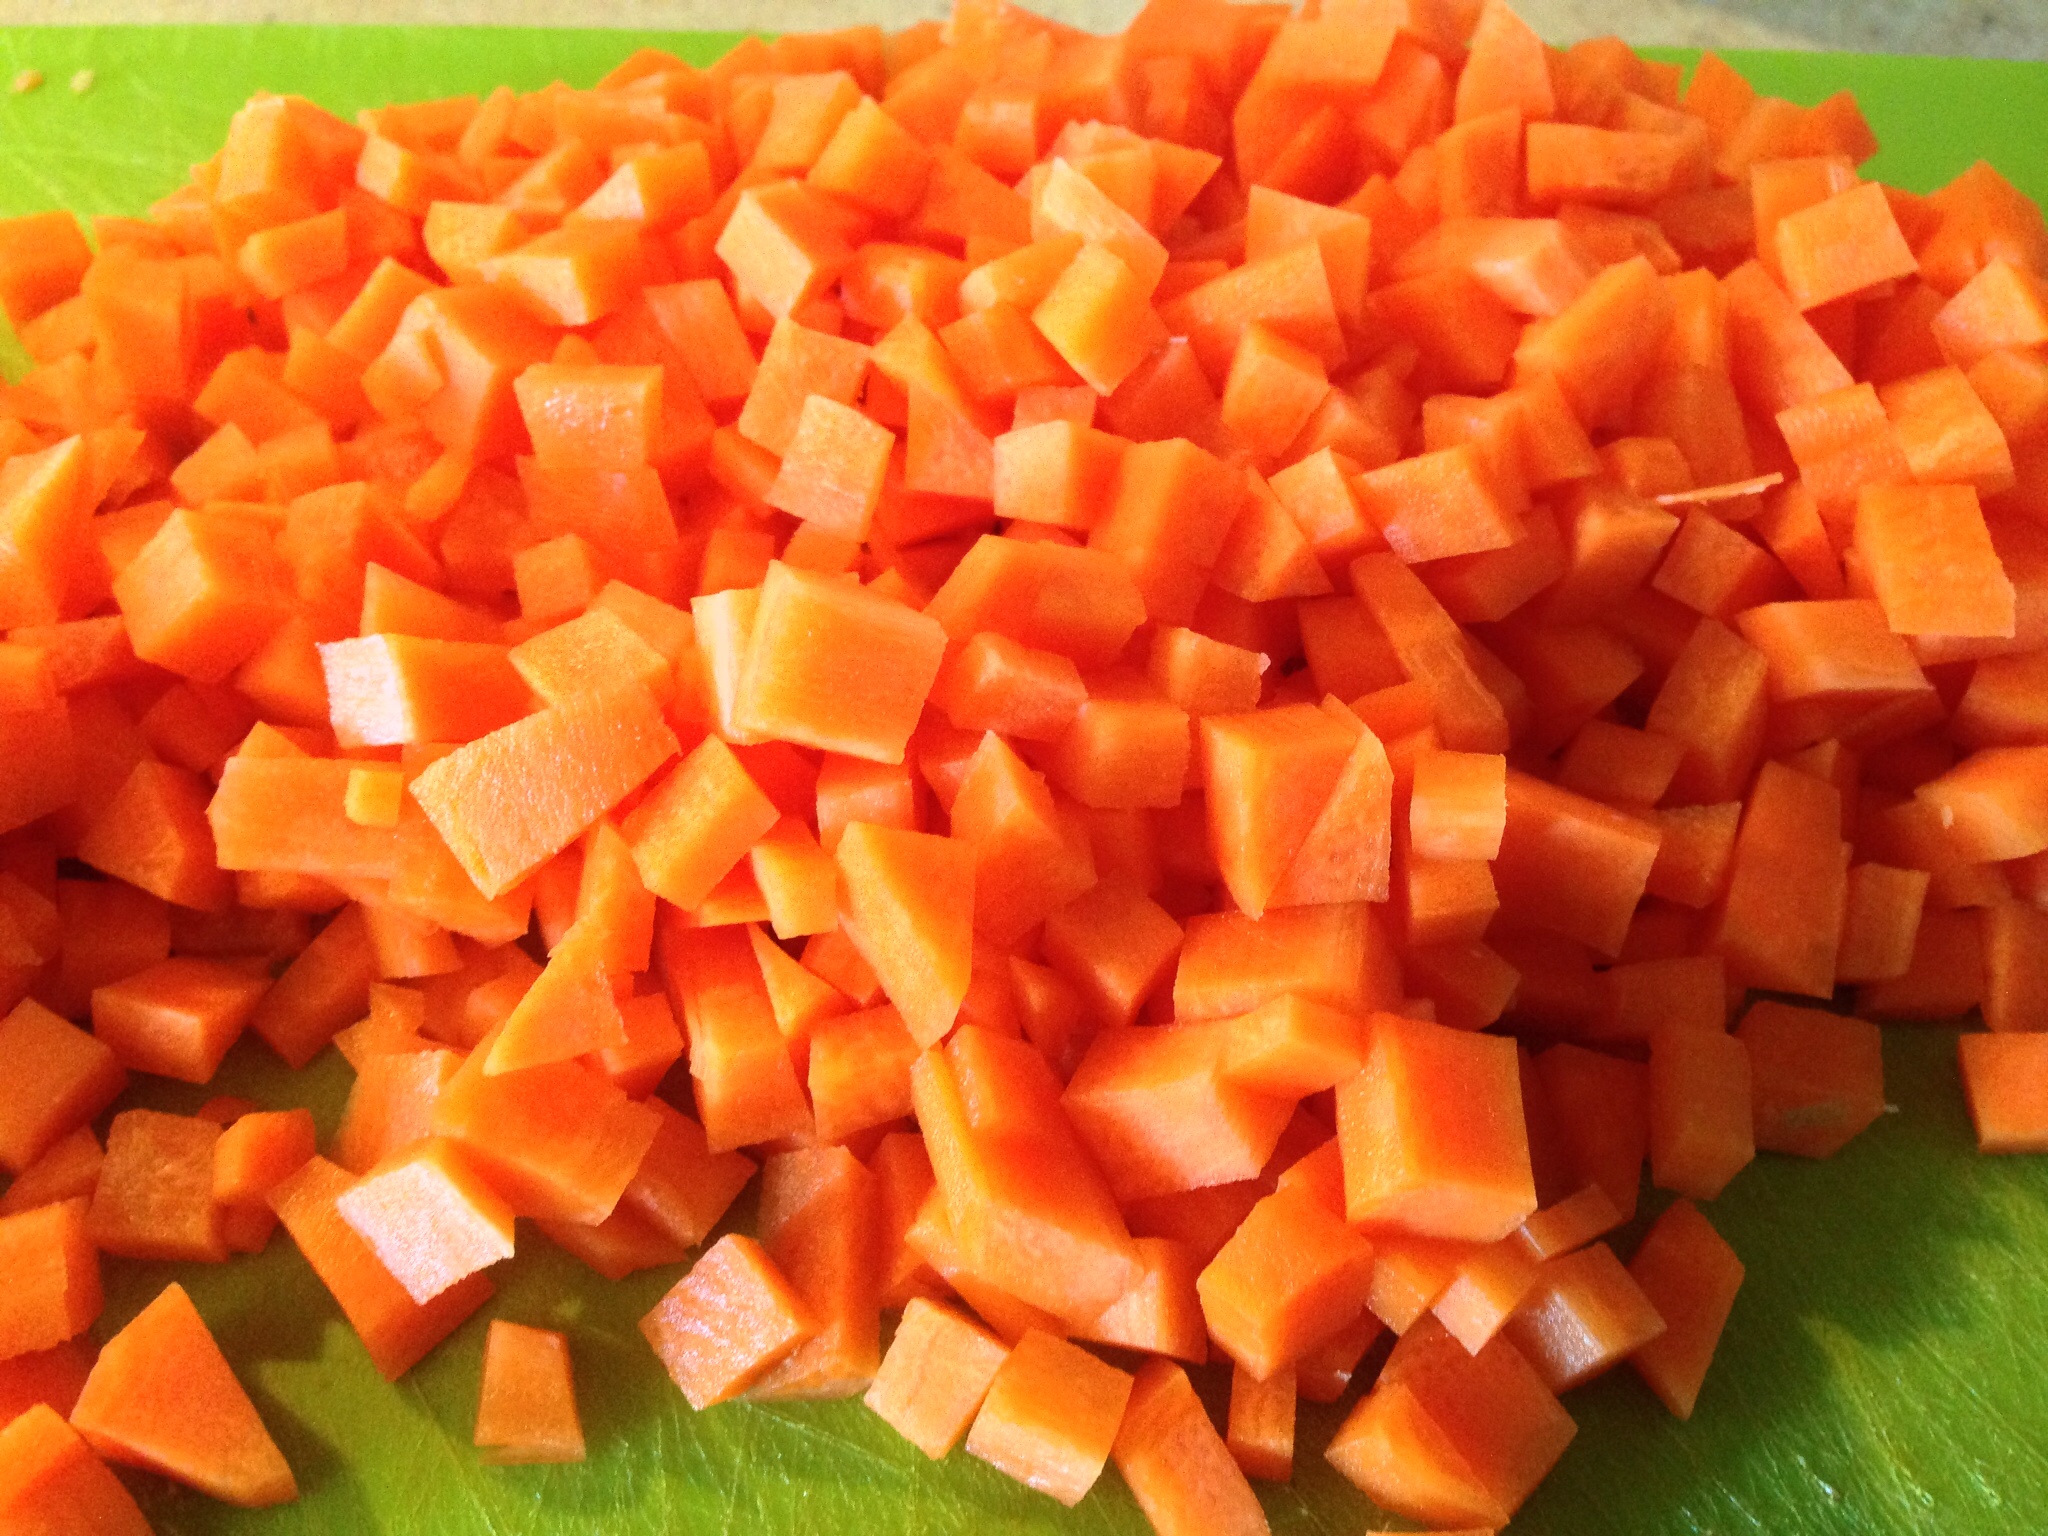
Prep the carrots: Peel the carrots. Slice into sticks, then dice.
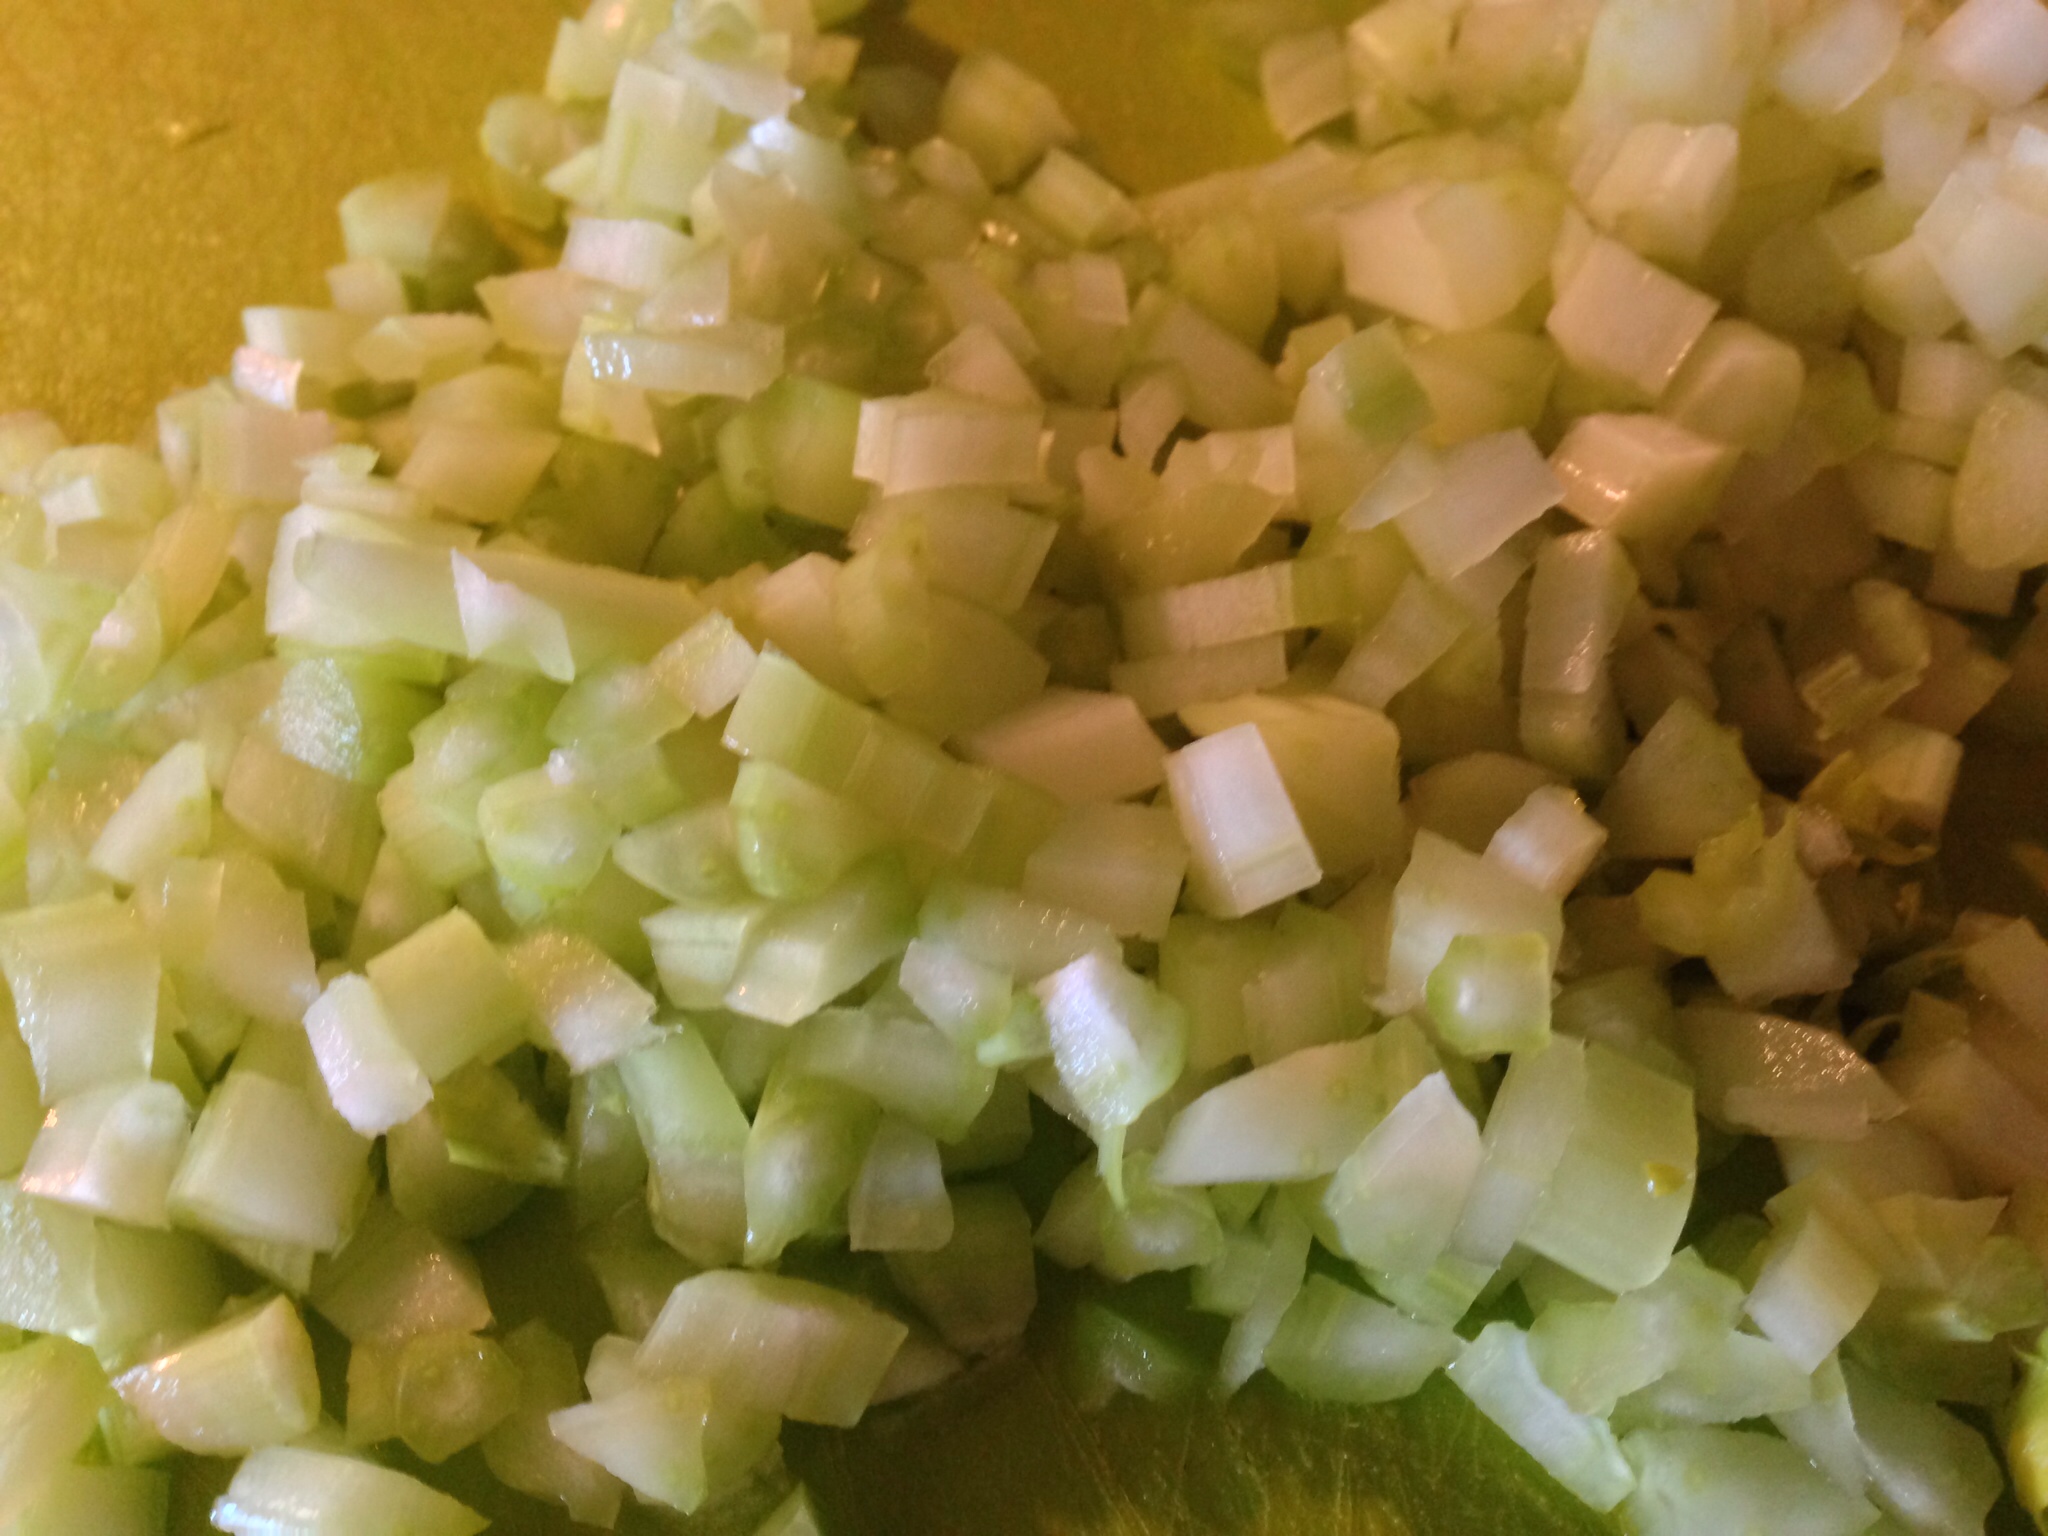
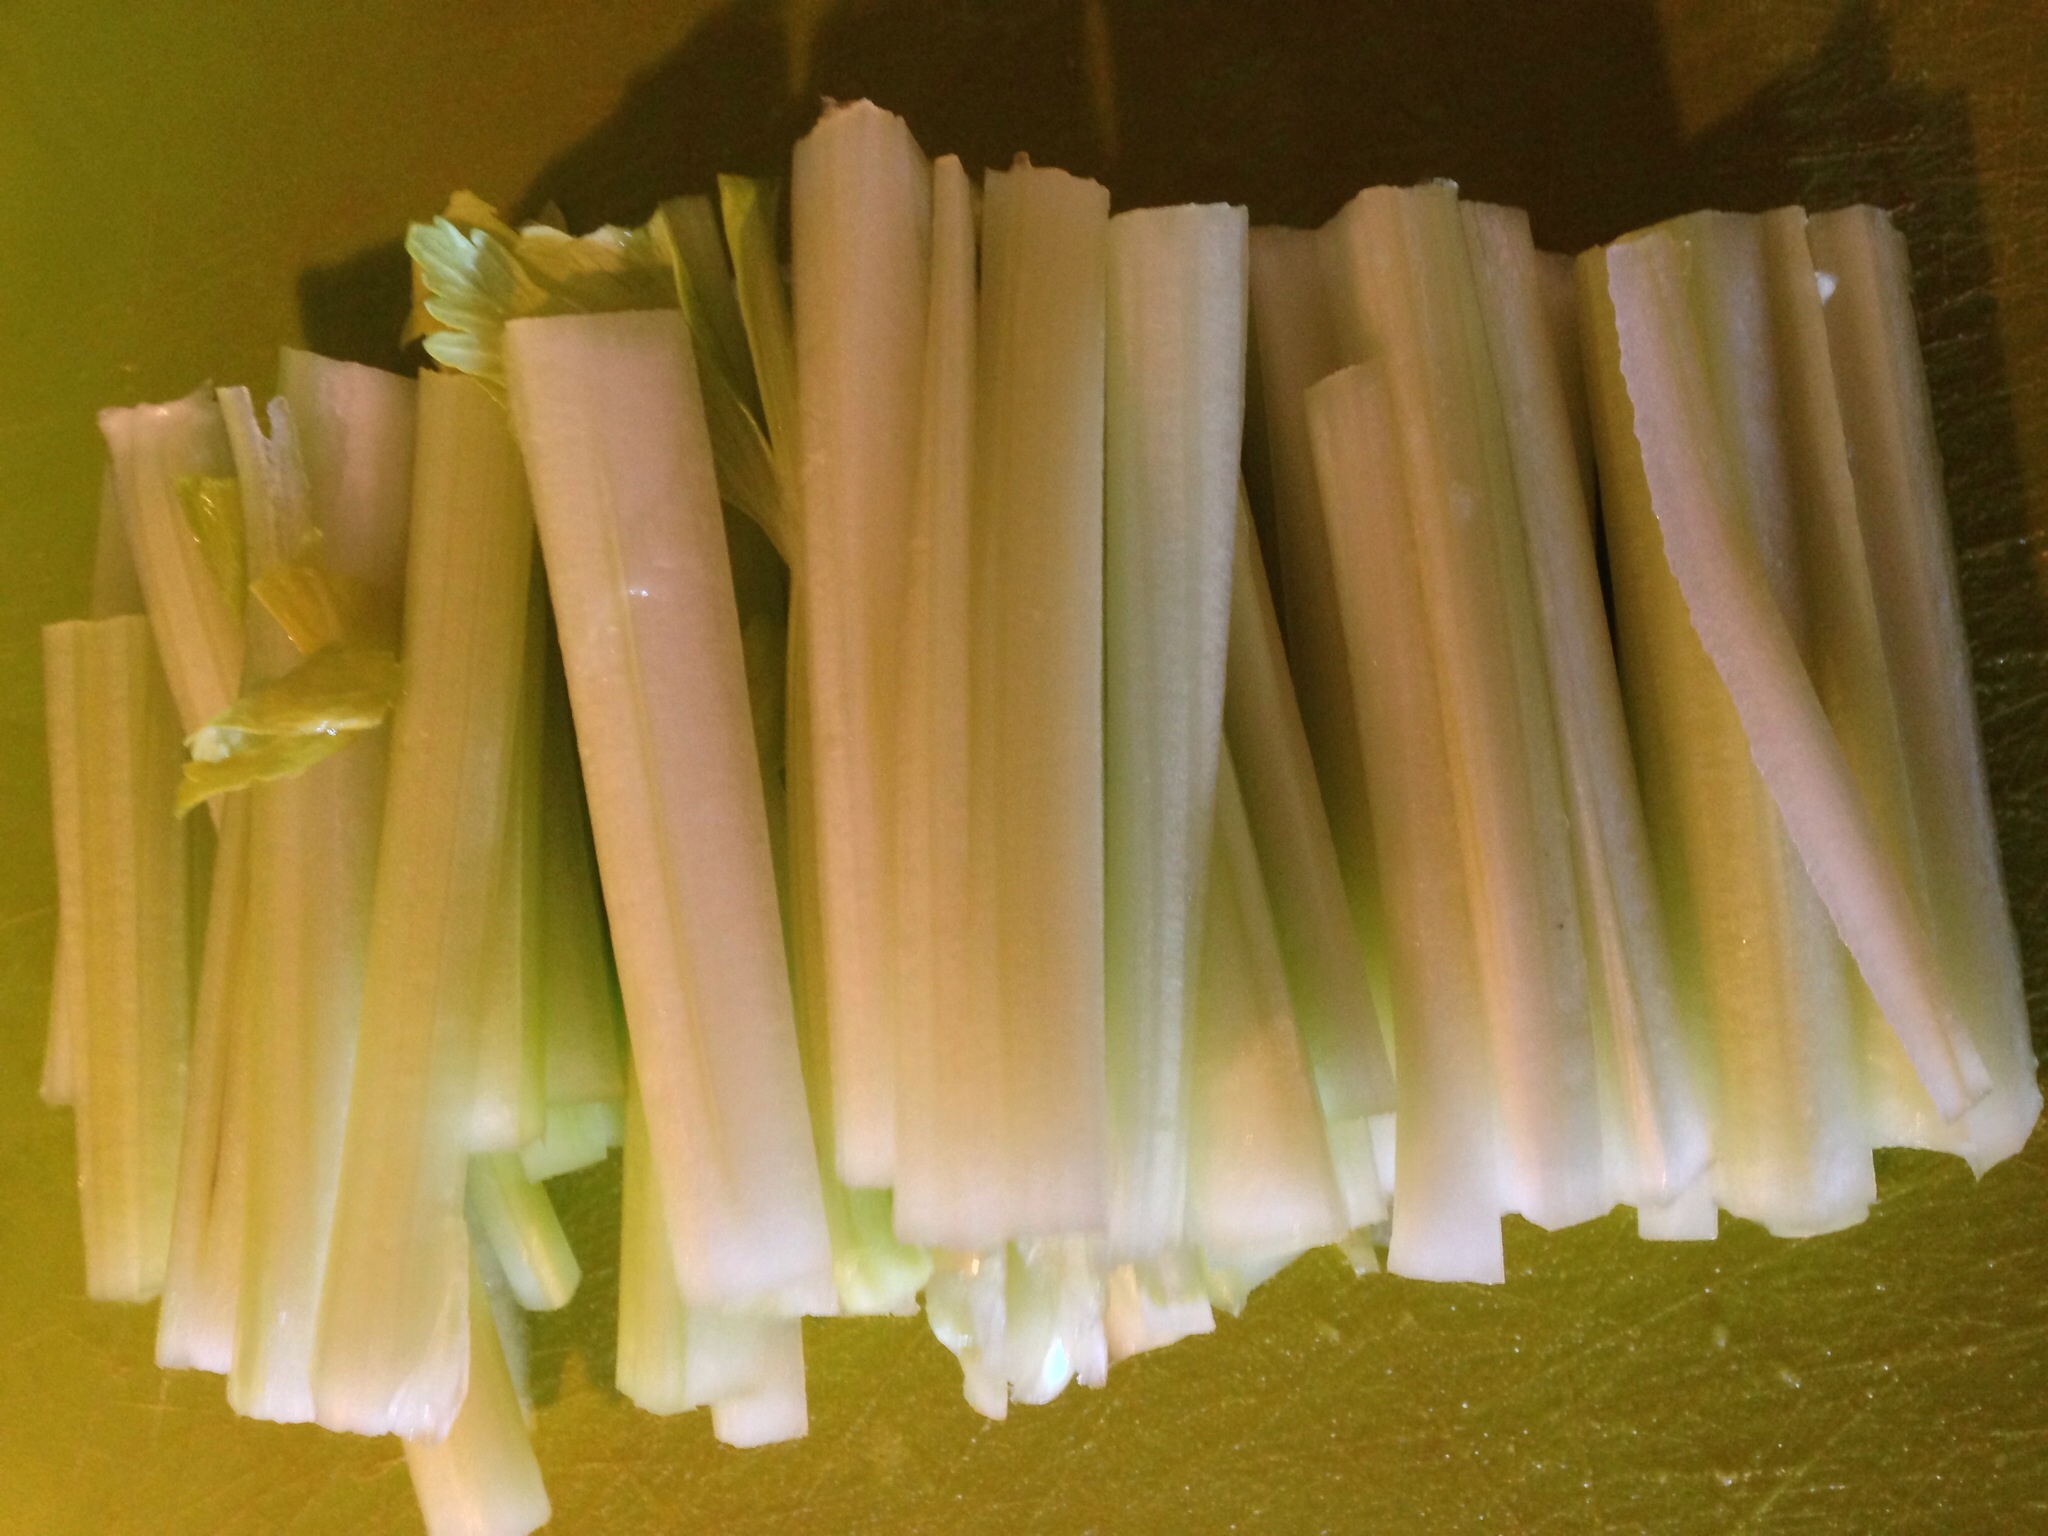
Prep the celery. Cut into sticks then dice.
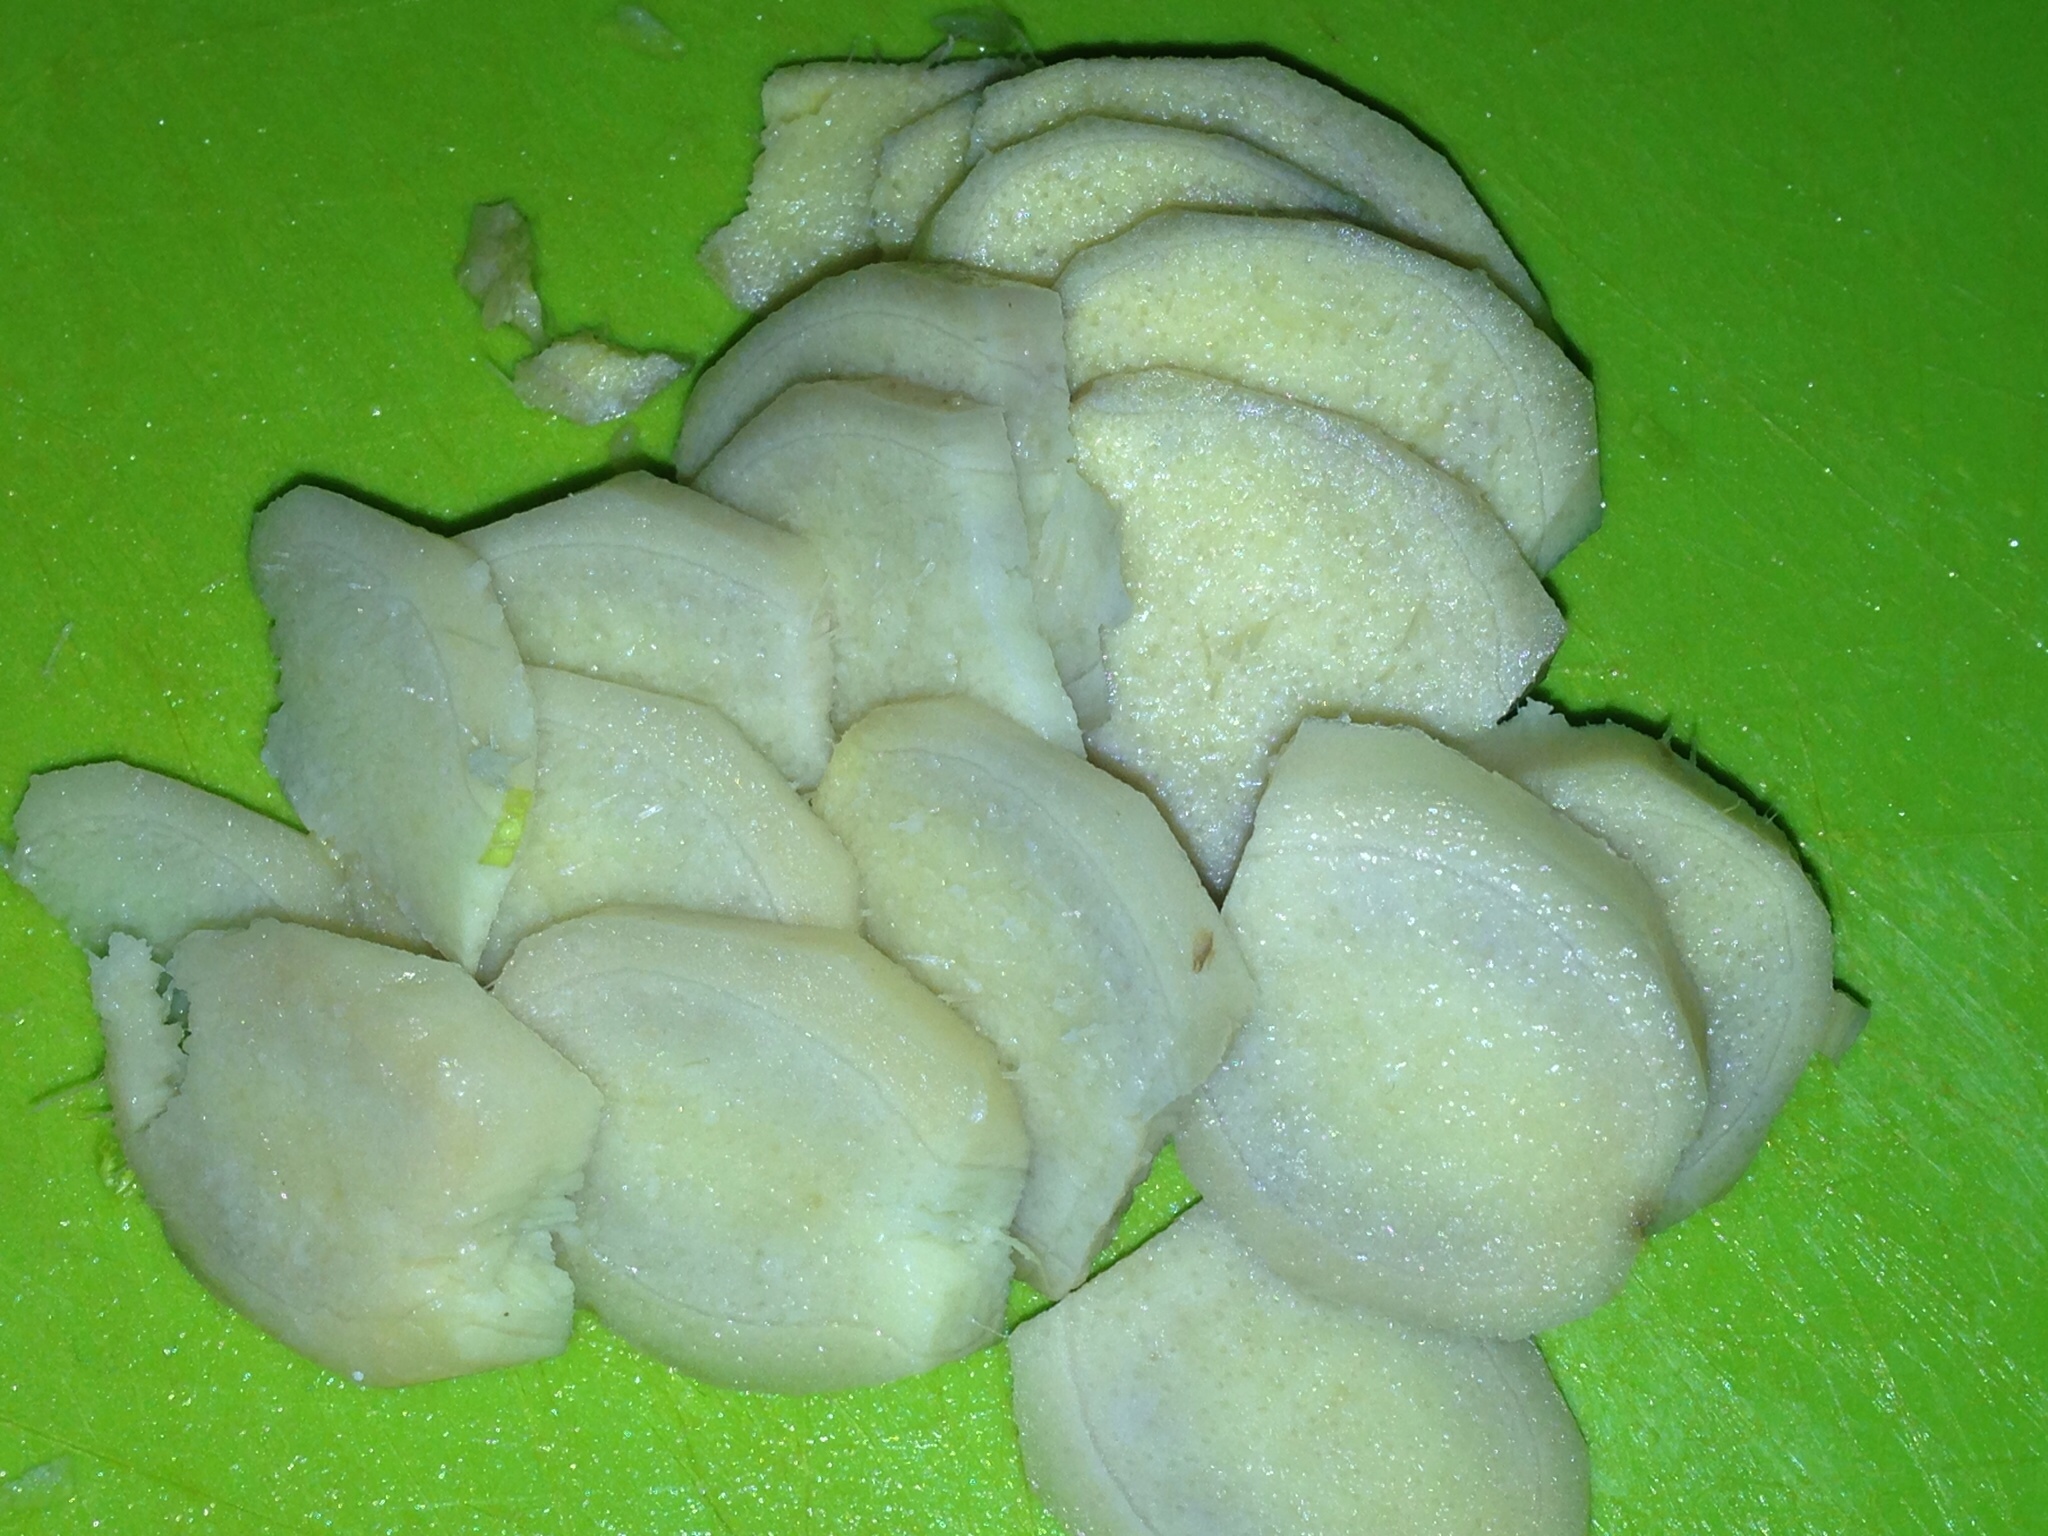
Prep the ginger. Peel (scrape the skin with a spoon) then thinly slice the ginger.
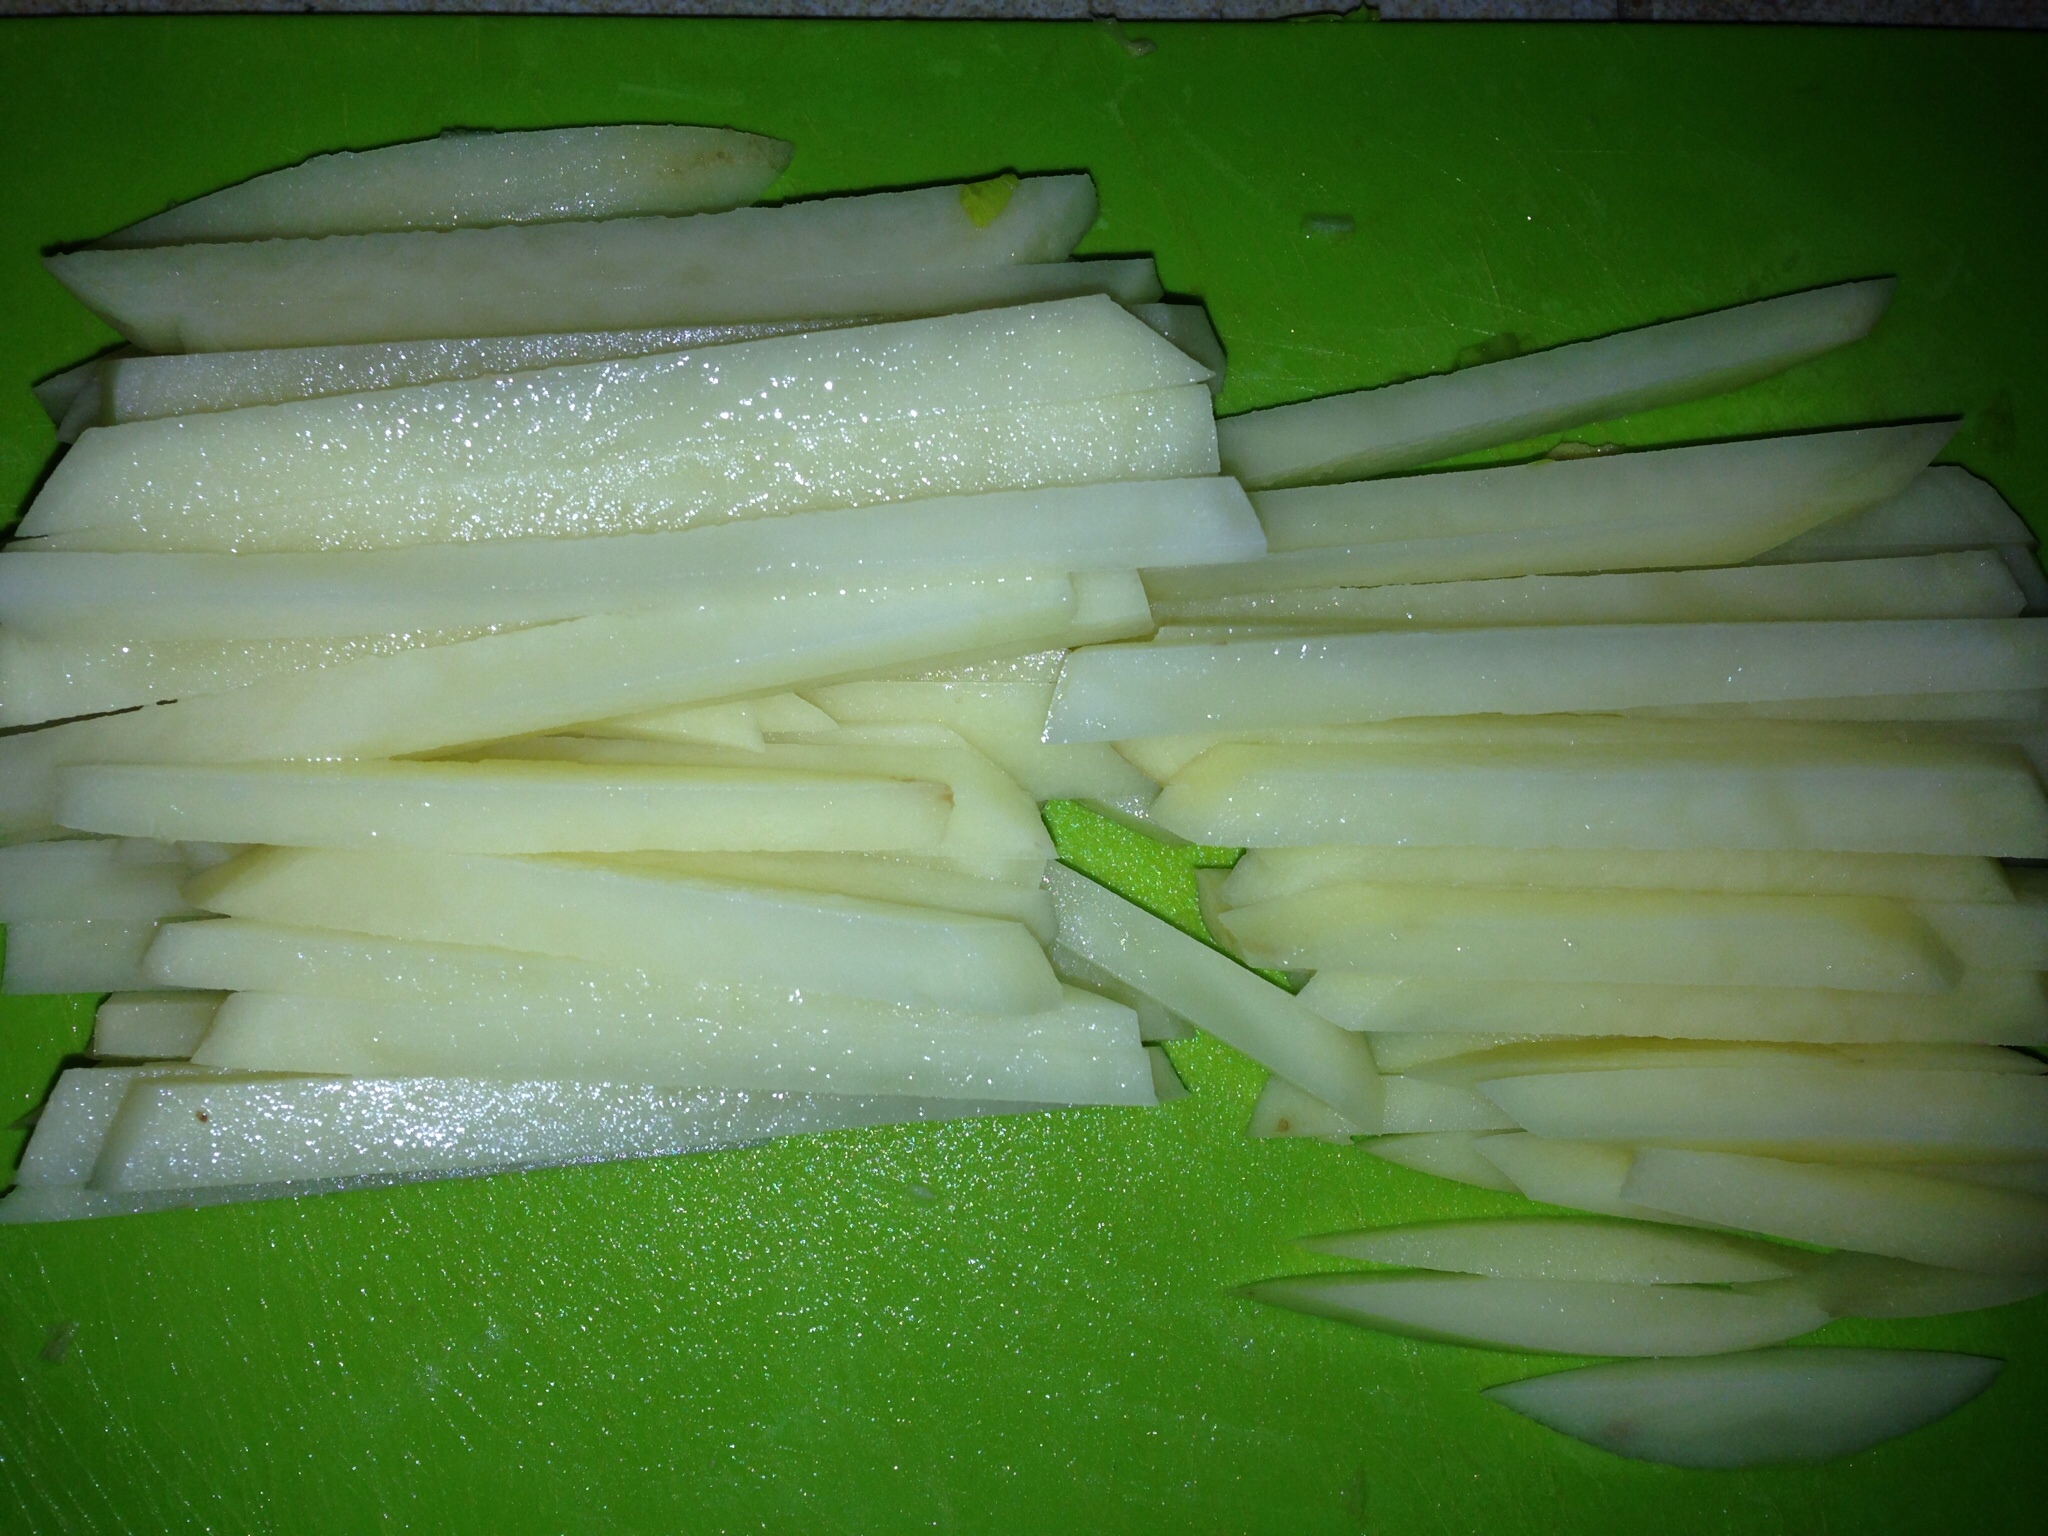
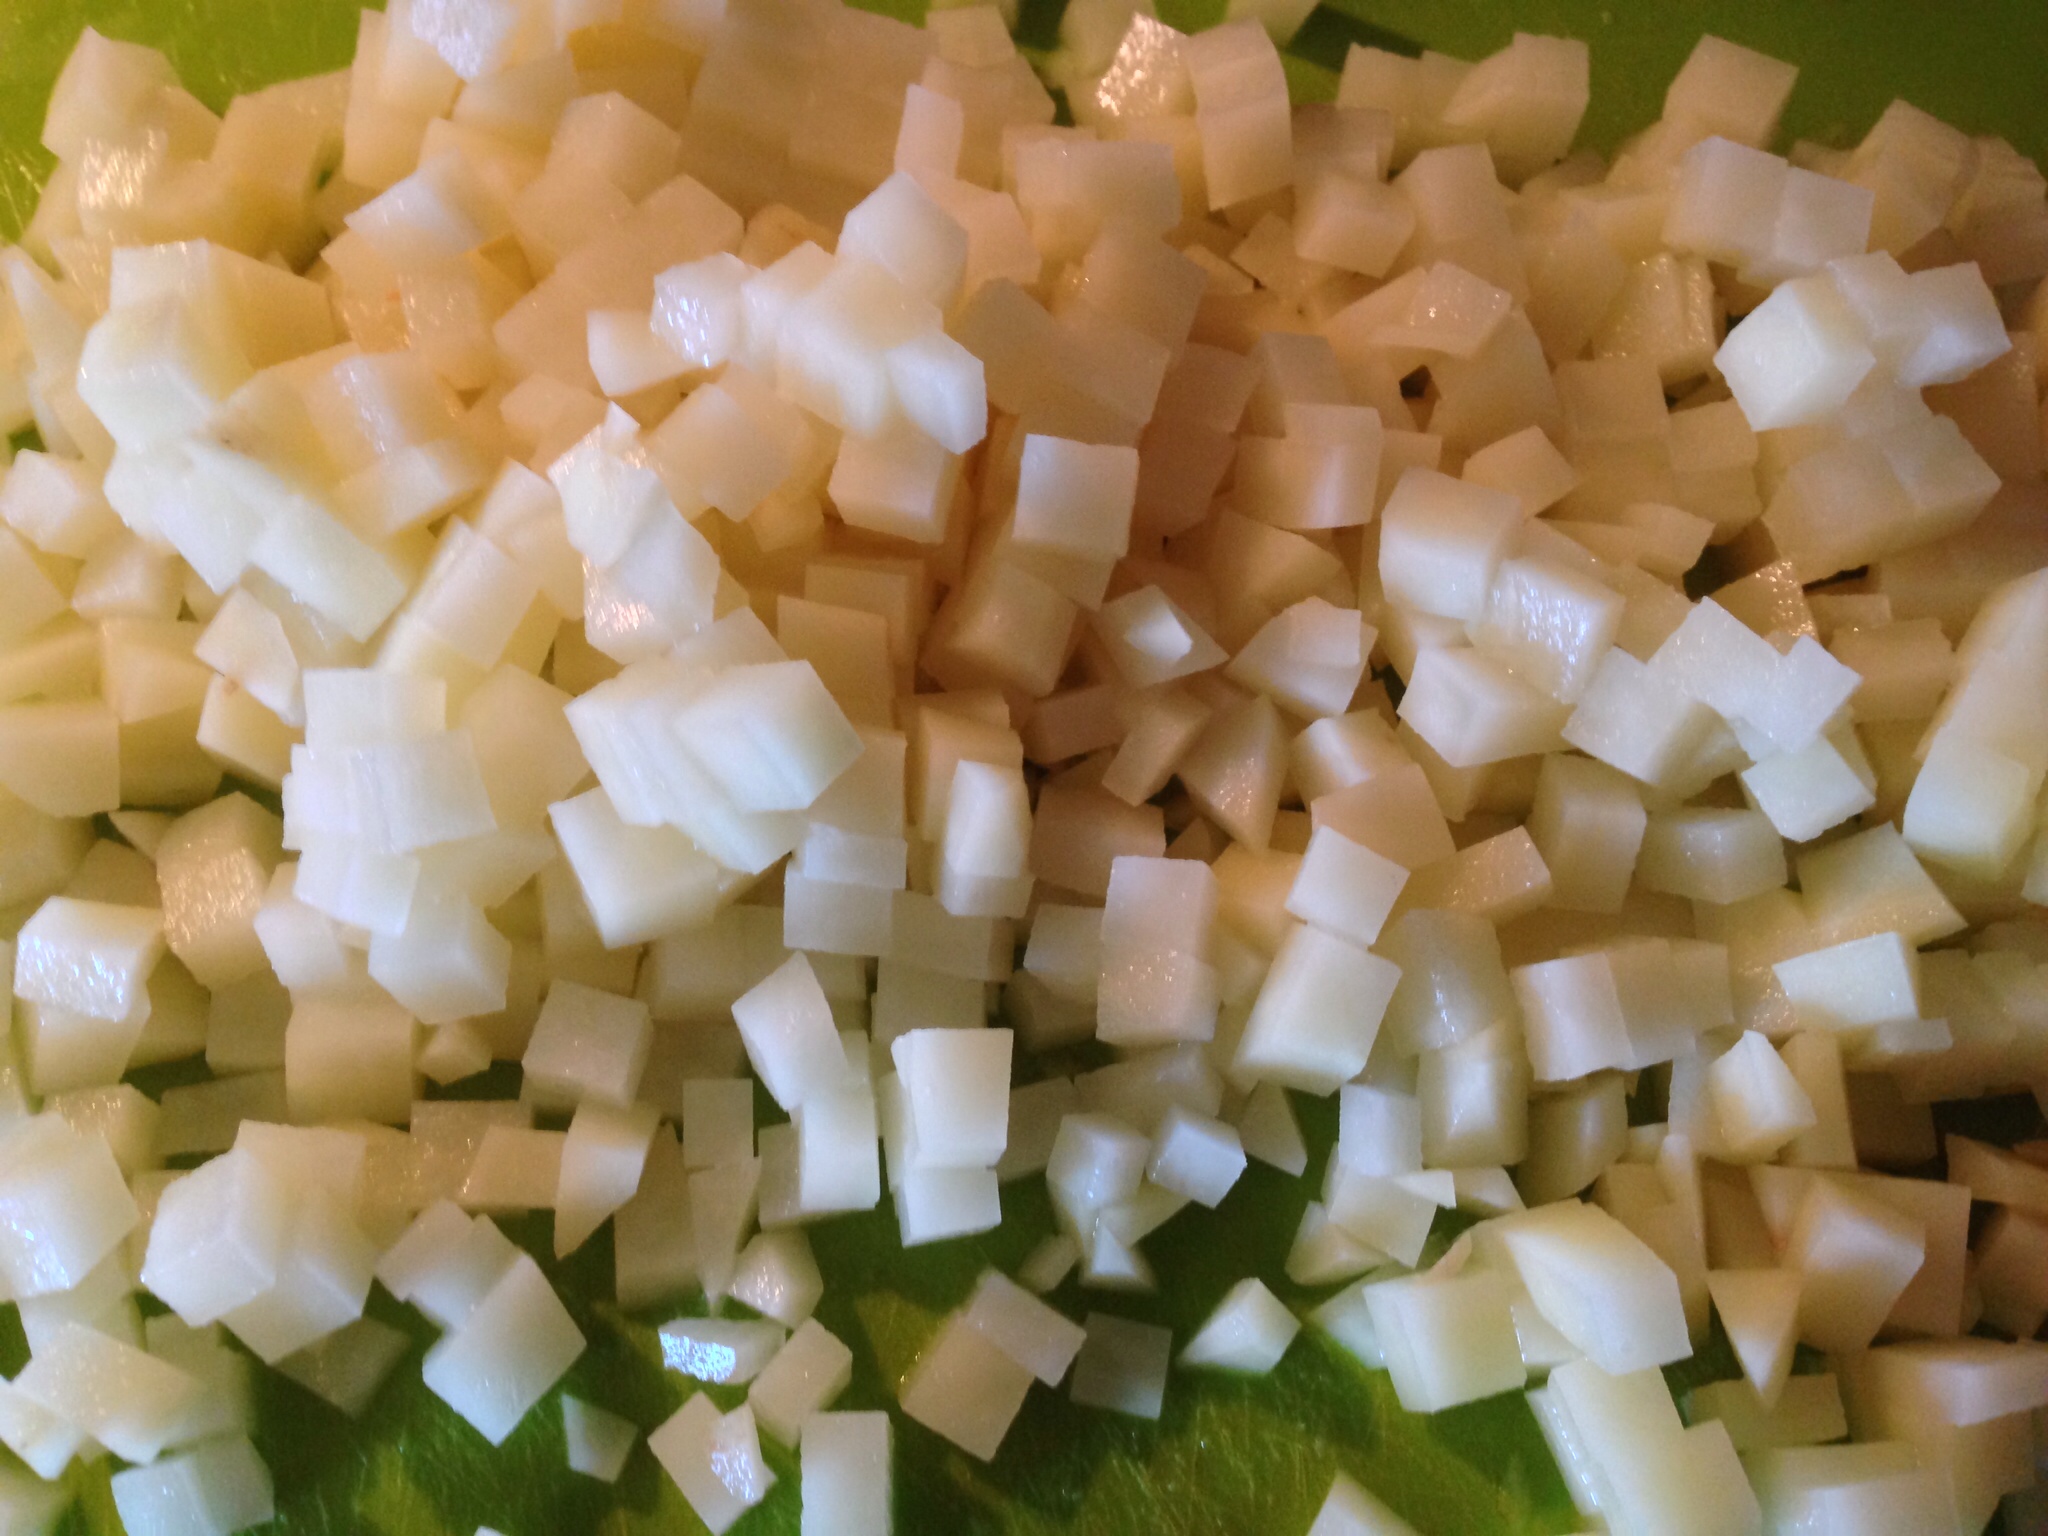
Prep the potato. Peel the potato. Cut into sticks (like french fries) then dice.
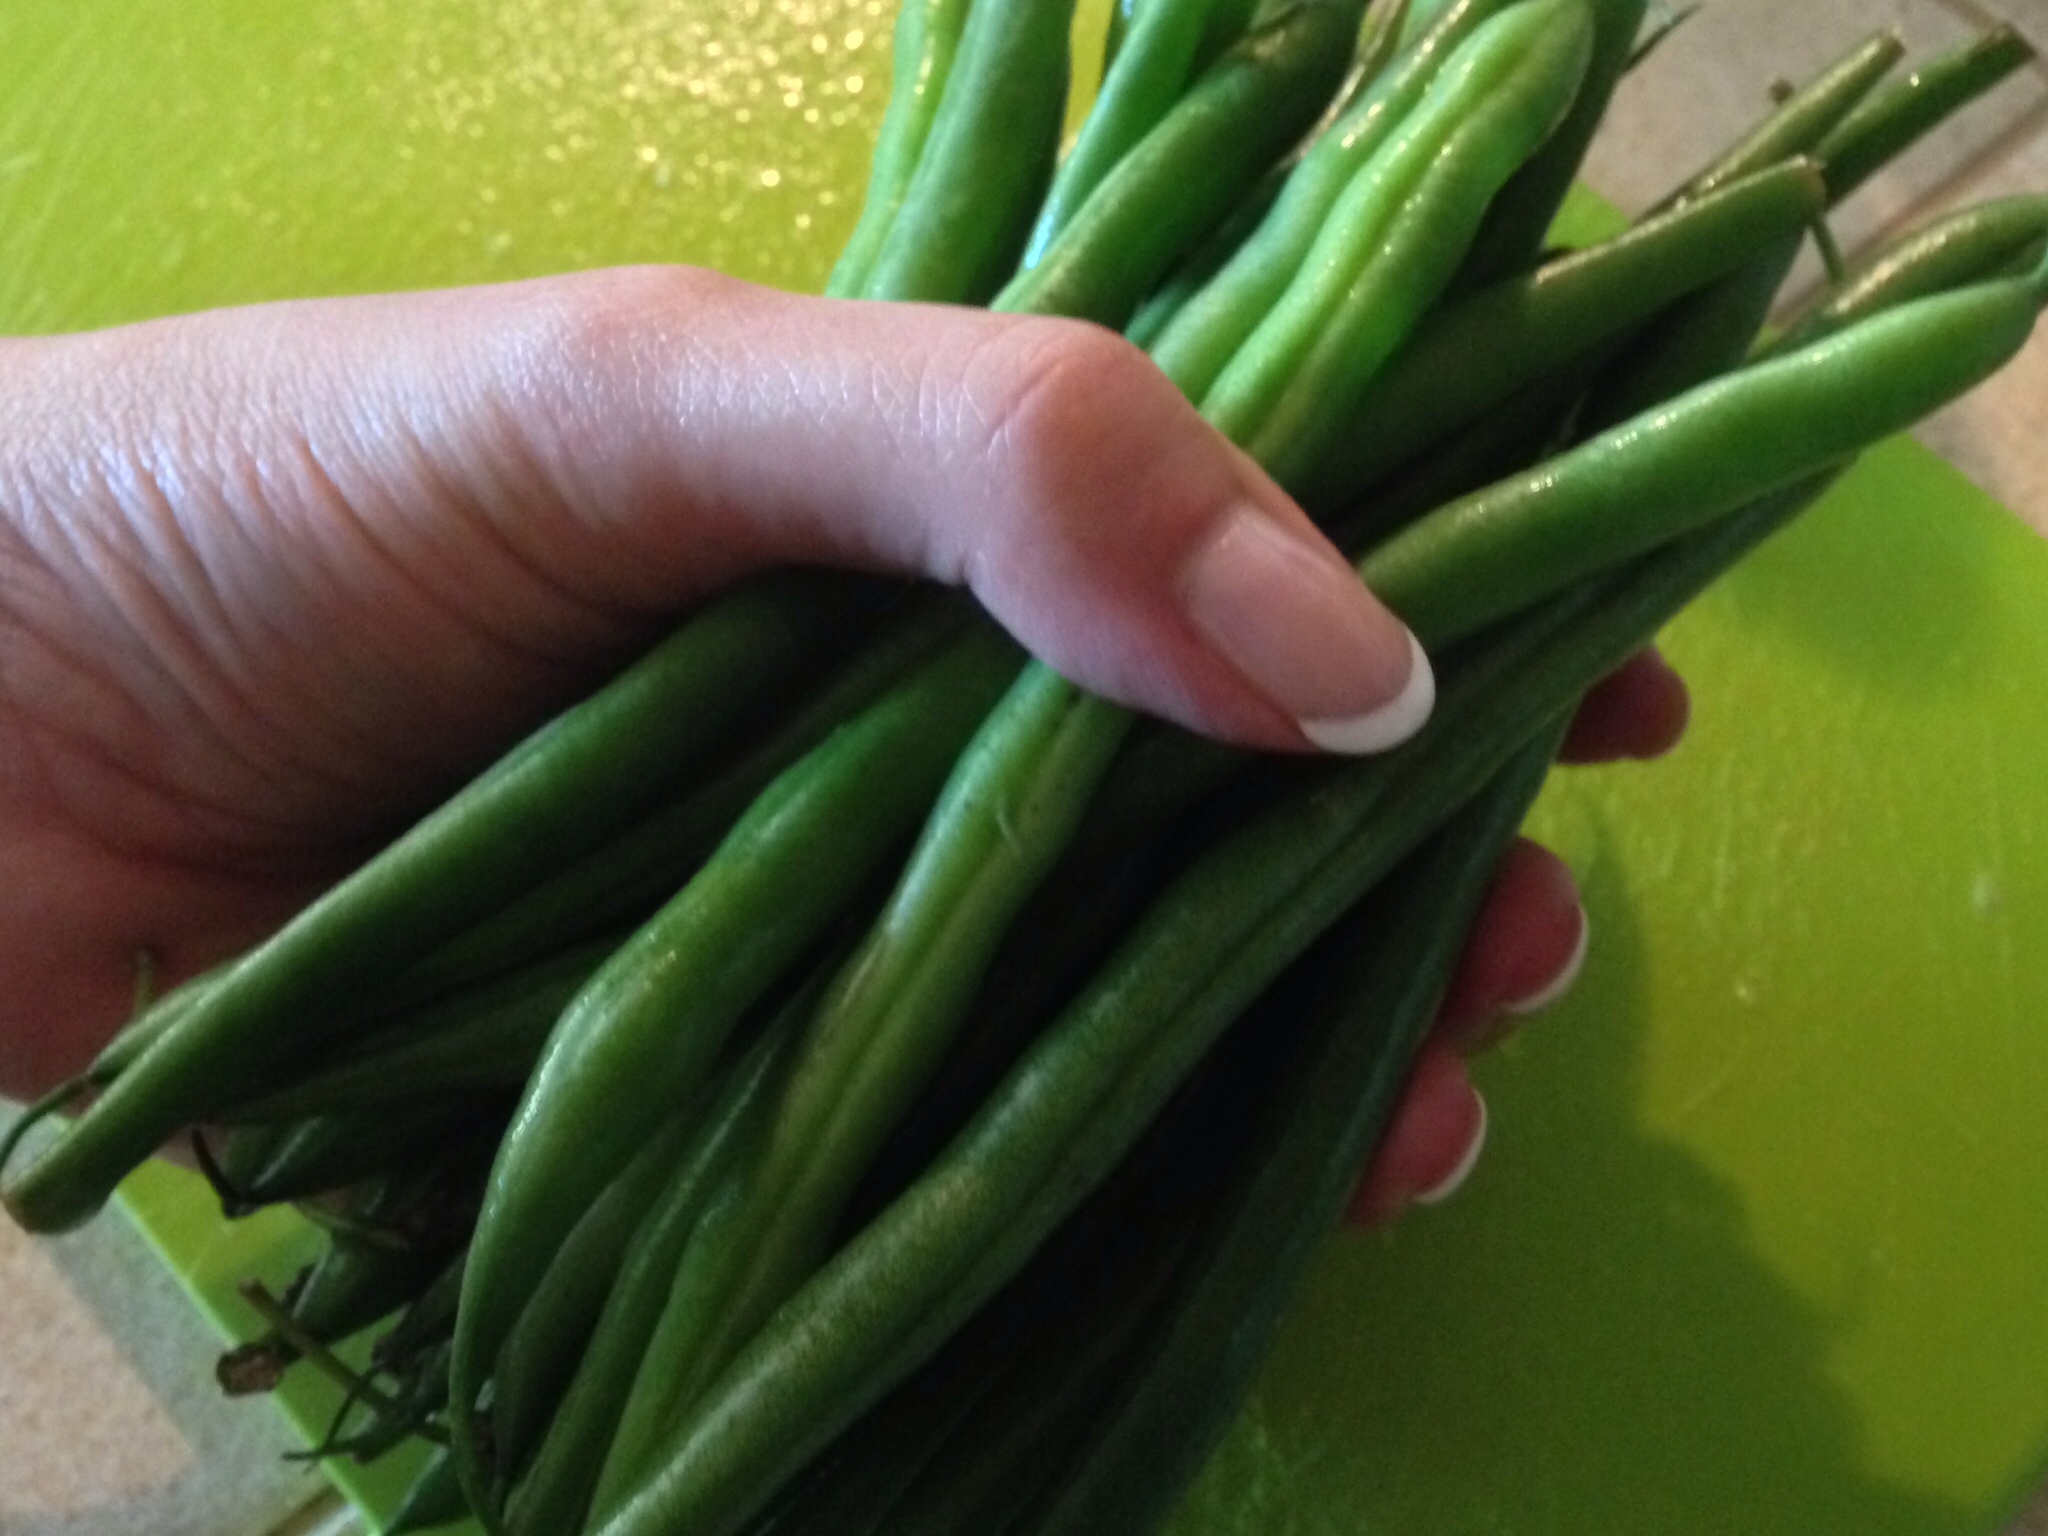
Prep the beans. In my list of ingredients, I stated “a handful” of beans was enough. This is what I mean by “a handful.”
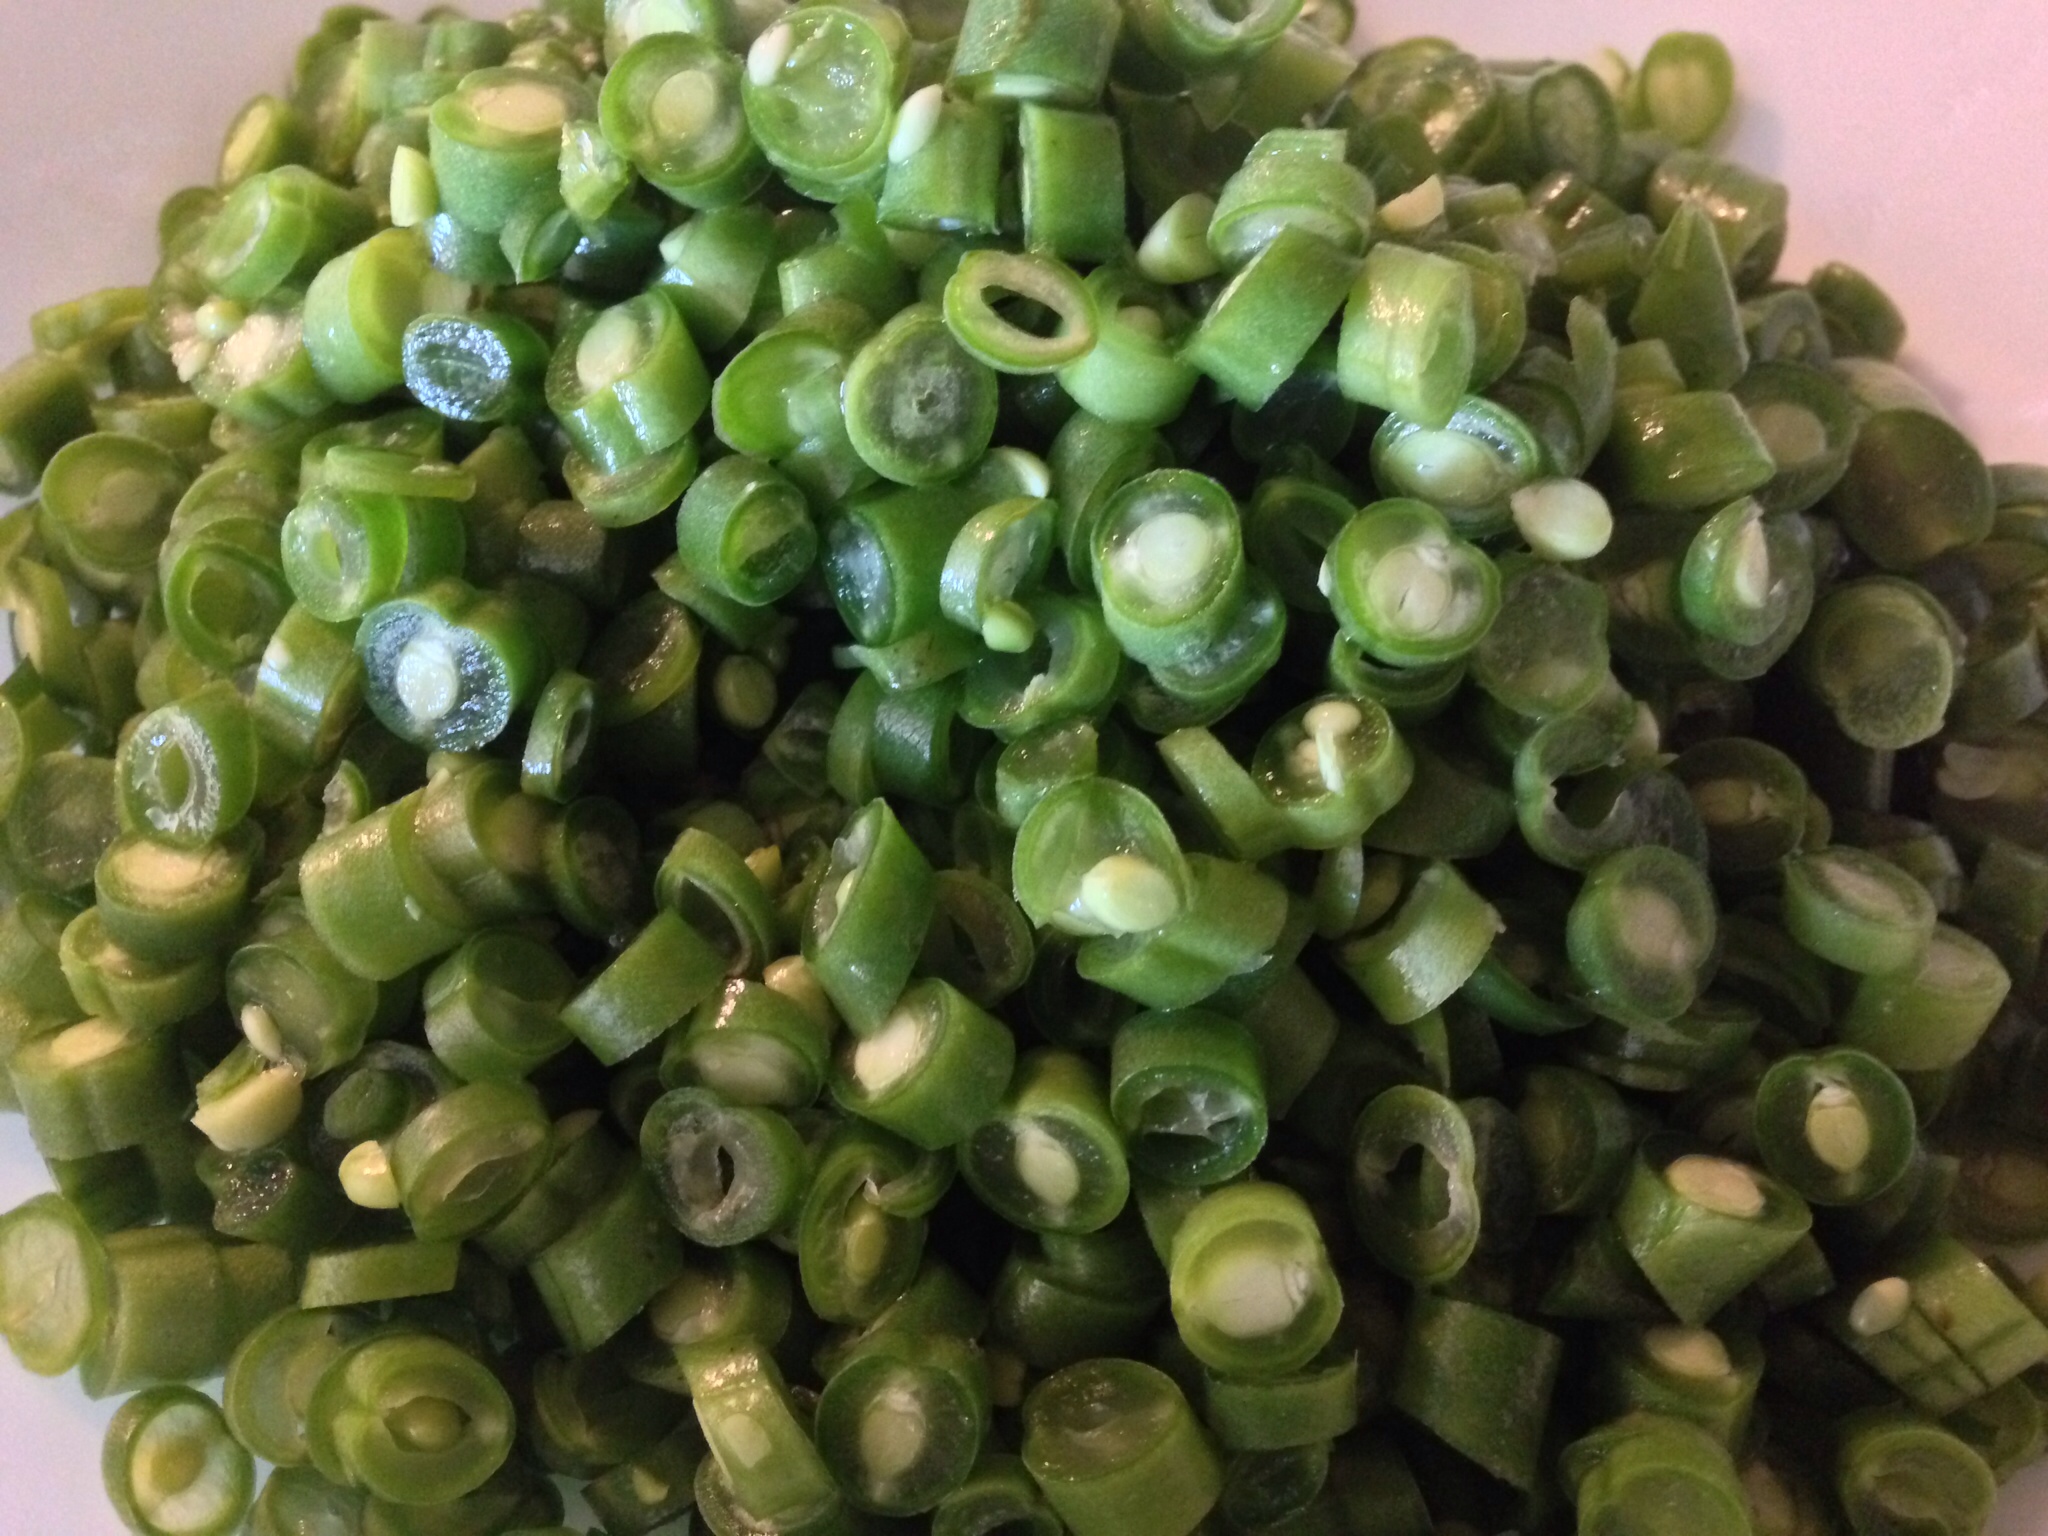
Cut the tips off the ends of the beans, then thinly slice them.
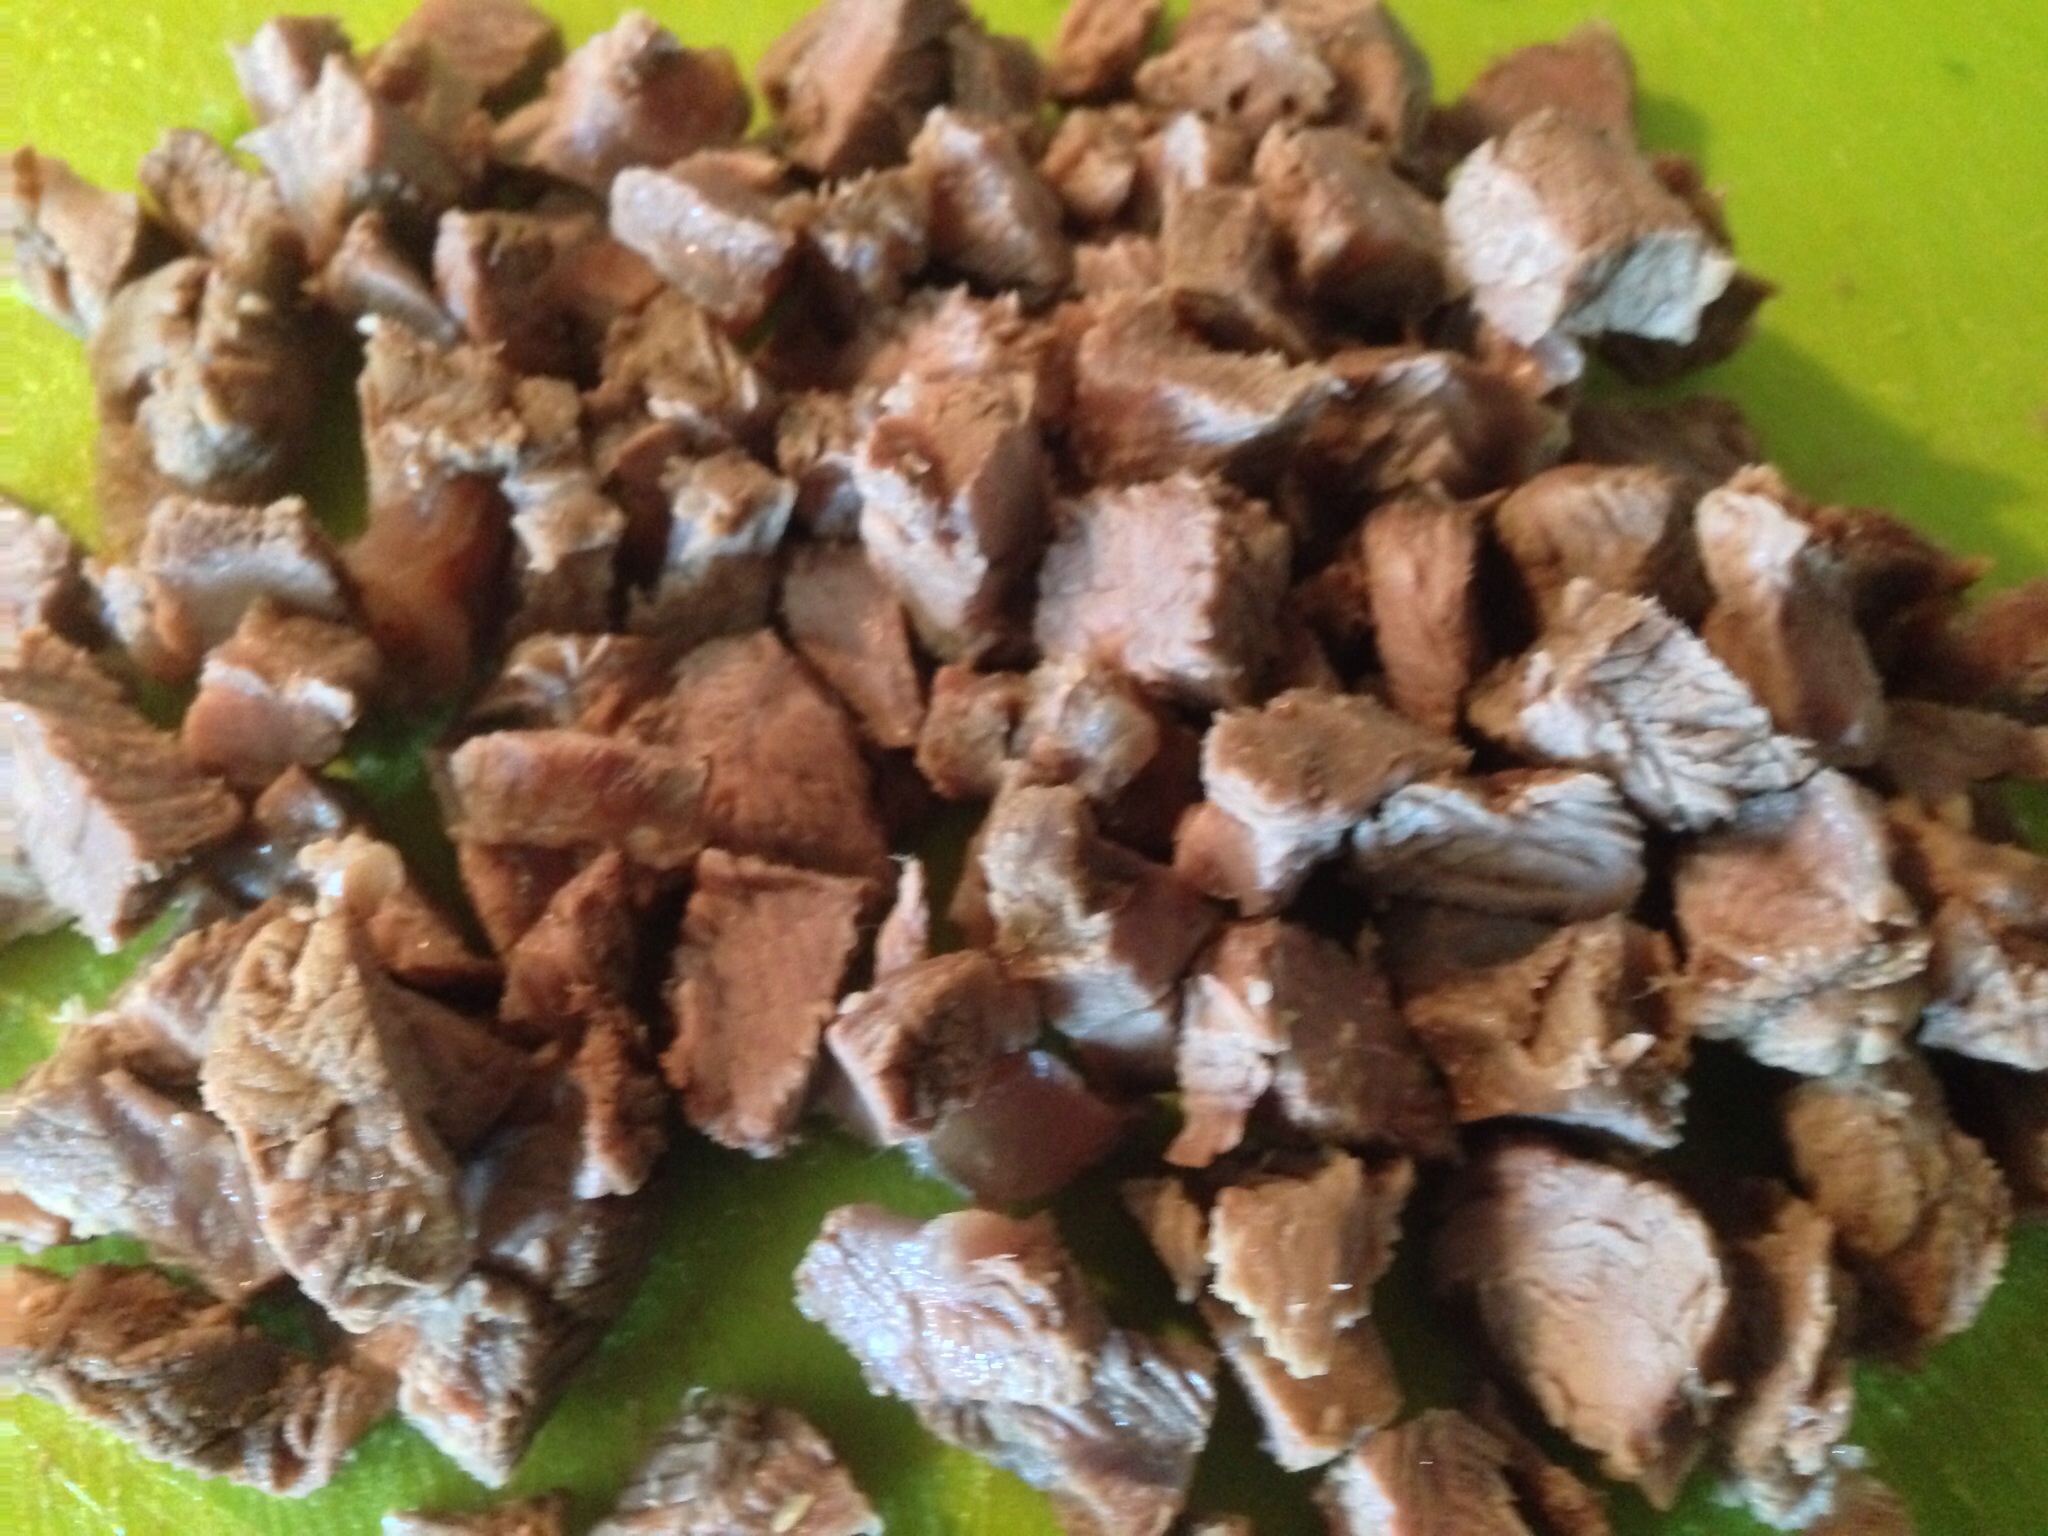
4. After a couple of hours of simmering, the sinew in the large chunks of shank meat should have broken down and softened. Remove the large chunks of meat from the pot. Let it cool then cut the meat into small pieces then return the meat to the pot.
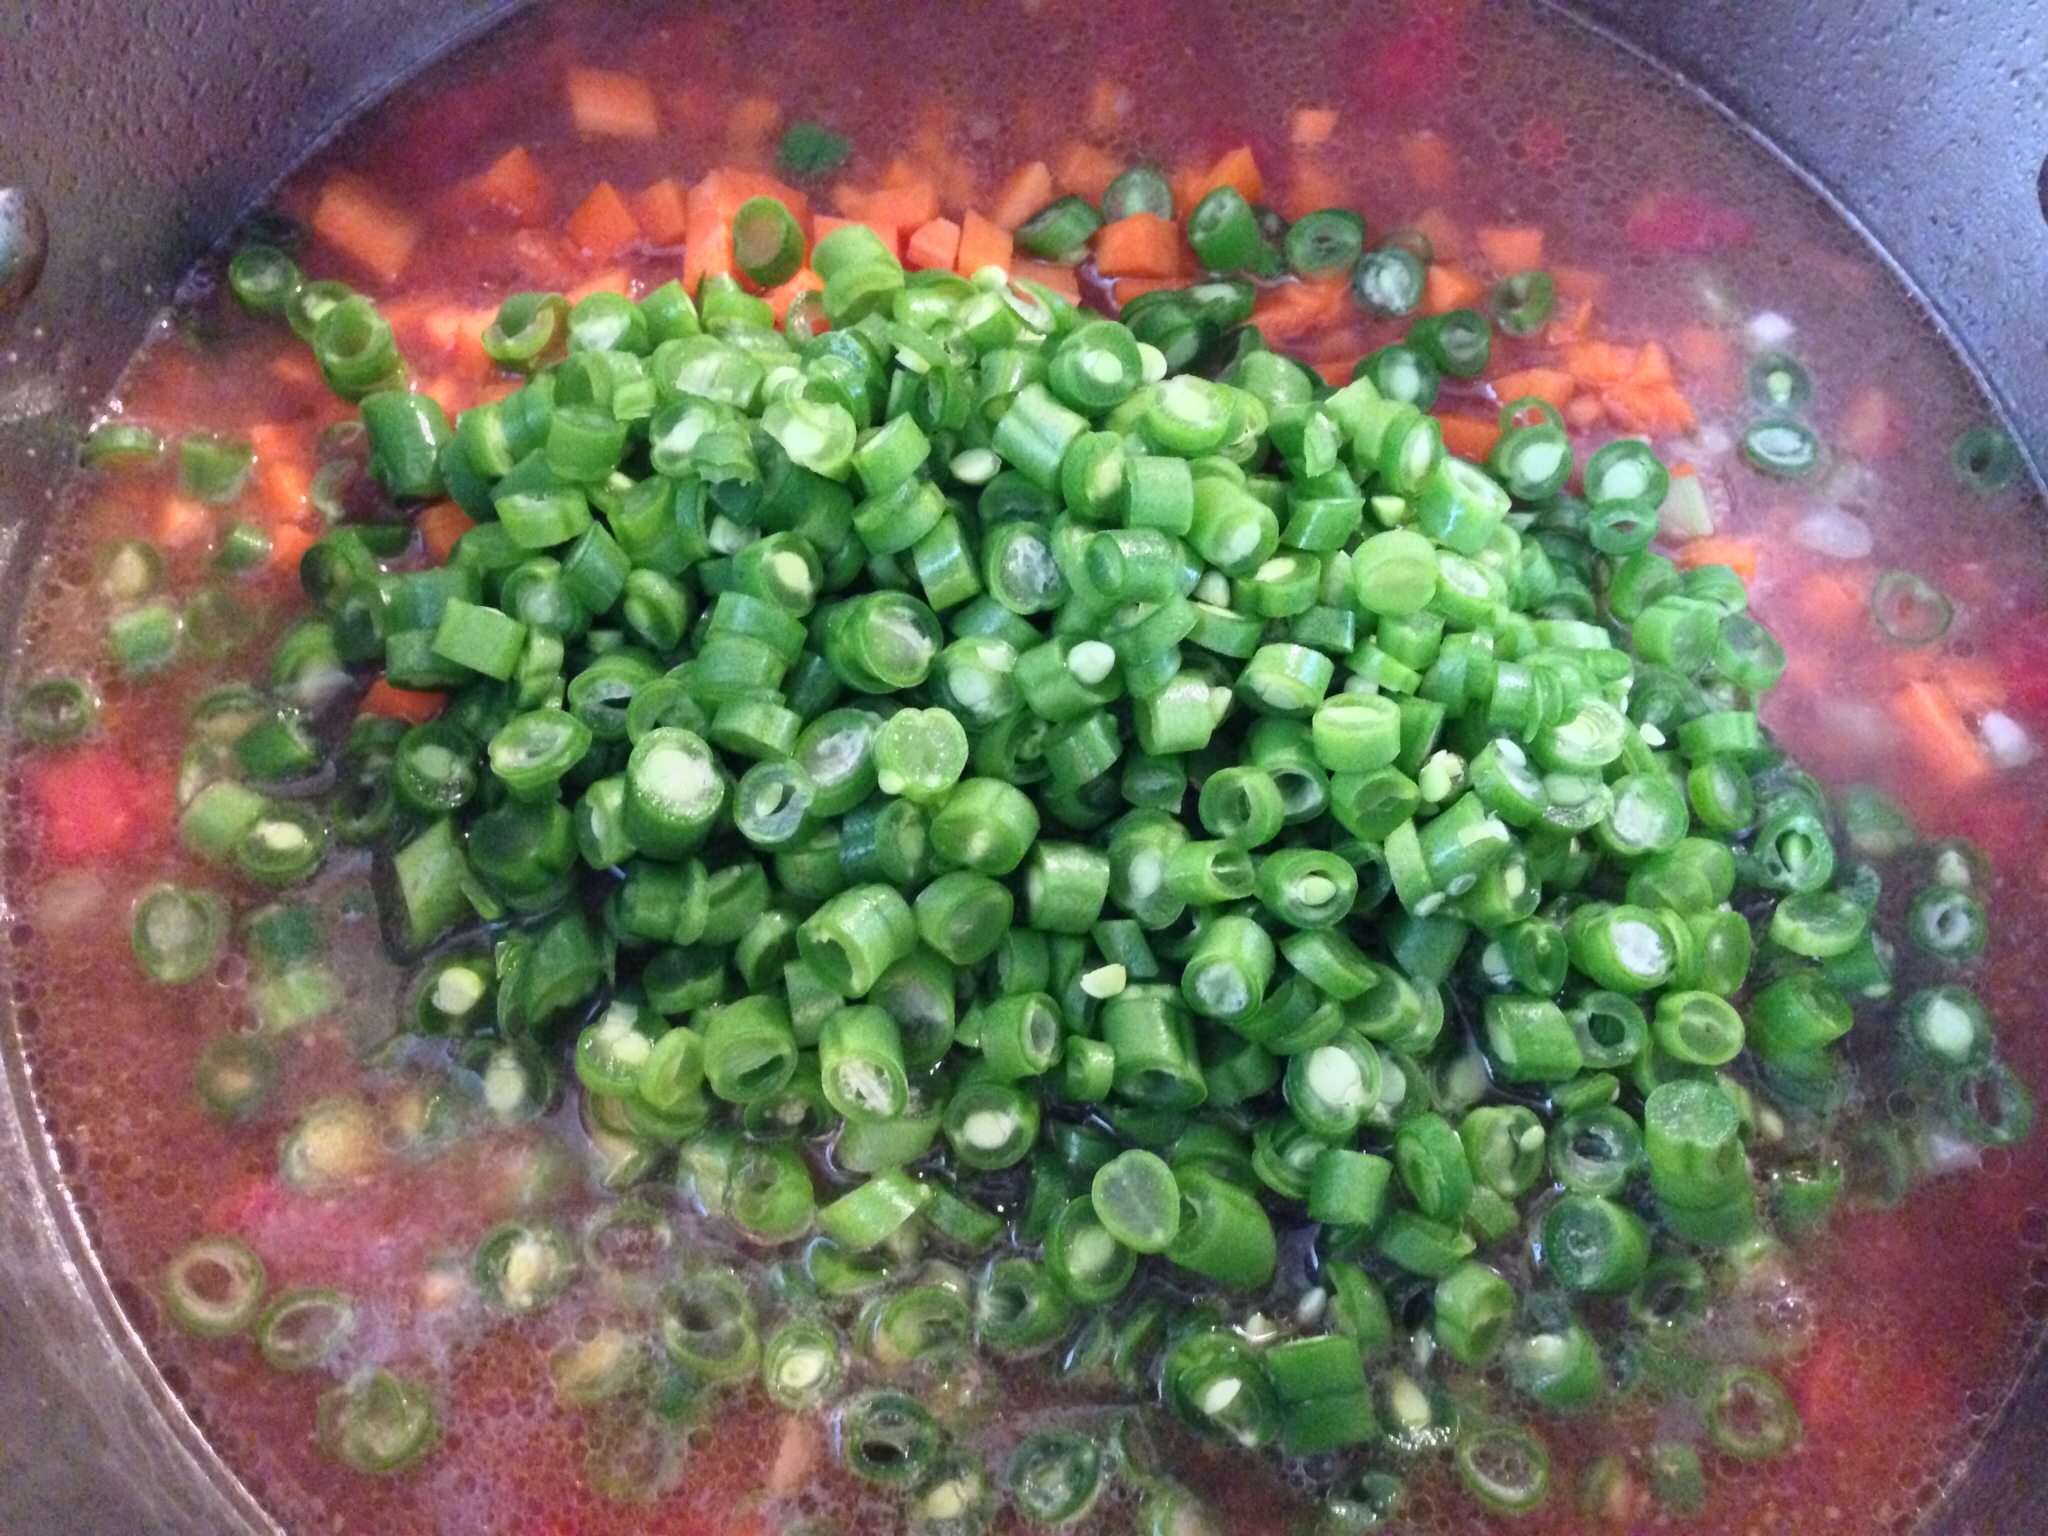
5. Add the tomatoes (don’t forget to drain the liquid!) and cut vegetables to the pot. Stir to combine.
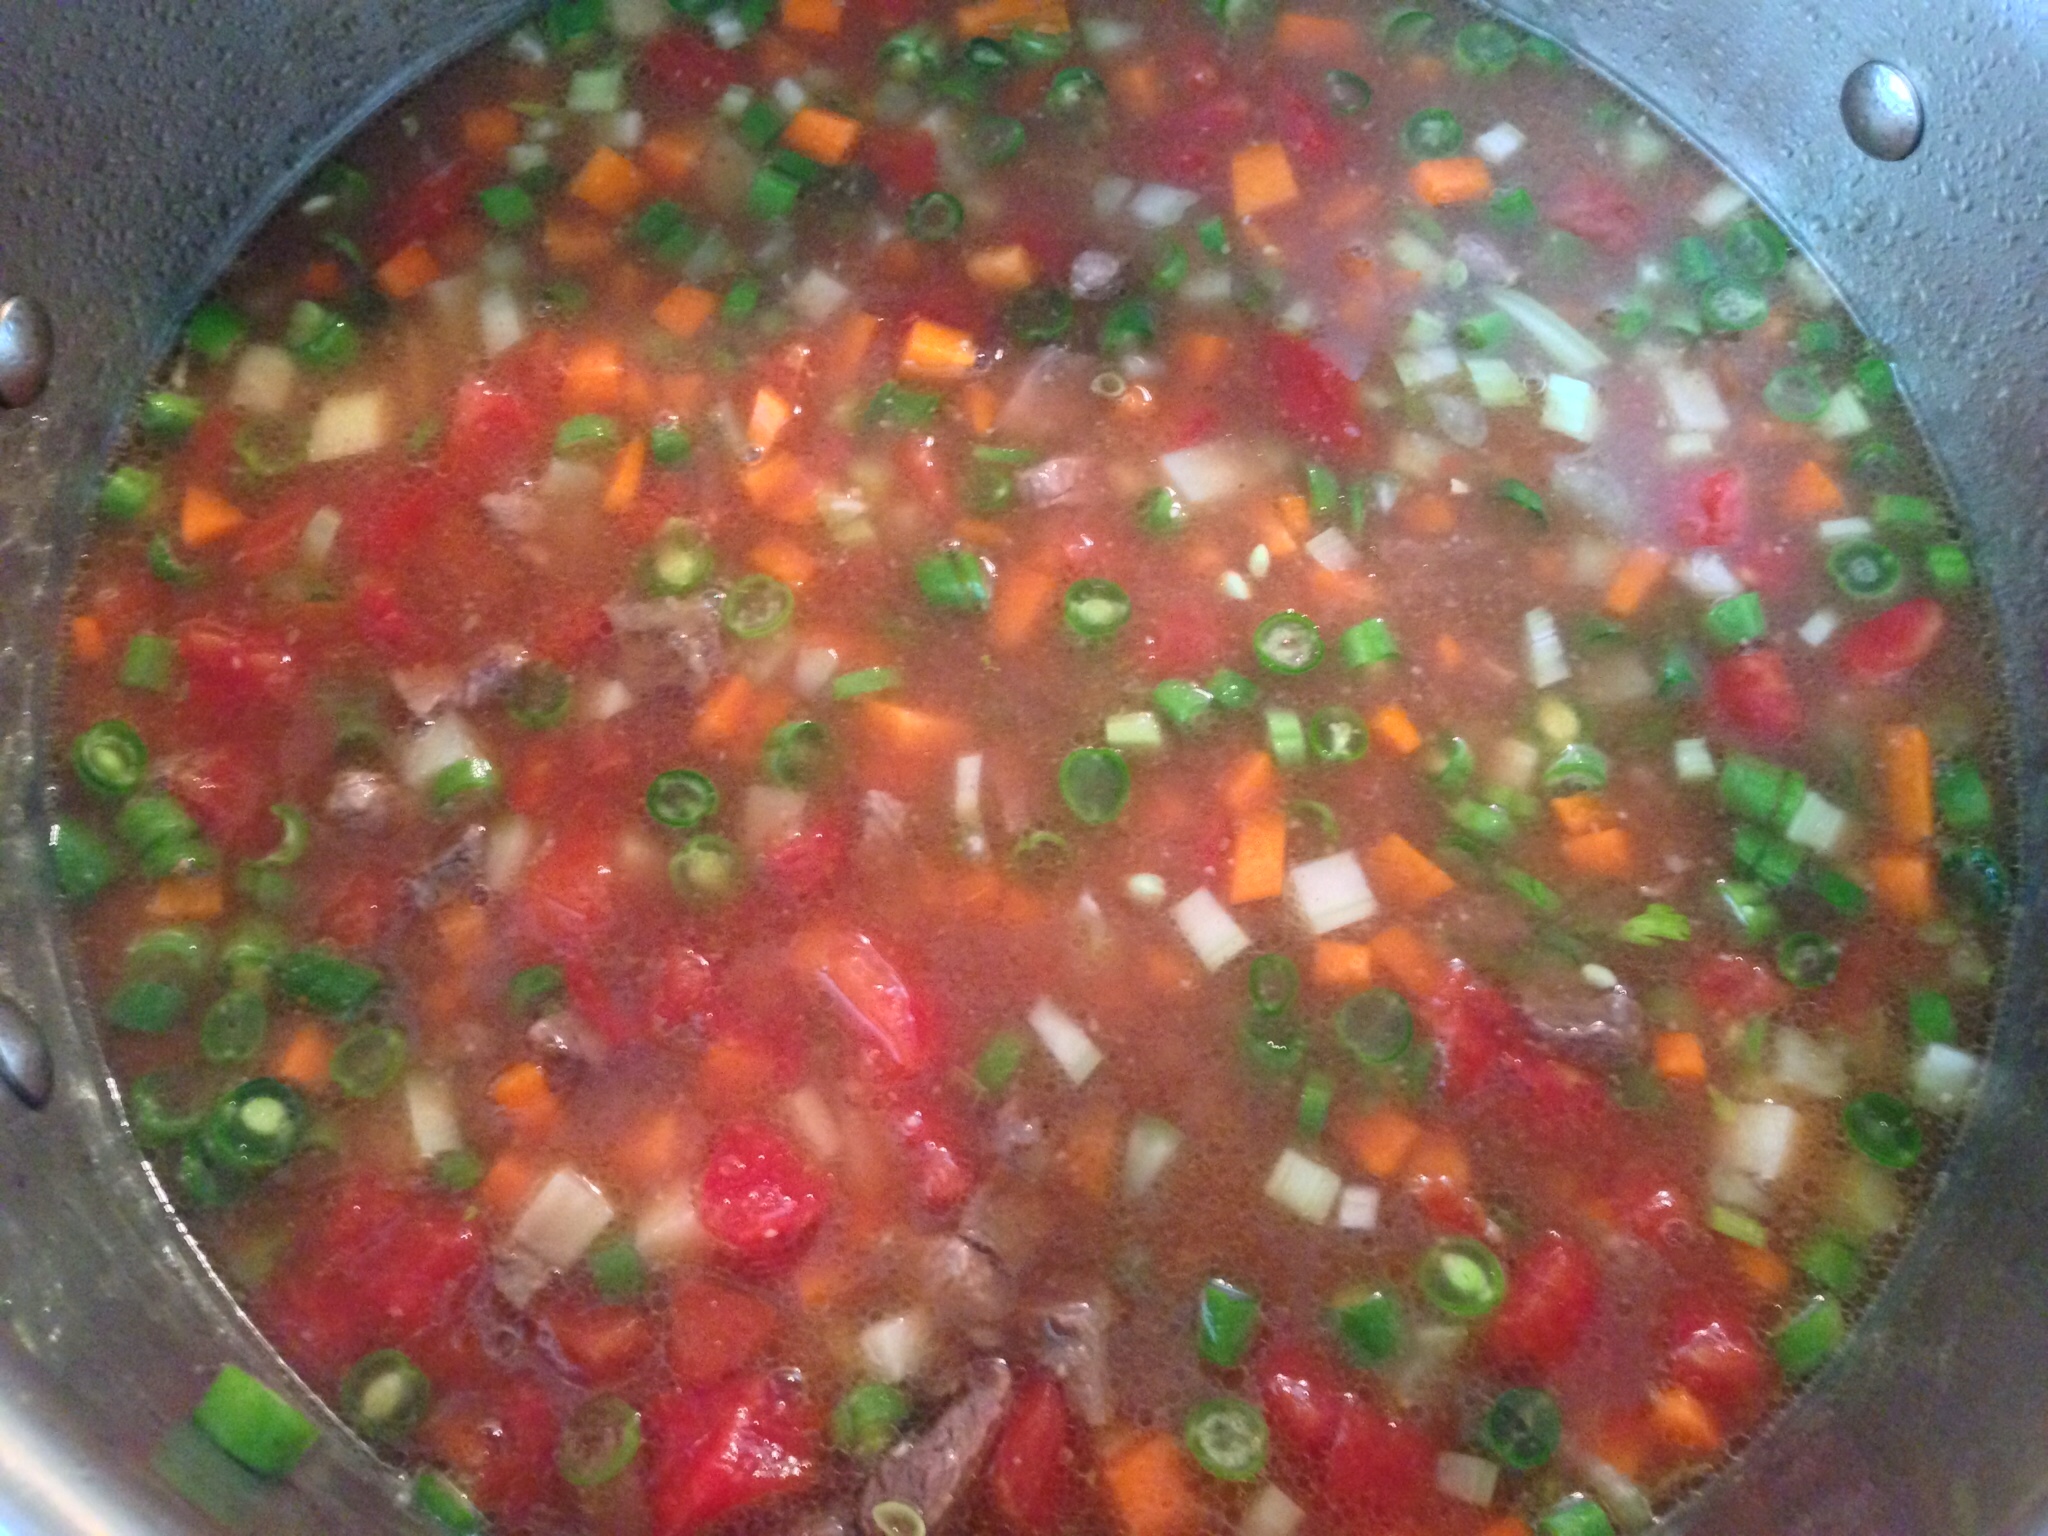
6. Simmer the vegetables over medium high heat for 10 minutes. Meanwhile, prepare the noodles. Place the noodles into a large bowl. Pour hot water (I used hot water from the tap) over the noodles; use enough water to completely submerge the noodles. Let the noodles sit in the hot water for 5 minutes to soften slightly. After the noodles have softened, use a pair of kitchen scissors to cut the noodles into small pieces, about 3 inches in length. Drain the noodles in a colander then add them to the pot, stirring to combine.
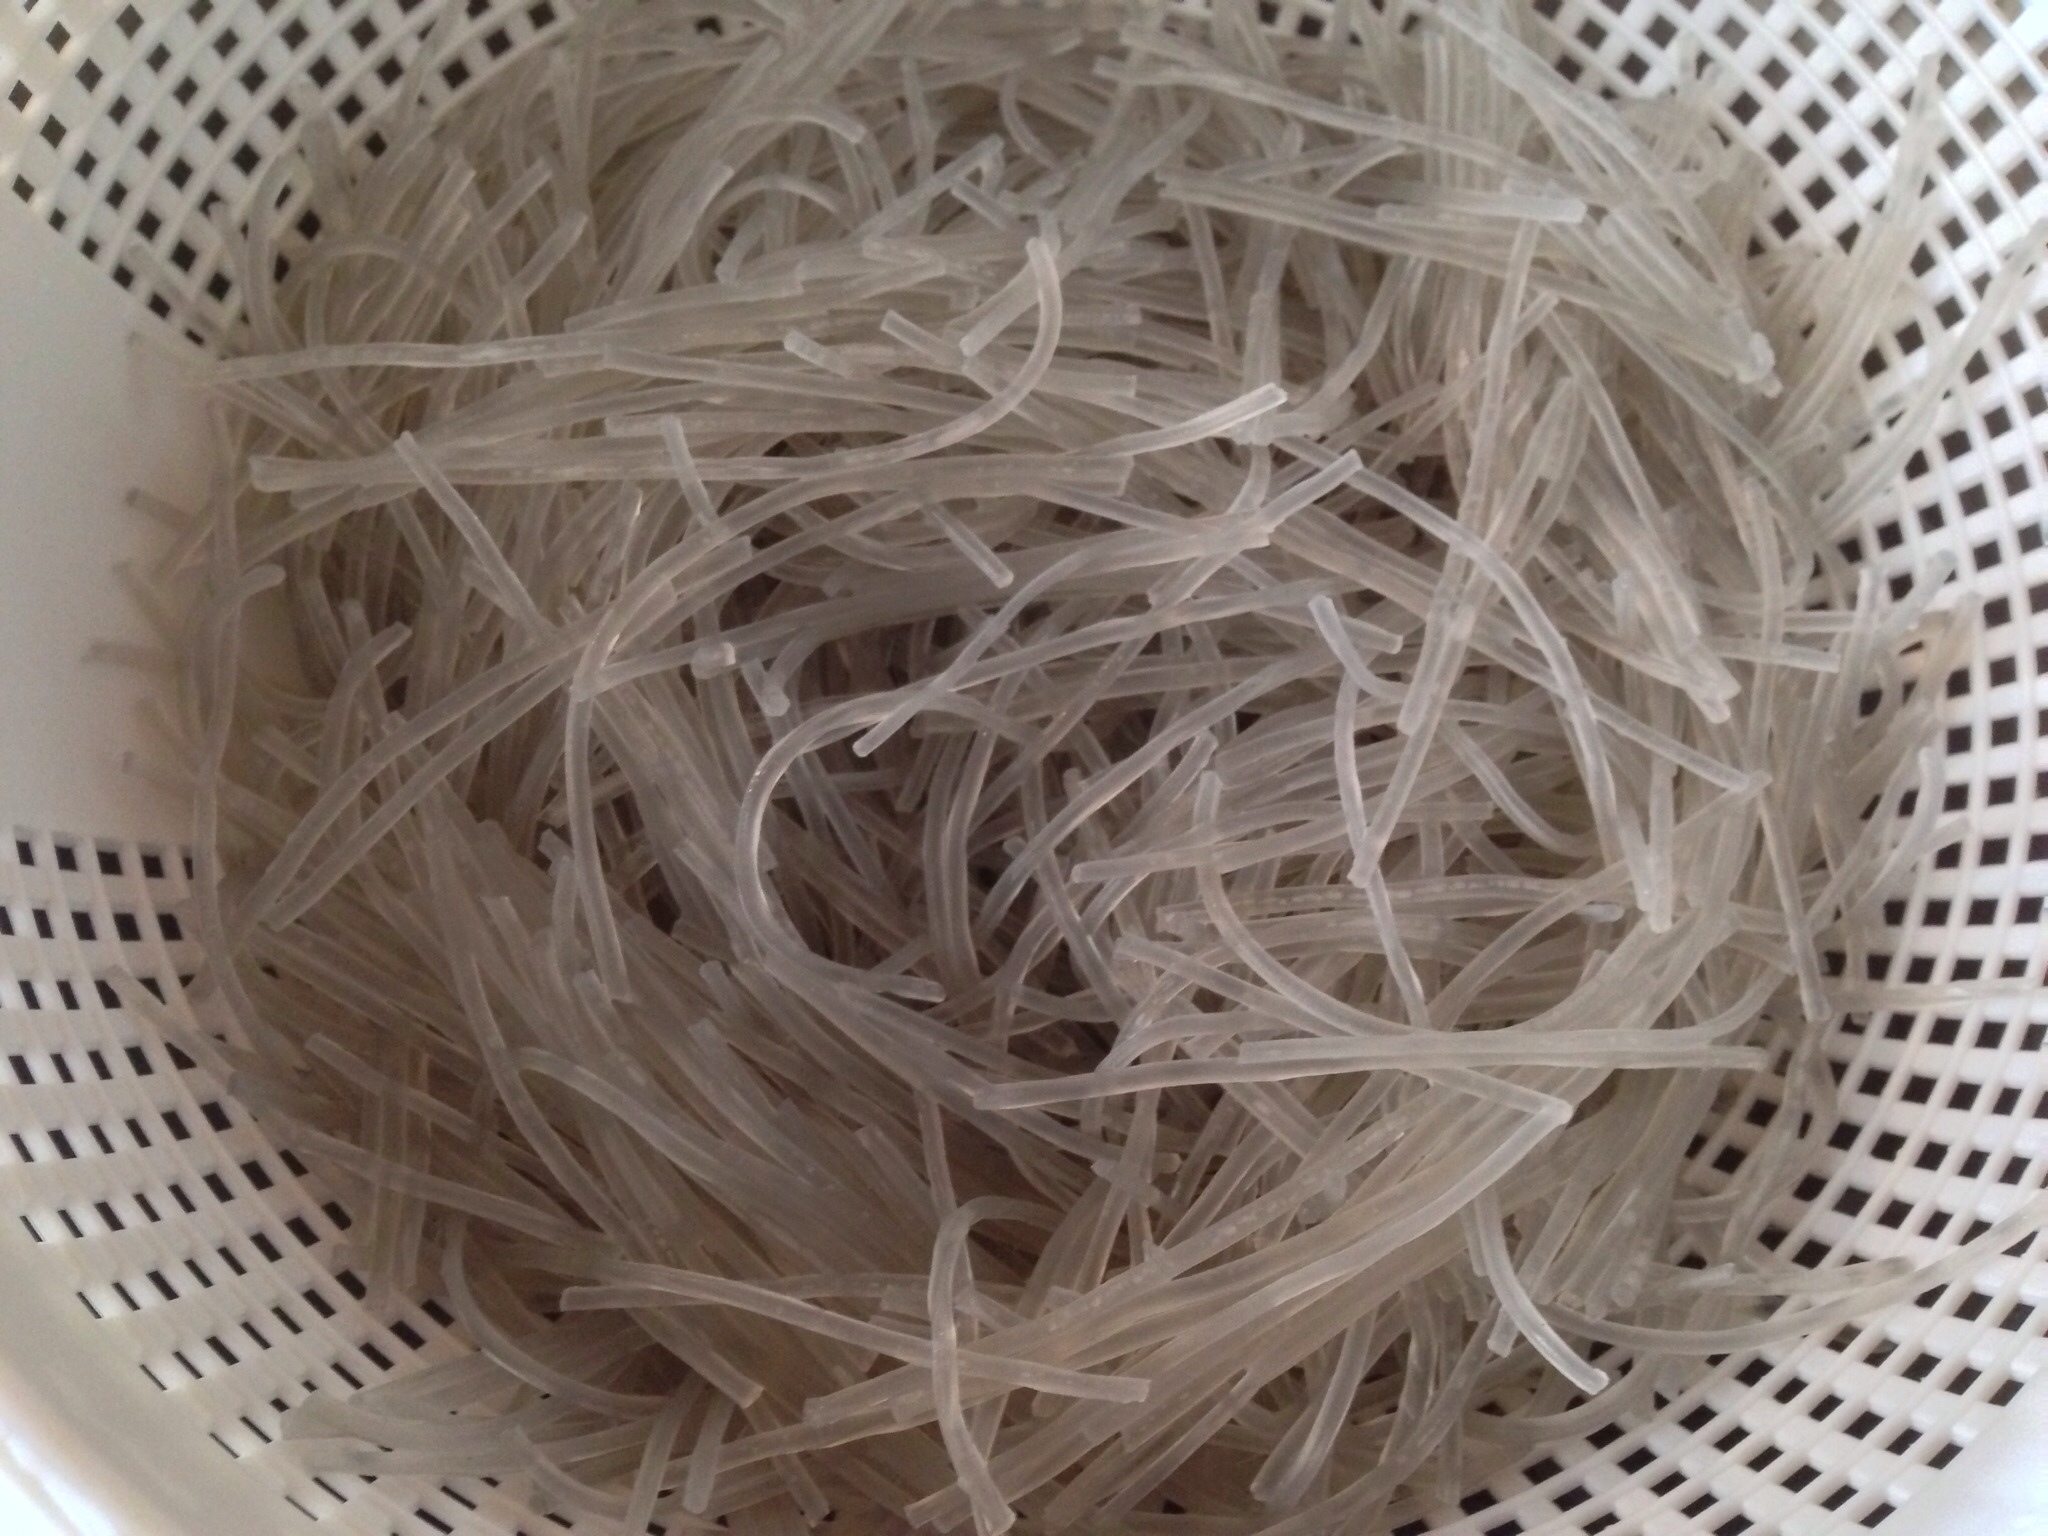
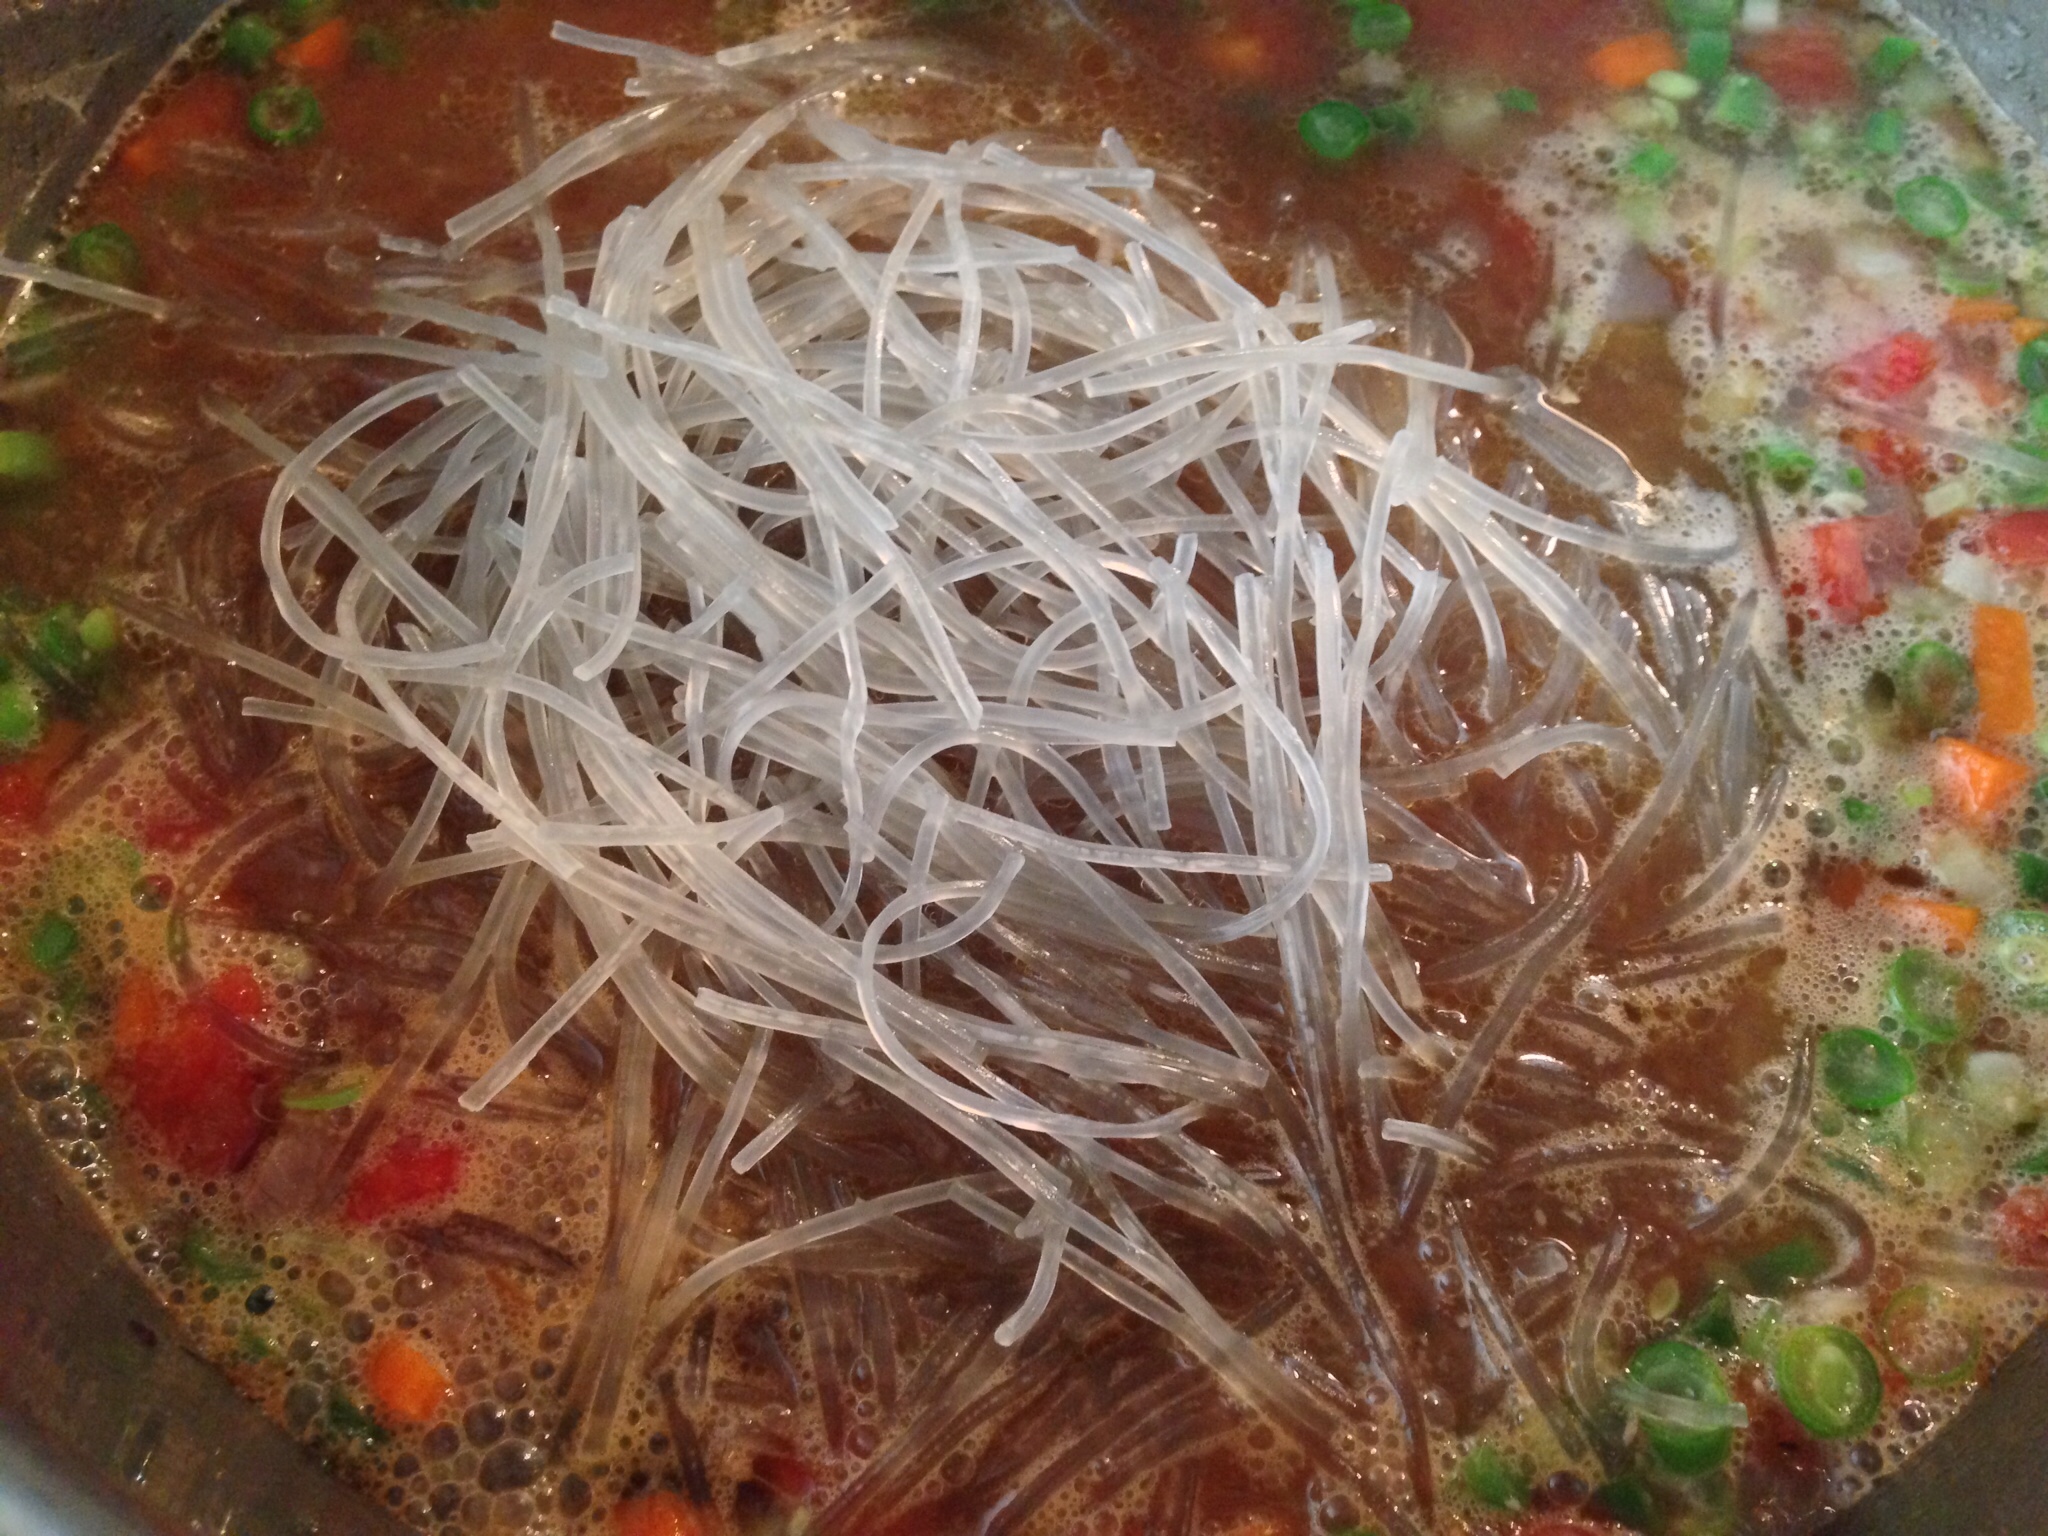
7. Add the drained corn to the pot. Stir to combine. Cook for another 10 minutes or so, or just until the potatoes and carrots are cooked through (don’t over cook them).
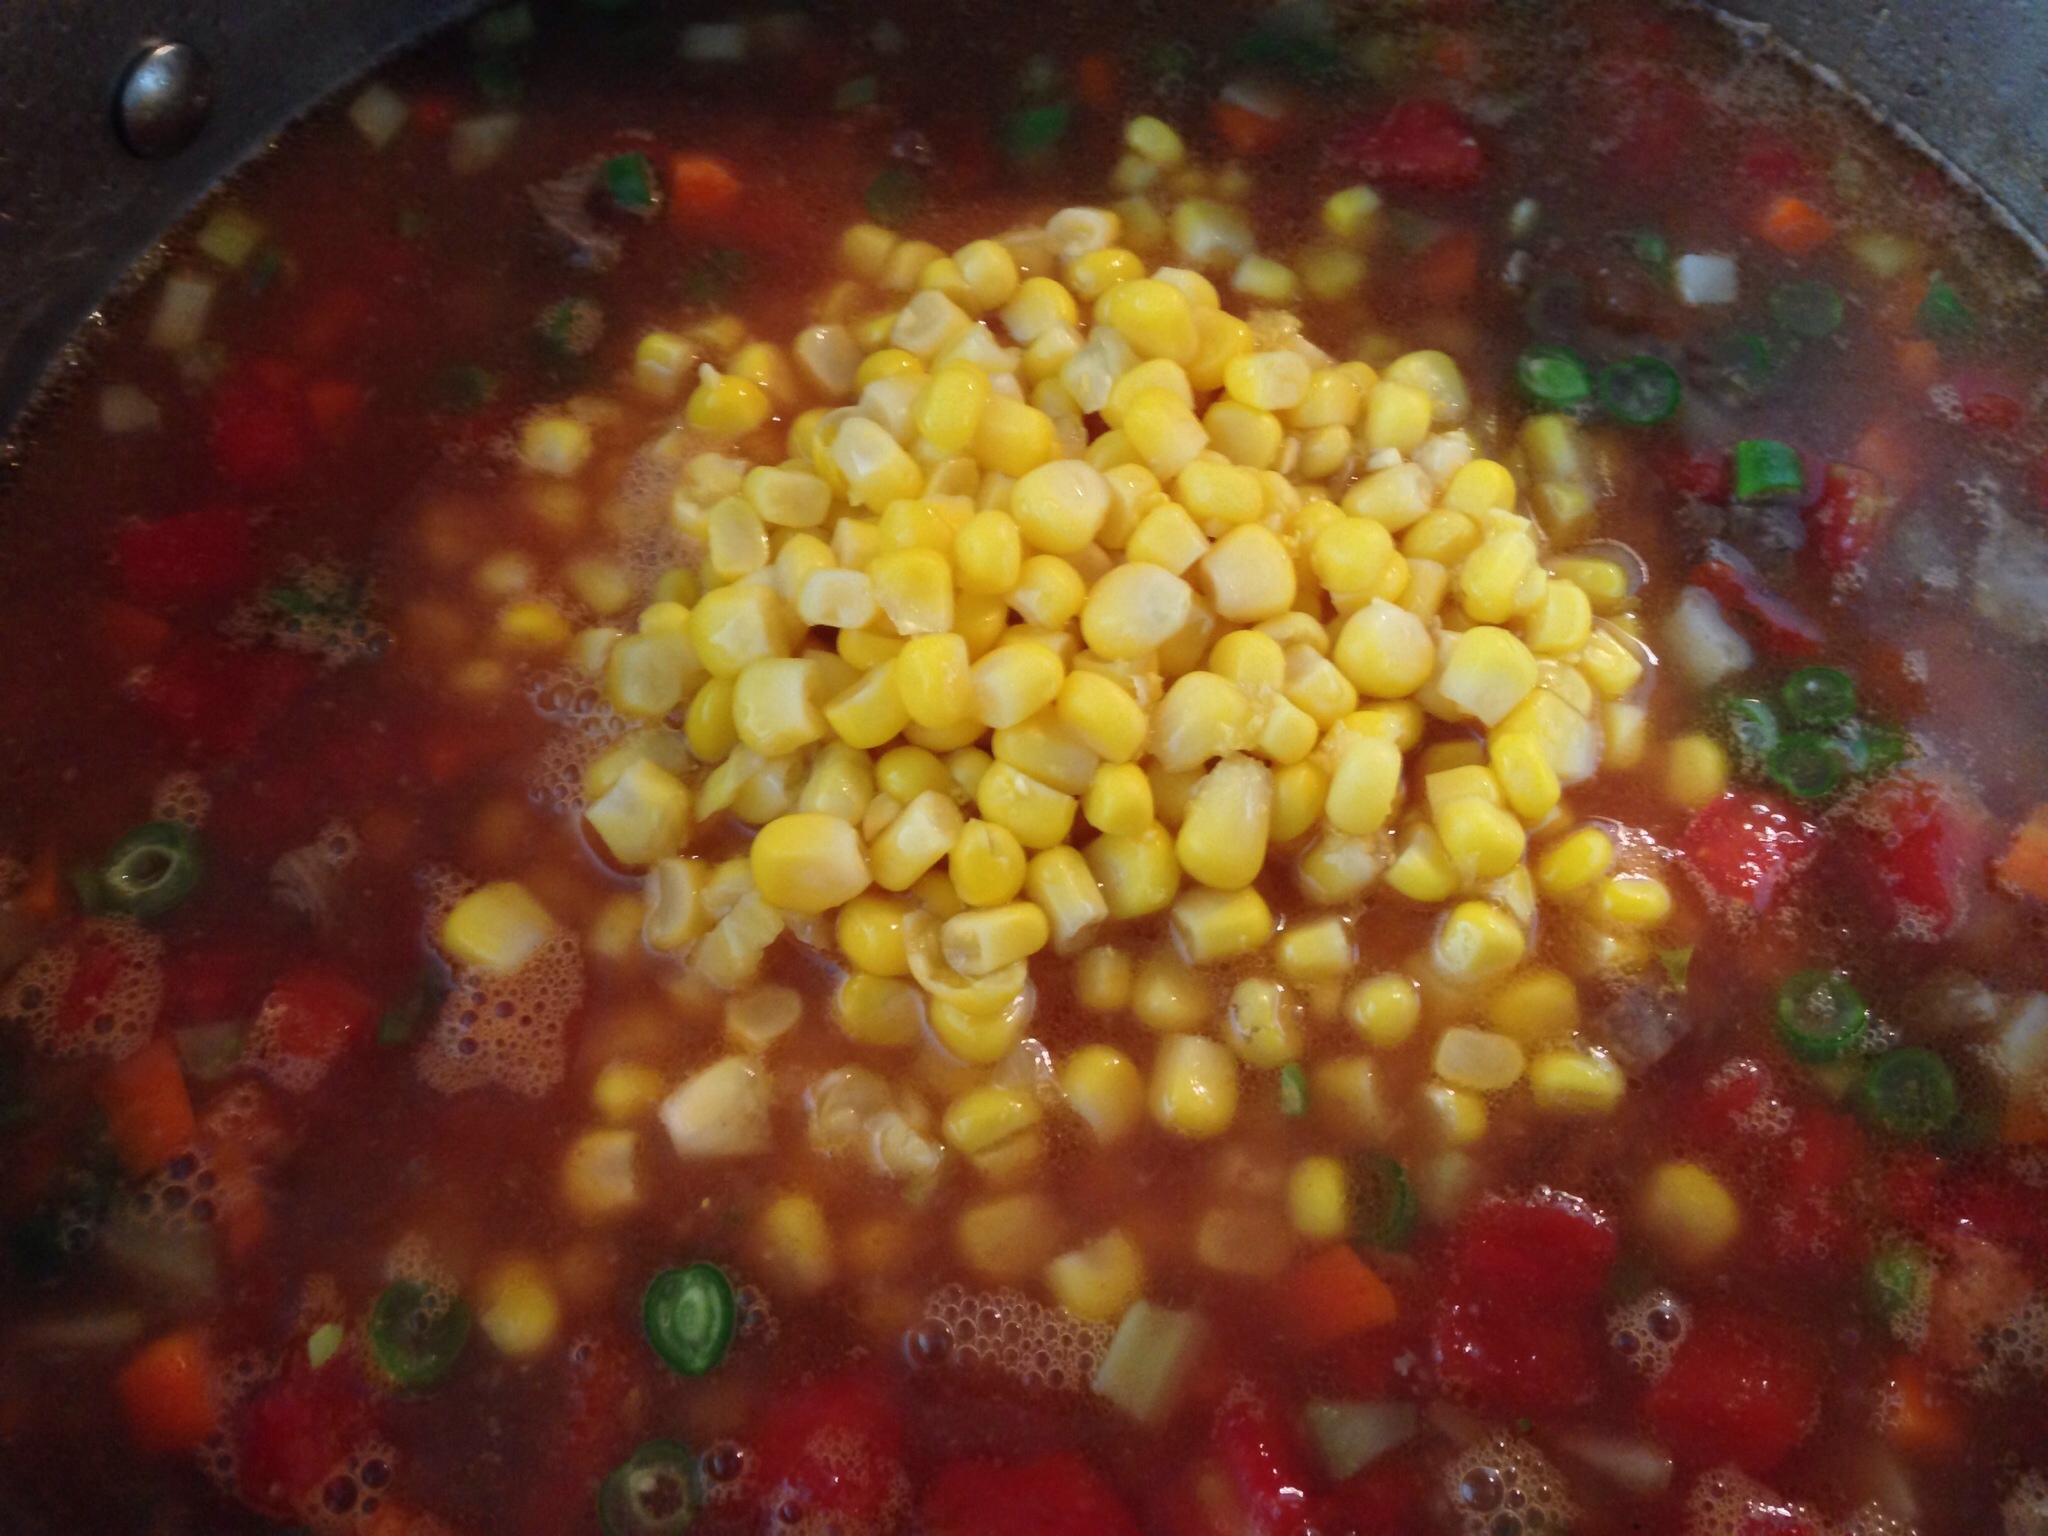
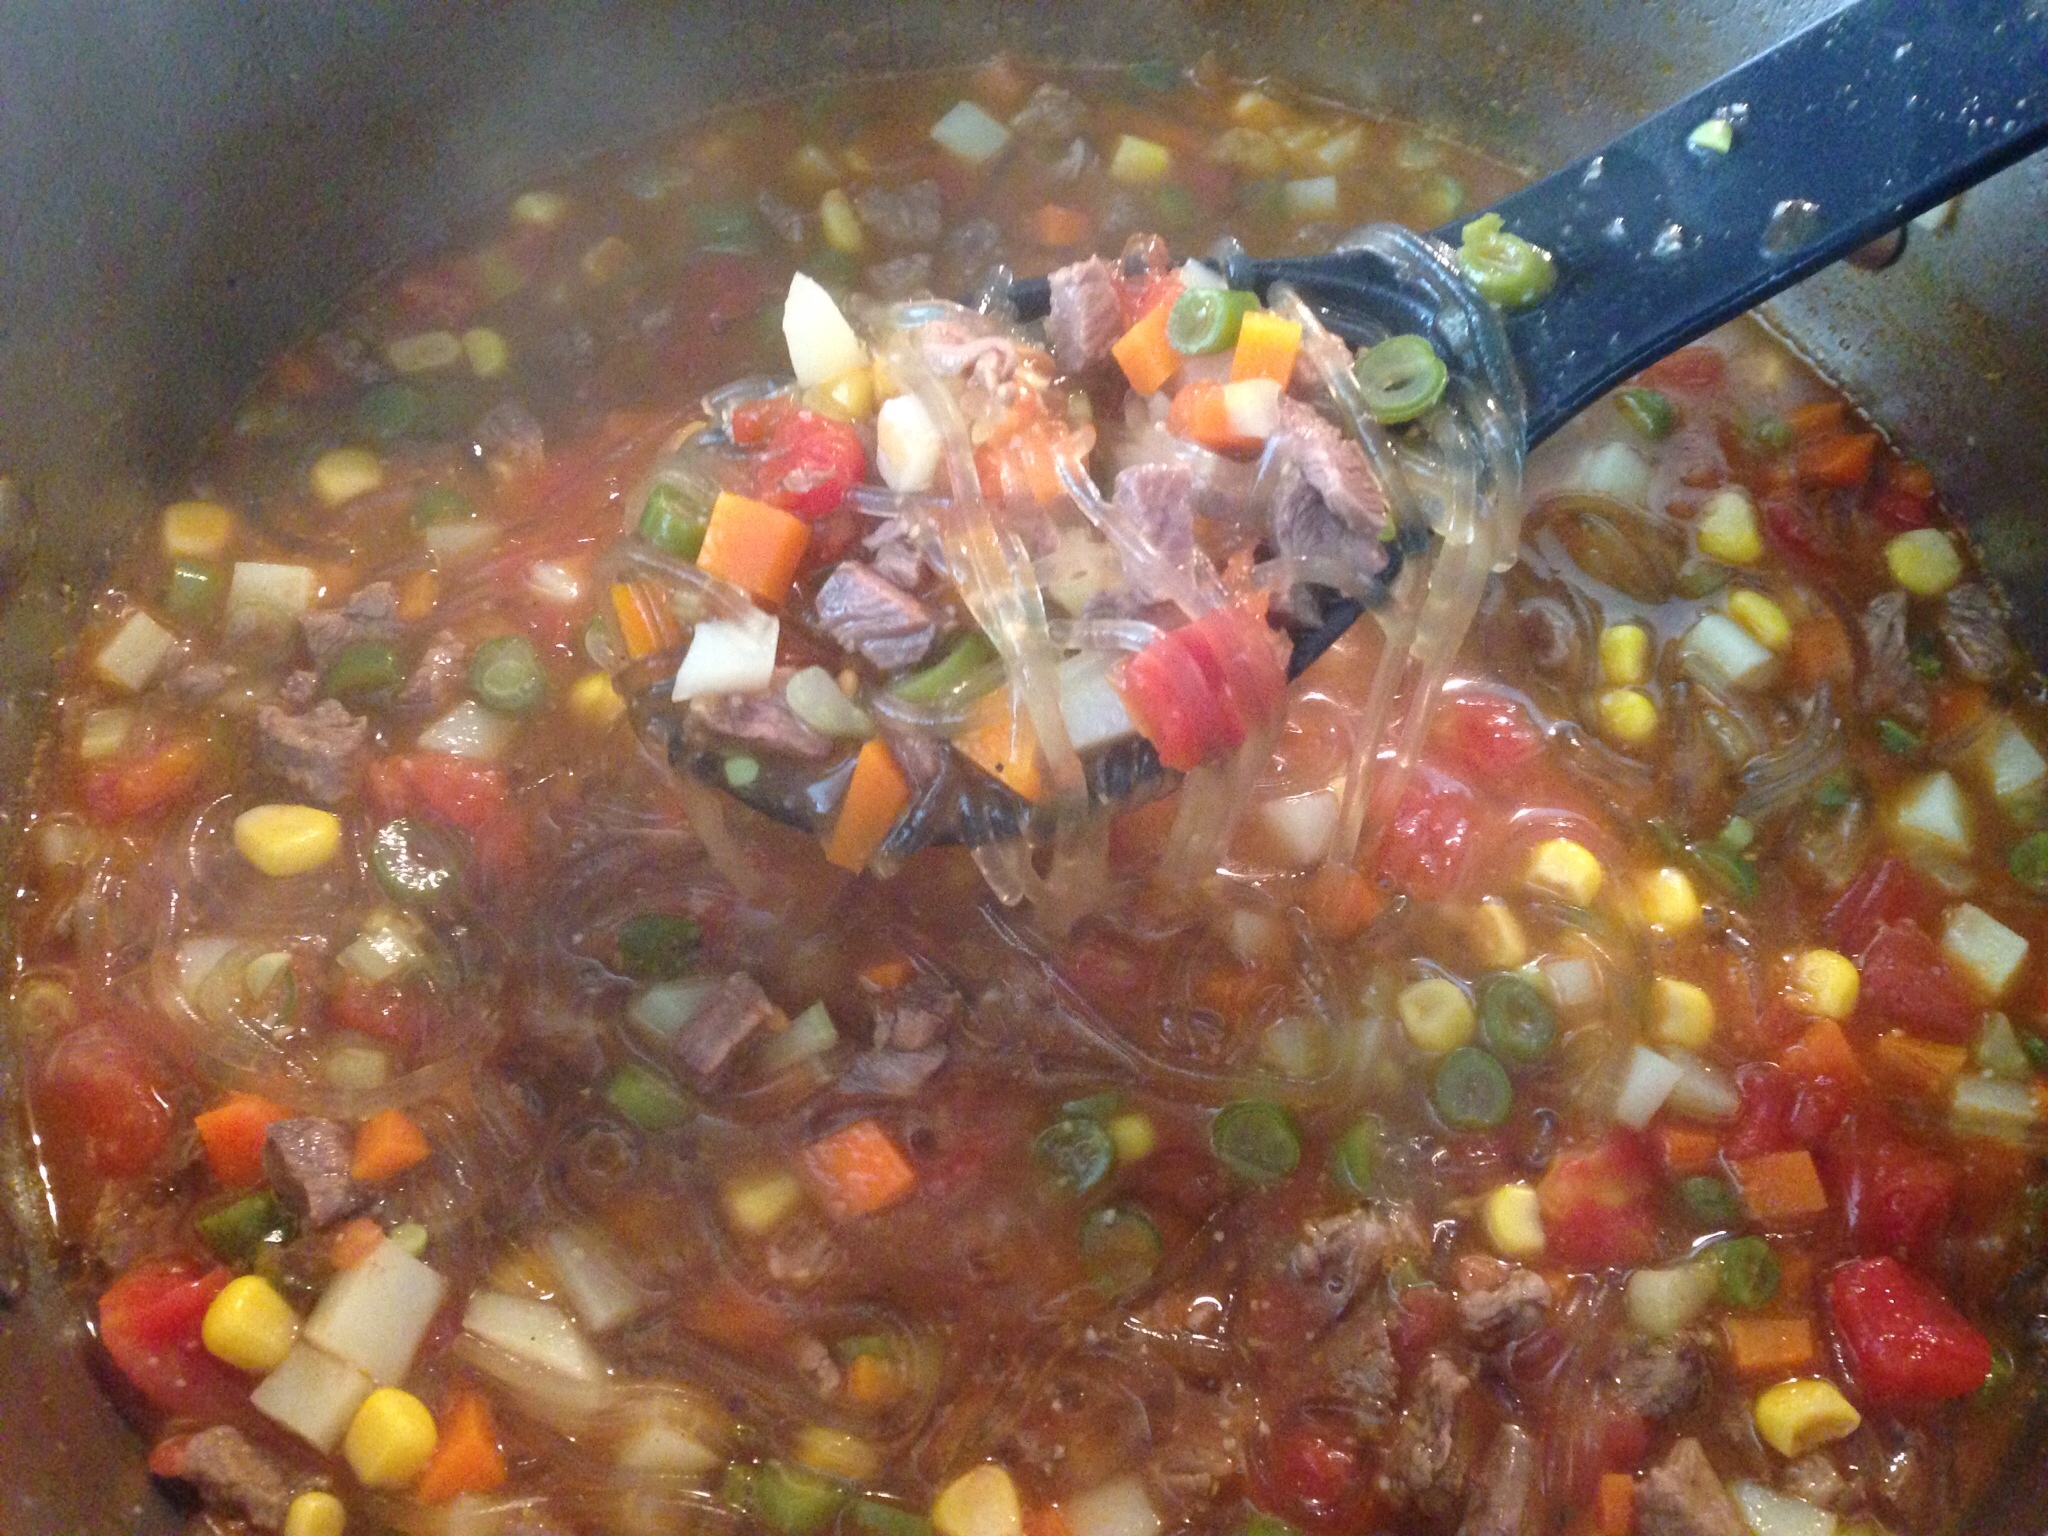
8. Remove from the heat and serve while hot. ENJOY!

Save the bone marrow for me, please! 🙂
 

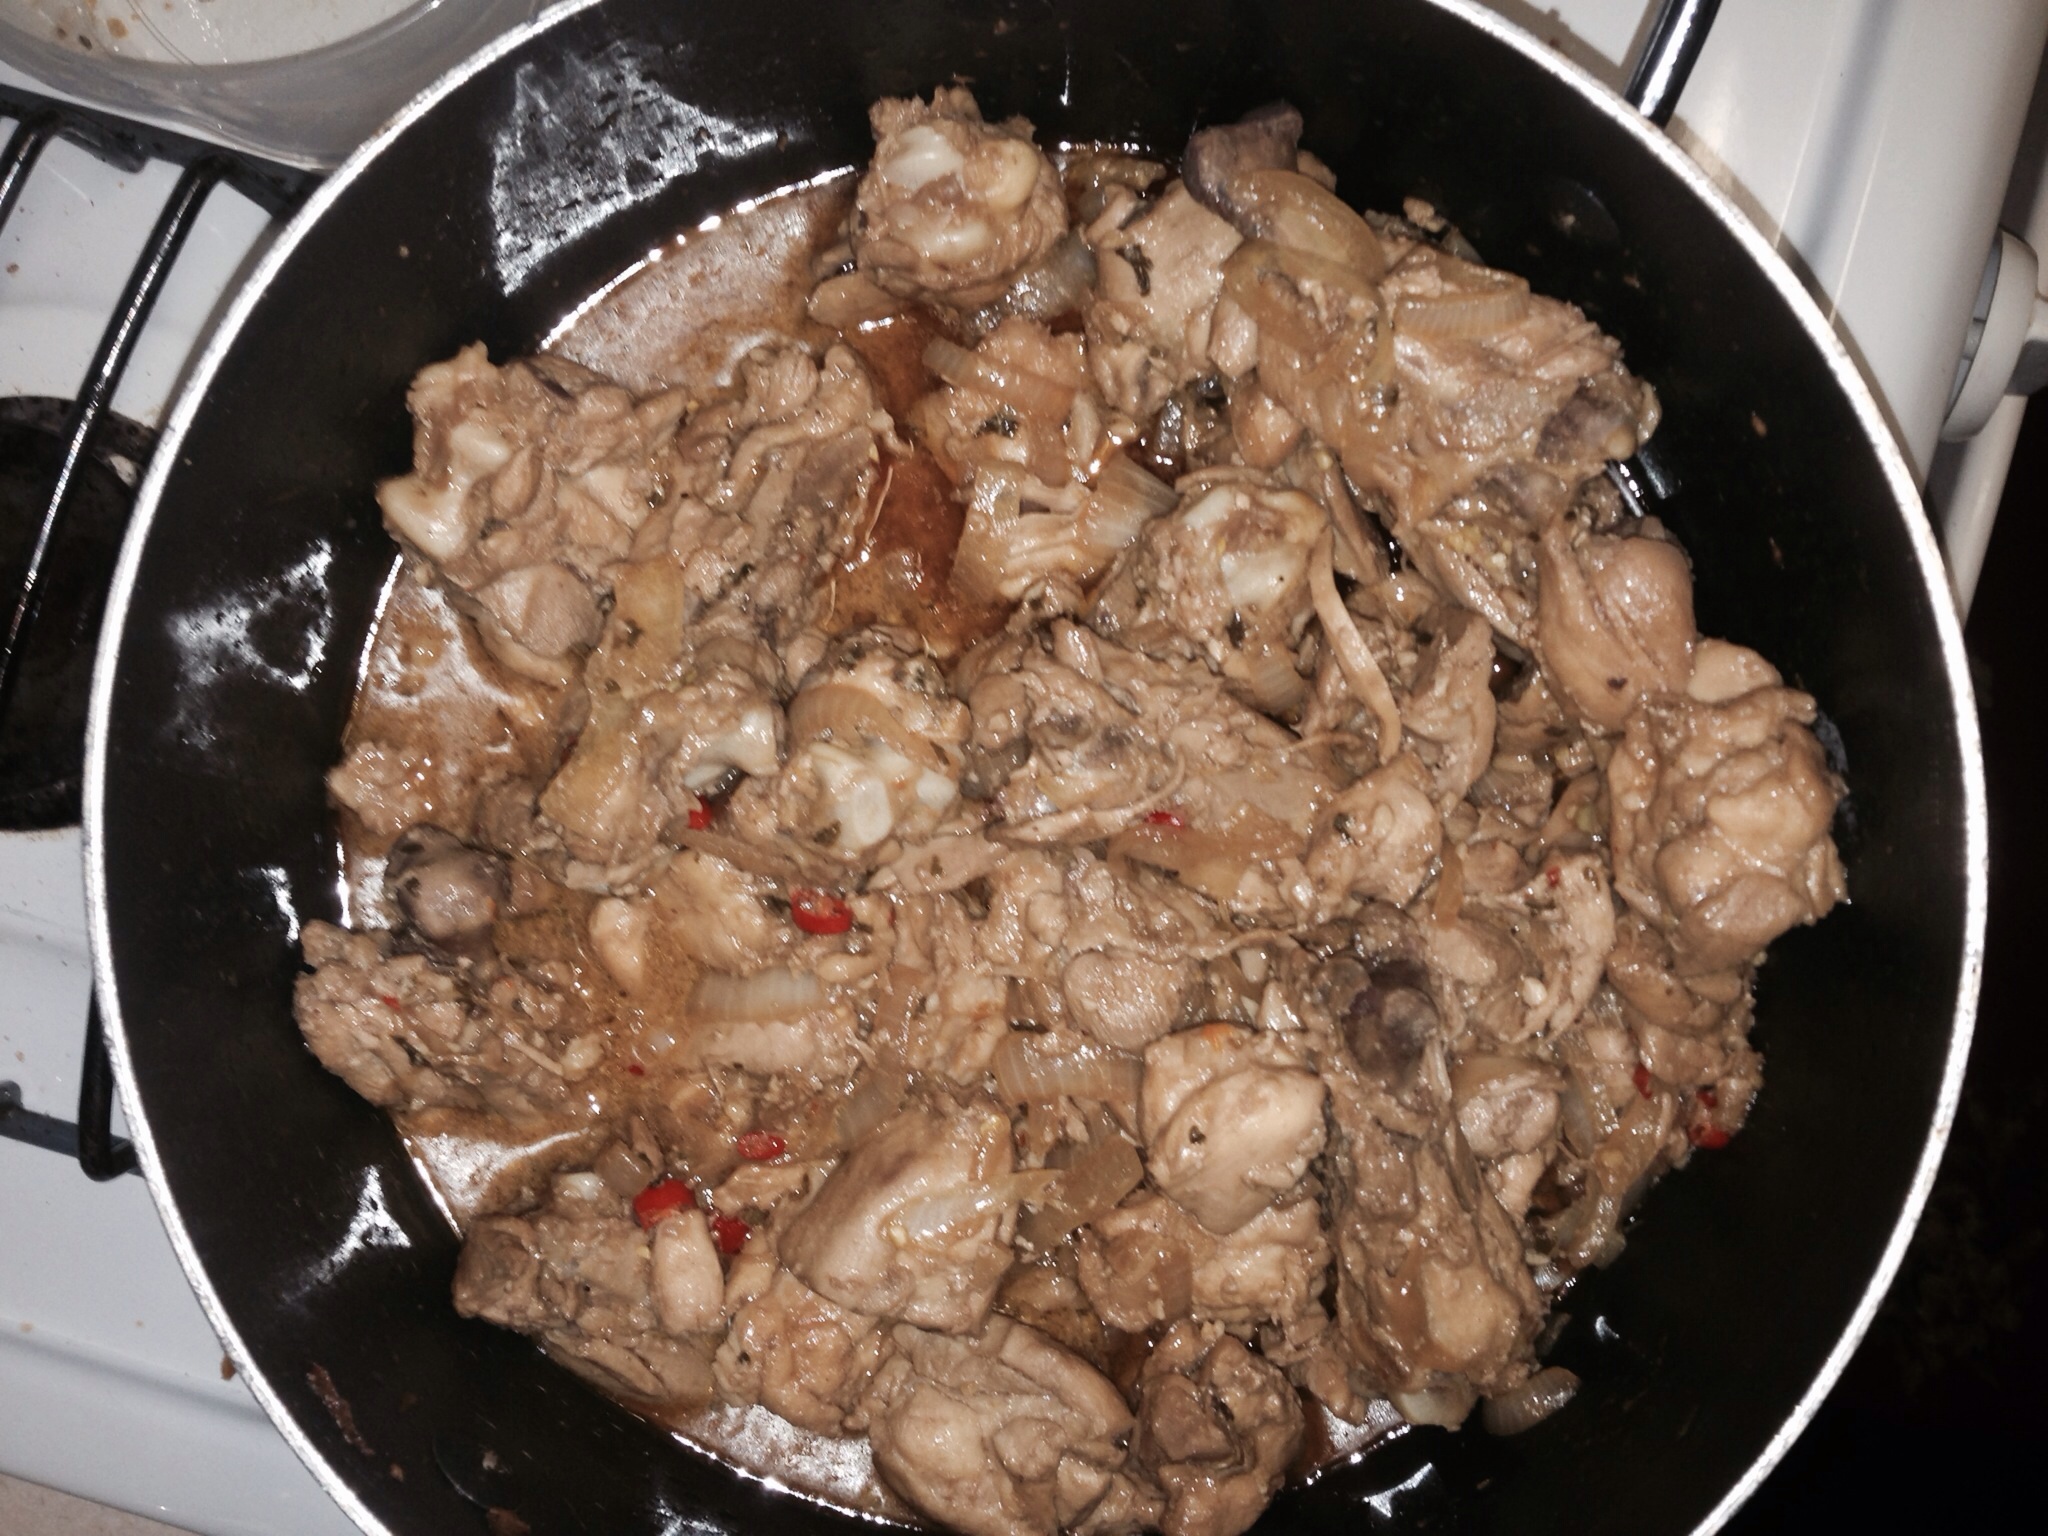
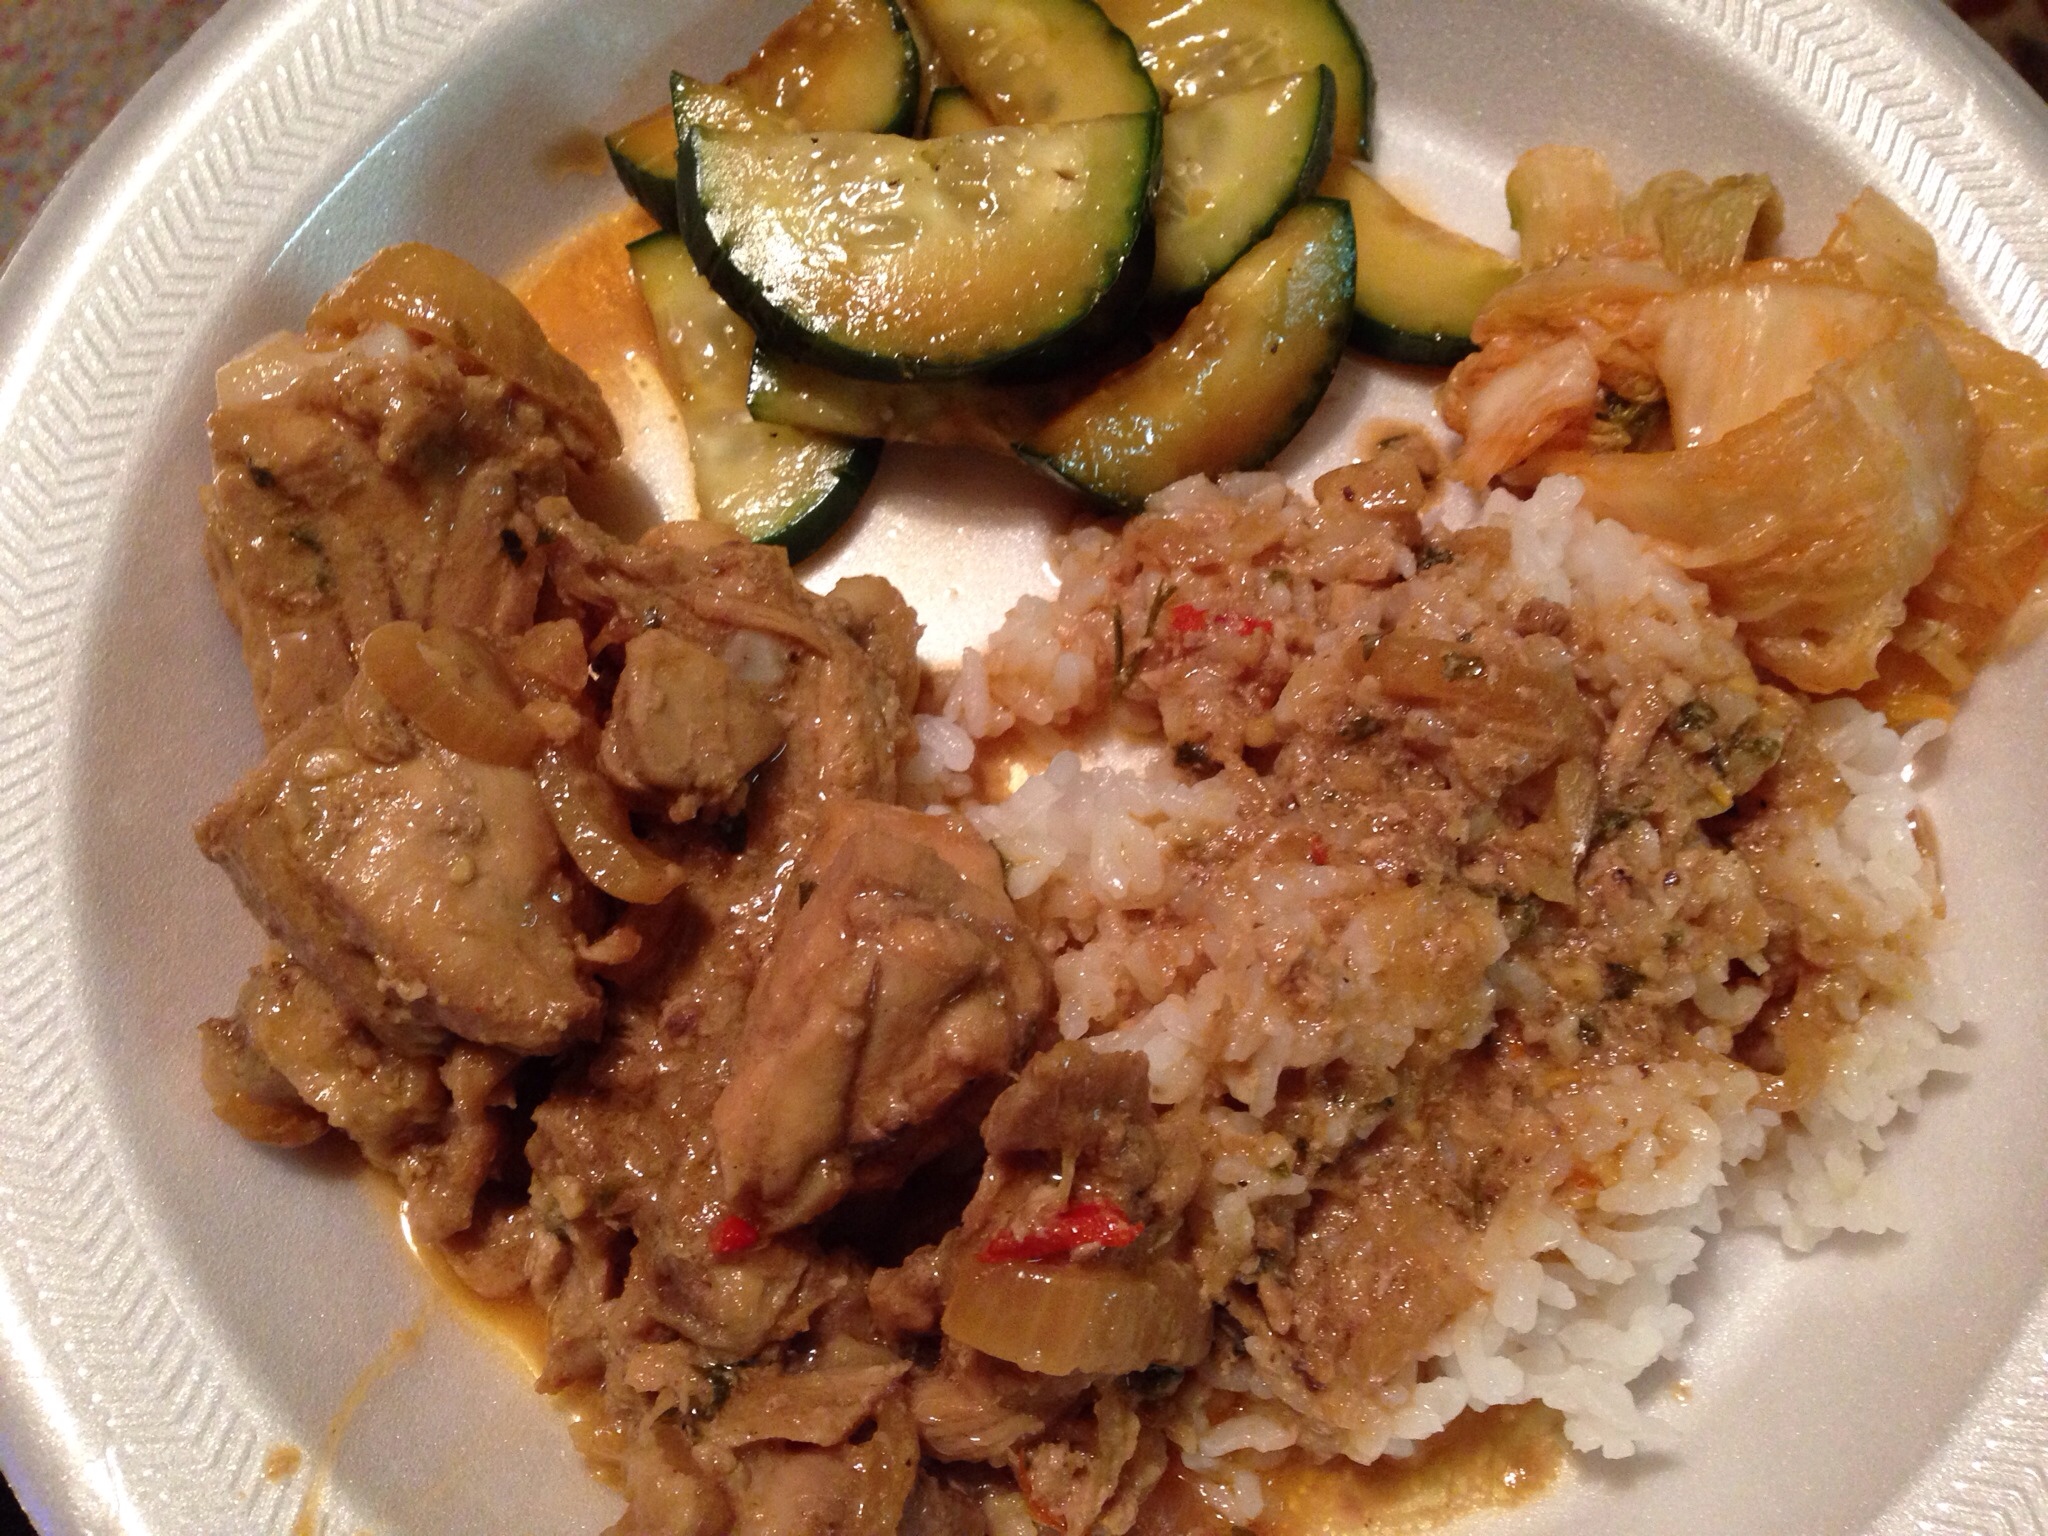
Carolyn’s Kådun Pika (Spicy Chicken)

Kådun pika is a spicy Chamorro chicken dish that’s somewhat similar to chicken adobo. It’s an easy dish to make — it takes only a few ingredients and a few simple steps and voila! — you’ll have dinner served in no time.

Pika means “hot” or “spicy” in Chamorro. You can omit the hot chili peppers in this recipe, but then it won’t be called Kådun Pika without the “pika”. 🙂 I have one daughter who doesn’t like anything spicy. I usually prepare this dish, omitting the peppers. When it’s done, I separate a small bowlful for my daughter, then add the peppers to the rest of the pot.

The recipe below is my sister, Carolyn’s. Give it a try. I think you’ll like it. 🙂

Carolyn’s Kådun Pika (Spicy Chicken)

Ingredients:

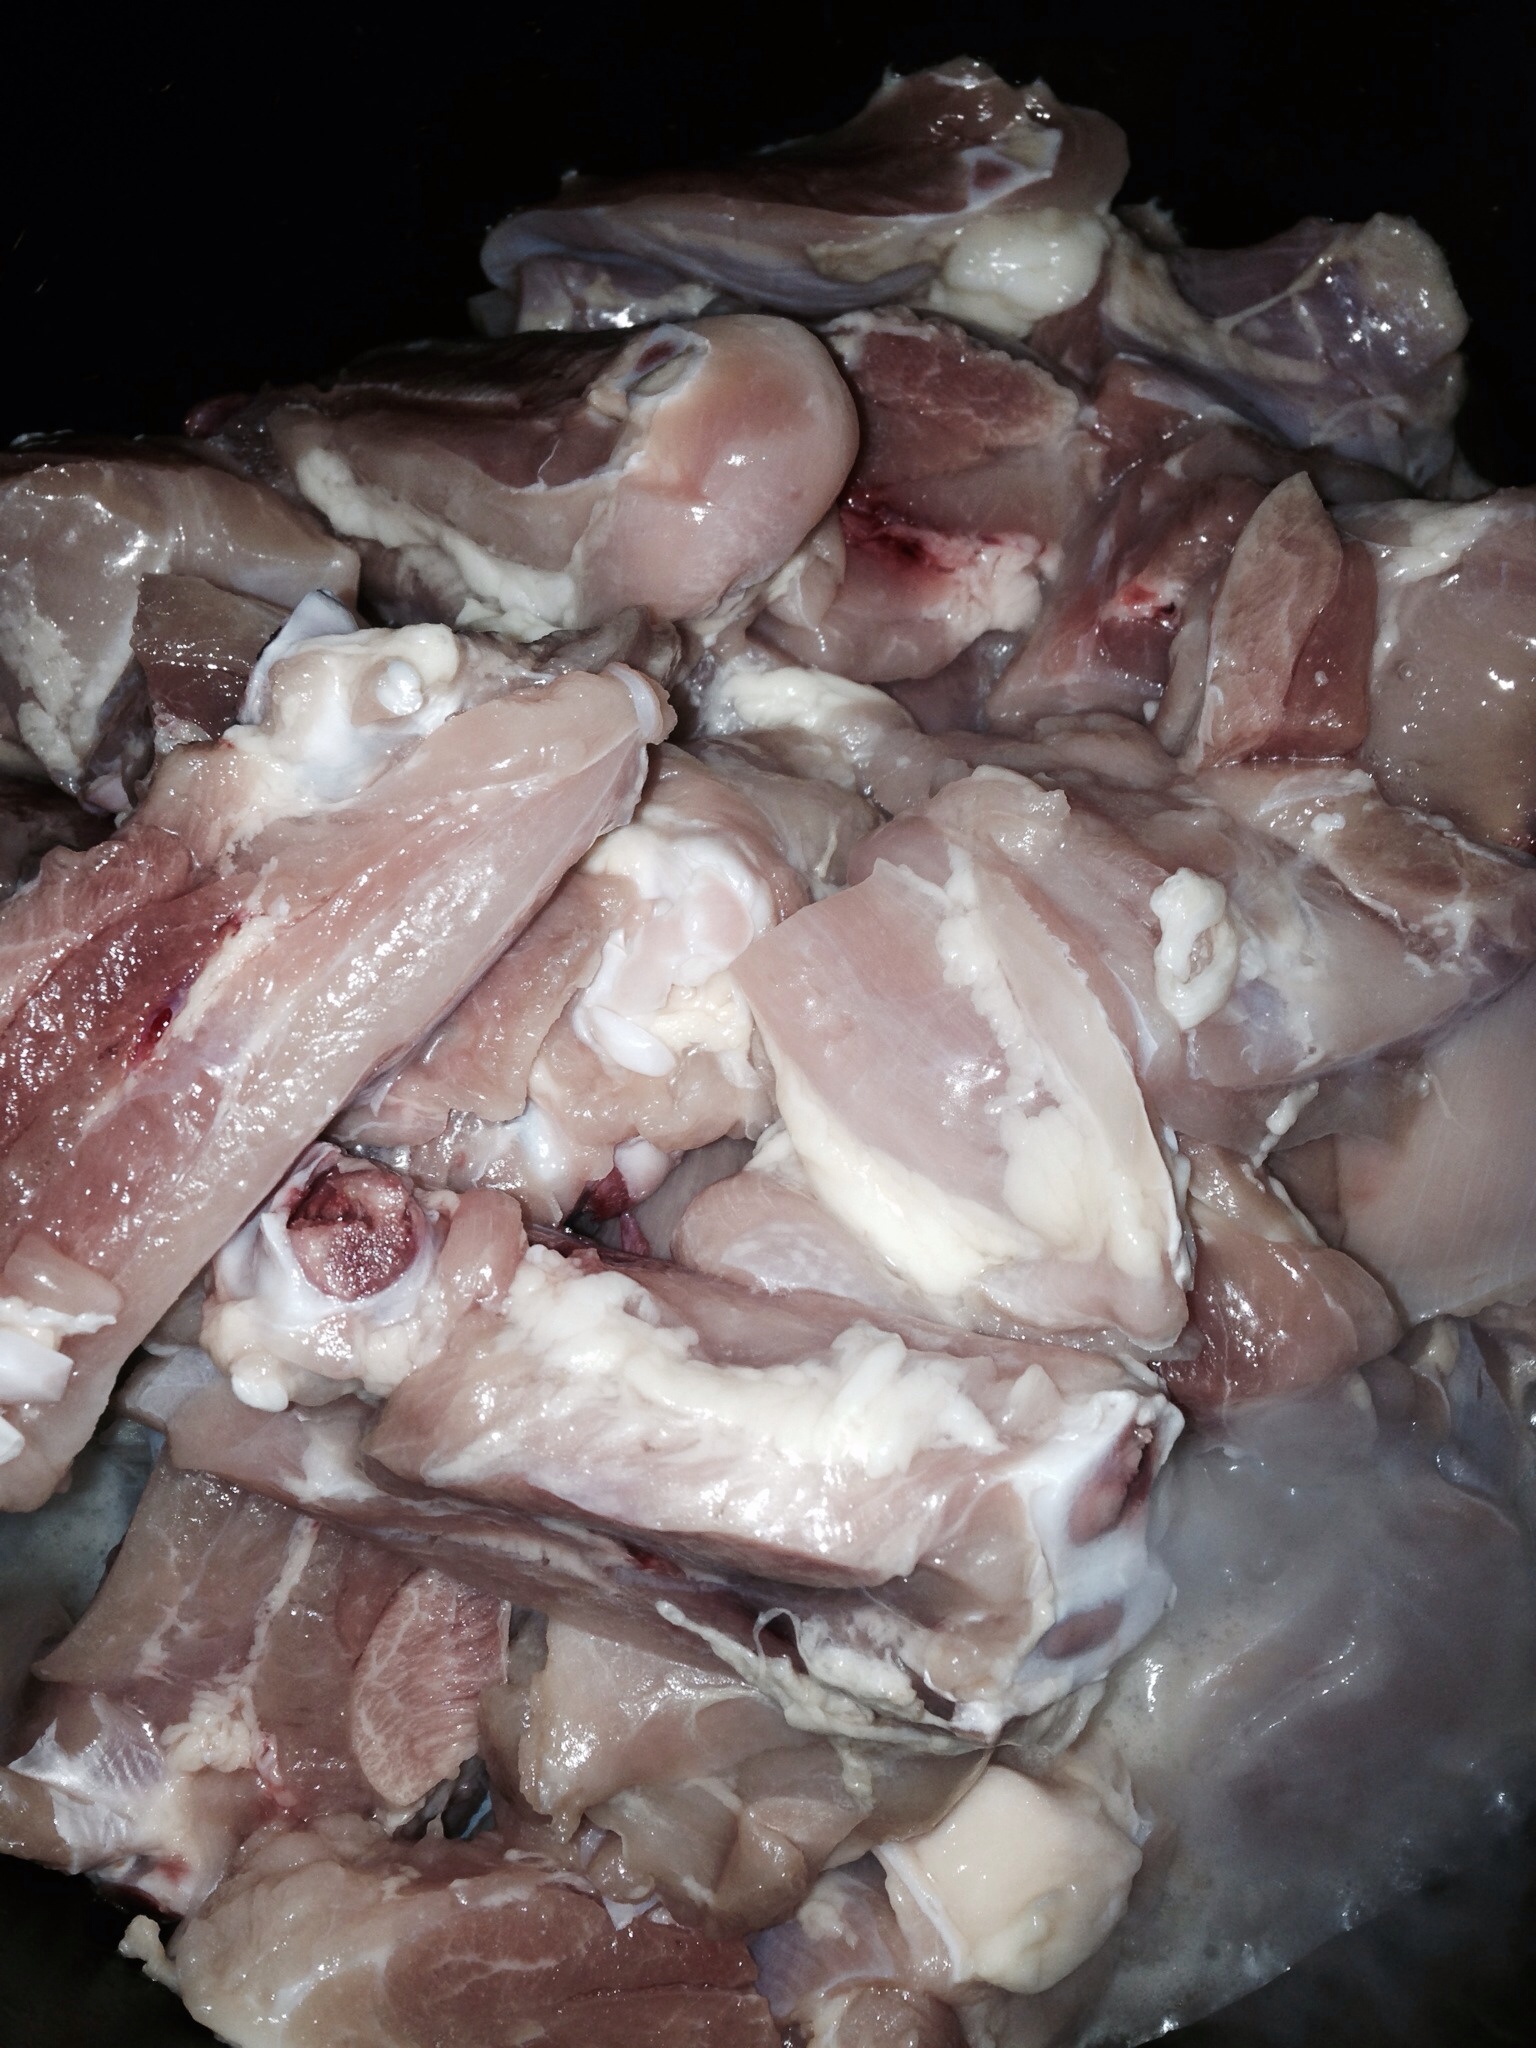
  • 5 pounds chicken pieces
  • 1 large onion, diced
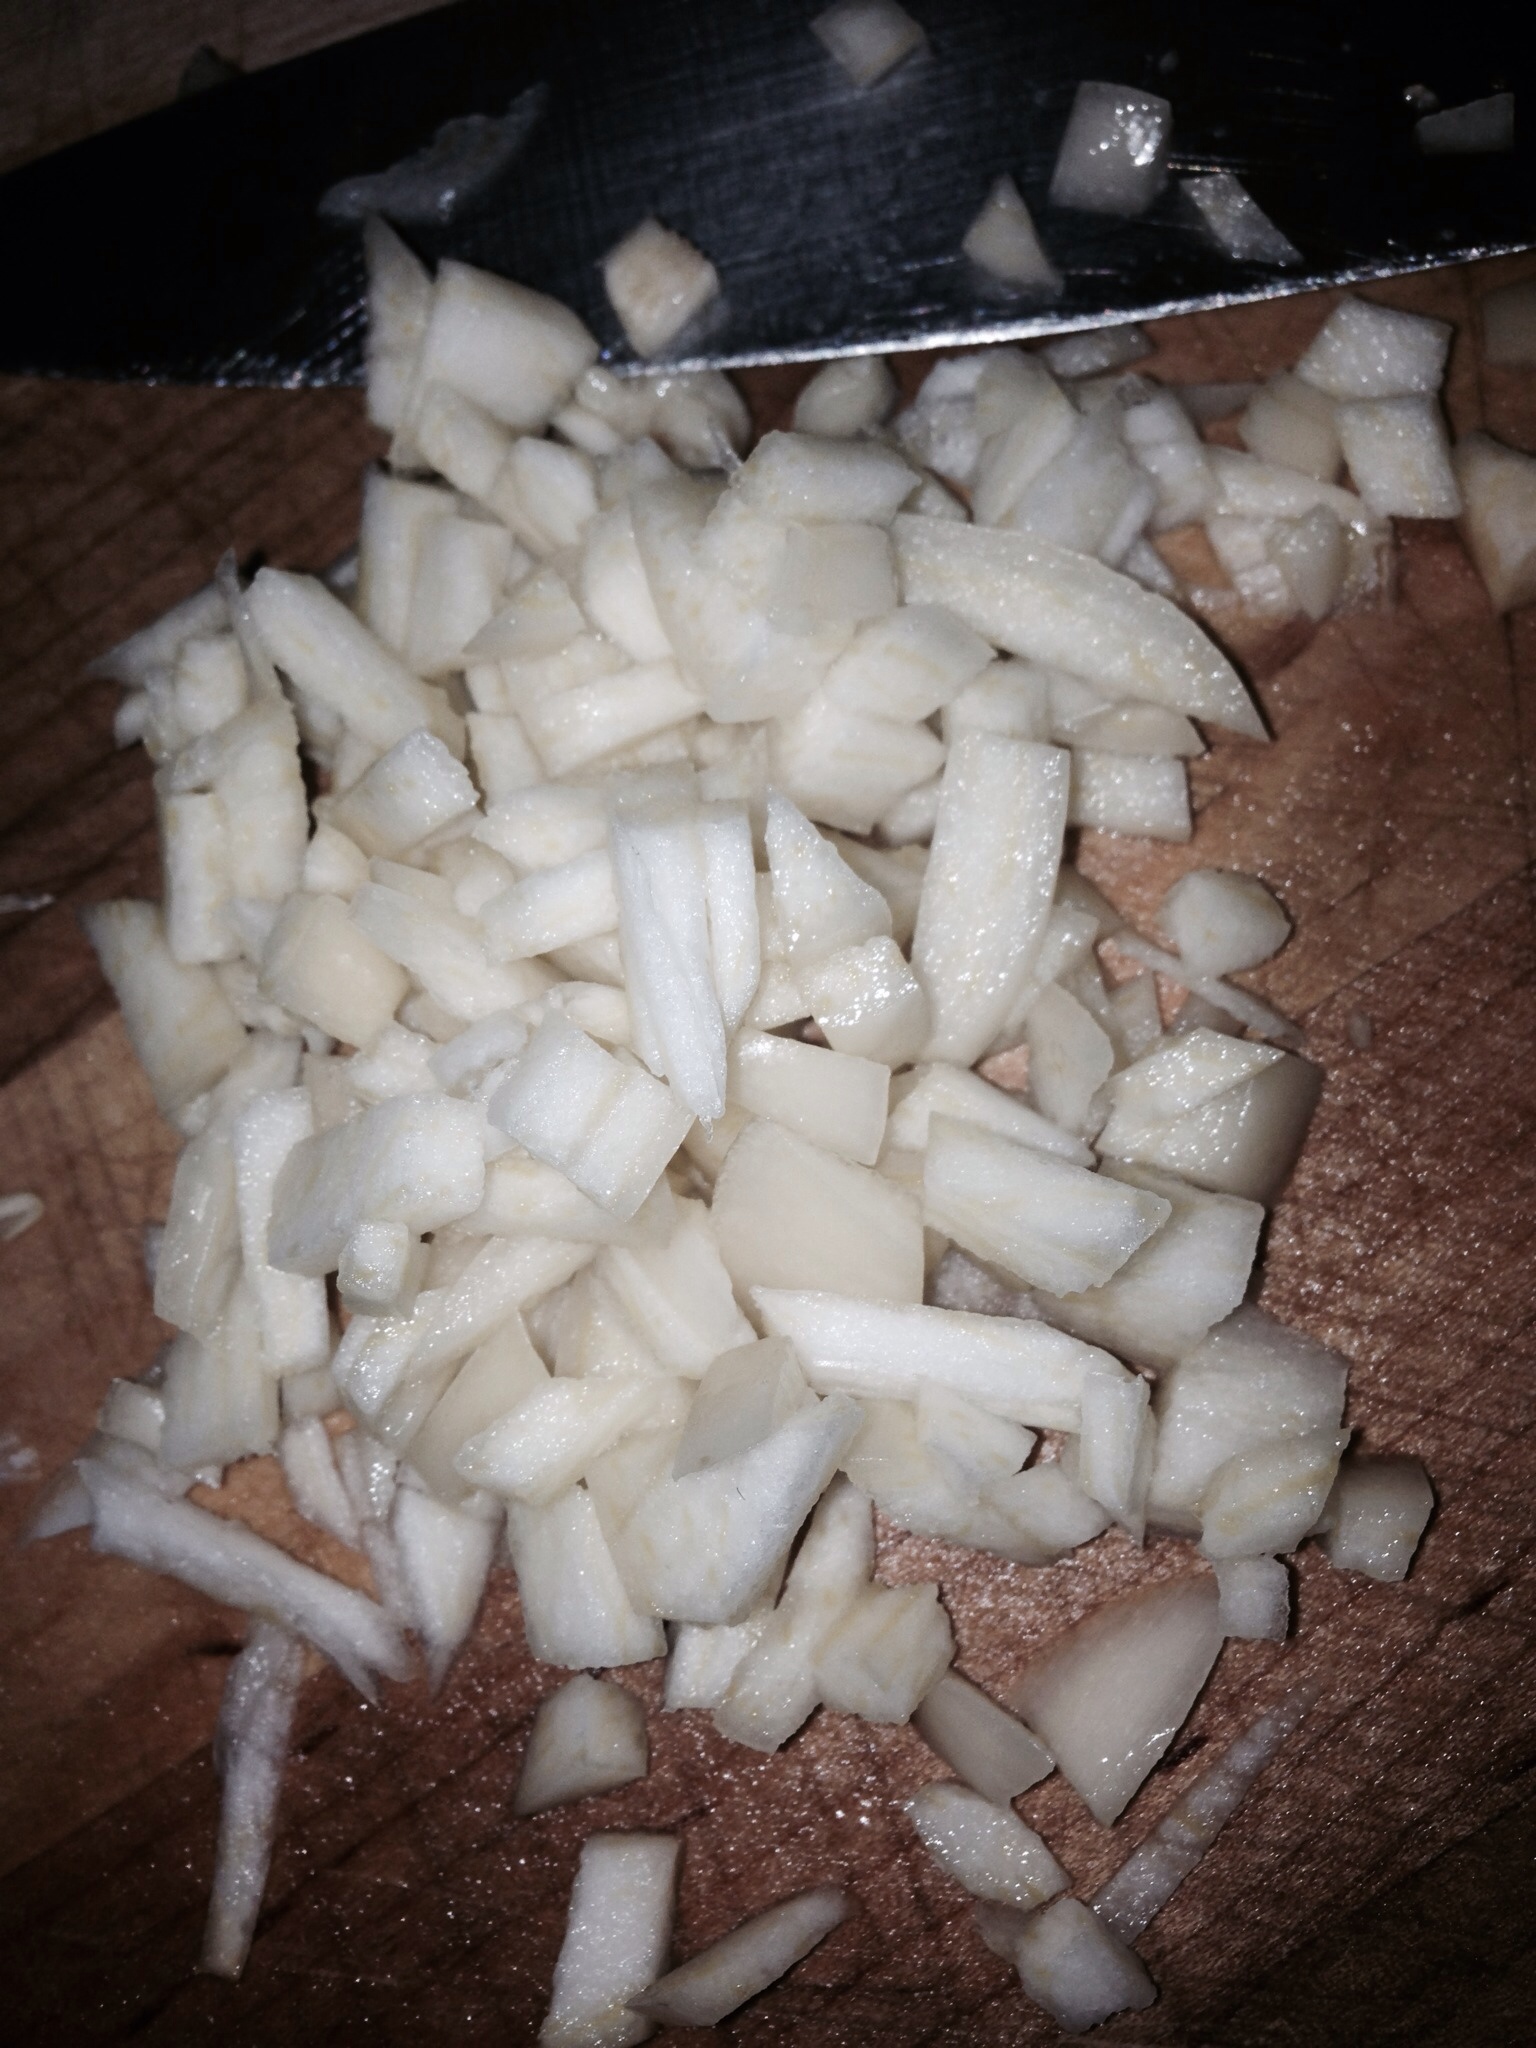
  • LOTS AND LOTS of garlic, as much as you like (or about 1/2 cup chopped garlic)
  • 1/2 cup soy sauce (more or less to taste)
  • 1/4 cup white vinegar
  • 1/2 teaspoon black pepper
  • 2 tablespoons tabasco sauce
  • 8 Thai chili peppers, chopped (more or less to taste)

Directions:

Rinse the chicken pieces; cut into smaller pieces if desired. Place the chicken in a large soup pot over medium heat. Add the onions and garlic. Cook for 5-10 minutes or until the chicken is slightly browned.

Add the rest of the ingredients to the pot. Turn the heat down to medium-low. Simmer for about 30 minutes or until the chicken is cooked through.

Taste, then adjust the seasonings (soy sauce, hot peppers) to taste.

Serve with hot white rice and ENJOY!


Fried Rice with Spam, Bacon and Chorizos Españot

My daughter calls this Meat Lover’s Fried rice, maybe because there is a ton of meat in it. And yes, Spam is meat, so don’t be a hater. 🙂

Despite all of the spam, bacon, and chorizos in this recipe, there are ways you can cut back on the fat content. Use Spam Lite (less fat and sodium) instead of regular spam, and pre-cook the bacon and chorizo to melt out much of the fat.

Give my recipe a try. I think you’ll like it. 🙂

Fried Rice with Spam, Bacon and Chorizos Españot

Ingredients:

  • 5 large eggs
  • 4 links Chorizos Españot (or use your favorite sausage)
  • 1 package bacon
  • 1 can Spam (use Lite Spam to cut down on fat and sodium)
  • 1 small onion, diced
  • 1 tablespoon minced garlic
  • 1 teaspoon Dashida seasoning (more or less, to taste)
  • 1/2 teaspoon black pepper
  • 6 cups cooked rice
  • 1 bunch (about 5 stalks) green onions, thinly sliced

Directions:

1. Heat a wok over medium heat. If you don’t have a non-stick wok, spray cooking spray to coat the wok. Crack the eggs into the heated wok. Use a large cooking spoon to stir the eggs, scrambling them. As the eggs cook, use the spoon to break the eggs up into small pieces. Remove the cooked eggs from the wok; set aside.

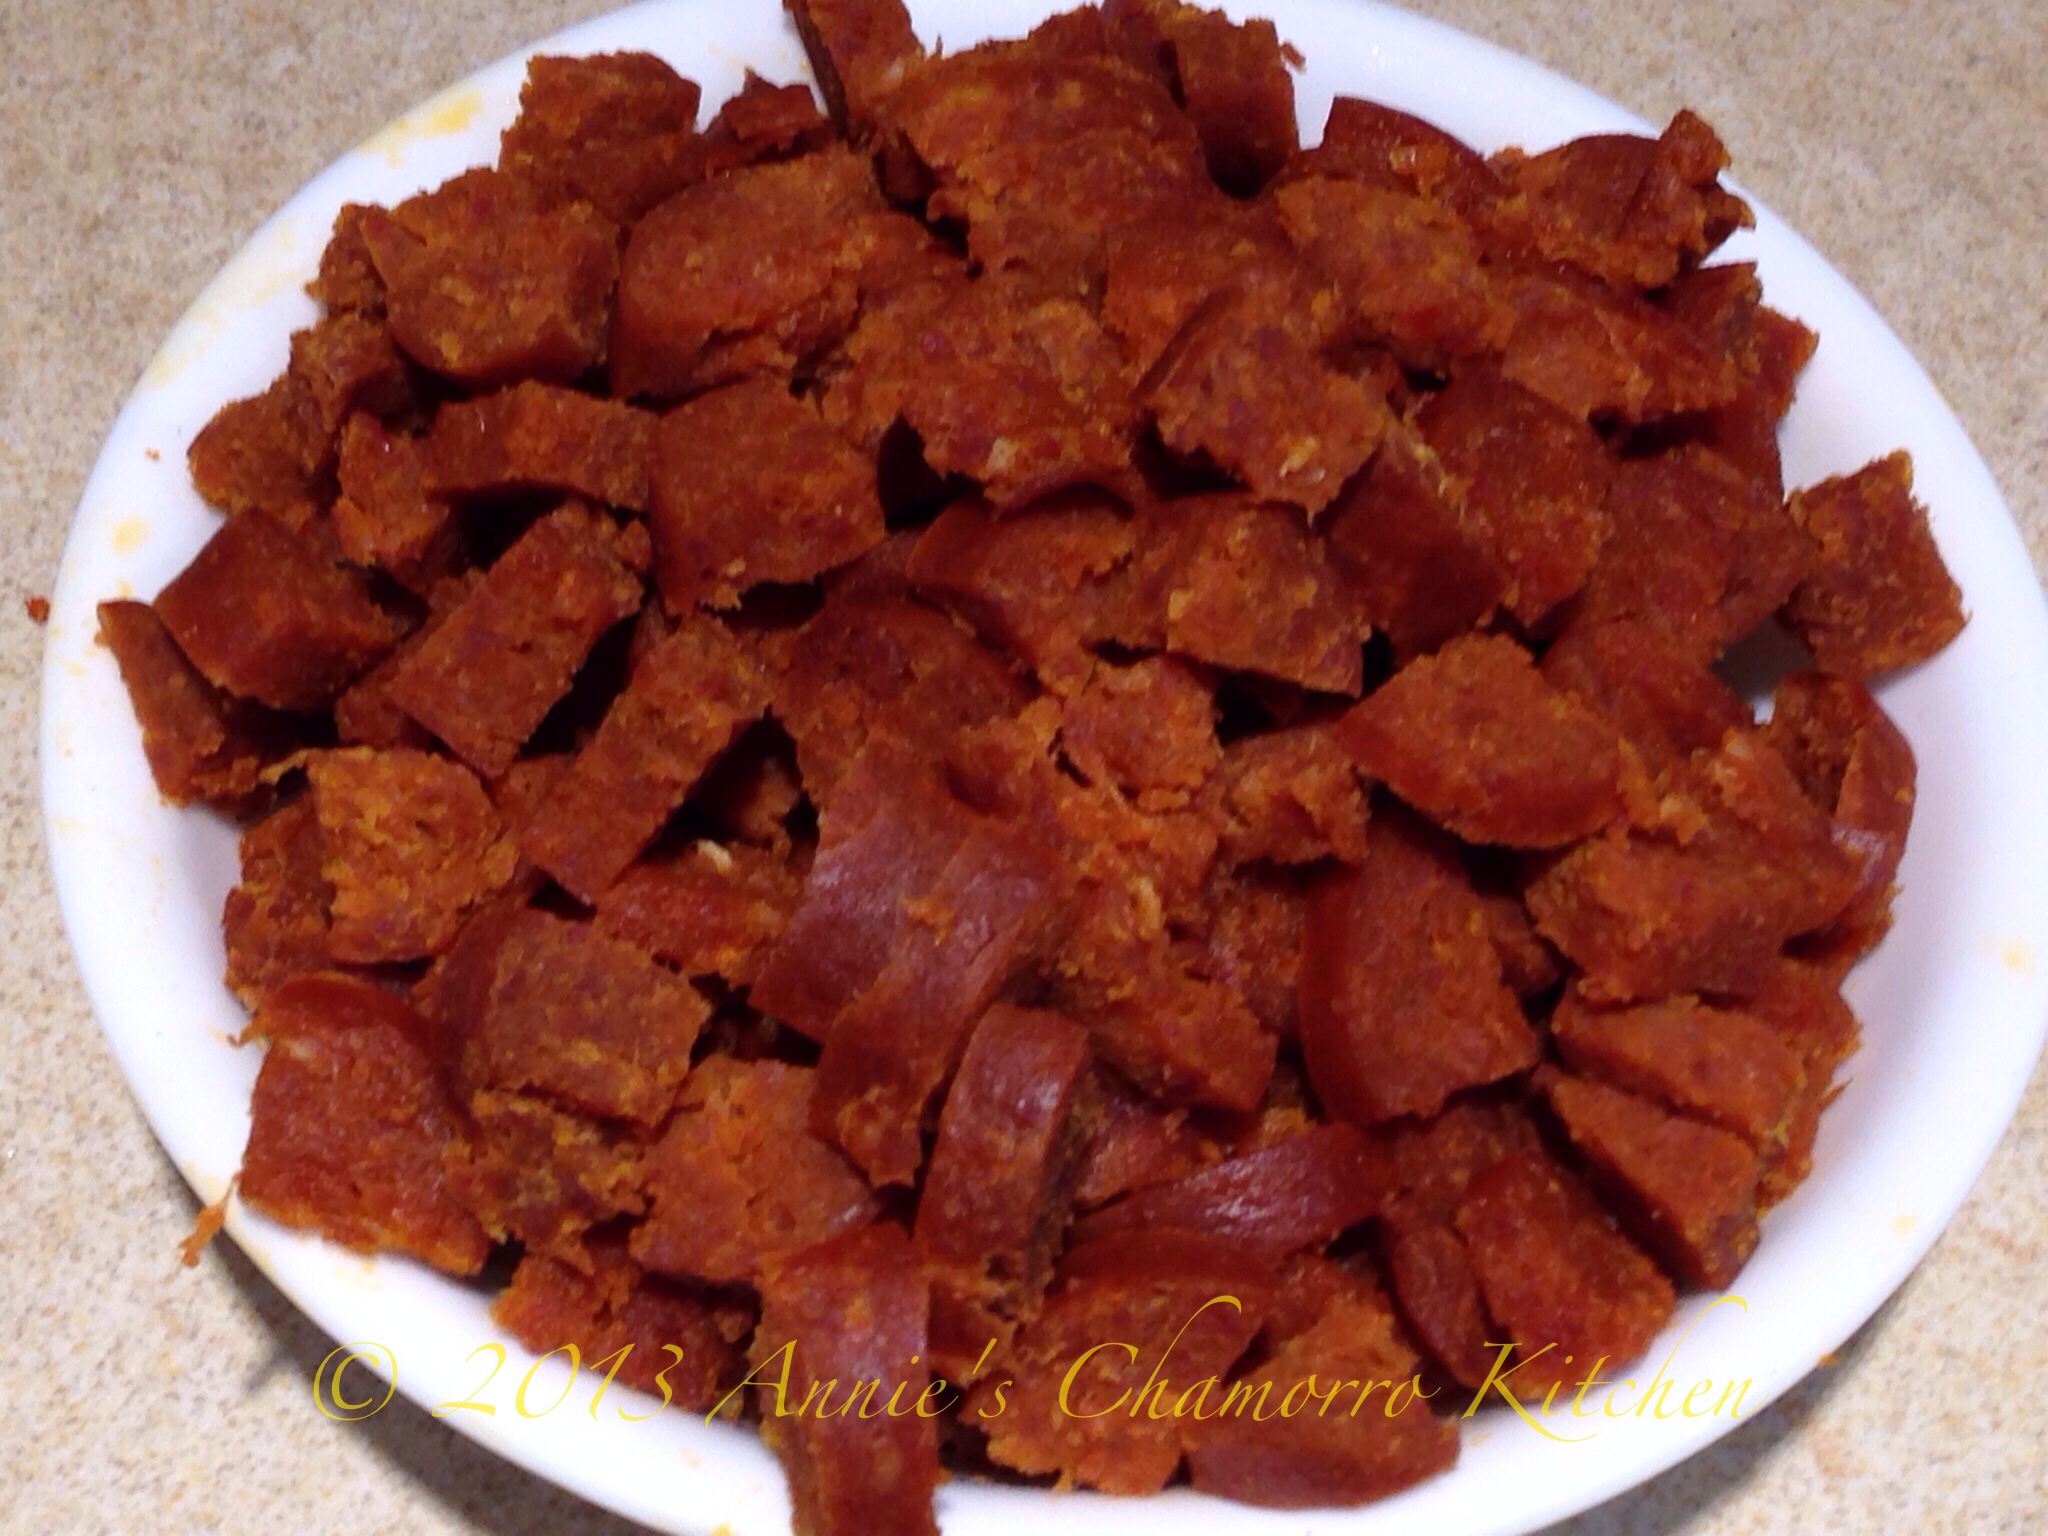
2. Prepare the Chorizos Españot. This is how I get rid of a lot of the fat in these delicious sausages. Cut the sausage links in half lengthwise. Peel the outer casing off. Place the links, cut-side down, on a paper towel-lined plate. Microwave the sausages for about a minute. These before and after photos show how much fat melts away when you heat them up.

After the sausages cooled off for a bit, hold each sausage half in between a paper towel and give it a good squeeze. This gets out a whole lot more of the thick orange fatty stuff. Cut the sausages into small pieces and set aside.

For those of you who may not know what Chorizos Españot is, it’s a type of dried sausage–sort of like pepperoni. The brand is Marca El Rey. Here’s a photo of the packaging — Chamorros can spot the telltale green bag with a picture of a king on the front from a mile away!

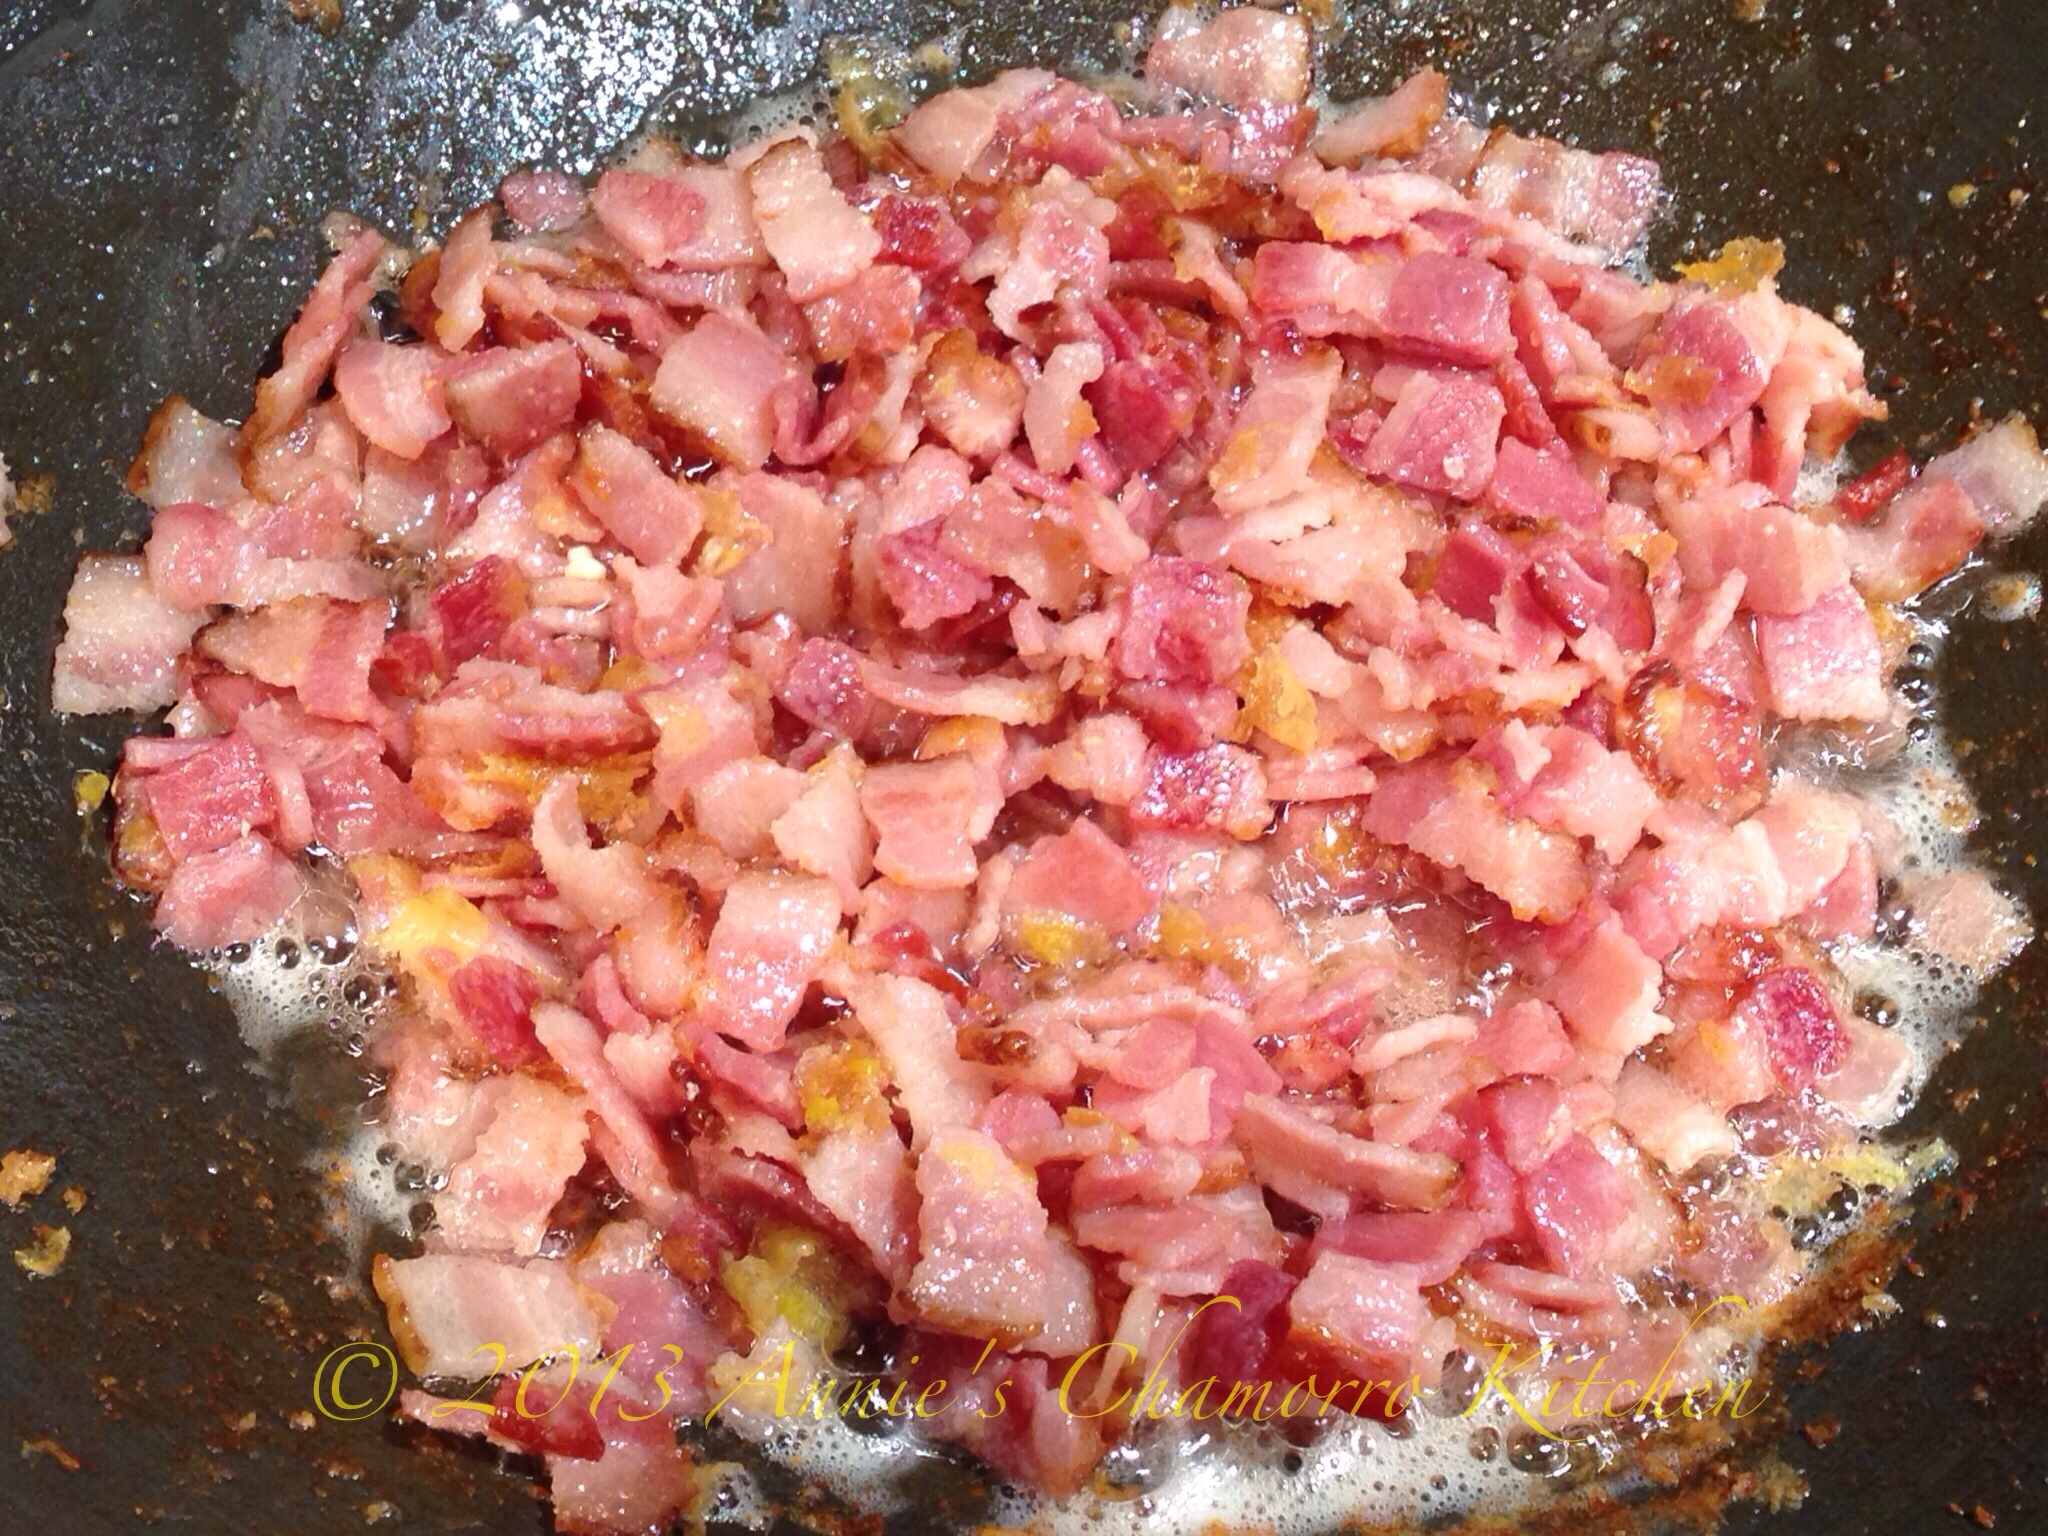
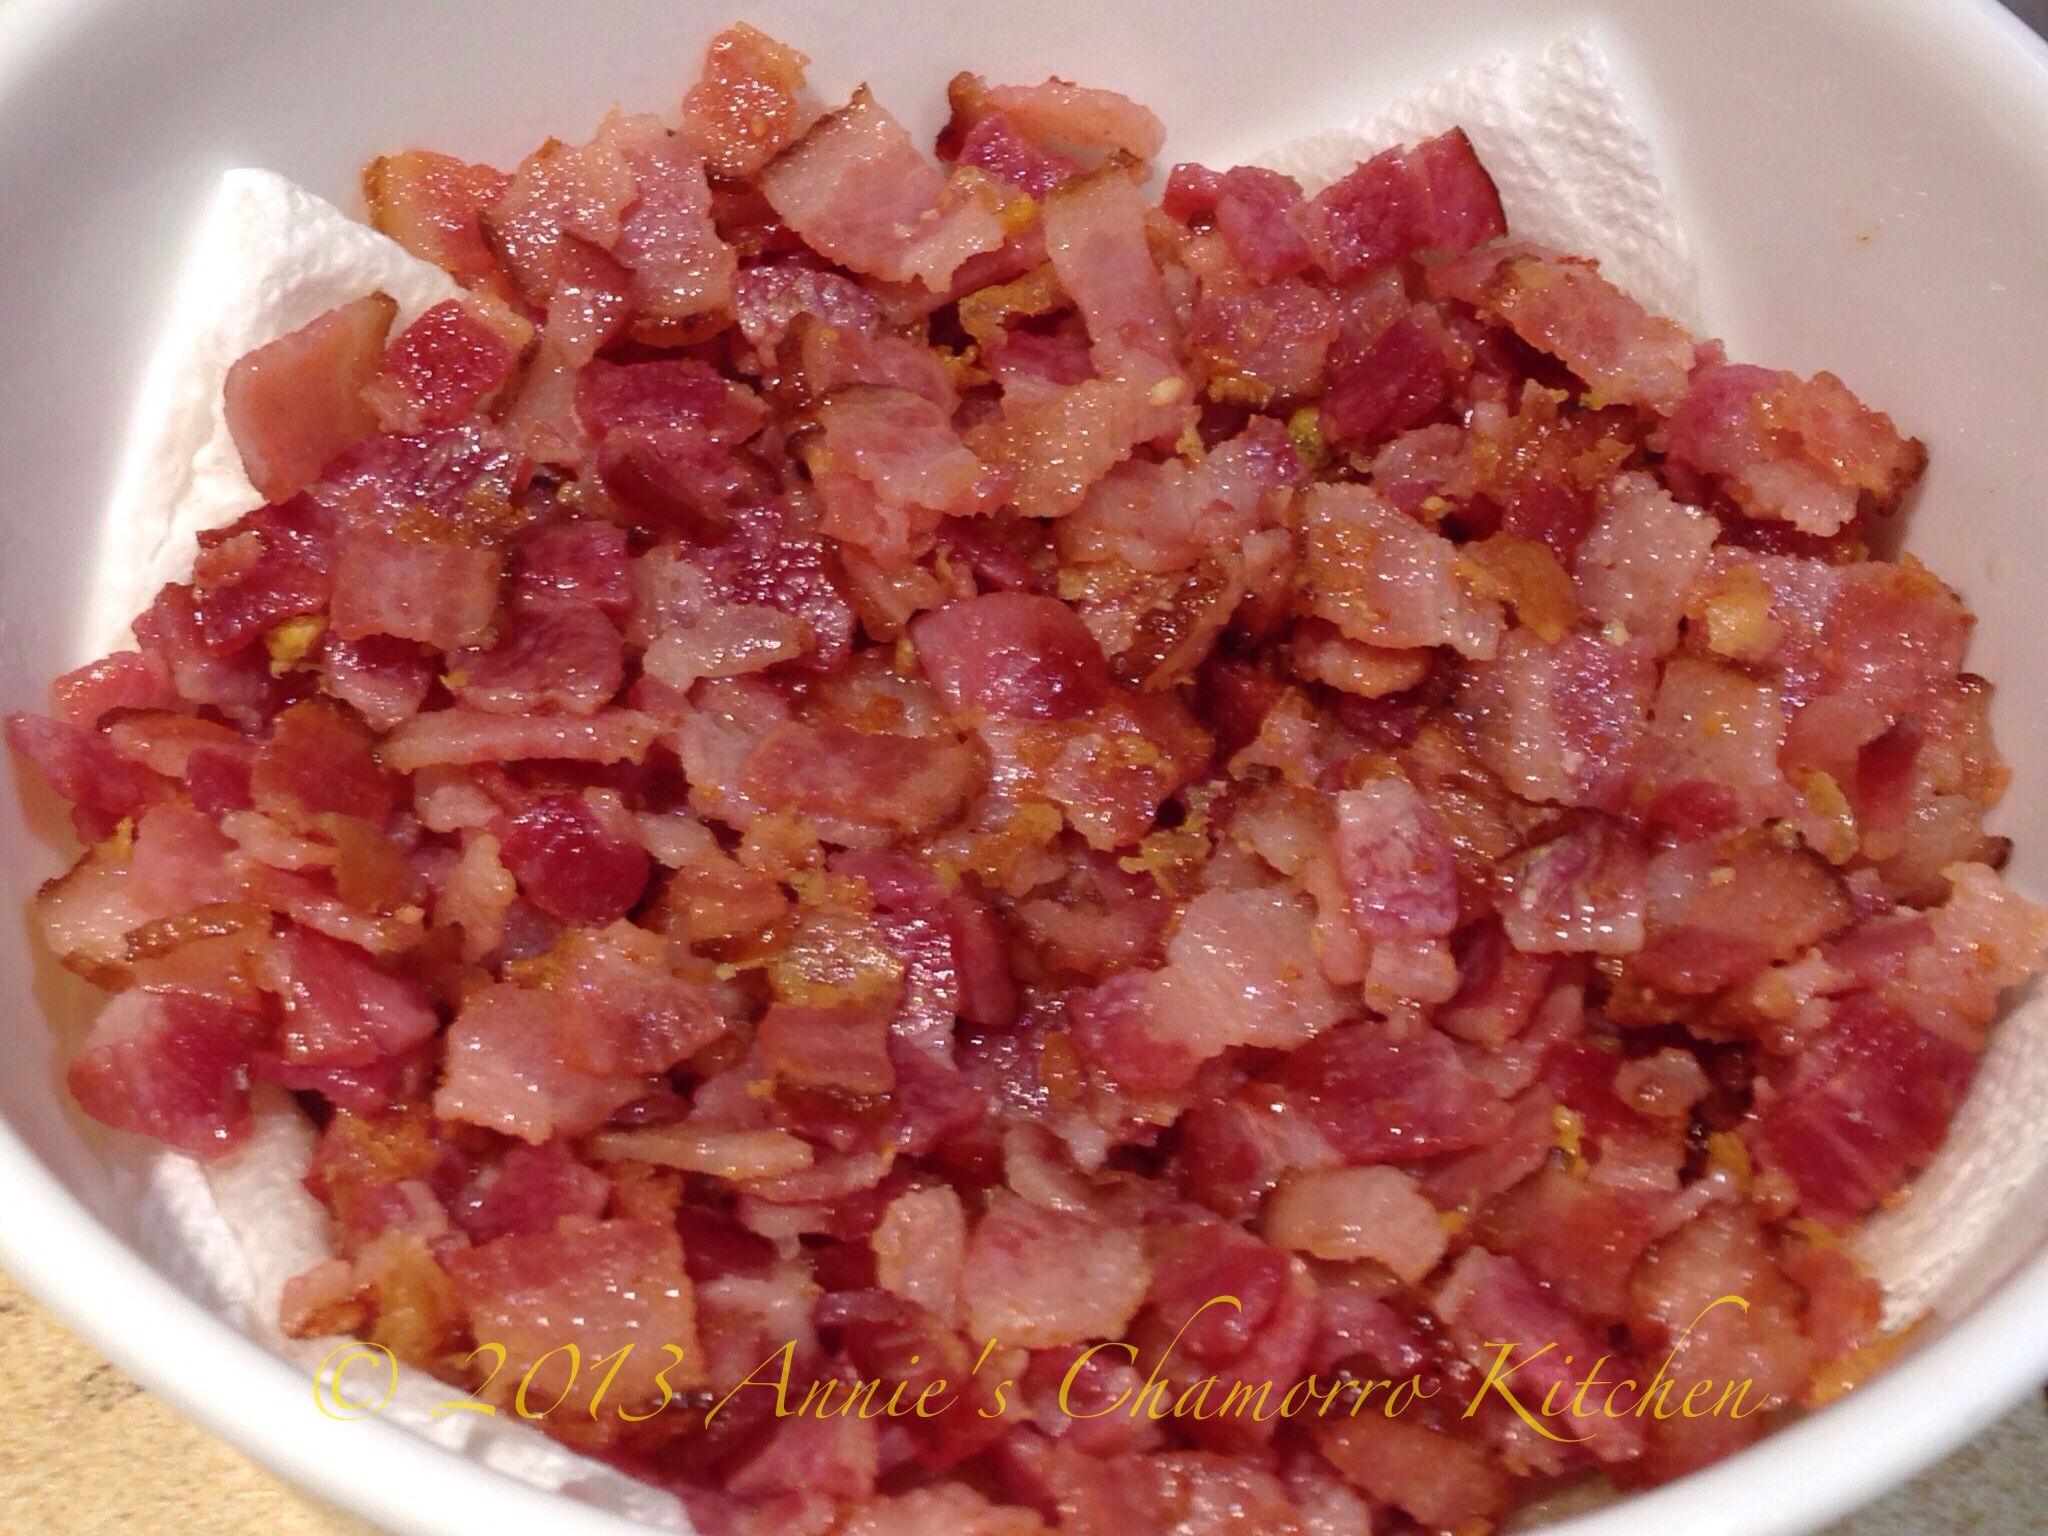
3. Cut the bacon into small pieces then place in the hot wok. Cook the bacon until it’s as crisp as you like it and most of the fat has melted off. Drain as much of the fat from the wok as you can. When the bacon is done, remove from the wok and place into a bowl lined with paper towels to soak up any remaining hot melted fat.

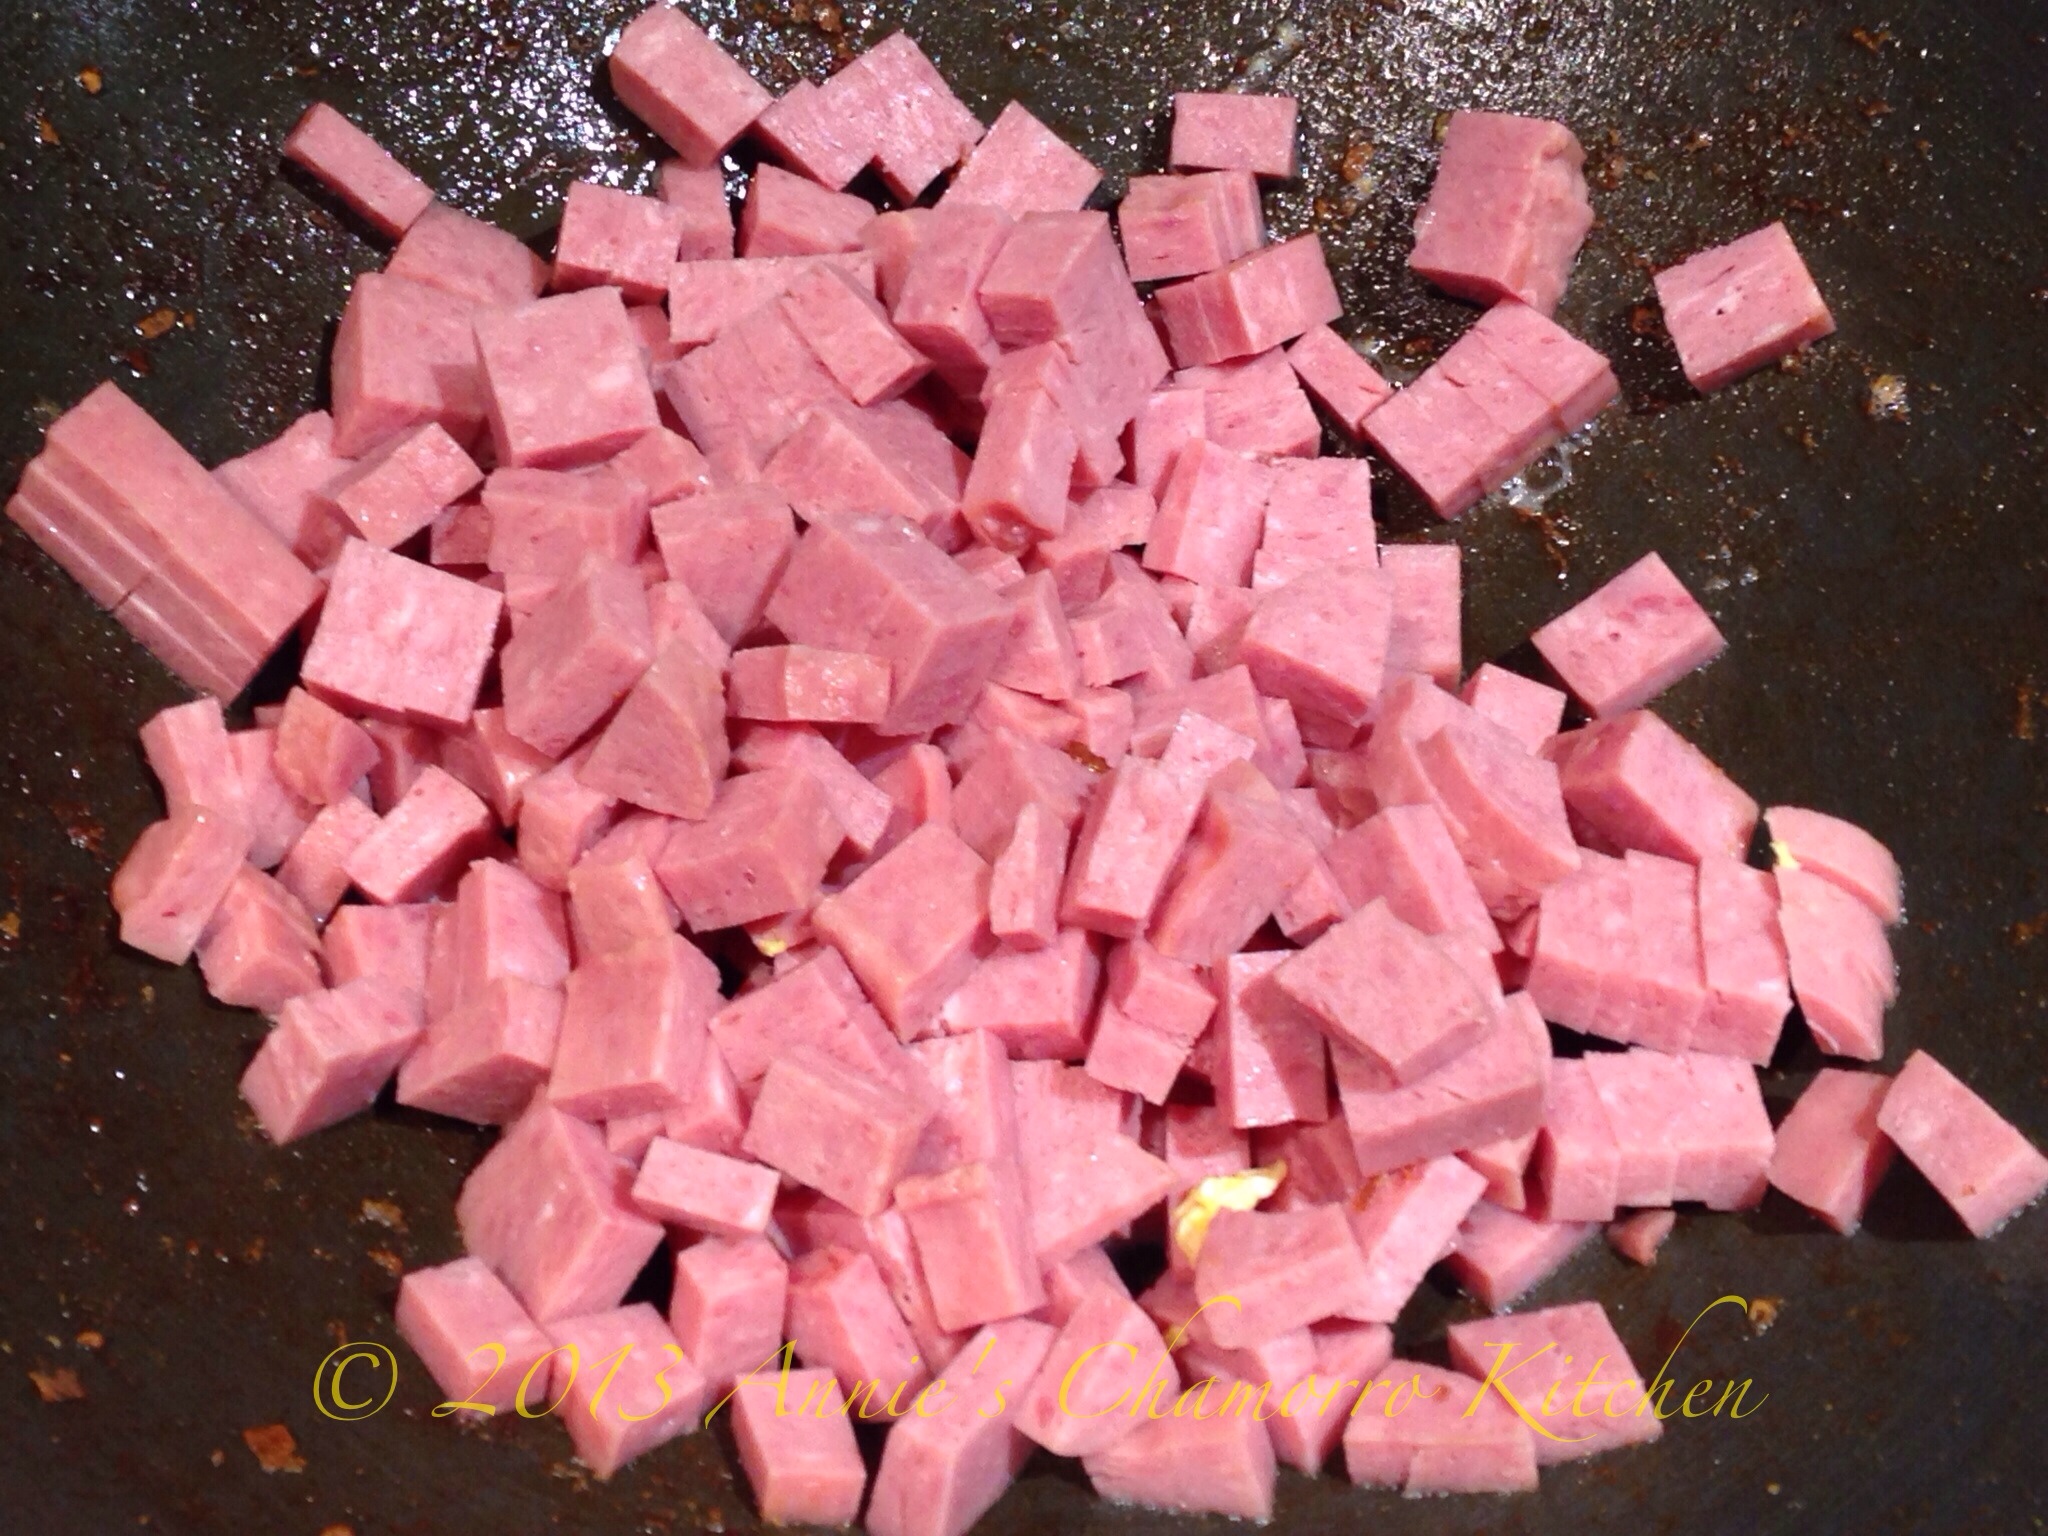
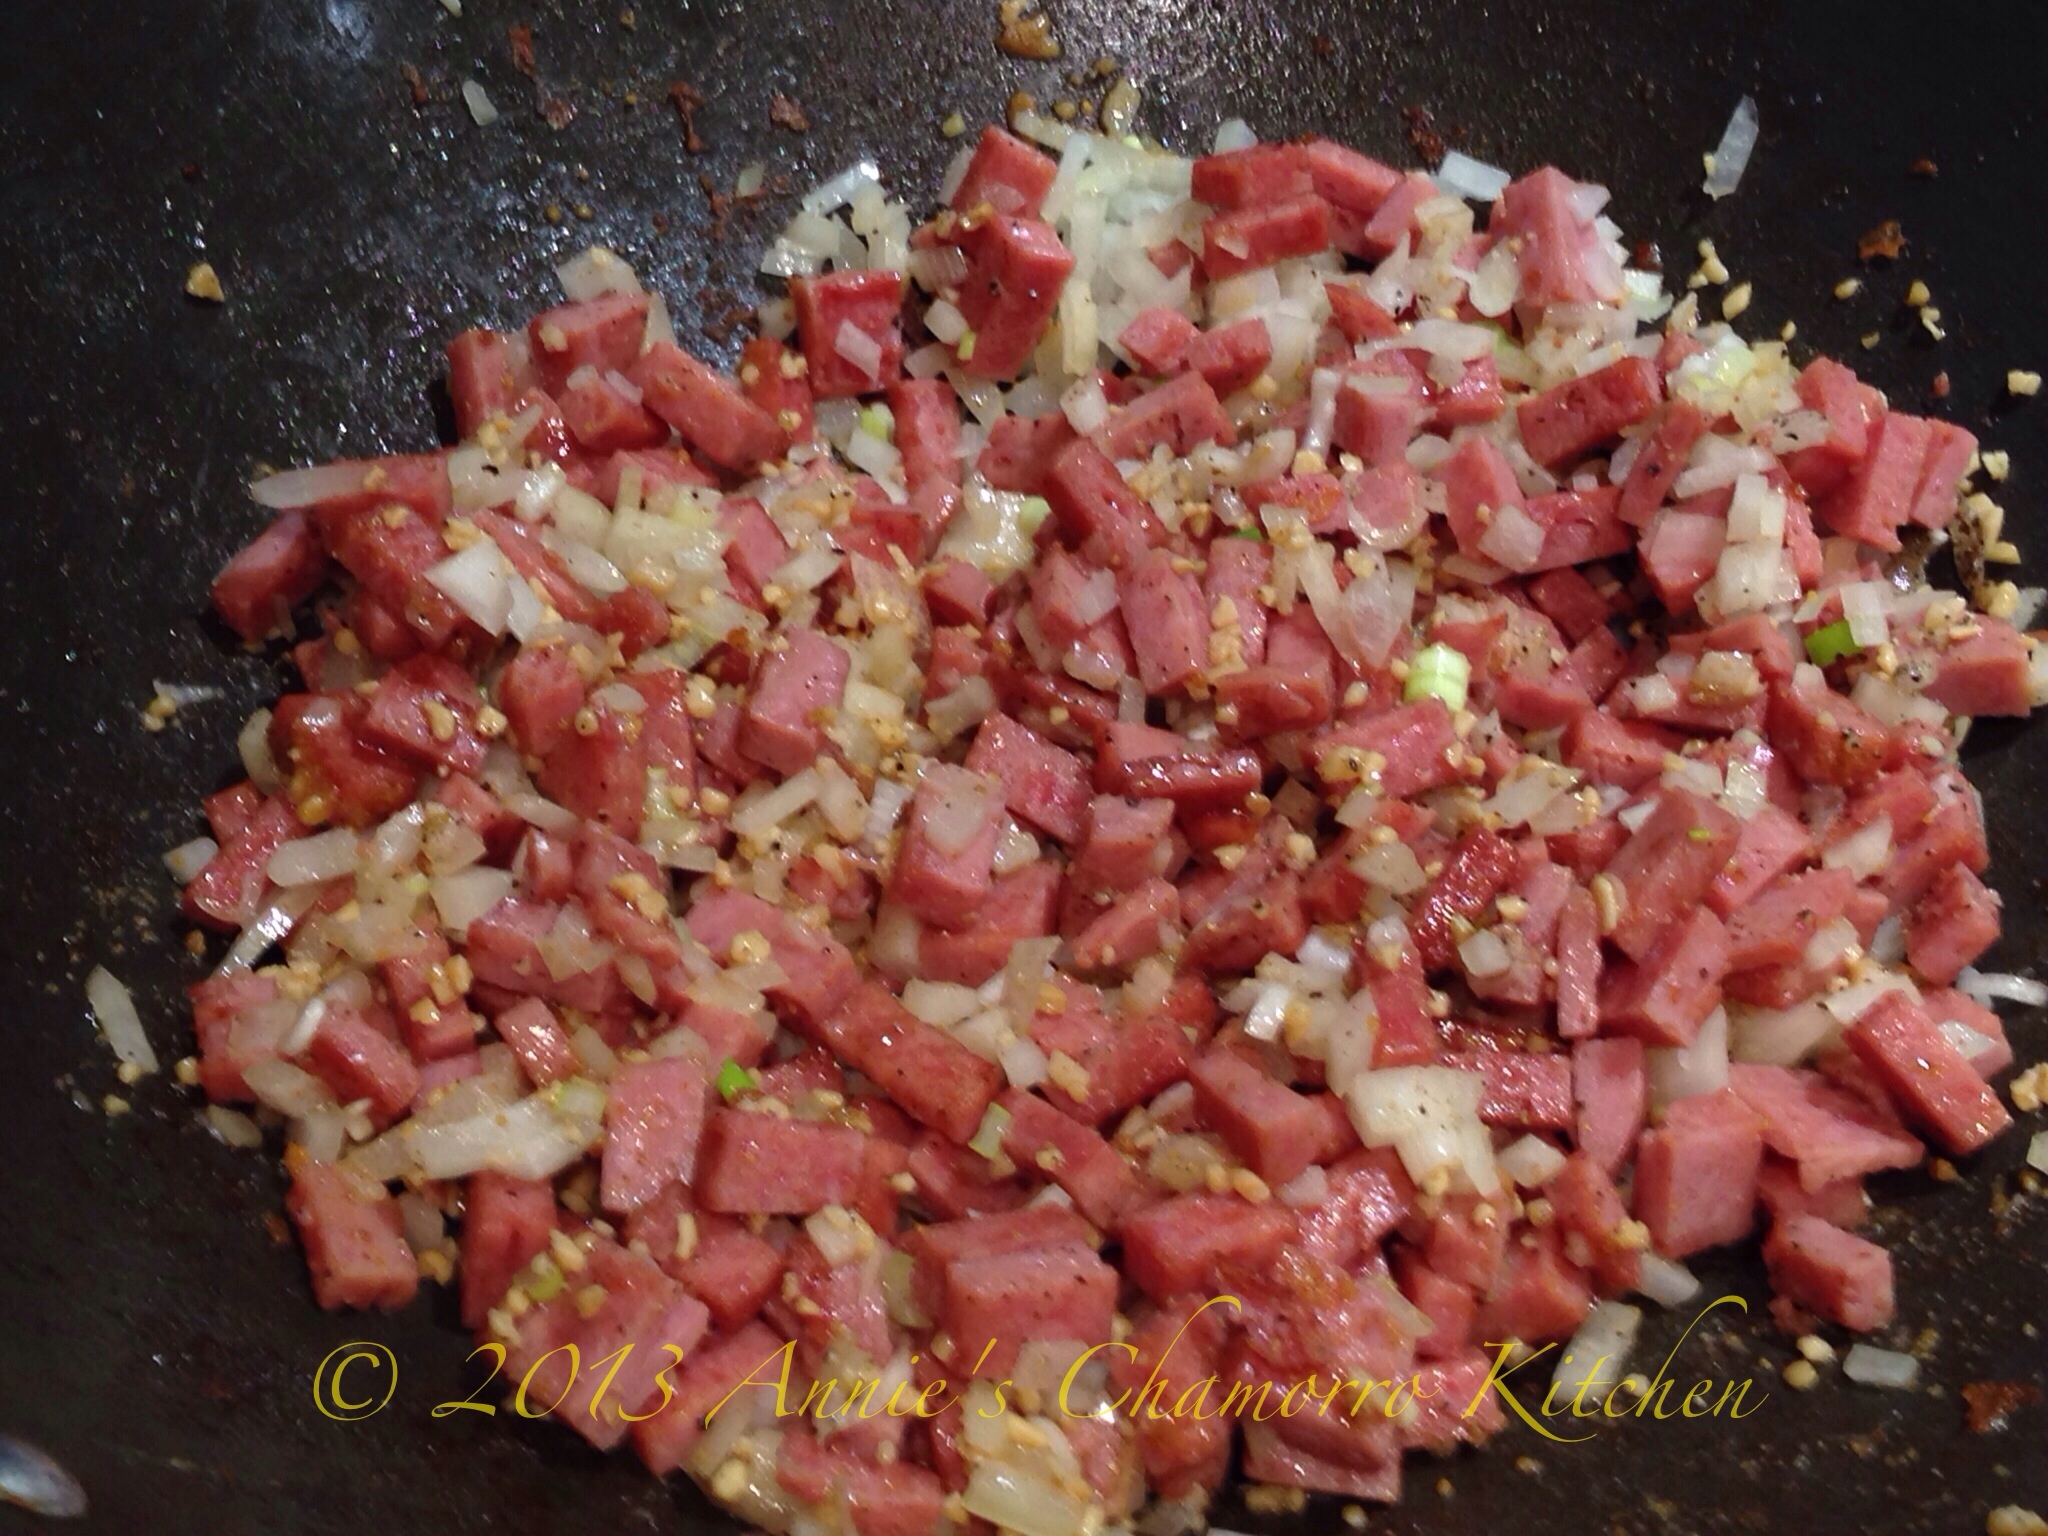
4. Add the spam to the wok. Cook for a few minutes, just long enough for the spam to begin to brown slightly.

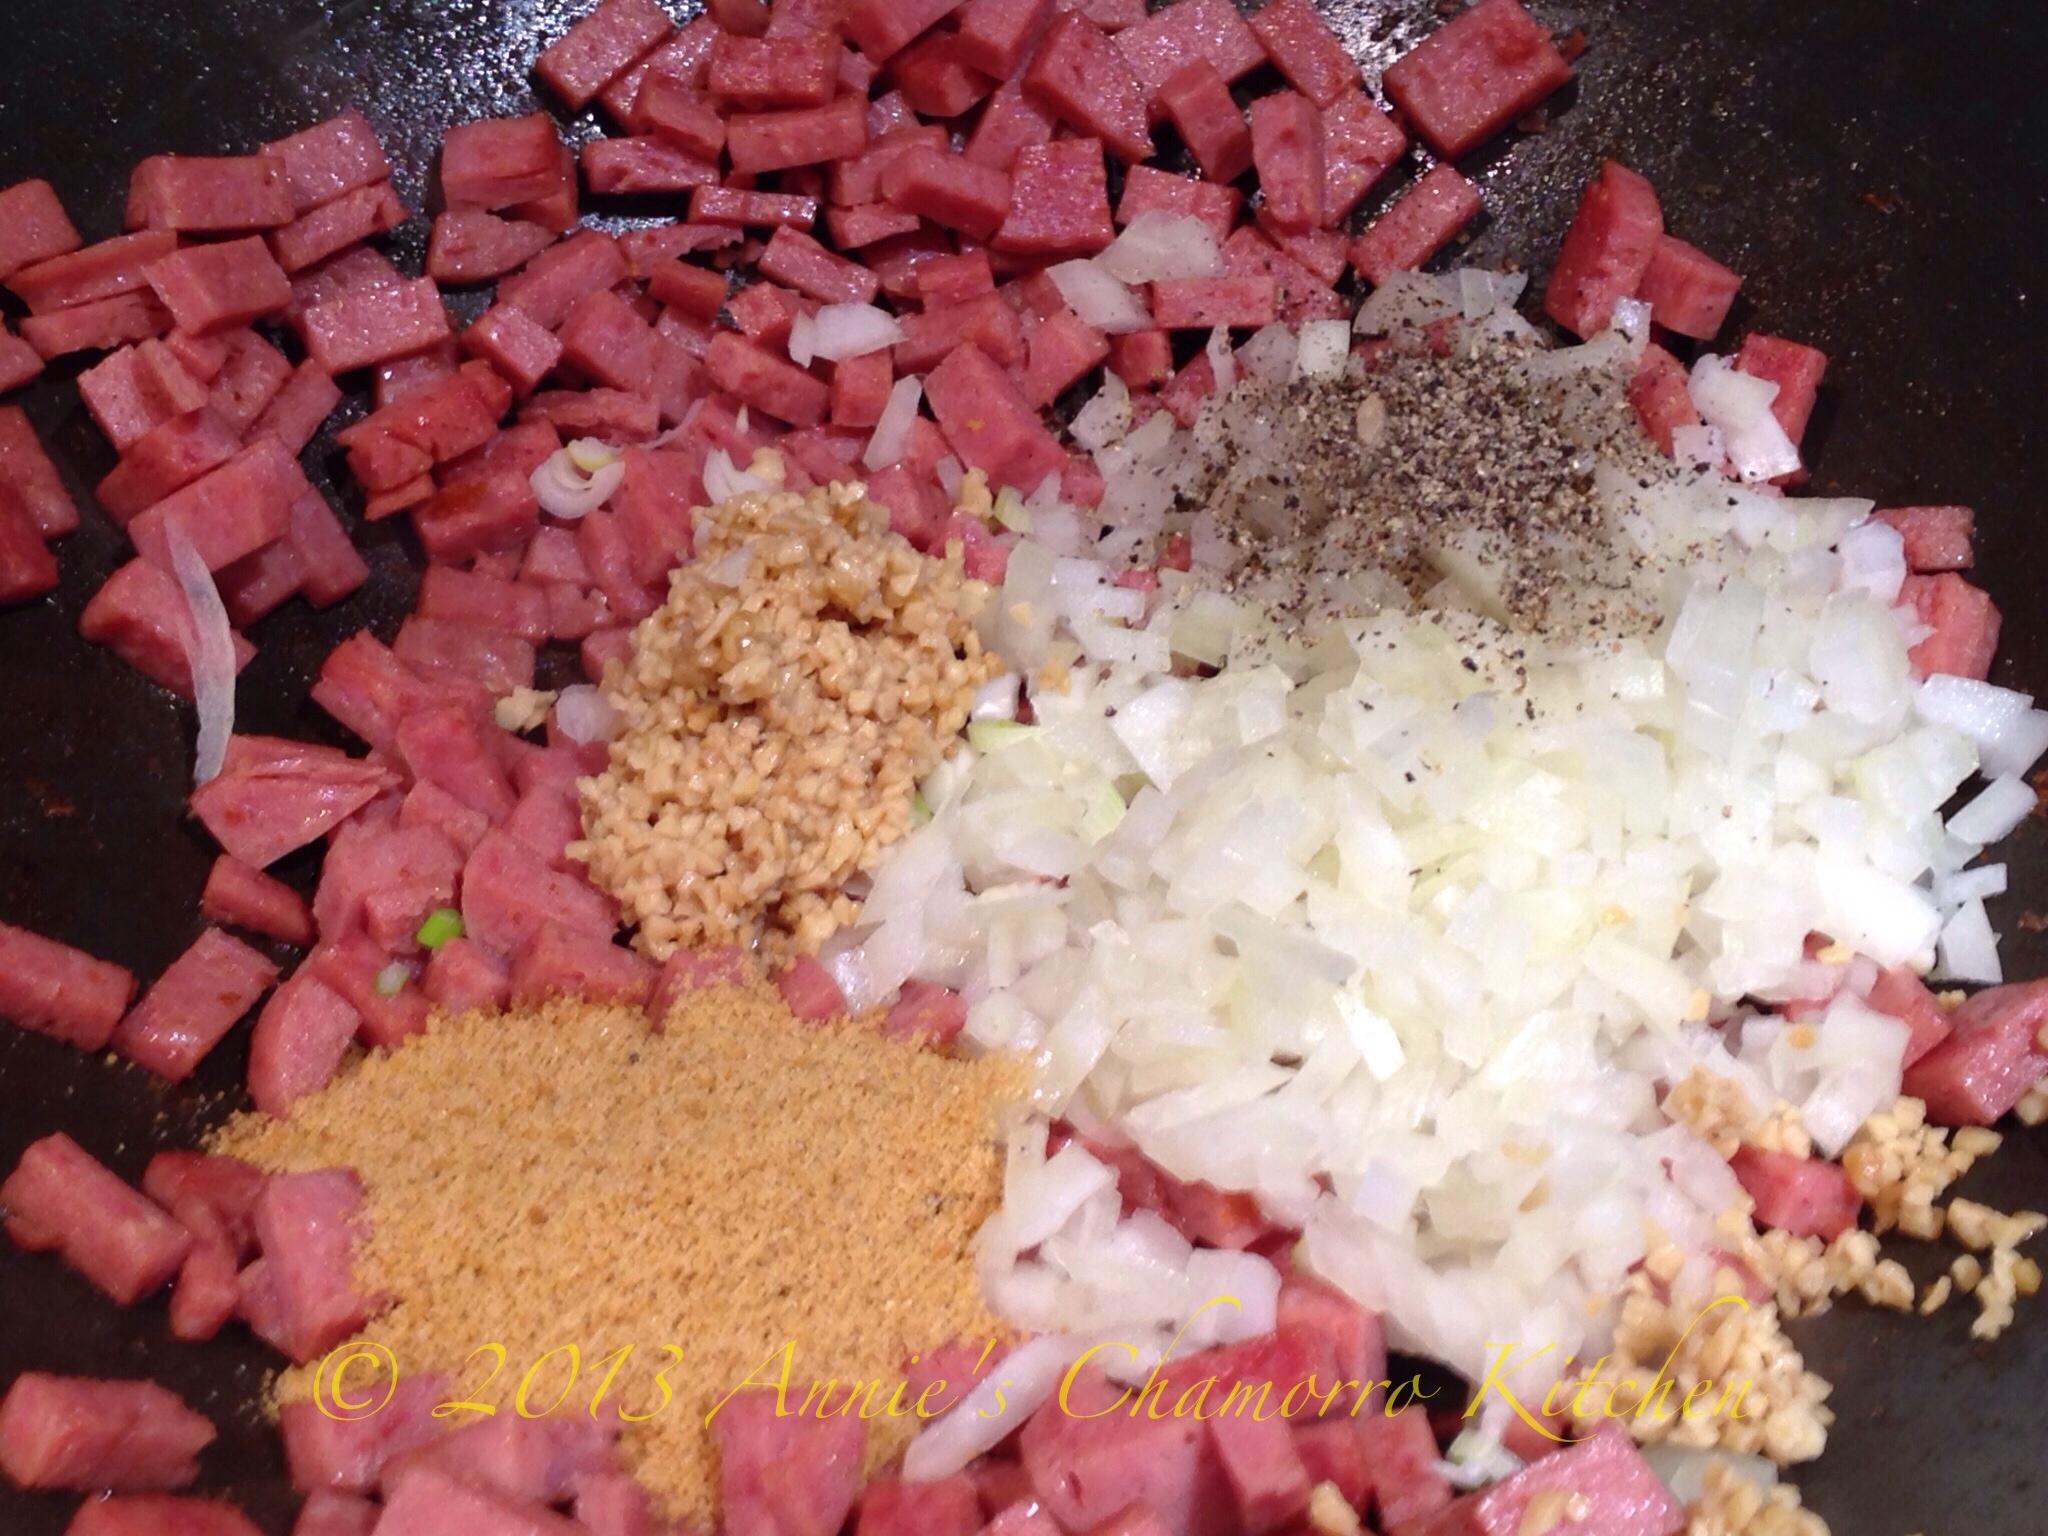
5. After the spam has browned, add the diced onions, garlic, dashida, and black pepper to the pot. Stir to combine. Cook for a couple of minutes.

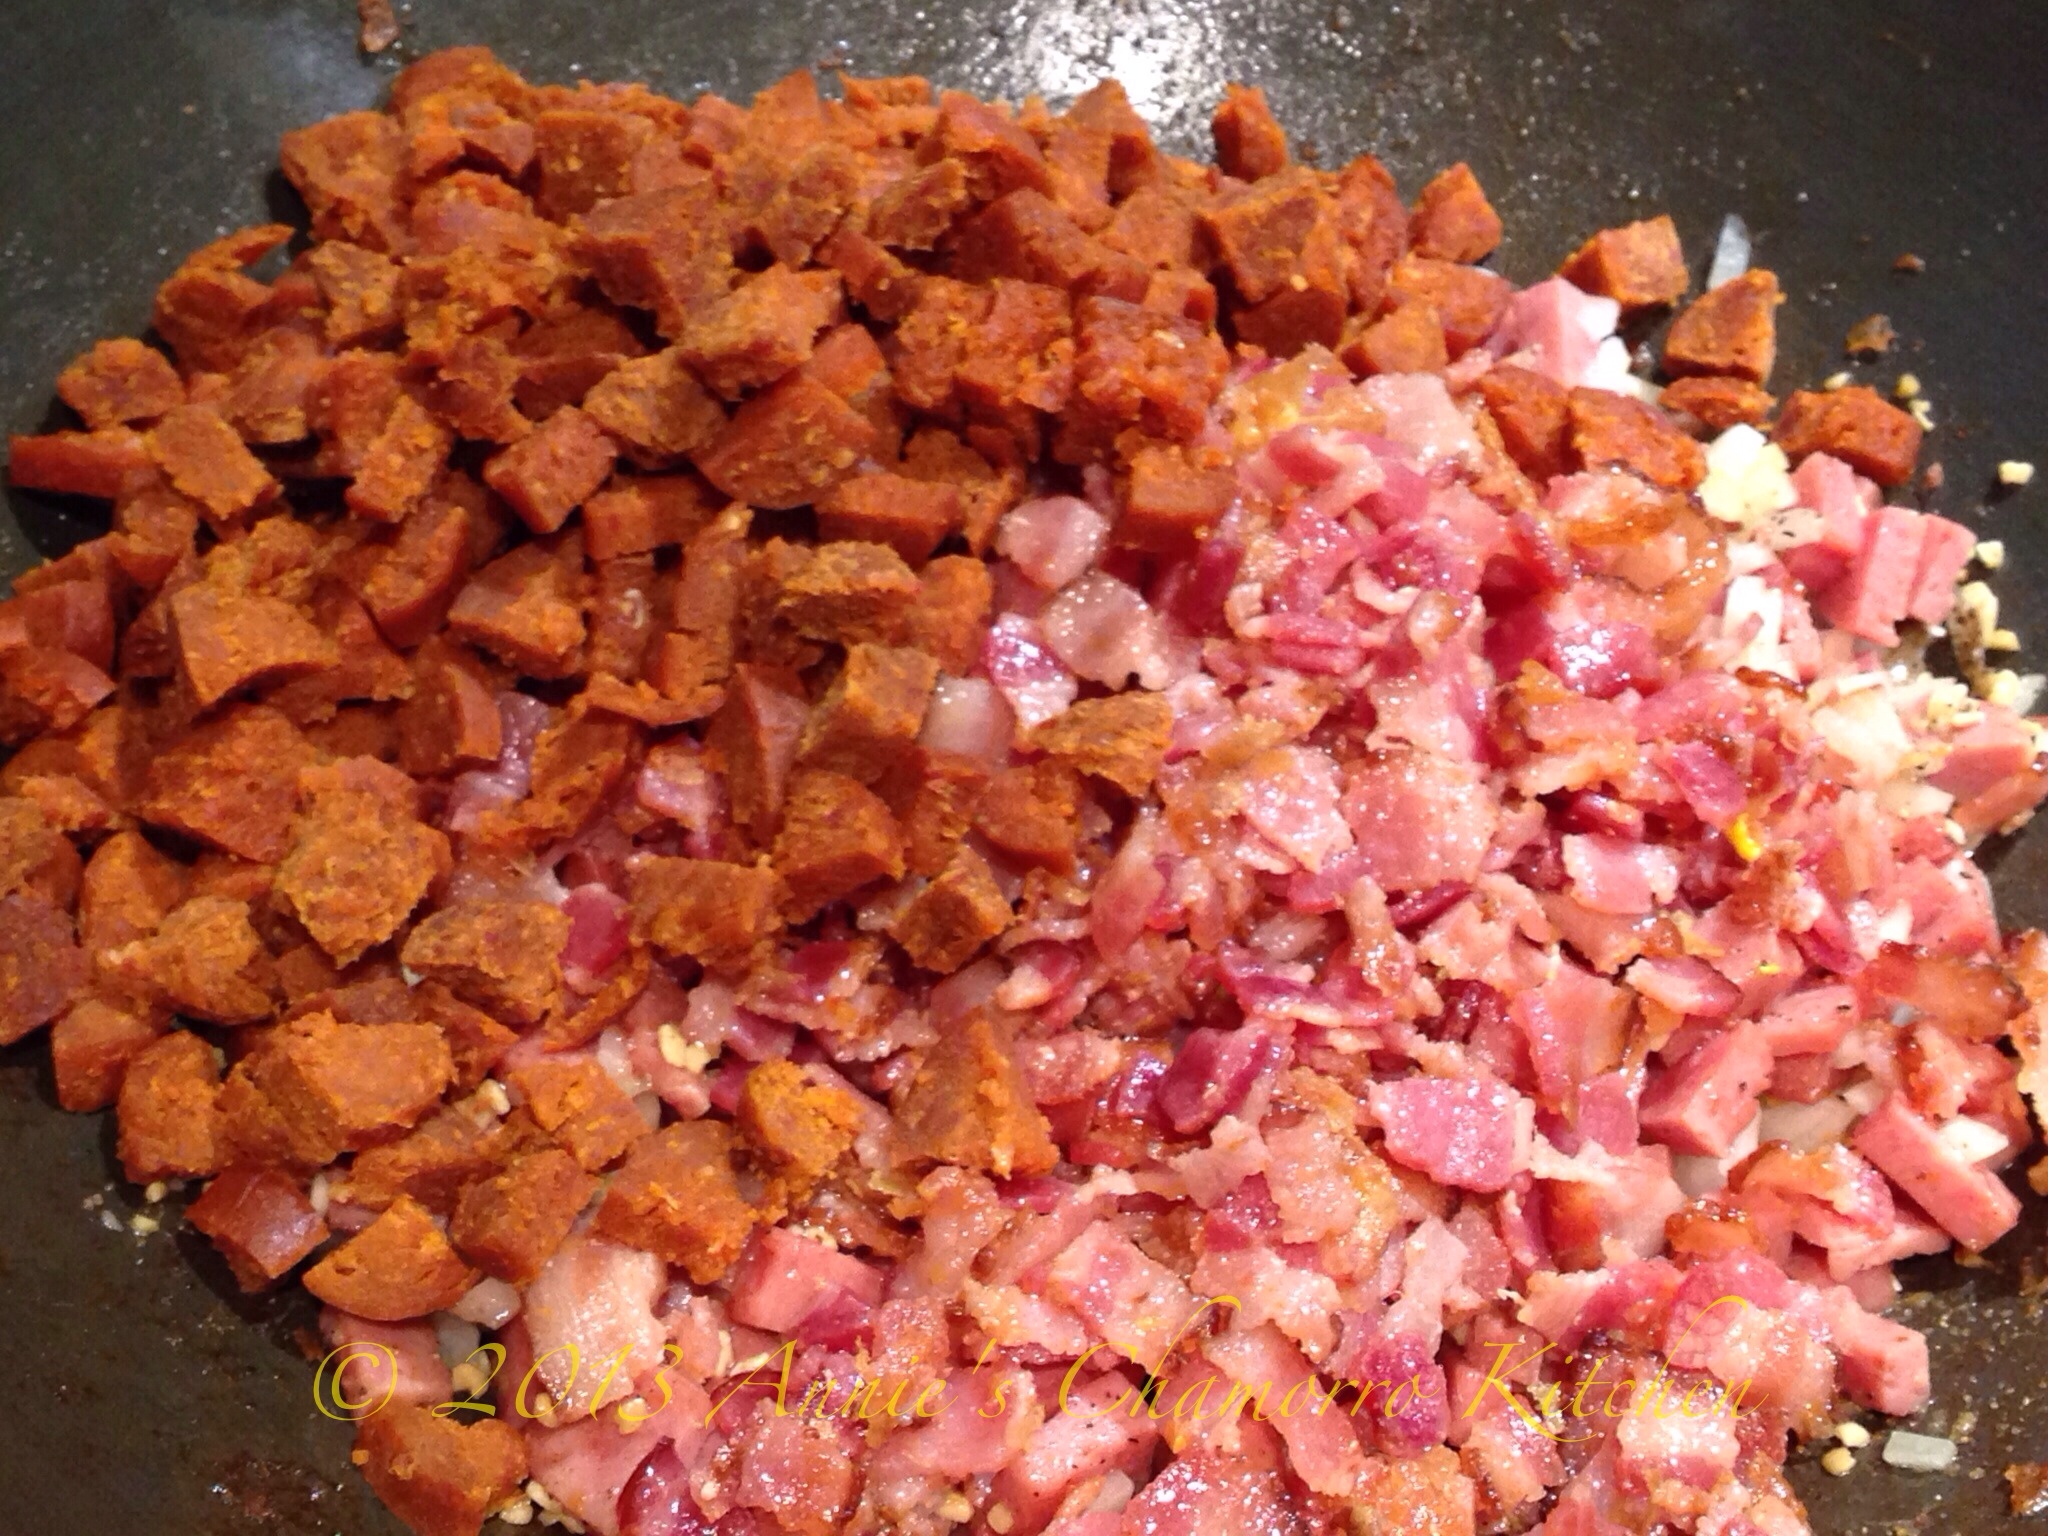
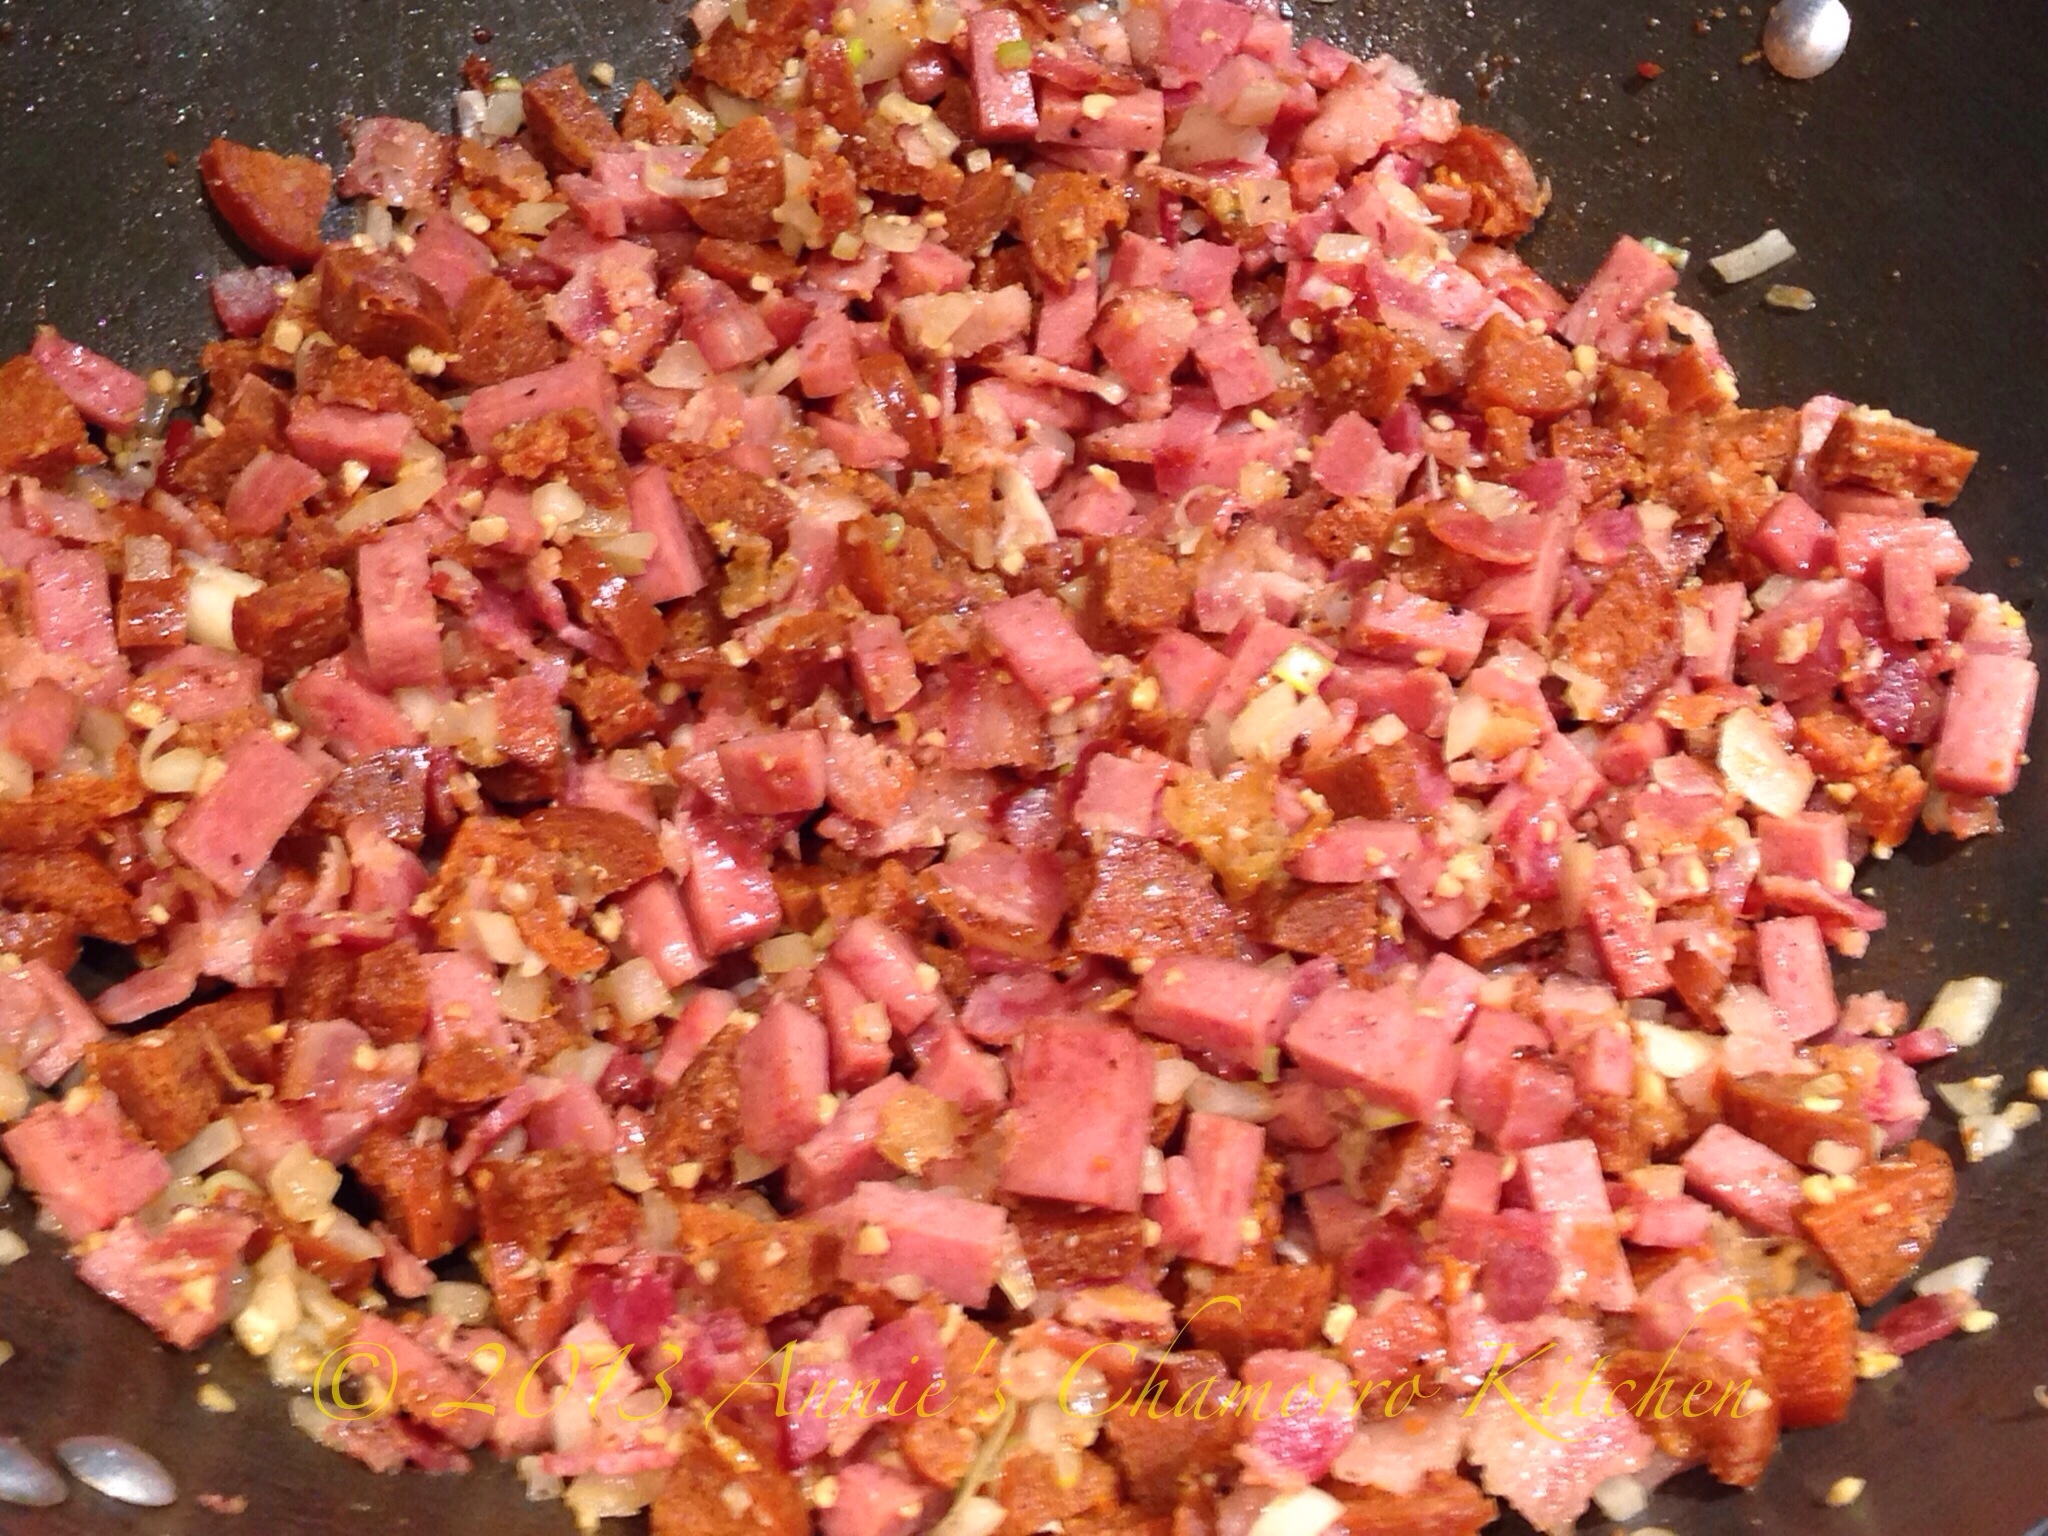
6. Add the bacon and chorizos to the wok. Stir to combine.

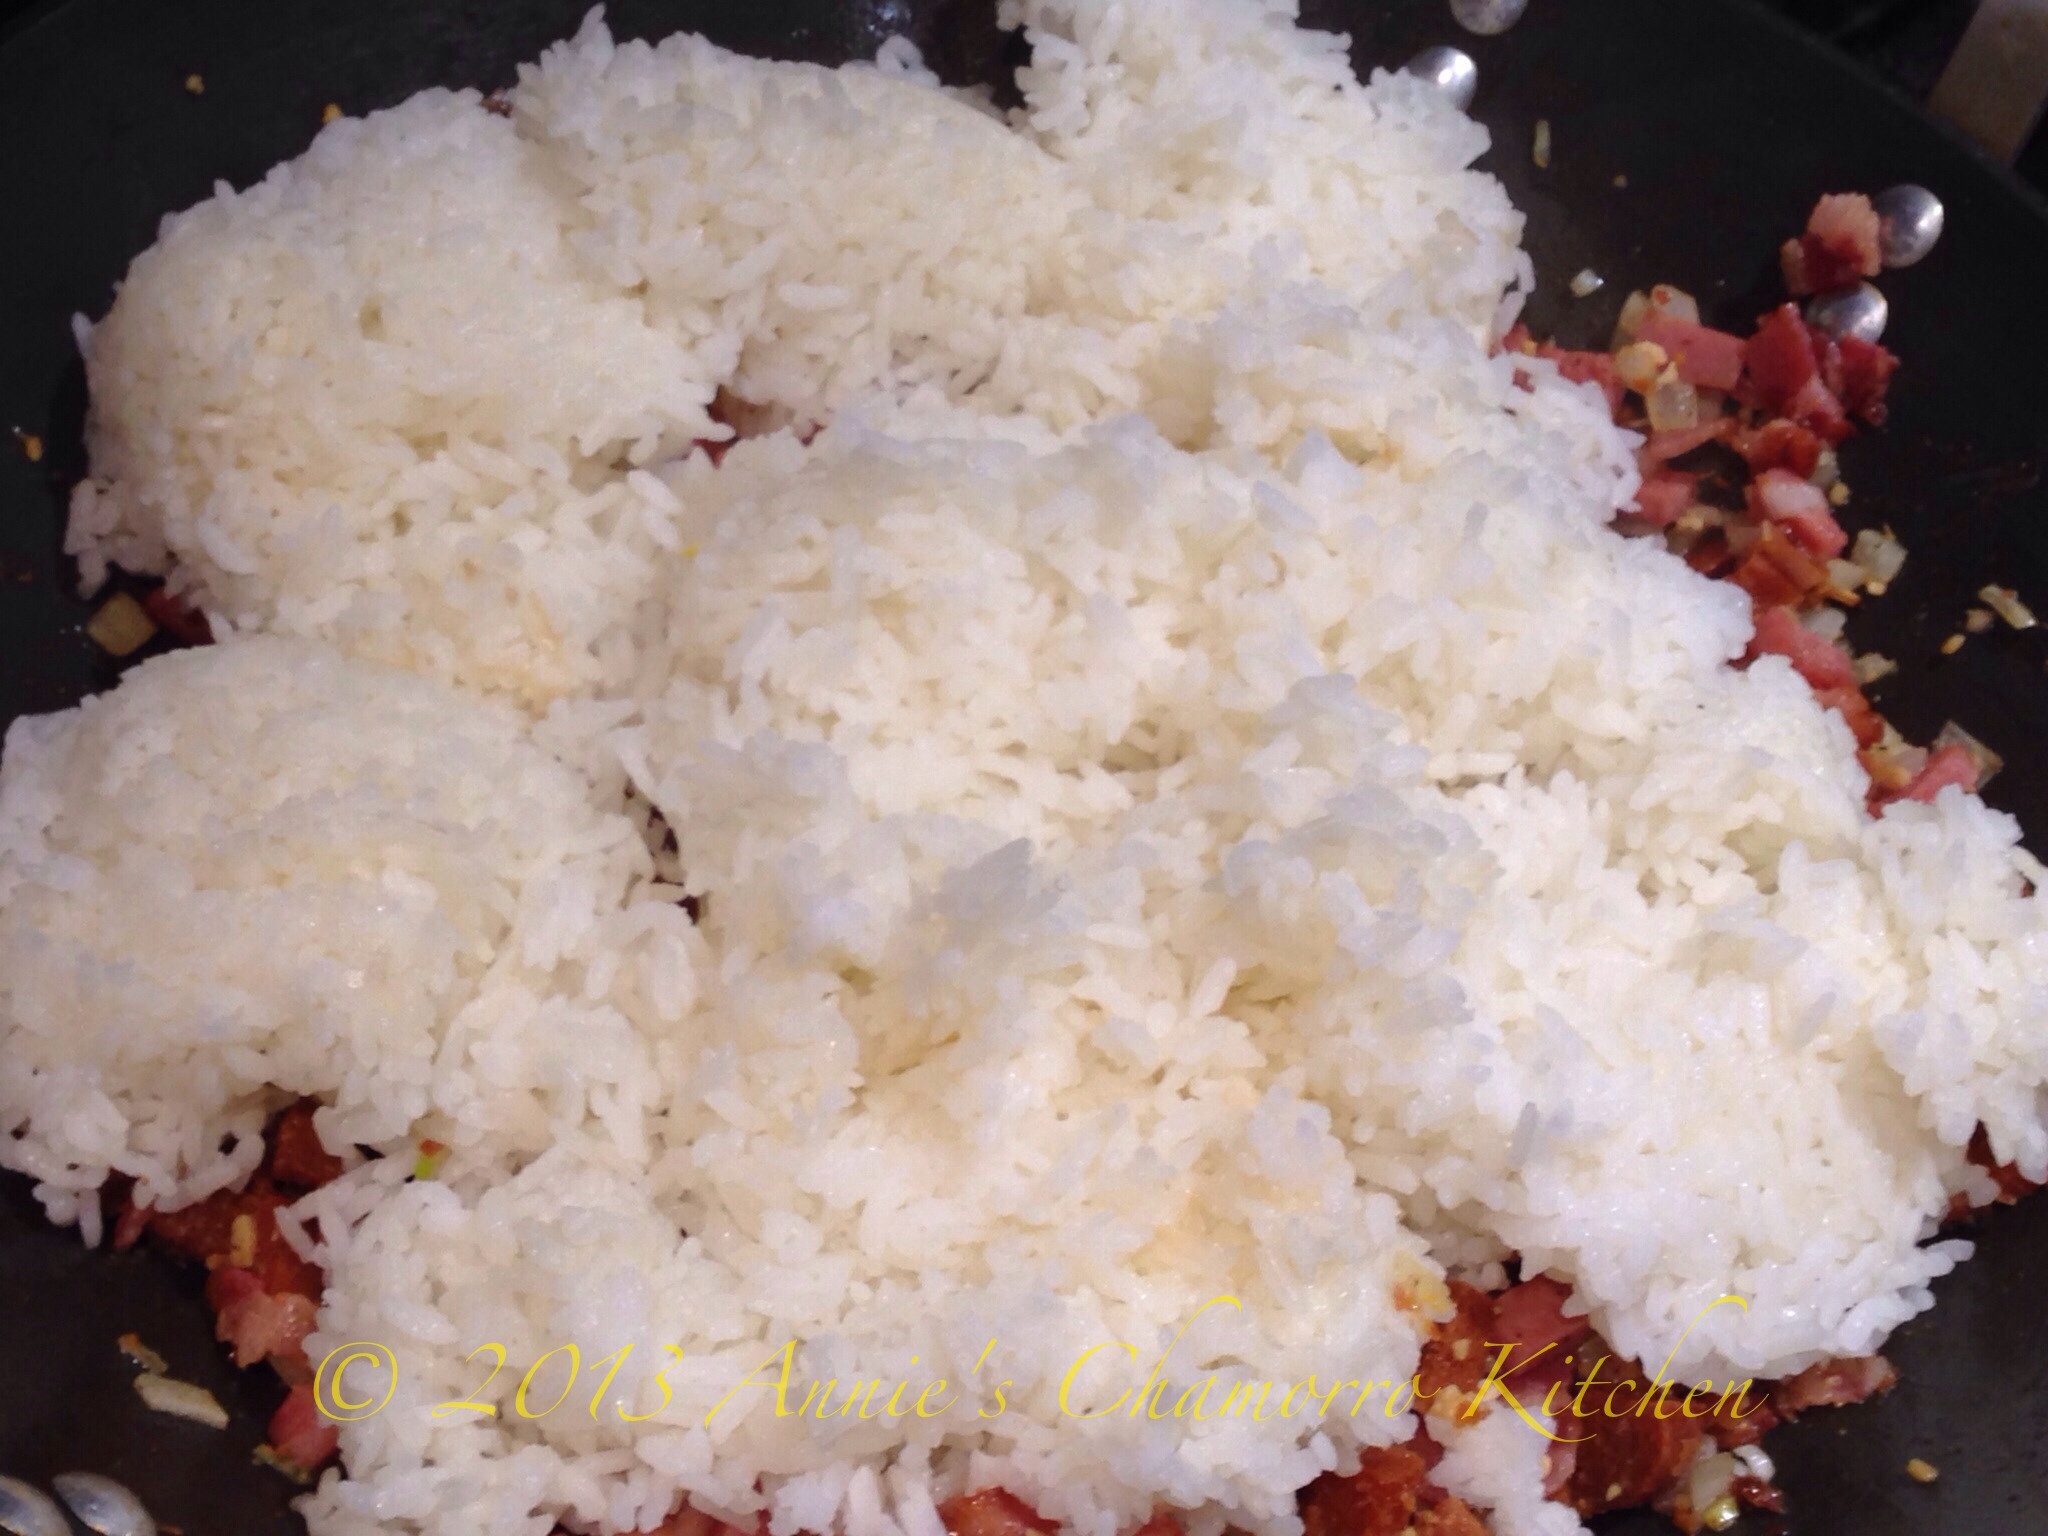
7. Add the cooked rice. GENTLY stir to mix the rice with the rest of the ingredients (you don’t want to mash the rice or you’ll end up with a mushy mess).

8. Add the cooked eggs and green onions. Gently stir to combine. Cook for a couple of minutes then remove from the heat.

Serve and ENJOY!

« Older Entries Recent Entries »