Tag Archive for Fruit

Madoya (Battered and Fried Bananas)

Here’s another very simple dish I’d like to share with you.  It’s called Madoya (pronounced ma-dô-ja), lightly battered then fried slices of banana.

This is another dish that brings back lots of amazing memories of growing up on Guam.  My aunt and uncle used to grow cooking bananas (see the photo below) and give our family several “hands” whenever they harvested some.   (A “hand”of bananas is what a section of bananas out of a bunch is called; it’s also referred to as a “tier”.)

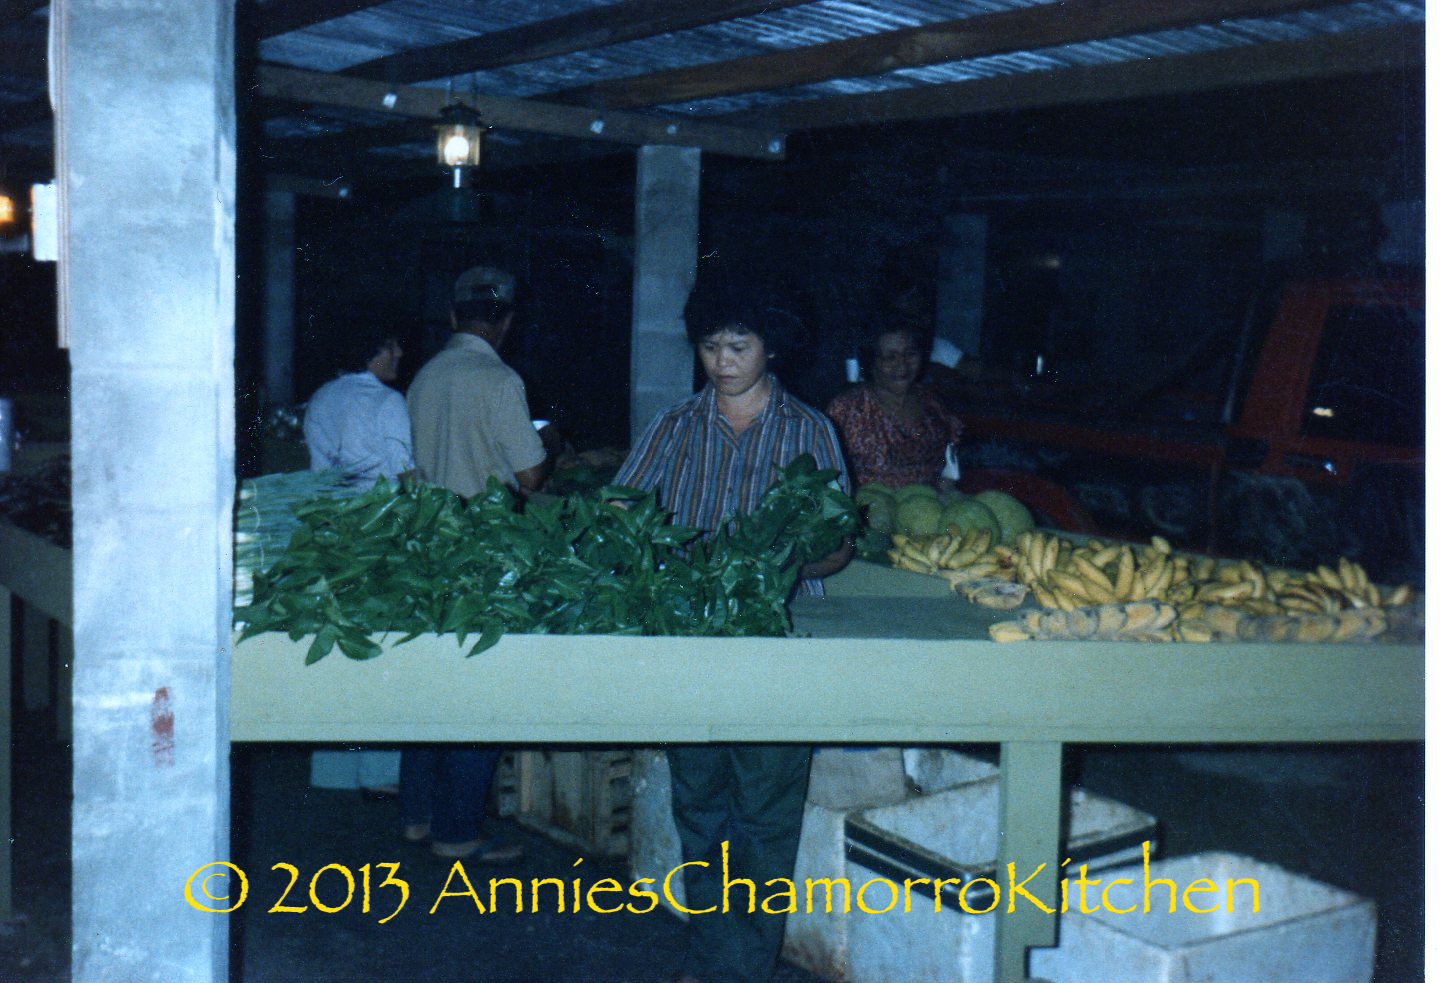
The photo below was taken over 20 years ago.  My parents and aunt/uncle used to grow and sell vegetables at the (then) Harmon flea market, then subsequently at the Dededo flea market.  I used to LOVE going with them.  We’d get to the flea market well before any roosters were awake to set up our stand.  This photo shows (from L-R) my aunt, dad and mom (and another vendor checking out the competition) setting up green onions, kangkung, bread fruit, and several varieties of bananas for sale.  That’s Saba banana in the bottom left.

Mom - 018


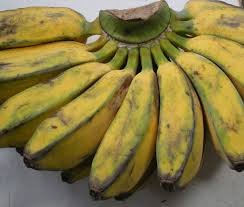
This is a close up view of Saba banana.  It’s a great cooking banana, and is great for making madoya, golai åppan (bananas cooked with coconut milk and sugar), banana lumpia, grilled bananas, or even eaten as-is.

saba banana


I didn’t have any Saba bananas today, but I did have ripe plantains.  Be sure to read my post for grilled plantains — I have photos showing what ripe ones look like.

When I make madoya, I like for the banana to be the star of the show.  Therefore, I don’t make a super thick batter.  Instead, I make my batter thin, yet still thick enough to provide a nice coating when fried.

Give my recipe a try.  I think you’ll like it.  🙂


MADOYA

IMG_0618

INGREDIENTS:

  • 2 ripe plantains
  • 3/4 cup all-purpose flour
  • 1 cup water
  • 1/2 teaspoon cinnamon
  • 1 tablespoon sugar
  • Oil, for frying

DIRECTIONS:

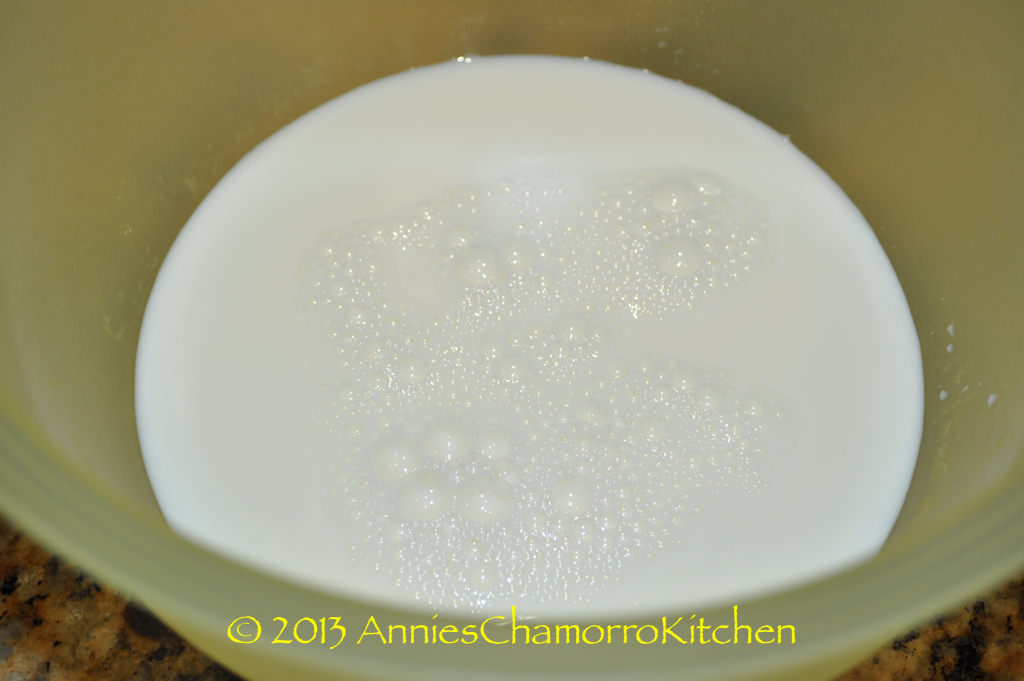
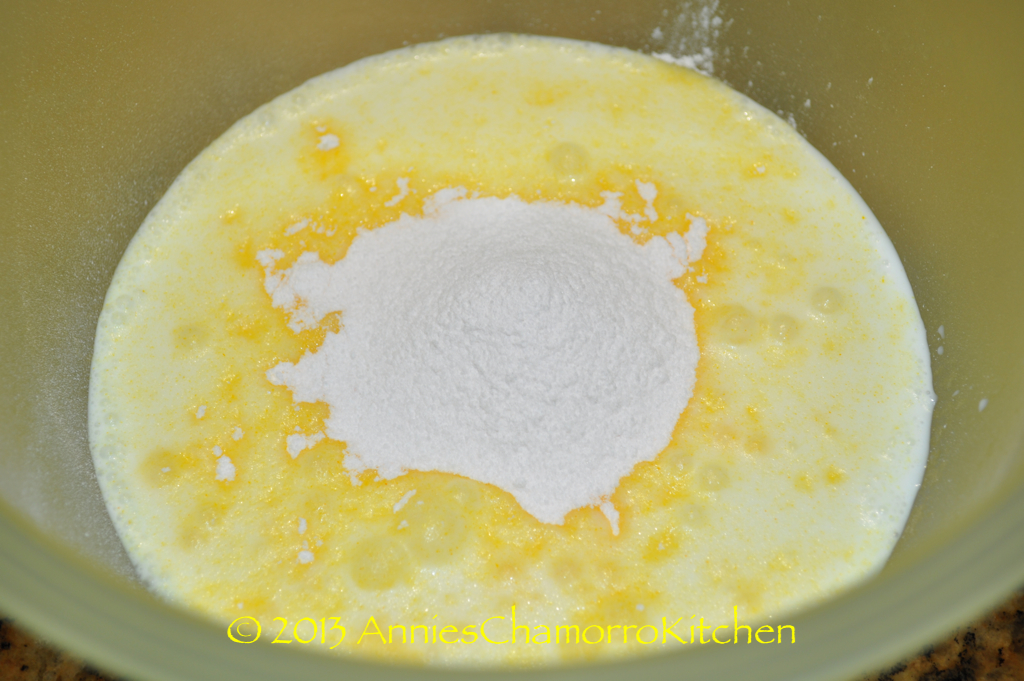
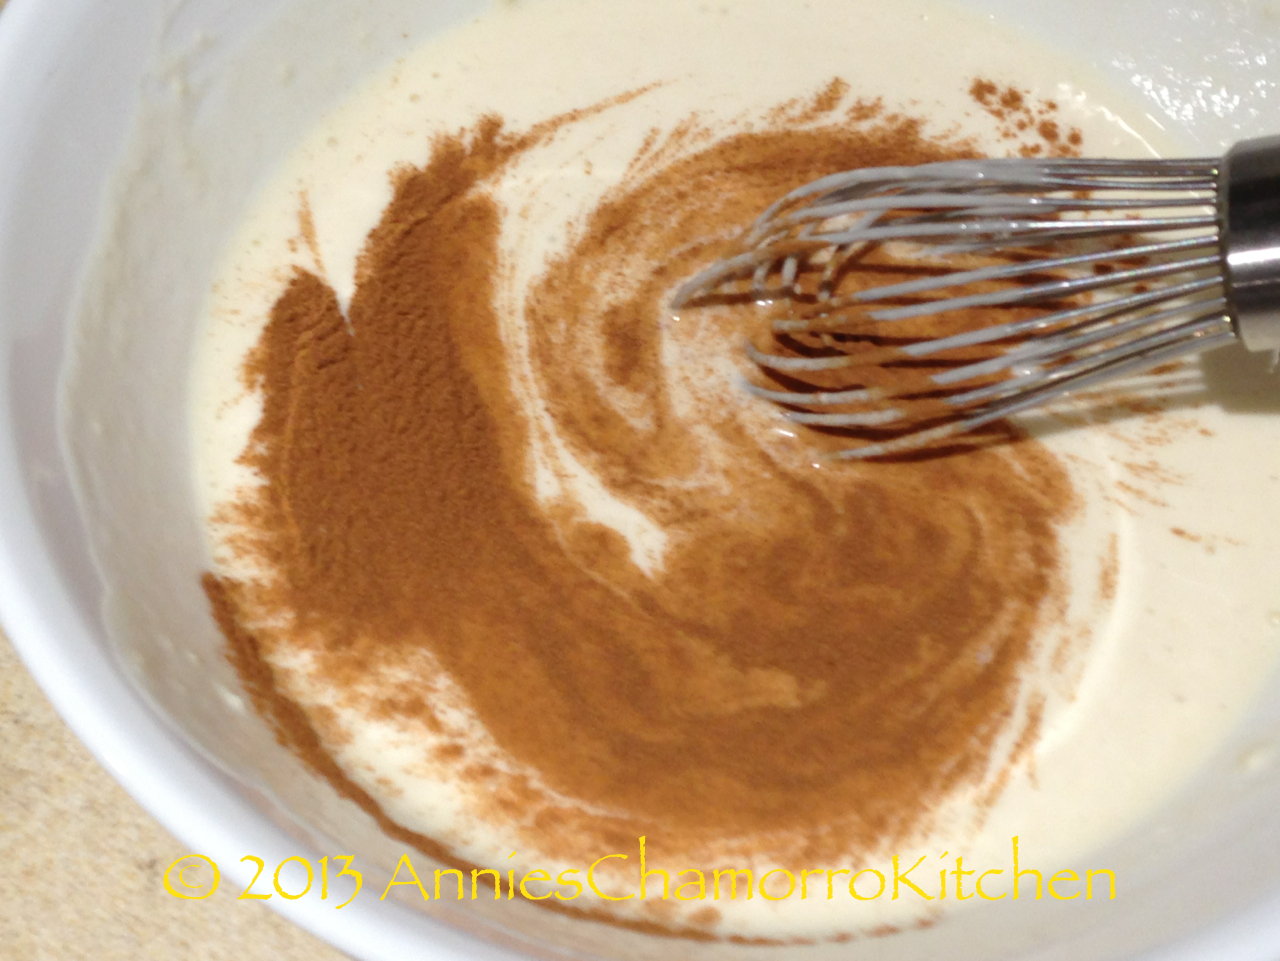
1.  In a small bowl, whisk together the flour, water, cinnamon and sugar.

IMG_0607

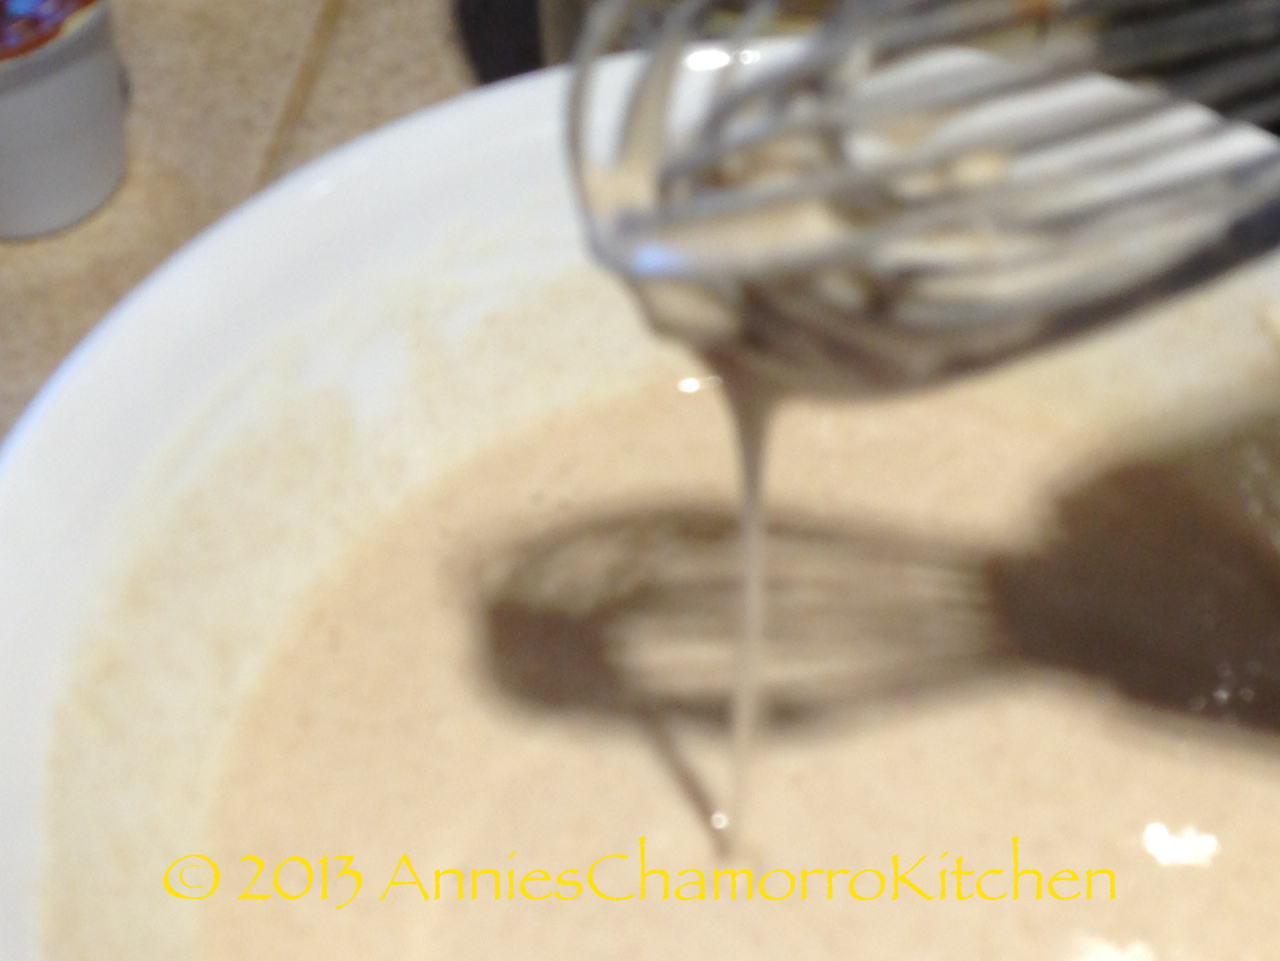
The batter should drip quickly when you lift the whisk out of the bowl.  It’s much thinner than pancake batter.  (Sorry for the fuzzy photo below.)

IMG_0612

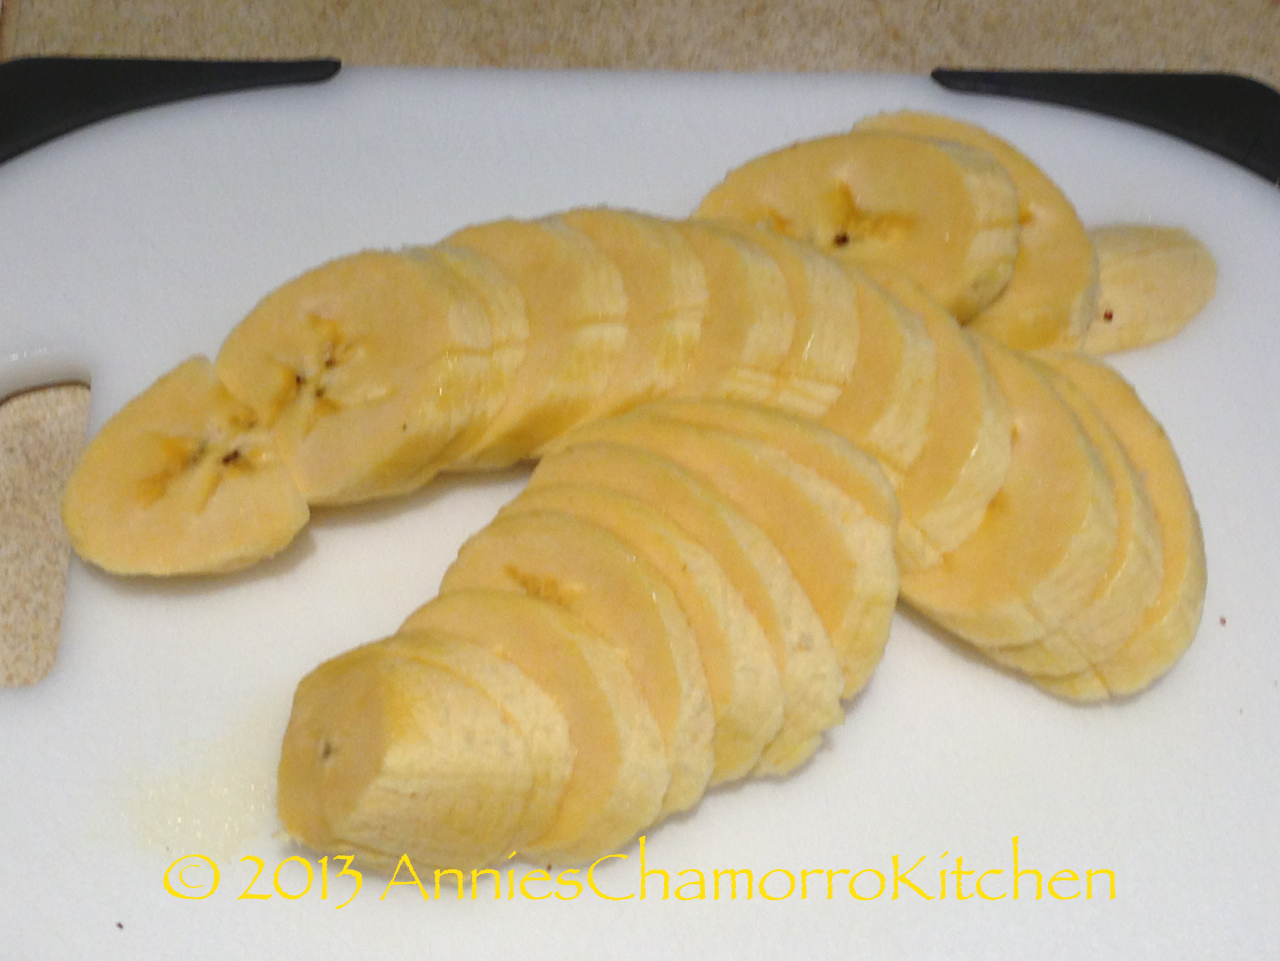
2.  Peel and slice the plantains into small slices (you can also slice them length-wise instead of across).

IMG_0613

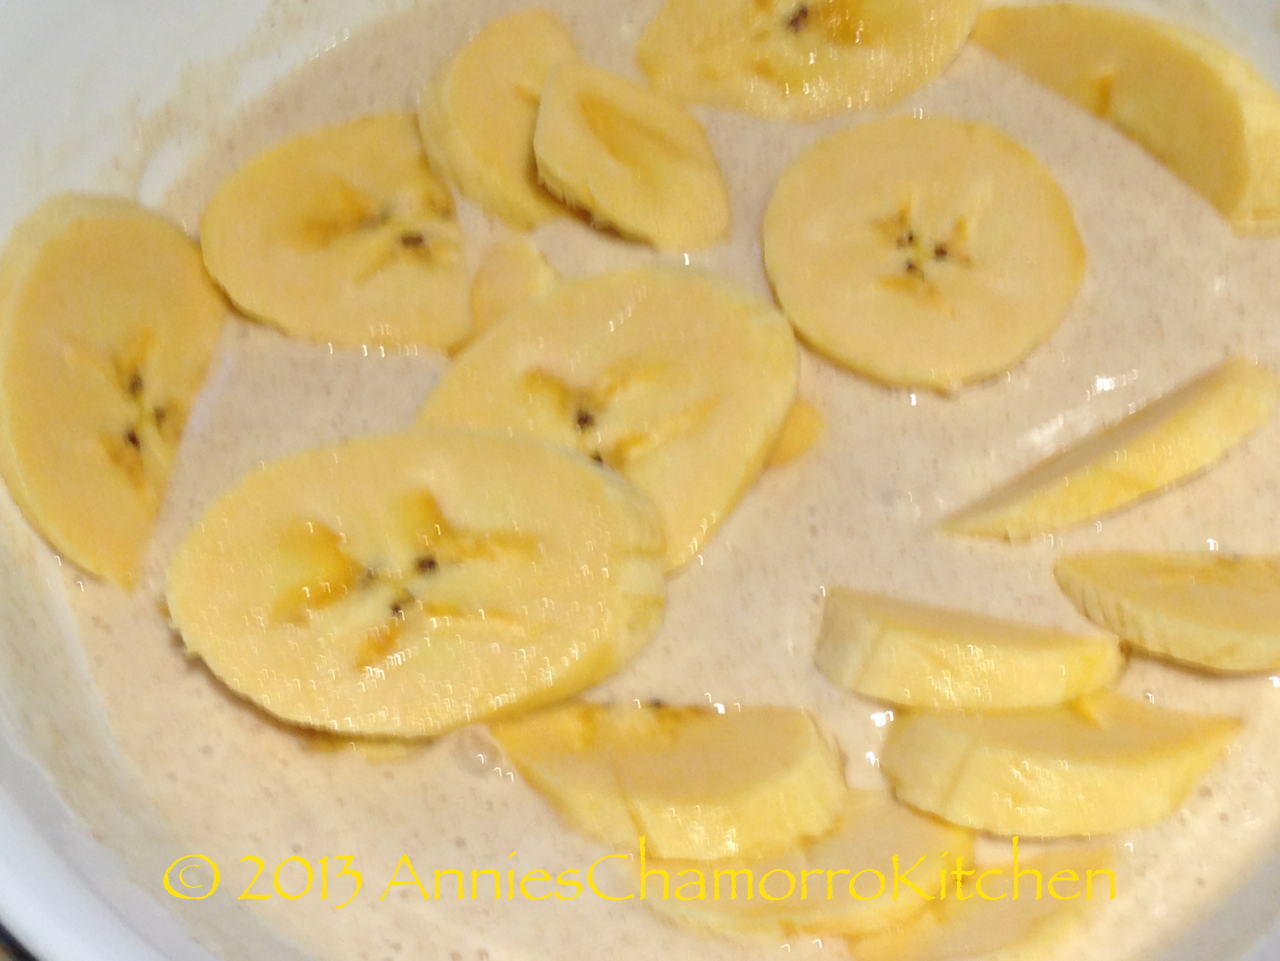
3.  Place the banana slices into the batter.  Use a fork to gently stir the slices into the batter, carefully separating them (be careful not to mash the bananas).

IMG_0614

4.  Heat your oil.  Once the oil is ready, carefully drop in each slice.  Don’t put too many in at once or else they will stick together.

IMG_0620

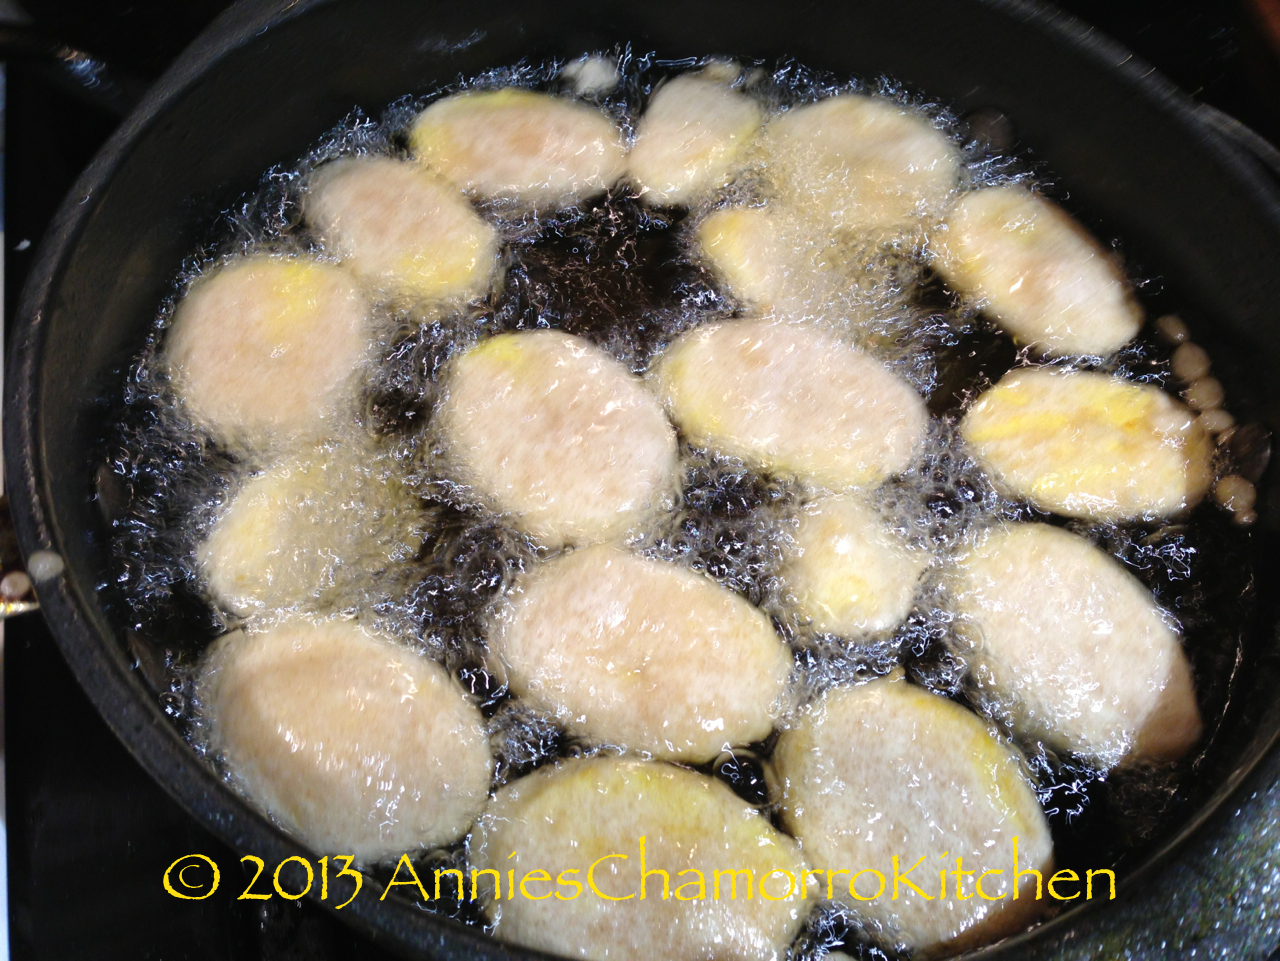
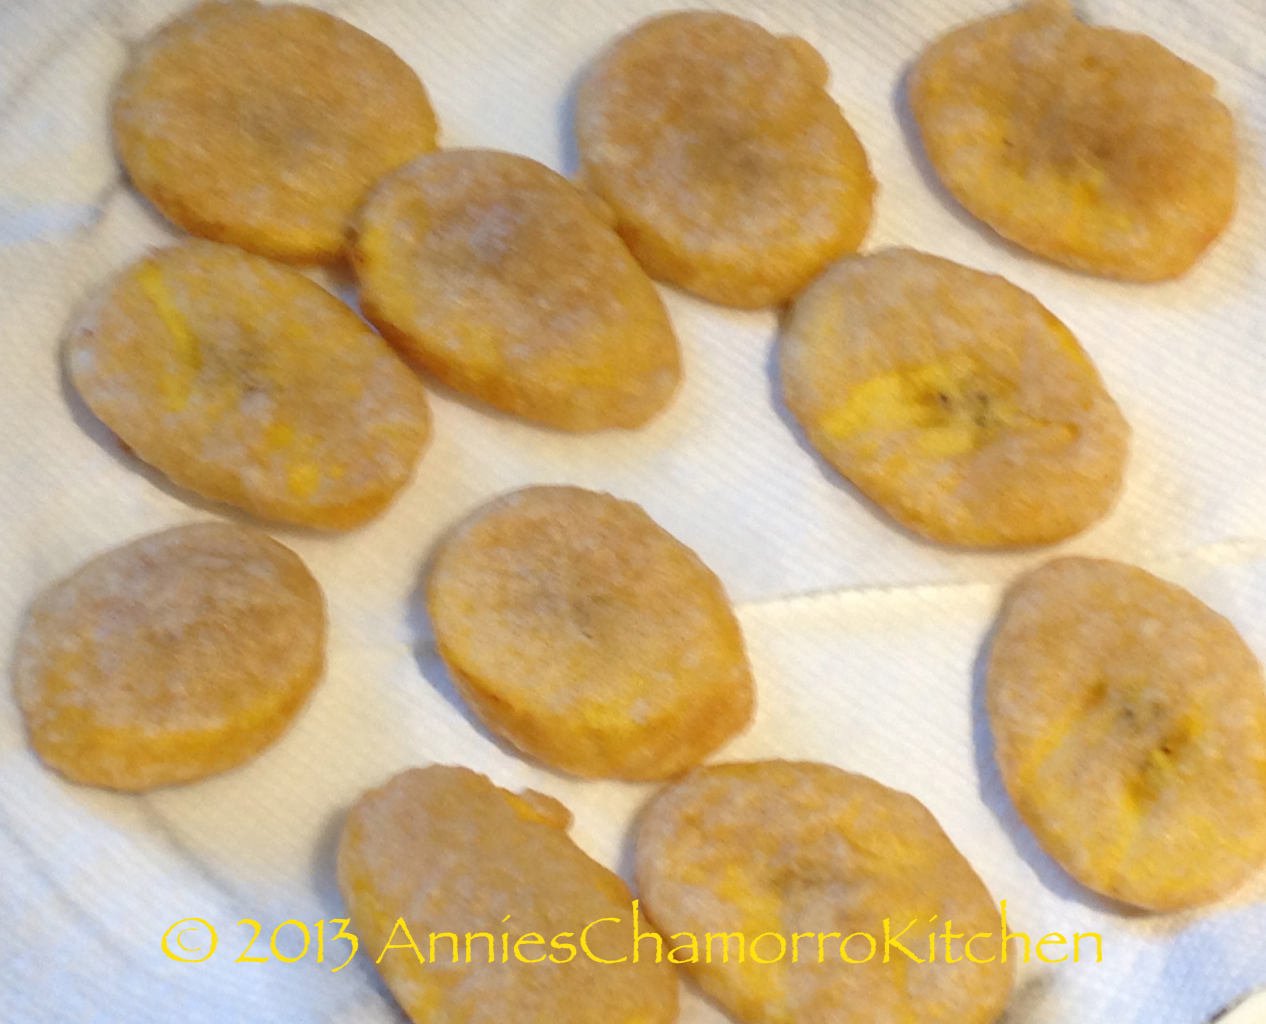
5.  Fry until golden brown on both sides.  Remove from the oil; place the fried bananas on papers towels to drain.  Serve and enjoy!

IMG_0618


Strawberries & Cream Dream Cake

I asked my kids what to name this dessert.   Strawberry shortcake seemed too simple a name for it.  They asked, “why NOT just plain old Strawberry Shortcake?”  “No,” I answered.  “This dessert is…well…dreamy.”  And there you have the story behind the name.

It’s super simple to make, but you can tell your friends you slaved in your kitchen all day long.  😉

There are very few store-bought products I buy that I don’t say to myself, “Why did I buy this?  Homemade is so much better.”  Sara Lee Pound Cake is one of those products–I love Sara Lee pound cake, as a base for Latiya, eaten by itself, or in a heavenly, dreamy, strawberry delight.  I have an awesome recipe for homemade pound cake, but why bother when you can buy one that tastes delicious?  I take that back…my homemade version is worth the effort, but when you’re pressed for time and want to quickly prepare something this yummy, there is no need to make one from scratch.

I do indulge a bit with this recipe by using heavy whipping cream in addition to Cool Whip. You most certainly can use regular milk instead of heavy cream, but your cream filling won’t turn out as thick.  I like the addition of Cool Whip  because I can lighten this recipe by using Cool Whip’s lightened or lower calorie versions instead of using nothing but heavy whipping cream.  While an all-whipping cream version is so delicious, my waistline won’t be as dreamy.  You can also lighten this further by using a sugar-free and fat-free instant pudding mix (see, you CAN have your cake and eat it too, and not feel guilty about it either).

Here’s my recipe…don’t just dream about it.  Make it.  Enjoy it.  🙂

Strawberries & Cream Dream Cake

IMG_0440

1.  Pour the whipping cream in a mixing bowl.  Add the instant pudding mix.  Using an electric mixer, mix on the highest setting (I use setting #6, the highest setting for my handheld mixer).  The mixture will thicken quickly.

DSC_0537

DSC_0538

2.  Once the whipped cream mixture develops stiff peaks, add in half of the Cool Whip.  Mix on low speed until the Cool Whip is combined.  Mix in the rest of the Cool Whip.

DSC_0504

3. Slice the pound cake into 1/4-inch slices, then cut the slices in half.  The resulting pieces should look like what’s in the photo below.  Layer half of the pieces of cake on the bottom of a shallow pan (a 9×13 pan works well).

DSC_0502

4.  Spread half of the whipped cream mixture on top of the cake pieces.

DSC_0511

5.  Spread half of the sliced strawberries over the layer of the whipped cream mixture.

DSC_0515

6.  Add another layer of cake on top of the strawberries, using up the remaining pieces of cake.

DSC_0516

DSC_0542

7.  Spread the remaining whipped cream mixture on top of the cake.

DSC_0506

8.  Spread the remaining strawberry slices on top of the whipped cream mixture.

DSC_0520

Ta daaaaa!!!!  Chill, or serve immediately.

DSC_0523


Strawberries & Cream Dream Cake
 
Author:
Ingredients
  • 2 cups heavy whipping cream
  • 1 small box (3.4 oz.) instant vanilla pudding mix
  • 16 ounces Extra Creamy Cool Whip whipped topping
  • 1 small tub fresh strawberries, sliced
  • 1 family size (16 oz.) Sara Lee pound cake
Instructions
  1. Pour the whipping cream in a mixing bowl.  Add the instant pudding mix.  Using an electric mixer, mix on the highest setting until the mixture thickens.
  2. Add in half of the Cool Whip.  Mix on low speed until the Cool Whip is combined.  Mix in the rest of the Cool Whip.
  3. Slice the pound cake into ¼-inch slices, then cut the slices in half. Layer half of the pieces of cake on the bottom of a 9x13 pan.
  4. Spread half of the whipped cream mixture on top of the cake pieces.
  5. Spread half of the sliced strawberries over the layer of the whipped cream mixture.
  6. Add another layer of cake on top of the strawberries, using up the remaining pieces of cake.
  7. Spread the remaining whipped cream mixture on top of the cake.
  8. Spread the remaining strawberry slices on top of the whipped cream mixture.
  9. Chill, or serve immediately.


Recent Entries »