Tag Archive for Pumpkin

Incredible Pumpkin Cake Donuts

I love the fall season, mainly because it means pumpkins are in season and I can make some of my most favorite desserts, among them these delicious and moist pumpkin cake donuts. But why wait for fall to enjoy these sweet treats?  With canned pumpkin puree readily available, you can make these donuts whenever you like.  Why not bake up a batch today?  I think you’ll like it.    🙂

This recipe makes about 4 dozen donuts.  The ingredients below can easily be cut in half.  I usually don’t, however.  Half of my family likes cinnamon sugar coated donuts, the other half likes chocolate glaze.  This way, there’s enough donuts to please everyone.   🙂

Incredible Pumpkin Cake Donuts

image image

Donut Ingredients:

  • 1 cup vegetable oil
  • 6 large eggs
  • 3 cups sugar
  • 2 cans (15-oz) pure pumpkin pureé (do not use pumpkin pie filling)
  • 1 tablespoon pumpkin pie spice
  • 2 teaspoons cinnamon
  • 1 tablespoon salt
  • 1 tablespoon baking powder
  • 3 1/2 cups all purpose flour

Coating Ingredients:

  • ½ cup white sugar
  • 1 tablespoon cinnamon

Frosting Ingredients:

  • 1 cup semisweet chocolate chips
  • 4 tablespoons heavy cream

Directions:

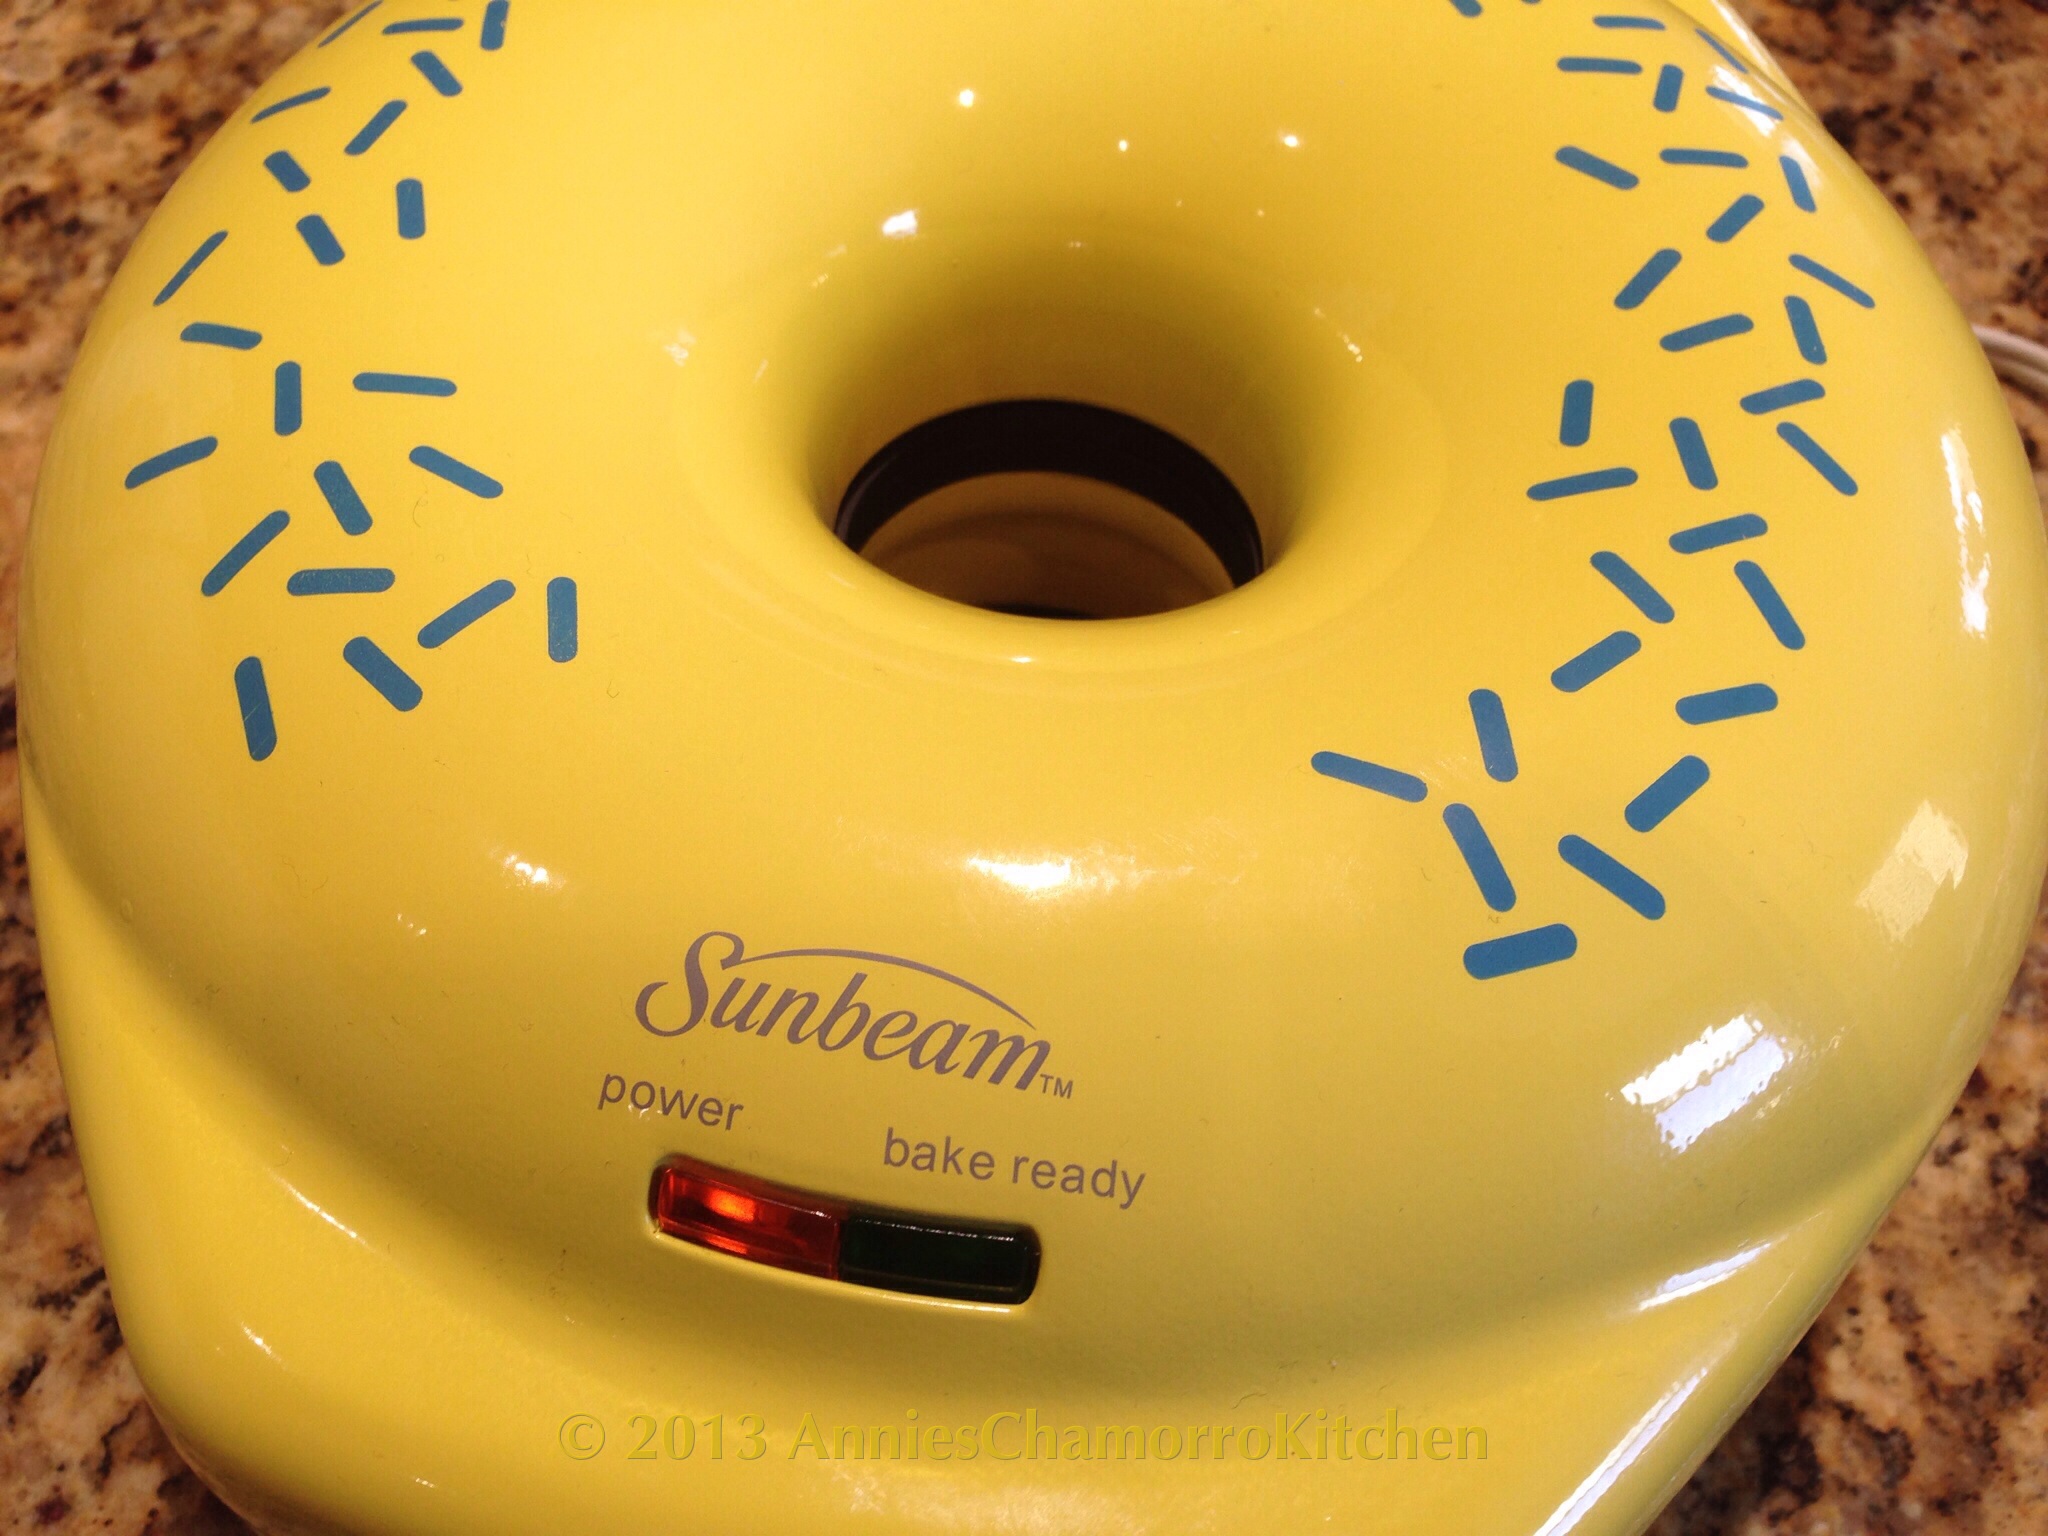
1.  Preheat your donut maker.

image

2.  Place all of the donut ingredients together in a large mixing bowl.

Add the oil…
image

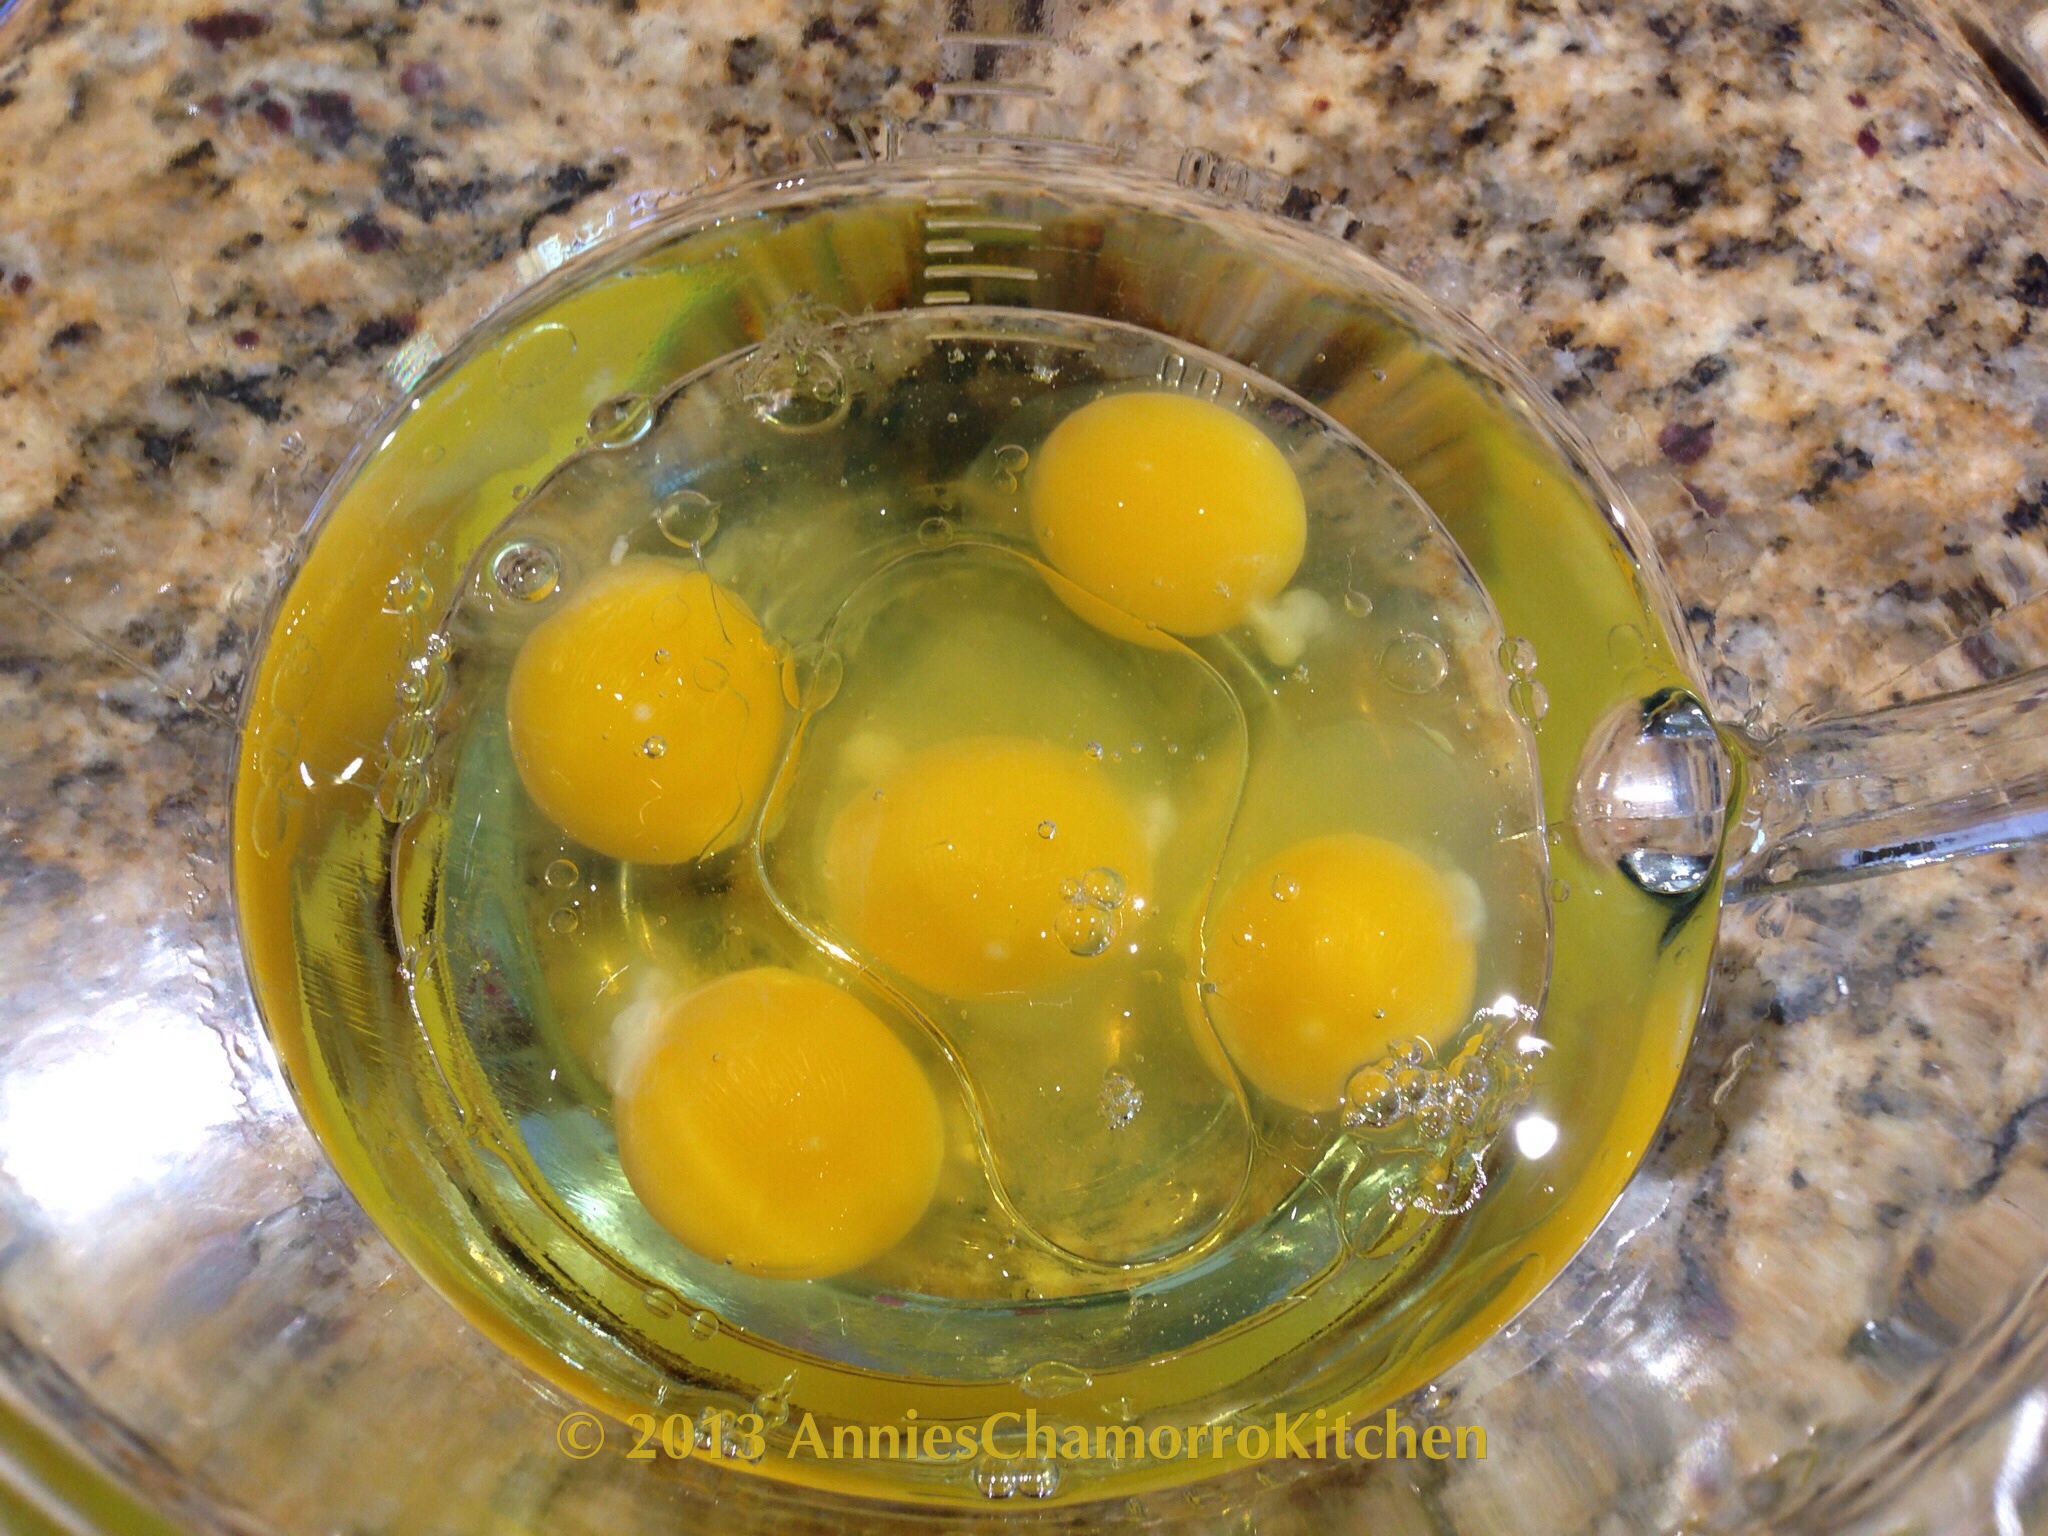
Add the eggs…  (The photo below shows only 5 eggs; I only had 2 large eggs and the rest were extra large, so I used 3 extra large and 2 large eggs instead of 6 large eggs.)

image

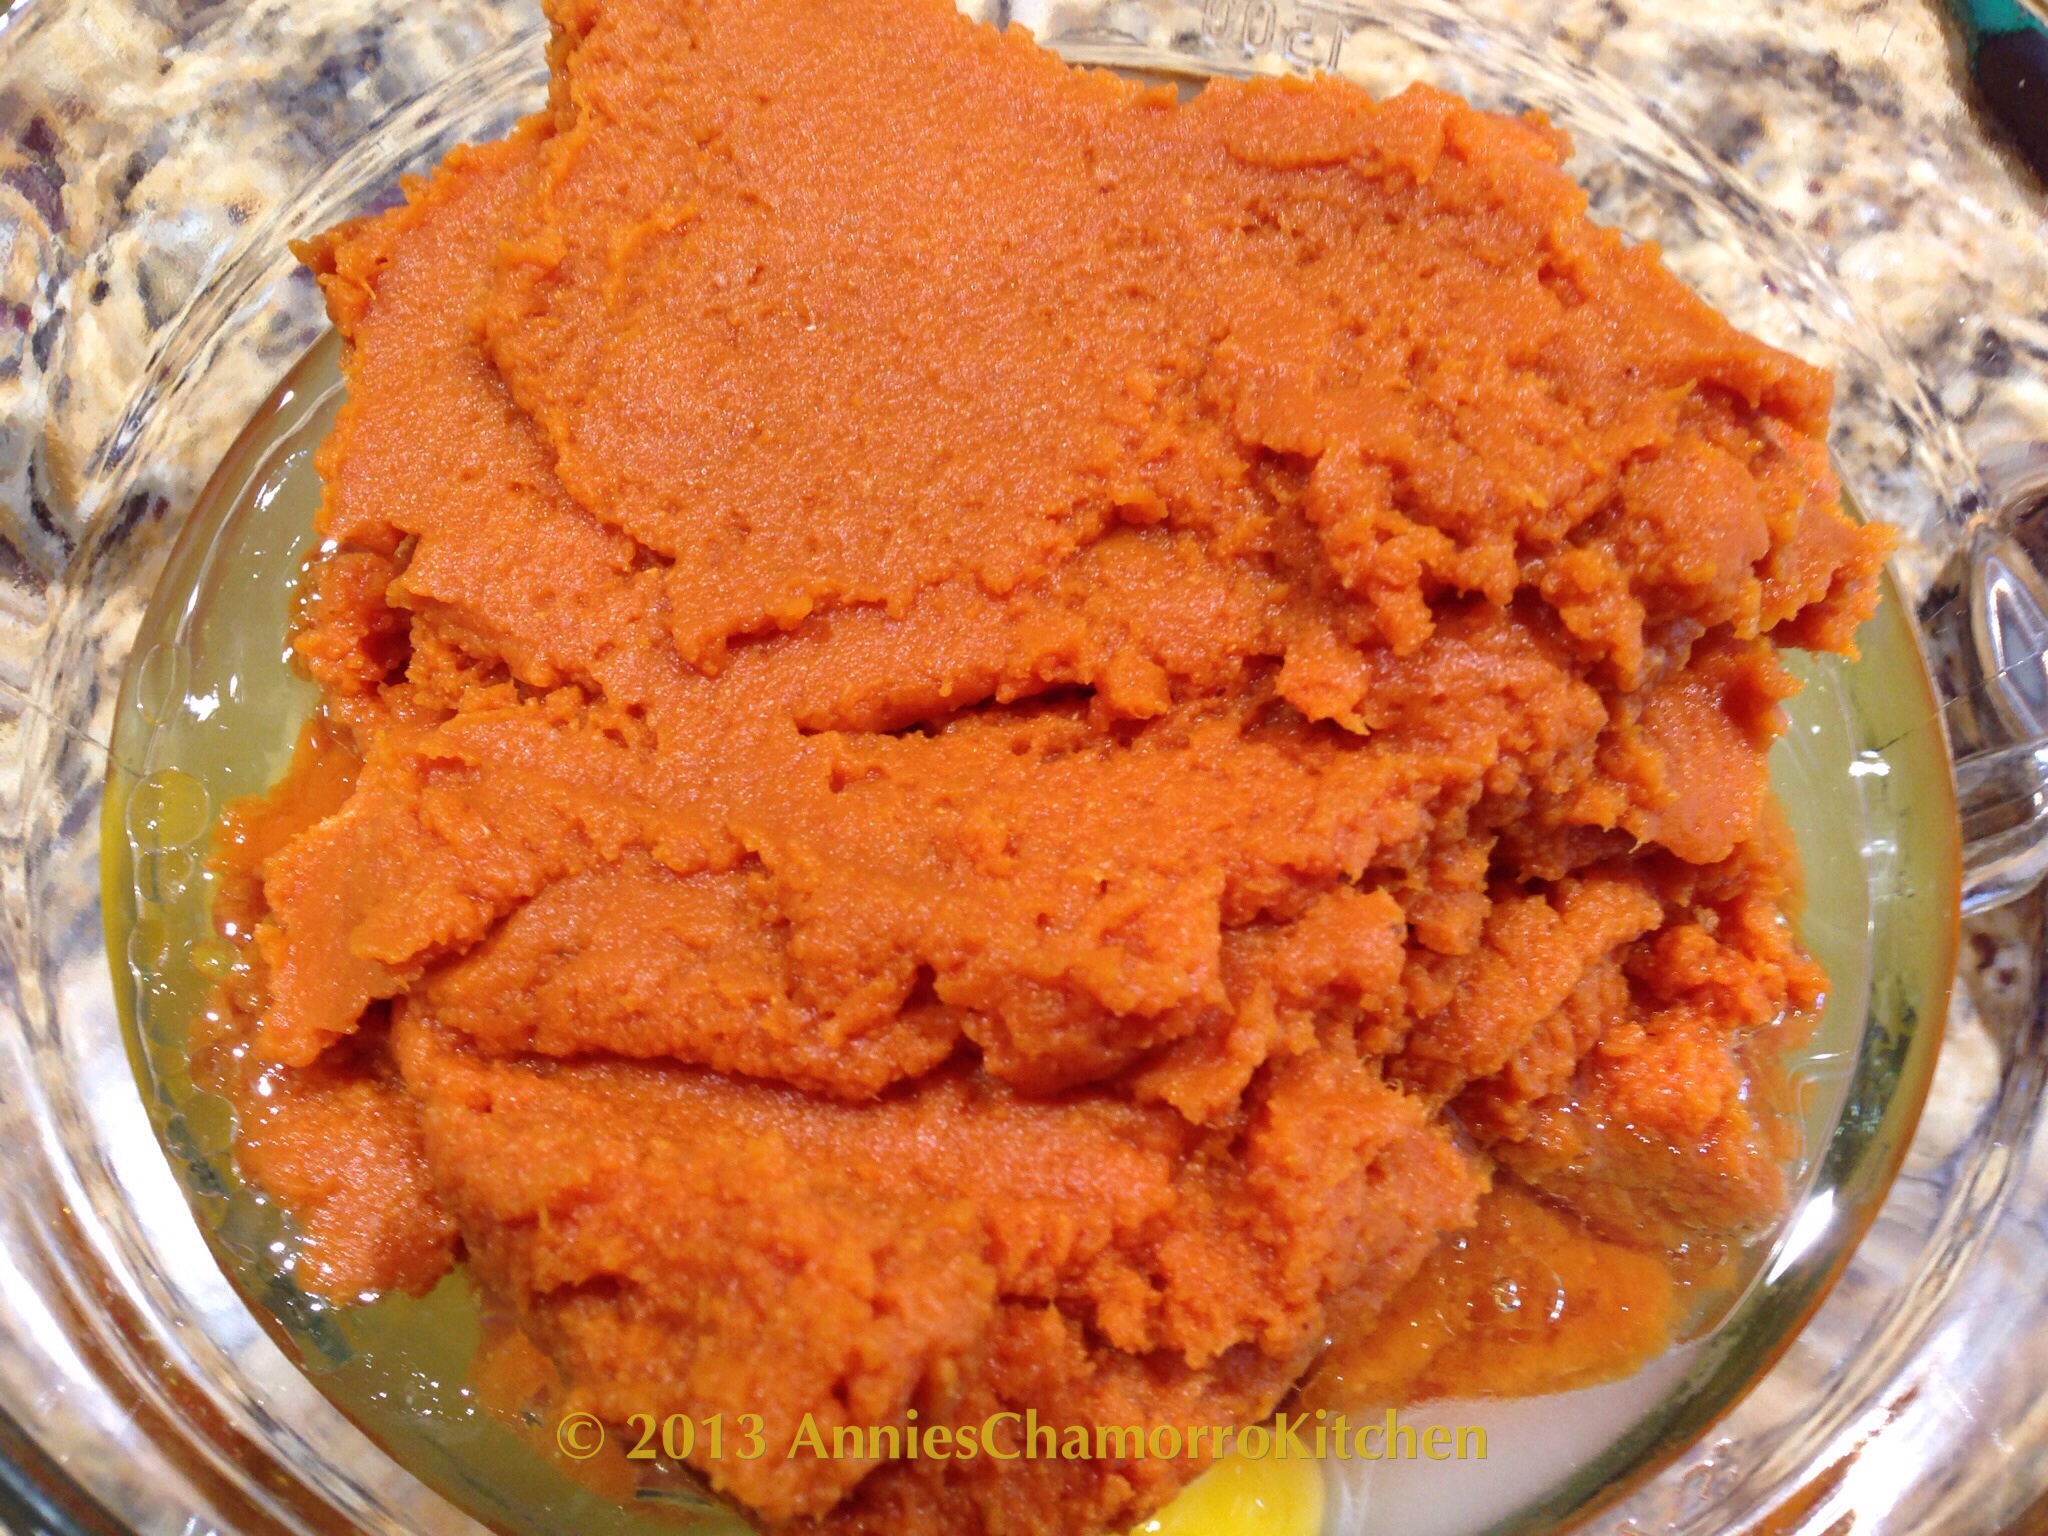
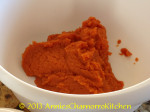
Add the pumpkin…

image

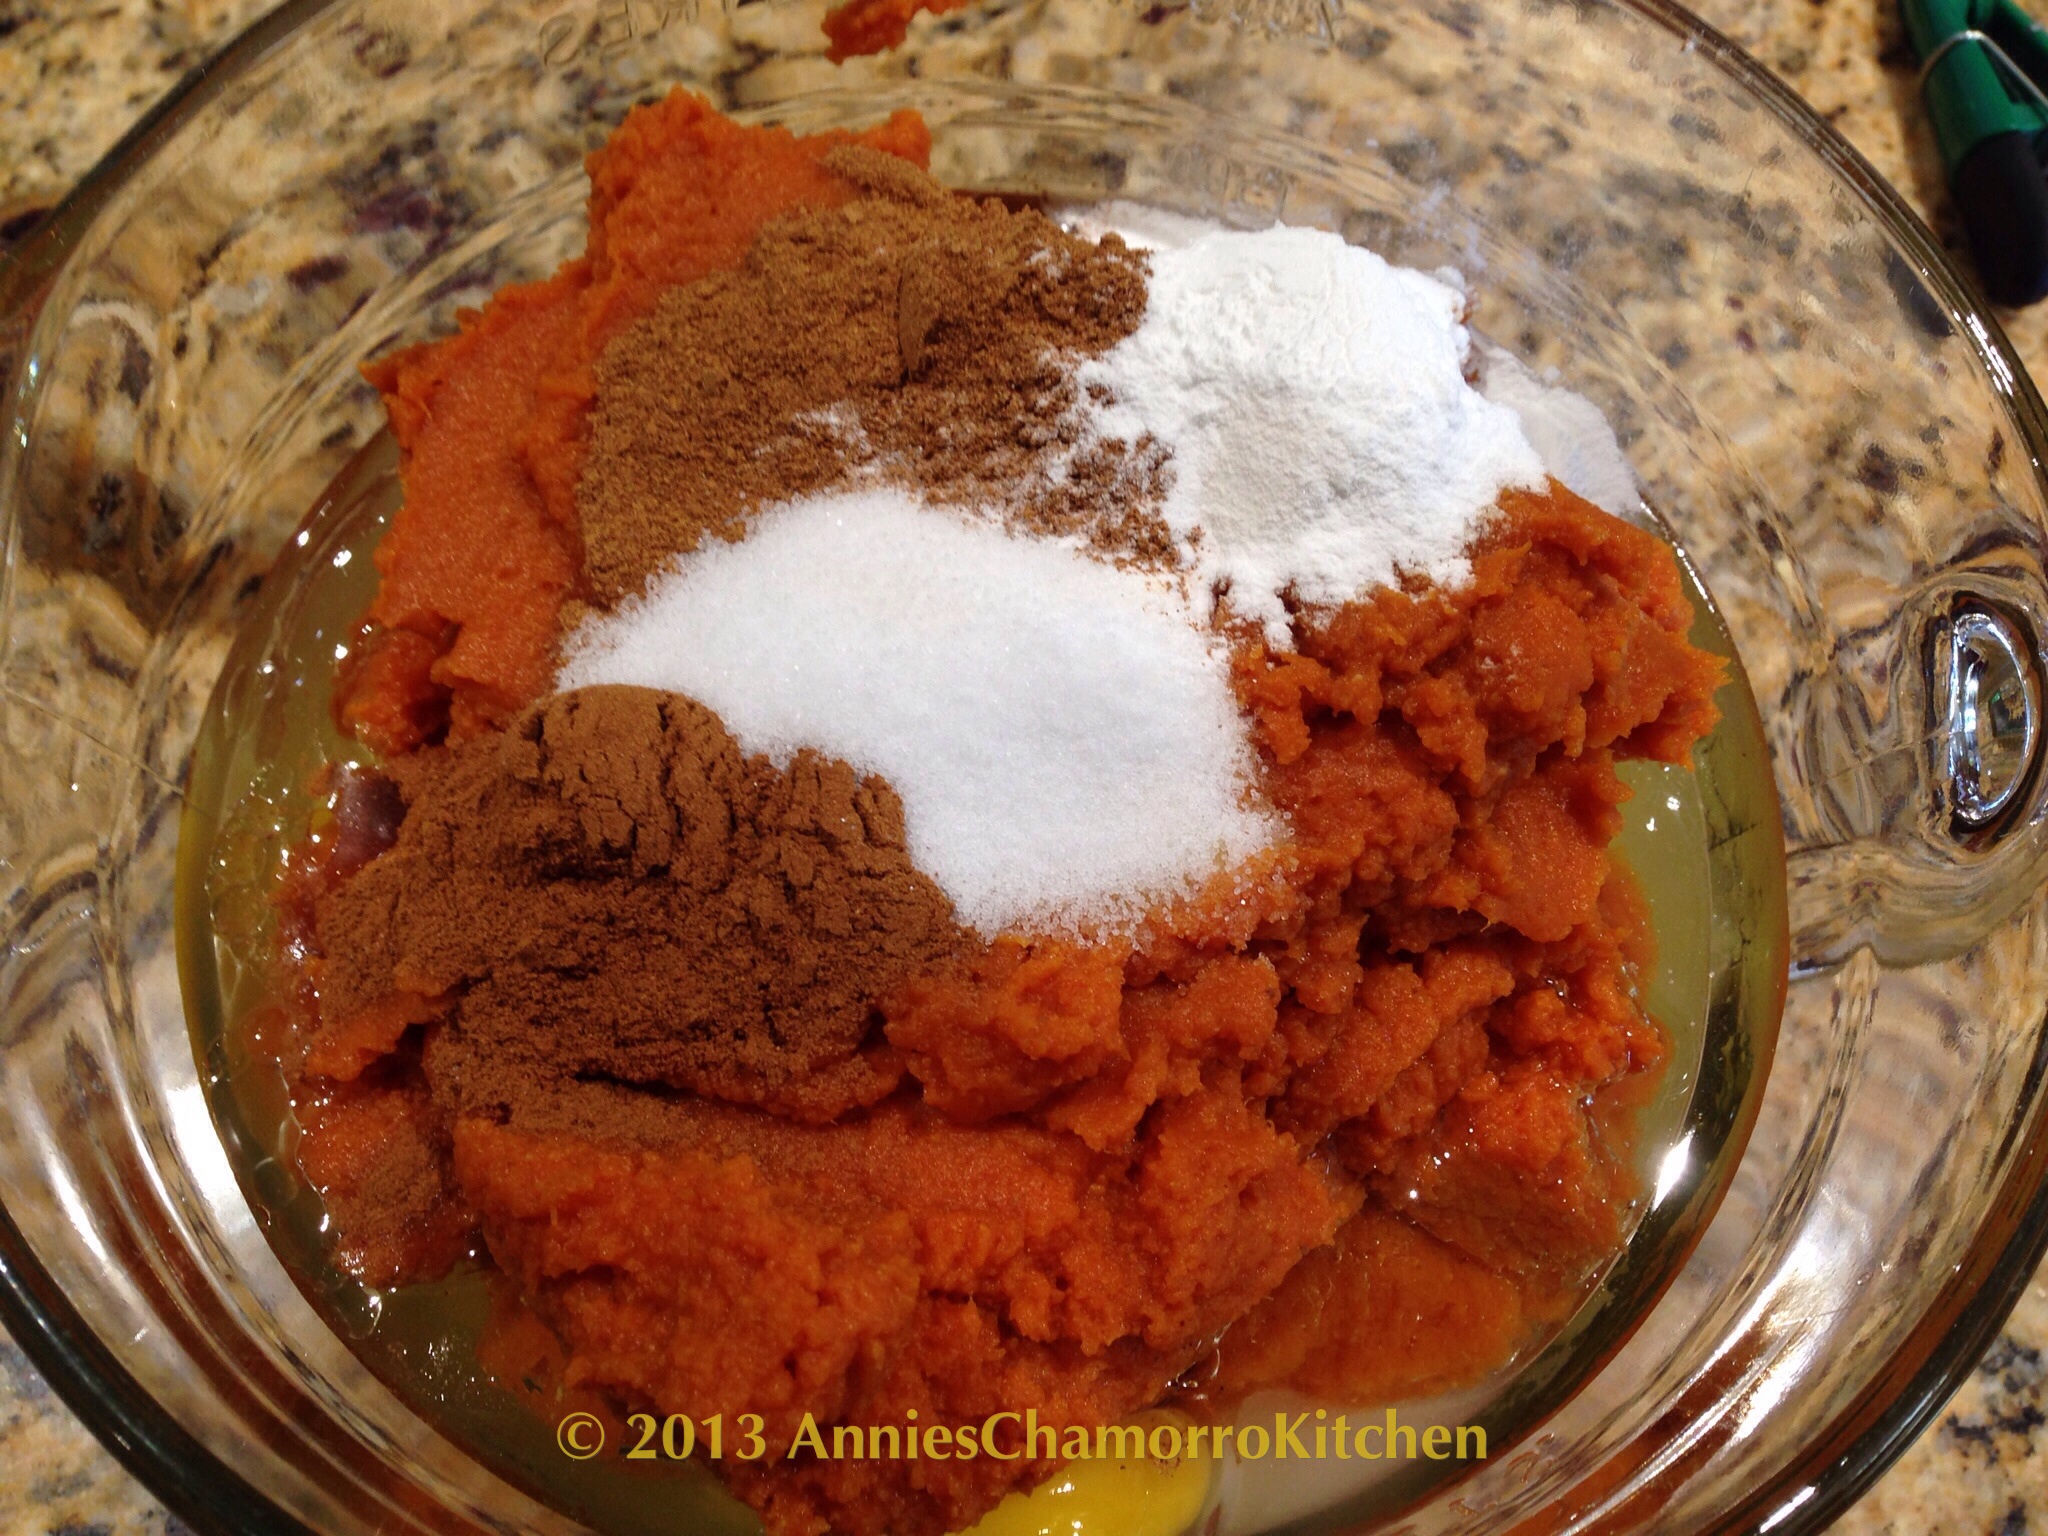
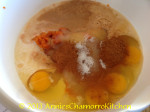
Add the cinnamon, pumpkin pie spice, salt and baking powder…

image

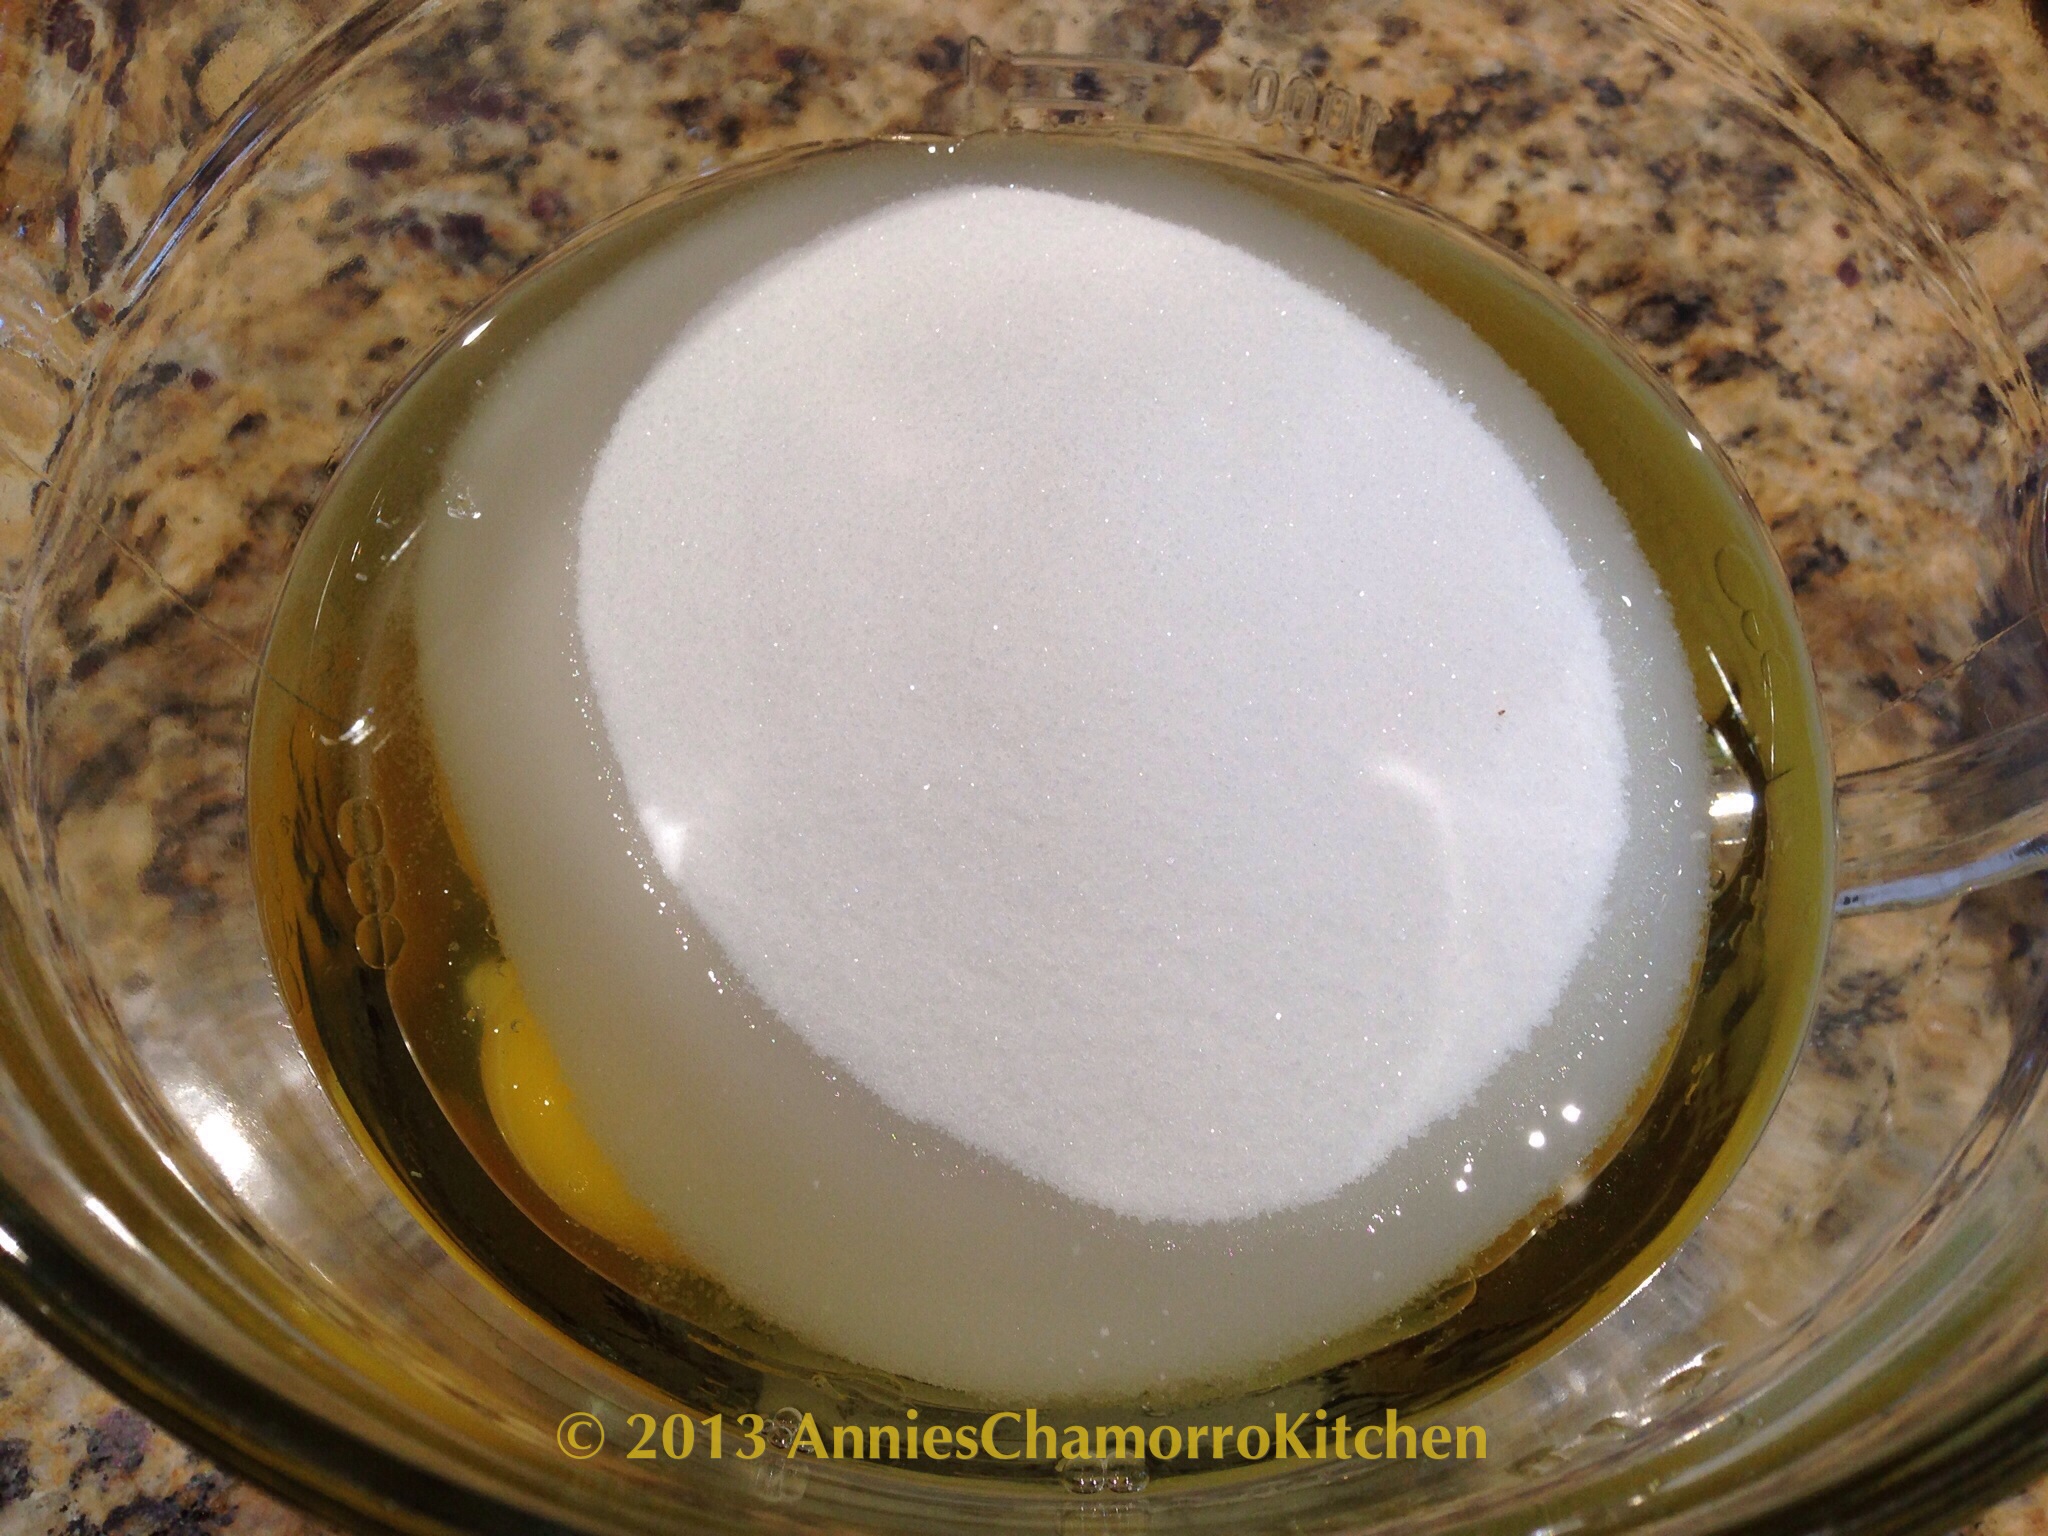
Add the sugar…

image

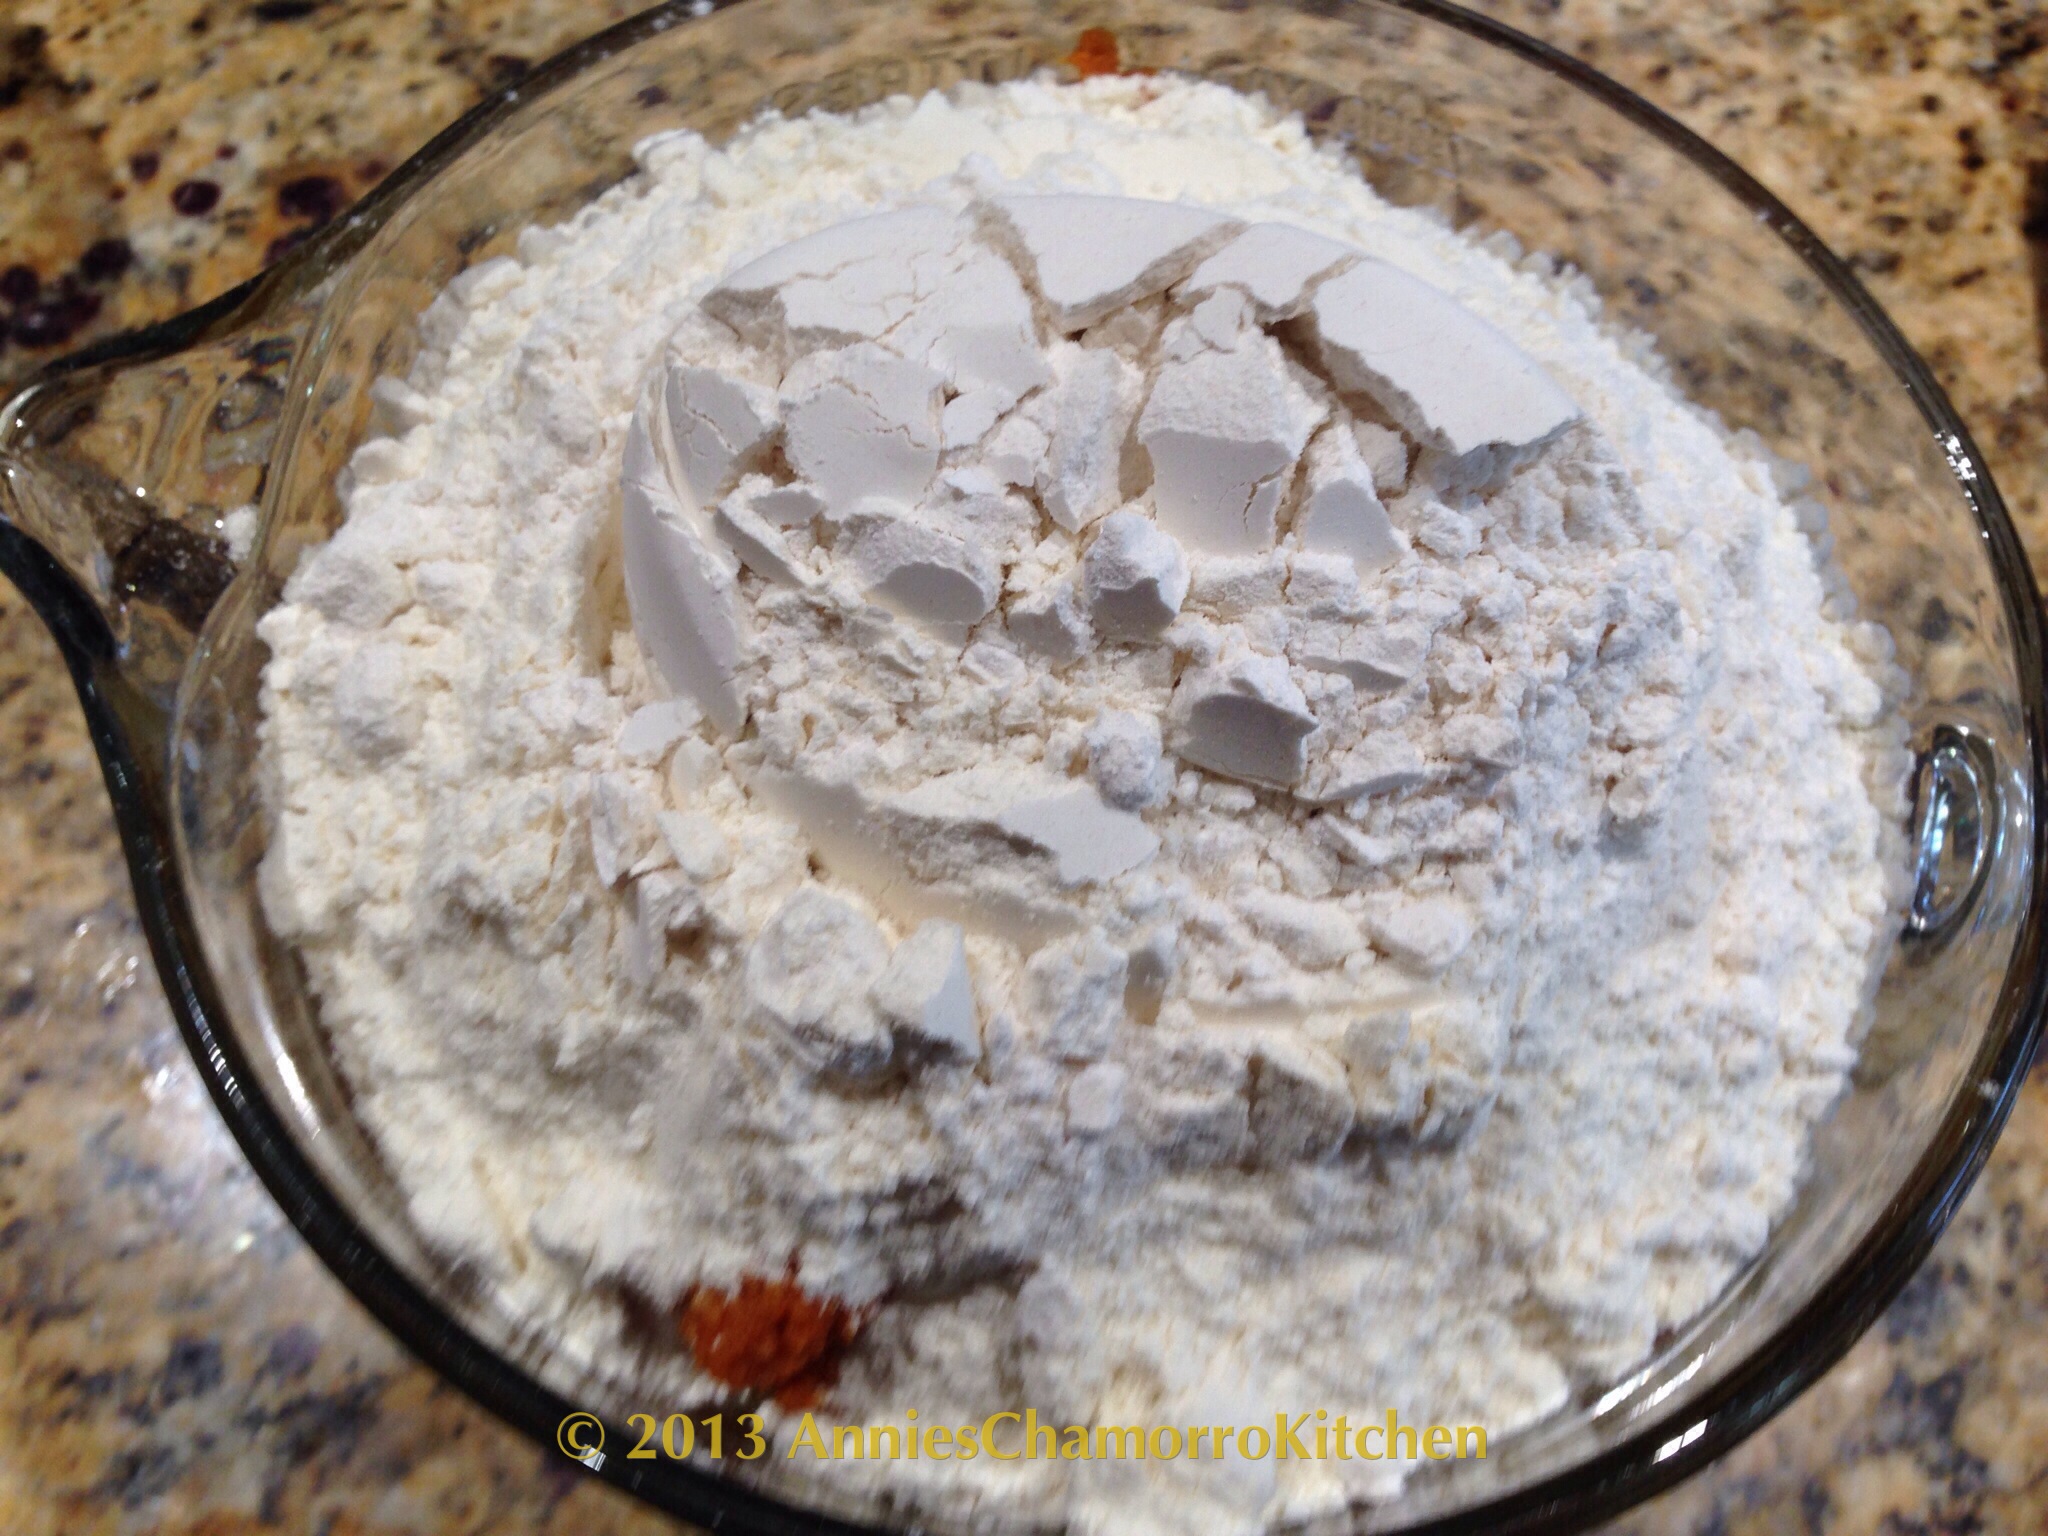
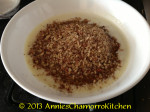
And finally, add the flour to the bowl.

image

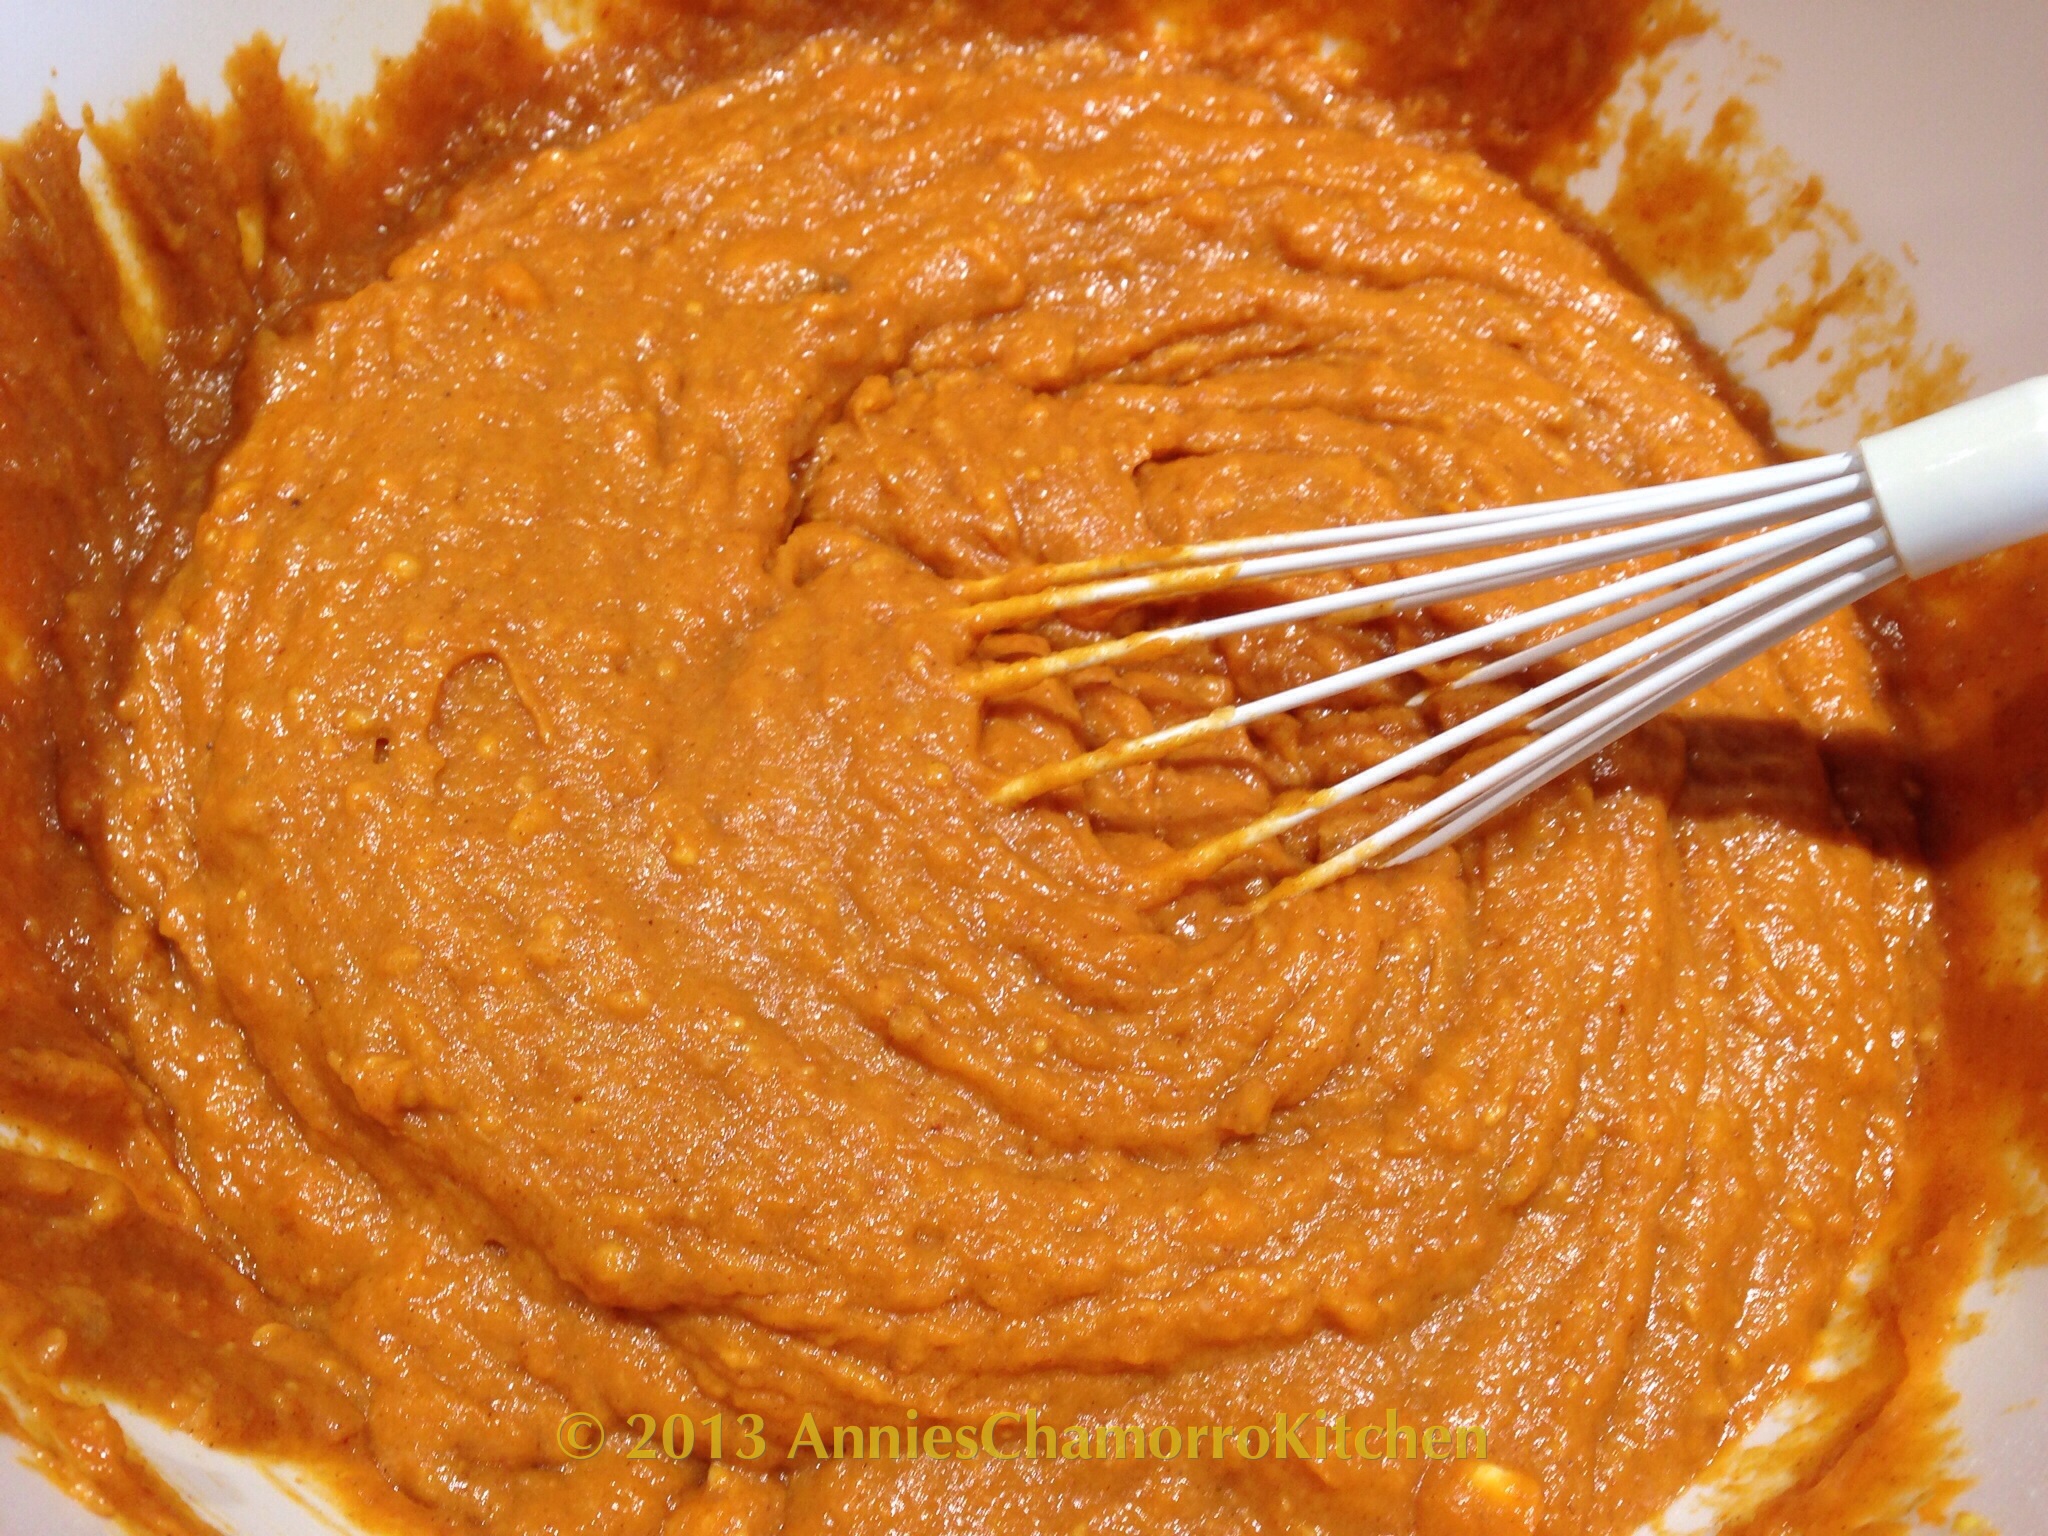
3.  Mix with a whisk until you create a smooth batter.

image

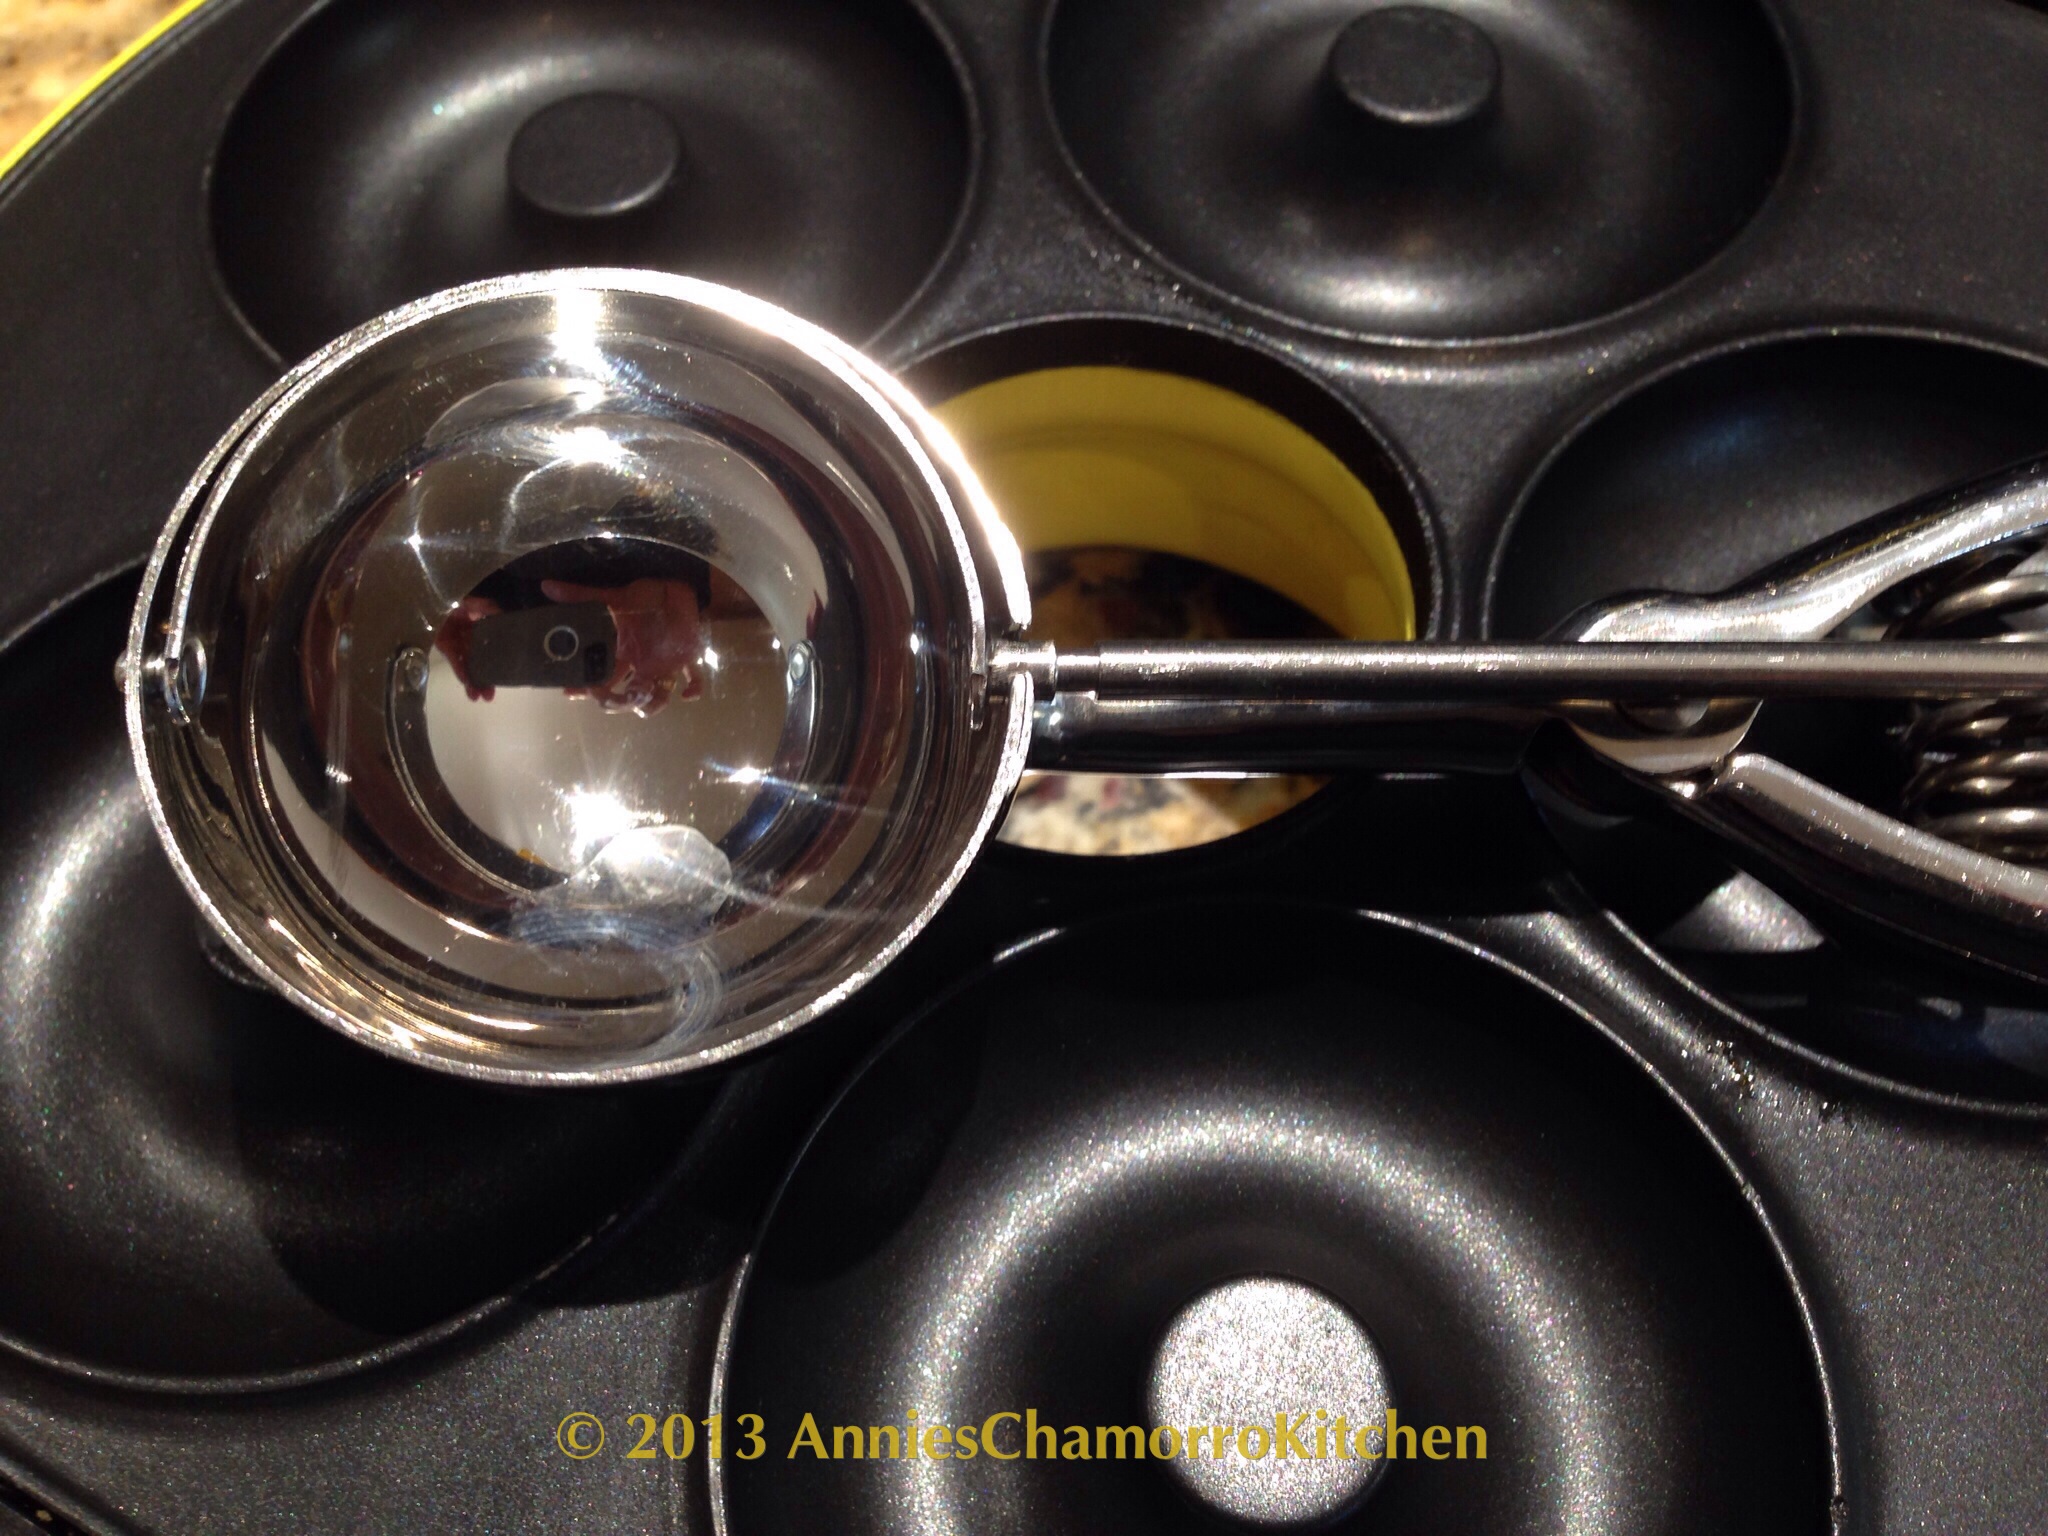
4.  Spoon the batter into the wells of your donut maker, filling according to manufacturer’s instructions.  I use a small cookie scoop to fill my donut maker with about 2 tablespoons of batter.  (Hey, look!  I captured my reflection in the cookie scoop!)

image

image

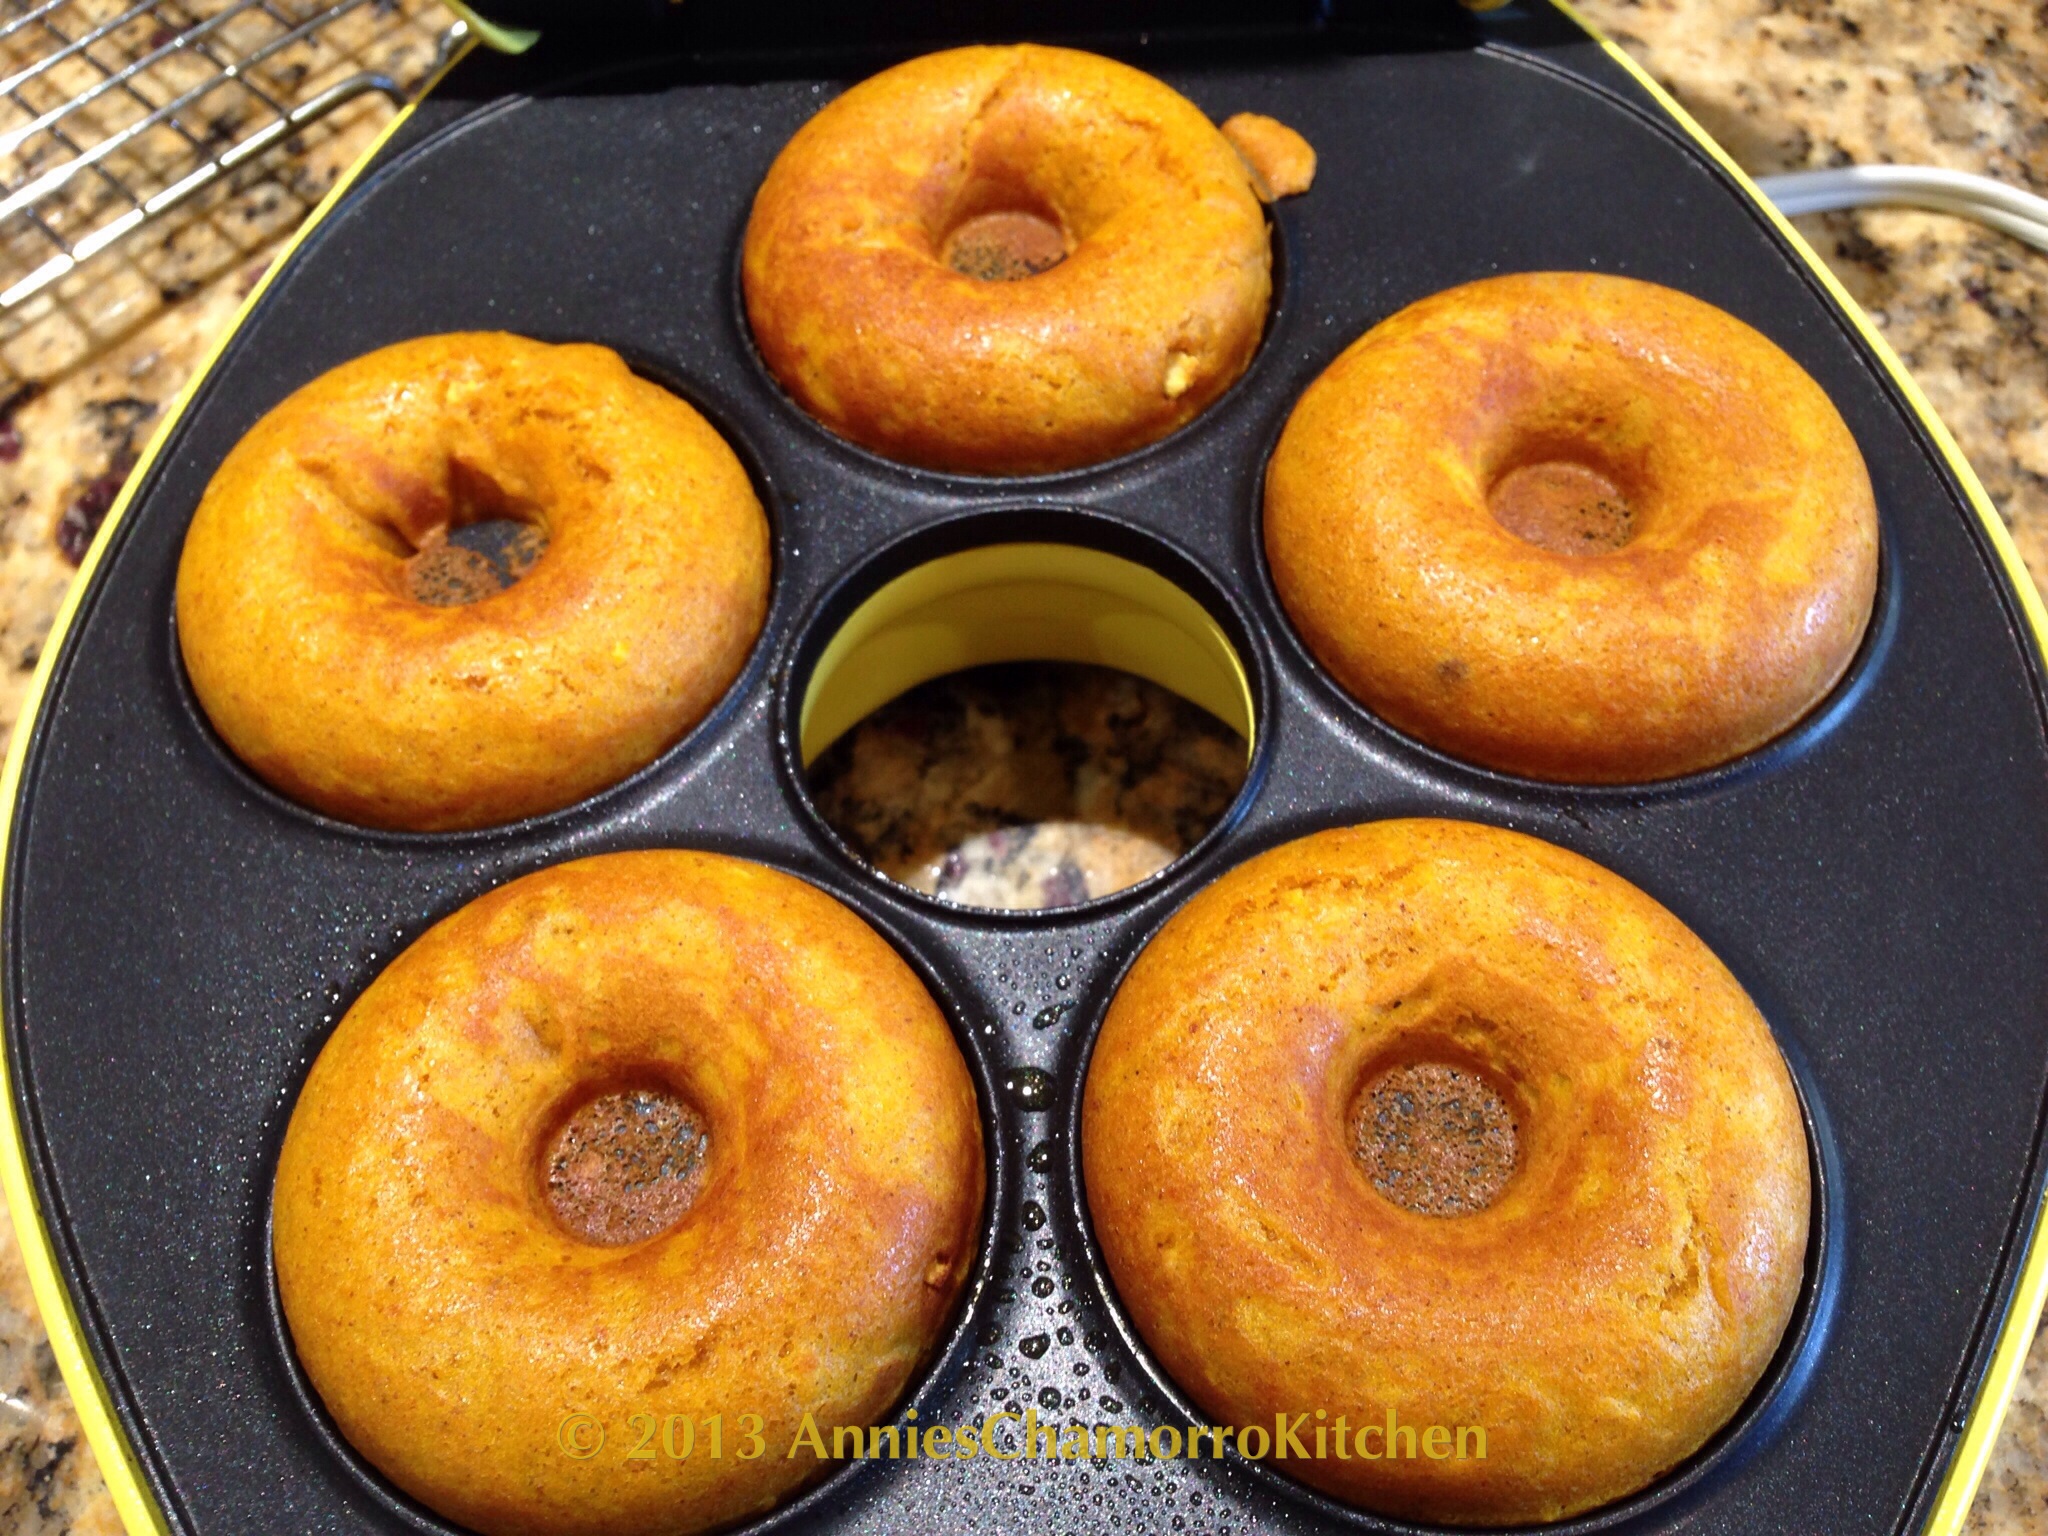
5.  Bake per your donut maker’s instructions, or until the donuts feel slightly firm to the touch, about 5 minutes.  Remove the donuts from the donut maker.

image

6.  Coat the donuts:

To coat with Cinnamon Sugar:

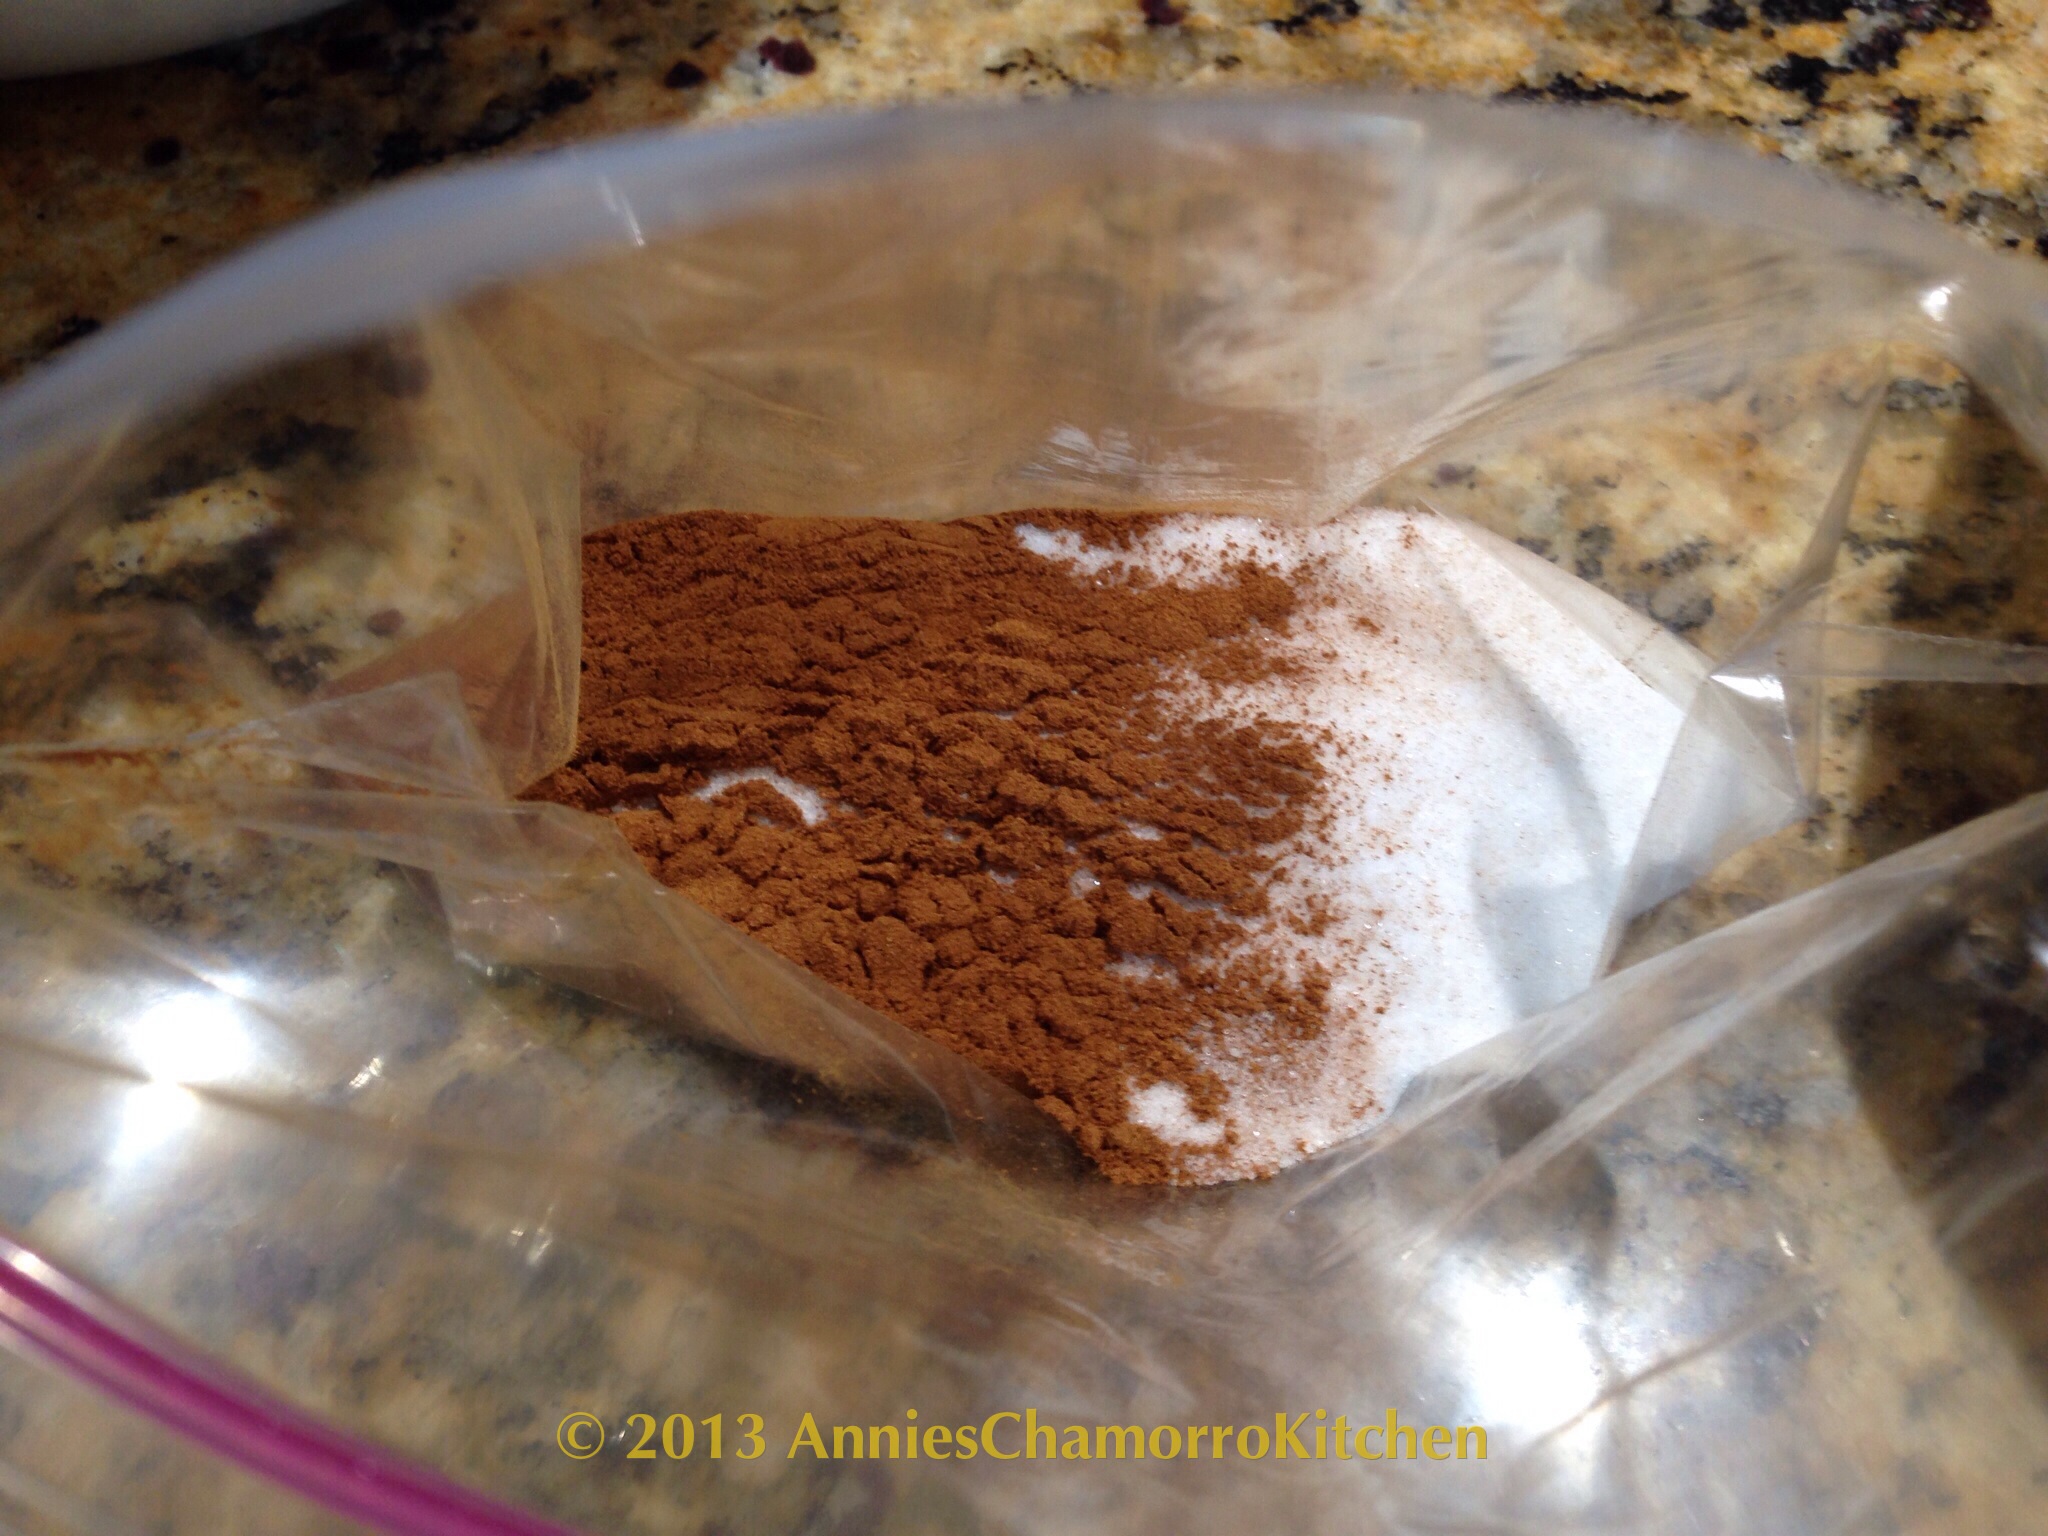
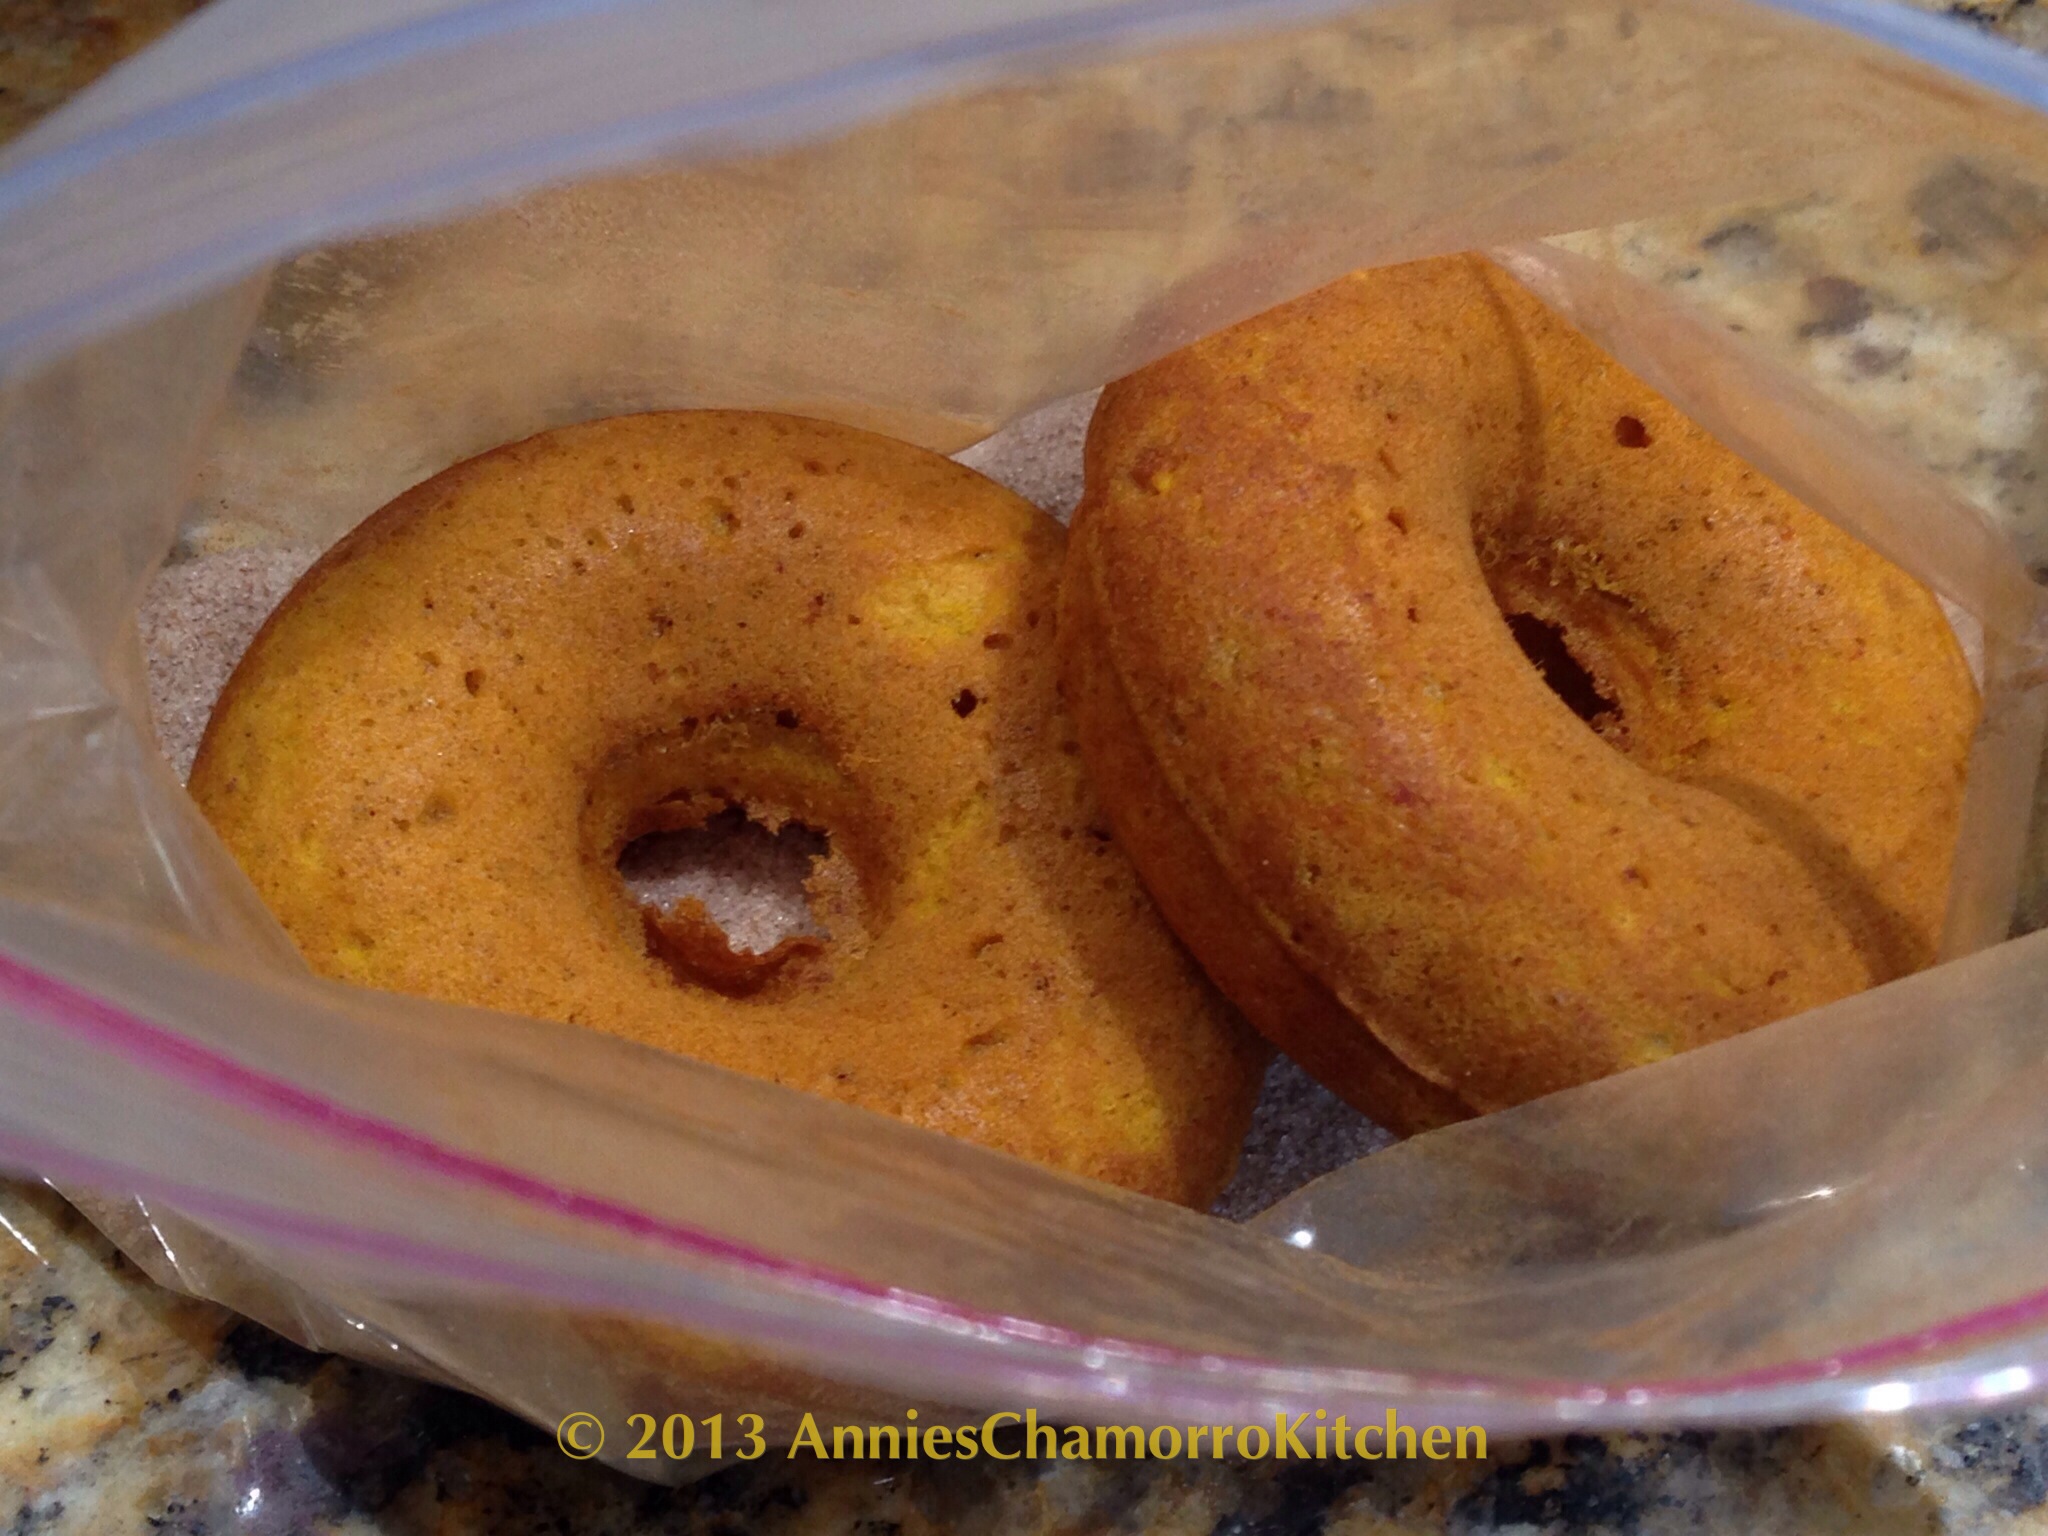
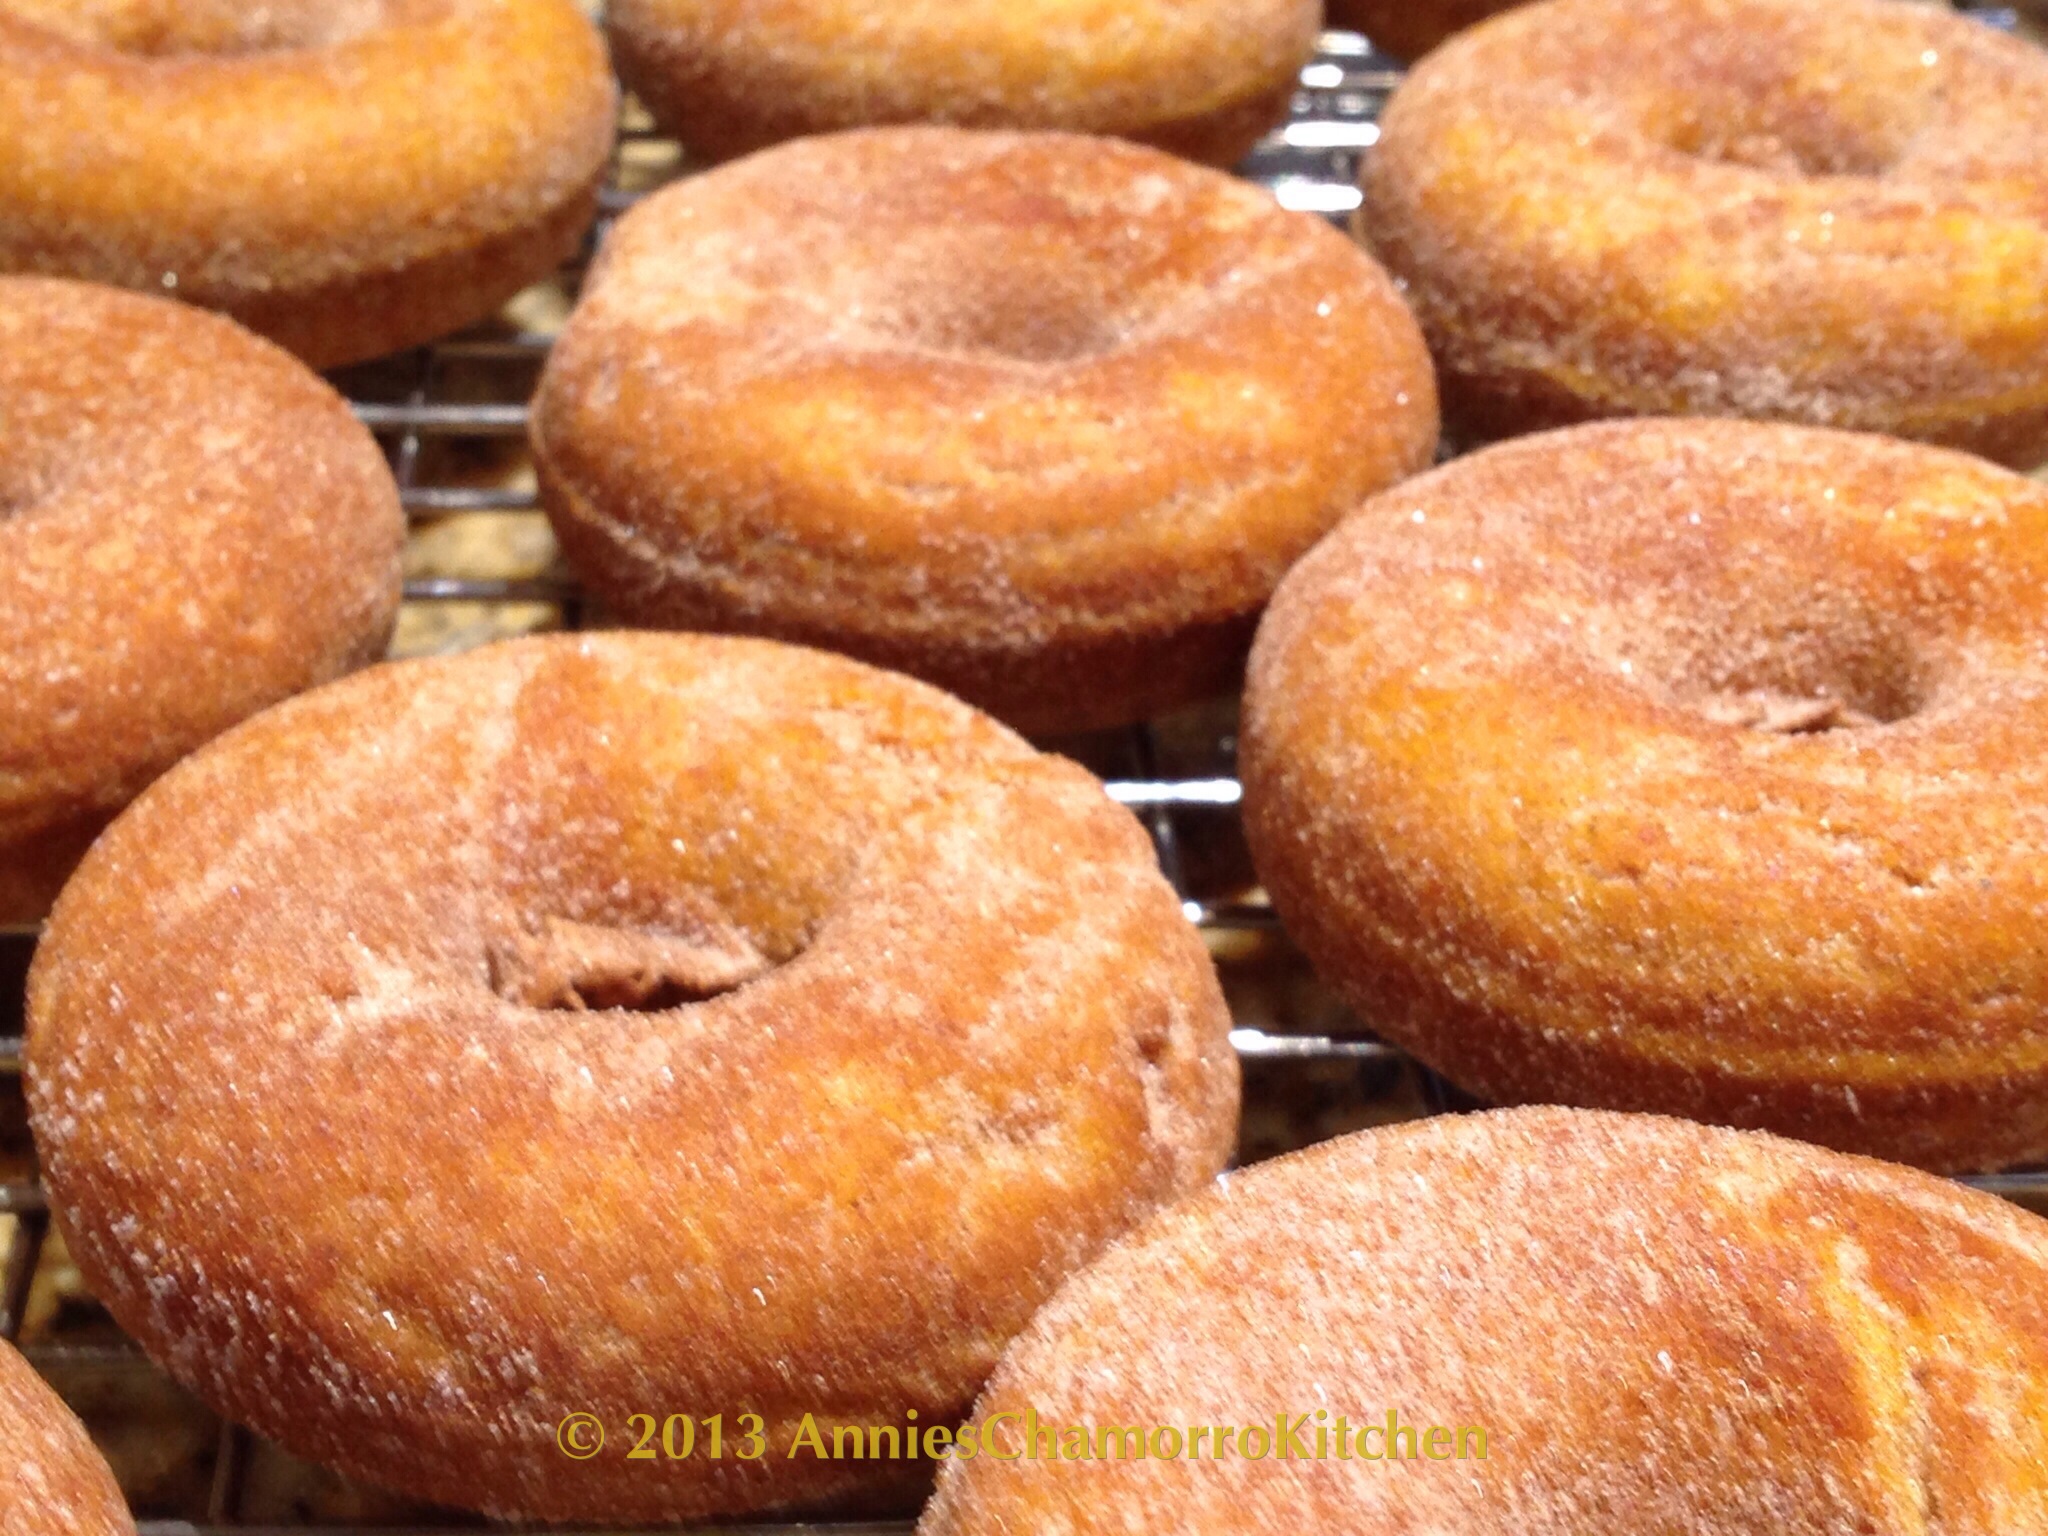
Place the coating ingredients in a ziplock bag; shake to mix.  While the donuts are still warm, place each donut (one at a time) the bag of cinnamon sugar; shake gently to coat.  Repeat until all donuts are coated.

image

image

image

image

To coat with Chocolate Glaze:

Place the chocolate chips and heavy cream in a small, microwave-safe bowl.  Microwave for 45 seconds.  Stir until the mixture is completely smooth.  Dip the top half of each donut into the chocolate glaze.  Place on a wire rack to allow excess chocolate to drip off.

image

image

image

image

ENJOY!

image

Pumpkin-Carrot Crunch Cake

Fall is one of my favorite seasons, not just because of the beautiful fall colors and cooling temperatures, but because I love the smell of the house when I bake up a batch of pumpkin anything.  I say anything because my family loves most everything made with pumpkin.  Pumpkin pie, Pumpkin Turnovers (Pastit or Buchi Buchi), and one of our favorites — Pumpkin Carrot Crunch Cake.

This recipe is my take on the popular Pumpkin Crunch Cake that you must have seen making its rounds on the internet.

I make mine differently.  One thing I do differently is instead of sprinkling dry cake mix over the pumpkin filling, I make a cake and nut layer by mixing together melted butter, chopped nuts and the cake mix, then spreading it onto the bottom of a pan, making a delightful crust of sorts.

My pumpkin filling is essentially a custard, forming a rich and creamy layer on top of the cake and nut crust.

And finally, the top layer is not just plain old Cool Whip Whipped Topping, but a thicker version made so by adding sweet vanilla pudding to it.

My version also uses carrot cake instead of regular yellow cake mix, although yellow cake is perfectly fine if that’s what you prefer.  We love carrot cake in our house, so I incorporated two favorites into one, and voila, there you have my Pumpkin Carrot Crunch Cake!

Give my recipe a try.  I think you’ll like it.  🙂

PUMPKIN CARROT CRUNCH CAKE

IMG_0820

INGREDIENTS:

Pumpkin Filling:
  • 1 15-oz can pumpkin puree
  • 4 eggs
  • 1 cup evaporated milk OR heavy cream
  • 3/4 cup sugar
  • 1 teaspoon vanilla extract
  • 2 teaspoons cinnamon
  • 1/2 teaspoon salt
Cake & Pecan Crust:
  • 2 sticks butter, melted
  • 1 teaspoon cinnamon
  • 1 1/2 cups pecans
  • 1 box super moist carrot cake mix
Whipped Topping:
  • 16 ounces Cool Whip
  • 1 box (3.4 oz) instant vanilla pudding & pie filling
  • 1 1/2 cups milk

DIRECTIONS:

1.  Preheat the oven to 425 degrees F.

2.  In a medium sized mixing bowl, whisk together the ingredients for the Pumpkin Filling (pumpkin, eggs, evaporated milk OR cream, sugar, vanilla extract, cinnamon and salt). Set aside.

IMG_0050 IMG_0058

3.  Finely chop the nuts using a food chopper or processor.

IMG_0062

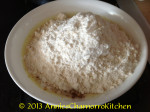
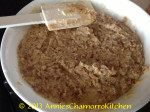
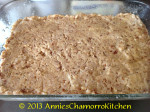
4.  In a separate bowl, mix together the ingredients for the Cake & Pecan Crust (melted butter, chopped nuts, cinnamon and cake mix).  Spray the bottom and sides of a 13×9 cake pan with cooking spray (butter flavored, or the one for baking that has flour in it).  Spread the cake mixture evenly into the bottom of a 9×13″ pan.

IMG_0065 IMG_0068 IMG_0069 IMG_0070 IMG_0064 IMG_0072

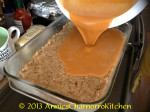
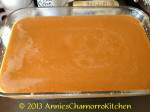
5.  Pour the pumpkin filling over the cake and pecan mixture.  Bake at 425 degrees for 10 minutes then reduce the temperature to 350 degrees and continue to bake for 45-50 more minutes. The cake is done when a knife inserted comes out clean and the sides are set (the pumpkin filling will look firm and dry from the edge of the pan inward about two inches) but the middle may still be jiggly.  When you take the cake out of the oven, it will continue to cook as it cools.  Allow the cake to completely cool on the countertop.  Top with Whipped Topping when the cake is completely cooled.

IMG_0073 IMG_0074 IMG_0816

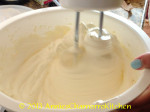
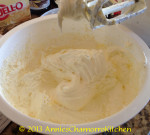
6.  To make the whipped topping, place the Cool Whip into a large mixing bowl.  Sprinkle the dry pudding mix over the Cool Whip.  Add the milk.  Using an electric mixer, mix until all the ingredients are combined.  Let it sit for about 5 minutes to set.  Keep refrigerated until ready to use.

IMG_0075 IMG_0076 IMG_0083 IMG_0085

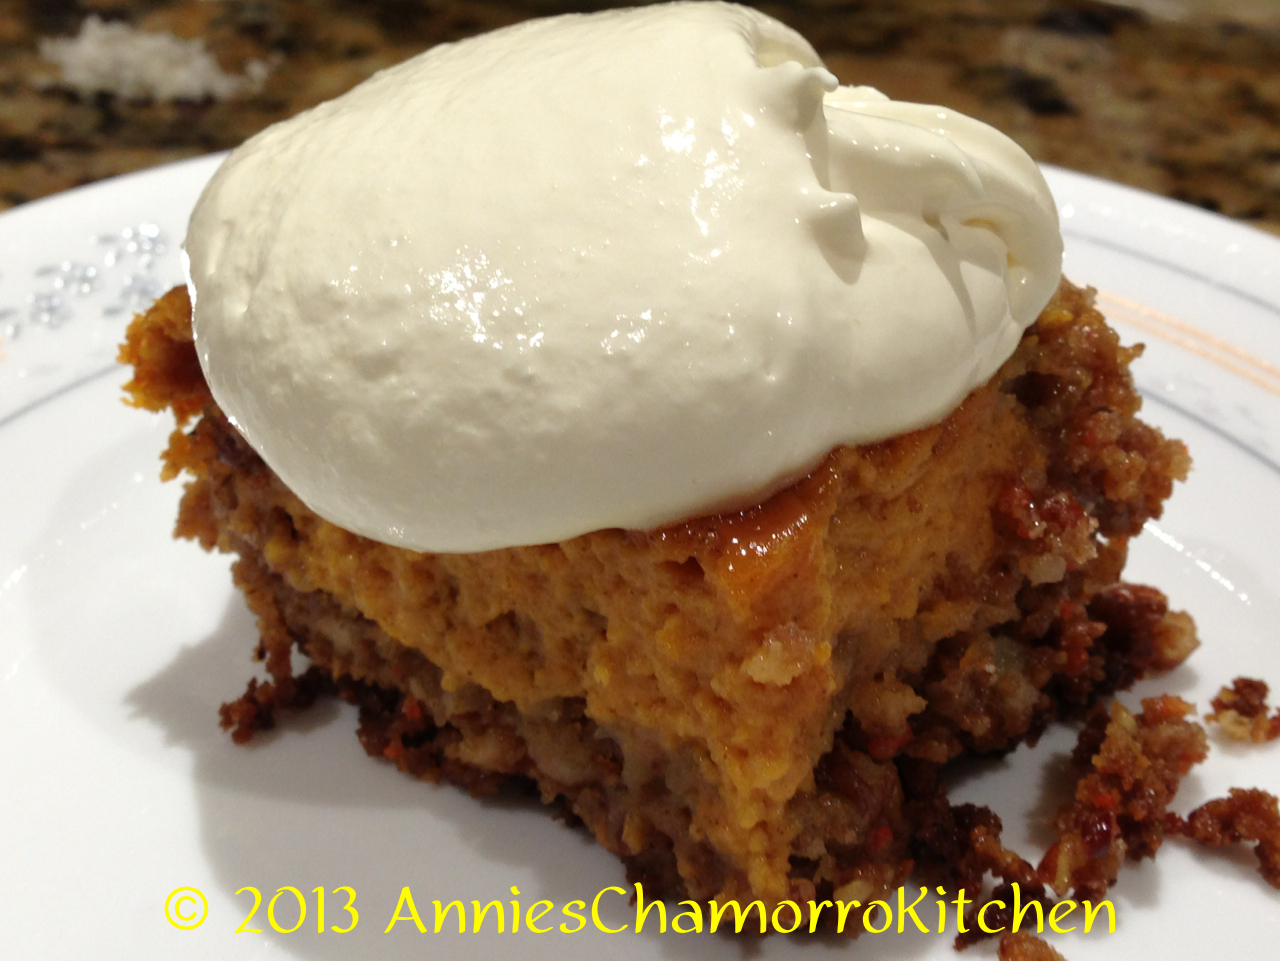
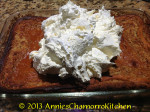
7.  After the cake has cooled, top with the whipped topping mixture.

IMG_0088 IMG_0091

8.  Serve and enjoy!

IMG_0094

IMG_0093

Pumpkin Turnovers (Pastit or Buchi Buchi)

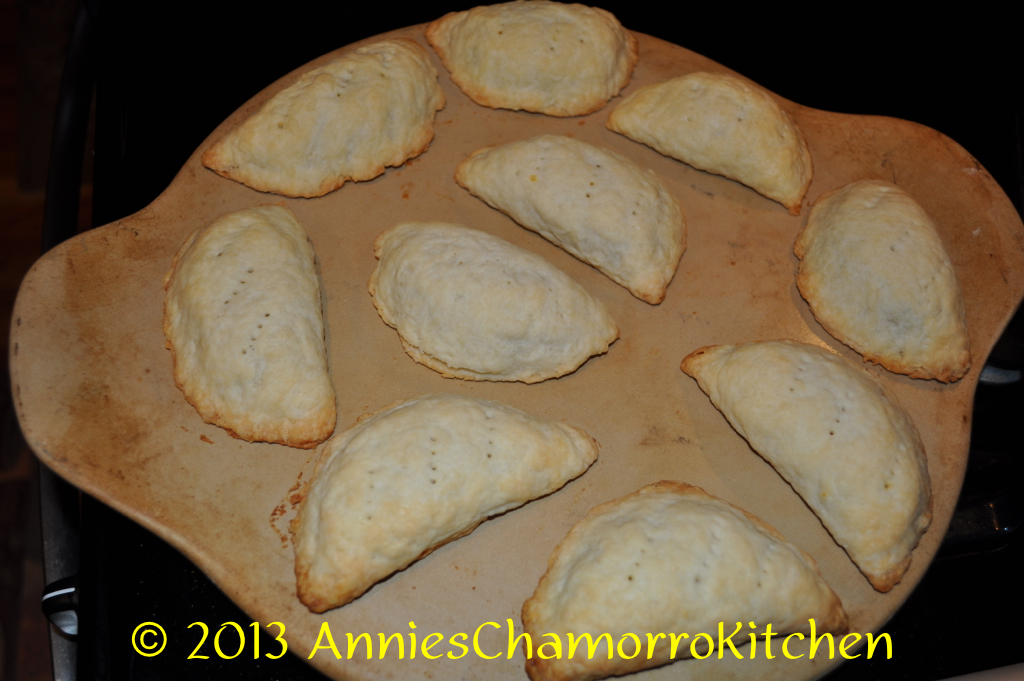
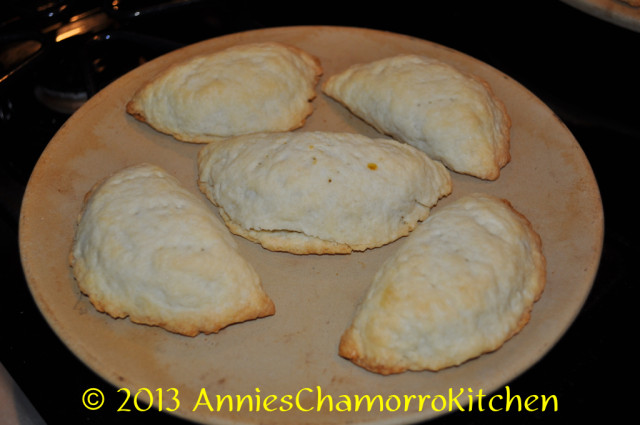
This is one of my most favorite desserts.  It’s a turnover filled with a sweet, cinnamon-flavored pumpkin jam.  In Chamorro, Pastit is the term for a baked turnover. Buchi Buchi is the term for fried turnovers.
Pastit

Pastit ~ Baked Pumpkin Turnovers

My mom used to make this for us all the time, only she used fresh pumpkins instead of canned.  Making pumpkin jam with fresh pumpkins took hours!  However time consuming that whole process was, that’s the way to do it–fresh is always best, in my opinion.

Using canned pumpkin has its advantages.  You can make Pastit any time of year if you used canned pumpkin (provided the grocery stores have it in stock).  I remember one year when you couldn’t find a can of pumpkin anywhere!  But I digress….This dessert can be enjoyed year-round is my point; you don’t have to wait for fall to bake up a batch of these delicious treats.

My dad loves these turnovers, but his favorite filling is made with papaya–the green kind, not the ripe ones.  You really can’t make a papaya jam with the right consistency if you use ripe papayas.  In Chamorro, preparing papaya this way is called Konsetba.  Konsetba is also used to refer to candied young (green) papaya.

I do have one daughter who won’t touch this with a 10-foot pole.  It’s something about the fact that pumpkin is an ingredient and it just isn’t right eating a vegetable pie for dessert.  No matter how many times I tell her it’s technically a fruit, she won’t have it.

More for us, I say.  🙂

Give my recipe a try. I think you’ll like it!  🙂

Pumpkin Turnovers (Pastit or Buchi Buchi)

My recipe makes between 12-15 turnovers.

Ingredients:

Crust:

  • 3 cups flour
  • 2 teaspoons salt
  • 1 stick butter (for especially flaky dough, use 2 sticks of butter, but freeze it prior to making your dough, and work fast so the heat from your hands doesn’t melt the butter while you handle the dough)
  • 1/2 – 3/4 cup ice-cold water
  • 1/4 cup sugar

Filling:

  • 1 small can pumpkin purée (do not use pumpkin pie filling)
  • 1 cup sugar
  • 1 teaspoon cinnamon

Directions:

Make the pumpkin jam:

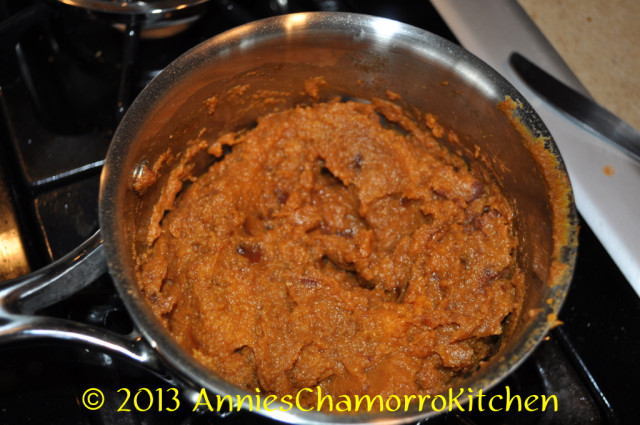
1.  Drain the pumpkin overnight to remove excess water; pour the contents into a fine mesh strainer, then set the strainer over a bowl.  Cover with plastic wrap and refrigerate.  In the morning, most of the water will have drained out.  Instead of draining overnight, you can also heat the pumpkin over low heat, stirring constantly; cook until there isn’t much steam left rising from the pumpkin (an indication that most of the water has evaporated).

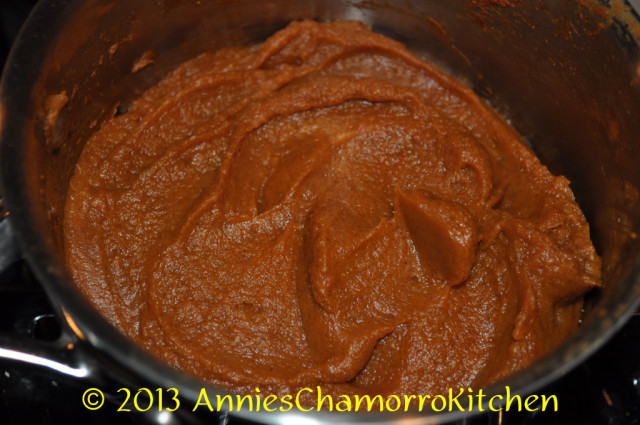
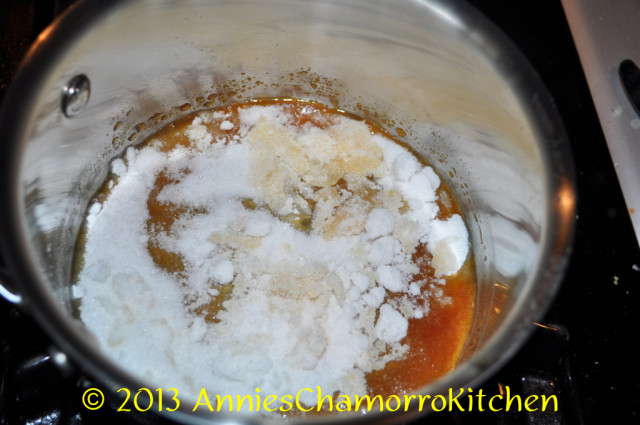
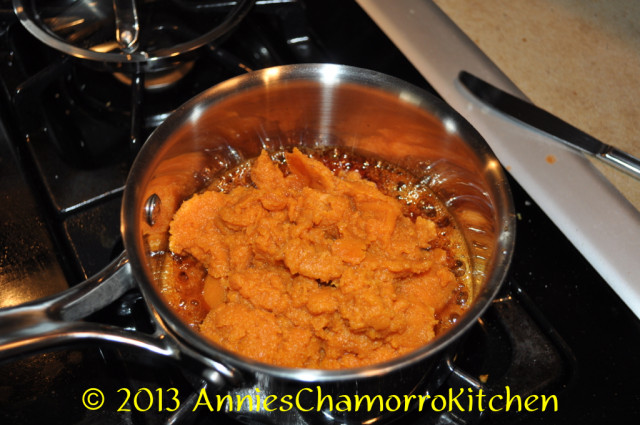
2.  In a separate pan, melt the sugar until browned; stir often to keep the sugar from burning.  Add the drained or heated pumpkin to the melted sugar. Add cinnamon (add more or less to taste).
Events - 0081

*Note: When you add the pumpkin to the melted sugar, it might SIZZLE like crazy! This is because the caramelized sugar is reacting to any remaining water in the pumpkin. When you mix the two, the sugar will actually harden and look like candy. At this point, turn your heat down to low and cover your pot; cook the pumpkin jam until all the hardened sugar has melted. Stir frequently to prevent the bottom from burning. Allow the jam to cool completely before filling the dough.
Events - 0083 Events - 0084 Events - 0085

Make the crust:

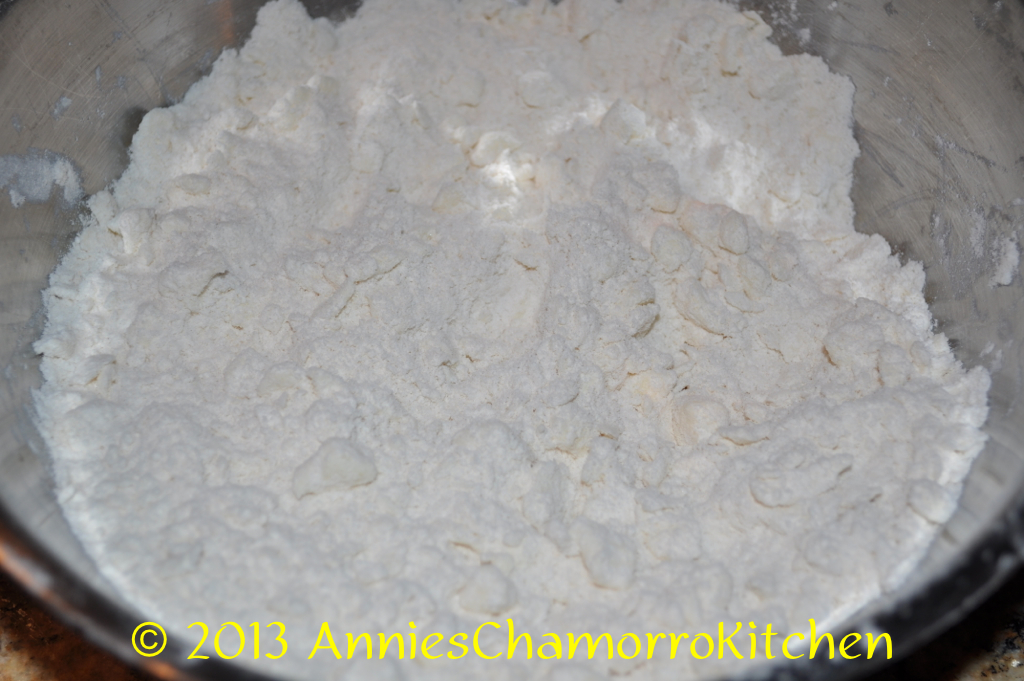
1.  Combine the dry ingredients for the crust.  Cut the butter into the flour until you get tiny bits of butter mixed with the flour.

There are several ways to do this:  you can use a pastry cutter, or if you don’t have a pastry blender, you can use two butter knives and literally cut the butter into the flour mixture.  You can also use a food processor.  Here is a neat idea I learned from a cooking show — freeze your stick of butter, then grate it using the largest holes of a box grater.  Lightly mix the grated butter into the flour then place the bowl into the freezer for a few minutes to get the butter to be really cold again before adding the water.

The thing to remember is that the butter should be as cold as possible when you do this (frozen butter is even better); having little bits of butter mixed in with the flour is key to a flaky crust.
Events - 0086

2.  Add cold water to the flour-butter mixture, a few spoonfuls at a time, and gently mix (or pulse in a food processor).  Stop adding water when the mixture starts to stick together and forms a dough.  How can you tell if it’s enough water?  Scoop some of the mixture into your hand then squeeze it together.  If the mixture holds its shape (no crumbs fall off), then you added enough water.  DO NOT knead the dough at this point.  You don’t want to handle the dough too much, and you most certainly want to make sure you still see bits of butter in the dough.

3.  Make golf ball sized pieces dough; use a rolling pin to flatten each ball into a thin circle.  Add 2-3 tablespoons of pumpkin filling to the center of the dough; spread the filling out to about 1/2 inch from the edge. Fold the dough over and seal edges by pressing down on it with a fork.

4.  Optional: brush the tops of the turnovers with a beaten egg then sprinkle liberally with turbinado sugar (also called sugar in the raw).

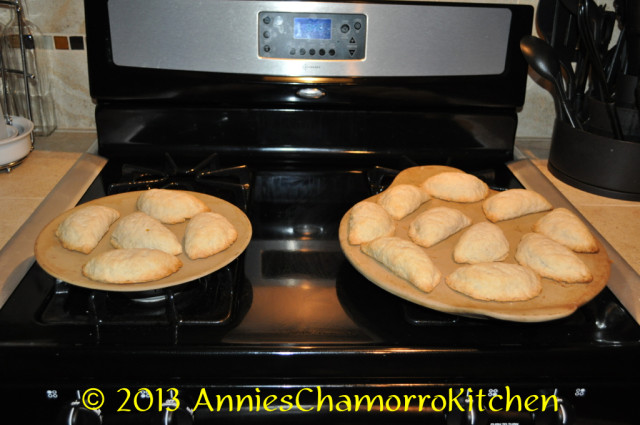
5.  Bake at 350 degrees for 35-40 minutes or until the crust is golden brown.
Events - 0091

*For buchi buchi (a fried version), decrease the amount of butter (use only 1 stick); follow the rest of the recipe instructions.  Deep-fry each turnover until golden brown.

ENJOY!