Archive for Author AnniesChamorroKitchen

About the Author: AnniesChamorroKitchen
Hafa adam means "hello" in Chamorro, the native language of my island home, Guam U.S.A. Guam is the proverbial melting pot, abounding with cultural diversity that is aptly displayed in the variety of food we eat and share. The focal point of most Chamorro families centers around family gatherings and cooking. In my home, most of my guests congregate in my kitchen. It is where we do our best catching up, and whee lasting emories aremade. Browse through my selection of Chamorro and other recipes m and please leave me a comment if you try my recipes to let me know what you think of them. I hope you enjoyed your time in my kitchen. Come back soon! This site is work-in-progress, so please bear with me as I grow this site to a place where you'll love to visit. Happy Cooking! ~ Annie

Caramel Apple Cake

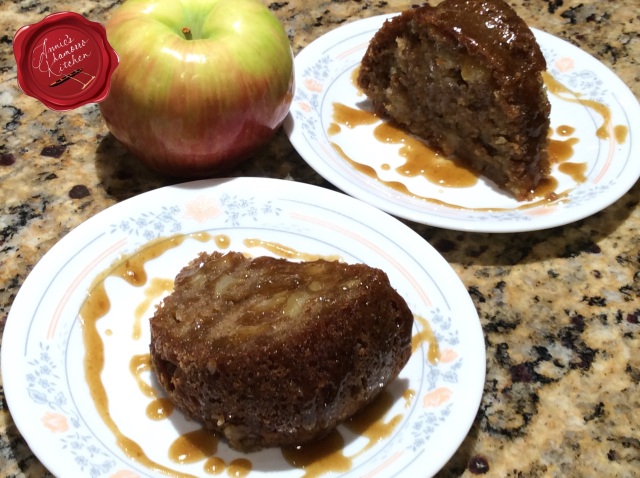
Fall is probably my favorite season because of all of the yummy fall fruits that abound this time of year.  Apples are in full season right now, and rather than wonder what to make with them, how about you bake my friend, Vikki’s Caramel Apple Cake?

image

This cake is incredibly moist, and the thick batter suspends chunks of sweet apple so that they don’t sink to the bottom of the cake during baking.  You get a taste of sweet apple and cinnamony (my new word) goodness in every bite.

My husband took some cake to work and shared it with his boss, who said this was the best apple cake he’s ever had. (Thanks, Vikki!) 🙂

image

This cake is screaming your name…wait, it’s screaming MY name.  I need to make another one.  My family devoured the one I made the other night.  It’s that good.

Let’s get to it.

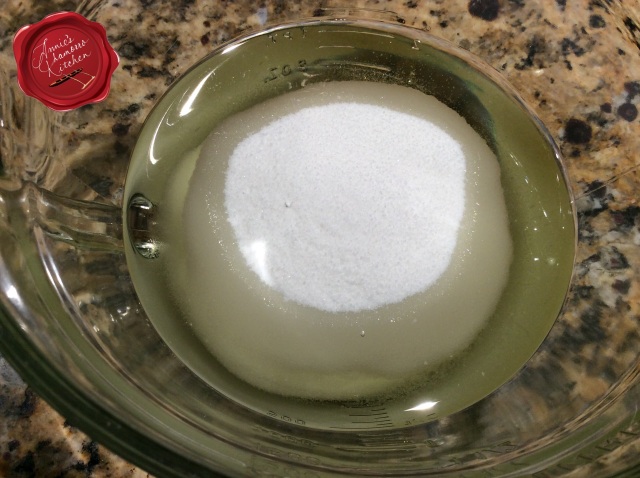
Whisk the oil and sugar together in a large mixing bowl.

image

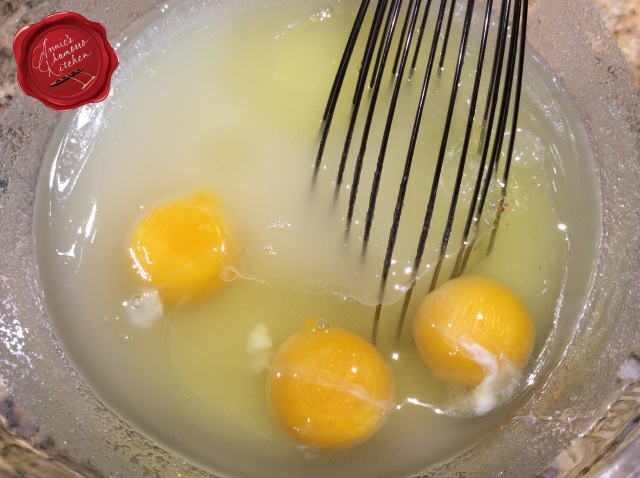
Whisk the eggs into the sugar-oil mixture.

image

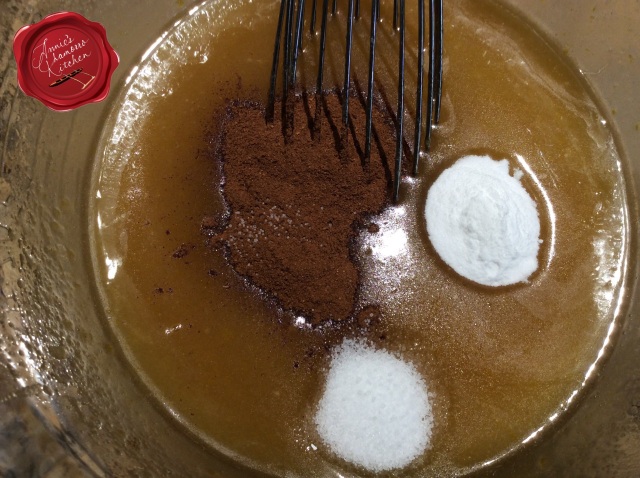
Add the vanilla extract, apple pie spice, salt and baking powder; whisk to combine.

image

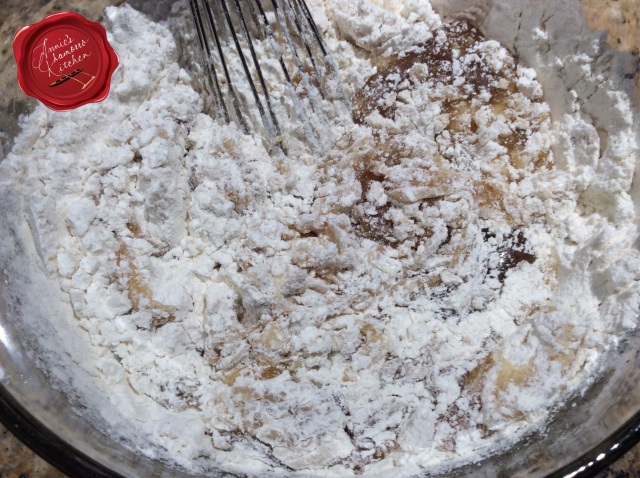
Add the flour to the bowl.  This batter is very thick.  Use a spatula to fold in the flour.

image

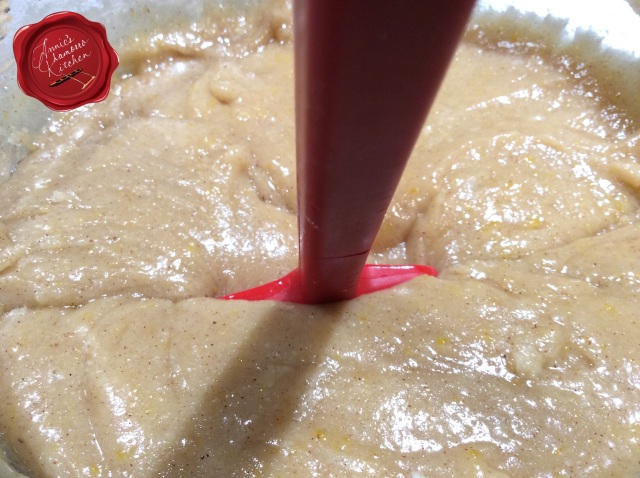
See how thick the batter is?  My spatula is standing straight up in the batter.

image

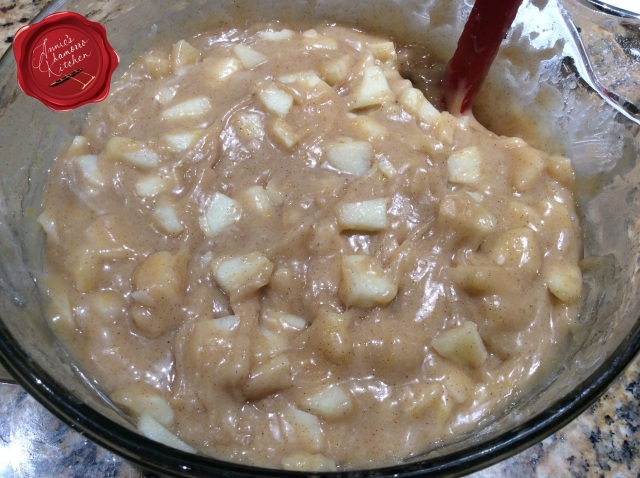
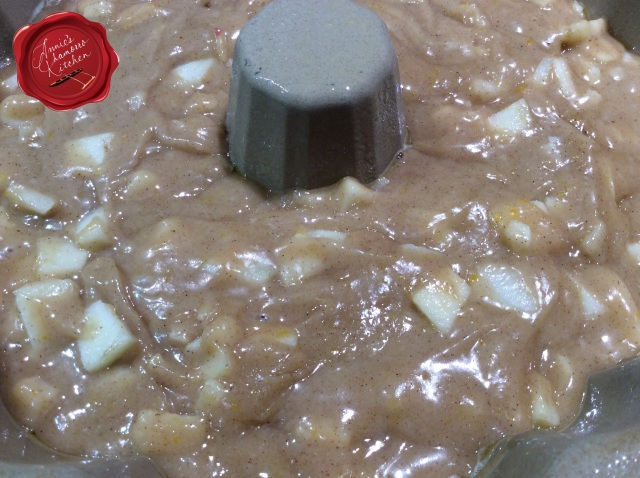
Fold in the chopped apples.  You can’t tell from the photo, but I cut the apples very small and relatively thin to ensure they cook through during baking, but not too small that they turn to mush.  I used Honeycrisp Apples in this recipe, which I recommend you use as well.  They are sweet, crisp apples that hold up to baking.  The apples were still somewhat firm after baking, but cooked through (not over cooked at all).

image

Pour the batter into a greased baking pan.  Bake at 350 degrees for 55 minutes or until it tests done (insert a knife or skewer into the middle; it should come out clean).

image

While the cake is baking, make the caramel sauce.

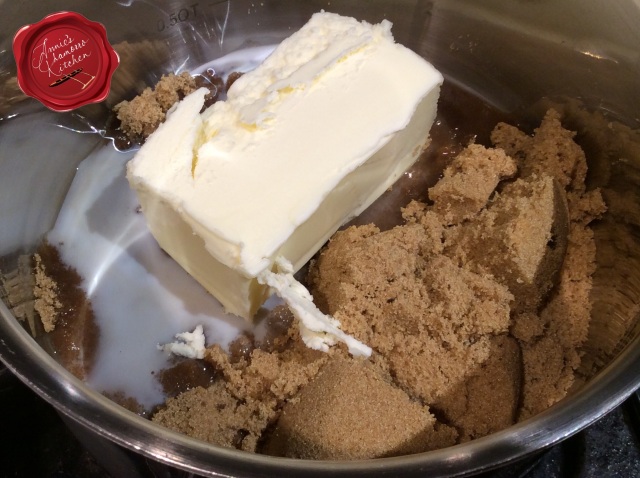
Place the butter, brown sugar, and milk in a small sauce pan over low heat.

image

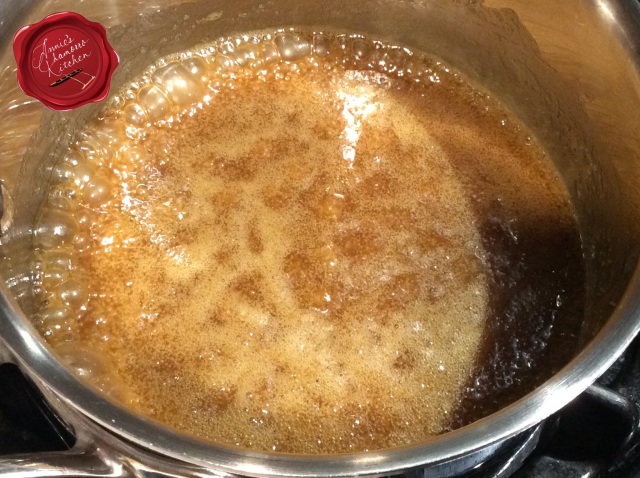
Whisk occasionally, cooking until the butter and sugar melt and the sauce thickens.

Don’t make the glaze until right before the cake is done, however.  The sauce thickens as it cools, so make it just minutes before the cake is done so that it’s thin enough to drizzle.

image

Drizzle the caramel glaze all over the top of the cake.

This is wonderful just as you see it below, but if you want to take it over the top, add a huge dollop of whipped cream and you’ll be in caramel apple heaven! 🙂

Vikki says this cake freezes well.  All you’ll need to do is defrost the cake at room temperature then make up a fresh pot of caramel sauce to drizzle over the cake just before serving.

image

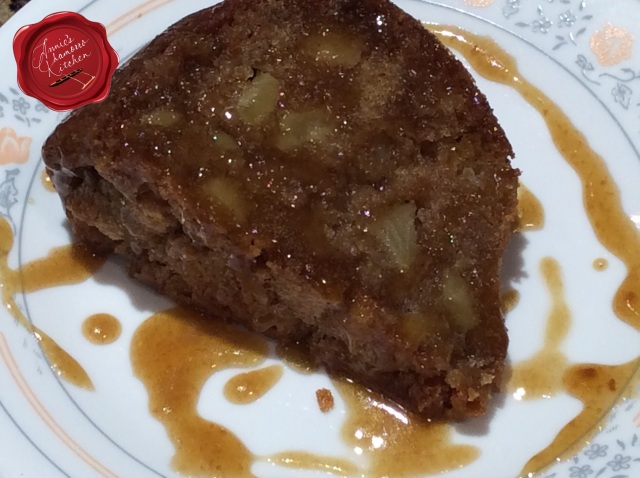
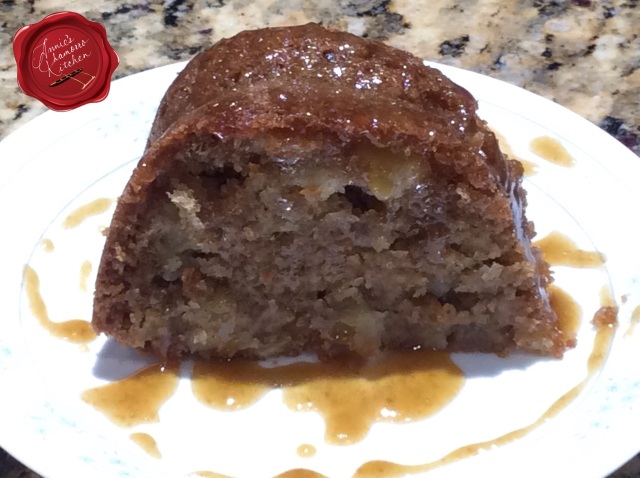
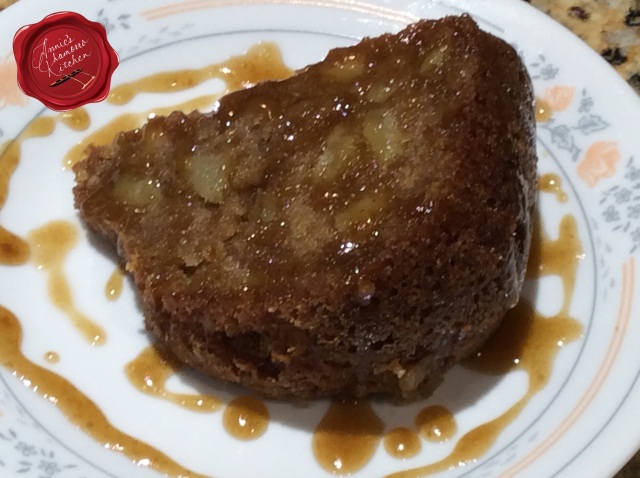
Cut yourself a huge slice of this sinfully delicious cake, serve and ENJOY!

Doesn’t that caramel sauce make you want to run your finger across that plate, scoop up some sauce, and lick your finger?  😉

image


Caramel Apple Cake
 
Prep time
Cook time
Total time
 
A super moist cake with chunks of sweet apples and a luscious caramel glaze
Author:
Recipe type: Dessert
Ingredients
CAKE:
  • 2 cups granulated sugar
  • 1½ cups vegetable oil
  • 3 large eggs
  • 2 teaspoons vanilla extract
  • 1½ teaspoons apple pie spice
  • 1 teaspoon salt
  • 1 teaspoon baking soda
  • 3 cups all-purpose flour
  • 2 medium apples, peeled and finely chopped
CARAMEL GLAZE:
  • ½ cup butter
  • ½ cup packed brown sugar
  • 2 teaspoons milk
Instructions
Make the Cake:
  1. Mix the sugar and oil together in a large mixing bowl.
  2. Add the eggs, vanilla extract, apple pie spice, salt and baking soda.
  3. Fold in the flour.
  4. Fold in the chopped apples.
  5. Bake at 350 degrees for 55-60 minutes or until the cake tests done.
Make the Glaze:
  1. Cook the glaze in a small sauce pan on the stove, just until the butter and sugar melt and the sauce thickens.
  2. Pour the glaze over individual pieces or over the entire cake while it's still warm.
NOTE: I used Honey Crisp Apples (2 of them) -- I recommend them for this recipe. The apples stayed somewhat firm during the baking; they were definitely cooked through, and I liked that the apples didn't become mushy after baking.


Daigo’ Kimchi with Rokkyo & Pickled Garlic

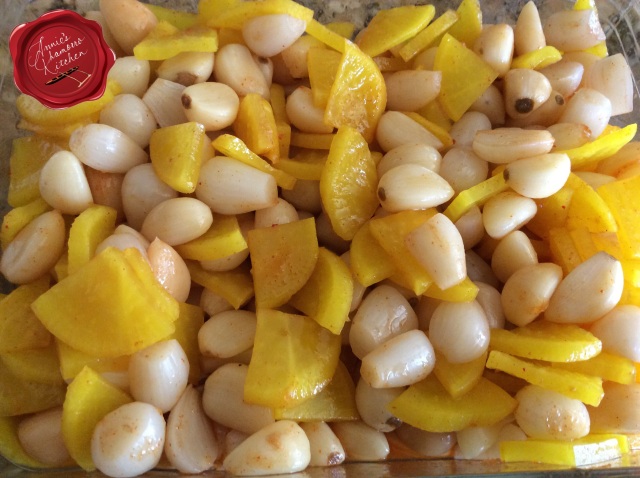
This is a very simple salad or side dish made with pickled daikon radish, pearl onions, and garlic.  This is not a dish you want to eat before venturing out into public…your pores will exude an odor that is guaranteed to chase away even the scariest of vampires.

Daigo’ (pickled daikon radish), Rokkyo’ (pickled pearl onions) and pickled garlic are popular snacks on Guam.  Visit your local village store and you’re likely to see large jars filled with these pickled delights for sale.

imageTo make an easy kimchi, mix together Kimchee Base and white vinegar, adding it to the bowl of mixed vegetables.

image

Let the mixture marinate for about 30 minutes before serving to allow the flavors to develop.  Serve and ENJOY! 🙂


Daigo' Kimchi with Rokkyo & Pickled Garlic
 
Author:
Ingredients
  • 1 package sliced pickled daikon radish
  • 1 small package (about 2 cups) pickled pearl onions
  • 1 small package (about 1 cup) pickled garlic
  • ¼ cup Kimchee Base
  • ½ cup white vinegar
  • Hot pepper, optional
Instructions
  1. Mix all ingredients together.
  2. Let the mixture marinate for 30 minutes to allow the flavors to meld.
Serve and ENJOY!


Braised Oxtail Soup

Don’t let the name of this dish turn you off.  Oxtail, as the name describes, was commonly the meaty part of the tail of an ox.  Nowadays, they are cut from the tails of cattle.  Oxtail is quite meaty, but it requires a long and slow braising to tenderize the tough meat.

image

You can cut the cooking time down several hours by using a pressure cooker.  I prefer braising the oxtail long and slow, however, which helps to develop an incredibly rich broth.

image

Look for oxtail with a lot of meat and not much fat.  Rinse the oxtail then trim off as much fat as you can.  This is what I trimmed off from 5 packages of oxtail (with about 4 oxtails per package).

image

The richness of your broth starts by browning the oxtail.  I did this in batches so that I could turn each oxtail over to ensure even browning.  Browning creates amazingly delicious flavor compounds that ultimately gives the resulting dish an extremely rich, deep flavor.  Don’t skip the browning process; trust me.

image

The next step to developing that incredibly rich flavor is to brown your aromatics.  Do this BEFORE adding any liquid.

Add onions, garlic and black pepper to the pot.  Do this when you have just one layer of oxtail in the pot.  Set the rest of the browned oxtail aside for now; you’ll add it back to the pot in a few minutes.  Cook the onions just to the point where they become a golden brown and begin to caramelize.

image

Now the magic begins.  Add the rest of the oxtail back into the pot then pour in enough water to completely cover the oxtail.  Place a lid on the pot and cook over medium-low heat.  If you decide to braise the oxtail long and slow, plan ahead as this will take several hours — I braised mine for about 5 1/2 hours over a slow boil.

A note about boiling meat:  As meat boils, a foamy substance forms on the surface.  This is called scum.  The scum is denatured protein.  It is harmless, and eventually the foam breaks up and disperses into the stock.  Although harmless (and flavorless), the scum leaves the broth gray and cloudy.  Every so often, skim the surface, removing the scum.

Every 30 minutes or so, at about the same time you skim the scum off the broth, check to ensure the level of liquid stays above the meat.  Add enough water to maintain the level of liquid above the oxtail.  Keep doing this for the first three hours.

After hour number three of braising, add my secret ingredient (shhh…don’t tell anyone):  half a bottle of marsala wine.  Marsala wine adds deep, savory notes to the broth.  After adding the wine, if the level of liquid is still not above the meat, add more water.  Continue to cook over medium-low heat for another two hours.

After five hours of braising, taste the broth.  Add salt and pepper, to taste.  Instead of salt, I like adding a few tablespoons of Dashida seasoning.  If you can’t find Dashida (a Korean beef-flavored powdered seasoning), use beef bouillon.  Taste and adjust the seasonings to your liking.

Add your favorite vegetables during this last 30 minutes of cooking.  Sometimes I add potatoes and carrots, or squash (a favorite).  Baby bok choy is another favorite.  Squash cooks quickly, so add it last to prevent overcooking them.  Baby bok choy cooks in just a few scant minutes, so add them at the very end, just before serving.

image

Serve over hot white rice with a good amount of broth and ENJOY! 🙂

Give my recipe a try.  I think you’ll like it.

image


Braised Oxtail Soup
 
Prep time
Cook time
Total time
 
Author:
Serves: Serves 4-6
Ingredients
  • 15-20 pieces of oxtail, excess fat trimmed off
  • 1 medium onion, diced
  • 2 tablespoons chopped garlic
  • 1 teaspoon black pepper
  • Water, enough to completely cover the oxtail
  • ½ bottle marsala wine, about 2 cups
  • 4 tablespoons Dashida seasoning (or powdered beef bouillon)
  • Salt and pepper, to taste
  • 4 medium squash, peeled and cut into large pieces
  • 12 baby bok choy
Instructions
  1. Brown the oxtail in batches over medium-high heat (brown one layer of oxtail at a time). Set the browned oxtail aside.
  2. Add the onions, garlic and black pepper to the pot. Cook until the onions begin to caramelize.
  3. Return all of the oxtail to the pot. Add enough water to cover the oxtail. Cover the pot and reduce the heat to medium-low; simmer for 5½ hours, skimming the scum off the surface periodically. Keep the water level above the meat throughout the braising.
  4. After three hours of simmering, add the wine to the pot. Simmer for 2½ more hours.
  5. Add the Dashida. Taste the broth then add salt and pepper to taste.
  6. Add any vegetables last, cooking until the vegetables are done to your liking.
Serve and ENJOY!


Paranormal Pretzels

My niece, Chrystina and her son, Damian have so much fun making snacks together.

Damian shared these cute pretzel snacks with his friends at school, but they’d be perfect for a kid’s party or for Halloween (being that they look like aliens or bugs). 🙂

image

Chrystina adapted this recipe from one she found in Parent magazine.  Here’s how she and Damian made them.

You’ll need to buy pretzels already covered in yogurt, but you can buy plain pretzels and coat them with white candy melts.

Use candy melts and multi-colored sprinkles for the eyes. Melt the candy melts in the microwave in 30-second intervals then pour into a frosting bag fitted with a small tip to do the eyes.  If you don’t have a frosting bag, you can also use a resealable bag, cutting a tiny piece off one corner.

NOTE: You need a helper to be putting the sprinkles on because the candy melts settle real quick!

From Chrystina:  “A lot of our little paranormal friends ended up looking like their eyes were gorged out and left empty and bloody — which is ok too.  Damian went as fast as he could. ☺️”

Have fun making these cute snacks.  Chrystina and Damian sure did. 🙂

BBQ Chicken Marinade

The classic Chamorro marinade is quite simple.  Start off with a base of soy sauce and vinegar — the ratio is up to you, but I like using a 1:1 ratio of soy sauce to vinegar (e.g., 1 cup soy sauce mixed with 1 cup vinegar).

I also add a few other ingredients to my marinade to give it an additional depth of flavor.  What you add depends entirely on you, so you can be as creative as you can here.  Some of my favorite add-ins are garlic and onions (powdered or fresh), ginger, brown sugar (not too much because sugar burns easily), honey, and sometimes even a cup or two of coca cola (use your favorite soda).

Marinate your chicken for several hours or overnight before grilling to allow the marinade to really soak into the meat.  I like using zip lock bags to marinate any meat I plan on grilling.  Just flip the bag over every hour or so to ensure all the meat gets marinated evenly.

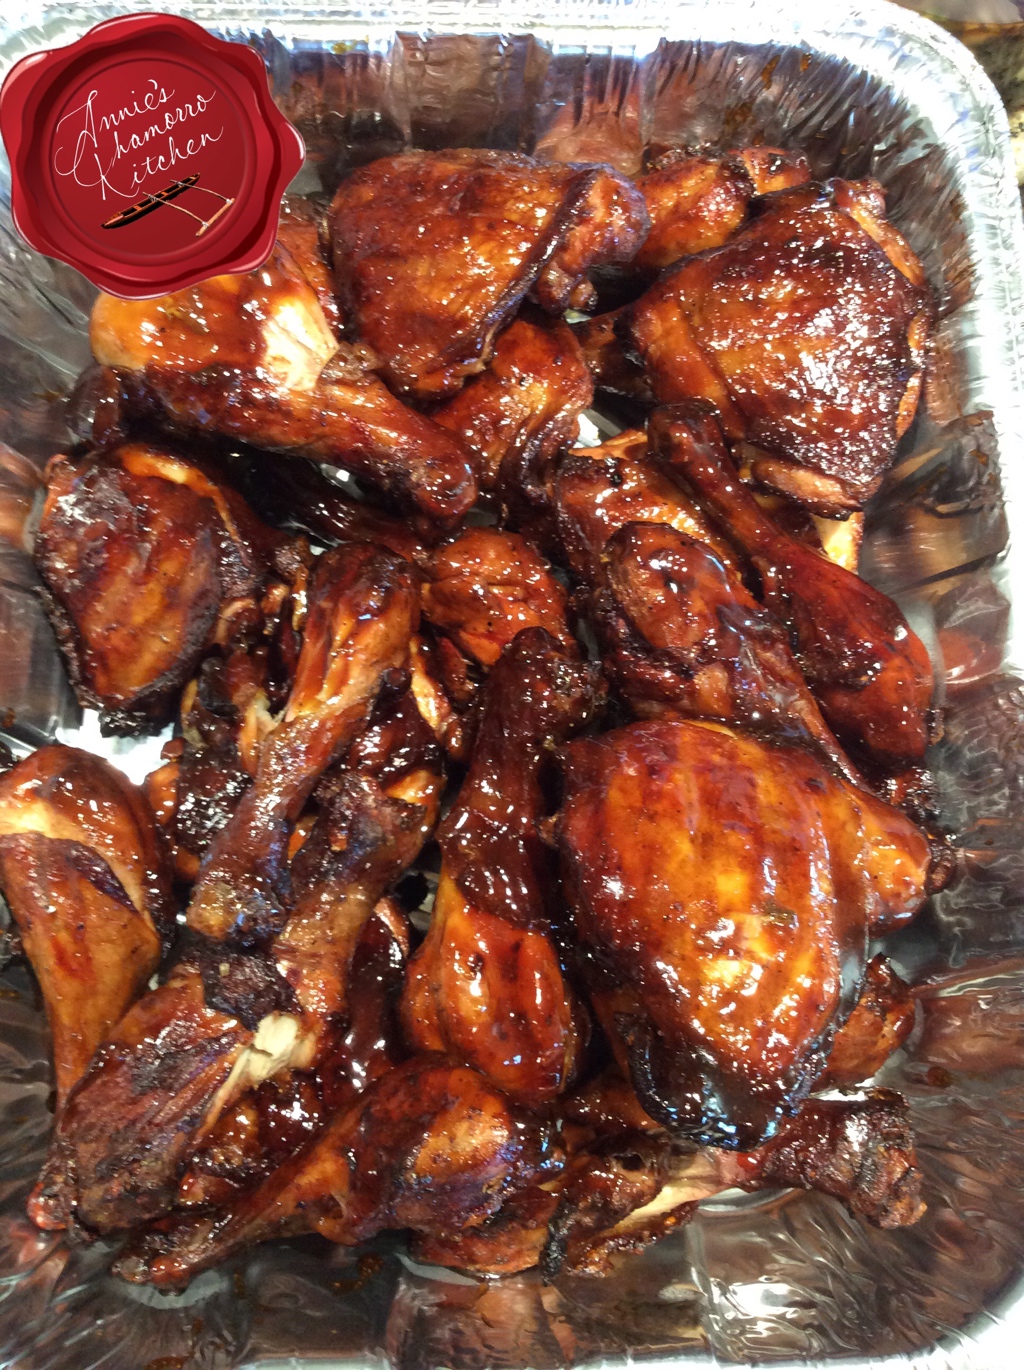
Grill the chicken as you normally do.  We have a smoker, so I start off by smoking the chicken  — skin side down — for 30 minutes, then I crank up the heat to 275 degrees and cook the chicken — skin side up now — for about an hour and a half or until it’s done and a nicely browned.

Make a smaller (fresh) batch of your marinade (do not reuse the marinade the chicken was soaking in) for glazing the chicken after it’s done.  Place the marinade in a small sauce pan and add some corn starch to it.  Bring the mixture to a boil and stir until the sauce thickens slightly.  Brush the glaze over the cooked chicken to give it a beautiful (and tasty) sheen.

Give my recipe a try.  I think you’ll love it.

My recipe below makes enough marinade for approximately 3 pounds of chicken.  It’s also good for marinating pork chops, ribs, and steaks.

BBQ Chicken Marinade
 
Classic Chamorro marinade that's sure to make your neighbors come out of their homes wondering what's grilling that smells so good!
Author:
Serves: 2 to 3 cups
Ingredients
Marinade:
  • 1 cup soy sauce
  • 1 cup vinegar
Optional Marinade Additions:
  • 1 tablespoon garlic (powder or minced)
  • 1 teaspoon onion powder (or ½ small onion, finely diced)
  • 1 tablespoon brown sugar
  • 1 tablespoon ginger (ground or freshly grated)
  • 1 cup cola
Glaze:
  • ⅓ cup vinegar
  • ⅔ cup soy sauce
  • 1 tablespoon brown sugar
  • 1 teaspoon garlic powder
  • 1 tablespoon corn starch
  • Add any of the other optional ingredients used in your marinade
Instructions
  1. Place all of the marinade ingredients in a large zip lock bag. Seal the bag then shake it up to mix the ingredients together. Add the chicken to the bag then re-seal. Marinate the chicken for several hours before grilling.
  2. Place the glaze ingredients in a small sauce pan. bring to a boil, whisking contantly. Cookmuntil the sauce thickens. Brush the glaze on the cooked chicken.


« Older Entries Recent Entries »