Archive for Author AnniesChamorroKitchen

About the Author: AnniesChamorroKitchen
Hafa adam means "hello" in Chamorro, the native language of my island home, Guam U.S.A. Guam is the proverbial melting pot, abounding with cultural diversity that is aptly displayed in the variety of food we eat and share. The focal point of most Chamorro families centers around family gatherings and cooking. In my home, most of my guests congregate in my kitchen. It is where we do our best catching up, and whee lasting emories aremade. Browse through my selection of Chamorro and other recipes m and please leave me a comment if you try my recipes to let me know what you think of them. I hope you enjoyed your time in my kitchen. Come back soon! This site is work-in-progress, so please bear with me as I grow this site to a place where you'll love to visit. Happy Cooking! ~ Annie

Stuffed Biscuits

Create a super easy breakfast or brunch with my recipe for Stuffed Biscuits. You can have it all prepped and served in about 30 minutes.

Start out by making a batch of my Soft & Fluffy Biscuit dough (click here for the recipe). An egg gets baked right into the biscuit dough, then top with your favorite breakfast foods (bacon and cheese top the list in my family).

Serve and ENJOY!

Give my recipe a try. I think you’ll like it. 🙂

Stuffed Biscuits

Ingredients:

  • 1 batch of biscuit dough (click here for my recipe)
  • 1 package of bacon (we love maple bacon)
  • 1 dozen large eggs
  • Garlic powder (to taste)
  • Black pepper (to taste)
  • Dashida (to taste)
  • 4 stalks green onions, sliced
  • Grated sharp cheddar cheese, as much as you like

Optional Ingredients:

  • Red pepper flakes
  • Chopped mushrooms
  • Tomatoes, diced small
  • Cooked and crumbled breakfast sausage

Directions:

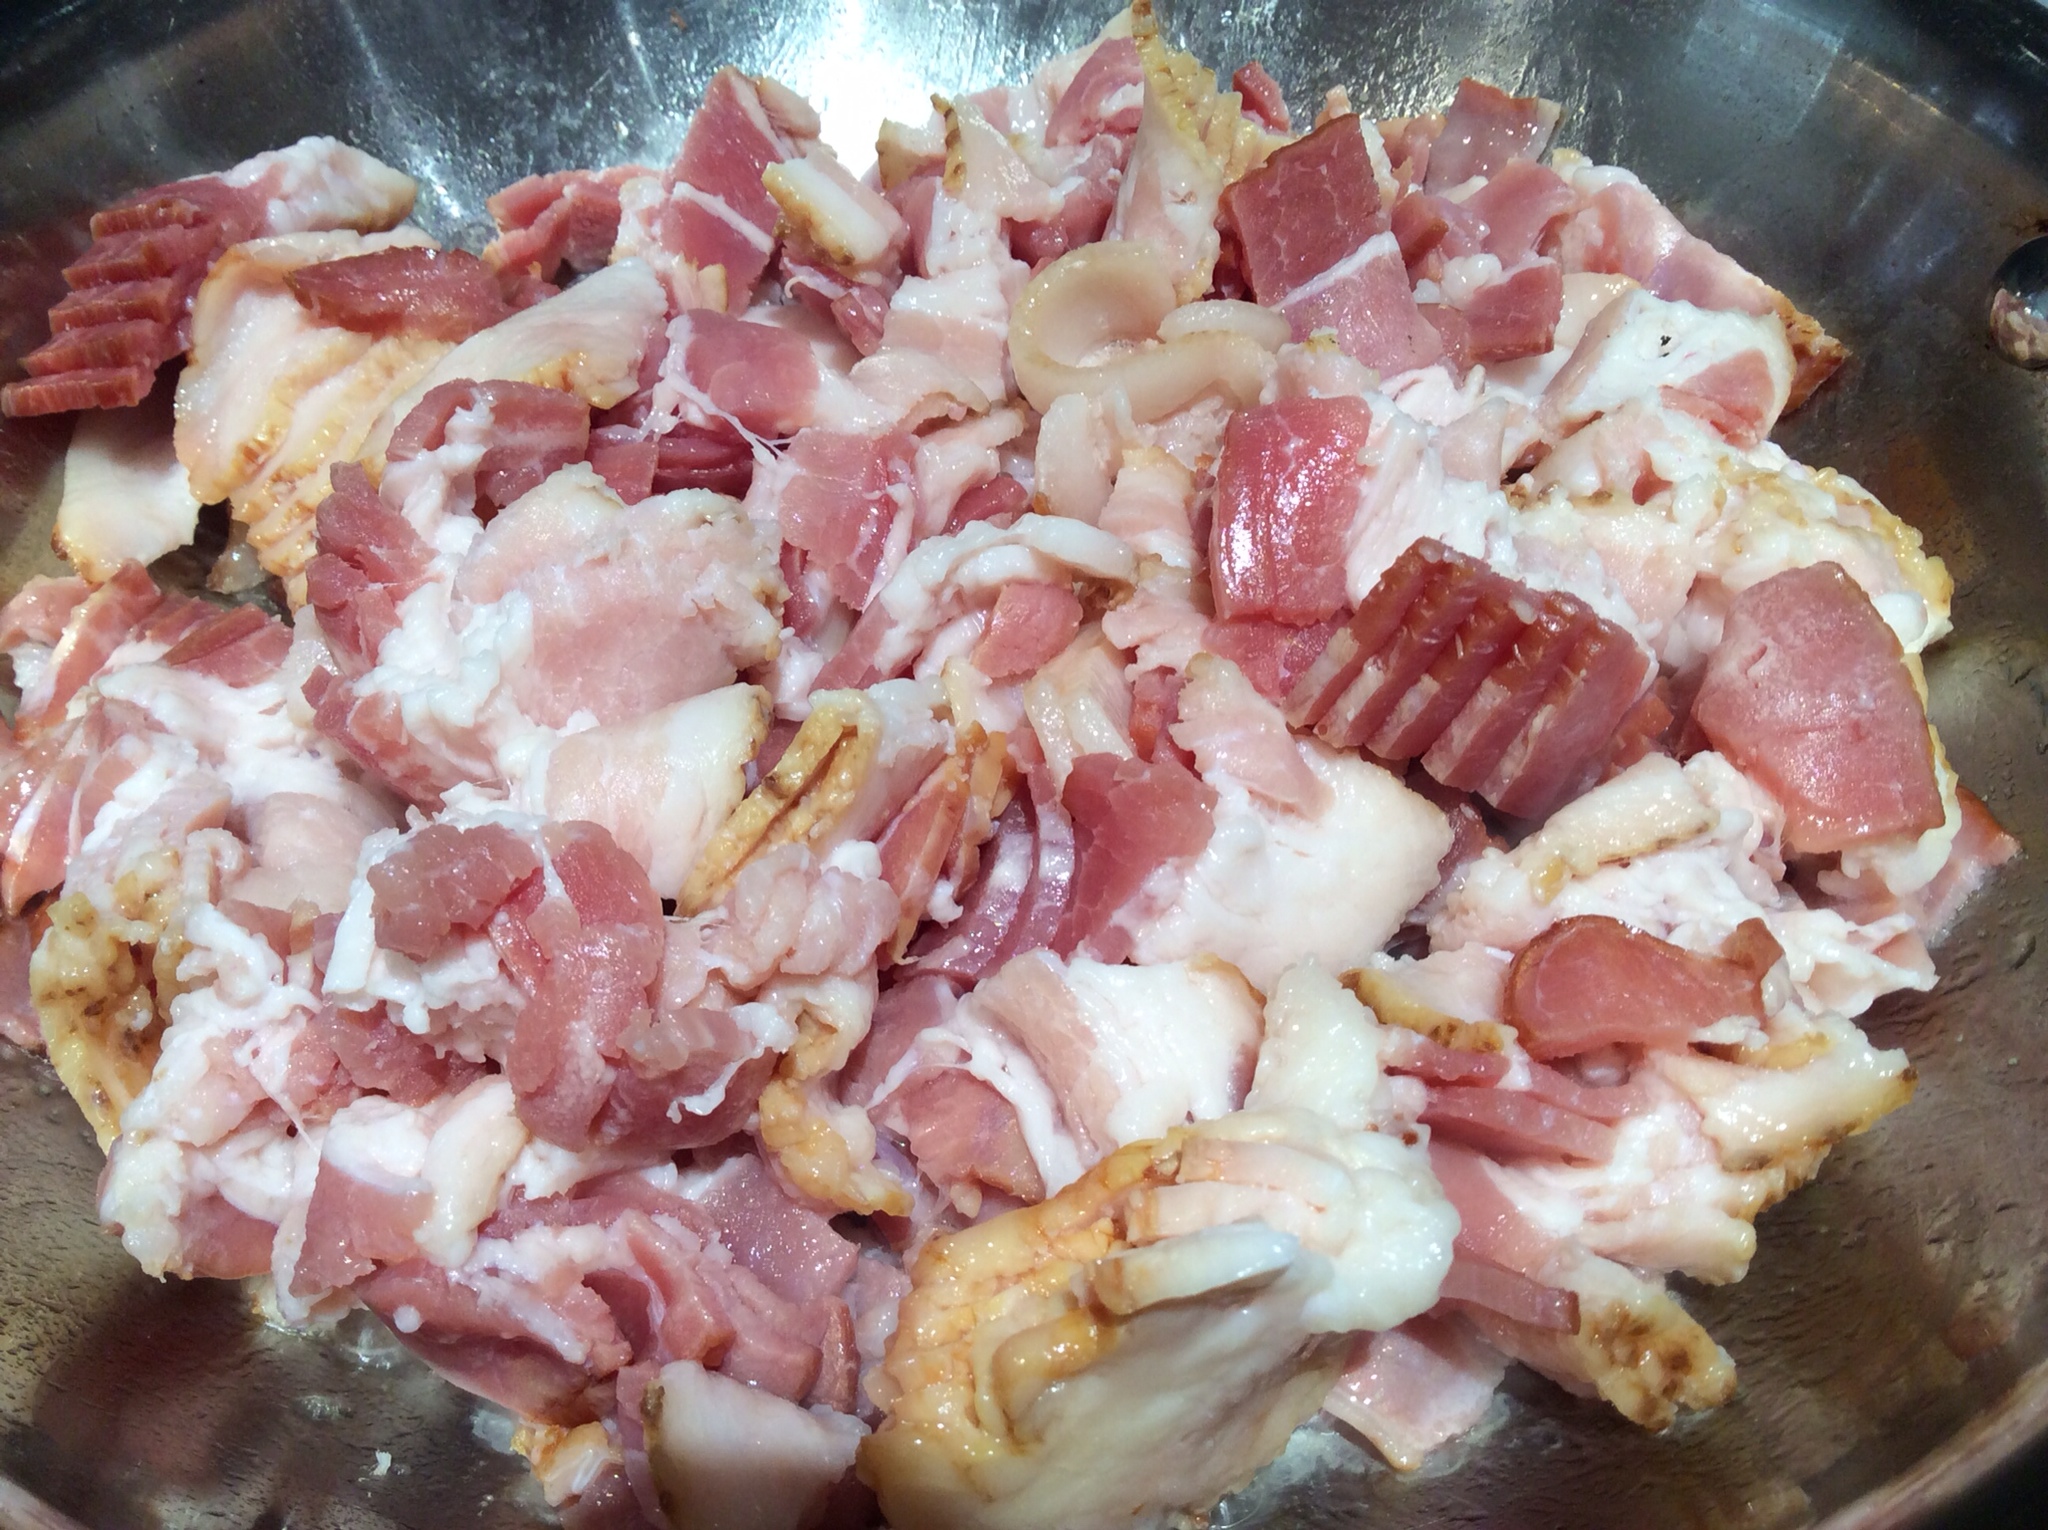
1. Cut the bacon into small pieces. Fry until crisp; place on paper towels to drain excess oil. Set aside.

image

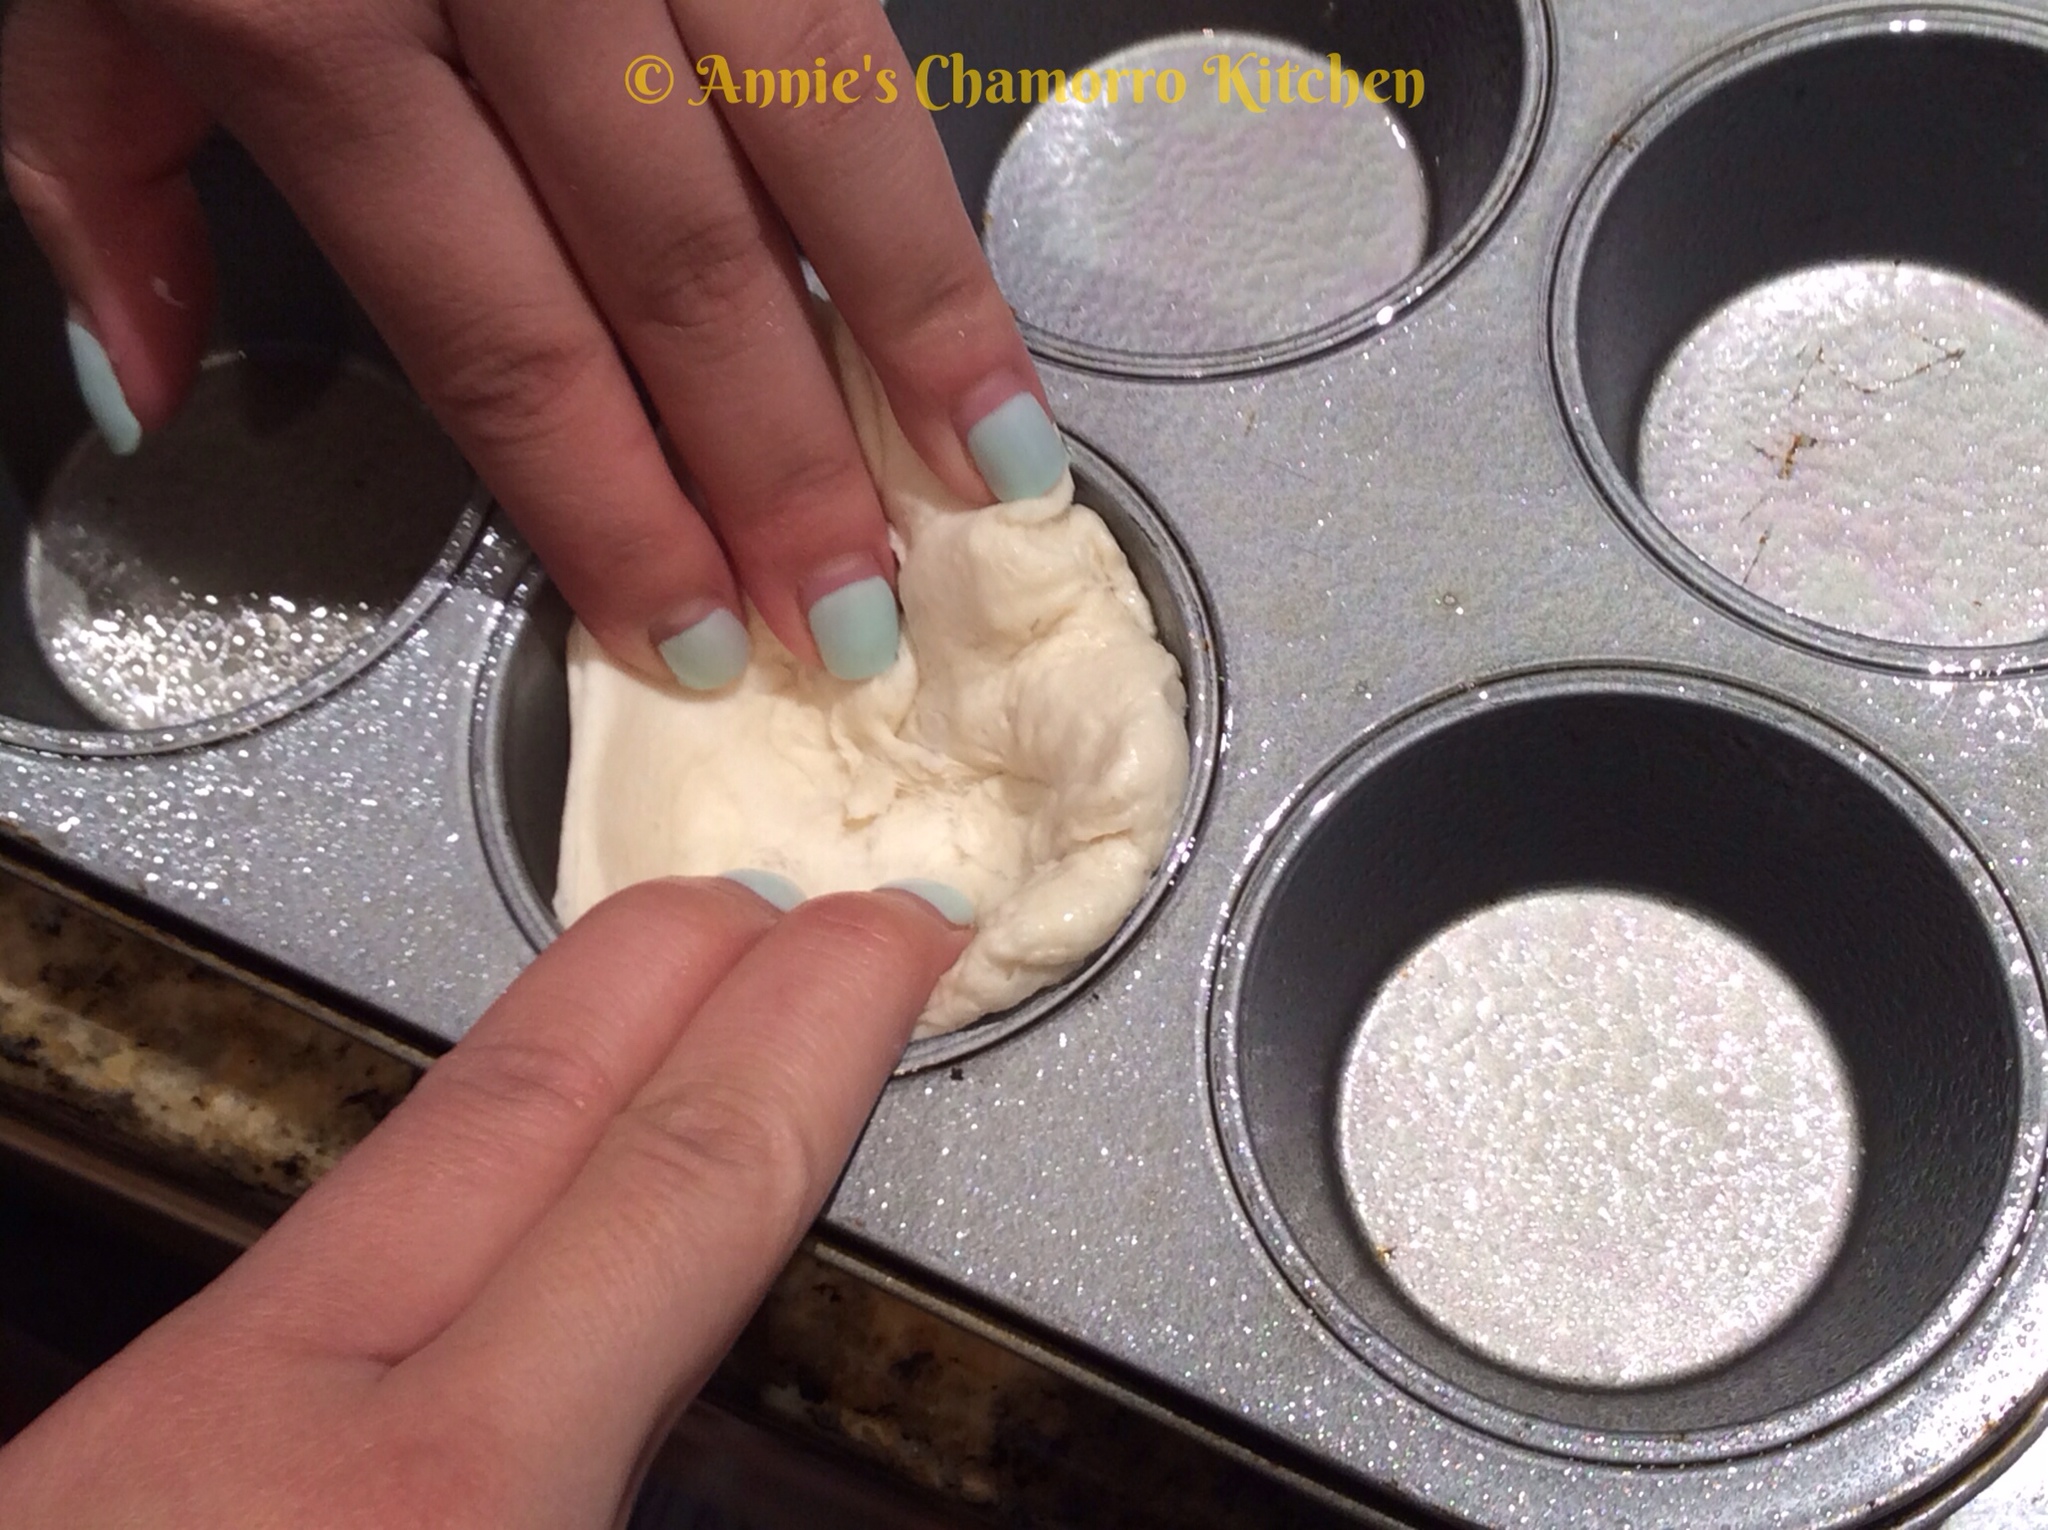
2. Separate the biscuit dough into 12 pieces. Spray a muffin tin with butter-flavored cooking spray. Spread each piece of biscuit dough into each of the 12 cups of the muffin tin, making sure you pull the dough up and around the sides, creating a “biscuit cup.”

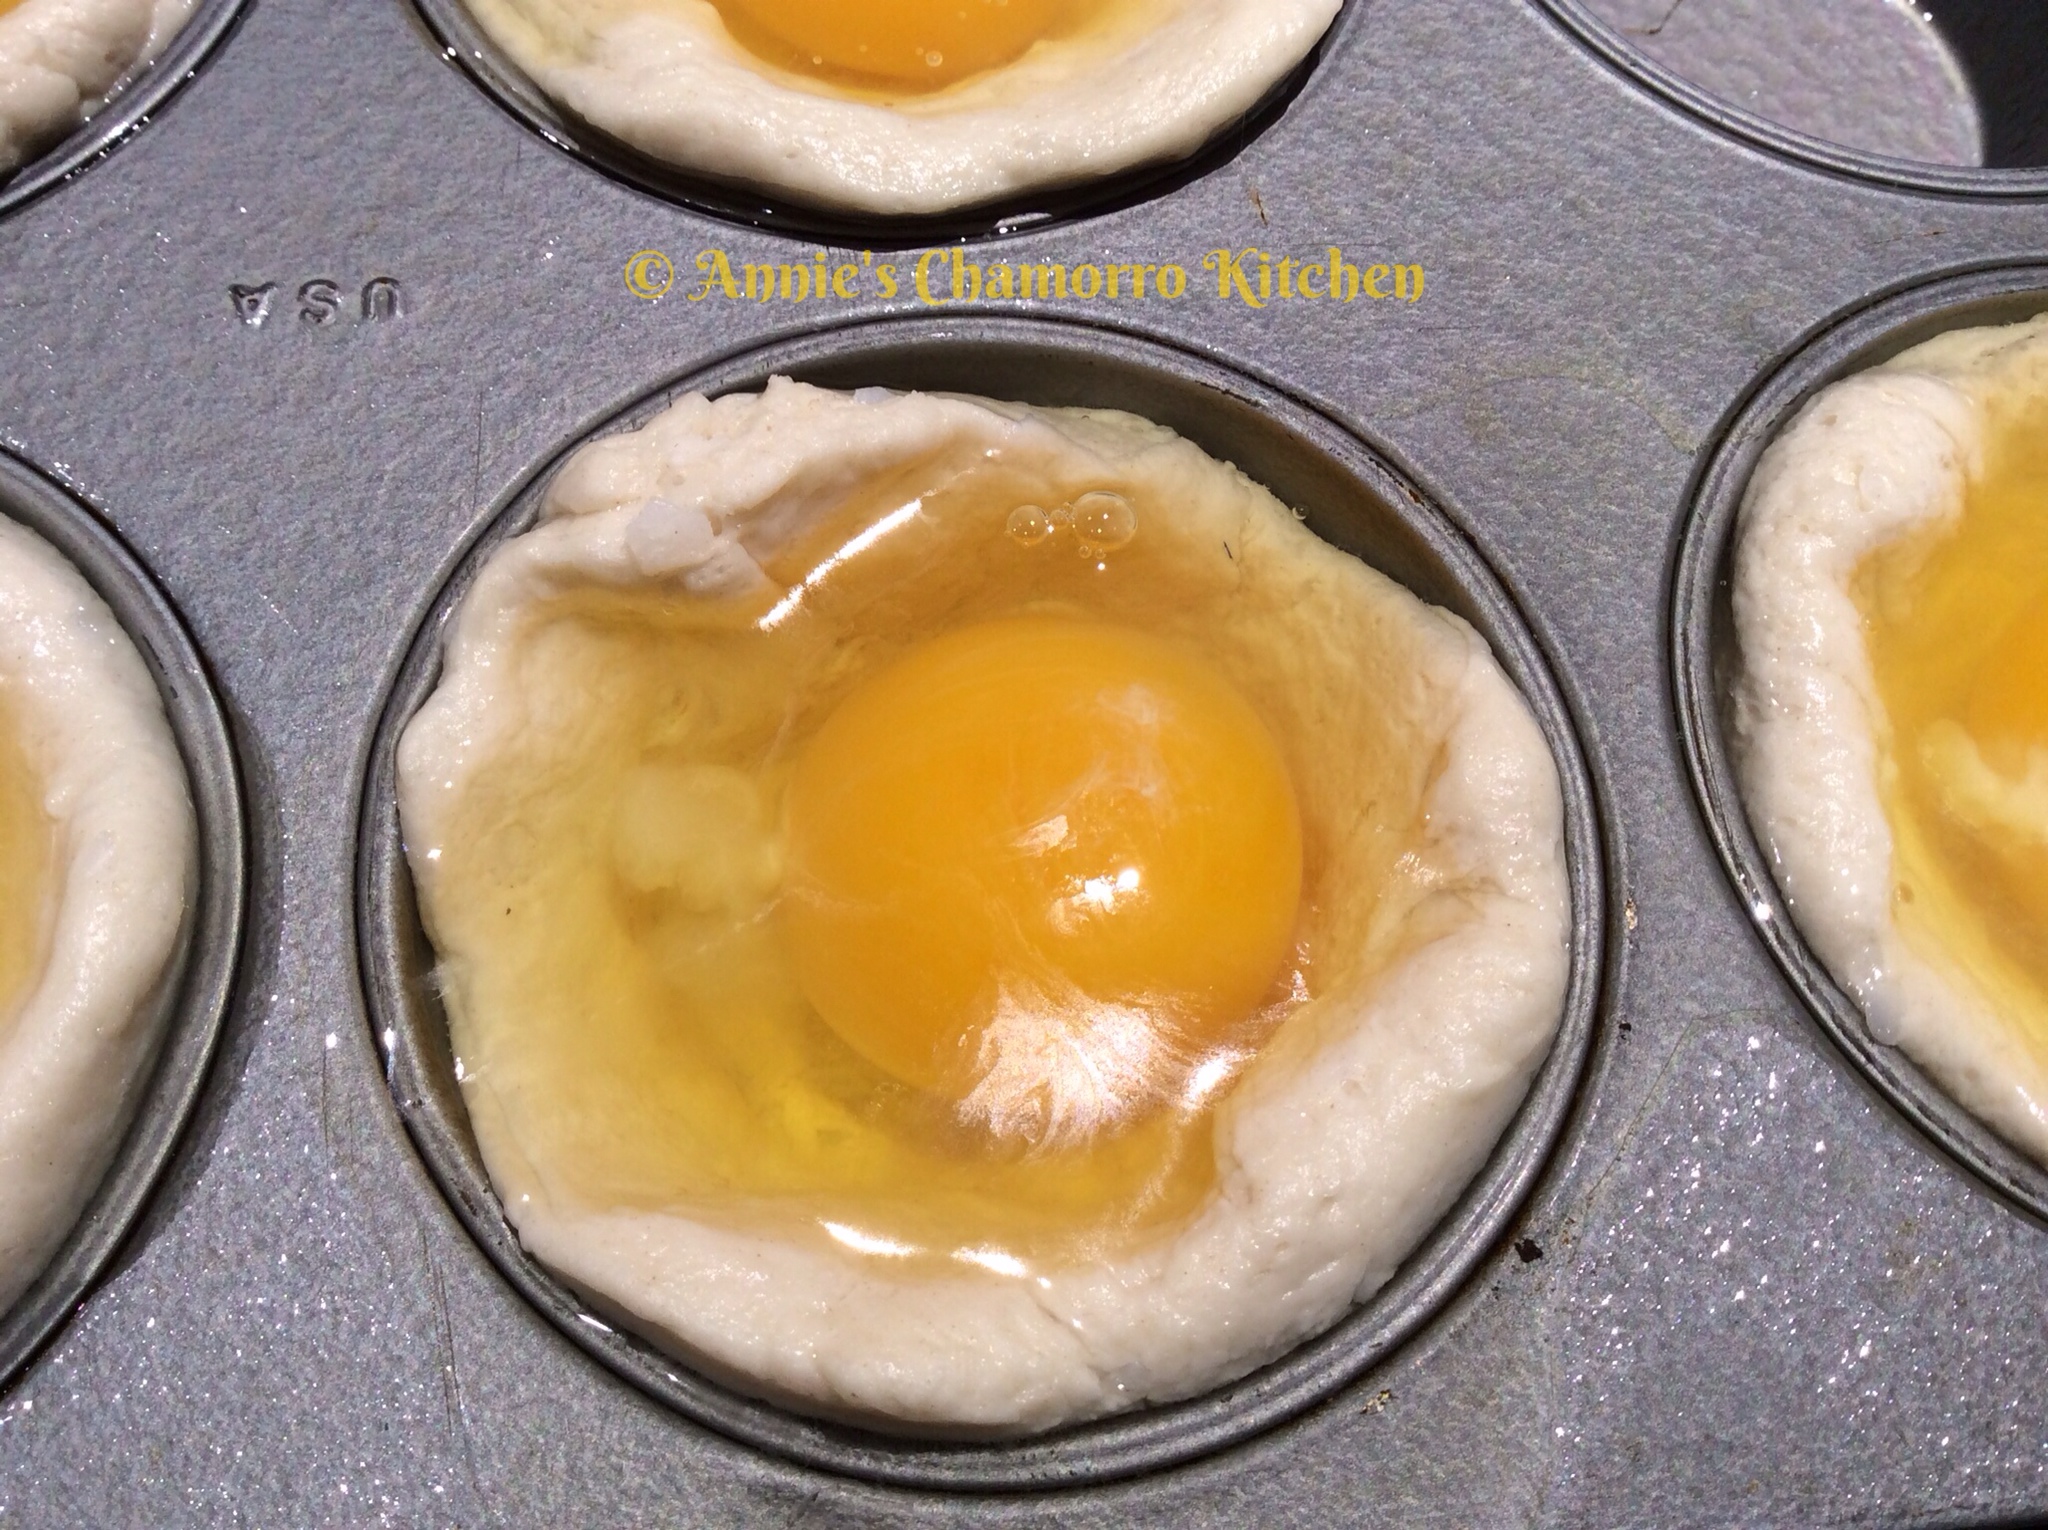
3. Crack one egg into each biscuit cup.

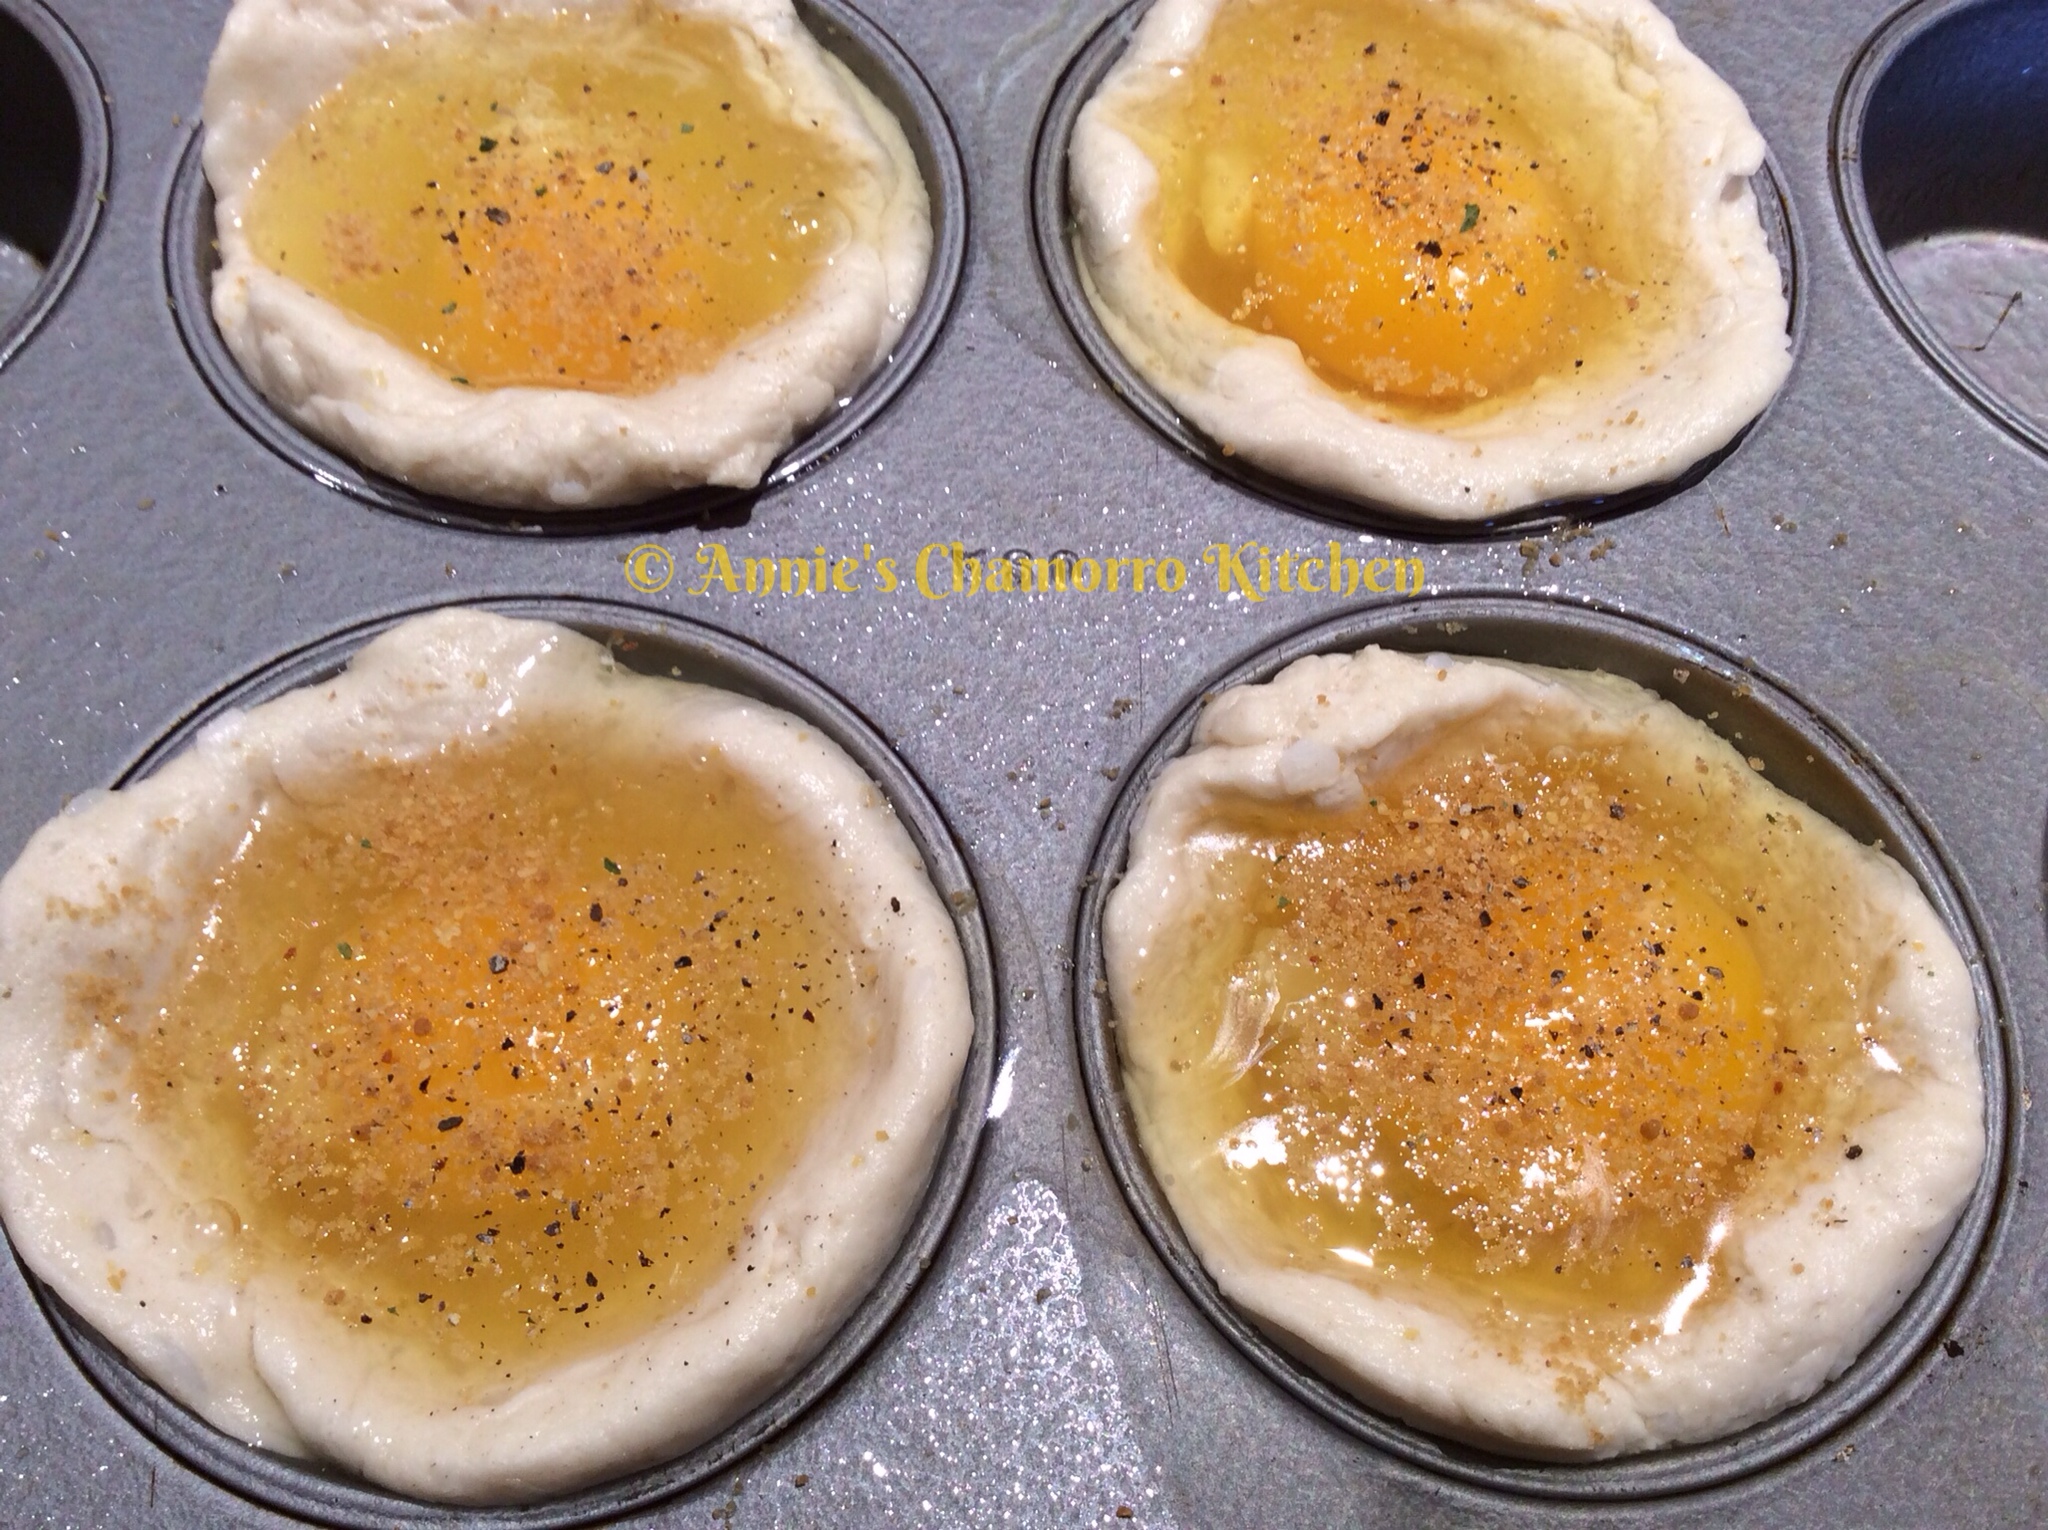
4. Sprinkle garlic powder, black pepper and Dashida seasoning over each egg.

As an option, before baking, sprinkle on top of each egg: red pepper flakes, mushrooms and tomatoes.

5. Bake at 400 degrees for 15-18 minutes, or until the sides of the biscuit are a golden brown. The eggs will be soft-set.

6. After baking, top with bacon, green onions, cheese, and any other of your favorite toppings. Serve immediately and ENJOY! 🙂

Red Rice

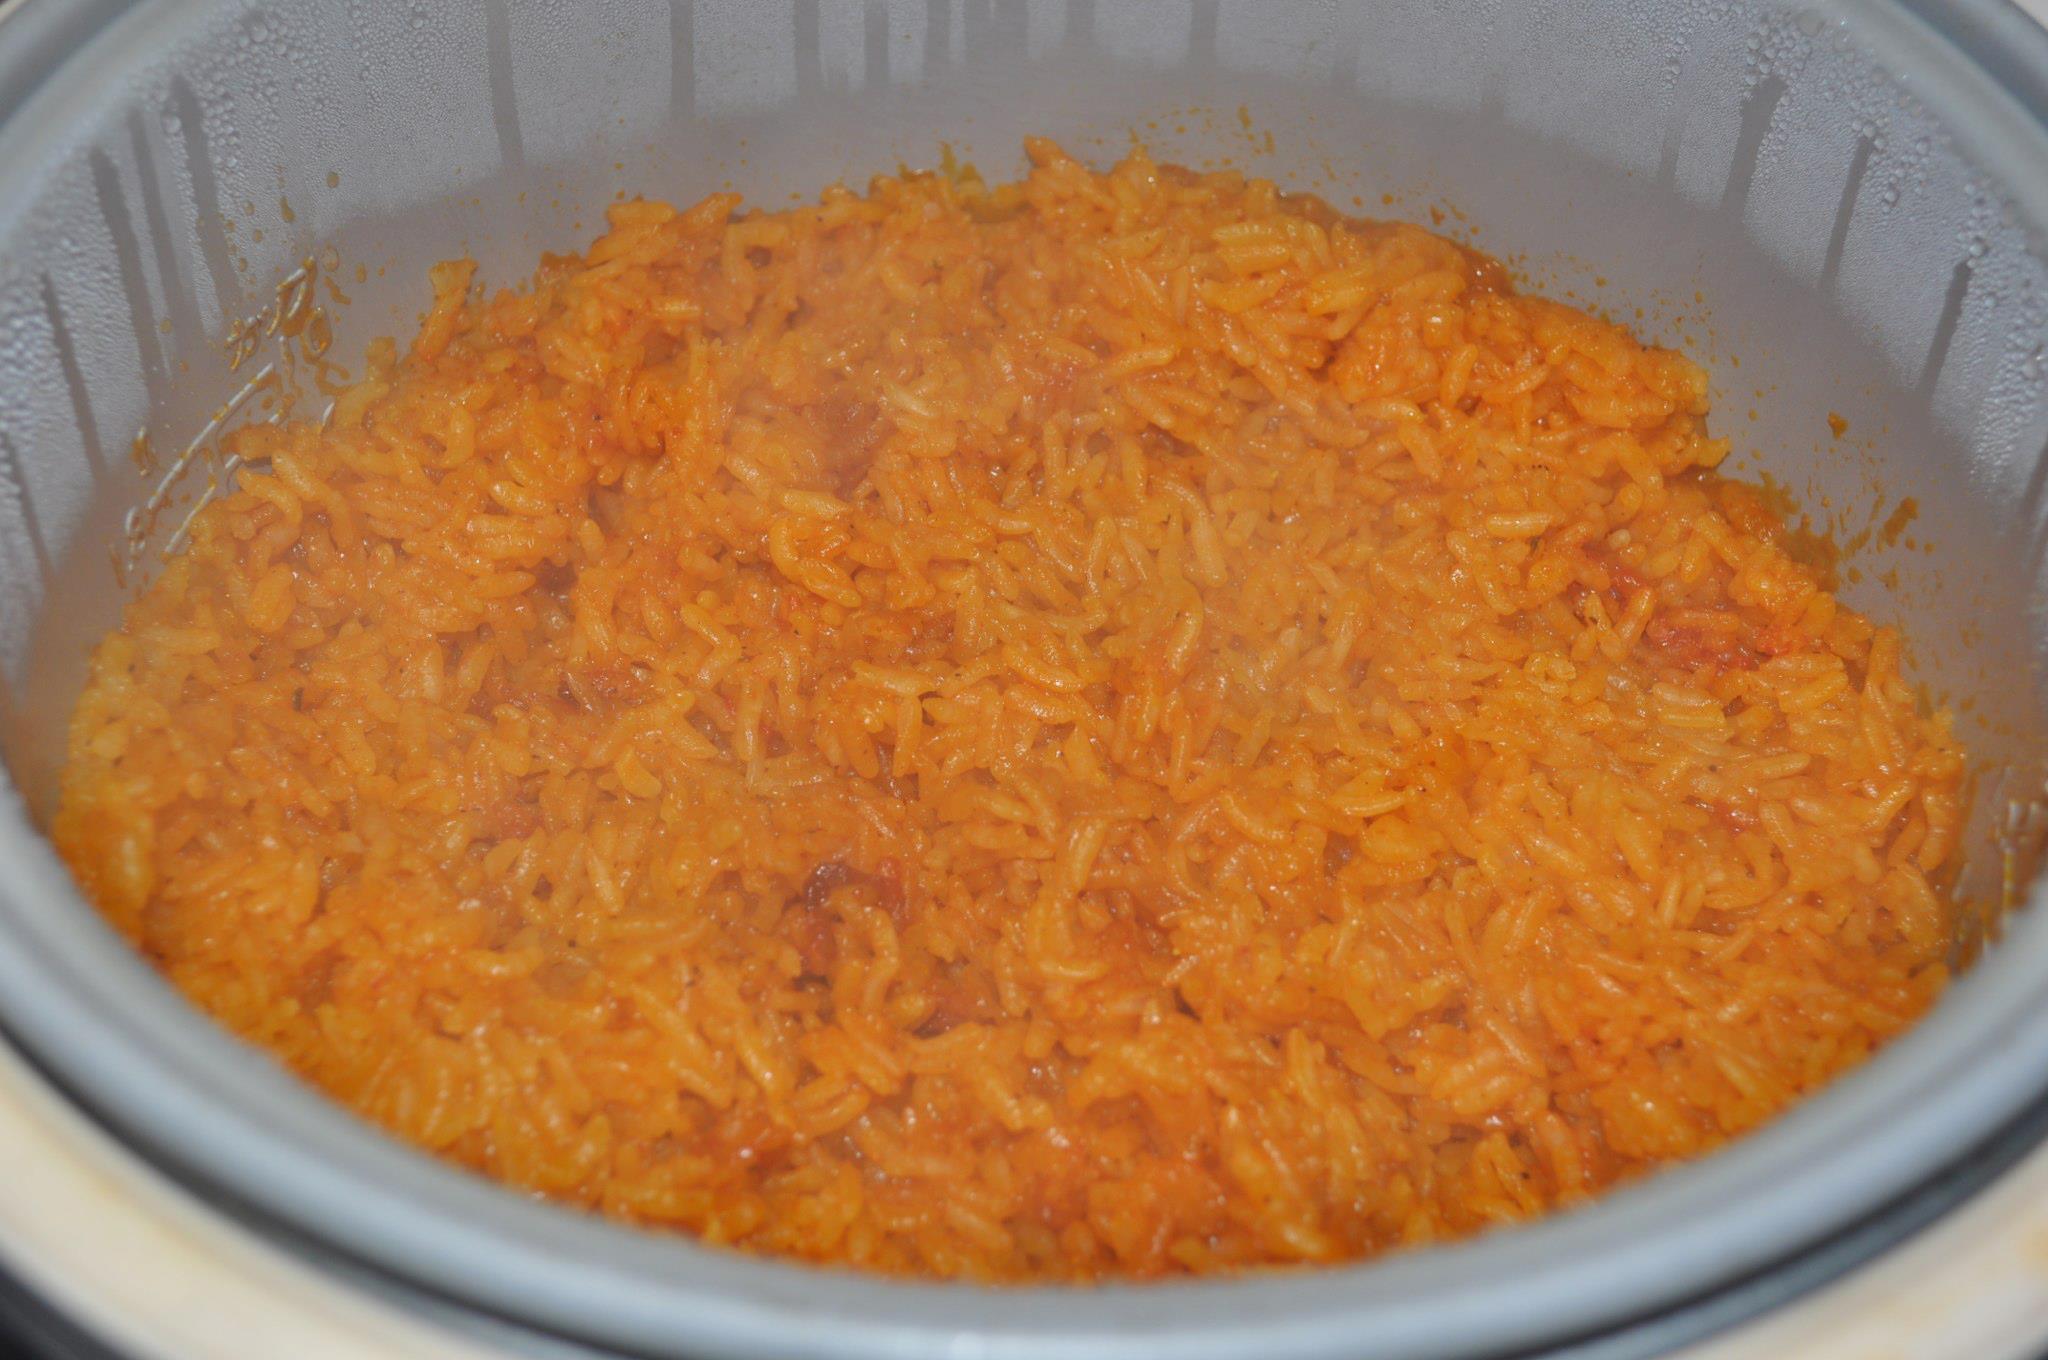
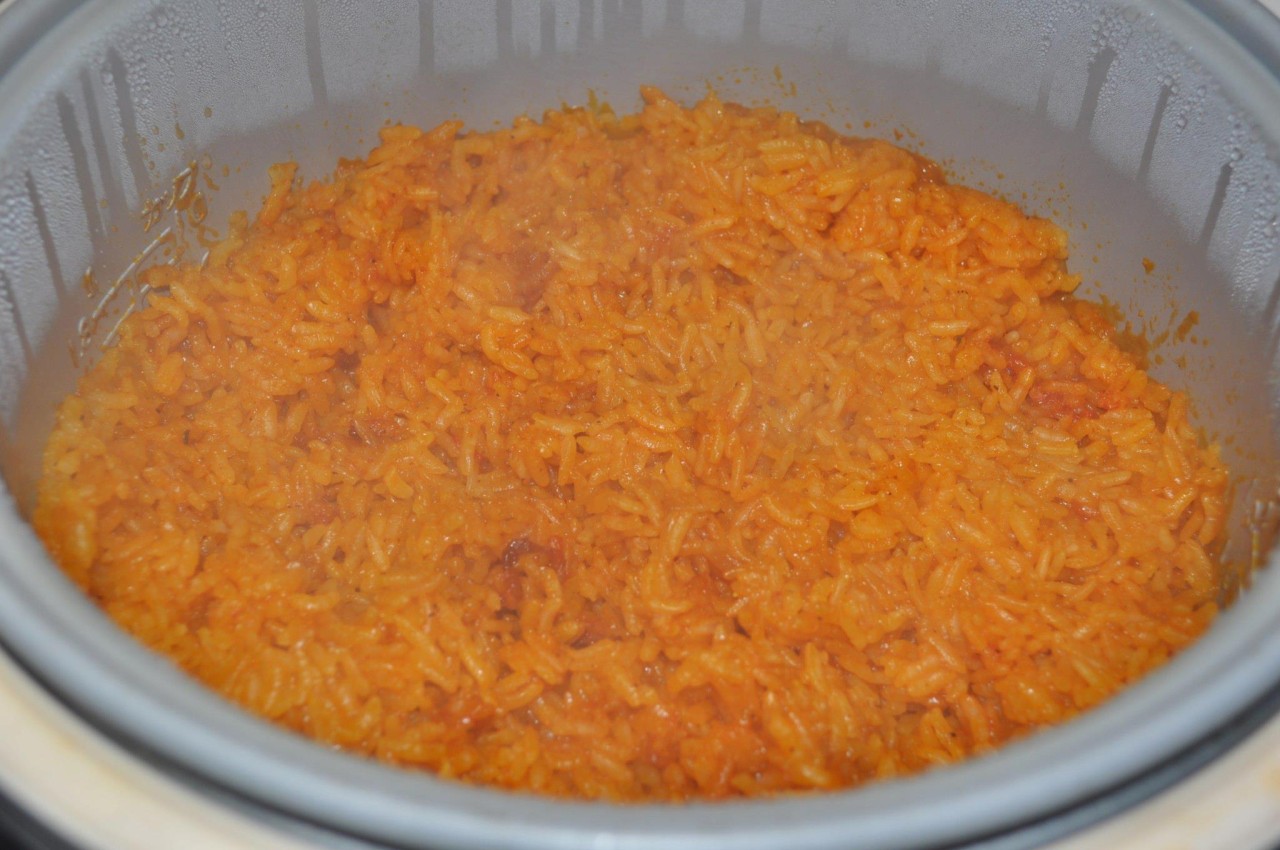
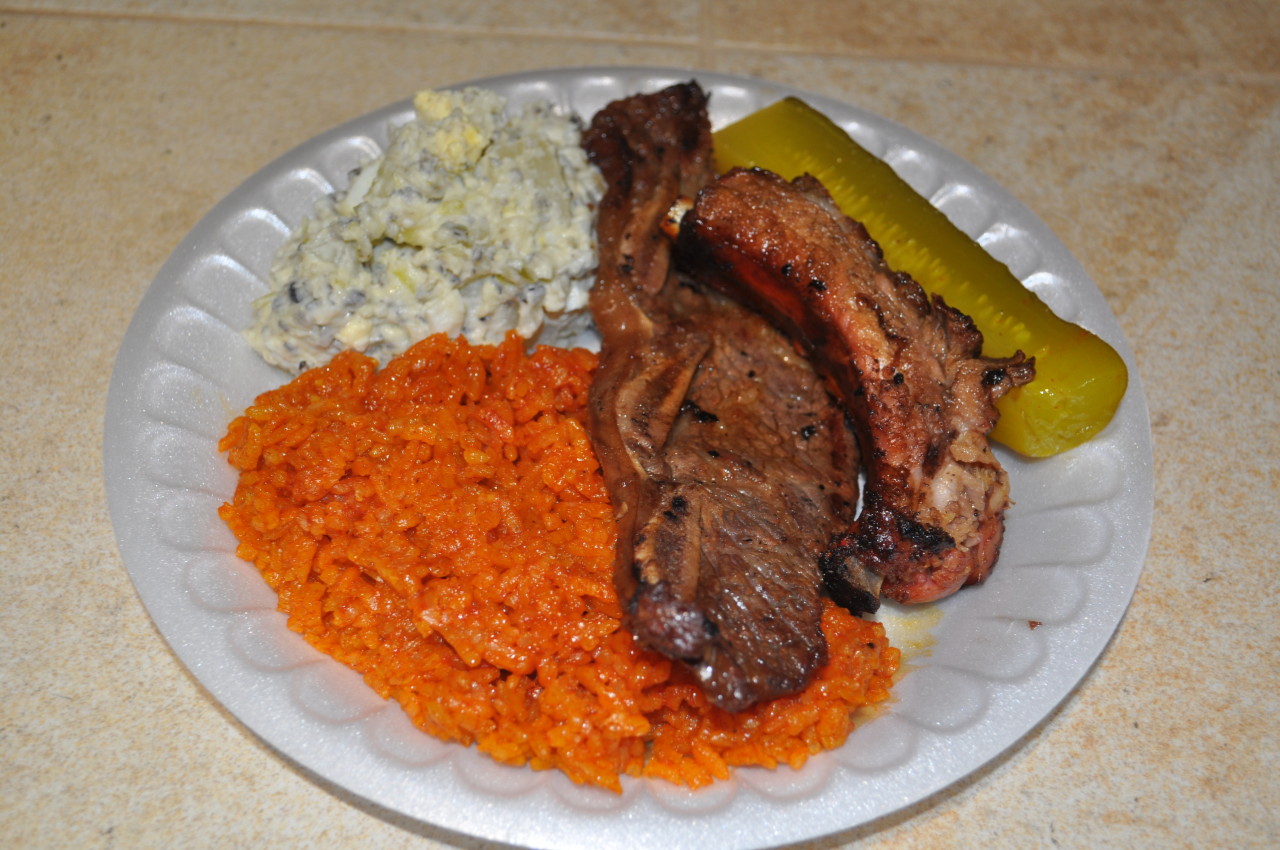
Red Rice is a must-have for any Chamorro Fiesta menu.  Without red rice, it just won’t seem much like a fiesta.

You don’t need to go to a party or fiesta to enjoy this Chamorro staple.  My family loves red rice served with fried chicken, or pan-fried Spam. 🙂

Some people add peas to their red rice, but I like mine without it.

Serve some Chamorro Red Rice at your next gathering for that extra special touch.

Give my recipe a try.  I think you’ll like it. 🙂

Red Rice

882592_10200795309433370_2126476614_o

Ingredients:

  • 3 cups rice (medium or long grain)
  • 1 tablespoon Dashida seasoning
  • 1 tablespoon bacon fat (or substitute with olive or vegetable oil)
  • 1/4 teaspoon black pepper
  • 1 teaspoon chopped garlic
  • 4 stalks green onions, sliced
  • 1 packet achote powder (see note below)
  • 3 1/2 cups hot water (see note below)

To make 10 cups of red rice (enough for a small BBQ), use the following measurements:

  • 10 cups rice
  • 3 tablespoons Dashida
  • 3 tablespoons bacon fat
  • 1/2 teaspoon black pepper
  • 1 tablespoon chopped garlic
  • 8 stalks green onions, sliced
  • 3 packets achote powder
  • 11 1/2 cups hot water

Note:

You can use achote water made with achote seeds instead of using powdered achote.  Scrub about 1/4 cup of achote seeds in 3 1/2 cups warm water.  Add the achote water (make sure to strain out the seeds and add just the achote water) to the pot where the directions call for adding water and achote powder.

Directions:

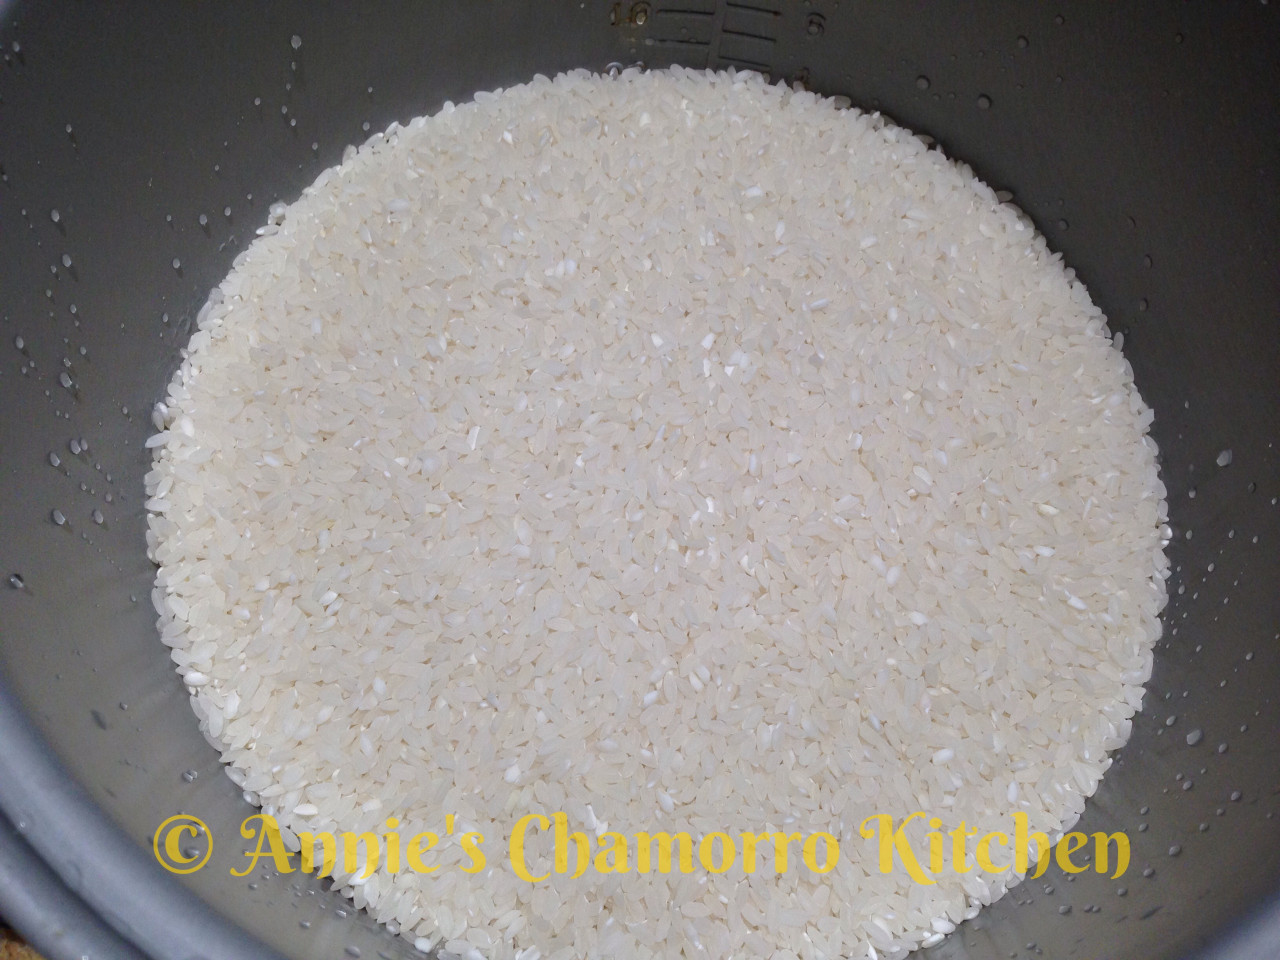
1.  Place the rice into your rice cooker pot.  Rinse the rice as required, draining out any excess water.

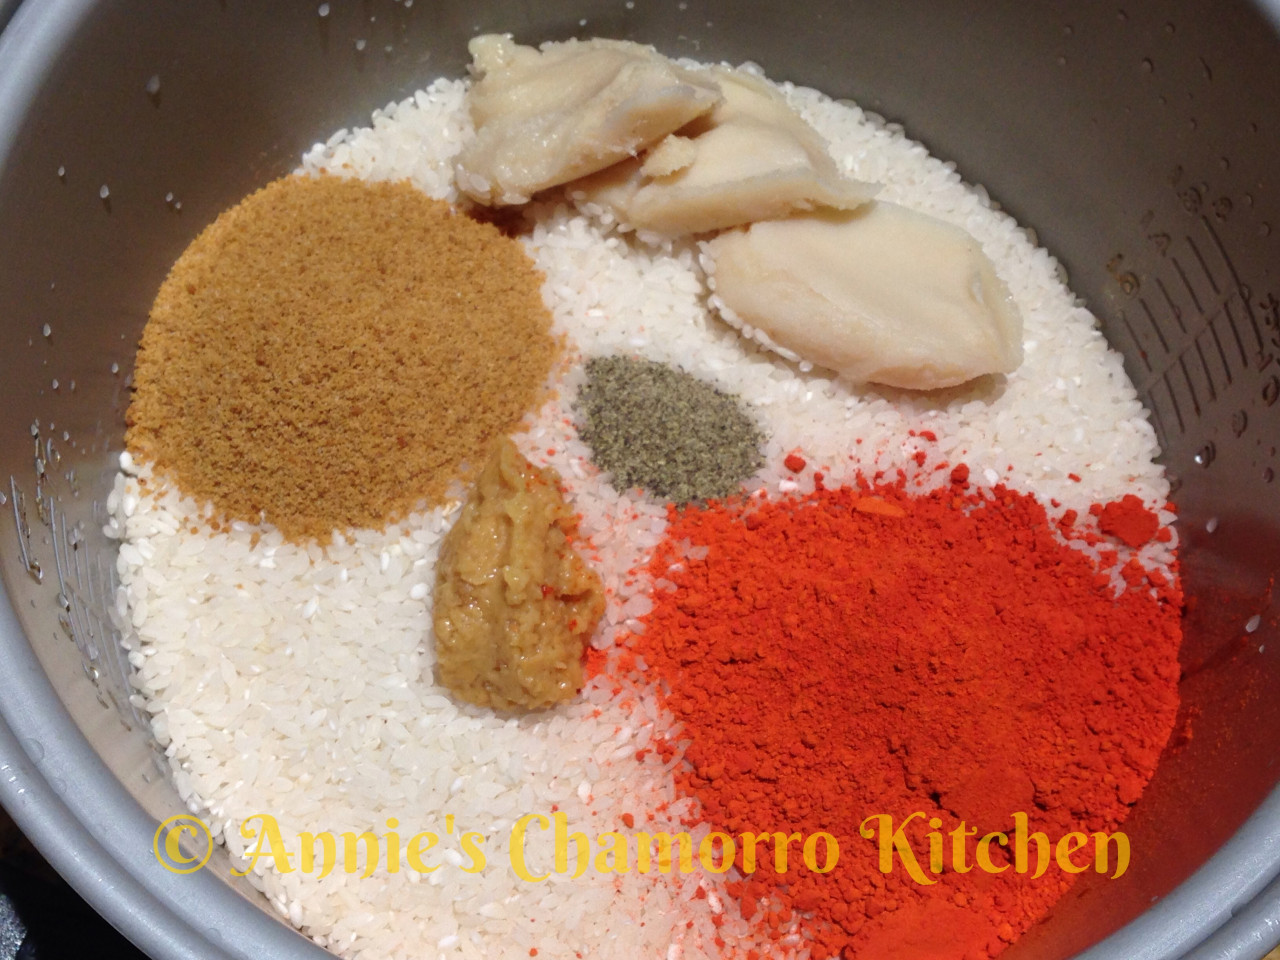
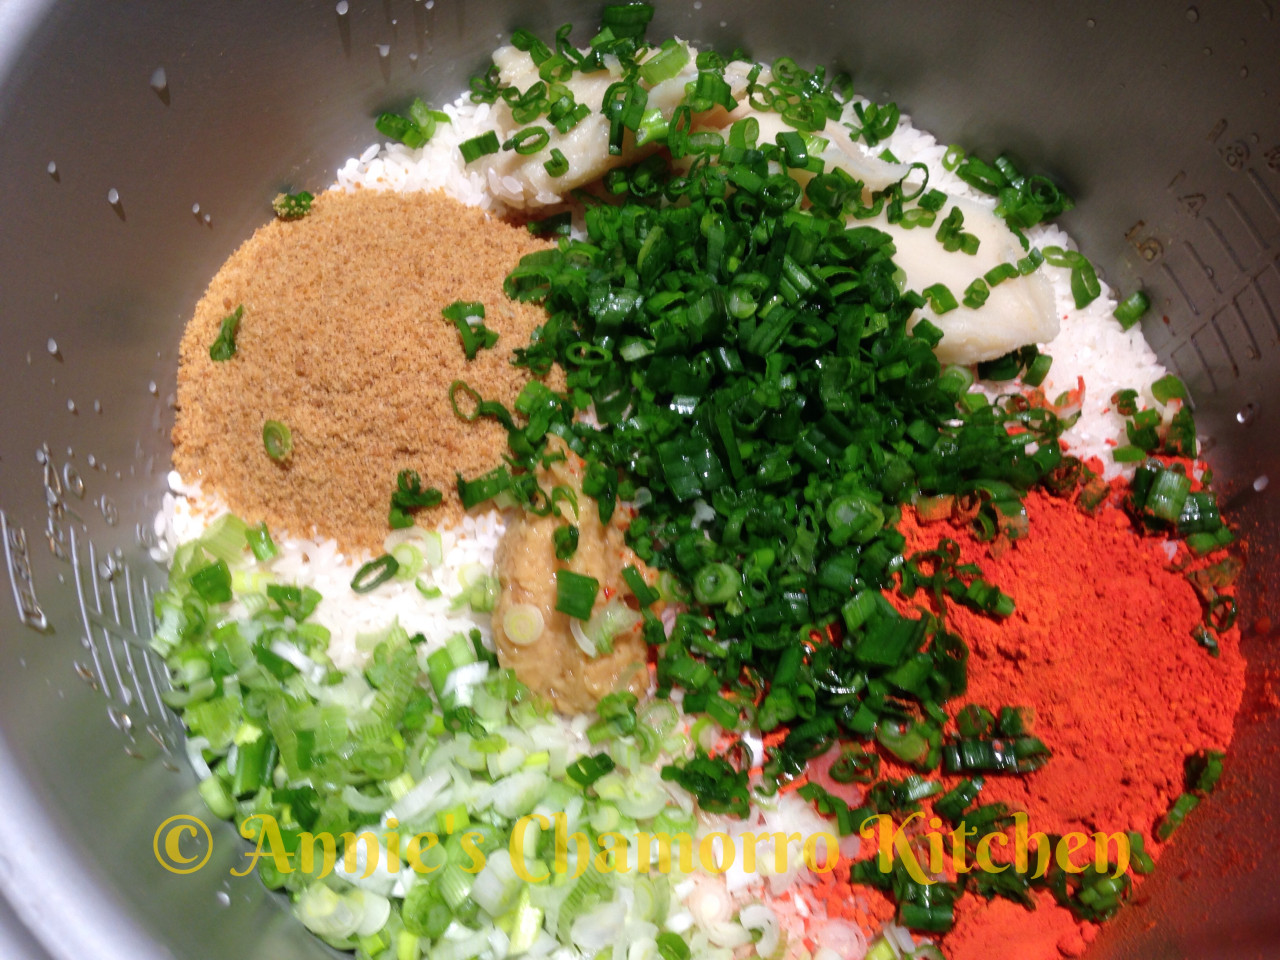
IMG_31472.  Into the pot, add the Dashida, bacon fat, black pepper, garlic, and achote powder.  If you don’t have any saved bacon fat, substitute with olive or vegetable oil. IMG_31493.  Add the green onions to the pot.   IMG_31504.  Carefully pour the hot water into the pot.  Stir to combine all the ingredients and to dissolve the achote powder and Dashida.  The bacon fat will start to melt; don’t worry if it doesn’t completely melt at this time.

Turn the rice cooker to the “cook” setting.  The only thing left to do is to stir the rice a couple more times.  Wait a couple of minutes then stir to ensure even mixing after the bacon fat melted.  Wait another 5 minutes or so and stir once more to ensure the rice at the bottom of the pot is evenly coated with achote coloring.

After stirring the rice for a second time, leave the rice to cook/steam until done.

IMG_0667 IMG_1995

5.  Serve with your favorite meat dish (Chamorro BBQ, fried chicken, or pan-fried Spam goes fantastic with red rice!) and ENJOY! 😀

Events - 2607 Events - 2606

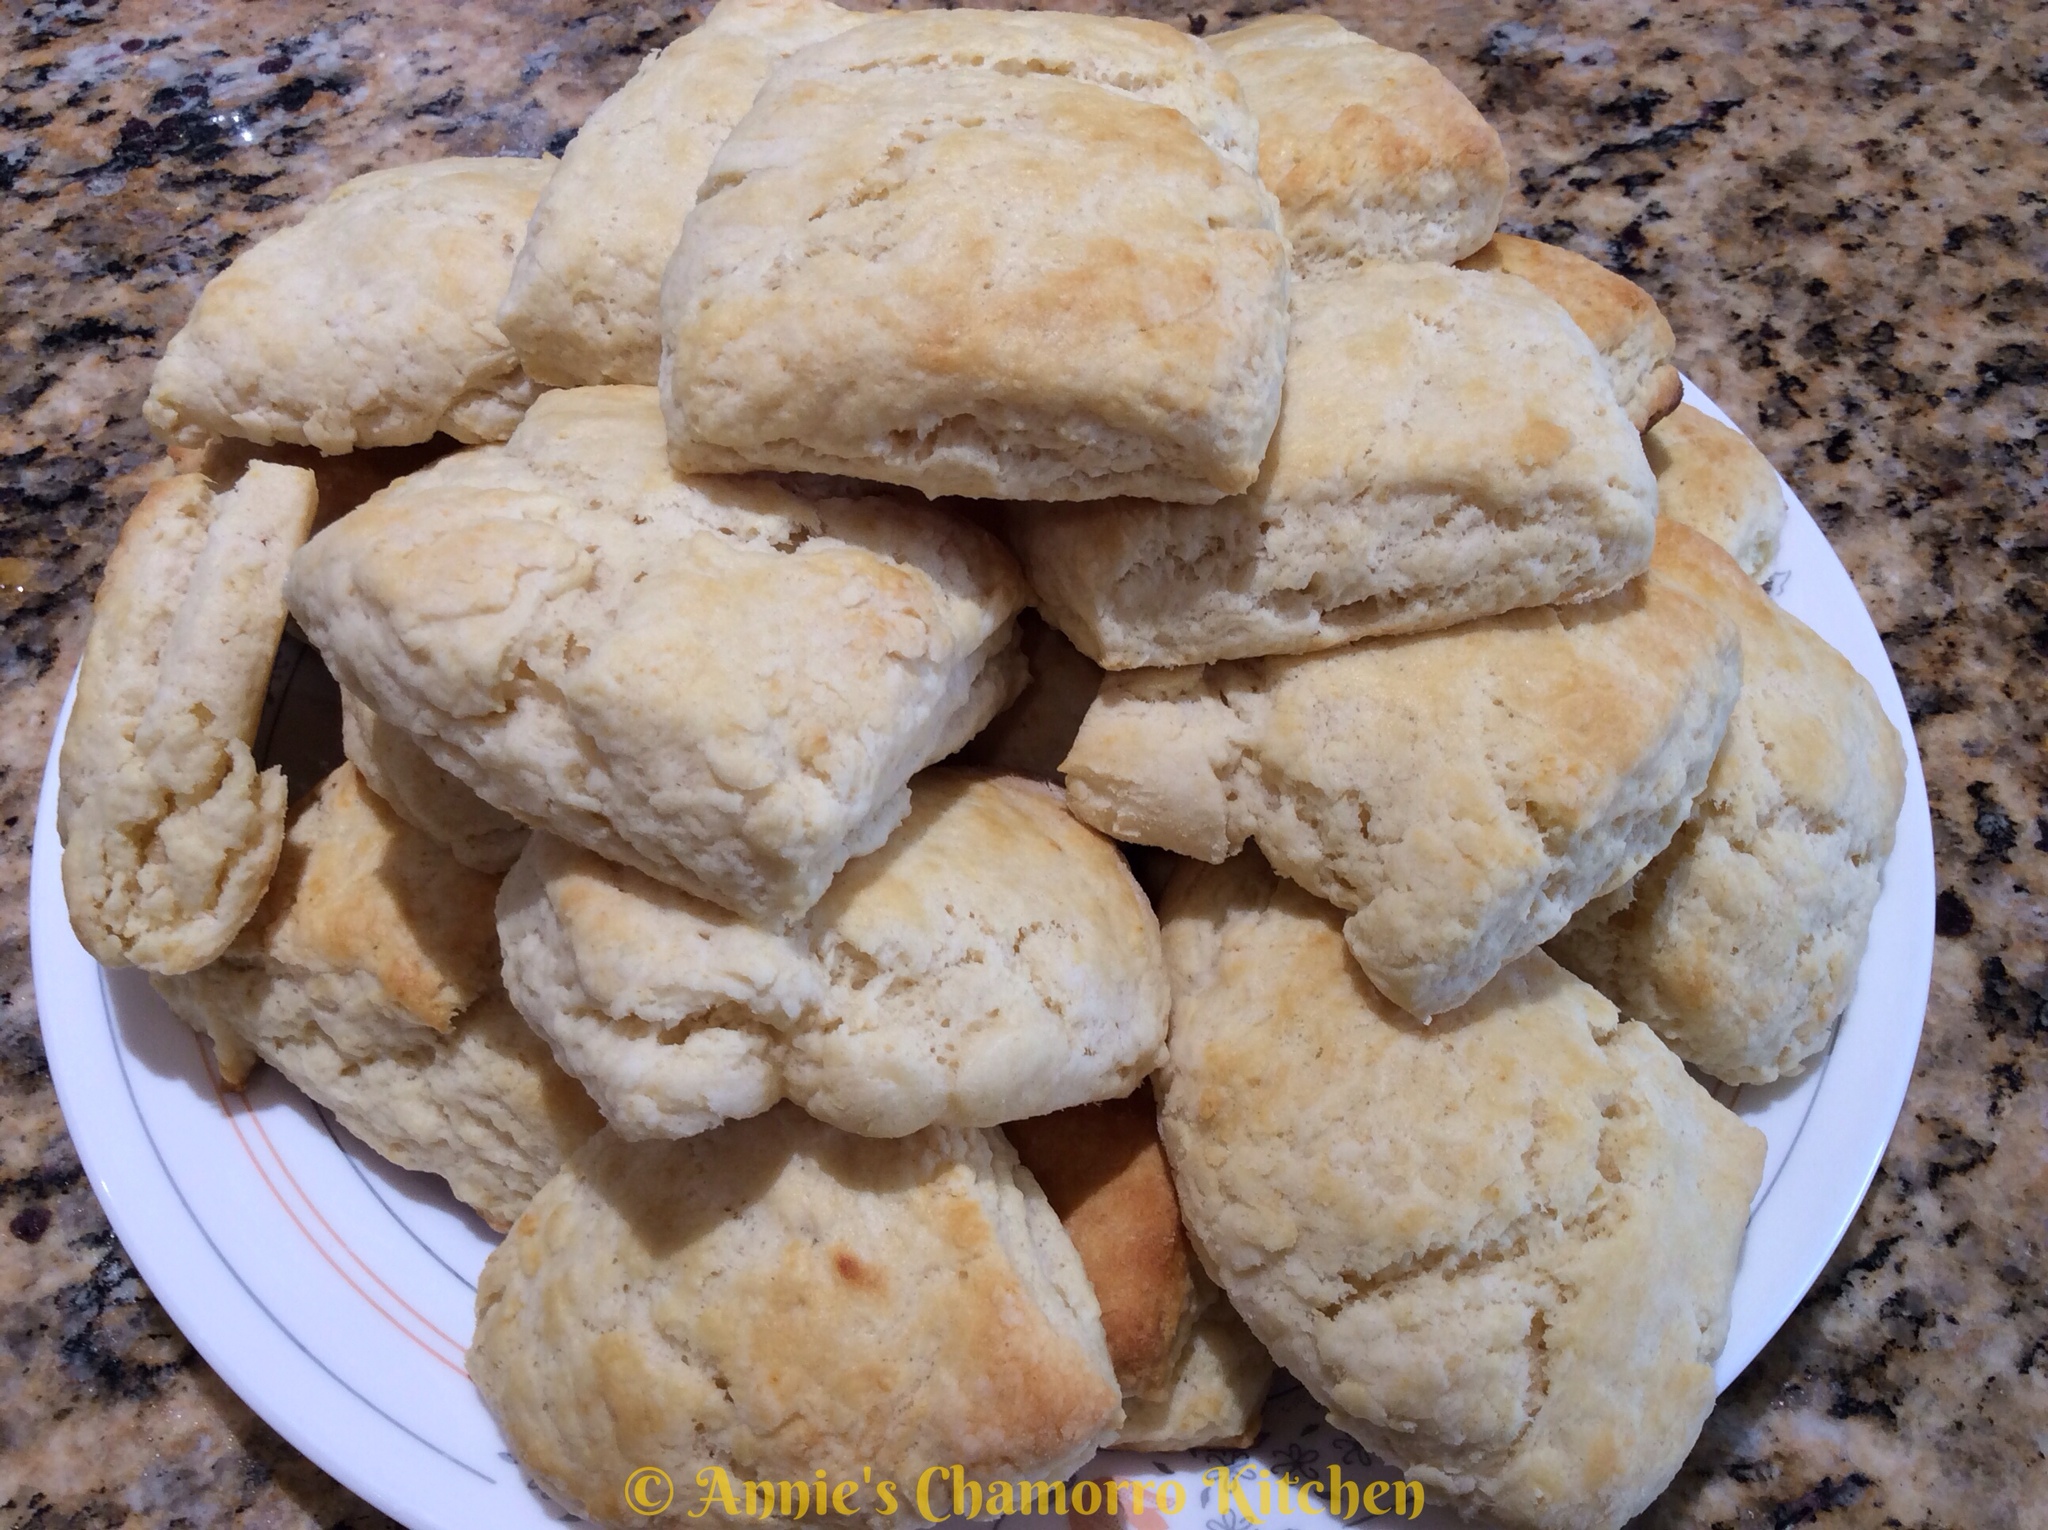
Pillow Soft and Fluffy Biscuits with Homemade Gravy

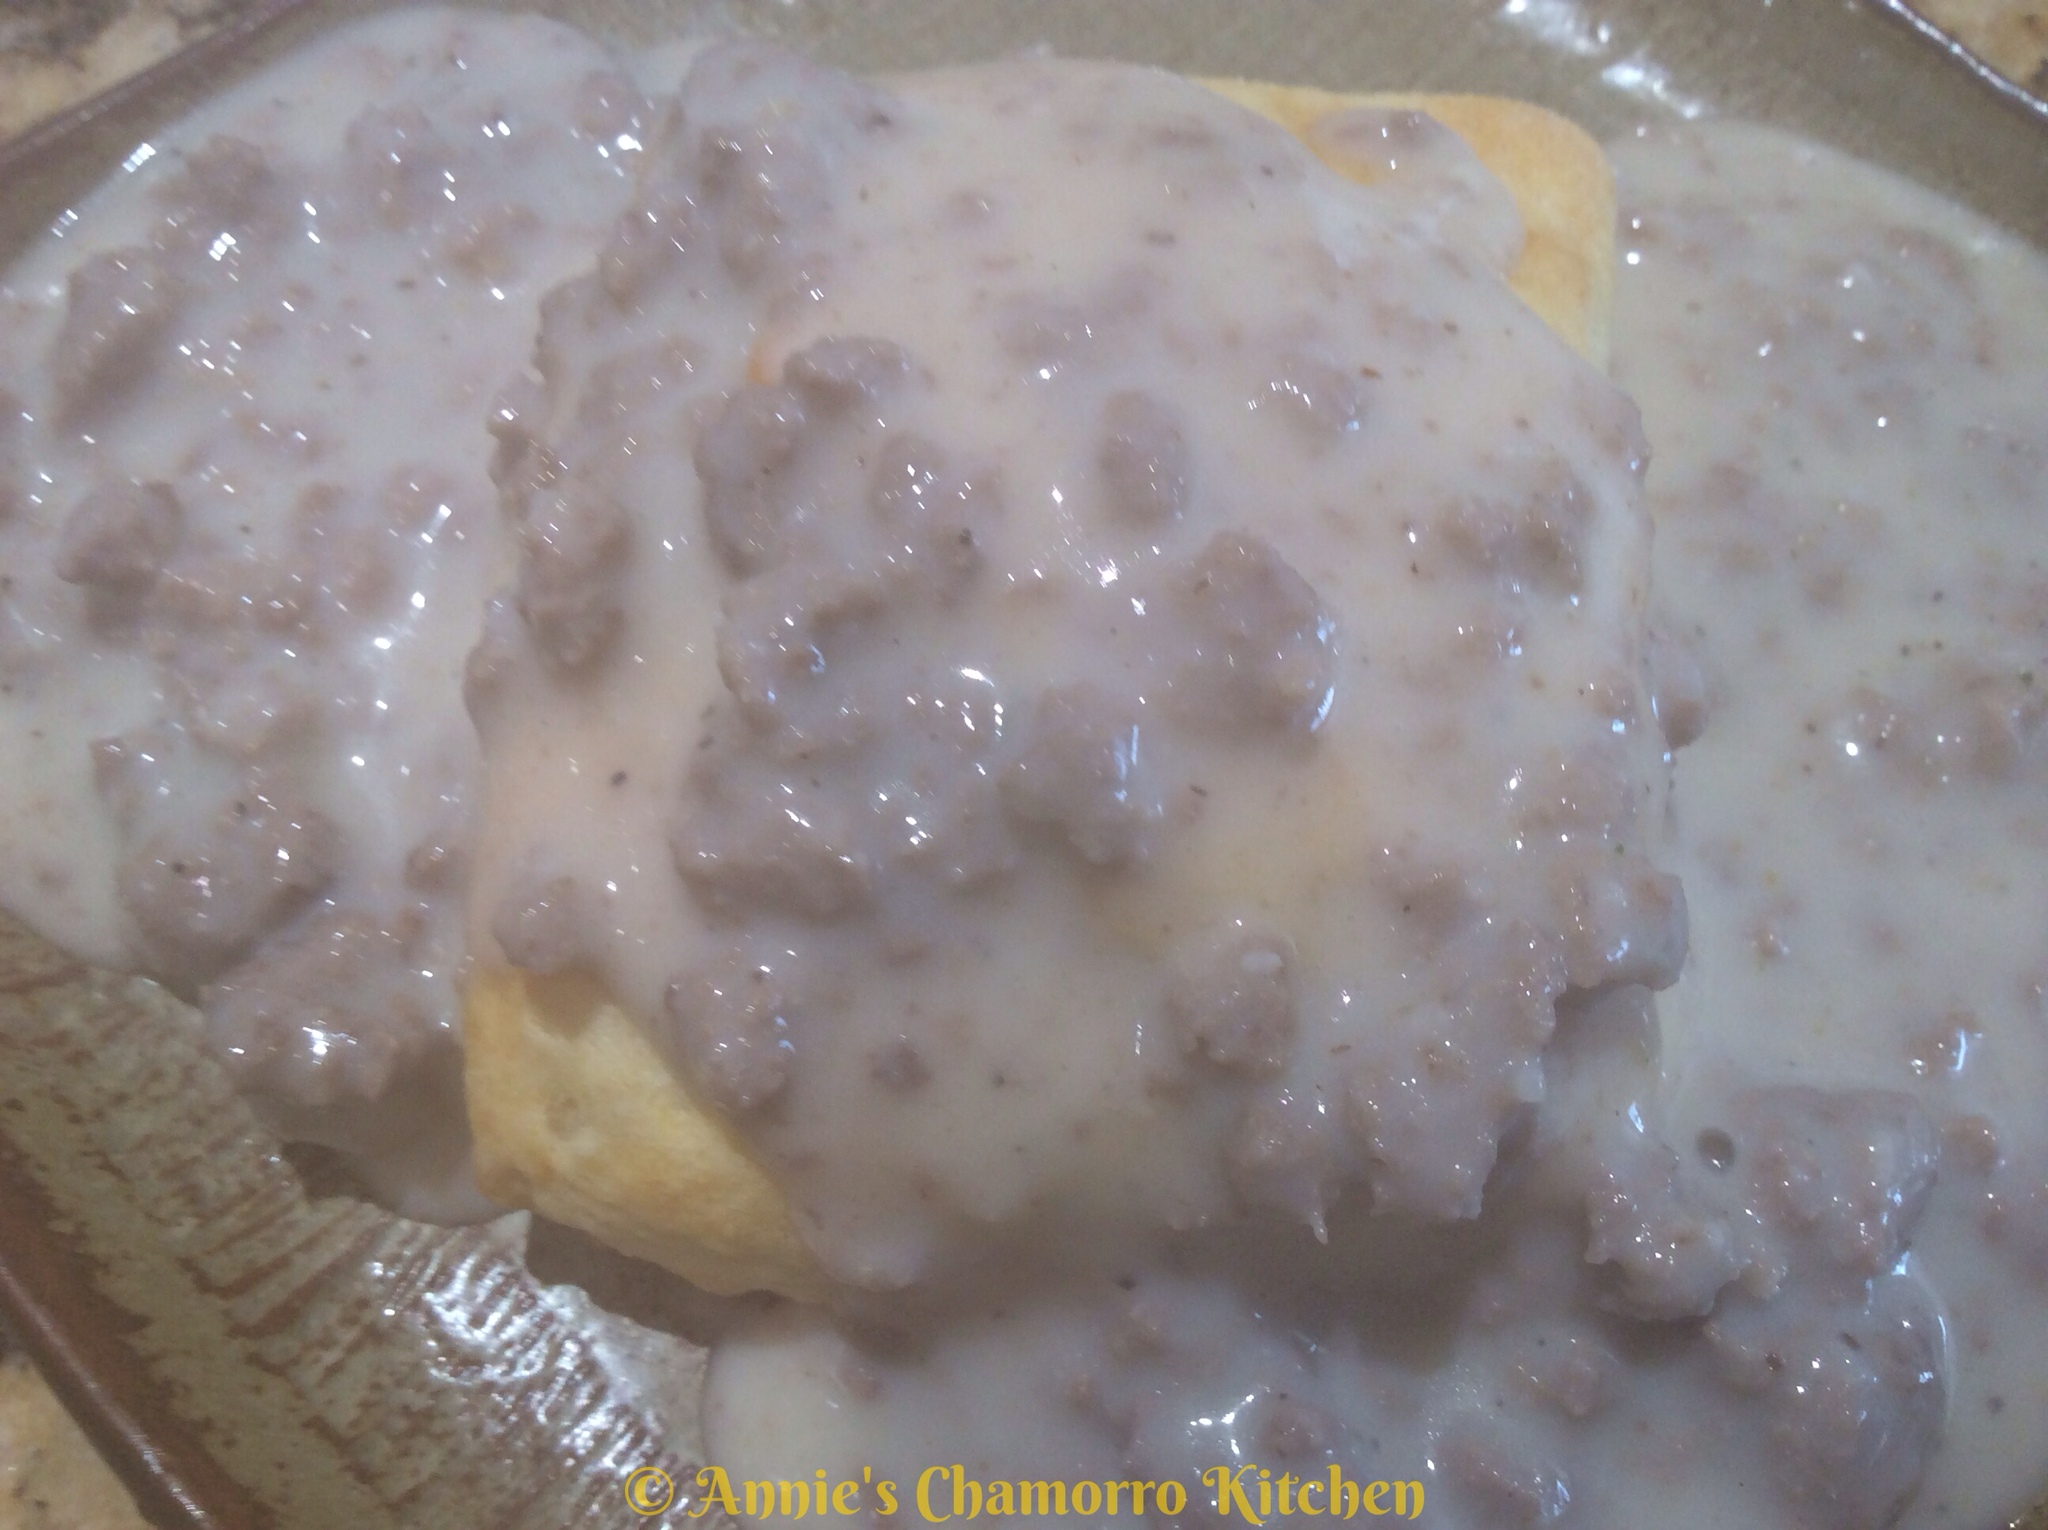
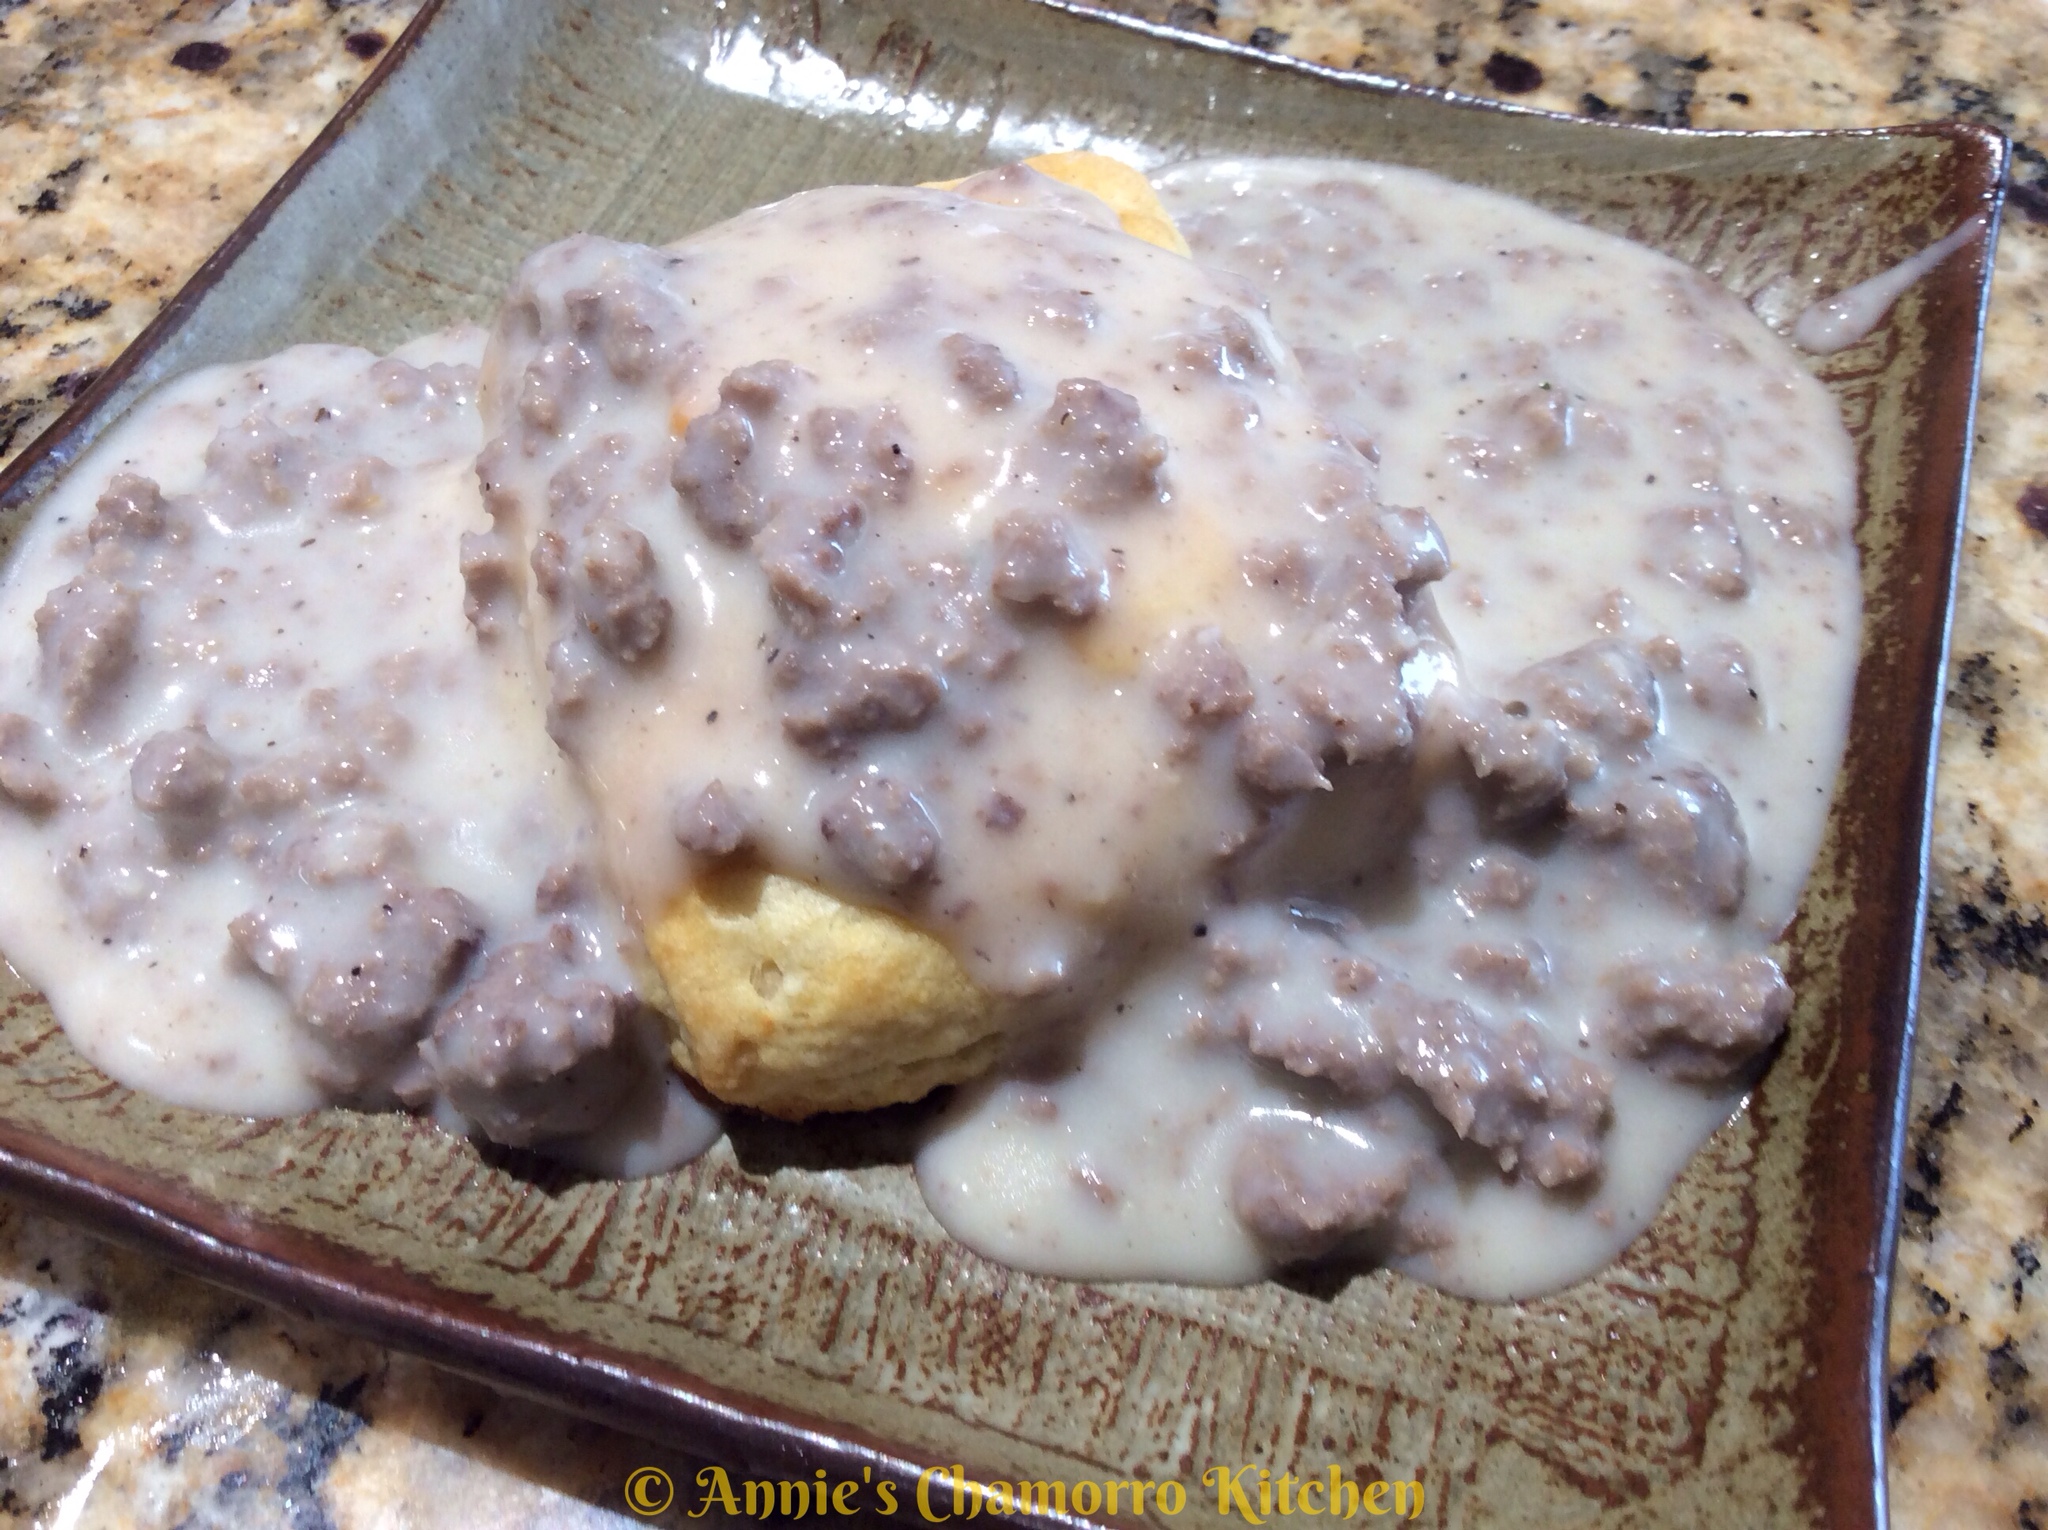
Biscuits and gravy is a classic breakfast dish. A serving (or two or three) of soft, fluffy biscuits topped with a savory, meaty gravy is a perfect way to start the day.

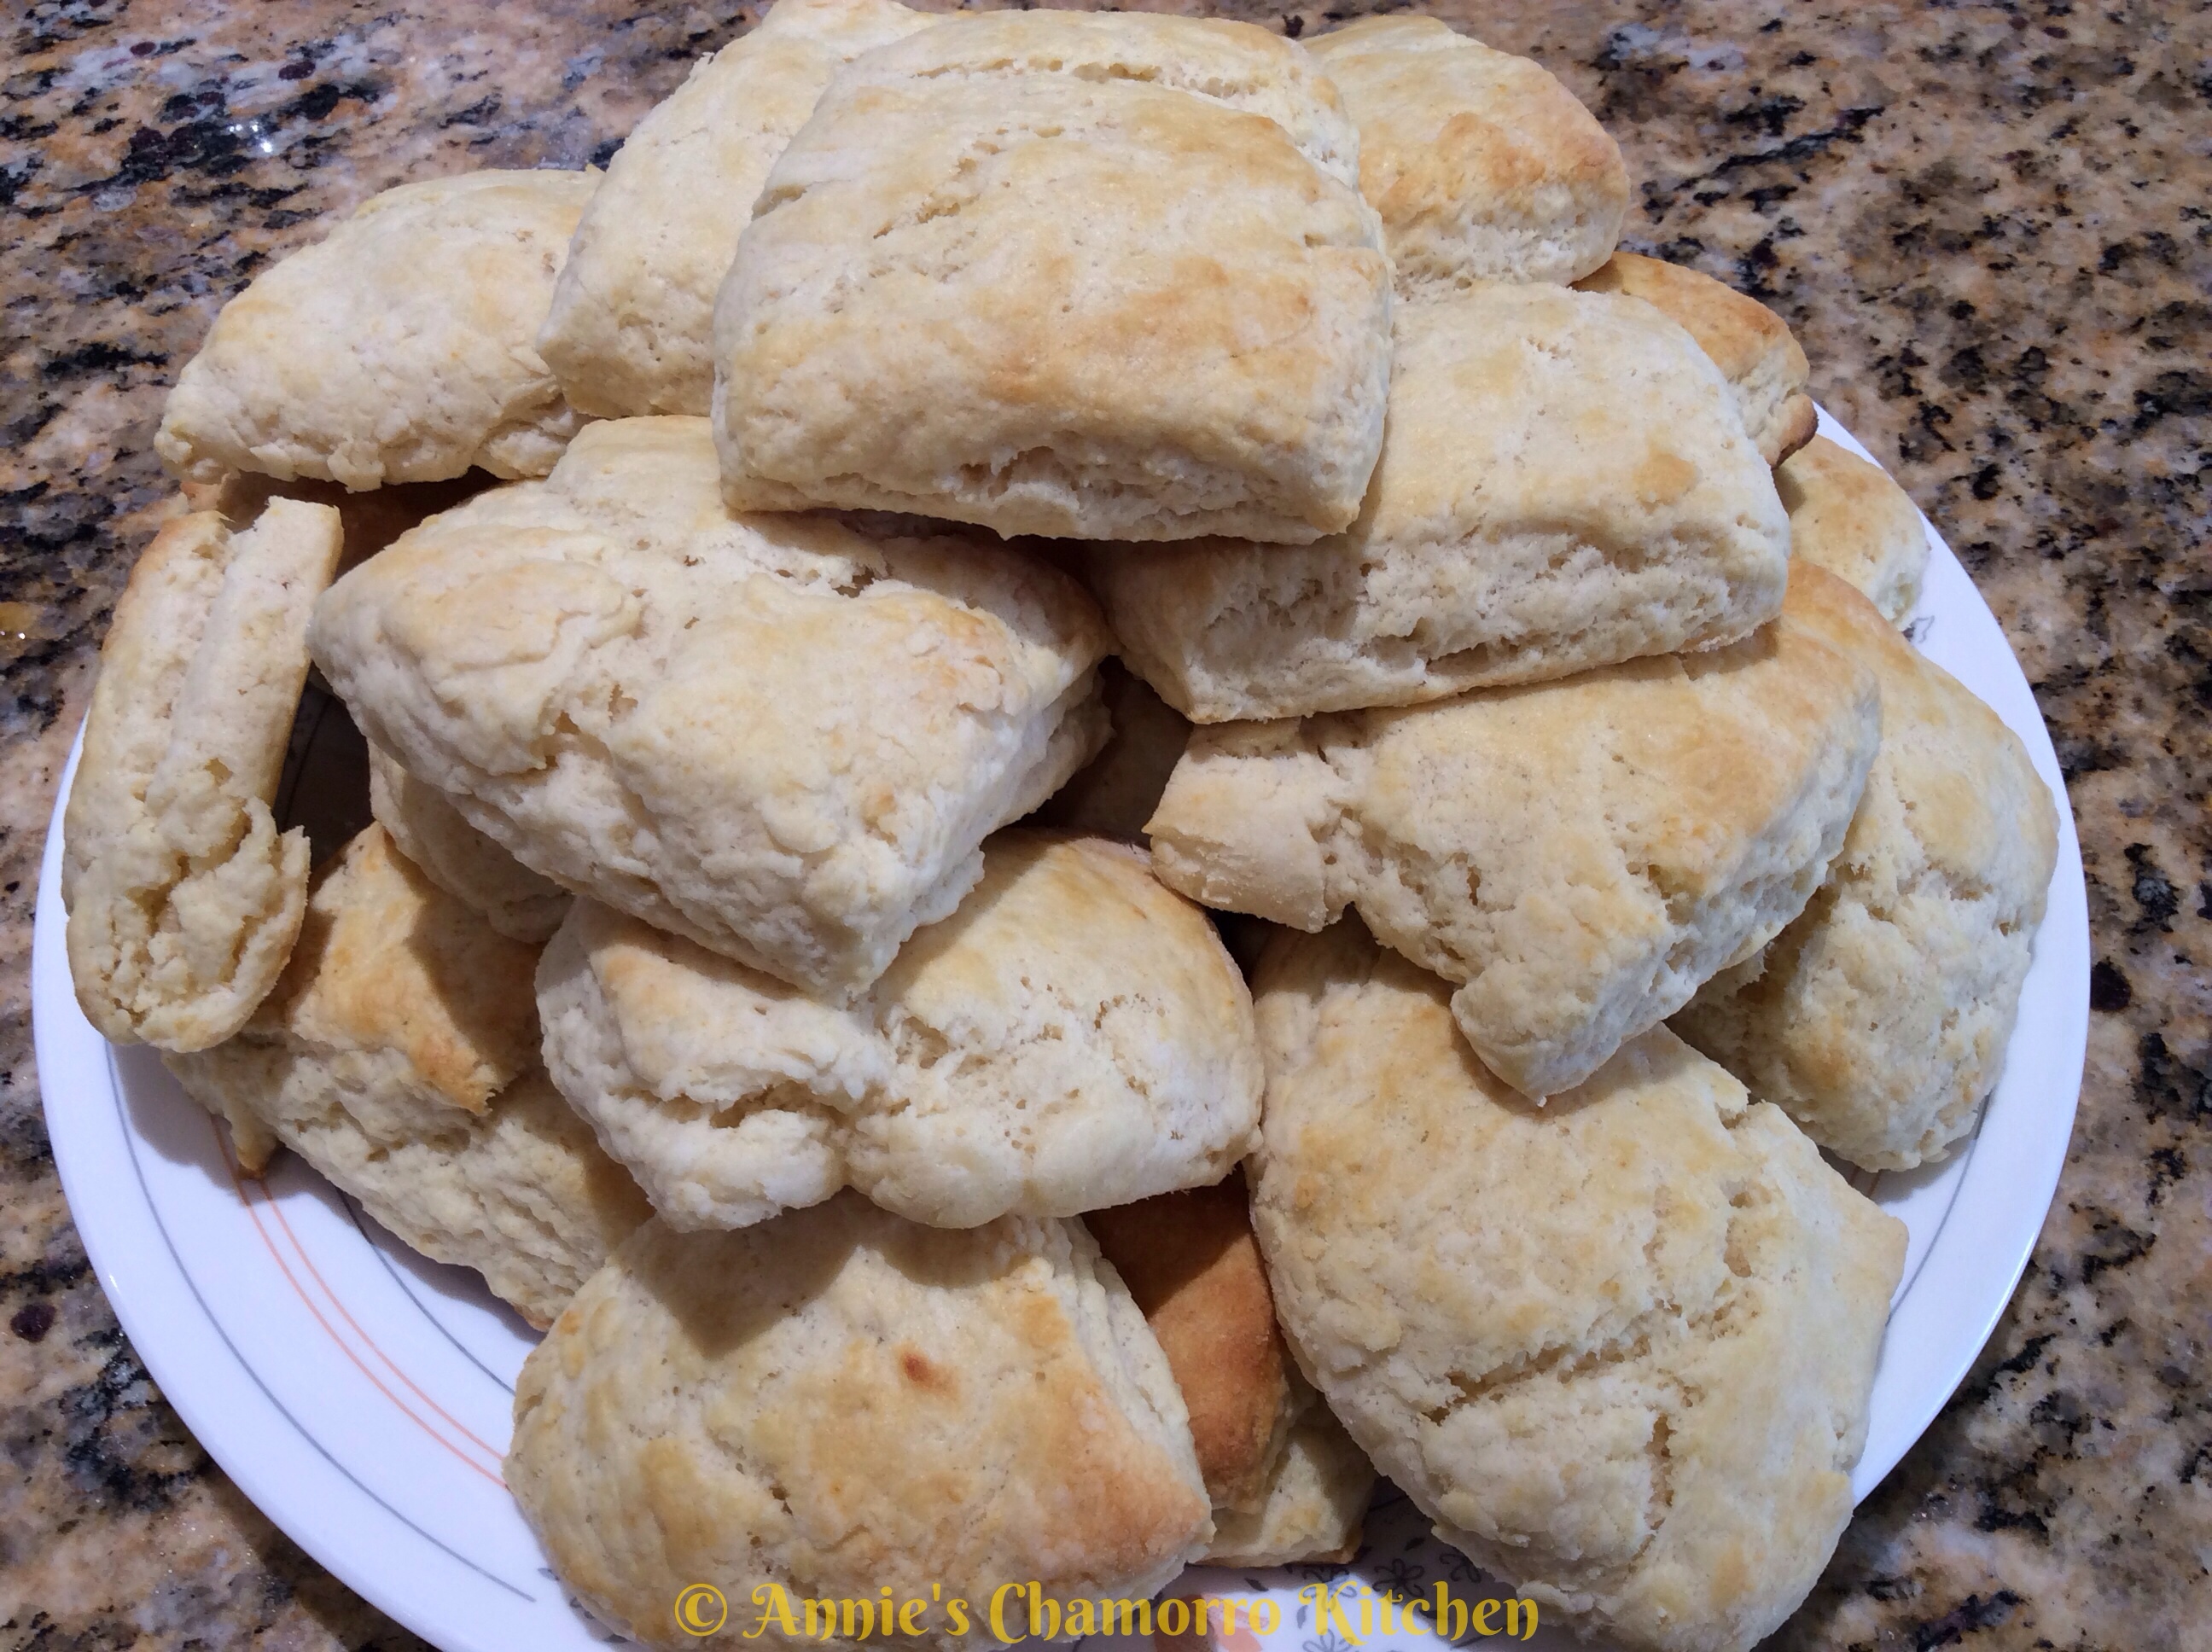
These biscuits are so soft, they practically melt in your mouth. Seriously.

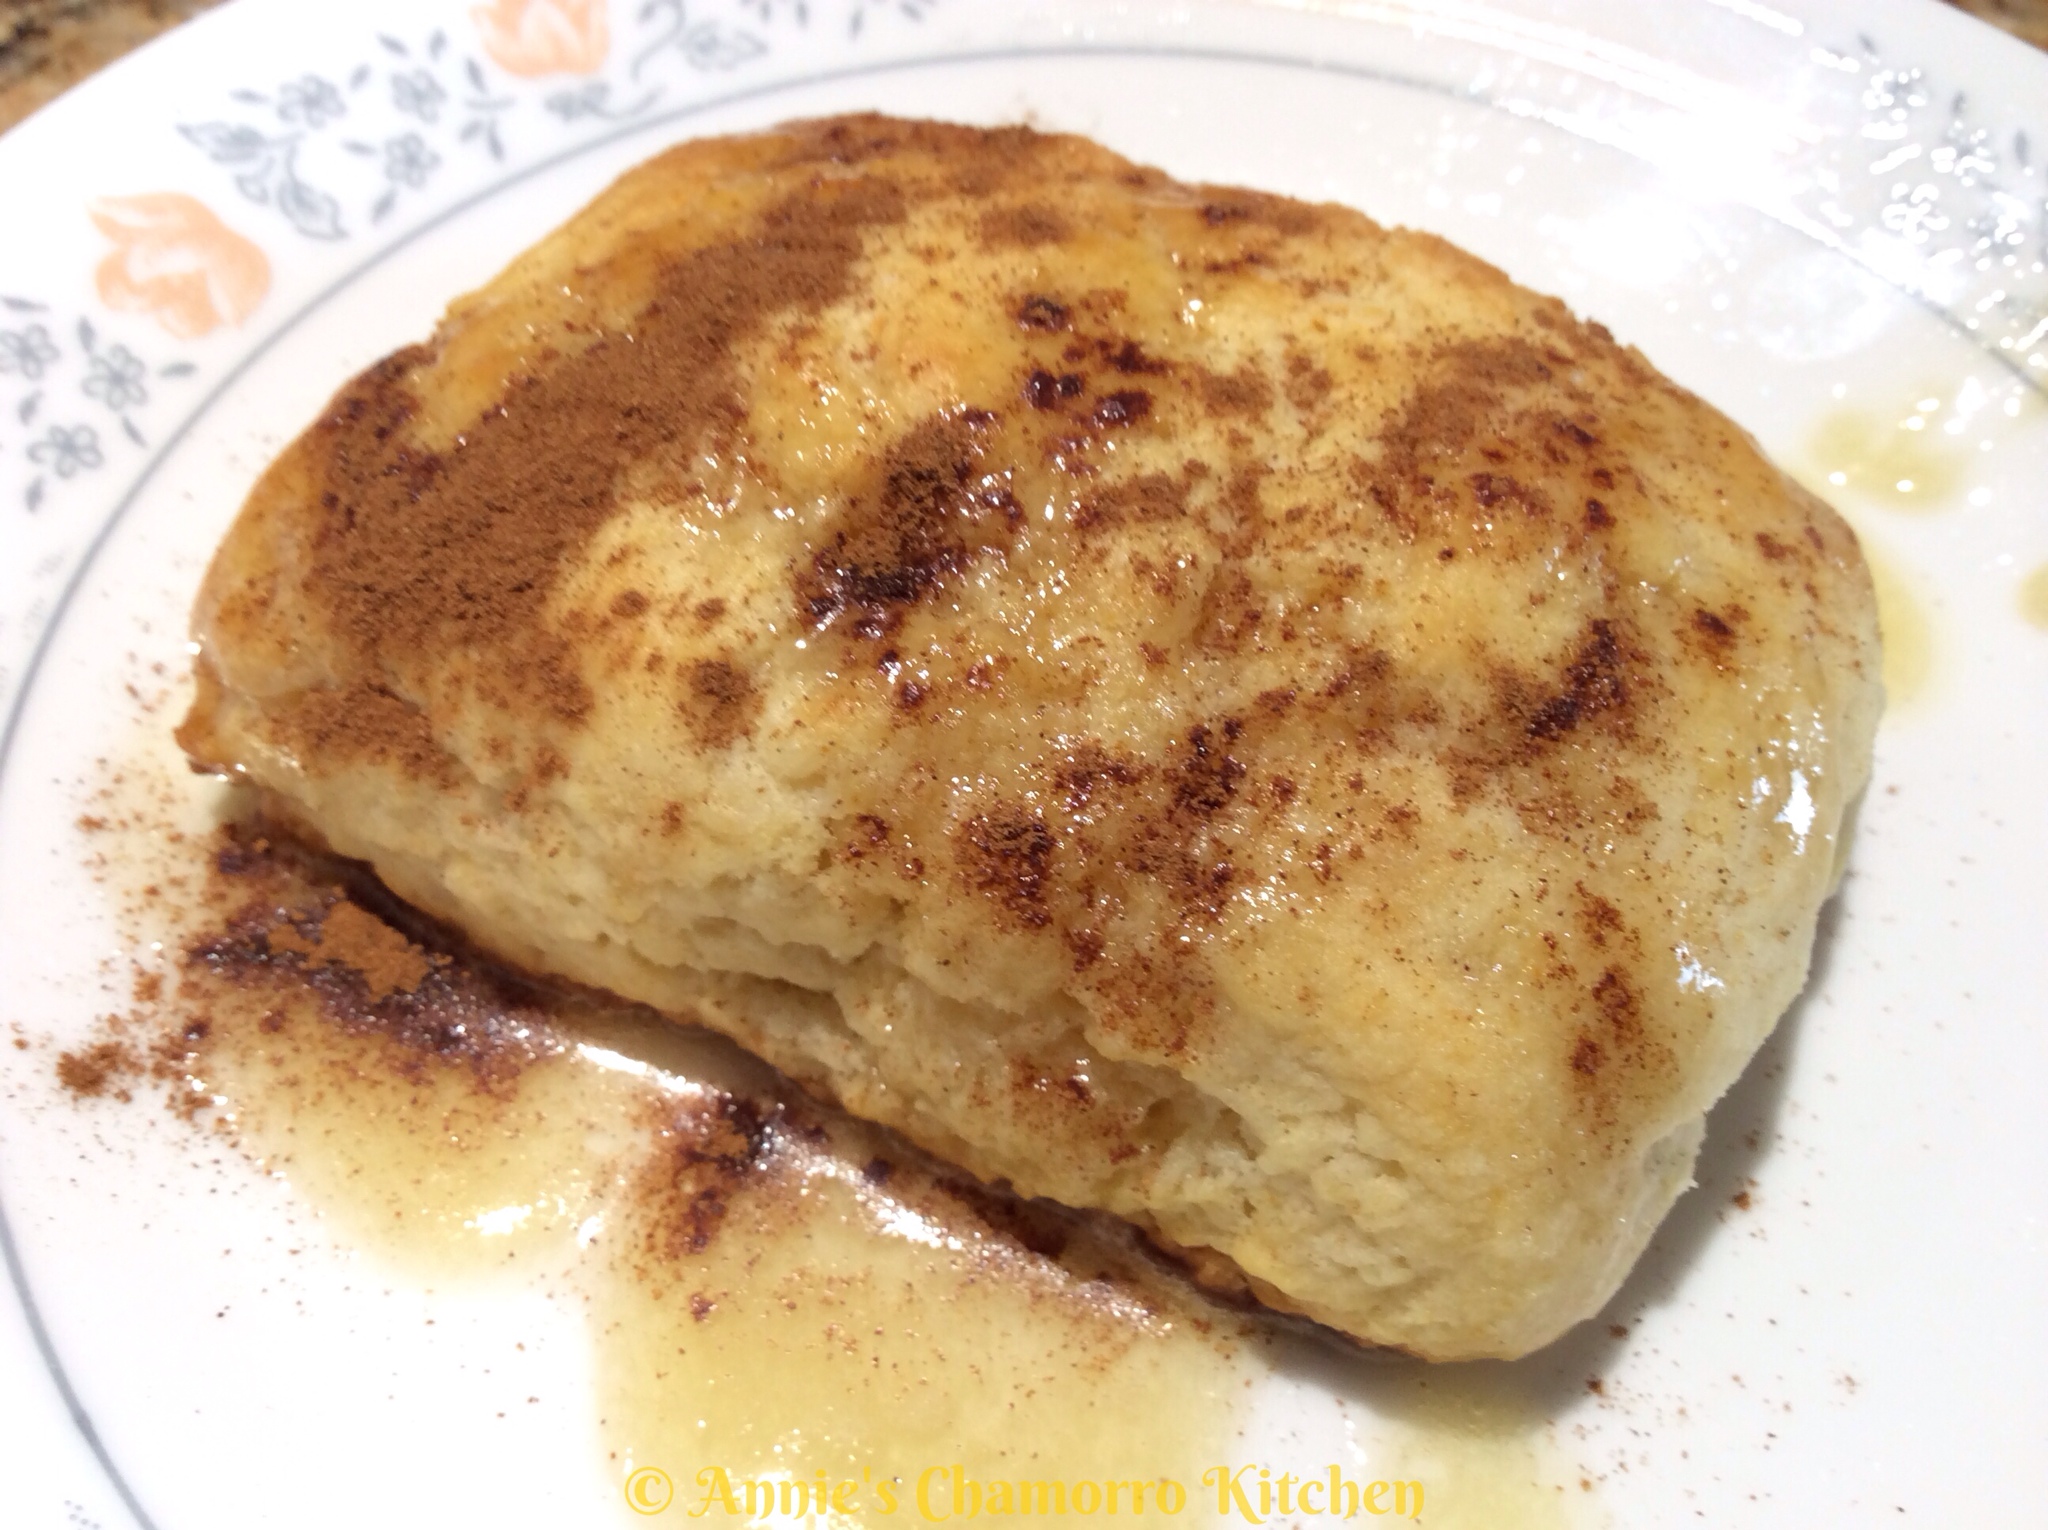
These biscuits are so soft that you tend to smoosh them when trying to spread butter on them. That’s why I like making a Honey-Butter Sauce that you can just drizzle on top–there’s no need to spread anything on them! 🙂

Aside from serving these for breakfast, you can also serve ’em up with some fried chicken and a side of hot buttered corn for an absolutely delightful dinner.

Give my recipes a try. I think you’ll like them. 🙂

Be sure to scroll down for my Homemade Gravy and Honey-Butter Sauce recipes.

Soft Fluffy Biscuits
Ingredients:

  • 4 1/4 cups all-purpose flour
  • 3/4 cup corn starch
  • 10 tablespoons buttermilk powder
  • 2 teaspoons baking powder
  • 1 teaspoon baking soda
  • 1 teaspoon salt
  • 2 teaspoons sugar
  • 2 sticks (1 cup) very cold unsalted butter, cut into small pieces
  • 1 1/2 cups water

Directions:

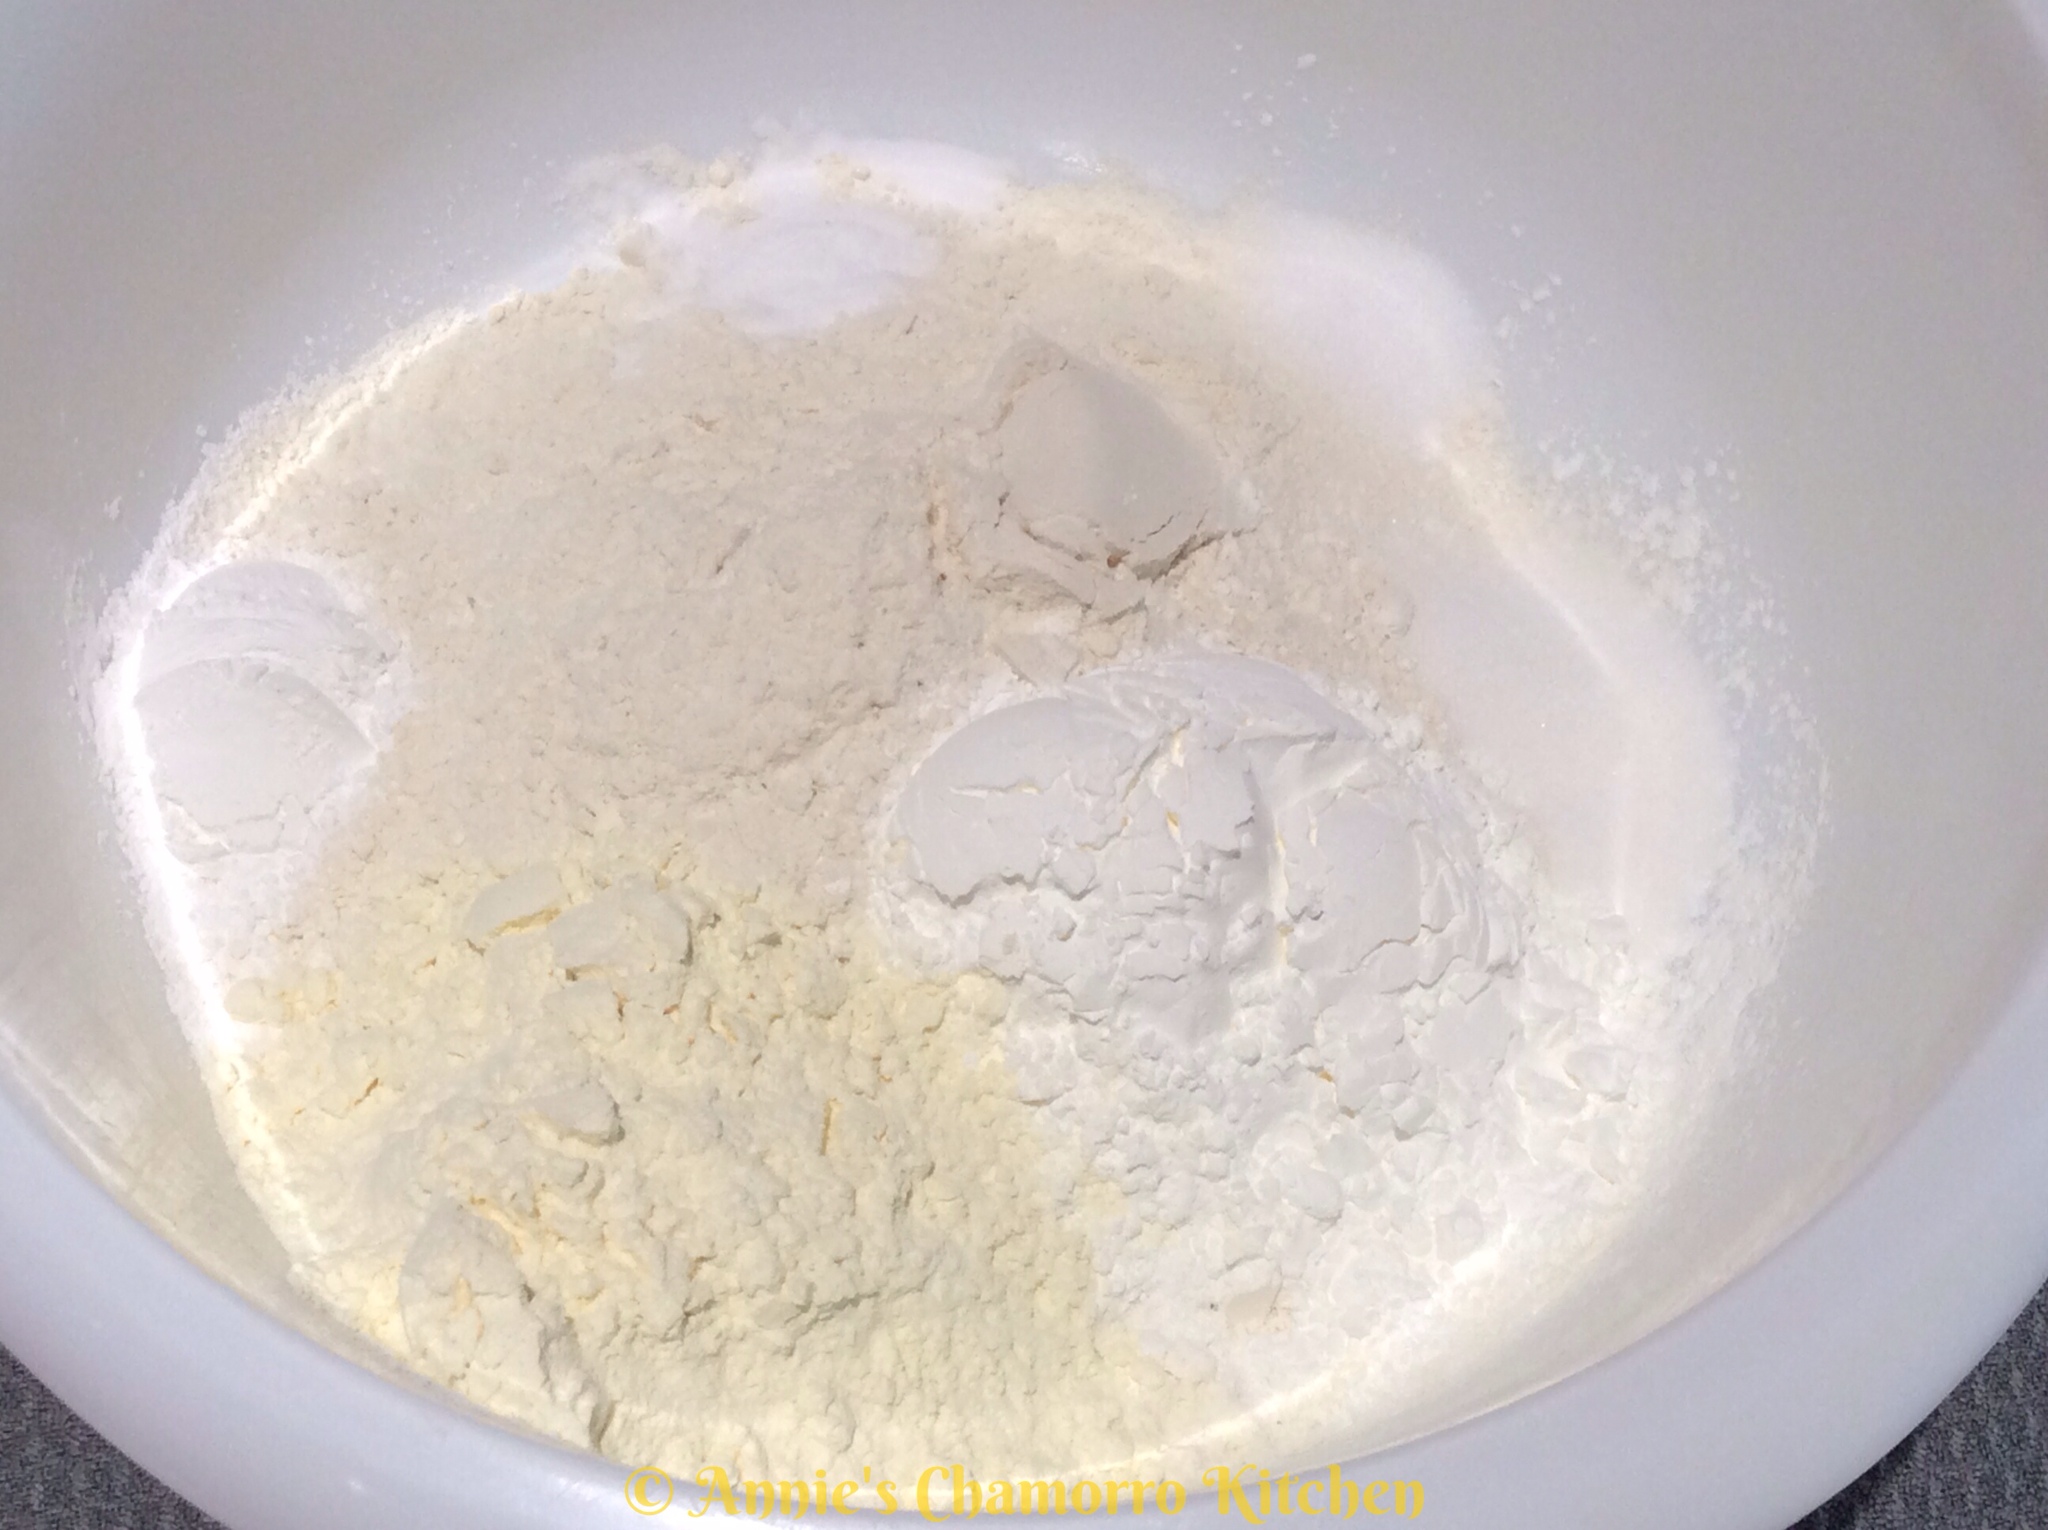
1. Place the flour, cornstarch, buttermilk powder, baking powder, baking soda, salt and sugar into a large mixing bowl. Stir to combine all of the ingredients.
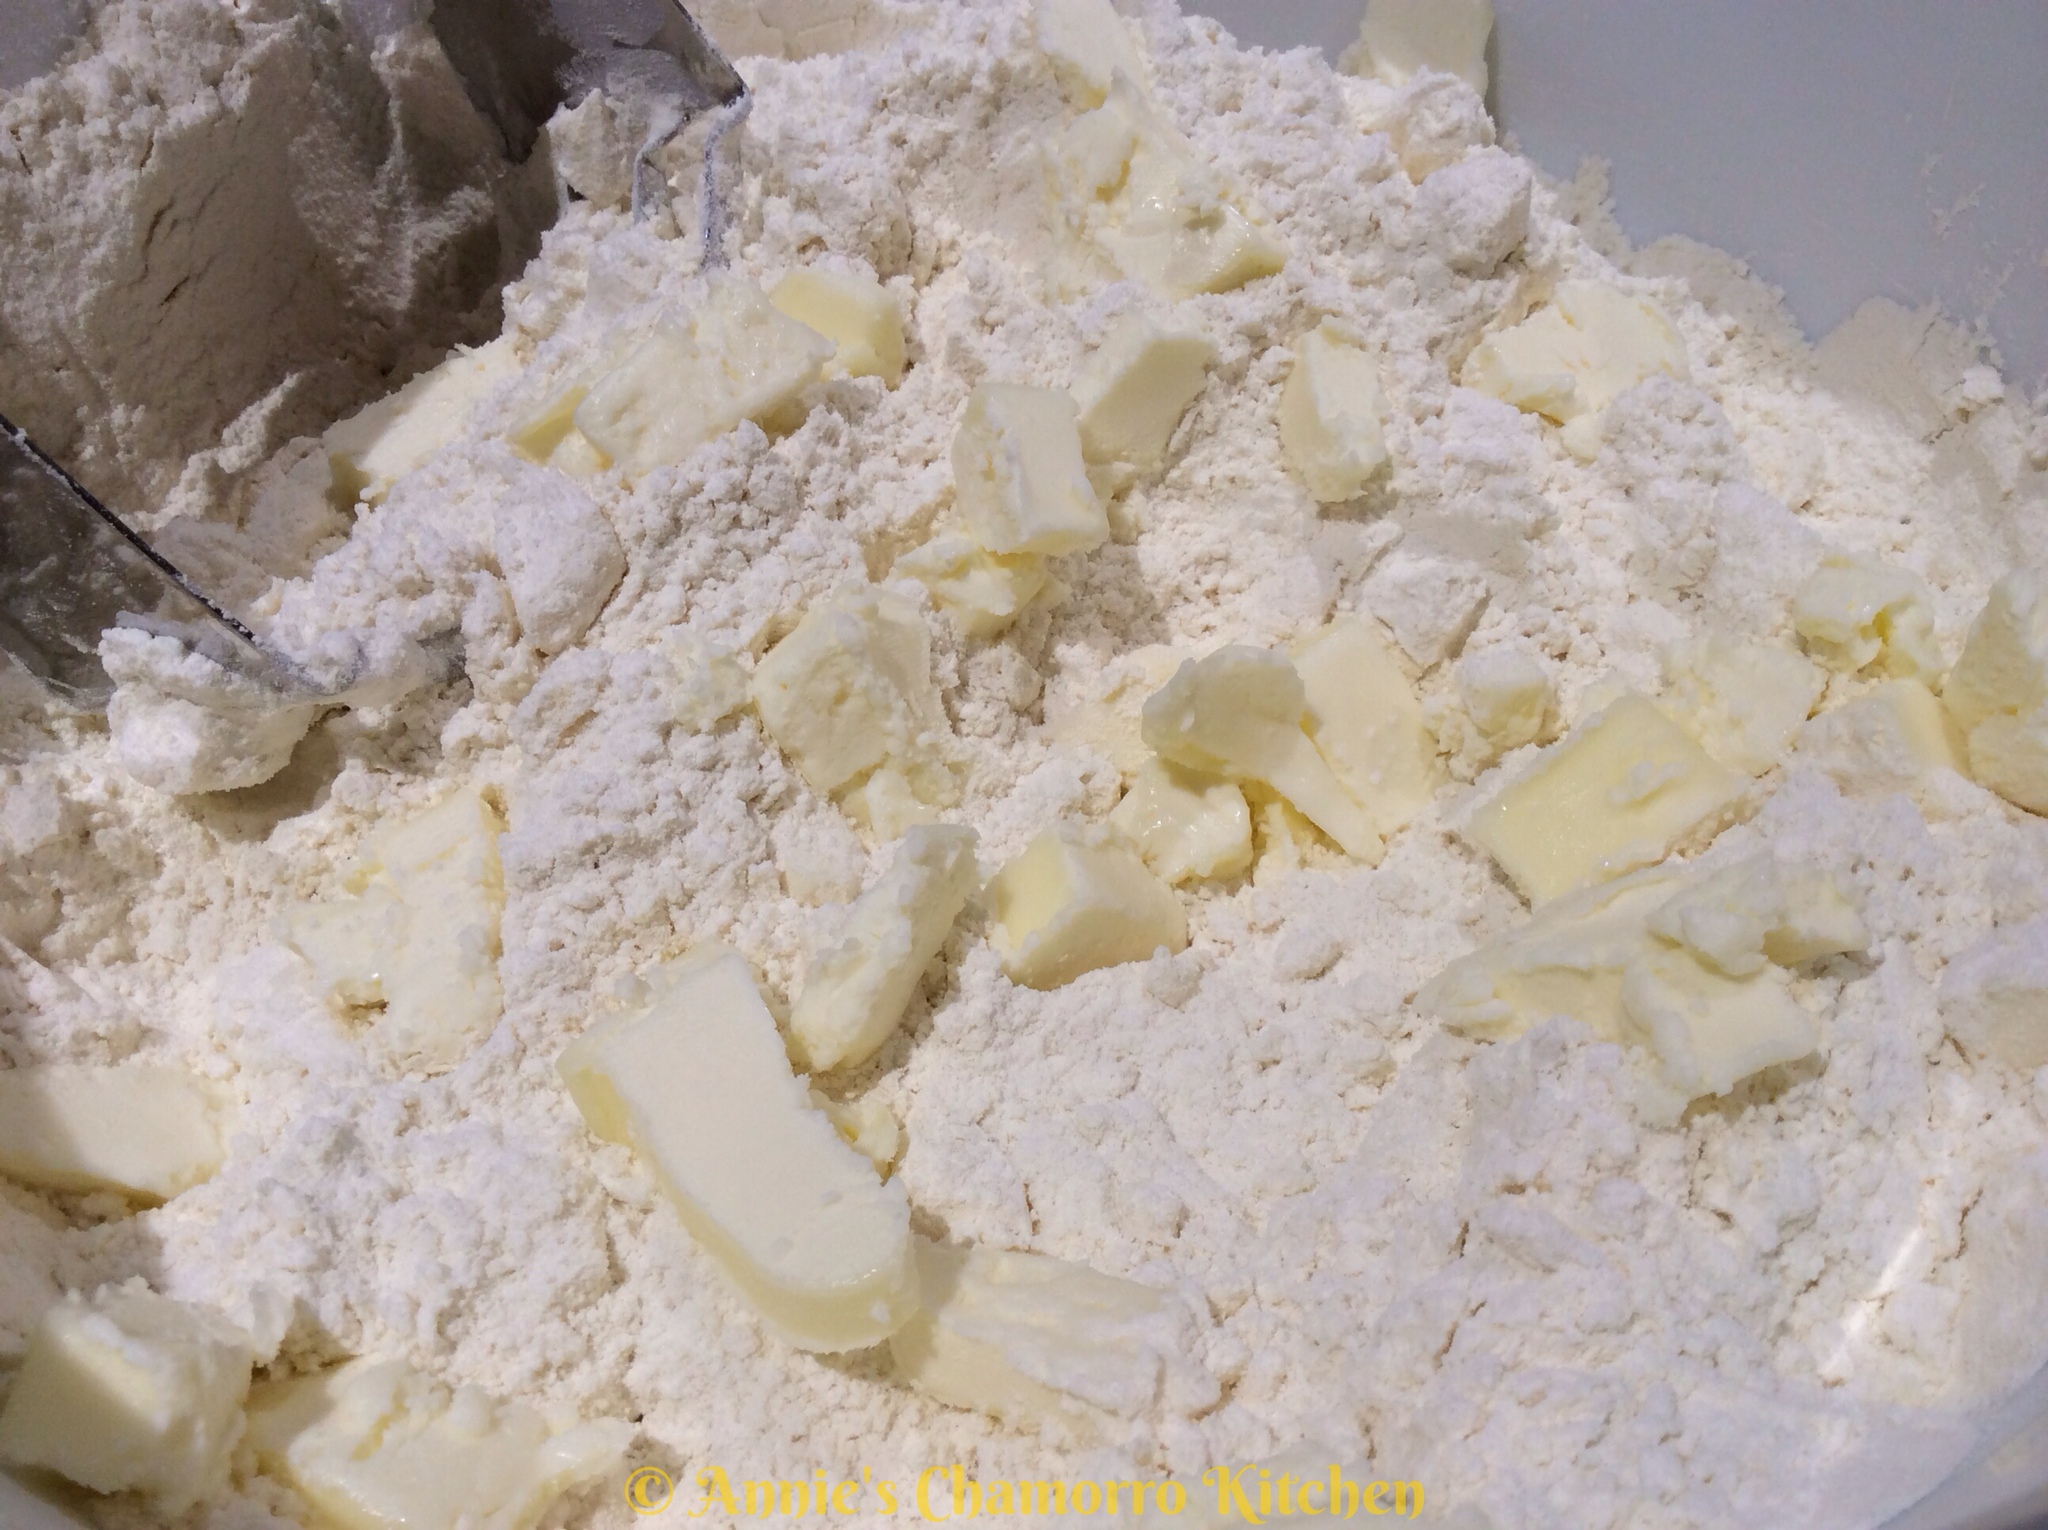
2. Add the pieces of butter to the bowl. Use a pastry cutter (you can also do this in a food processor) to cut the butter into the flour.
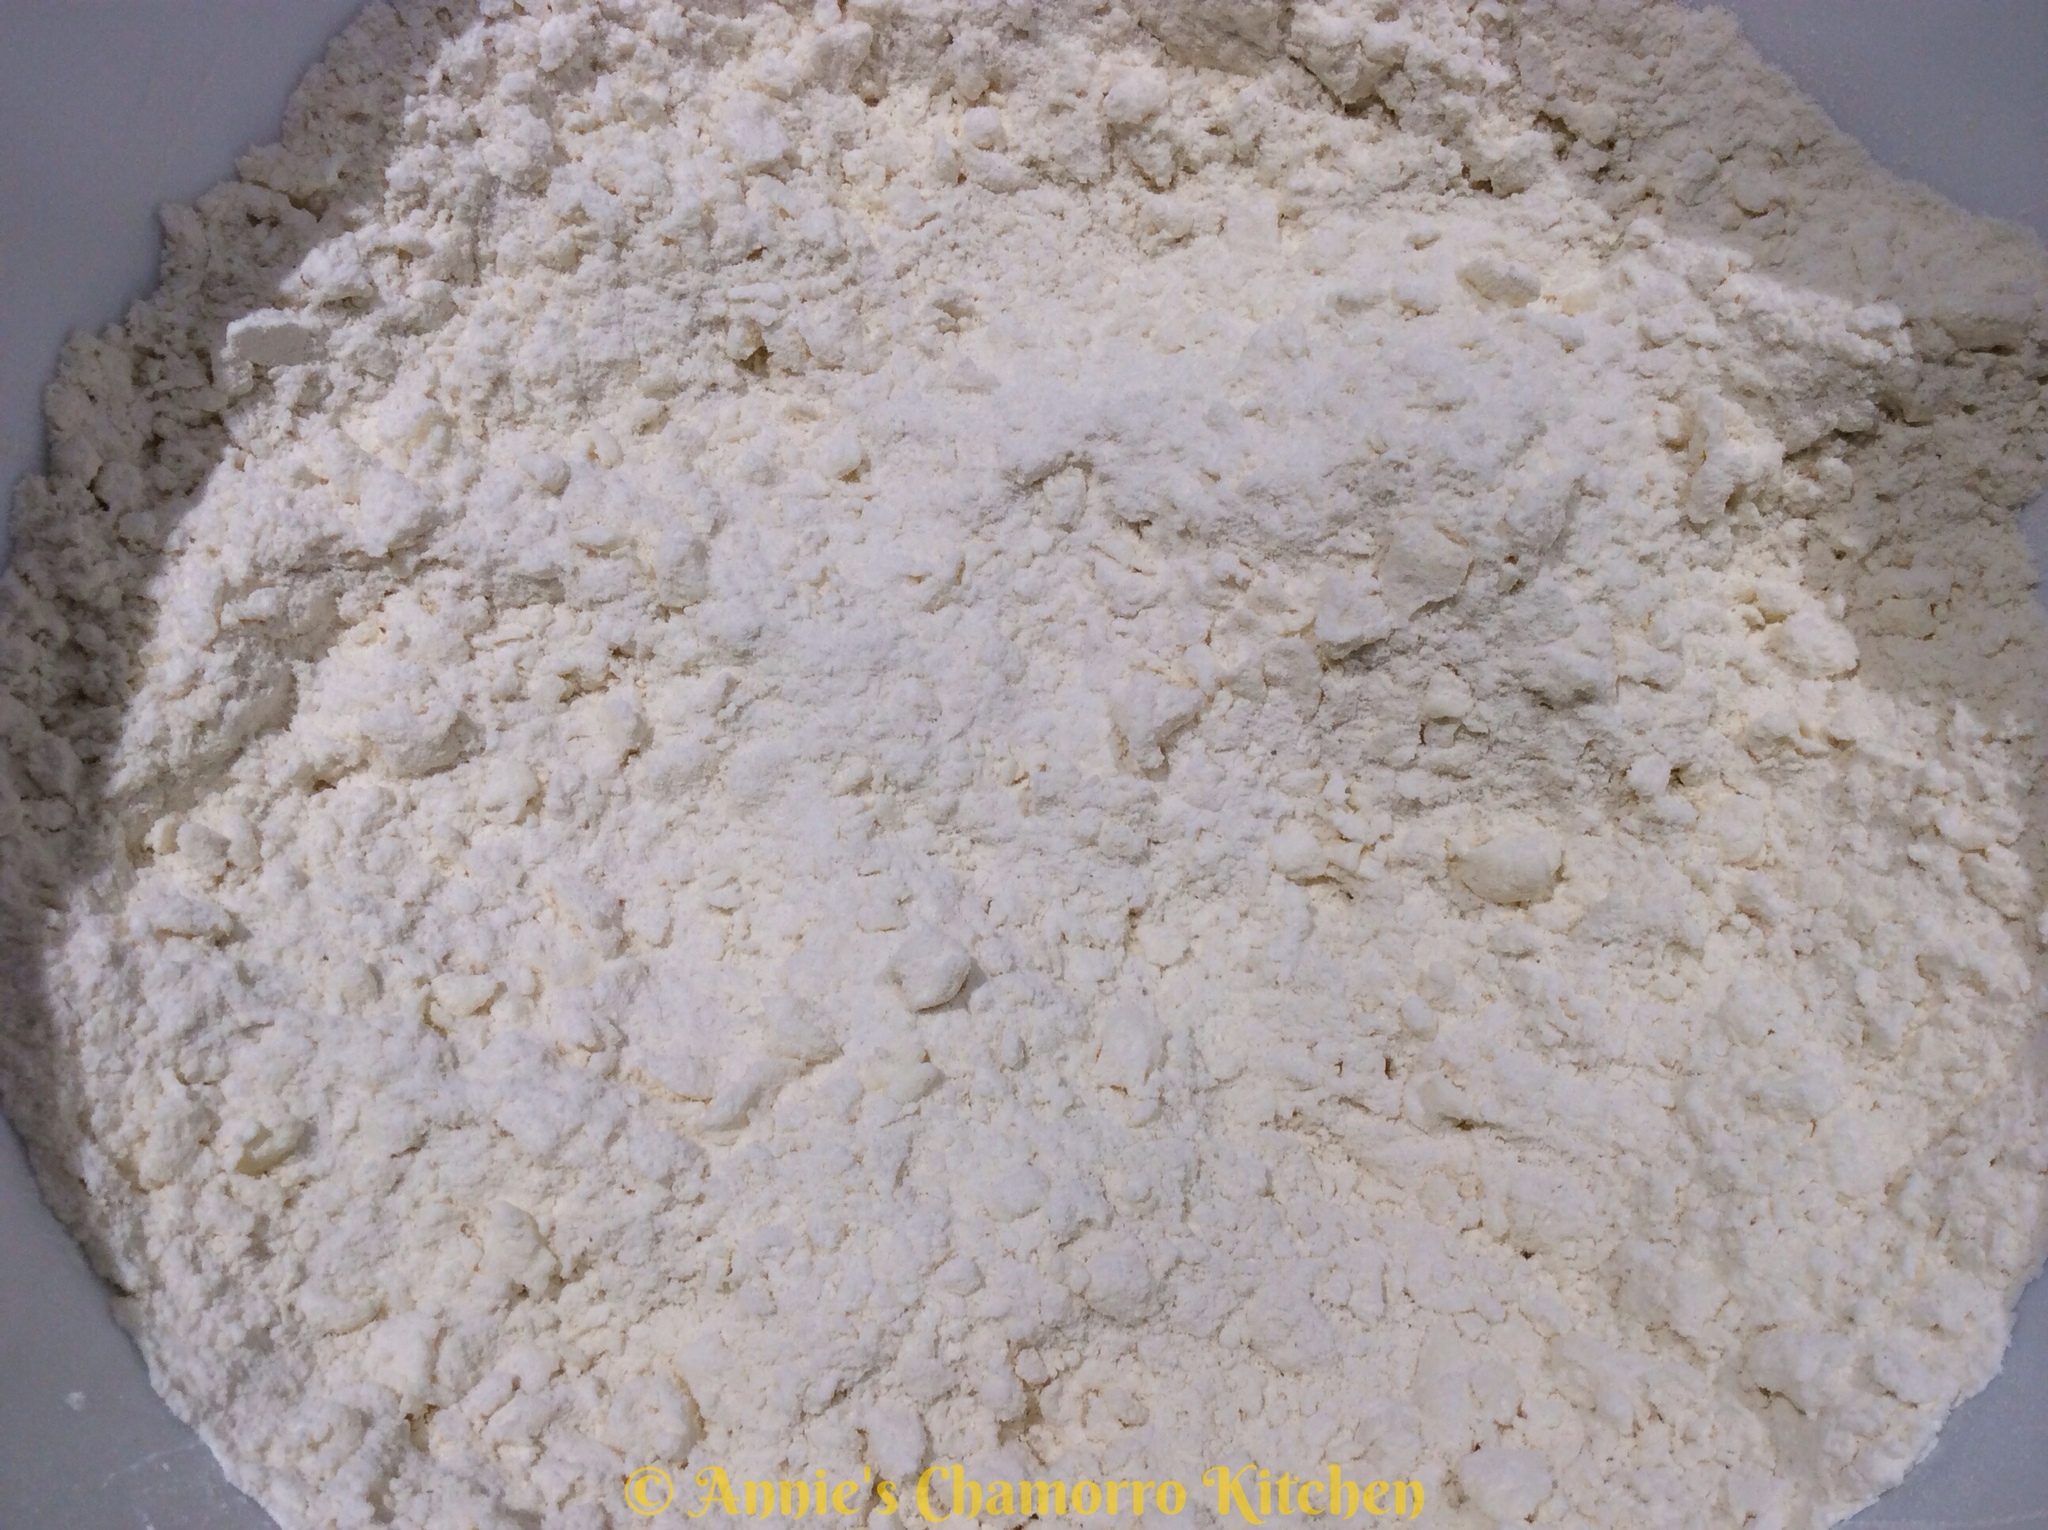
3. Add the water to the flour mixture. Gently mix with your hands until a dough forms. Do not knead or over-mix the dough.
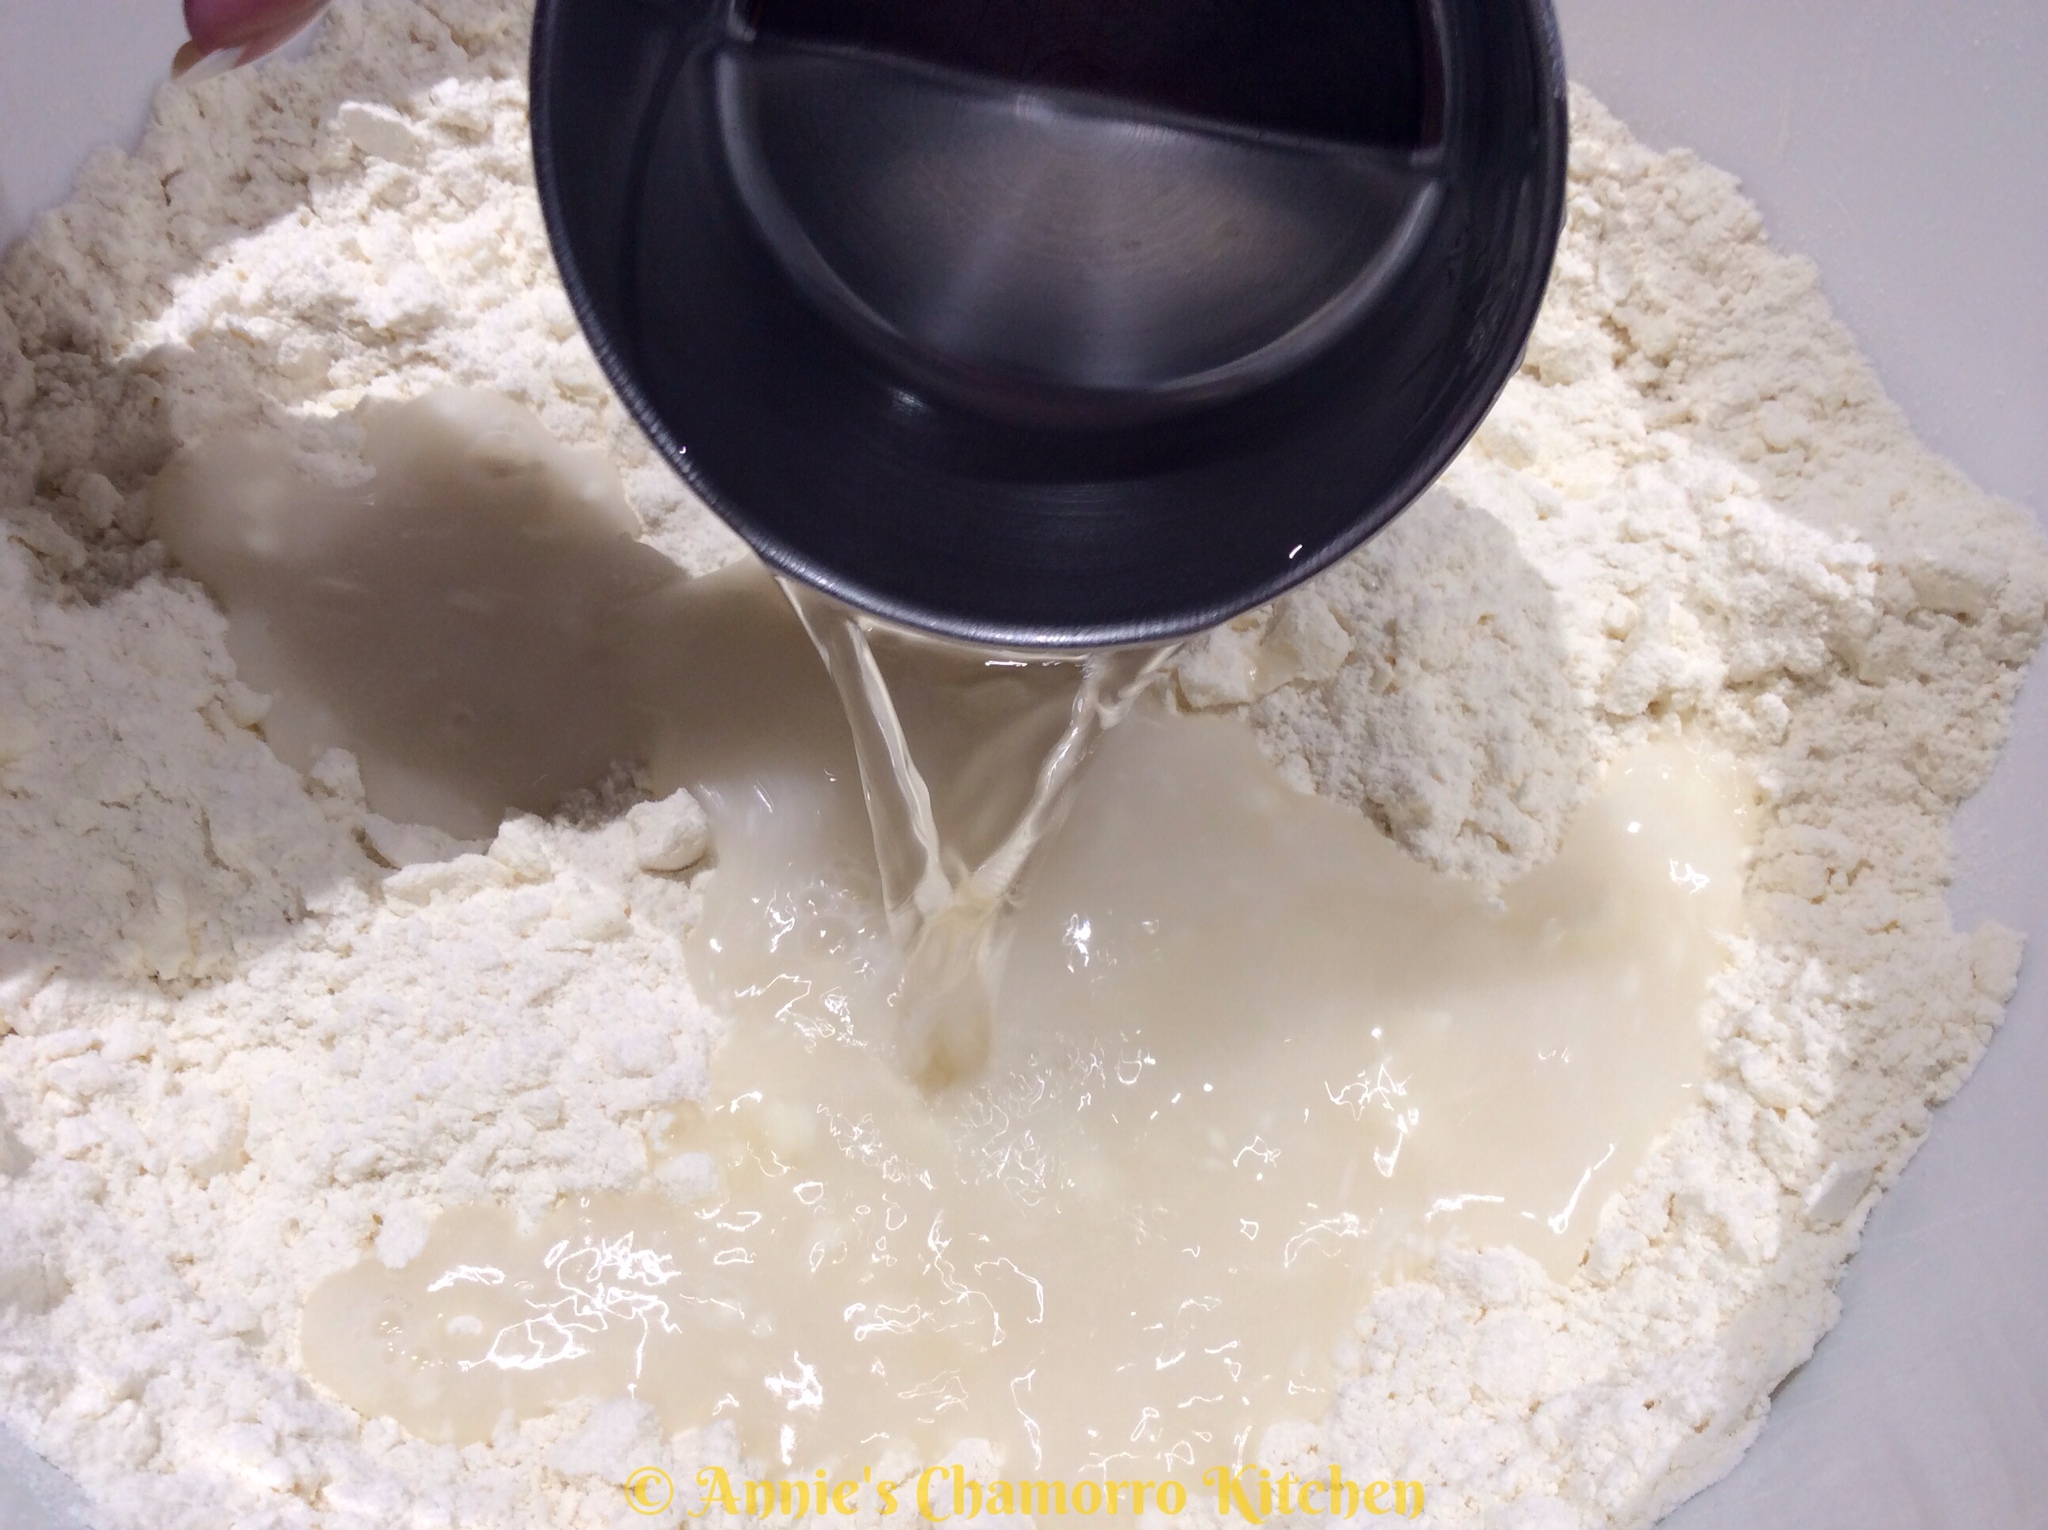
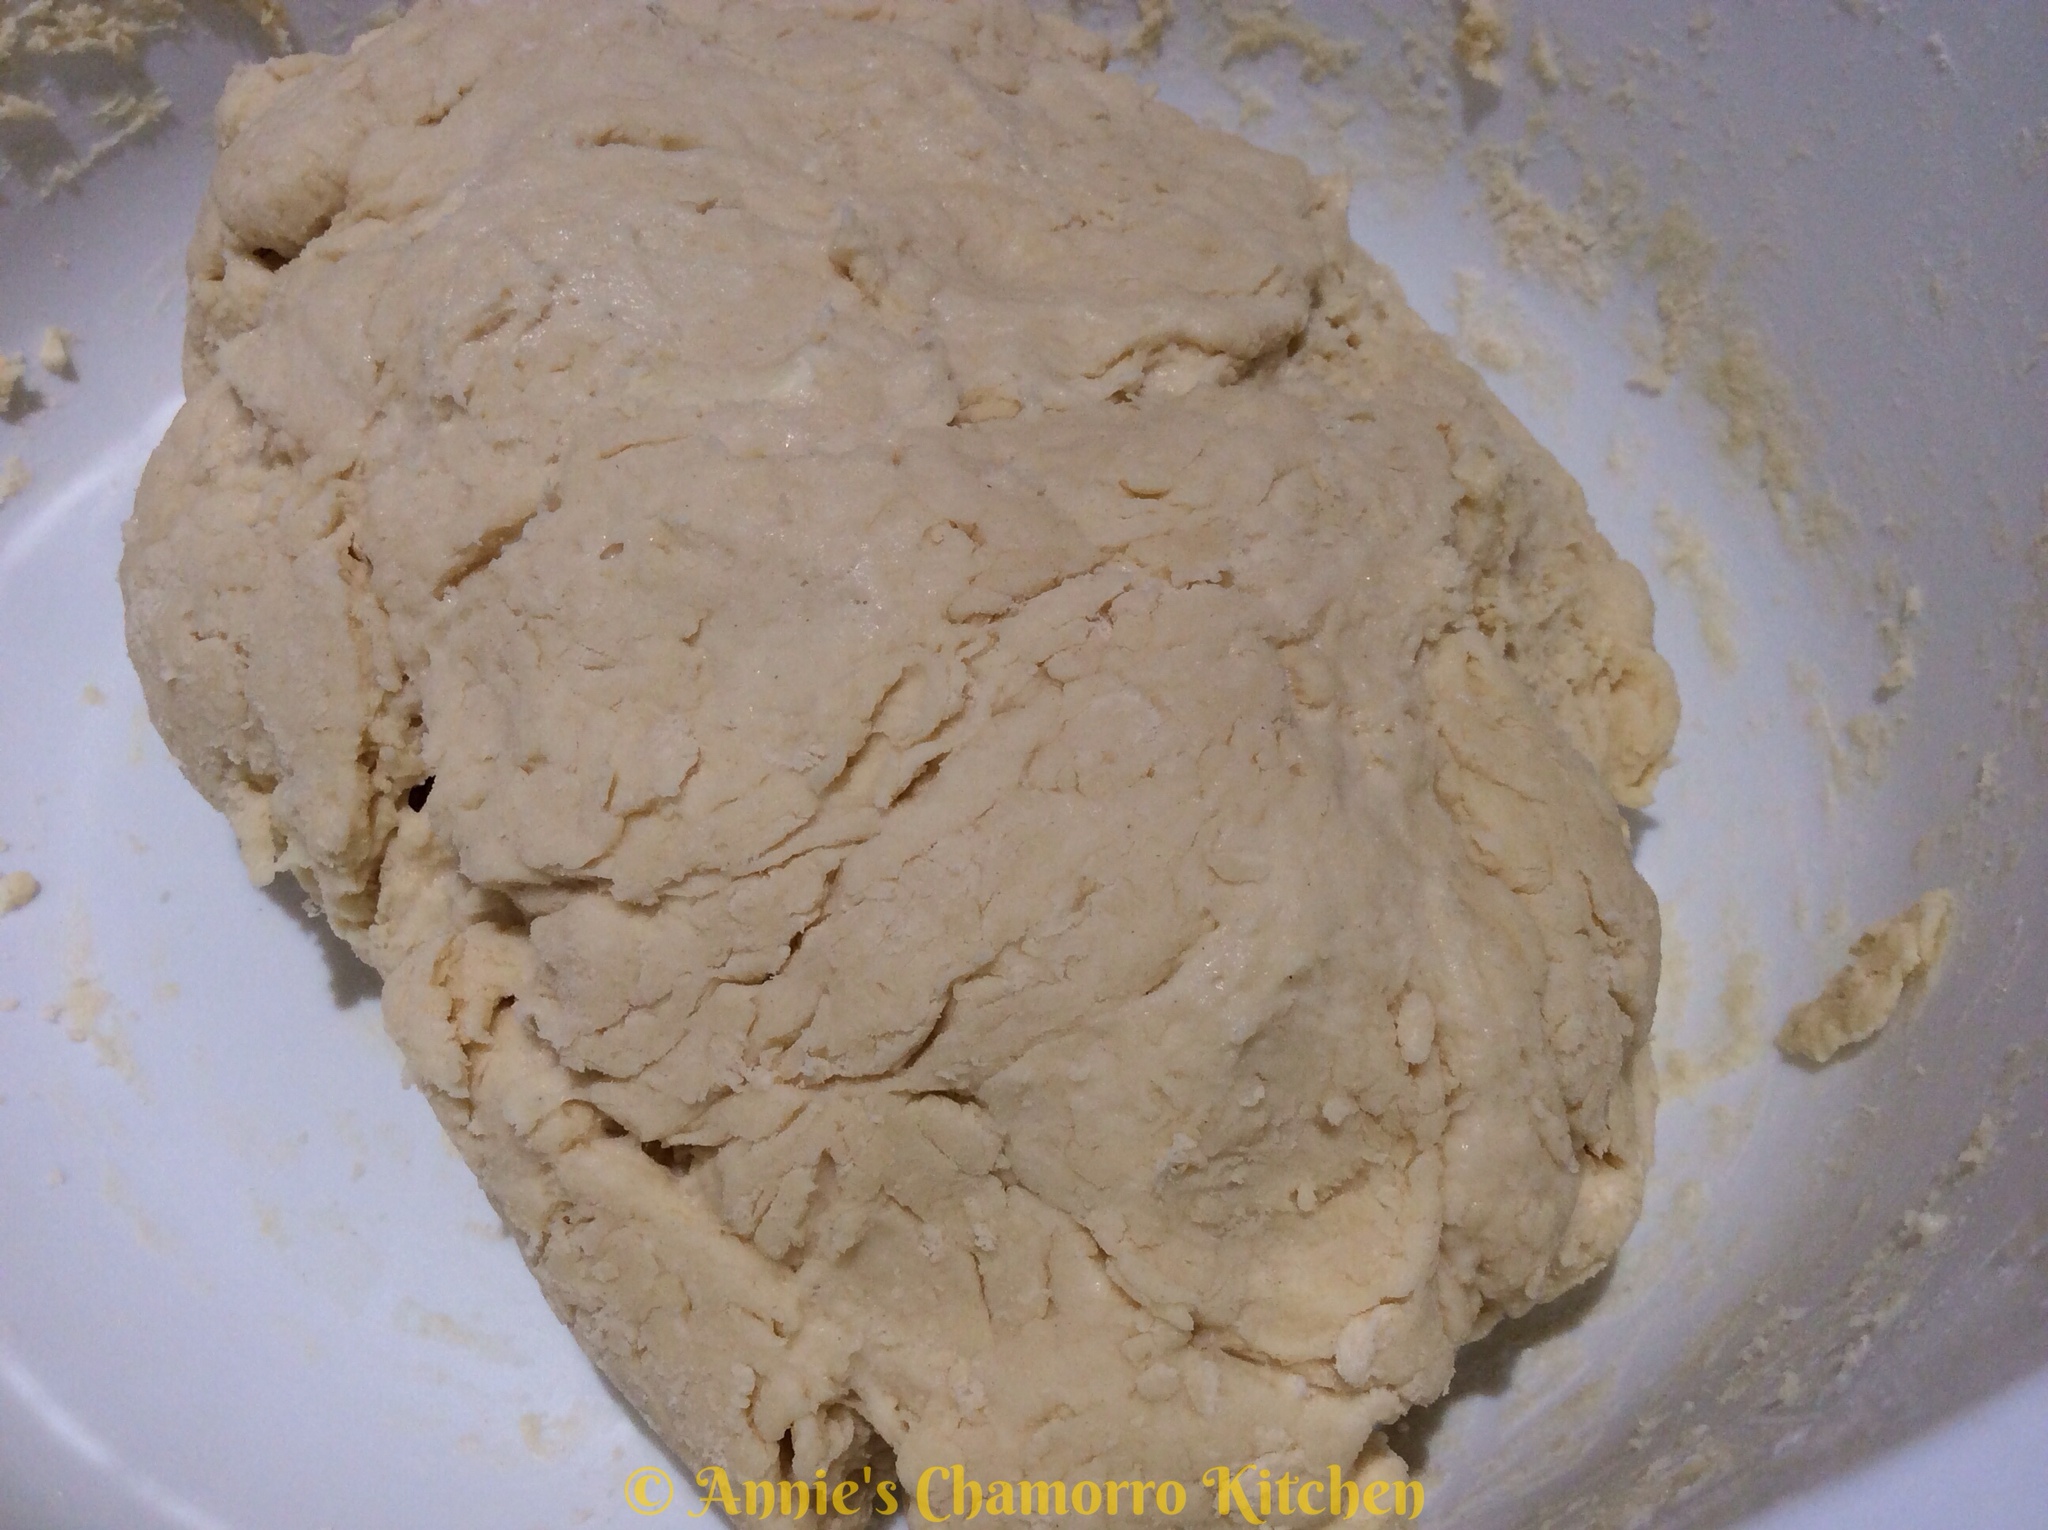
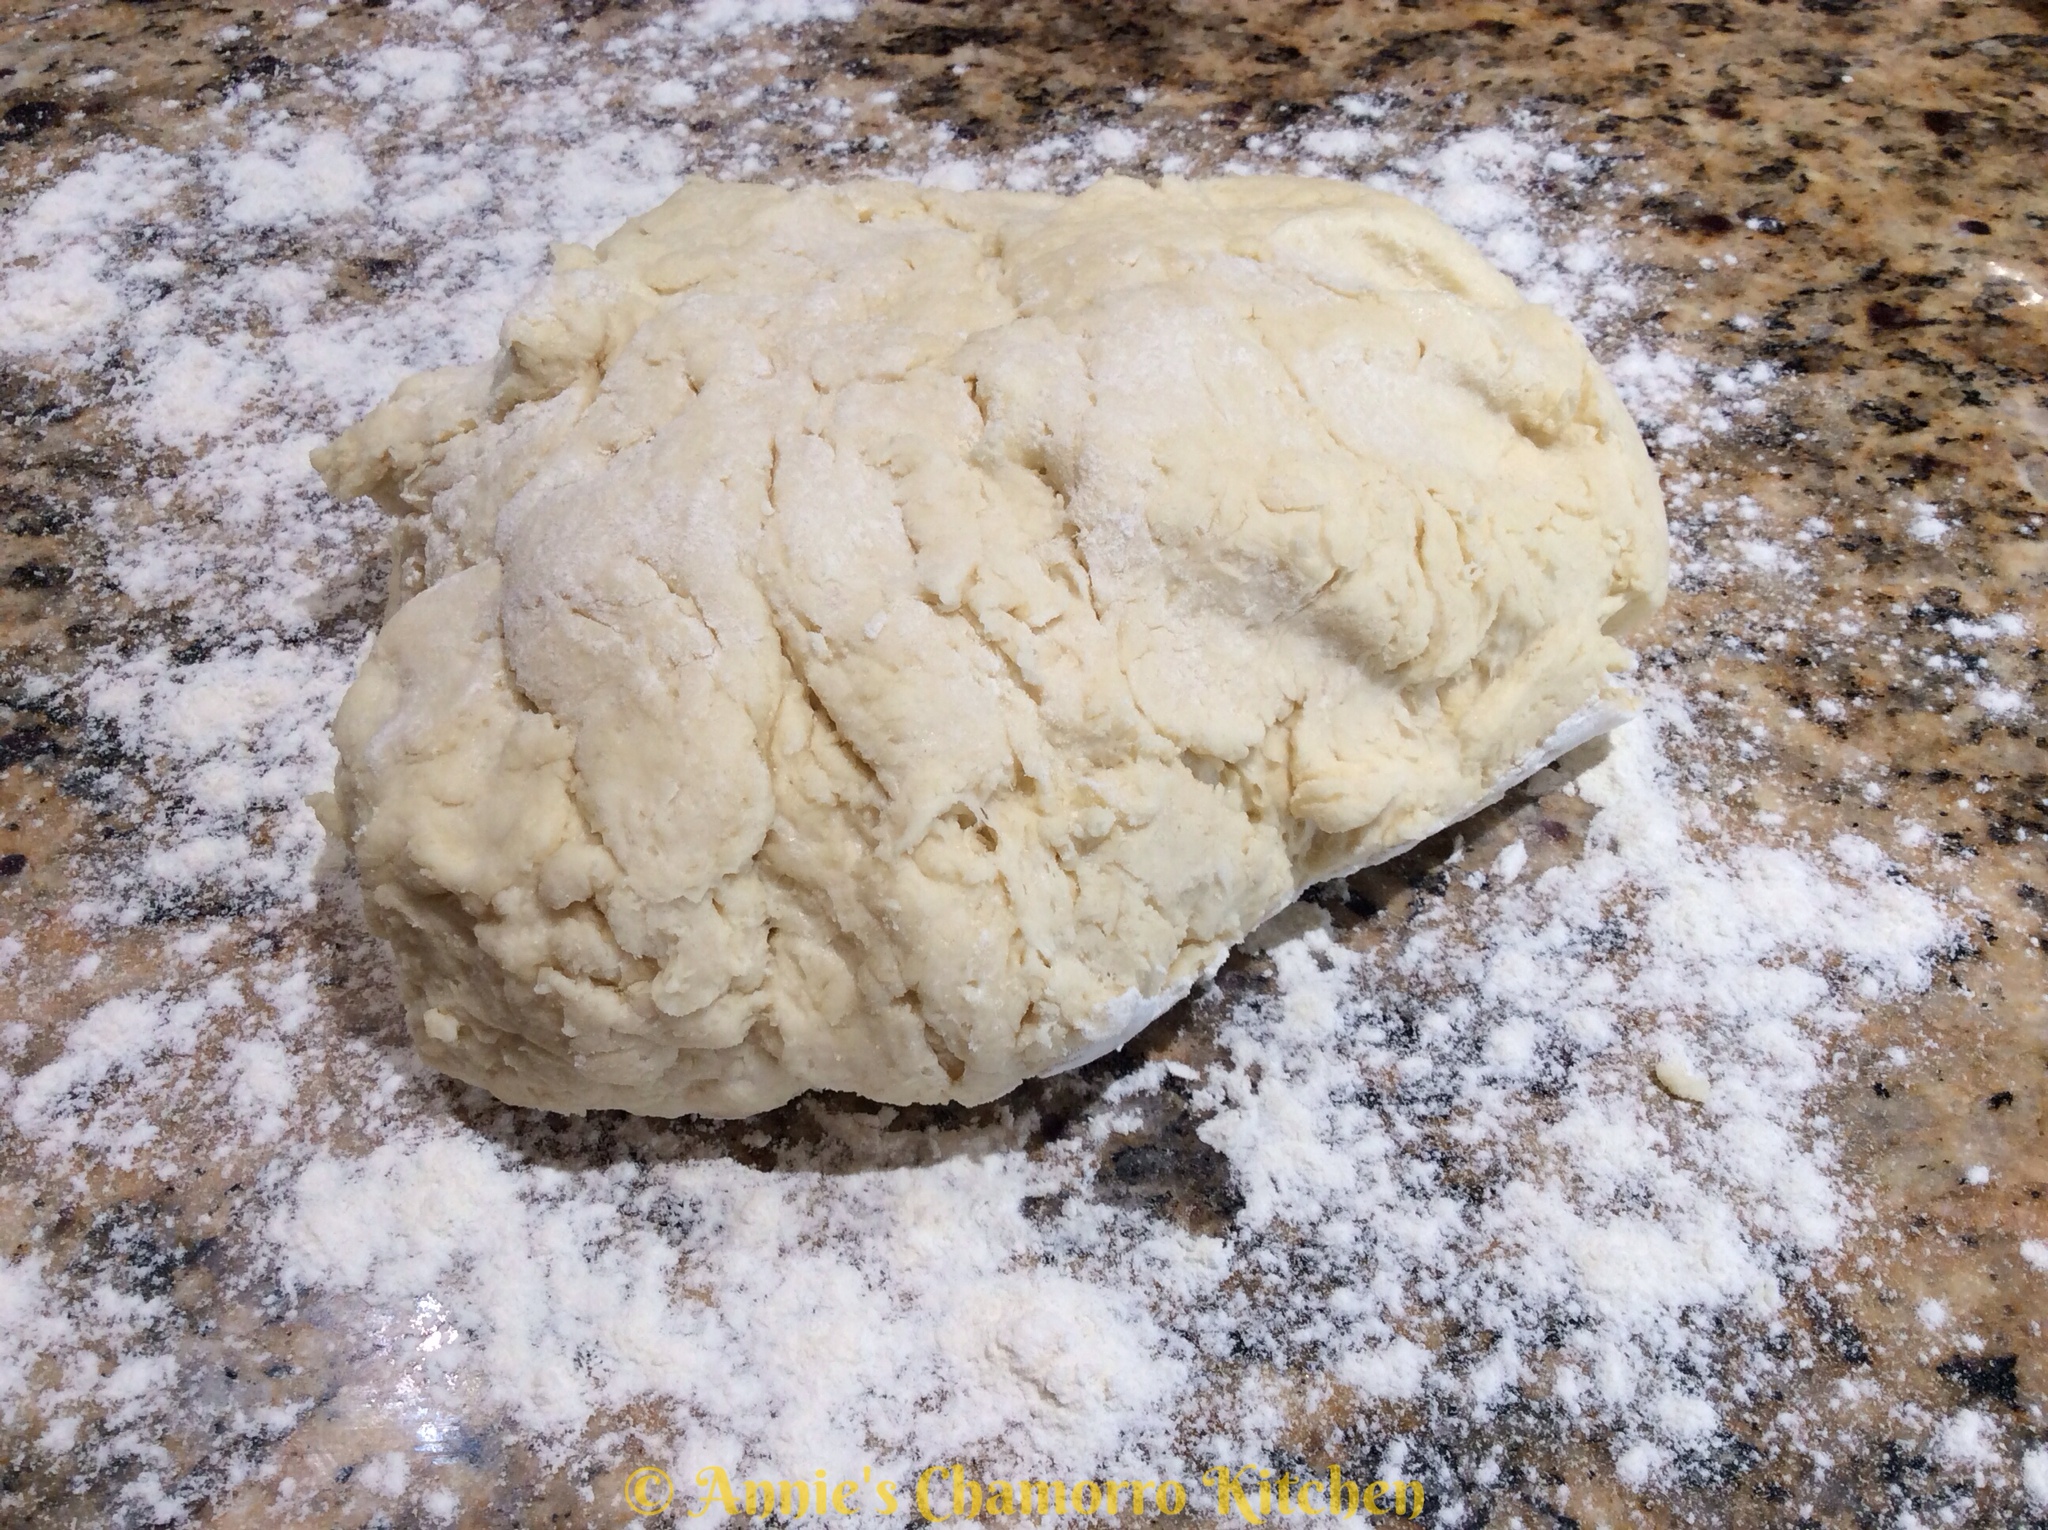
4. Place the dough onto a floured surface.
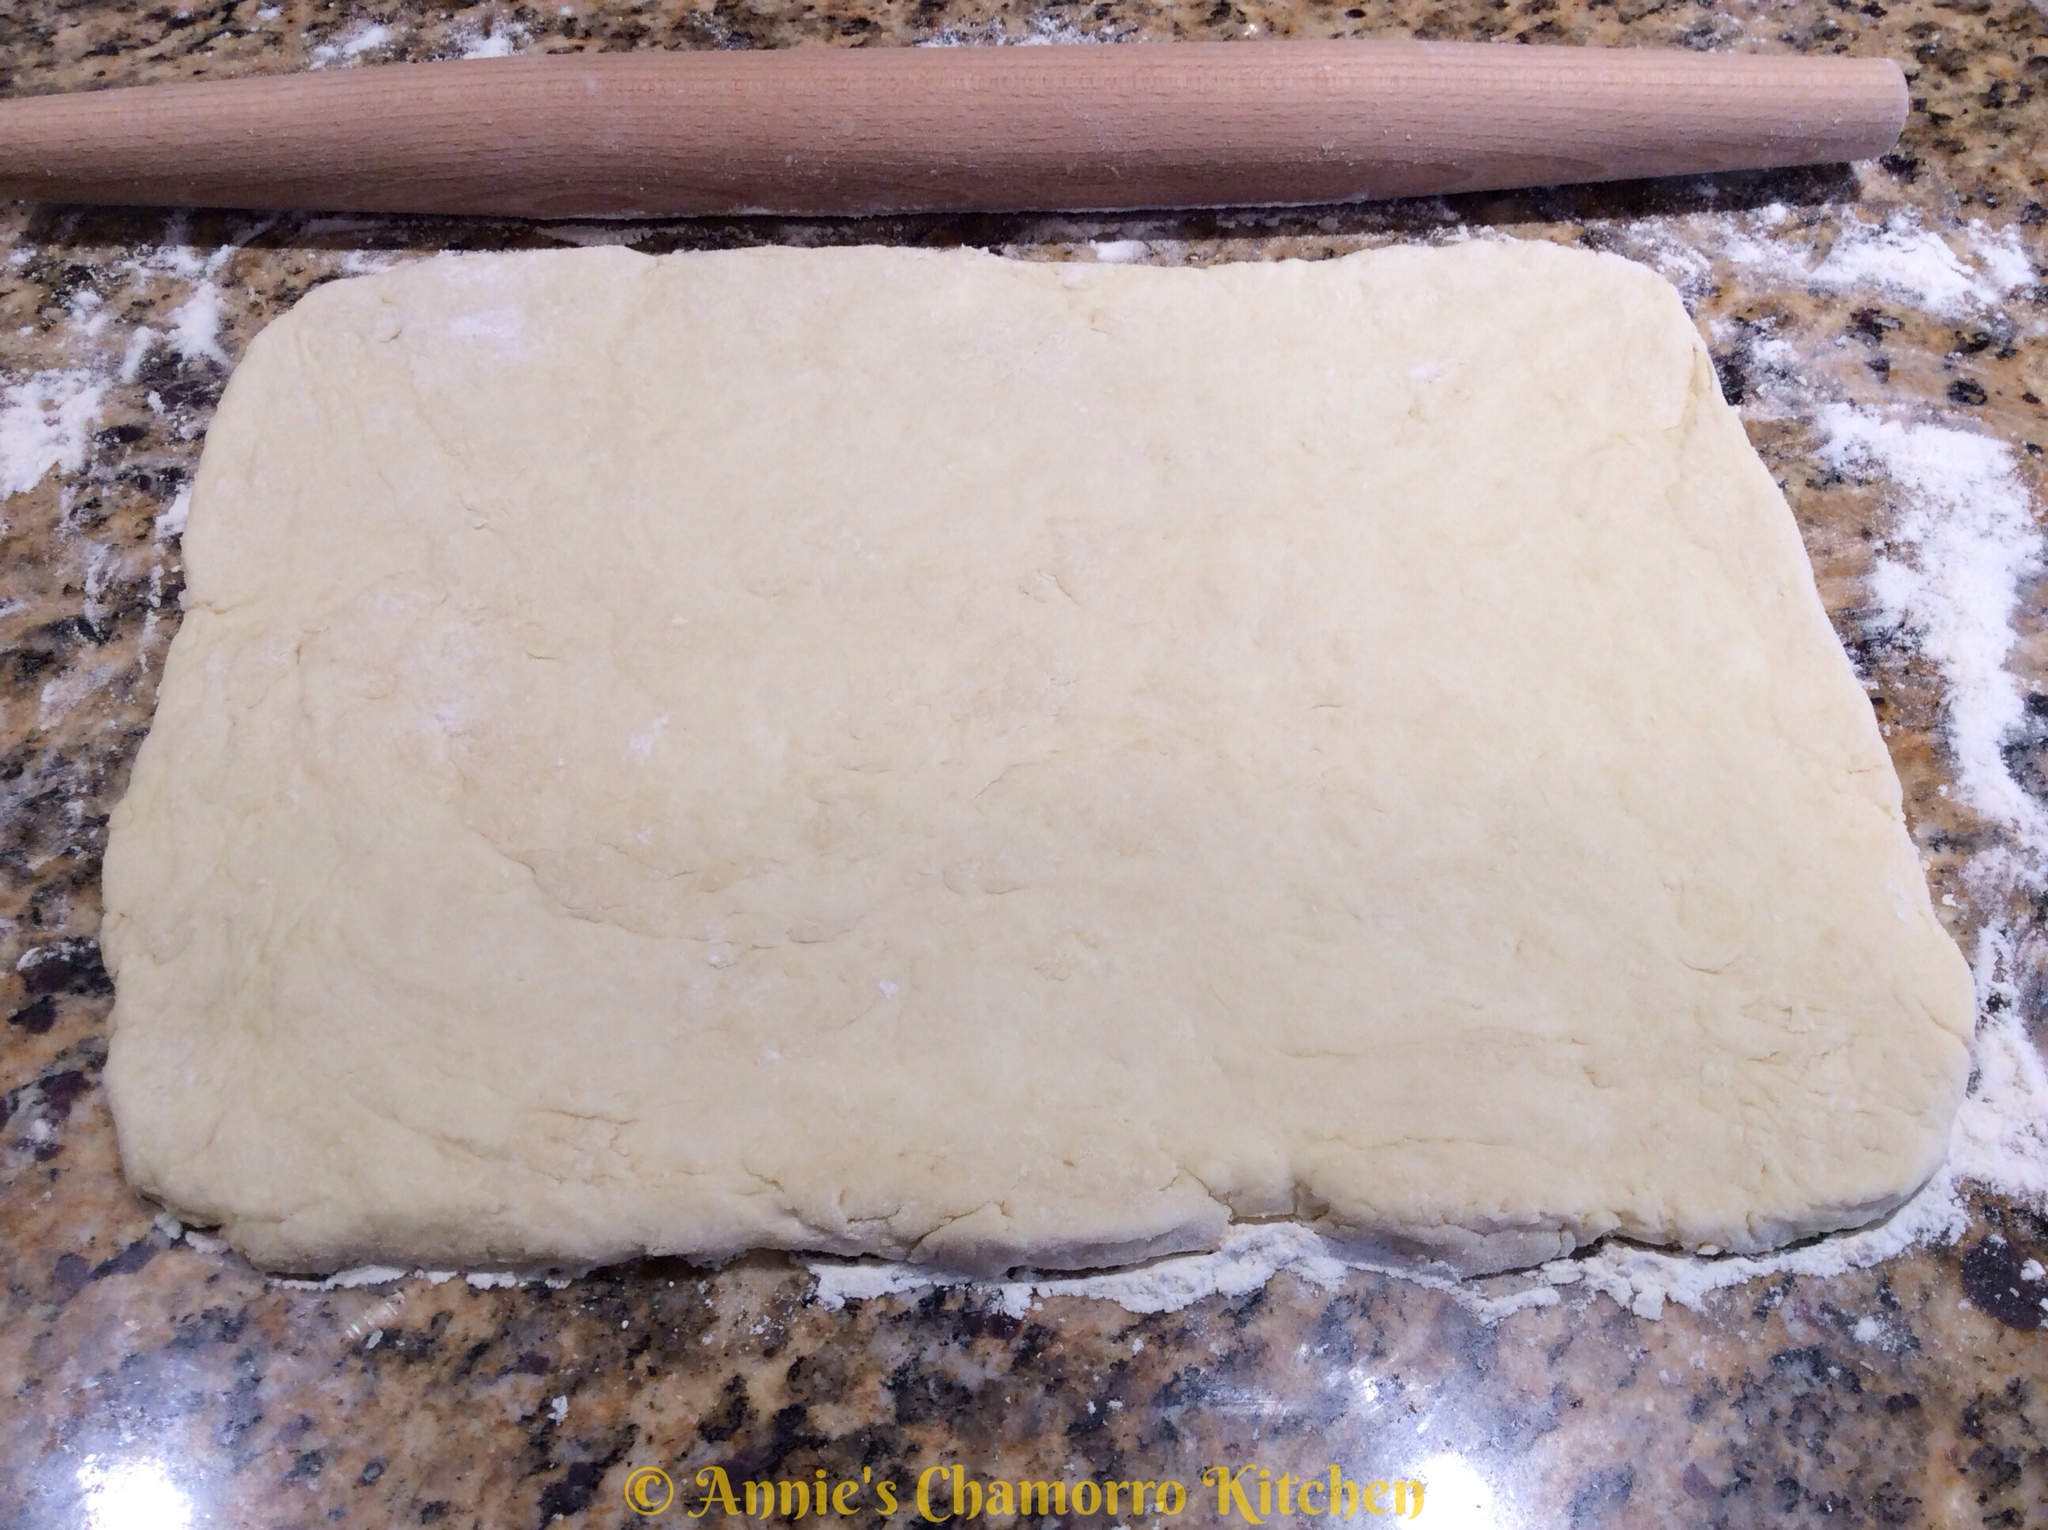
5. Roll the dough out into a rectangle or square, about 1/2 inch thick.
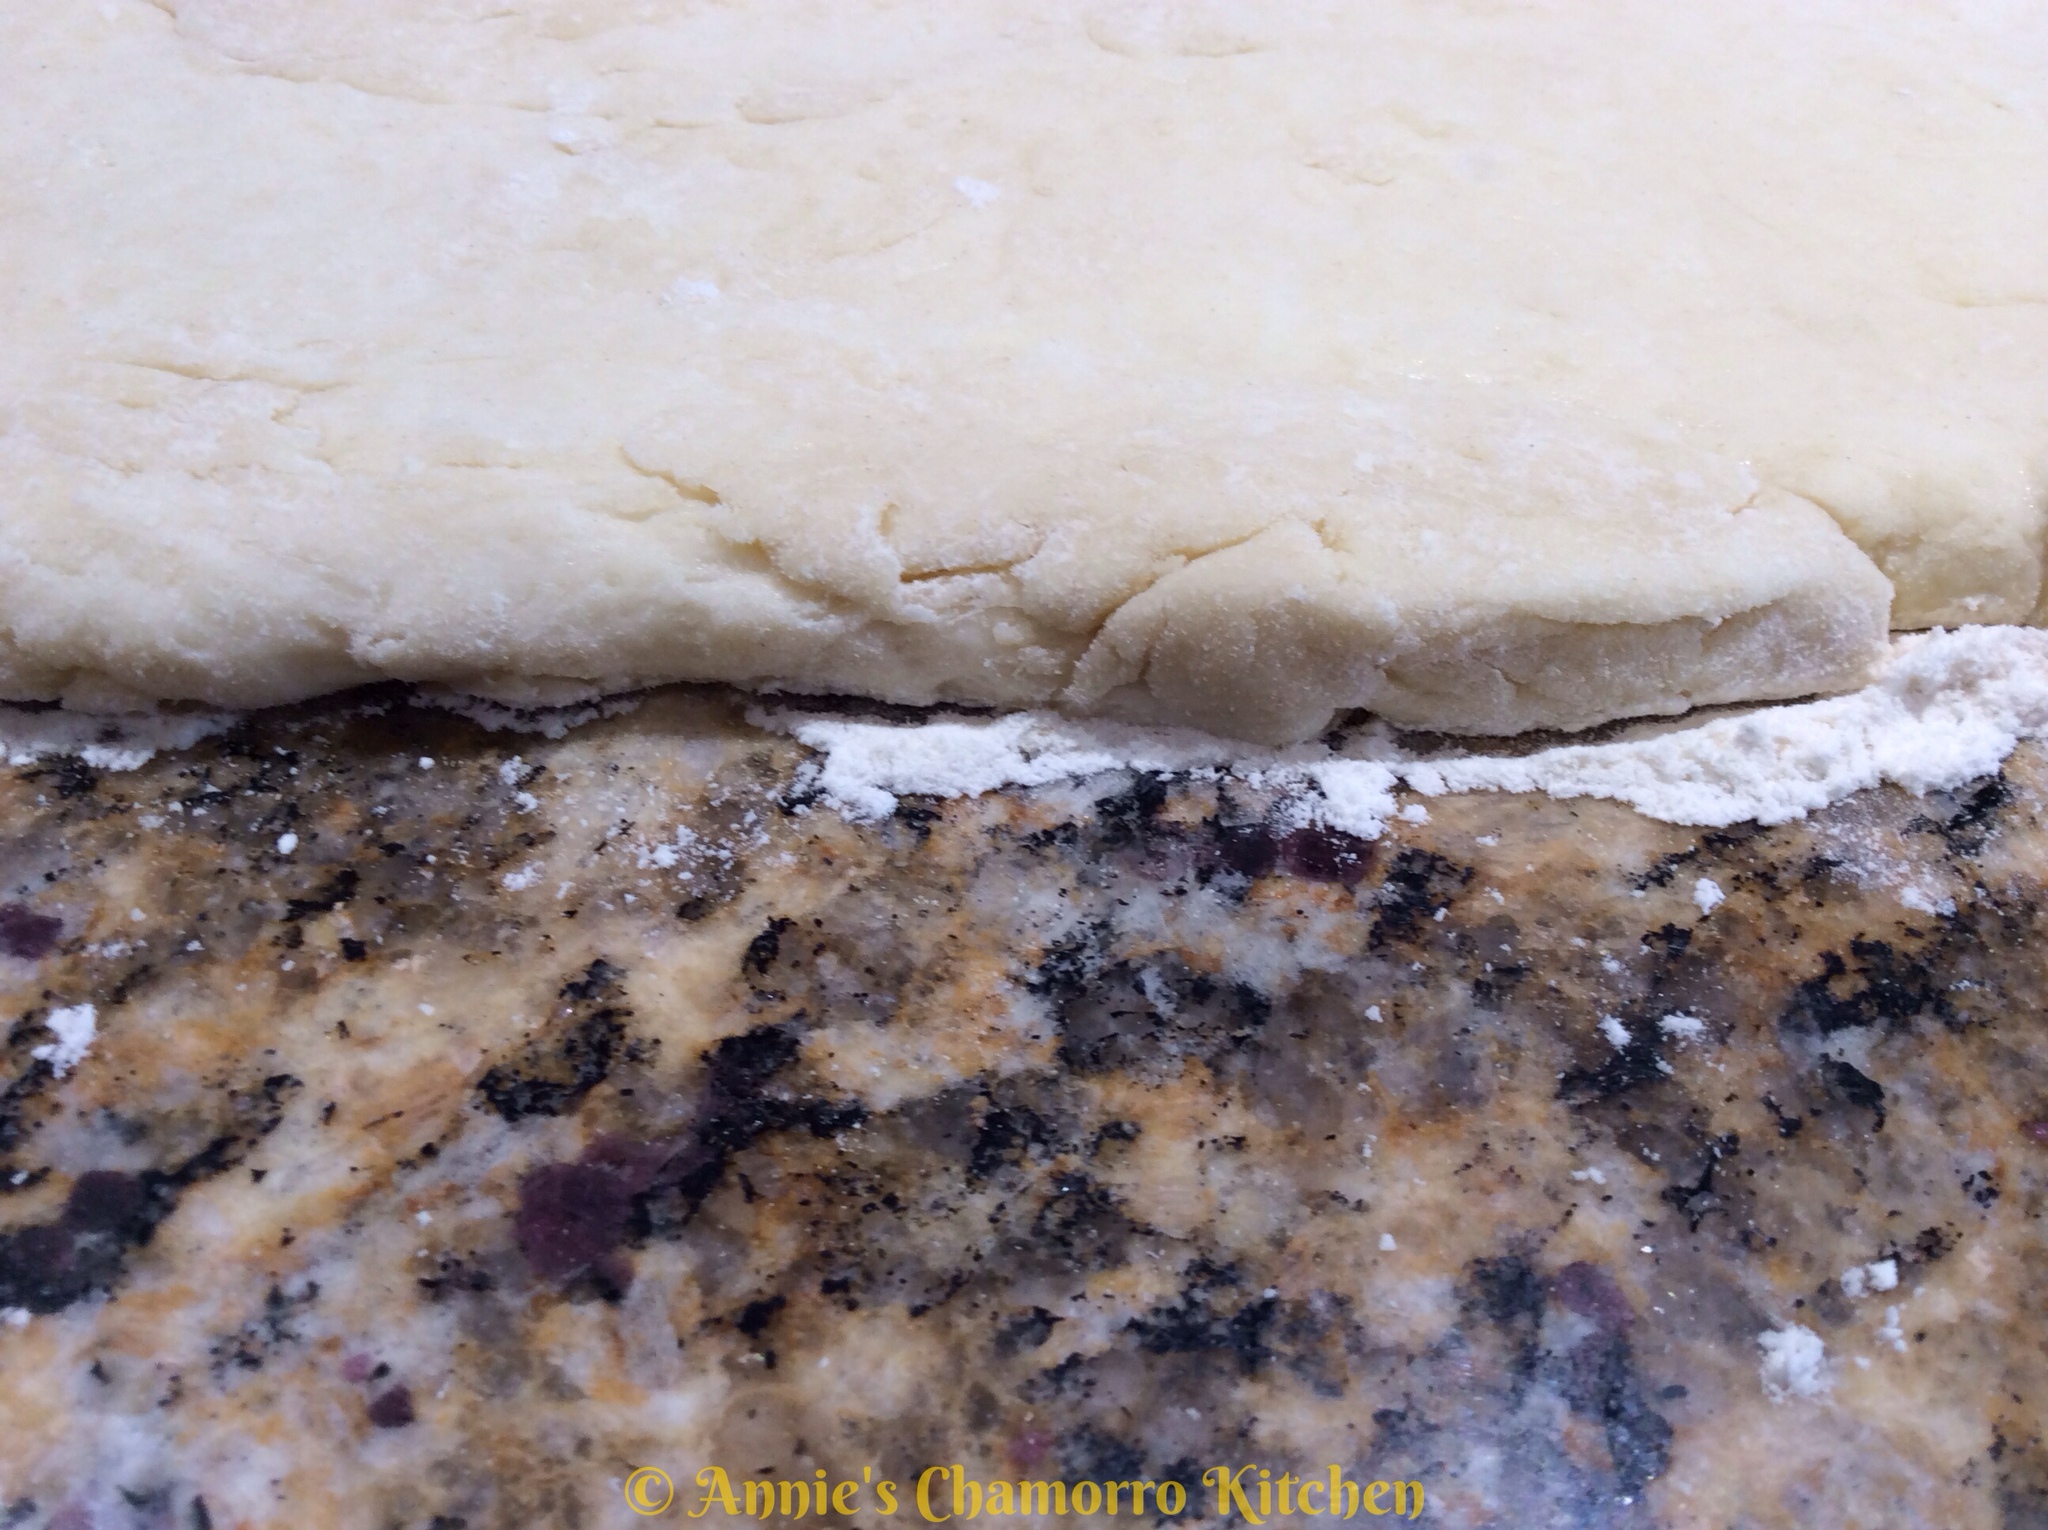
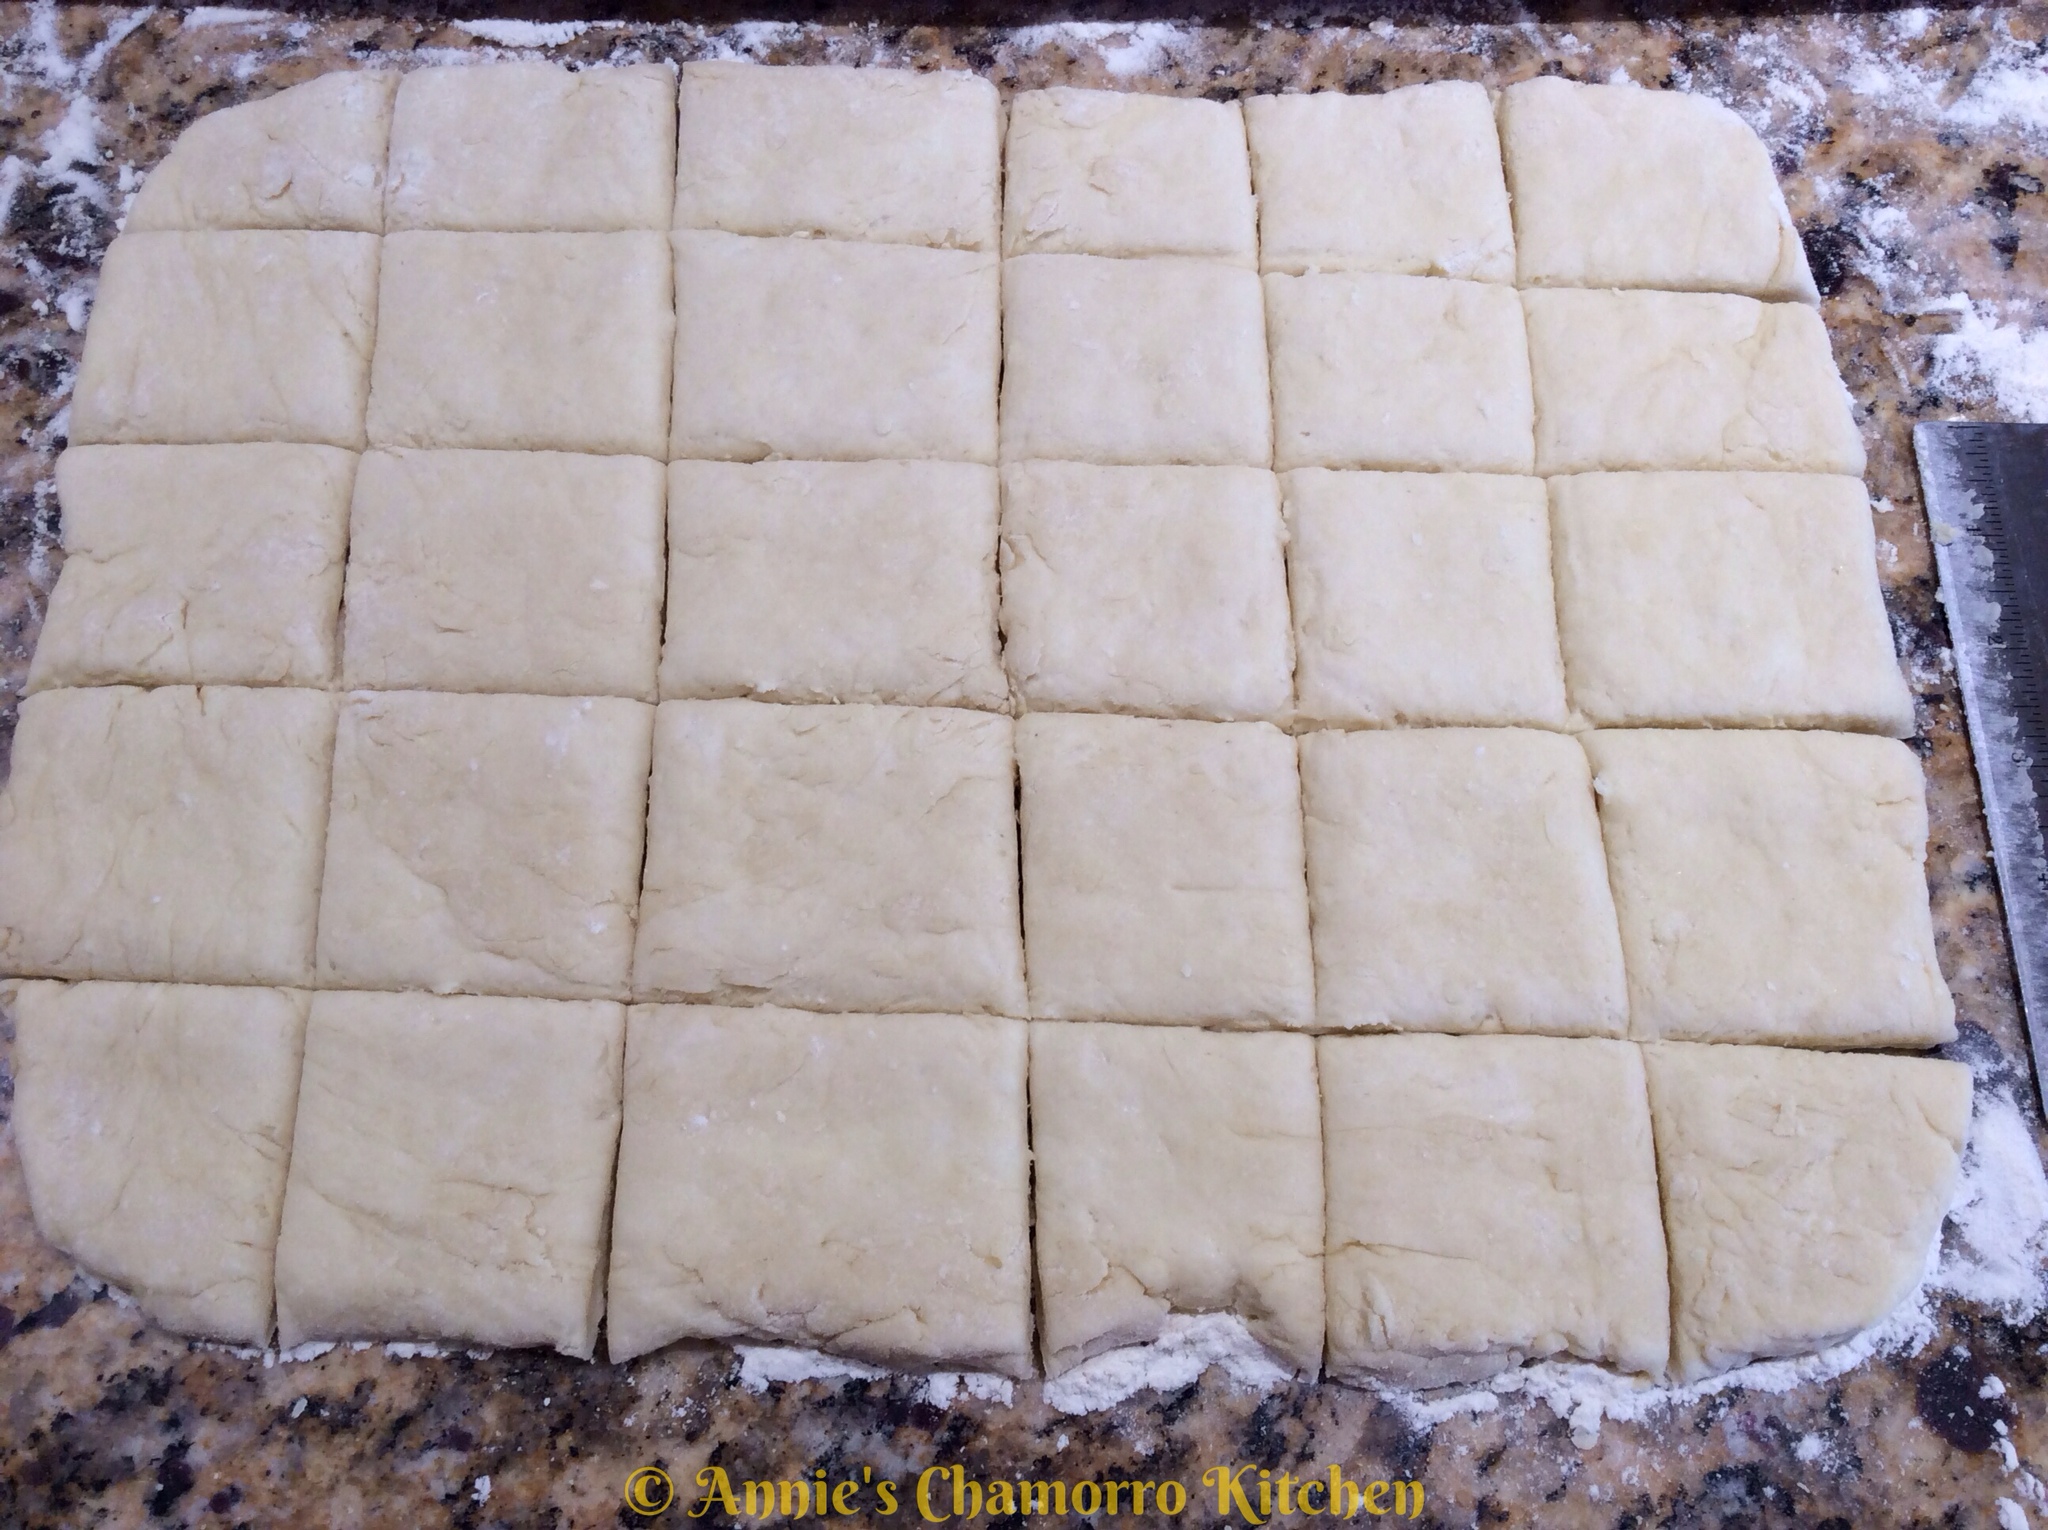
6. Use a dough scraper to cut the dough into evenly sized squares. I prefer to make square biscuits rather than round ones. Using round cutters leaves you with extra dough that has to be re-formed and rolled out again, causing you to over-handle the dough which turns out tough biscuits. By making square-shaped biscuits, you roll the dough out once, yielding incredibly soft, fluffy biscuits.
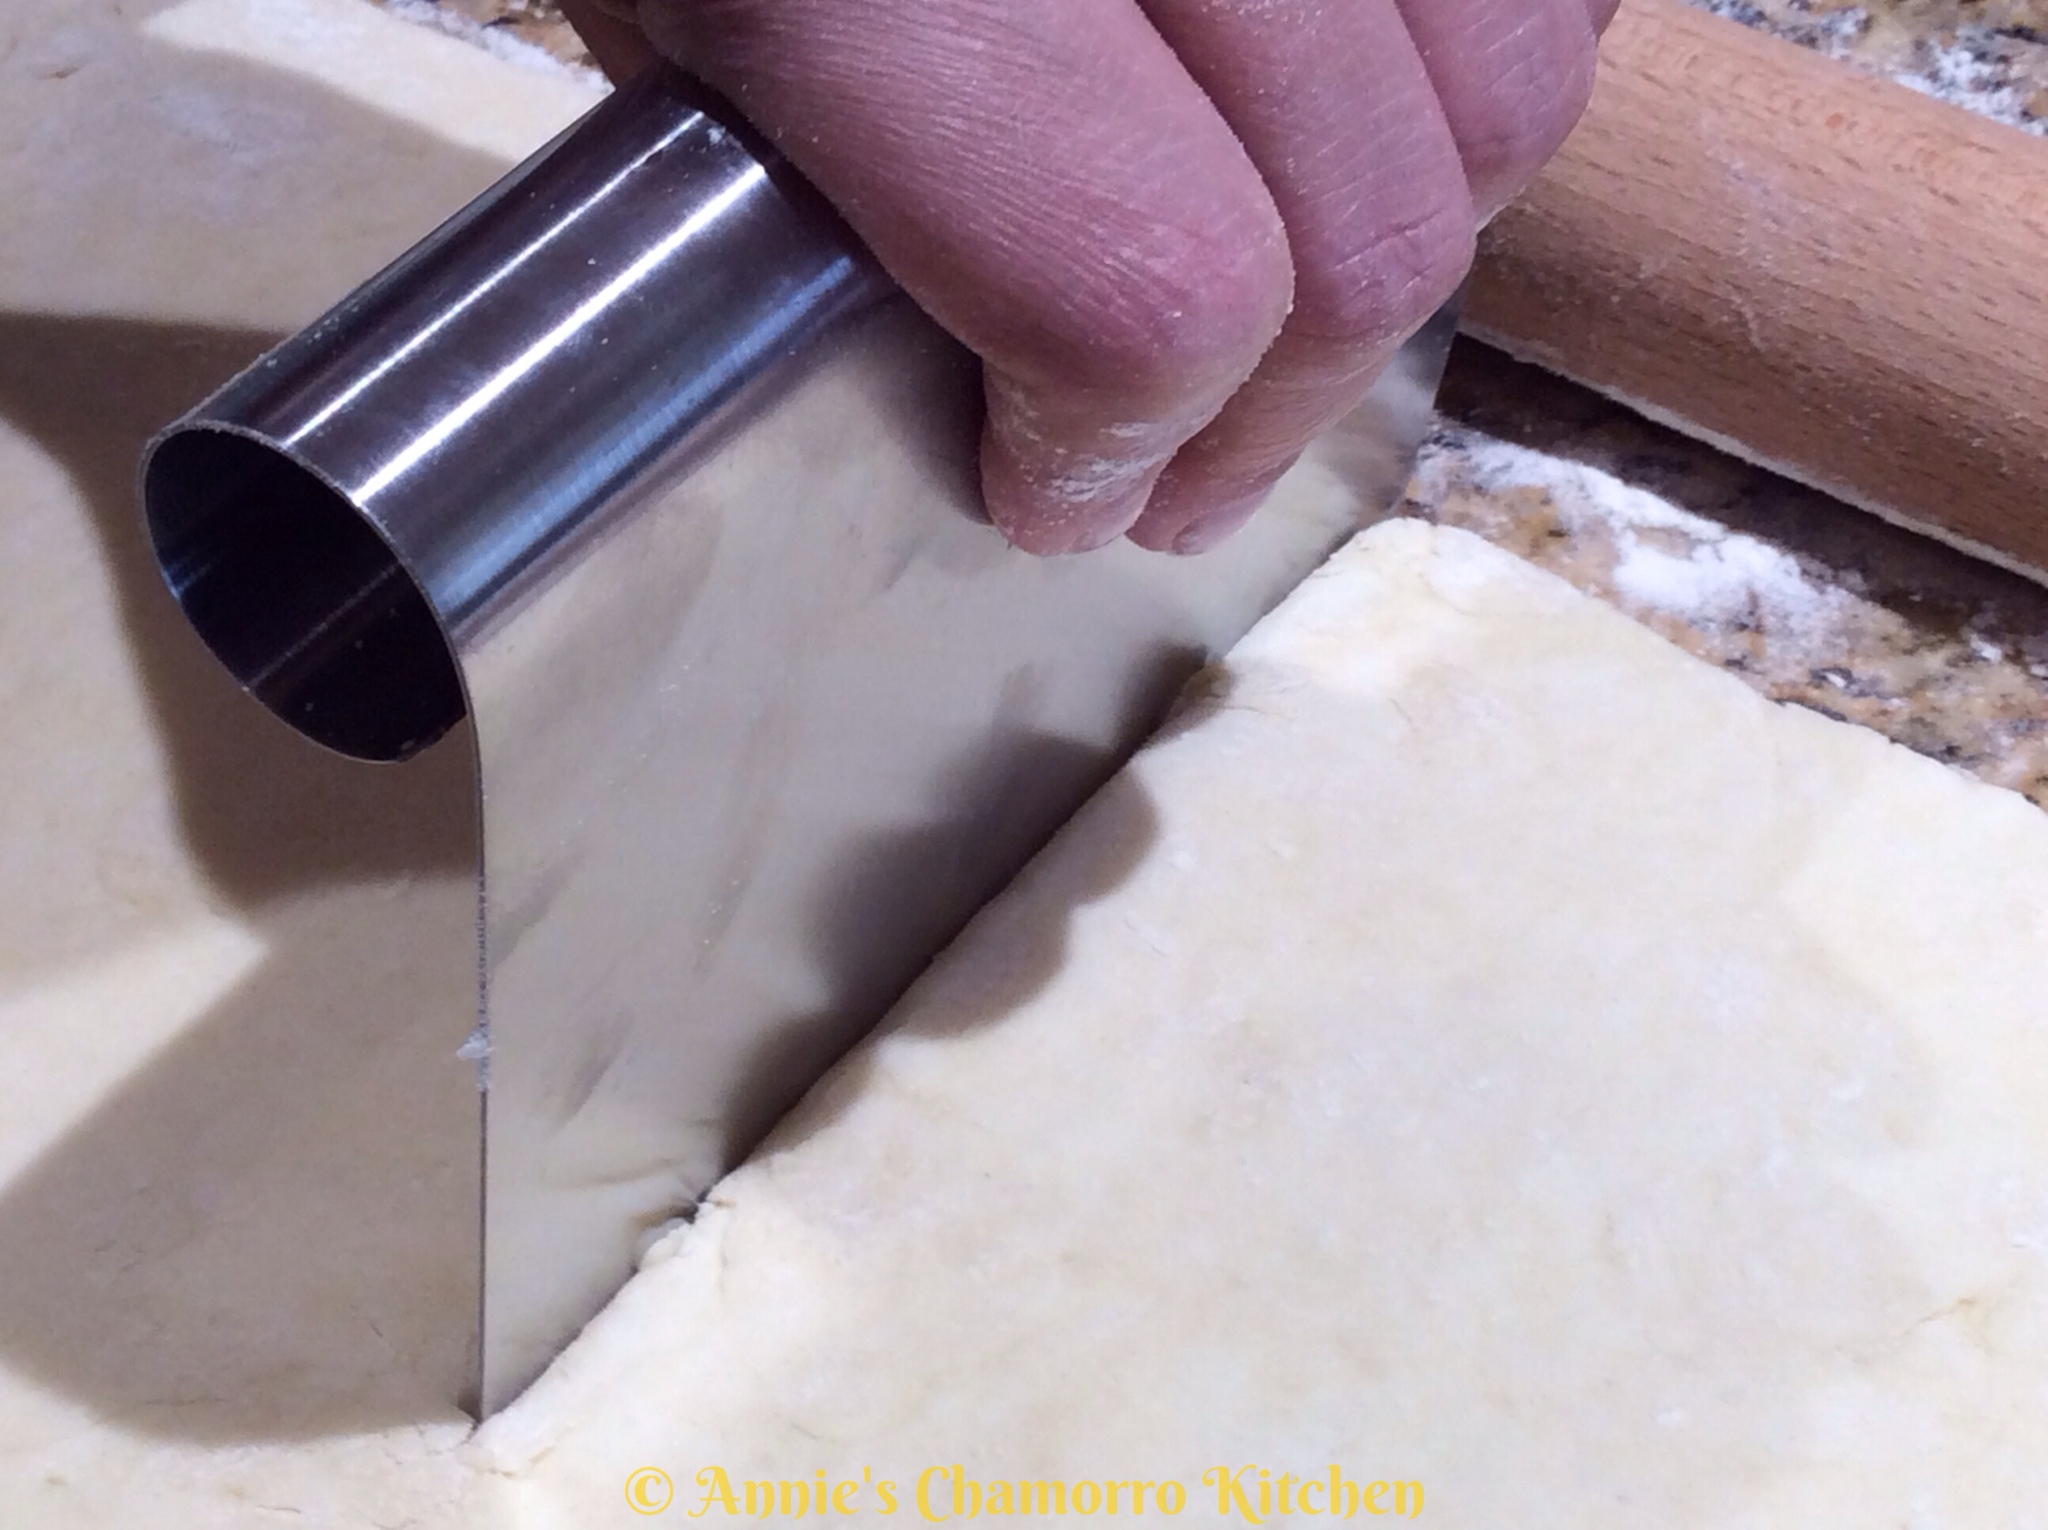
I rolled out the dough a little less than a 1/2 inch thick. They still bake up nice and tall if you roll the dough out less than a 1/2 inch, but if you like tall biscuits, keep the dough at 1/2 to 3/4 inch thick. Less than that and you’ll yield about 30 little biscuits, cut the way I did below. Thicker and you should get about a dozen or so biscuits.
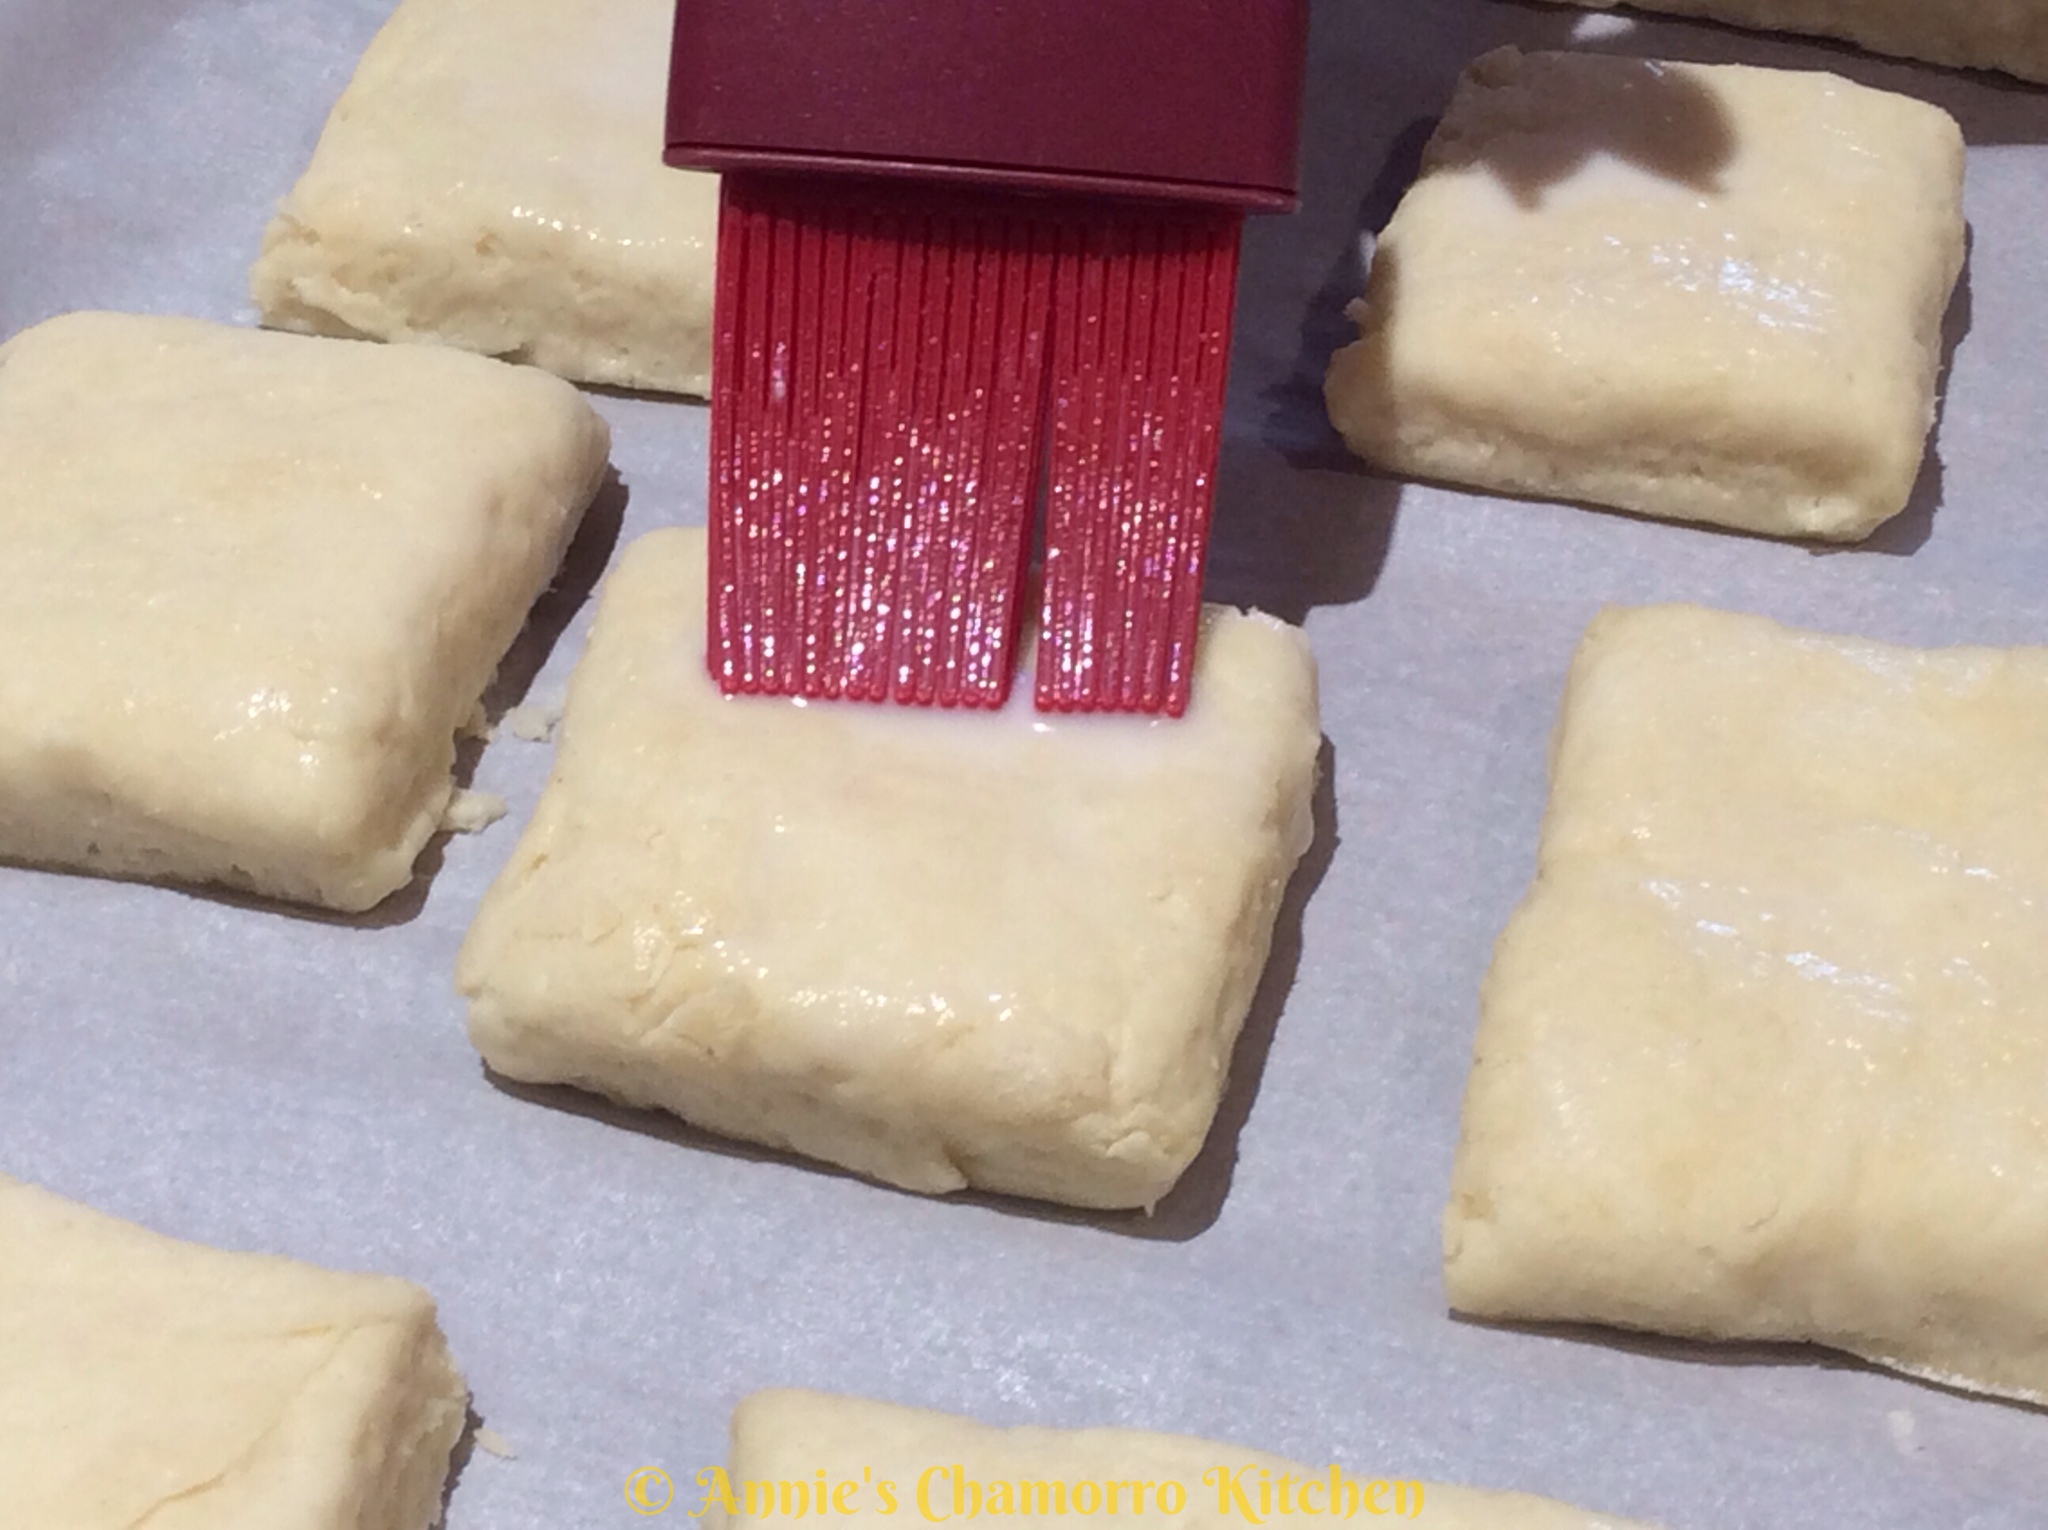
7. Line a baking sheet with parchment paper. Place the biscuit squares onto the baking sheet, about an inch apart.
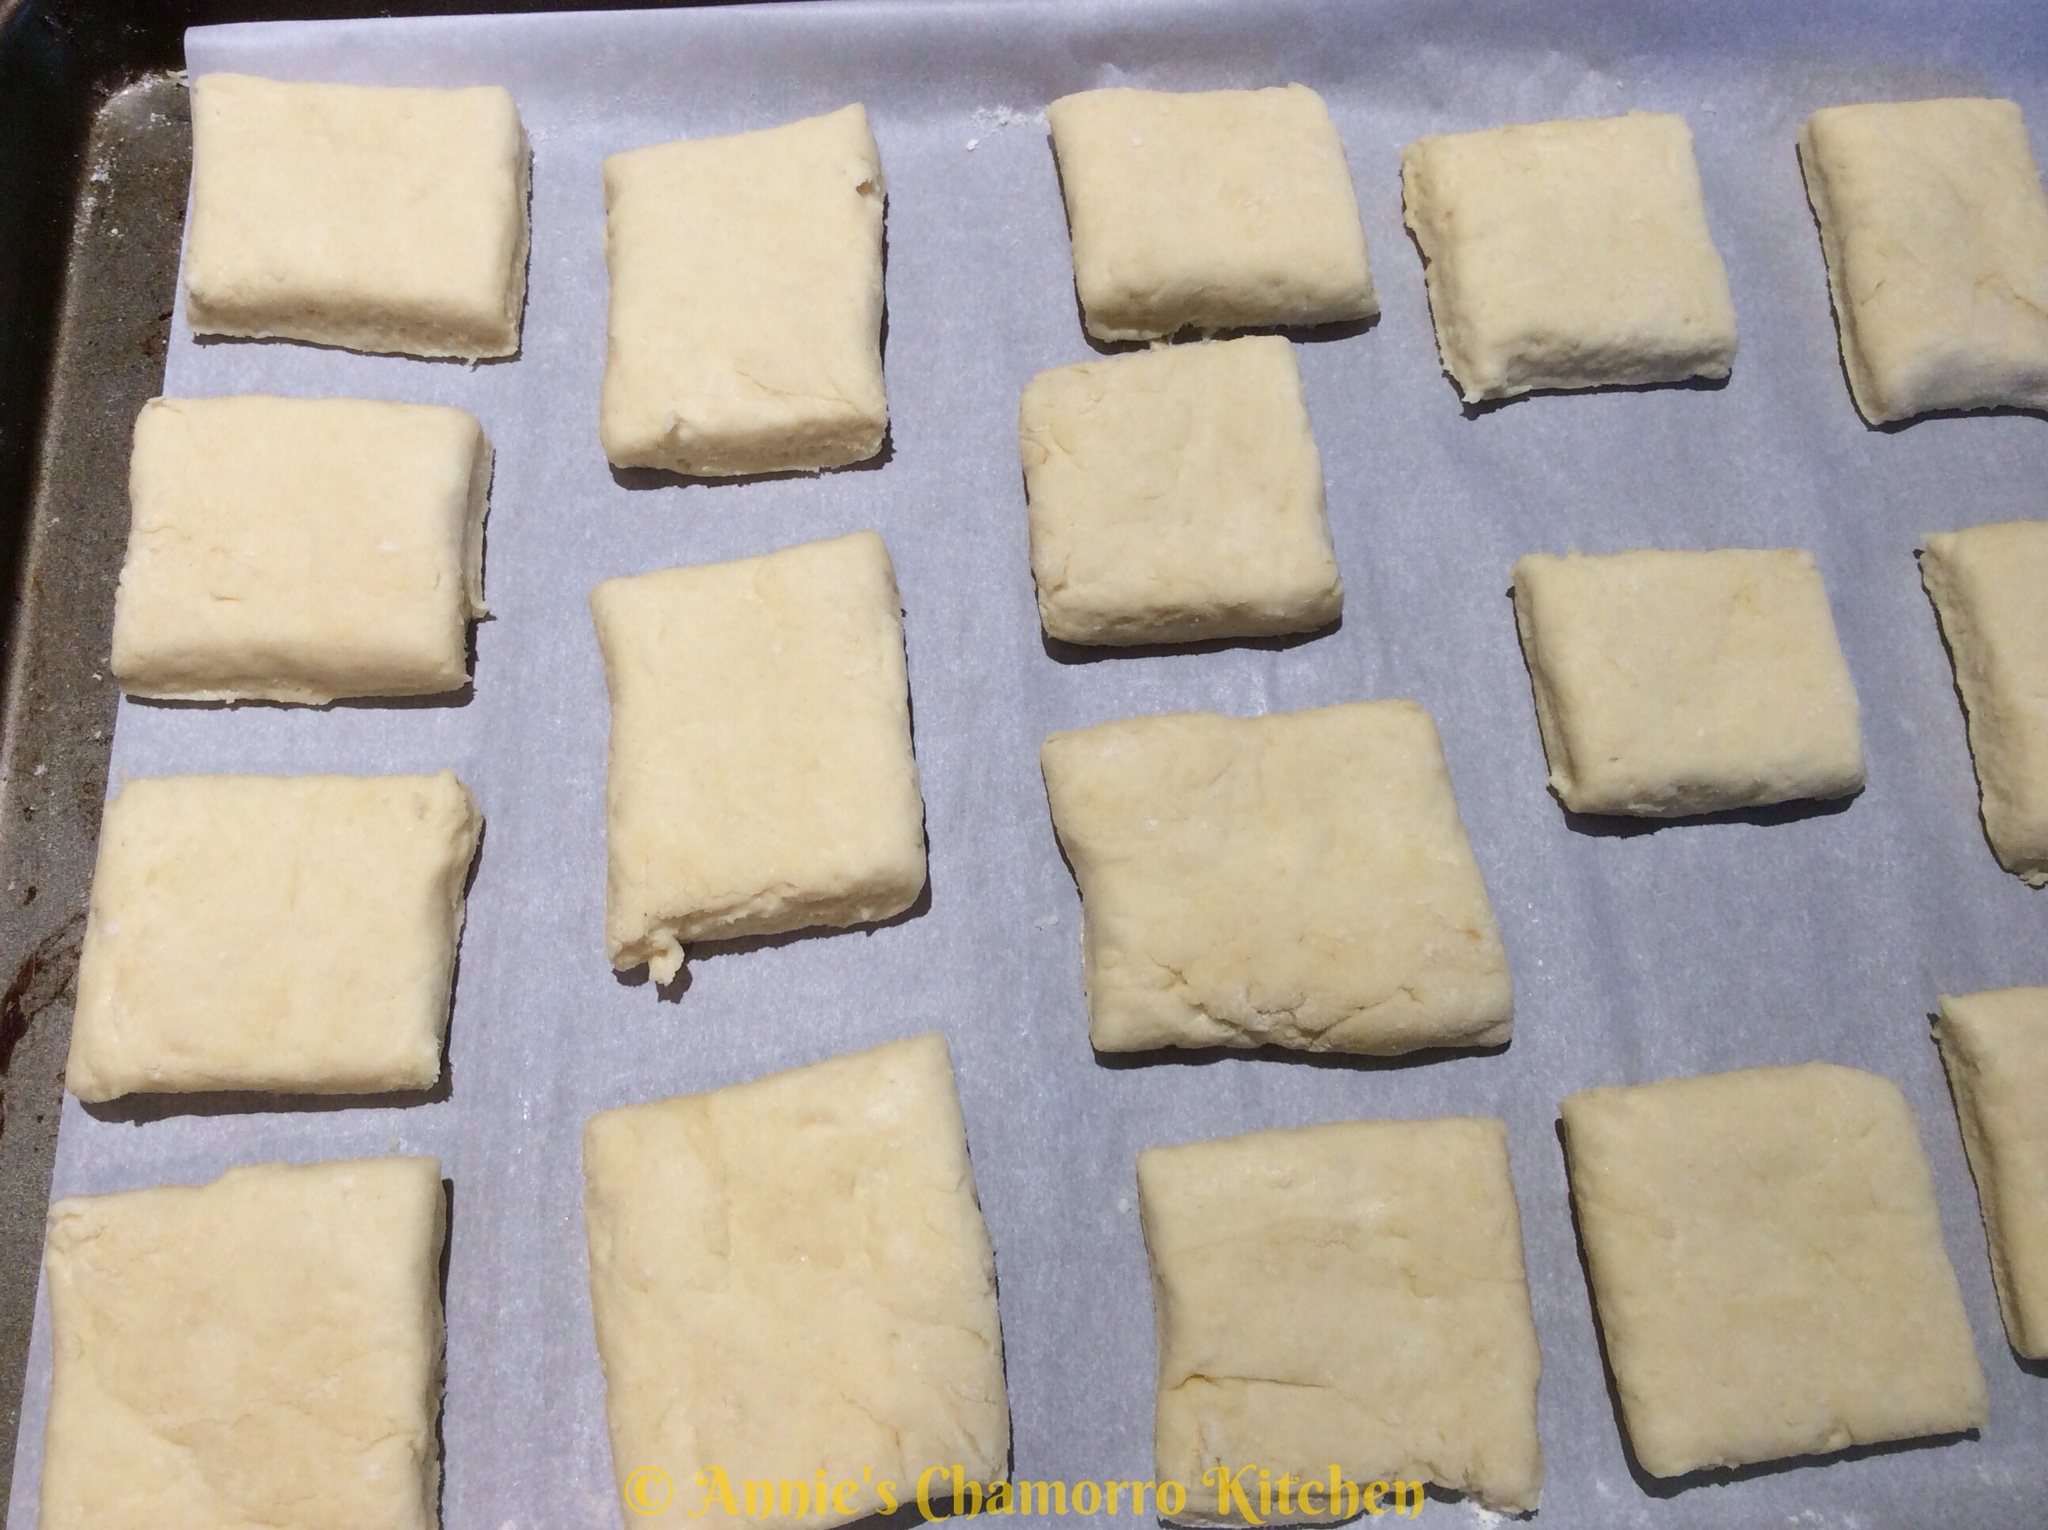
Brush the tops of each square with milk. Bake at 425 degrees for 15-20 minutes. My oven runs hot, so mine bake up nice and golden brown after just 15 minutes. Again, this was 15 minutes for dough rolled out a little less than 1/2 inch. 20 minutes of baking should suffice for dough rolled out to between 1/2 and 3/4 inch thick.
Serve these fluffy wonders with Homemade Gravy or drizzled with Honey Butter Sauce and ENJOY!
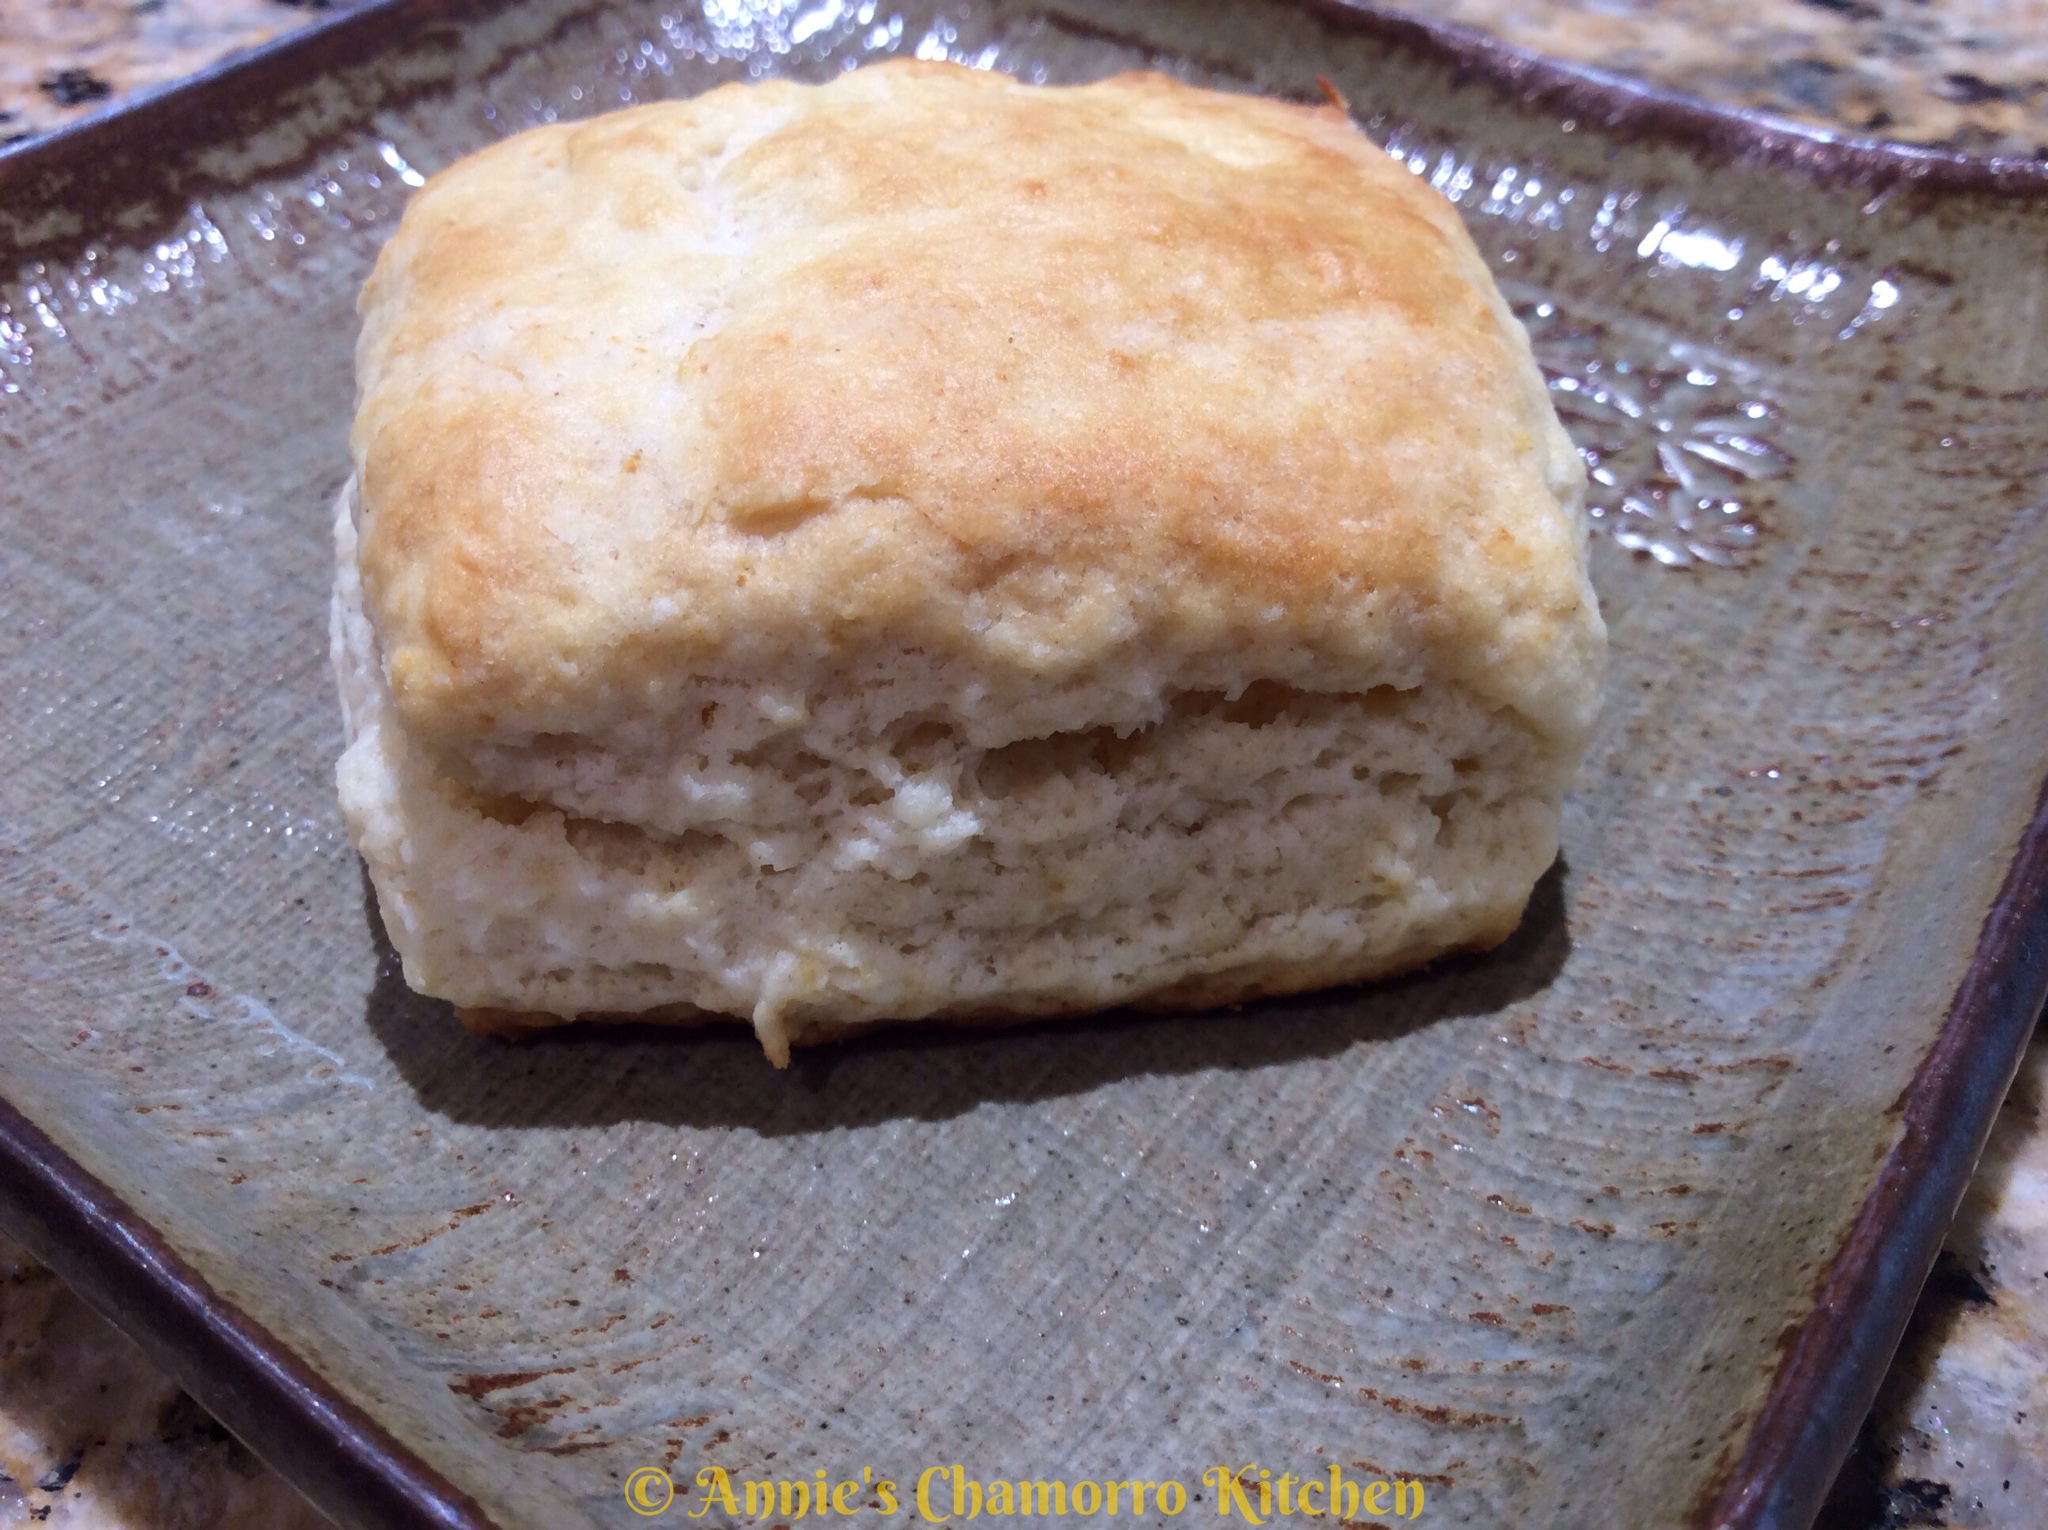
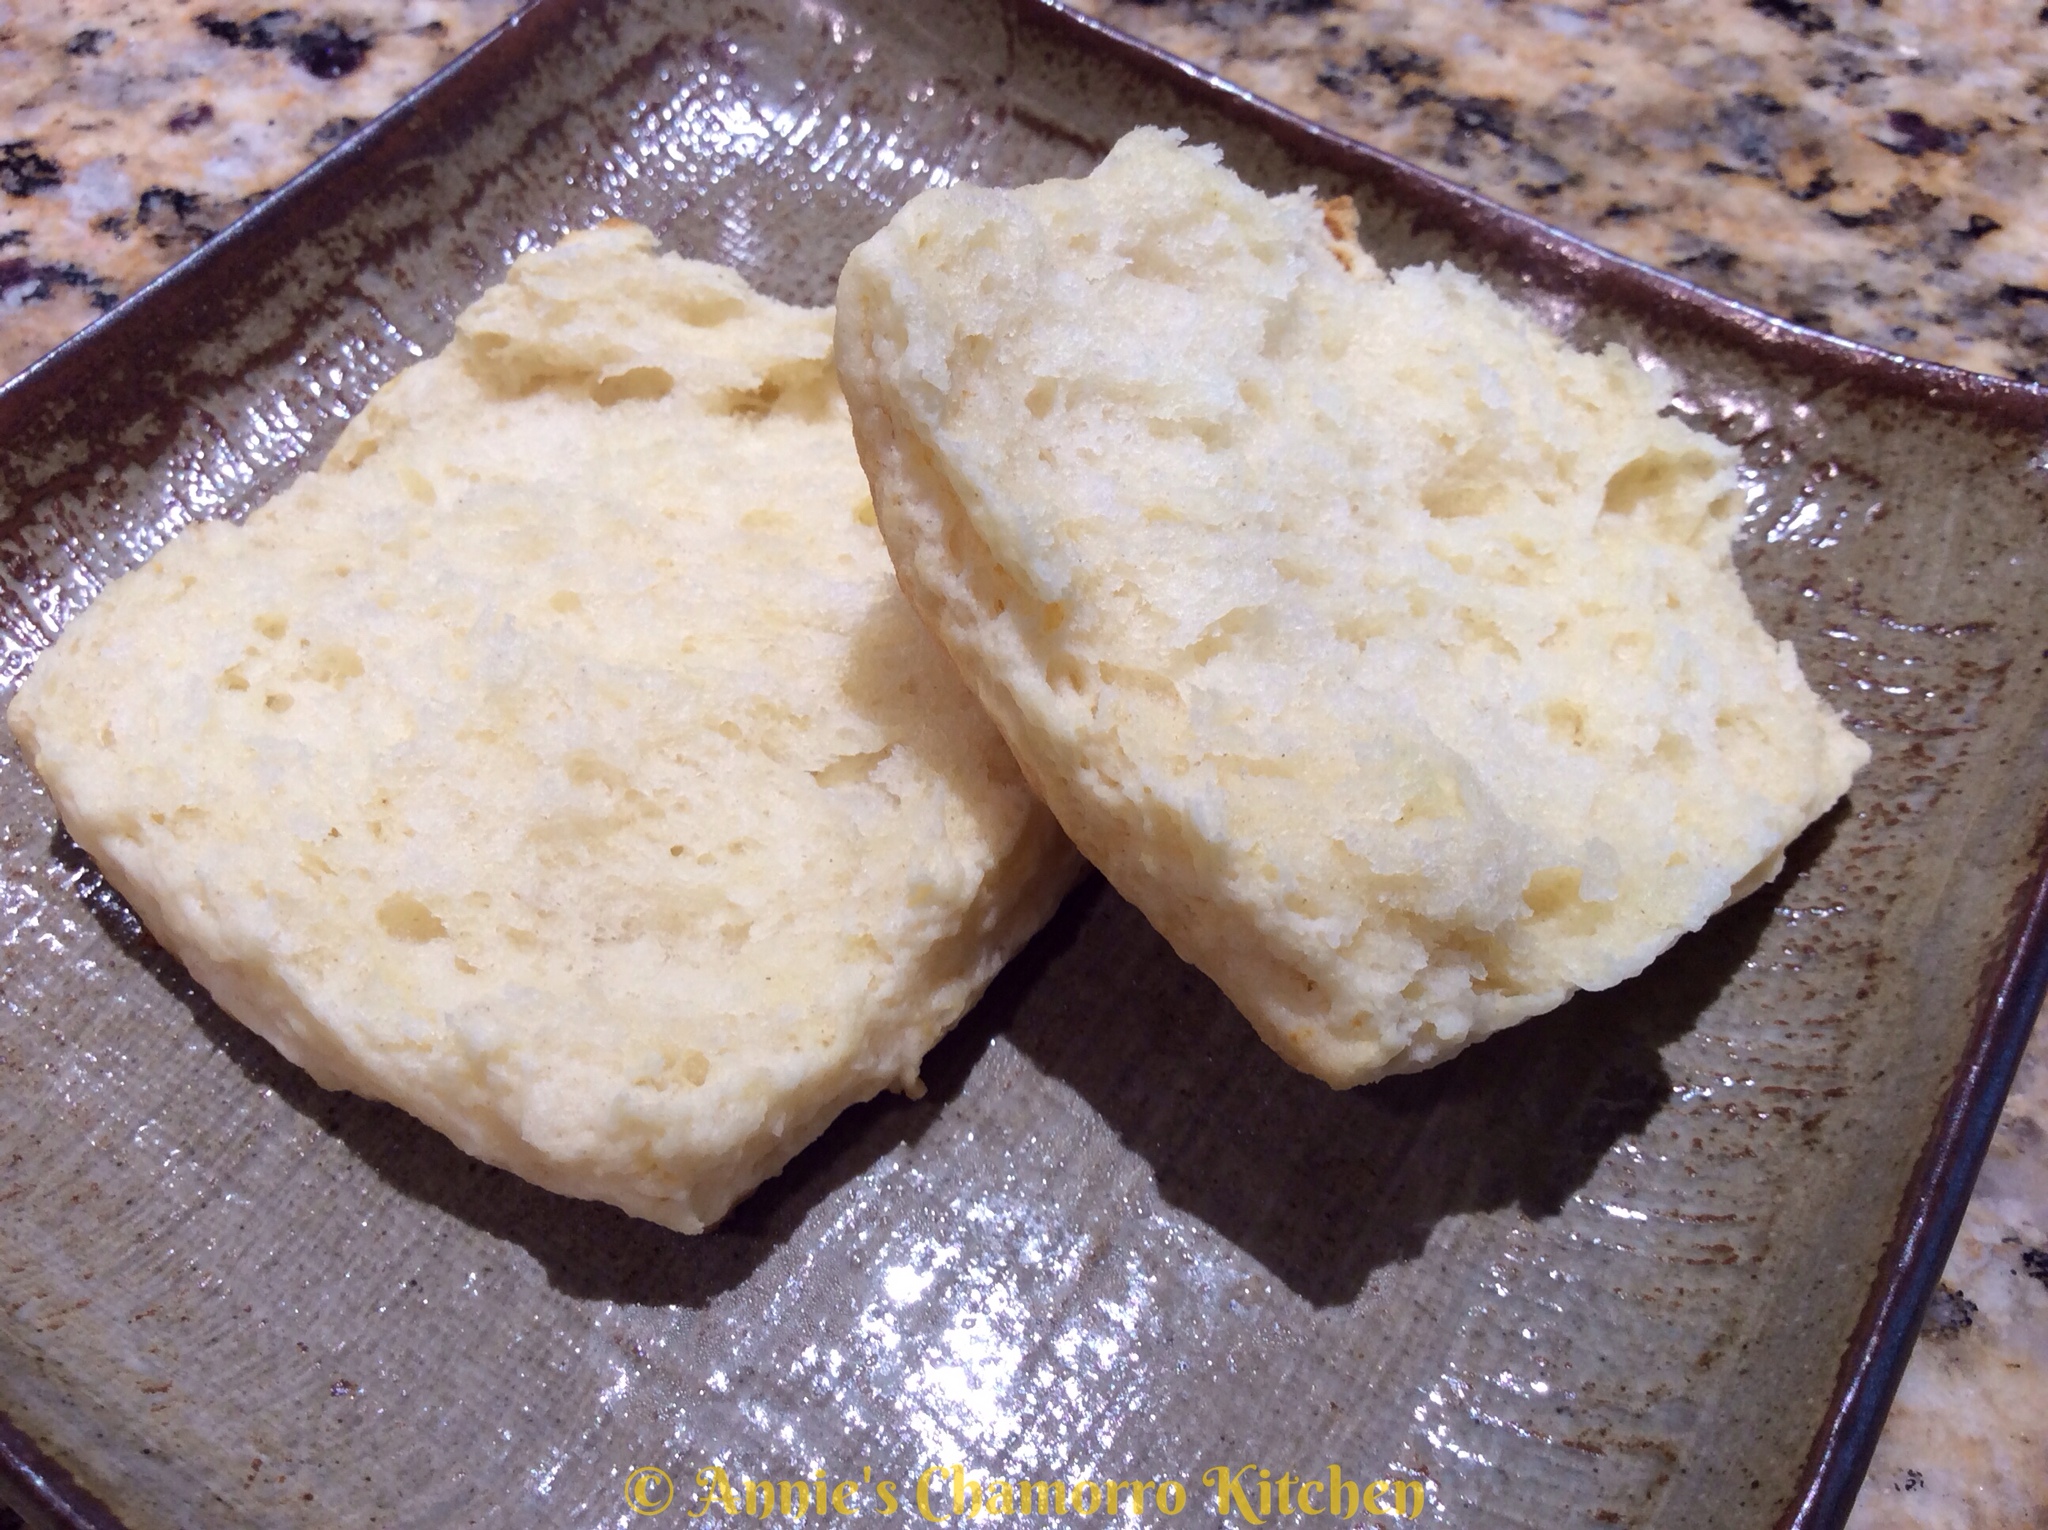
See how fluffy they are? Yum!!
Homemade Gravy
Ingredients:

  • 1 pound ground beef (or you can use your favorite sausage)
  • 1/3 cup all-purpose flour
  • 1 teaspoon garlic powder
  • 1 teaspoon onion powder
  • 1/2 teaspoon black pepper
  • 2 tablespoons Dashida seasoning
  • 3 cups milk (I used 1 1/2 % reduced-fat milk)

Directions:

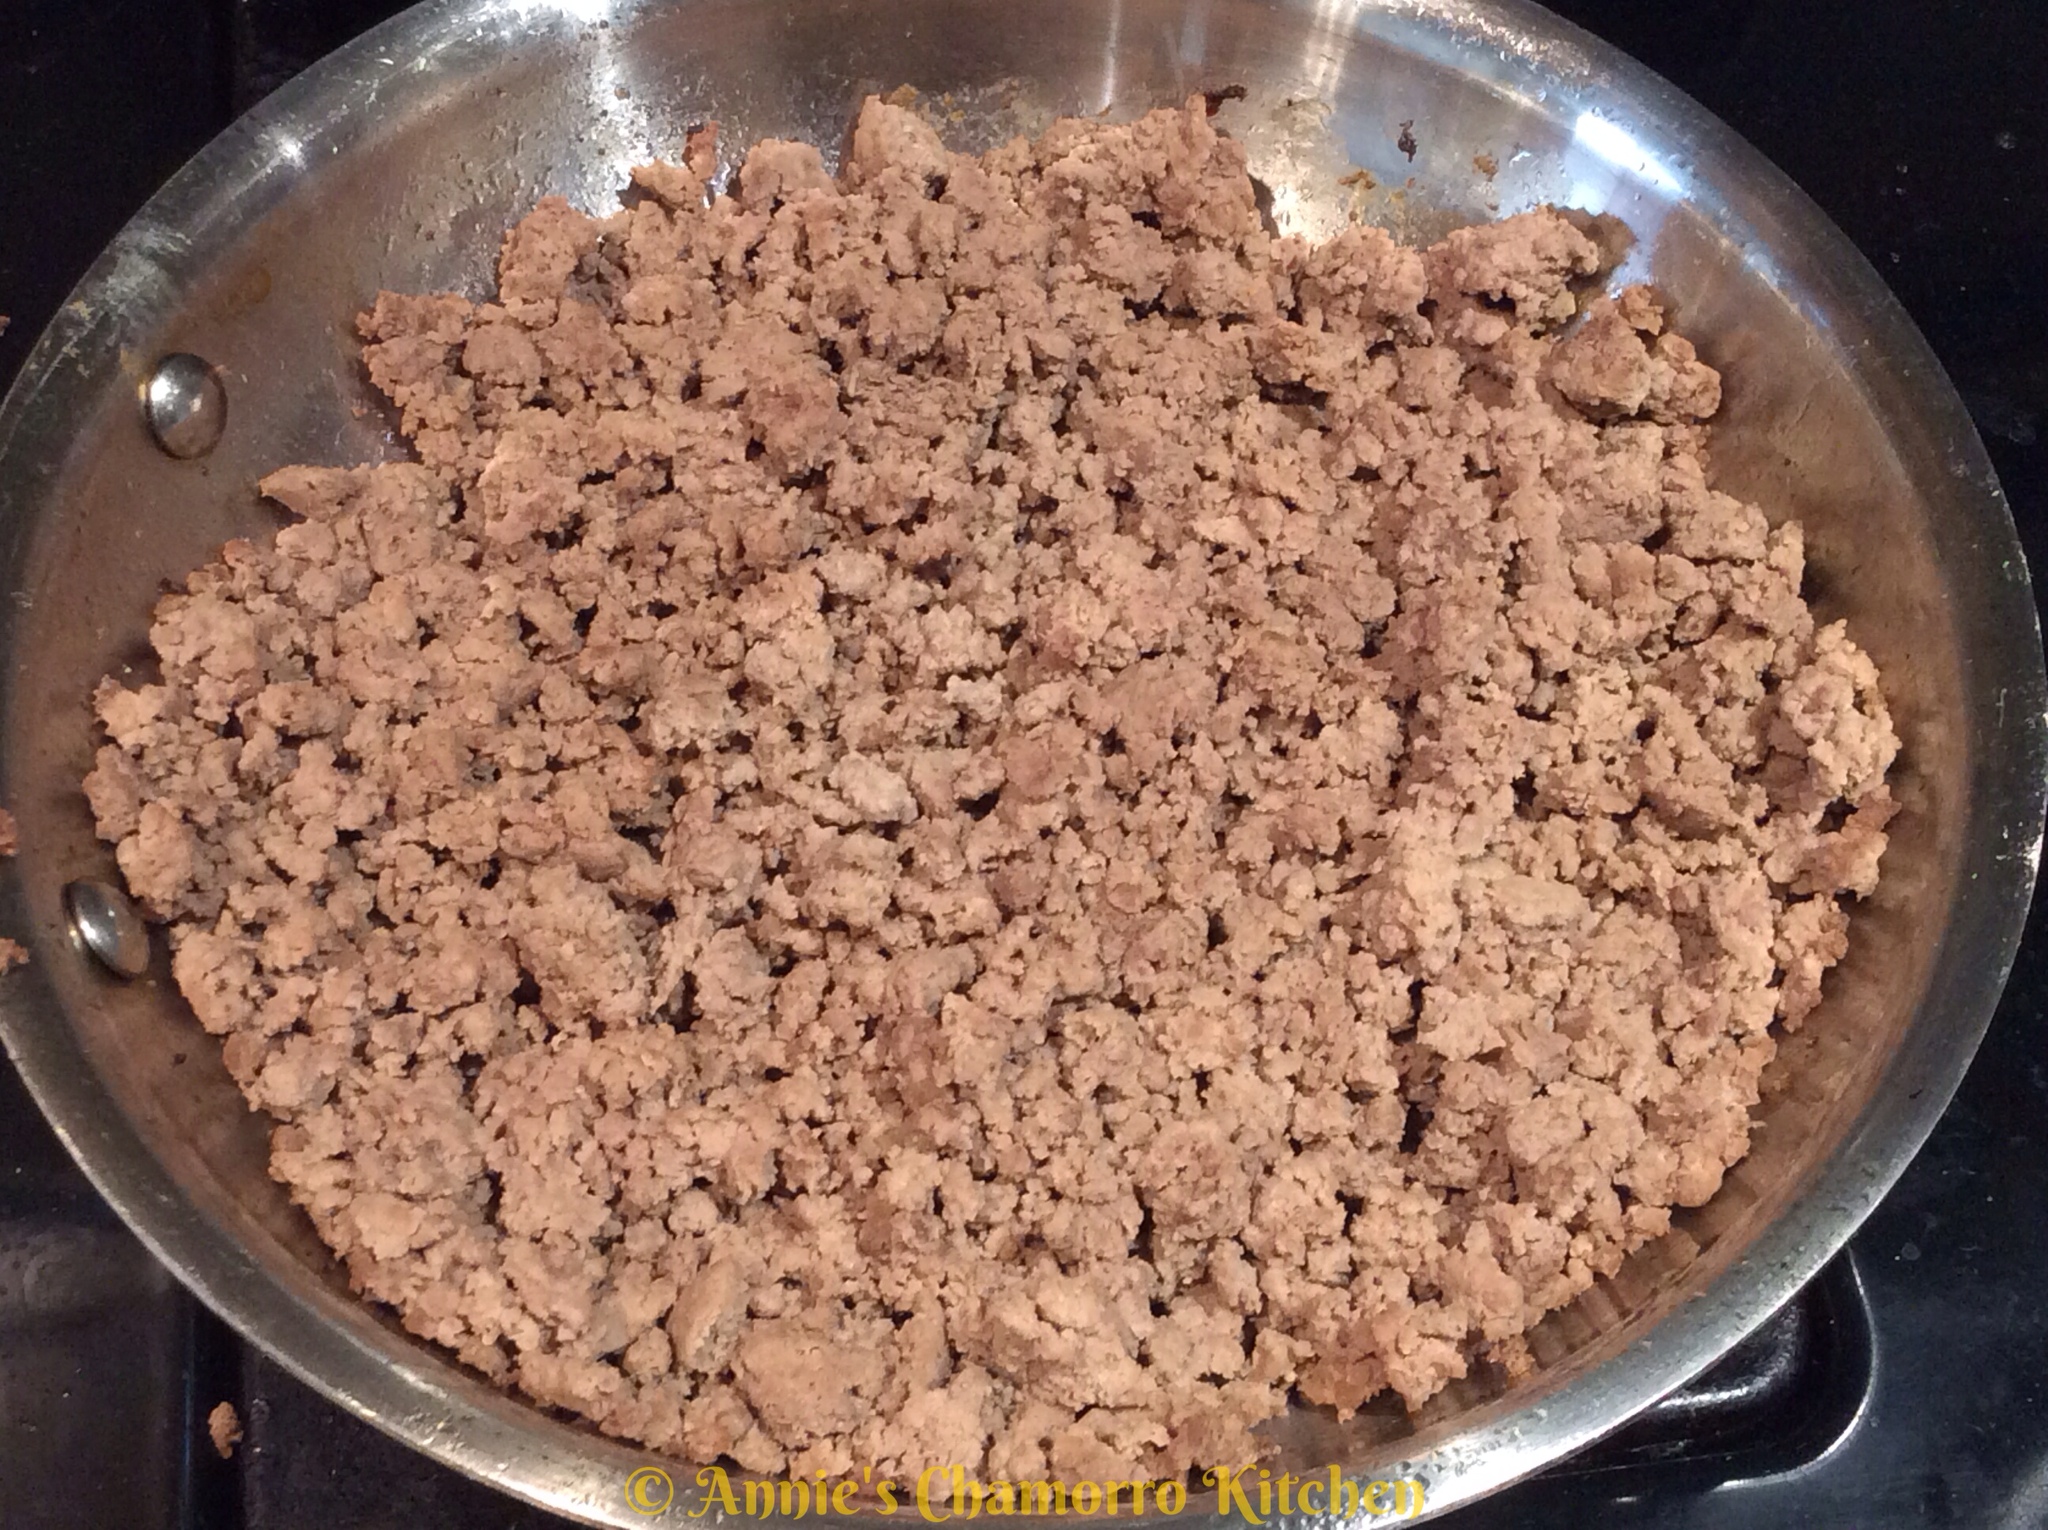
1. Brown the ground beef in a large skillet.
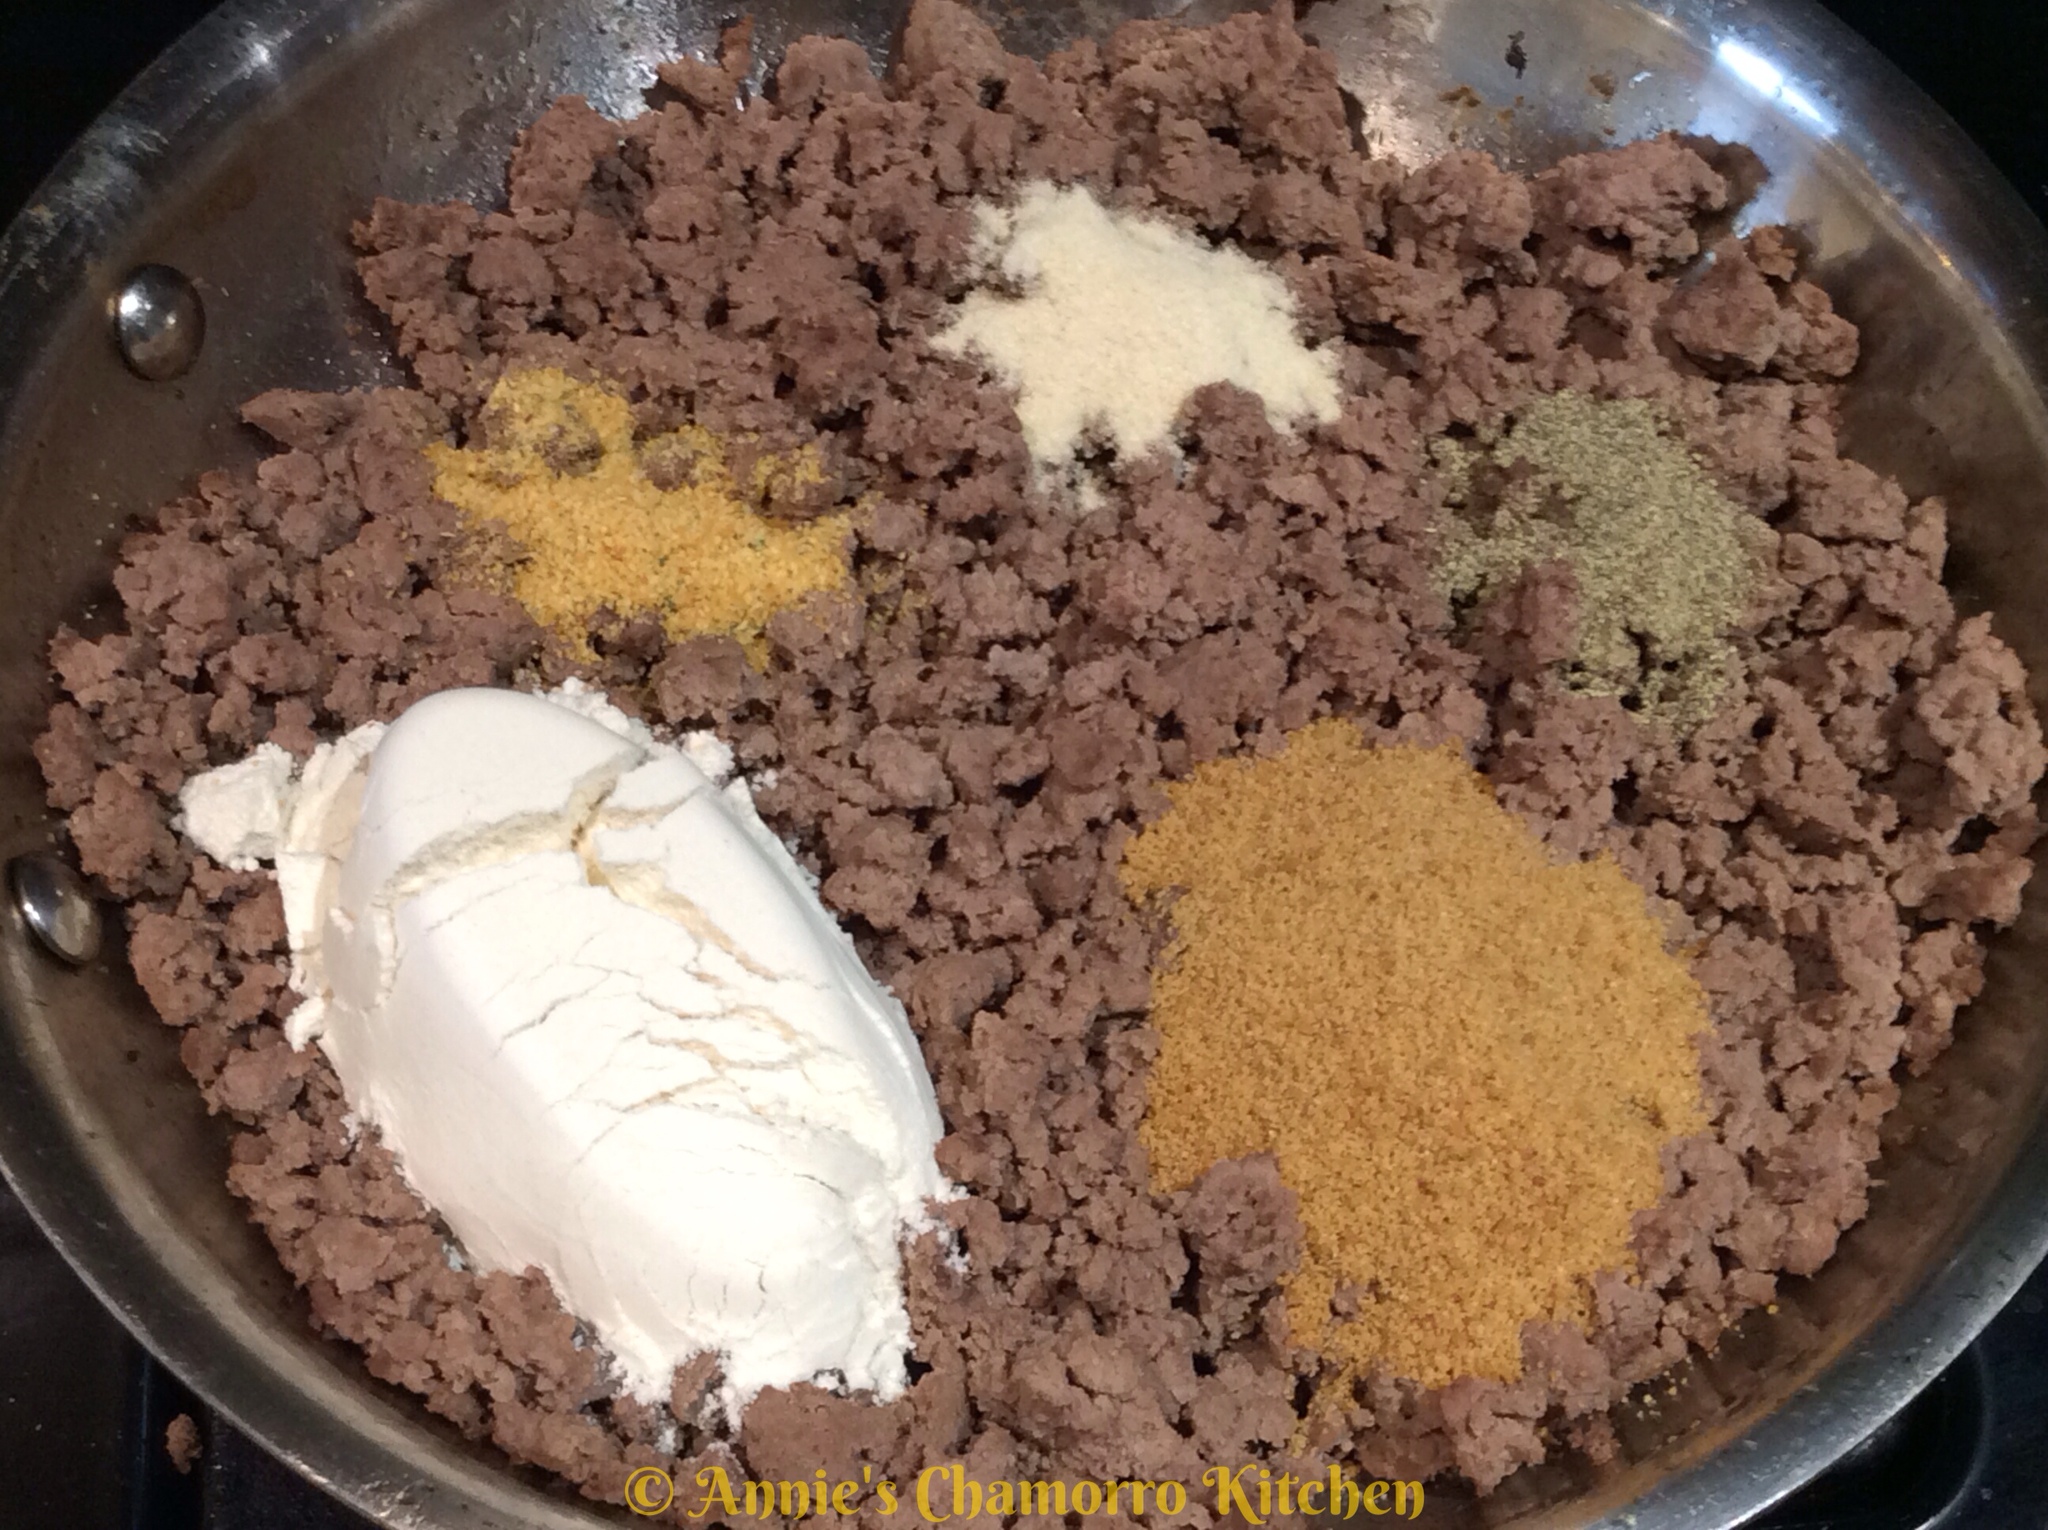
2. Add the flour and all the seasonings to the skillet.
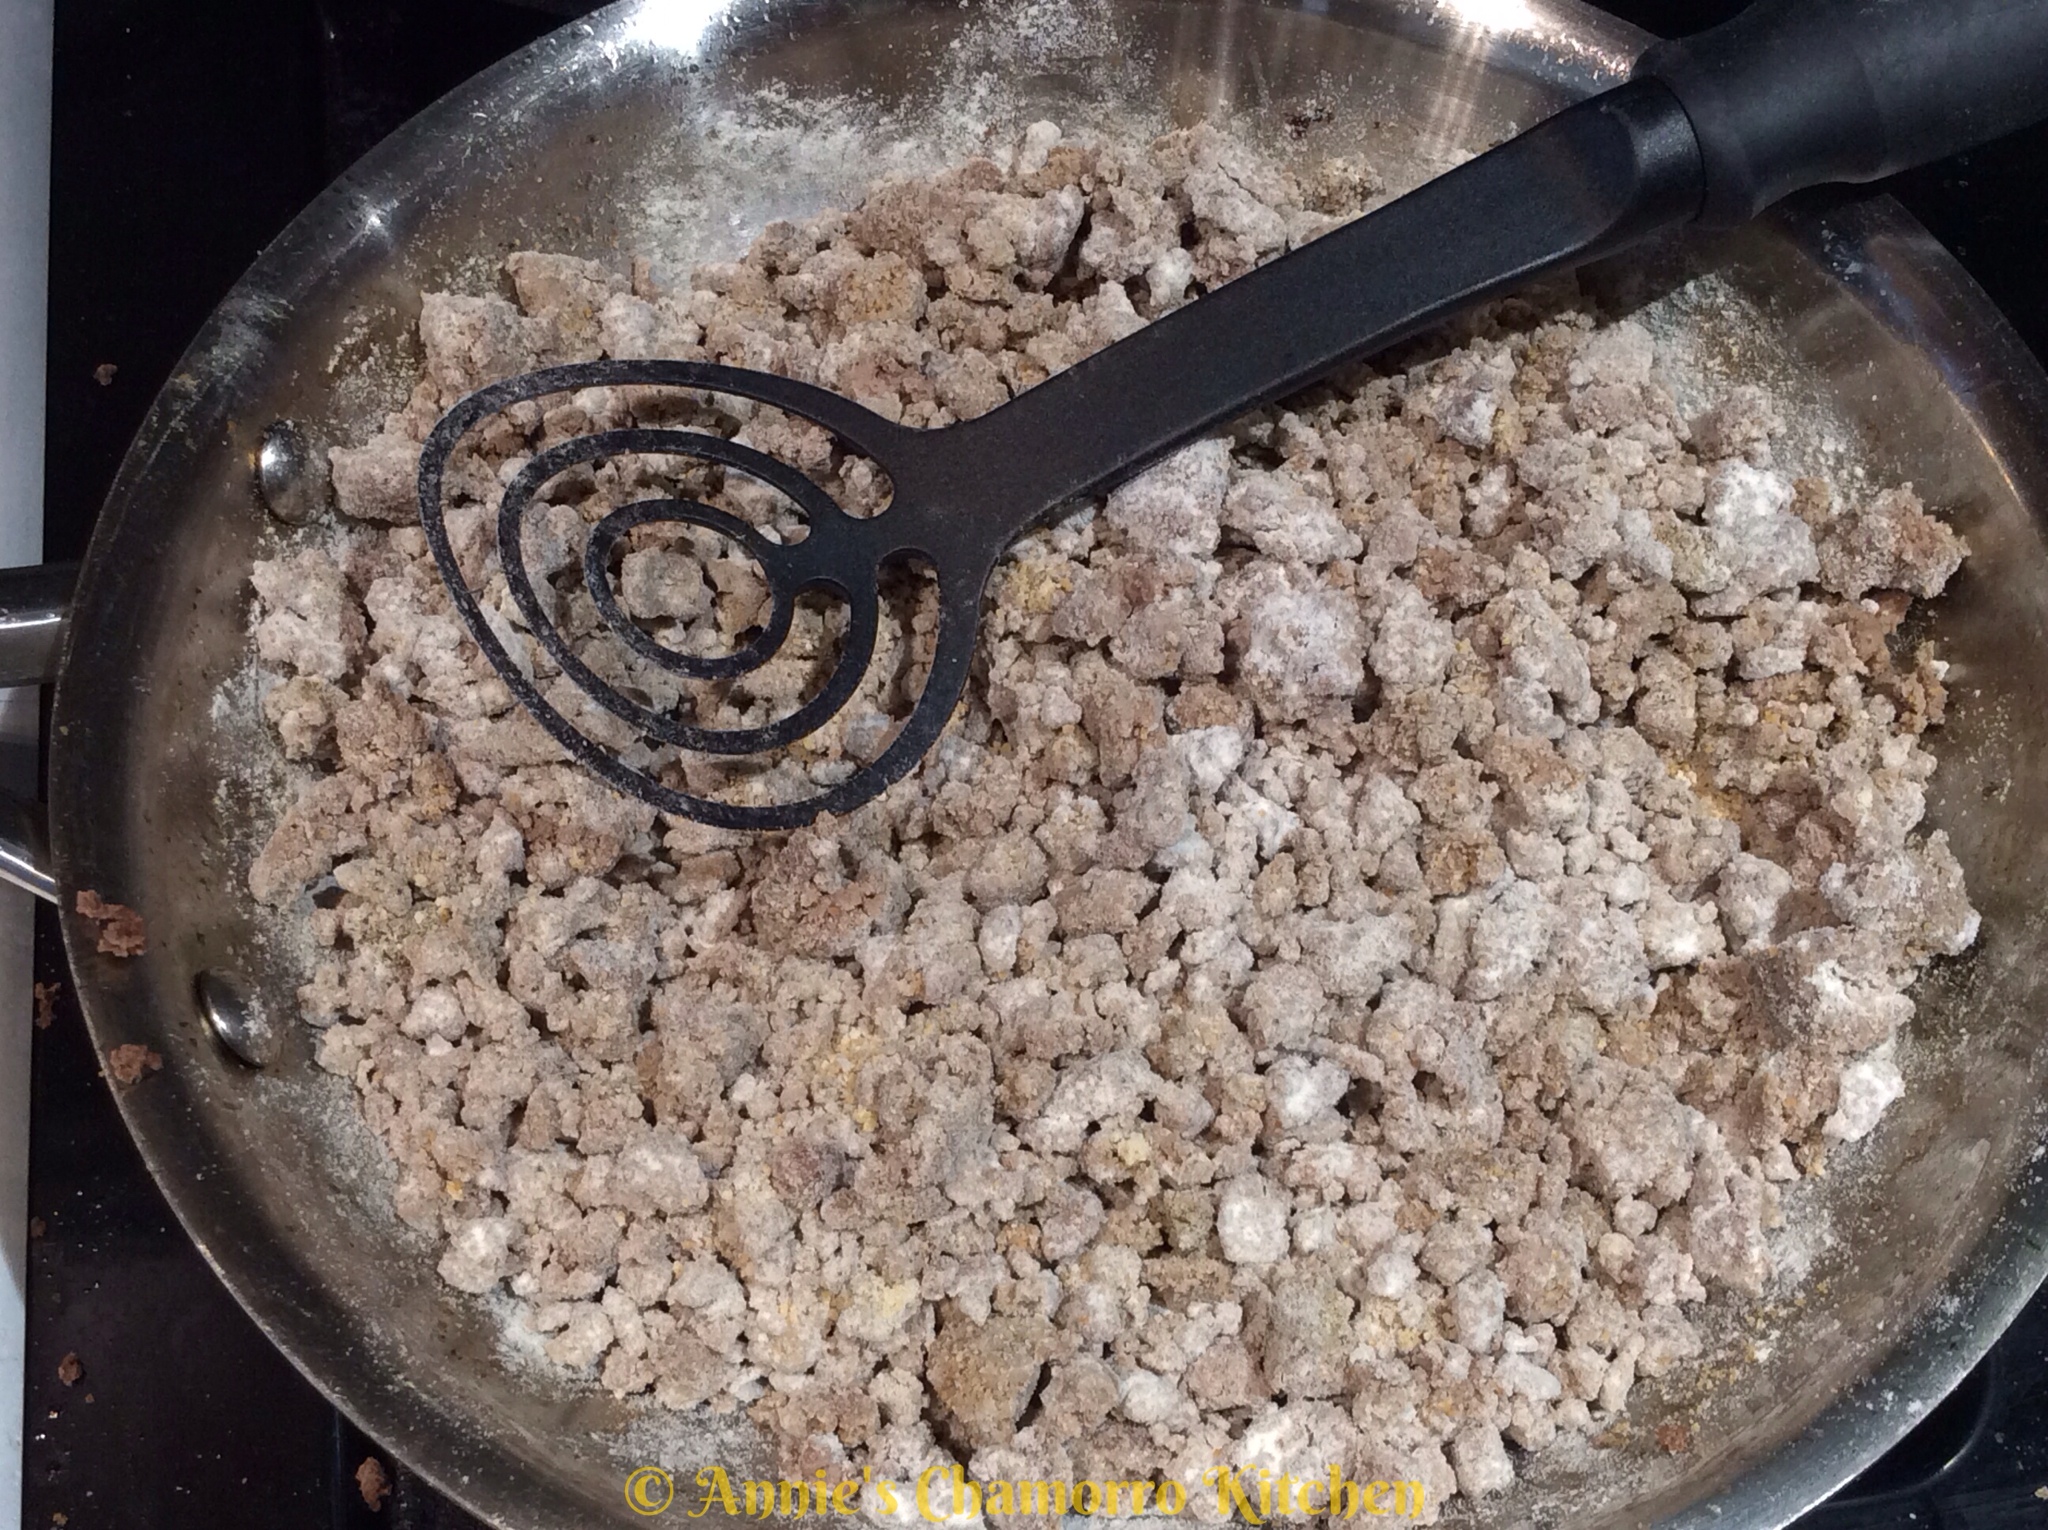
3. Stir to combine all of the ingredients. Turn the heat up to medium high.
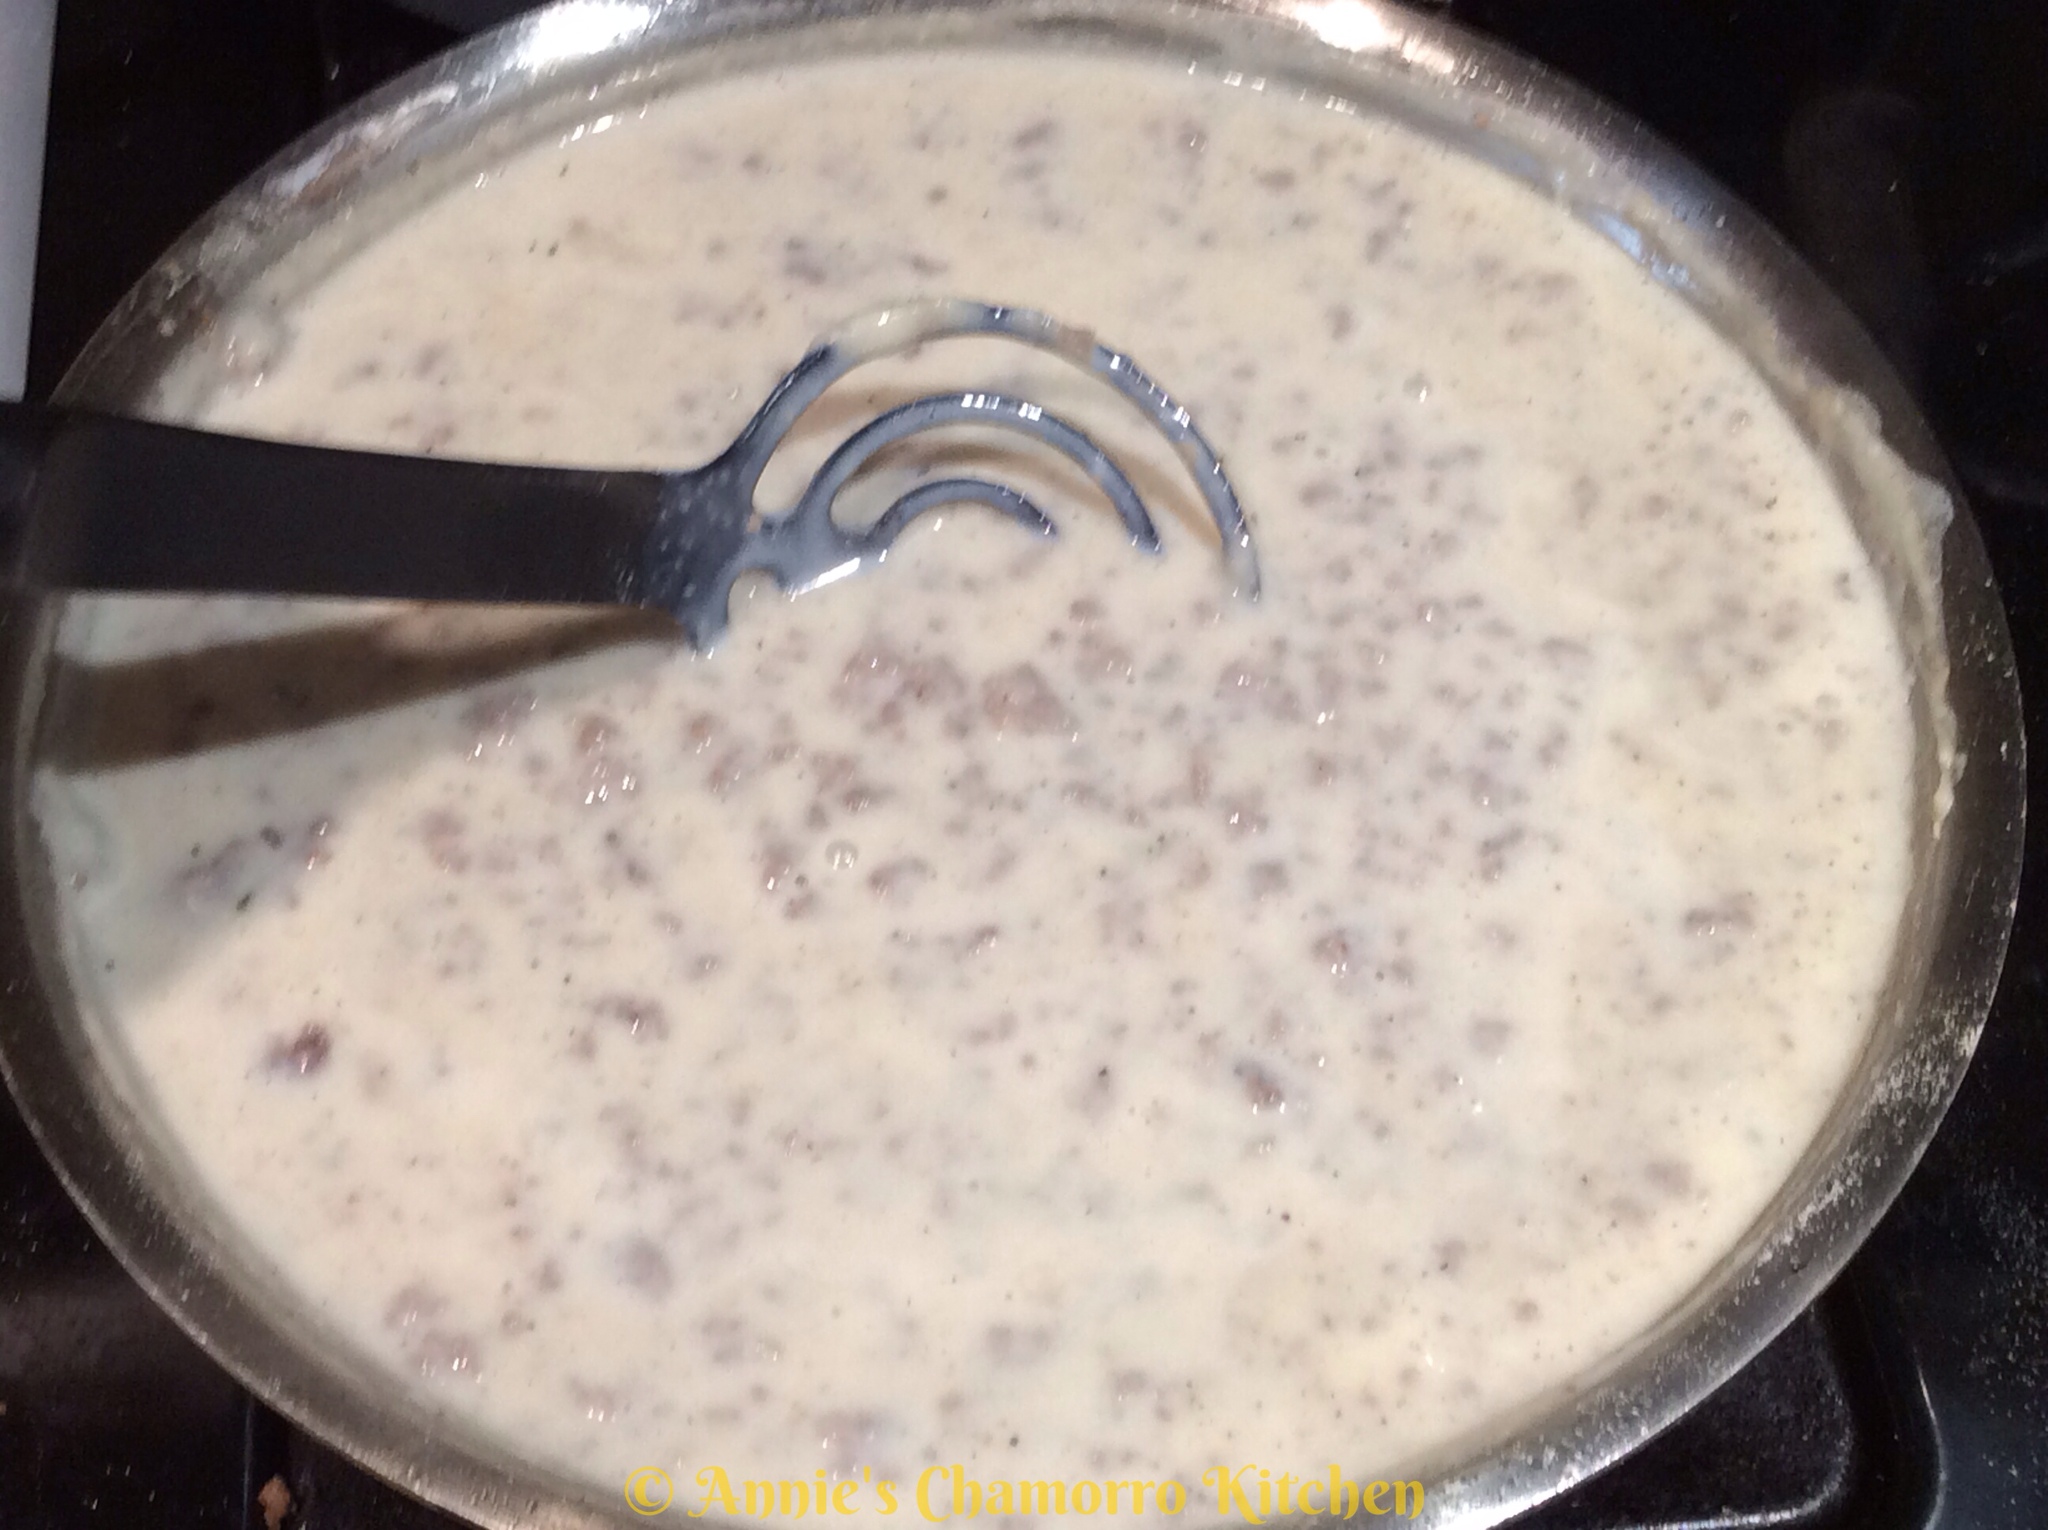
4. Pour the milk into the skillet. I use a whisk that can withstand the heat and be used for cooking (see the photo above) to stir as I add the milk.
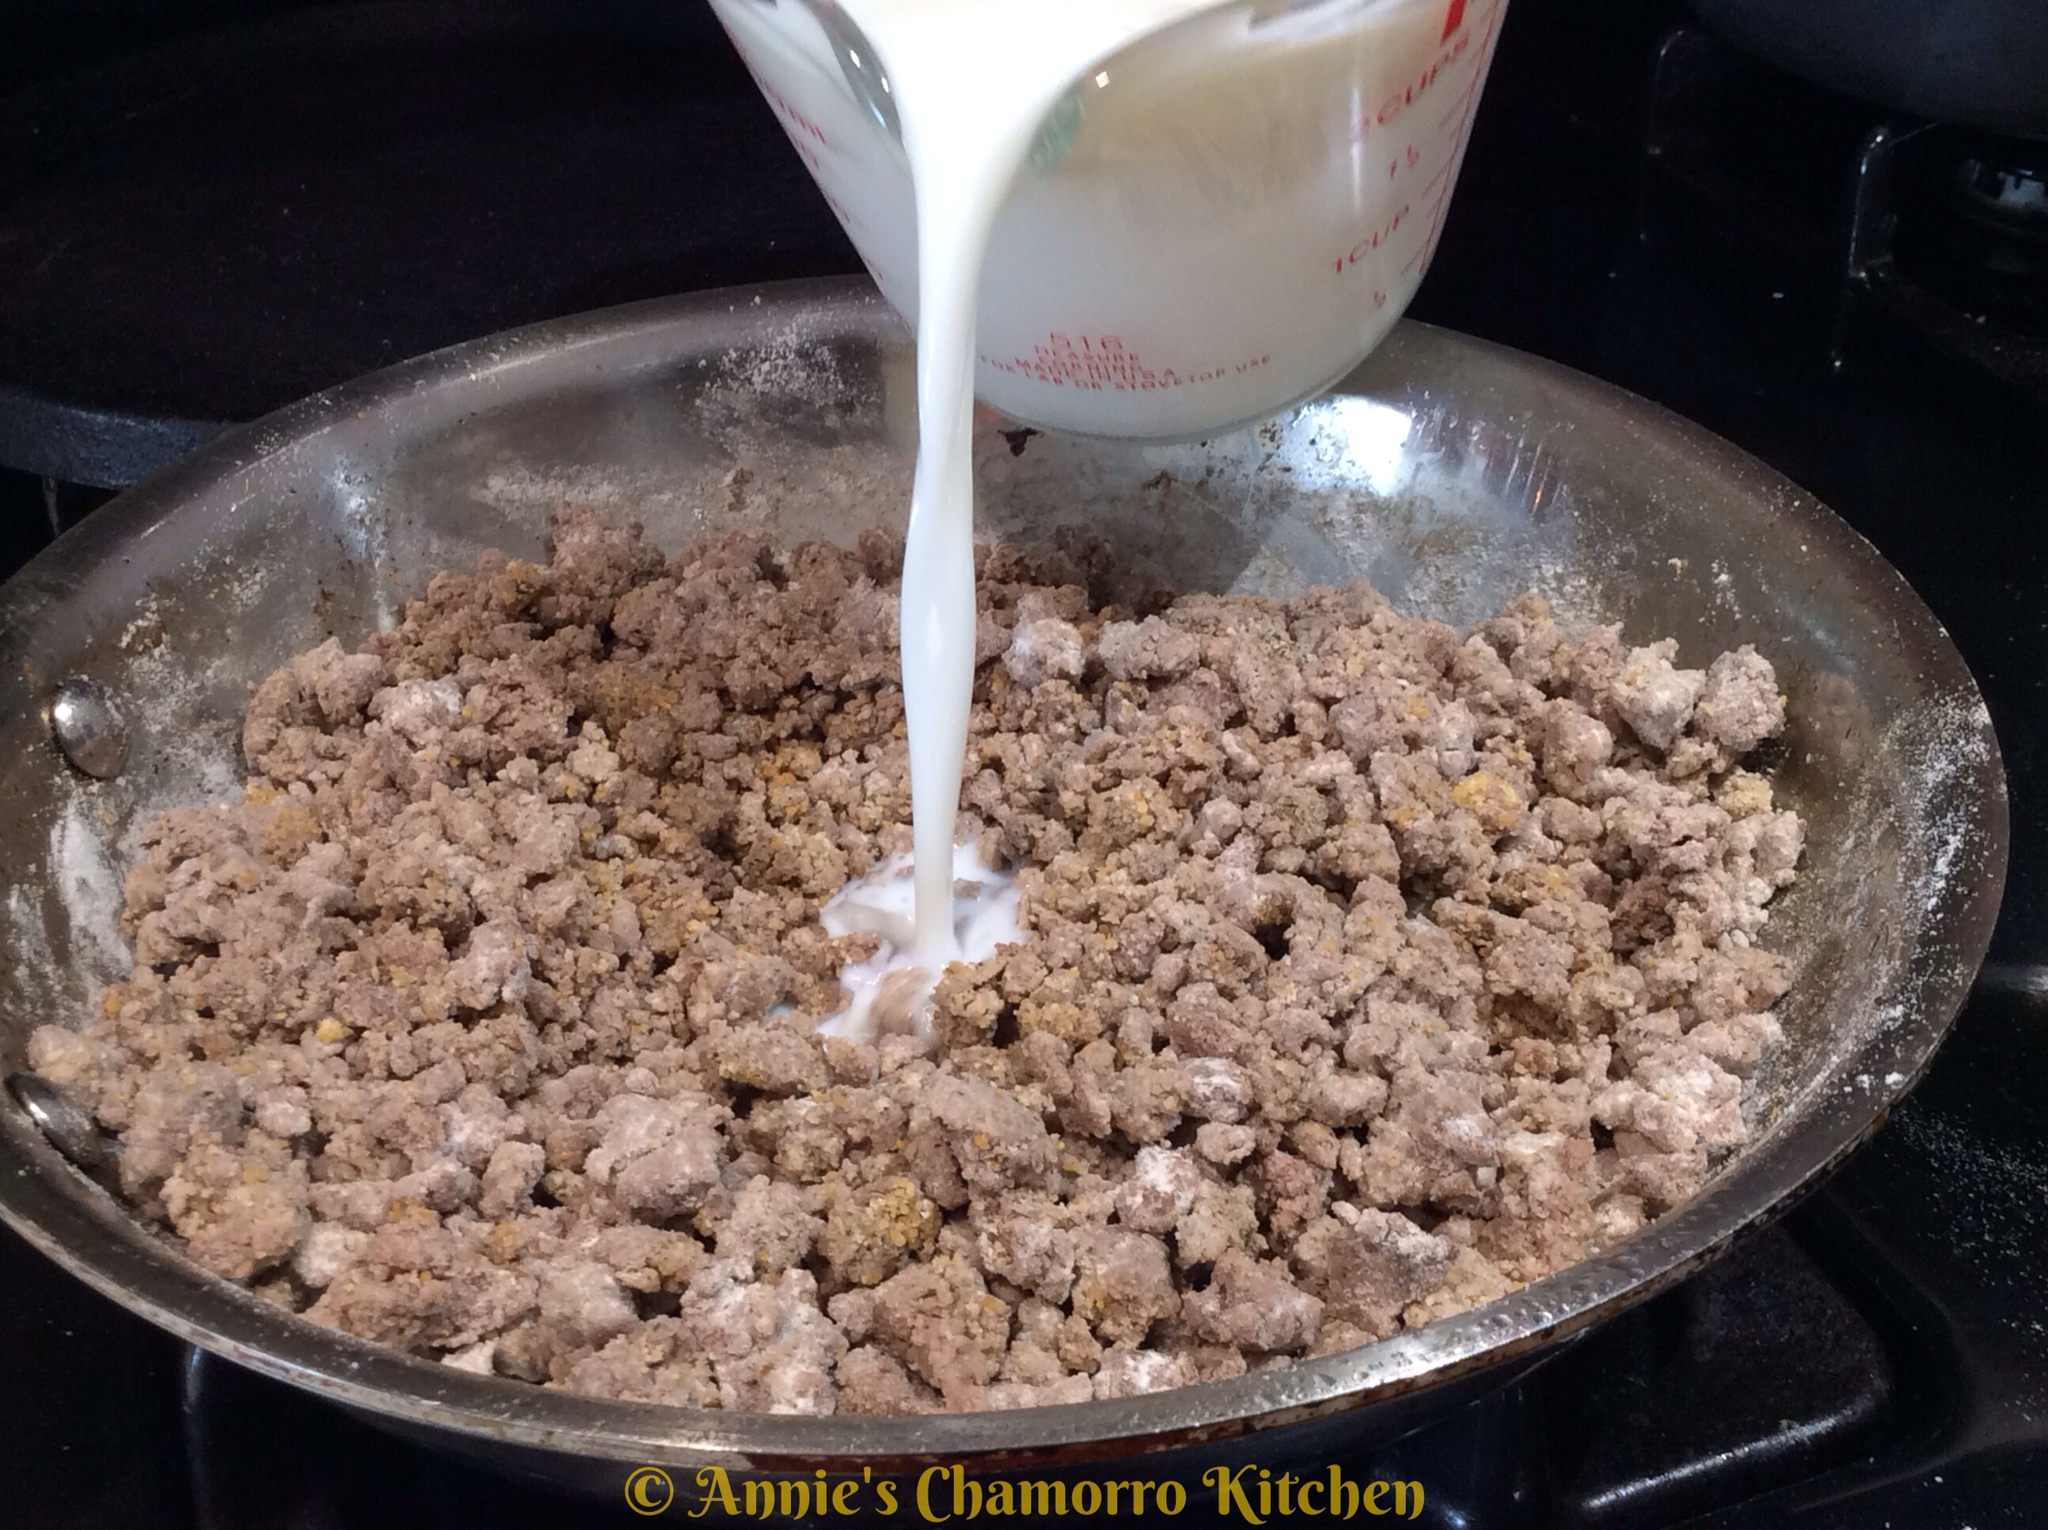
5. Stir constantly until the gravy thickens.
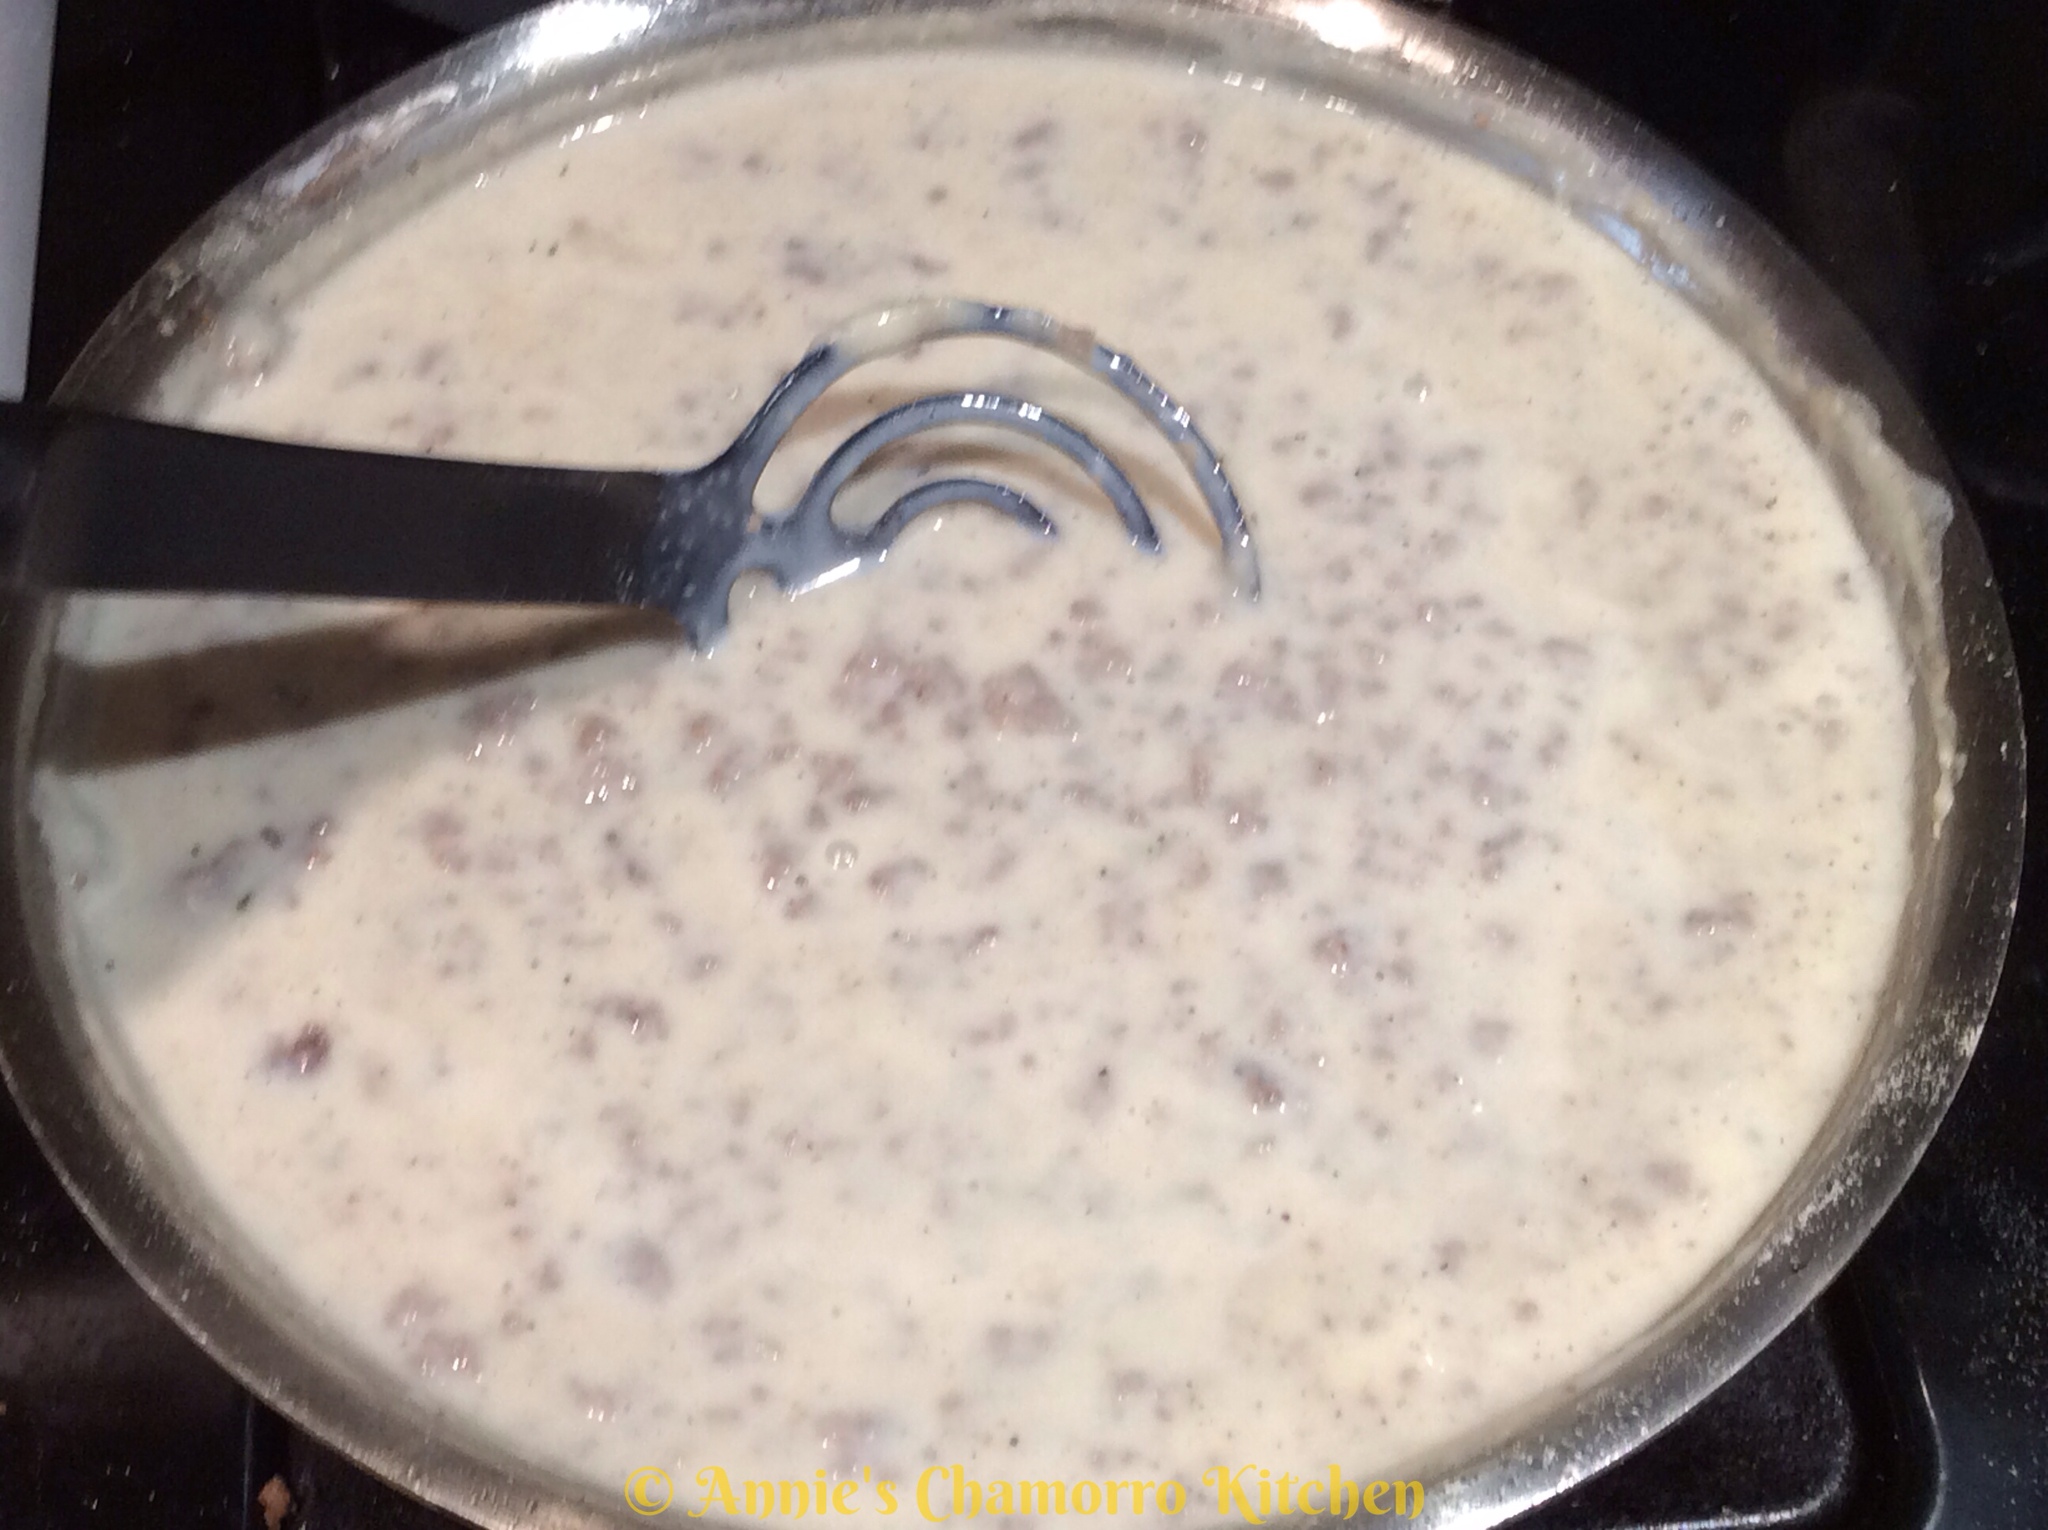
6. Serve with my soft and fluffy biscuits and ENJOY! 🙂
 

Honey Butter Sauce
Ingredients:

  • 1 teaspoon water
  • 4 tablespoons unsalted butter
  • 4 tablespoons honey
  • 1/4 teaspoon salt

Directions:

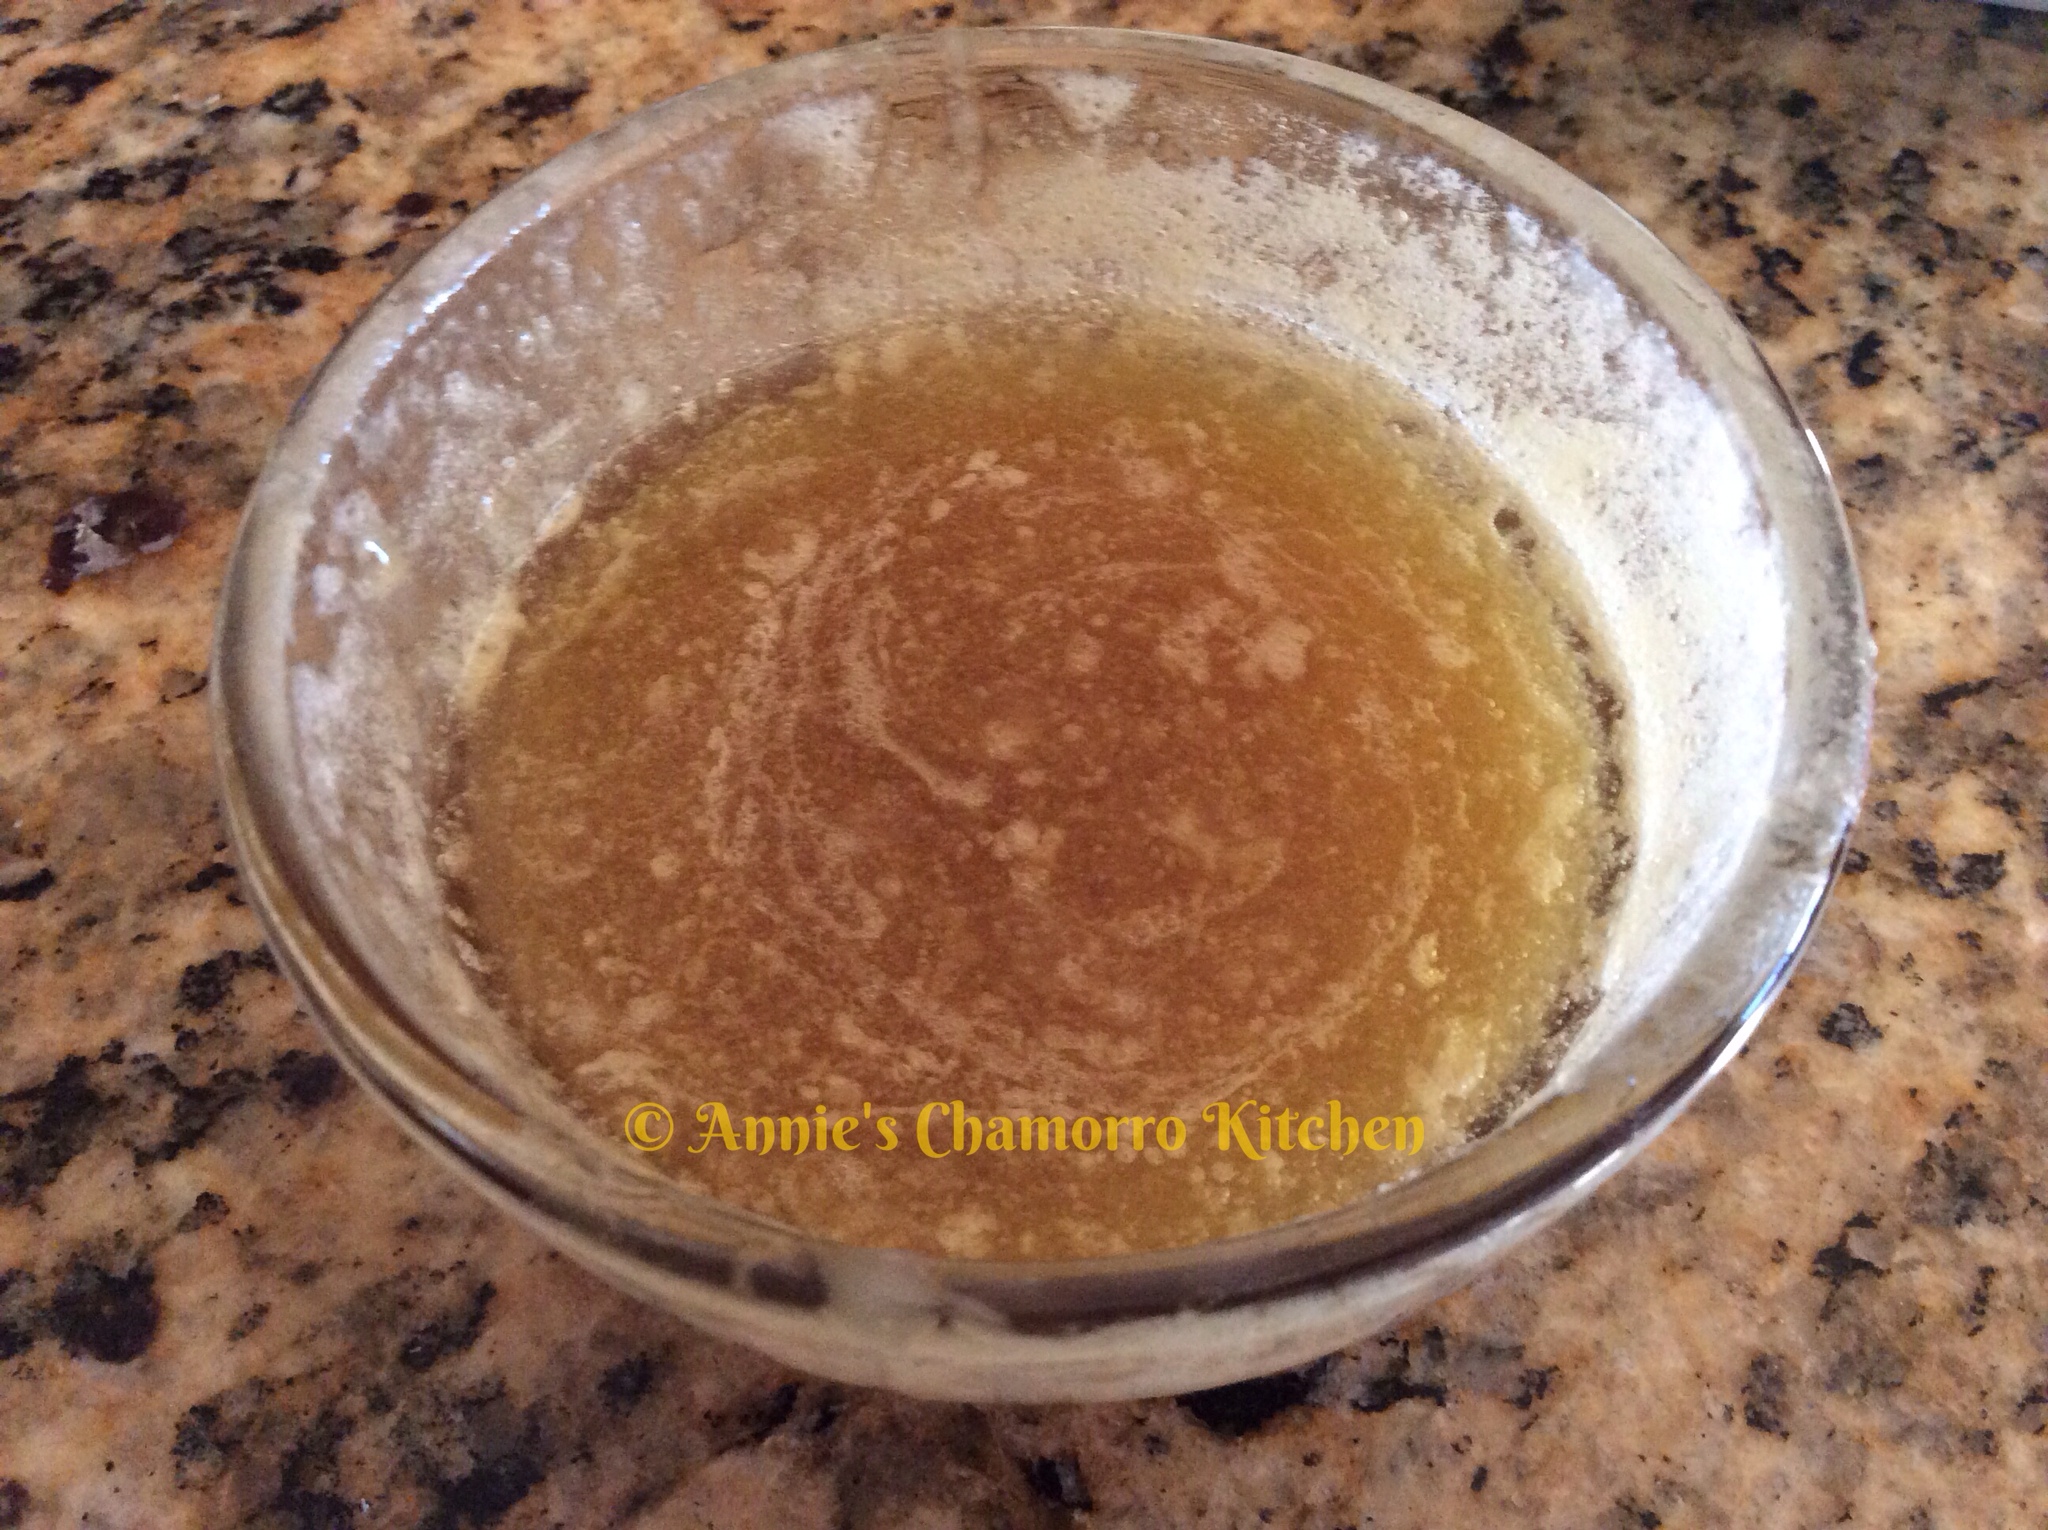
1. Place all of the ingredients into a microwave-safe bowl.
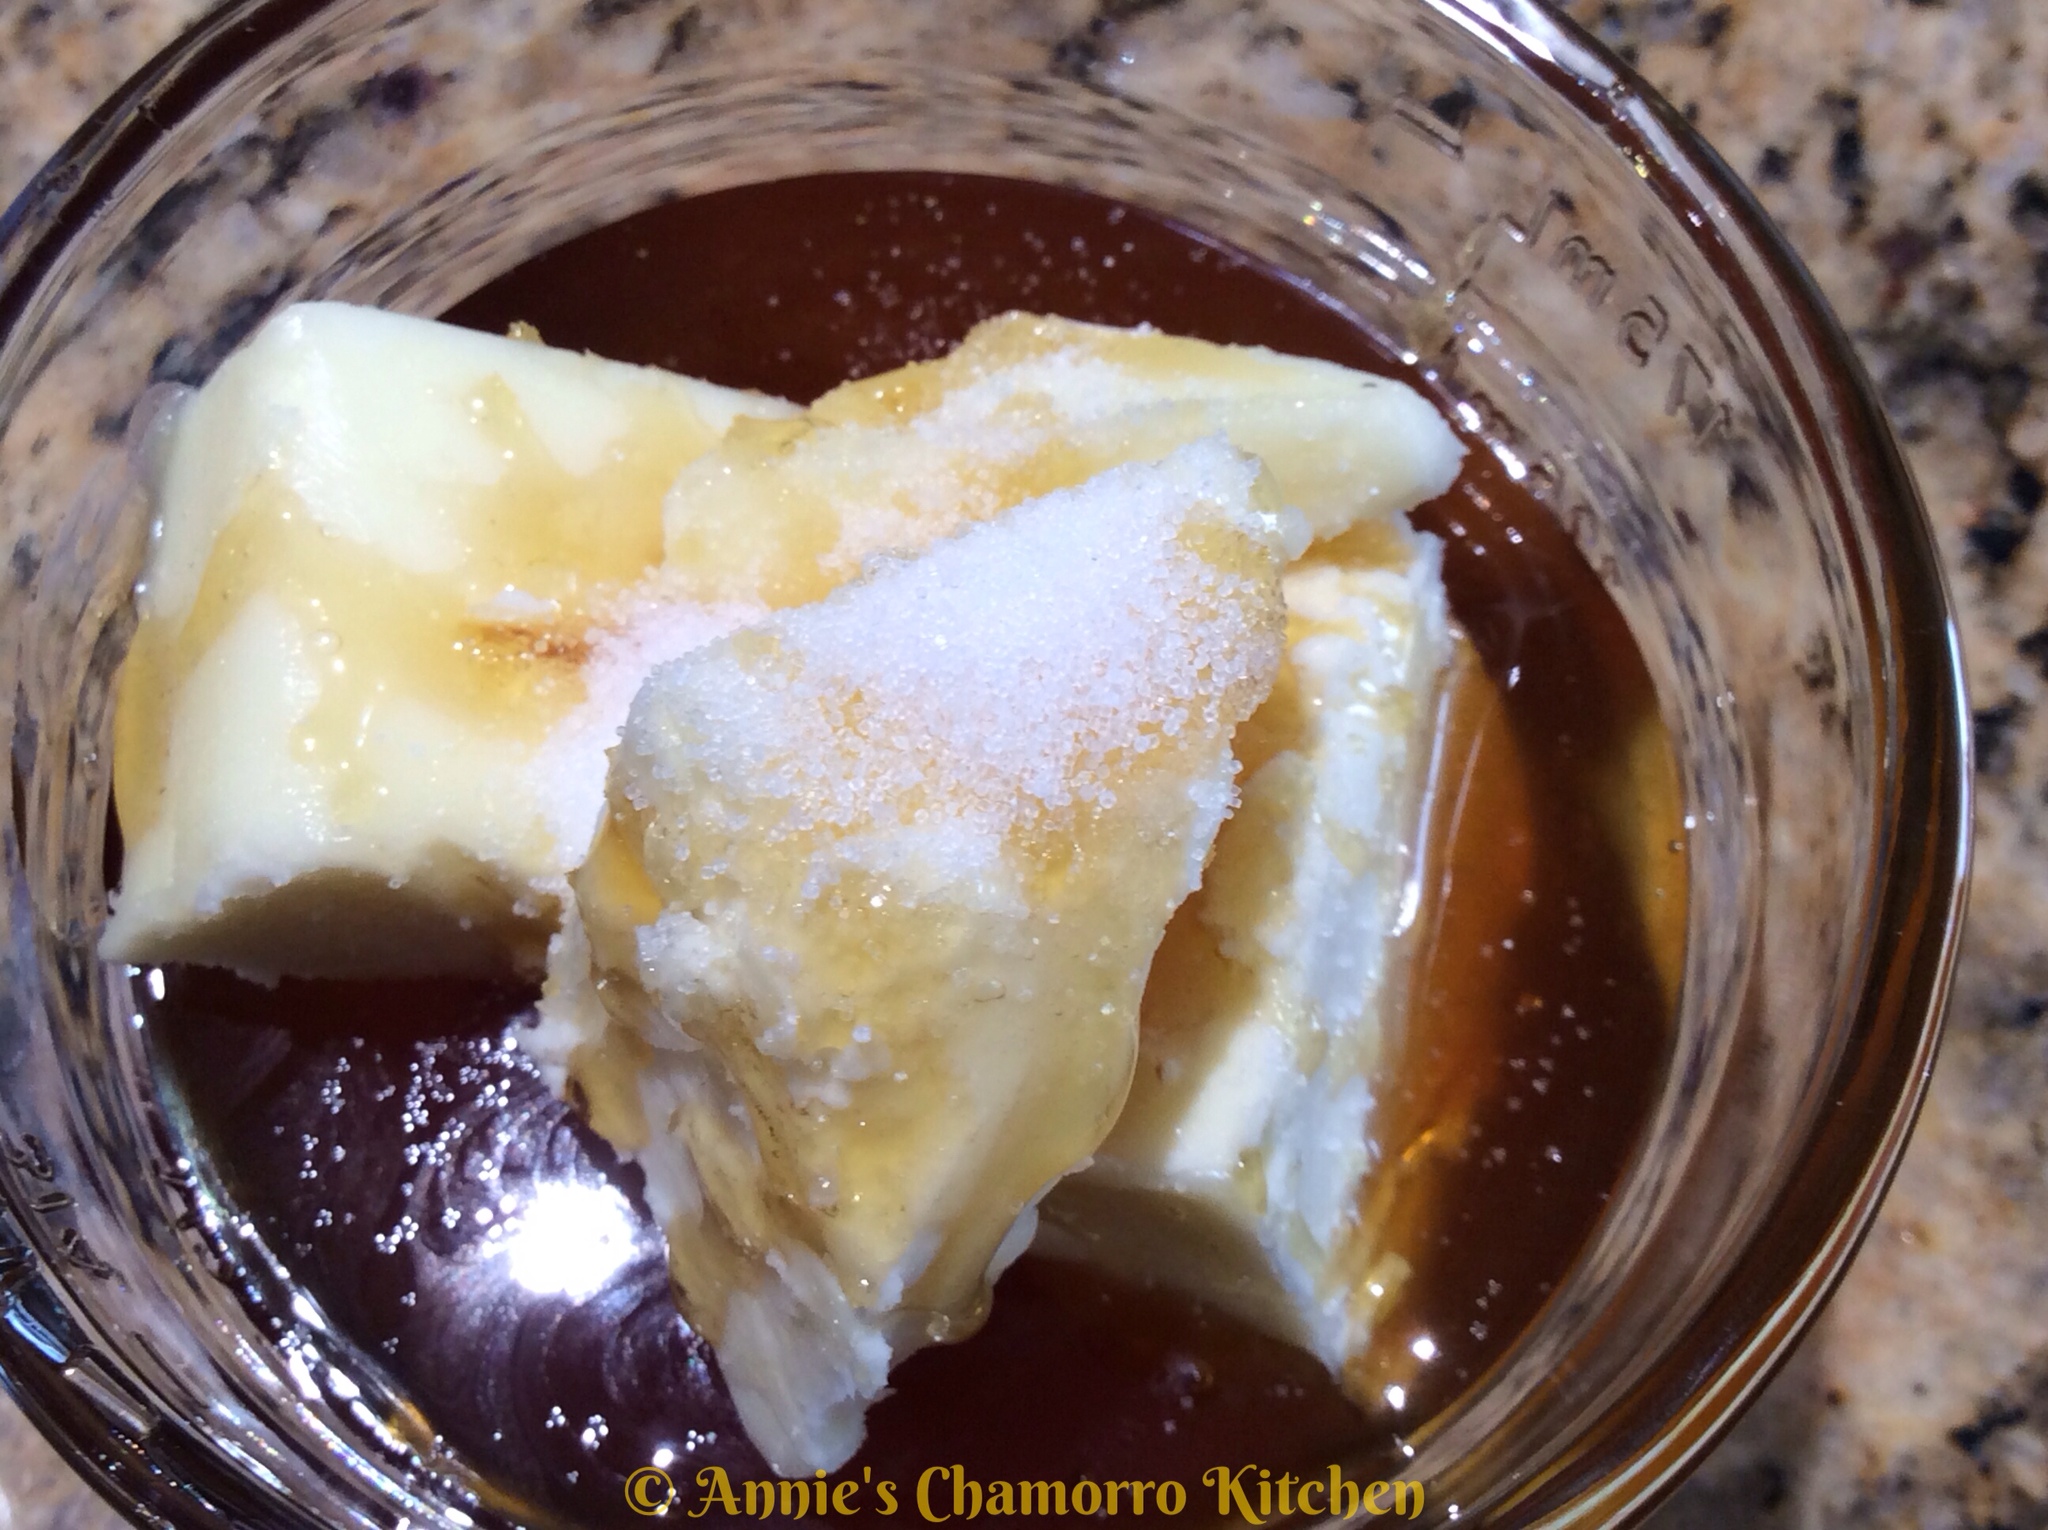
2. Microwave in 30-second intervals until the butter melts.
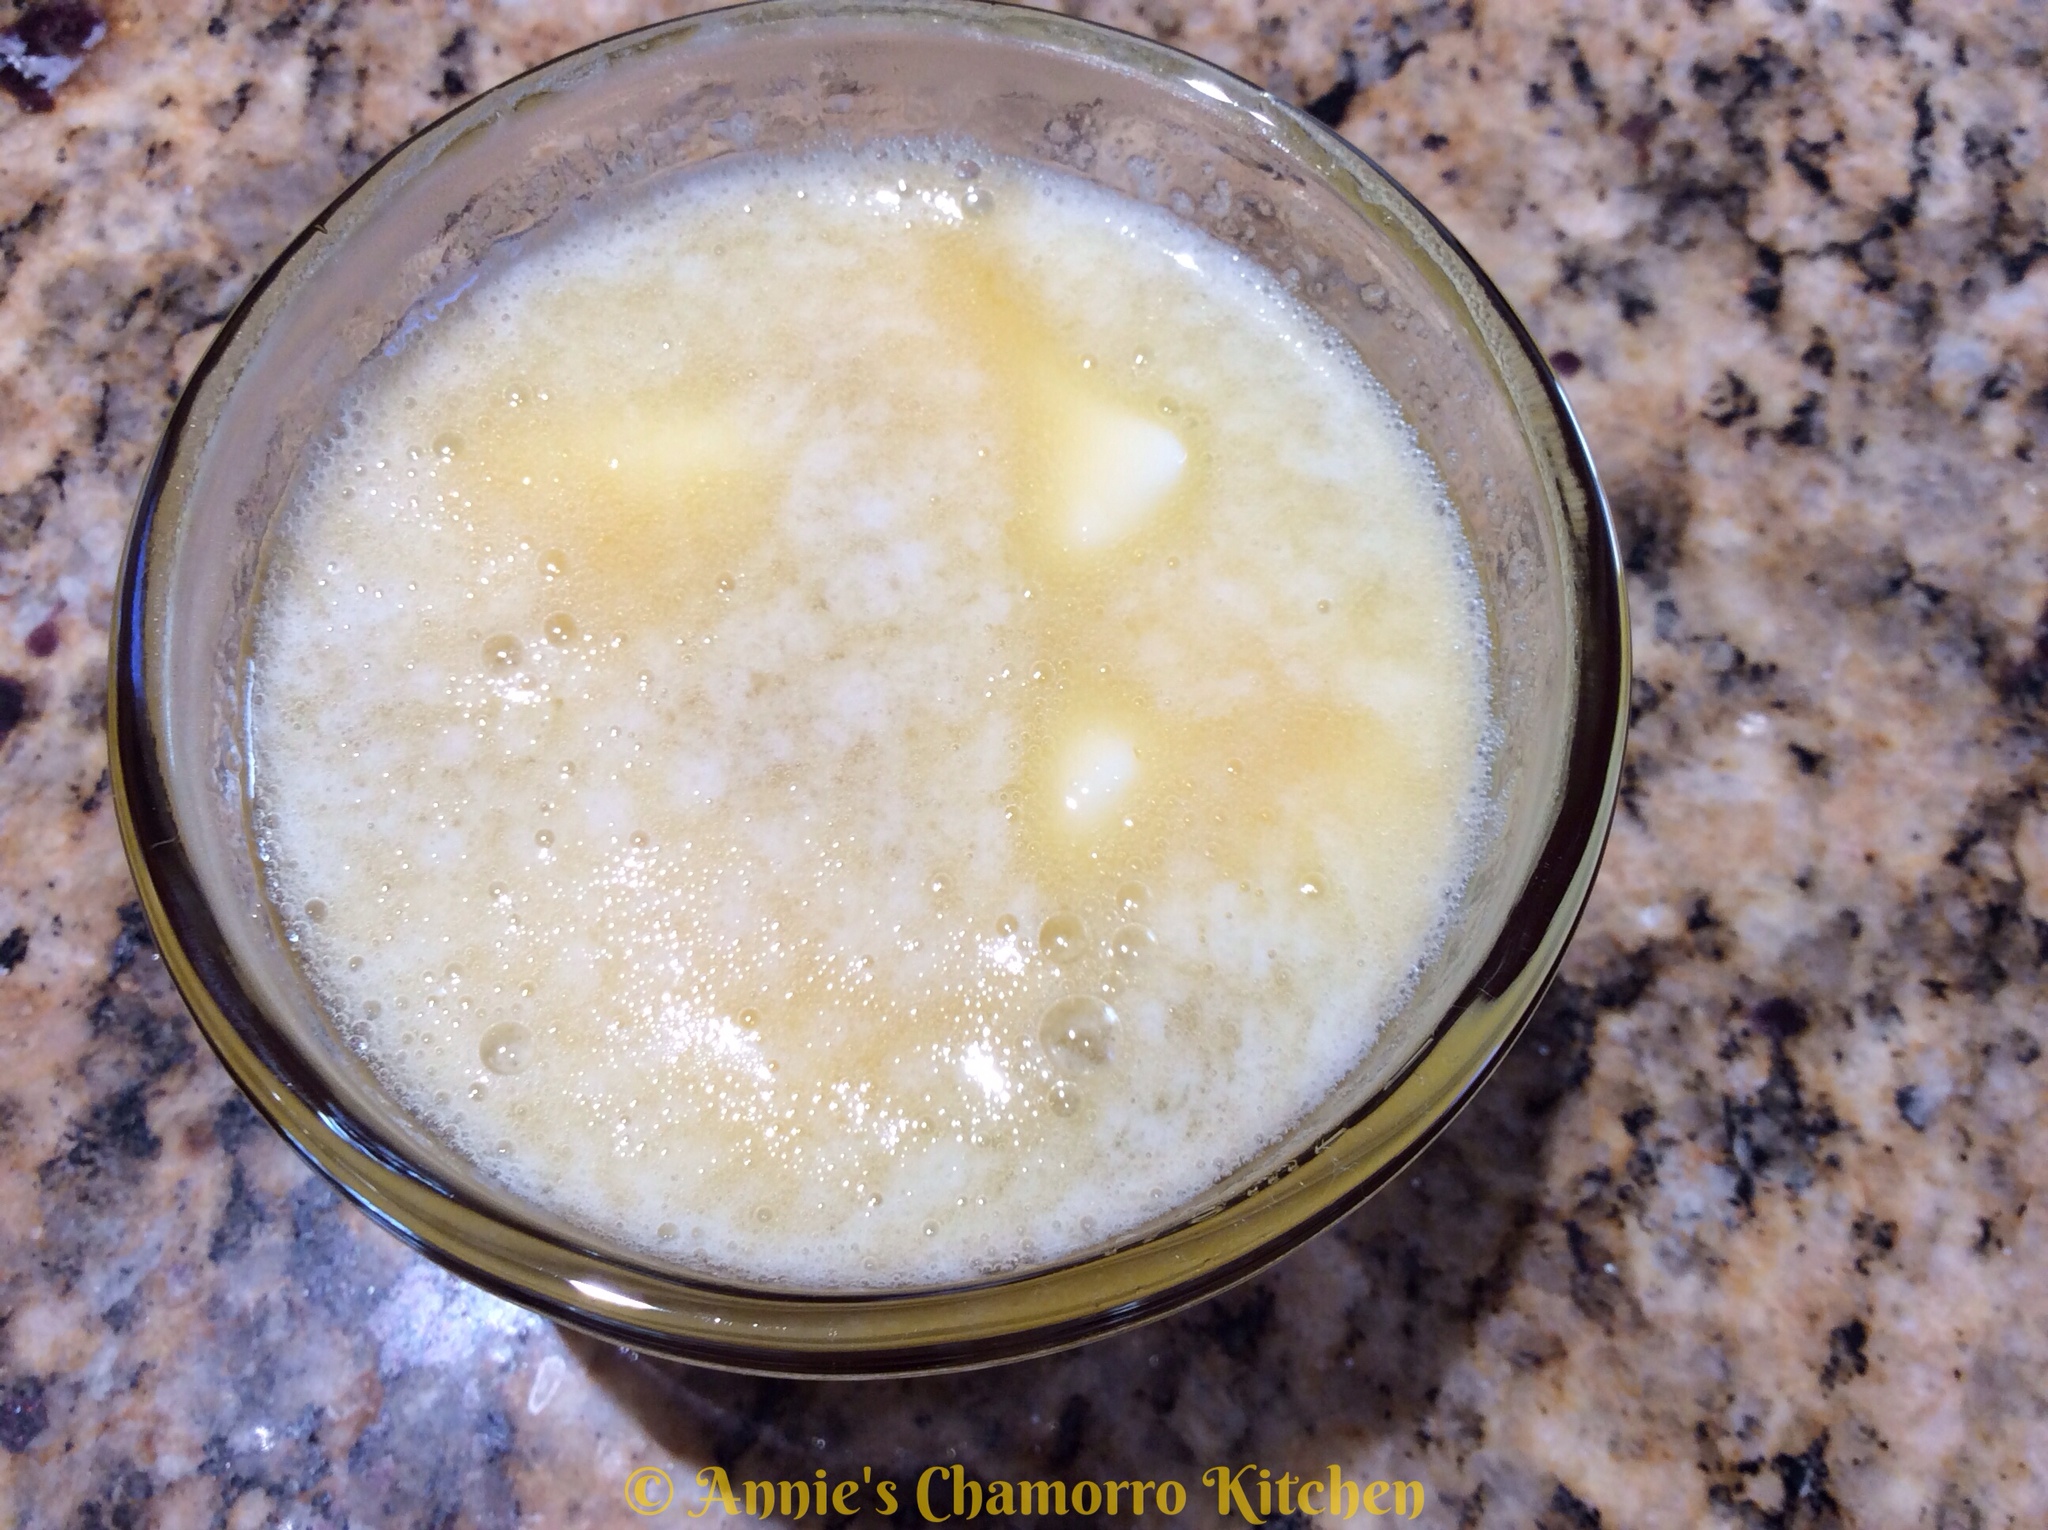
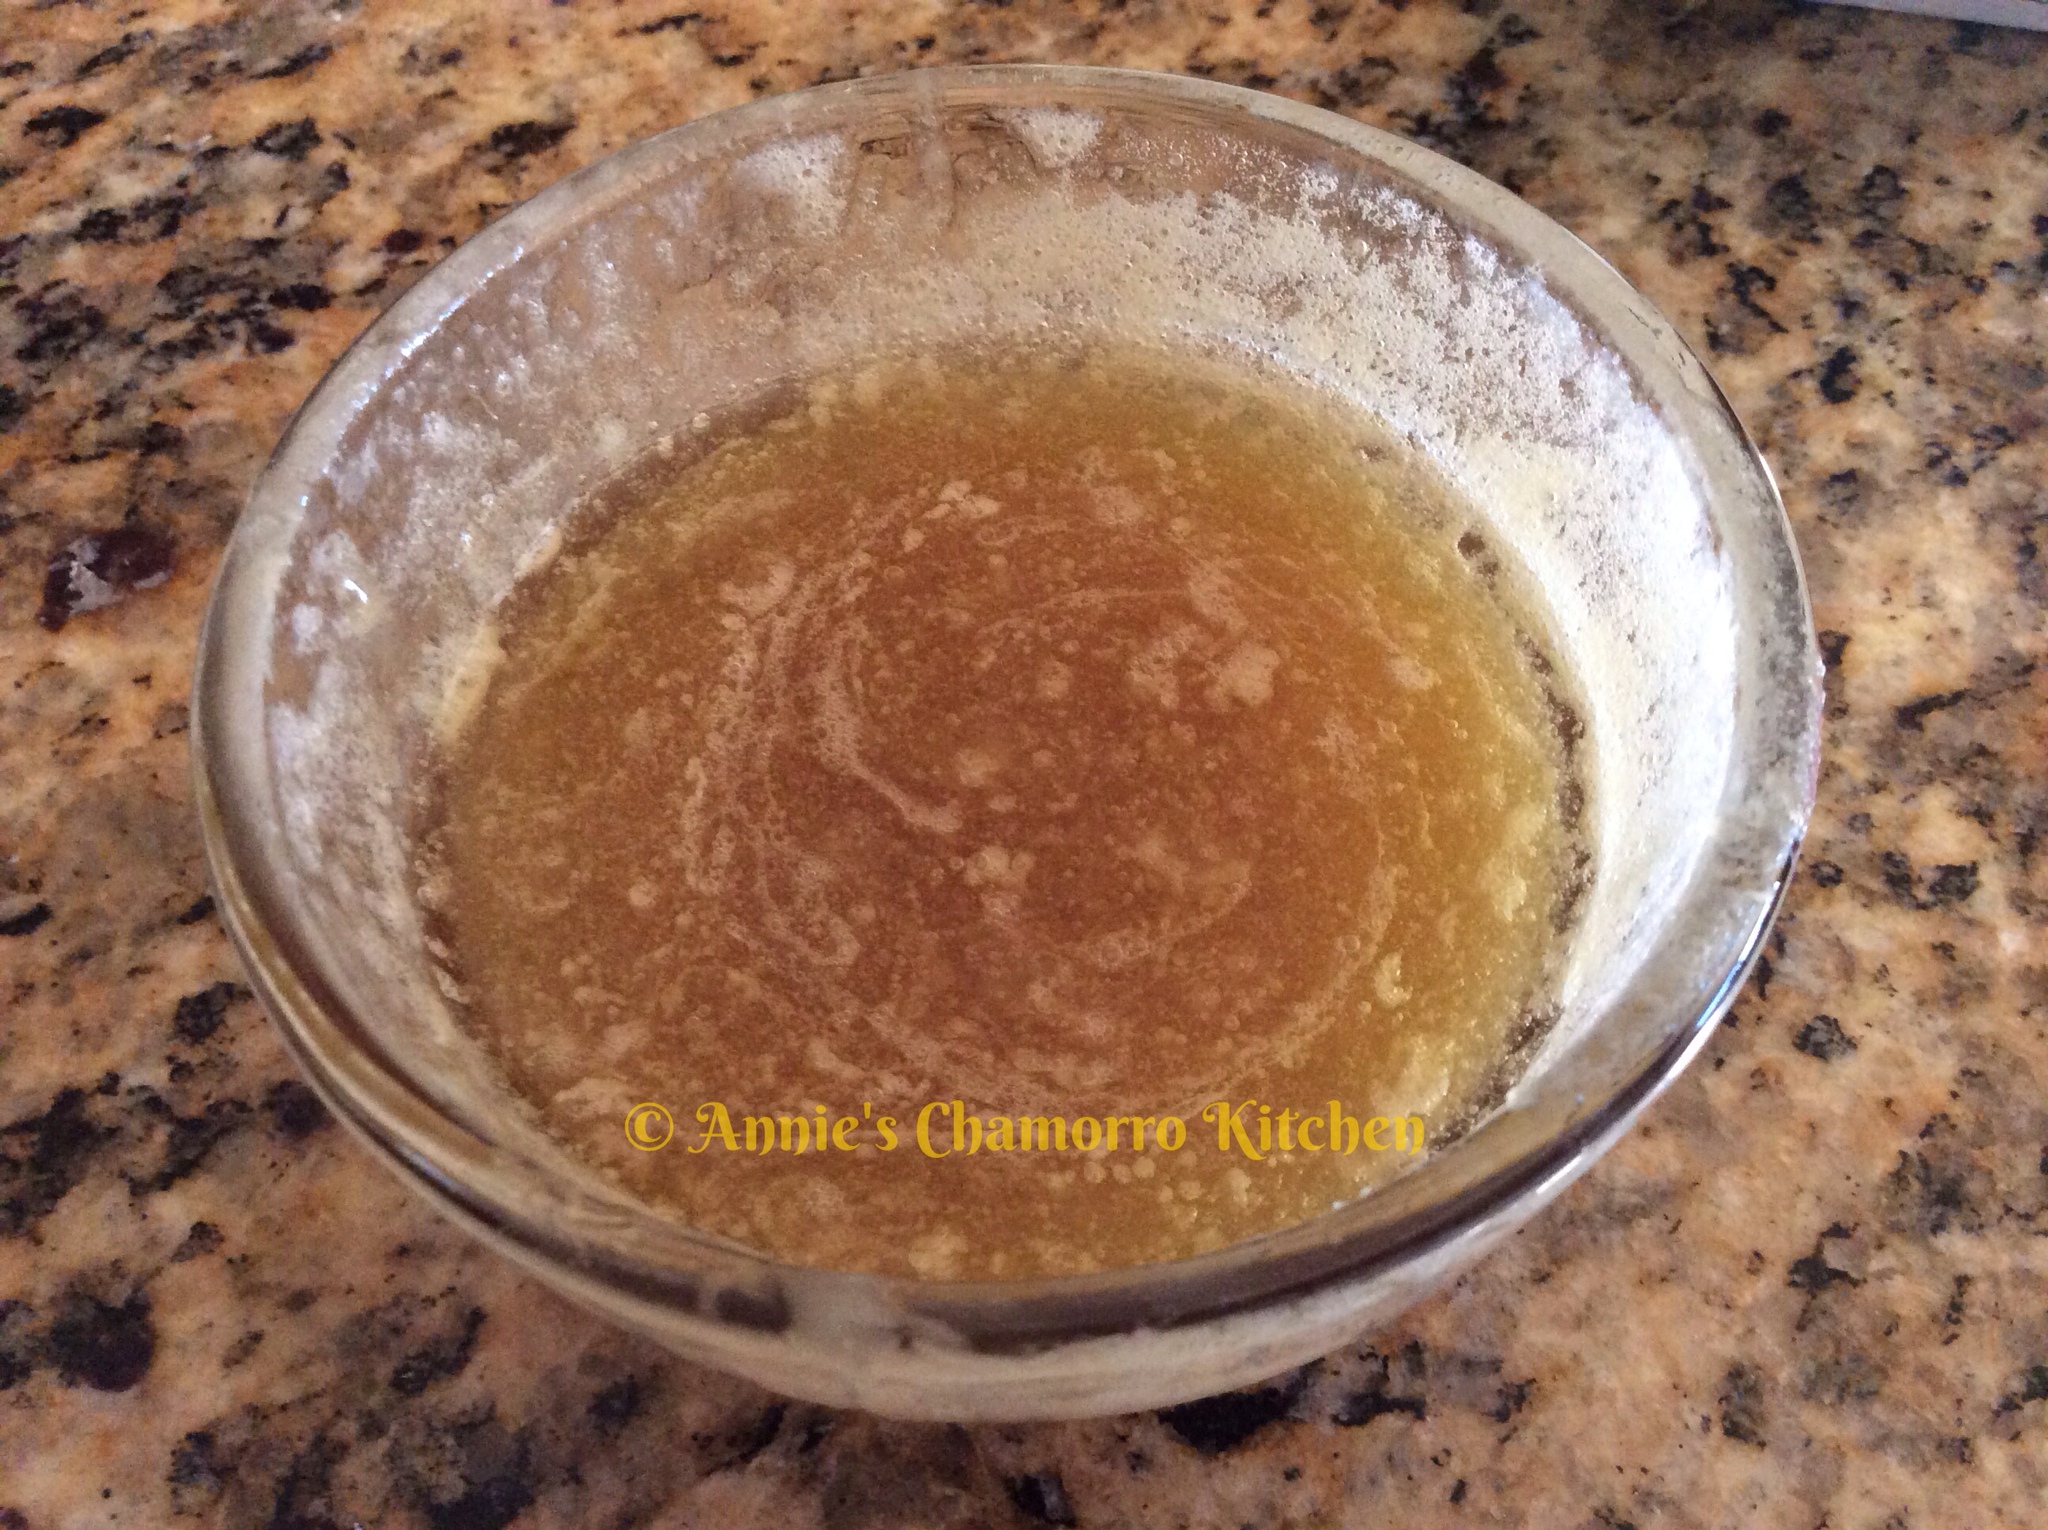
3. Stir to combine the ingredients.
4. Drizzle over freshly baked soft and fluffy biscuits and ENJOY! 🙂
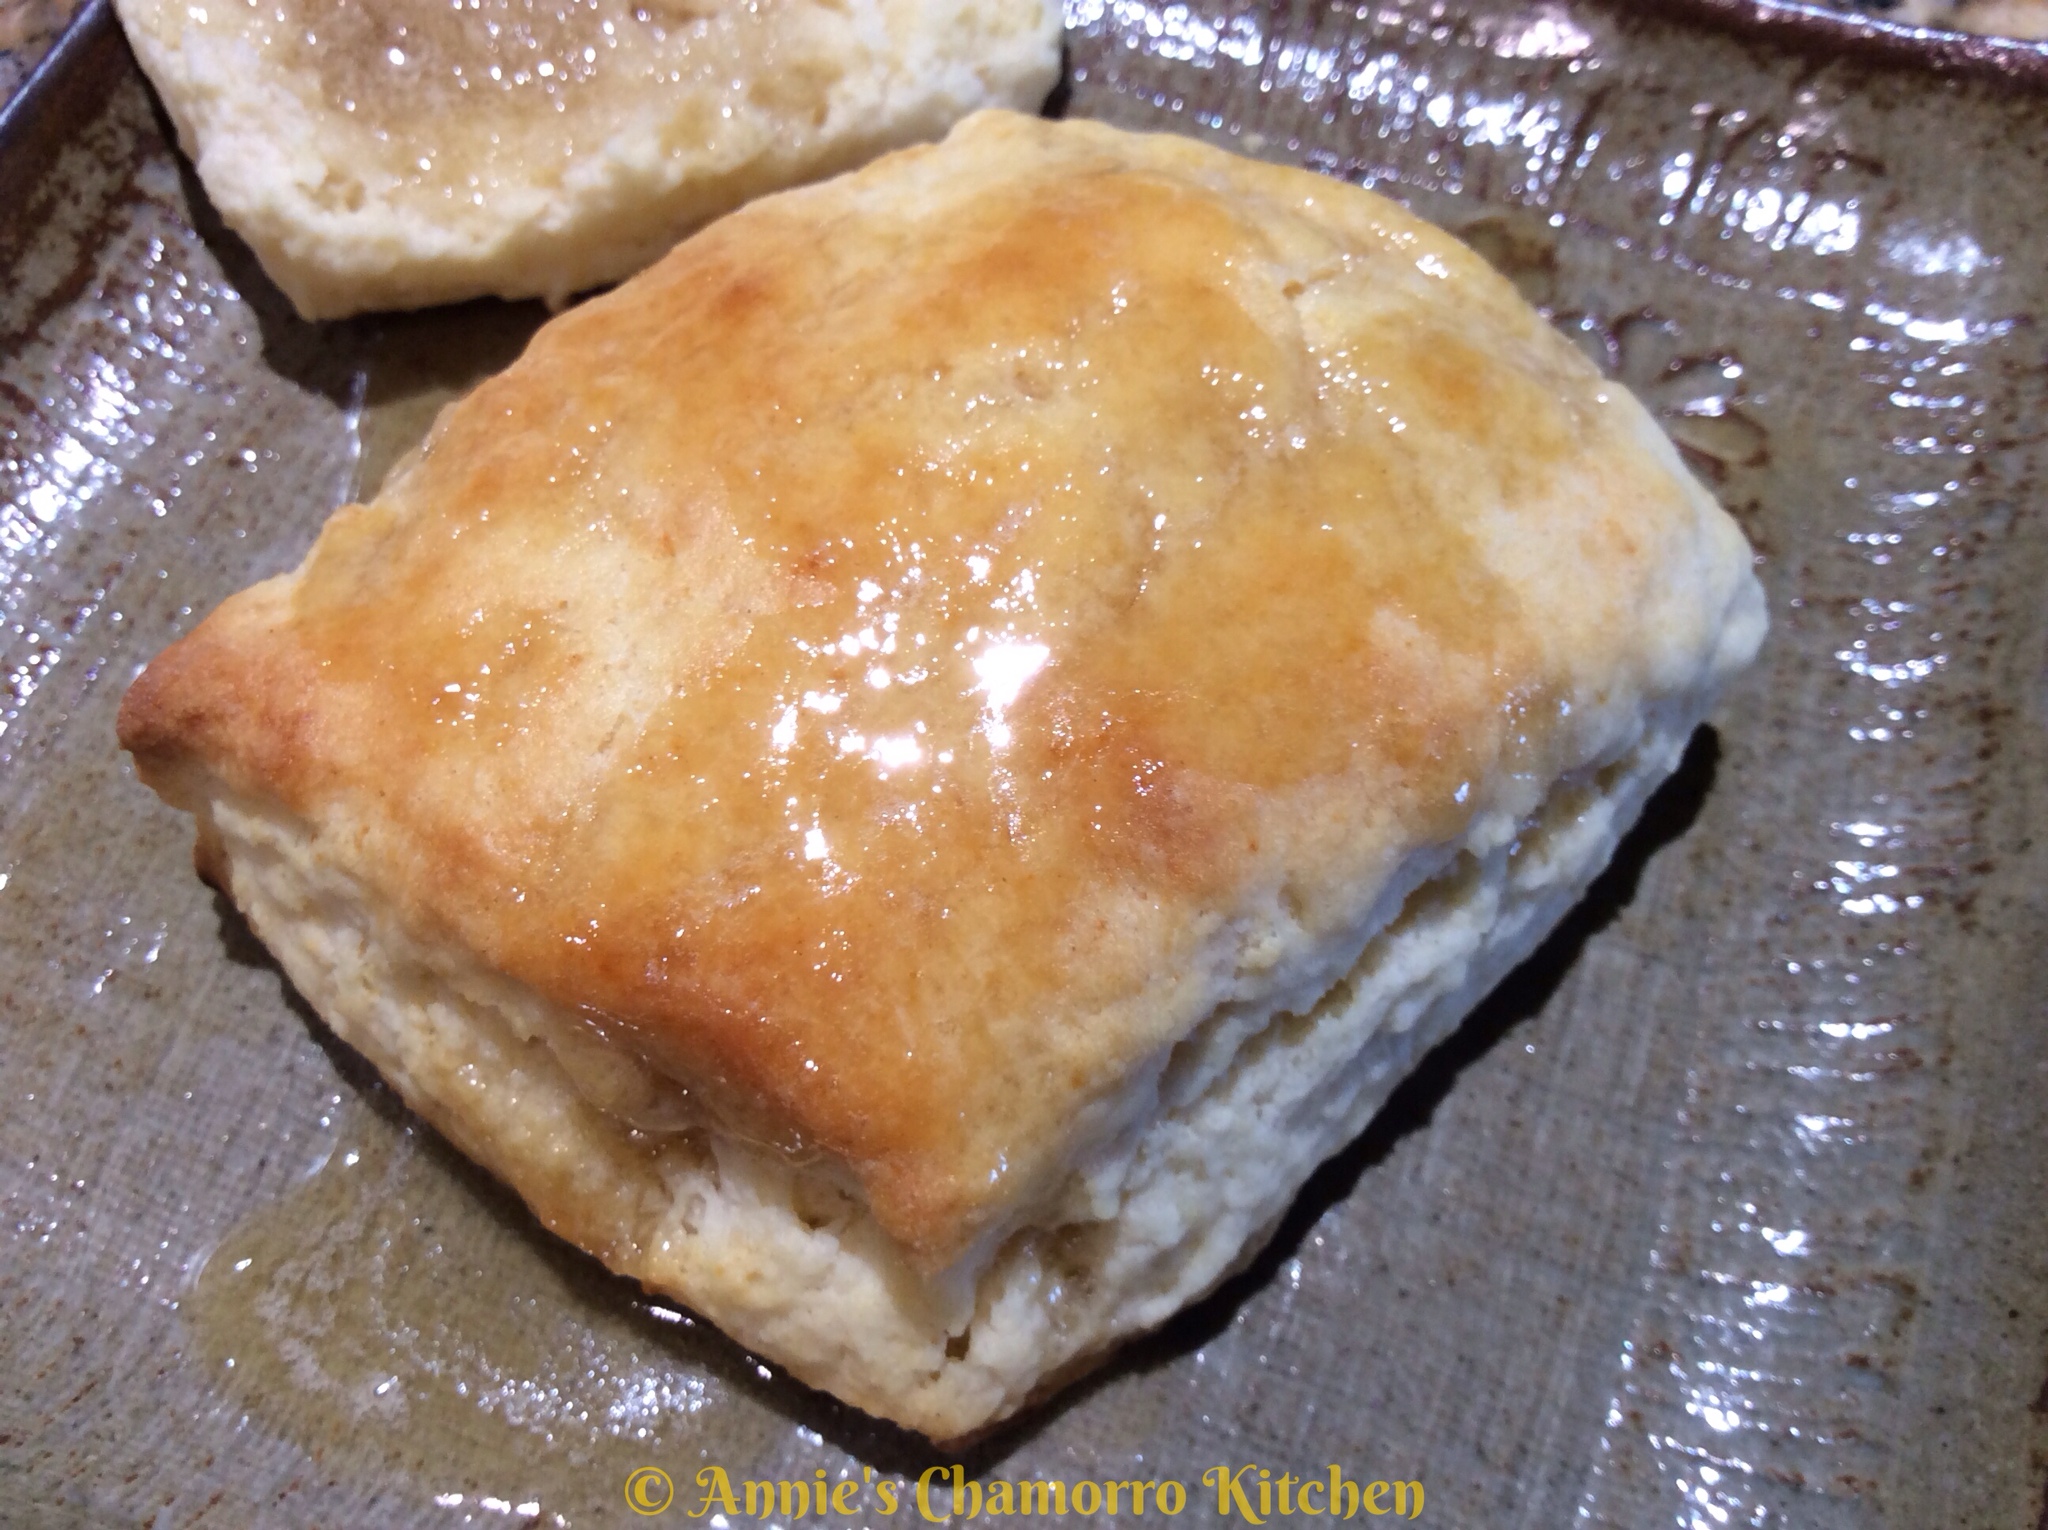
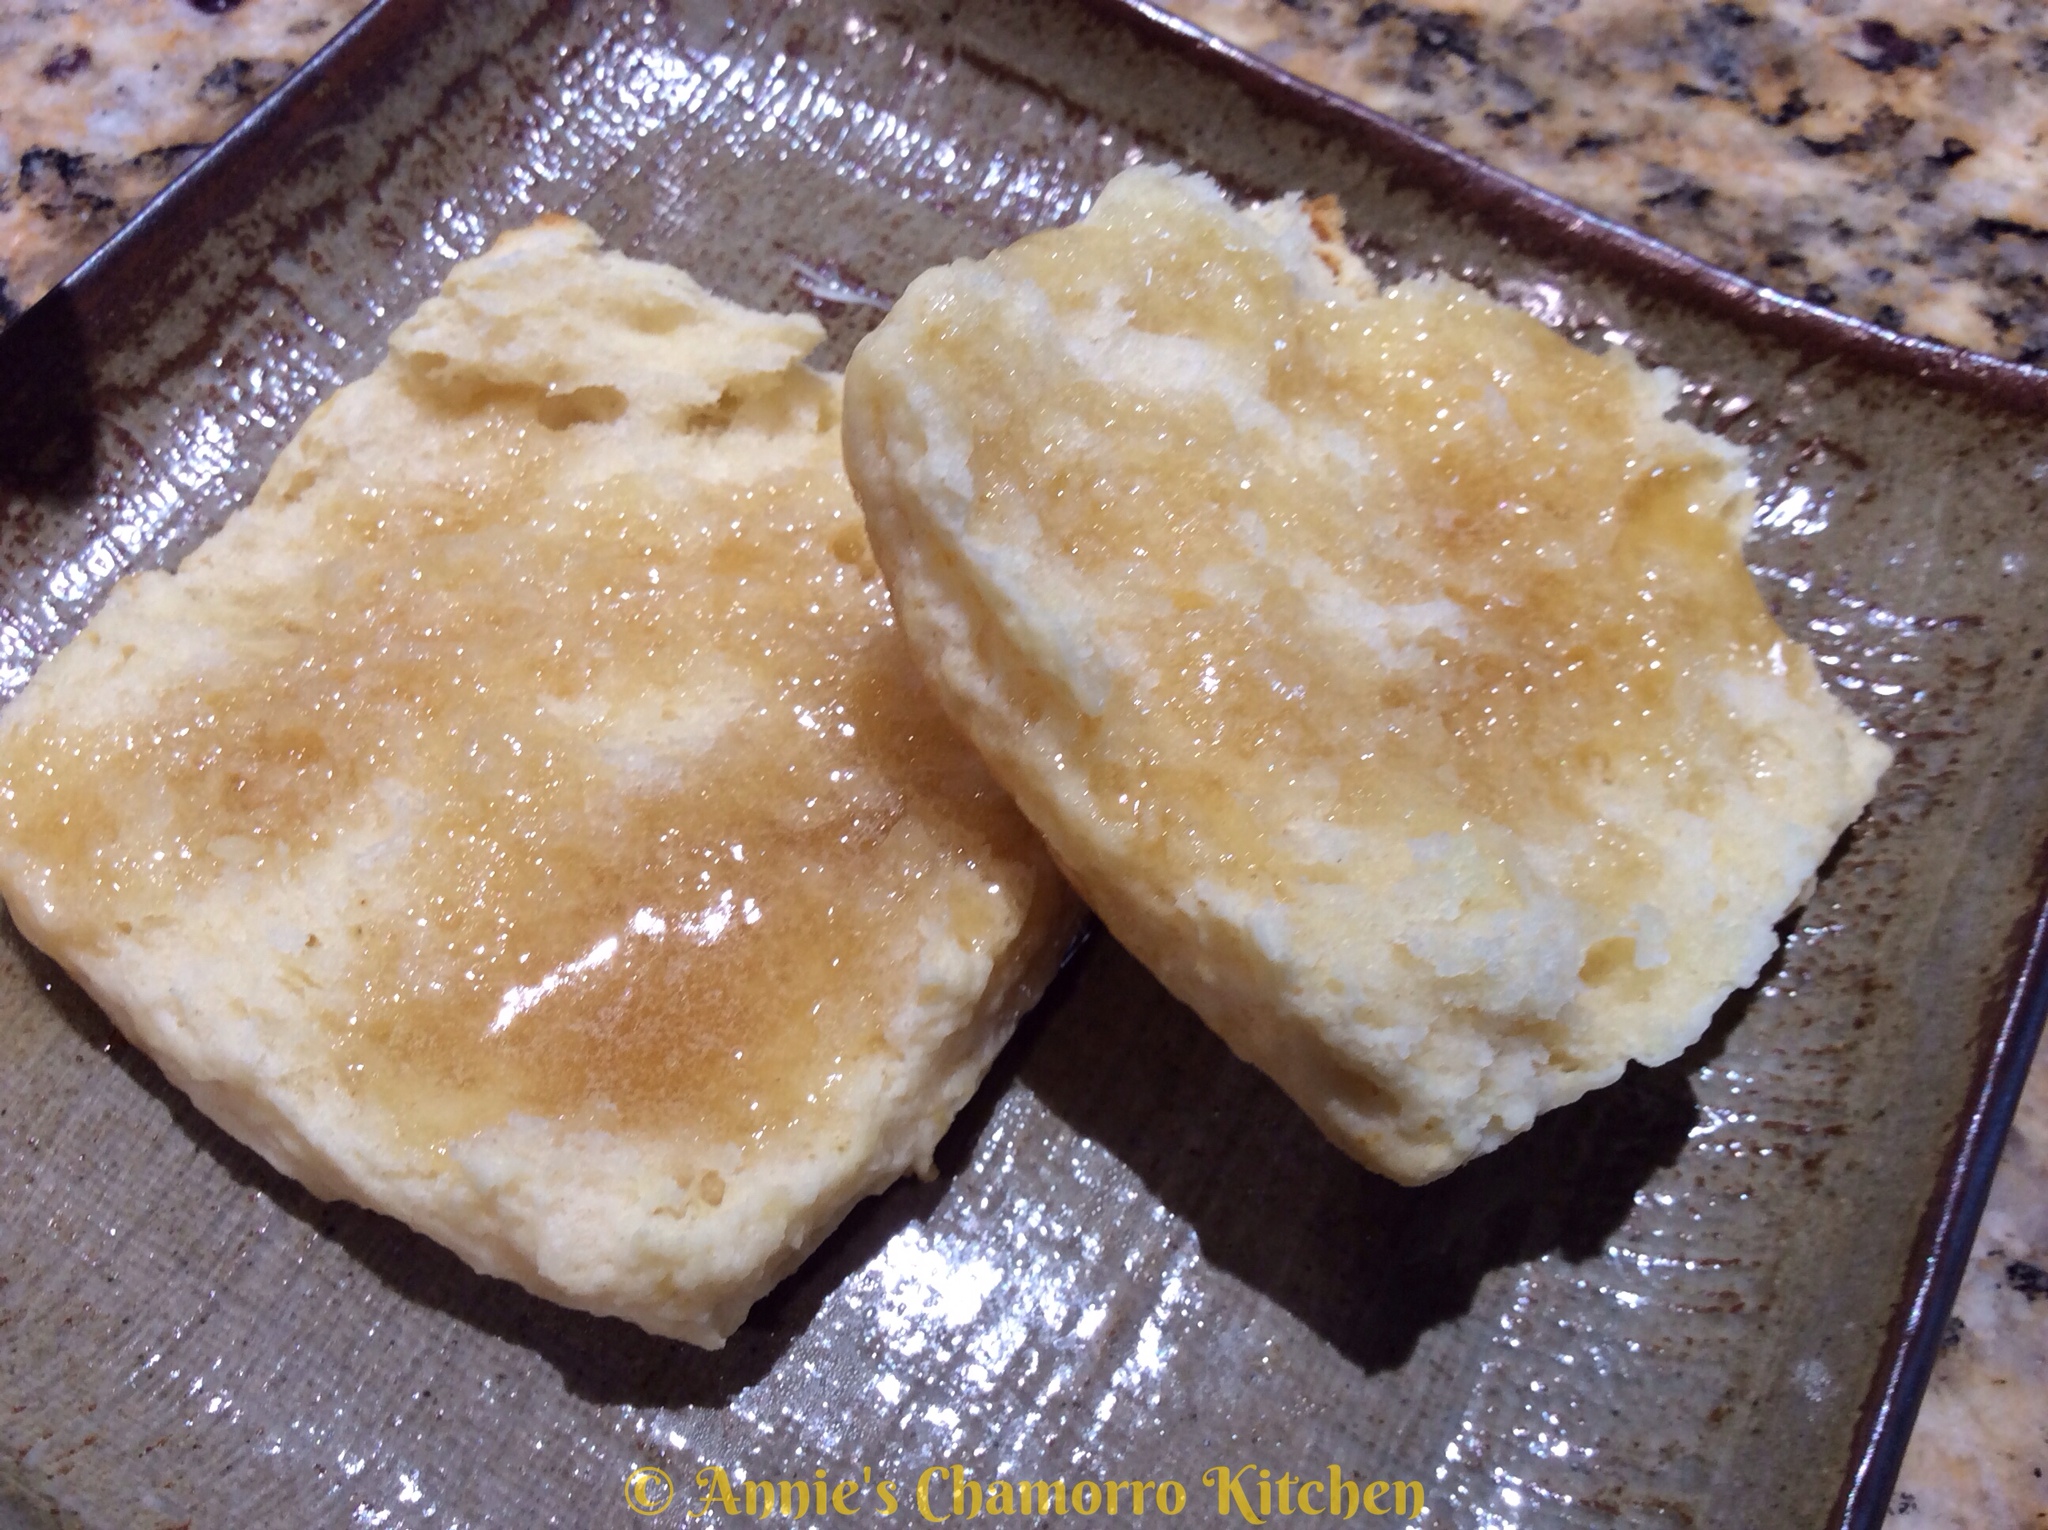
Try sprinkling some cinnamon over the warm honey butter sauce. Yum!
 

Homemade Dry BBQ Rub

Homemade Dry BBQ Rub — it’s better than store-bought!

This recipe is delicious on pork (ribs or roasts), beef brisket, and chicken.  Whether you’re smoking or grilling, you won’t go wrong with this one.

This recipe makes enough rub mix for about a slab of ribs, or a 6-pound pork shoulder or beef brisket, and about 2 1/2 pounds of chicken pieces. 

Give my recipe a try. I think you’ll like it. 🙂


Homemade Dry BBQ Rub

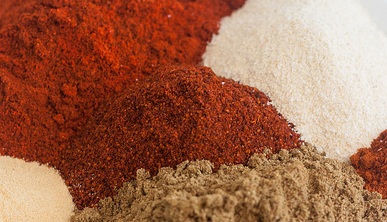
spice blend

Ingredients:

  • 1 teaspoon garlic powder
  • 1 teaspoon onion powder
  • 1/2 teaspoon black pepper
  • 2 tablespoons salt
  • 1 tablespoon chili powder
  • 1/2 teaspoon ground thyme
  • 1/2 teaspoon ground cumin
  • 1 teaspoon smoked paprika
  • 1/3 cup packed brown sugar

Directions:

  1.  Mix all the ingredients together and place in a resealable plastic bag (i.e. Ziplock bag).
  2.  Add the meat to the bag (use a bag large enough to hold the meat).  “Massage” the rub all over the meat, ensuring that the meat is evenly coated.  Place in the refrigerator for several hours or overnight.  Grill as desired (I like to smoke then grill the meat).

Homemade Blackened Seasoning

Homemade Blackened Seasoning — it’s better than store-bought!

This recipe is great when making Blackened Fish or Chicken.

Give my recipe a try. I think you’ll like it. 🙂


Homemade Blackened Seasoning

spice blend

Ingredients:

  • 2 teaspoons garlic powder
  • 2 teaspoons onion powder
  • 4 teaspoons smoked paprika
  • 1 1/2 teaspoons sugar
  • 2 teaspoons salt
  • 2 teaspoons black pepper
  • 2 teaspoons thyme
  • 1 teaspoon dried oregano
  • 1 teaspoon ground cumin
  • 1/4 teaspoon ground nutmeg
  • 1 teaspoon cayenne pepper (more or less, to taste)

Directions:

  1.  Mix all the ingredients together. Store in a resealable plastic container or jar. This mixture keeps for several weeks.
  2.  Coat your fish or chicken with a light coat of olive oil or melted butter.  Generously coat with the Blackened Seasoning mixture.  Grill or broil and ENJOY!
  3.  Omit the cayenne pepper if you don’t want your blackened meat or fish too spicy.
« Older Entries Recent Entries »