Archive for Author AnniesChamorroKitchen

About the Author: AnniesChamorroKitchen
Hafa adam means "hello" in Chamorro, the native language of my island home, Guam U.S.A. Guam is the proverbial melting pot, abounding with cultural diversity that is aptly displayed in the variety of food we eat and share. The focal point of most Chamorro families centers around family gatherings and cooking. In my home, most of my guests congregate in my kitchen. It is where we do our best catching up, and whee lasting emories aremade. Browse through my selection of Chamorro and other recipes m and please leave me a comment if you try my recipes to let me know what you think of them. I hope you enjoyed your time in my kitchen. Come back soon! This site is work-in-progress, so please bear with me as I grow this site to a place where you'll love to visit. Happy Cooking! ~ Annie

French Toast

There is something about the sweet smell of cinnamon and vanilla toasting up that makes you want to devour whatever is cooking. French Toast…it’s a favorite breakfast in our home. Actually, it’s a favorite any time of day, really! It’s a simple recipe, but my teenaged daughter puts her own spin on it, originally inspired by a neighbor friend of ours from when we lived in Seoul, Korea years ago. Give Hannah’s recipe a try. I know you’ll love it!

Hannah’s French Toast

IMG_0831

Ingredients:

  • 8 slices Texast Toast
  • 1 1/2 cups French Vanilla coffee creamer (or your favorite flavor)
  • 2 eggs
  • 2 teaspoons ground cinnamon
  • 1 teaspoon vanilla extract
  • Butter
  • Maple Syrup
  • Whipped cream

Directions:

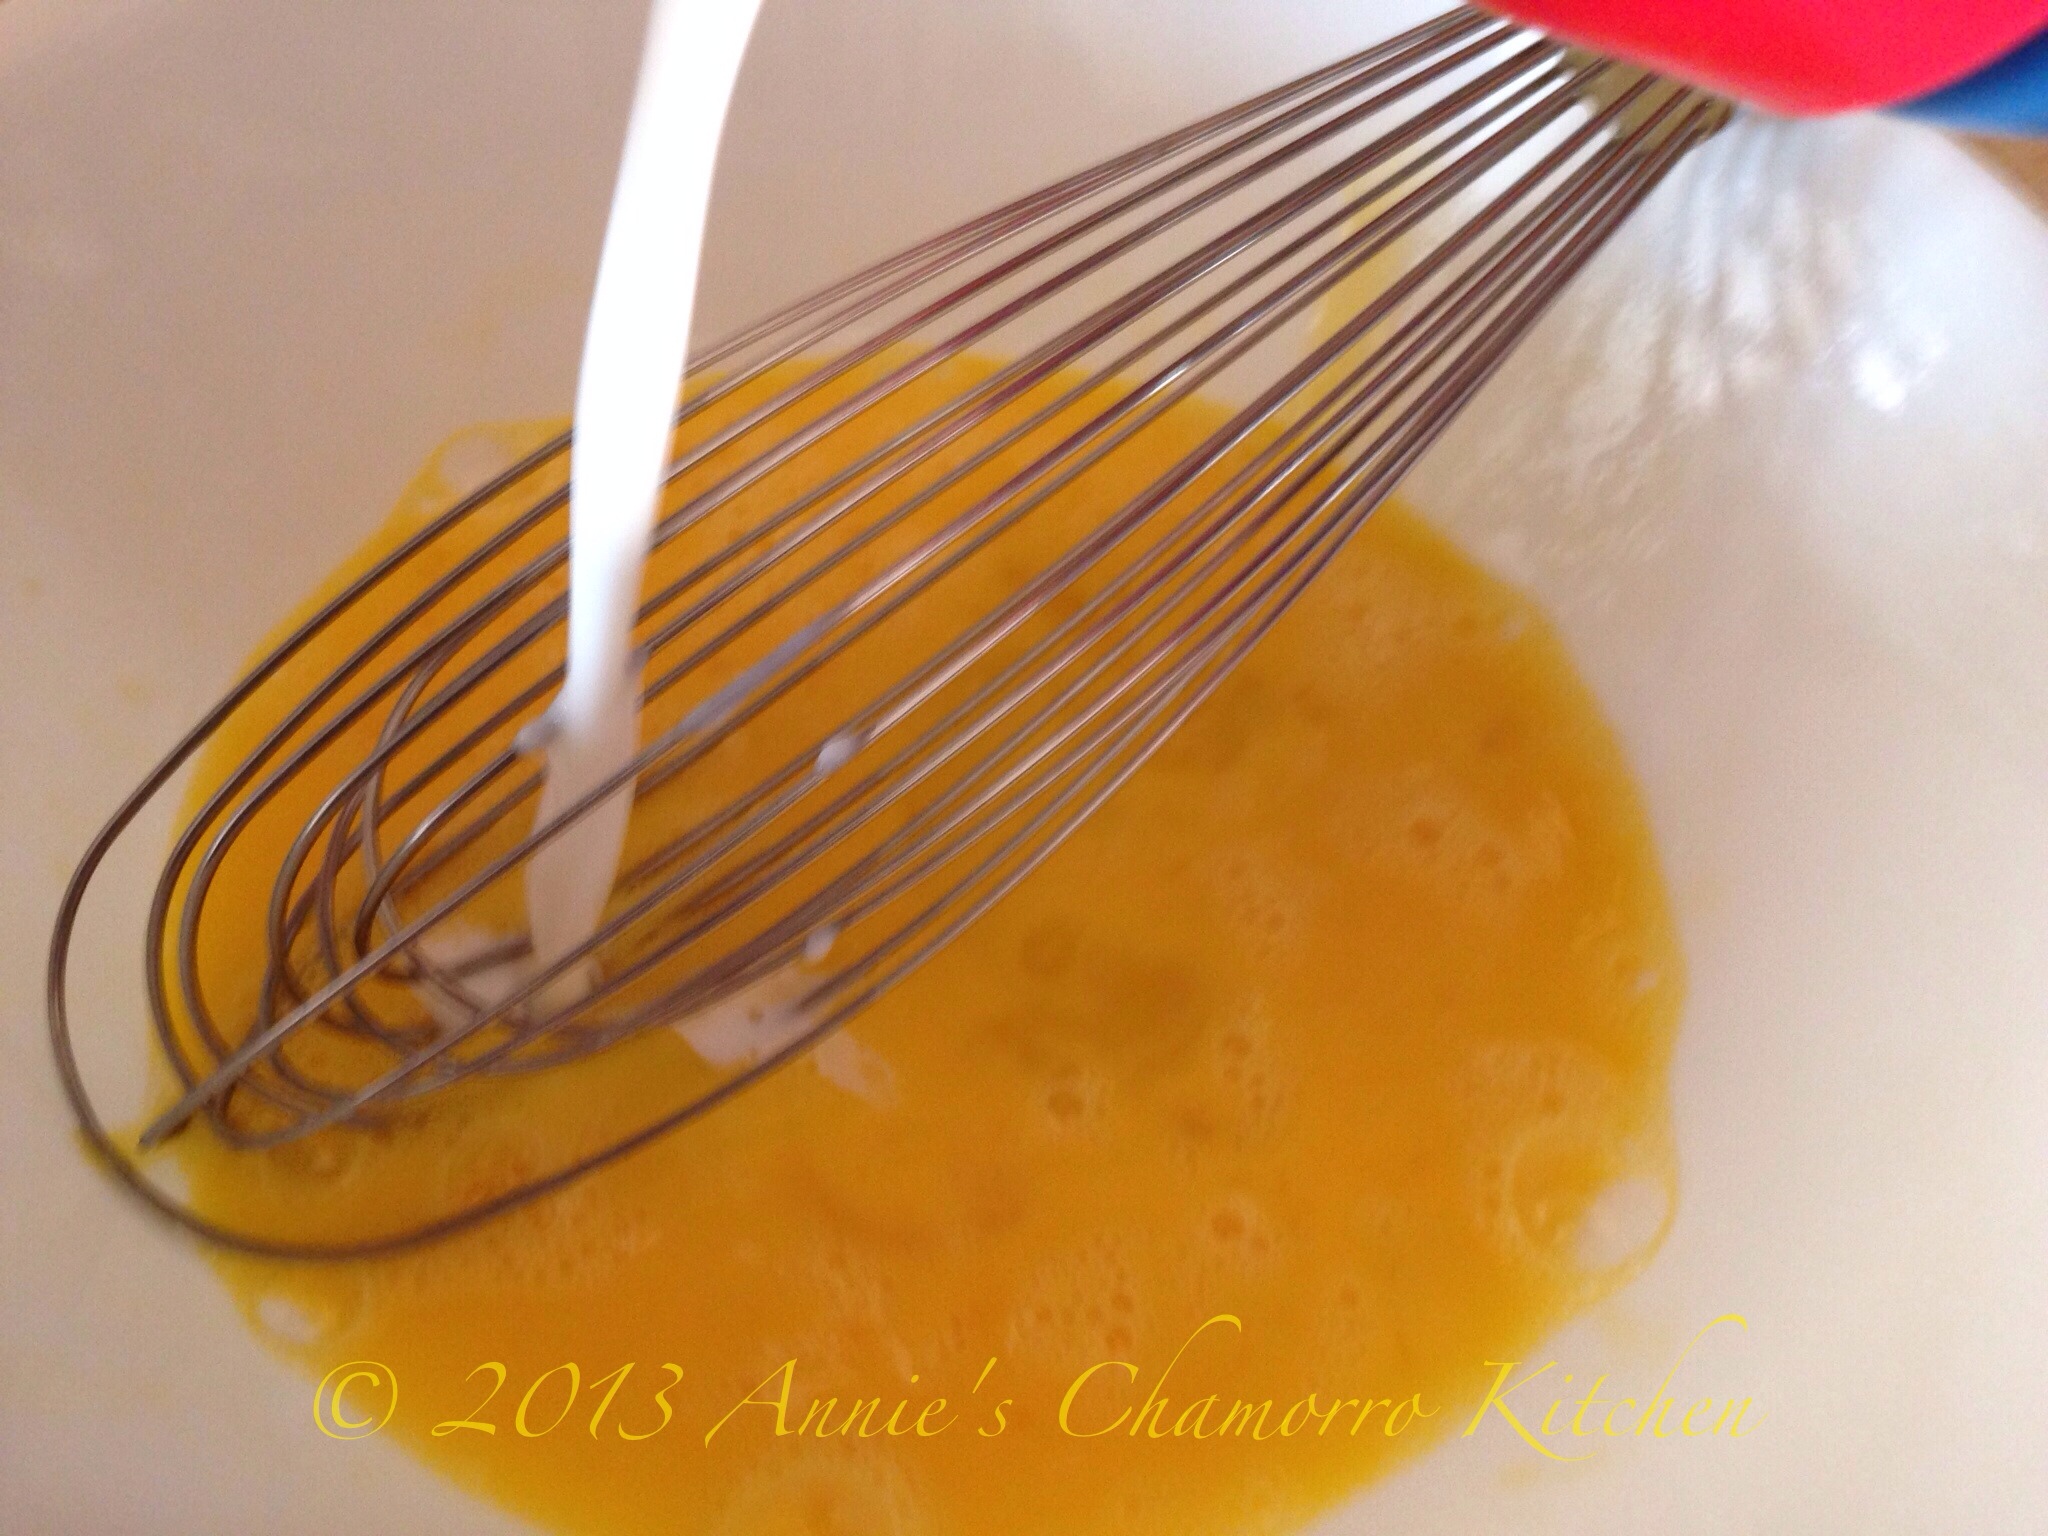
1. In a shallow bowl, mix together the creamer, eggs, cinnamon, and vanilla extract.

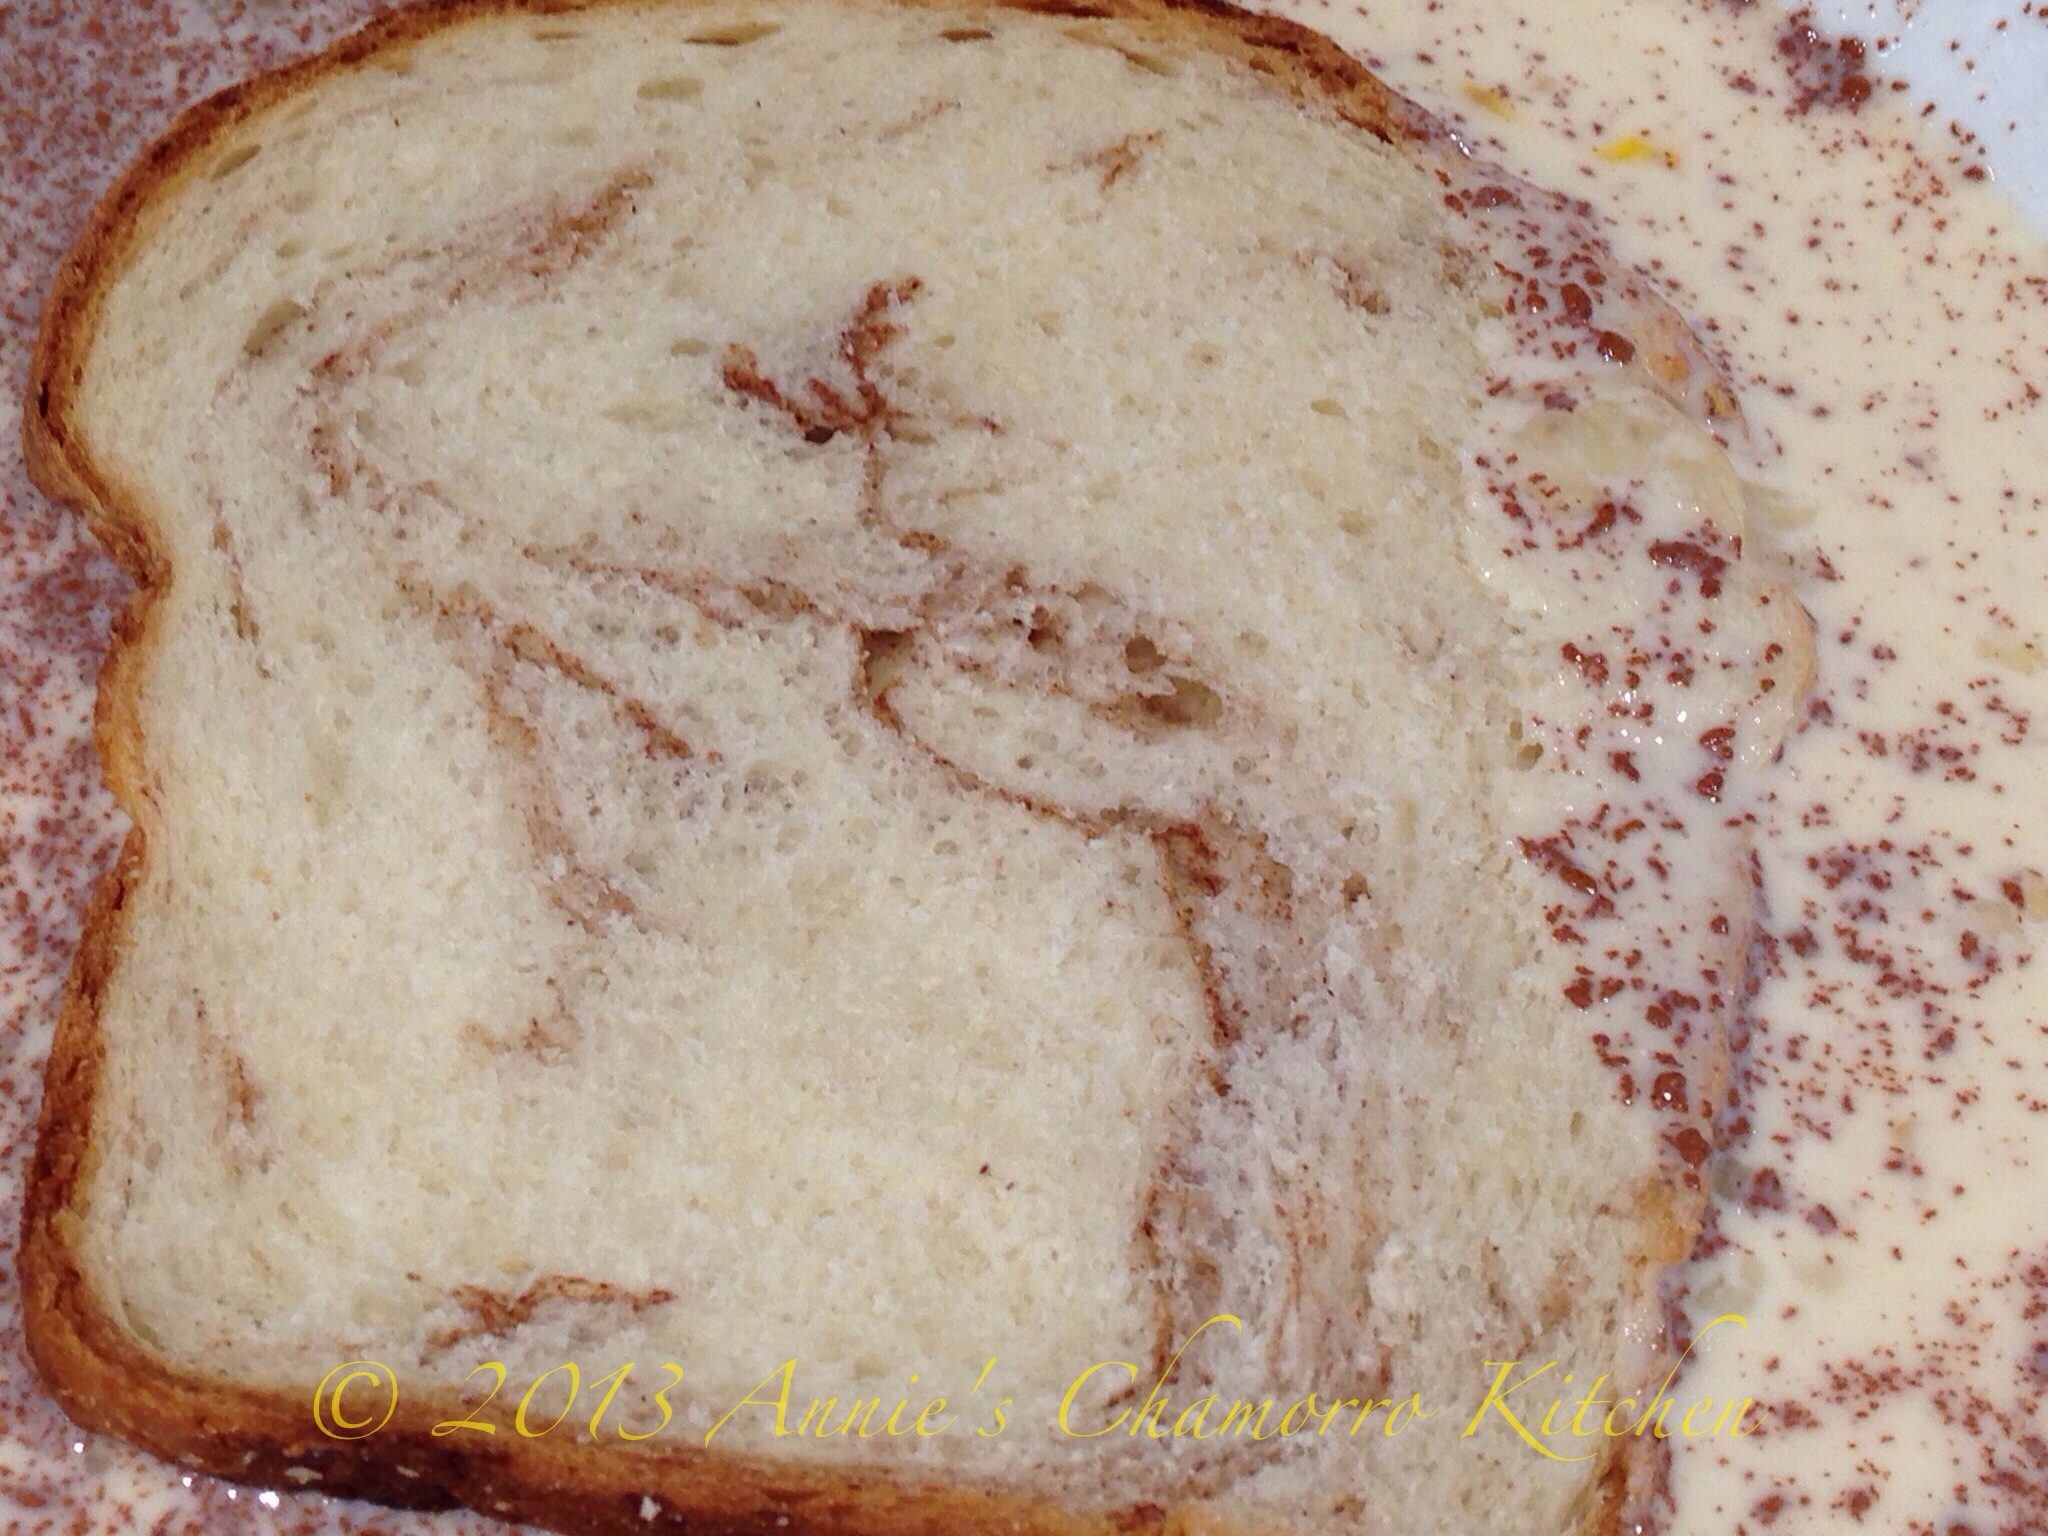
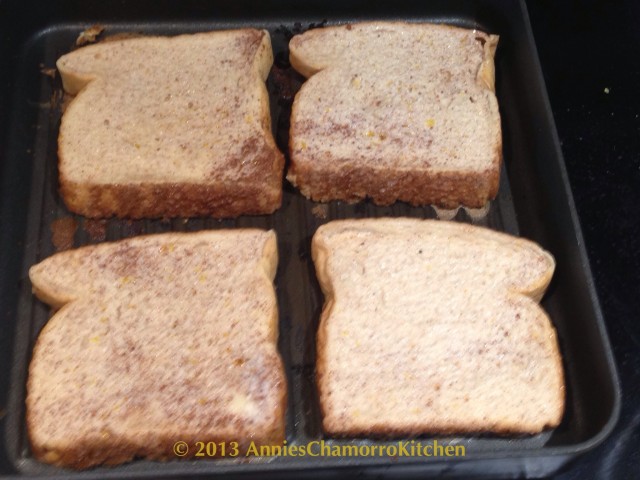
2. Dip each slice of bread in the batter, just a few seconds on each side will do.

IMG_0828

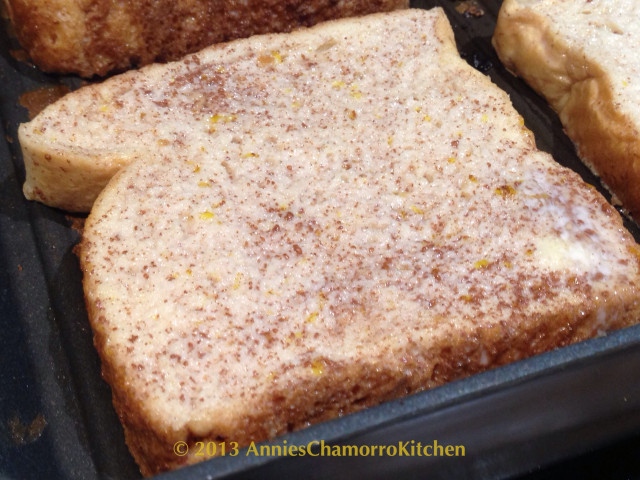
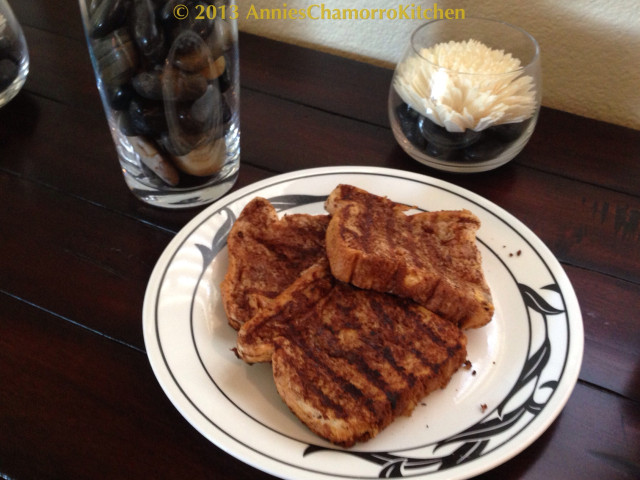
3. Fry in a buttered pan until browned on each side.

image IMG_0830

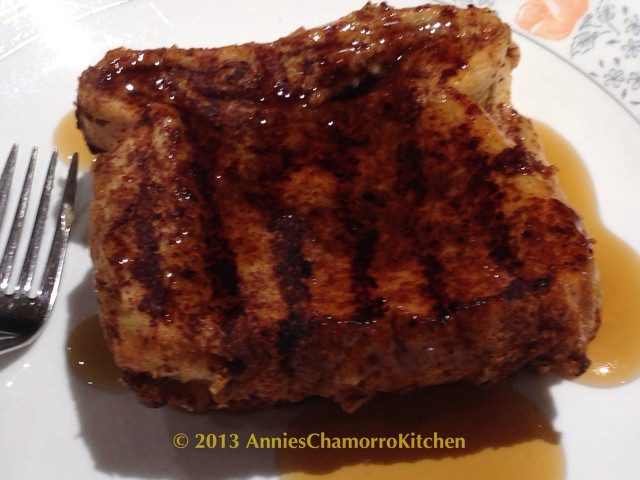
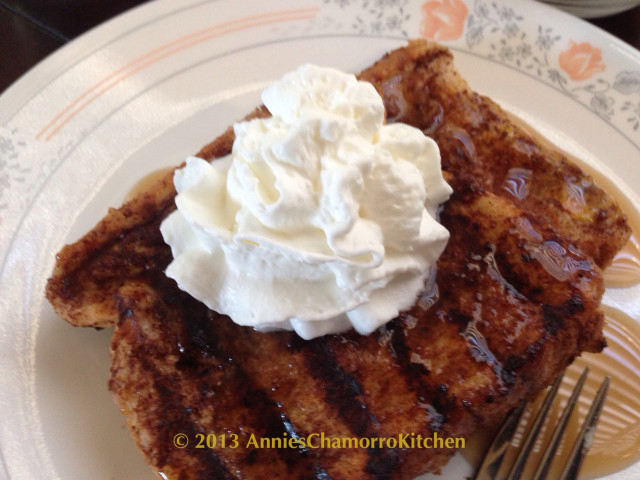
4. Serve while still hot, topped with more butter, a drizzle of maple syrup, and topped with whipped cream.

IMG_0832

Enjoy!


Pumpkin Turnovers (Pastit or Buchi Buchi)

This is one of my most favorite desserts.  It’s a turnover filled with a sweet, cinnamon-flavored pumpkin jam.  In Chamorro, Pastit is the term for a baked turnover. Buchi Buchi is the term for fried turnovers.

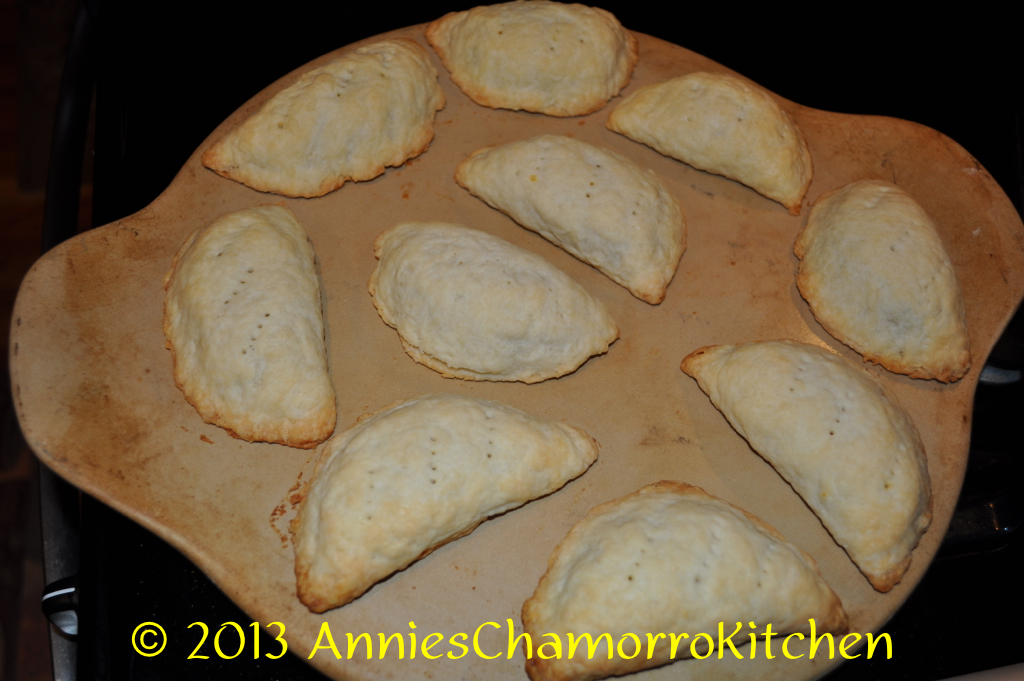
Pastit

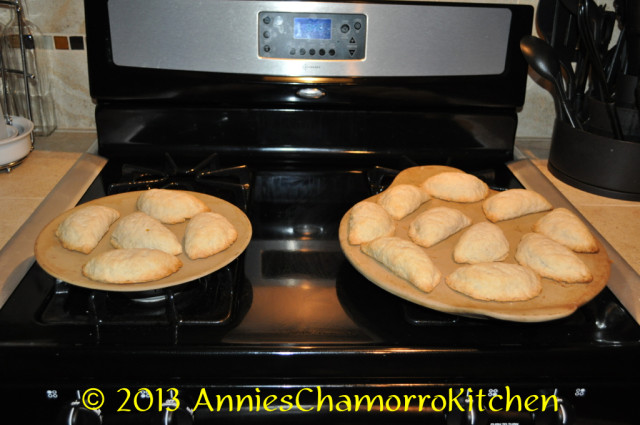
Pastit ~ Baked Pumpkin Turnovers

My mom used to make this for us all the time, only she used fresh pumpkins instead of canned.  Making pumpkin jam with fresh pumpkins took hours!  However time consuming that whole process was, that’s the way to do it–fresh is always best, in my opinion.

Using canned pumpkin has its advantages.  You can make Pastit any time of year if you used canned pumpkin (provided the grocery stores have it in stock).  I remember one year when you couldn’t find a can of pumpkin anywhere!  But I digress….This dessert can be enjoyed year-round is my point; you don’t have to wait for fall to bake up a batch of these delicious treats.

My dad loves these turnovers, but his favorite filling is made with papaya–the green kind, not the ripe ones.  You really can’t make a papaya jam with the right consistency if you use ripe papayas.  In Chamorro, preparing papaya this way is called Konsetba.  Konsetba is also used to refer to candied young (green) papaya.

I do have one daughter who won’t touch this with a 10-foot pole.  It’s something about the fact that pumpkin is an ingredient and it just isn’t right eating a vegetable pie for dessert.  No matter how many times I tell her it’s technically a fruit, she won’t have it.

More for us, I say.  🙂

Give my recipe a try. I think you’ll like it!  🙂

Pumpkin Turnovers (Pastit or Buchi Buchi)

My recipe makes between 12-15 turnovers.

Ingredients:

Crust:

  • 3 cups flour
  • 2 teaspoons salt
  • 1 stick butter (for especially flaky dough, use 2 sticks of butter, but freeze it prior to making your dough, and work fast so the heat from your hands doesn’t melt the butter while you handle the dough)
  • 1/2 – 3/4 cup ice-cold water
  • 1/4 cup sugar

Filling:

  • 1 small can pumpkin purée (do not use pumpkin pie filling)
  • 1 cup sugar
  • 1 teaspoon cinnamon

Directions:

Make the pumpkin jam:

1.  Drain the pumpkin overnight to remove excess water; pour the contents into a fine mesh strainer, then set the strainer over a bowl.  Cover with plastic wrap and refrigerate.  In the morning, most of the water will have drained out.  Instead of draining overnight, you can also heat the pumpkin over low heat, stirring constantly; cook until there isn’t much steam left rising from the pumpkin (an indication that most of the water has evaporated).

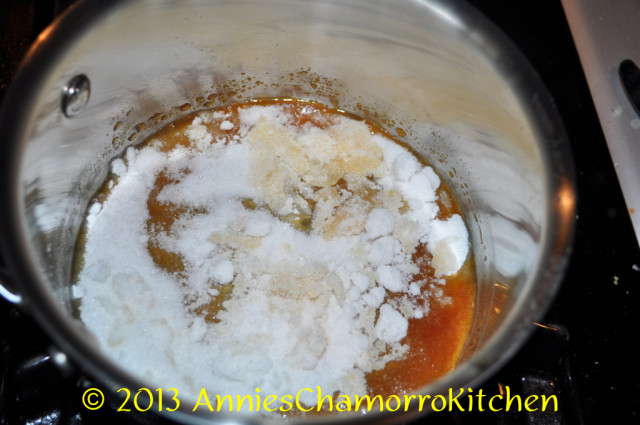
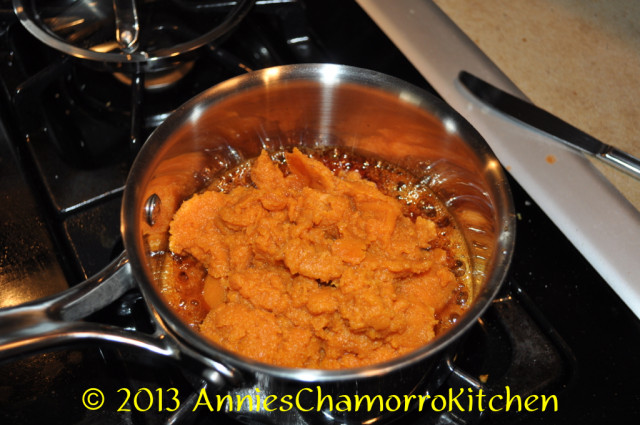
2.  In a separate pan, melt the sugar until browned; stir often to keep the sugar from burning.  Add the drained or heated pumpkin to the melted sugar. Add cinnamon (add more or less to taste).

Events - 0081

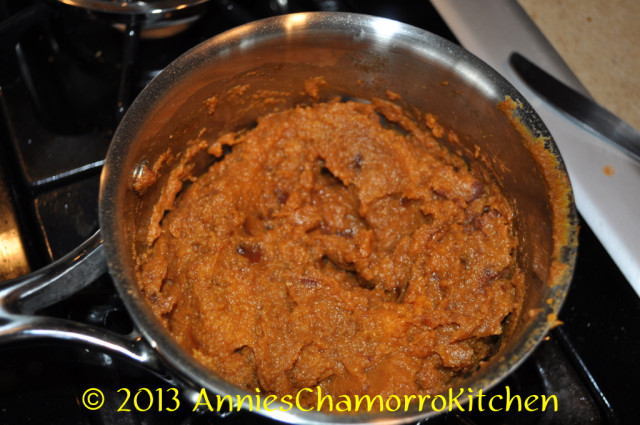
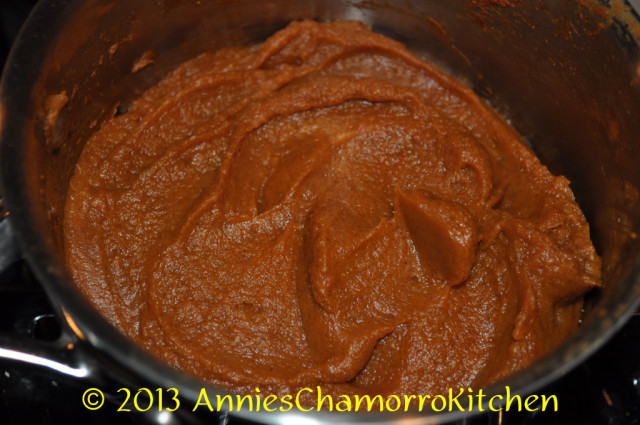
*Note: When you add the pumpkin to the melted sugar, it might SIZZLE like crazy! This is because the caramelized sugar is reacting to any remaining water in the pumpkin. When you mix the two, the sugar will actually harden and look like candy. At this point, turn your heat down to low and cover your pot; cook the pumpkin jam until all the hardened sugar has melted. Stir frequently to prevent the bottom from burning. Allow the jam to cool completely before filling the dough.

Events - 0083 Events - 0084 Events - 0085

Make the crust:

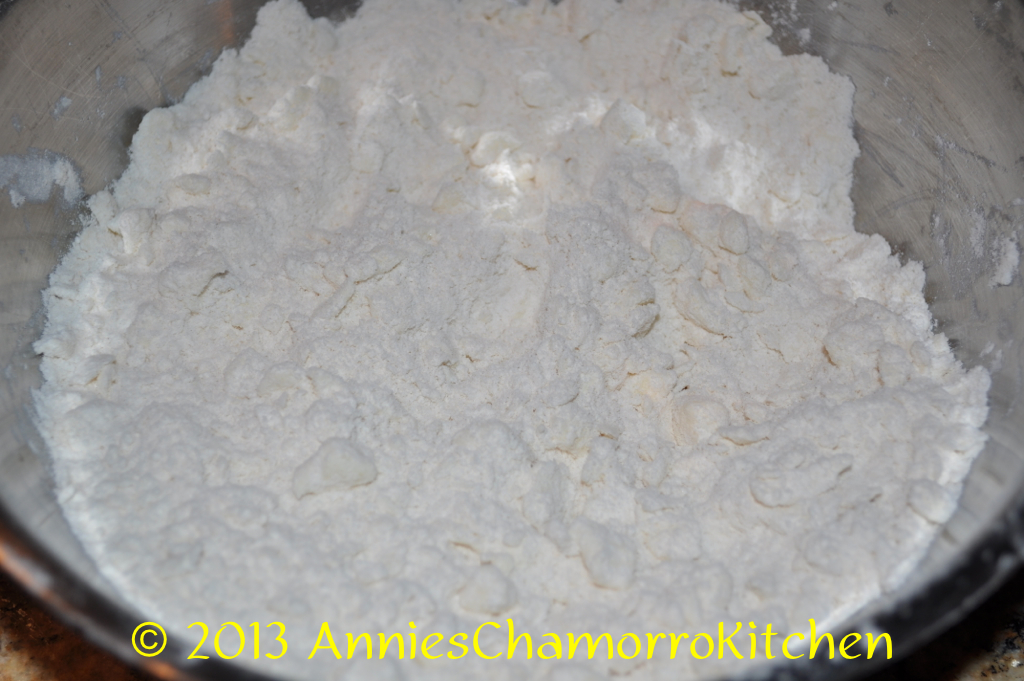
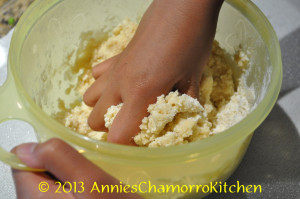
1.  Combine the dry ingredients for the crust.  Cut the butter into the flour until you get tiny bits of butter mixed with the flour.

There are several ways to do this:  you can use a pastry cutter, or if you don’t have a pastry blender, you can use two butter knives and literally cut the butter into the flour mixture.  You can also use a food processor.  Here is a neat idea I learned from a cooking show — freeze your stick of butter, then grate it using the largest holes of a box grater.  Lightly mix the grated butter into the flour then place the bowl into the freezer for a few minutes to get the butter to be really cold again before adding the water.

The thing to remember is that the butter should be as cold as possible when you do this (frozen butter is even better); having little bits of butter mixed in with the flour is key to a flaky crust.

Events - 0086

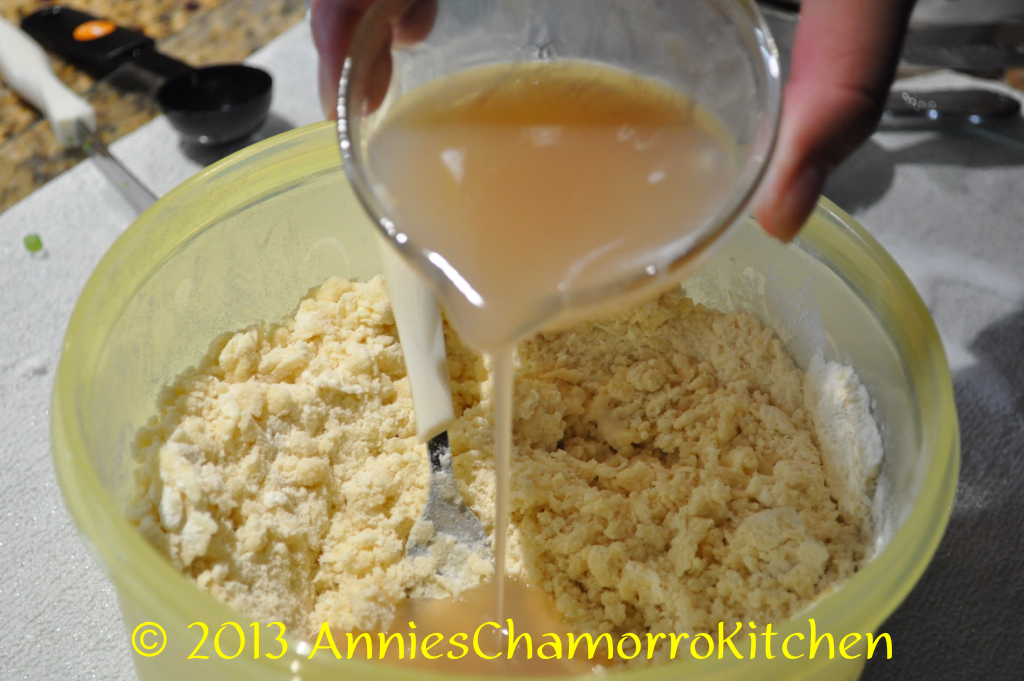
2.  Add cold water to the flour-butter mixture, a few spoonfuls at a time, and gently mix (or pulse in a food processor).  Stop adding water when the mixture starts to stick together and forms a dough.  How can you tell if it’s enough water?  Scoop some of the mixture into your hand then squeeze it together.  If the mixture holds its shape (no crumbs fall off), then you added enough water.  DO NOT knead the dough at this point.  You don’t want to handle the dough too much, and you most certainly want to make sure you still see bits of butter in the dough.

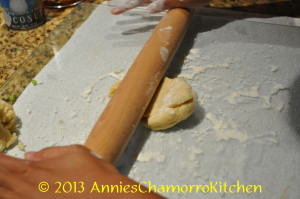
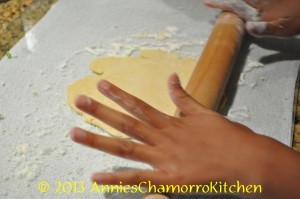
3.  Make golf ball sized pieces dough; use a rolling pin to flatten each ball into a thin circle.  Add 2-3 tablespoons of pumpkin filling to the center of the dough; spread the filling out to about 1/2 inch from the edge. Fold the dough over and seal edges by pressing down on it with a fork.

4.  Optional: brush the tops of the turnovers with a beaten egg then sprinkle liberally with turbinado sugar (also called sugar in the raw).

5.  Bake at 350 degrees for 35-40 minutes or until the crust is golden brown.

Events - 0091

*For buchi buchi (a fried version), decrease the amount of butter (use only 1 stick); follow the rest of the recipe instructions.  Deep-fry each turnover until golden brown.

ENJOY!

Basic Yeast Bread Recipe

I love to bake yeast breads, but that wasn’t always the case.  I distinctly remember my very first yeast rolls disaster.  Instead of tender, soft, fluffy rolls, I baked up a batch of hockey pucks.

That was over 20 years ago.  Now I find that bread baking is one of the easiest things to do, once you understand how the ingredients work together.

I’m not a chef by any means, but years of trial-and-error as well as reading countless recipe books and articles helped me be successful when baking with yeast.

If you are intimidated by yeast breads, read on for some of the things I’ve learned over the years.  Once you understand how it all comes together, I’m sure you will feel confident enough to try your hand at it.

As always, feel free to leave a comment with any questions you may have.

I’ve also put together a tutorial video for making dinner rolls.  It’s an amateur video so be kind to me.  🙂

You can find my two-part video tutorial here:

How to make Sweet Dinner Rolls – Part 1:

http://www.youtube.com/watch?v=m7prj-ftdZs

How to make Sweet Dinner Rolls – Part 2:

http://www.youtube.com/watch?v=pLkjSAUVkc8


To make a good loaf of bread (or dinner rolls), all you really need are five basic ingredients:

  1. Flour
  2. Water
  3. Yeast
  4. Sugar
  5. Salt

THAT’S IT! FIVE ingredients!

Flour

There are lots of different types of flour—unbleached, bleached, bread, all-purpose, whole wheat (brown), white whole wheat, enriched, whole grain…the list goes on and on. Don’t be discouraged; the standard all-purpose flour will do in most of my recipes (and most recipes you’ll find on the internet as well).

Water

Water activates yeast. Too much water, however, will make your bread flat. Too little water will make your bread dense and dry. More on this topic in another post (see my post on Liquid to Flour Ratio — coming soon).

Yeast

As with flour, there are different types of yeast you can find at the grocery store, some are more common than others, however. There is active dry, instant, or fresh yeast. You may have seen packets or jars of active dry or quick (rapid) rise, bread machine yeast, and yeast cakes. I’ll talk more about yeast in another post (see my post on Types of Yeast — coming soon). You won’t go wrong if you use only Active Dry yeast; it’s what I use in most of my recipes. I usually buy the Active Dry yeast that comes in jars. You’d be surprised how little yeast you really need; most of the time, one envelope of yeast is really too much yeast for a basic bread recipe (scroll down for my Basic Bread Recipe).

Sugar

Yeast is an active organism, unlike chemical leaveners like baking soda and baking powder. Therefore, you have to feed it in order for it to grow. Oh, don’t be grossed out about this—feeding the yeast is a GOOD THING. You only need a little bit of sugar for this, about a tablespoon per envelope of yeast.

Salt

Yeast does not like salt. Just as sugar feeds yeast and enables it to grow, salt inhibits yeast fermentation. However, salt adds flavor to bread. You WANT flavorful bread, don’t you? Yes, yes you do.

Other ingredients (though not necessary, they do different things to bread when added):

Milk

Adding milk to bread helps make it have a softer texture, kind of like the soft sandwich breads you buy in the grocery store. You can also use dry (powdered) milk instead of “regular” milk in recipes. Some of my bread recipes call for dried milk. Breads made with milk will need to bake at lower temperatures (350 instead of 375 degrees). You will also need a bit more milk if you are substituting it for water to compensate for the milk solids. Yeast doesn’t dissolve well in milk; be sure to still use water when proofing (or activating) the yeast.

Butter (or oil)

Butta is Betta (use your own accent here). ‘Nuff said. Okay, seriously, adding butter to a bread recipe is really just for flavor. You can omit it. I personally think it makes my breads softer. Brushing melted butter on top of rolls or a loaf BEFORE (and after) baking definitely adds flavor, a nice color, and makes a soft crust. You can even substitute coconut oil for butter or oil (1:1). Aside from adding flavor, I’ve found that bread made WITHOUT butter or any type of fat/oil tends to get stale faster. Oh yeah, make sure to use UNSALTED butter as you’re already (usually) adding salt to the recipe, plus different brands of butter have varying amounts of salt added to SALTED (aka Sweet) butter.

Eggs

Eggs add color and richness to bread. It also adds a tad more protein. You can use whole eggs or egg whites (1/4 cup of egg whites roughly equals one large egg).

Sweet Stuff

Sugar feeds yeast, as I already mentioned before. Yeast needs sugar to grow. Sweeteners also make breads stay moist longer. I use either sugar or honey to sweeten my breads or rolls.

Vital Wheat Gluten

Gluten is the protein in flour that forms the structural framework of the resulting bread. Gluten develops during the kneading process, forming elastic strands that give the bread structure and texture.  Without going too much into the science of things, it is the development of gluten that makes a chewy bread chewy. Think of it this way: you don’t want a lot of gluten in things like cakes (that’s why you don’t want to over mix cake batter, so gluten doesn’t develop), but you want gluten in breads (so you develop that chewy texture), which explains the kneading process. Generally, the more you mix a batter or dough, the more the gluten develops. Also, gluten needs more water to fully develop and form those elastic strands. If you don’t have enough liquid in your bread recipe, the gluten will not develop fully and your bread won’t be as tender. Adding vital wheat gluten is especially important when baking with low protein flours (like whole wheat and rye flour), or in recipes that add dried fruit, nuts, or seeds.  I add vital wheat gluten to my bread recipes that call for both white and brown whole wheat flour.

Vital wheat gluten is becoming a common item in regular grocery stores these days. The brand I usually buy is Bob’s Red Mill.  If you can’t find it in your local grocery store, try looking for it in specialty stores or health food stores. You can also order it online from Bob’s Red Mill, King Arthur Flour, or Arrowhead Mills.

So now that you know what the basic ingredients do for a good “standard” loaf of bread (or basic dinner rolls), here is a very basic recipe for a “standard” white loaf or pan of dinner rolls.

Basic Bread Recipe:

Ingredients:

  • 3 cups all-purpose flour
  • 2 teaspoons salt
  • 2 teaspoons yeast (or one envelope)
  • 1 tablespoon white, granulated sugar
  • 1 to 1¼ cups warm water (start out with only one cup; add the remaining ¼ cup if the dough doesn’t form a ball).

Directions:

  1. Mix all the ingredients together. Knead it for 8-10 minutes. Place the dough in a greased bowl, cover it (with a clean cloth or plastic wrap) and set it aside to rise until doubled in size.
  2. After the dough has risen, punch it down, shape it into a loaf (either on a baking sheet or in a greased loaf pan), then cover and set it aside to rise again.
  3. After the dough has doubled in size again, bake it (in a preheated, 375 degree oven) for 40-45 minutes (for a loaf) or about 20-25 minutes for rolls (the length of time varies by oven; bake until golden brown).

This basic recipe makes good sandwich bread, or bread for soaking up yummy gravies (this would be delicious with my pot roast recipe).

Once you master the basic bread-making techniques (and this basic bread recipe), try adding modifications such as honey, more sugar (for sweet breads), eggs, milk and butter, and even dried fruit.

For sweeter breads, see my other posts and recipes here.

Chicken Kelaguen & Flour Titiyas

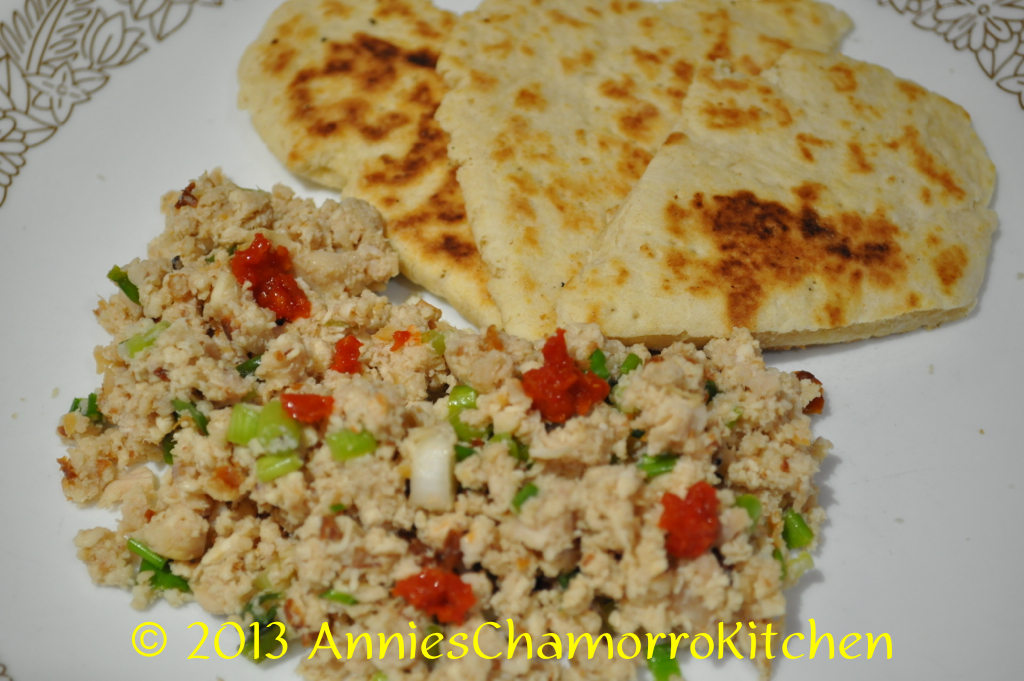
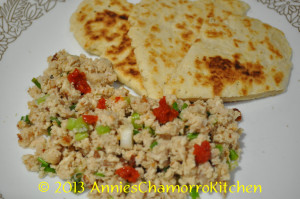
Kelaguen and Titiyas ~ both staples on a Chamorro fiesta table.  But you don’t have to be invited to a fiesta in order to enjoy these tasty dishes — they are so easy to make that you can have it anytime you get the craving!
My two daughters (ages 11 and 15) prepared the dishes pictured in the photos below; if THEY can do it, so can you!

Give my super easy recipes a try.  I think you’ll like them!  🙂
Annie’s Chicken Kelaguen

DSC_0419

Ingredients:

  • 1 small rotisserie chicken
  • 6 stalks green onions
  • 1 1/2 tablespoons lemon powder plus 3 tablespoons water (or use the juice of 1 large lemon)
  • 2 teaspoons salt (more or less, to taste)
  • Hot pepper, optional
  • Freshly grated coconut (unsweetened), optional

Directions:

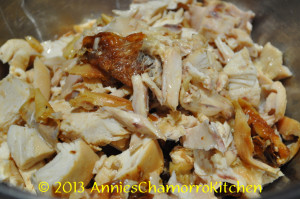
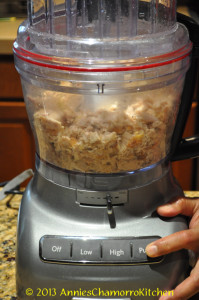
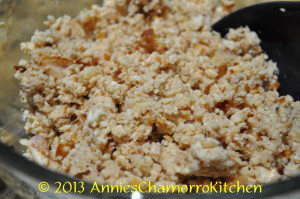
1.  Debone the chicken; shred or cut into small pieces (I used a food processor to roughly chop the chicken).

DSC_0371

 DSC_0375 DSC_0377

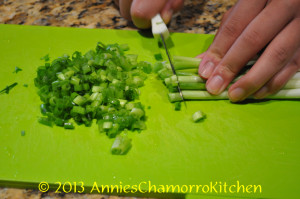
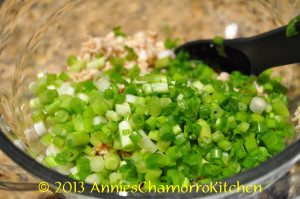
2.  Thinly slice the green onions then add it to the chicken.

DSC_0383 DSC_0386

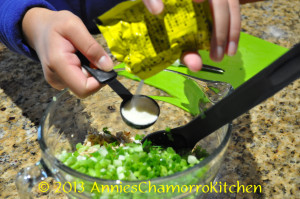
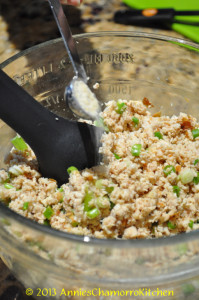
3.  Add the lemon powder, water, salt and pepper to the bowl of chicken; mix to combine.  Taste; adjust seasoning if required.

DSC_0389 DSC_0398

4.  Stir in the grated coconut (optional).

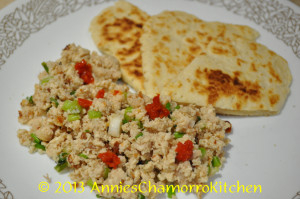
5.  Serve with my super easy sweet flour titiyas (see recipe below) and enjoy!

DSC_0417


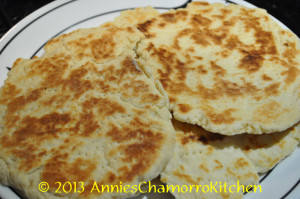
Annie’s Sweet Flour Titiyas

DSC_0416

Ingredients:

  • 3 cups all purpose flour
  • 4 teaspoons baking powder
  • 1/2 teaspoon salt
  • 3/4 cup coconut milk (see note below)
  • 1/4 cup melted butter
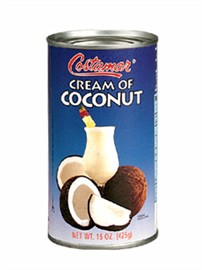
  • 1/4 to 1/2 cup cream of coconut (the sweet one, used for mixed drinks)
    (see note below)

NOTE:  If you don’t find or have any cream of coconut, just increase the coconut milk to 1 cup, and add 1/2 cup white granulated sugar.  Follow the rest of the instructions below.


This is what the can of cream of coconut looks like.  This is incredibly sweet so you do not need to add more sugar.  Cream of Coconut is NOT the same as coconut cream (thick coconut milk).

cream of coconut

Directions:

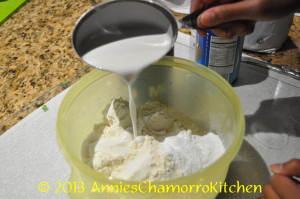
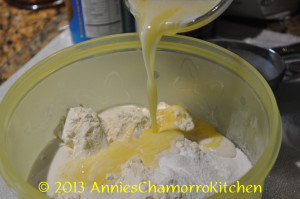
1.  Mix the dry ingredients together in a large mixing bowl. Add the coconut milk, melted butter, and cream of coconut (start out with 1/4 cup; increase to a total of 1/2 cup, depending on how humid your day is–more humid means less liquid). Mix together until a dough forms; knead gently to form a smooth ball of dough.

DSC_0395 DSC_0401 DSC_0404 DSC_0407

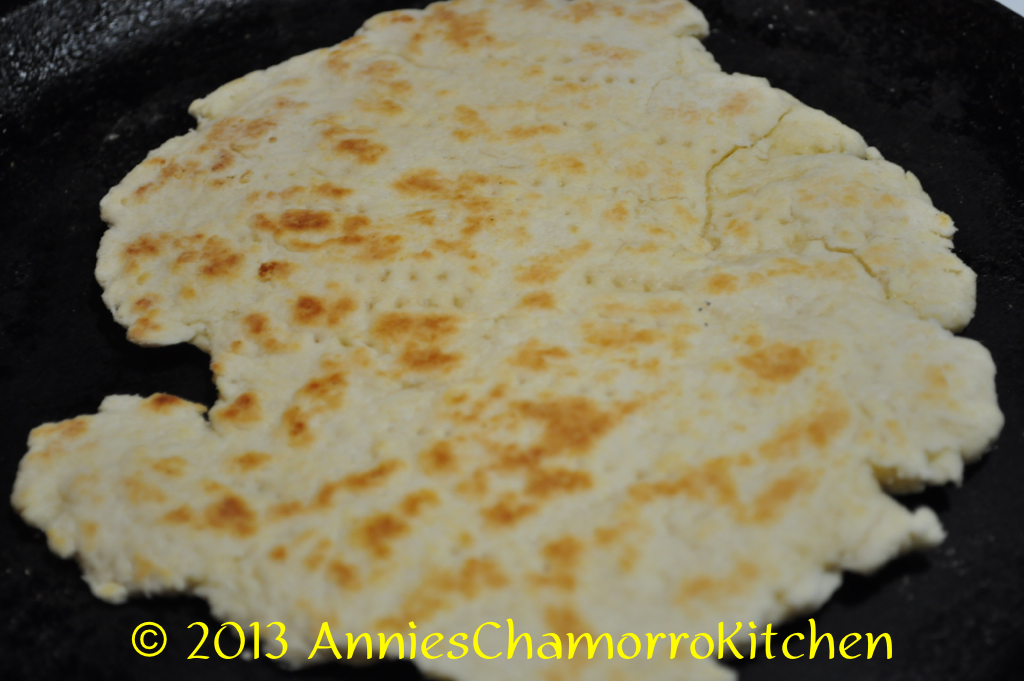
2.  Break off golf-ball sized pieces. Flour your rolling surface and rolling pin.  Roll out the piece of dough into a flat disc (about 1/8-inch thick). Place the titiyas on a dry skillet; prick all over with a fork to prevent bubbling during the cooking process.

DSC_0409 DSC_0410

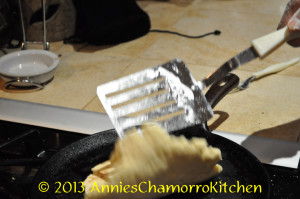
3.  Pan-fry on a dry skillet over medium-low heat for about 3-4 minutes on each side, or until the bottom begins to turn a golden brown; flip over and cook the other side until it turns a nice golden brown.  For thicker titiyas, cook over low heat for 4-5 minutes on each side; the titiyas is done when you gently press down on the center and it feels somewhat firm to the touch.

DSC_0412 DSC_0414 DSC_0415

4.  Place cooked titiyas on a plate covered with a clean kitchen towel to keep warm.  Serve with my delicious chicken kelaguen.  Enjoy!

DSC_0418

Mystery Menu Item for Monday, 29 July

Let’s play a game.  I’m going to list some items I’d like you buy.  When I get home from work tomorrow evening, I’ll tell you what were going to make and we can make it together.  How does that sound?  I think it’ll be fun!


Okay, here are the things you’ll need.
1 rotisserie chicken (get a large one)
6 limes
1 fresh coconut (if you can find one) or a bag of grated, unsweetened coconut)
6 stalks green onions
salt
all purpose flour
coconut milk
sugar
baking powder
melted butter
cream of coconut (the kind for mixed drinks)
rolling pin

Have you guessed what we’re going to make yet?  I’ll bet you have!  Leave a comment below with your guess.  Let’s see how many of you have it right.

« Older Entries Recent Entries »