“Crack” Chicken

When I was stationed in Korea a few years ago, my family and I used to frequent a fried chicken place that served the most delicious chicken wings.
The menu included spicy (mouth on fire) wings, plain, but our favorite had a garlic-soy glaze on it. They were so good (and addicting) that my friends and kids nicknamed it “crack chicken”. 🙂
This is my version of those wings. A word of warning — it’s HEAVY on the garlic (just the way I like it).
Give it a try. I think you’ll like it! 🙂
“CRACK” CHICKEN
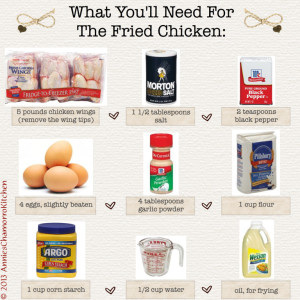
INGREDIENTS FOR THE FRIED CHICKEN:
- 5 pounds chicken wings (I like drummettes)
- 1 tablespoon salt
- 2 teaspoons black pepper
- 4 tablespoons garlic powder
- 1 cup flour
- 1 cup corn starch
- 4 eggs, slightly beaten
- 1/2 cup water
- oil, for frying
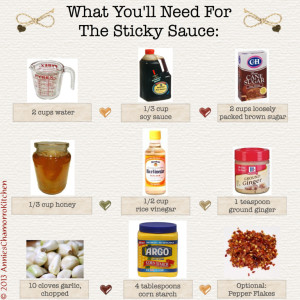
INGREDIENTS FOR THE SAUCE:
- 2 cups water
- 1/3 cup soy sauce
- 2 cups loosely packed brown sugar
- 1/3 cup honey
- 1/2 cup rice vinegar
- 1 teaspoon ground ginger
- 5 cloves garlic, chopped (use 10 cloves if you LOVE garlic like I do)
- 4 tablespoons corn starch
- Optional: Pepper flakes
Cooking Instructions:
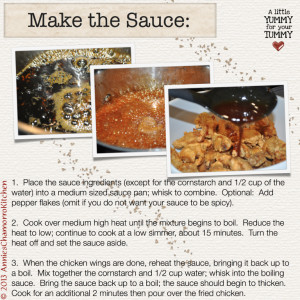
Make the Sauce:
1. Place the sauce ingredients (except for the cornstarch and 1/2 cup of the water) into a medium sized sauce pan; whisk to combine. Optional: Add pepper flakes (omit if you do not want your sauce to be spicy).
2. Cook over medium high heat until the mixture begins to boil. Reduce the heat to low; continue to cook at a low simmer, about 15 minutes. Turn the heat off and set the sauce aside.
3. When the chicken wings are done, reheat the sauce, bringing it back up to a boil. Mix together the cornstarch and 1/2 cup water; whisk into the boiling sauce. Bring the sauce back up to a boil; the sauce should begin to thicken. Cook for an additional 2 minutes then pour over the fried chicken.
Batter the Chicken:
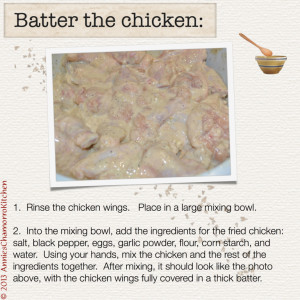
1. Rinse the chicken. Place in a large mixing bowl.
2. Into the mixing bowl, add the ingredients for the fried chicken: salt, black pepper, eggs, garlic powder, flour, corn starch, and water. Using your hands, mix the chicken and the rest of the ingredients together. After mixing, the chicken should be fully covered in a thick batter.
Fry the Chicken (1st Frying):
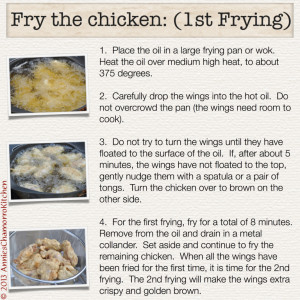
1. Place the oil in a large frying pan or wok. Heat the oil over medium high heat, to about 375 degrees.
2. Carefully drop the chicken into the hot oil. Do not overcrowd the pan (the chicken needs room to cook).
3. Let the chicken cook for about 5 minutes on each side.
4. For the first frying, fry for a total of 10 minutes. Remove from the oil and drain in a metal colander. Set aside and continue to fry the remaining chicken. After all the chicken pieces have been fried for the first time, it is time for the 2nd frying. The 2nd frying will make the wings extra crispy and golden brown.
Fry the Chicken (2nd Frying):
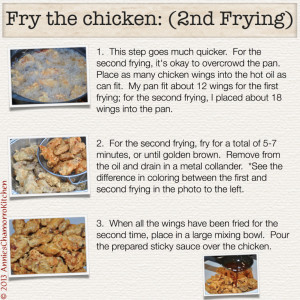
1. This step goes much quicker. For the second frying, it’s okay to overcrowd the pan. Place as many chicken wings into the hot oil as can fit. My pan fit about 12 wings for the first frying; for the second frying, I placed about 18 wings into the pan.
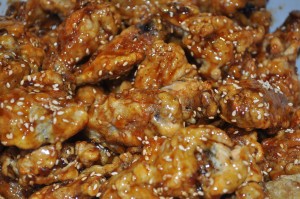
2. For the second frying, fry for about 8 minutes, or until golden brown. Remove from the oil and drain in a metal colander. *See the difference in coloring between the first and second frying in the photo attached to this recipe.
3. When all the wings have been fried for the second time, place in a large mixing bowl. Pour the prepared sticky sauce over the chicken.
Garnish and Serve:
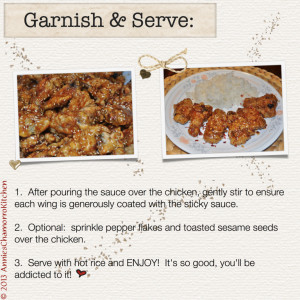
1. After pouring the sauce over the chicken, gently stir to ensure each wing is generously coated with the sticky sauce.
2. Optional: sprinkle pepper flakes and toasted sesame seeds over the chicken.
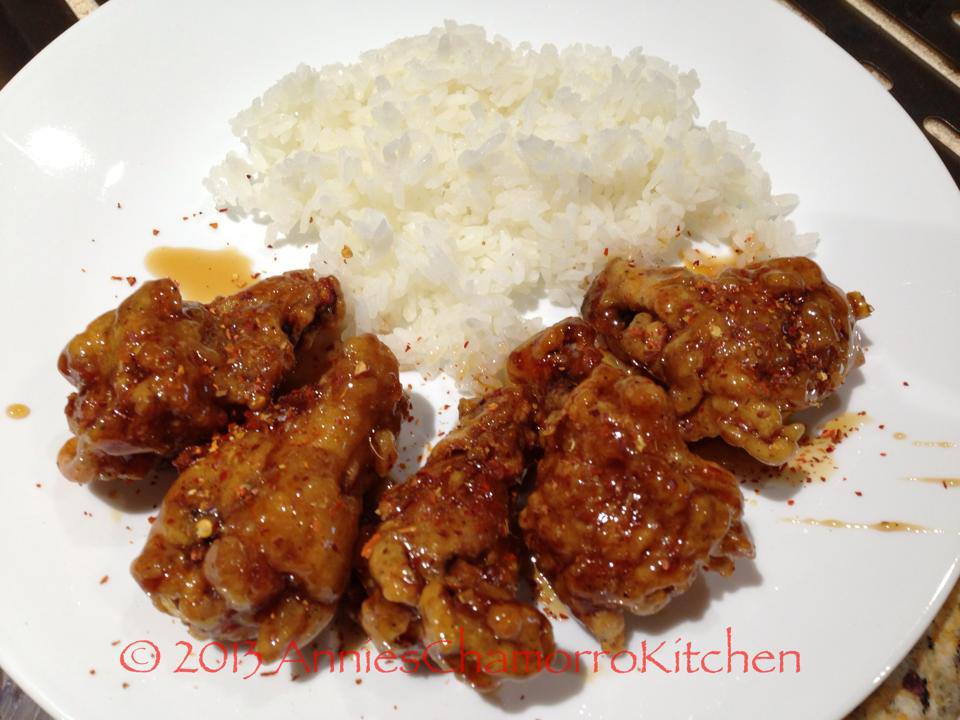
3. Serve with hot rice and ENJOY! It’s so good, you’ll be addicted to it!
The photos below illustrate my step-by-step process. I hope this makes it easier to understand. Give it a try and let me know how you like it. 🙂
Oops! # 4 (above) should read, “fry for a total of 10 minutes” (not 8).



Hi! I’ve been exploring all sorts of “crack chicken” recipes recently and after reading through your recipe and instructions, I am super excited to give this one a try! It looks like it’s been a while since anyone has made any comments. I hope nothing in the recipe has changed between 2016 and 2023!
I’m going to go “all in” on the garlic!! Go big or go home, right?! As a former vegetarian, chicken with bones gives me the willies. So, I will be substituting boneless, sectioned thighs (flat wing sized — It’s worked well in the past as a stand in for wings)
I am sure it will be delish! Thank you for keeping the recipe online! I’m glad I stumbled across it!! Stay tuned for results! <3
Looks and sounds delicious. One question, is that the right amount of sugar? Seems like a lot of sugar as compared to the shoyu and vinegar. I’ll try it though. Thank you.
Yes, it’s the right amount of sugar. You can, by all means, decrease the amount if you so desire.
Hafa Adai,
This is truly “crack” in the form of chicken! Thank you so much for this incredible recipe! My Husband was so mind blown, he said, “Wow! Screw Buffalo Wild Wings!” Hahaha! And I fully understand why 5lbs is needed, because it is very addicting!
-Charlene
Thanks for the feedback, Charlene! LOL at your husband’s comment! I’m glad you both liked it! 🙂
I make the crack chicken today it’s a lot of work but it’s worth it. love it thank u.
You’re welcome, Marie, and thanks for giving my recipe a try. I’m glad you liked it!
I love this page!!! Thanks for sharing your recipes and your easy step by step instructions. Love reading all of them and can’t wait to try them out. Keep em coming 🙂
Thank you, Lucylia! Please let me know about any of my recipes you’ve tried–how they turned out for you, what you think about them, and share photos too. 🙂
I have been looking for something unique and spicy; like the others before me, the pictures and step-by-step directions are so user friendly! I’d like to try this recipe soon. . .
Shirley, give my recipe a try and let me know what you think of it. 🙂
Can’t wait to try your “crack” chicken. I love fried chicken. Your instruction is very detailed. thanks,
Laling, let me know how it turns out. 🙂
Fantastic job on this recipe, and the pictures and step-by-step directions are awesome!
Thank you, Anne-Marie! I hope you give it a try. If you do, come back and let me know how it turned out for you. 🙂