Search Results for: brown rice

Green Chicken Curry

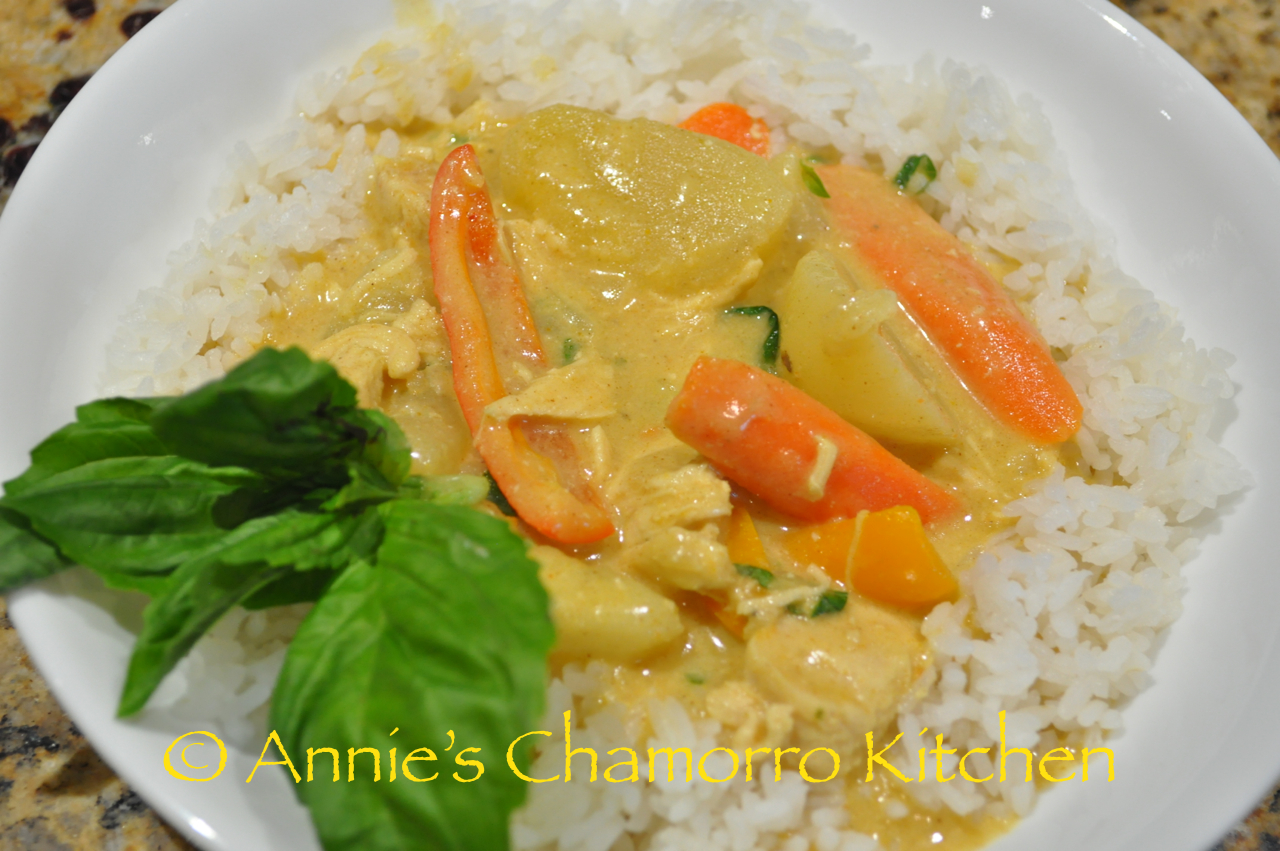
There are so many varieties of curries — from chicken, to beef, to all vegetable — I haven’t found a curry I didn’t like. 😉

It’s such a versatile dish too.  Just find your favorite recipe and modify it to your liking.  Use your favorite vegetables and meat and add as much or as little spice as you want and voila!, chicken curry!  Serve over hot, steamed white rice and you’ll have yourself a delicious meal.

Give my recipe a try.  It think you’ll like it. 🙂

Green Chicken Curry
 
Author:
Recipe type: Soups & Stews
Cuisine: Thai
Serves: 6
Ingredients
  • 4 large chicken breasts, cut into small pieces (or a mixture of white/dark chicken meat)
  • 1 tablespoon brown sugar
  • 2 tablespoons green curry paste
  • 2 tablespoons fish sauce
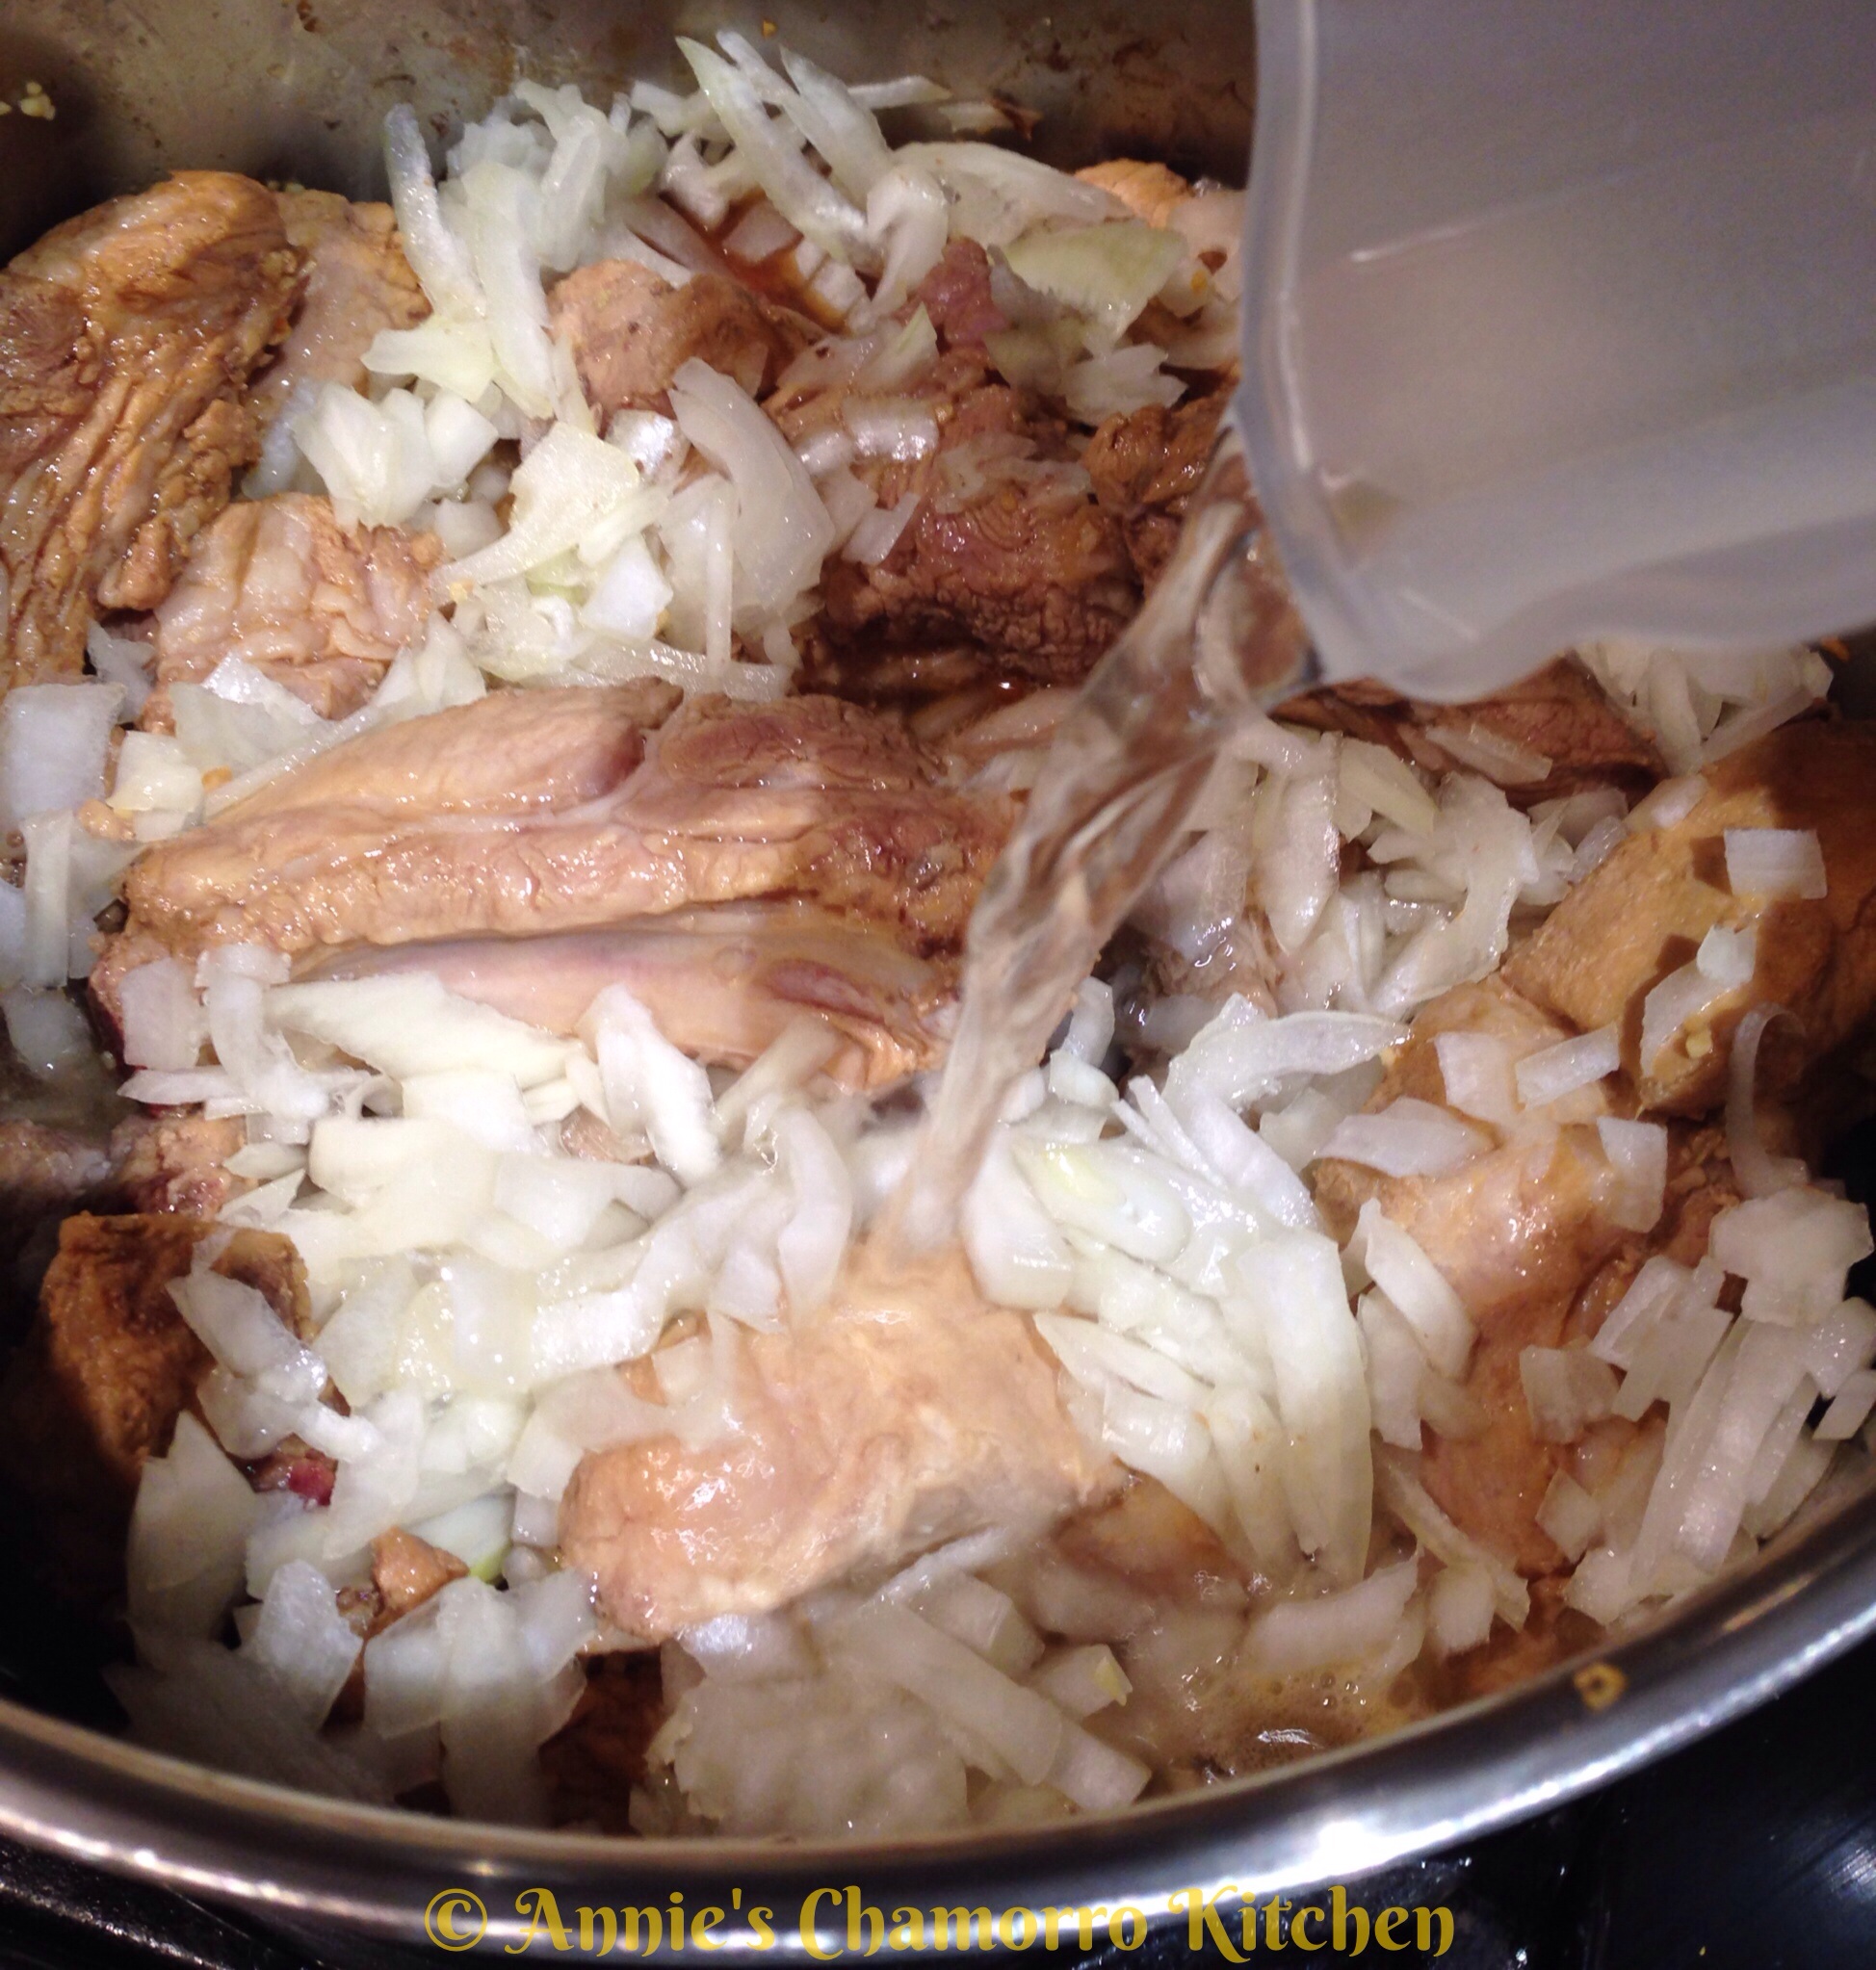
  • 2 cloves garlic, minced
  • ½ cup chopped onion
  • 1 cup sliced carrots
  • 1 medium potato, cubed
  • 1 medium bell pepper, sliced
  • 1 can (10 oz) straw mushrooms or you can use fresh mushrooms, sliced
  • 1 can (15 ­oz) young corn, sliced into 1½ inch pieces
  • 1 can (8 oz) bamboo shoots
  • 1 can (14 oz) coconut cream or coconut milk *Use 2 cans if you like lots of kadu.
  • Other vegetables of your choosing
  • 1 tablespoon dried basil or use ½ cup freshly chopped sweet basil leaves
  • 2 tablespoons chicken bouillon or 2 bouillon cubes
  • Hot chili peppers, sliced, ­­optional
  • Black pepper, to taste
  • 1 cup water
Instructions
  1. In a medium saucepan, add water, bouillon, onions, garlic, pepper, and chicken pieces; bring to a boil; cook for approximately 10 minutes over medium­high heat.
  2. Add potatoes to chicken; continue cooking for 5 more minutes.
  3. Add curry paste, brown sugar, fish sauce, and remaining vegetables to pot; stir well to dissolve curry paste and brown sugar. Reduce heat to medium and continue to cook for 5 more minutes.
  4. Add coconut cream to pot. Turn heat down to low and simmer for 5­8 minutes, or until potatoes are cooked through.
  5. Add hot pepper to taste.
  6. Serve over hot rice.
ENJOY!


Panko Crusted Fried Fish & Shrimp

Our family loves seafood.  One of our favorite ways to serve fish and shrimp is to coat them in panko breadcrumbs and fry them until golden brown and crispy.

Serve this with hot steamed rice, some sweet dipping sauce (similar to honey walnut shrimp sauce), and fina’denne’ and you’ve got yourself an amazing seafood meal.

Give my sister-in-law Min’s recipe a try.  I think you’ll like it. 🙂

This recipe makes enough for a family of 4 plus leftover for lunch the next day.

Panko Crusted Fried Fish & Shrimp

Last Import - 112  Last Import - 120

Ingredients for the Fried Shrimp:

  • 1 cup Korean batter mix (Tuigim or Twigim Garu); see photo below
  • 1 tablespoon Dashida Korean seasoning
  • 1 tablespoon onion powder
  • 1 tablespoon garlic powder
  • 1 teaspoon black pepper
  • 1/2 cup milk
  • 30 ounces raw shrimp, peeled and deveined
  • 1 bag panko crumbs


Ingredients for the Fried Fish:

  • 1 cup Korean batter mix (Tuigim or Twigim Garu); see photo below
  • 1 tablespoon Dashida Korean seasoning
  • 1 tablespoon onion powder
  • 1 tablespoon garlic powder
  • 1 teaspoon black pepper
  • 1 cup milk
  • 24 ounces fish filets (tilapia, basa, and orange roughy work well)
  • 1 bag panko crumbs


Ingredients for the Dipping Sauce:

  • 2 tablespoons sweetened condensed milk
  • 3 tablespoons pineapple juice
  • 2 tablespoons kewpie mayo


Other Ingredients:

  • Oil, for frying


Tuigim Garu, Korean batter mix, is used to make a batter to coat the shrimp and fish for frying.  This is what the package looks like (the bag on the left).

The bag on the right is called Pang Garu, and is a type of panko breadcrumbs.  The shrimp and fish are coated in breadcrumbs after coating it in the batter.  You can use this or any other brand of panko breadcrumbs.

Directions:

Rinse and clean the shrimp and fish filets, then set them aside in separate, shallow dishes.  I like using meaty white fish such as  basa or tilapia; orange roughy is good too.

Add the dry batter mix and seasonings directly over the shrimp.  Toss the shrimp and dry ingredients together then add the milk.  Keep tossing it all together until the dry ingredients are no longer lumpy and a thick batter coats the shrimp.  Set aside.

  Last Import - 034

In another pan, place the remaining batter mix and dry ingredients; this will be mixed into a batter to coat the fish filets.  You don’t want to create the batter WITH the fish as you do with the shrimp because you don’t want to break up the fish filets.  Instead, mix the batter in a separate pan and dip the fish into the batter before coating with panko.

Add the milk to the dry batter mixture, mixing until you get a smooth batter.

  Last Import - 042

Place the fish filets into the batter.  Ensure each filet is coated with batter.

Last Import - 048

Create an assembly line with the shrimp, fish, and the breadcrumbs.

Last Import - 076

Designate one hand as the “wet hand” and the other as the “dry hand.”  Use the wet hand to place the shrimp and fish into the pan of breadcrumbs.  Use the dry hand to cover the shrimp and fish with breadcrumbs.

Last Import - 084  Last Import - 088

Be sure to generously pat the breadcrumbs into the batter-covered fish and shrimp.

Last Import - 094  Last Import - 098

Carefully drop the coated fish and shrimp into hot oil.  Do not overcrowd the pan.

Last Import - 104

Fry the fish about 3 minutes on each side or until golden brown.  Fry the shrimp until golden brown all over.

Last Import - 112  Last Import - 116

Make the dipping sauce.

In small microwave-safe bowl, mix together the sweetened condensed milk, pineapple juice and kewpie mayonnaise.  You can use regular mayonnaise if you don’t find any kewpie.

image

Heat the mixture in the microwave for 20 seconds or until it starts to bubble.  Remove from the microwave and stir until creamy.  Serve with fried shrimp and fish.

ENJOY!

image


Chicken Drumstick Motsiyas

Motsiyas (pronounced mot-see-jas) is a delicacy on Guam.  It consists of a basic mixture of finely chopped or ground chicken (traditional recipes include most of the chicken parts, but I like just the meat, no organs), hot pepper leaves, tomato leaves, green beans, mint, lemon juice, salt and pepper.  You can also add other leafy greens to the mixture, as my friend, Arlene Sablan Aguon does (see her list of ingredients below).  To spice it up, add chopped chili peppers.  

The ingredients are then mixed together then wrapped in banana leaves and steamed in either water or chicken broth, and sometimes even in coconut milk.  

The recipe below is one of PoP Aguon’s treasured recipes, and the technique used to make them is a PoP Aguon original.  Wrapped in around the bone of a Chicken Drumstick with the skin surrounding it, this is a LABOR INTENSIVE recipe that requires that you de-bone and remove the meat and tendons of the chicken drumsticks, mix the multiple ingredients, then fill it back into the drumstick cavity.  It’s all worth it in the end, trust me.

Give PoP’s recipe a try.  I think you’ll like it. 🙂

Chicken Drumstick Motsiyas

Recipe adapted by Annie Merfalen
Original recipe by Arlene Sablan Aguon (as taught by PoP Aguon)
Photos by Arlene Sablan Aguon

Chicken Drumstick Motsiyas 1


Ingredients:

  • 4 pounds Chicken Drumsticks with Skin intact and not torn
  • 2 pounds boneless, skinless chicken thighs
  • 2 pounds boneless, skinless chicken breasts
  • Salt and Pepper, to taste
  • Freshly squeezed lemon juice, about 3/4 cup
  • 2 cups minced fresh mint
  • 2 cups thinly slices long beans or green beans
  • 2 cups diced baby bok choy
  • 4 cups diced mustard greens or spinach leaves
  • 1 cup diced white onions
  • 1 cup thinly diced green onions
  • 1/3 cup diced fresh Guam donne’ or Thai bird pepper (optional)
  • 4 cups chicken broth

Directions:

Debone the Drumsticks:
  1. Cut the chicken around the meaty part at the top of the drumstick (at the joint where the drumstick joins the thigh), loosening the meat from the bone in that area. Insert a pair of kitchen scissors or a small sharp knife as close to the bone as possible, cutting away the meat.  Be careful not to cut the skin around the drumstick.
  2. Slowly work your way down the drumstick, cutting and separating the meat from the bone.
  3. When you get to the bottom of the drumstick, turn the meat and skin inside out (be careful not to pull or cut the skin off!), then cut off the meat at the bottom, leaving the skin attached to the bone.
  4. Carefully pull your drumstick skin over the cleaned bone away from the knuckle. Place the drumstick meat in a resealable bag for later use.  You will not use the drumstick meat because of the tendons and ligaments (reserve and use for Kådun Pika later).
  5. Refrigerate the drumsticks (with skin intact) until you’re ready to stuff them.
Prepare the Motsiyas filling:
  1. Place the mint, beans, bok choy, mustard greens or spinach leaves, white onions, and green onions into a large mixing bowl.  Add the hot pepper if you want it spicy.
  2. Coarsely grind the chicken thigh and breast meat in a meat grinder, if you have one.  You can also coarsely chop or grind the chicken meat in a food processor.
  3. Mix the ground chicken and chopped vegetables together. Refrigerate the mixture overnight so the flavors can mix and marinate together.
The Next Day:
  1. Place the chicken broth into a rice cooker (placed on the “warm” setting).  You can also this on the stove top with a pot that has steaming baskets (heat the broth over medium-low heat).
  2. Add the salt, pepper and freshly squeezed lemon juice to the chicken mixture.
  3. Carefully pull back the drumstick chicken skin away from the knuckle. Shape your Motsiyas around the drumstick bone, carefully packing the filling into the skin and shaping it back into drumstick form.  Insert a wooden toothpick into the skin at the top of the drumstick to secure the skin while it cooks.
Cook the Motsiyas:
  1. Place the Motsiyas drumsticks into the steaming basket that comes with your rice cooker or steaming pot.
  2. If using a rice cooker, set it on COOK – the chicken broth will steam the Motsiyas.  If using a stove top steamer, turn the heat to medium-high, bringing the broth to a boil.  Place the steamer basket into the pot.  Cover the pot (or rice cooker) and steam for 20 minutes.
  3. Note: If you like your Motsiyas WET, you can place the drumsticks directly into the broth.
  4. If you like a crisp texture to the skin, bake the Motsiyas drumsticks at 375° F. until the skin begins to turn light golden brown (about 25 minutes).  Turn up the heat to 500° F. (or place it on Broil) and cook until the skin is a medium golden brown and the skin is crisp.
Serve and Enjoy!

Serve while still hot with a side of mint, donne’ (pepper) and lemon wedges.

As Arlene says, this is Munngi’-licious!

Other ways to prepare PoP’s Chicken Motsiyas:
Motisiyas 3 - stuffed neck

The traditional way: Stuffed Chicken Neck

Motsiyas 4 - ready for steaming

Fill silicone cups for steaming

Motsiyas 5 - steamed

Steamed Motsiyas

Motsiyas 7 - rice paper 2

Wrap the filling in Rice Paper

Motsiyas 10 - rice paper 5

Steamed Rice Paper Rolls

Motsiyas 11 - rice paper 6

Fried Rice Paper Rolls

Motsiyas 12 - pop 1

+PoP, enjoying his Rice Paper Motsiyas Rolls


Hawaiian Pulled Pork

This is a cross between two of my family’s favorites — Kahlua Pork and traditional pulled pork with BBQ sauce.

The pork has that hint of smokiness like with Kahlua Pork, thanks to a bit of liquid smoke.  The addition of pineapple juice and brown sugar gives the pork a touch of sweetness, but not too much sweetness that you can’t eat the roast pork with our Chamorro standard fare of steamed rice and fina’denne if that’s what you prefer. 😉

In fact, my household is split in how we eat this succulent, fall-apart, fork-tender pork roast.  My oldest daughter and I like to create pulled pork sandwiches topped with my sweet and tangy Pineapple BBQ Sauce.  My husband and youngest daughter prefer it without the sauce — hubby likes it with rice, fina’denne’ and Tabasco, and daughter dearest likes it as a sandwich with a side of the broth (au jus) to dip her sandwich into.

If you’re as busy as I am, you’re usually looking for quick meals to prepare.  One of the last things I want to do when I come home from work is figure out what to cook for dinner.  Thankfully, this is a very easy recipe to prepare.  The pork itself cooks for several hours in a slow cooker or crock pot, and the sauce takes only minutes to cook.  Start cooking the roast in your crock pot when you wake up in the morning, and you’ll have dinner ready by the time you get home from work later in the day.

If you have any leftover pork and sauce, mix them together for the perfect filling for siopao.

Give my recipe a try.  I think you’ll like it. 🙂

Hawaiian Pulled Pork

IMG_4659

Ingredients:

  • 9-10 pounds boneless pork butt or shoulder
  • 1 medium onion, chopped
  • 2 tablespoons SEA salt (do not use regular table salt or it will be too salty)
  • 1/2 cup dark brown sugar
  • 1 cup pineapple juice
  • 1/4 cup soy sauce
  • 1 tablespoon liquid smoke
  • 2 tablespoons chopped garlic
  • 1 teaspoon whole black peppercorns

Directions:

1.  Rinse the pork and trim off any excess fat.  Poke holes over the entire piece of pork (or pierce it with a sharp knife).  Place the pork into a crock pot with the remaining ingredients for the roast.  Give it a stir to roughly mix the ingredients together.  Set the crock pot to it’s medium-high setting (I use “auto-shift” on mine).  Cook the pork for at least 8 or 9 hours, 10 if you have the time.

image

2.  After 8-9 hours of cooking, the pork will be tender enough to shred.  Skim off the fat from the broth and discard.

IMG_4657

3.  Serve with rolls and top with Pineapple BBQ Sauce or with some broth in a small dish on the side to dip your sandwich in.

 IMG_4660    IMG_4658

ENJOY!


Pineapple BBQ Sauce

image

Ingredients:

  • 3/4 cup pineapple juice
  • 1/4 cup soy sauce
  • 1/2 cup ketchup (you can also use chili sauce)
  • 1/4 cup plus 1 tablespoon dark brown sugar
  • 1/2 teaspoon ground ginger
  • 1 tablespoon chopped garlic
  • Pinch of ground black pepper
  • 1/4 cup pineapple juice mixed with 1 tablespoon corn starch

Directions:

1.  Place all of the ingredients into a small sauce pan, EXCEPT FOR the pineapple juice-corn starch mixture.  Bring the mixture to a boil.

image

2.  Whisk in the pineapple juice-corn starch mixture.  Cook for a minute or two, just until the sauce thickens.

image   image

Serve with my Hawaiian Pulled Pork and ENJOY!

IMG_4659


If you have any leftover pulled pork (about 4 cups of meat), use it to make my Pork Siopao.  Find my recipe here.

Tomato-Braised Pork Ribs

One of my family’s favorite ways for me to cook pork ribs (other than Chamorro BBQ) is to braise it in a thick and sweet tomato sauce.

My mom used to make this for us growing up, only she used tomato ketchup (I still make it this way sometimes).

What is braising, you ask? Braising is a form of cooking with liquid so that the moist heat breaks down connective tissues in tough cuts of meat, leaving them quite tender and fall-off-the-bone good.

I usually cook this dish in a large soup pot (I start it a couple of hours before I intend to serve it), but if you’re pressed for time, you can easily prepare this in a pressure cooker.

Give my recipe a try. I think you’ll like it. 🙂

Tomato-Braised Pork Ribs

image

Ingredients:

  • 2 slabs baby back pork ribs
  • 1 cup soy sauce
  • 1/2 cup white vinegar
  • 2 tablespoons chopped garlic
  • 1 medium onion, chopped
  • 2 cups water
  • 1 can (28 ounces) crushed tomatoes
  • 1/2 cup blackstrap molasses

Directions:

Rinse each slab of ribs, then trim off any excess fat. Separate each rib then place into a large pot over medium high heat.

image

Add the soy sauce, vinegar and garlic to the pot. Stir to evenly coat each rib with the liquid and garlic. Cook for about 5 minutes, stirring occasionally to ensure even browning.

image

Add the onions and water to the pot.

image

Stir in the crushed tomatoes and molasses. Blackstrap molasses is not too sweet, but adds just the right amount of sweetness for this dish. If you don’t have molasses, you can add a couple of tablespoons of brown sugar.

image

Now it’s time to start the braising process. Cooking the ribs in this delicious tomato sauce, long and over medium-low heat, is the key to creating fall-off-the-bone yumminess. Bring the sauce to a boil then reduce the heat to medium-low. Place a sheet of heavy duty aluminum foil over the top of the pot, tightly sealing it. Place a lid over the foil. Simmer the ribs for at least 2 hours.

This is what the ribs looked like before braising.

image

This is the “after” photo. Notice how the sauce reduced and thickened (it’s so good poured over steamed white rice!).

image

Serve with hot white rice (don’t forget the sauce, too) and ENJOY!

image

« Older Entries Recent Entries »