Search Results for: brown rice

Pot Roast, Chamorro Style

Whenever I find myself feeling a bit homesick, I think of something to cook that soothes my longing for my island home. Chamorro Pot Roast is one of those dishes. This is a dish that was usually on the menu for Chamorro gatherings. I remember going to parties when I was younger, and before the table was opened, I’d check to see if there was any pot roast. If there was, the ONLY things I’d have on my plate were rice (red or white), pot roast (with as much gravy as I could scoop up), and lots of fina’denne’. These days, I use a crock pot to cook my pot roast. Set it and forget it…what could be easier?

Give my recipe a try.  I think you’ll like it.  🙂  

Chamorro Pot Roast

image

Ingredients:

  • 1 2-lb chuck roast (look for one that is nicely marbled with fat)
  • 2 teaspoons salt
  • 1 teaspoon black pepper
  • 8 whole garlic cloves
  • 1/4 cup vegetable oil
  • 1 medium onion, chopped into large chunks
  • 5-6 garlic cloves, minced
  • 1 cup soy sauce
  • 1 14.5-oz can diced tomatoes with juice
  • 1/3 cup balsamic vinegar (you can use white vinegar instead)
  • 2 tablespoons Dashida seasoning (Korean beef soup stock)
  • 1 teaspoon Accent or Ajinomoto
  • 1 cup water (if cooking this on the stovetop, use 2 cups water)
  • 4 tablespoons corn starch plus one cup water

Chamorro Pot Roast - 02

Directions:

1.  Place a large skillet or dutch oven over high heat.

2.  Using a long, sharp knife, CAREFULLY cut 8 deep slits into the sides of the roast. Push a whole clove of garlic into each slit.

Chamorro Pot Roast - 03

Chamorro Pot Roast - 04

Chamorro Pot Roast - 07

3.  Rub the sides of the roast with salt and pepper.

Chamorro Pot Roast - 11

Chamorro Pot Roast - 18

4.  When the pan is hot, add half of the oil into the pan. Brown the roast on all sides then remove it from the pan and place it into a slow cooker or crock pot set to HIGH.

Chamorro Pot Roast - 21

Chamorro Pot Roast - 24

Chamorro Pot Roast - 27

5.  Add the remaining oil to the pan used to brown the roast. Add the onions and garlic and sauté until the onions are translucent.  Add the sautéed onions and garlic to the slow cooker.

Chamorro Pot Roast - 28

Chamorro Pot Roast - 31

6.  Into the crock pot, add:

the tomatoes with juice…

Chamorro Pot Roast - 37

the Dashida seasoning…

Chamorro Pot Roast - 38

the accent or aji…

Chamorro Pot Roast - 39

the balsamic vinegar…

Chamorro Pot Roast - 40

the soy sauce…

Chamorro Pot Roast - 41

and 1 cup of water (see note below) plus any remaining salt and pepper.

NOTE:  If making this on the stovetop, add 2 cups of water instead (a lot of water will evaporate as the roast cooks).

Chamorro Pot Roast - 42

7.  Place the lid on the slow cooker. Cook on HIGH setting for 2 hours then lower the heat to LOW and cook for an additional 2 hours then turn off the slow cooker.  If cooking this on the stovetop, cover the pot and cook over medium-low heat for 2 hours.

Chamorro Pot Roast - 46

8.  When the roast is done, remove the roast to a plate or cutting board and allow to rest for at least 10 minutes before slicing (don’t cut it sooner that this or all the juices will flow out and leave your roast dry).

image

9.  In the meantime, while the roast is resting, prepare the gravy. Using an immersion blender, purée the chunks of vegetables in the gravy until it is completely smooth. If you don’t have an immersion blender, transfer all of the gravy (the liquid and all vegetables) from the slow cooker to a blender and blend until smooth.

image

image

10.  Pour the puréed mixture into a small pot; bring the mixture to a boil.

image

11.  Mix the cornstarch with the remaining 1 cup of water.

image

Whisk the cornstarch mixture into the gravy and return to a boil, stirring constantly until the mixture thickens.  Turn off the heat once the gravy has thickened.

image

12.  After the roast has rested, use a serrated knife or very sharp carving knife to slice the roast into 1/4 to 1/2 inch slices.

image

Pour gravy over the sliced roast beef.

Chamorro Pot Roast - 50


Serve with hot white rice and Enjoy!  I love to “drown” my pot roast and rice in lots and lots of gravy!  🙂

Chamorro Pot Roast - 51

Chamorro Bistek (or Bisteak)

Bistek (or Bisteak) is a favorite Chamorro dish.  The addition of achote (or annatto) gives a unique flavor, along with the tanginess of the added vinegar.  

image

If you have it, I prefer using achote water made with fresh achote seeds.  Fresh is always best, but of course, using achote powder works quite well too.  This is what the packet of achote powder looks like.  As with the Sazon Goya seasonings, achote powder is another item that is commonly found in either the Asian aisle of most grocery stores.  If your local store doesn’t carry it, try looking for it in your local Asian supermarkets.


goya achoteIf you don’t have fresh achote seeds or achote powder, you can substitute with Sazón Goya seasoning that contains achote.  This is what the packaging looks like.  It’s a common item in the Hispanic aisle in most grocery stores.


This dish usually includes peas as a main ingredient.  Some think that if you DON’T add peas, it isn’t Bistek, but my family prefers this dish made WITHOUT peas.  We like using fresh or steamed green beans or sugar snap peas instead.  It’s all up to you, really.  With peas (or vegetables, for that matter) or without, it’s still a very tasty dish that is a must-add to your list of menu choices.

Scroll all the way to the bottom to find my recipe.  Give it a try.  I think you’ll like it.  🙂

Chamorro Bistek (or Bisteak)

image


Place thinly sliced beef into a large frying pan.  I like to use minute steak for this.

image


Add Dashida seasoning, minced garlic, black pepper, and thinly sliced onions.  Stir to combine all the ingredients.  Cook over medium high heat until the meat is browned.

image


Add to the pan white vinegar and soysauce.  Stir to combine.

image

image


Add water to the pan.  Add more or less water, depending on how much gravy you like.  We like a lot of kådu (gravy)–adding about a cup of water will yield a lot of kådu.  Cook for a couple of minutes–just long enough to reheat the gravy–then stir in achote powder (the achote powder will dissolve better if the liquid is HOT). 

NOTE:  You can substitute the water and achote powder with achote water made using achote seeds.

image

image


Cook for another couple of minutes then stir in fresh or frozen peas (OPTIONAL).  My family actually prefers to use fresh sugar snap peas.  Cook for a few more minutes, or just long enough to either reheat the frozen peas, or to cook the sugar snap peas to your liking (we like it al dente, or cooked but still crisp).  You can also use fresh green beans instead of peas.  In the photo below, I used steamed sugar snap peas.

image

image

image


After the vegetables are cooked/reheated to your liking, remove the Bistek from the heat and serve with steaming hot white rice.  ENJOY!

image


Chamorro Bistek (or Bisteak)

Ingredients:

  • 2 pounds thinly sliced beef
  • 4 tablespoons Dashida beef flavored seasoning
  • 2 tablespoons minced garlic
  • 1/2 teaspoon black pepper
  • 1 large onion, thinly sliced
  • 3/4 cup white vinegar
  • 1/4 cup soy sauce
  • 1 cup water*
  • 1 packet achote powder*
  • *If using achote seeds, make enough achote water to yield 1 cup
  • Optional:  1 cup frozen or fresh peas, sugar snap peas, or green beans

Directions:

1.  Place the beef, Dashida, garlic, black pepper, and onions in a large pan.  Cook until the beef is browned.

2.  Stir in the vinegar, soy sauce, water and achote powder.  Cook for about 5 minutes.

3.  Stir in your vegetables.  Cook long enough to reheat the vegetables (if frozen), or until the fresh vegetables are cooked to your liking.

4.  Serve with hot white rice and ENJOY!  🙂


Short Ribs Soup (Kådun Kåtne)

It’s cold and rainy right now in the Colorado Rockies…perfect weather for Short Ribs Soup.  We call this Kådun Kåtne in Chamorro.  You can substitute short ribs with your favorite cut of beef–other favorites are oxtails (don’t knock it ’till you try it) and beef shanks.

You can even change this up further by adding your favorite vegetables–potatoes, taro, other types of squash, and baby bok choy are delicious in this recipe too!

Give my recipe a try.  I think you’ll like it.  🙂


SHORT RIBS SOUP (KÅDUN KÅTNE)

IMG_0841

INGREDIENTS:

  • 3 packages (9 pieces) thick cut short ribs (rinse each piece well)
  • 1 large onion, diced
  • 2 tablespoons minced garlic
  • 8-10 cups water
  • 6 tablespoons Dashida beef flavored seasoning
  • Black pepper, to taste
  • 1 small head cabbage, cut into small pieces
  • 4 small yellow squash, peeled and cubed

DIRECTIONS:

1.  Place half of the diced onions in a large soup pot.  Add the short ribs and garlic.  Brown the ribs on all sides over medium high heat.

IMG_0411 IMG_0415 IMG_0424

2.  After the ribs are browned on all sides, add 8 cups of the water, the remaining onions and Dashida.  Place a lid on the pot and bring to a boil.  Every now and then, skim off and discard any scum that rises to the surface.

IMG_0433

3.  Cook the ribs for 45 minutes to an hour over medium high heat.  Keep the lid covered while cooking; uncover only to skim off any scum on the surface then replace the lid.  If you need to, add the remaining water (keep the ribs submerged in liquid during cooking).  After an hour, the ribs should be tender.  If the ribs are not as tender as you’d like, cook for 15-20 more minutes.

This is what the scum looks like — you want to scoop this out and discard it.

IMG_0834

4.  When the ribs are done (and as tender as you’d like them), add the vegetables.  First, layer the cabbage on top of the ribs.  Press down on the cabbage, just slightly so that the leaves are moistened with the broth.  Layer the squash on top of the cabbage leaves, also pressing them into the broth (do not stir the vegetables into the soup–they will cook ON TOP of the ribs).  Cook for 5 minutes then turn off the heat.

IMG_0835 IMG_0836 IMG_0838

NOTE:

Before serving, I usually scoop out a good amount of kådu (soup broth) into a freezer-safe bowl, then place the bowl in the freezer for several minutes.  All of the fat will rise to the surface and harden.  After the fat solidifies, I scoop it out and discard it, then reheat the kådu.

IMG_0846 IMG_0848

5.  After the kådu is reheated, remove the pot from the heat.  Taste the broth; re-season if necessary with Dashida and pepper.  Serve with hot white rice and fina’denne’.  Enjoy!

IMG_0844

Bacon Maple Pancake Muffins

My daughter and I came up with this recipe when we were looking for something to cook for breakfast that wasn’t the traditional fried eggs with bacon (and a side of rice, of course).

We also didn’t feel like having just plain old pancakes either, but we knew we wanted bacon.  Pancakes appealed to us, but again, we wanted something new and different.

That’s when our bacon maple pancake muffins were born.  I already had a very good pancake recipe, but I wanted to incorporate the taste of maple syrup into all aspects of what would become such pretty tasty meal that could very well double as dessert if so inclined.

I did a lot of research on how to make this turn out more than just a plain baked pancake batter.  I found out that maple syrup is slightly acidic, and therefore, I needed to counteract that by adding a bit of baking soda to my batter, in addition to baking powder, in order to get my muffins to rise properly.  As you can see in the photos below, these muffins have an nicely rounded dome.

I also didn’t want to serve these with a side of syrup, like we do with ordinary pancakes.  So my daughter and I decided to make a maple buttercream frosting to go on top.  I guess with the addition of the frosting, these muffins can also be called cupcakes.

What’s the difference between muffins and cupcakes, you ask?  Well, one school of thought is based on the ingredients used.  I’ve read that using more than a stick of butter and one egg makes a recipe a cake.  In my recipe, I use one stick of butter and one egg, so that’s why I call them muffins.  On the other hand, like I mentioned above, another school of thought is that if you add any type of frosting to this, it’s a cupcake.  So…what does that make my recipe….maybe I should call them muffincakes or cupcakins.  Hahaha … or maybe not.  😉

I think we should just call it DELICIOUS.  Give my recipe a try.  I think you’ll like it.  🙂

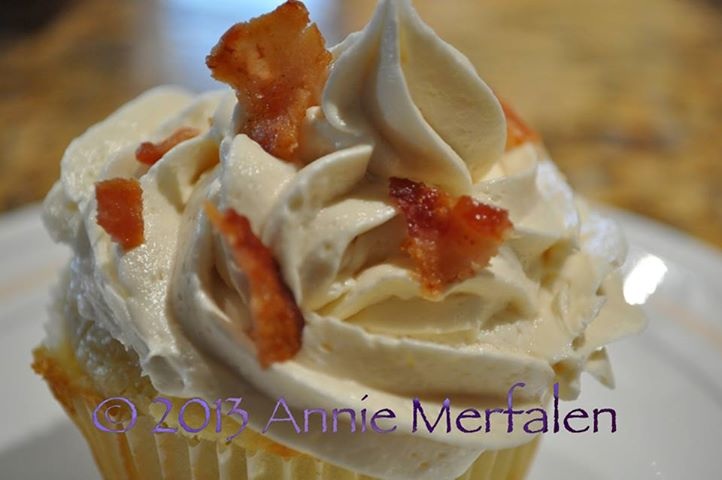
Bacon Maple Pancake Muffins topped with Maple Buttercream and Bacon Sprinkles

image

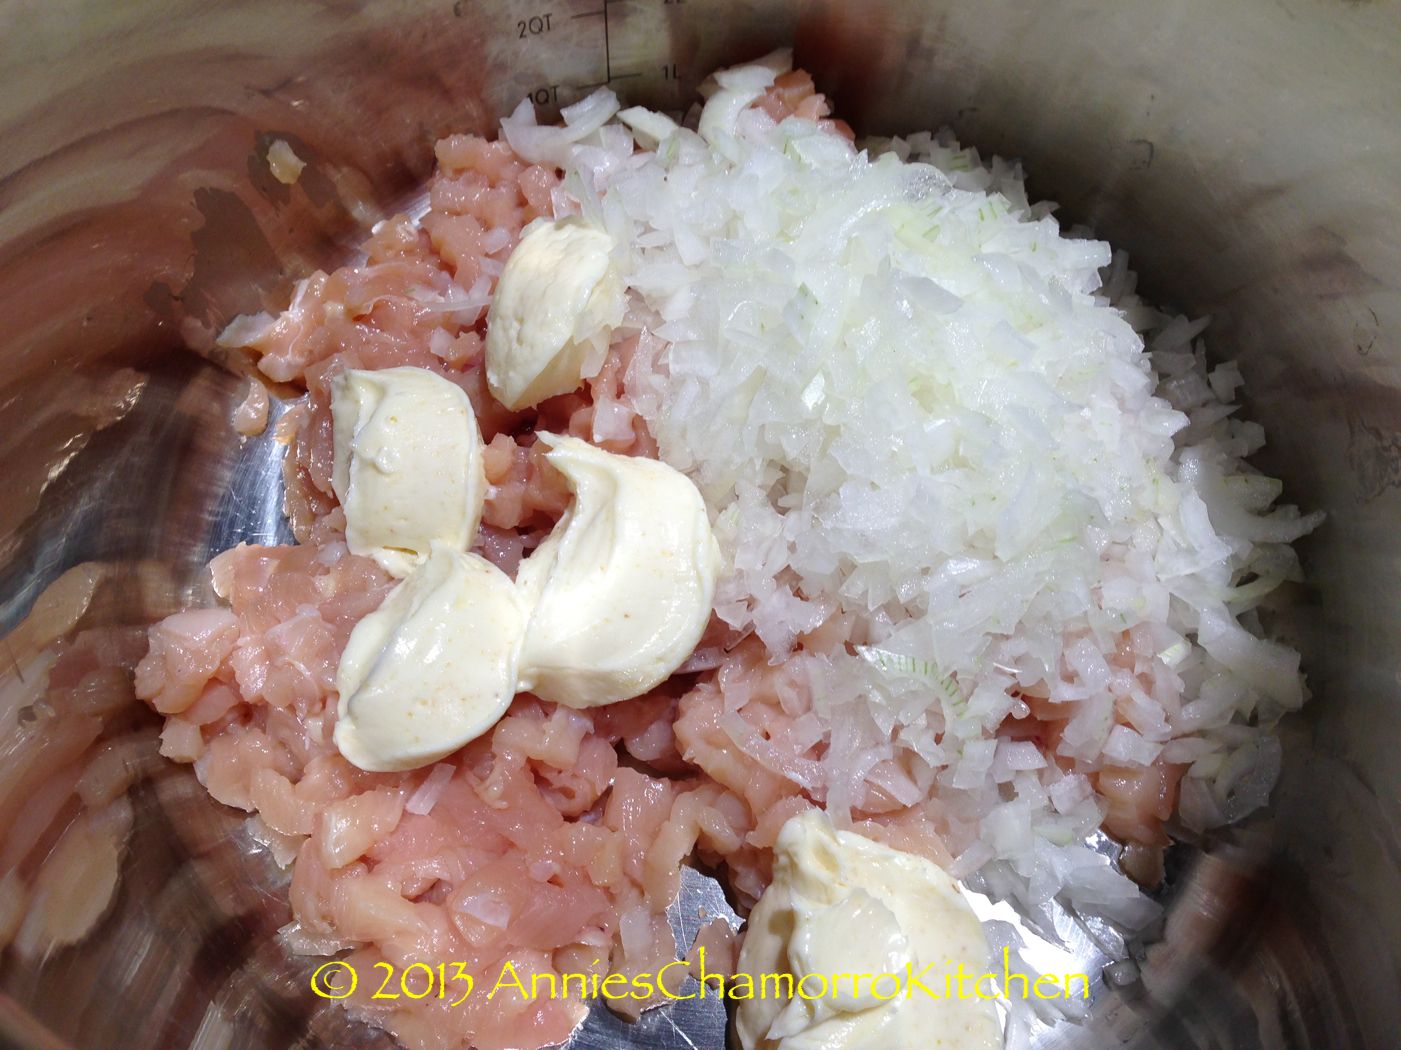
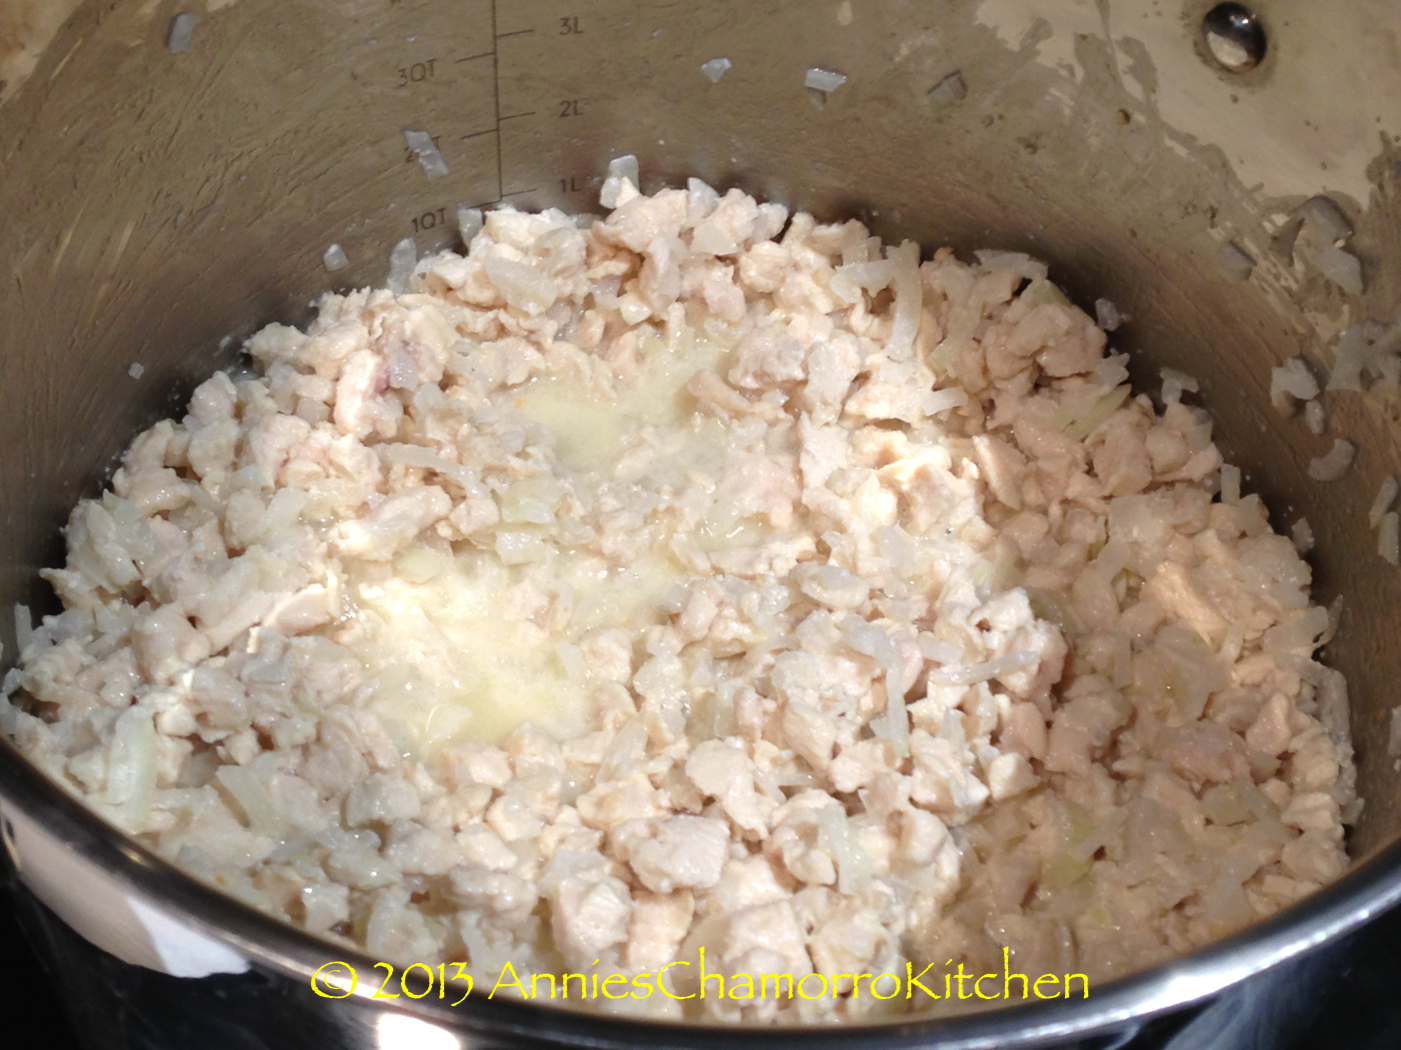
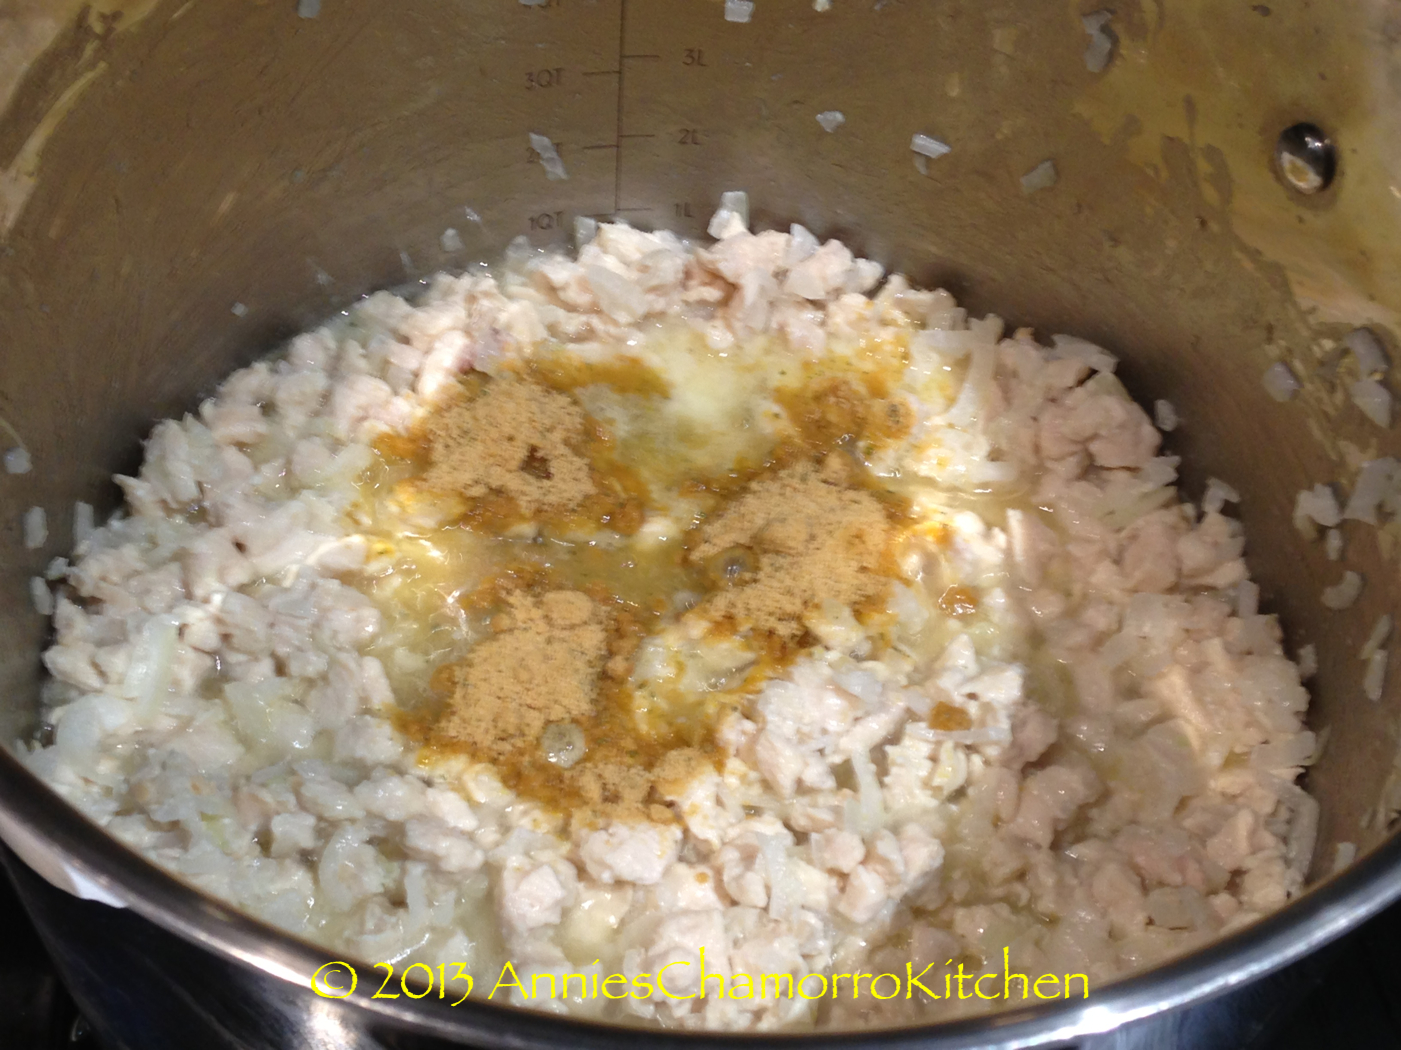
Scroll all the way to the bottom for my complete recipe.  Each of the following photos describes my step-by-step process.


image

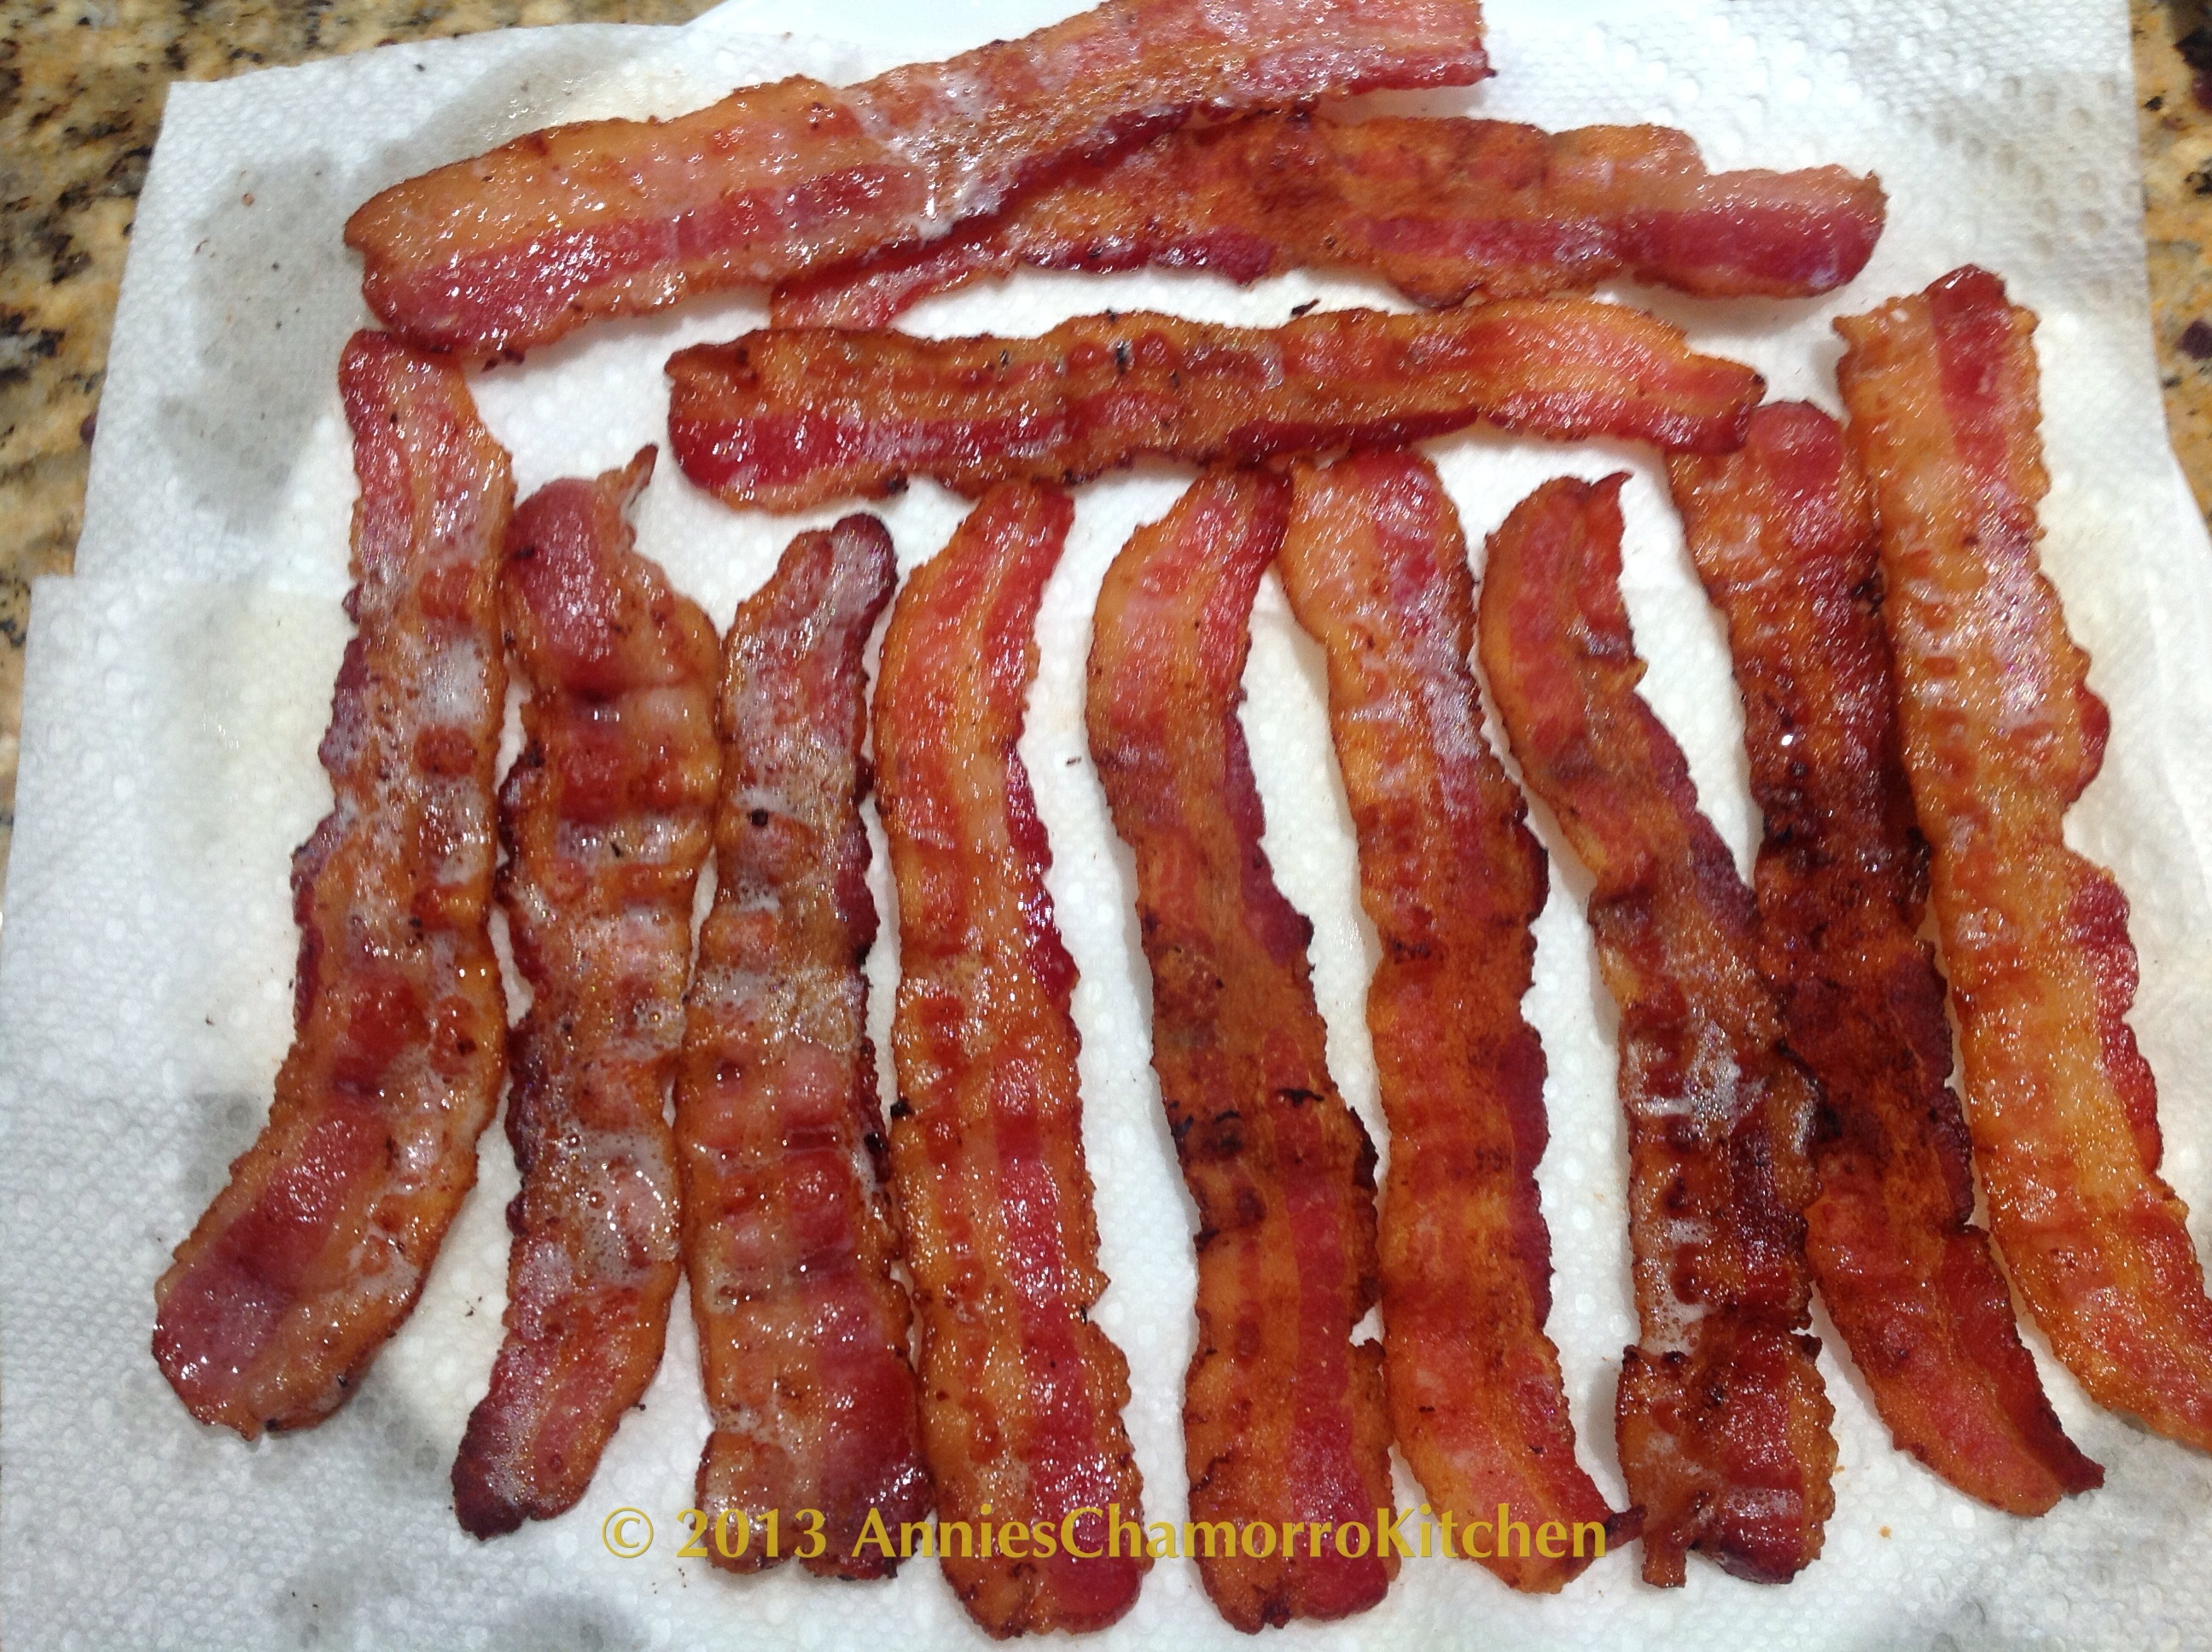
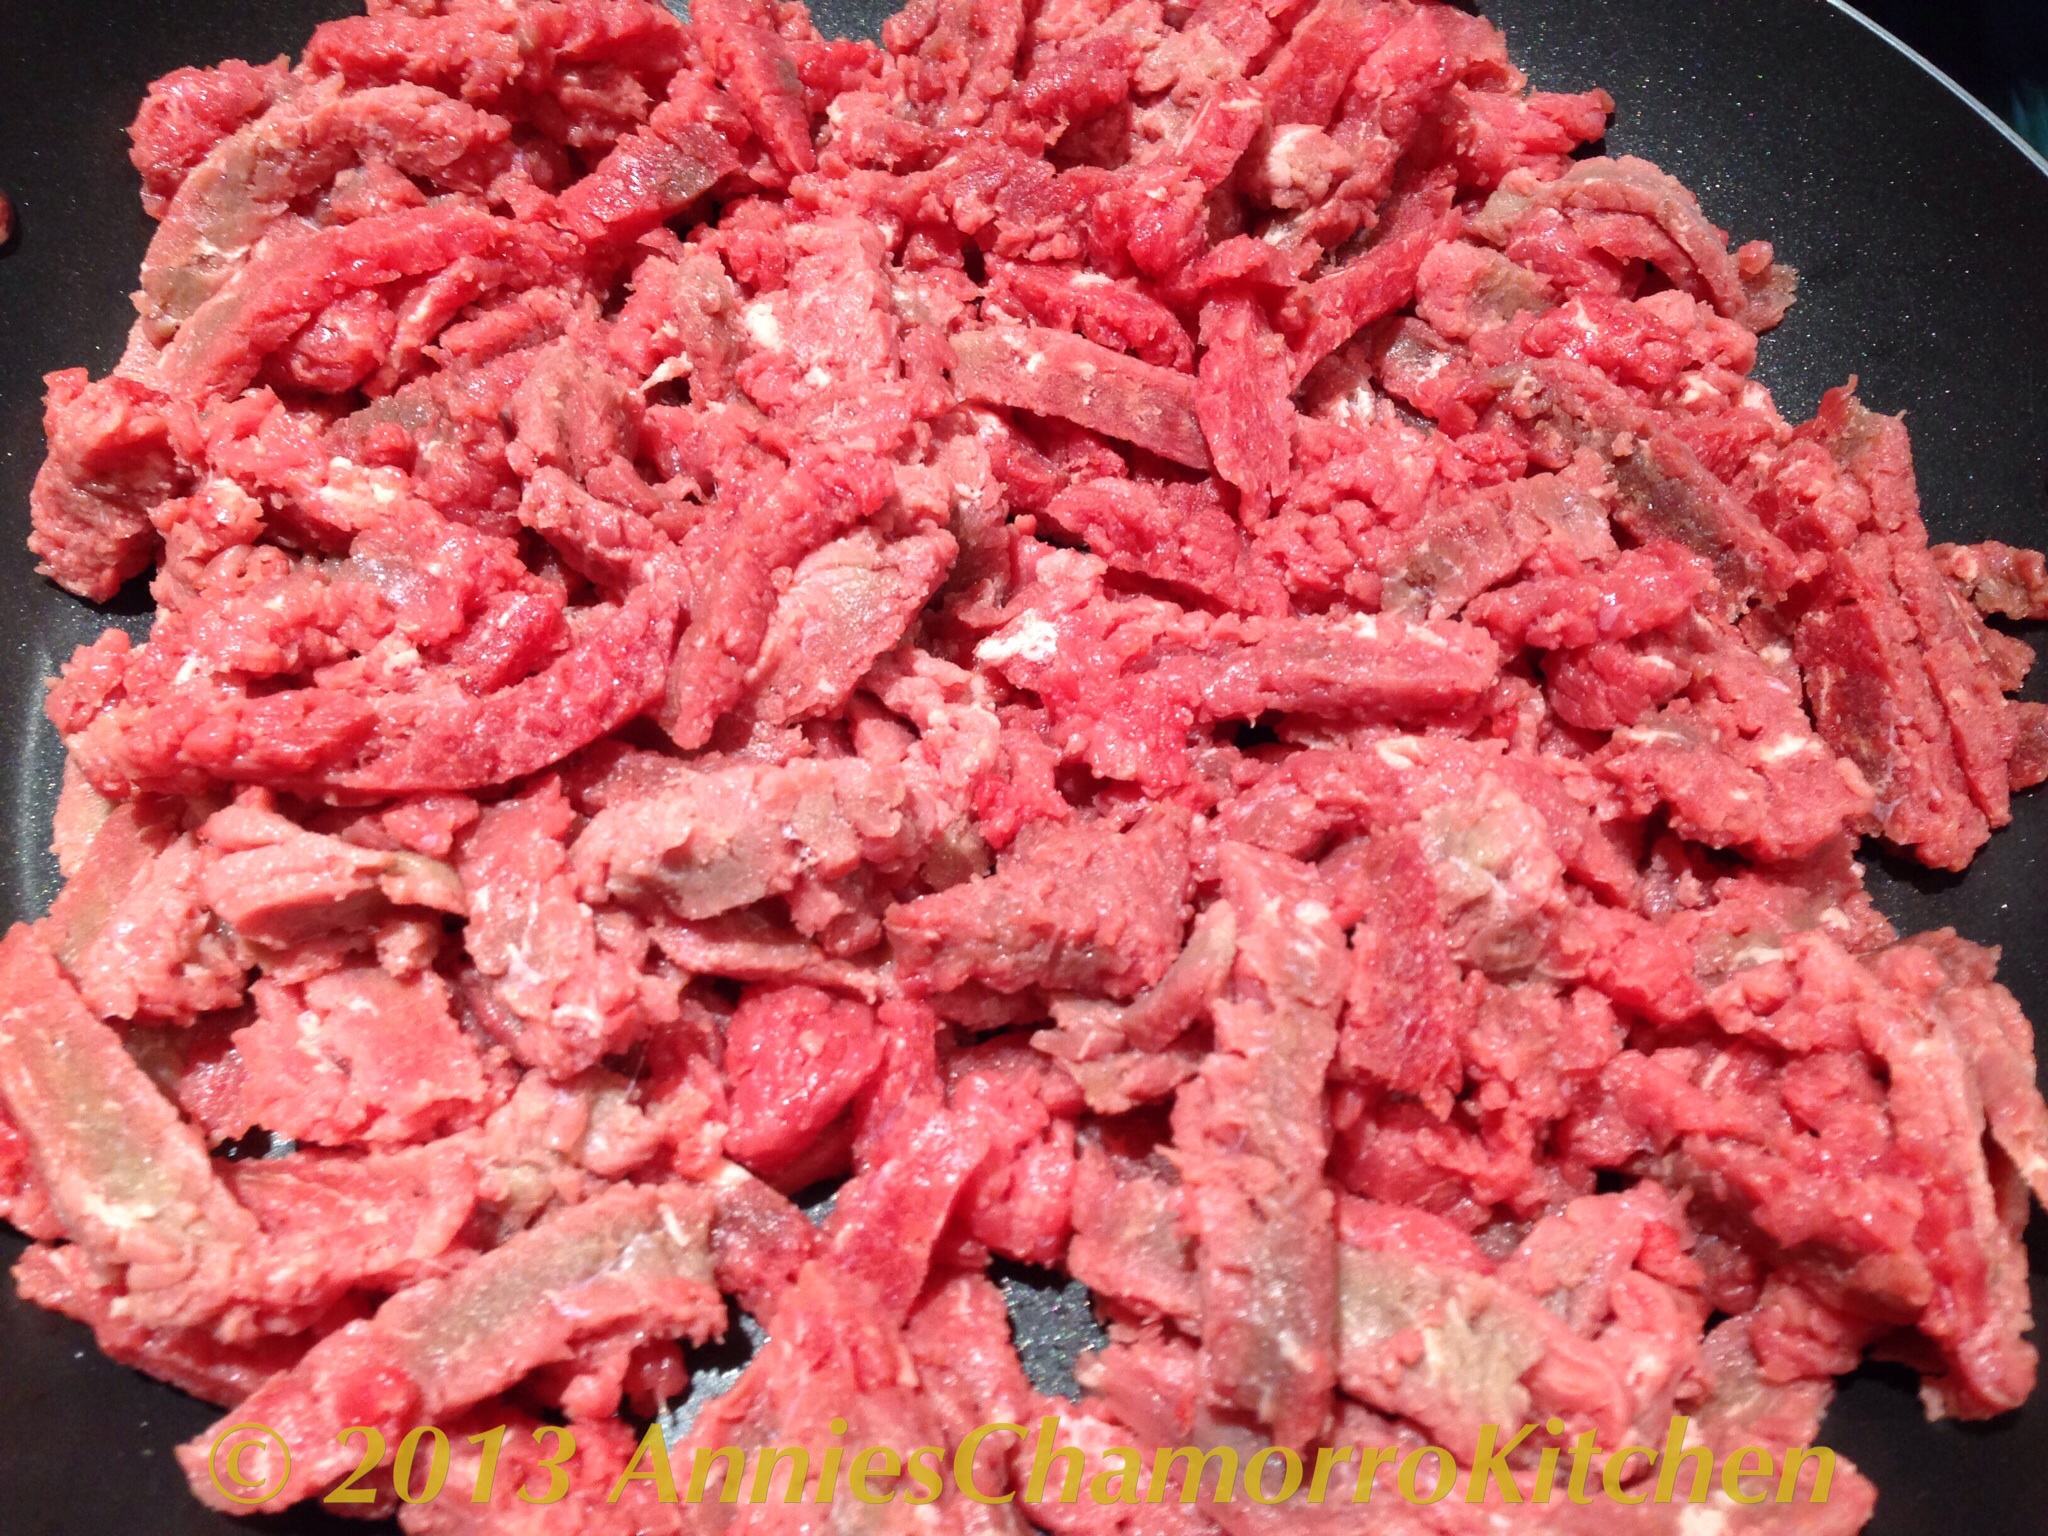
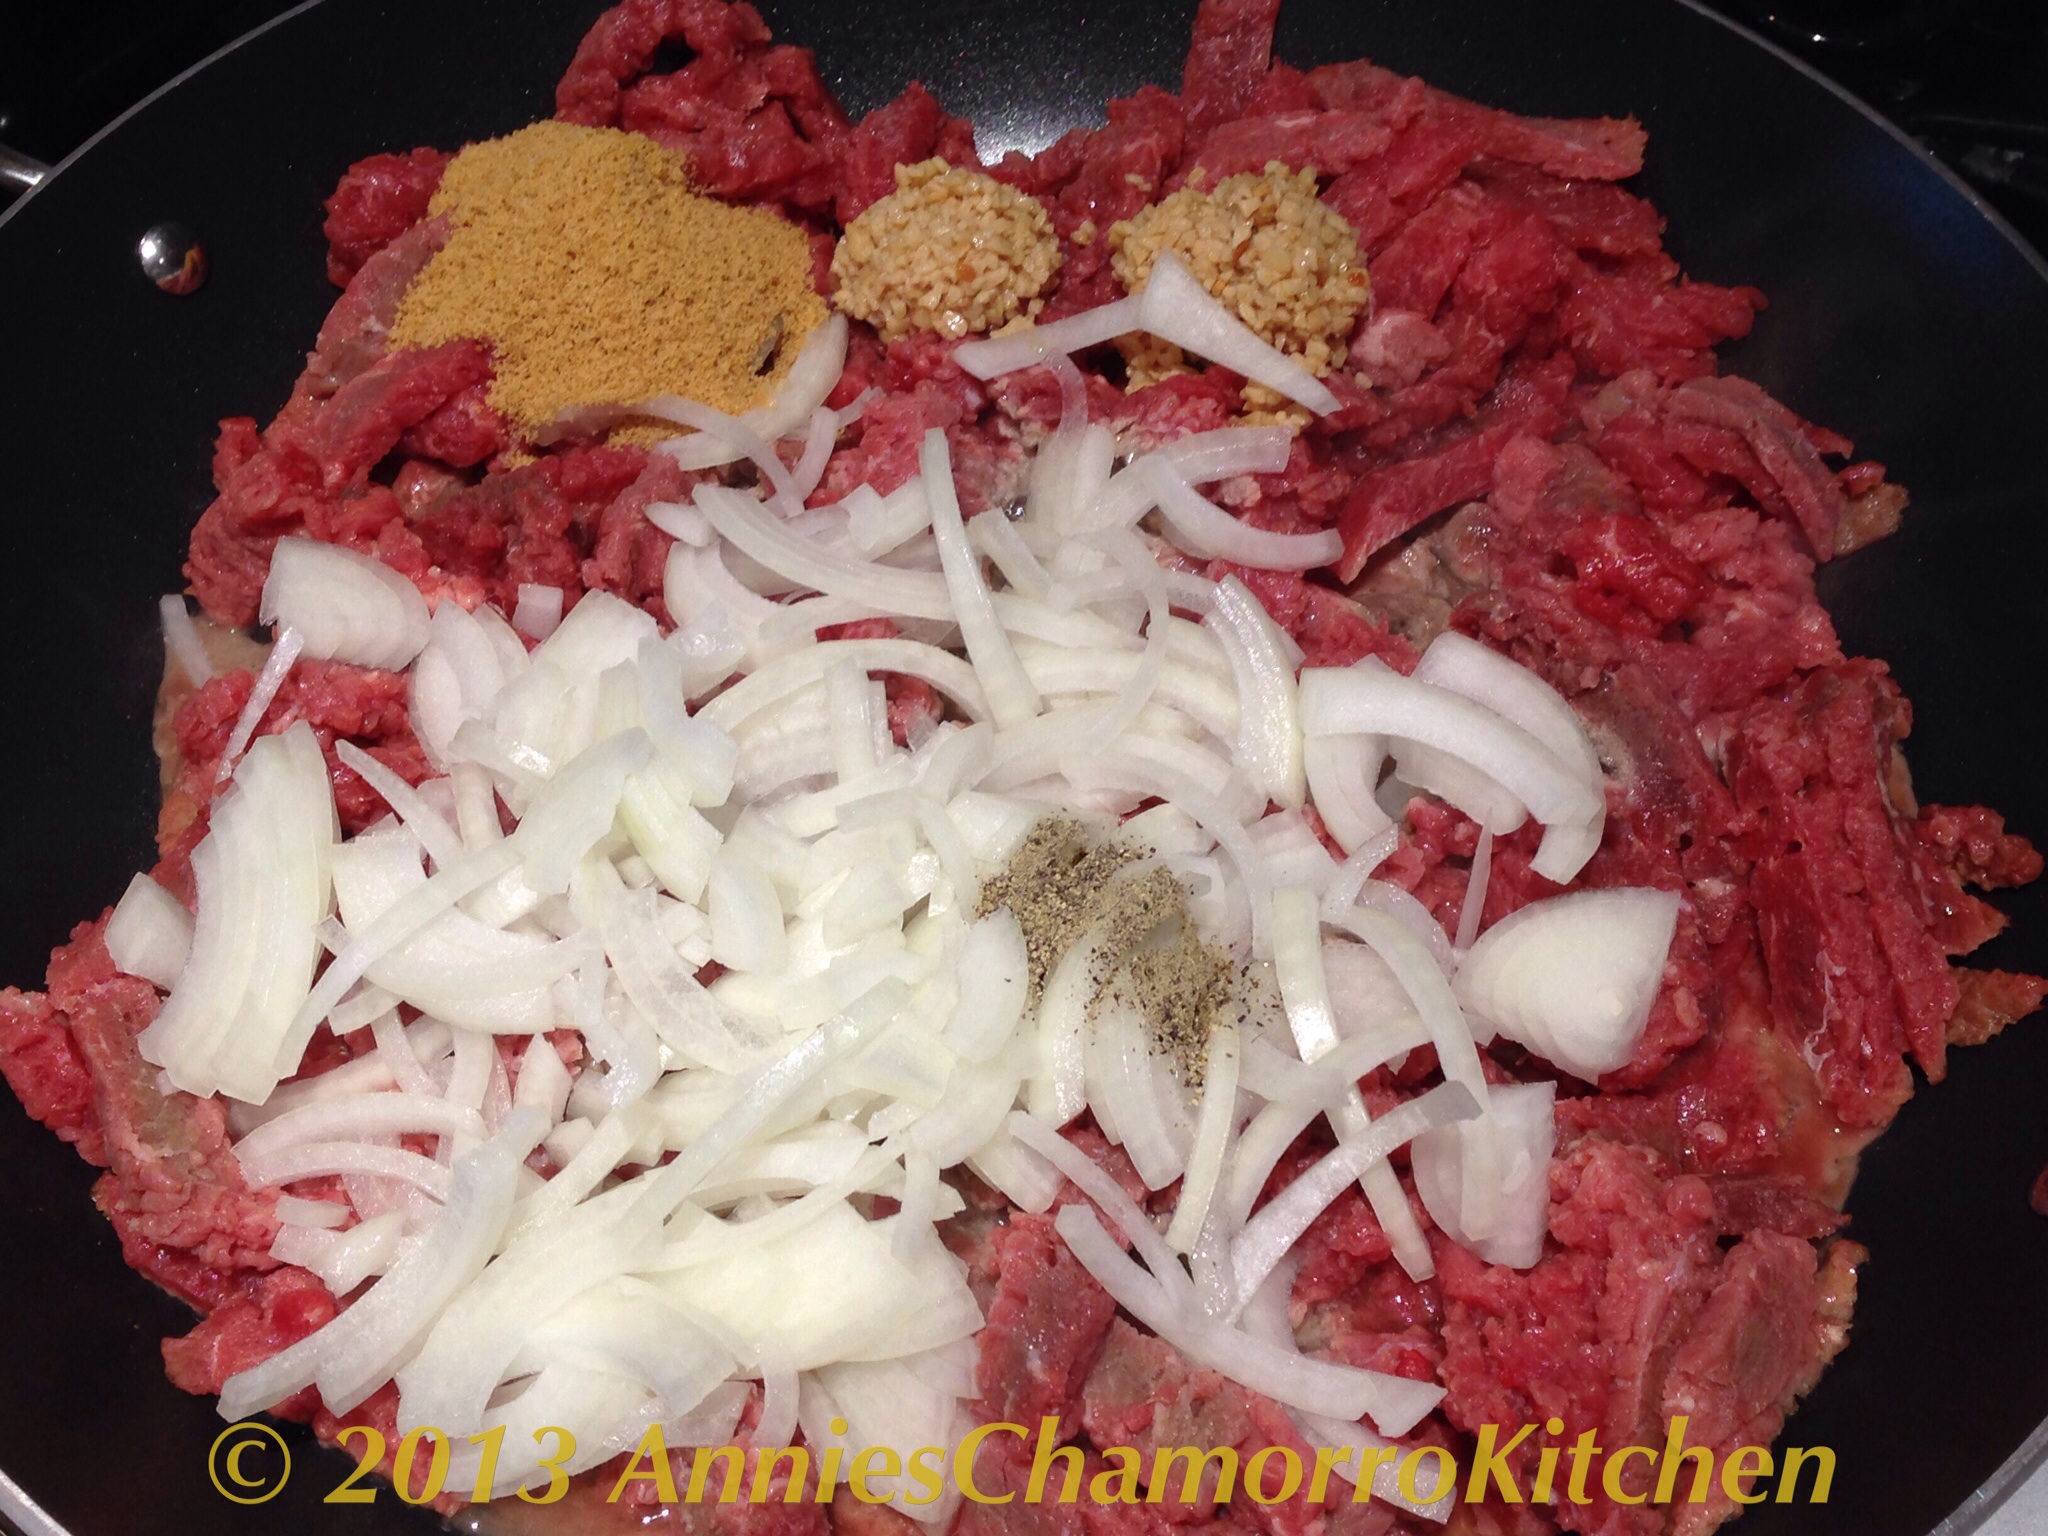
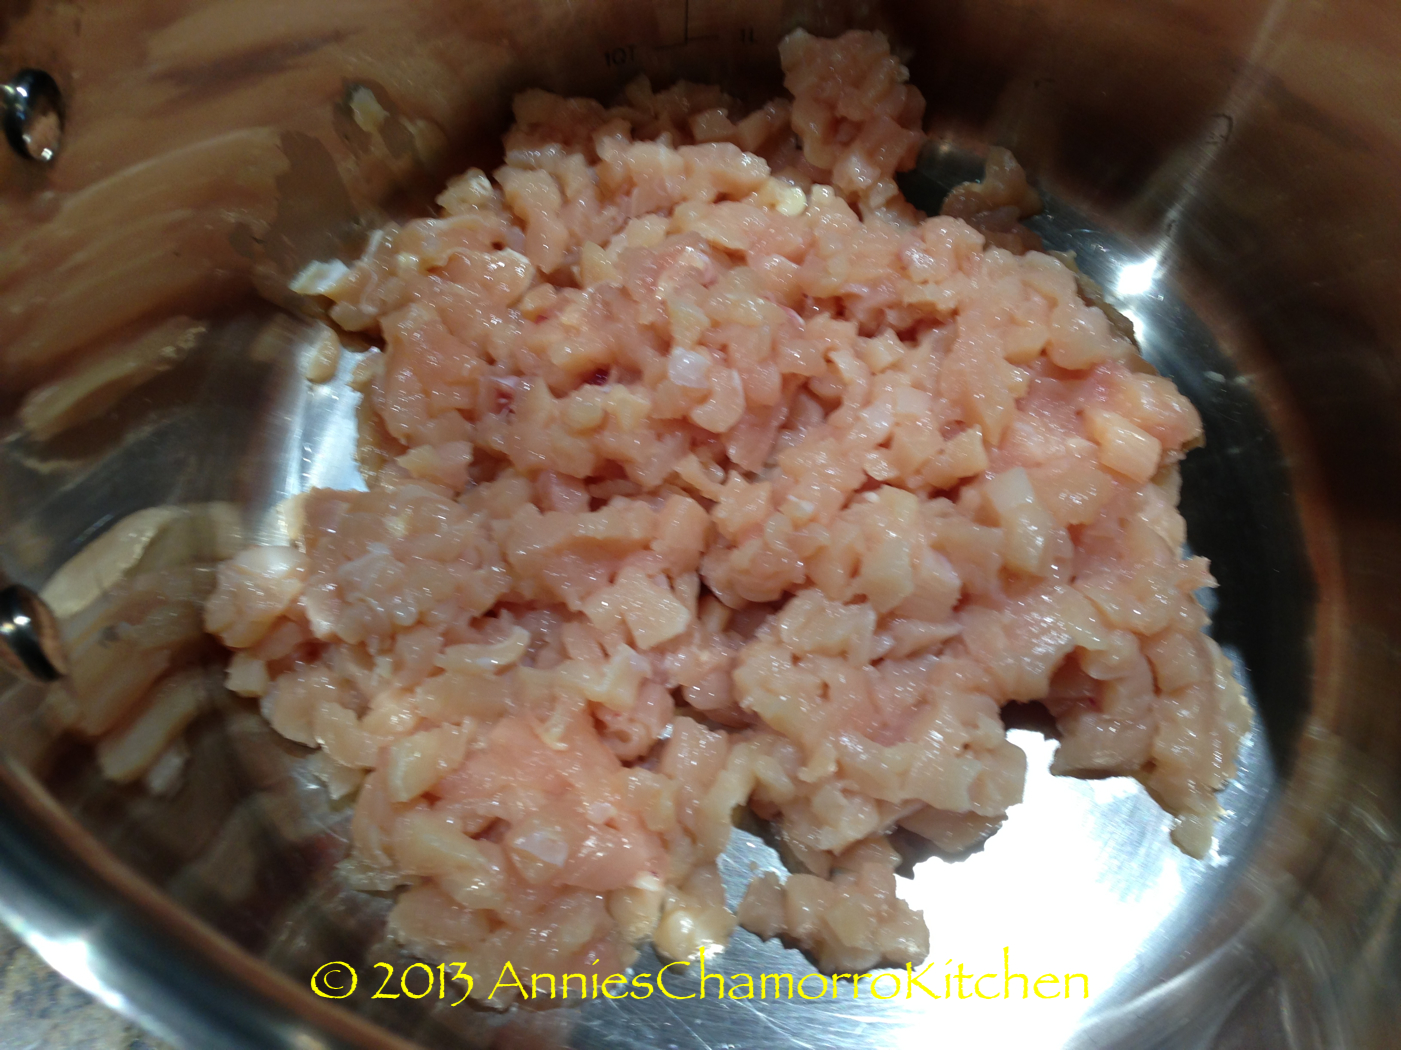
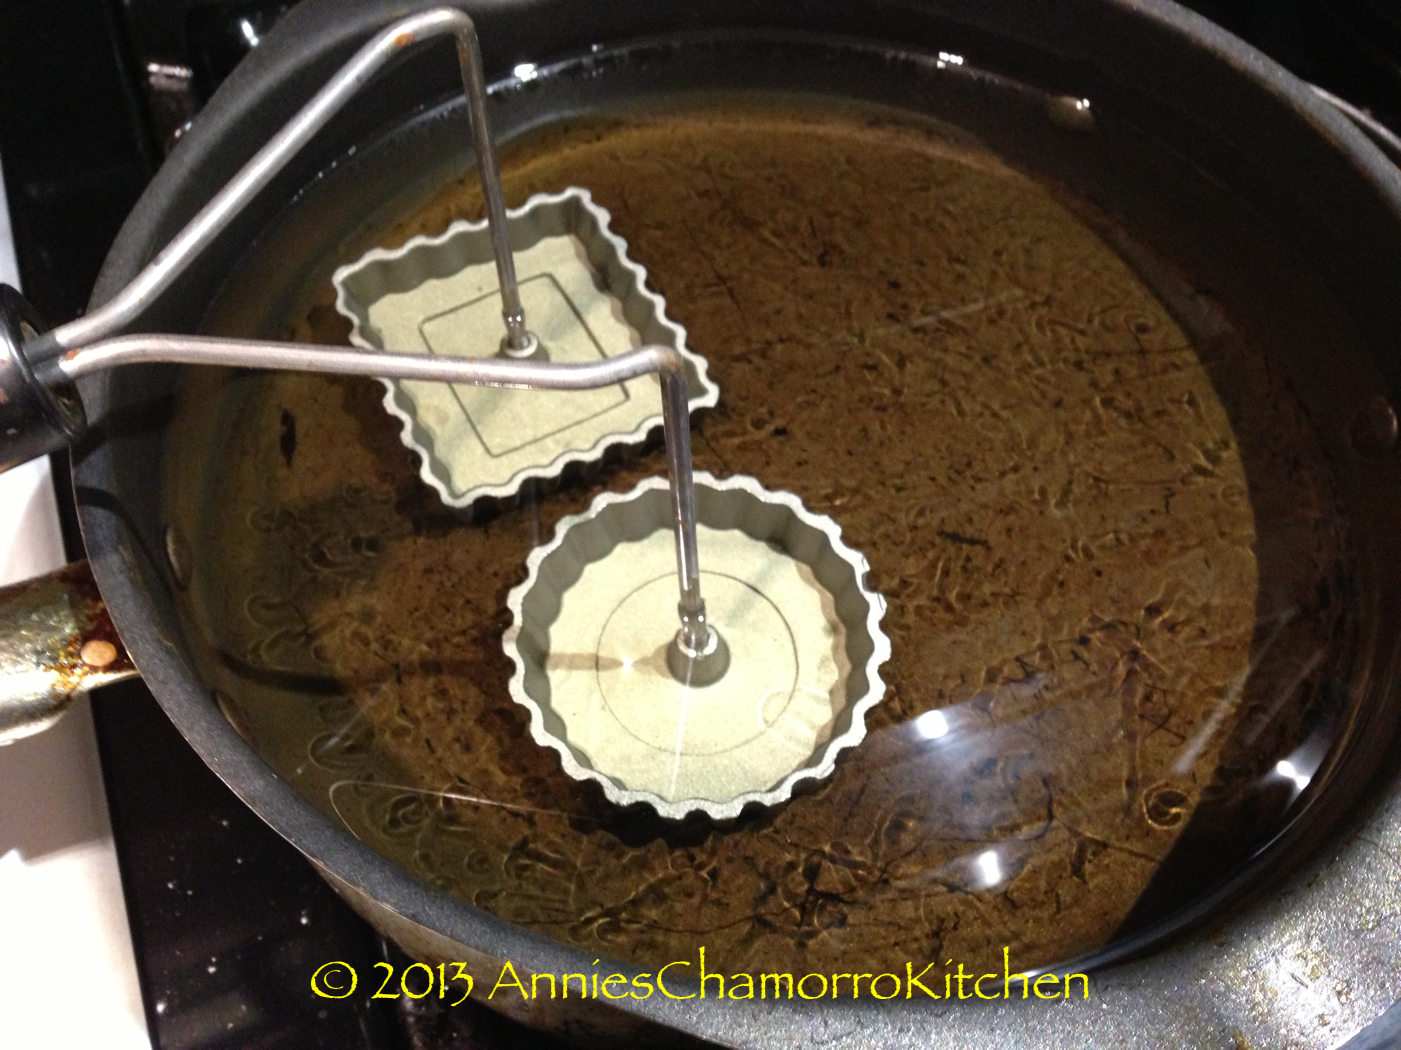
Fry bacon until crisp.


image

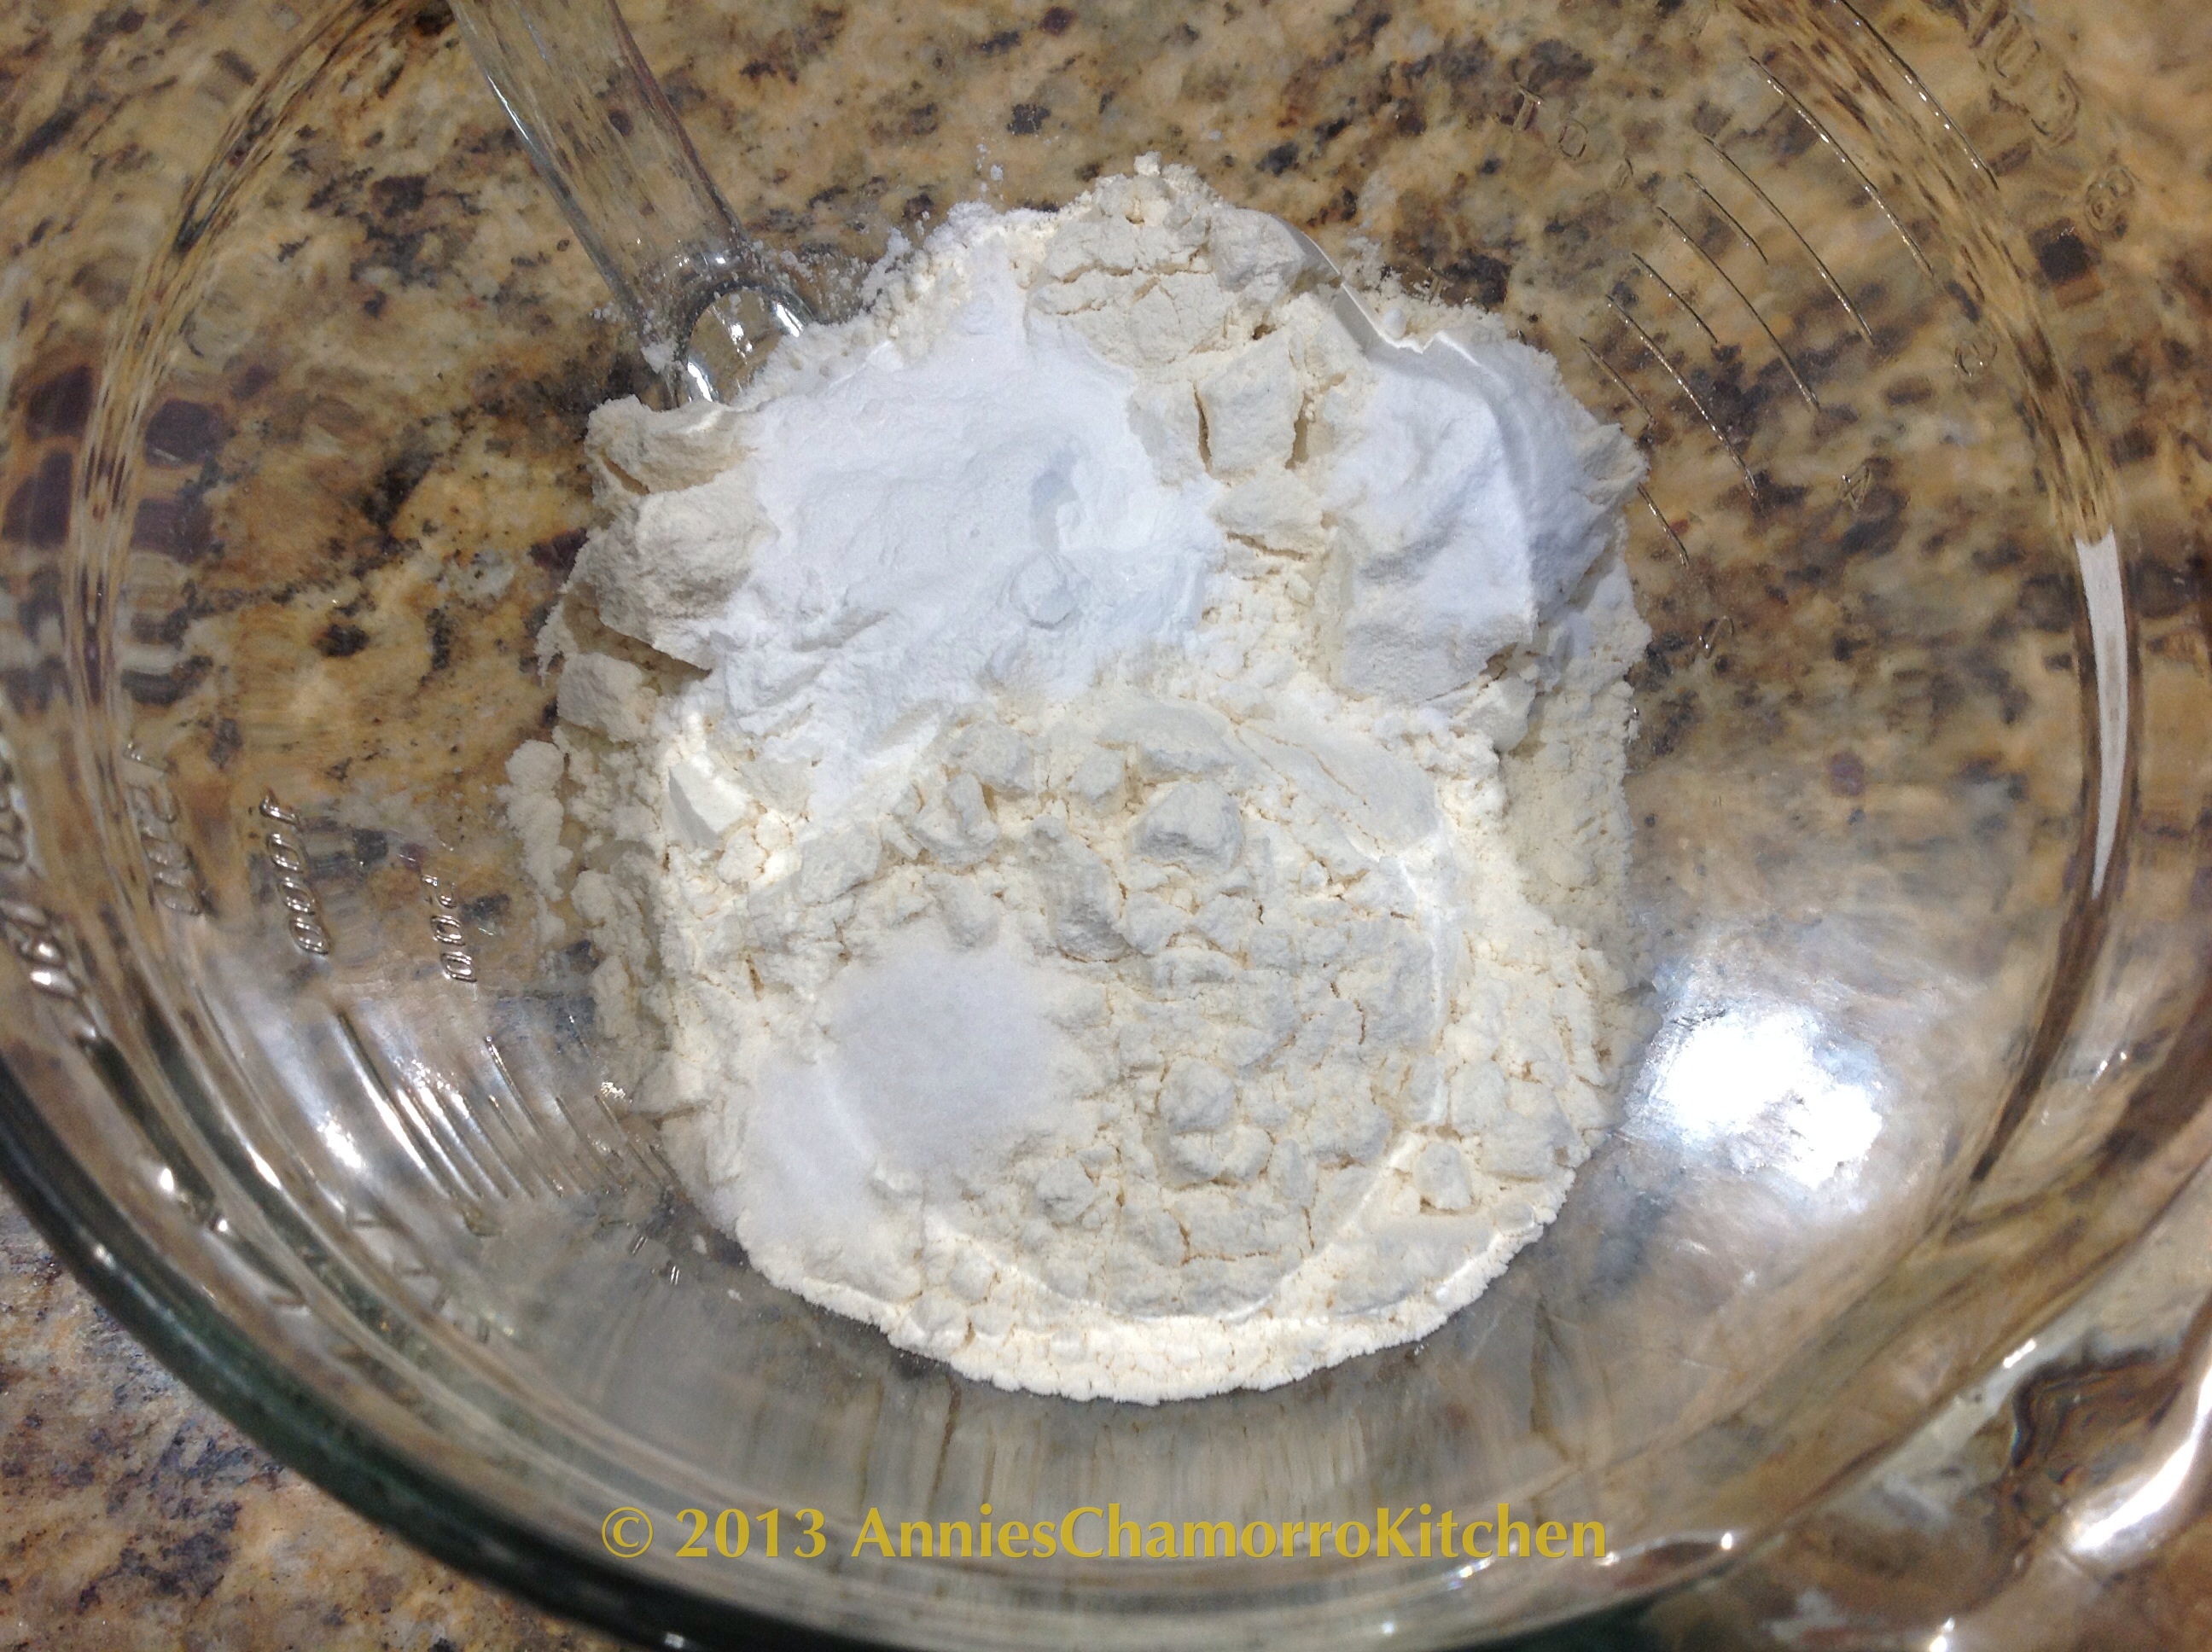
Mix the dry ingredients together.


image

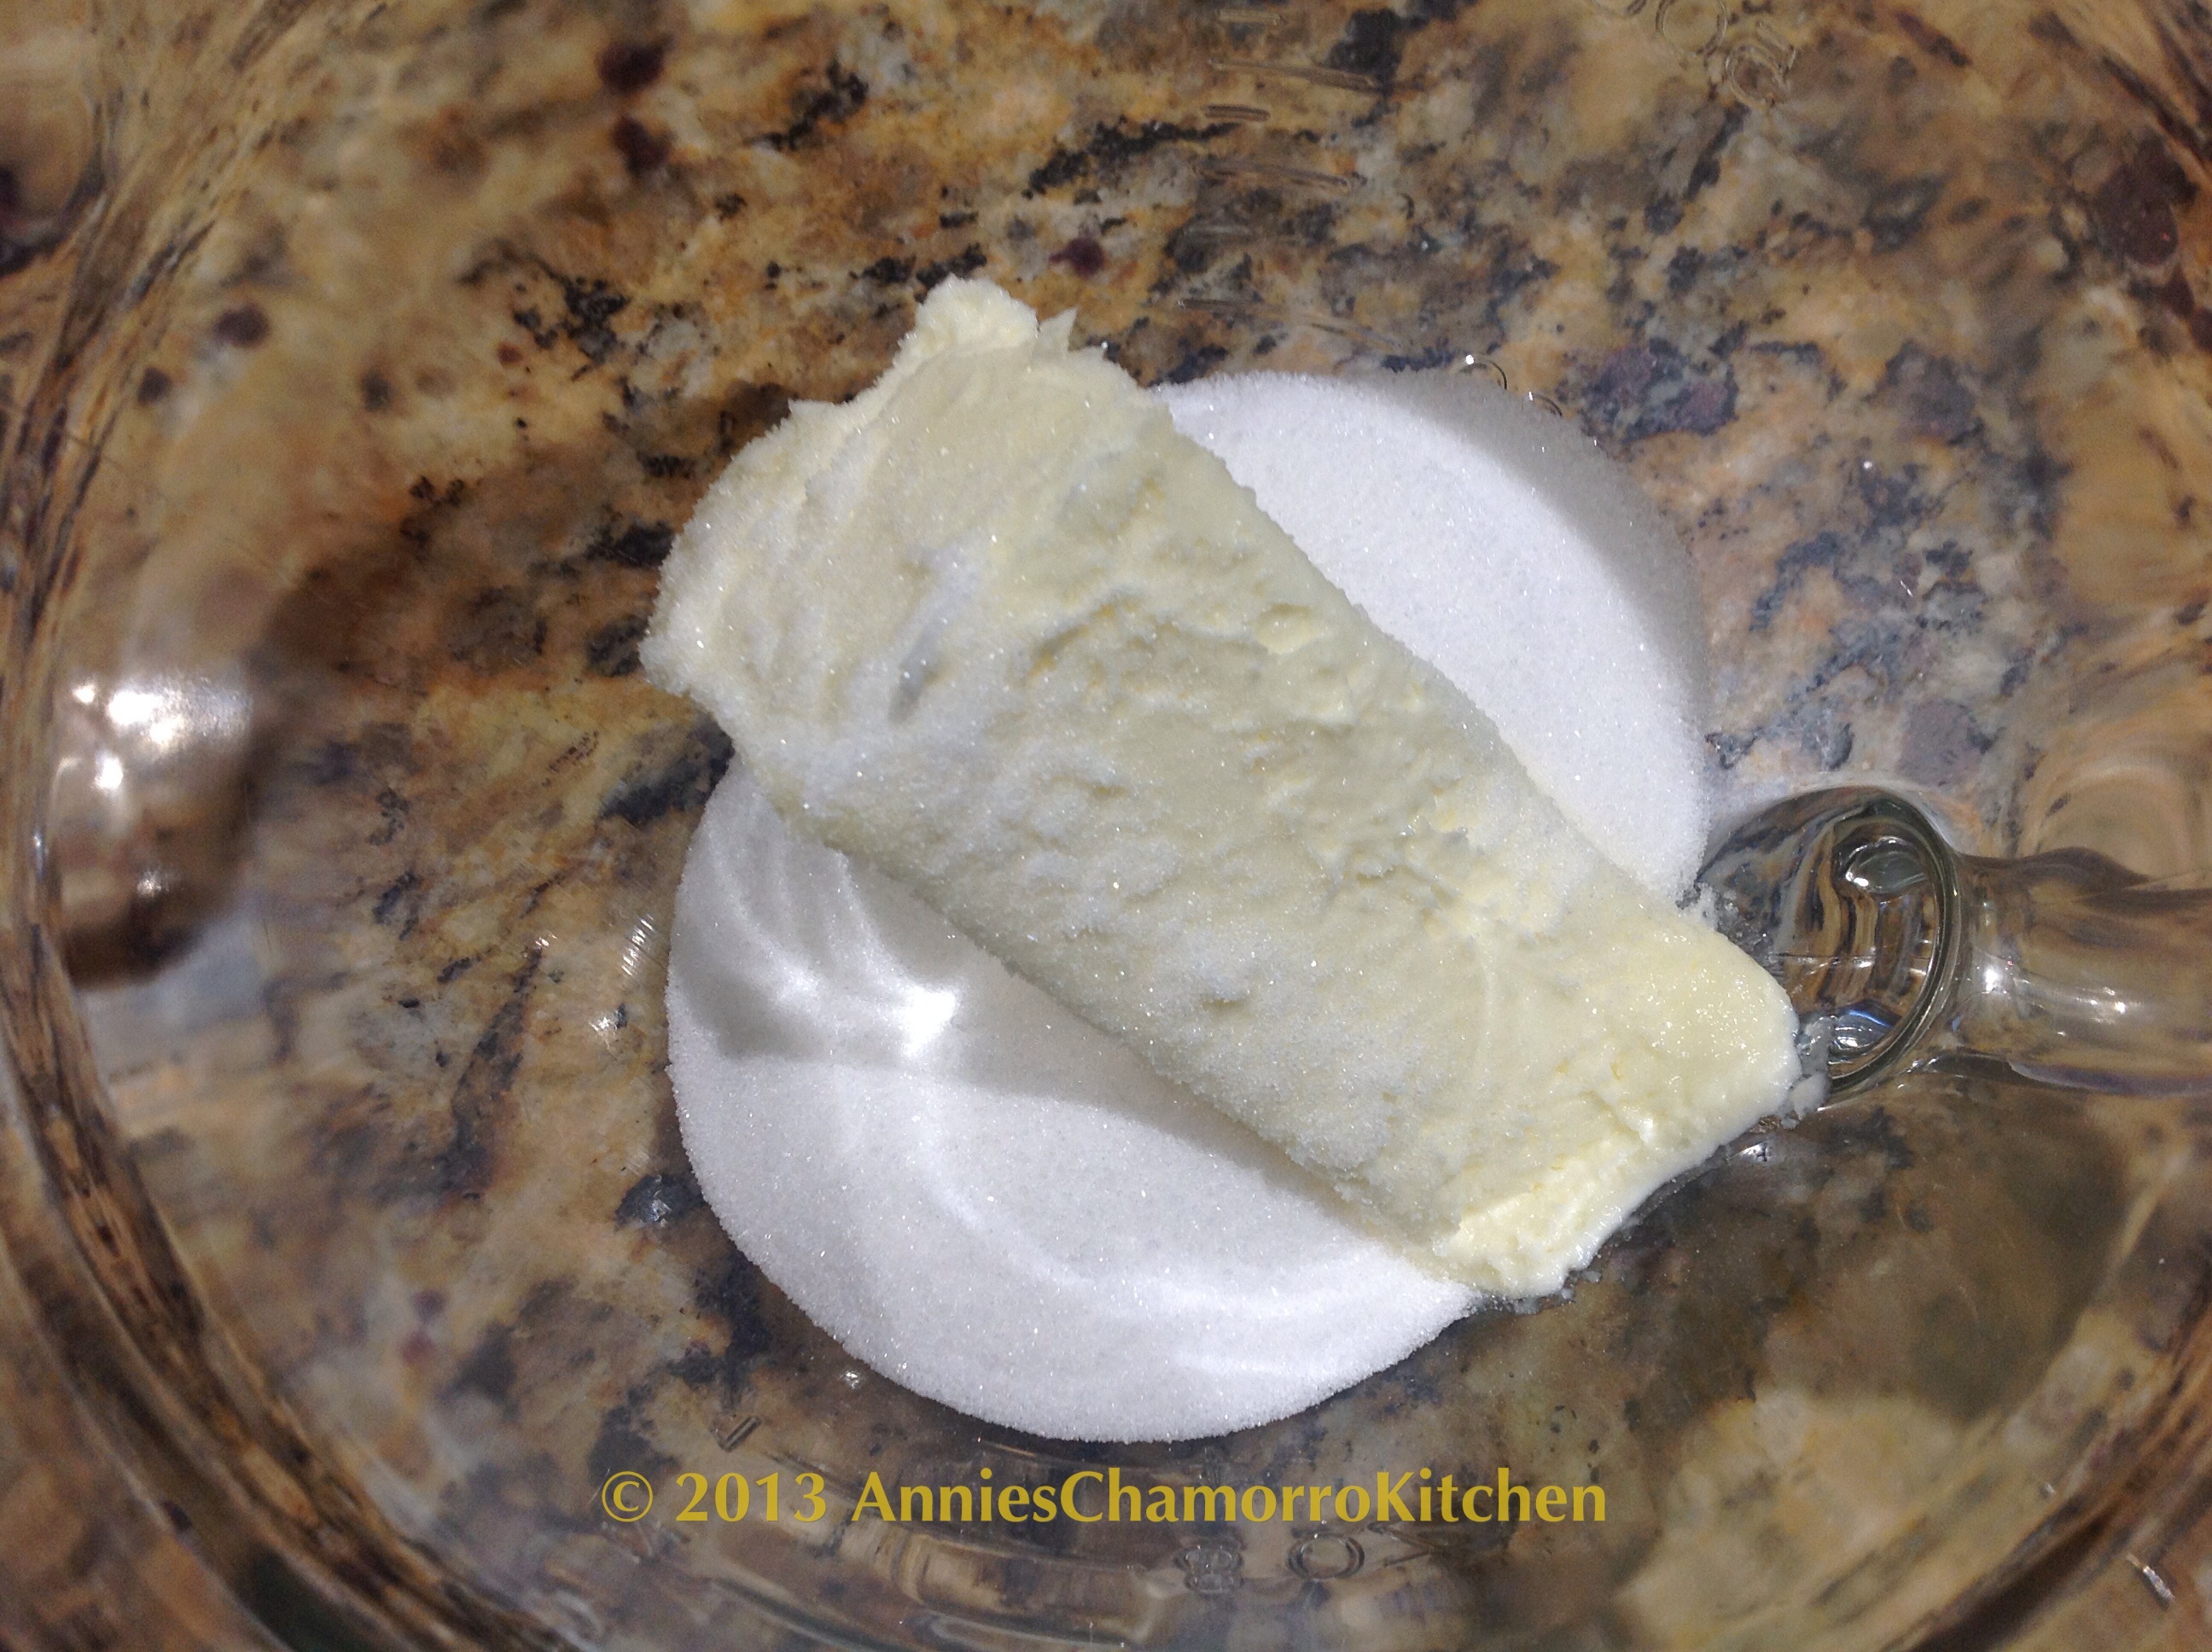
In a separate mixing bowl, roughly cream the butter and sugar together.


image

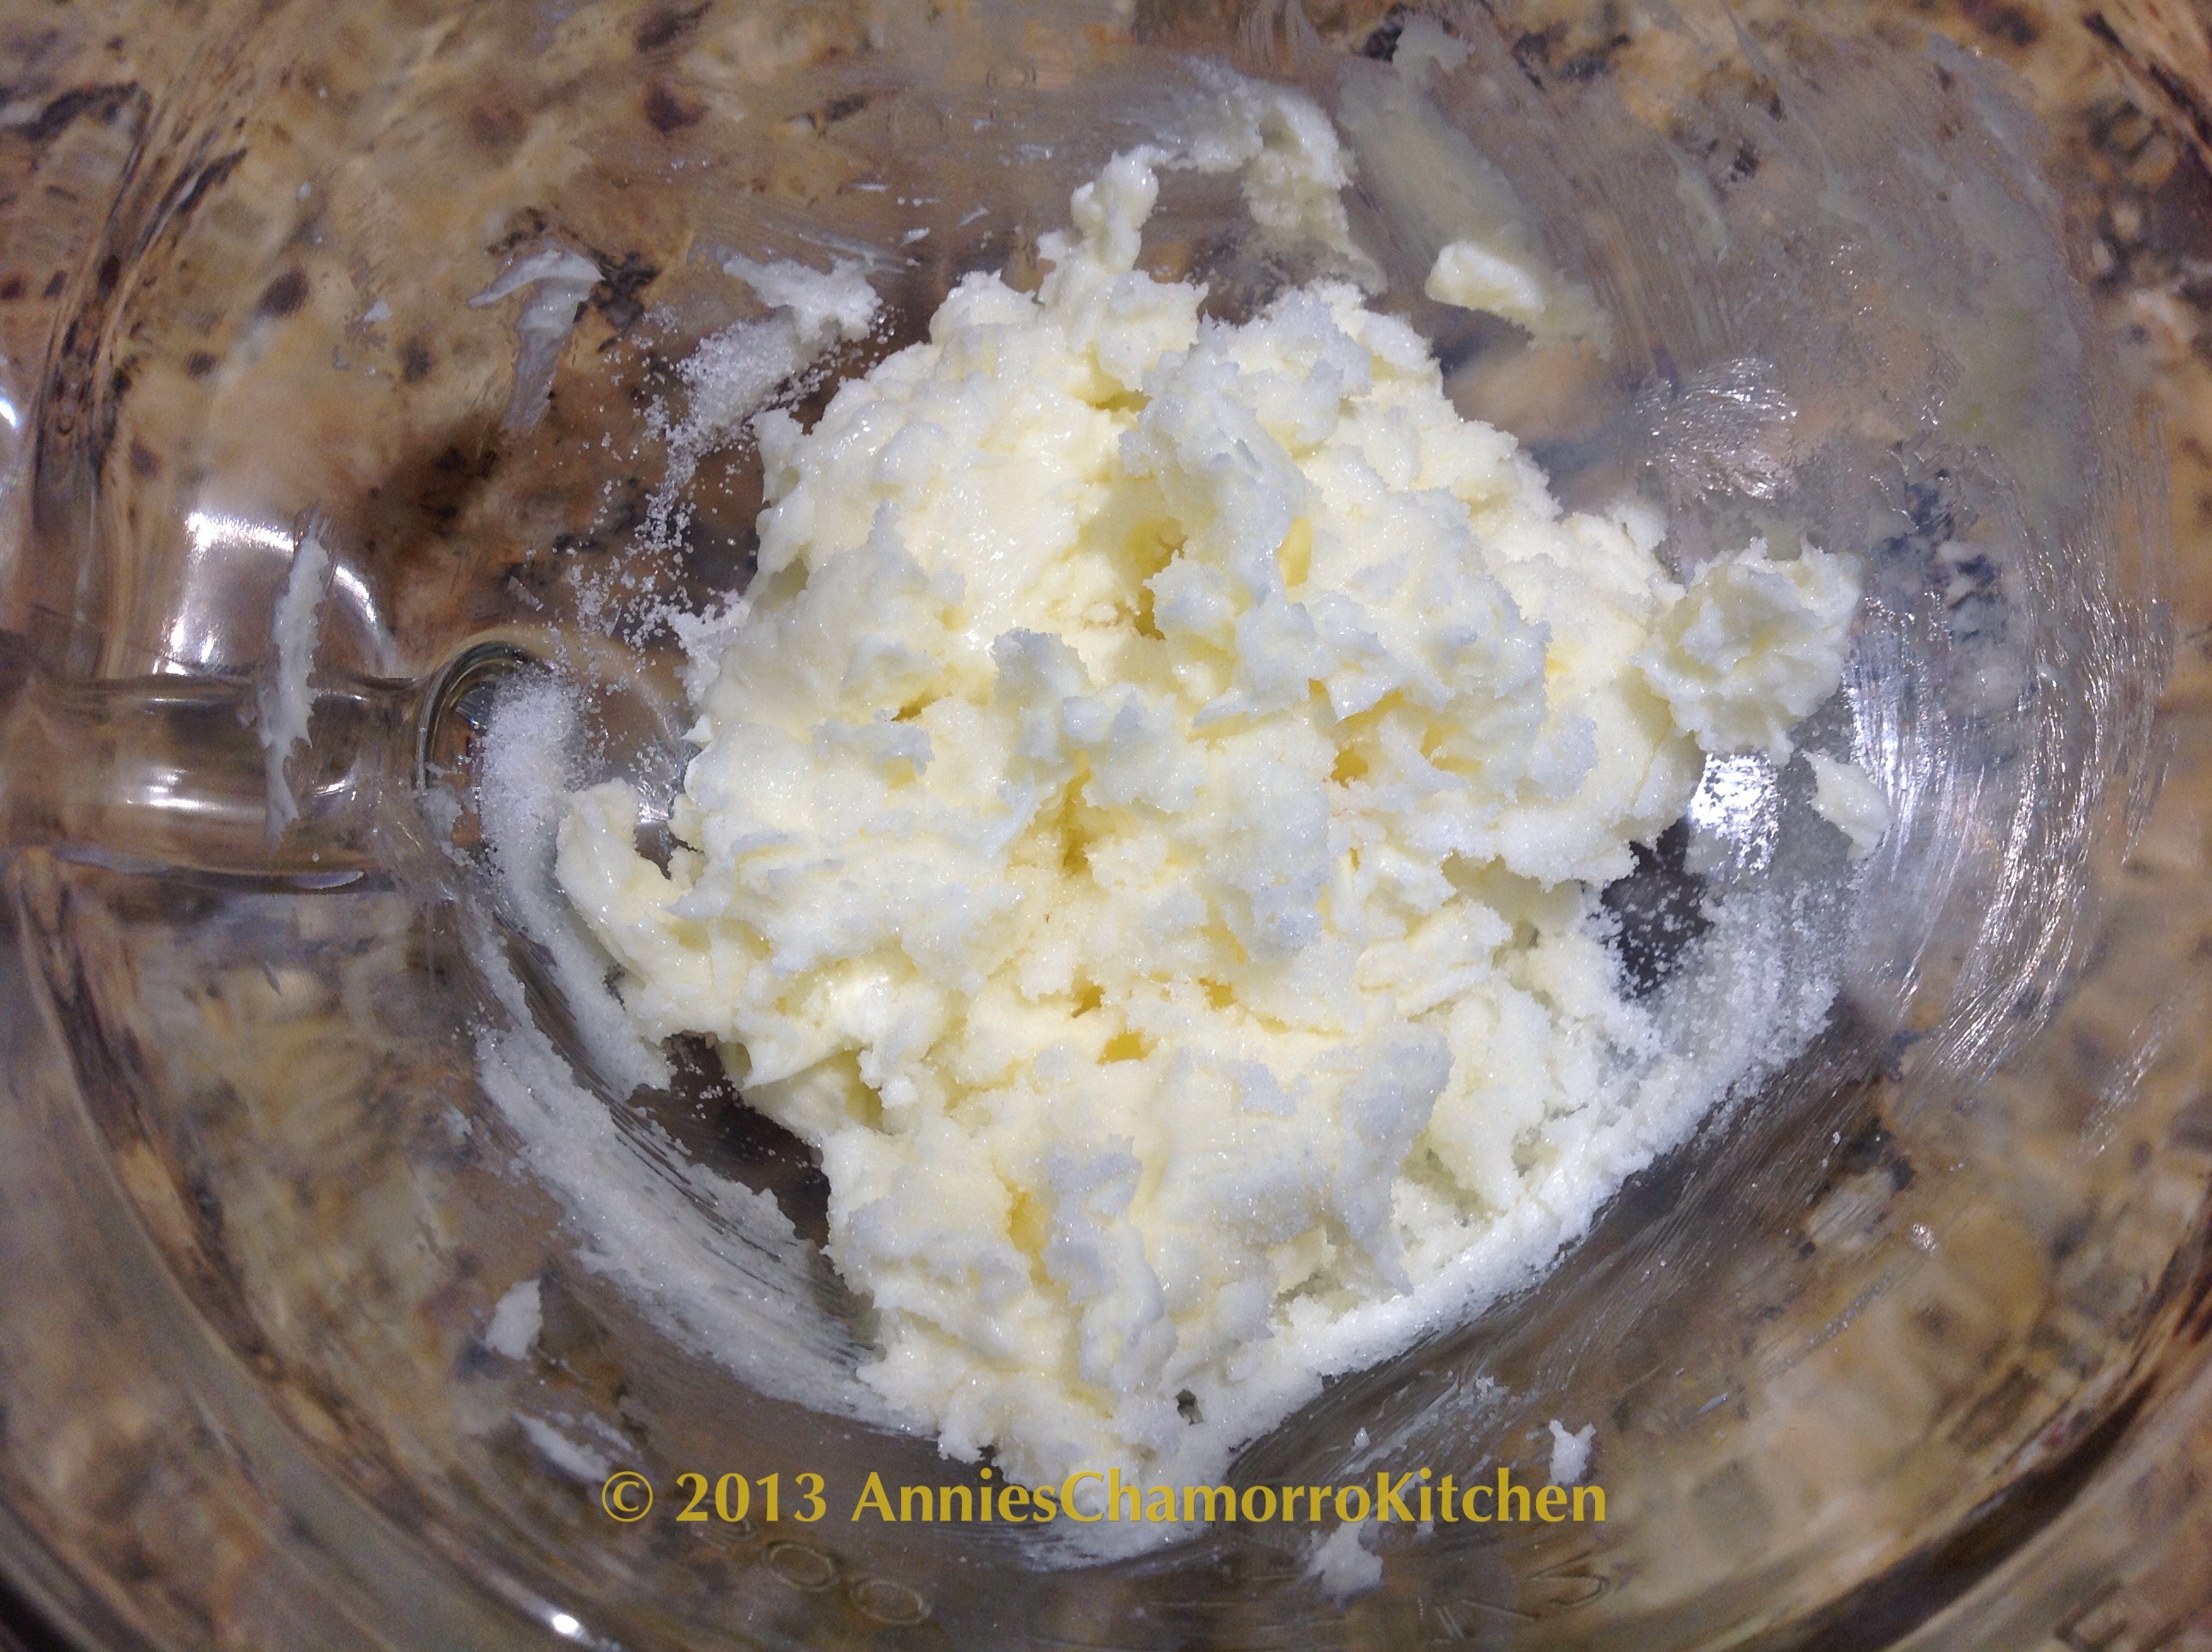
I left a stick of butter on the countertop overnight to ensure it was softened in the morning.  You don’t need to use a whisk or mixer to cream the butter with the sugar.  I used a fork to do this since the butter was so soft.  *Note:  Do not use melted butter.


image

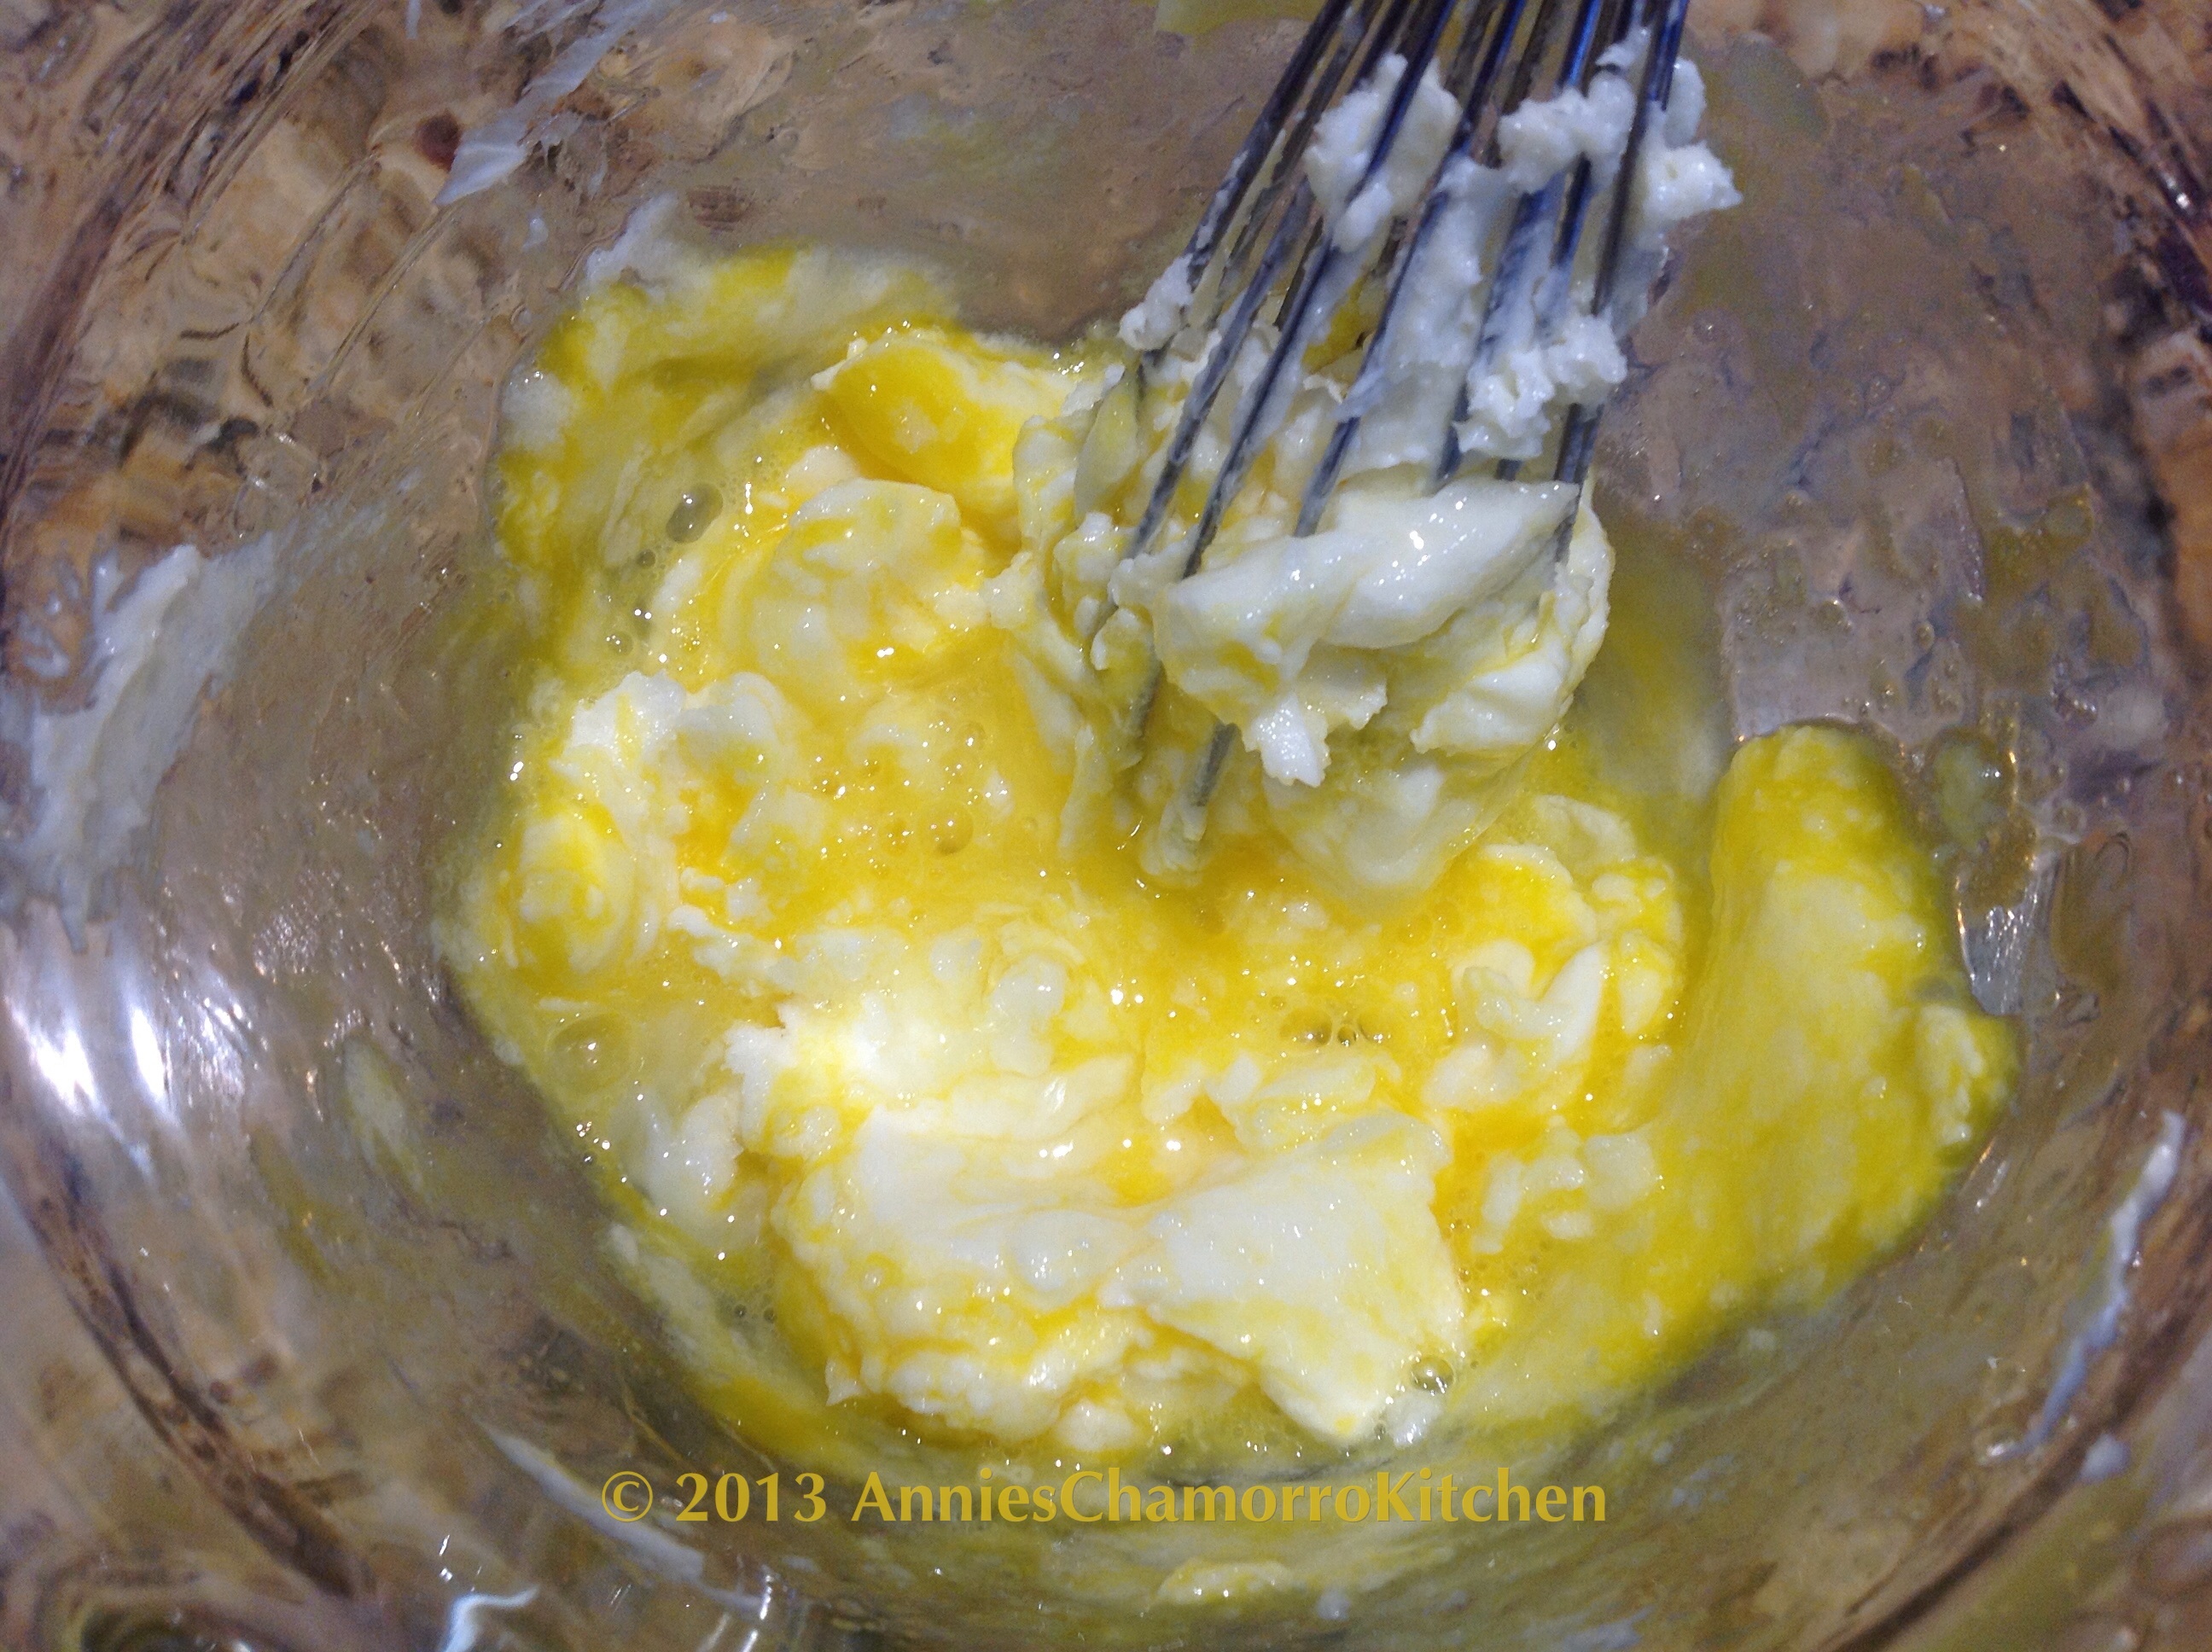
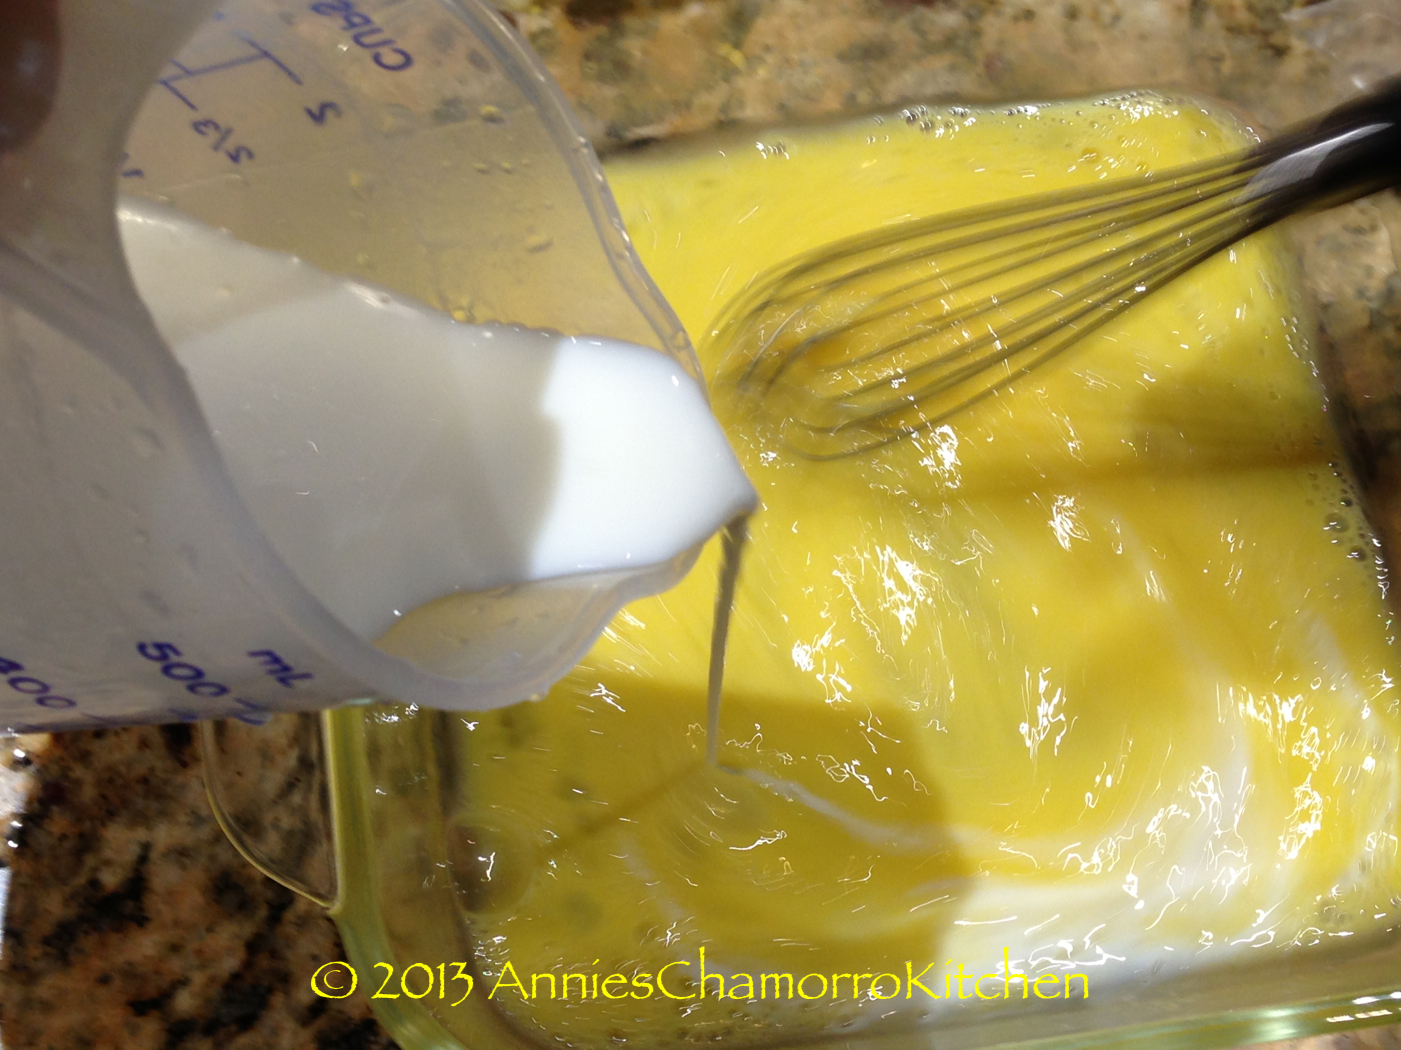
Mix the egg into the butter-sugar mixture.  I pulled out a whisk to mix in the egg, but you can do this with a fork as well.


image

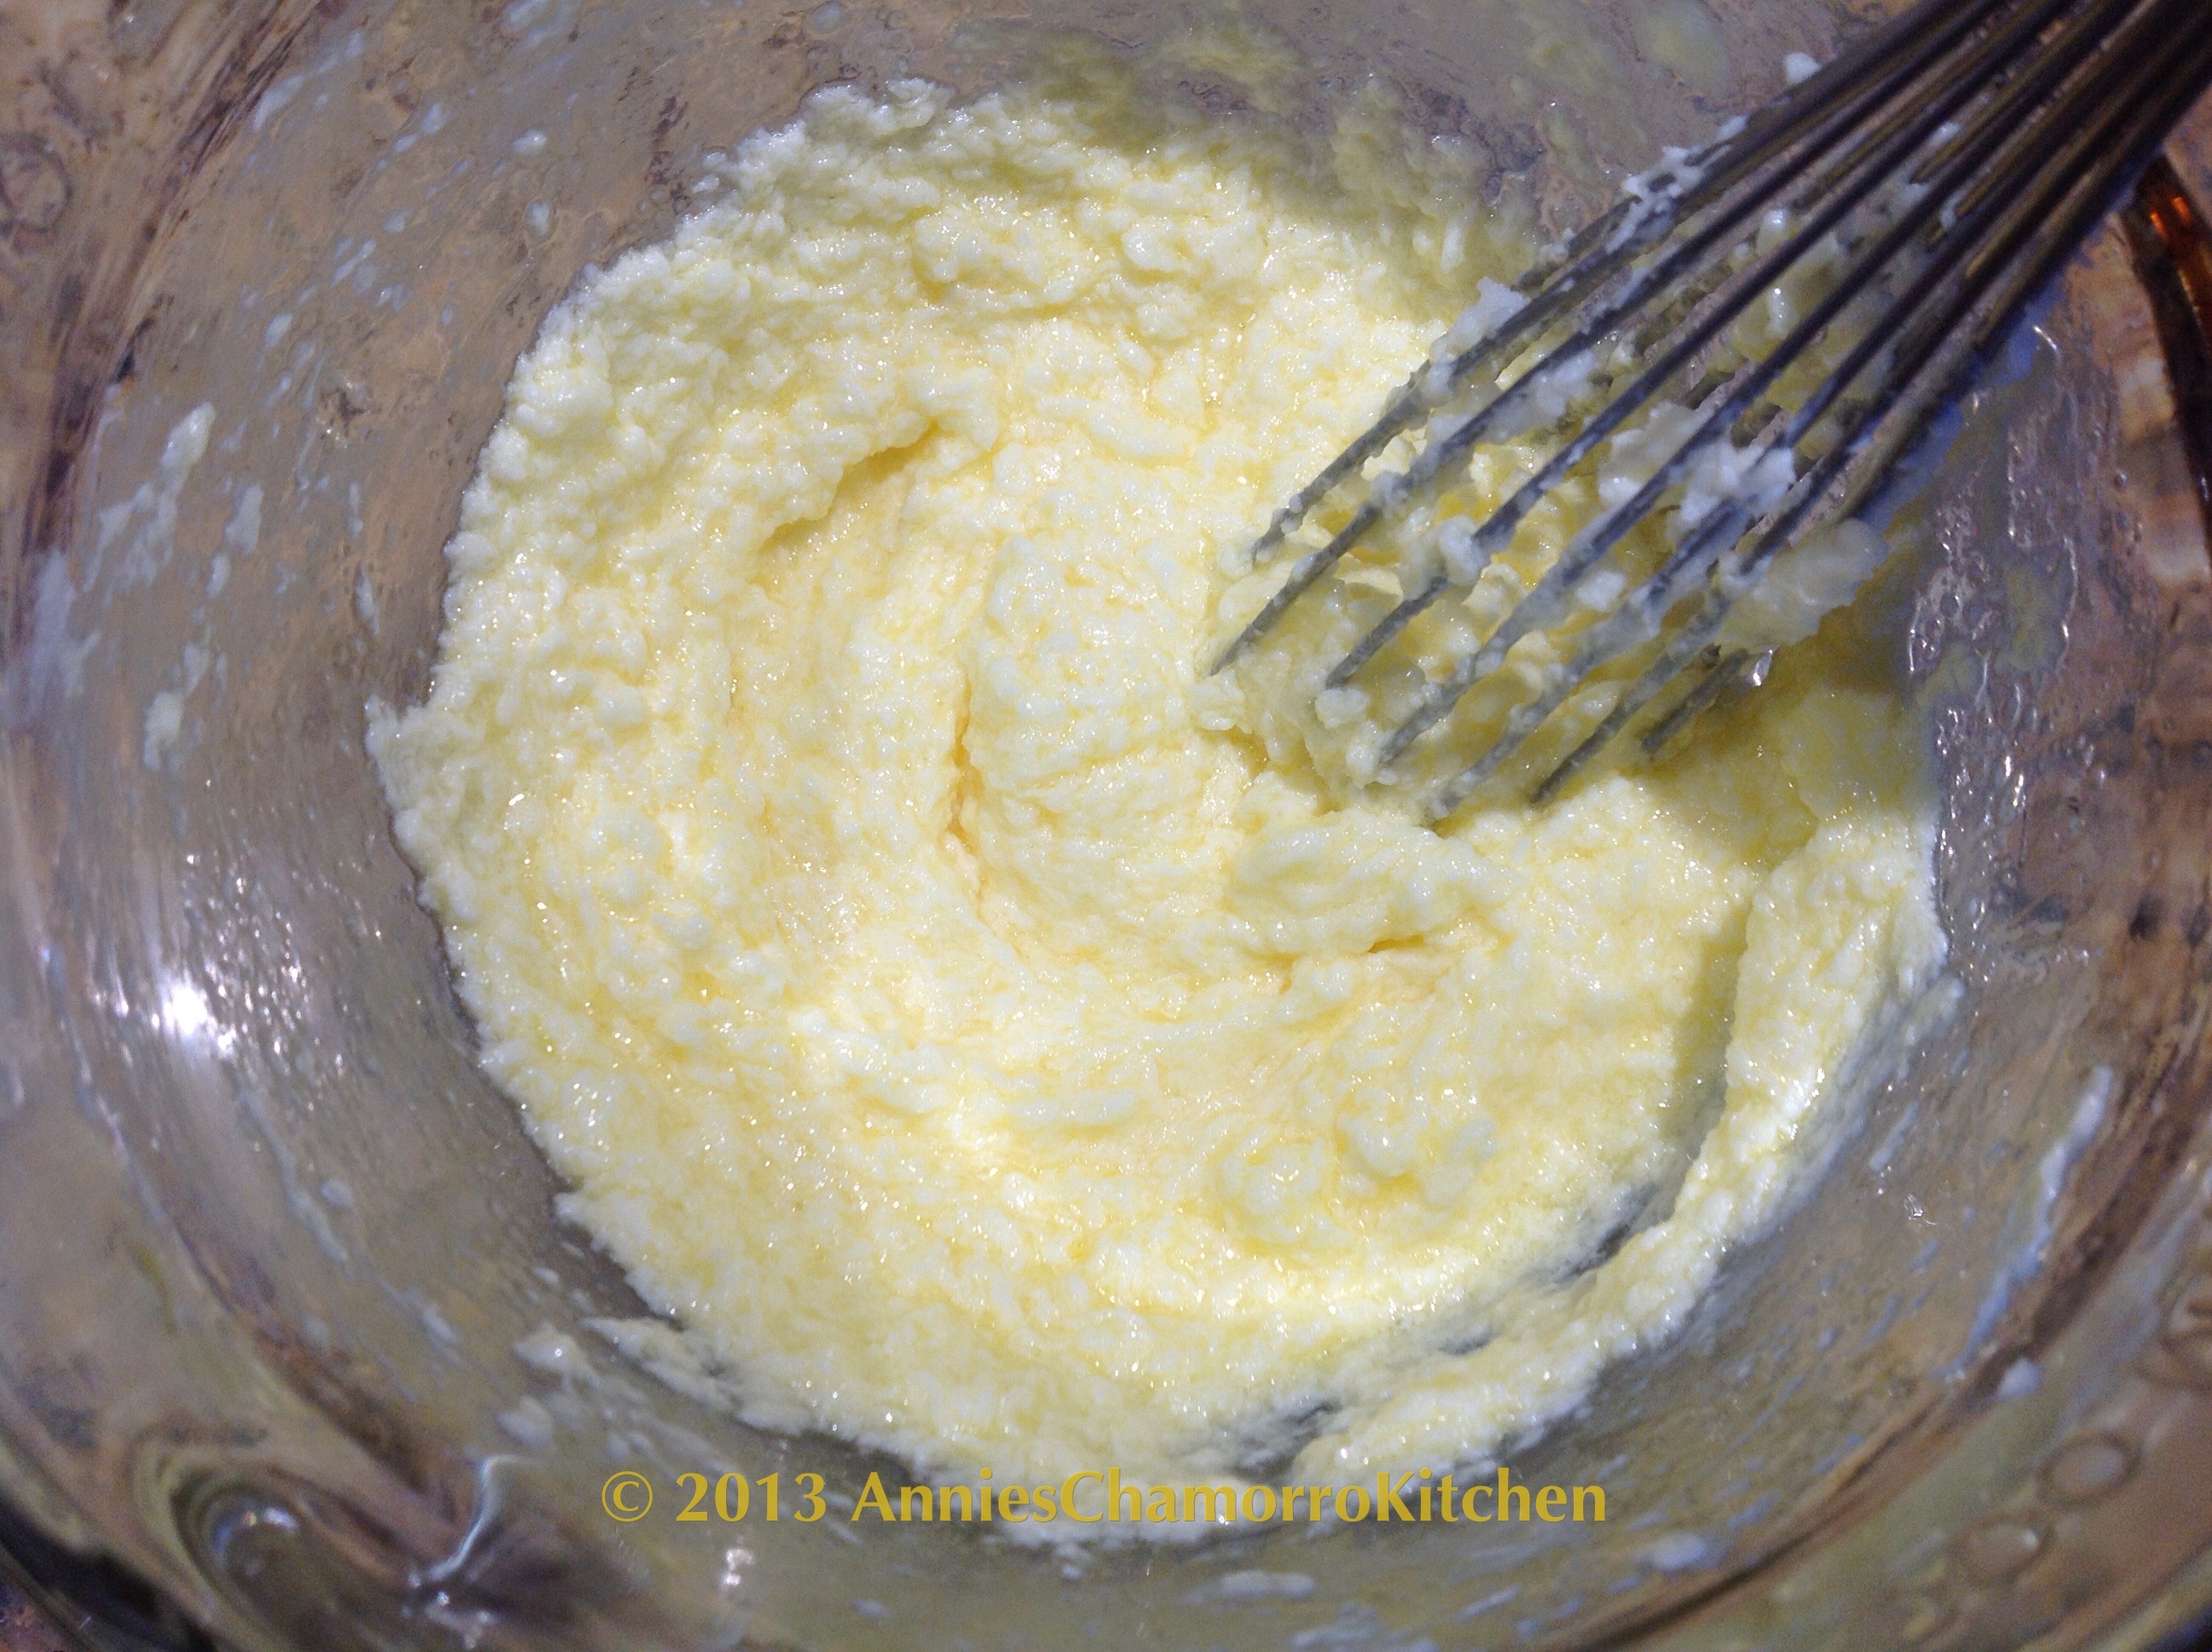
This is what the egg-butter-sugar mixture looks like after mixing.


image

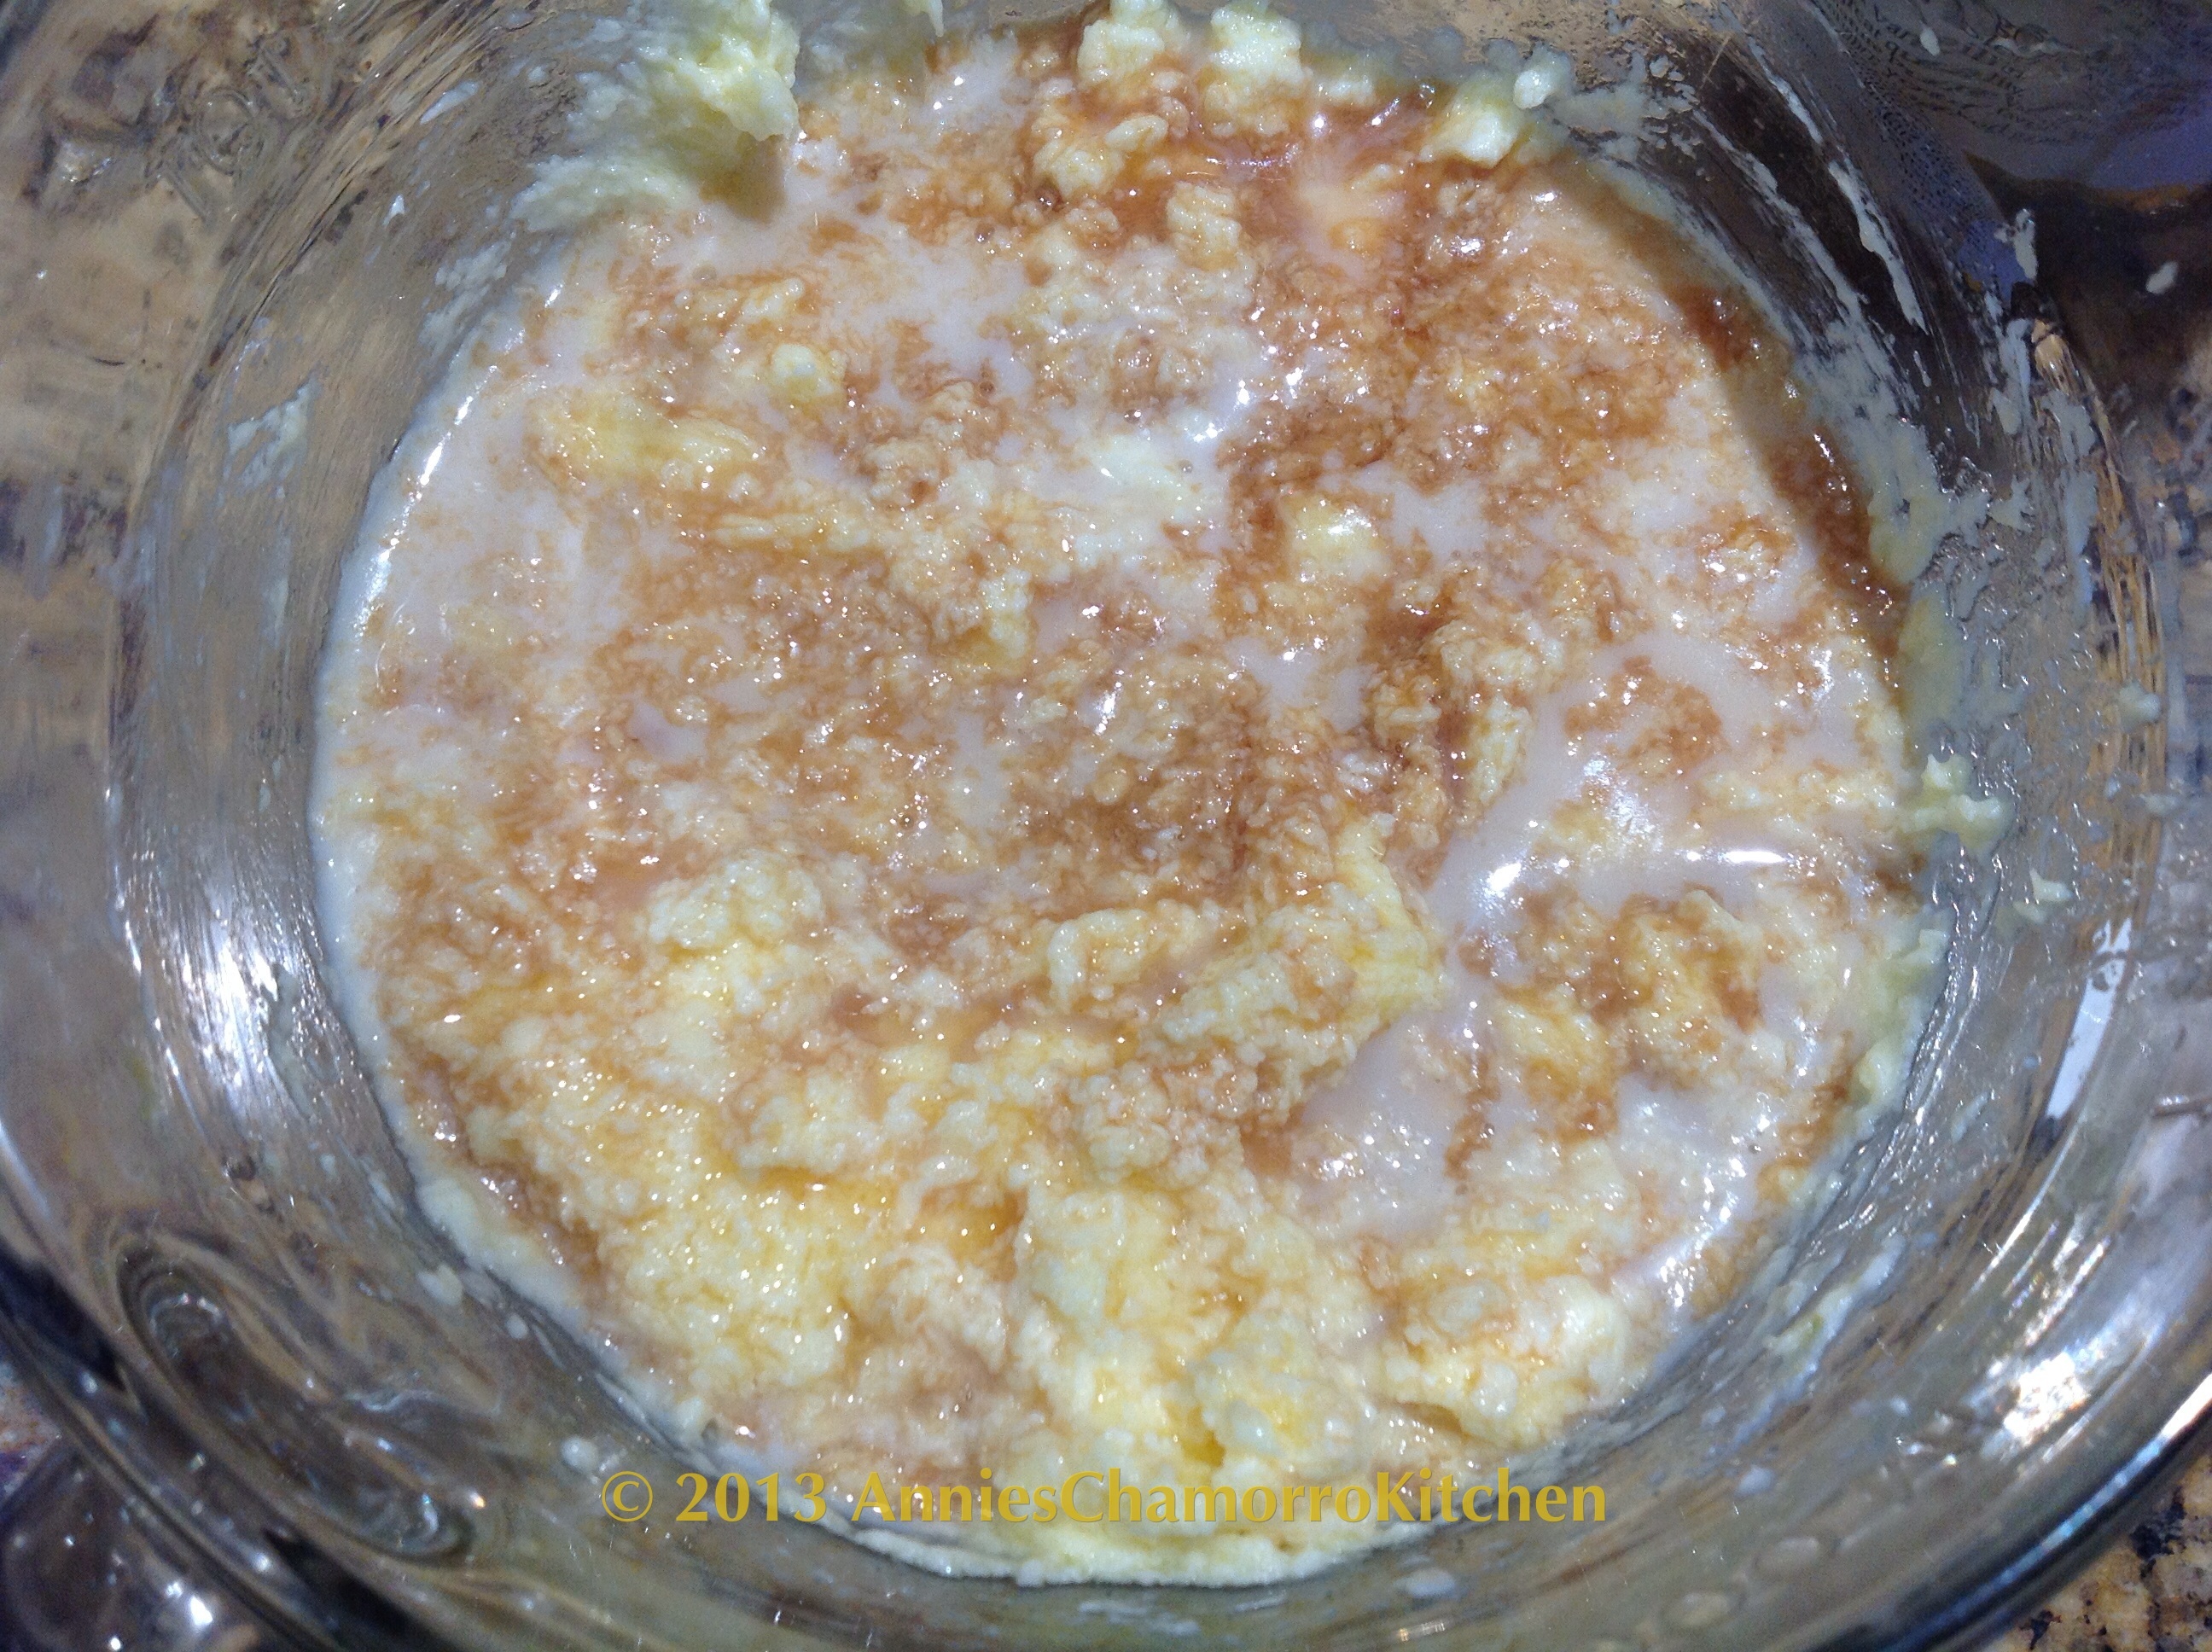
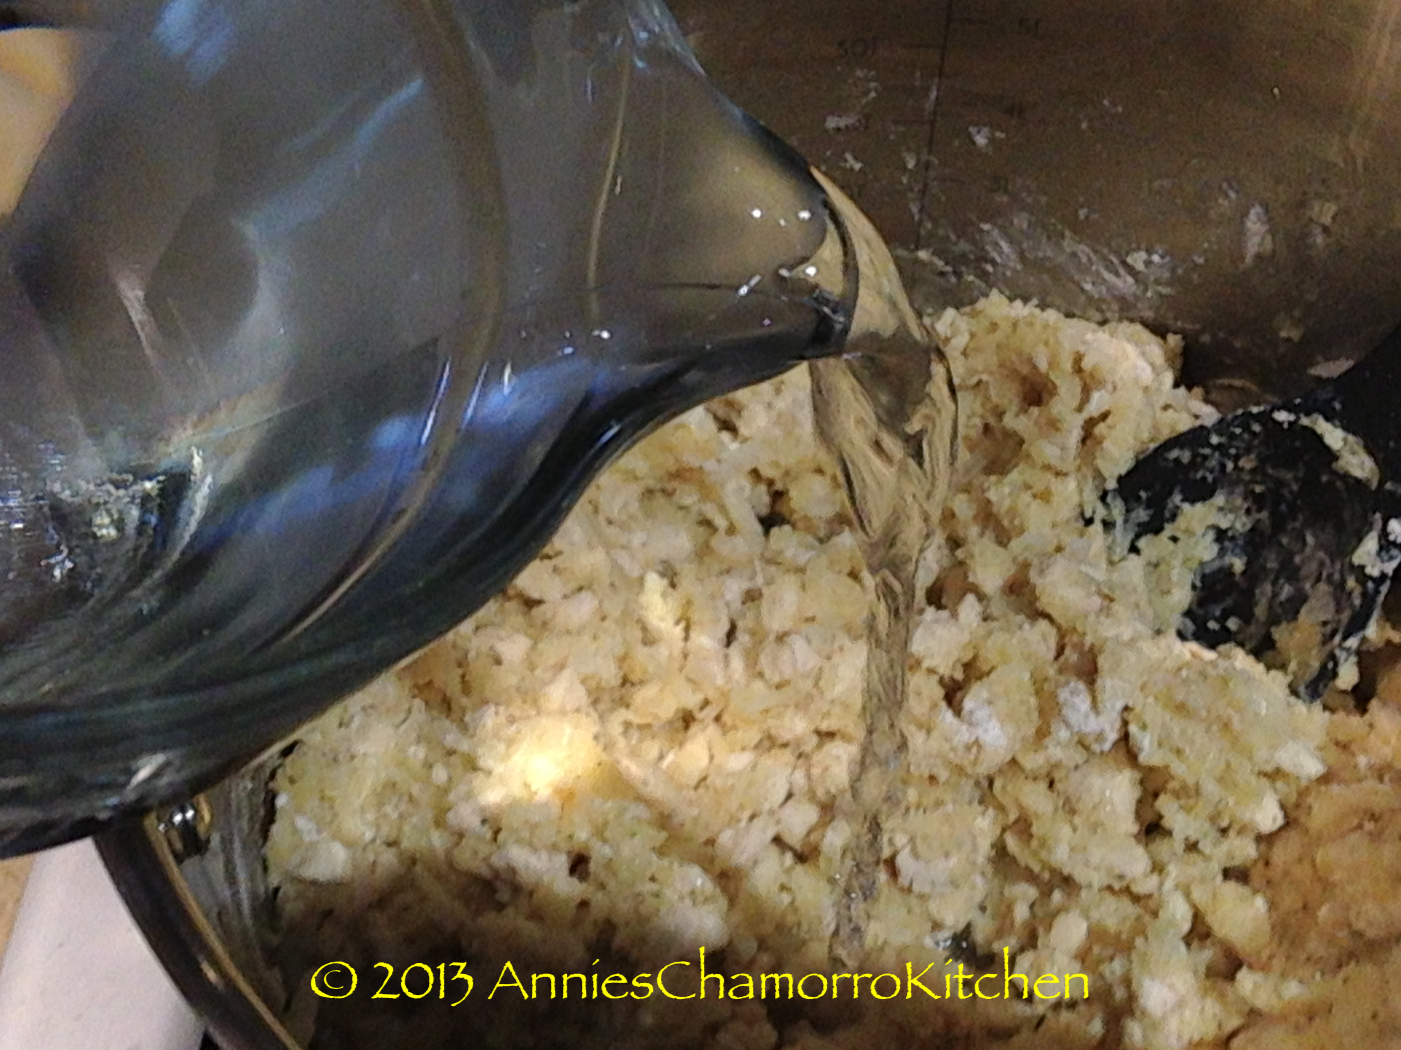
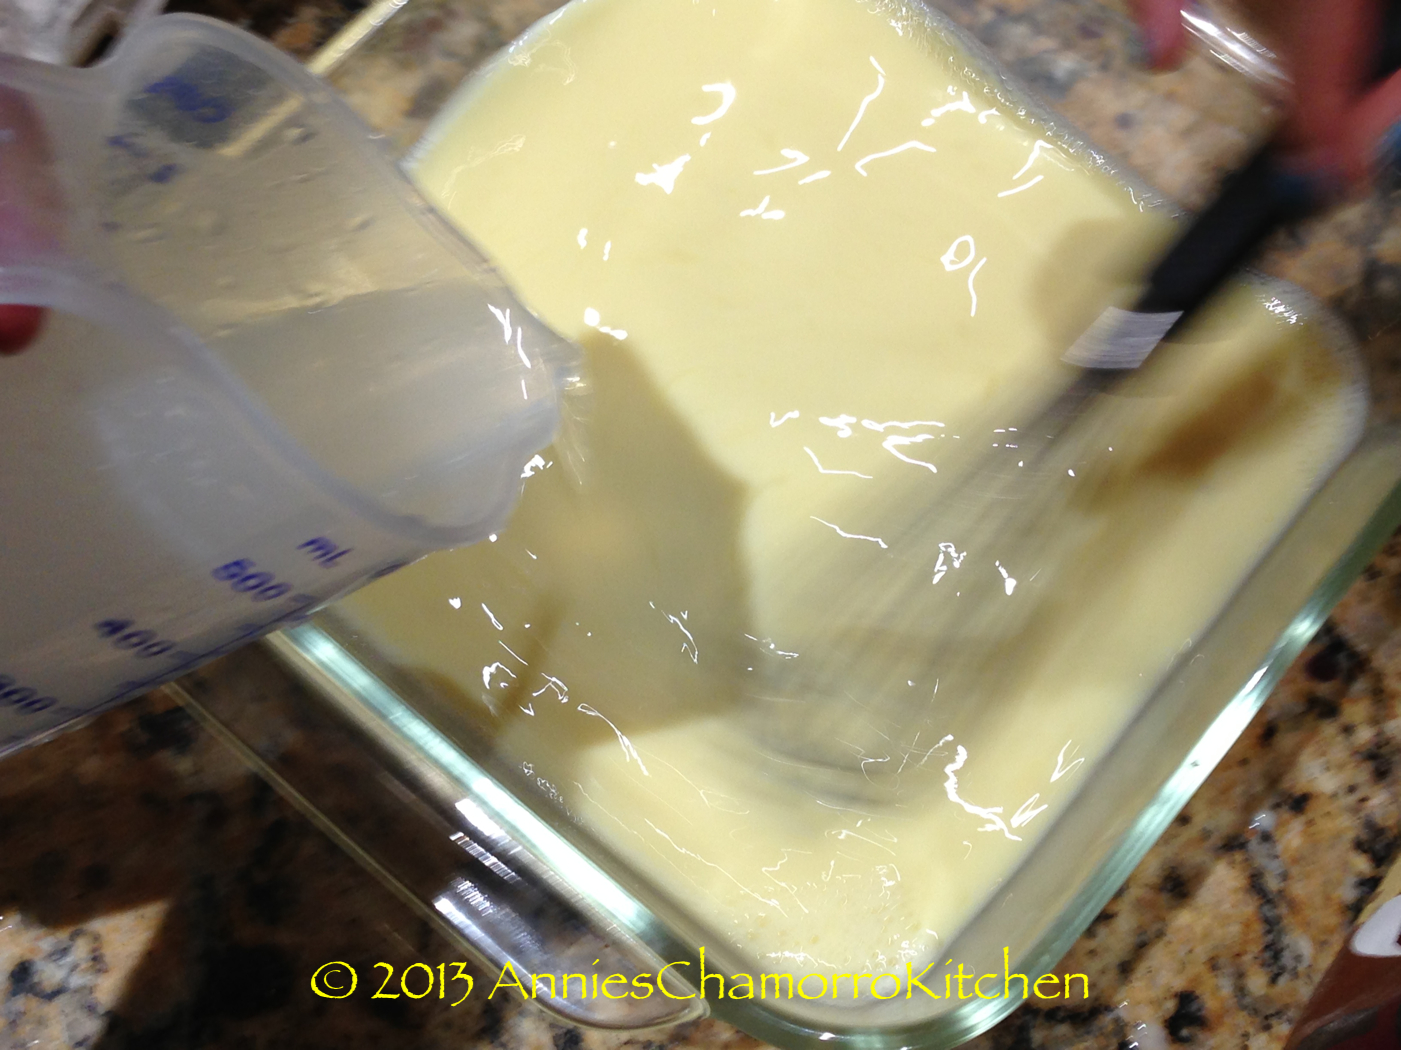
Pour in the milk, maple syrup and vanilla exract.  There’s no need to mix — you’re going to dump this in with the dry ingredients and mix it there.


image

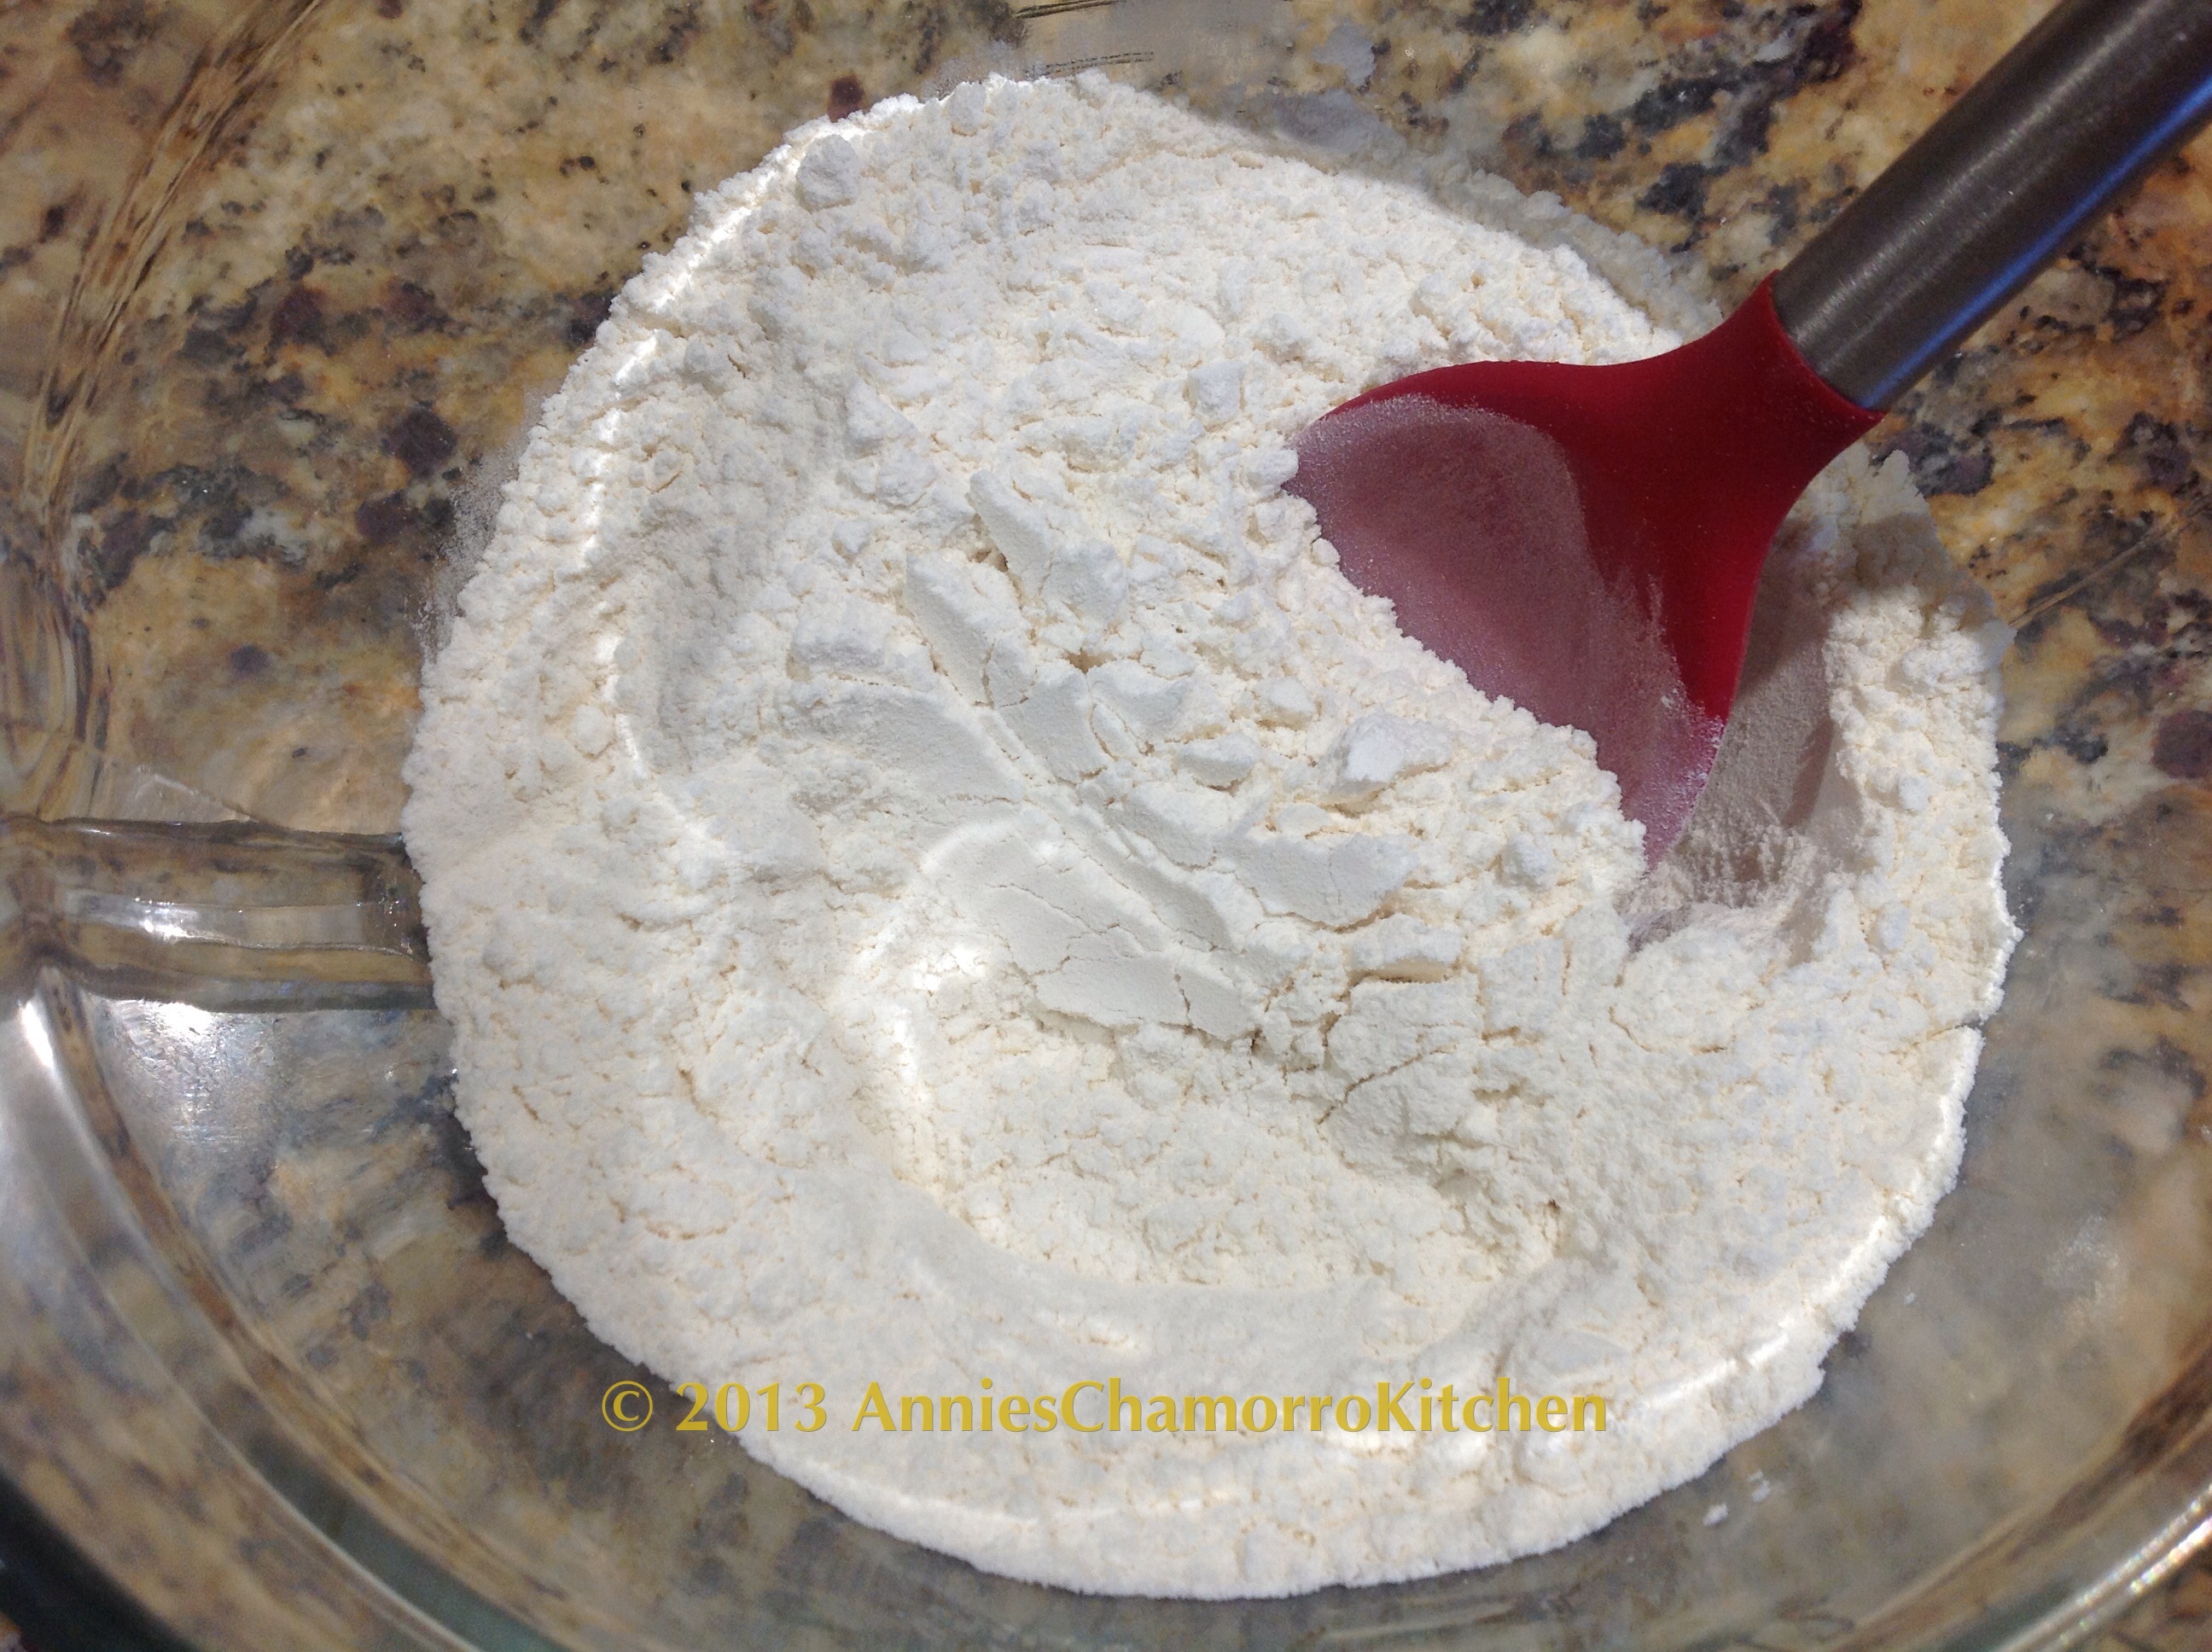
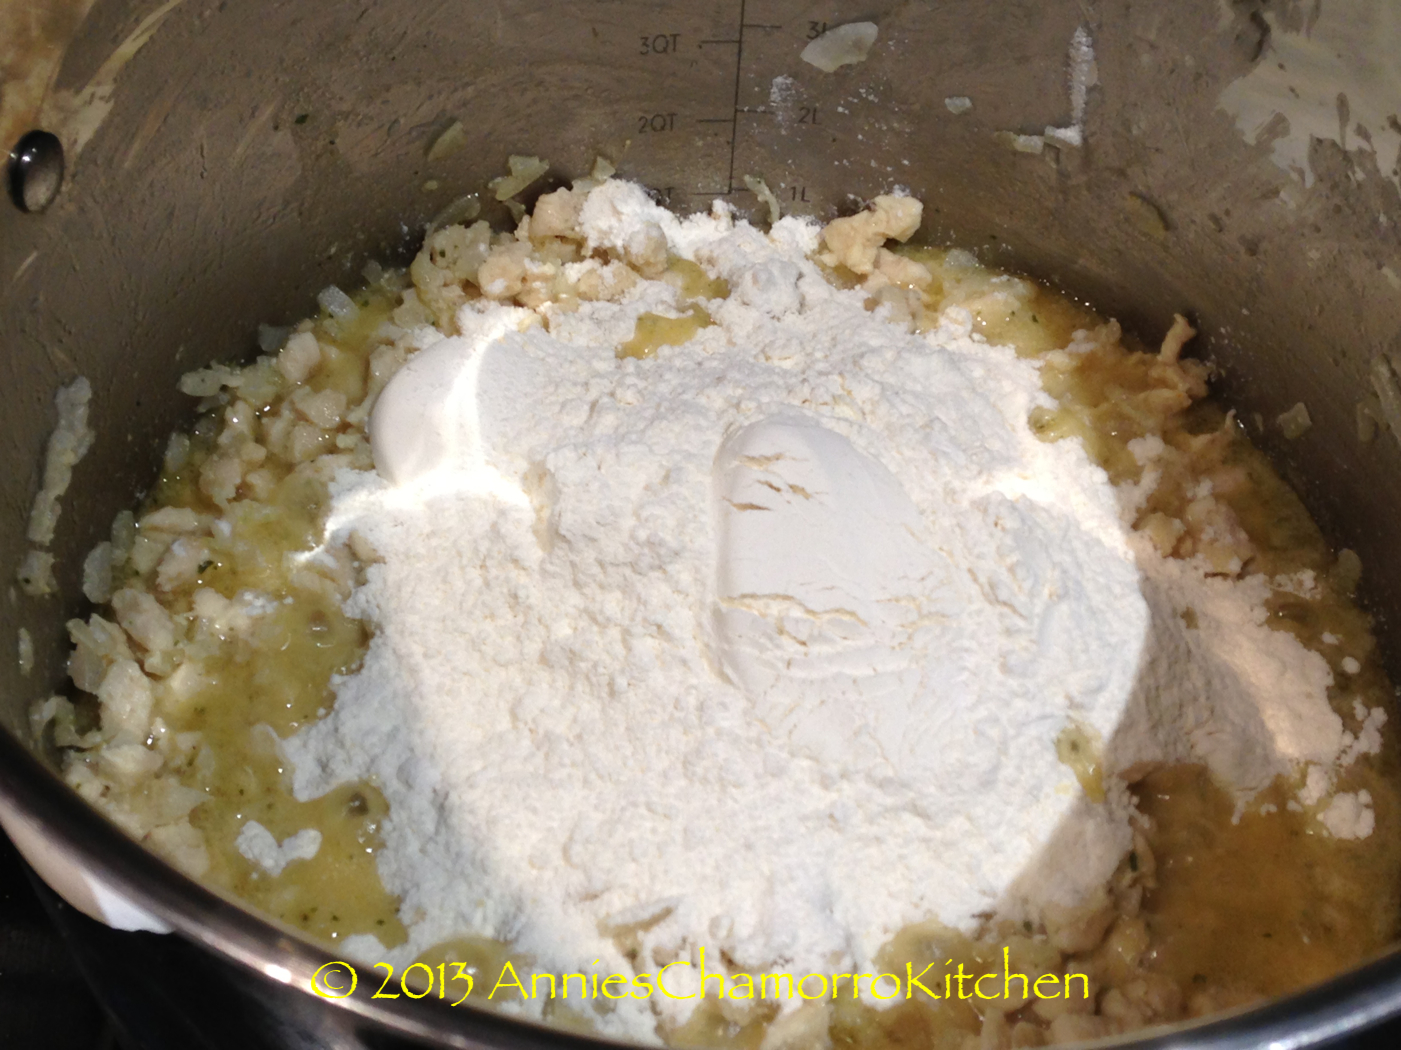
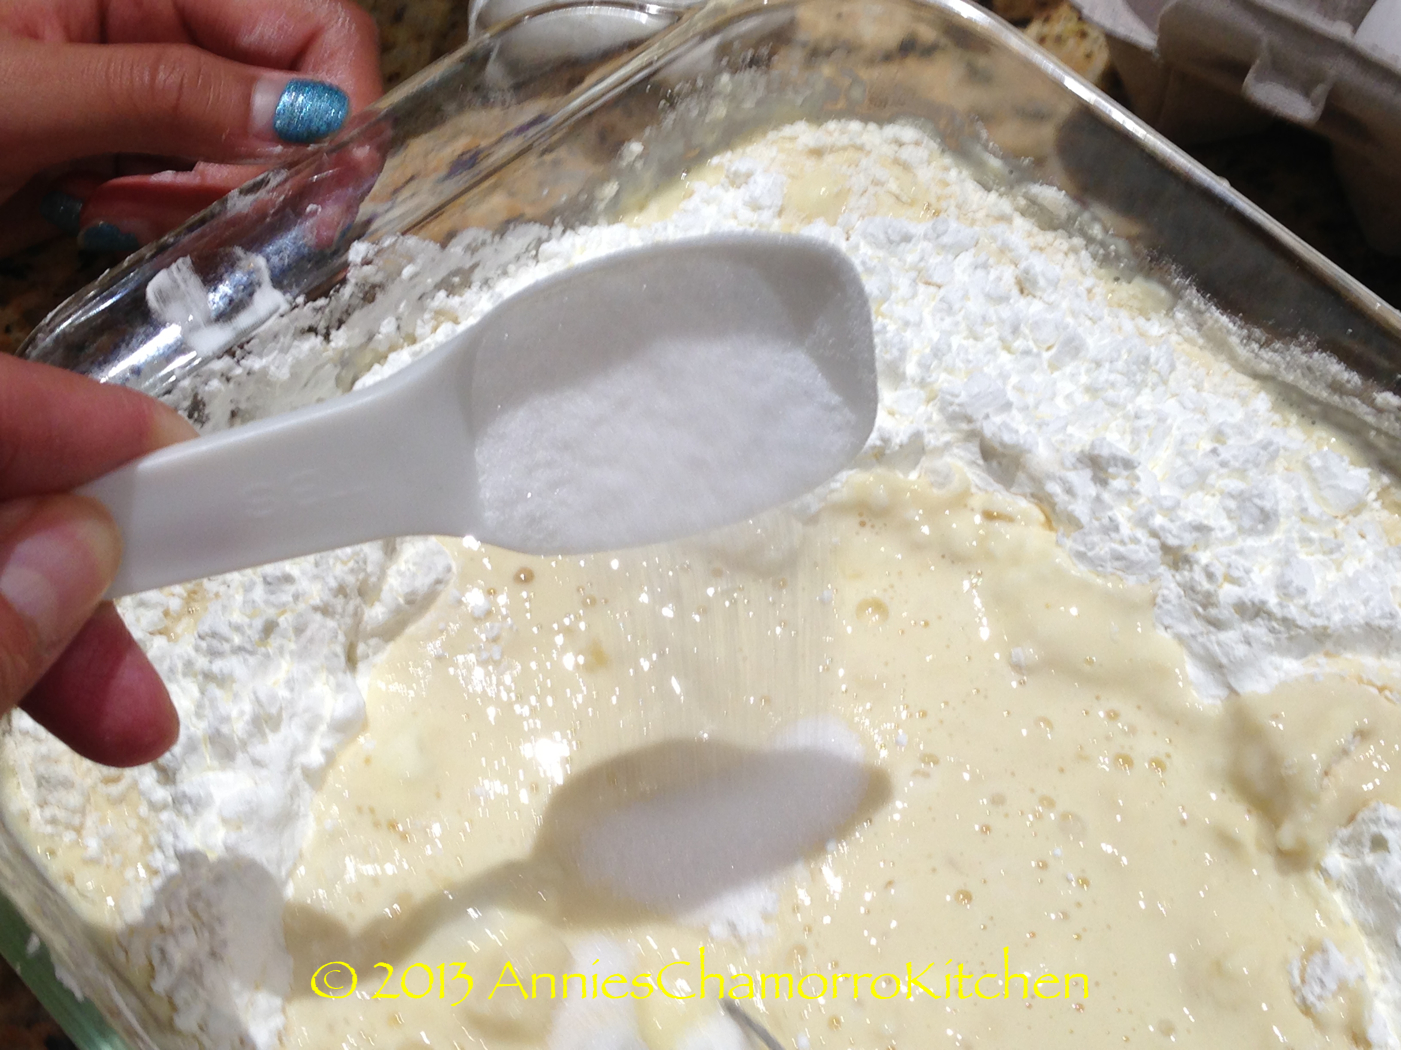
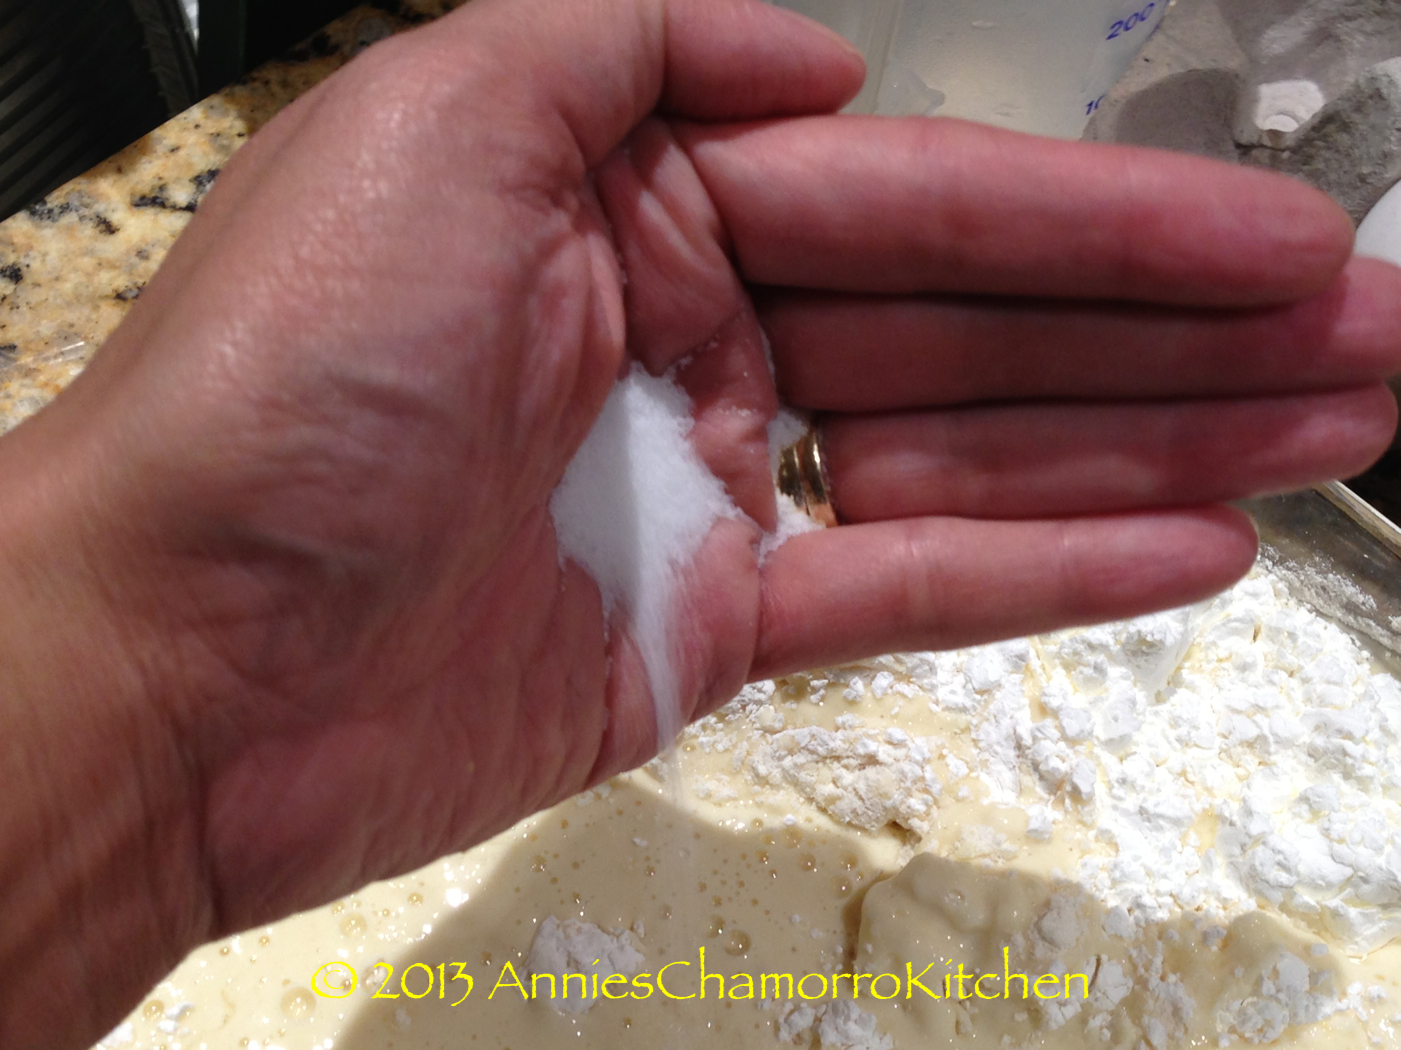
In this step, stir the dry ingredients together to ensure the baking soda, baking powder and salt are mixed in with the flour.  The only equipment you need for this step is a mixing spoon.  Do not use an electric mixer — you only need to stir this for a few times to get the proper consistency.  In fact, over mixing this batter will make your muffins turn out tough and dense.


image

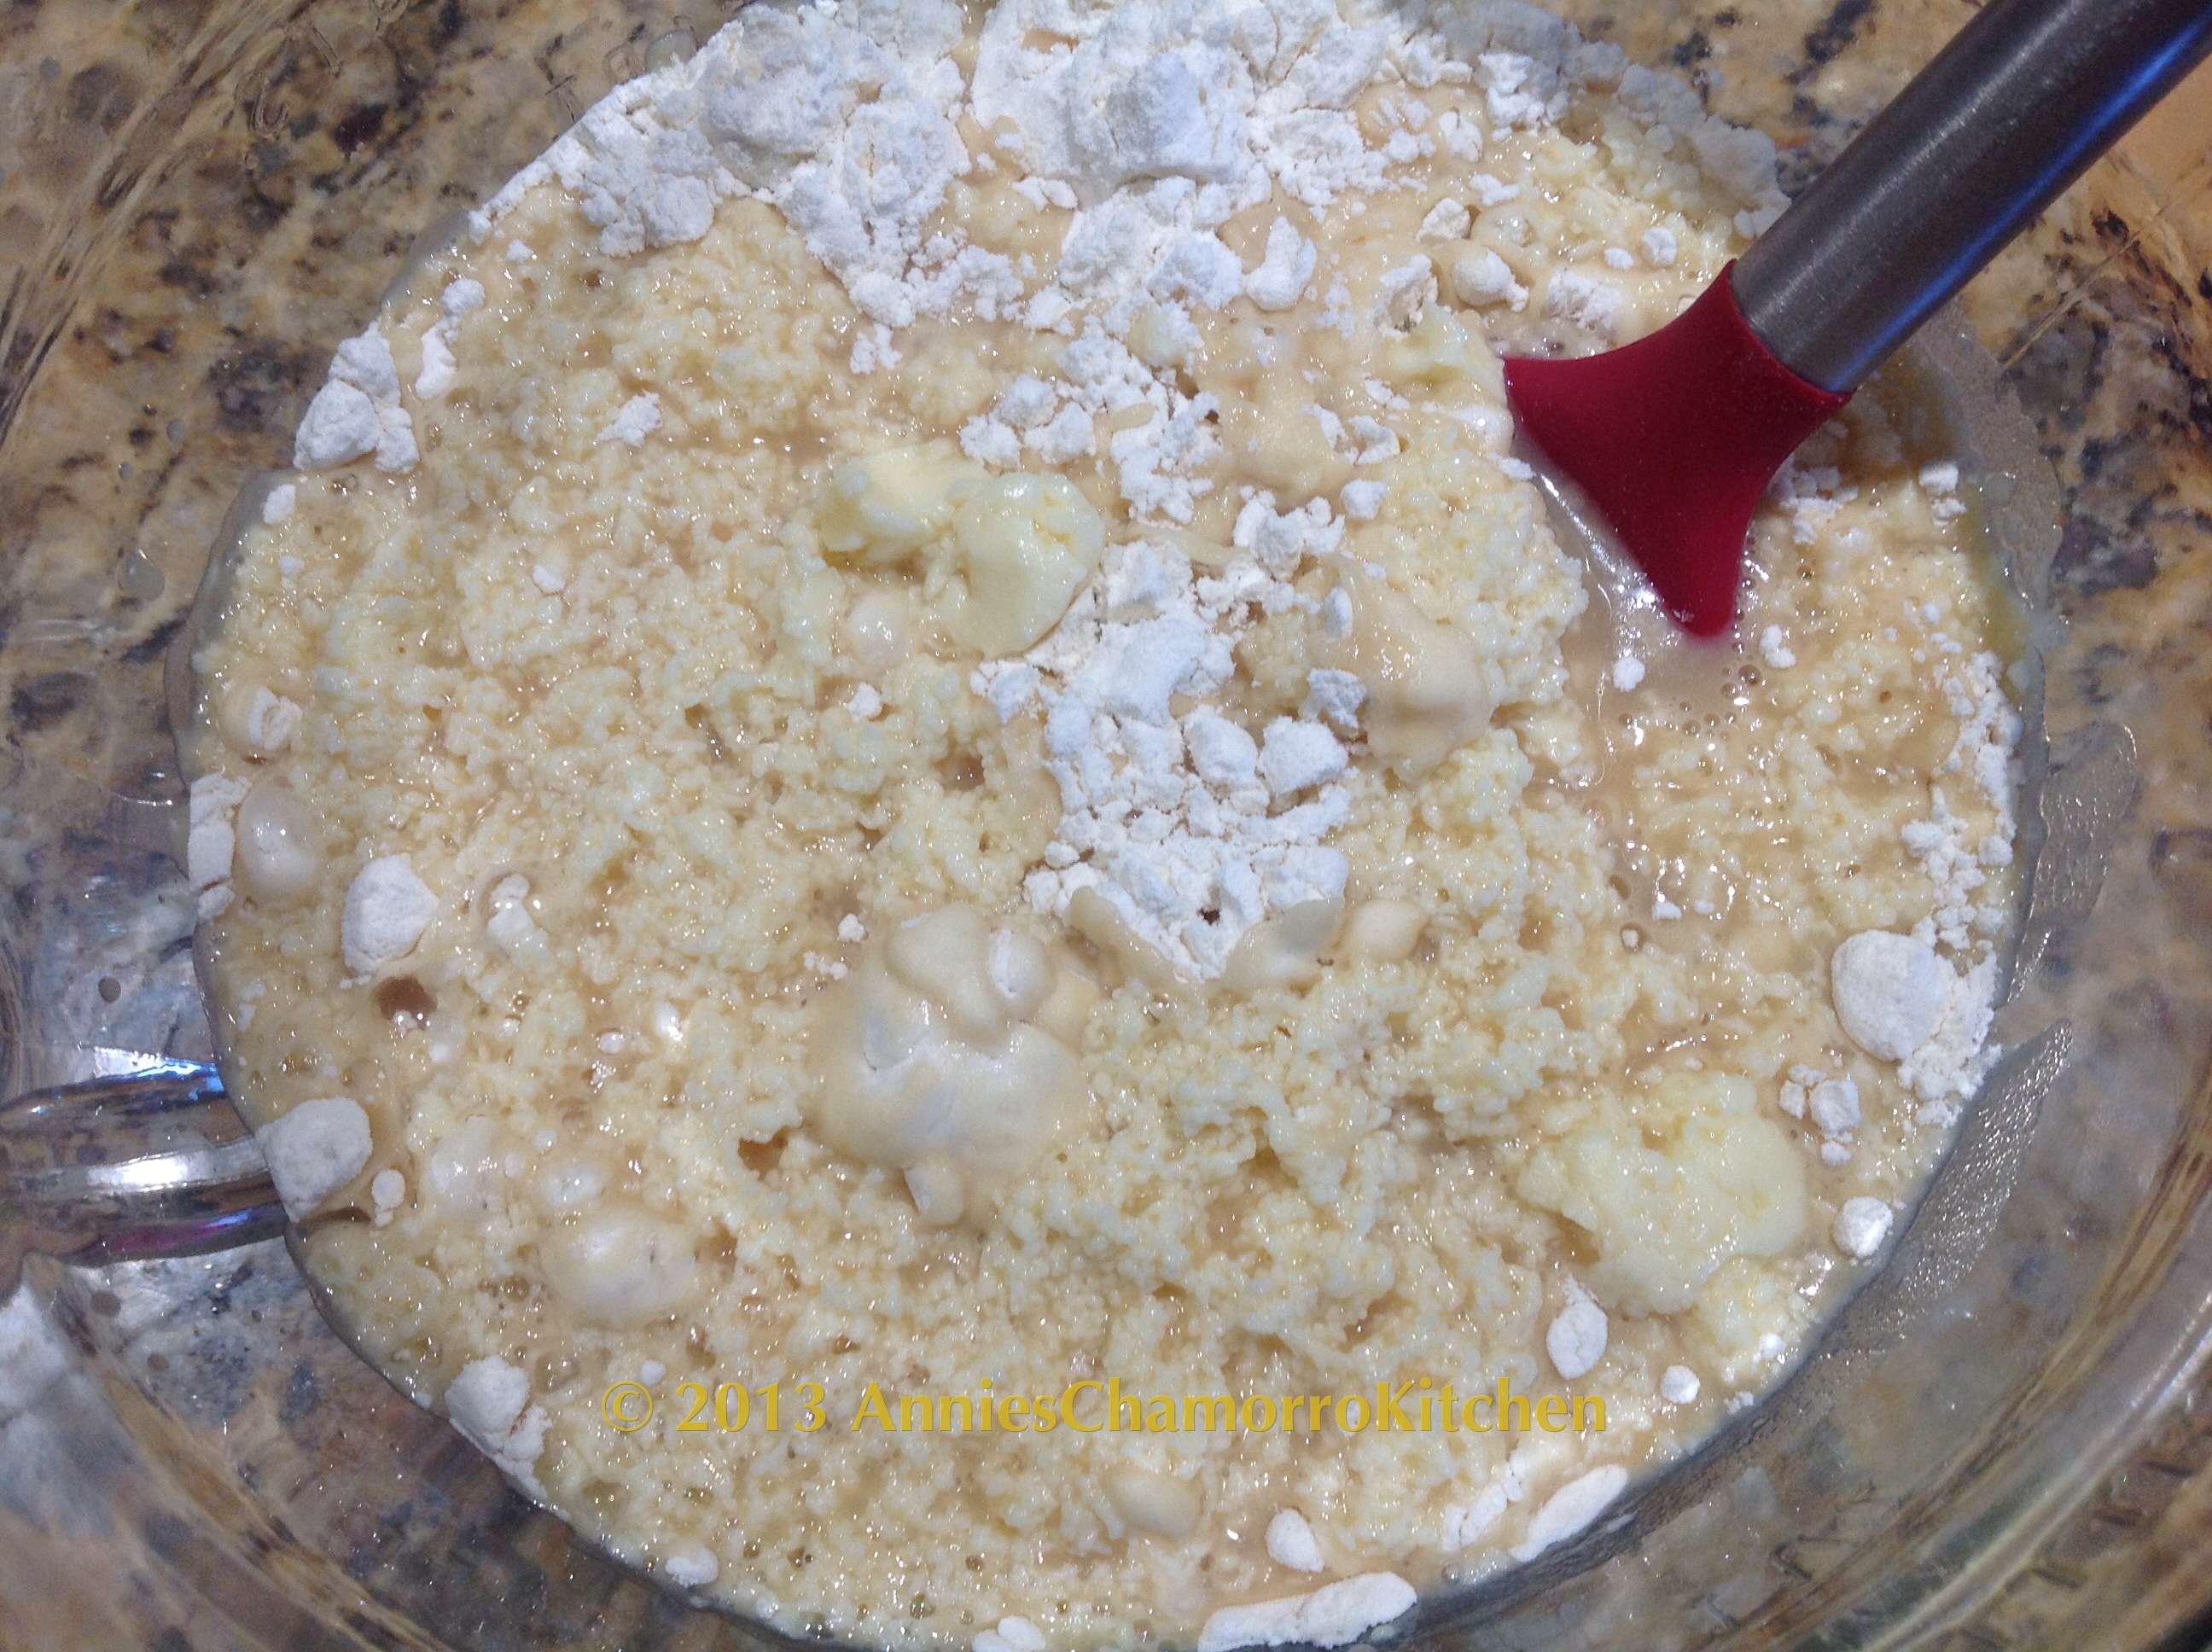
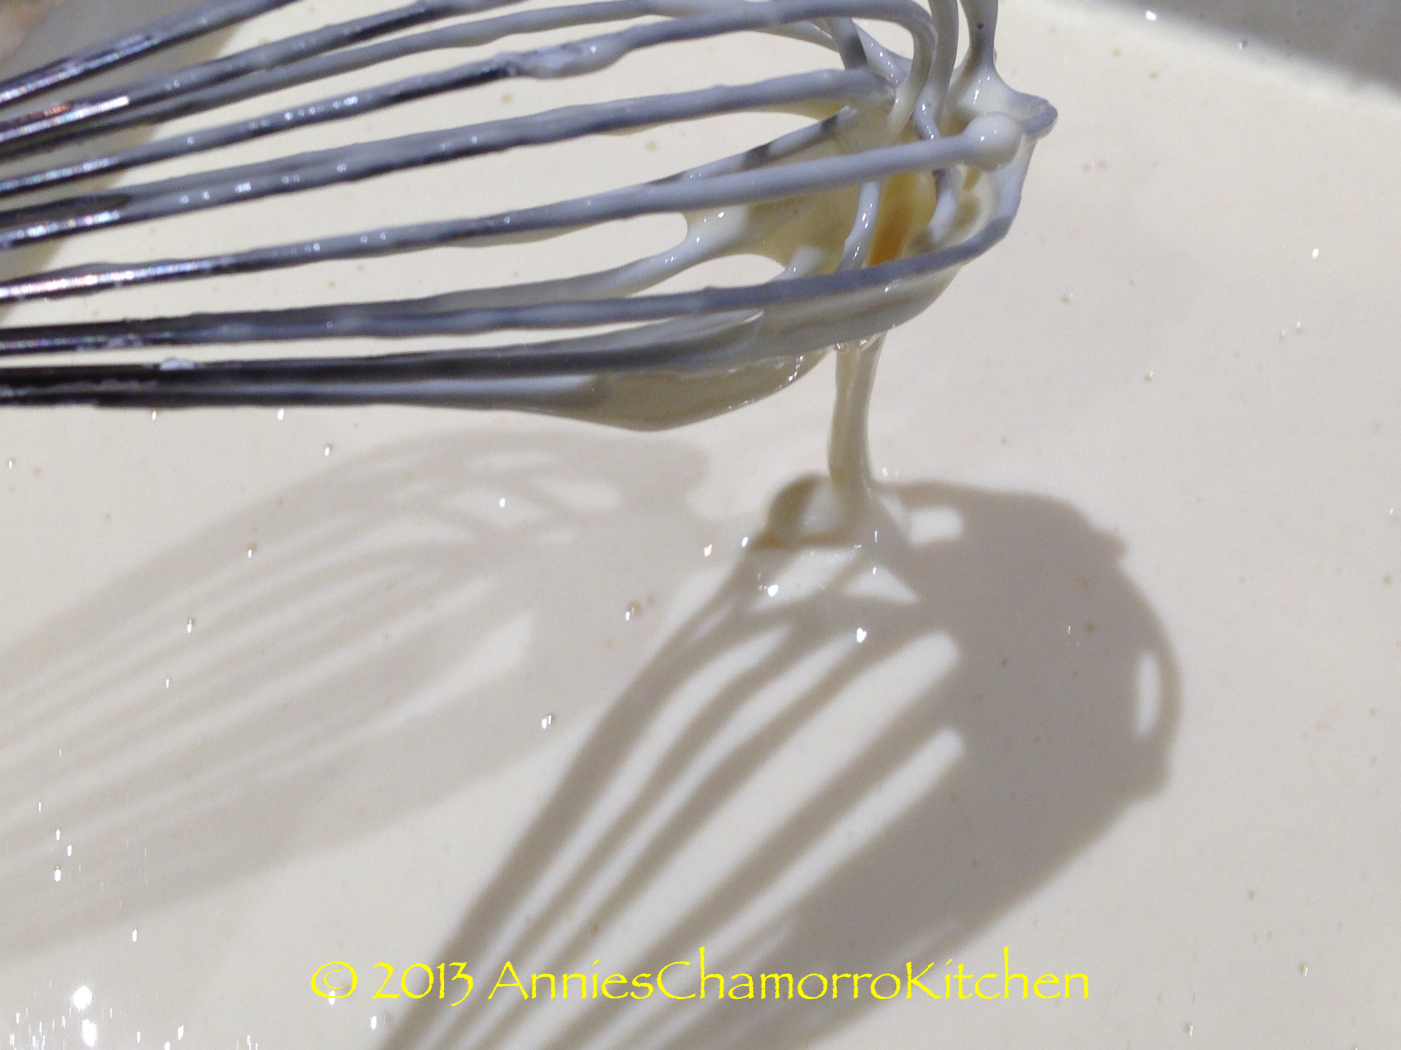
Pour the liquid ingredients into the the bowl with the dry ingredients.


image

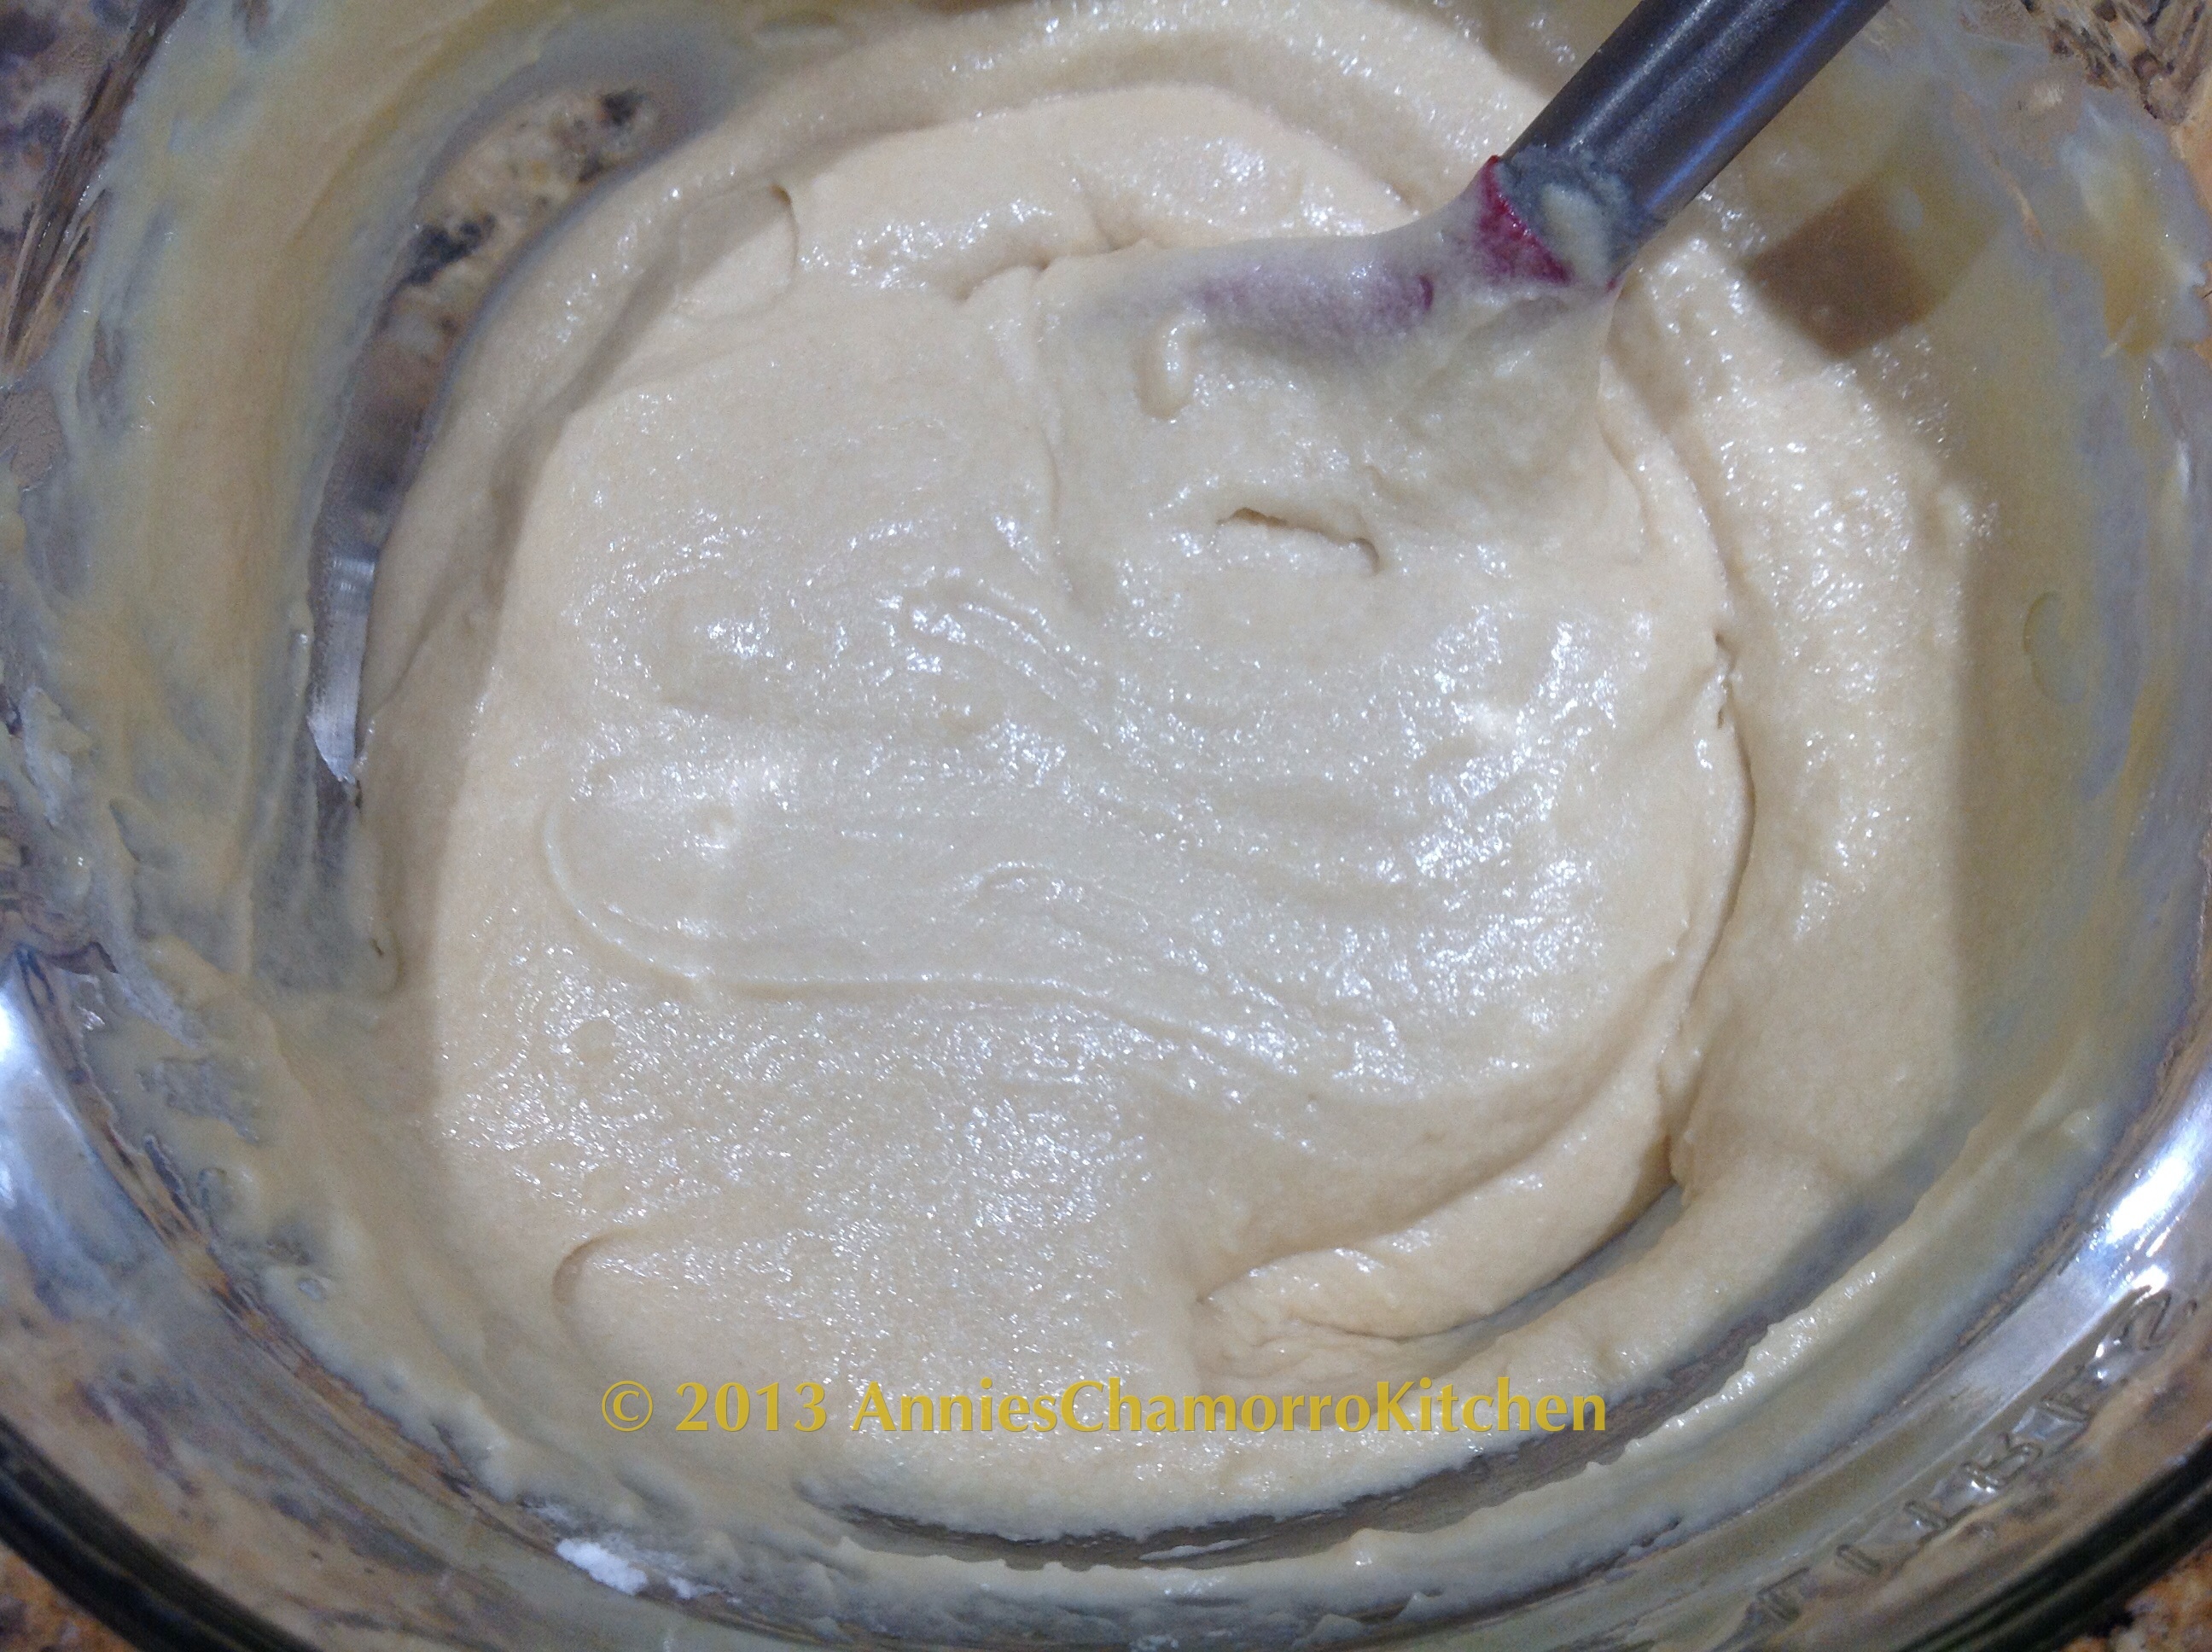
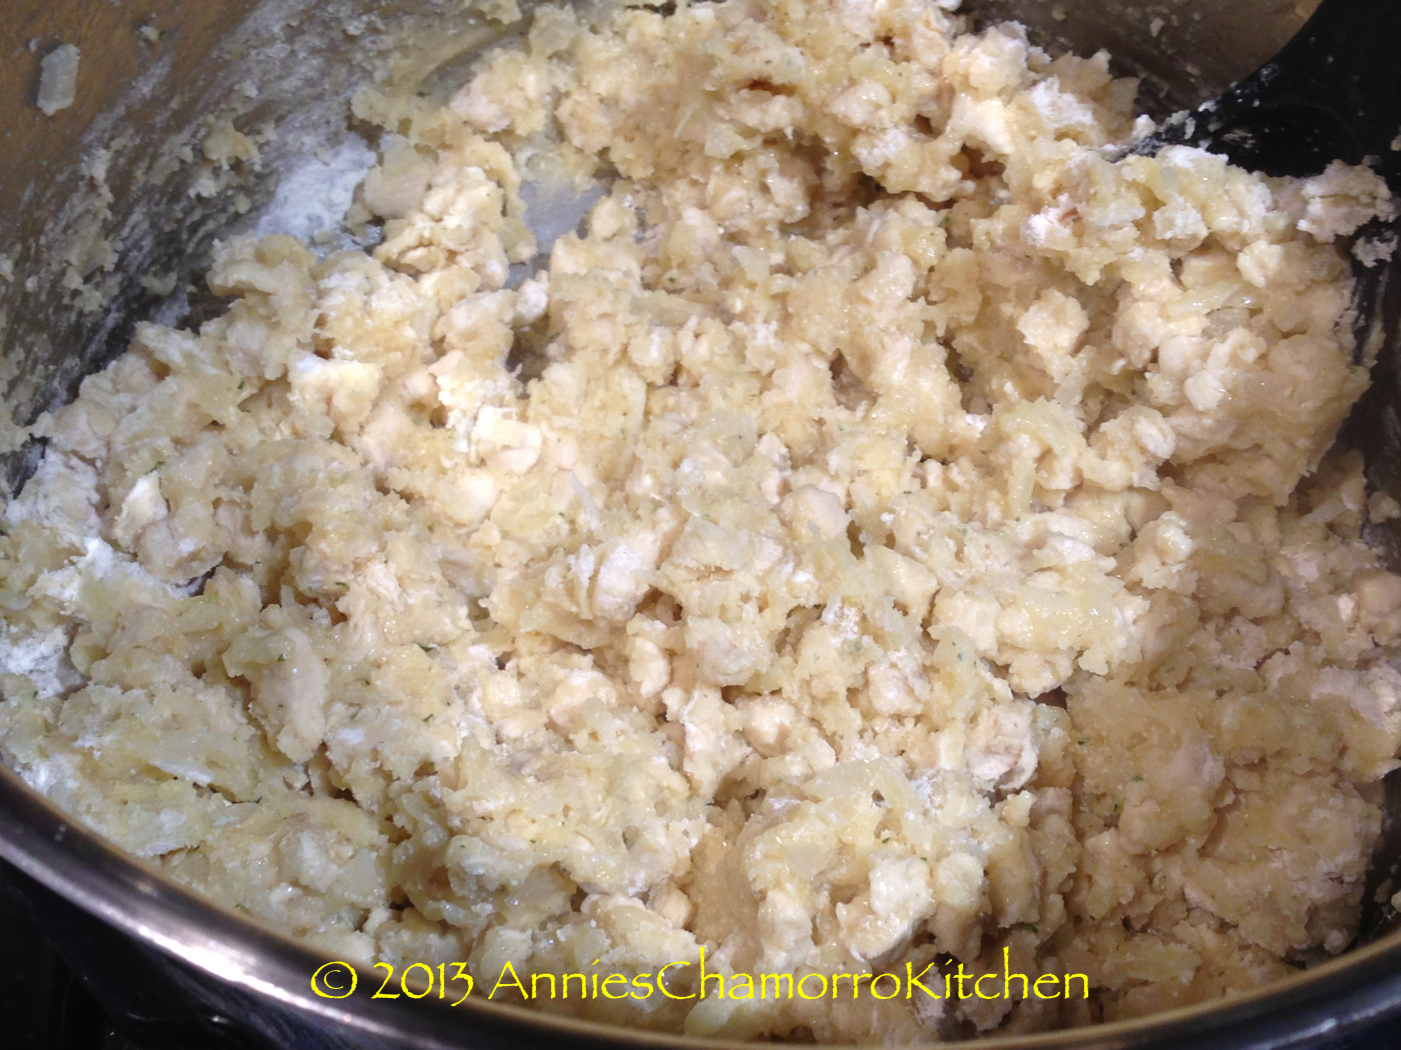
Use a mixing spoon to mix it all together.  About 50 strokes should do it.  It’s okay if there are a few lumps in the batter.


image

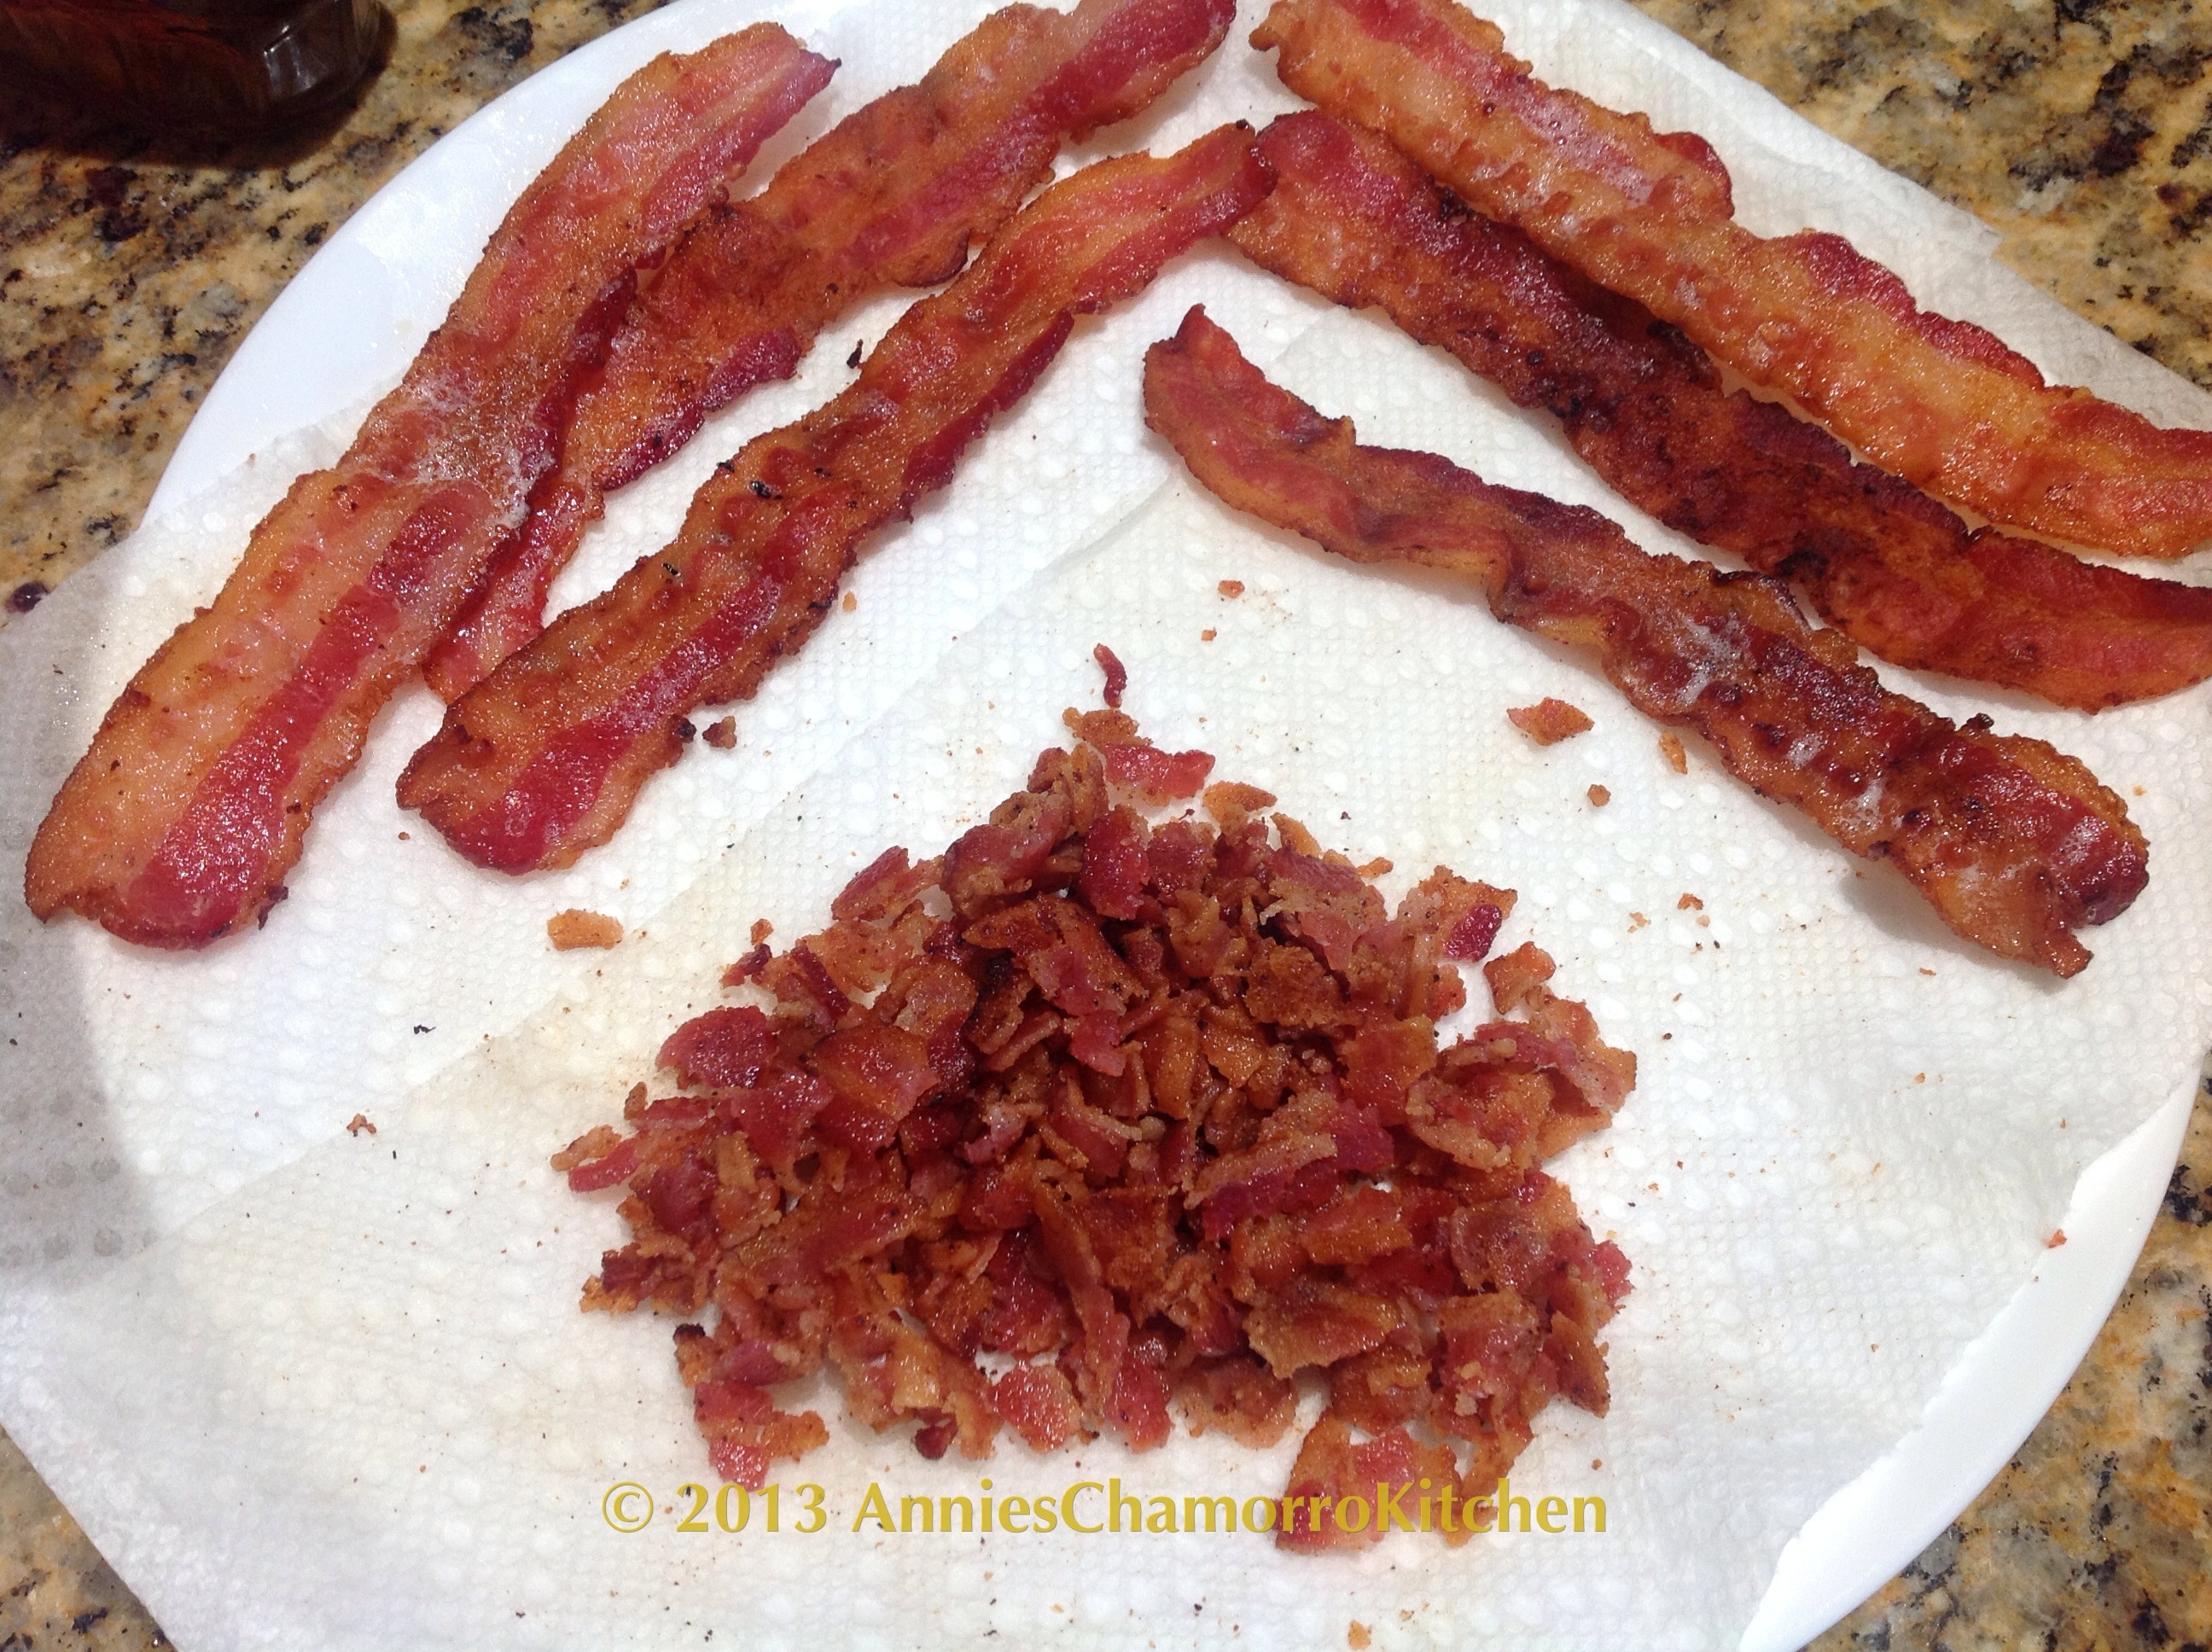
Crumble your cooked bacon ahead of time.  Half of it will go into the batter, the other half will be used to sprinkle on top the frosted muffins.


image

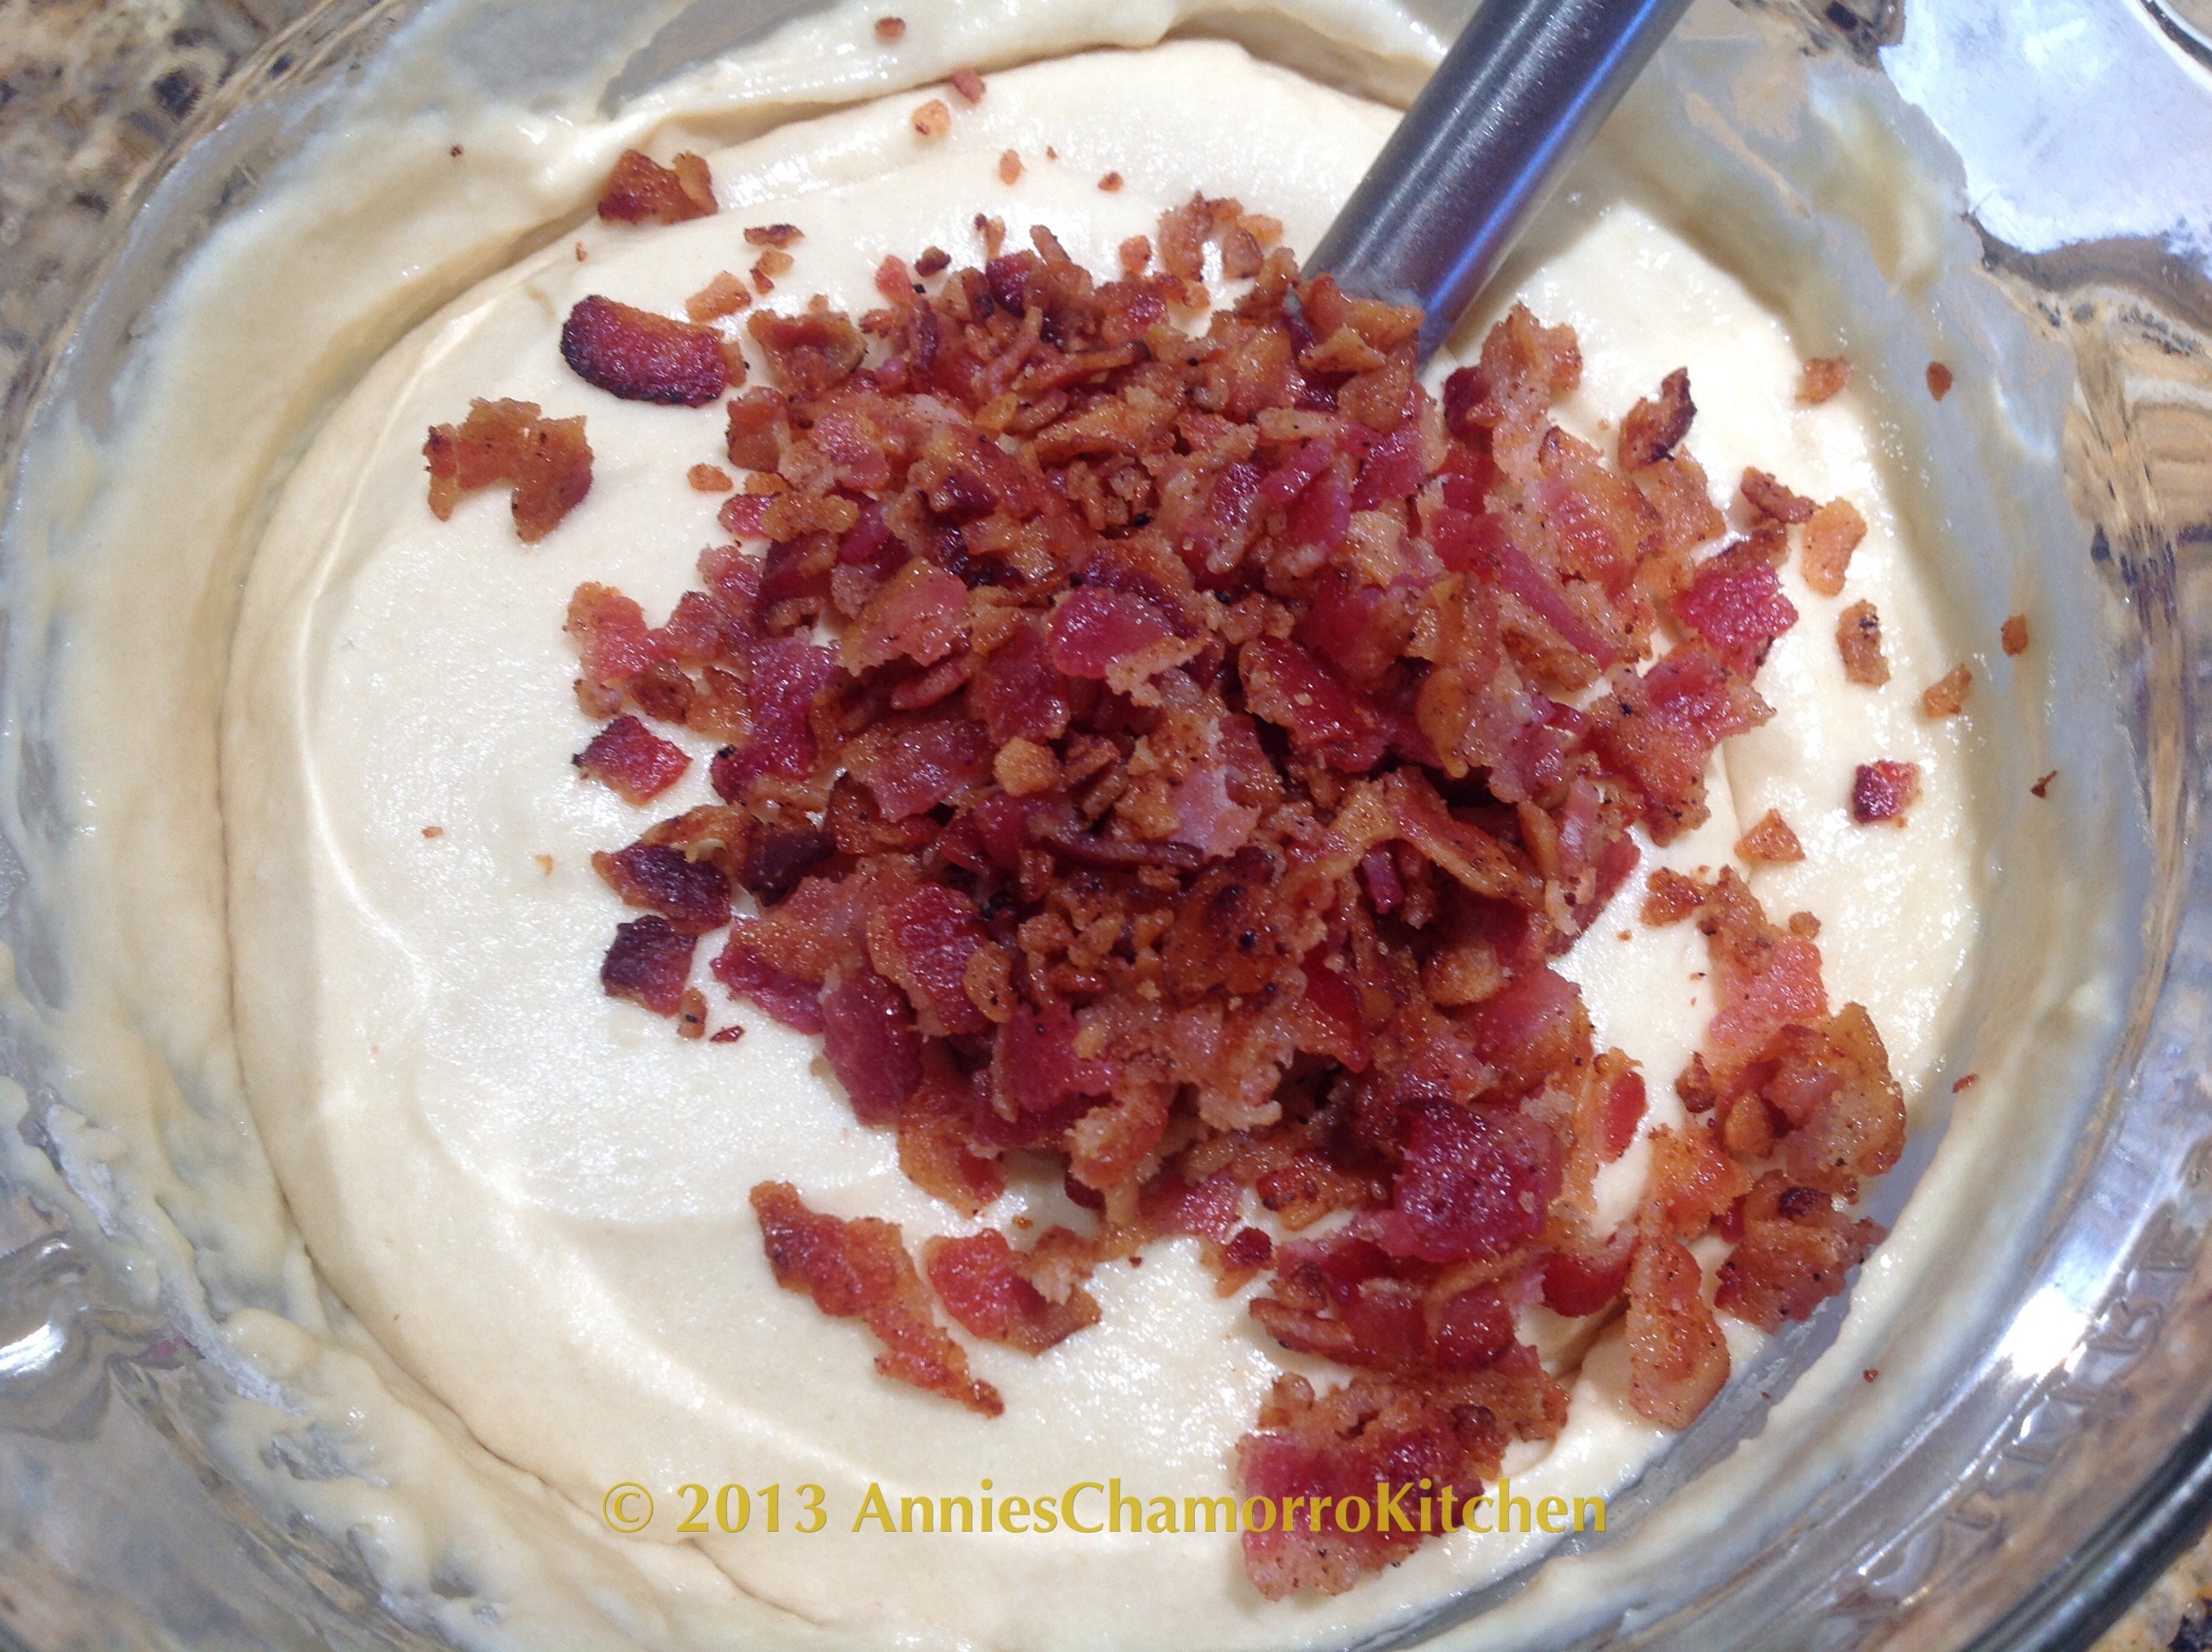
Fold the bacon crumbles into the batter.  This is important:  DO NOT let the batter sit.  You want to bake this as soon as possible after mixing.  This is because once you’ve added the wet ingredients to the dry, the baking soda and baking powder start to work their magic and the batter will begin its “rising” process.  You don’t want it to rise while sitting in your mixing bowl–you want this magic to take place in the oven so that you have nice tall muffins with a rounded top.


image

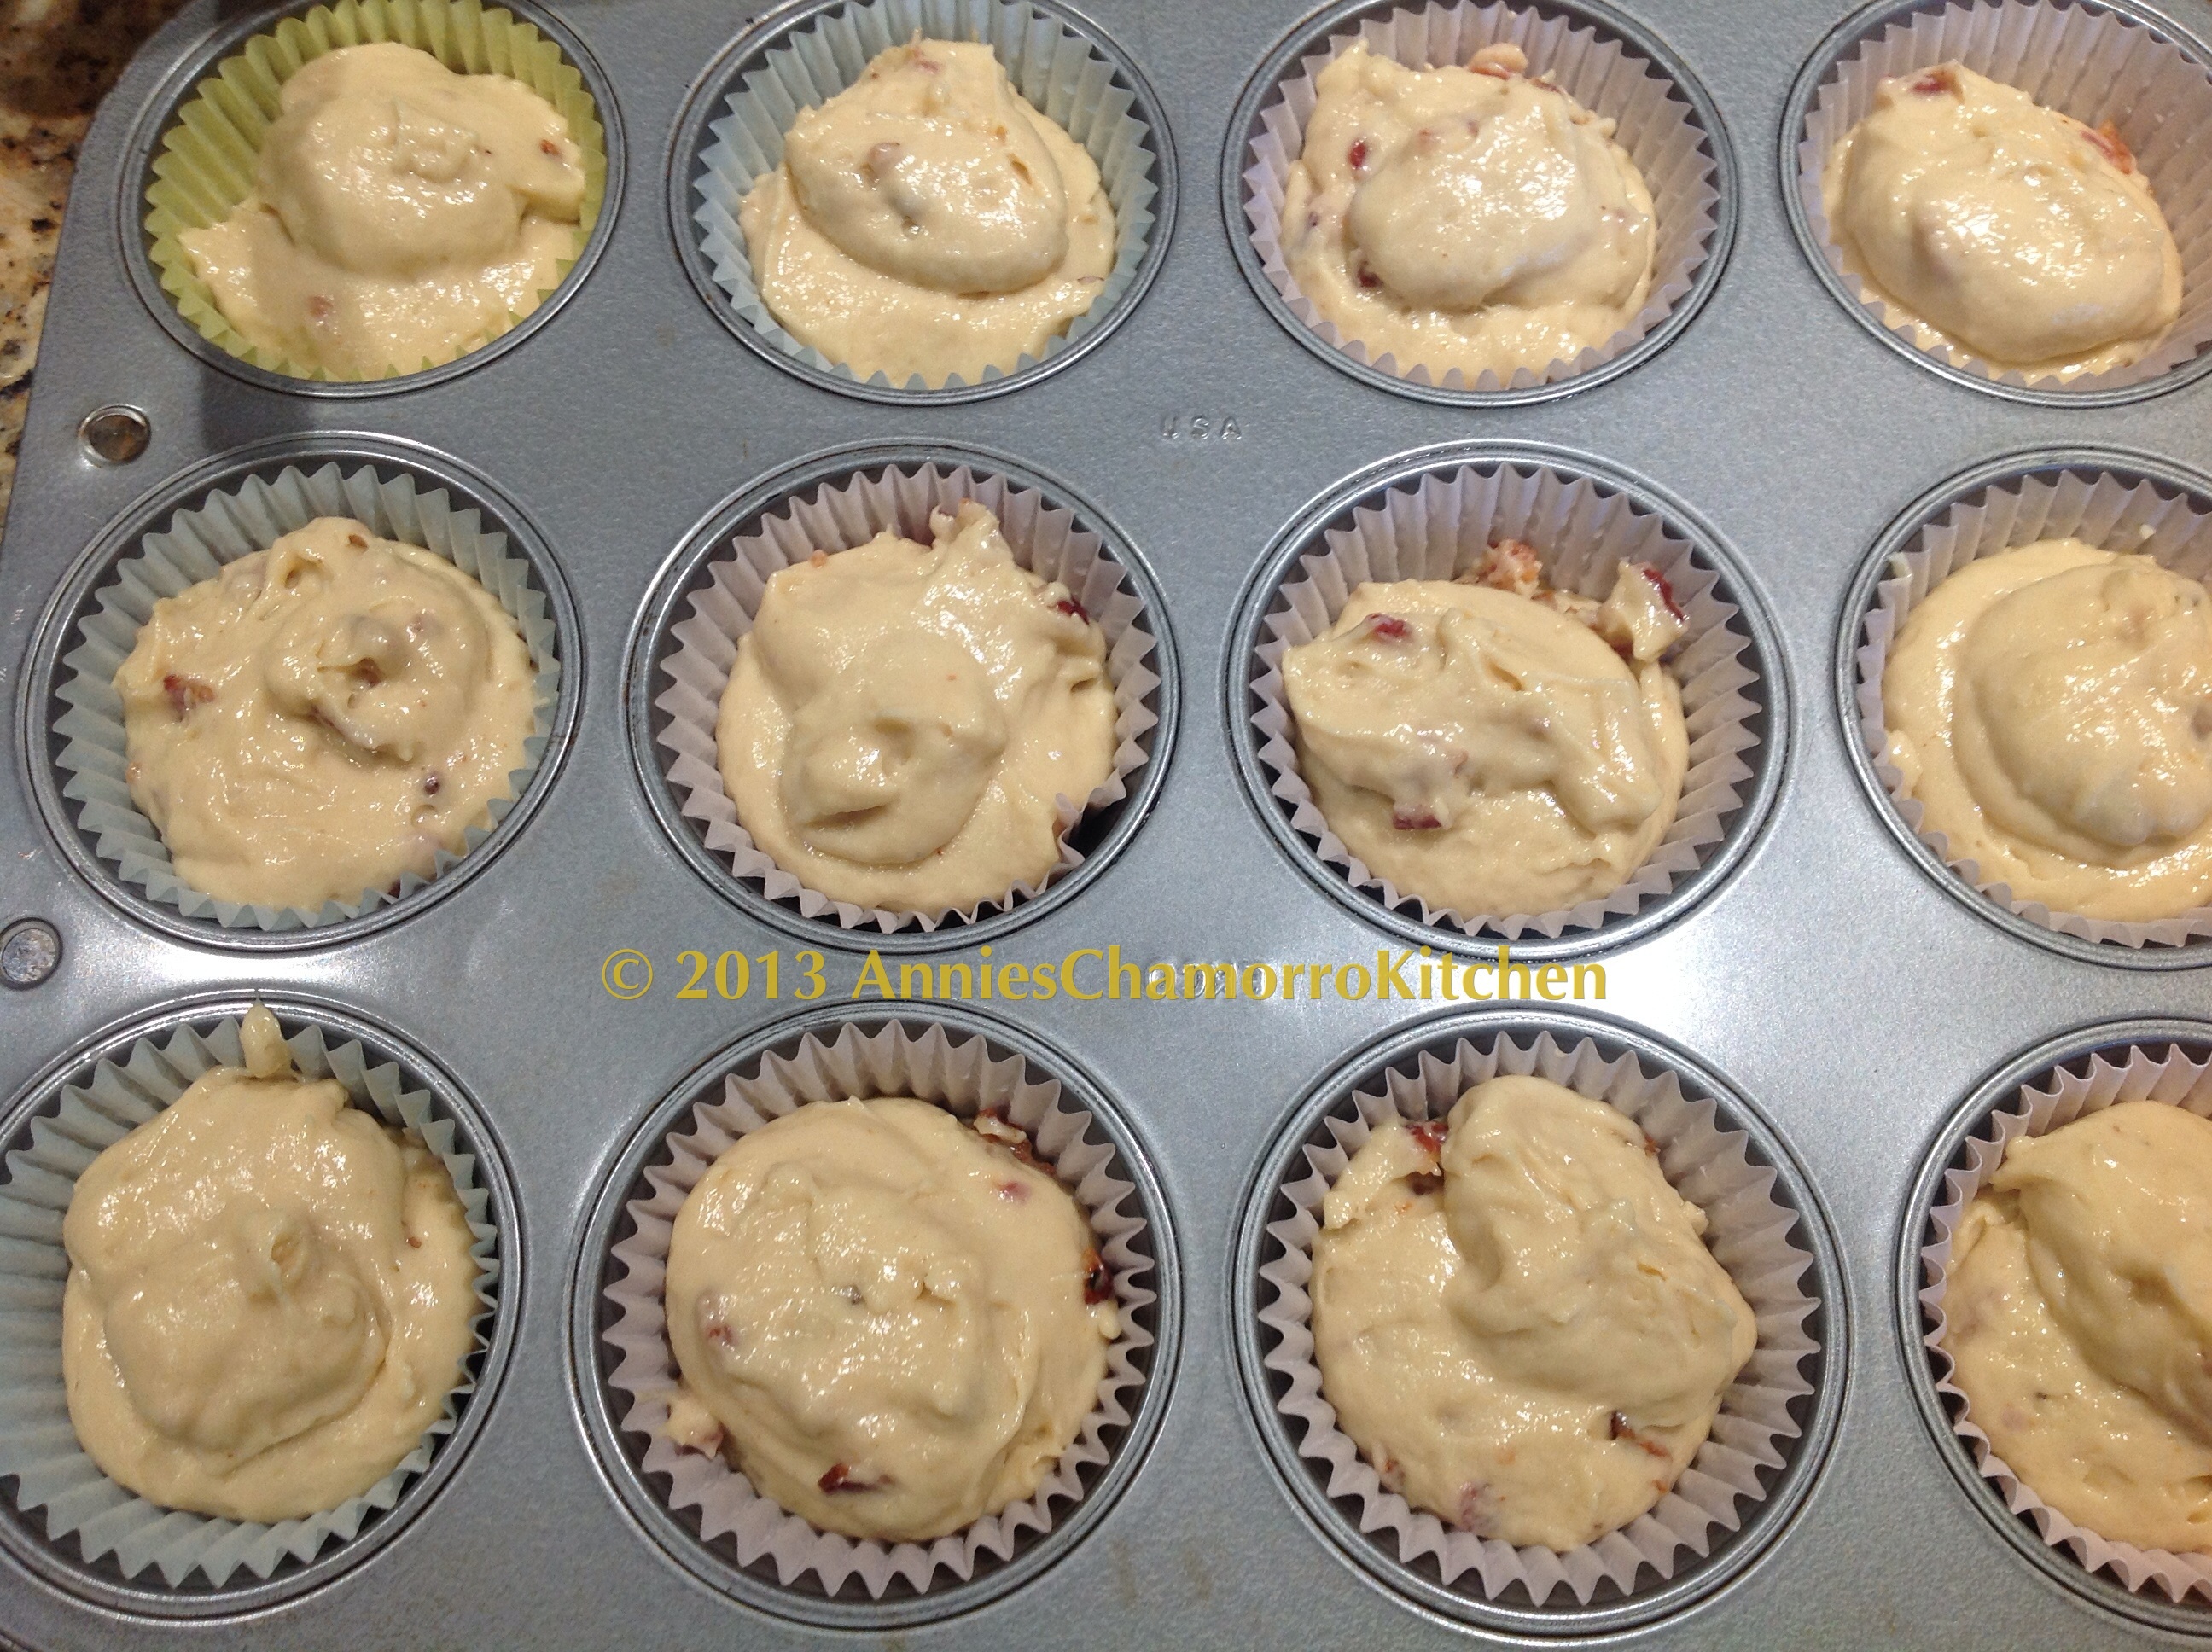
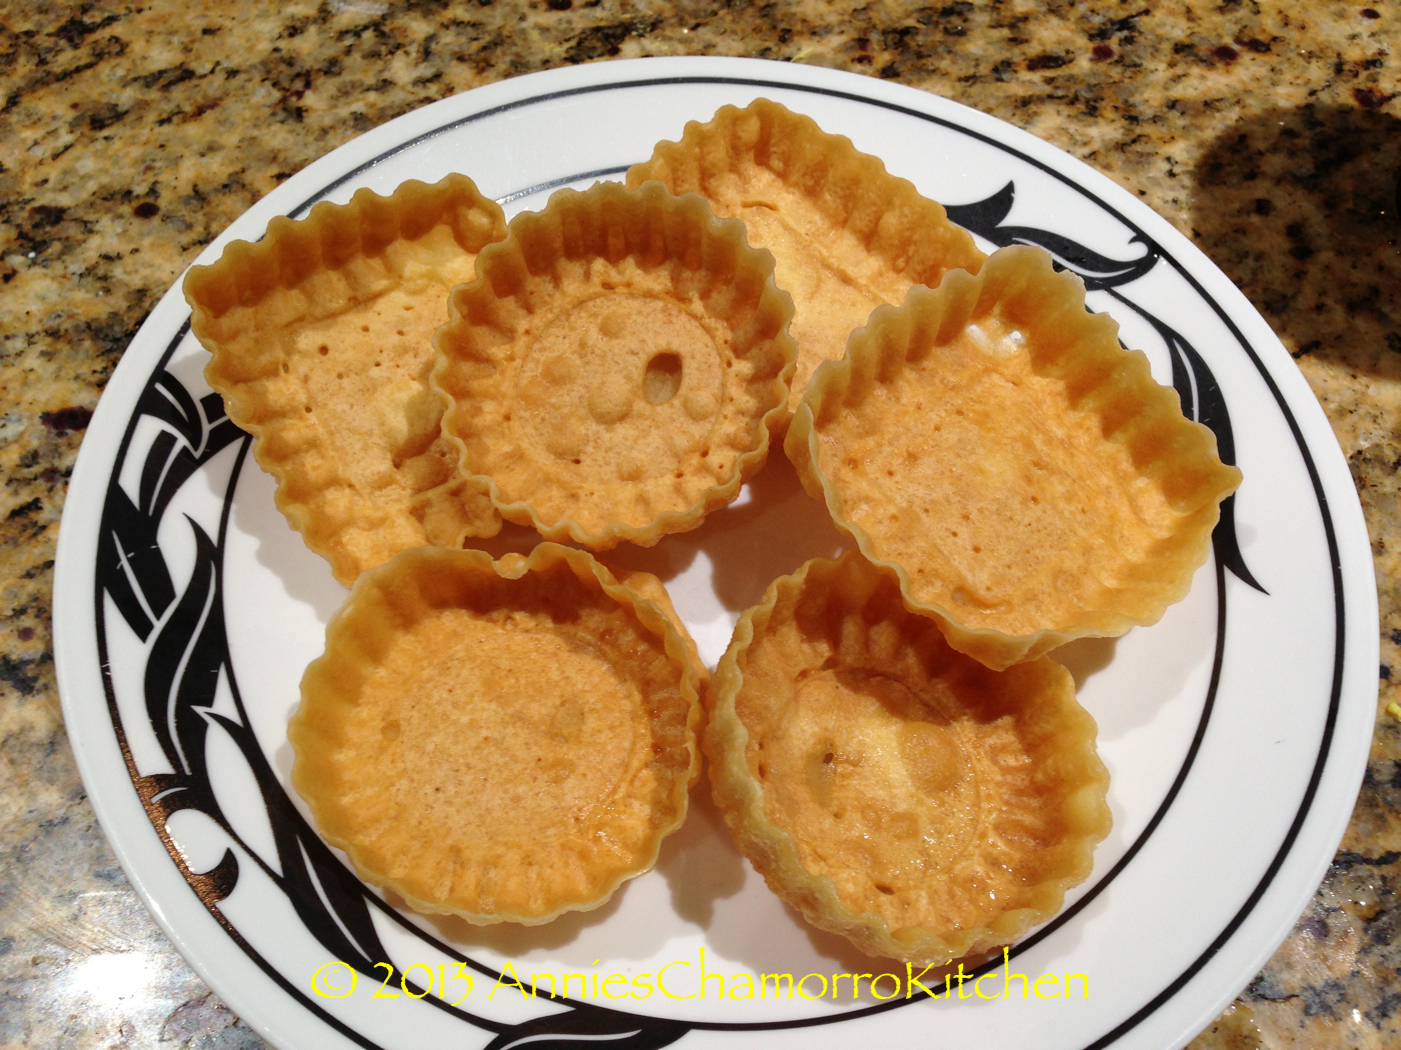
It’s a good idea to line your muffin tin ahead of time, so that you can immediately scoop your batter into them as soon as you’re done mixing it.  You’ll have just enough batter to make 12 muffins.  Use slightly less than 1/3 cup of batter in each muffin cup.


image

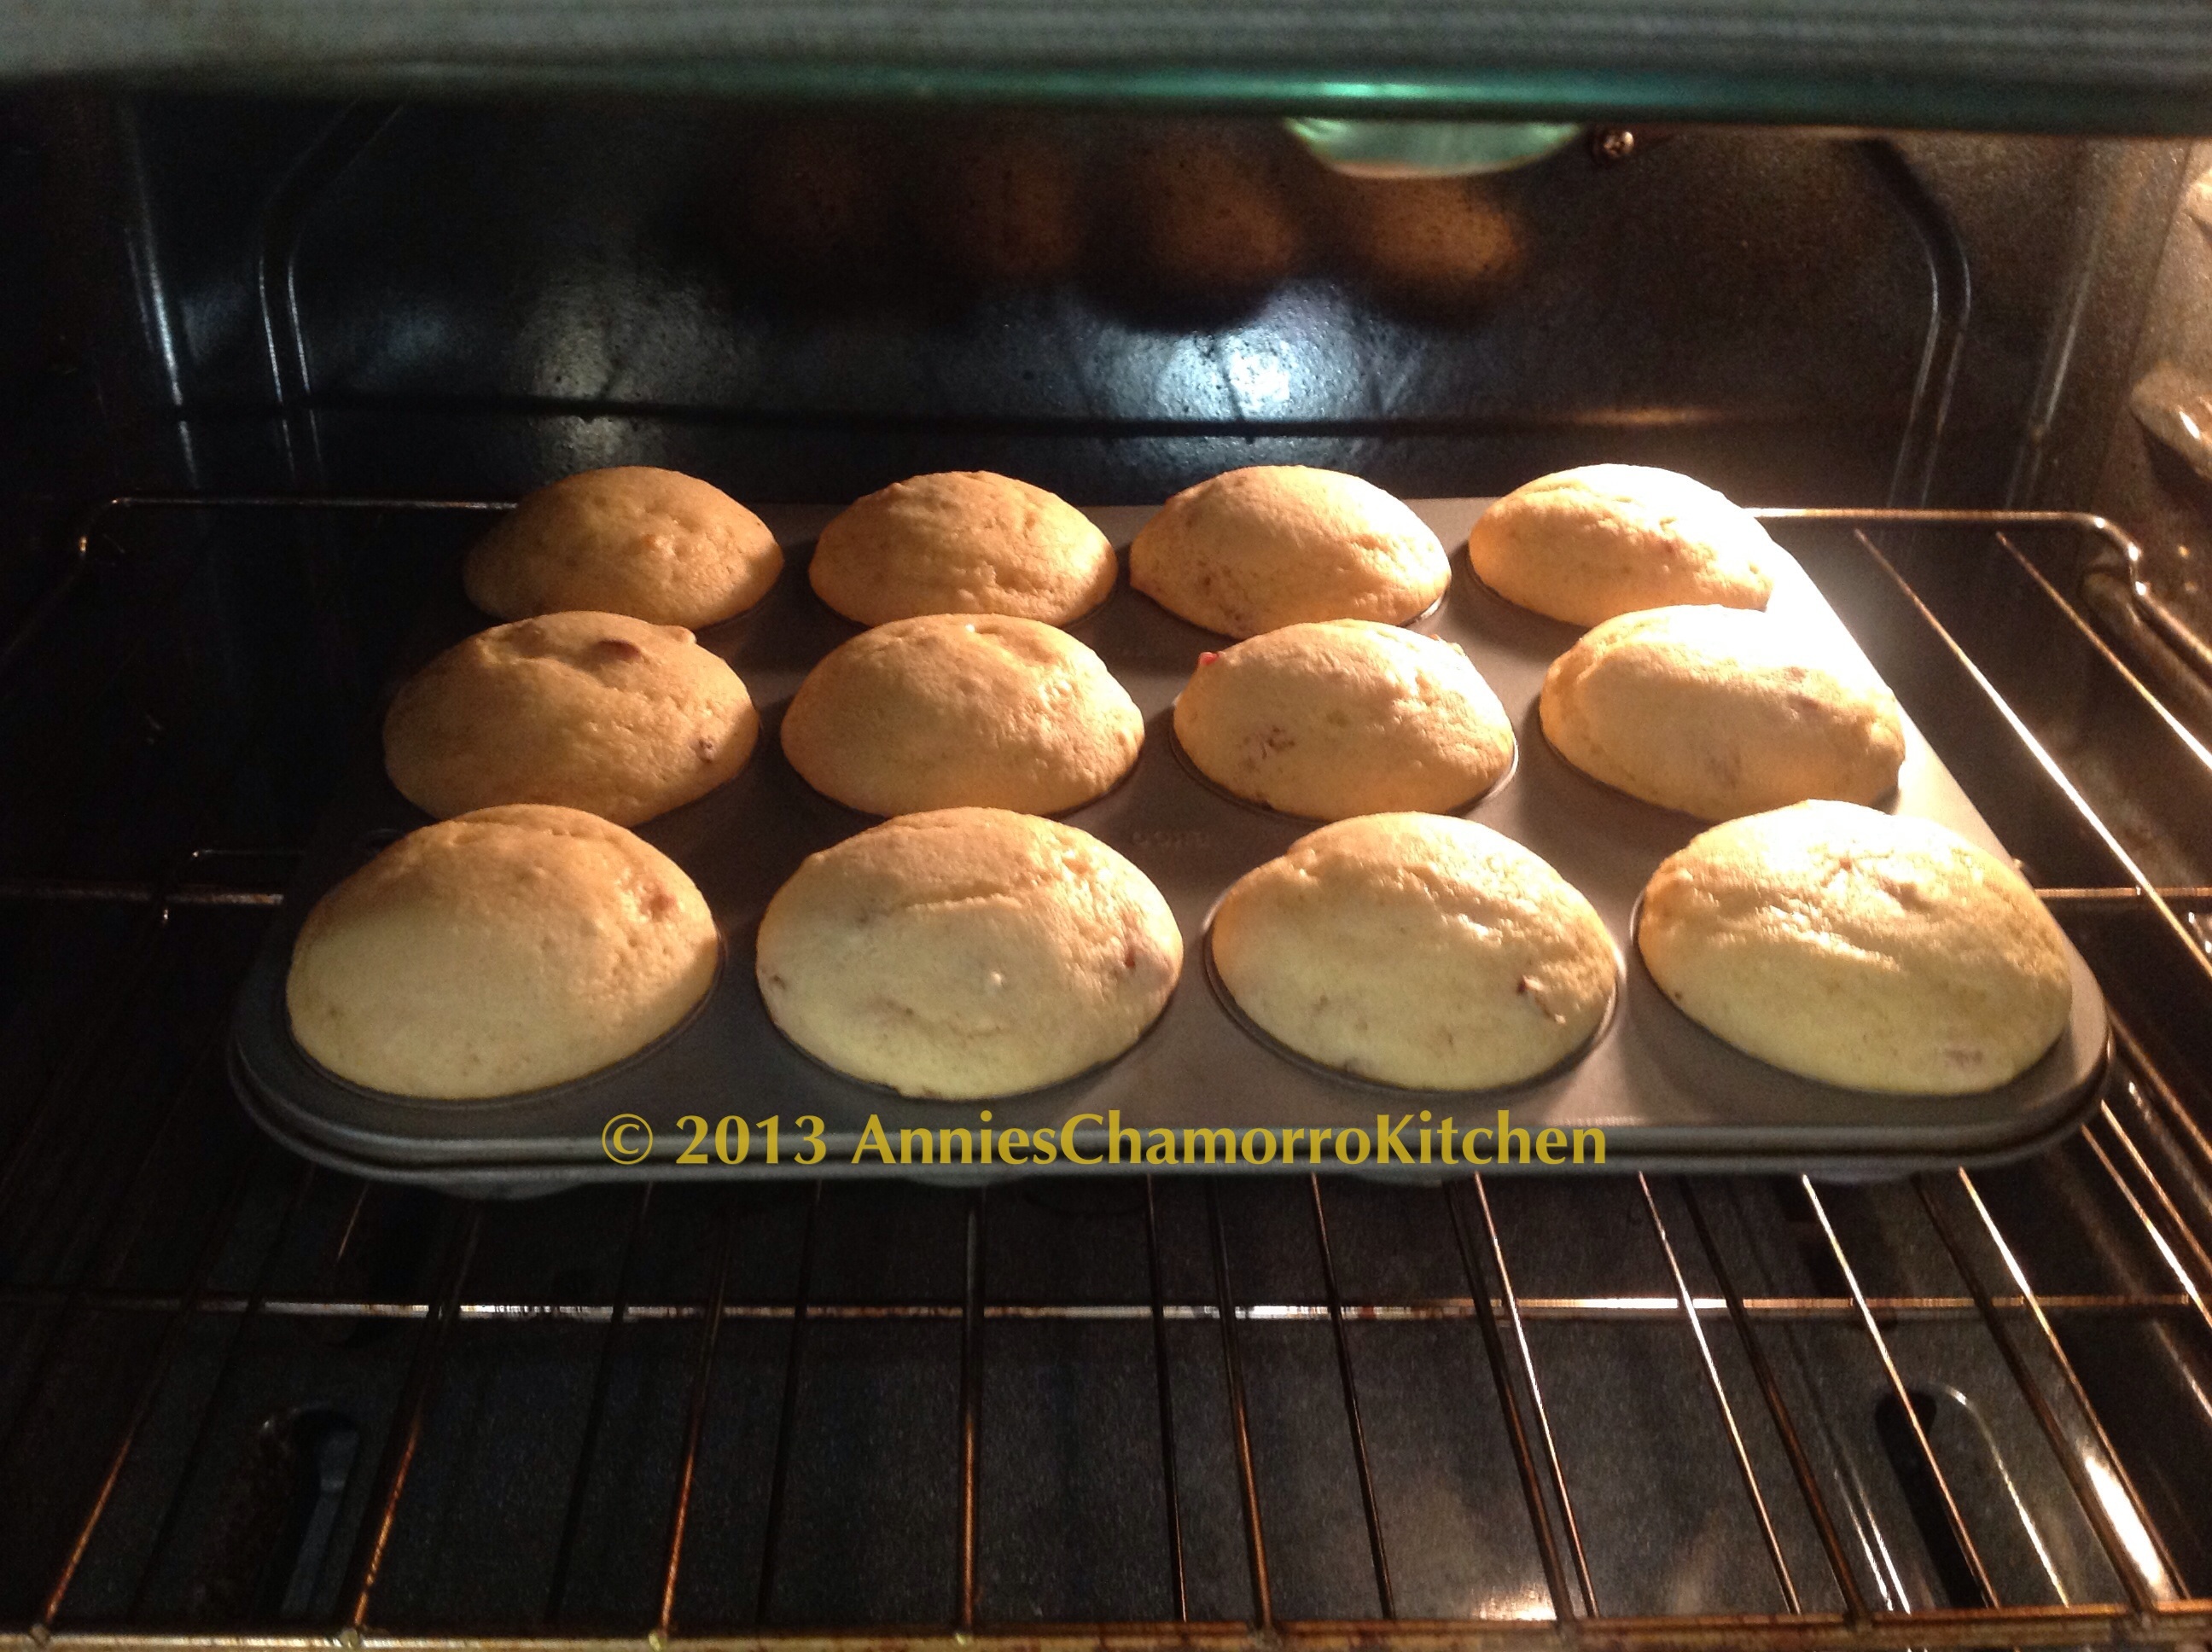
Bake the muffins anywhere between 15-20 minutes.  The baking time will vary, depending on your oven.  My oven (not to mention I live at a relatively high altitude) tends to take a little longer to bake things.  I check for doneness about 2 minutes prior to the minimum cooking time.  In this case, I used a toothpick to test for doneness at the 13-minute mark.  My muffins were still a bit wet, so I baked them for an additional 5 minutes.


image

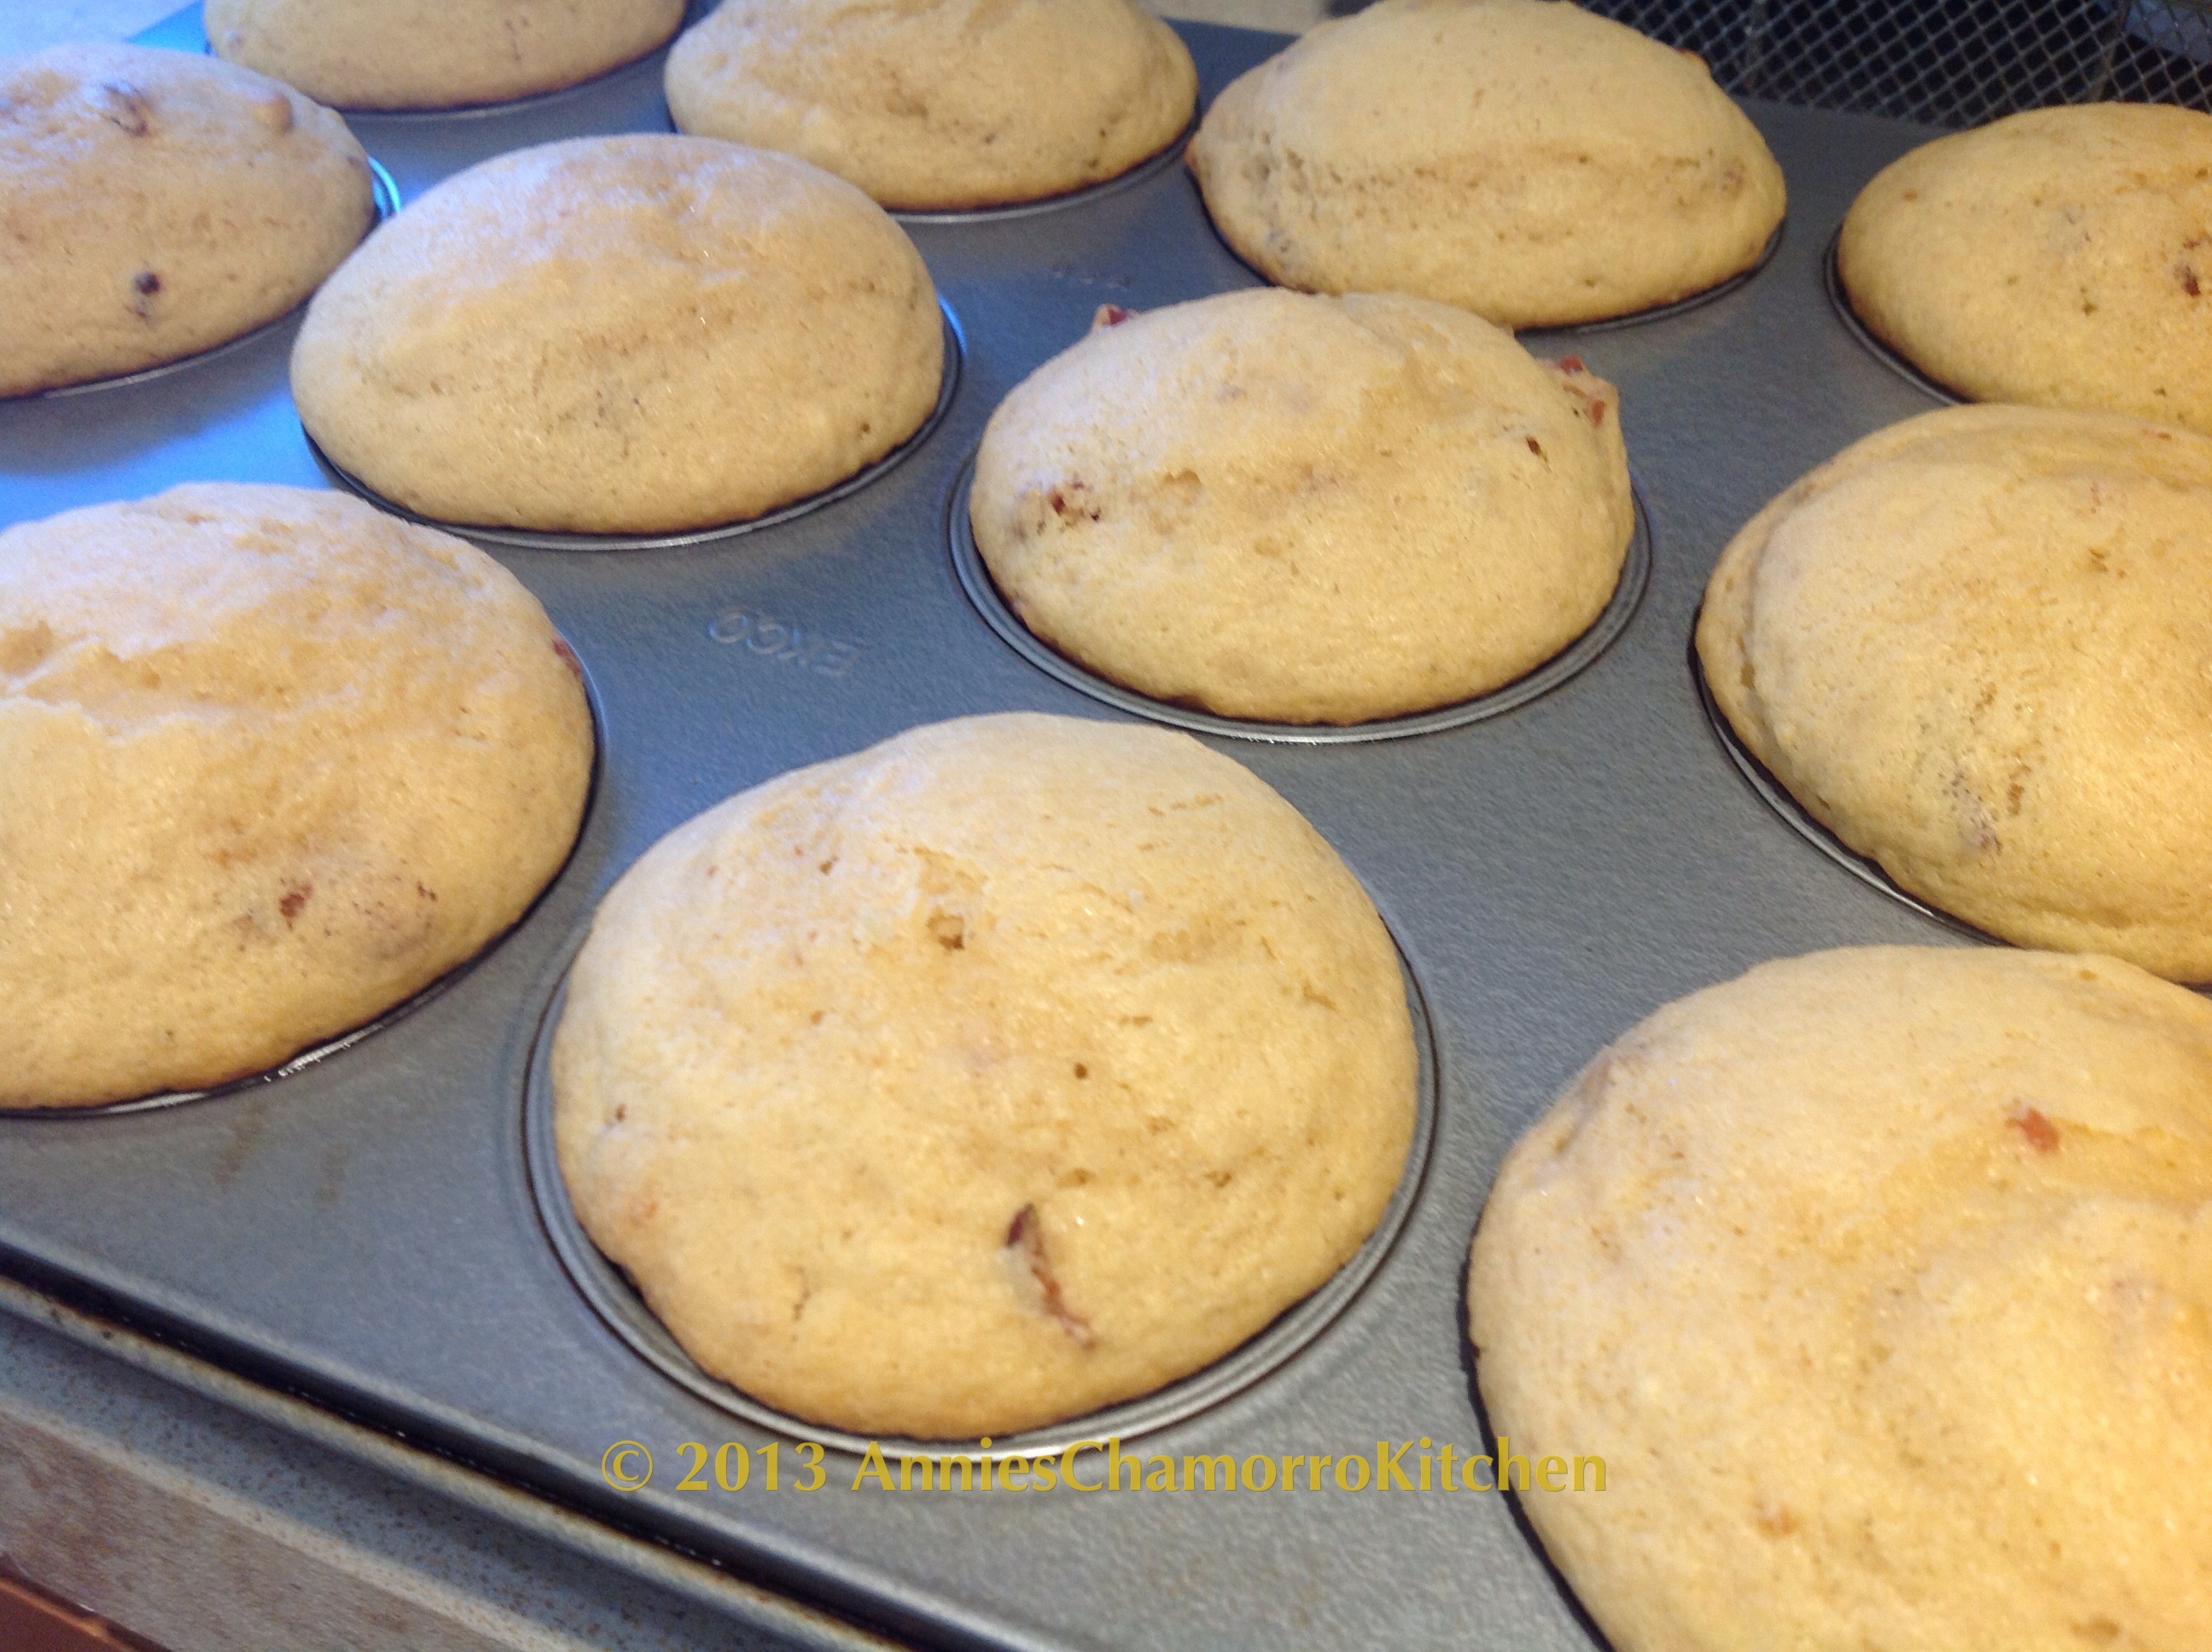
The extra 5 minutes of baking did the trick.  The muffins should be a golden brown.  A toothpick inserted into the middle should come out clean, although a few crumbs sticking to it is okay.  Let the muffins cool completely before adding your frosting.


image

Make the frosting while the muffins are cooling.
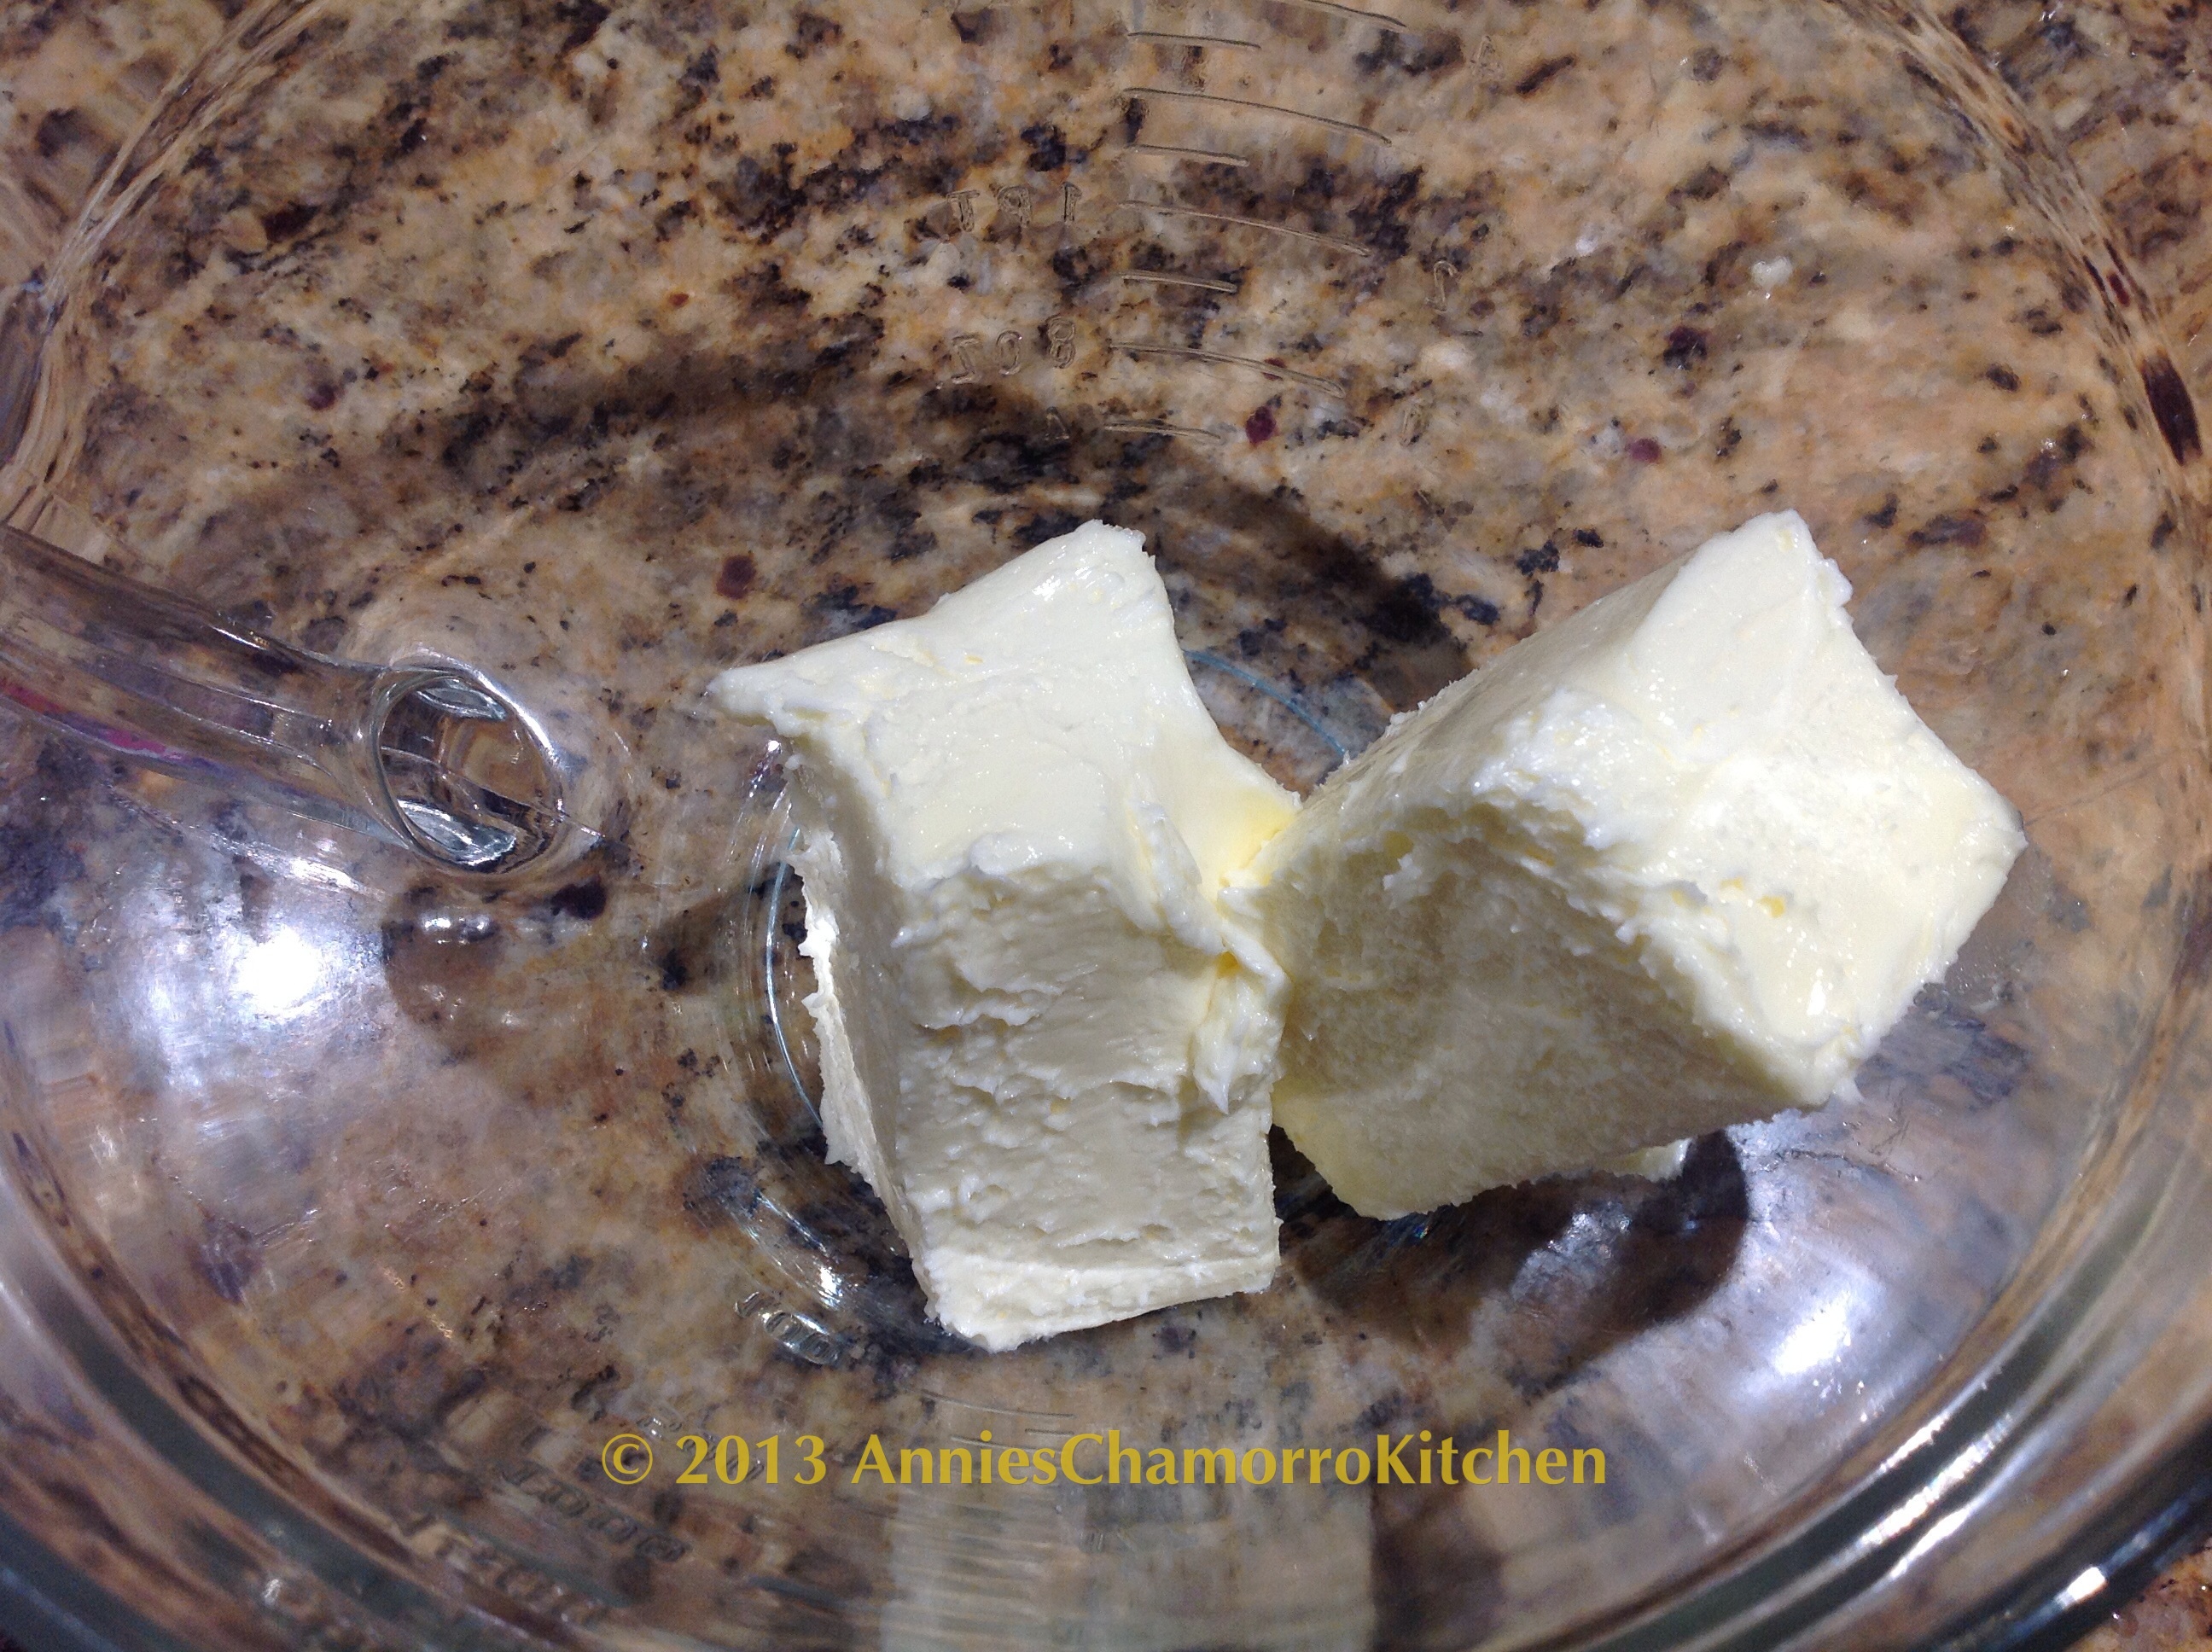
I also left these two sticks of butter out overnight to completely soften.


image

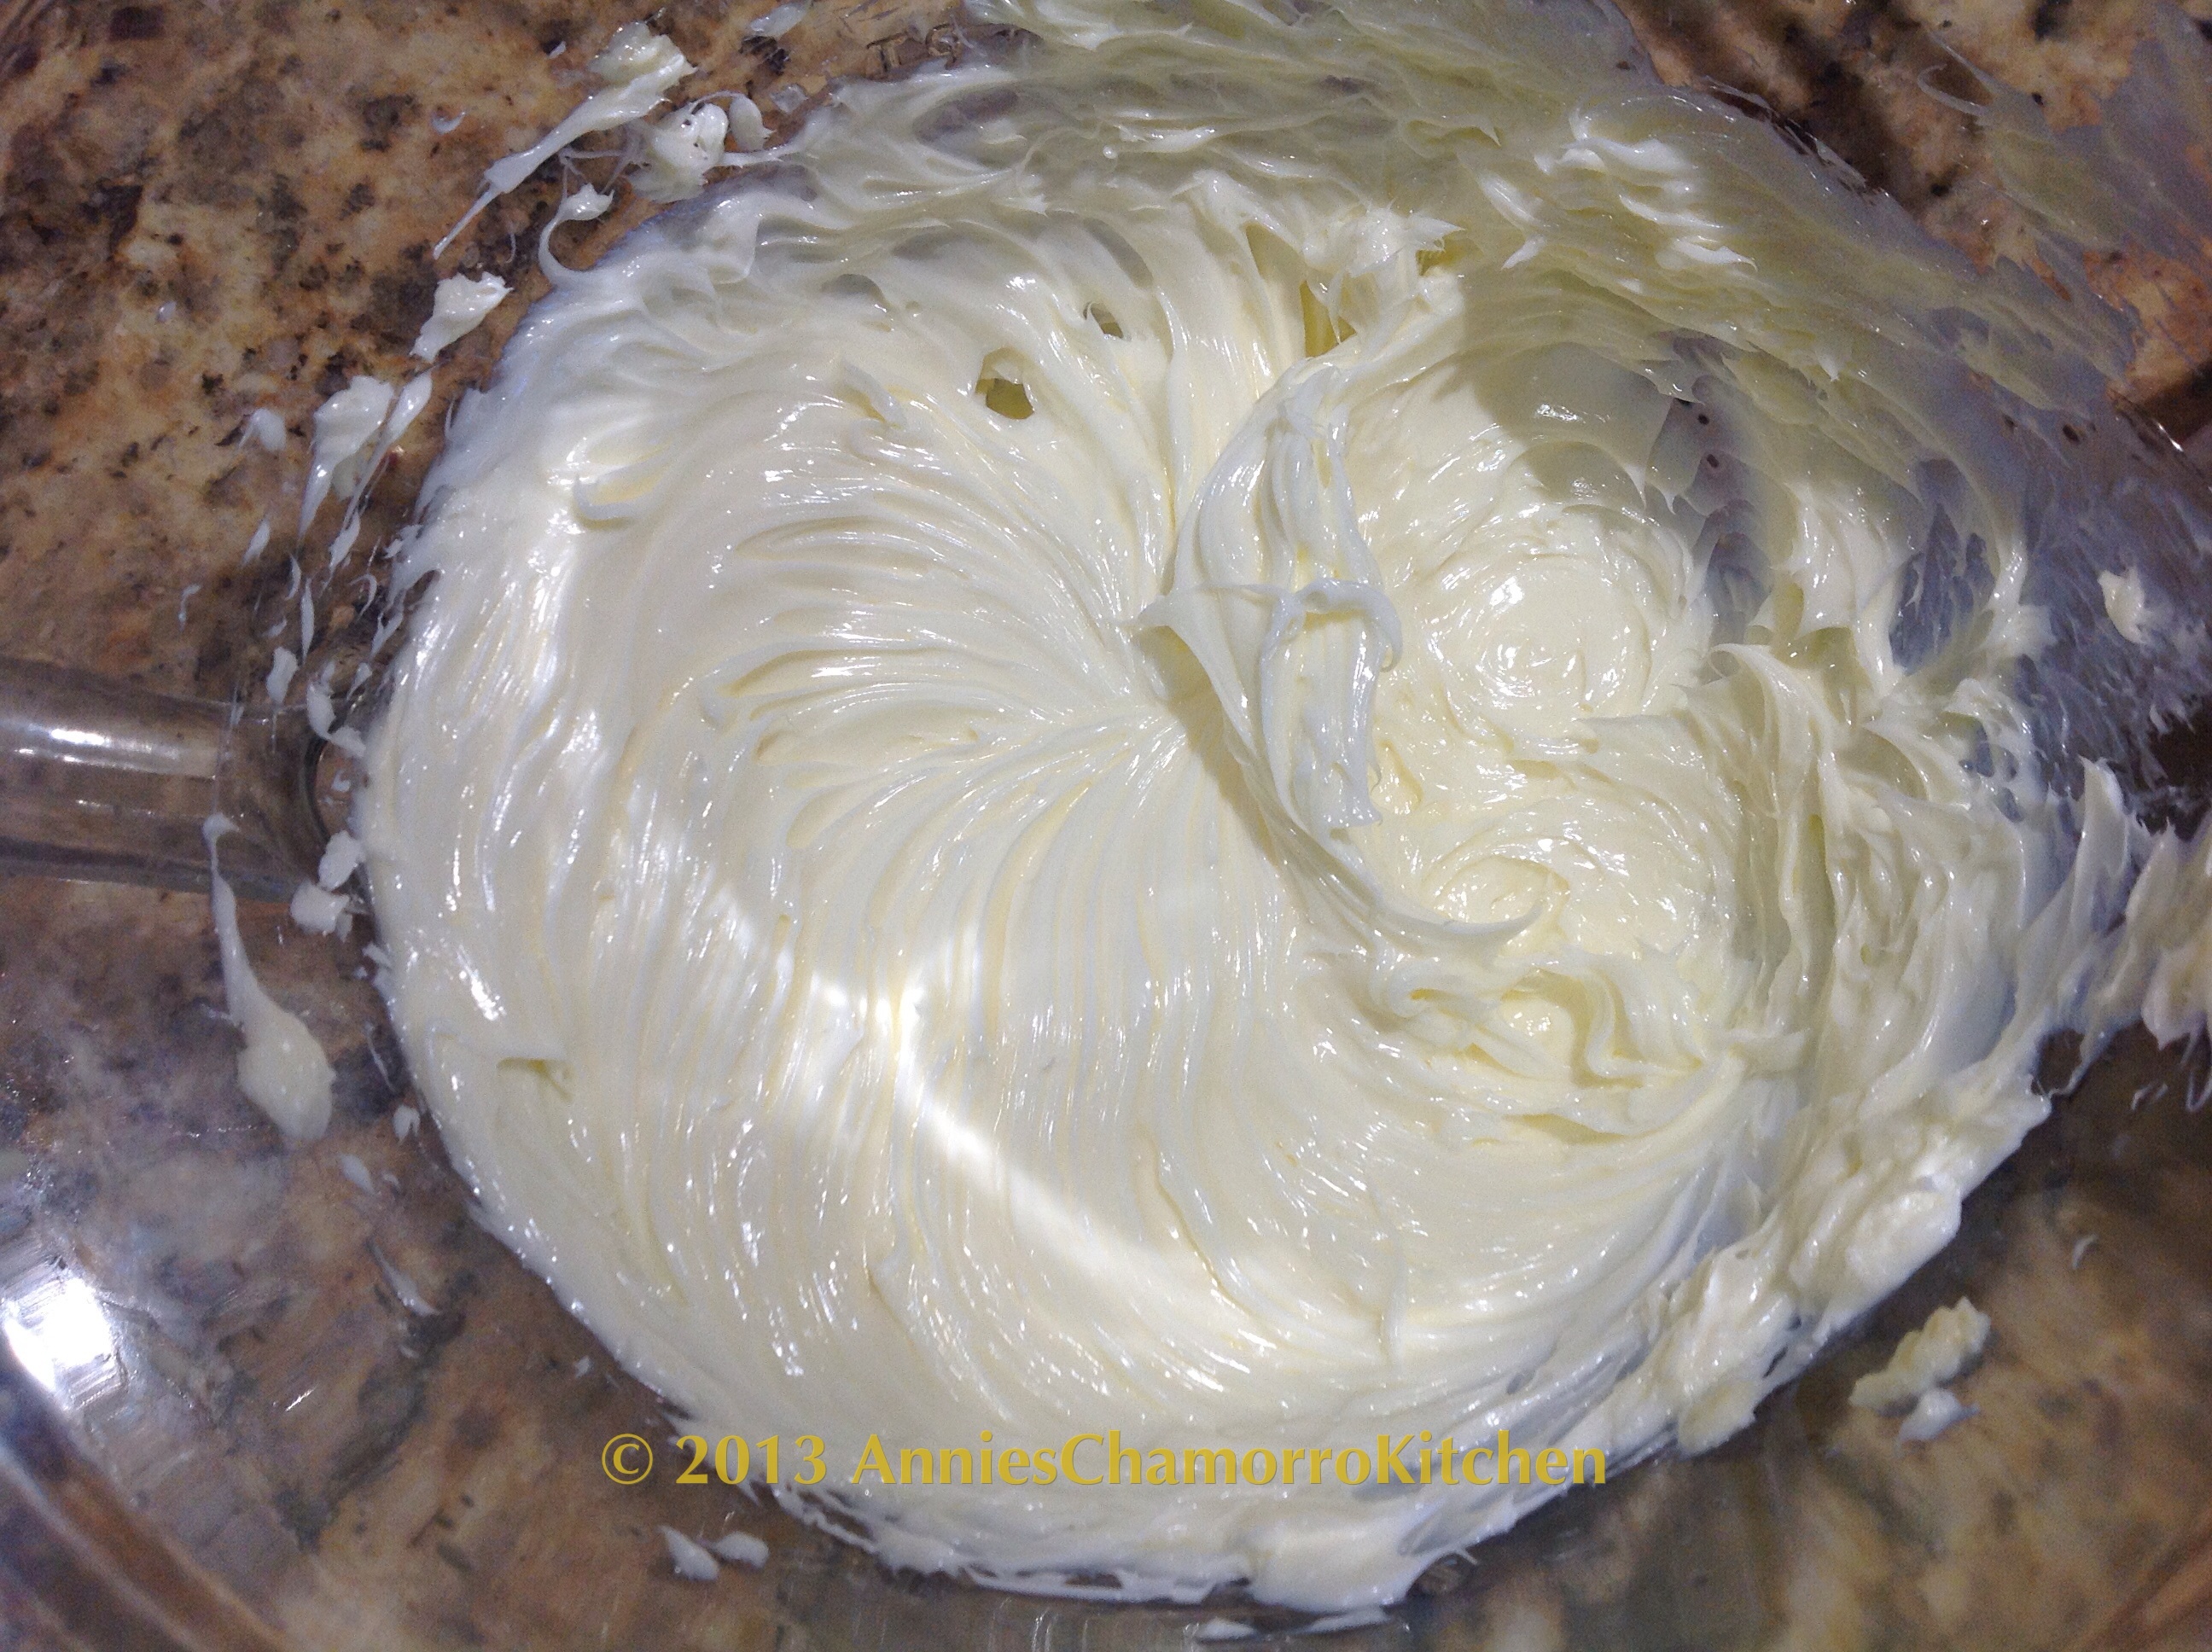
You WILL need an electric mixer to make the frosting.  Because the butter is already soft, you don’t need to beat it.  I just turned my mixer on to low speed for a few seconds to spread the butter out a bit.


image

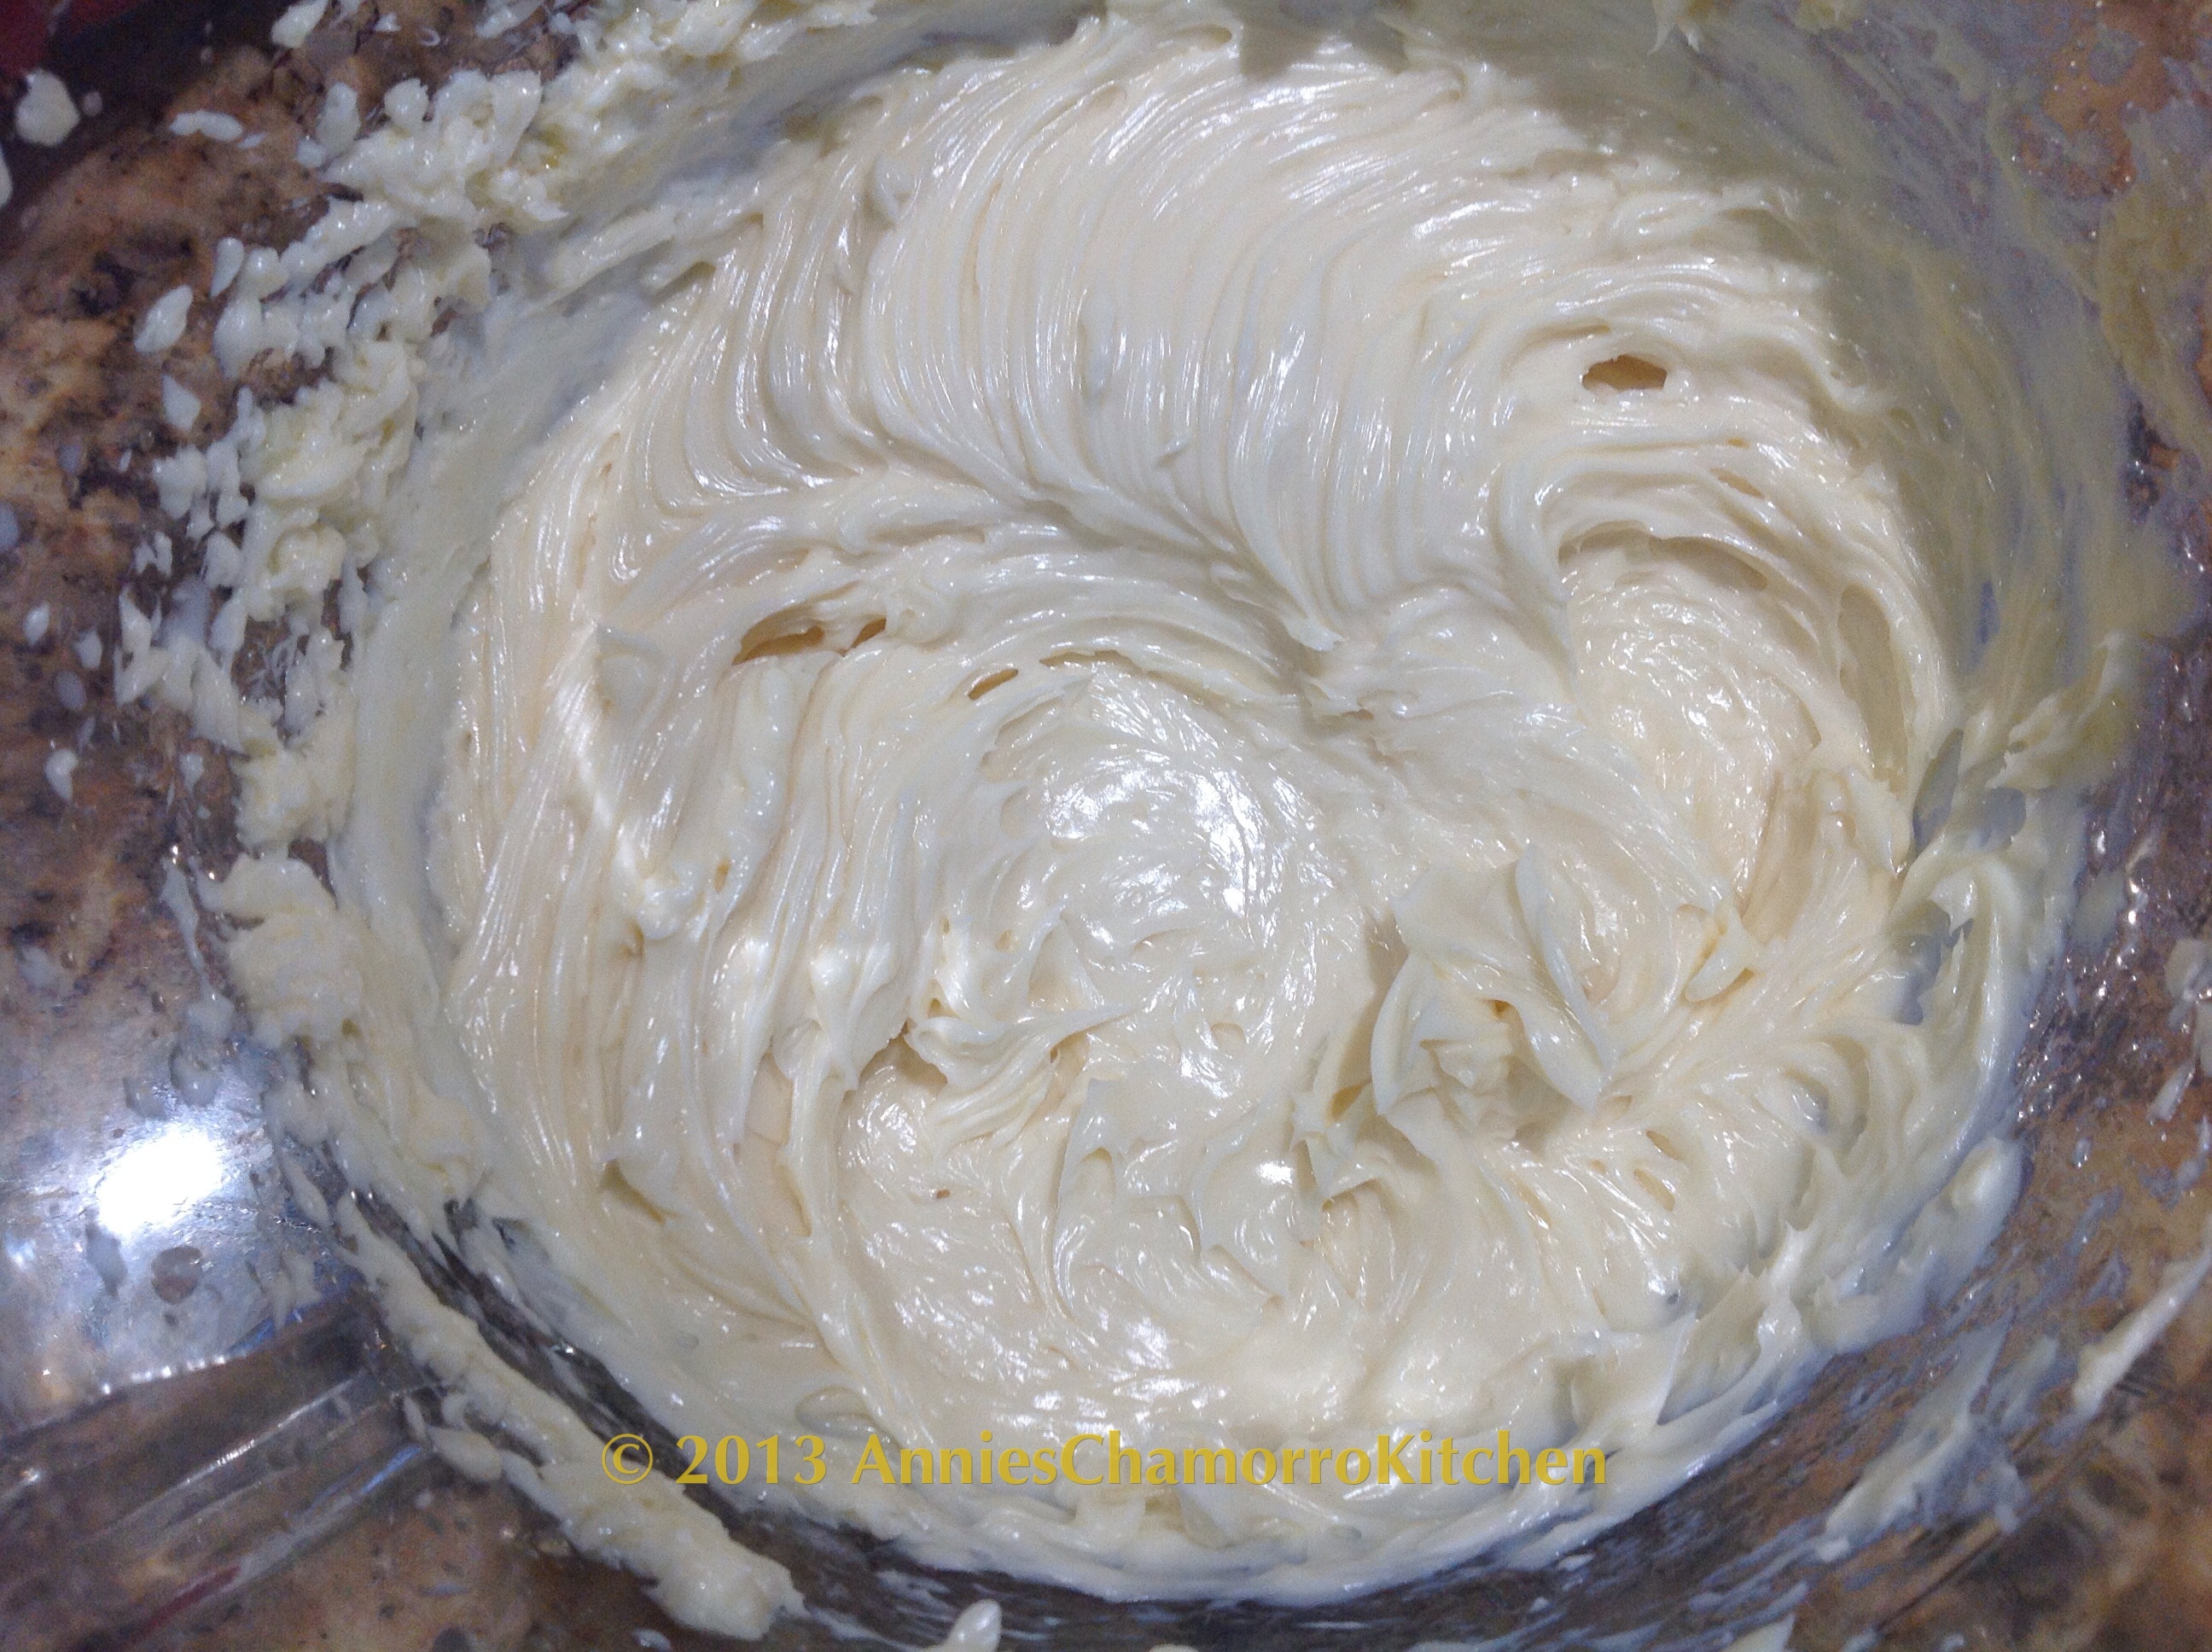
Mix in the maple syrup and milk.


image

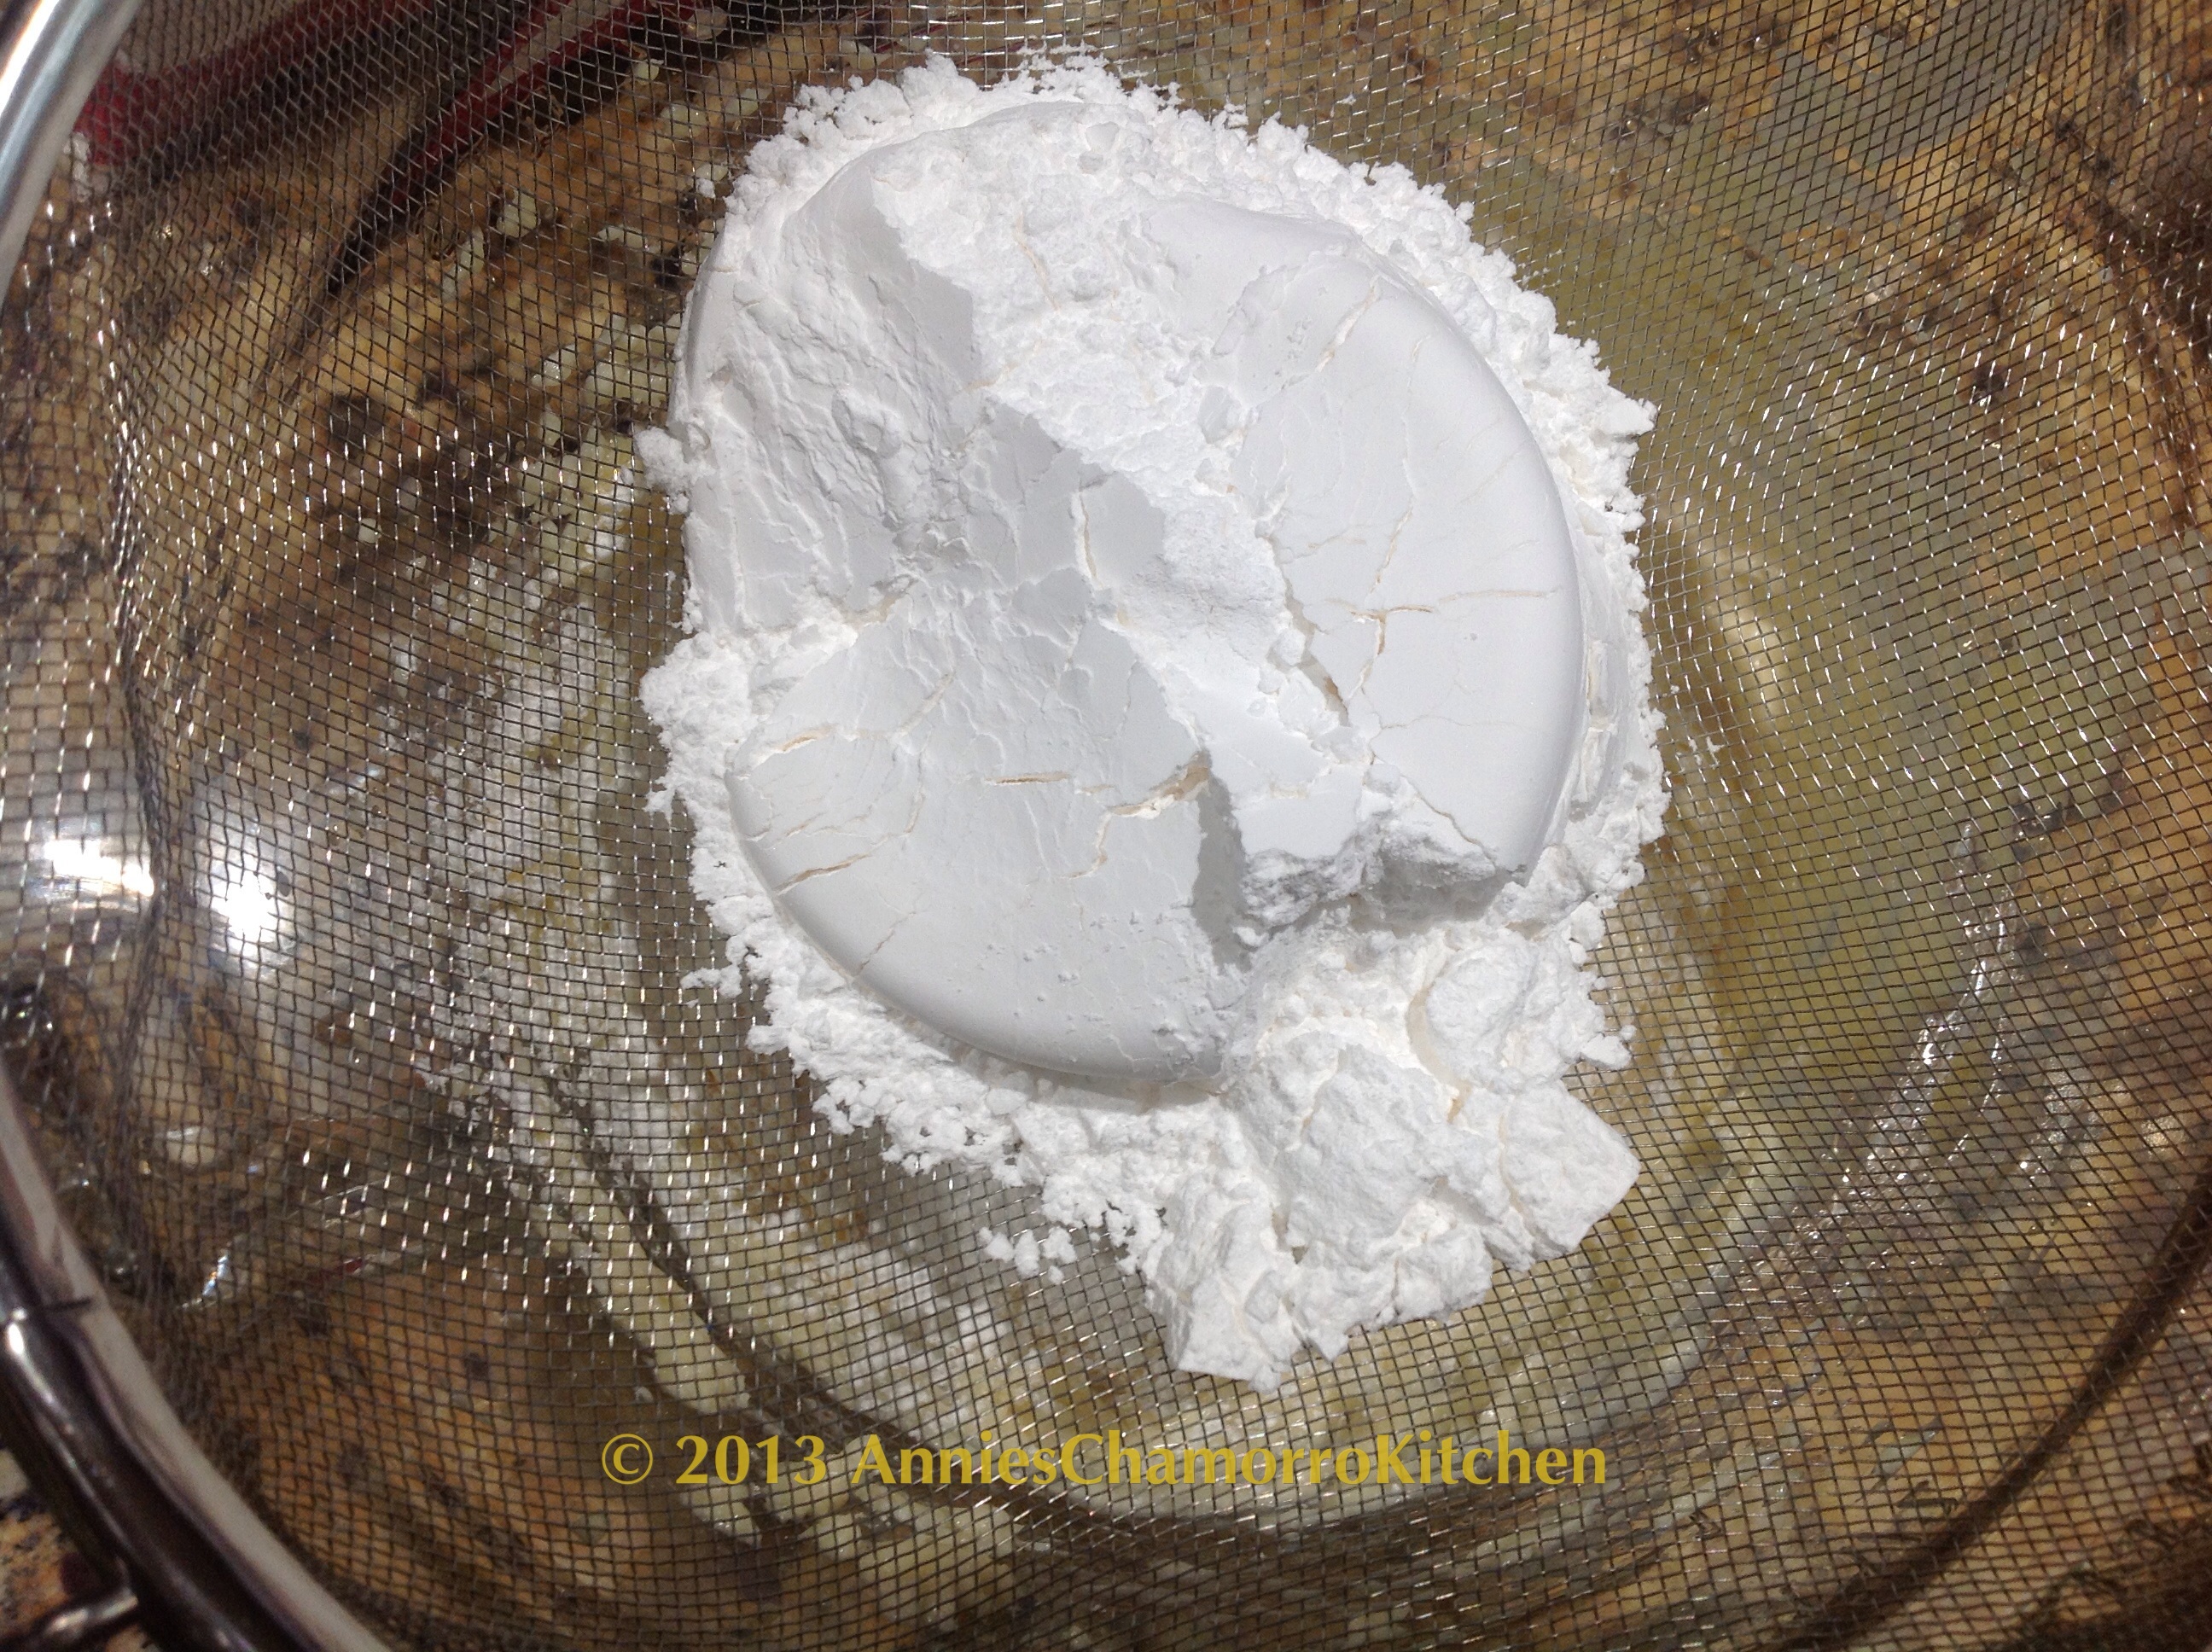
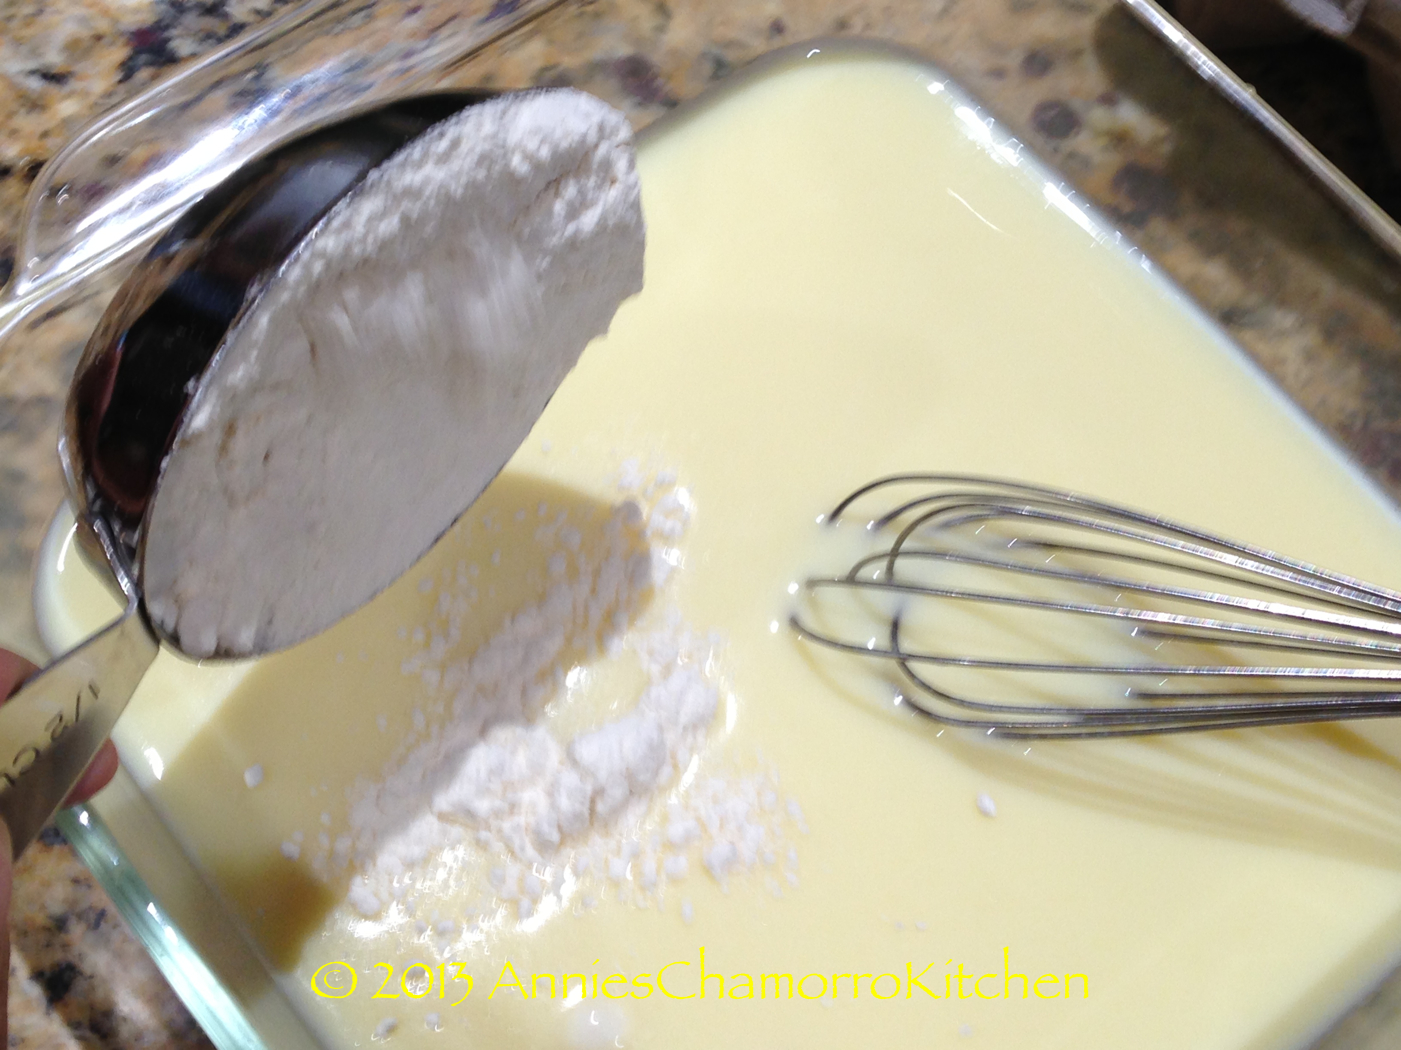
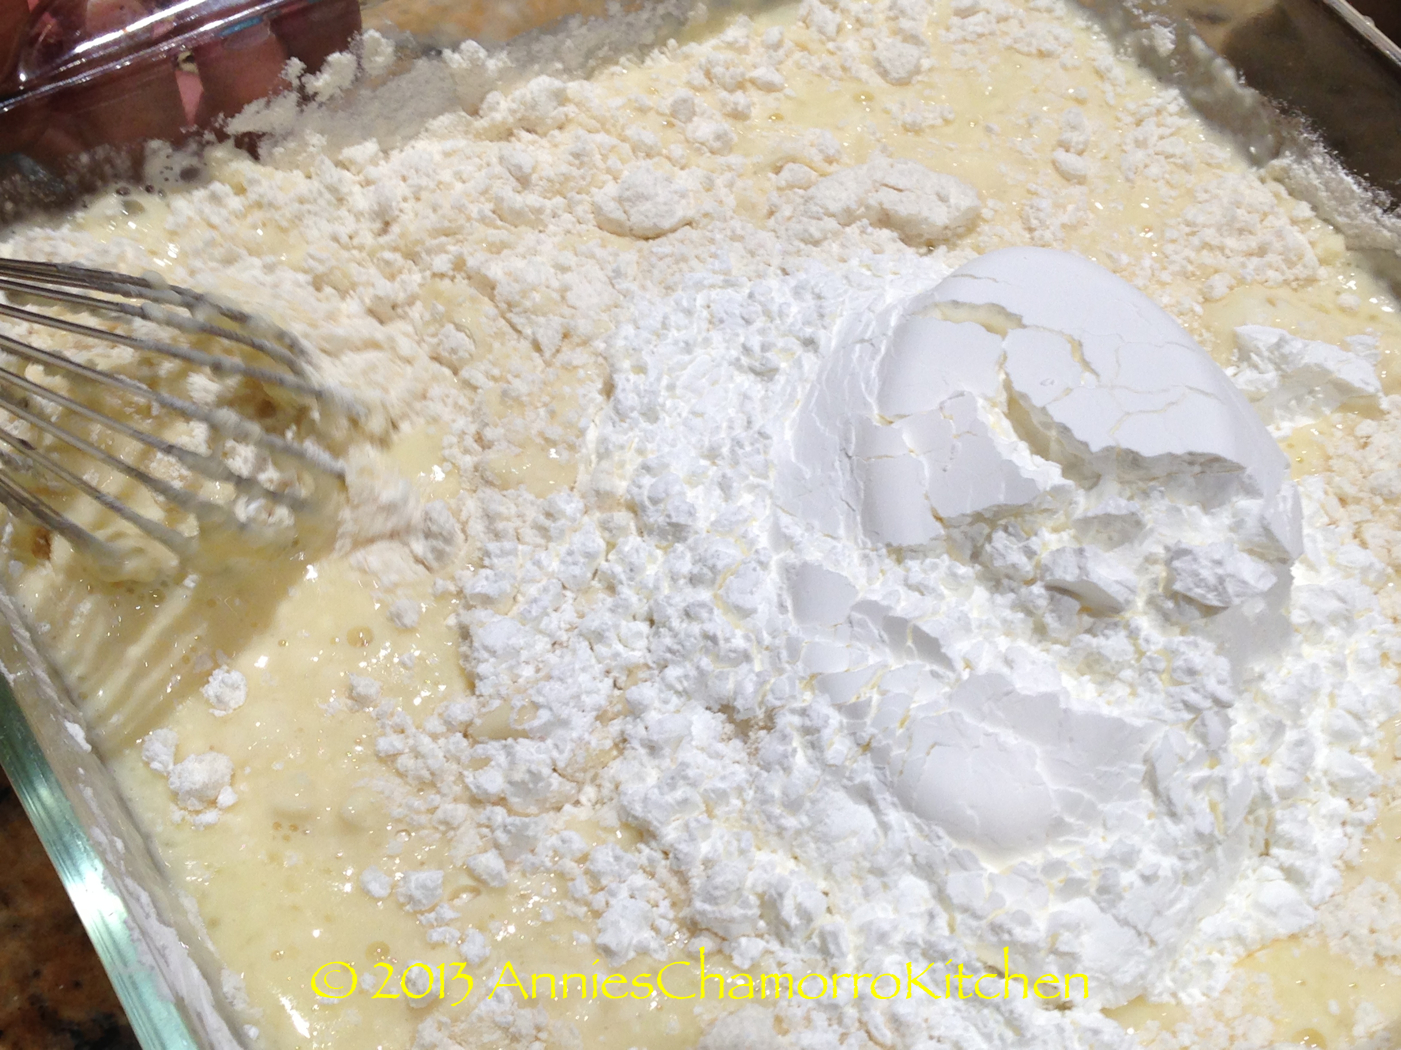
Sift in the powdered sugar — I used a strainer to do this, but a flour sifter works well too.


image

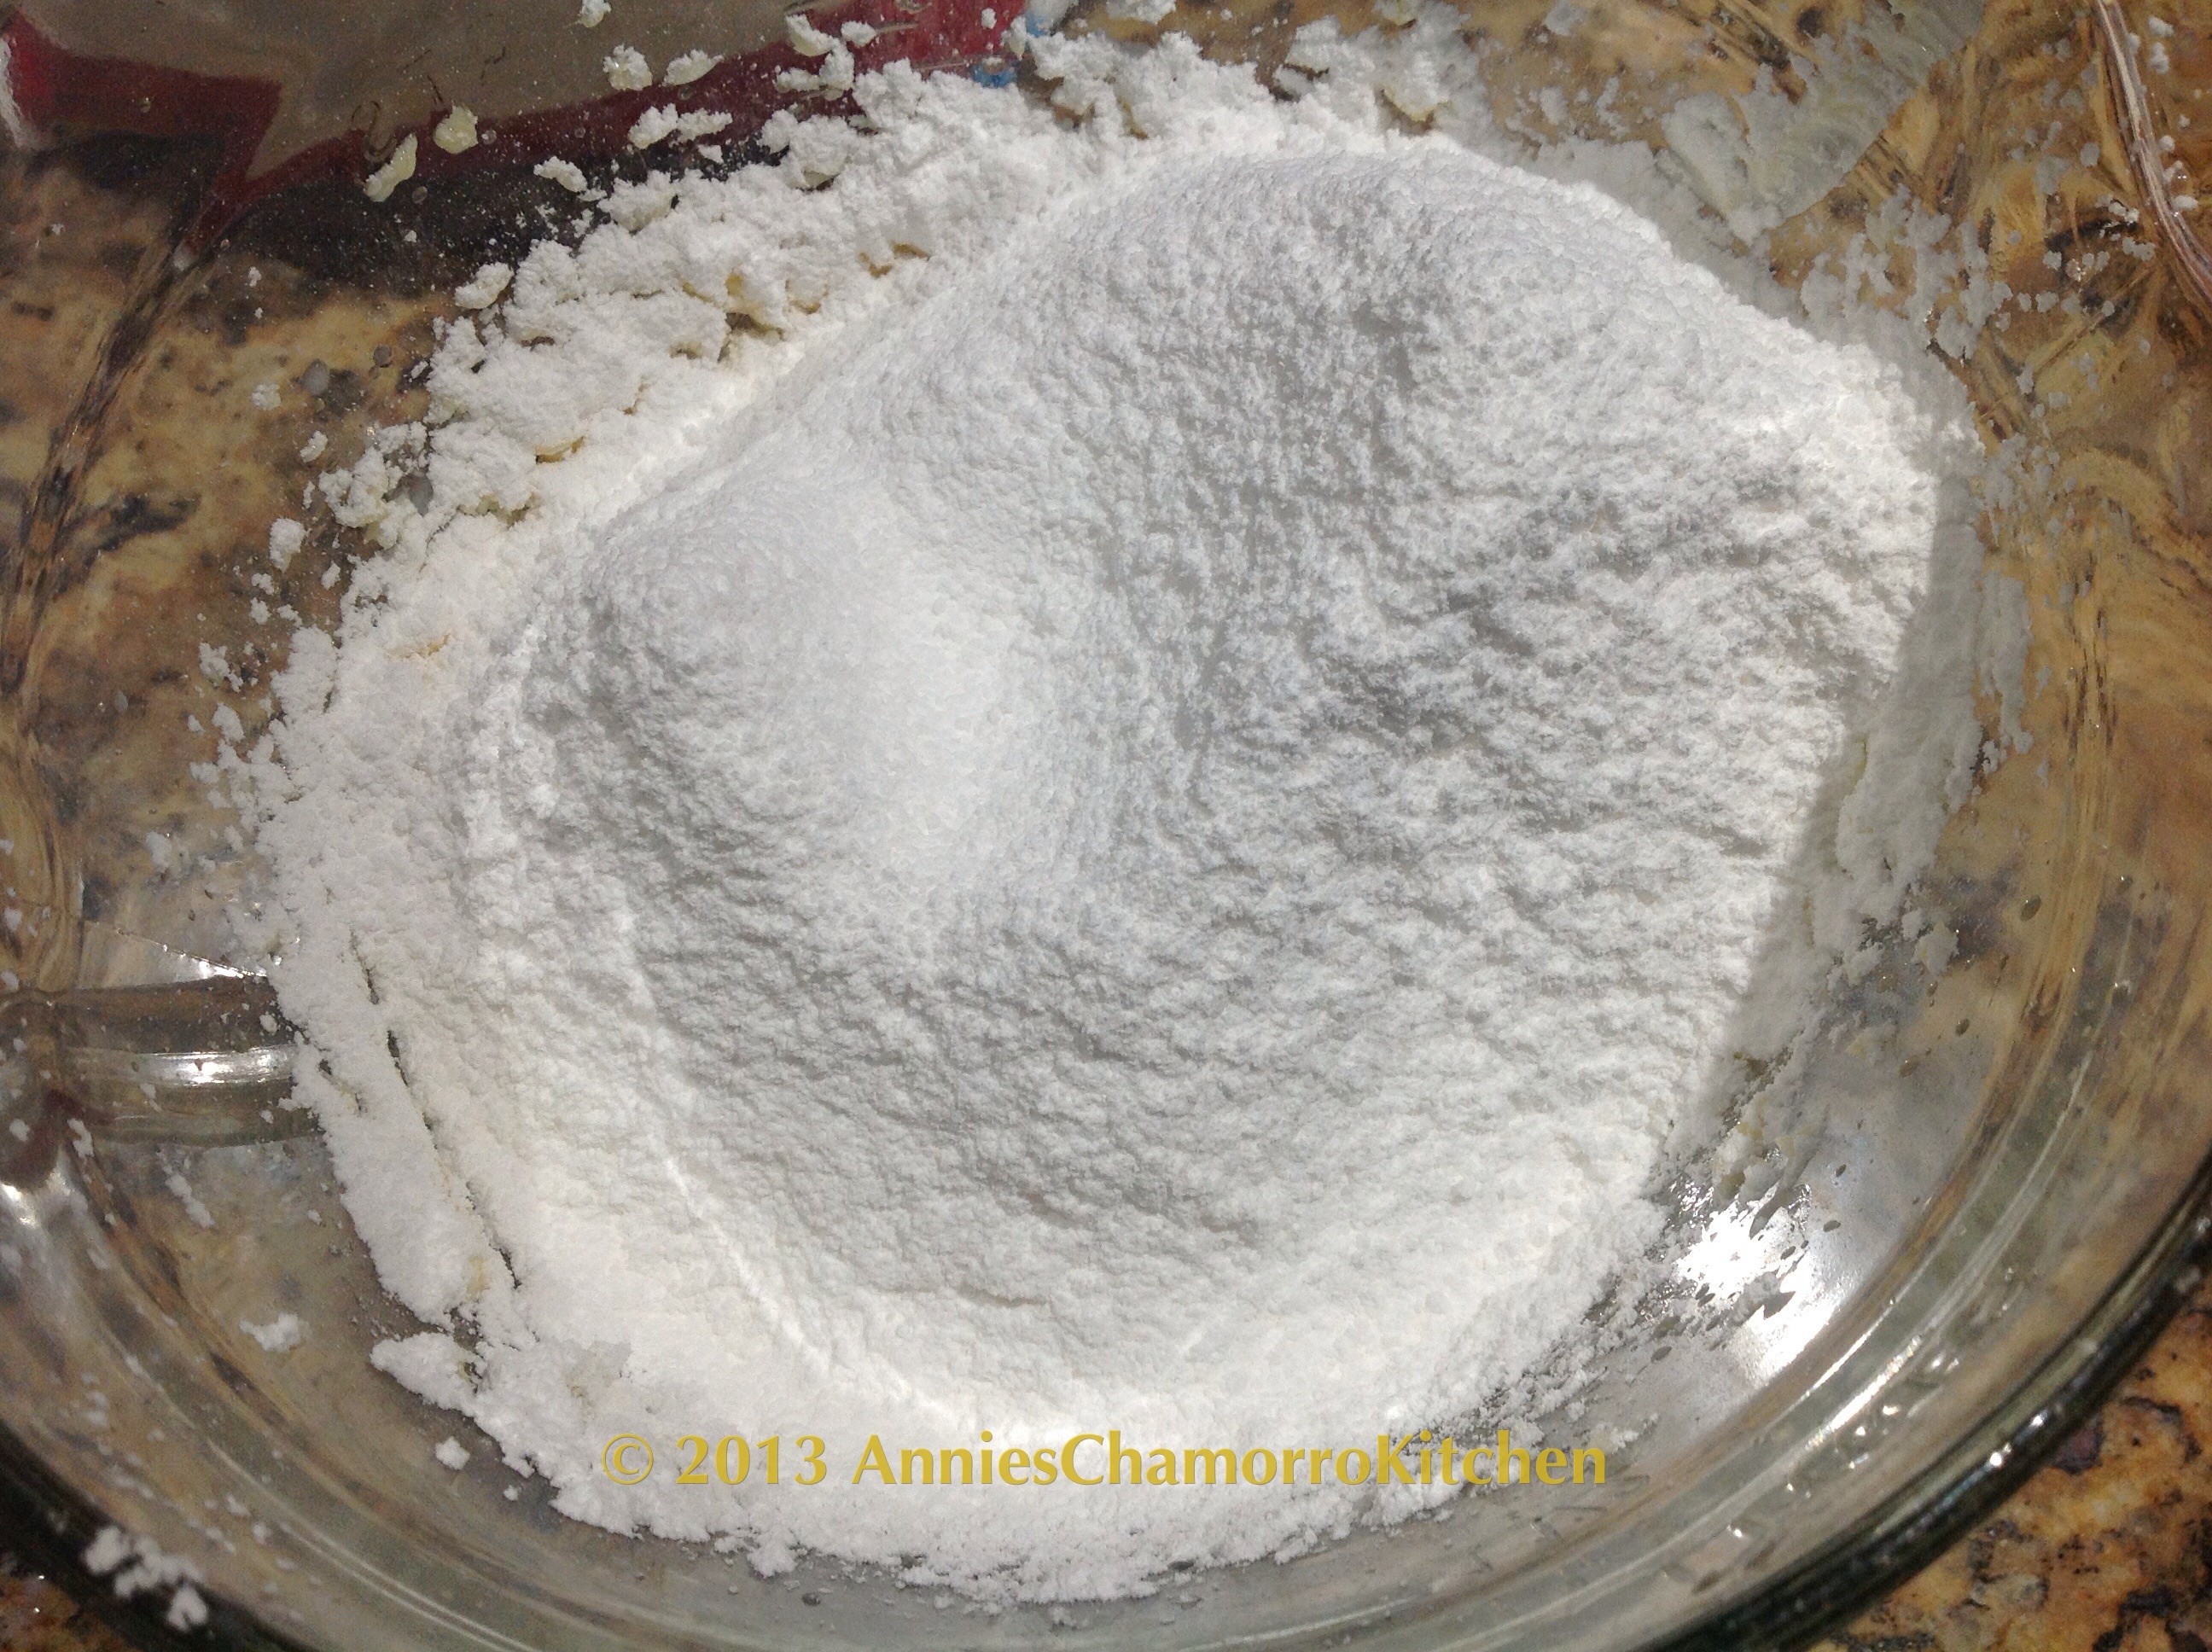
This shows 2 cups of sifted powdered sugar.  My recipe calls for up to 4 cups of sugar — I only used 2.  You can use 3 or even the entire 4 cups of sugar if you like (it will be really sweet if you do).  The added sugar also serves to make your frosting stiffer, which is what you want if you plan on using a piping bag and decorating tip to decorate your muffins.  I didn’t want to do this with this batch — a softer frosting was good enough here since I only planned on using a small cookie scoop to scoop out enough frosting to top each muffin.


image

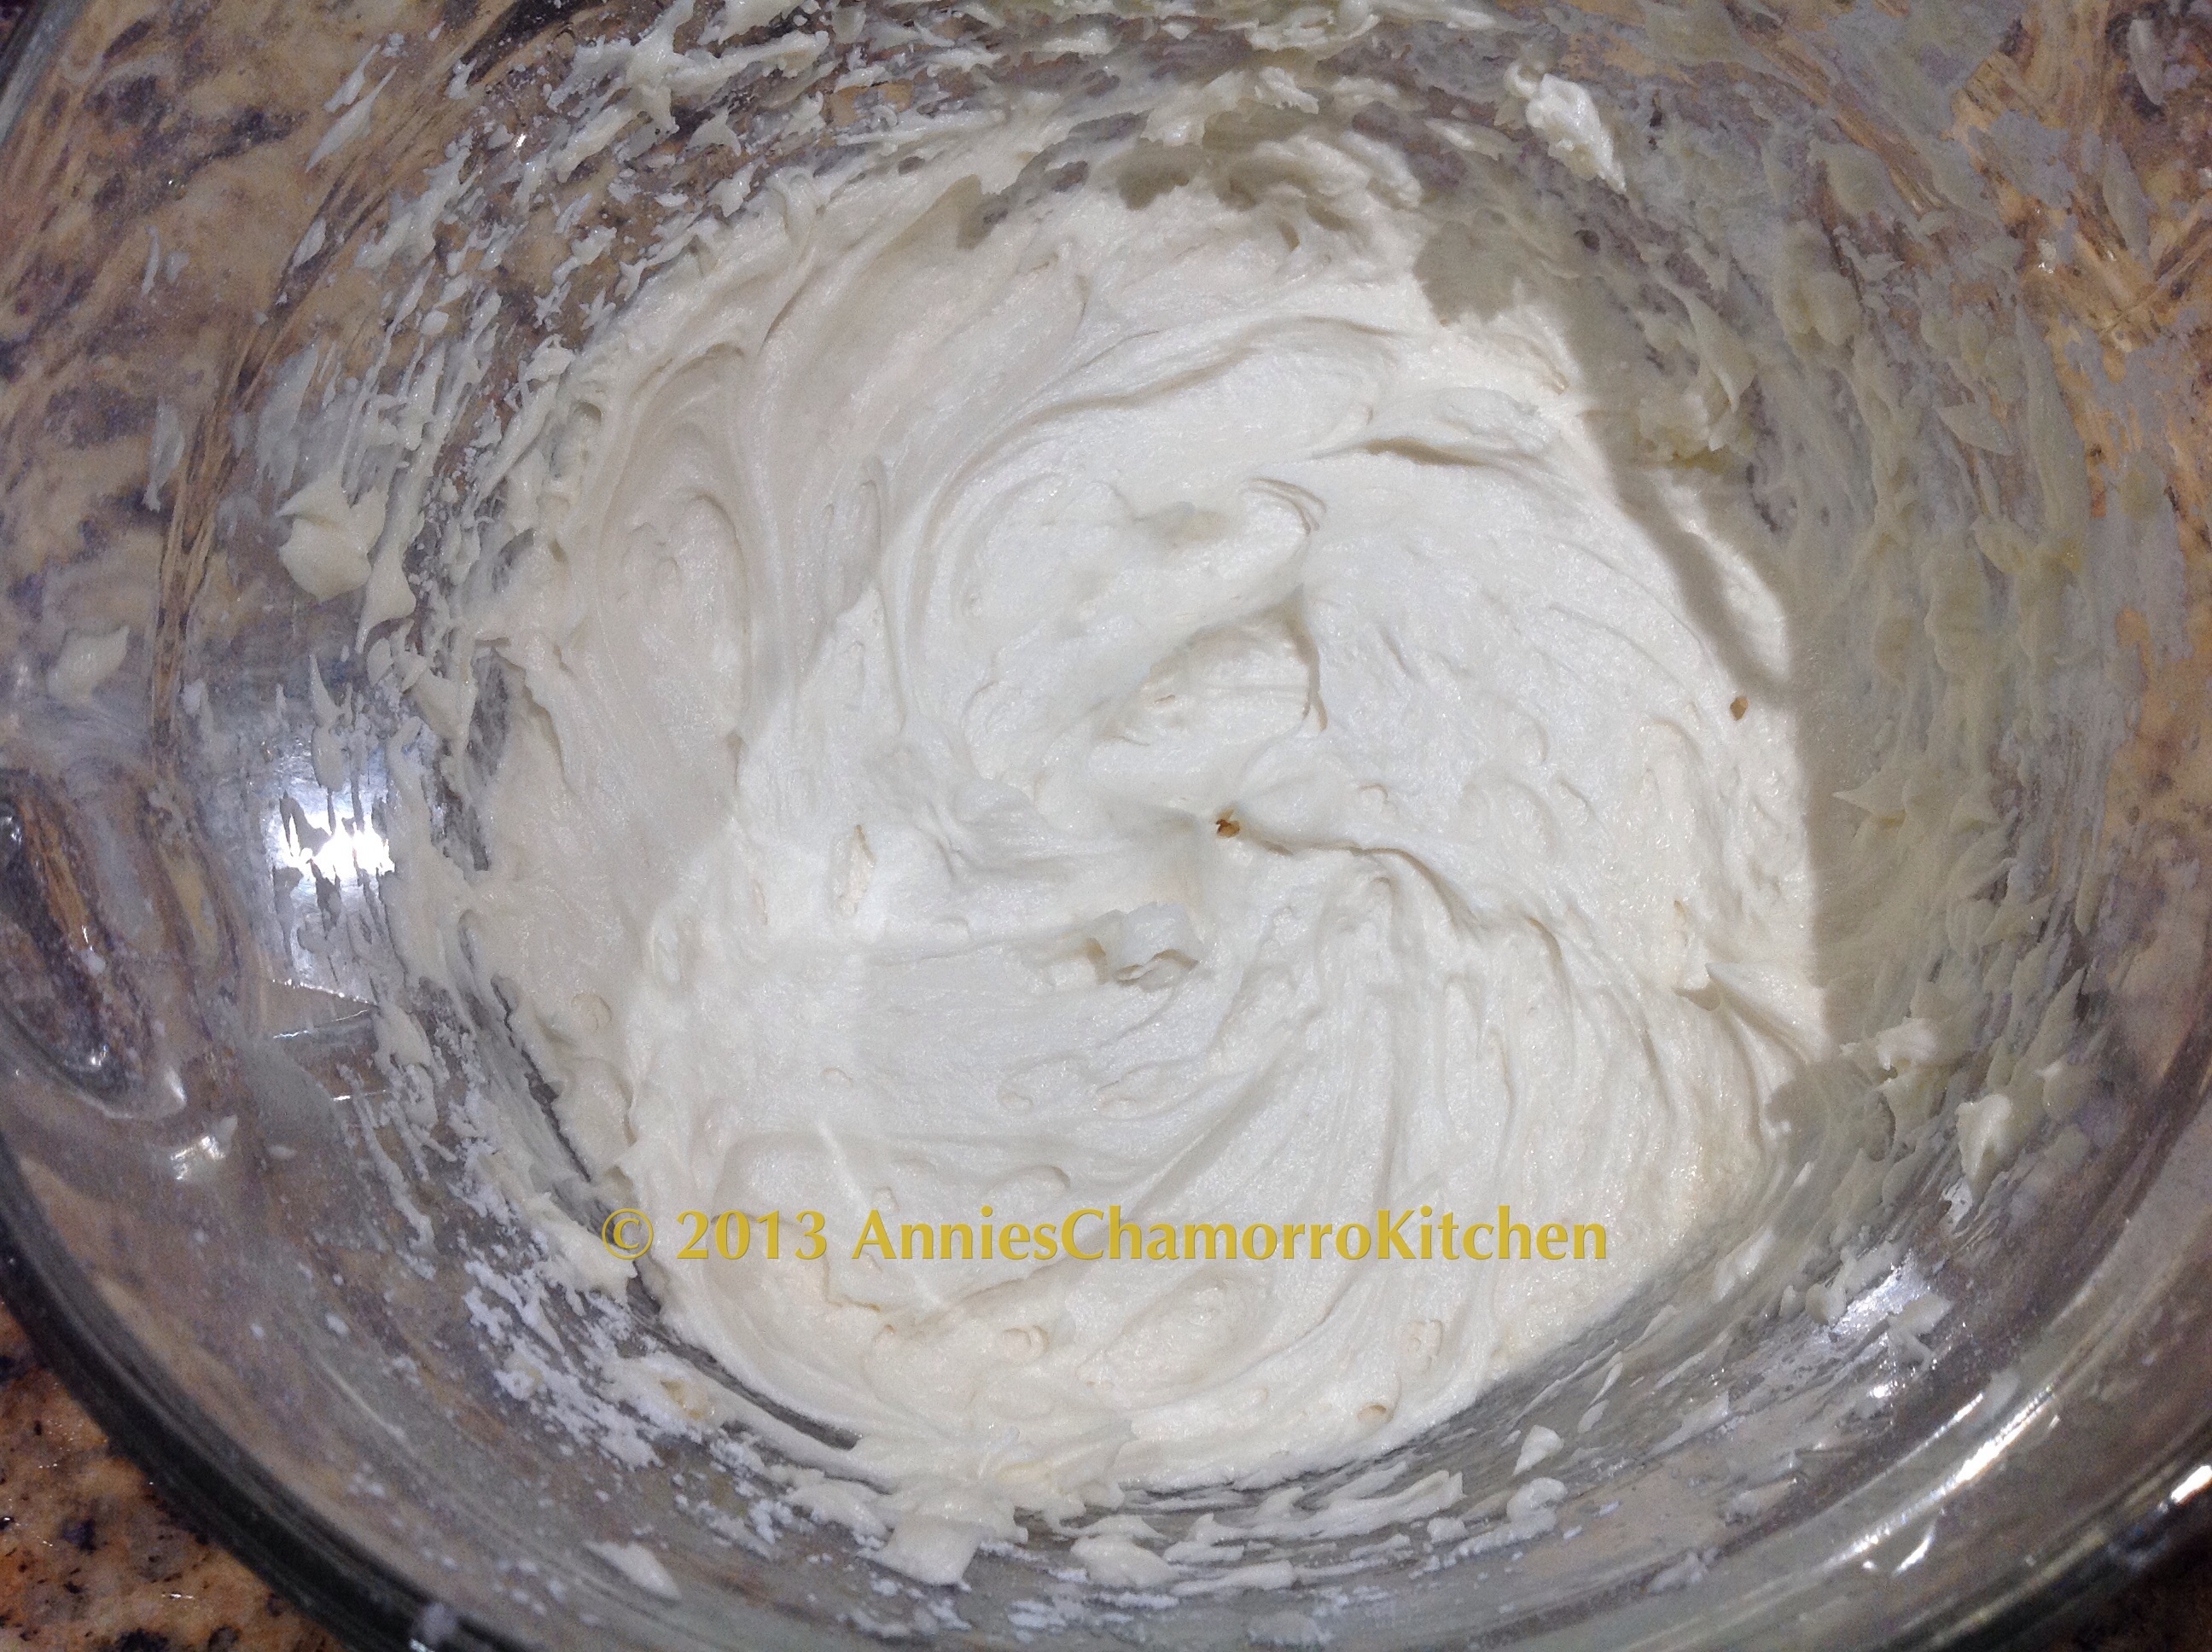
Mix the sugar into the butter mixture until smooth and creamy.  Frost your muffins once they are completely cooled off; the frosting will melt if the muffins are still warm.


image

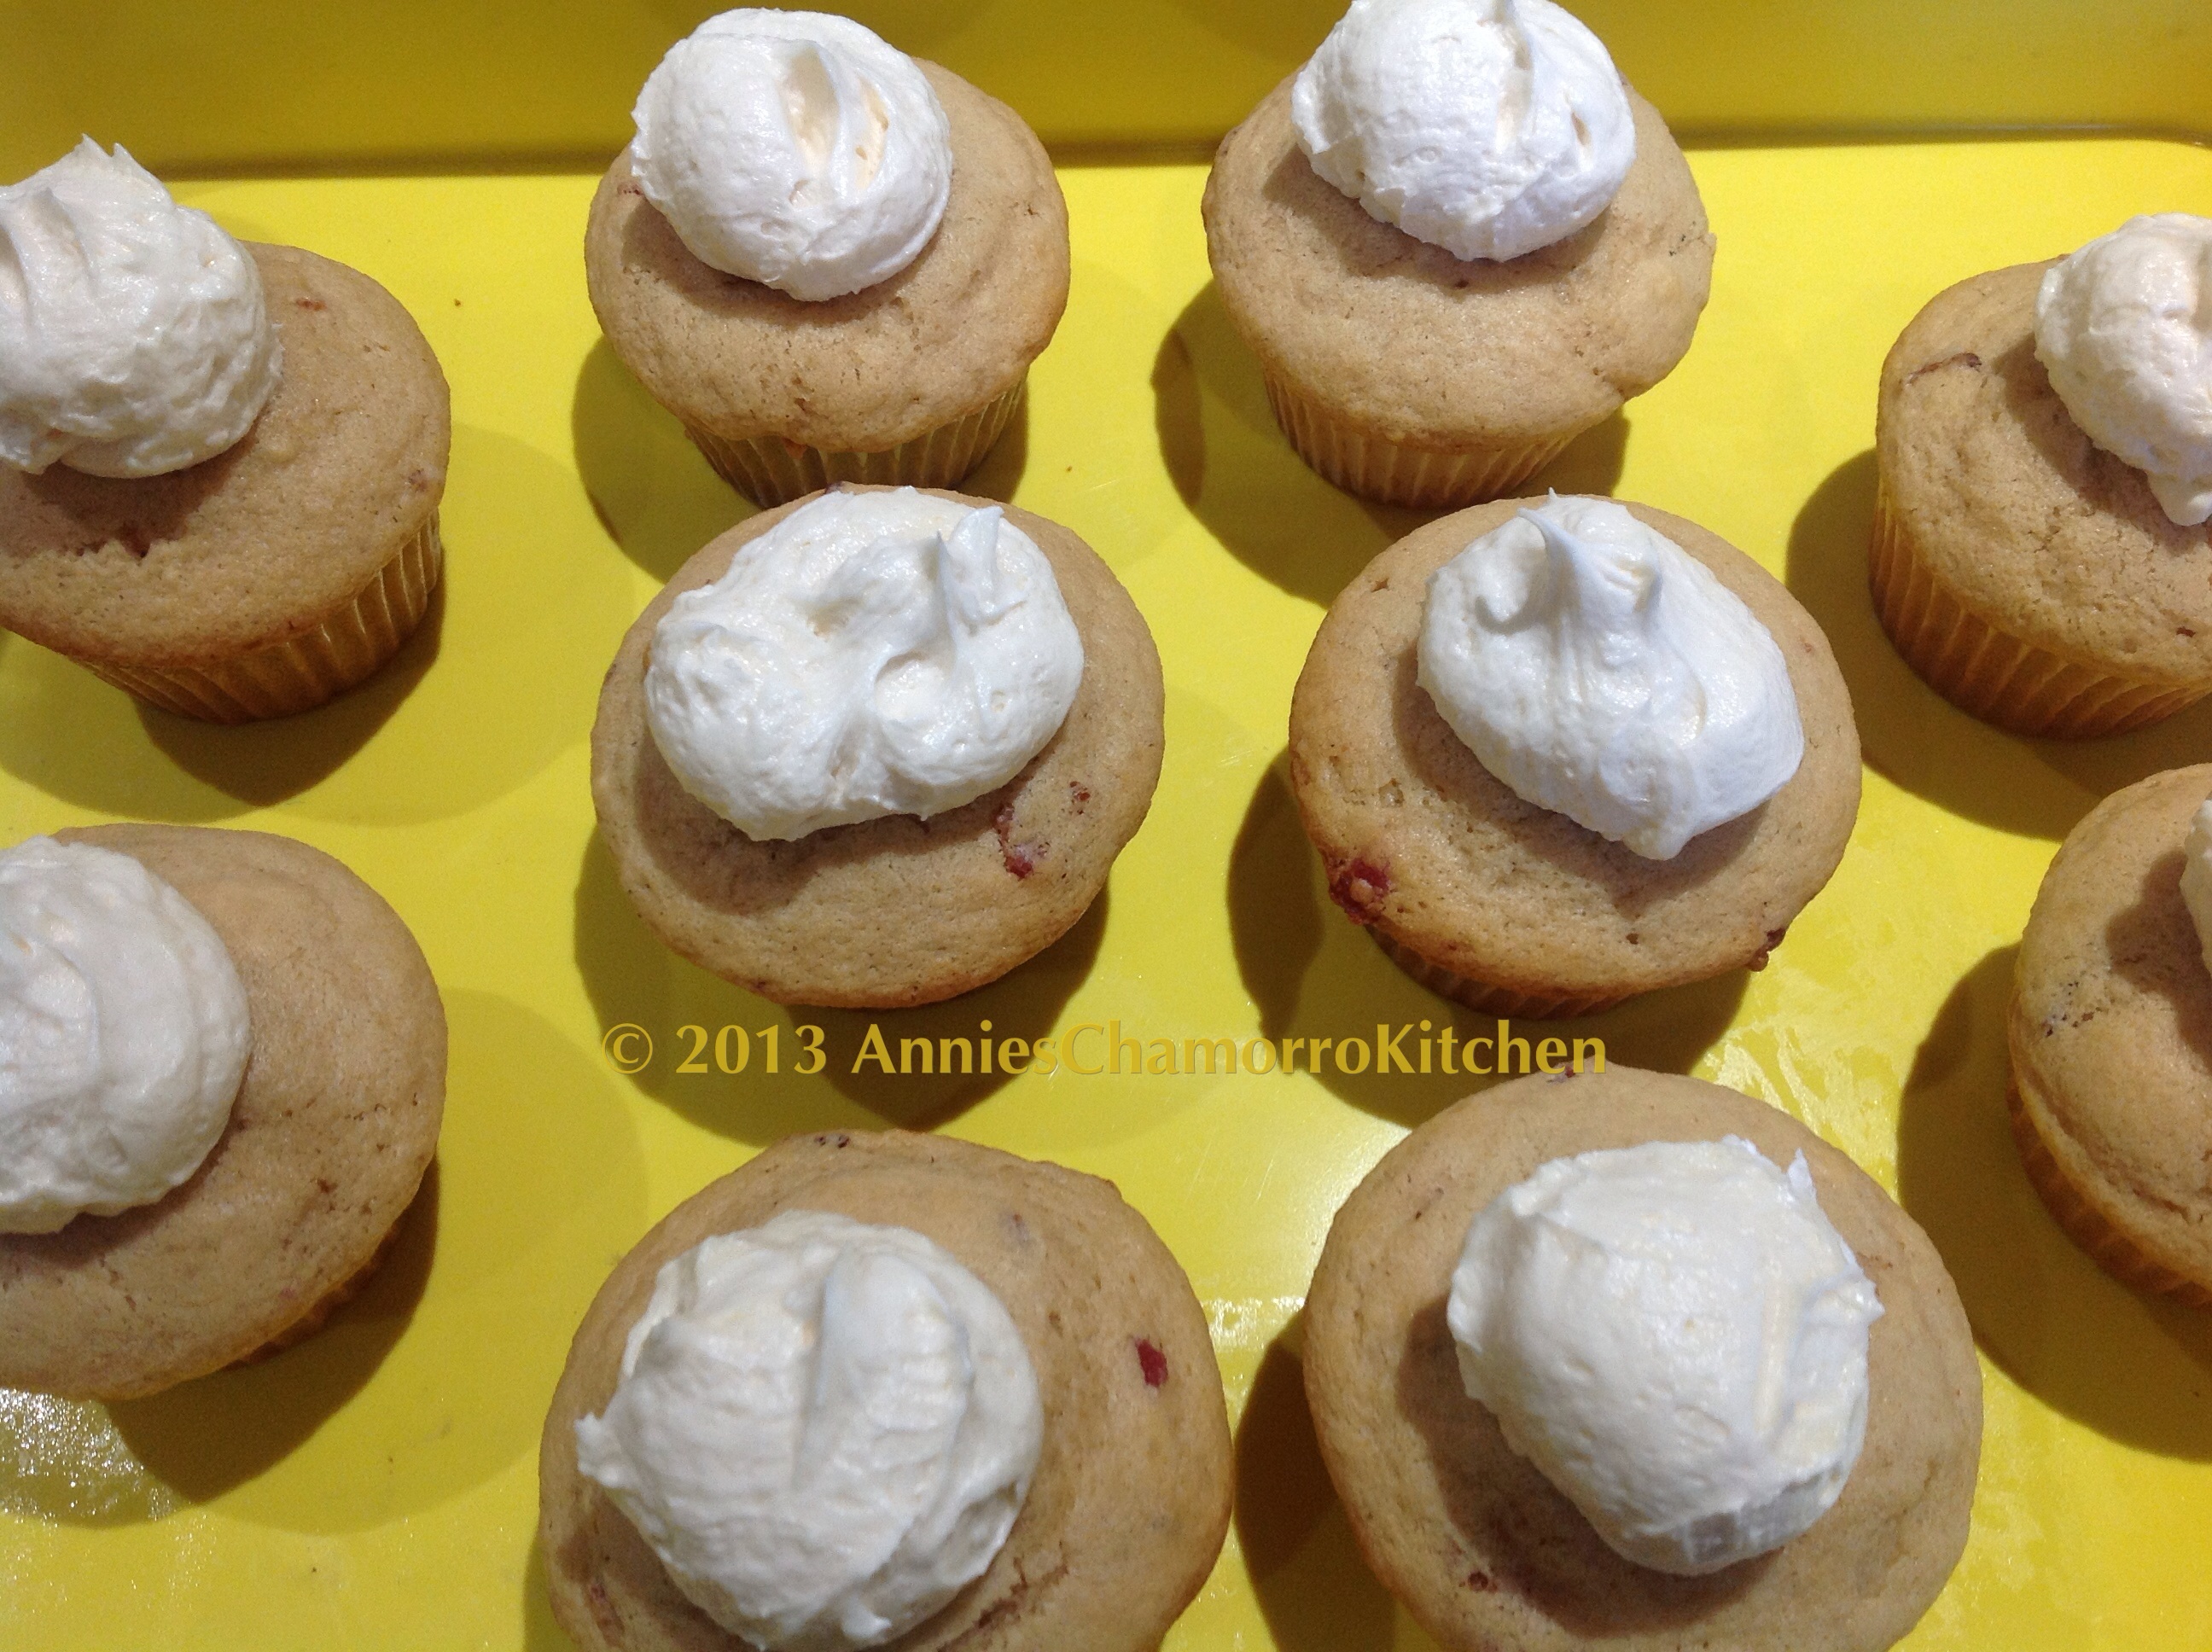
I used a small cookie scoop to place even amounts of frosting on each muffin.  Slightly spread out the frosting to ensure the top of the muffin is covered.


image

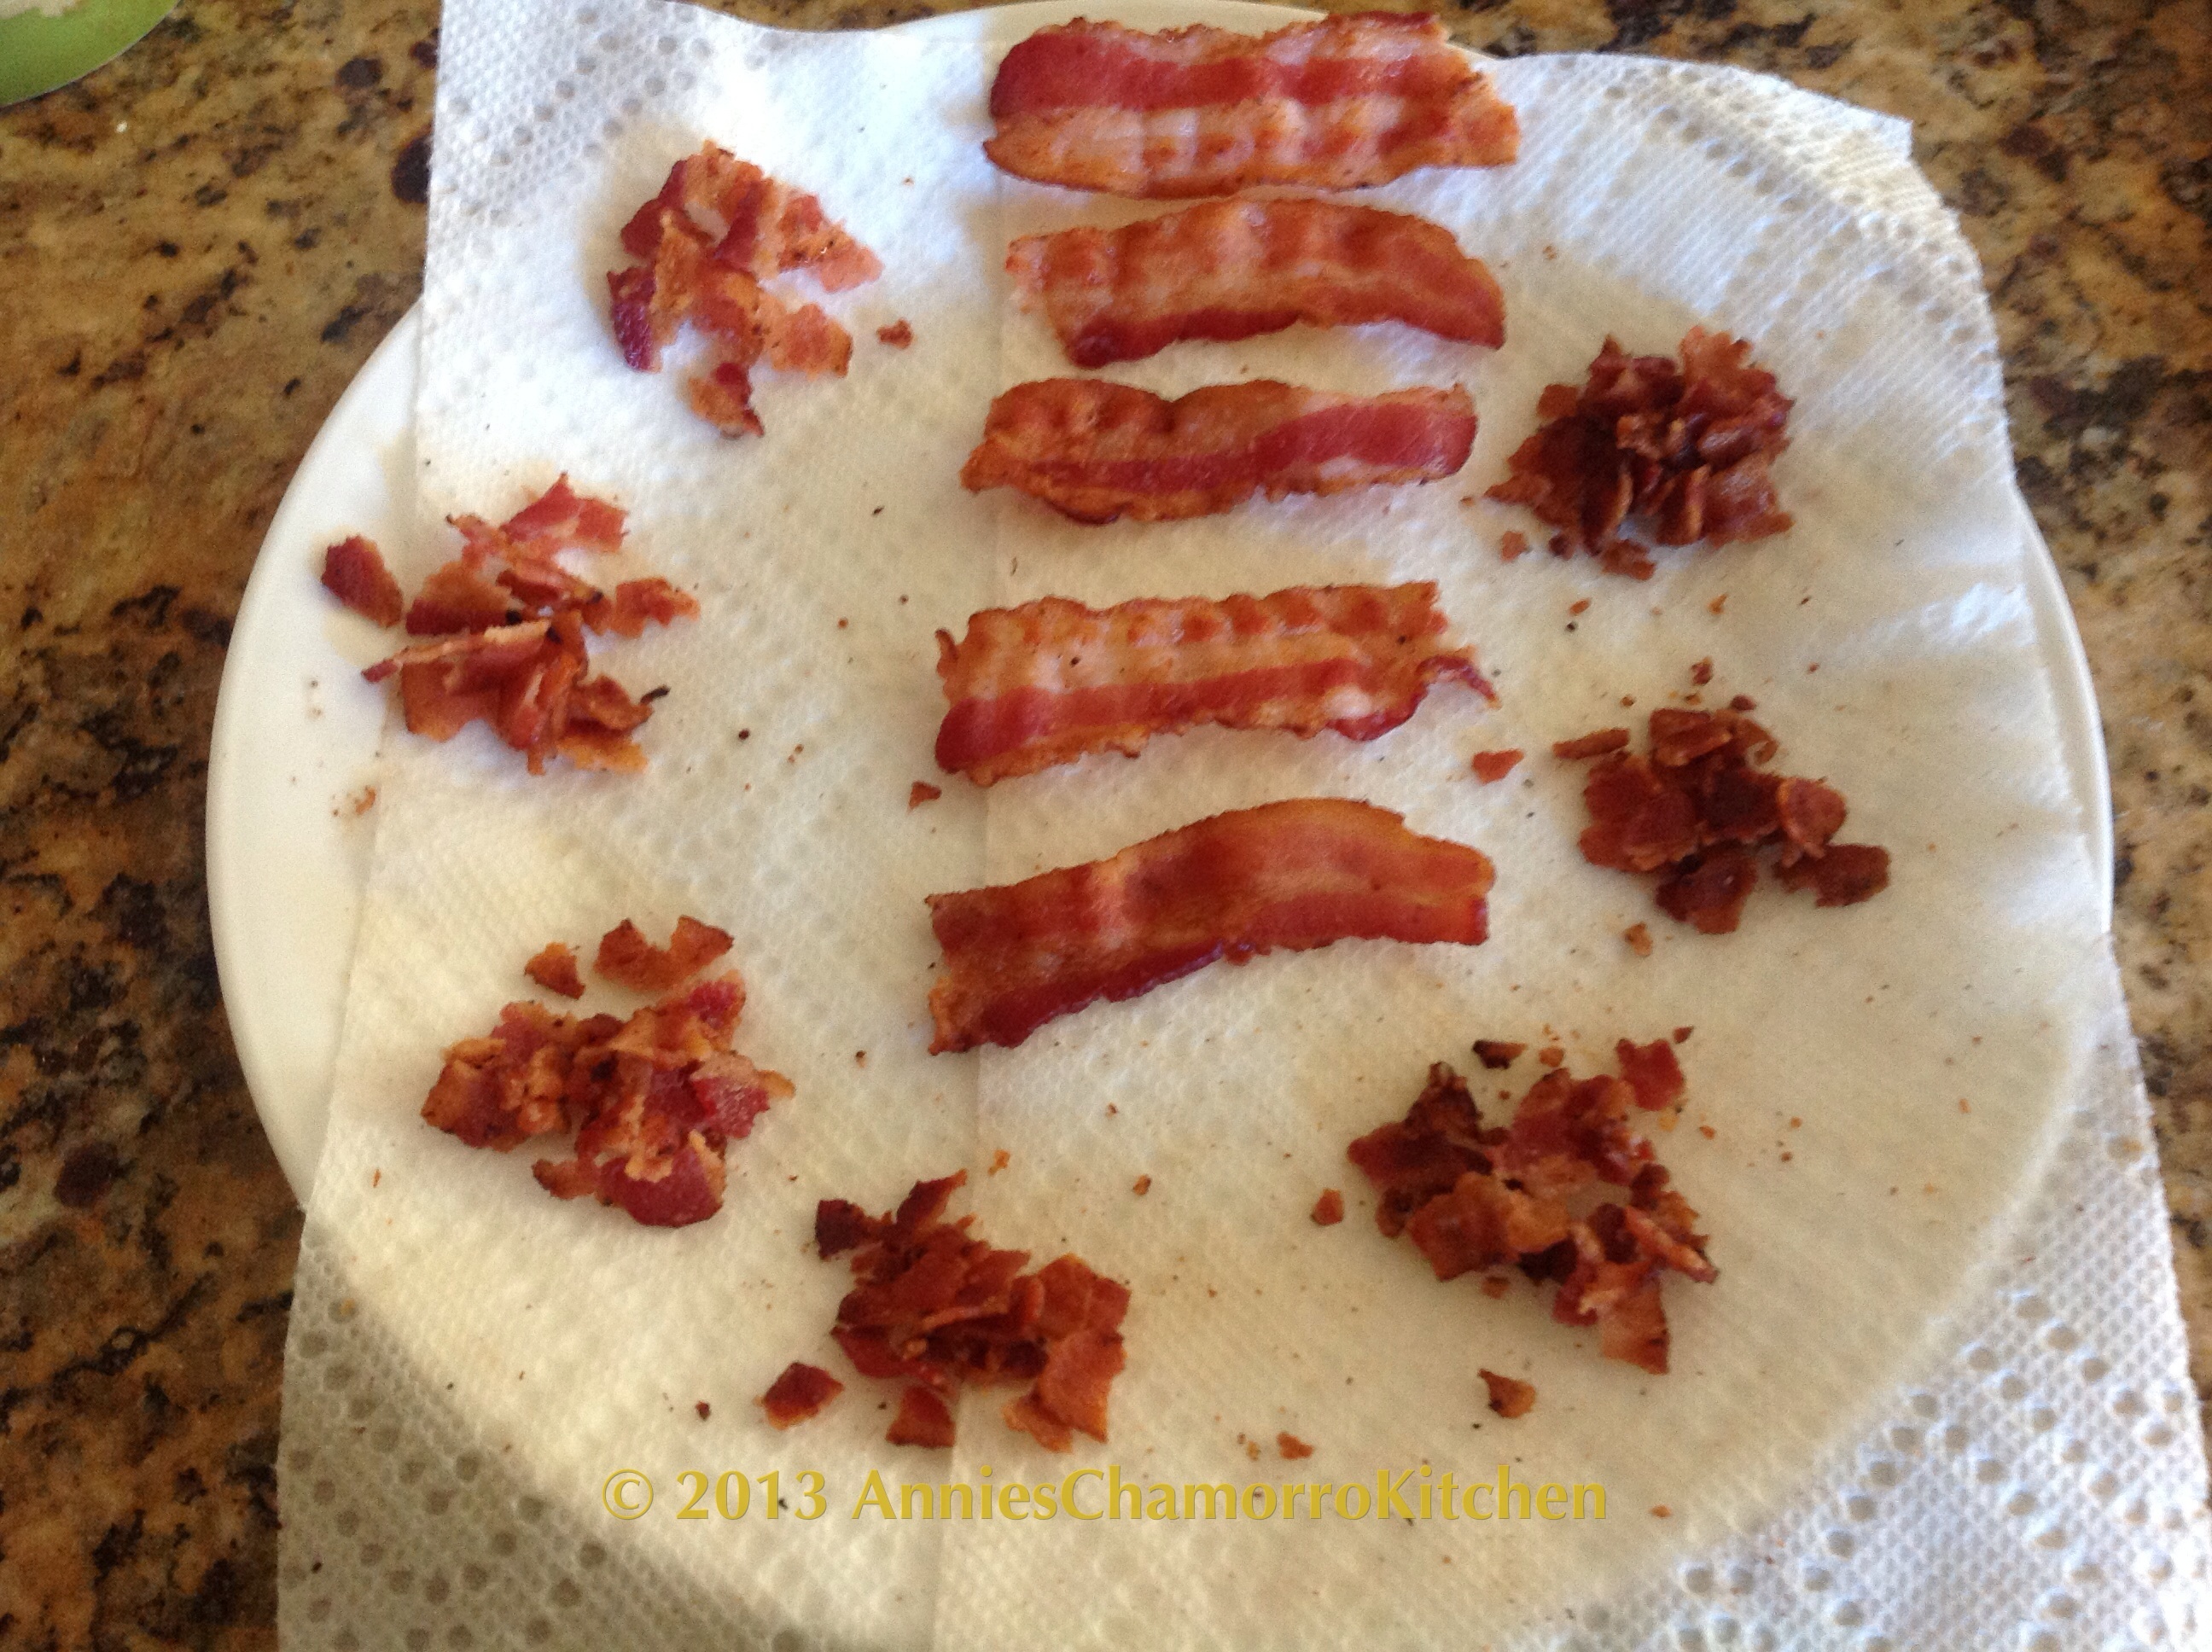
I suffer from a mild case of OCD.  I wanted to ensure that each muffin had equal amounts of bacon crumbles, so I broke each of remaining 6 bacon strips in half, then made 12 little piles of bacon crumbles.  (Don’t judge me.  LOL)


image 

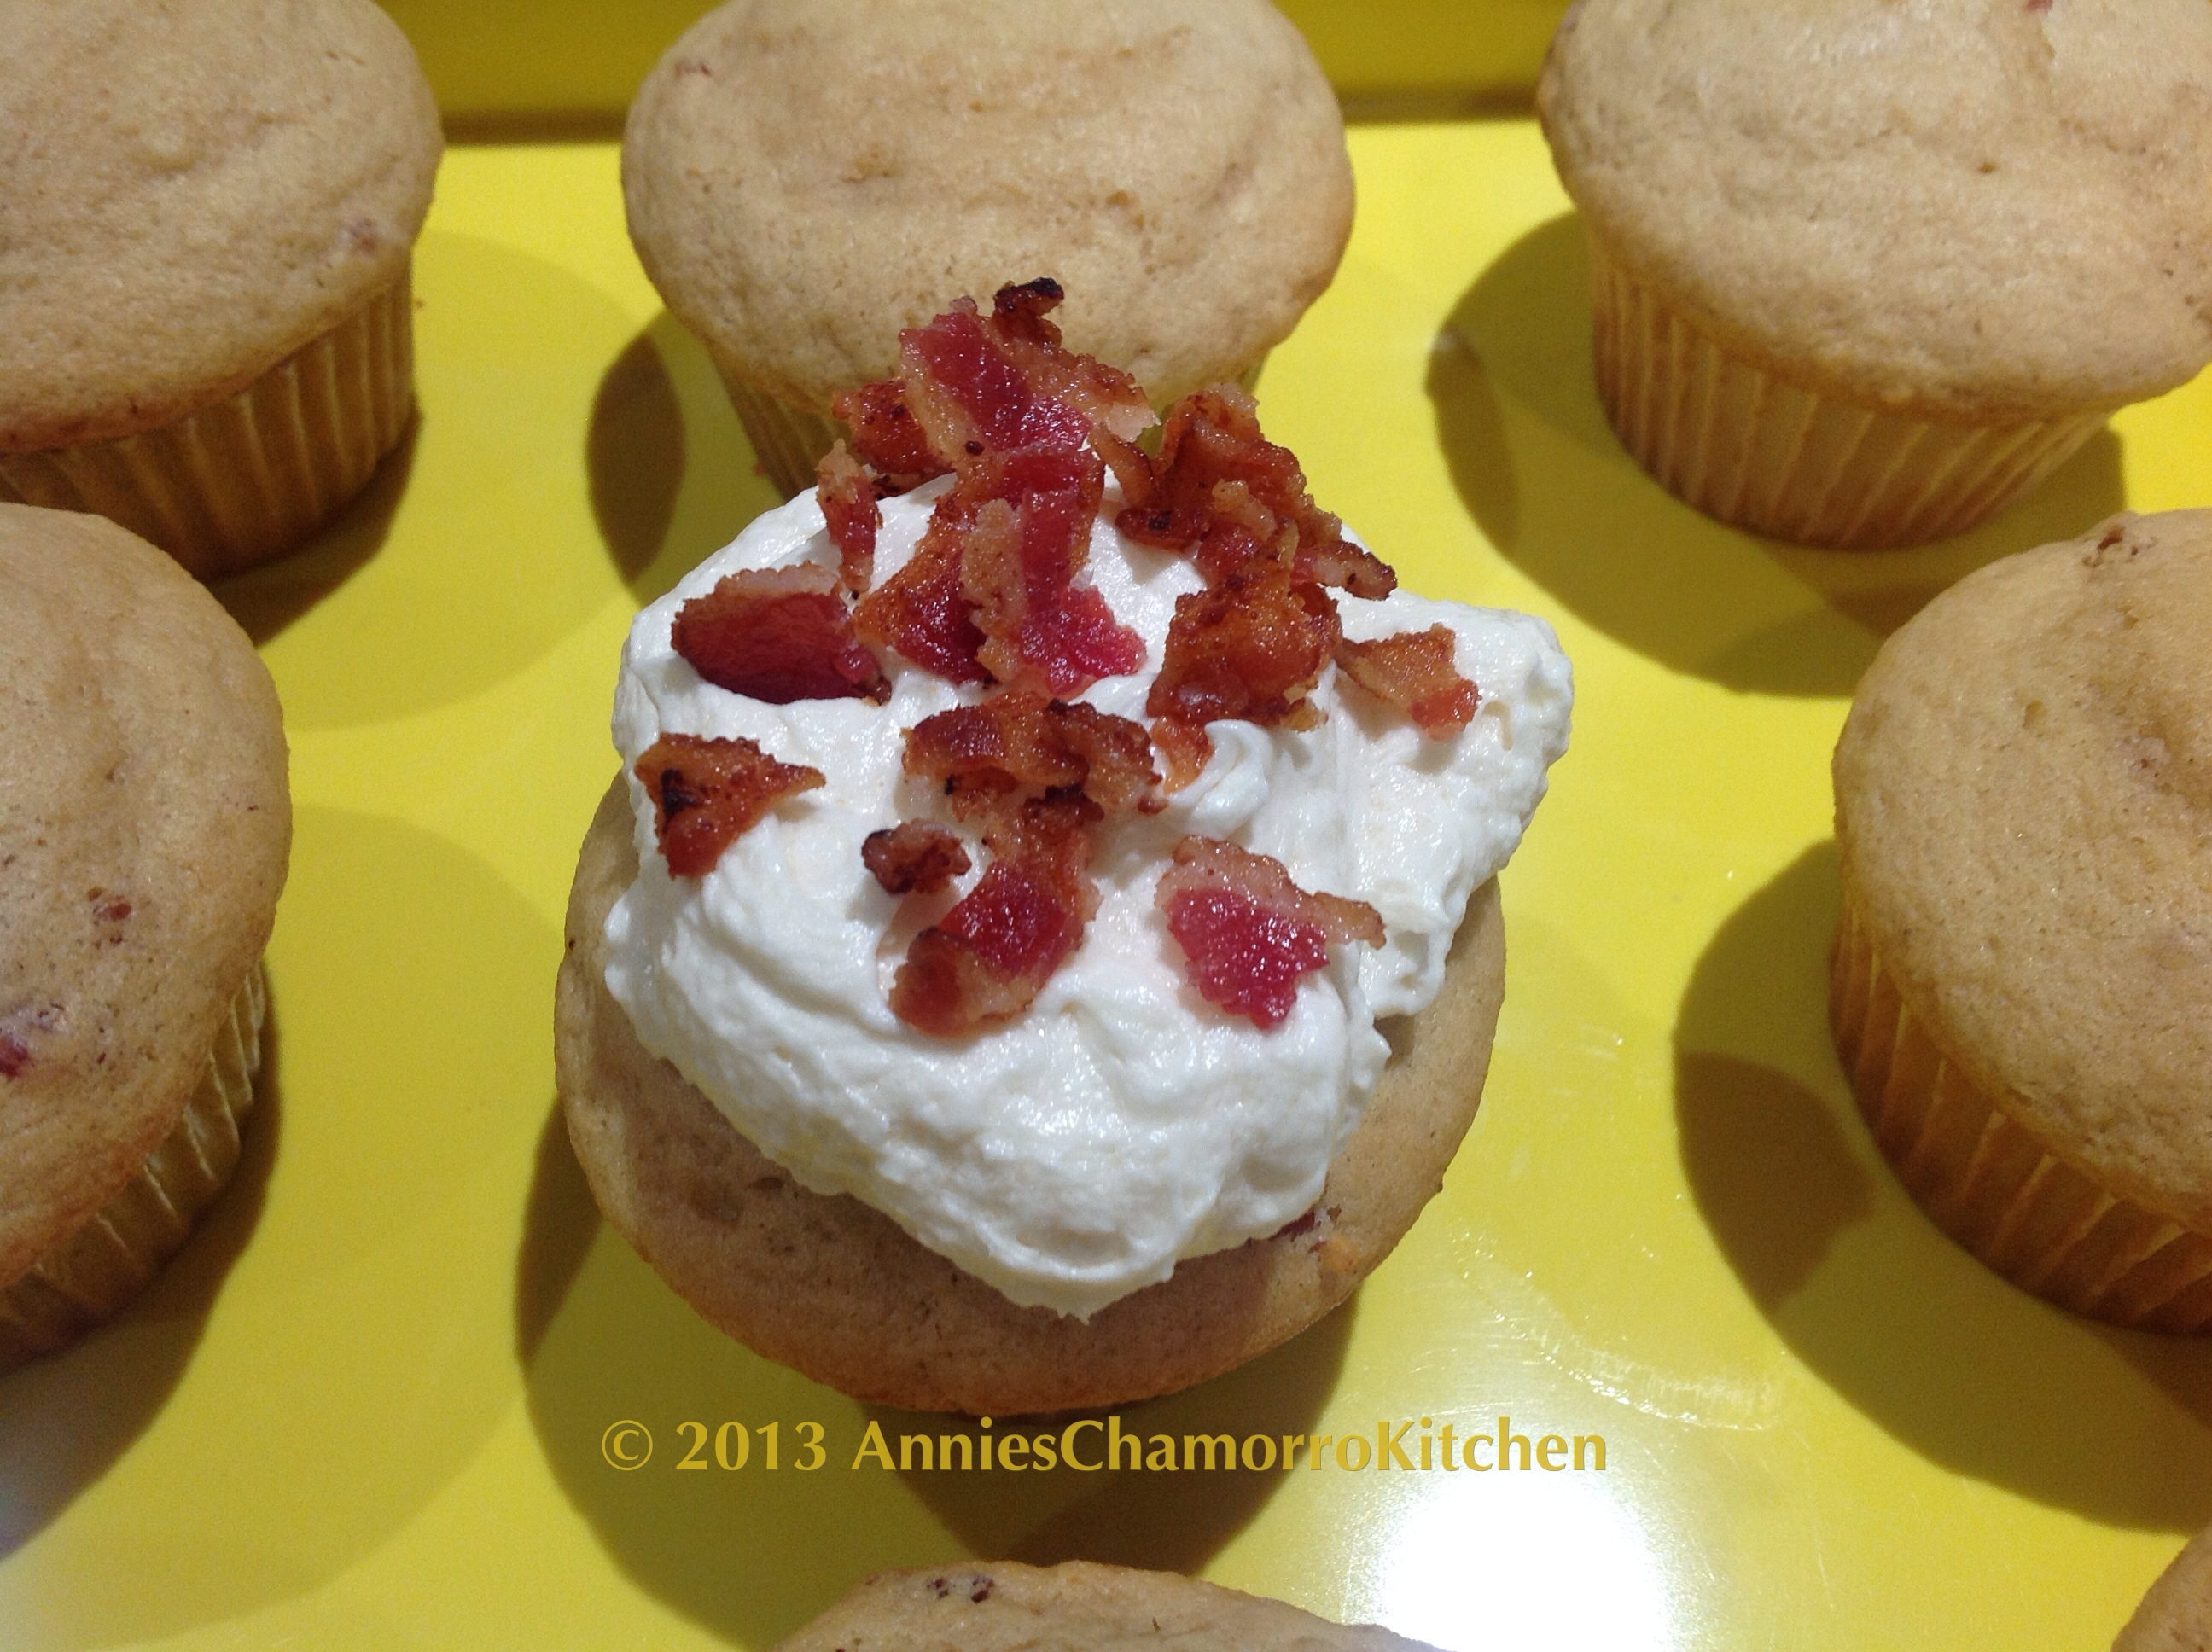
Top each muffin with bacon crumbles.


image

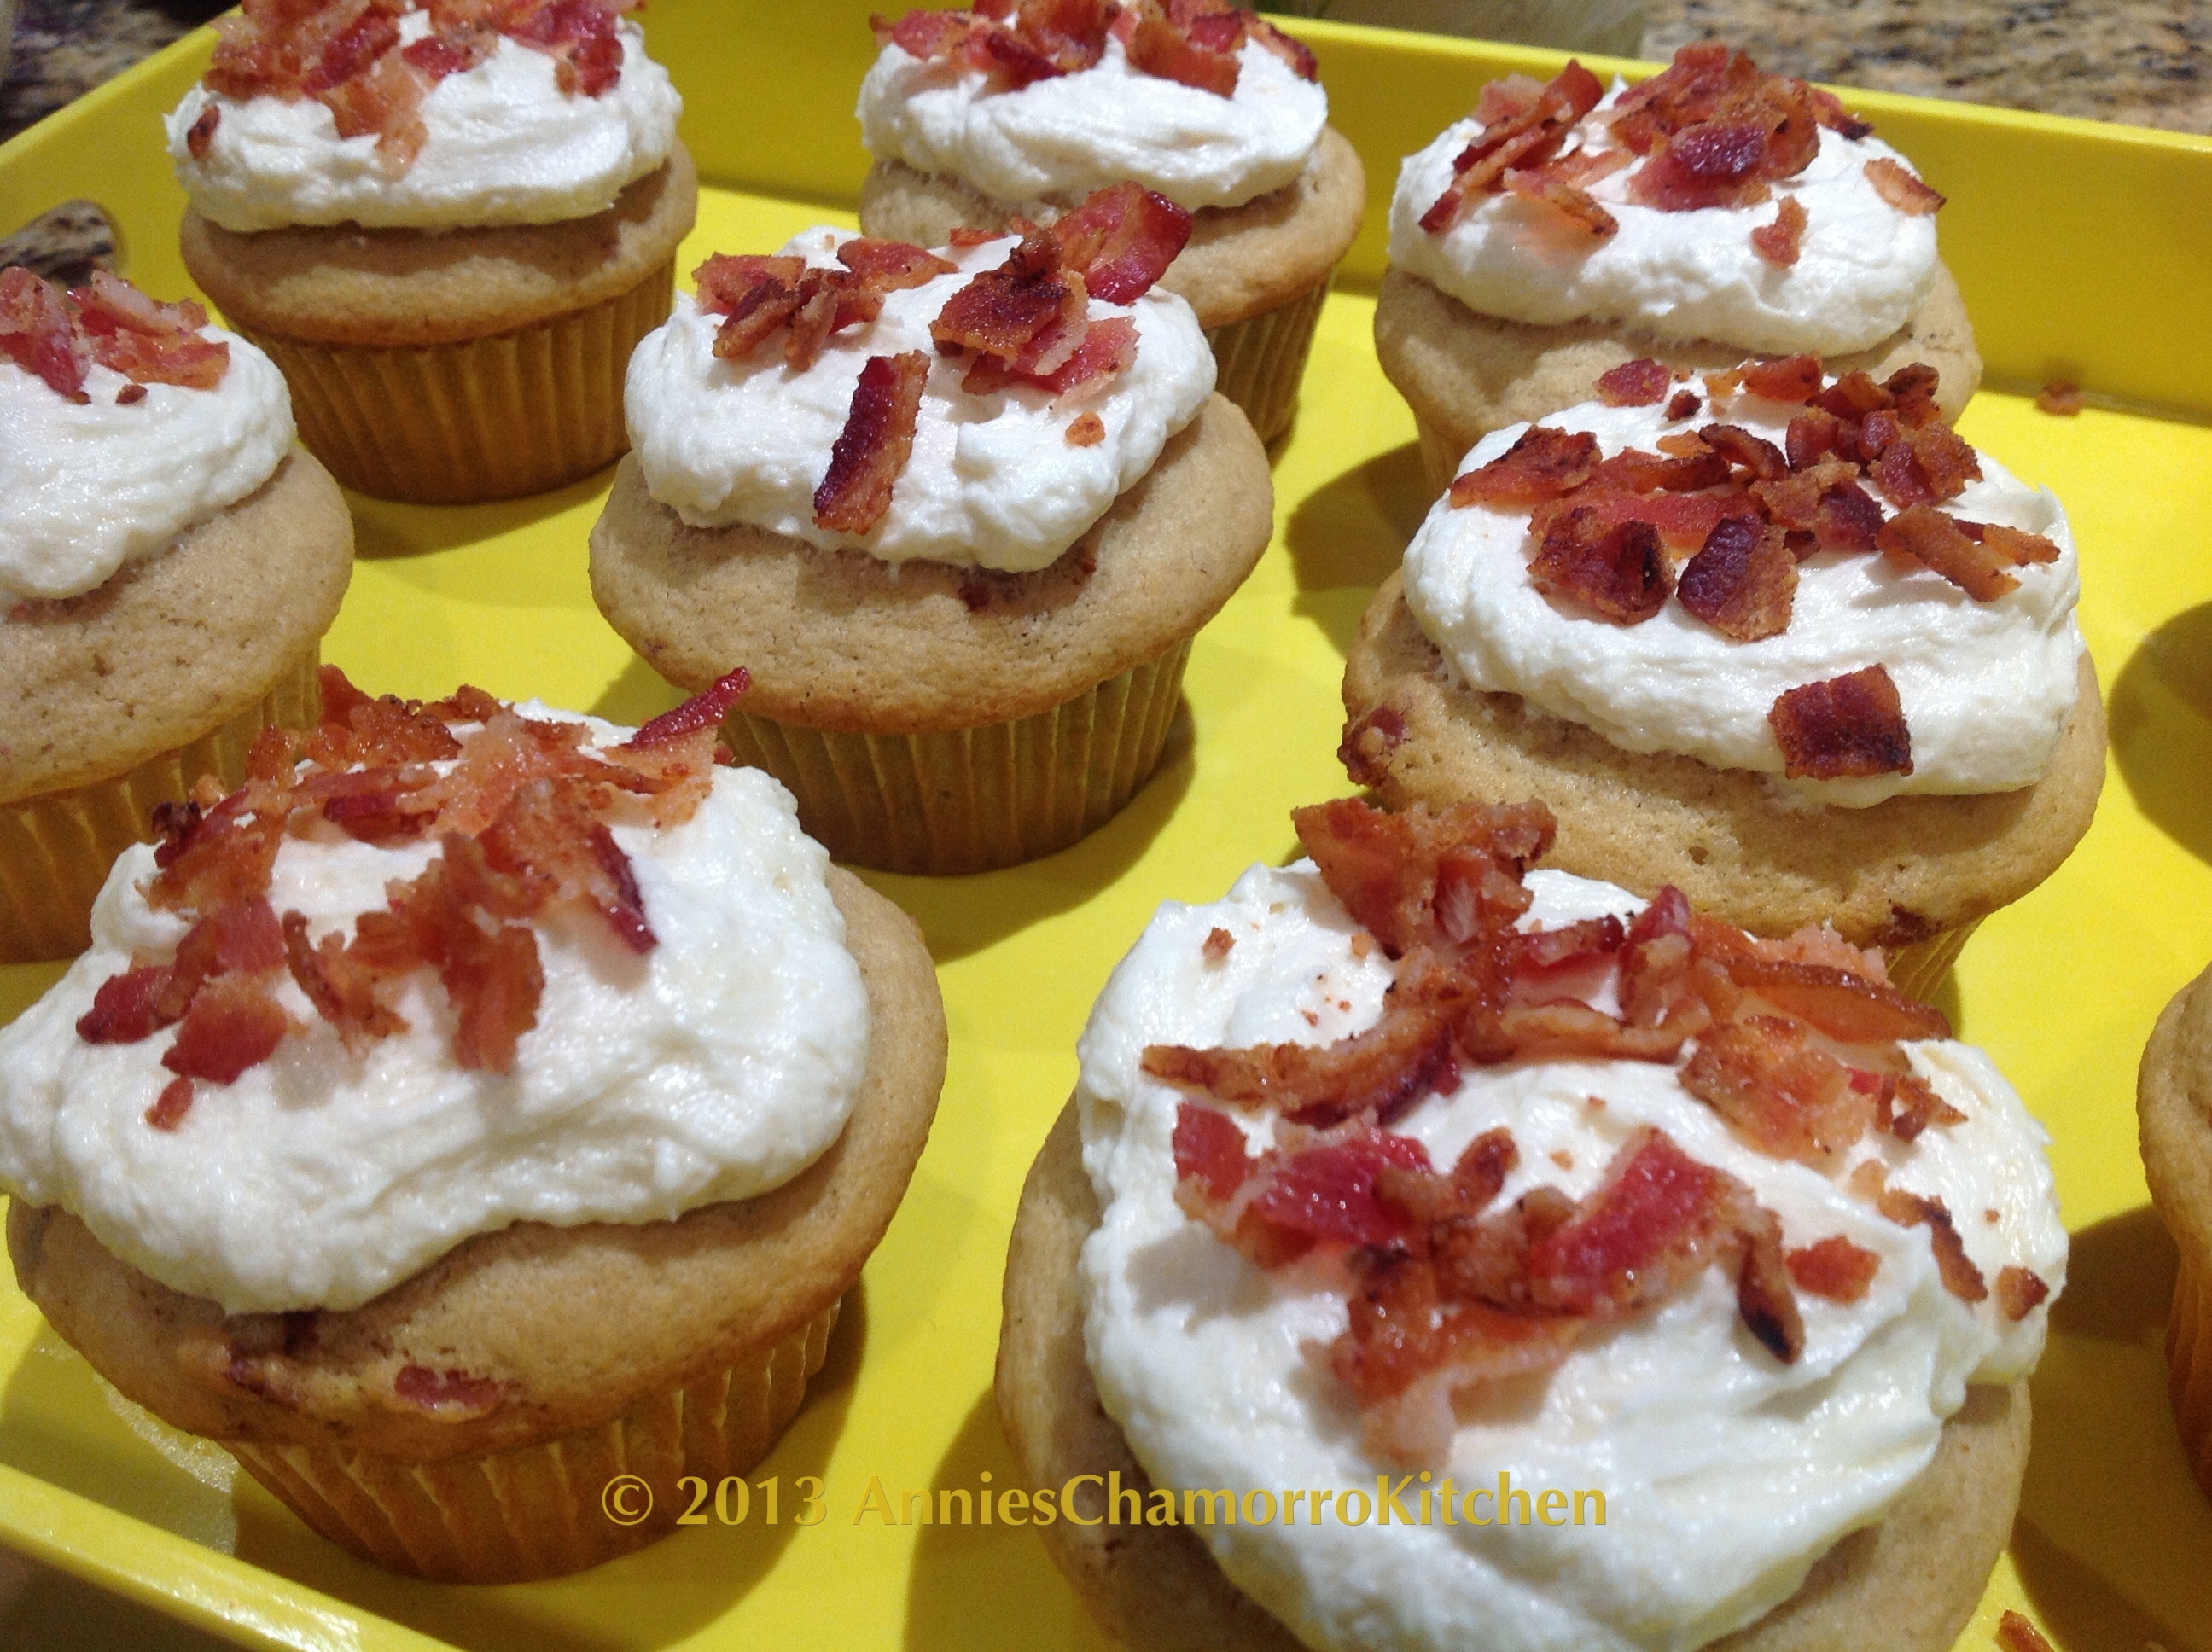
♬ ♩ ♫  ♪     Ta daa!!!!!!     ♬ ♩ ♫  ♪


image
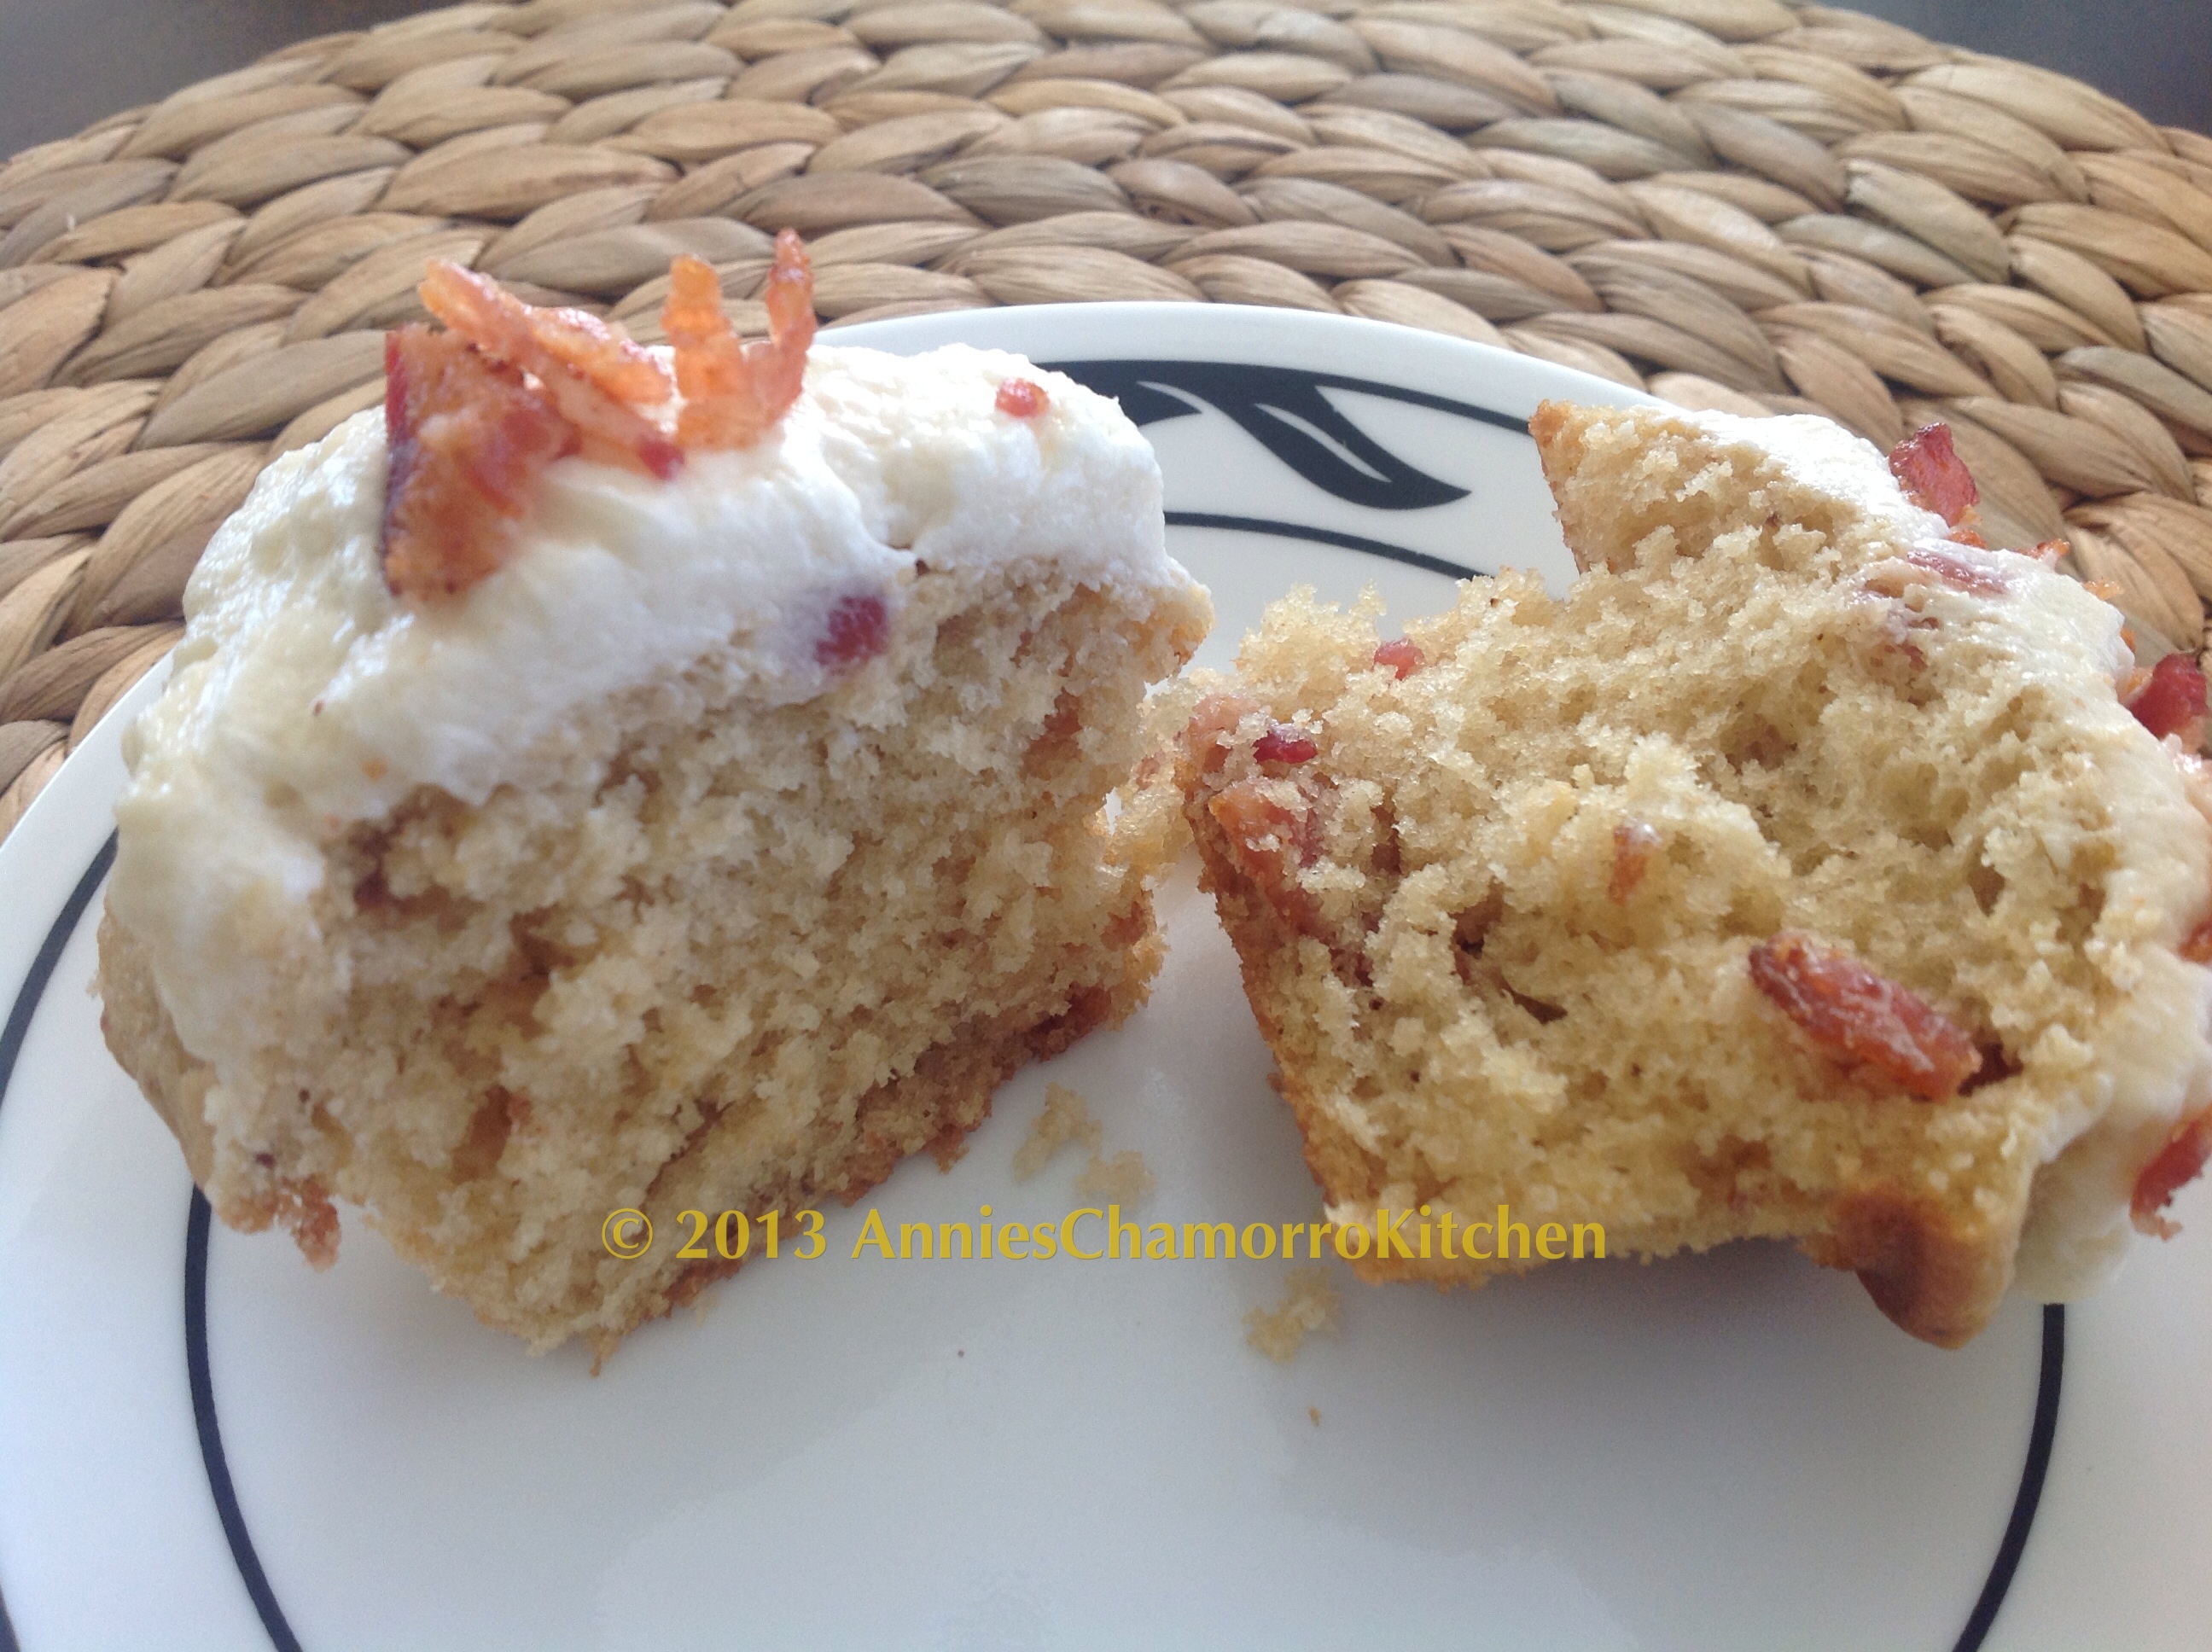
This is what the inside looks like — fluffy and moist.  And, as you can see on top, there is ample frosting on top.  These muffins are delicious without the added frosting, by if you are in mood to indulge, don’t skimp on the frosting.  All in all, these muffincakes are absolutely DELICIOUS!  Decide for yourself; give my recipe a try.  🙂


Bacon Maple Pancake Muffins with Maple Buttercream Frosting
 
Prep time
Cook time
Total time
 
These muffins are the perfect combination of sweet and savory. Perfect for breakfast, they also double as a dessert.
Serves: 12
Ingredients
Muffin Batter
  • 2 cup all purpose flour
  • 1 tablespoon baking powder
  • ½ teaspoon baking soda
  • ½ teaspoon salt
  • 1 stick butter
  • 3 tablespoon sugar
  • 1 large egg
  • ½ cup maple syrup
  • 1 tablespoon vanilla extract
  • 1 cup milk
  • 6 thin slice maple bacon
Maple Buttercream Frosting
  • 2 stick butter
  • 2 tablespoon milk
  • 6 tablespoon maple syrup
  • 2-4 cup powdered sugar
Topping
  • 6 thin slice maple bacon
Instructions
Muffin Batter
  1. Place the flour, baking powder, baking soda and salt in a medium sized mixing bowl. Stir to mix all the ingredients together. Set aside.
  2. In a smaller mixing bowl, cream together the butter and sugar. Mix in the egg. Add the maple syrup, vanilla extract, and milk (there is no need to stir).
  3. Pour the wet ingredients into the bowl of dry ingredients. Using a mixing spoon, stir to combine, about 50 strokes. Do not over mix; a few lumps remaining are okay.
  4. Fold in the bacon crumbles.
  5. Pour slightly less than ⅓ cup of batter into each well of a muffin tin lined with paper liners. Bake in a preheated 350 degree oven for 15-20 minutes. Check for doneness at around 13 minutes. A toothpick inserted into the center of a muffin should come out clean (a few crumbs are okay). The muffins should be golden brown in color when done. Do not over bake.
Maple Buttercream Frosting
  1. Cream the butter and sugar together in a small mixing bowl.
  2. Add the maple syrup and milk to the butter-sugar mixture. Mix to combine.
  3. Mix in the sifted powdered sugar, starting out with only 2 cups of sugar. Add more sugar to make a stiffer frosting (which is good if you're using cake decorating tips). Less sugar yields a creamier frosting. Frost the muffins after they've completely cooled off.

Chicken ala King

Chicken ala King is a classic comfort dish.

Growing up, chicken ala king was usually served at rosaries, after the prayers were completed, of course.  It was chicken ala king, beef vegetable soup with glass noodles or long rice, rosketti, and custard pie that I remember being served most often after rosaries.

Now you don’t have to wait for those somber occasions to enjoy this comfort meal.  My recipe and step-by-step photos show how easy it is to prepare yourself.

My daughter calls it chicken pot pie without the crust.  I wouldn’t say it’s quite like chicken pot pie, however.  I think it’s BETTER than chicken pot pie.  Who agrees with me?  Give my recipe a try and I think you’ll agree too.  🙂

CHICKEN ALA KING

image


MAKE THE FILLING:

IMG_0702

INGREDIENTS FOR THE FILLING:

    • 2 chicken breasts
    • 5 tablespoons butter
    • 1 medium onion, diced
    • 2 tablespoons minced garlic
    • 3 to 4 tablespoons powdered chicken bouillon, more or less to taste
    • 2 cups flour
    • 3 cups water
    • 2 cups heavy cream
    • 1 12-ounce can evaporated milk
    • 2 16-ounce bags frozen corn
    • 2 12-ounce bags frozen peas and carrots
    • 4 hard boiled eggs, chopped

This is what heavy cream looks like. You can find it in the dairy section of your grocery store.

image

DIRECTIONS:

1.  Cut the chicken breasts into very small pieces then place into a large soup pot.

IMG_0674 IMG_0675 IMG_0676

2.  Add the butter, garlic and chopped onions to the pot.  Cook over medium high heat until the chicken is done.  Add in the powdered chicken bouillon.  Stir to combine.

IMG_0678 IMG_0684 IMG_0687

This is the powdered chicken bouillon I use.  You can find it in most grocery stores.

IMG_0685

3.  Reduce the heat to medium.  Add the flour all at once; stir.

IMG_0689 IMG_0690

4.  Pour in the water, stirring vigorously to prevent lumps from forming — the mixture should be very thick at this point.  Mix in the heavy cream and evaporated milk.  Keep stirring until there are no more lumps.

IMG_0691 IMG_0694 IMG_0696

5.  Stir in the frozen corn, peas and carrots.  Bring the mixture back to a boil, stirring occasionally.  Cook over medium high heat until the mixture has thickened once again.

IMG_0699 IMG_0700 IMG_0702

6.  After the mixture has thickened, stir in the chopped eggs.  Pour the filling into the pastry shells and enjoy!

IMG_0731 IMG_0739

MAKE THE SHELLS:

IMG_0741

INGREDIENTS FOR THE SHELLS:

  • 2 large eggs
  • 1 cup milk
  • 1 cup water
  • 1 1/2 cups flour
  • 1/2 cup corn starch
  • 1 tablespoon sugar
  • 1 teaspoon salt
  • 1 teaspoon garlic powder

DIRECTIONS:

1.  In a shallow bowl, beat the two eggs.  Mix in the milk and water.

IMG_0704 IMG_0705 IMG_0707

2.  Mix in the flour, corn starch, sugar, salt and garlic powder.

IMG_0709 IMG_0710IMG_0712 IMG_0713

3.  Whisk until there are no more lumps.  The batter should be the consistency of pancake batter.

IMG_0716

4.  Place the molds in the oil while the oil is heating up.

IMG_0718

5.  When the oil and molds are hot, lift the molds out of the oil.  Let as much of the oil drip off as possible (if you still have oil on the molds, the batter won’t stick to it).  Dip the molds into the batter, but careful not to submerge the molds.  Dip the molds only to just below the rim (if the batter goes over the rim, it won’t release into the hot oil).

IMG_0727

6.  Lift the molds up out of the batter.  Allow any excess batter to drip off.

IMG_0728

7.  Place the batter-covered molds into the hot oil.

IMG_0729

8.  Keep the molds submerged in the oil for about a minute or so — the shells/cups should drop right off the molds all by themselves.  If they don’t drop off by themselves, use a chopstick or fork to nudge the shell/cup off the mold.

IMG_0736

IMG_0737

9.  Lift the molds out of the oil.  Fry the shells/cups until golden brown.  Remove from the oil and place in a metal colander to drip off any excess oil.

NOTE:  The molds must be hot before dipping them in batter.  If the molds have cooled off (while you’re waiting for a batch of cups to fry), dip them back in the hot oil to reheat then repeat the process again.

IMG_0730

10.  Let the shells/cups cool then fill with Chicken ala King and enjoy!

IMG_0738

IMG_0739 


« Older Entries Recent Entries »