Perfect Soft-Boiled Eggs

How do you like your eggs? Depending on my mood, I like them in an omelet, fried over-easy, or one of my favorites — soft-boiled.

It’s tough to get the timing right for the perfect soft-boiled egg. Sometimes the eggs are undercooked, with the whites still runny (I don’t know about you, but I don’t like to eat raw egg whites). Or, sometimes the eggs are boiled too long and you end up with hard-boiled eggs.

Follow my directions below and you’ll get perfect soft-boiled eggs, every time.

Perfect Soft-Boiled Eggs

You’ll Need:

  • A small pot or sauce pan
  • Eggs
  • Water
  • Salt, pepper, soy sauce, Tabasco Sauce, or your favorite condiment to enjoy these perfect eggs with

Directions:

1. Fill a small pot half-full with water. Bring the water to a boil. I use hot tap water so that it comes to a boil quickly.

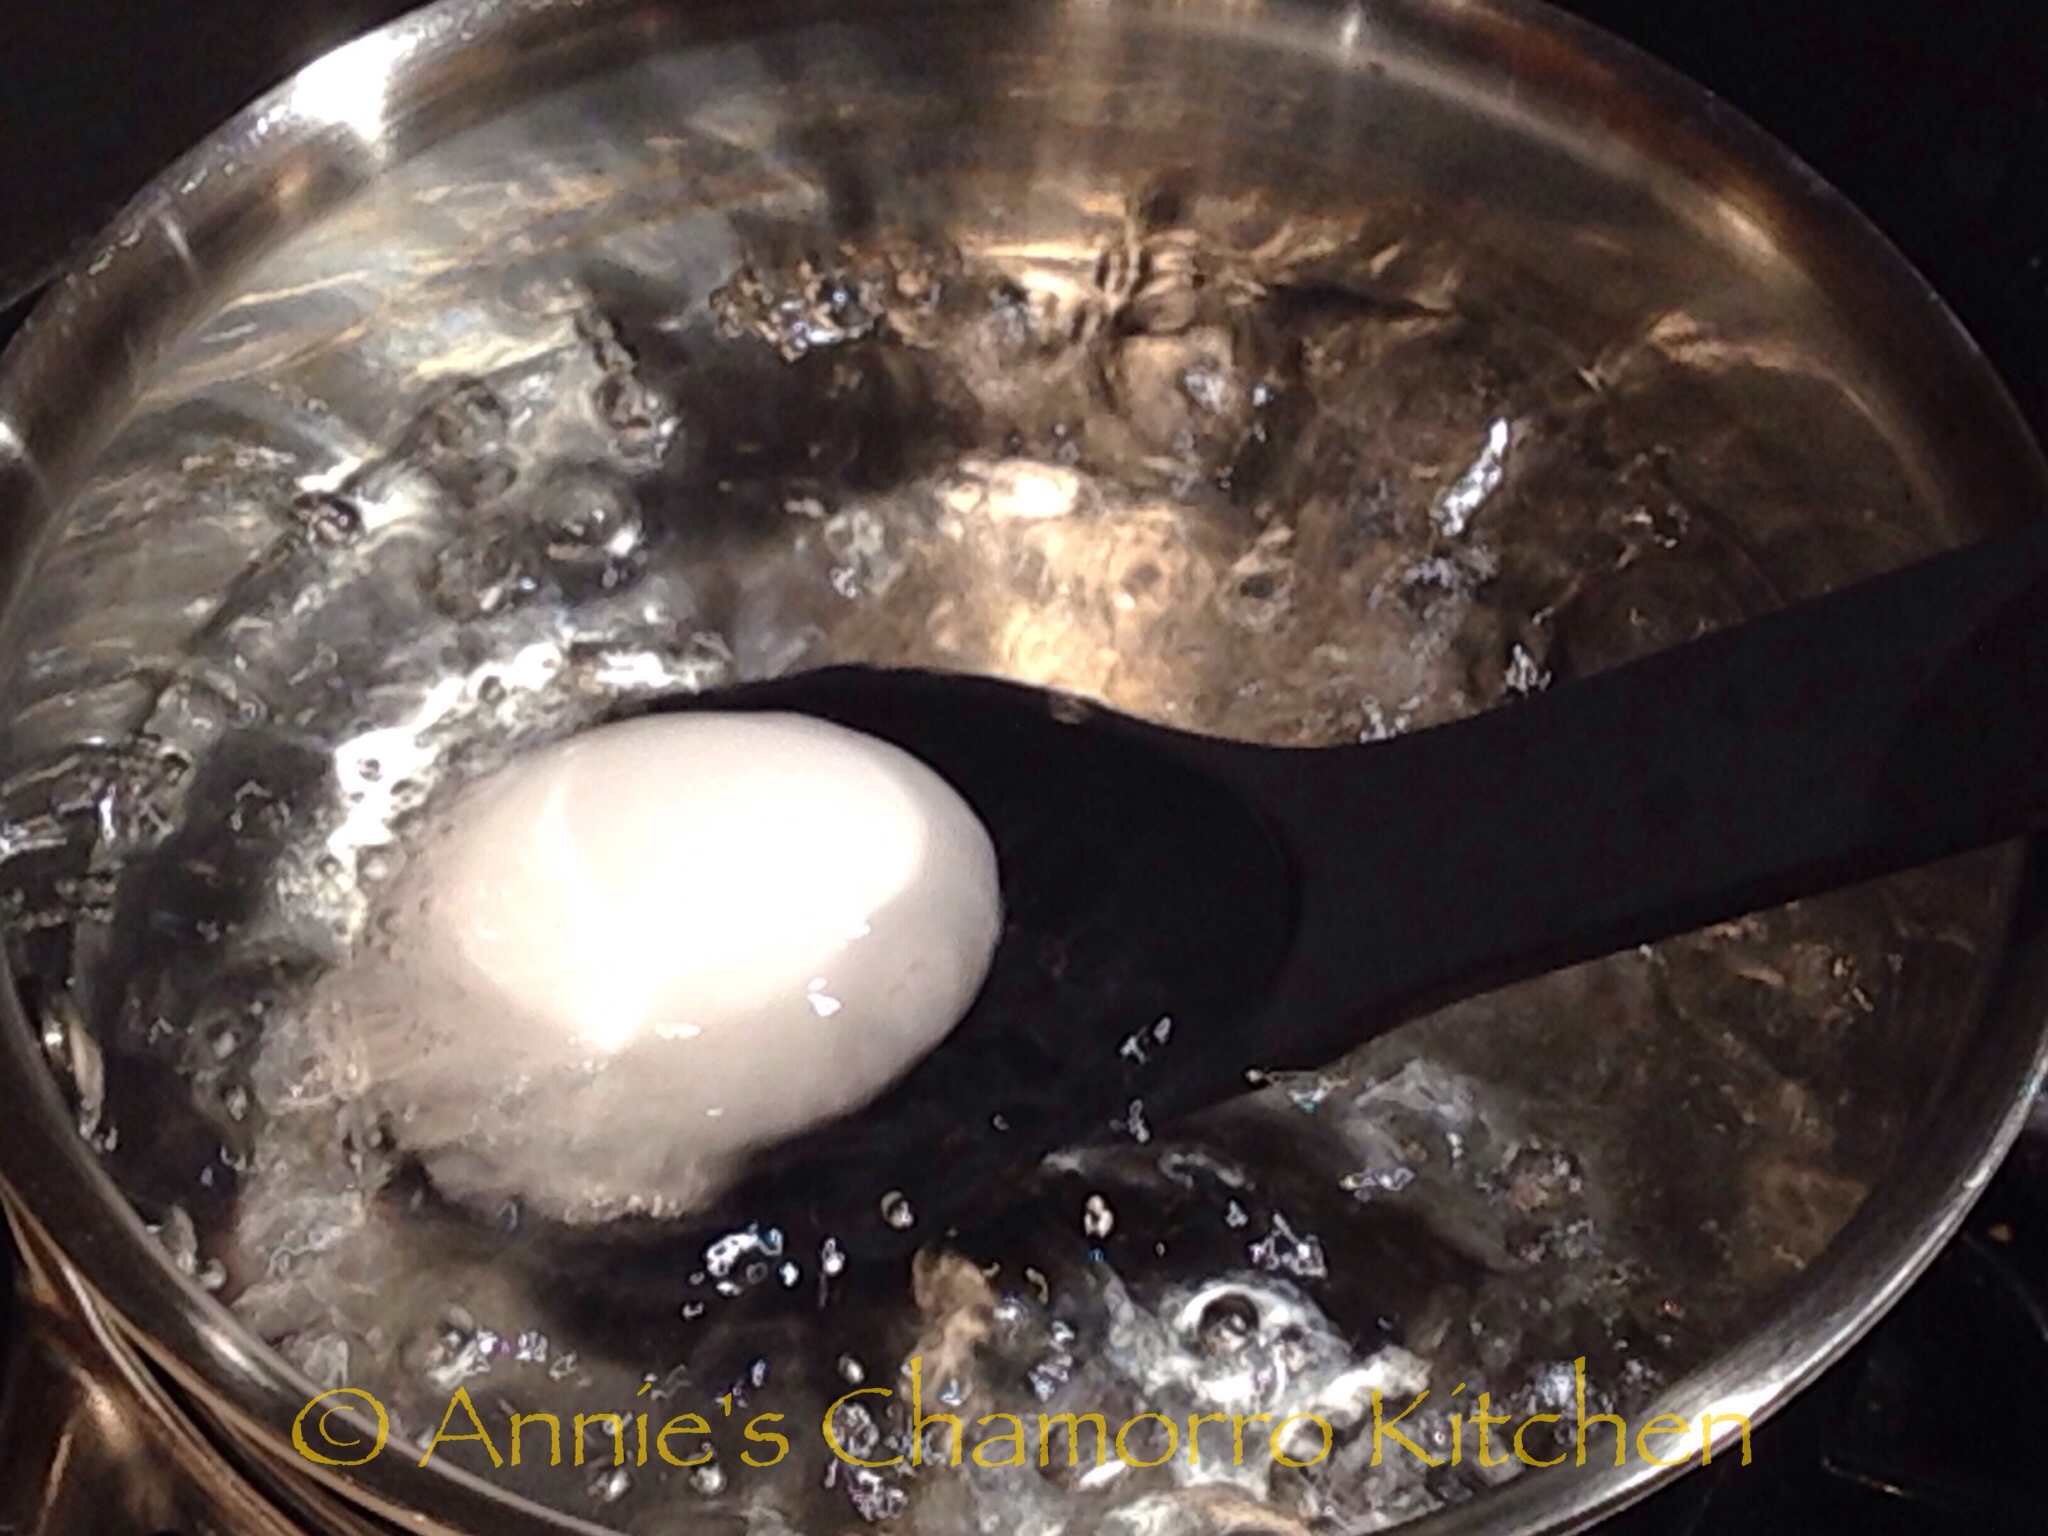
2. Once the water comes to a boil, CAREFULLY place the eggs into the pot. I use a large cooking spoon to lower the eggs into the boiling water.

3. Set your timer for EXACTLY 6 minutes.

4. After the 6 minutes has elapsed, IMMEDIATELY remove the pot from the stove and run cold water into the pot until the pot is completely filled with cold water.
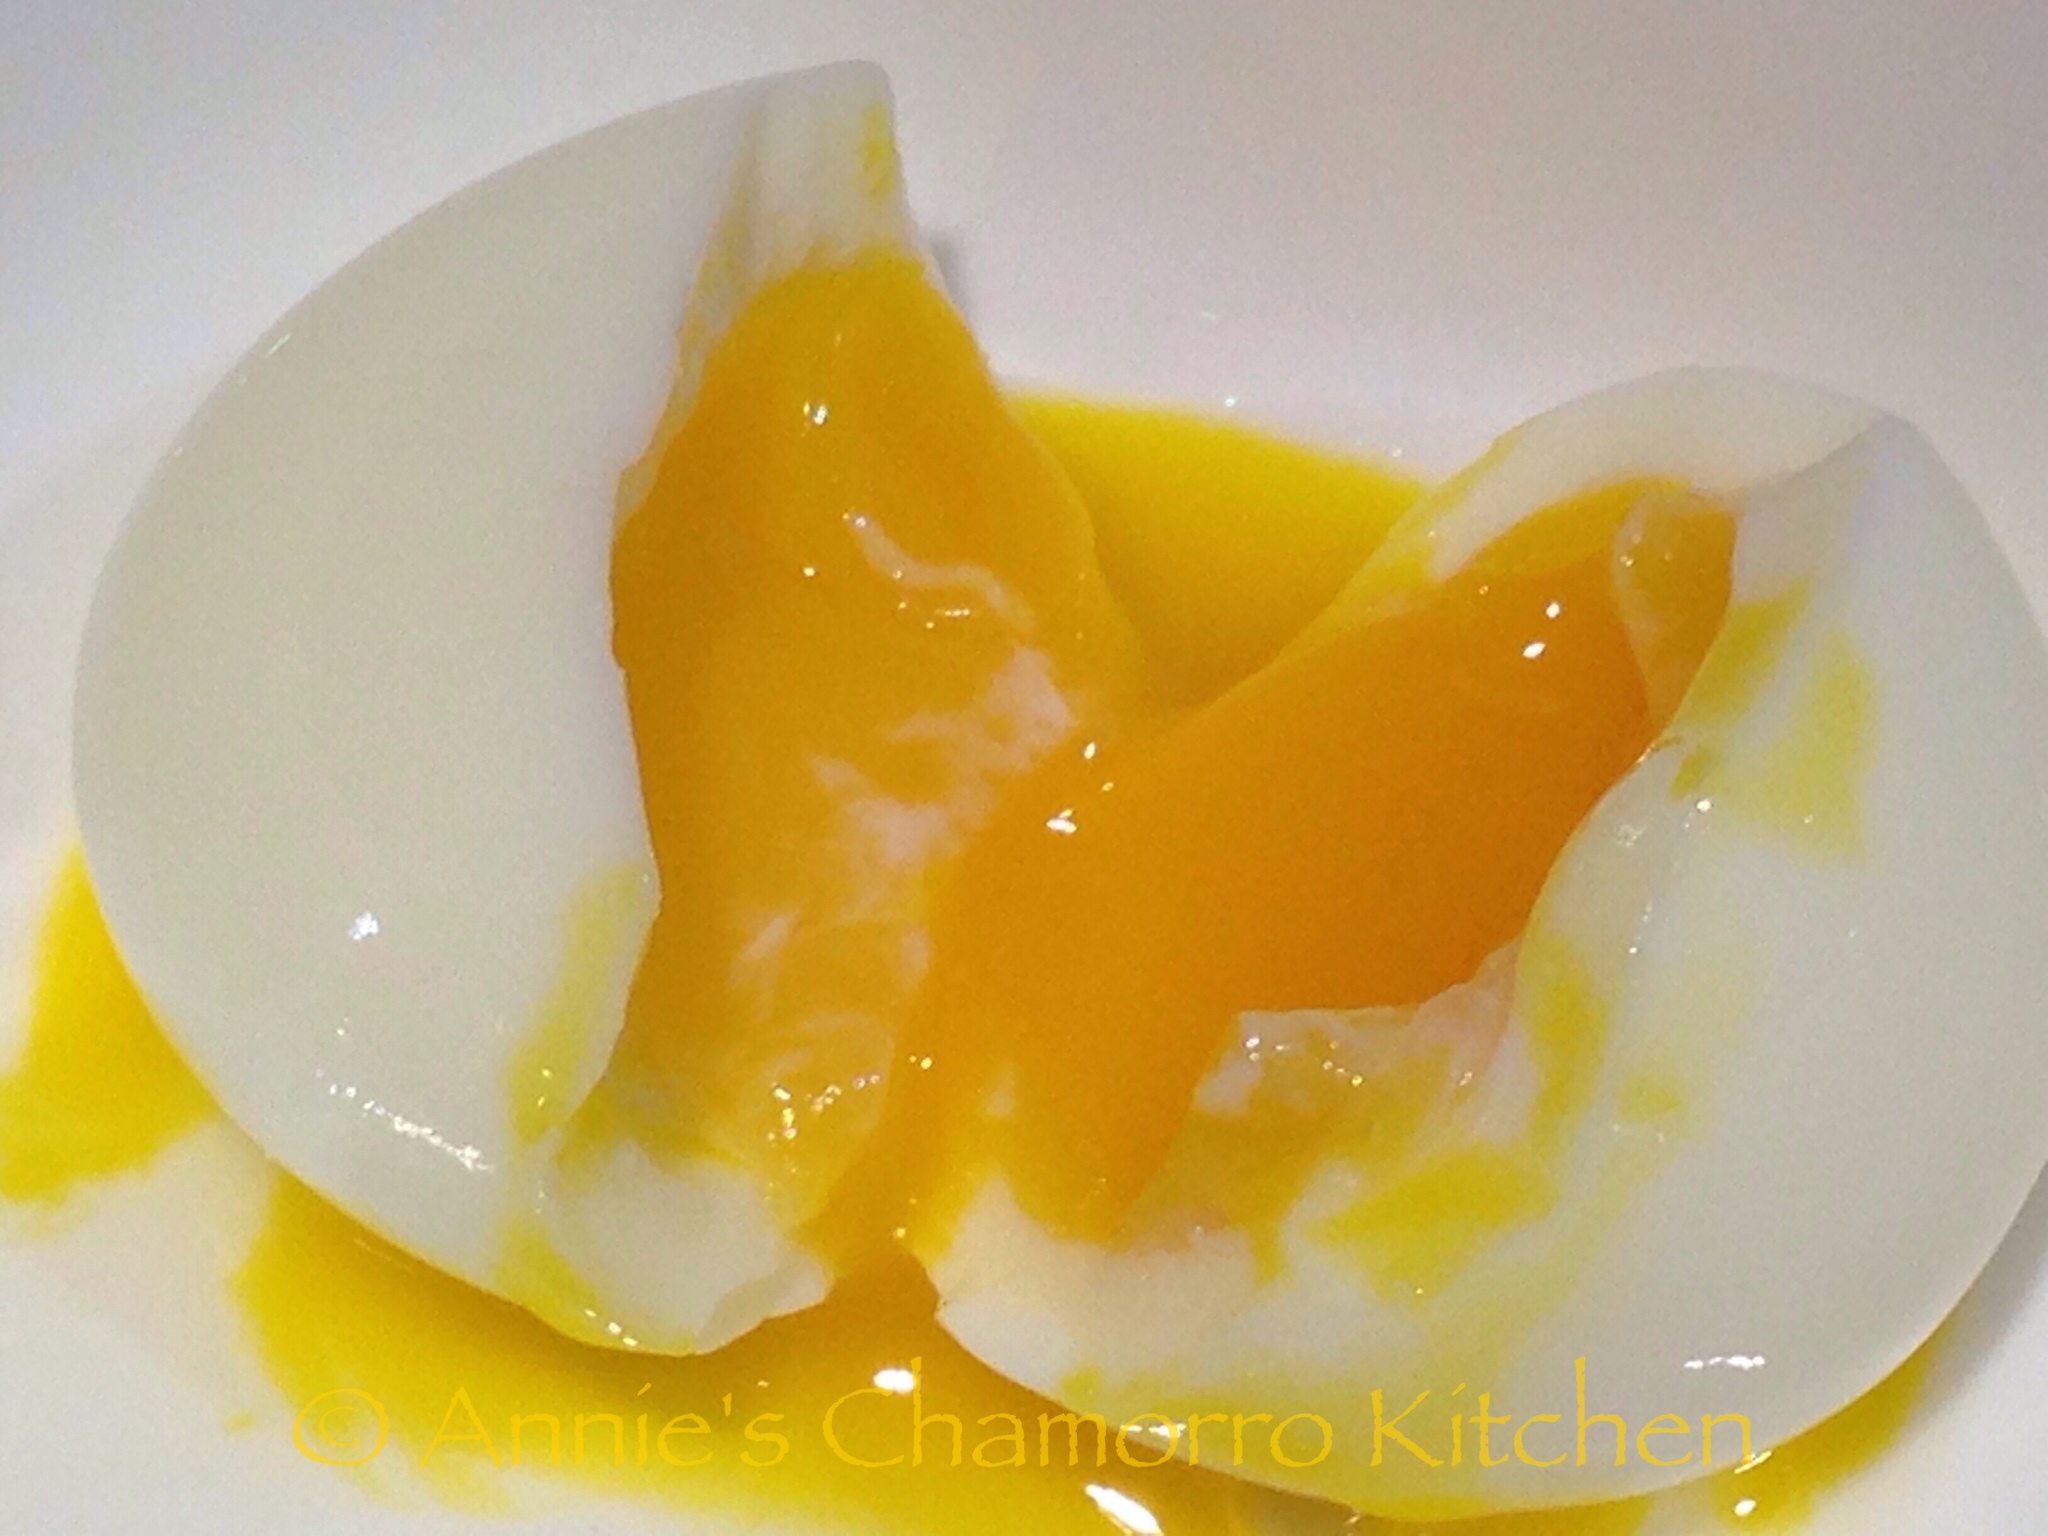
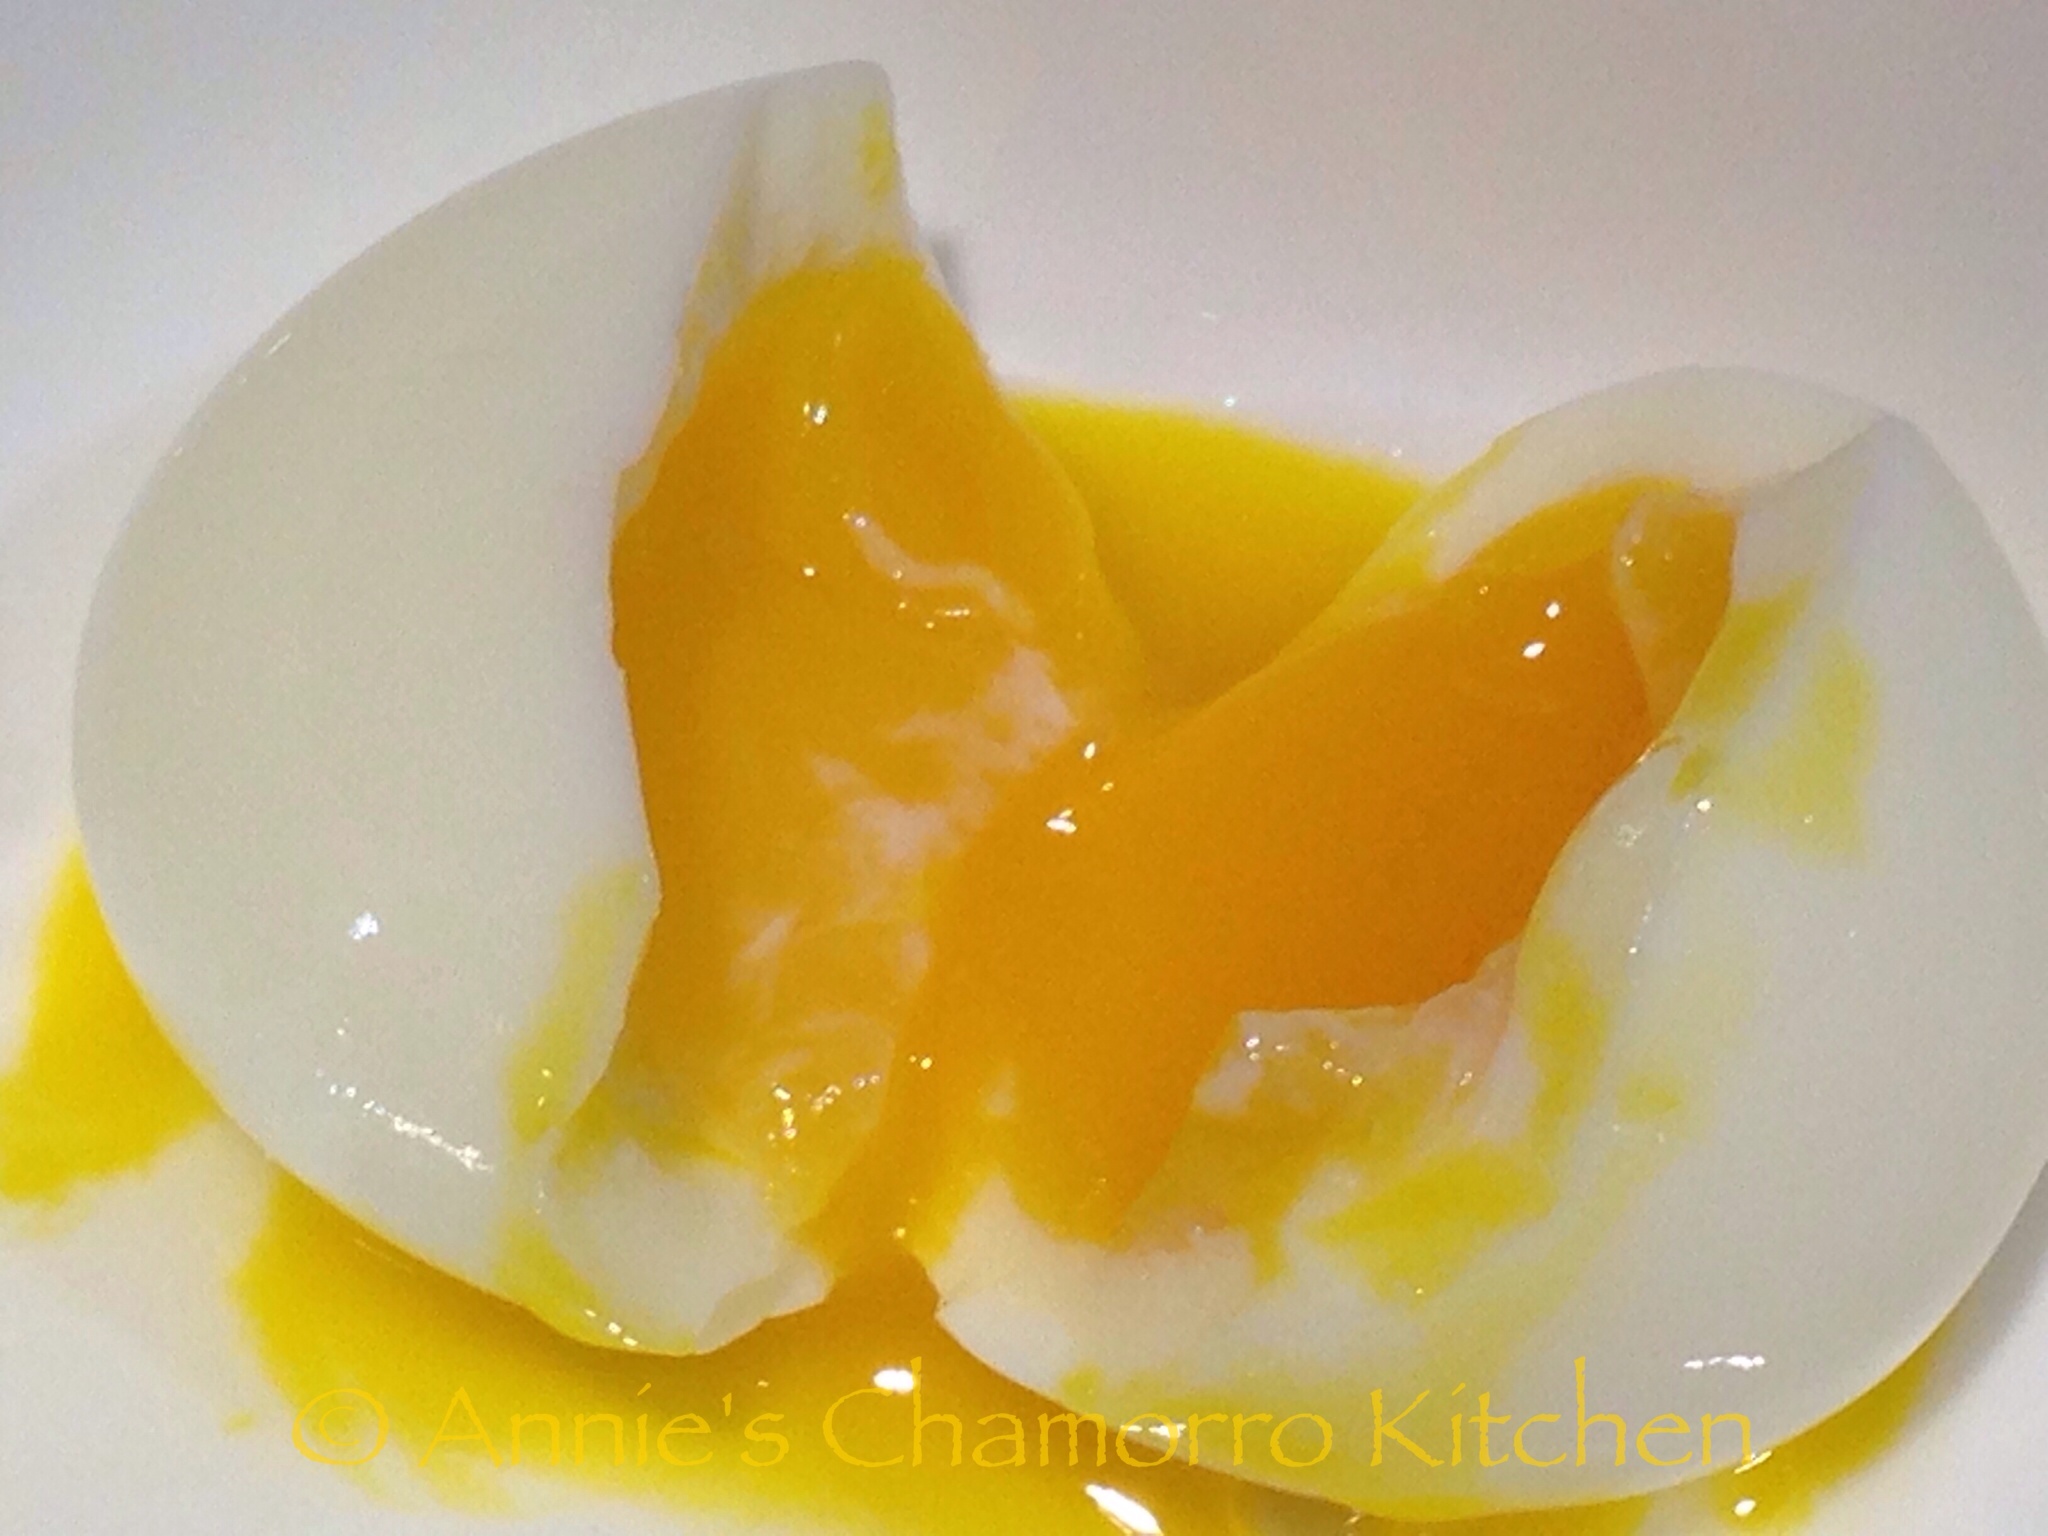
5. It’s time to eat! Crack then peel off the top half of the egg shell. The egg white will be firm but the yolk inside will be thick and creamy–just perfect!
I like to peel the shell off the entire egg then place it in a small cereal bowl. This way, I can enjoy this perfectly soft-boiled egg the Chamorro way — with fina’denne and Tabasco sauce! 😀
ENJOY!

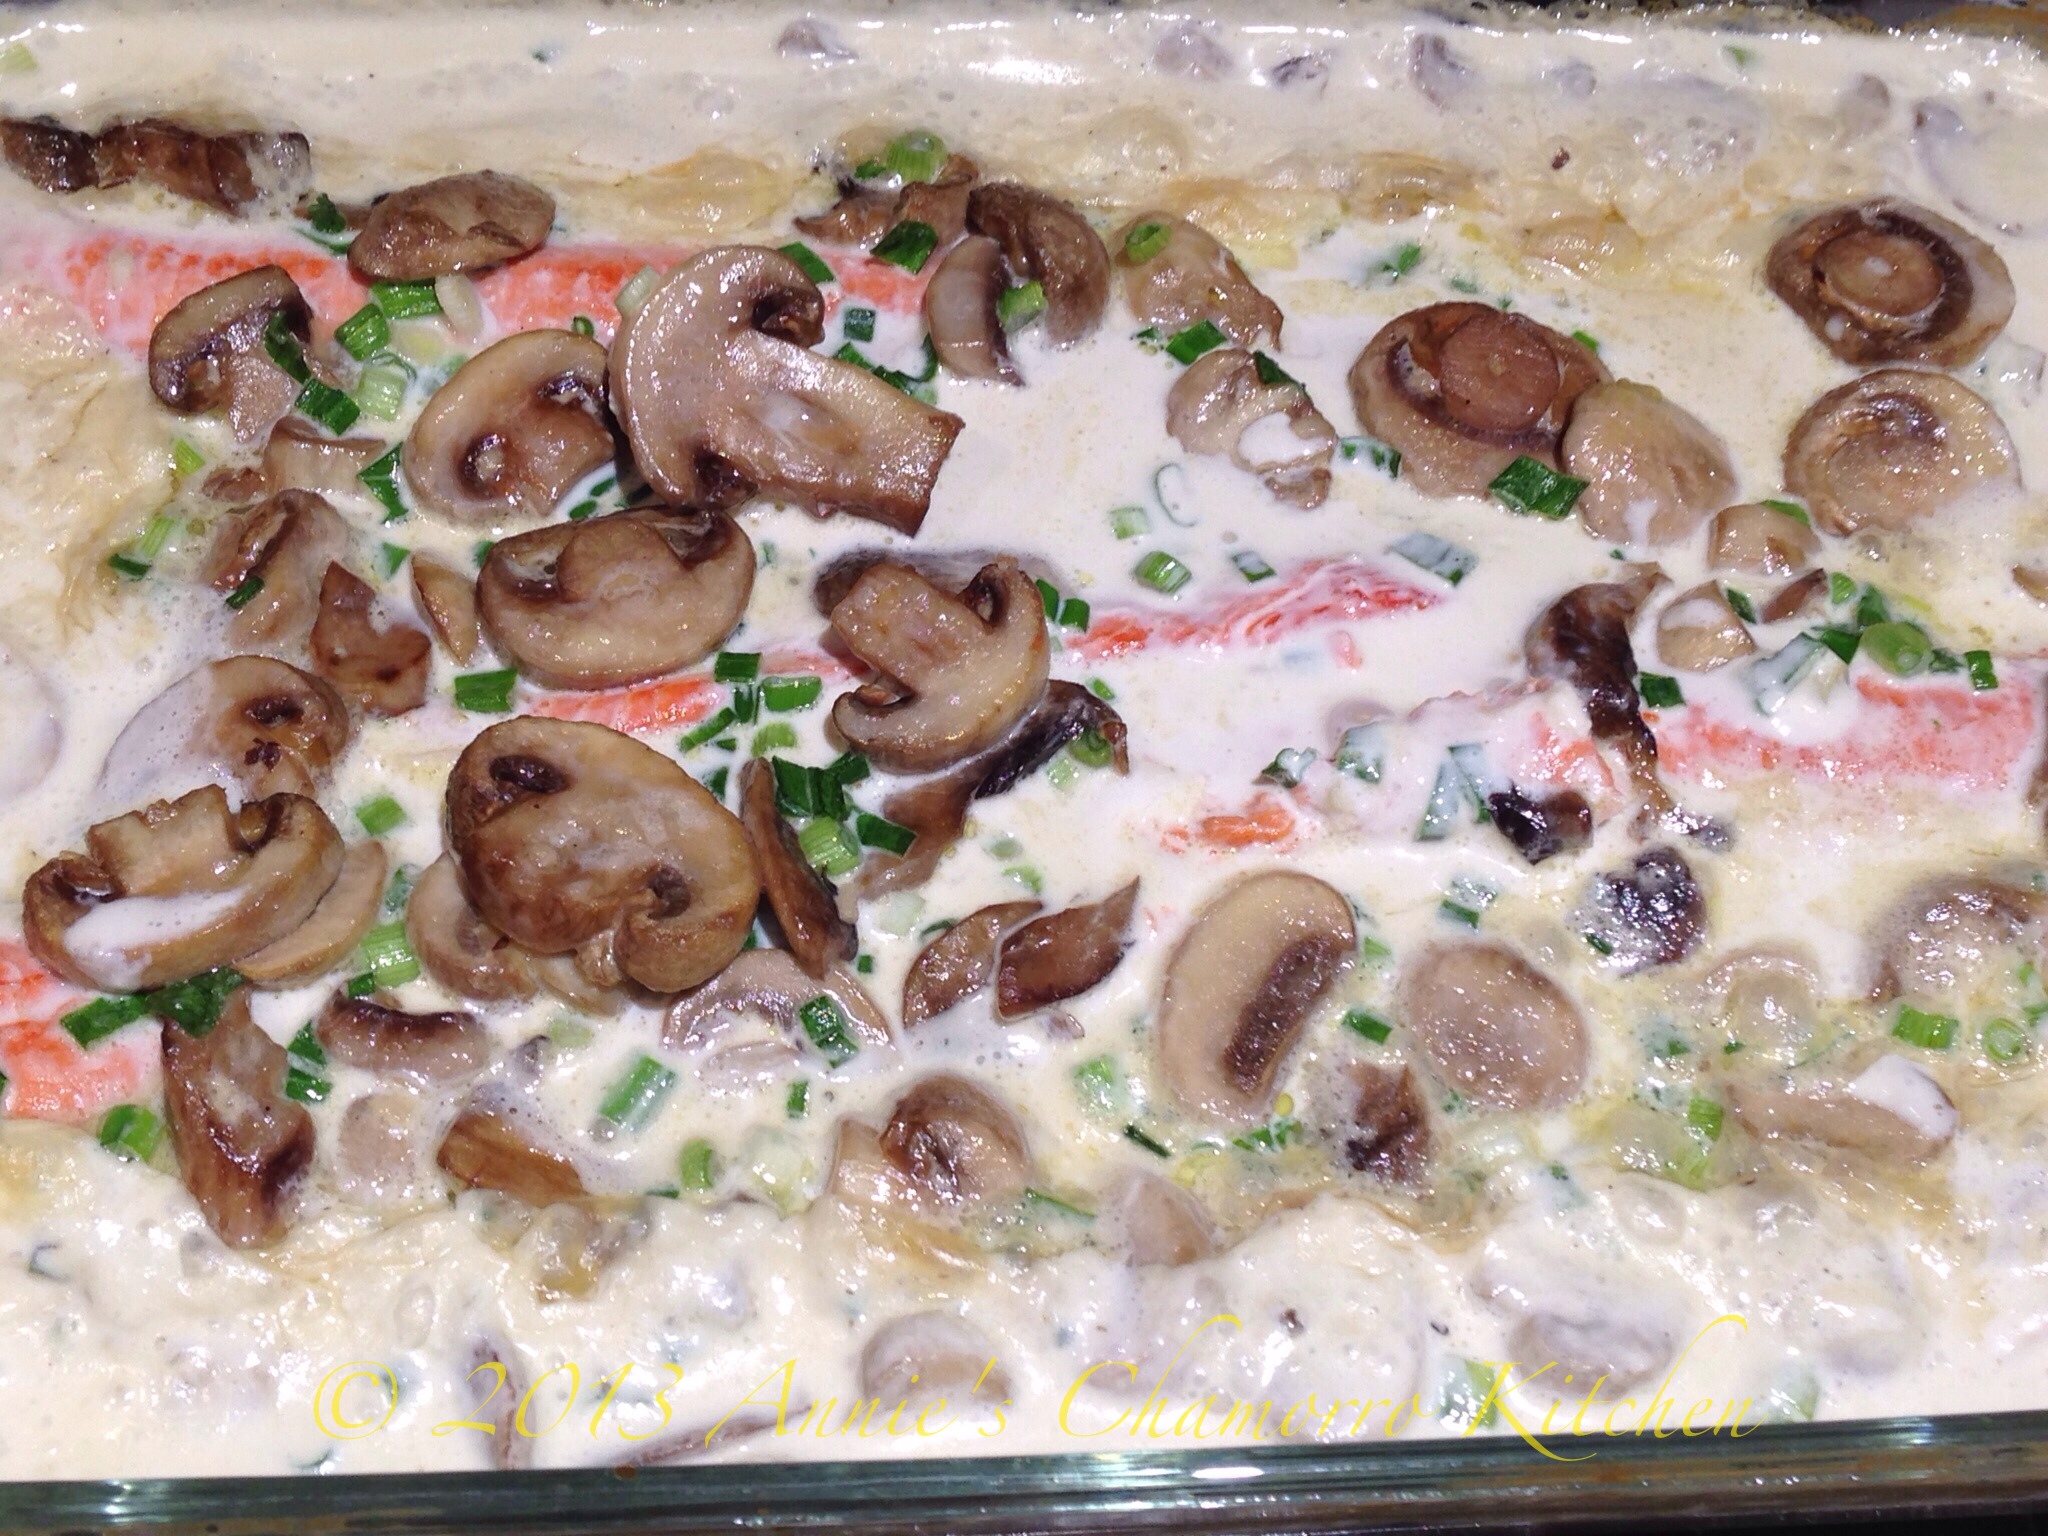
Baked Salmon with Mushroom Cream Sauce

Salmon is one of my favorite varieties of fish. I love it anyway you prepare it — grill it with my teriyaki sauce, make fresh salmon kelaguen, or bake it in my creamy mushroom garlic sauce — I love it all.

This is a super simple recipe to make. It took minutes to prepare, and since salmon cooks quickly, you can have this dish on your table in minutes!

You can lighten up my recipe by using half and half or light whipping cream instead of heavy whipping cream. Here is an approximation of the percentage of fat in half and half, light cream, and heavy whipping cream.

  • Half-and-Half: 12% fat
  • Light Cream: 20% fat
  • Light Whipping Cream: 30% fat
  • Whipping Cream: 35% fat
  • Heavy Cream and Heavy Whipping Cream: 38% fat

On a separate note, I’ve been asked before where you find heavy whipping cream. You’ll find it in the dairy section of your grocery store, usually next to the refrigerated coffee creamer and milk. This is what the box looks like.

image

Another healthier — and delicious — alternative to heavy whipping cream is to use coconut milk. Just watch the salmon as it bakes — don’t cook it to where the coconut milk begins to boil (boiled coconut milk tends to break down and separate). I recommend adding only enough of the sauce over the salmon to cover it. Set the remaining sauce (unbaked) aside until the salmon is done. Bake as directed then pour the reserved coconut milk and mushroom sauce over the cooked salmon. This way, you don’t have to worry about the coconut milk separating should it boil during the baking.

Give my recipe a try.  I think you’ll like it. 🙂

THM NOTE:

For THMs, this recipe makes about 6 servings, with about 2g of carbs per serving, making this an S meal.

Baked Salmon with Mushroom Cream Sauce

Ingredients:

  • 2 salmon filets (about 4 pounds)
  • 4 cups sliced mushrooms (this sounds like a lot, but it cooks down to half this amount)
  • 2 tablespoons olive oil (or butter)
  • 3 tablespoons minced garlic
  • 3 tablespoons Dashida seasoning OR 1 teaspoon sea salt
  • 1/2 teaspoon black pepper
  • 1 bunch green onions, sliced
  • 2 cups heavy whipping cream

Directions:

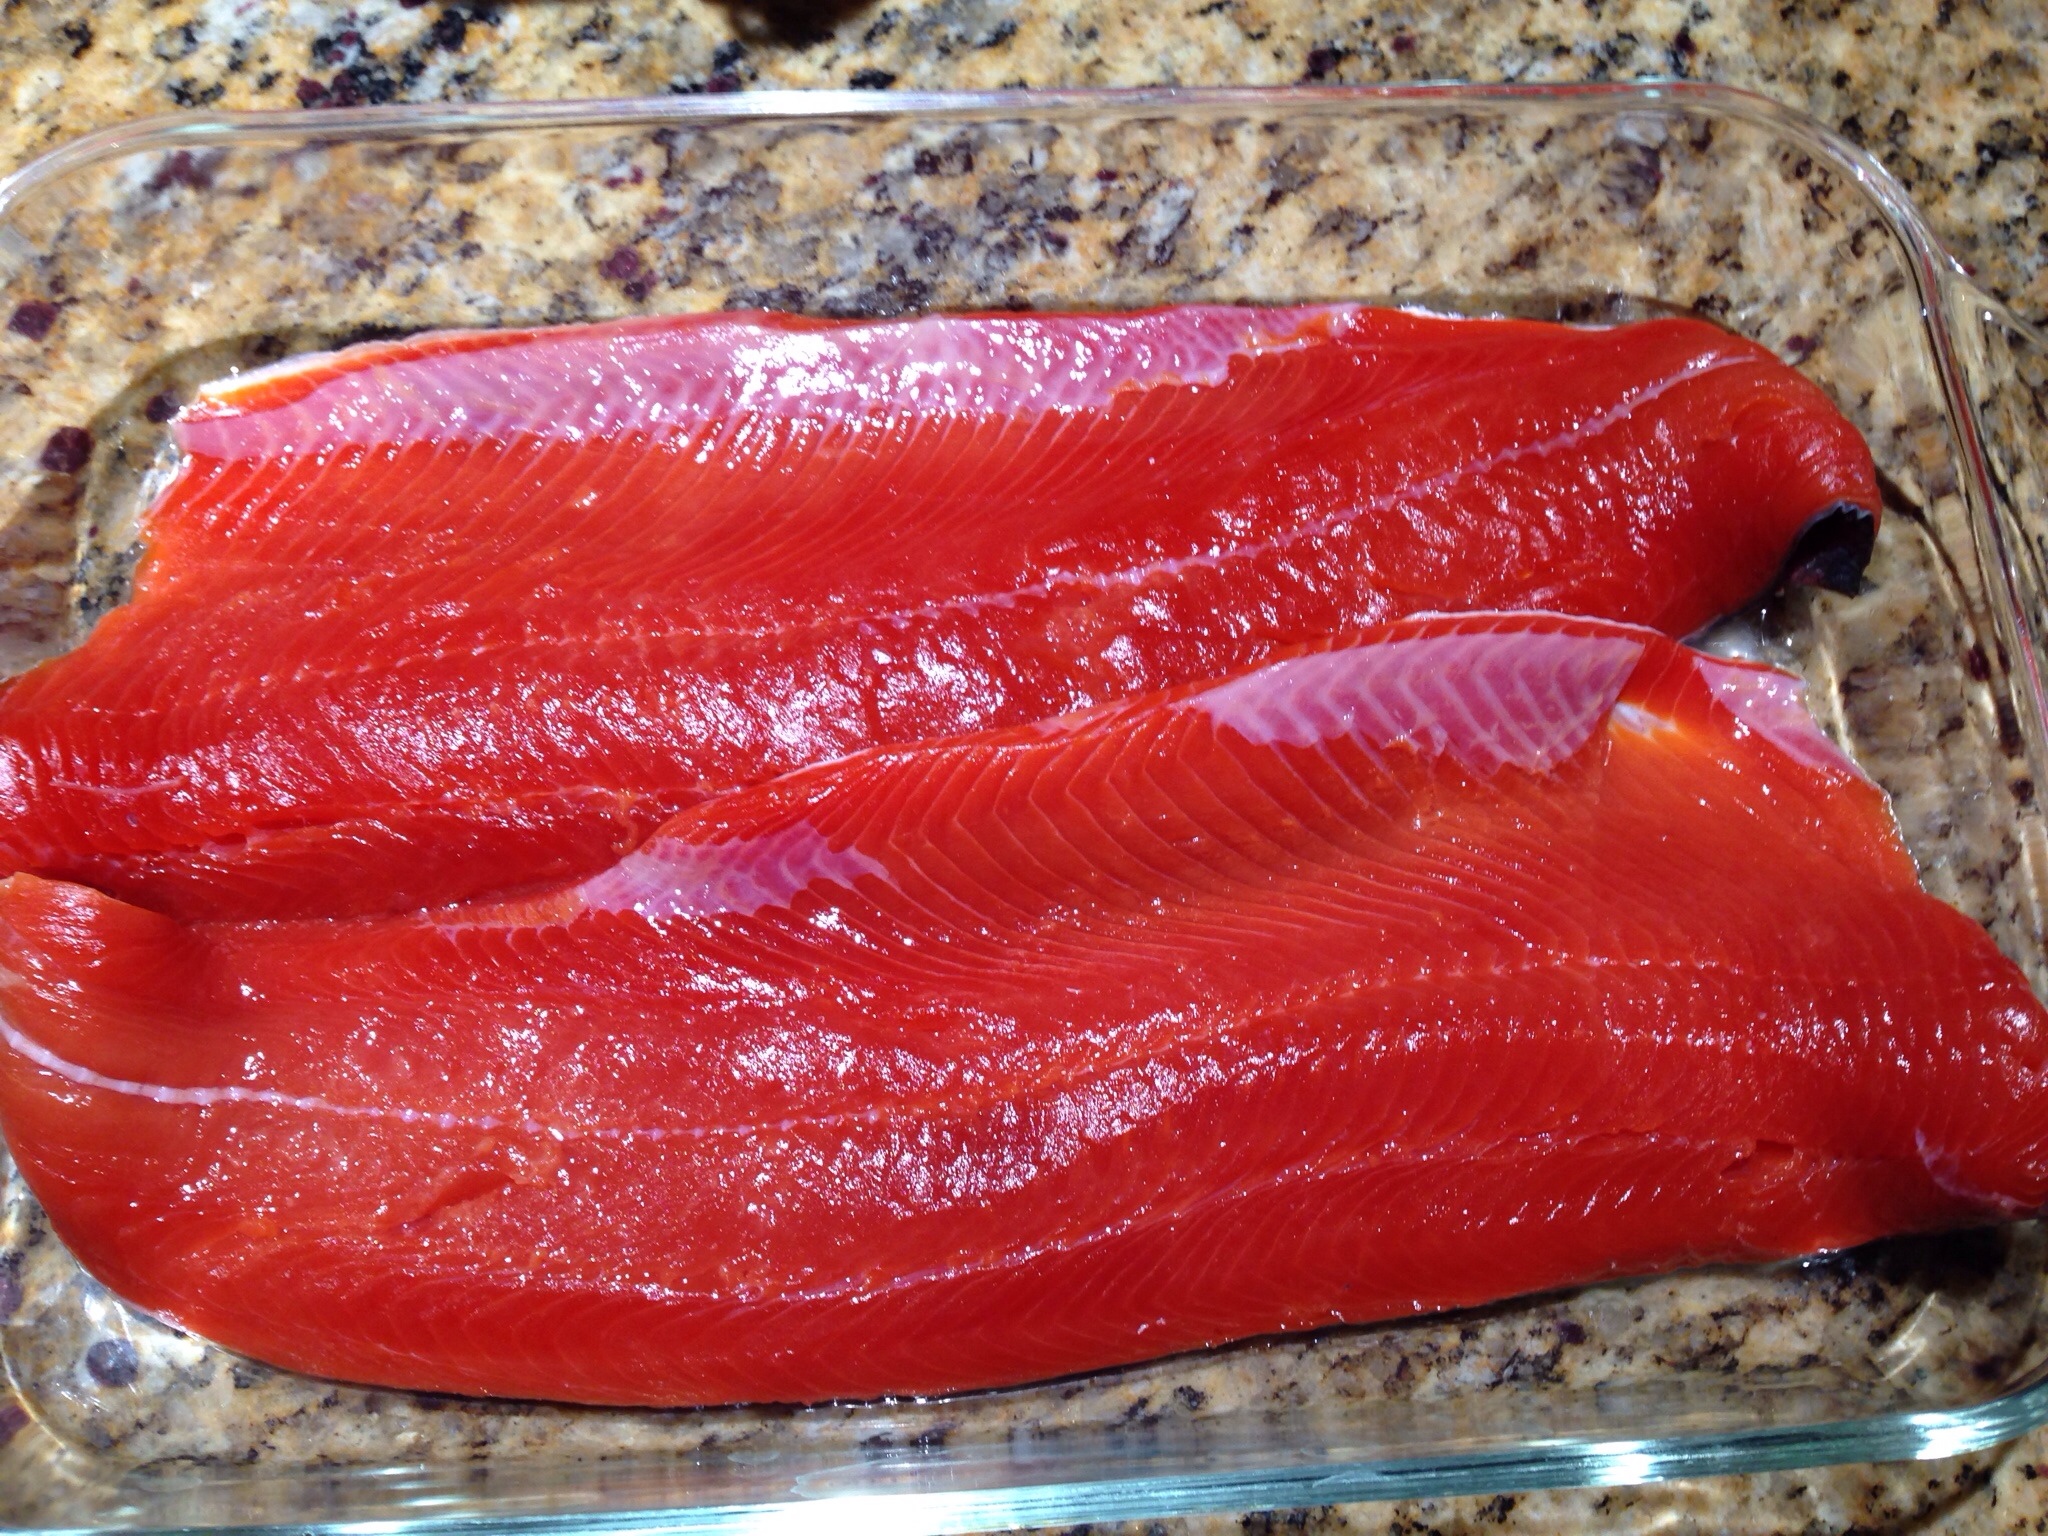
Rinse the salmon filets and remove any bones that you can see or feel. Place the salmon, skin side down, in a 9×13 baking dish.

Prepare the mushroom cream sauce.

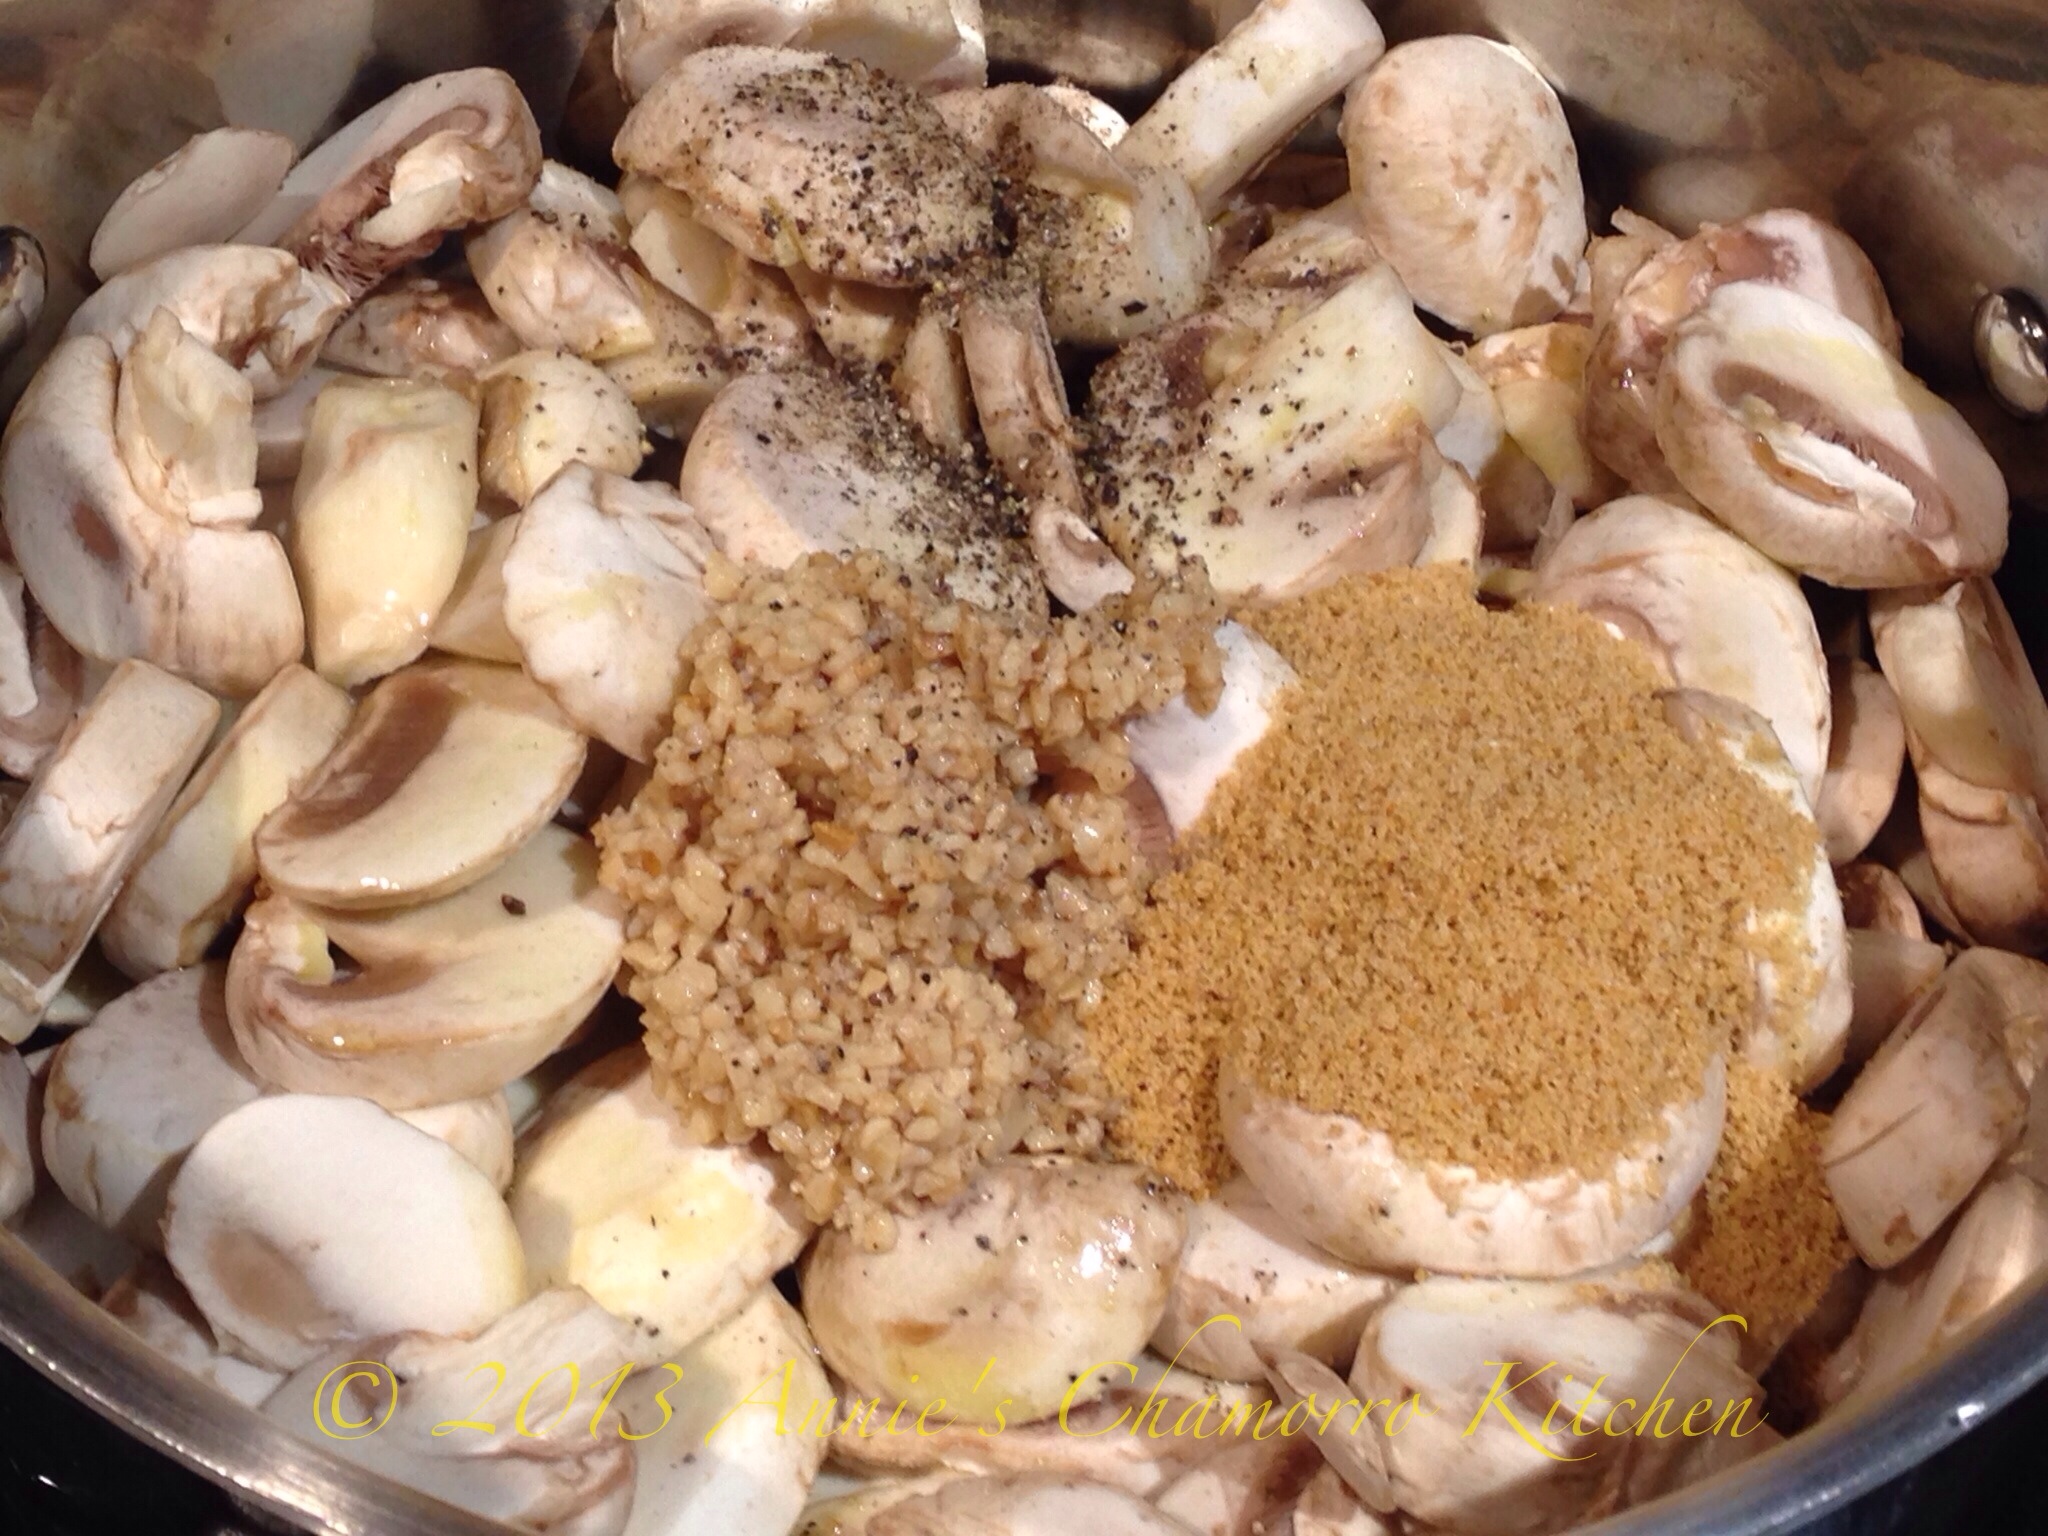
In a medium sauce pan, place the mushrooms, olive oil, garlic, Dashida (or sea salt) and black pepper.

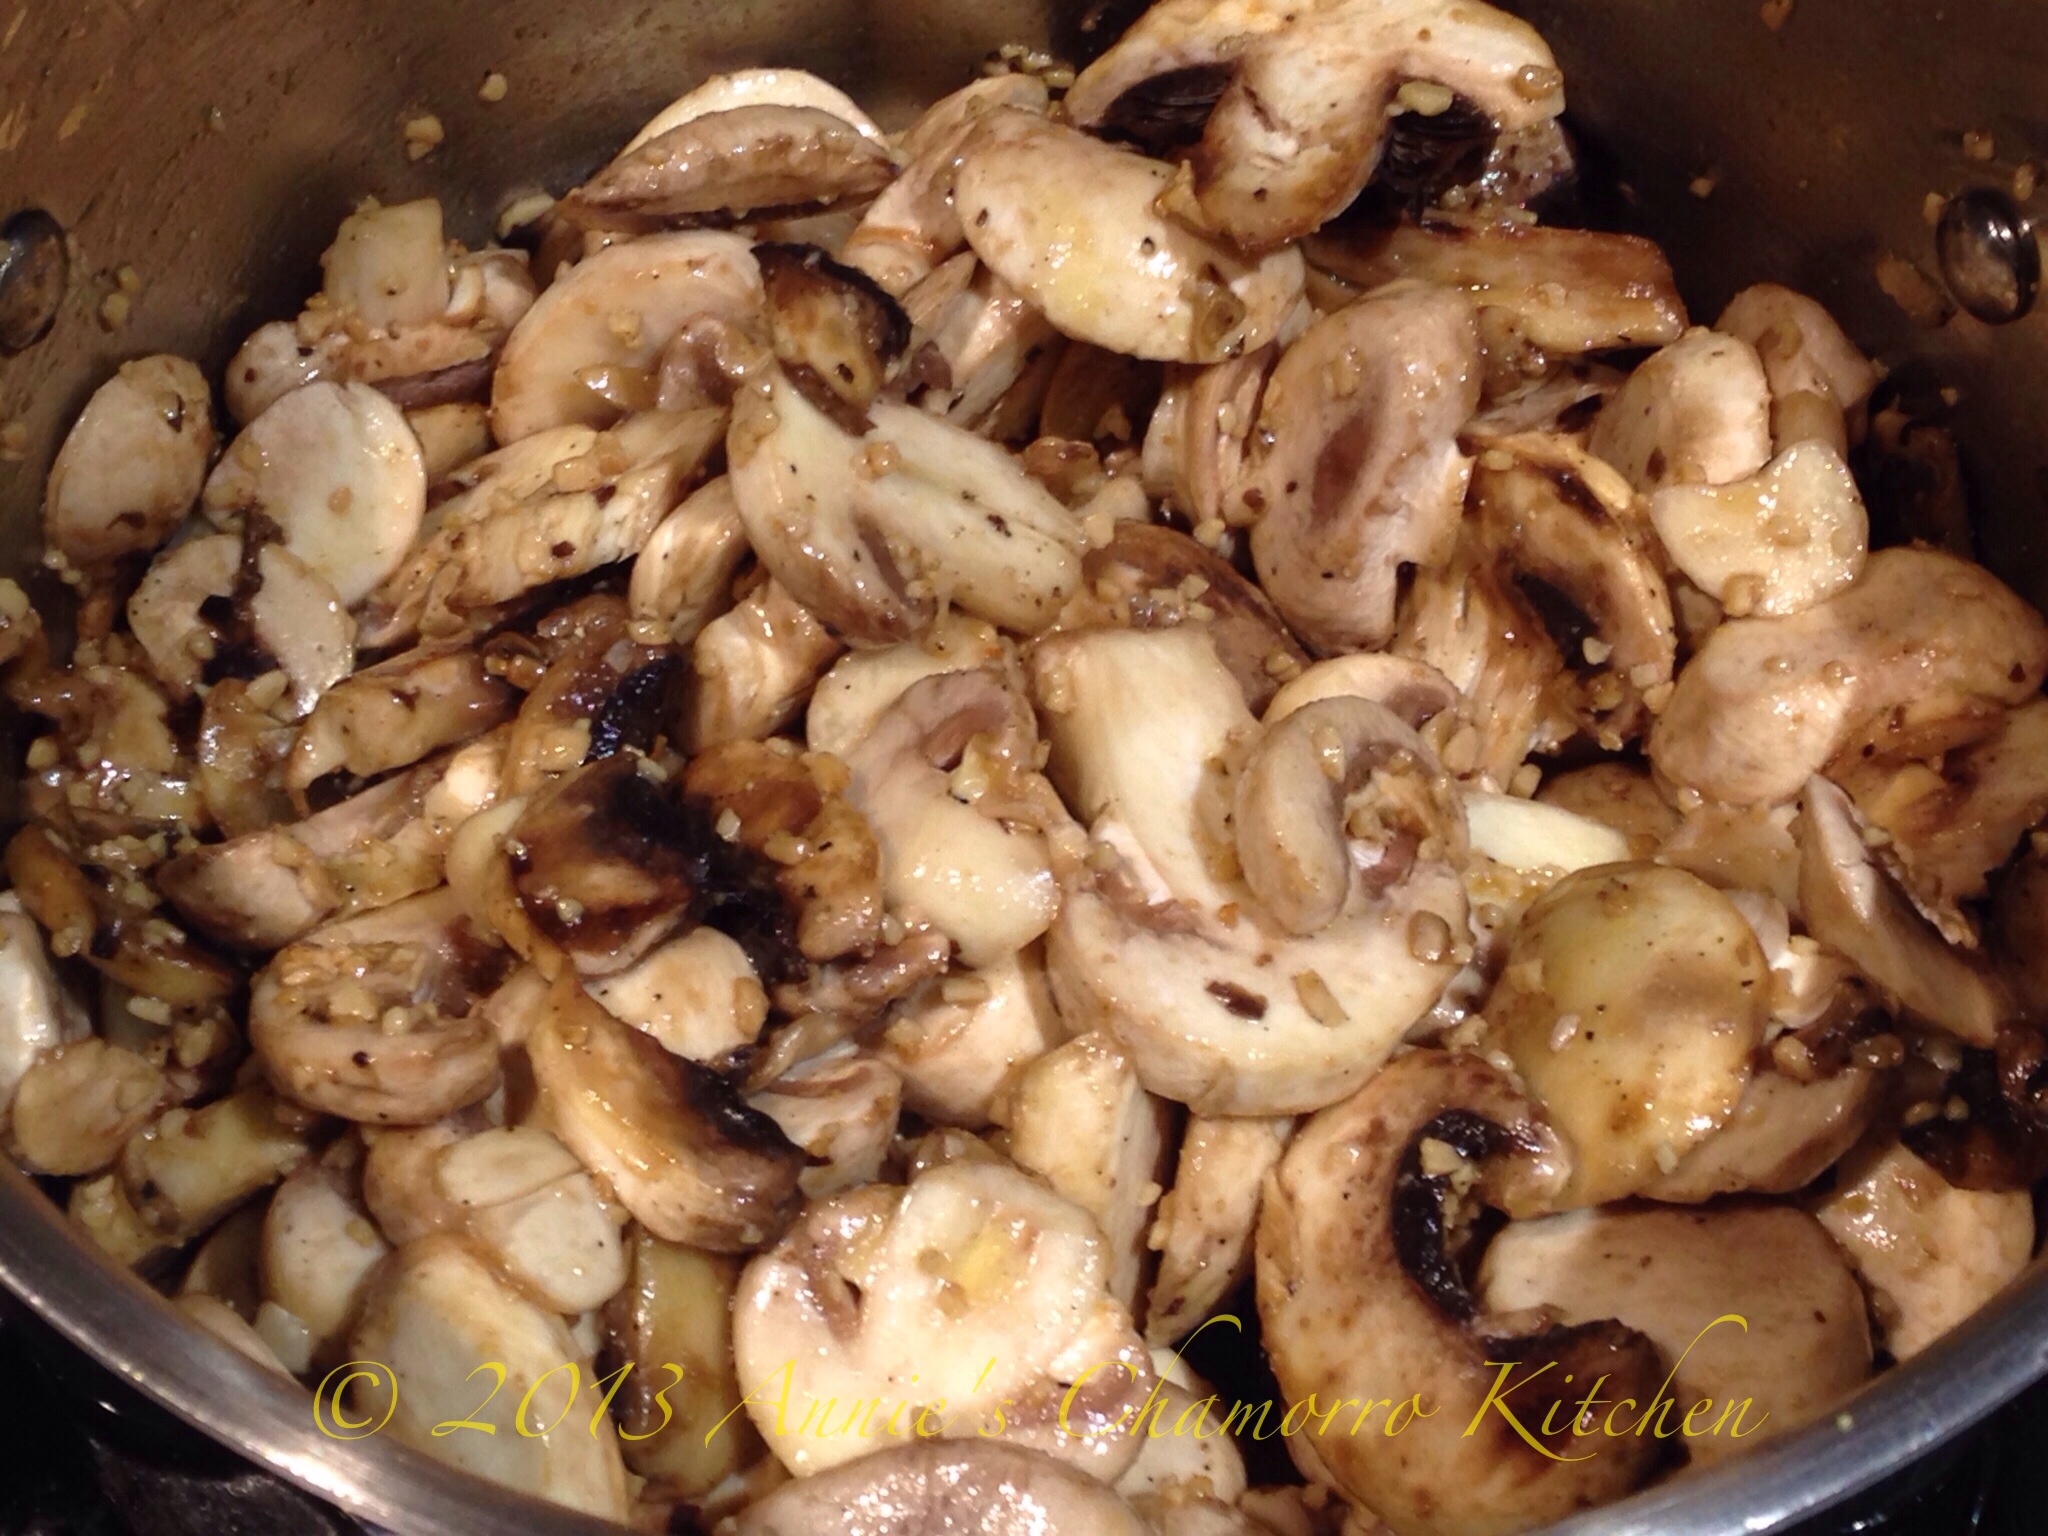
Cook over medium high heat, stirring occassionally, until the the mushrooms have reduced in volume and have browned nicely.

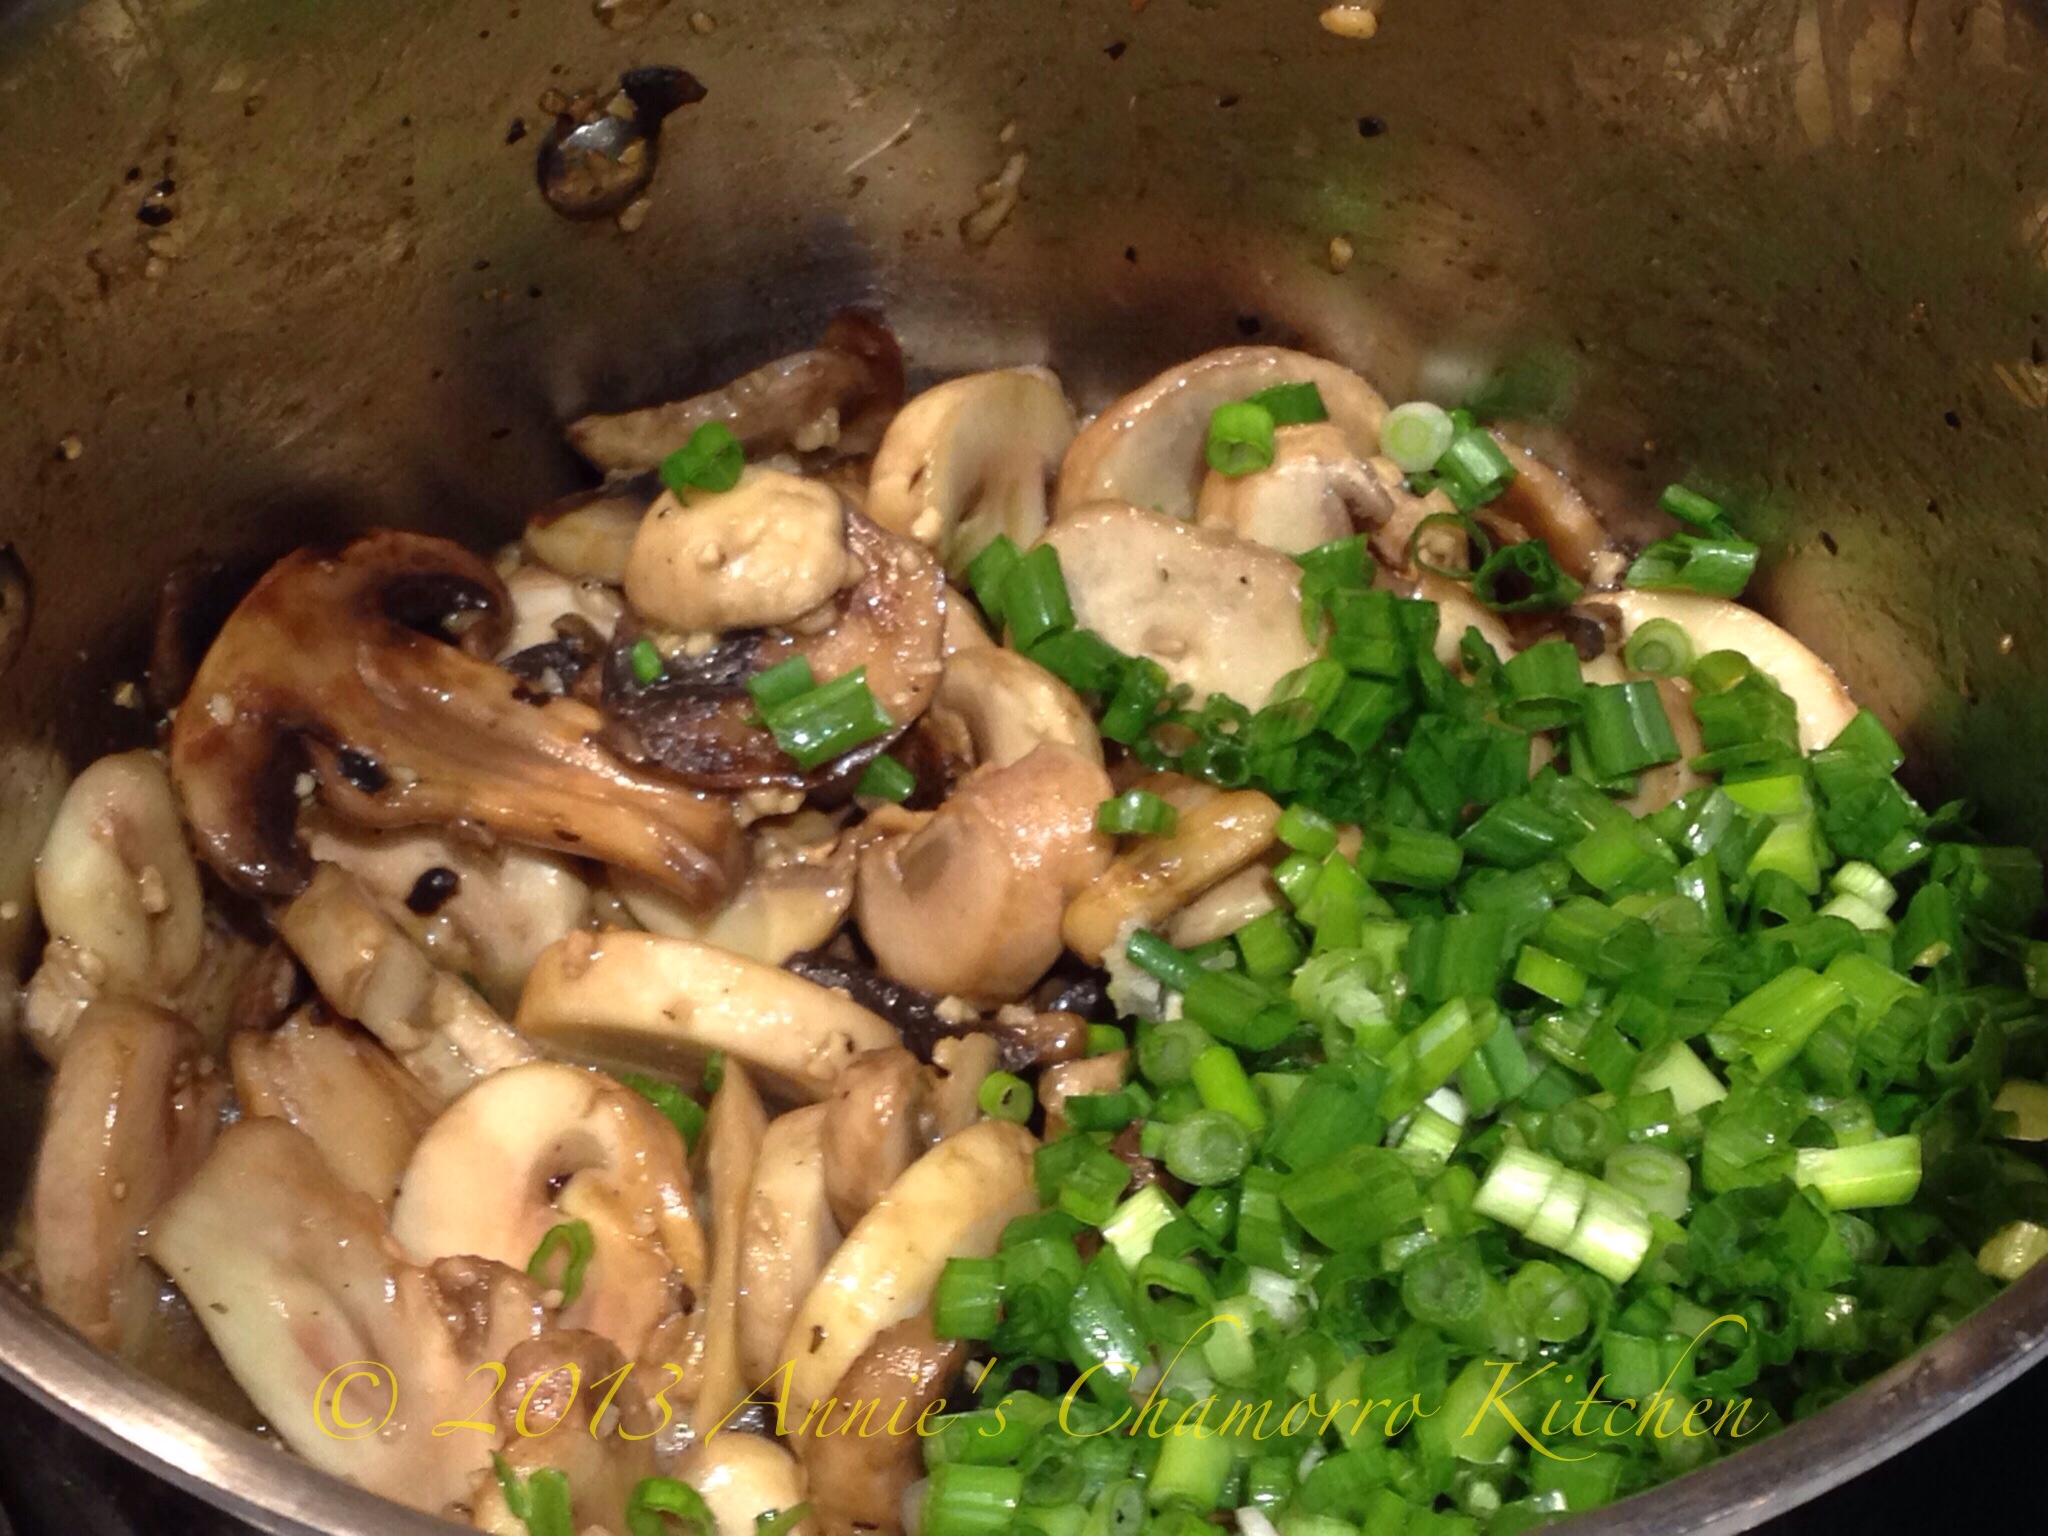
Stir in the green onions.

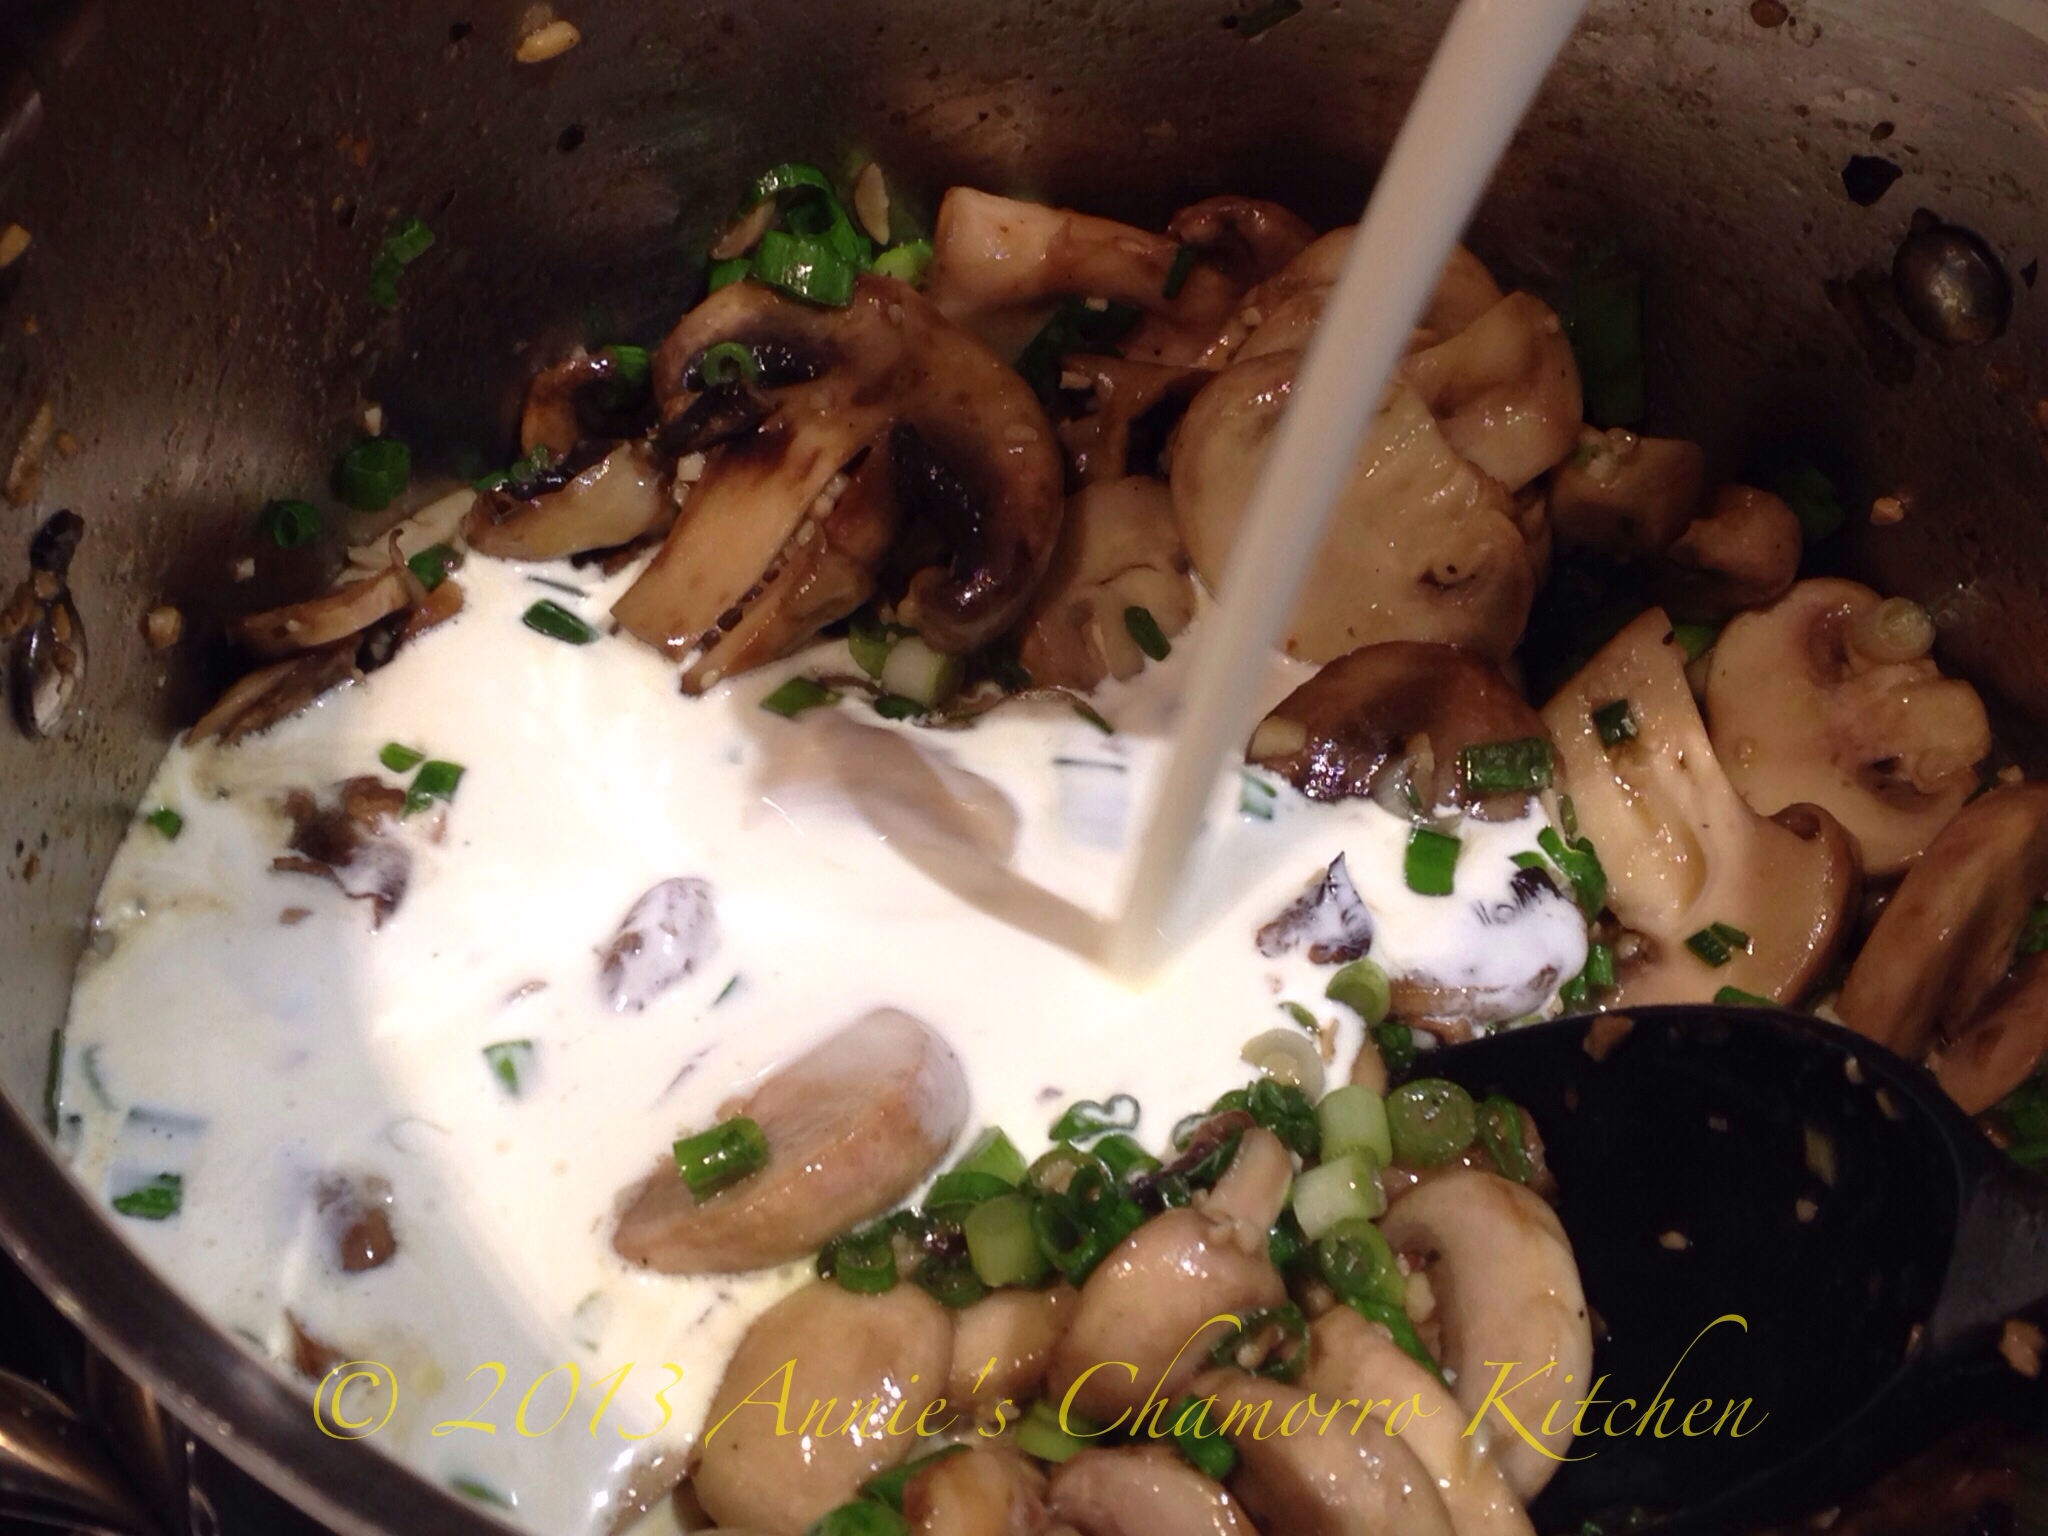
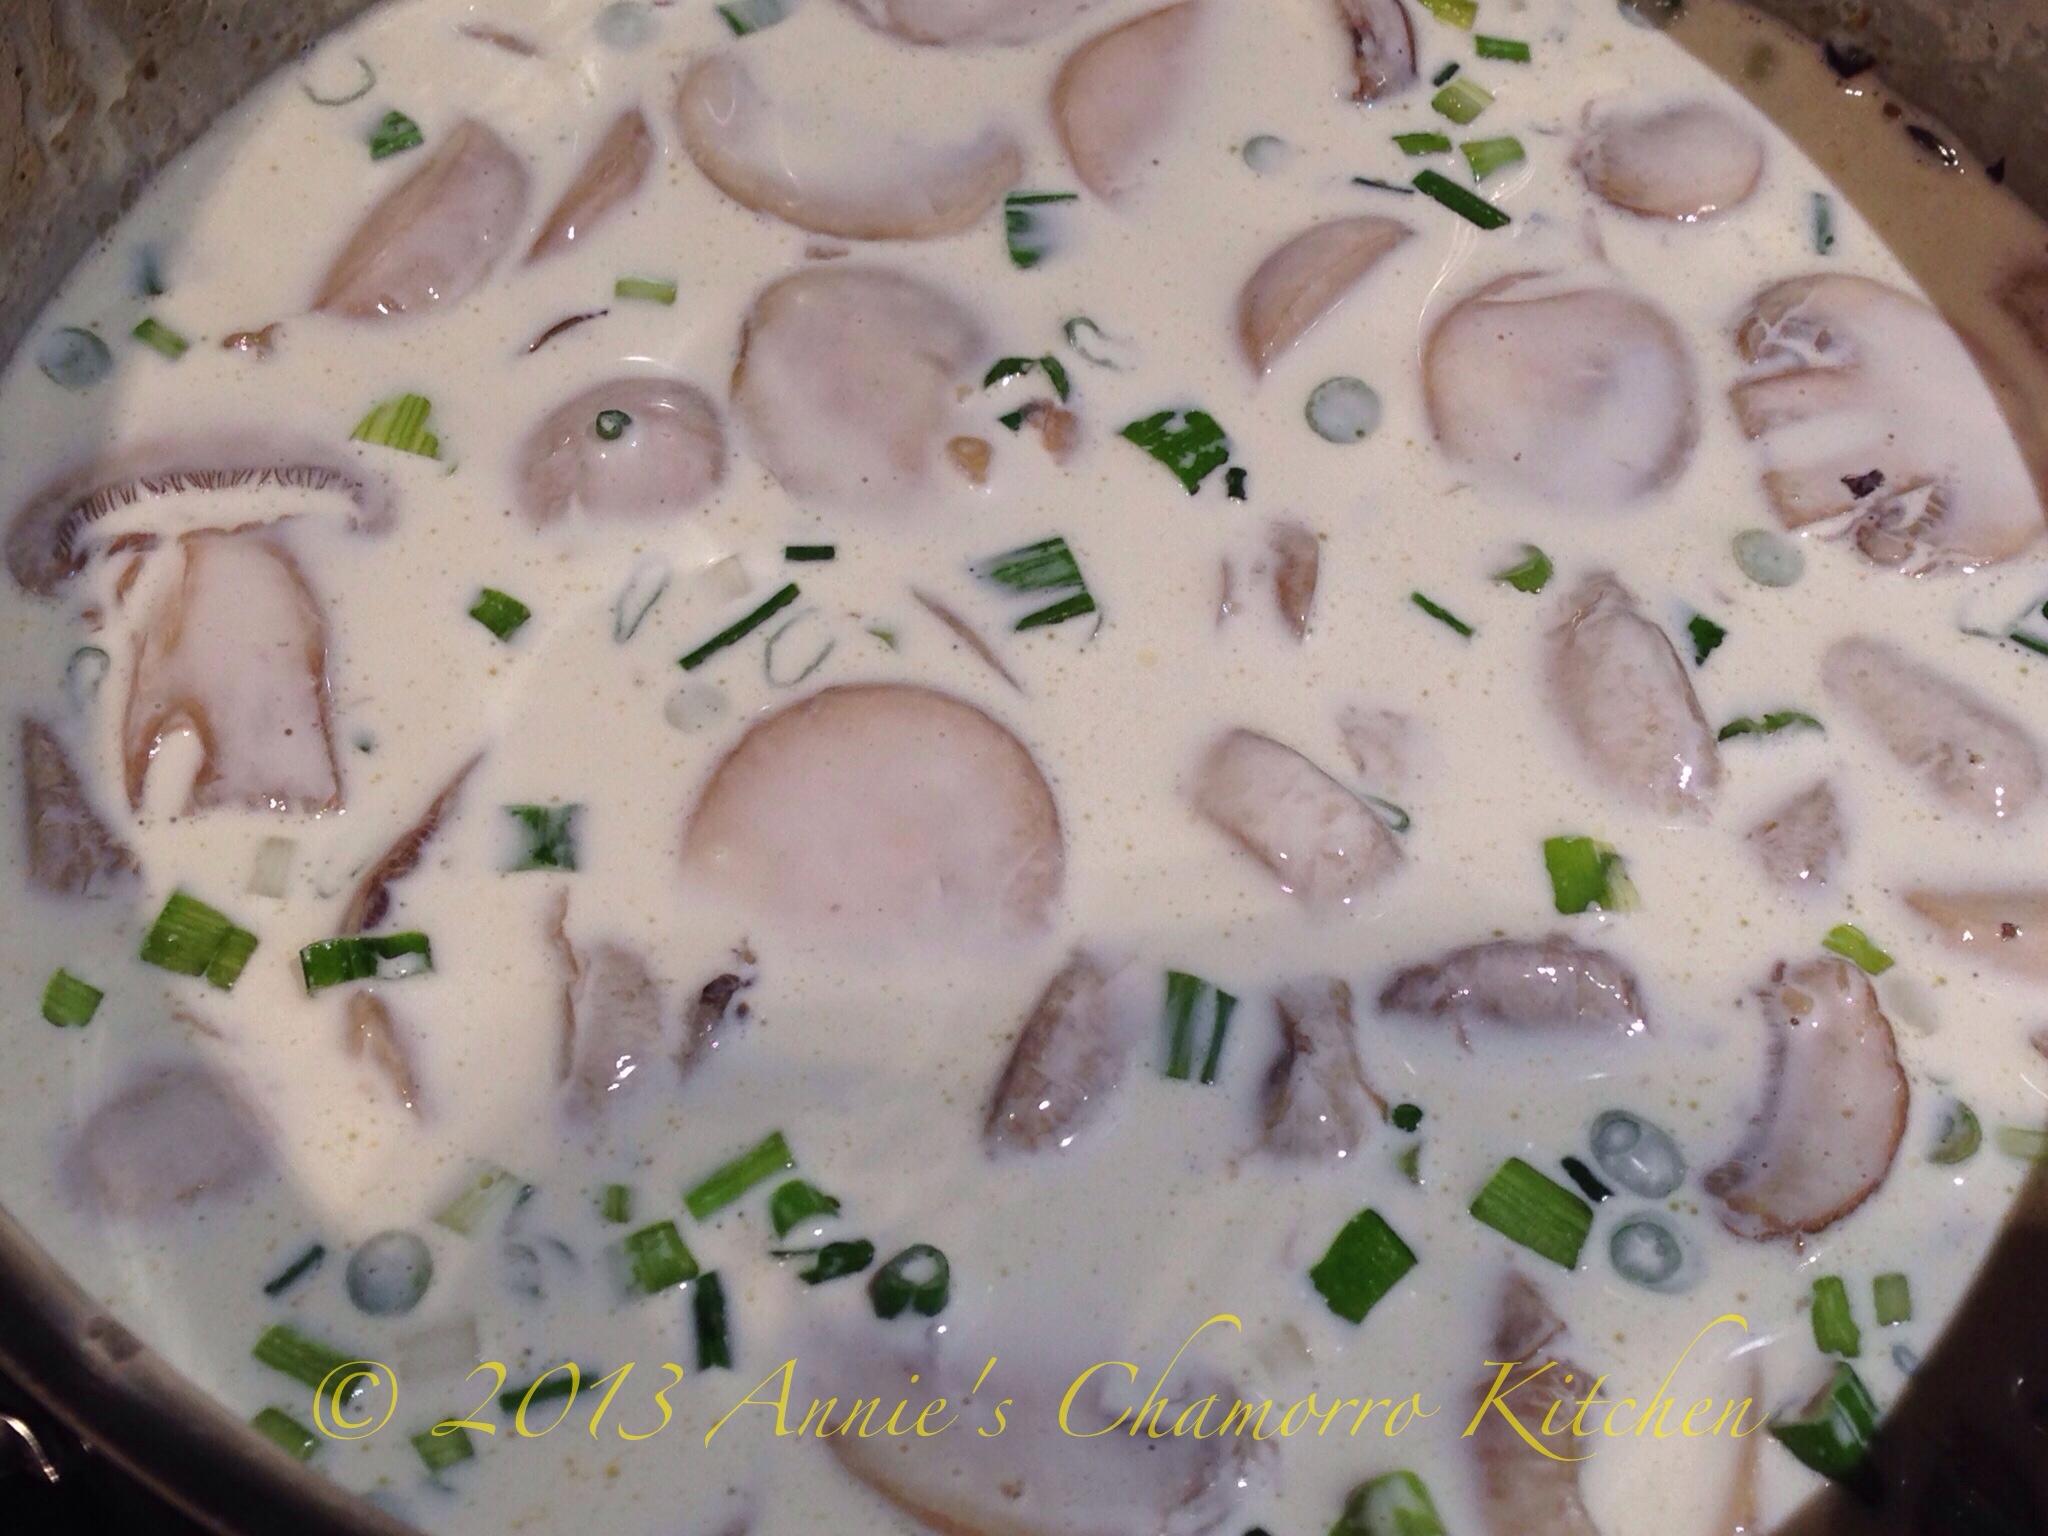
Pour in the heavy whipping cream; stir to combine.

Cook the cream sauce for about a minute then remove from the heat.

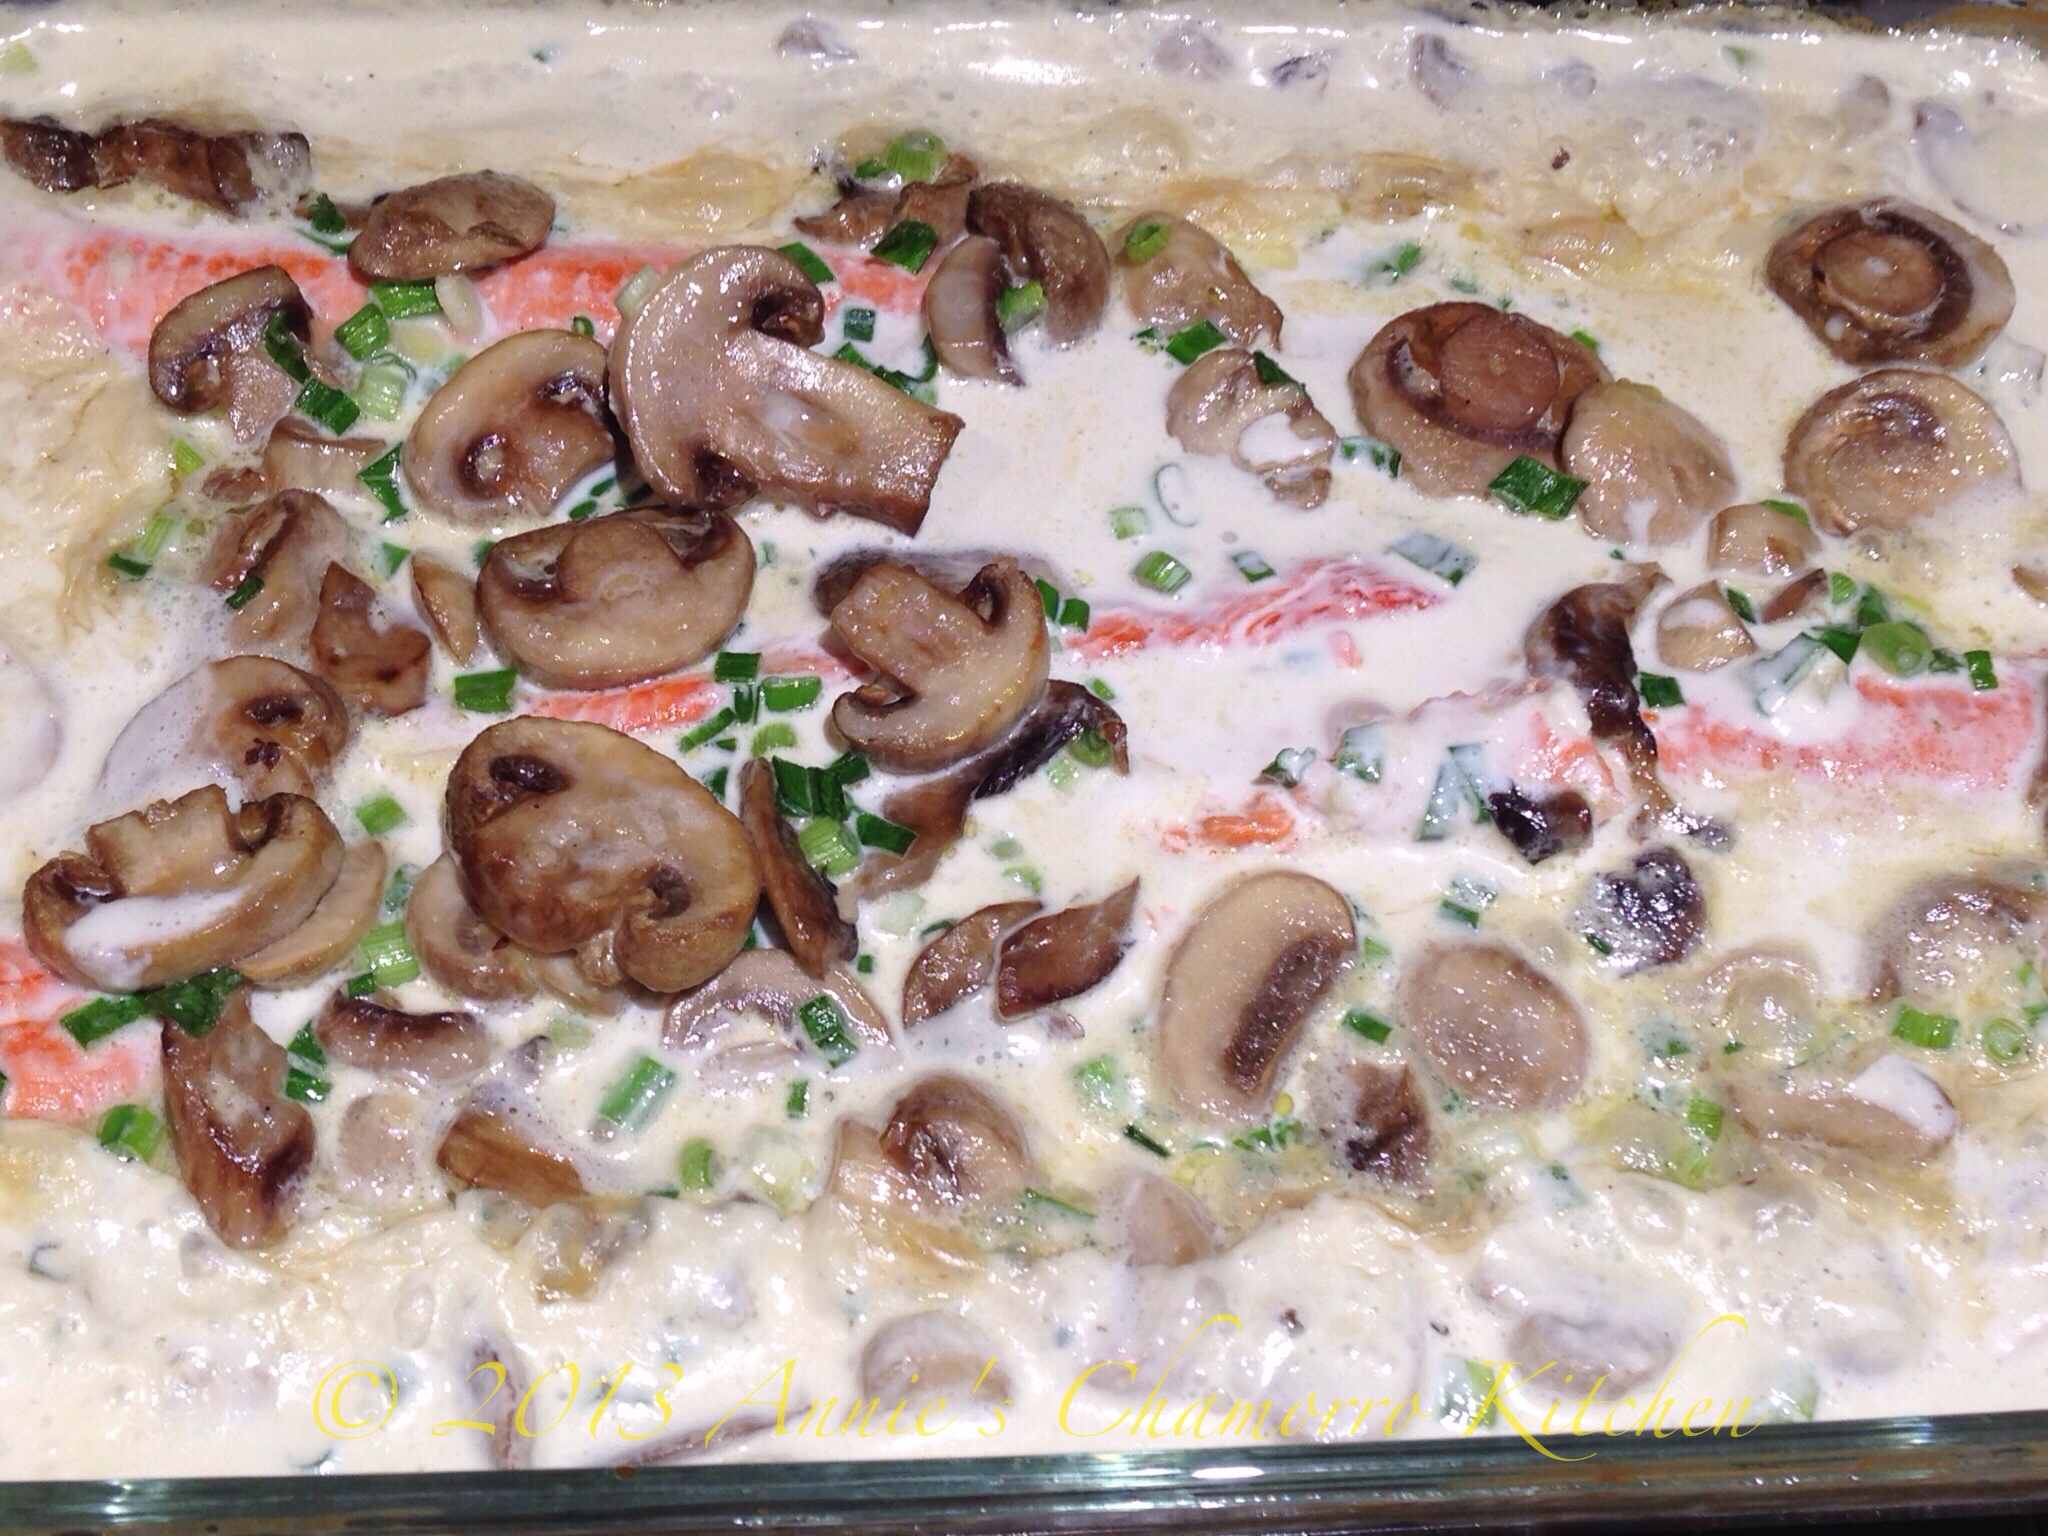
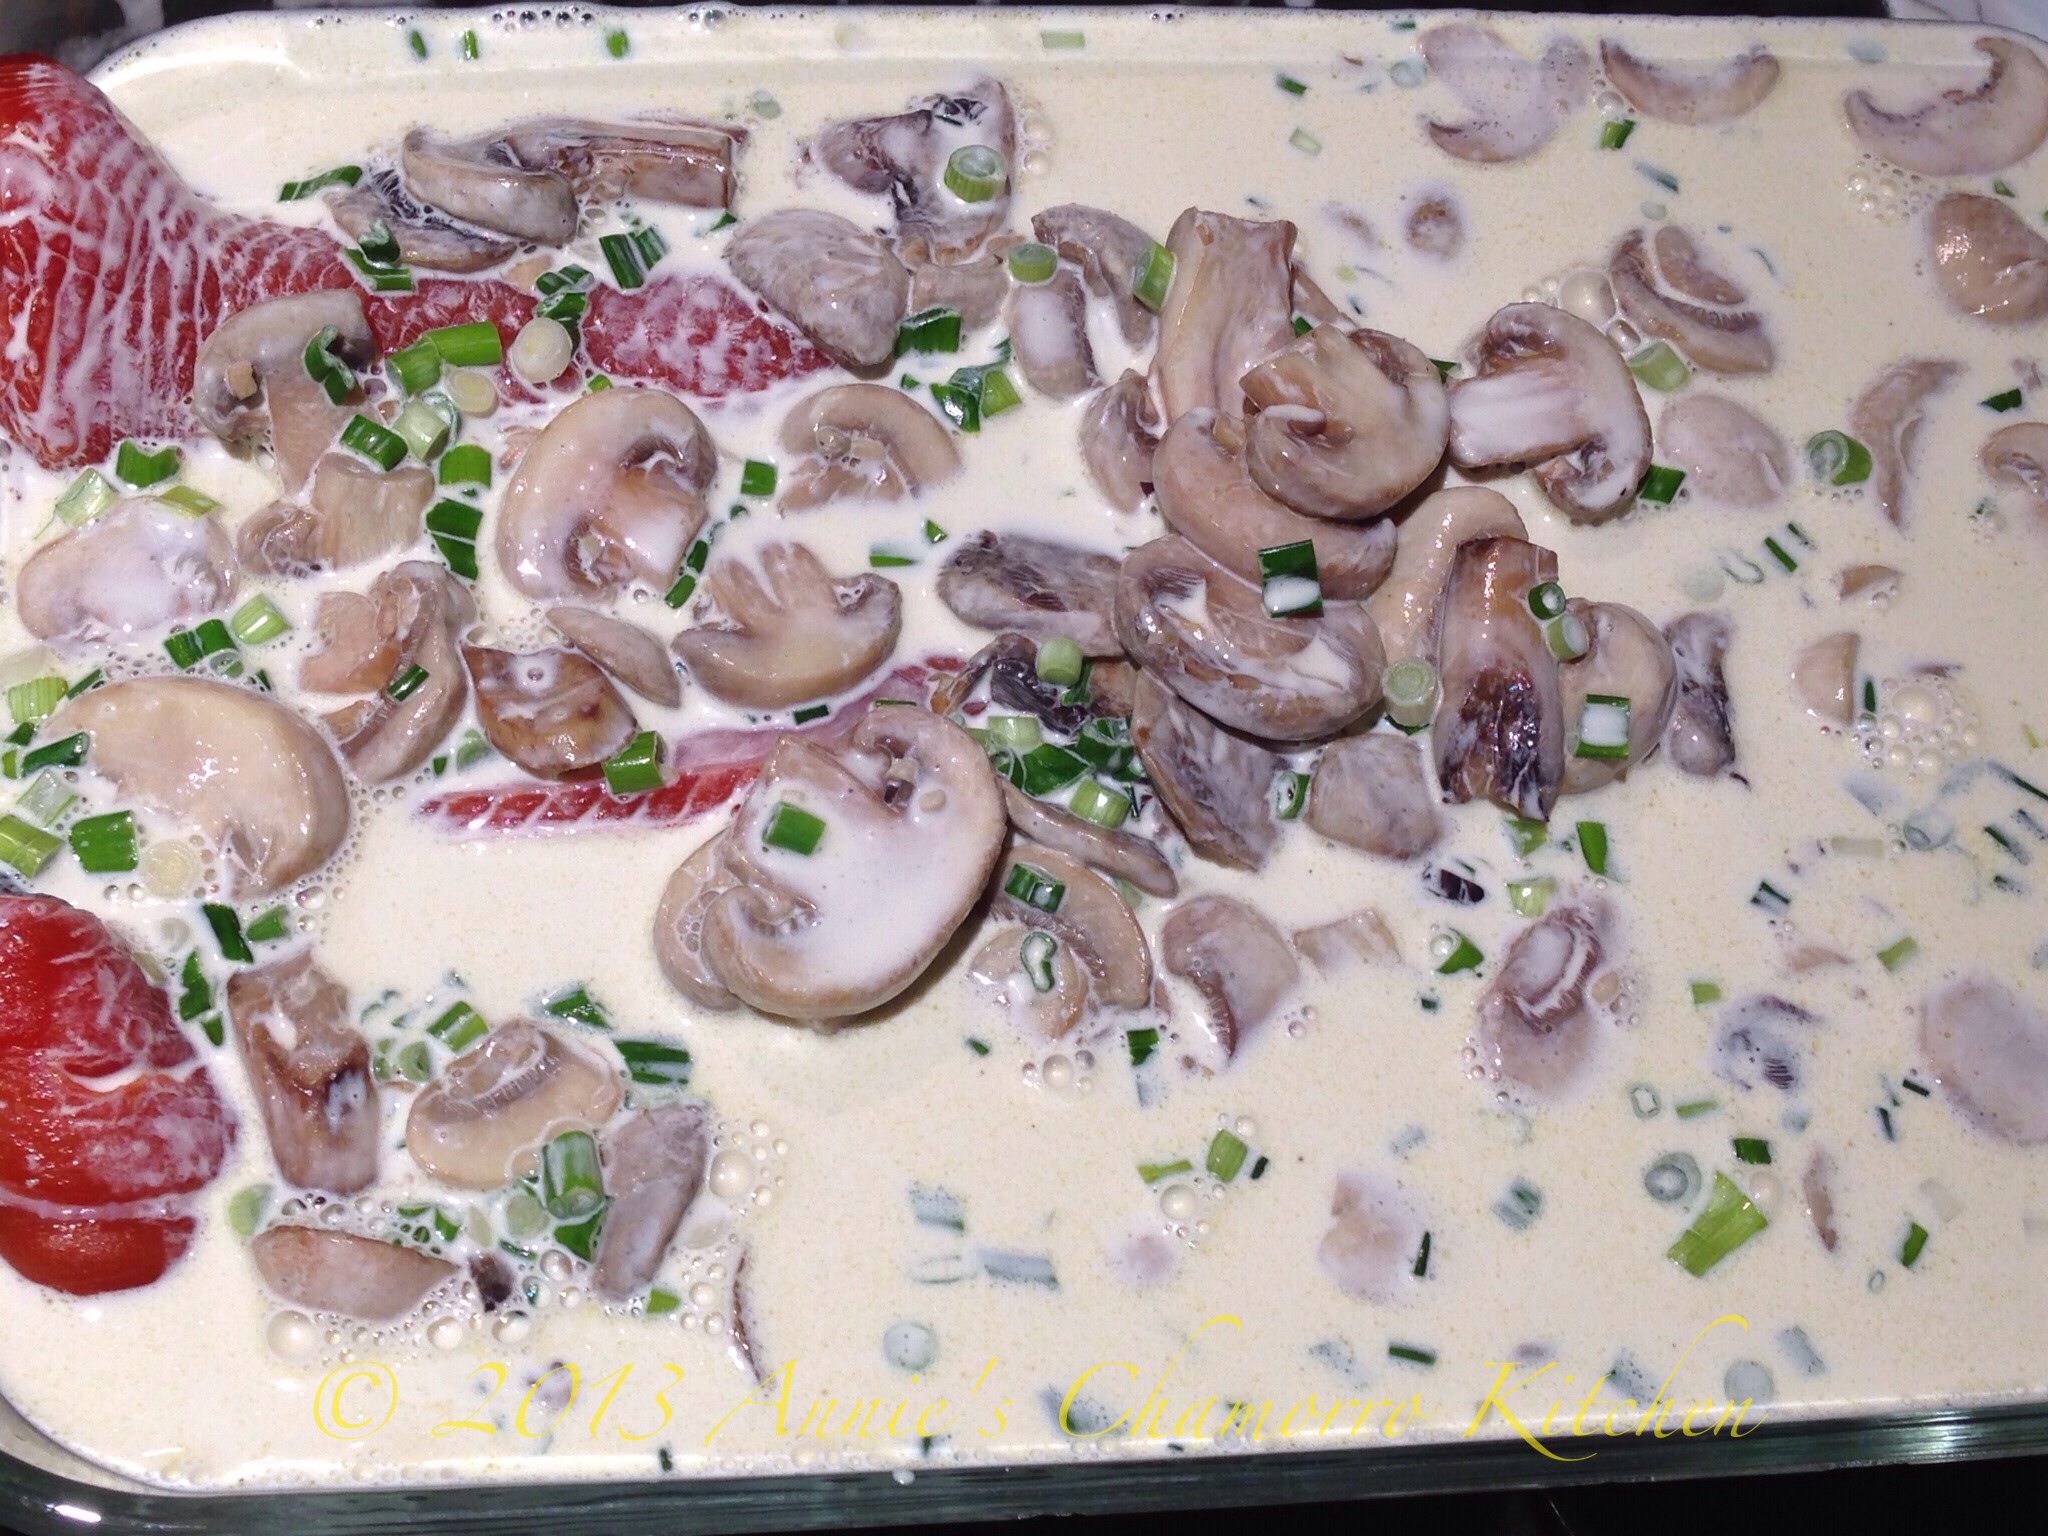
Pour the sauce over the salmon filets.

Bake at 375 degrees for 15 minutes, or just until the salmon is done (when the salmon flakes easily with a fork). Do not over cook.

This version below was made with half coconut milk and half heavy cream, and cooked in one pan on the stovetop.  In a large skillet, prepare the mushroom cream sauce as directed.  Add the salmon filets to the pan, skin slide down, making sure the sauce almost covers the filets.  Scoop up the mushrooms and place them on top of the filets.  Cook over medium low heat for about 30 minutes, periodically scooping some sauce and pouring it over the filets as it cooks.
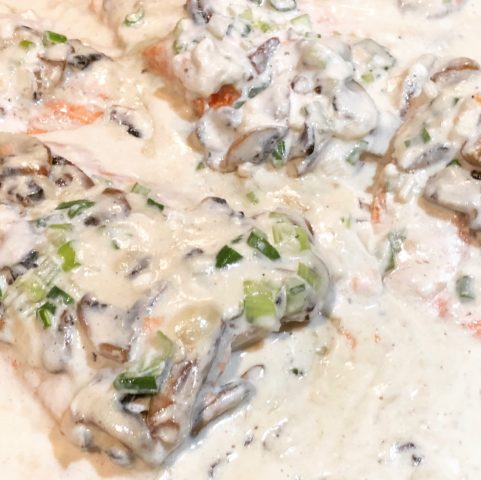
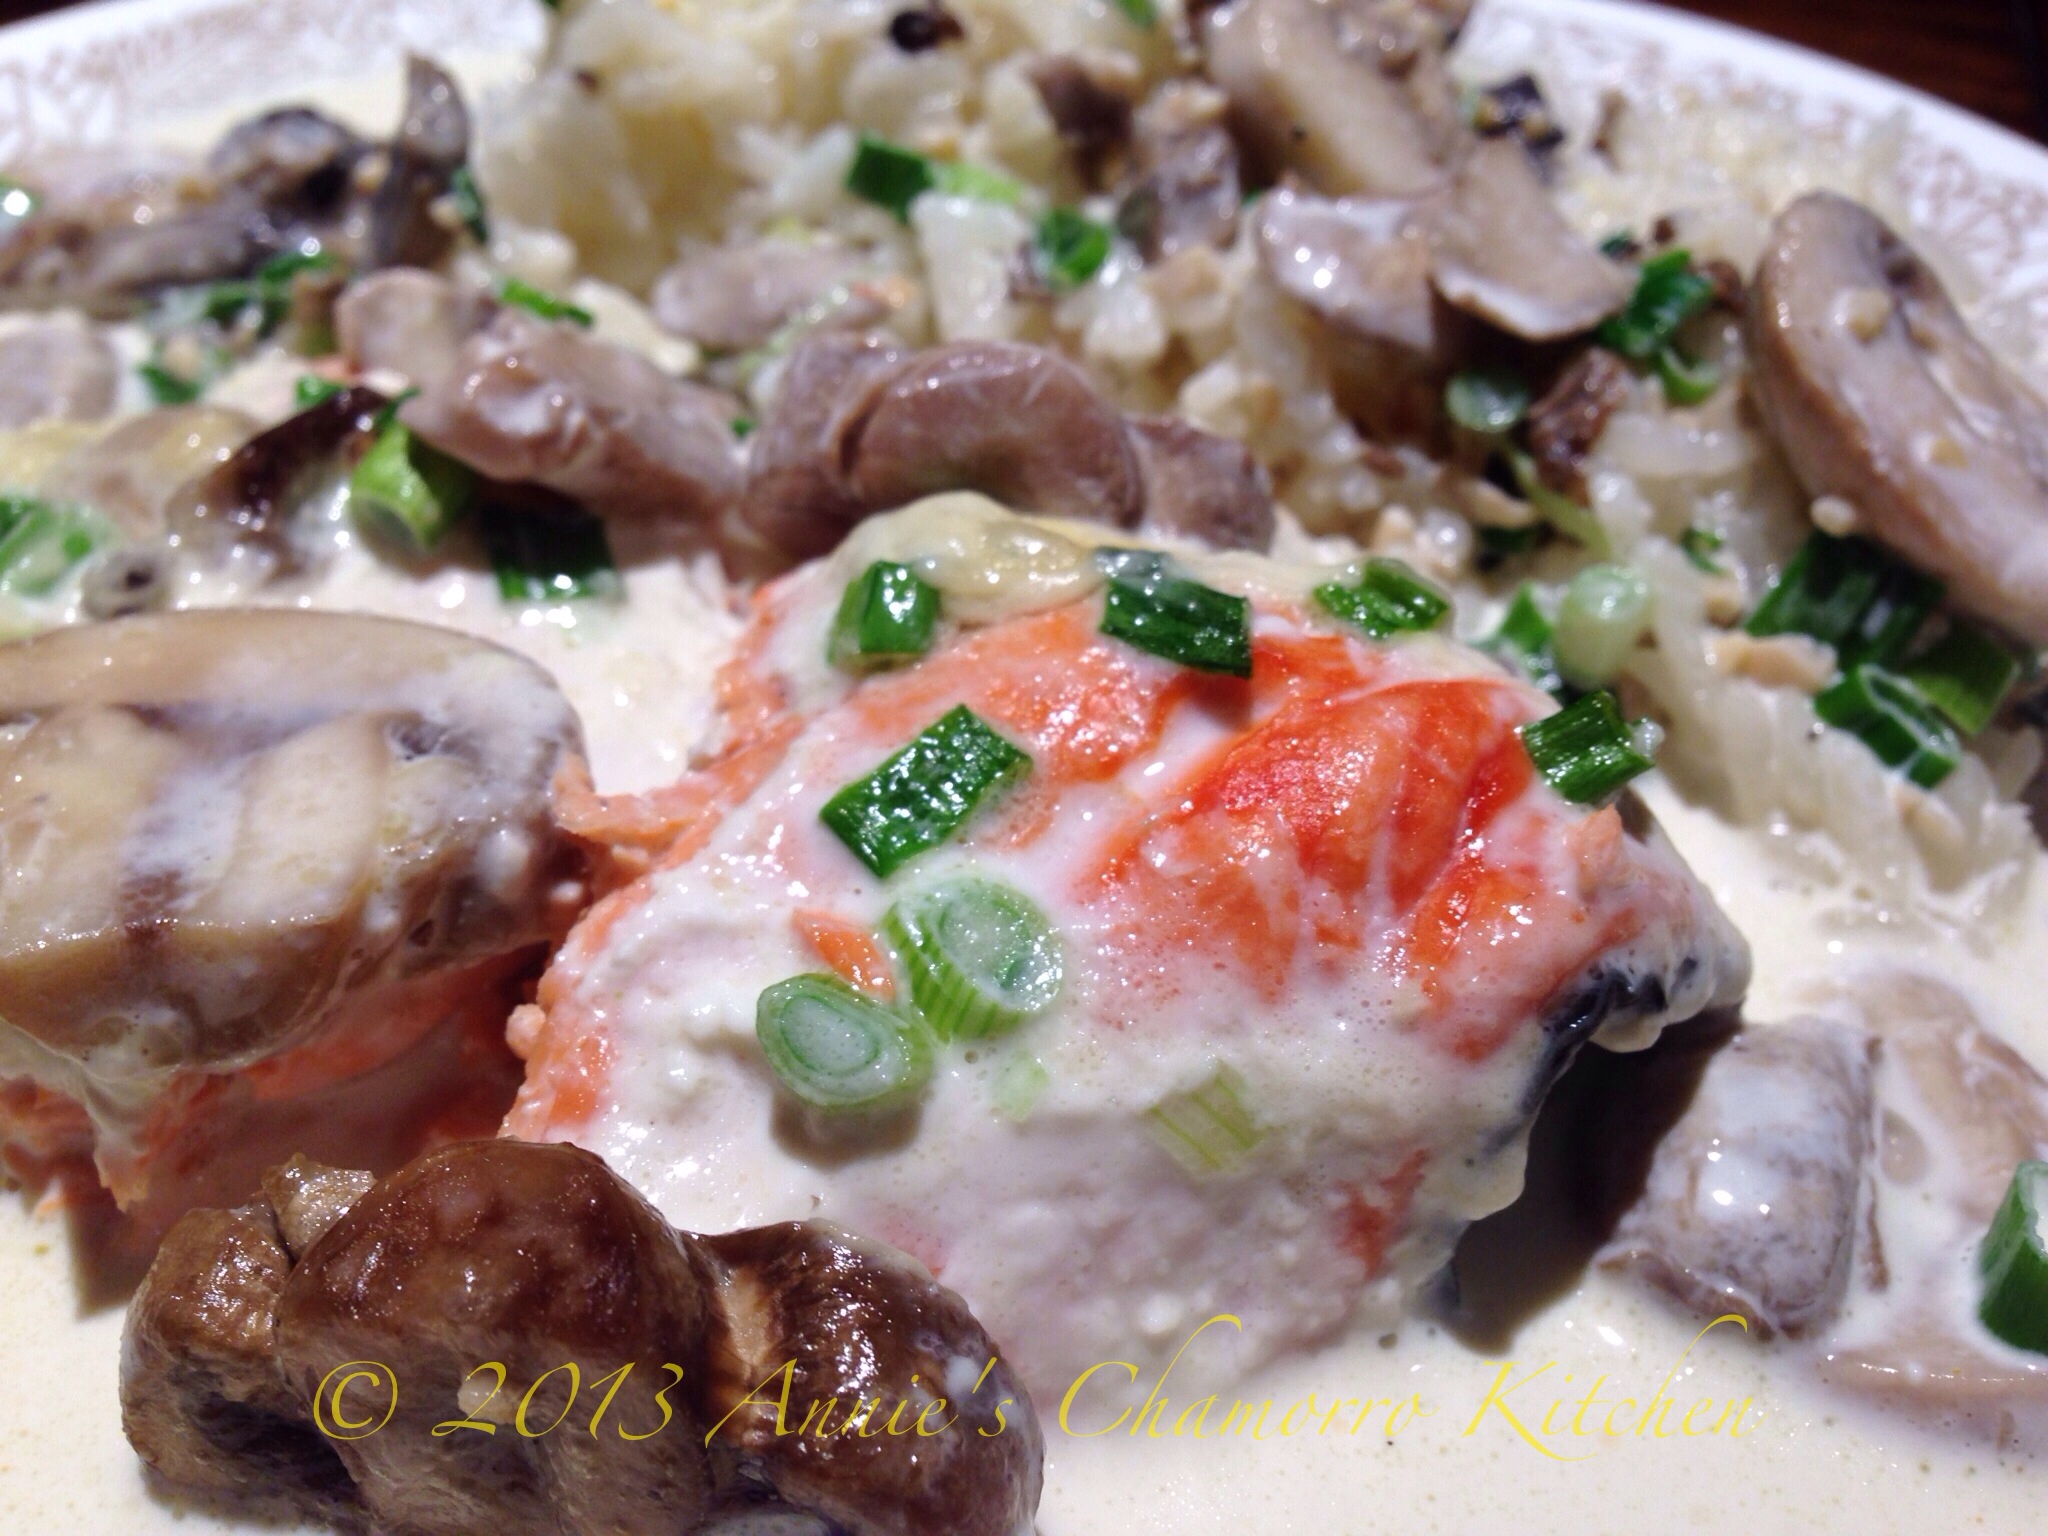
Serve with rice, over pasta, or with a large side salad and enjoy!
Arroz Caldo

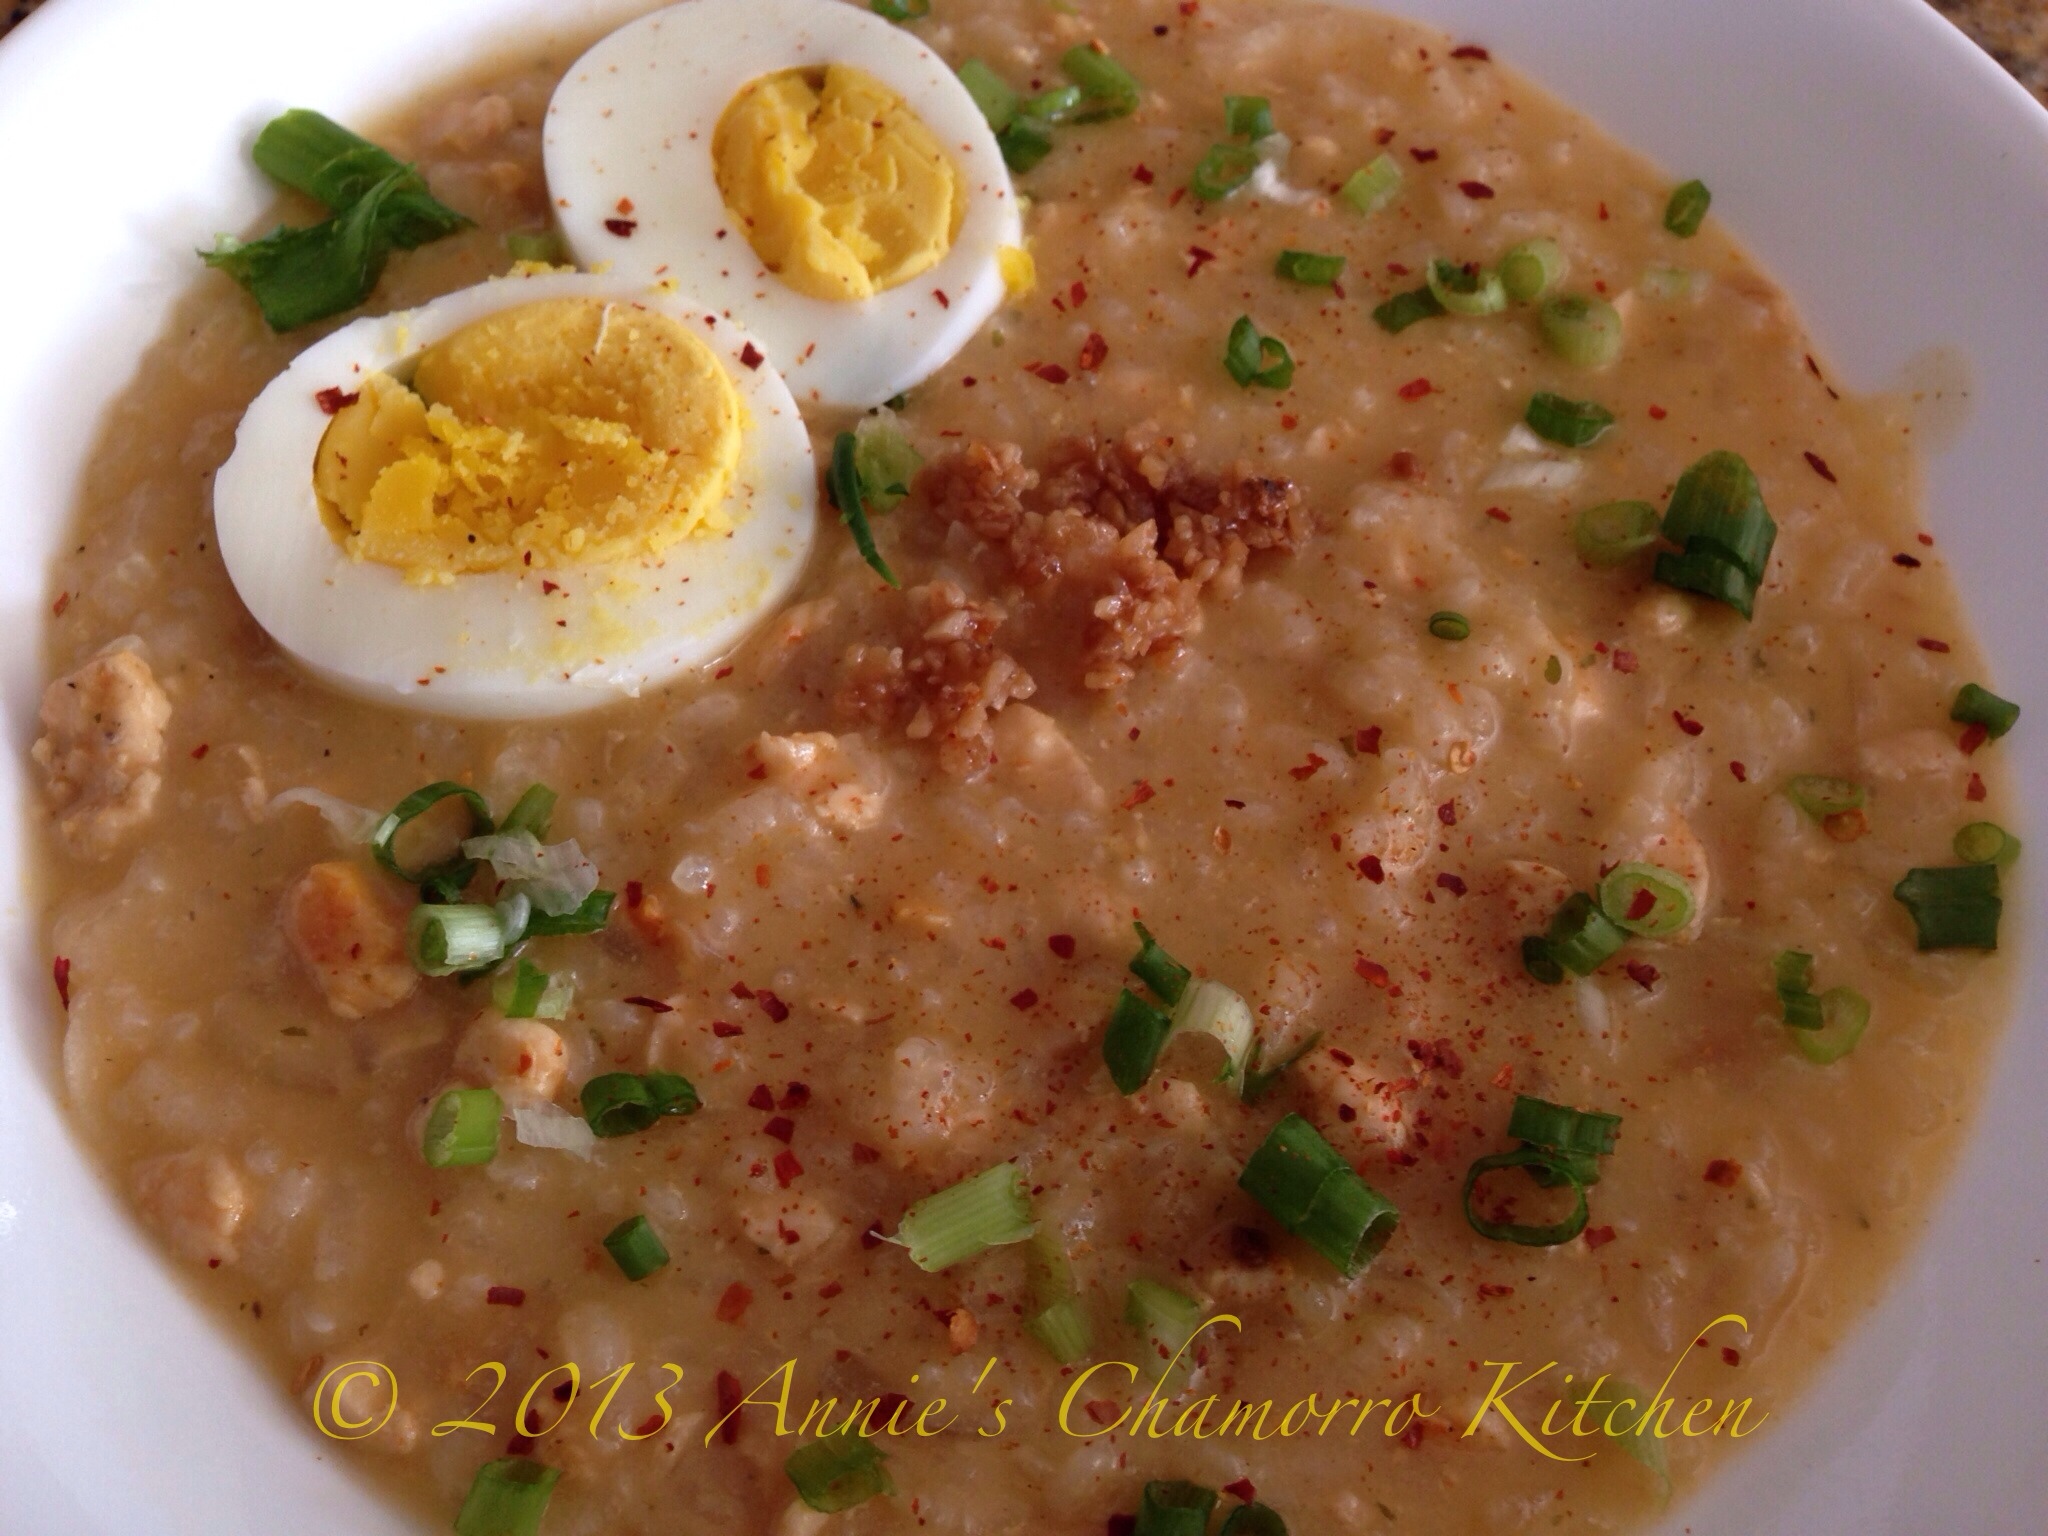
Arroz Caldo is a classic Filipino dish that made its way into Chamorro kitchens. This is my version of this delicious comfort food. It’s very quick and easy to put together. In fact, the longest part of making this dish is waiting for the rice to cook. 🙂

Give my recipe a try. I think you’ll like it. 🙂

Arroz Caldo

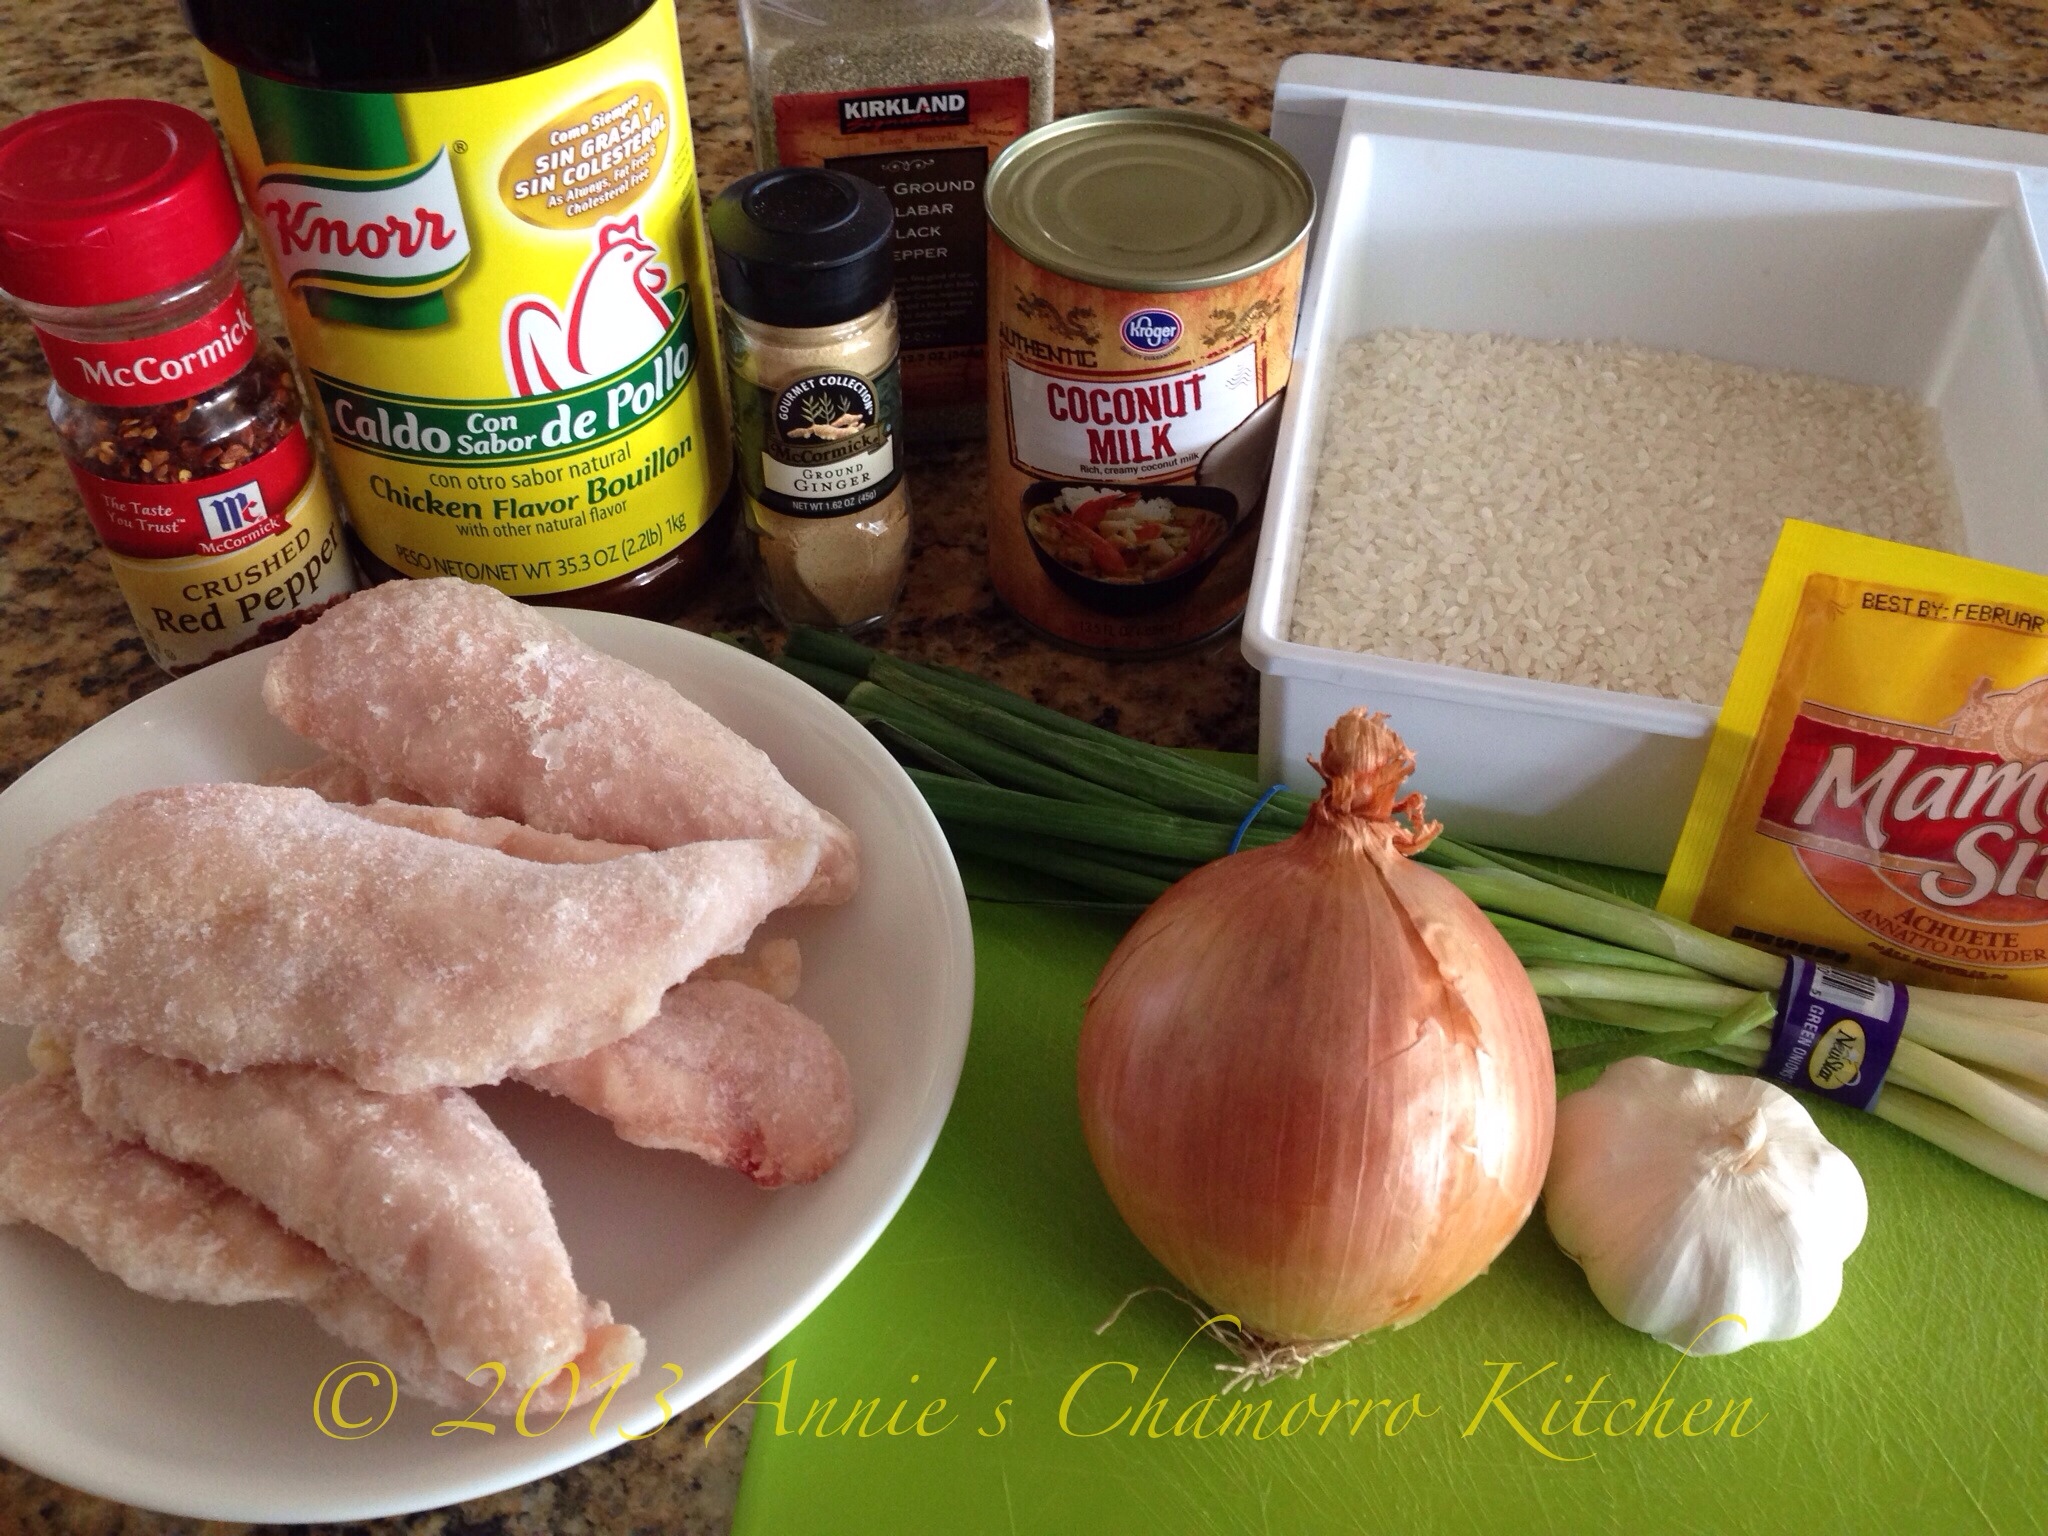
Ingredients:

  • 2 tablespoons vegetable oil
  • 2 tablespoons minced garlic
  • 1 medium onion, diced
  • 8 chicken tenders, cut into small pieces
  • 1 tablespoon fish sauce
  • 1/2 teaspoon achote powder
  • 1/2 teaspoon ground ginger
  • 4 tablespoons powdered chicken bouillon (or 4 bouillon cubes)
  • 1/2 teaspoon black pepper
  • 8 cups water
  • 2 cups uncooked rice
  • 1 can coconut milk
  • 3 hard-boiled eggs, sliced
  • 4 green onions, thinly sliced
  • Hot pepper flakes

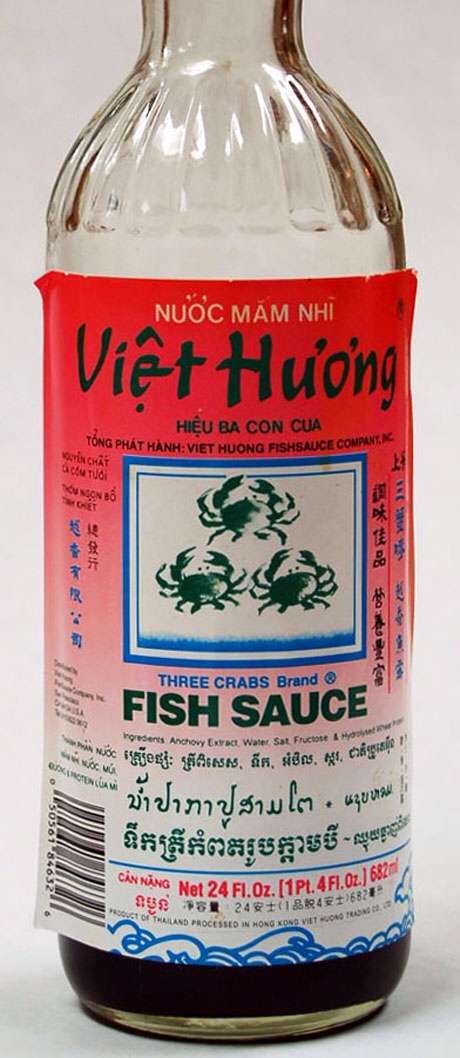
The only ingredient not shown above is the fish sauce. I like to use the brand that has three green crabs on the label; it’s not as pungent as most other brands of fish sauce. This is what the bottle looks like. You can find it at most Asian supermarkets.

Directions:

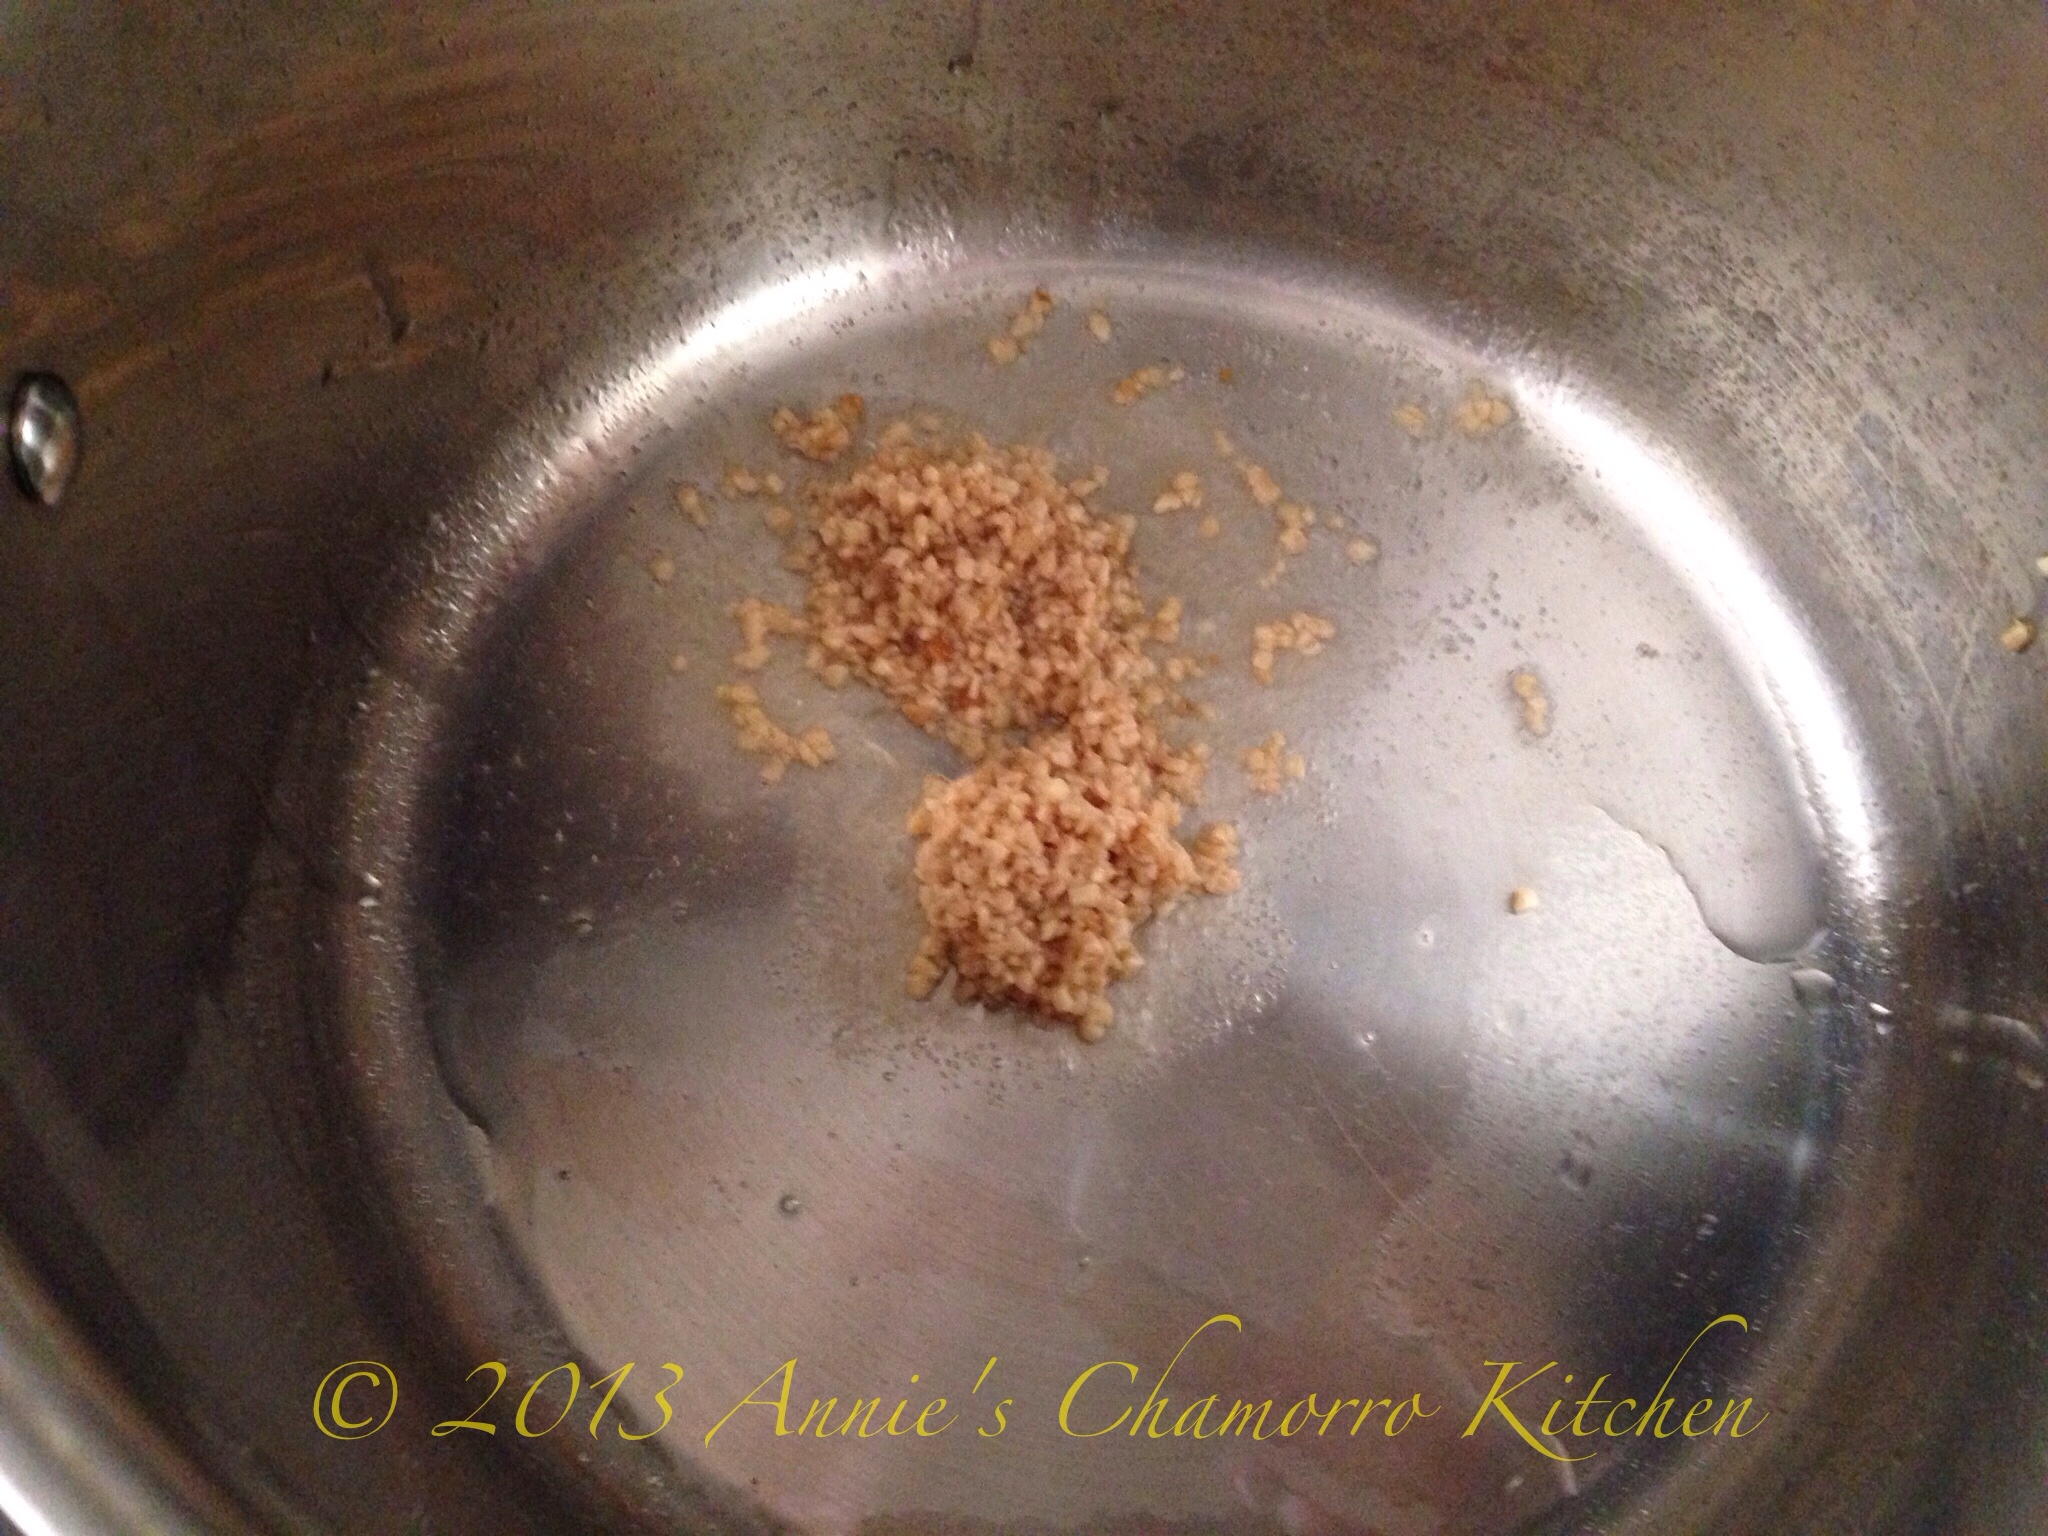
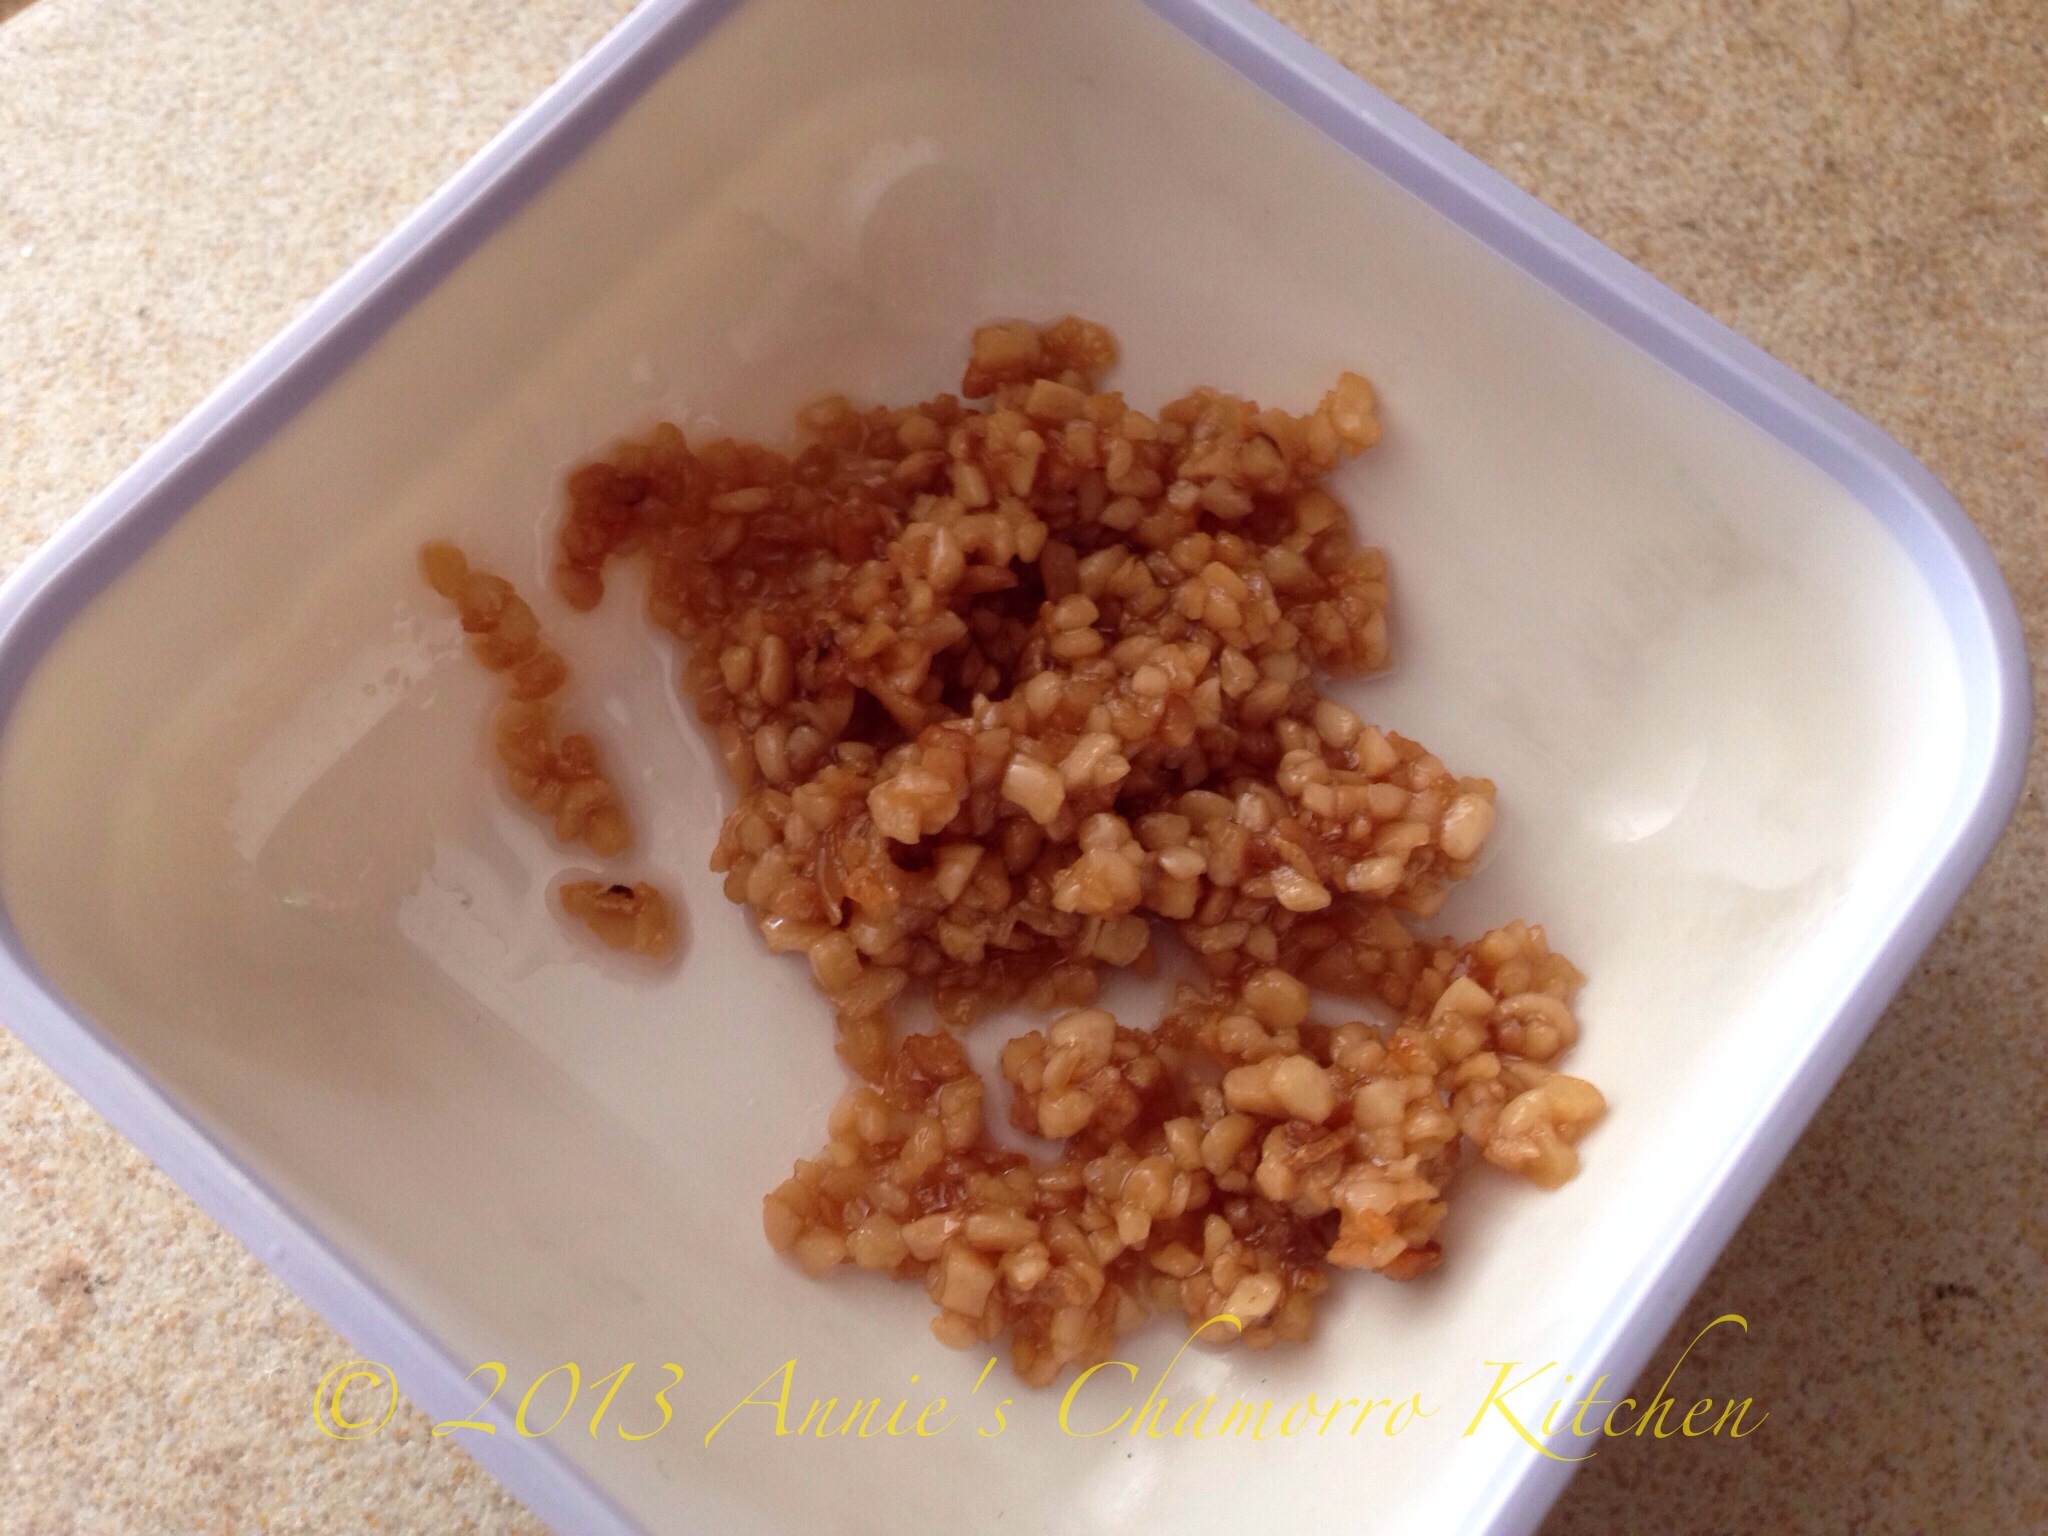
Place the oil in a large soup pot over medium heat. Once the oil is hot, add the garlic. Stir it around in the hot oil and fry until browned slightly. Place about 3/4 of the fried garlic in a small bowl and set aside.

Add the diced onions to the pot. Cook for a couple of minutes.

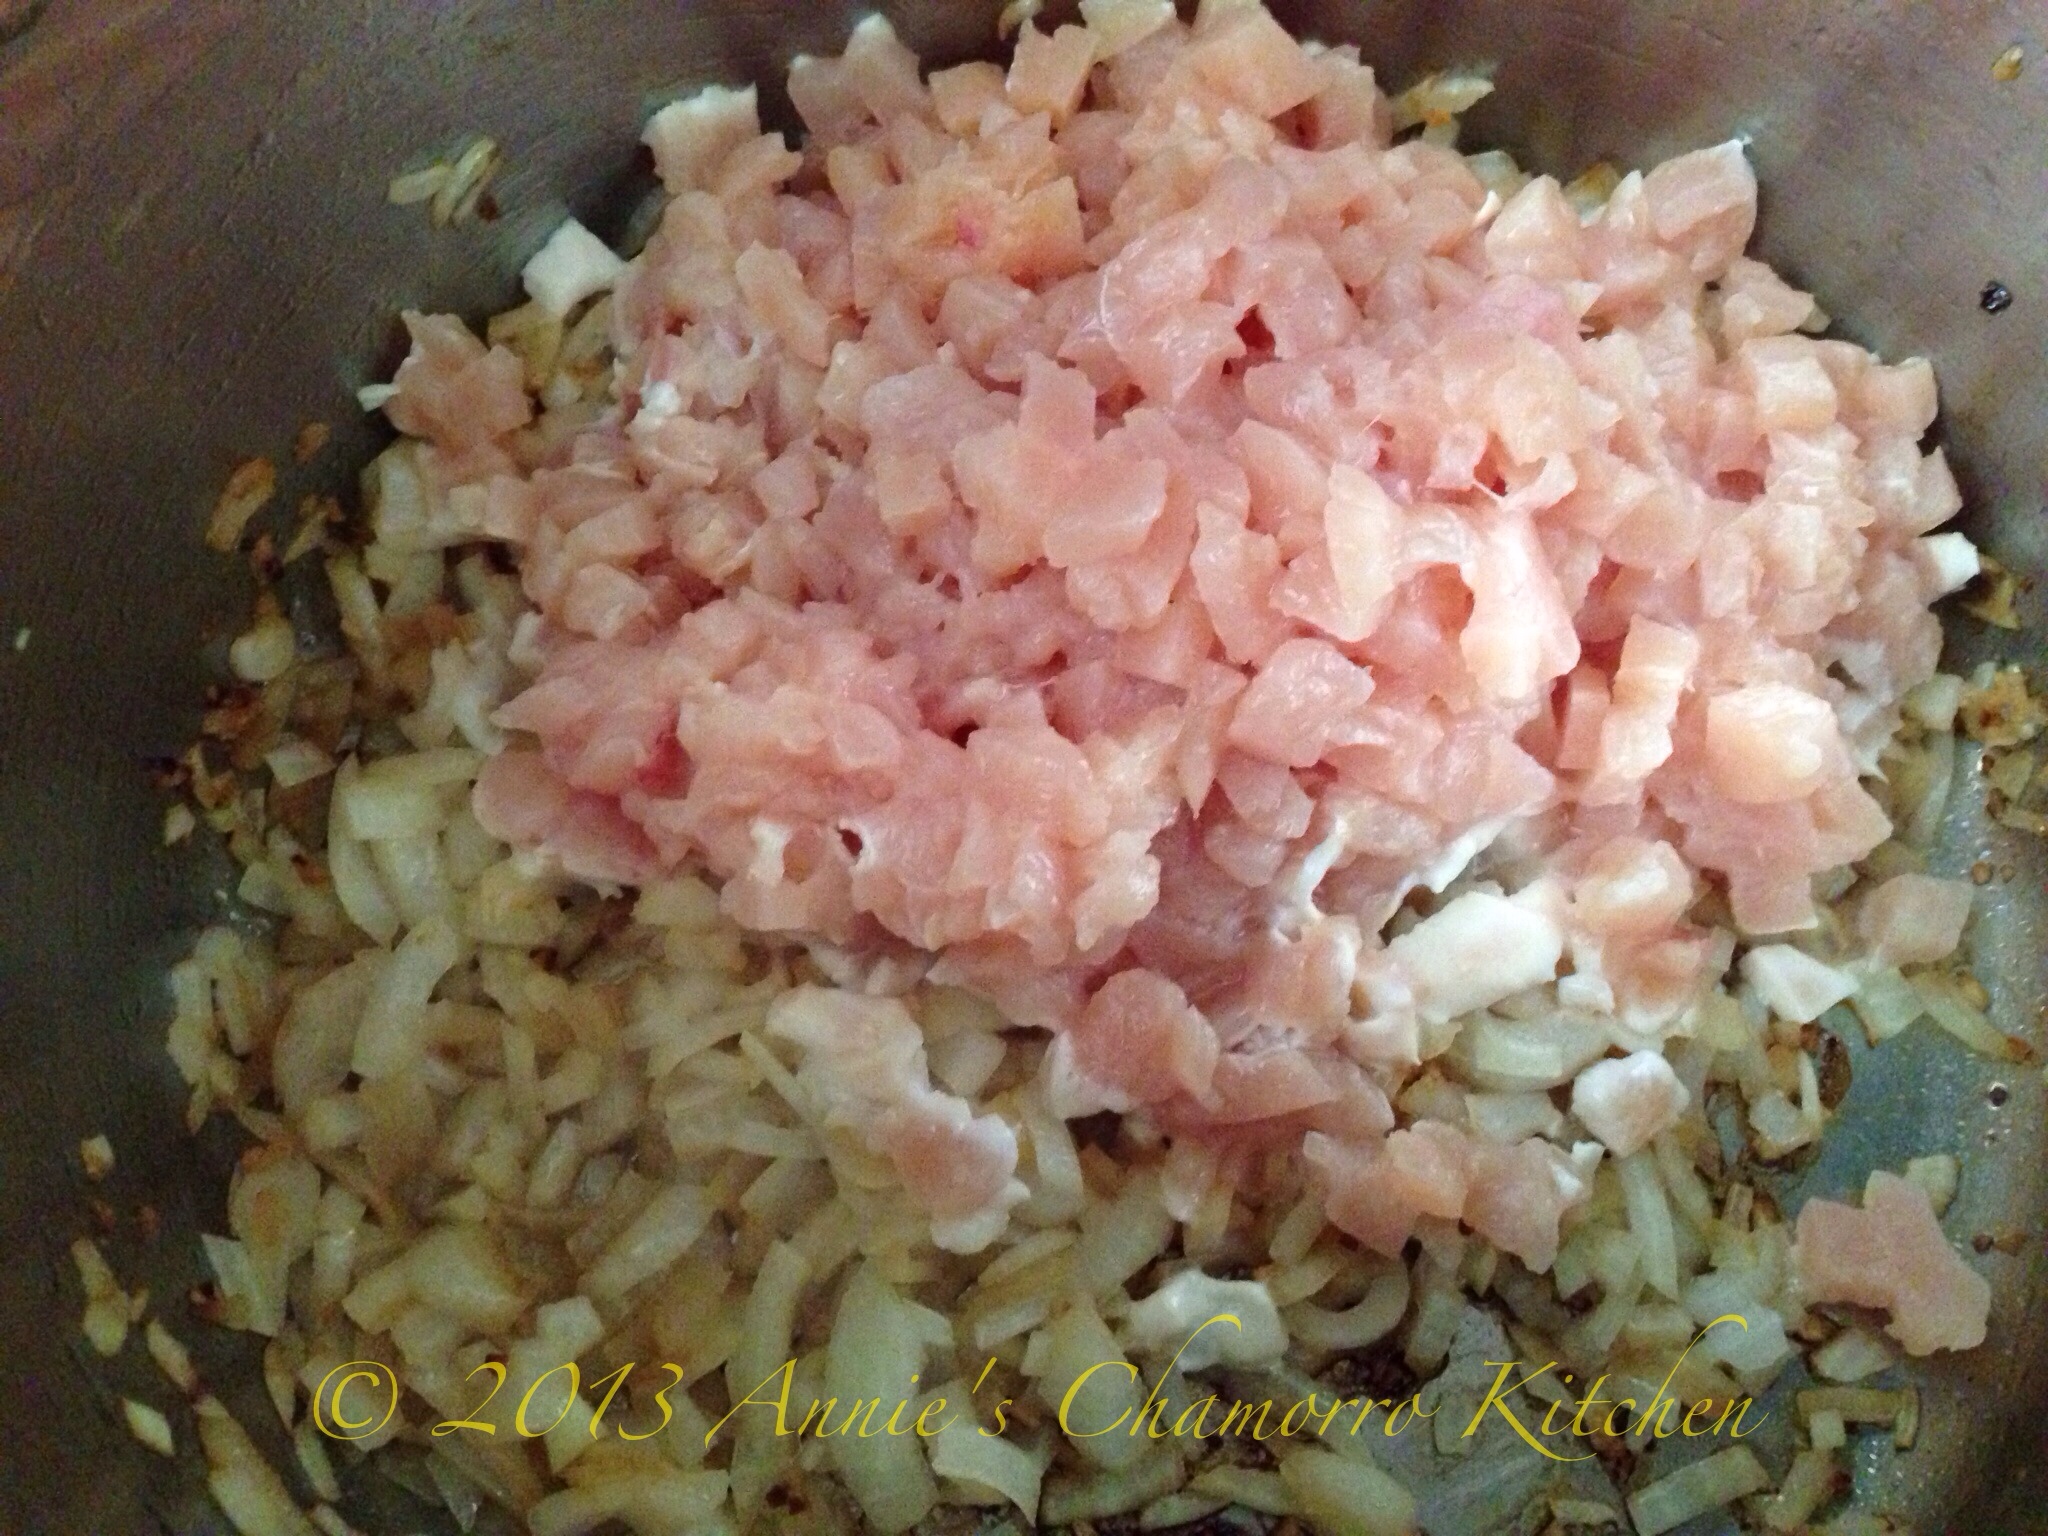
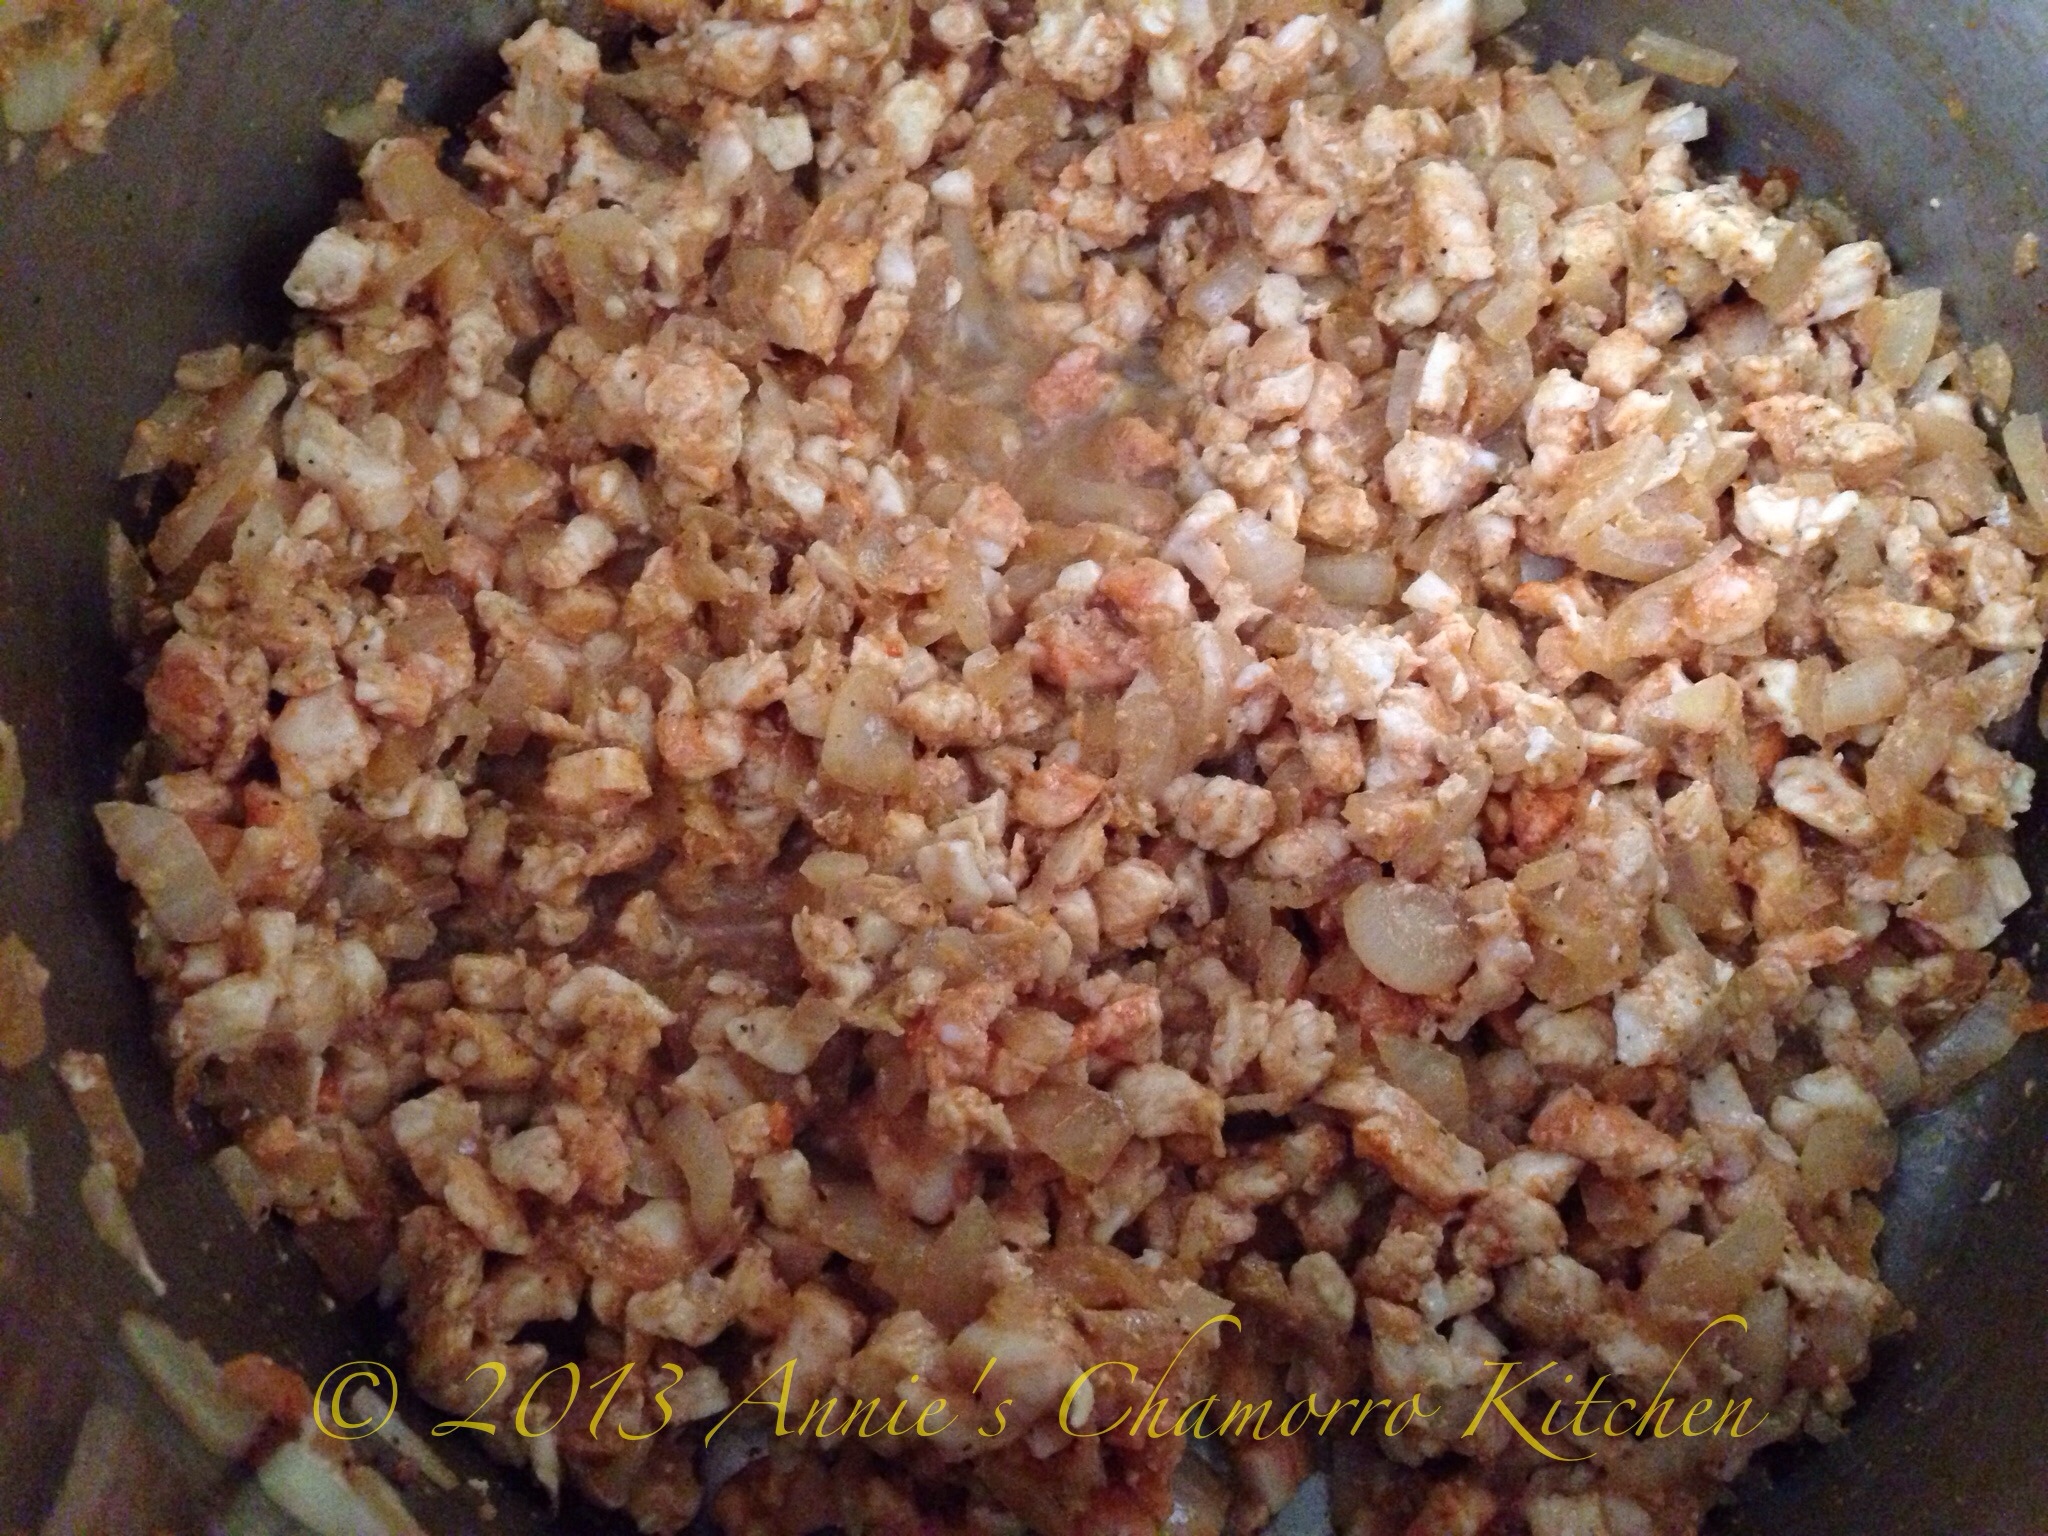
Add the chicken pieces to the pot. Stir to combine with the onions.

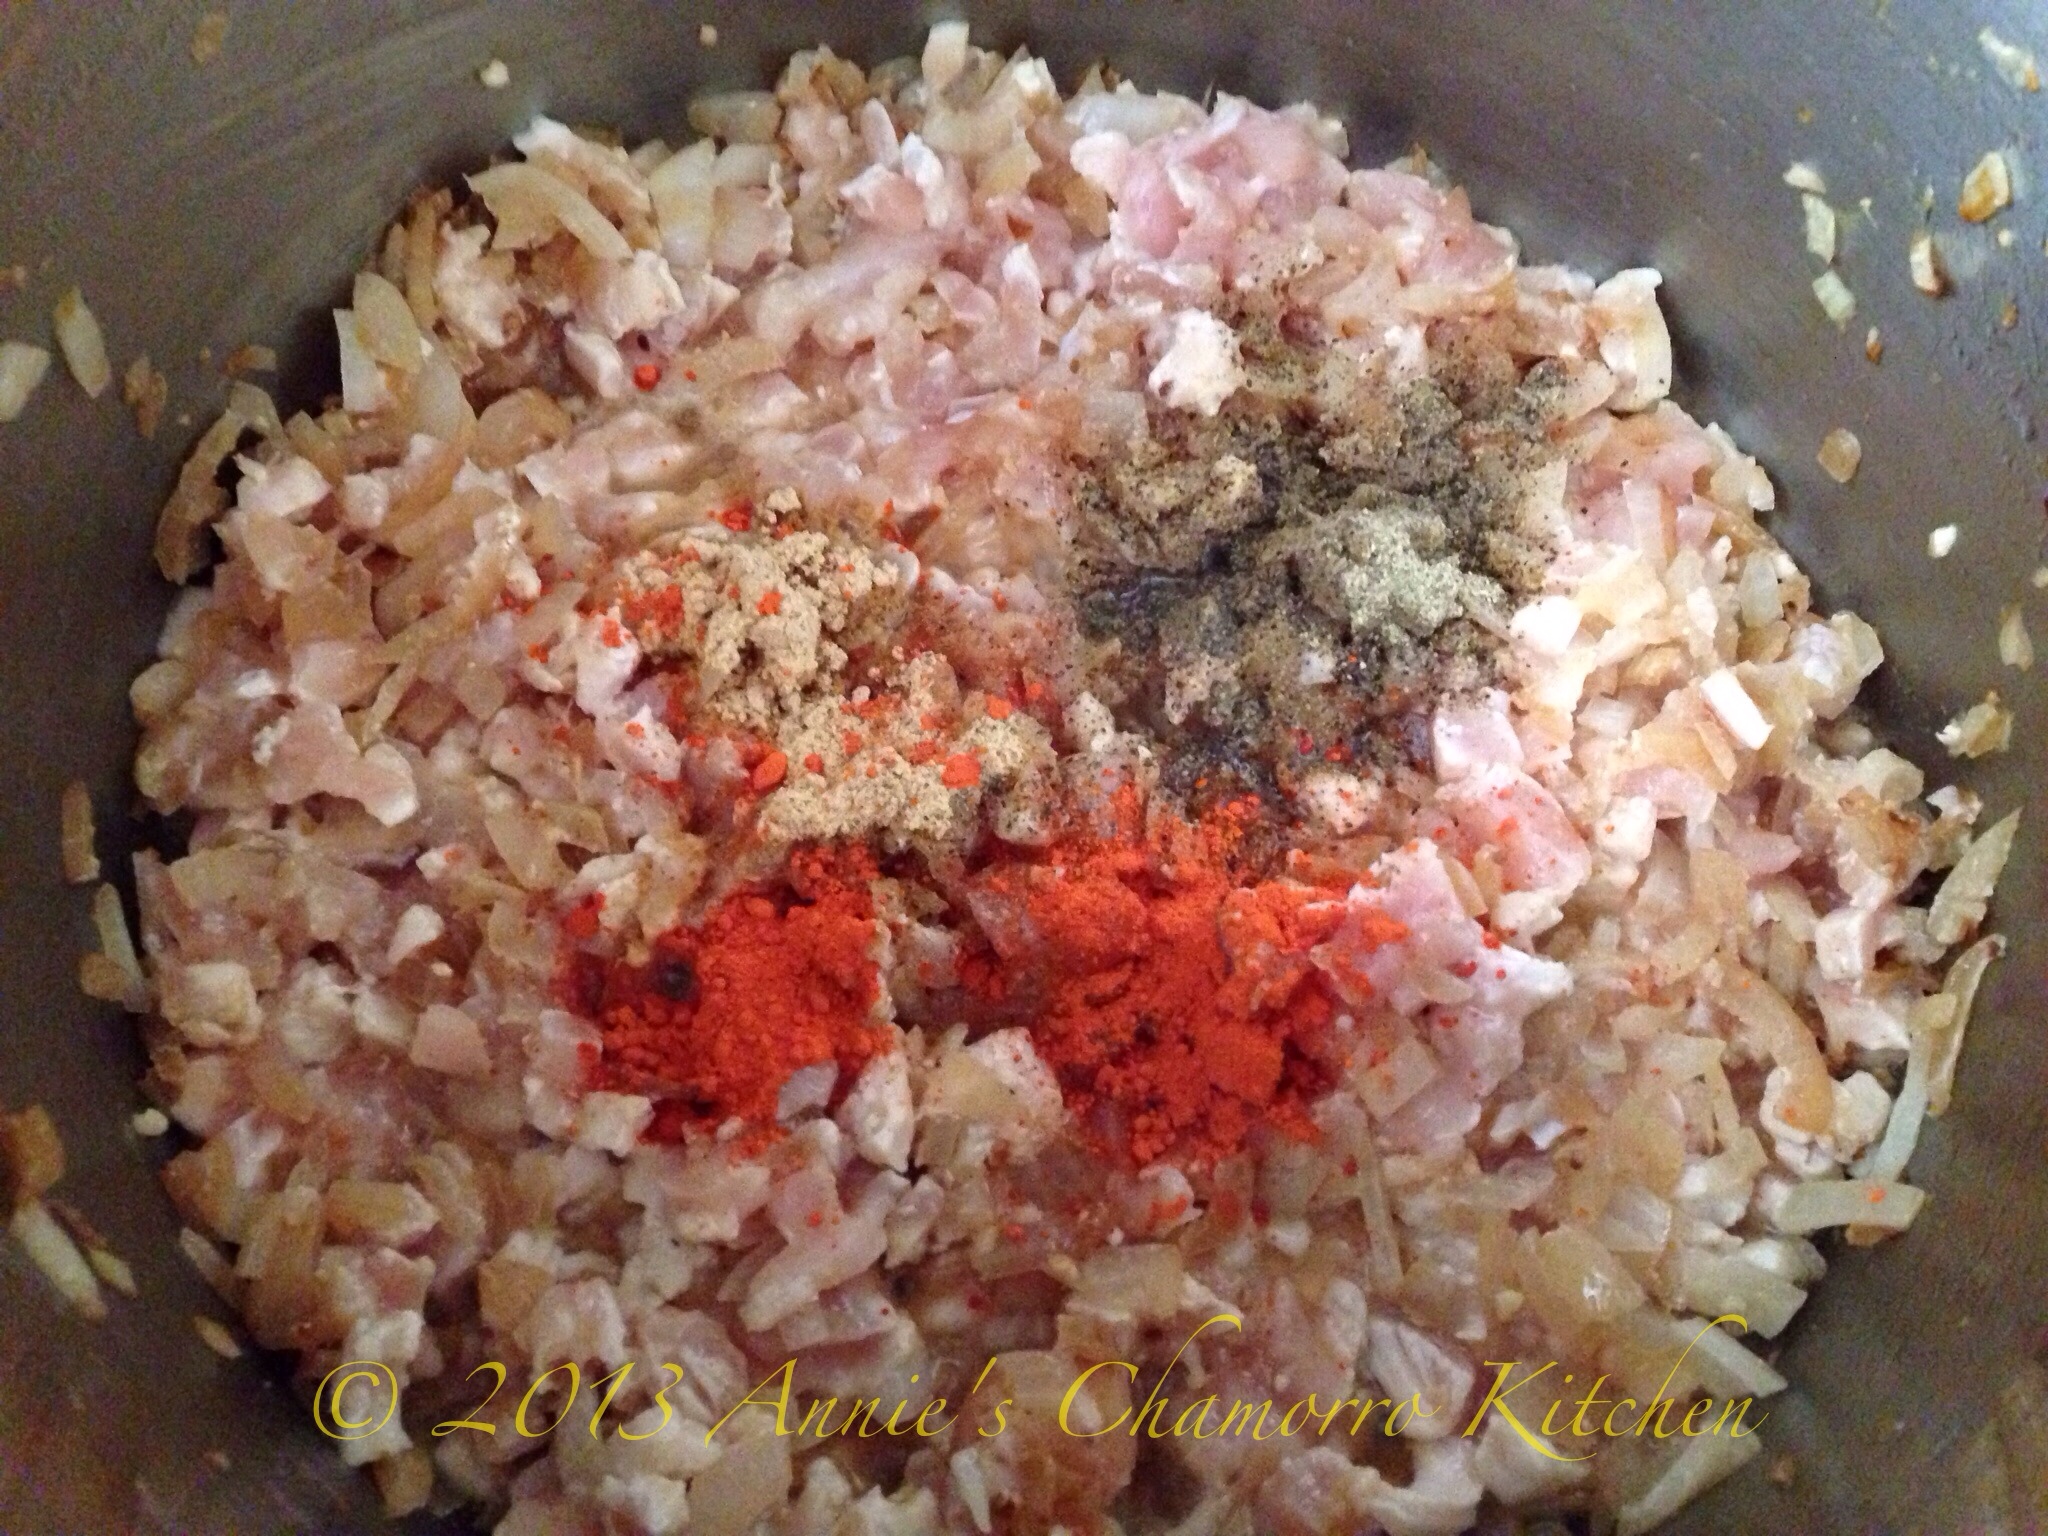
Add the fish sauce, achote powder, ginger, chicken bouillon, and black pepper to the pot.

Stir to combine the ingredients. Cook for a couple of minutes, just long enough for the chicken to be cooked through and is no longer pink.

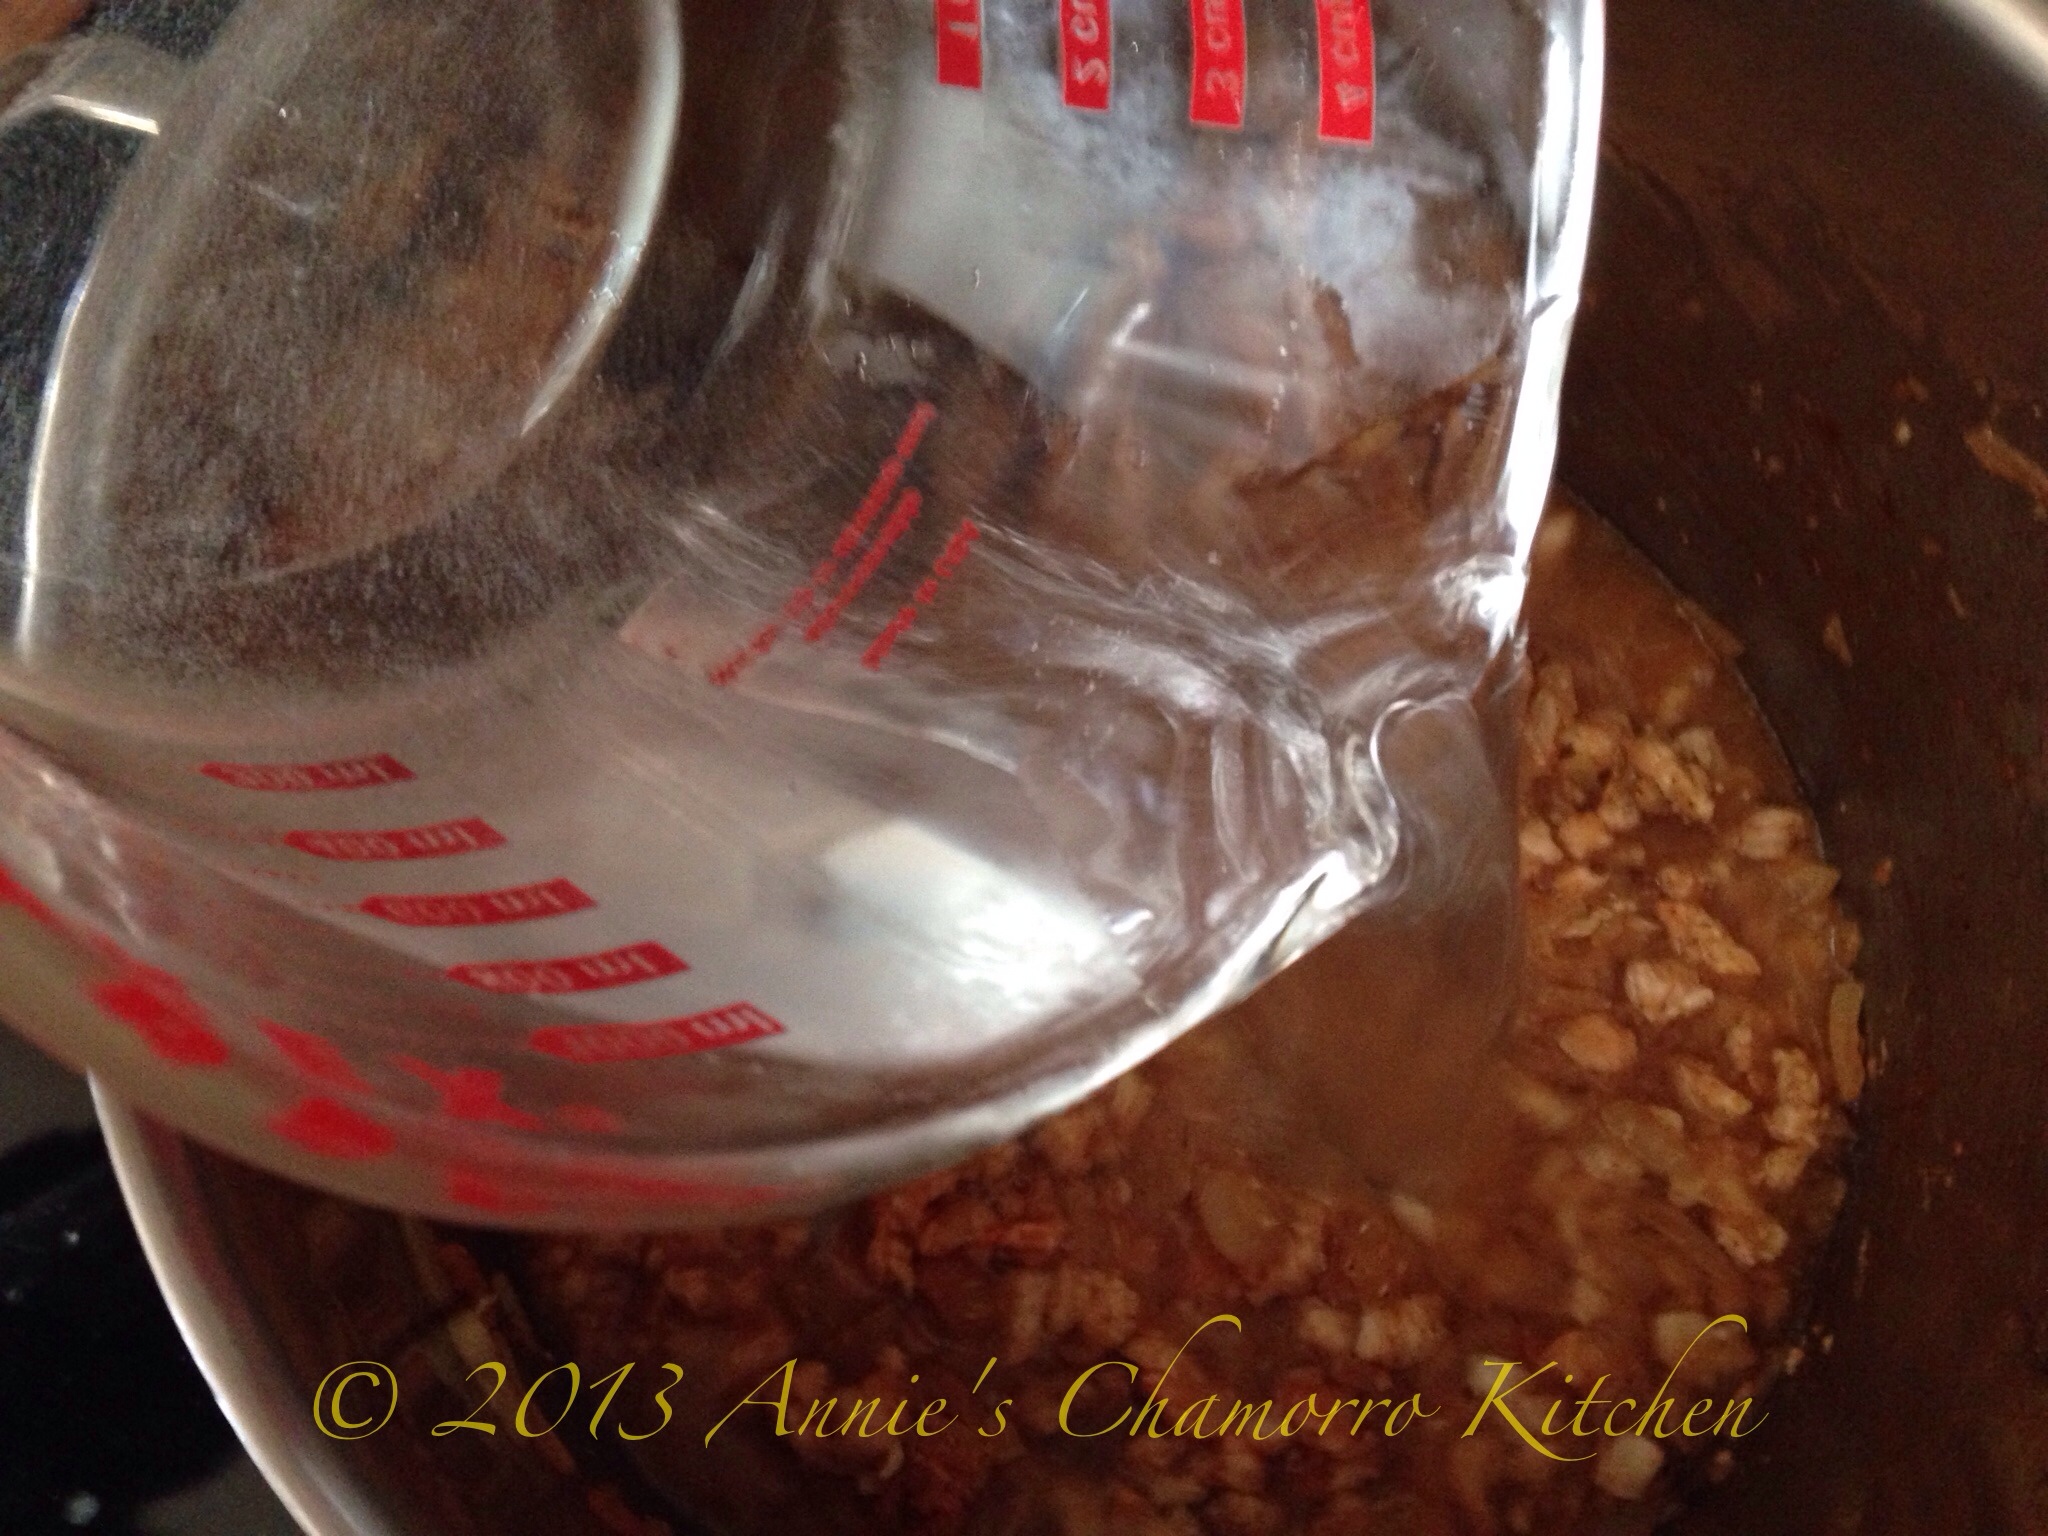
Pour the water into the pot. Turn the heat up to medium high.

Add the rice, stir, then cover the pot.

The easy part is done. Now for the hard part — waiting for the rice to cook. You want to cook the Arroz Caldo for about 45 minutes–this is so the rice can begin to break down and really thicken the soup.

In the meantime, you can be boiling the eggs if you haven’t already done so.

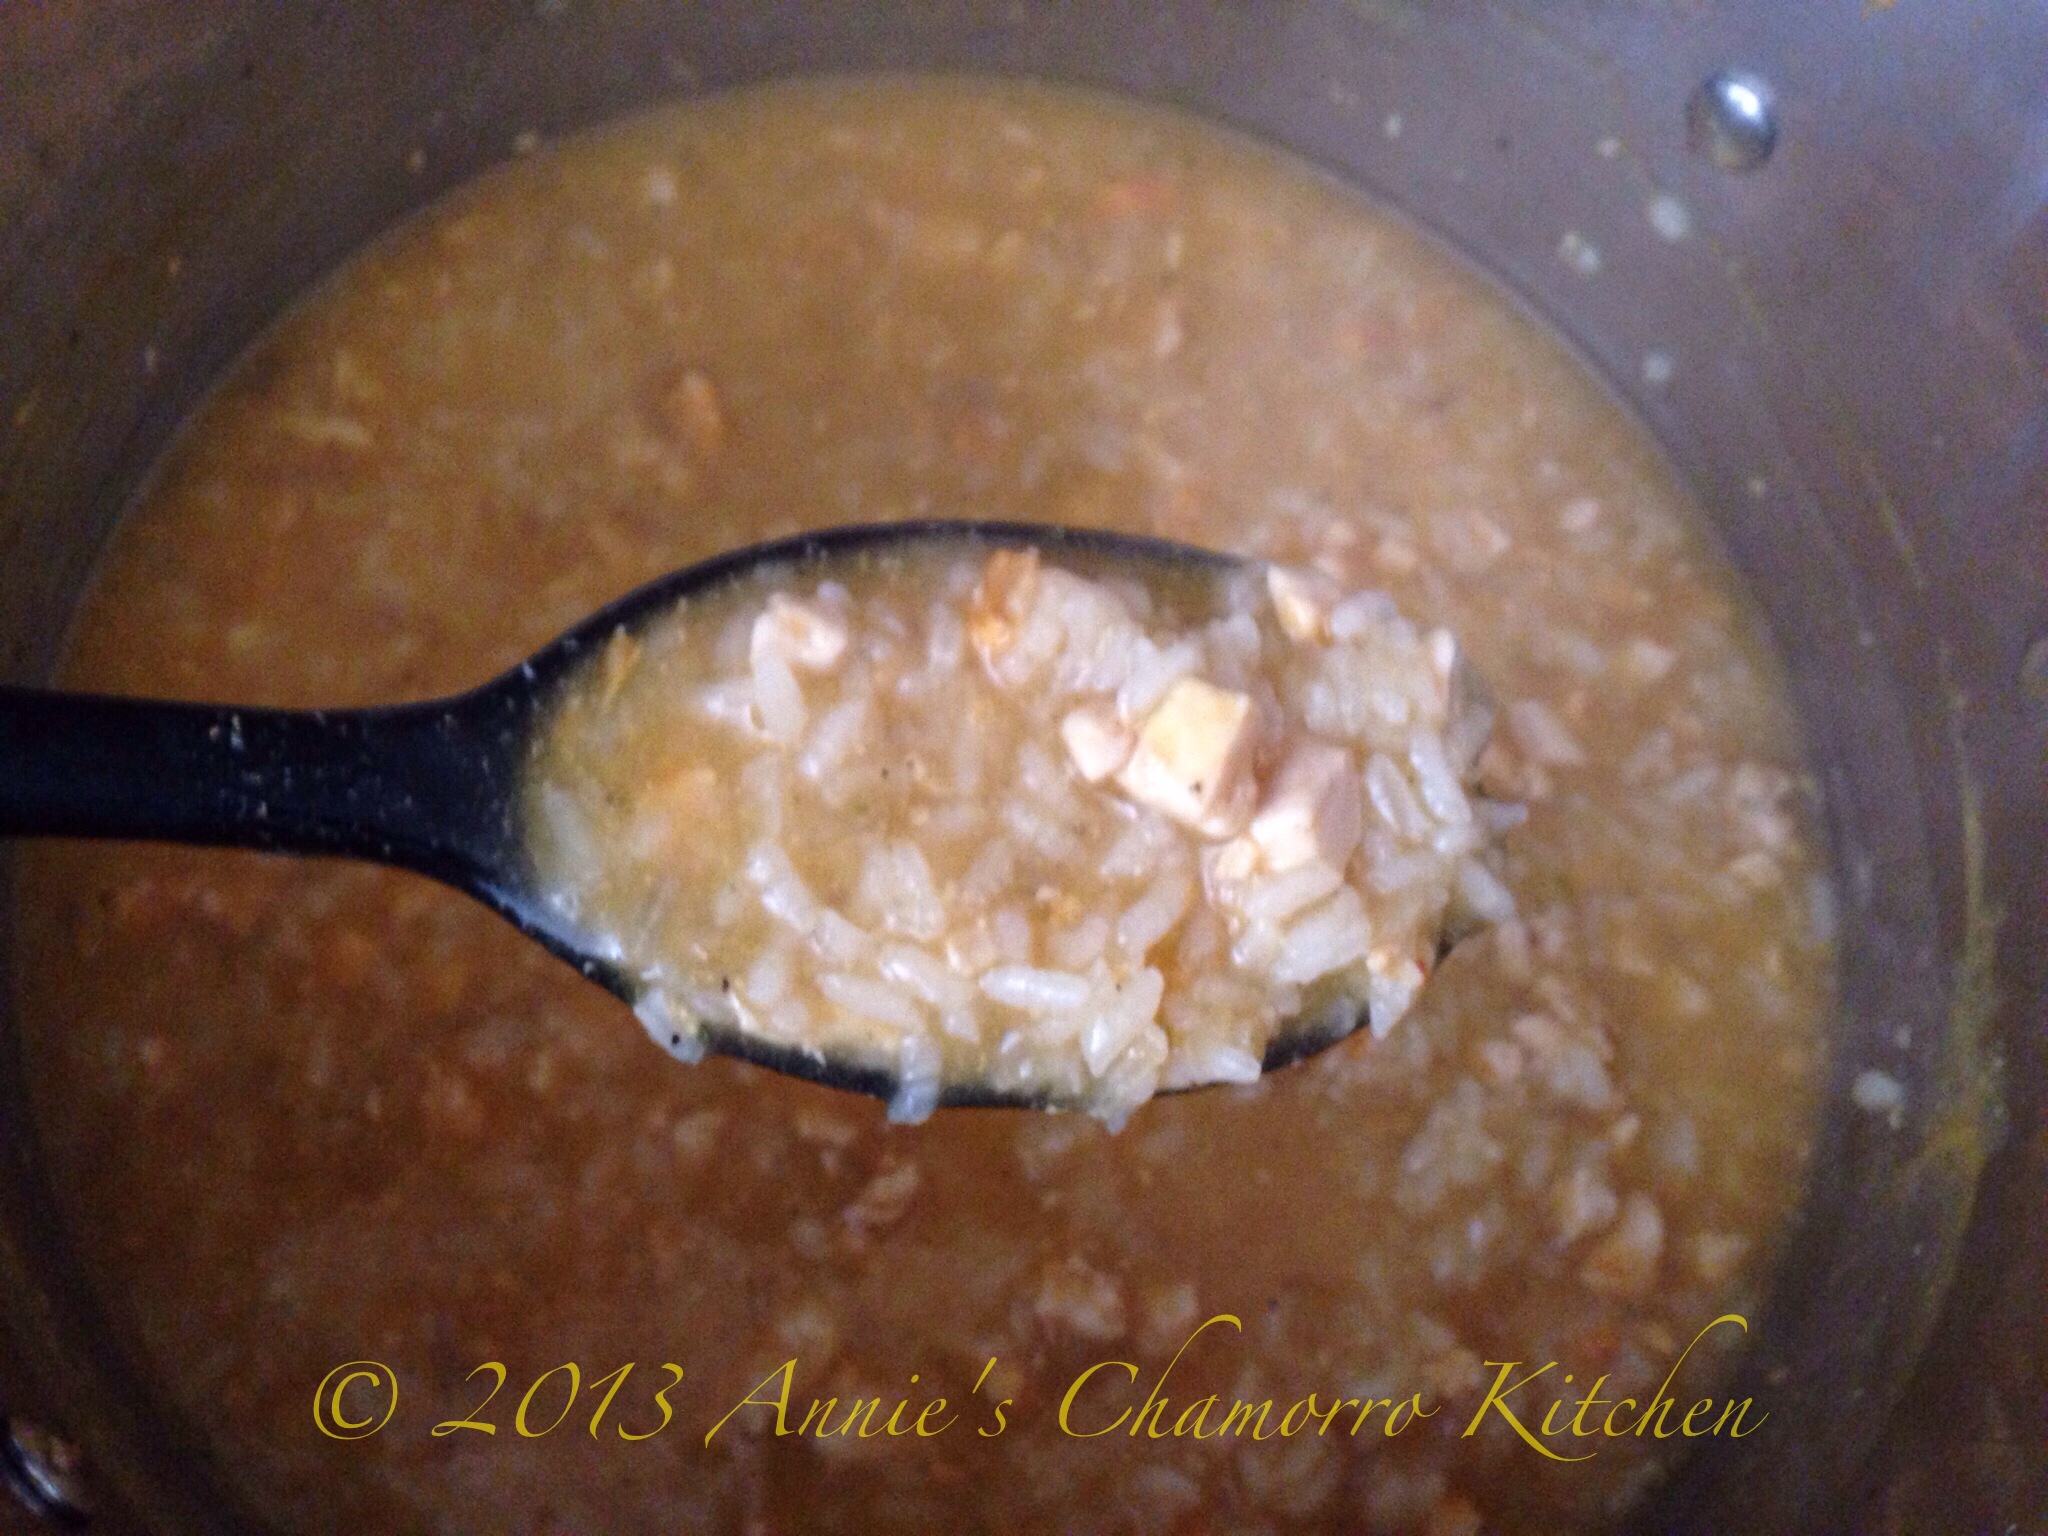
This is what the rice looks like after only 10 minutes of cooking. Give the mixture a stir, put the cover back on, and wait patiently. Trust me, it’s worth the wait. 🙂

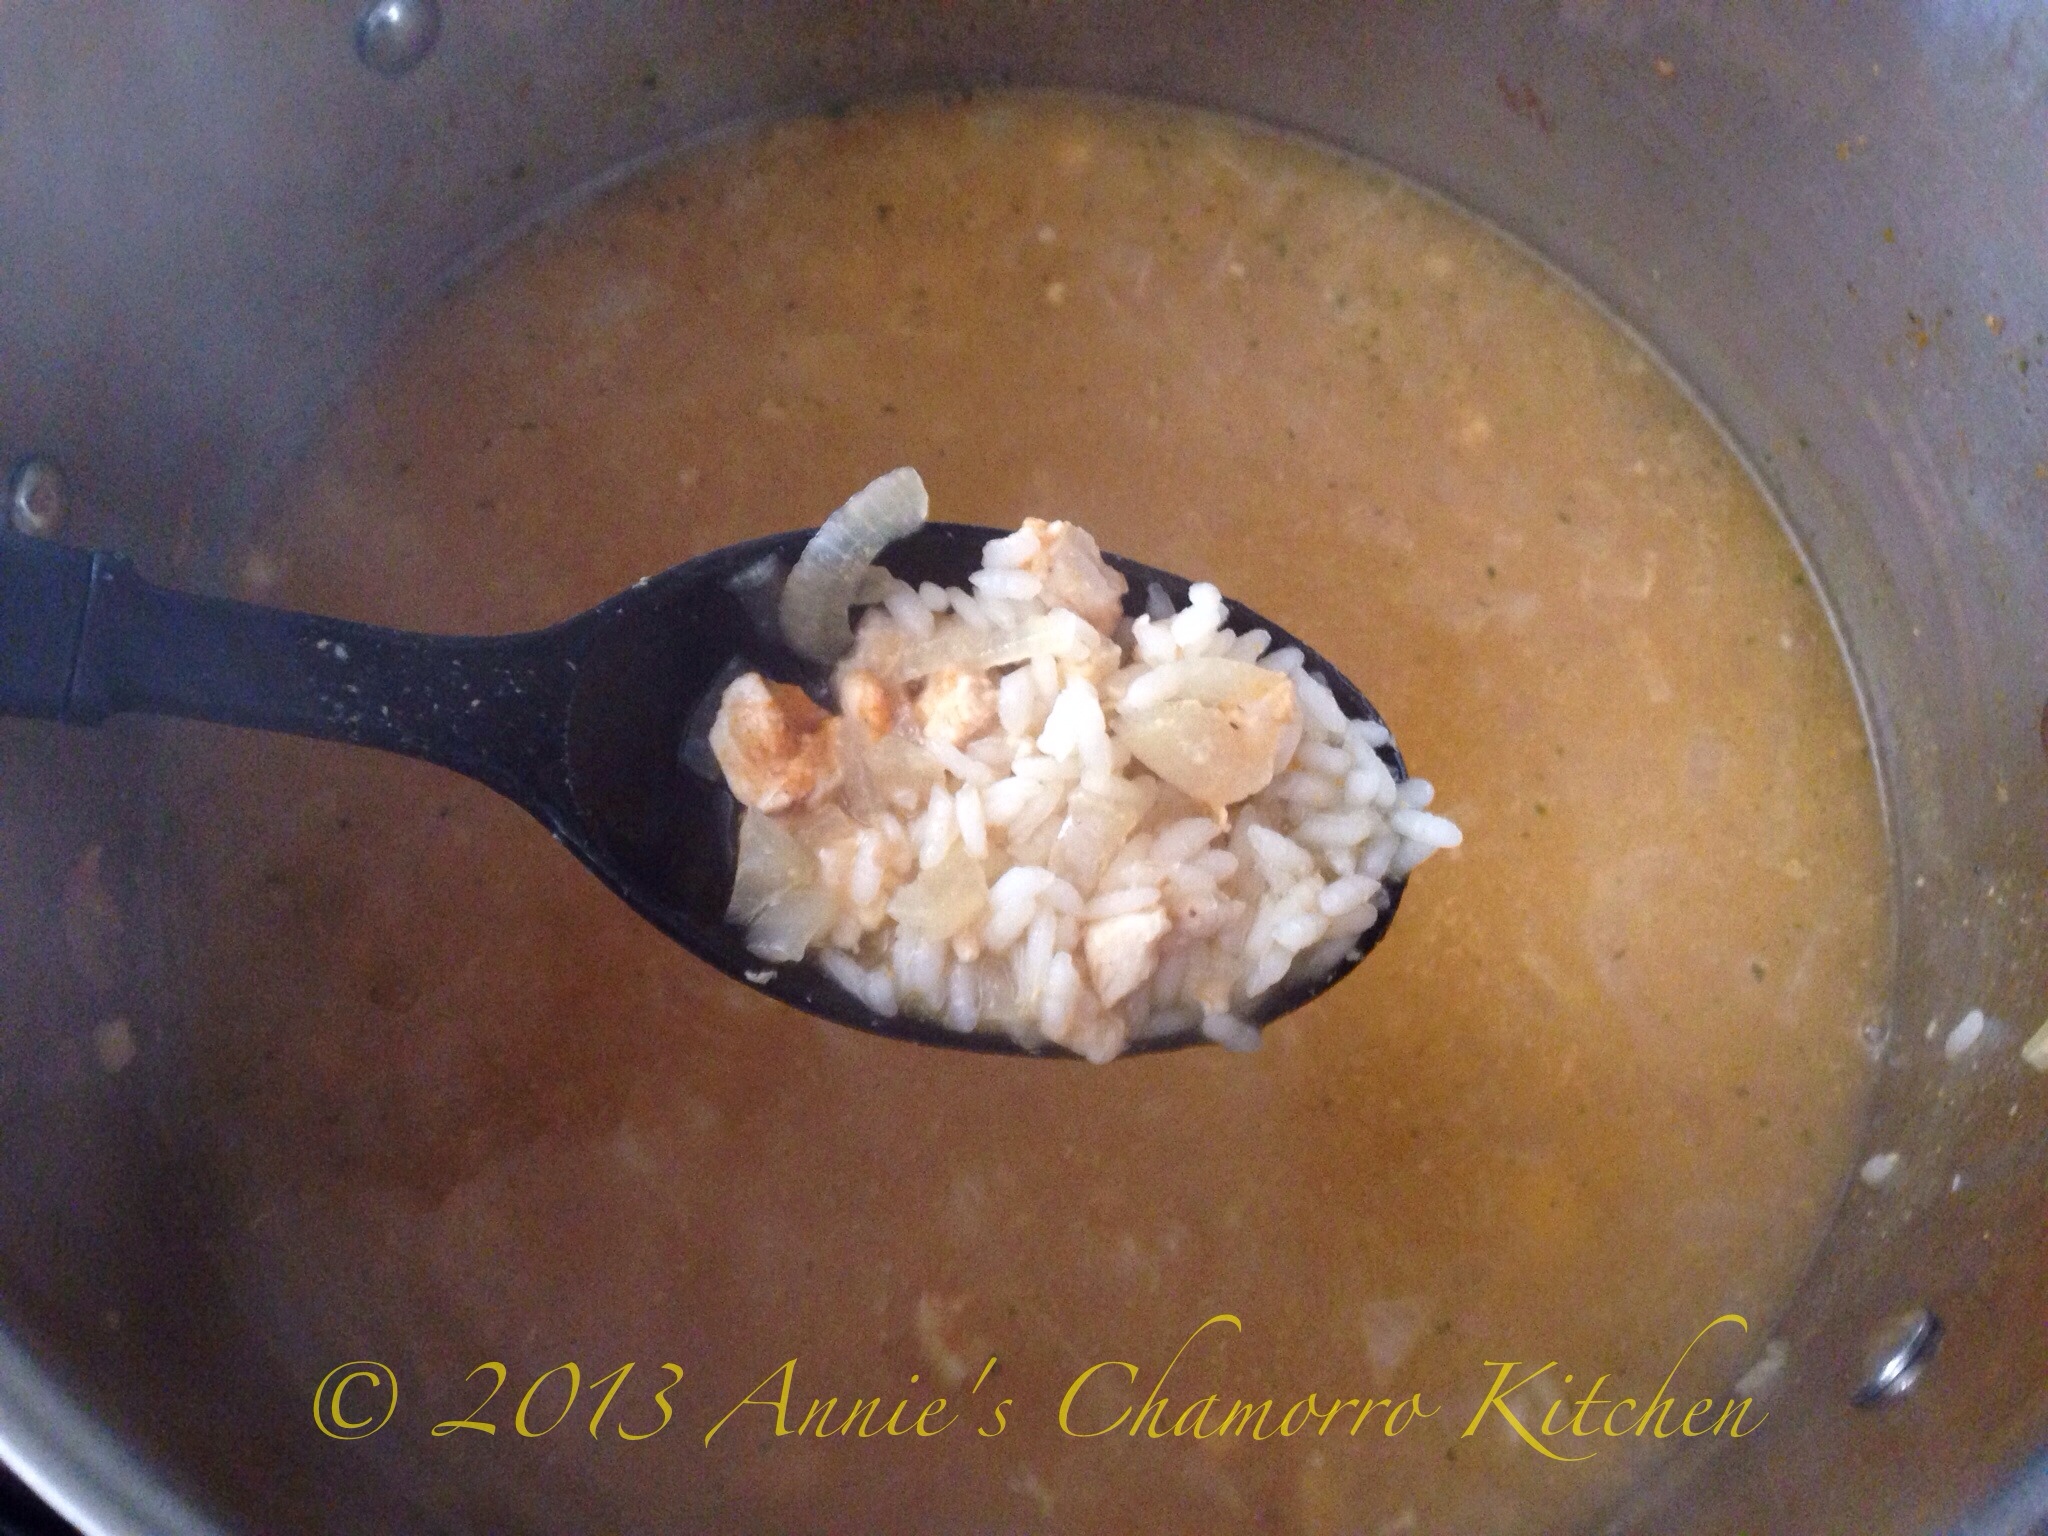
This is what the rice and broth looks like after 20 minutes. The rice is done at this point, but you want to cook it longer so that the soup gets nice and thick. Notice that the broth is starting to thicken up a bit.  Give the soup a stir, then place the cover back on the pot. Turn the heat down to medium.

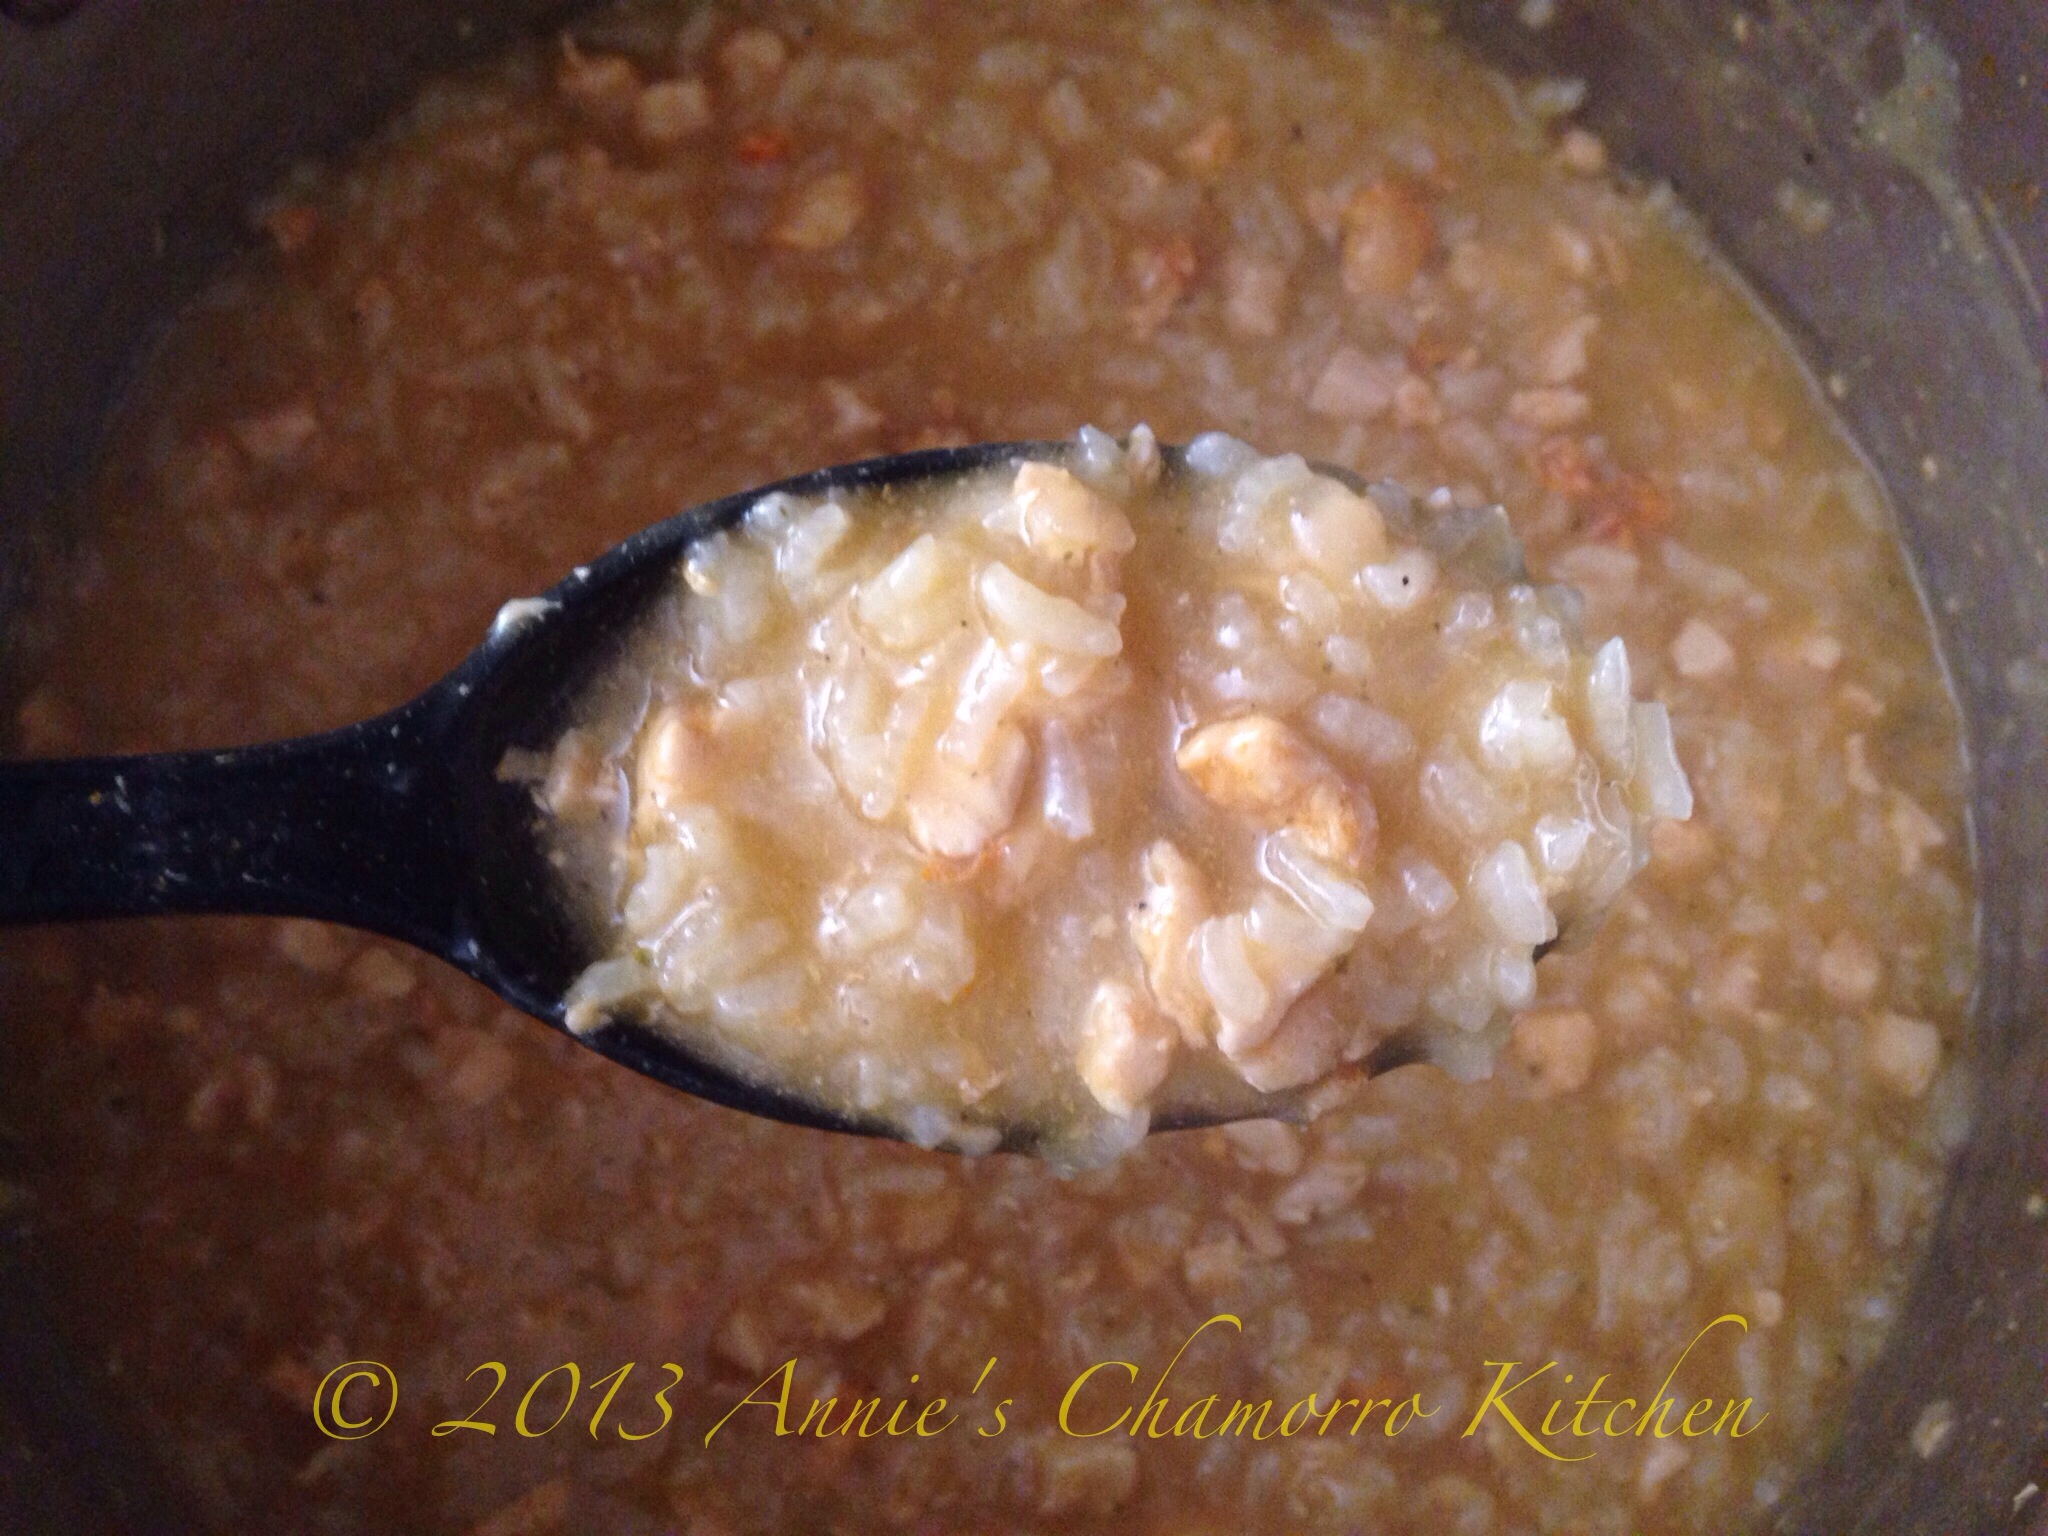
After 30 minutes, we’re almost there, but we still need to cook the soup for about 10-15 more minutes.

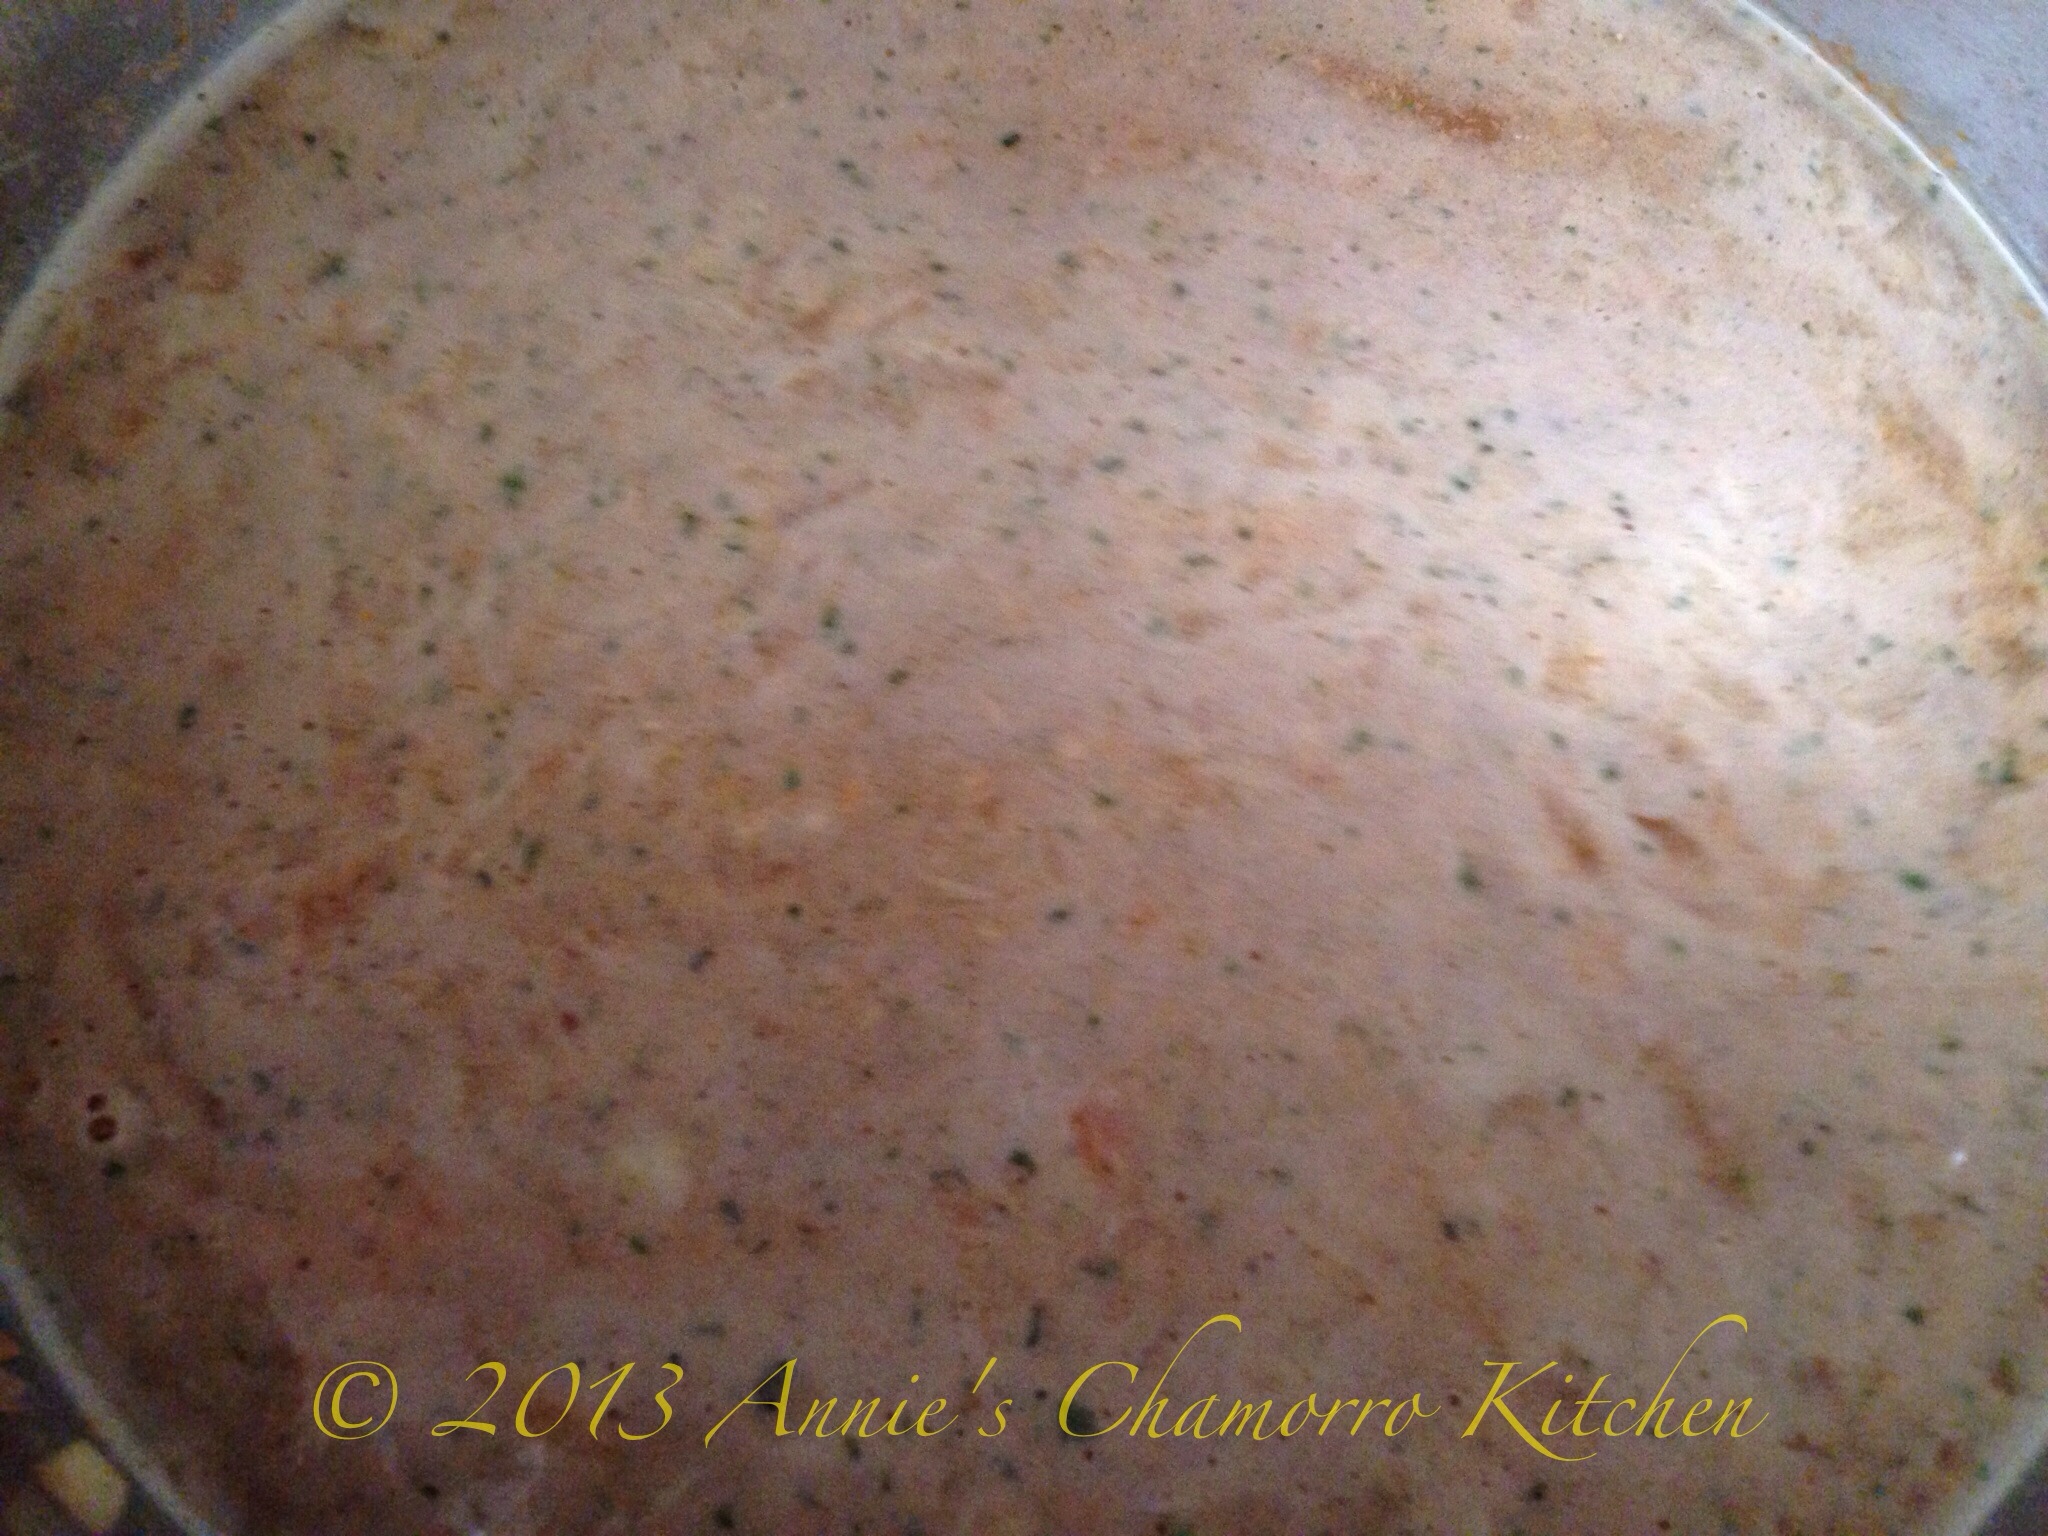
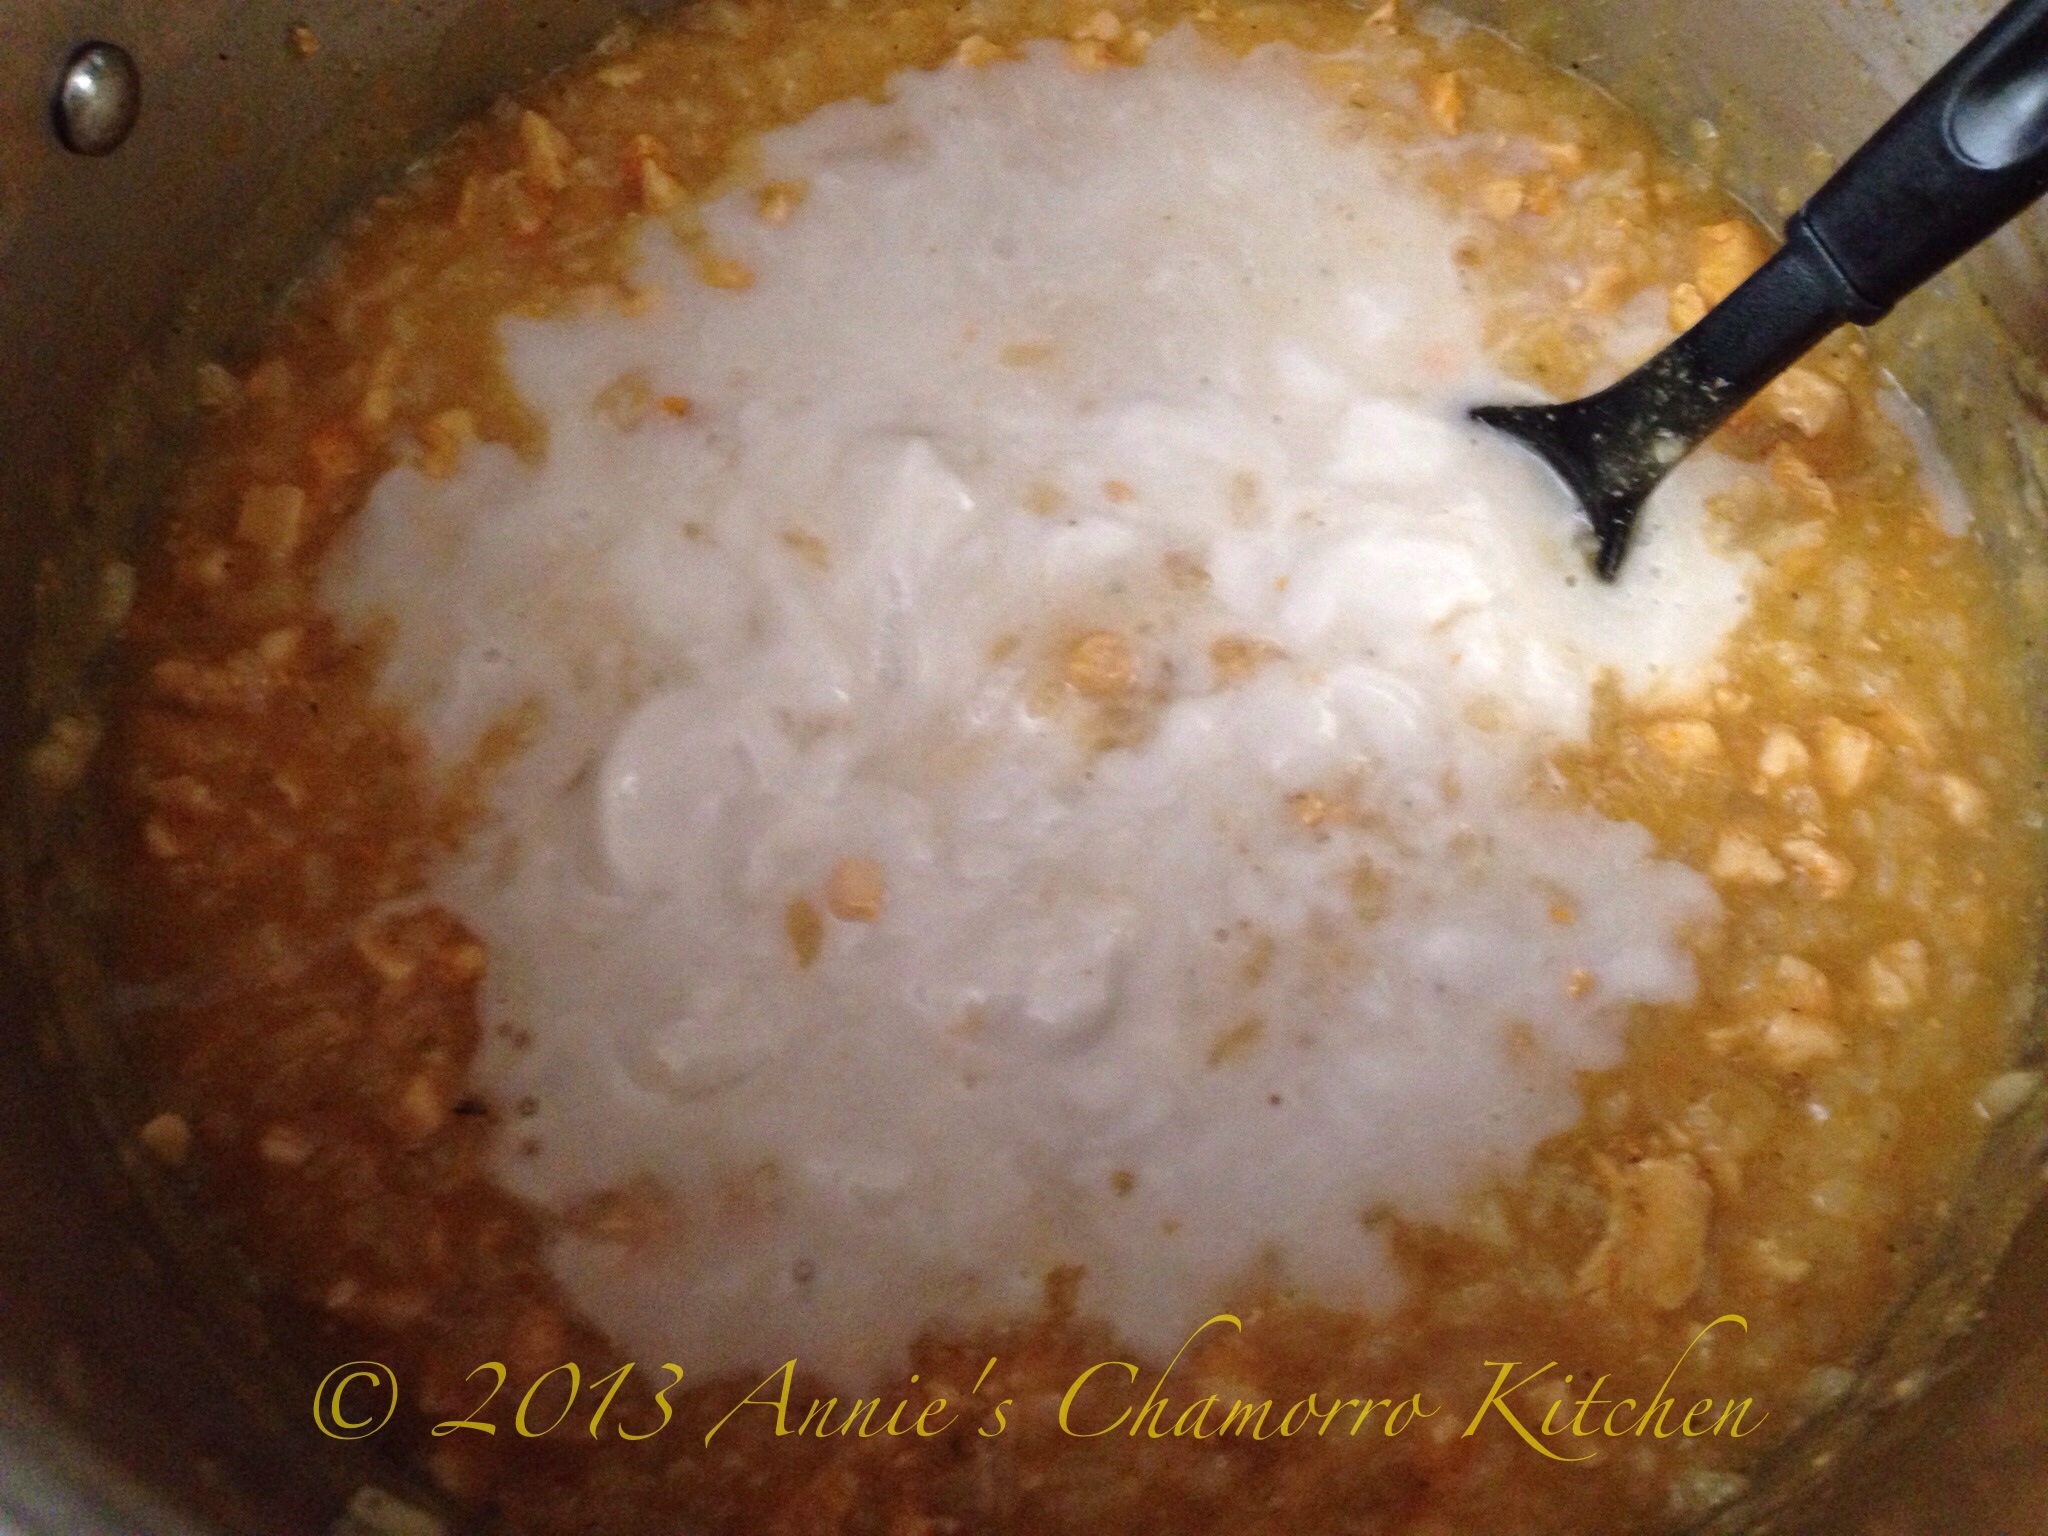
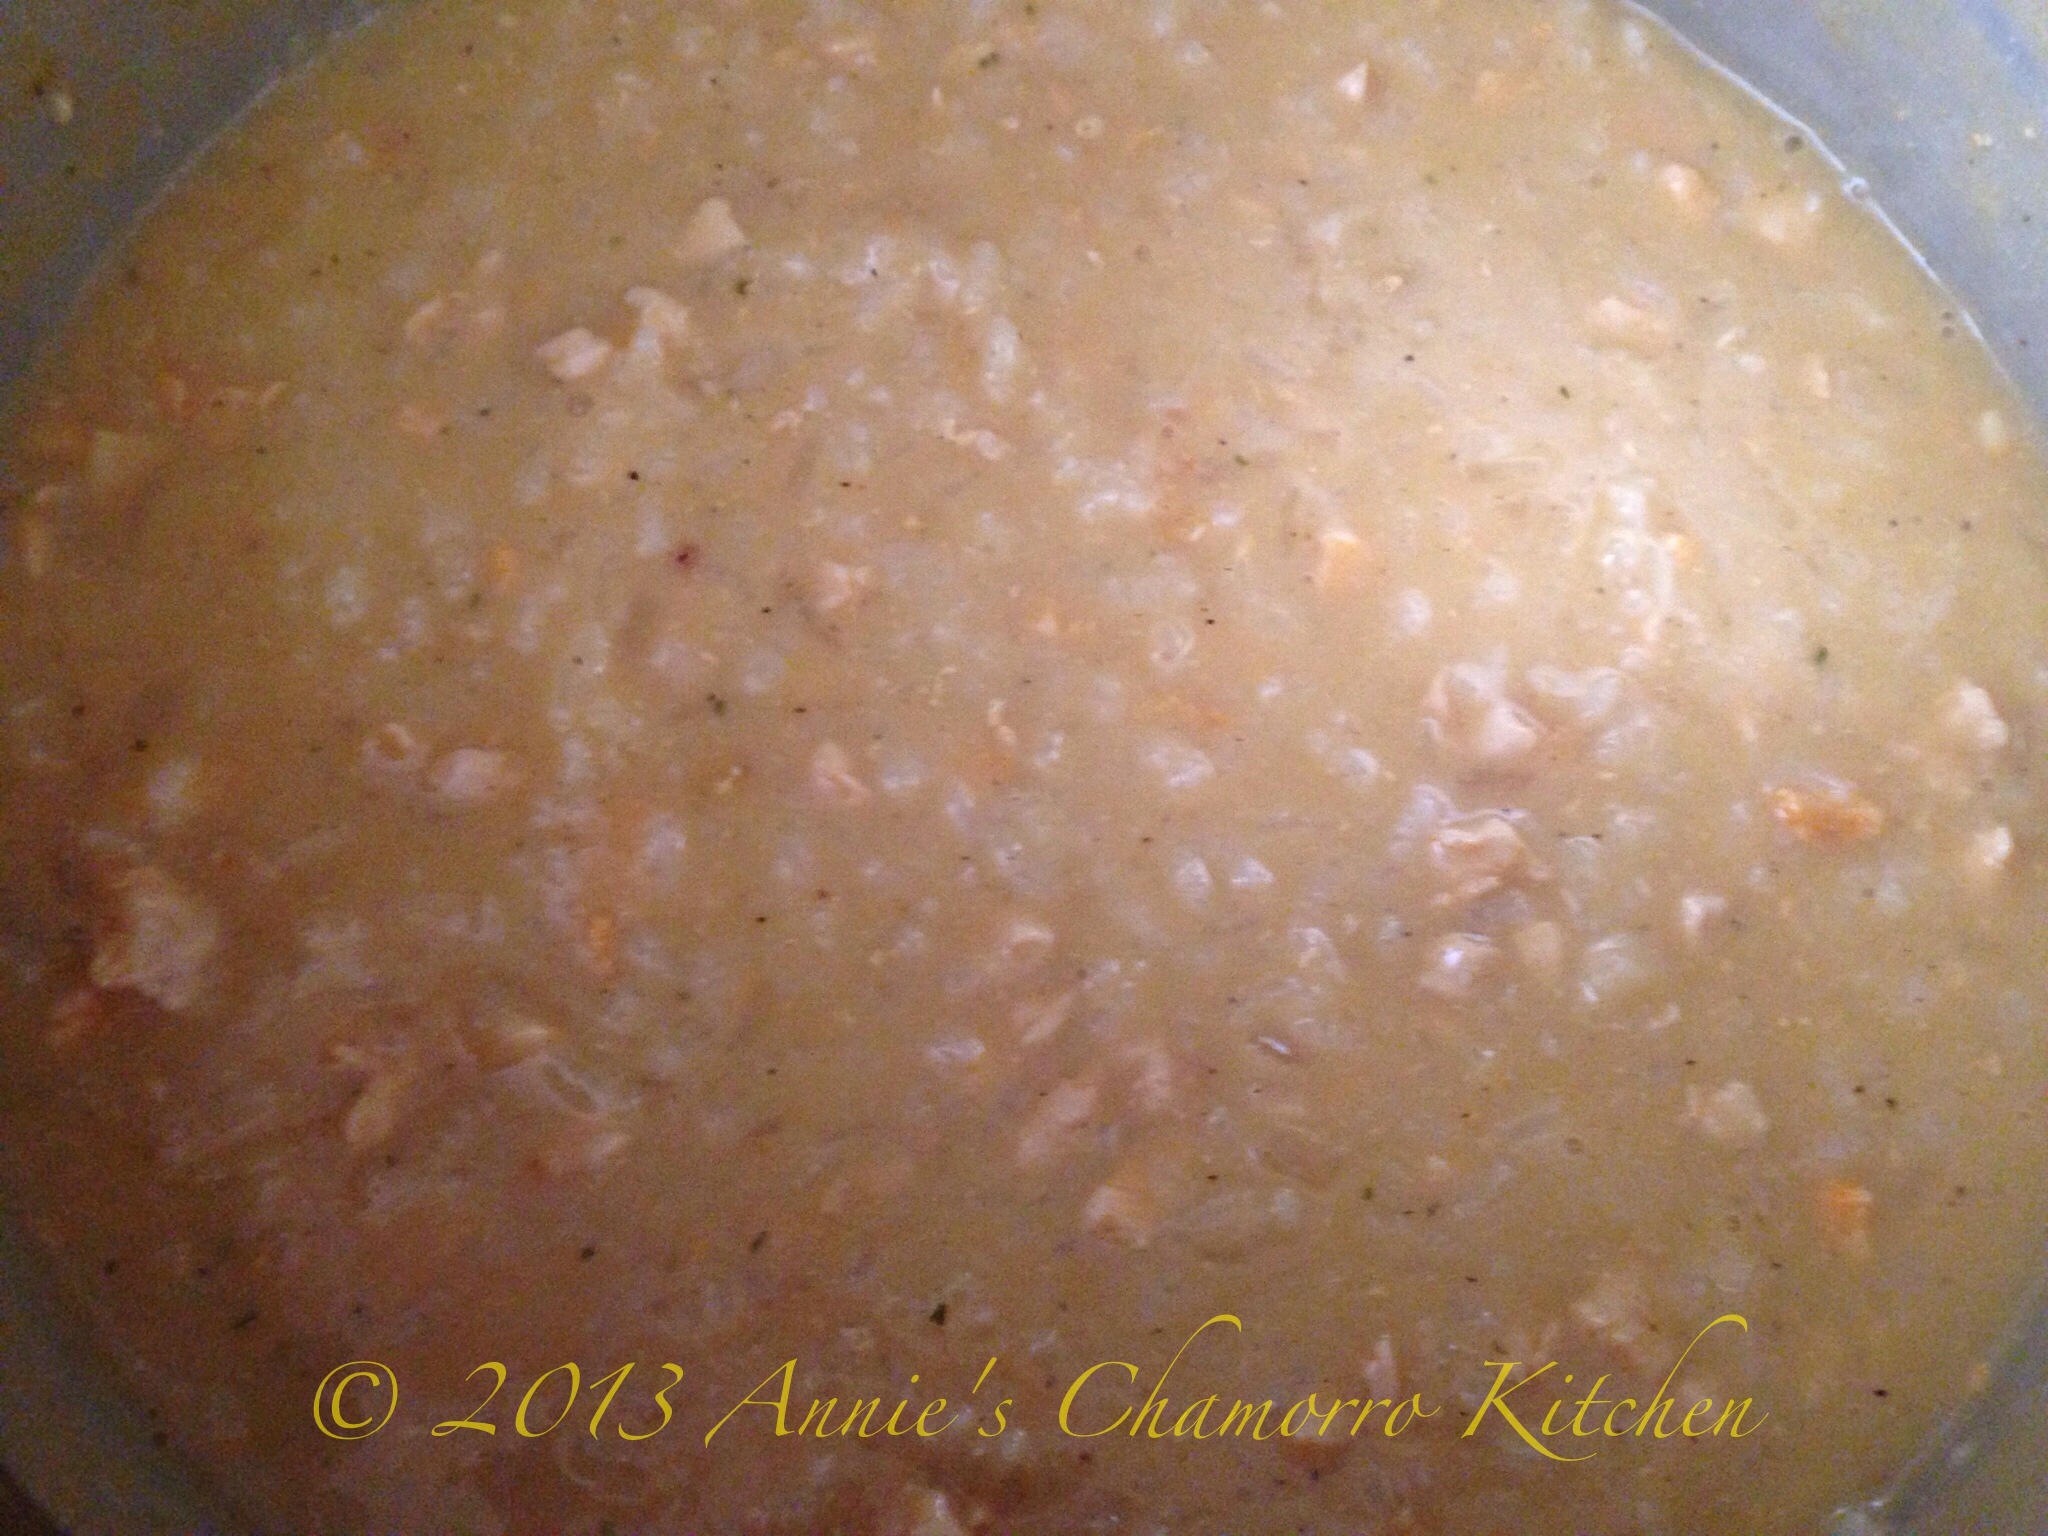
After 10-15 more minutes, the rice is cooked just how it should be and the soup is nice and thick — now it’s time to finish up the soup. Turn the heat down to low. Add the coconut milk to the pot.

Stir to mix the coconut milk into the soup. Cook only long enough to heat up the coconut milk — do not boil the soup. Remove from the heat.

It’s time to dish up some goodness! Pour some soup into a bowl. Garnish with green onions, fried garlic, and a couple of slices of hard-boiled eggs. If you’d like, add a lime wedge as well.
ENJOY!


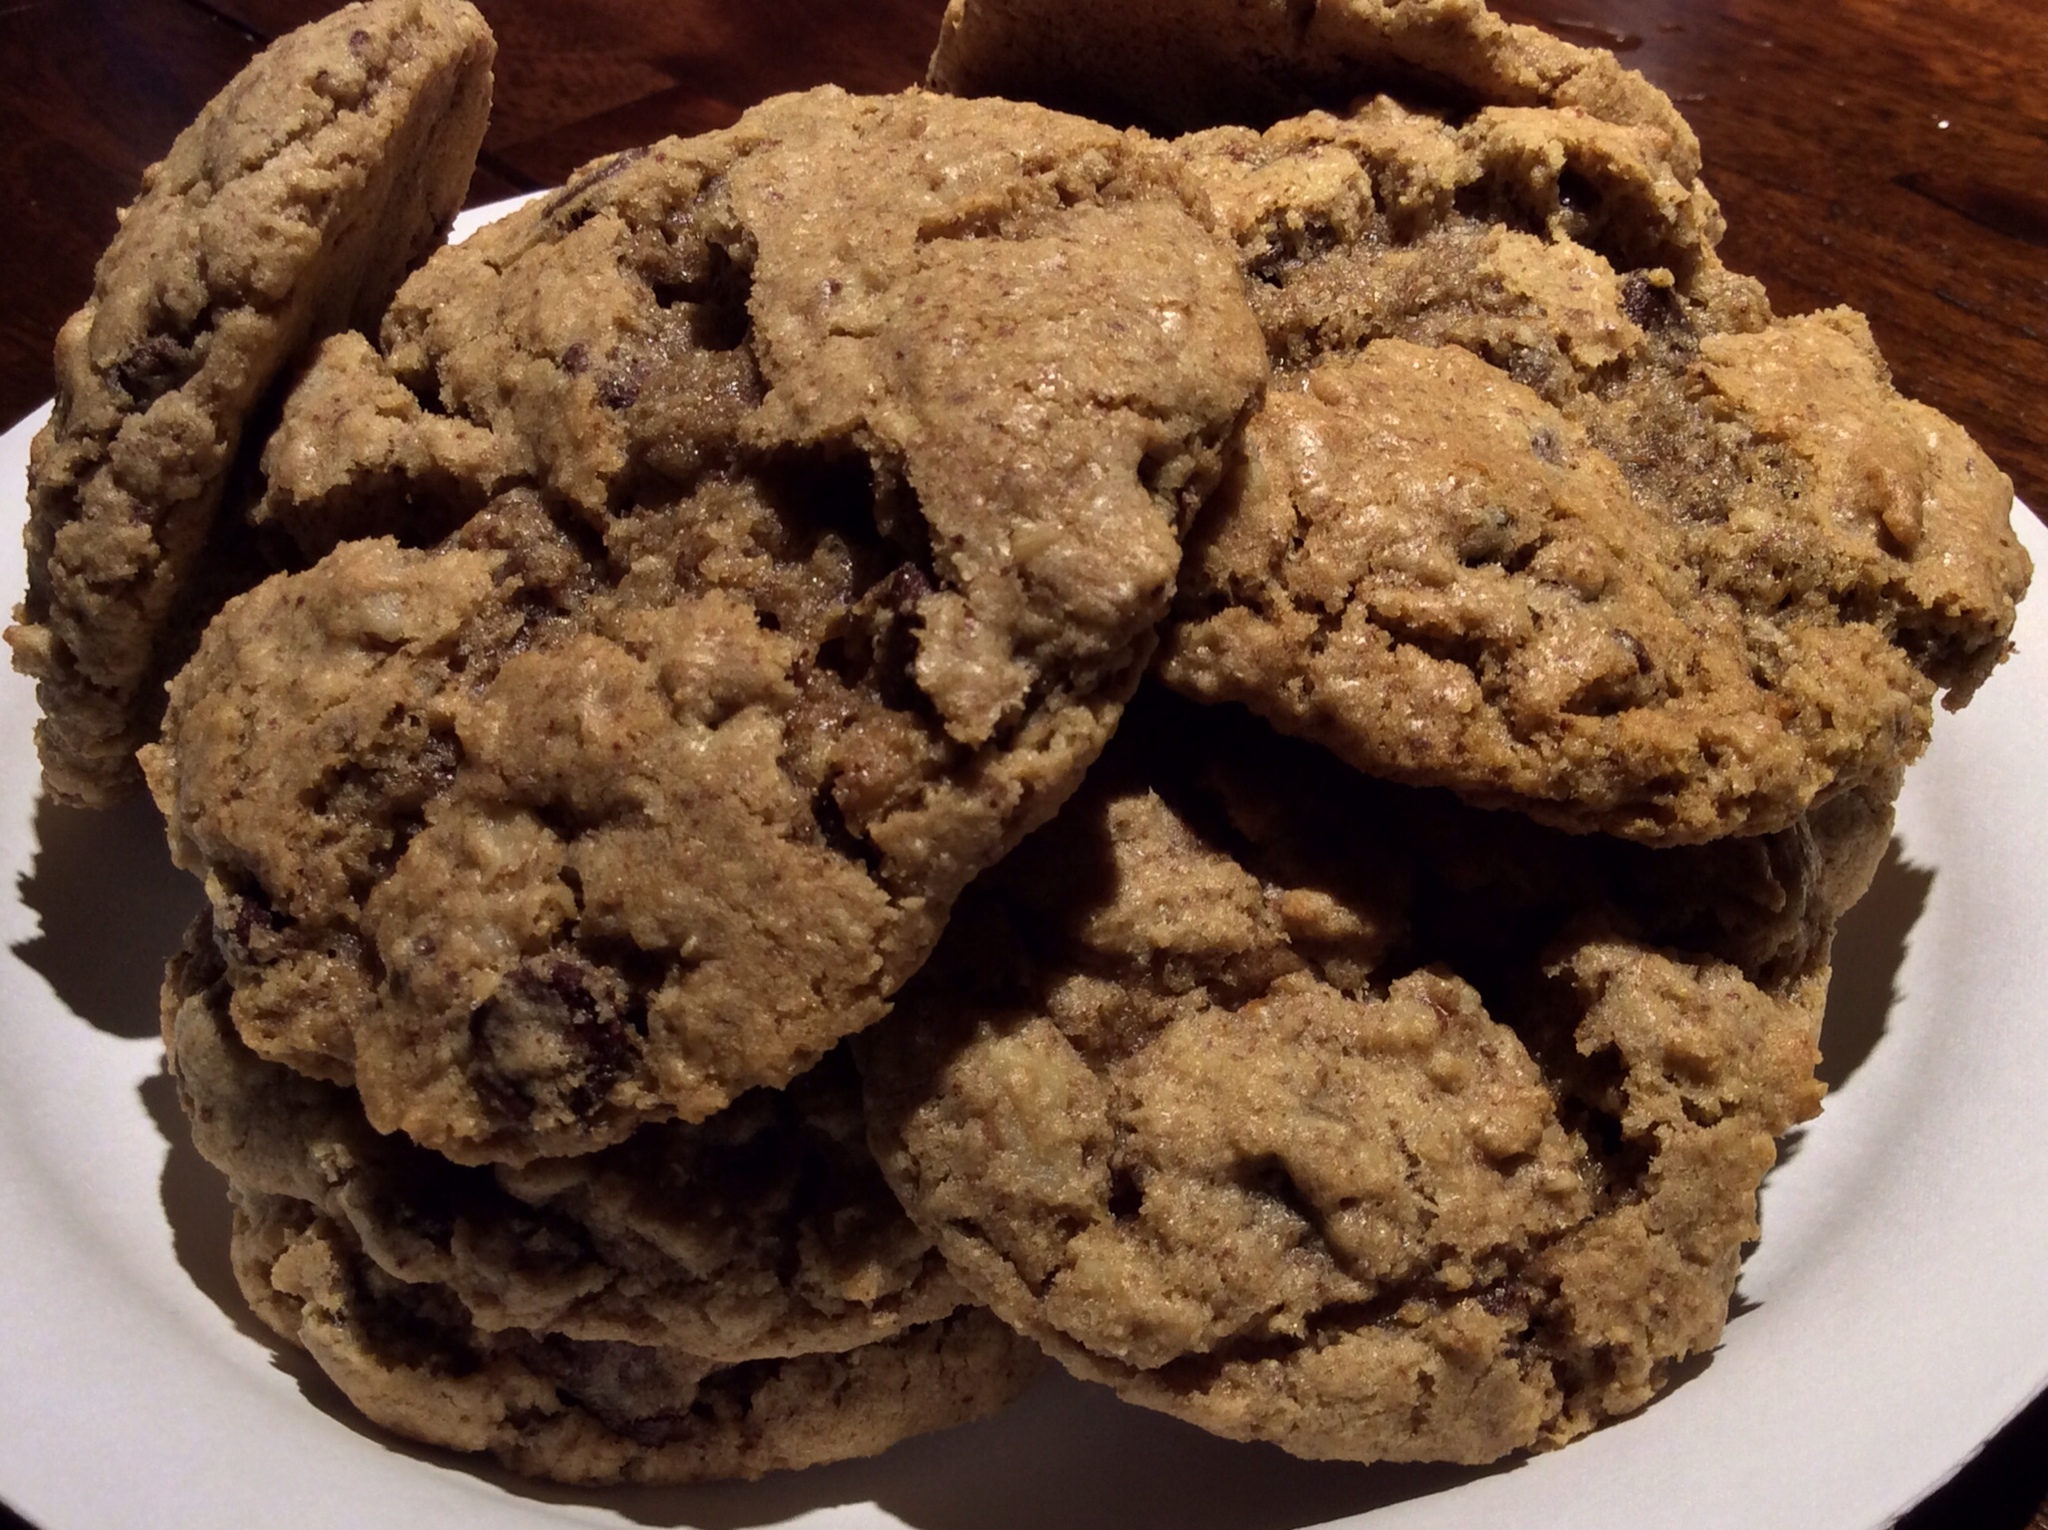
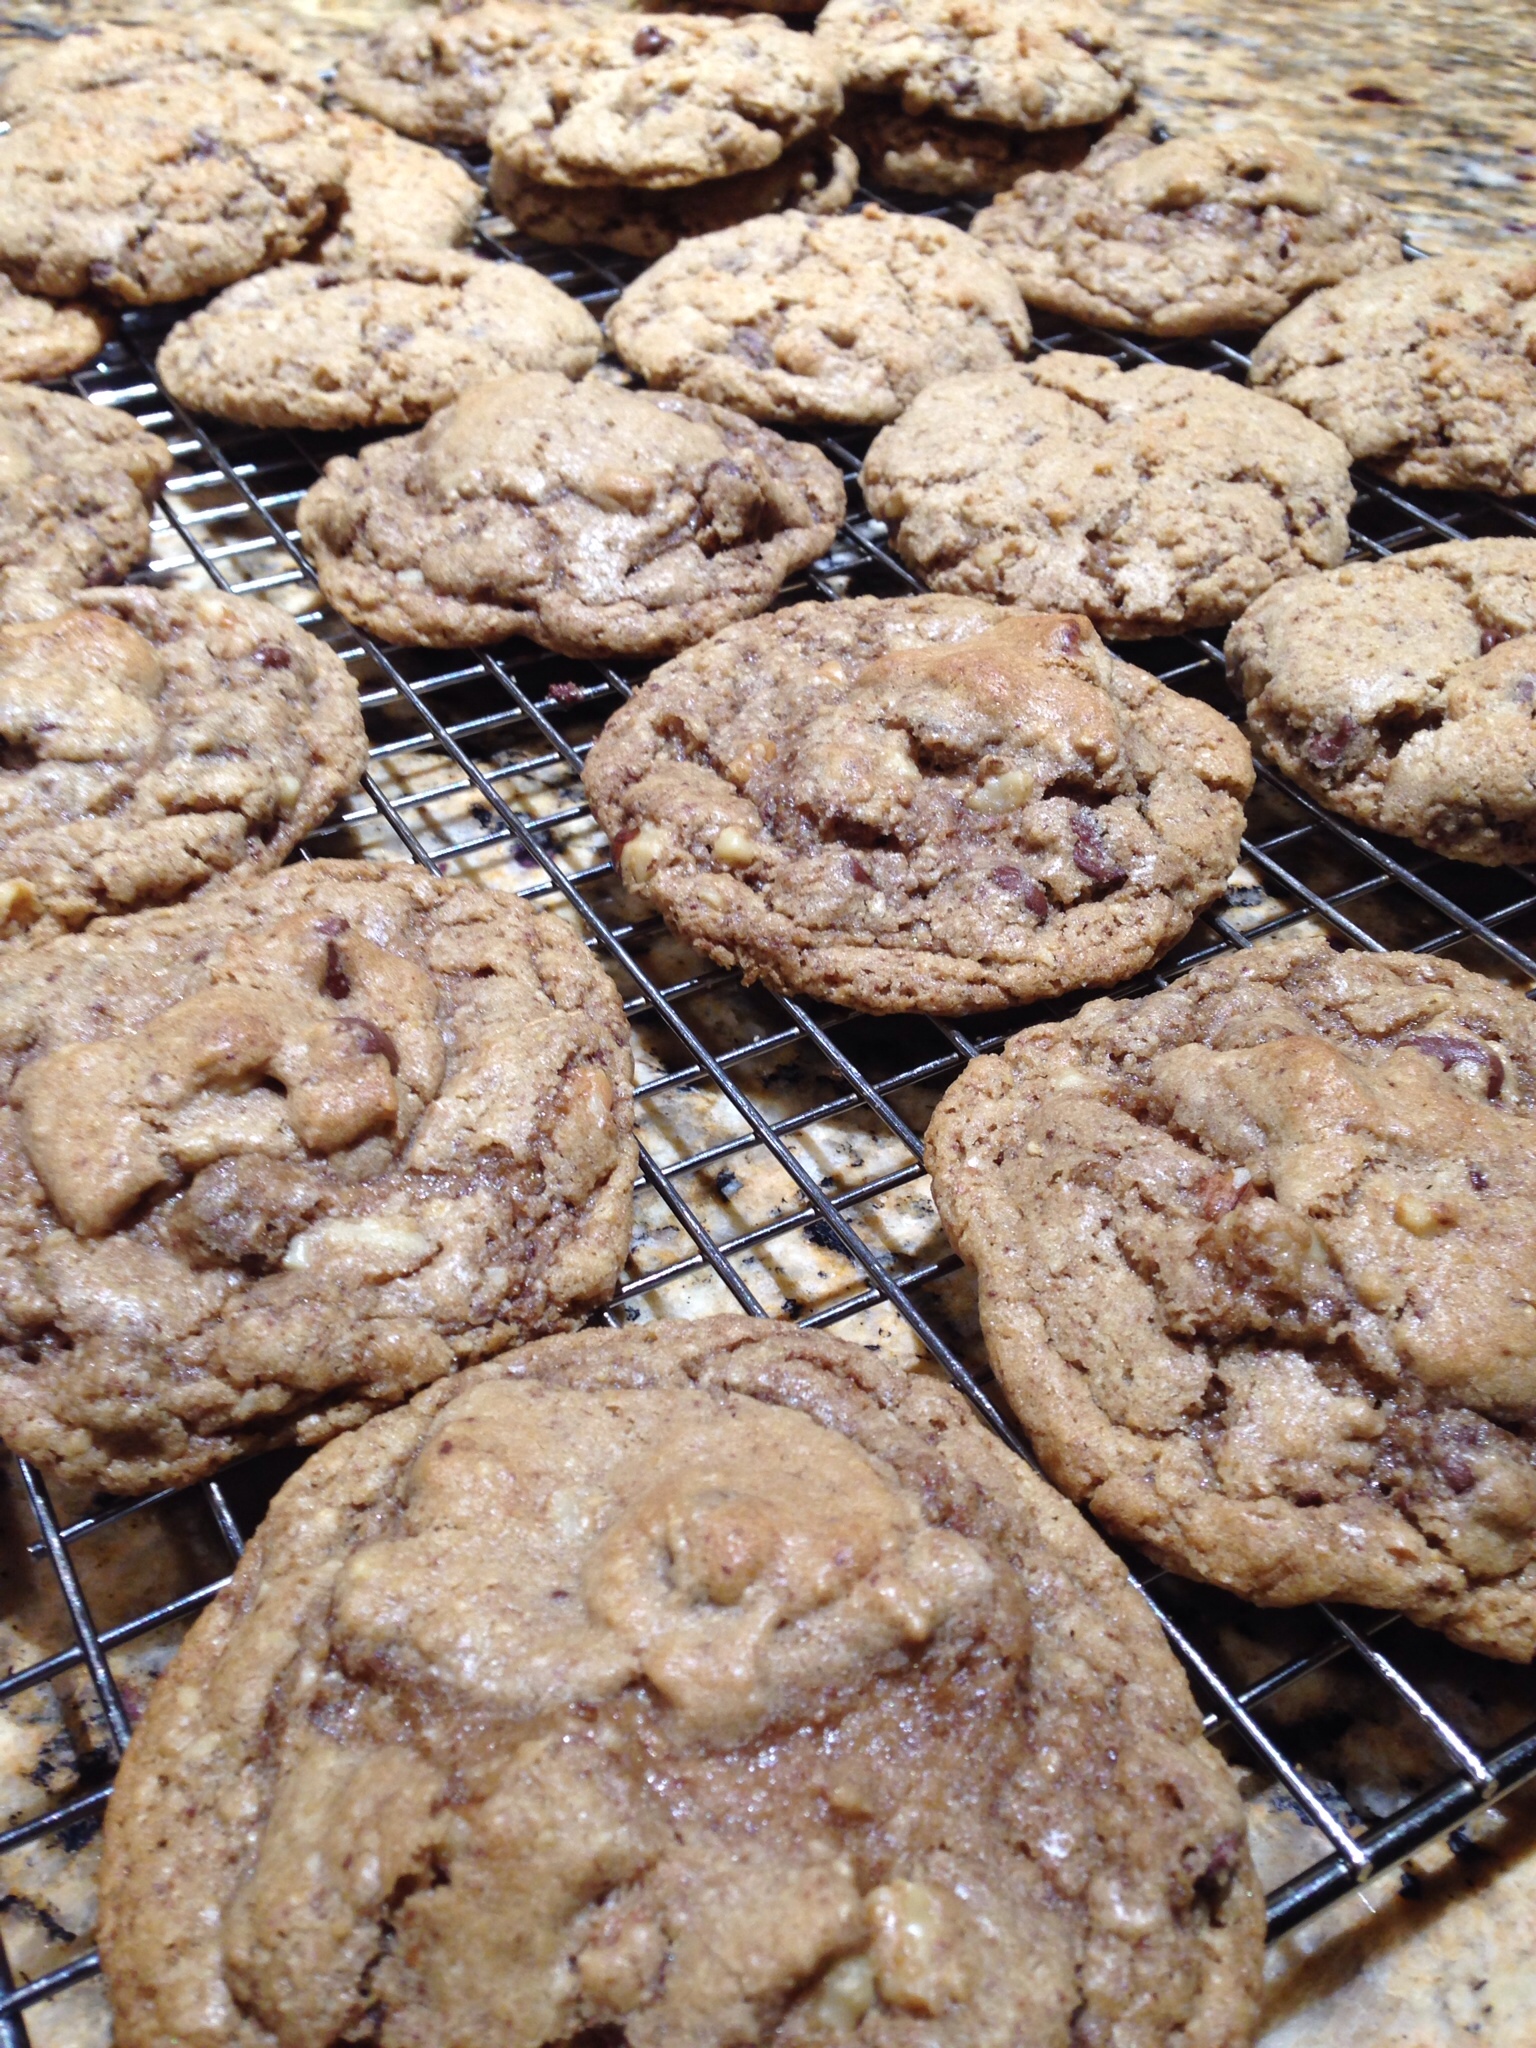
Chocolate Chip, Walnut, Oatmeal Cookies

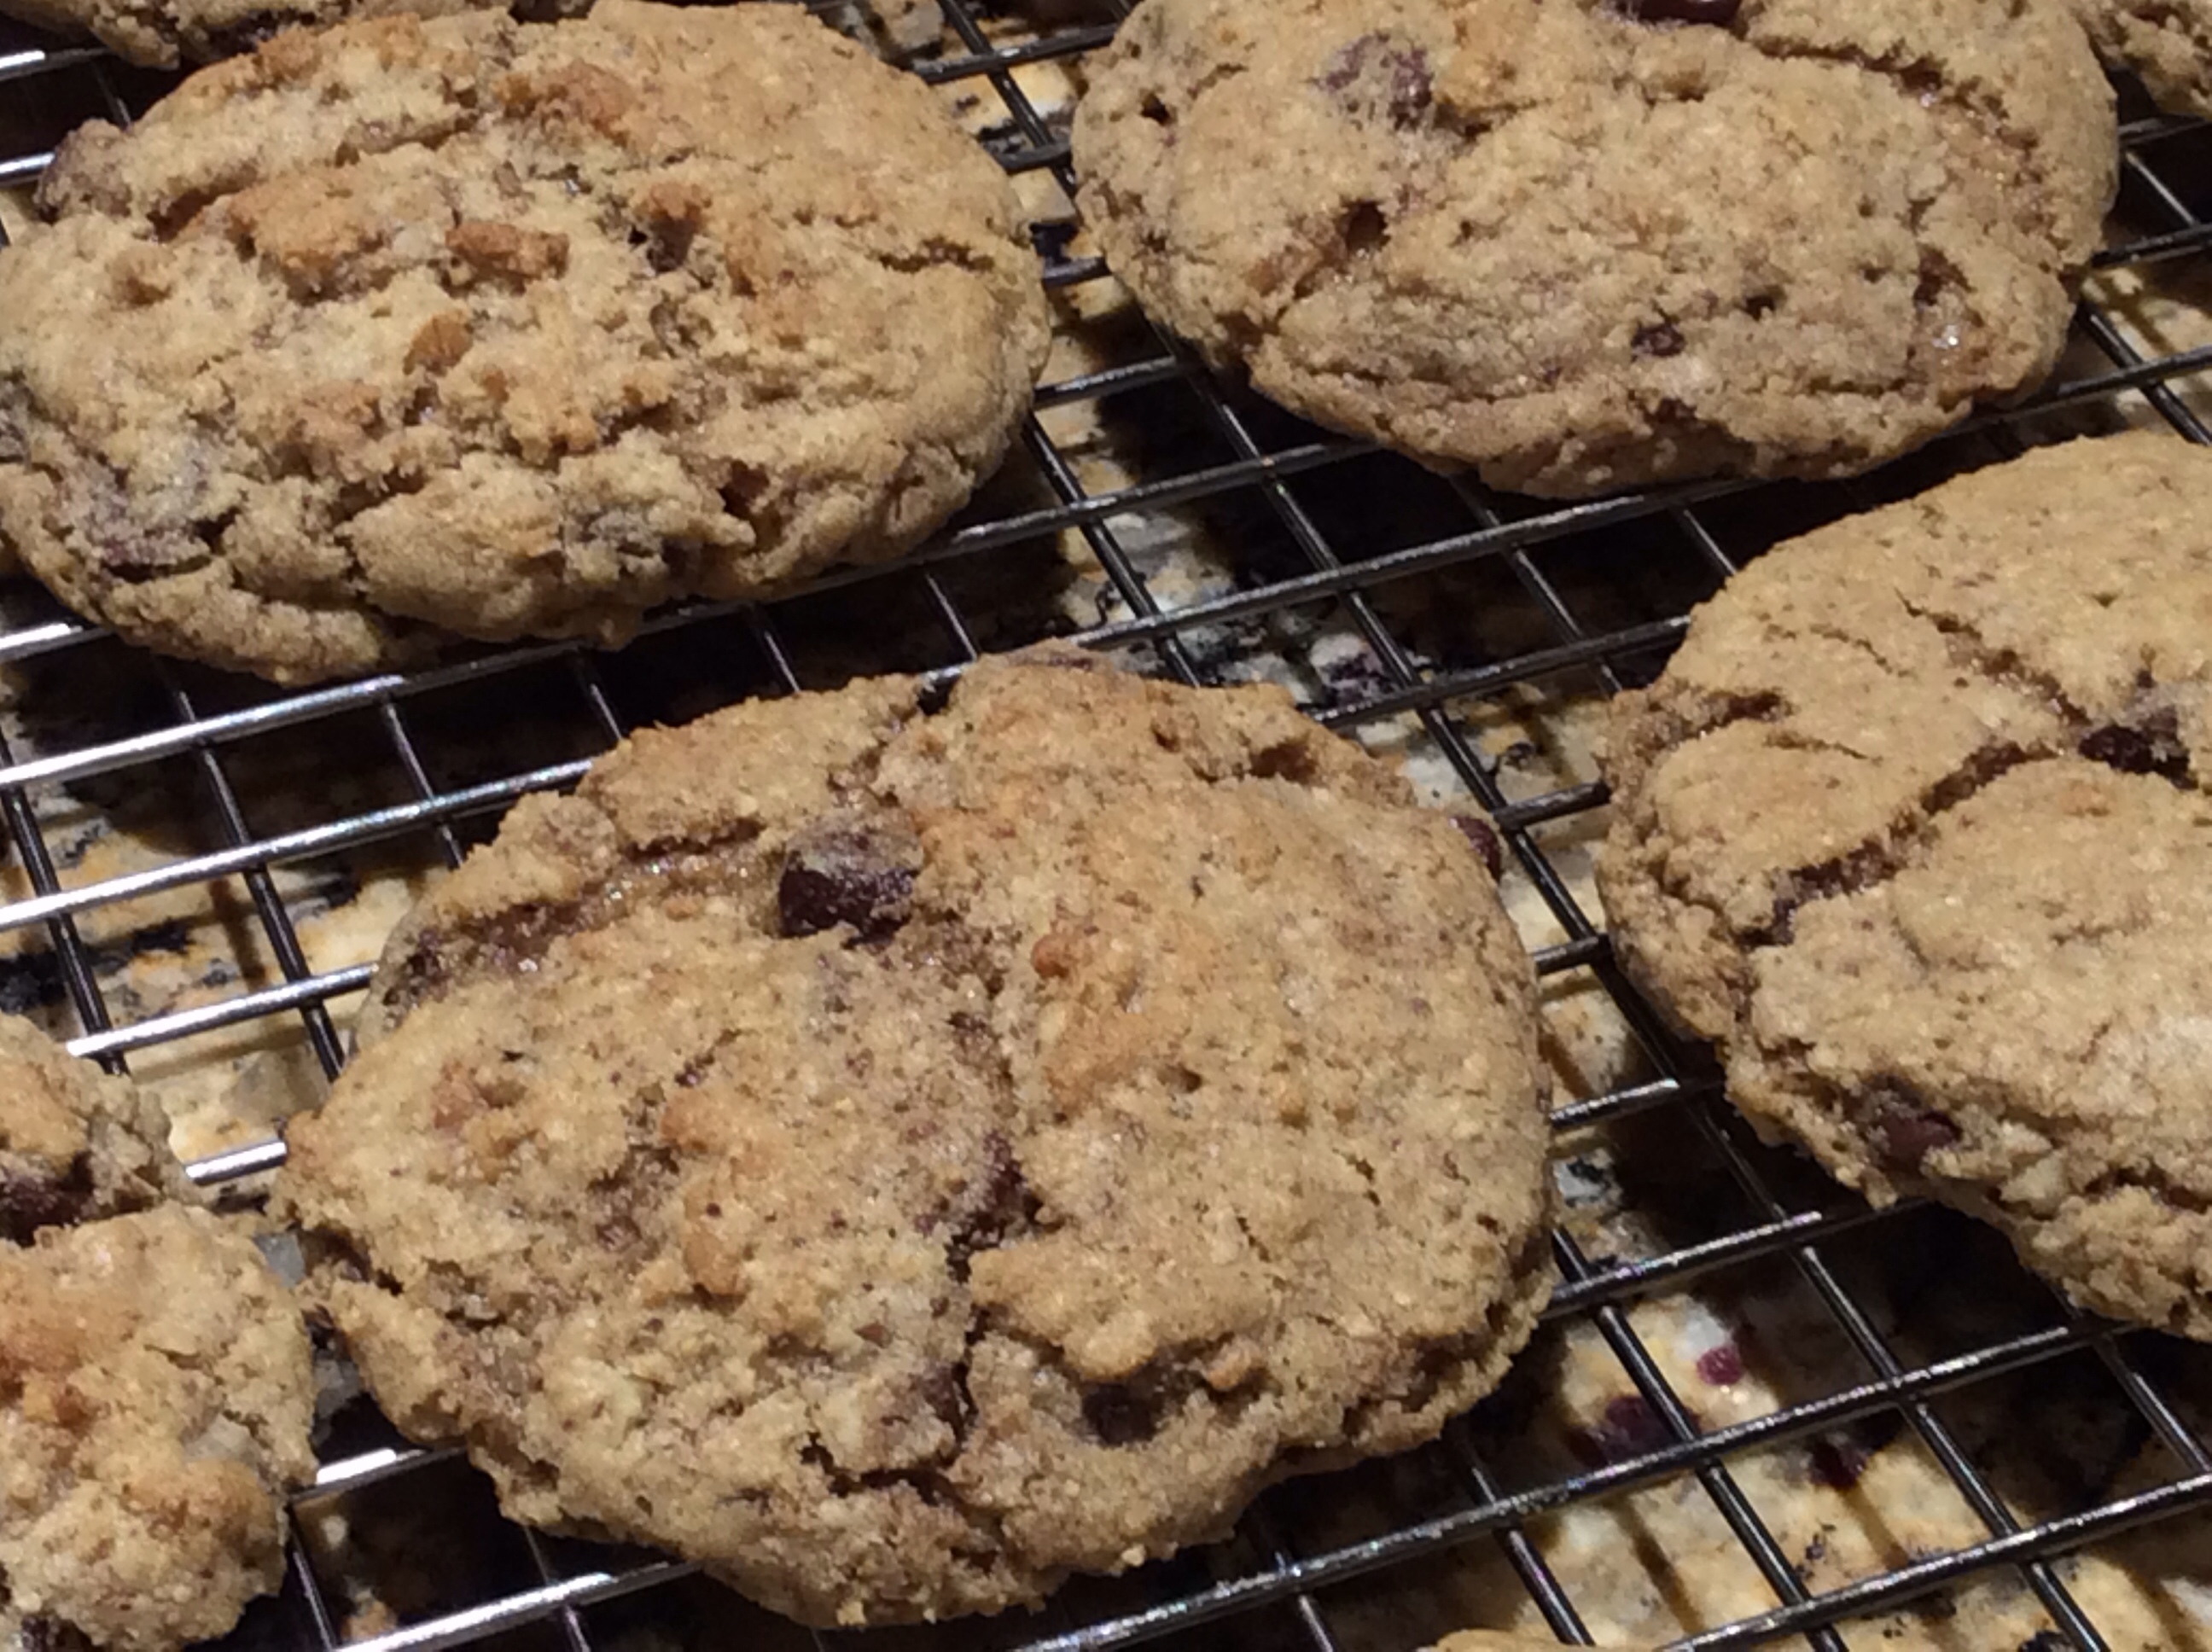
These have got to be the best cookies…EVER. Soft, chewy, and full of chocolaty goodness, it’s like Heaven in your mouth when you bite into this cookie.

This recipe is actually something I’ve seen circulating the internet for years. You may have heard of it — it’s called the Nieman Marcus $250 Cookie Recipe.

According to urban legend, someone bought a cookie at a Nieman Marcus store. He (or it could have been a “she”) liked the cookie so much that he asked the cafe clerk for the recipe. The clerk replied that the customer could have the recipe, but he had to purchase it. The customer agreed to pay for the recipe, only he did not look too closely at his receipt when he paid for it. Later, the customer realized that he paid $250 for the recipe. From that day on, the customer vowed to share the recipe with everyone so that his $250 purchase would be worth it.

I don’t know how true that story is, but whomever the real author of this cookie recipe is, I want to say a huge THANK YOU for creating and sharing a treasure!

Here’s the recipe. It’s a bit of a process, but it’s well worth it, I guarantee. You can easily halve this recipe. I make it as-is and give some to friends and neighbors. We make rather large cookies, and we’re still able to get about 5 dozen cookies out of this recipe.

Give it a try. I know you’ll love it as much as my family and I do. 🙂

The $250 Cookie Recipe

Ingredients:

  • 5 cups oatmeal
  • 1 (8-oz.) Hershey bar
  • 4 sticks (or 2 cups) unsalted butter, softened
  • 2 cups packed brown sugar
  • 2 cups white sugar
  • 4 large eggs
  • 2 teaspoons vanilla extract
  • 4 cups all-purpose flour
  • 2 teaspoons baking soda
  • 2 teaspoons baking powder
  • 1 teaspoon salt
  • 3 cups chopped nuts (I like walnuts)
  • 24 ounces semi-sweet chocolate chips

Directions:

1. Measure out the oatmeal then place in a blender or food processor. Grind the oatmeal until you get a fine flour-like consistency. Set it aside.

2. In a large mixing bowl, cream together the butter, brown sugar and white sugar.

3. Mix in the eggs and vanilla to the butter-sugar mixture.

4. Add half of the gound oatmeal, half of the flour, the baking soda, baking powder, and salt to the egg-butter mixture. Mix on low speed just until combined. Add the rest of the oatmeal and flour; mix to combine.

5. Mix in the nuts and chocolate chips. You can omit the nuts if you don’t like nuts in your cookies.

6. Form balls of dough (about two tablespoons of cookie dough per ball); place the balls of dough roughly 2 inches apart on a cookie sheet.

7. Bake for 10 minutes at 375 degrees. Let the cookies sit on the cookie sheet for about 5 minutes after you take them out of the oven, then remove the cookies to a wire rack to cool.

8. Serve with a tall glass of milk and ENJOY!

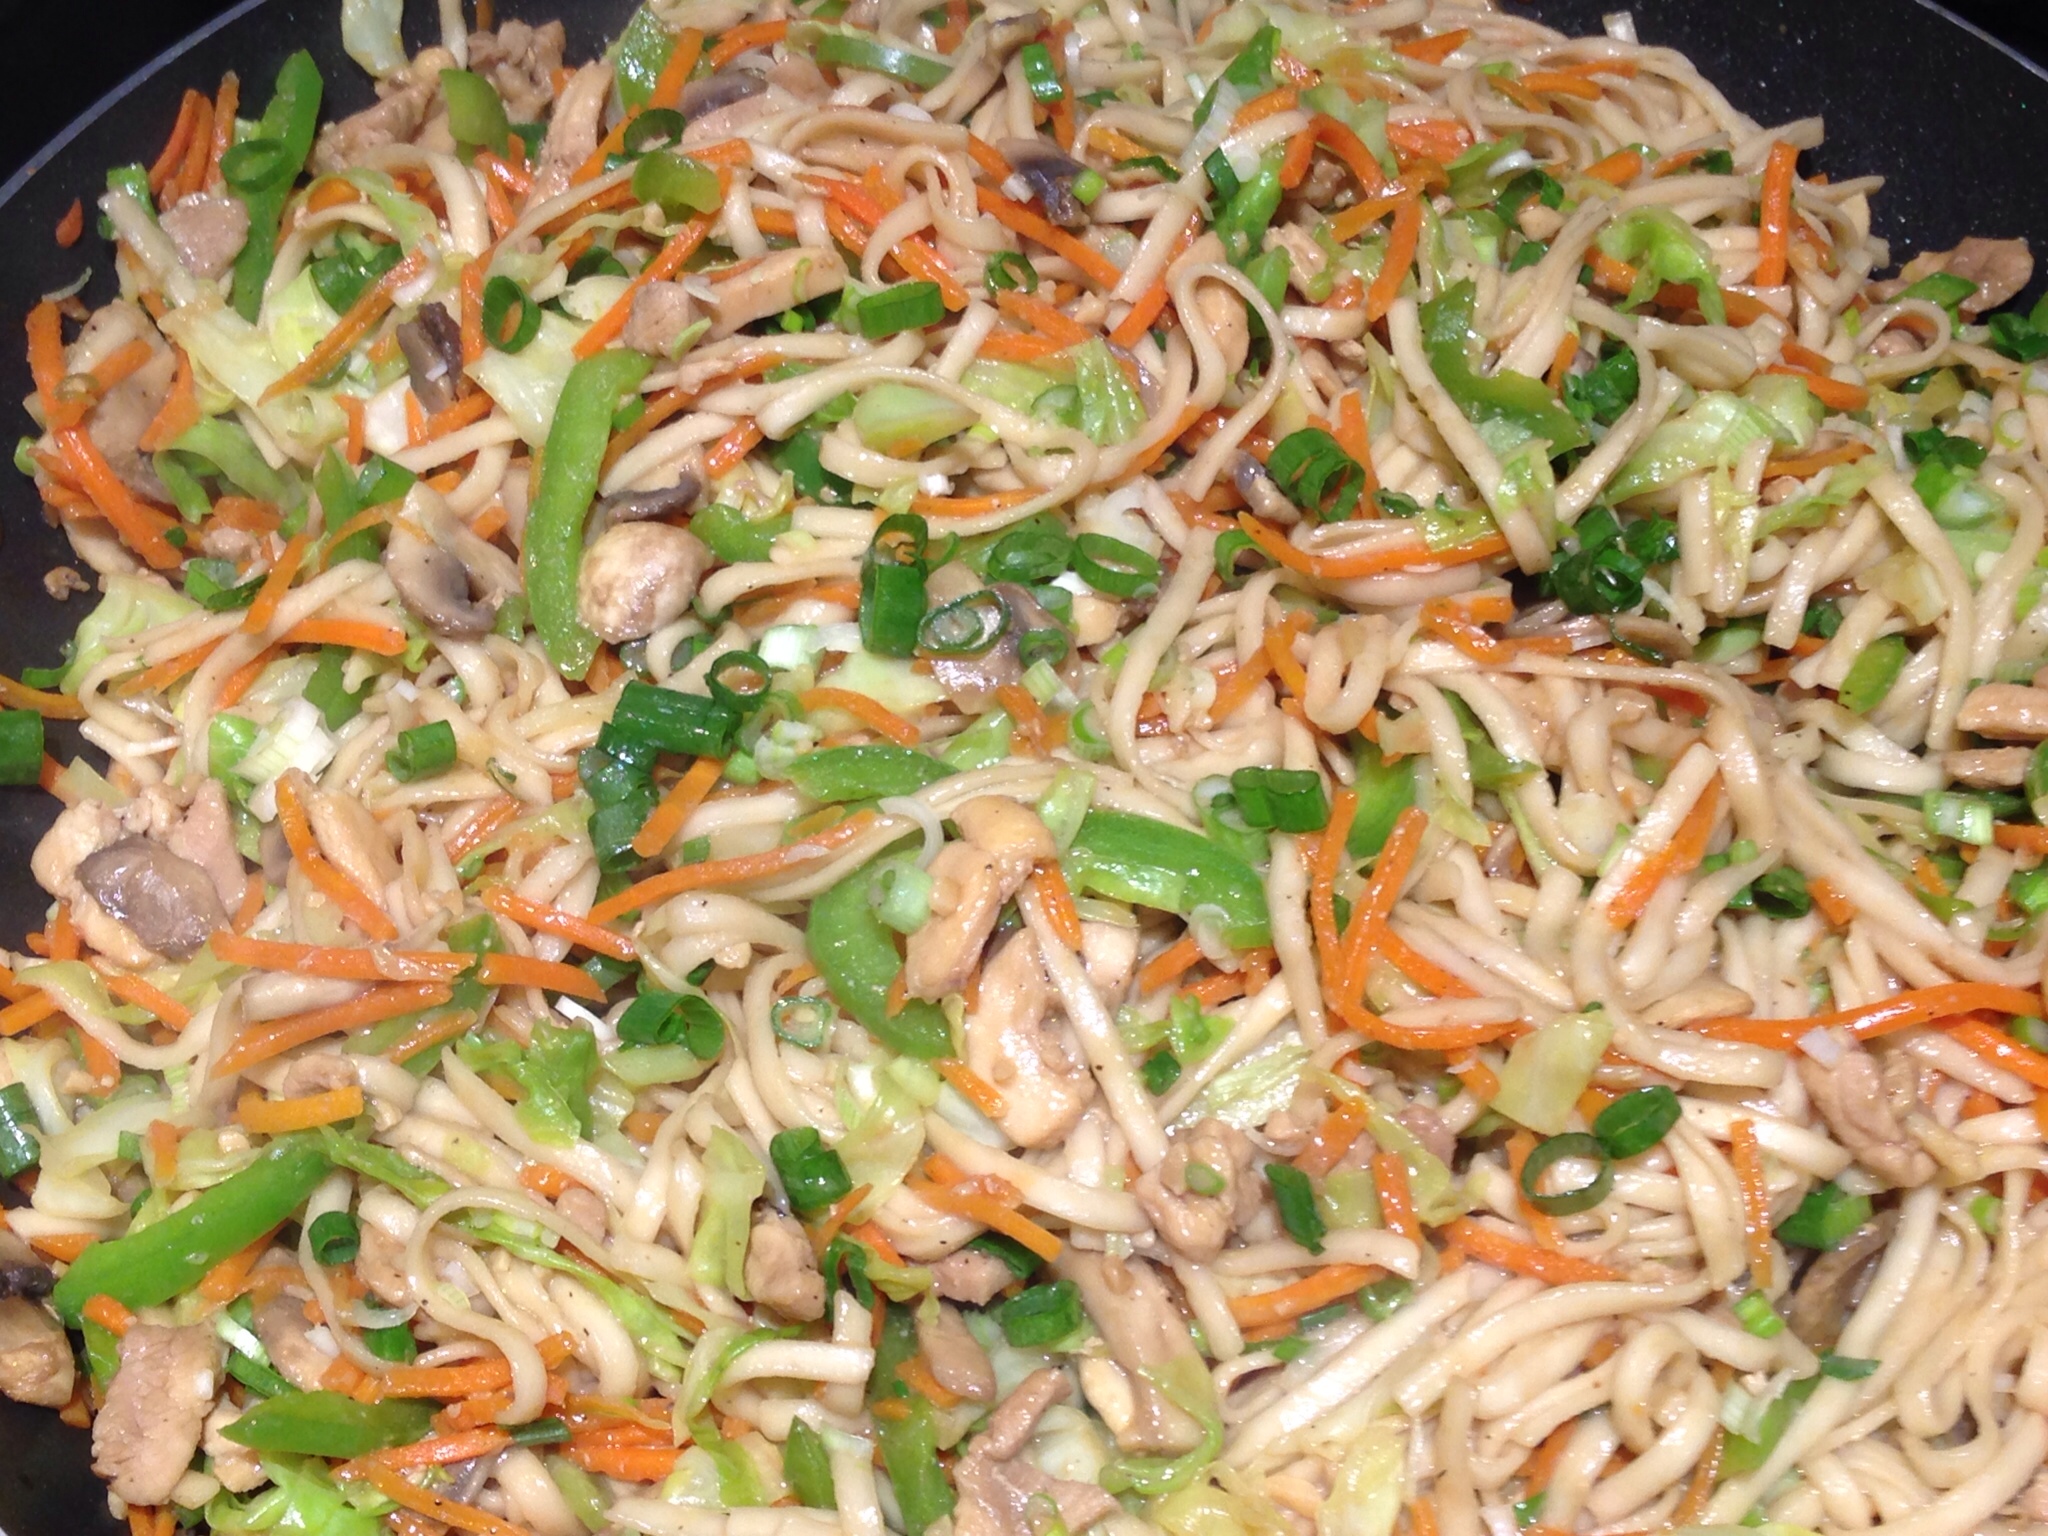
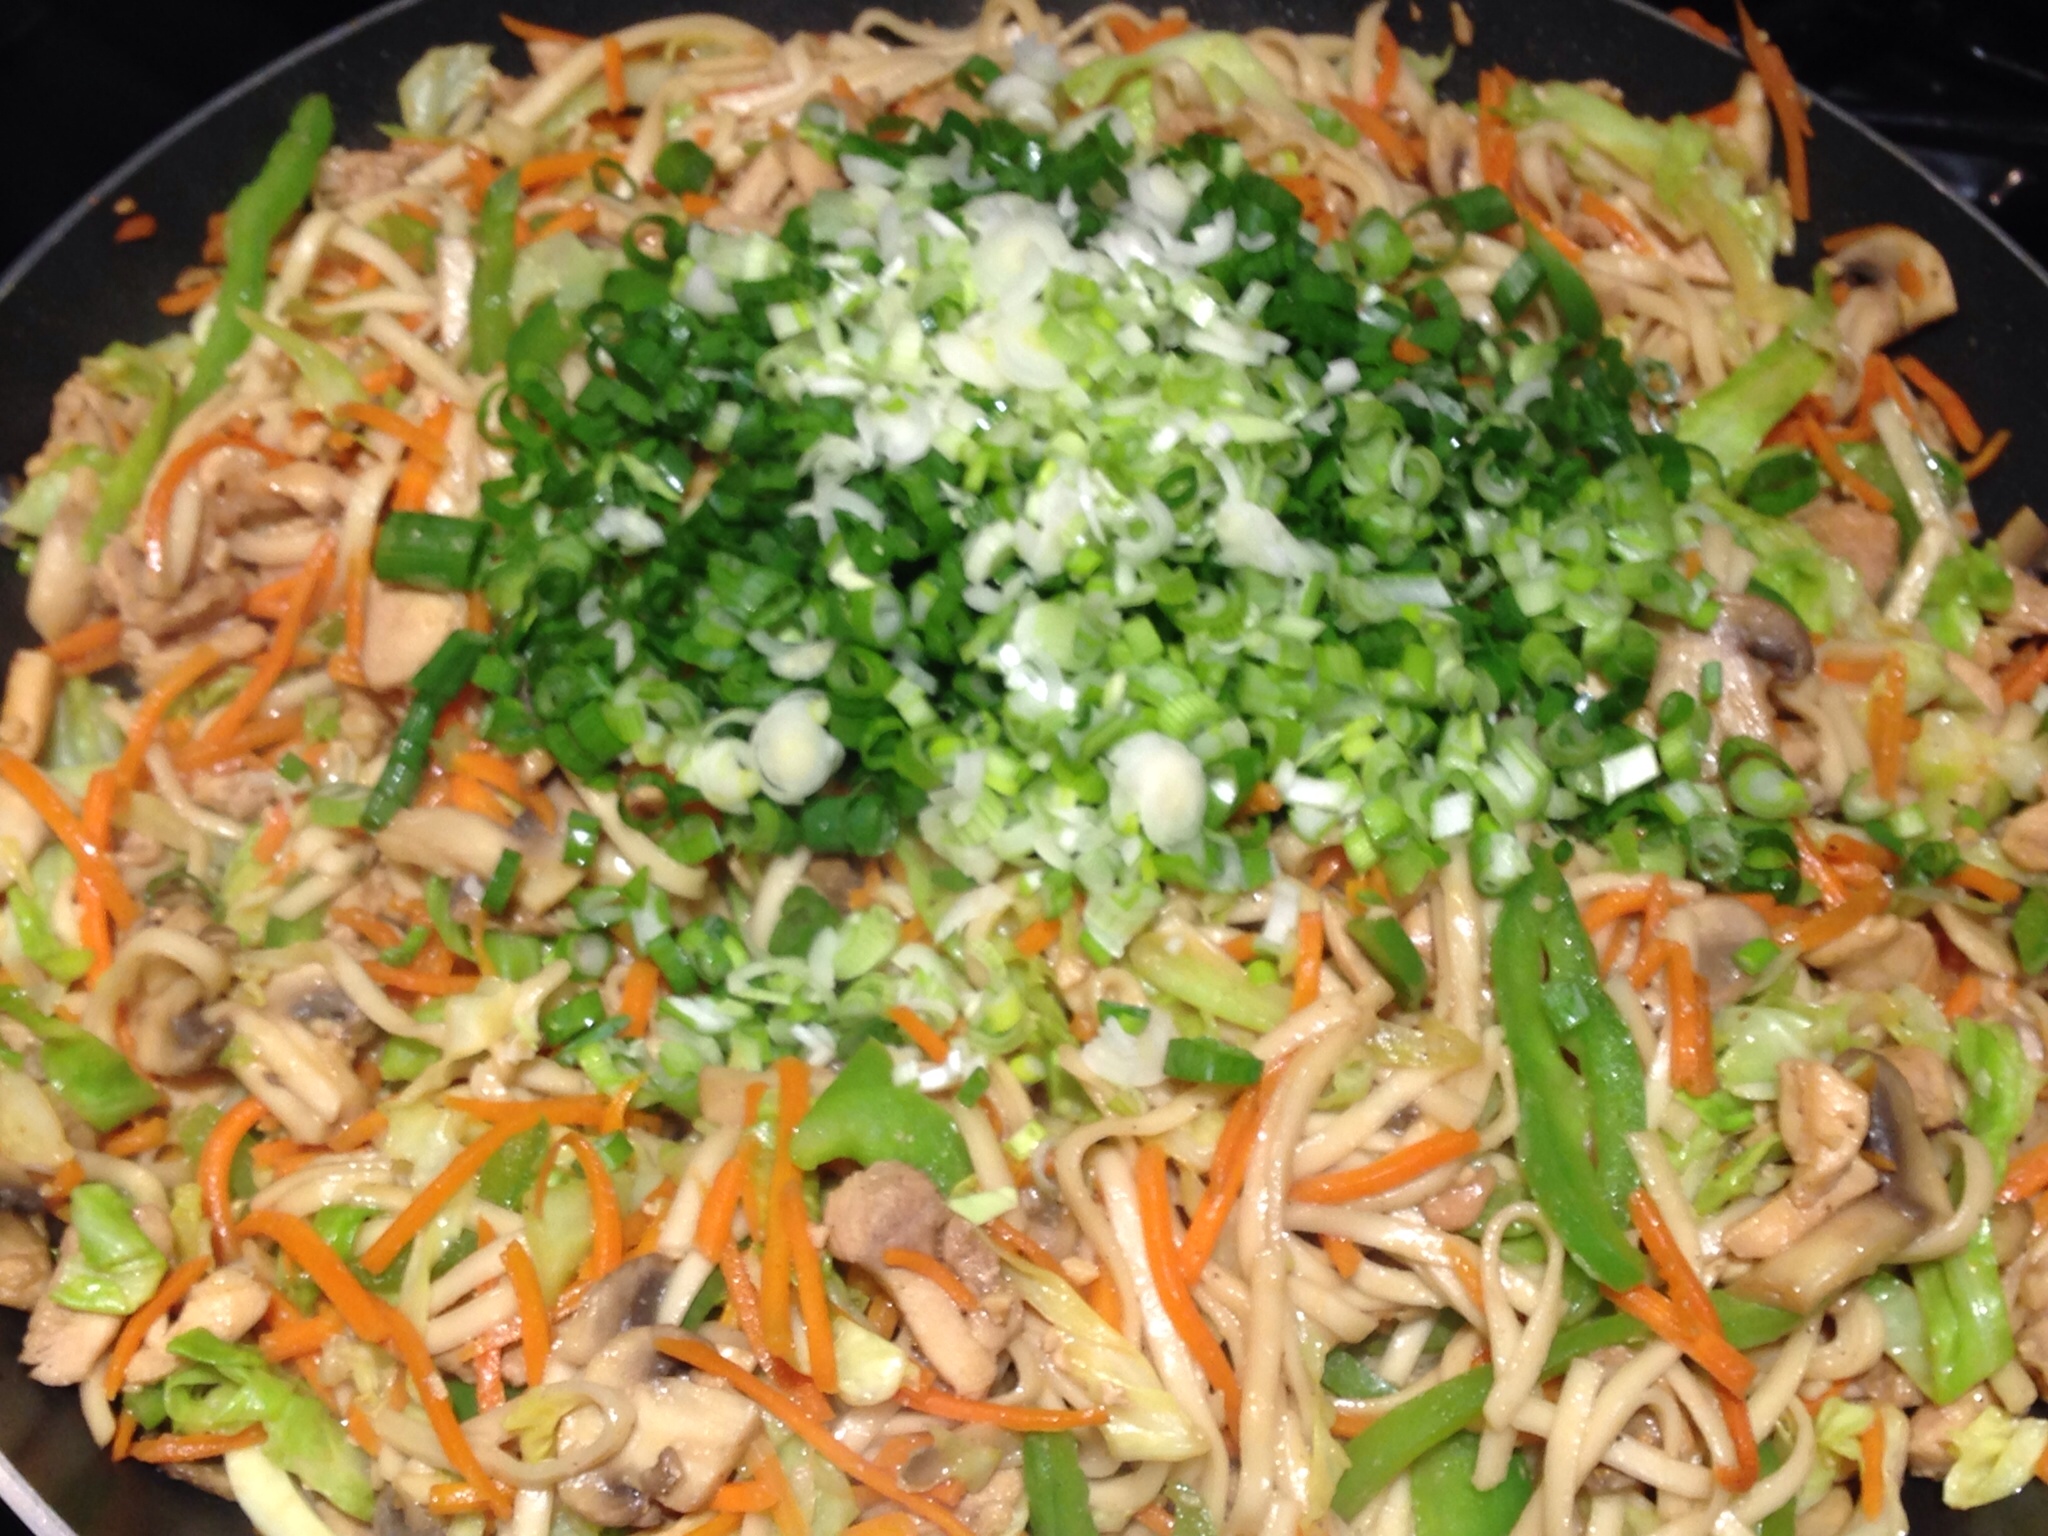
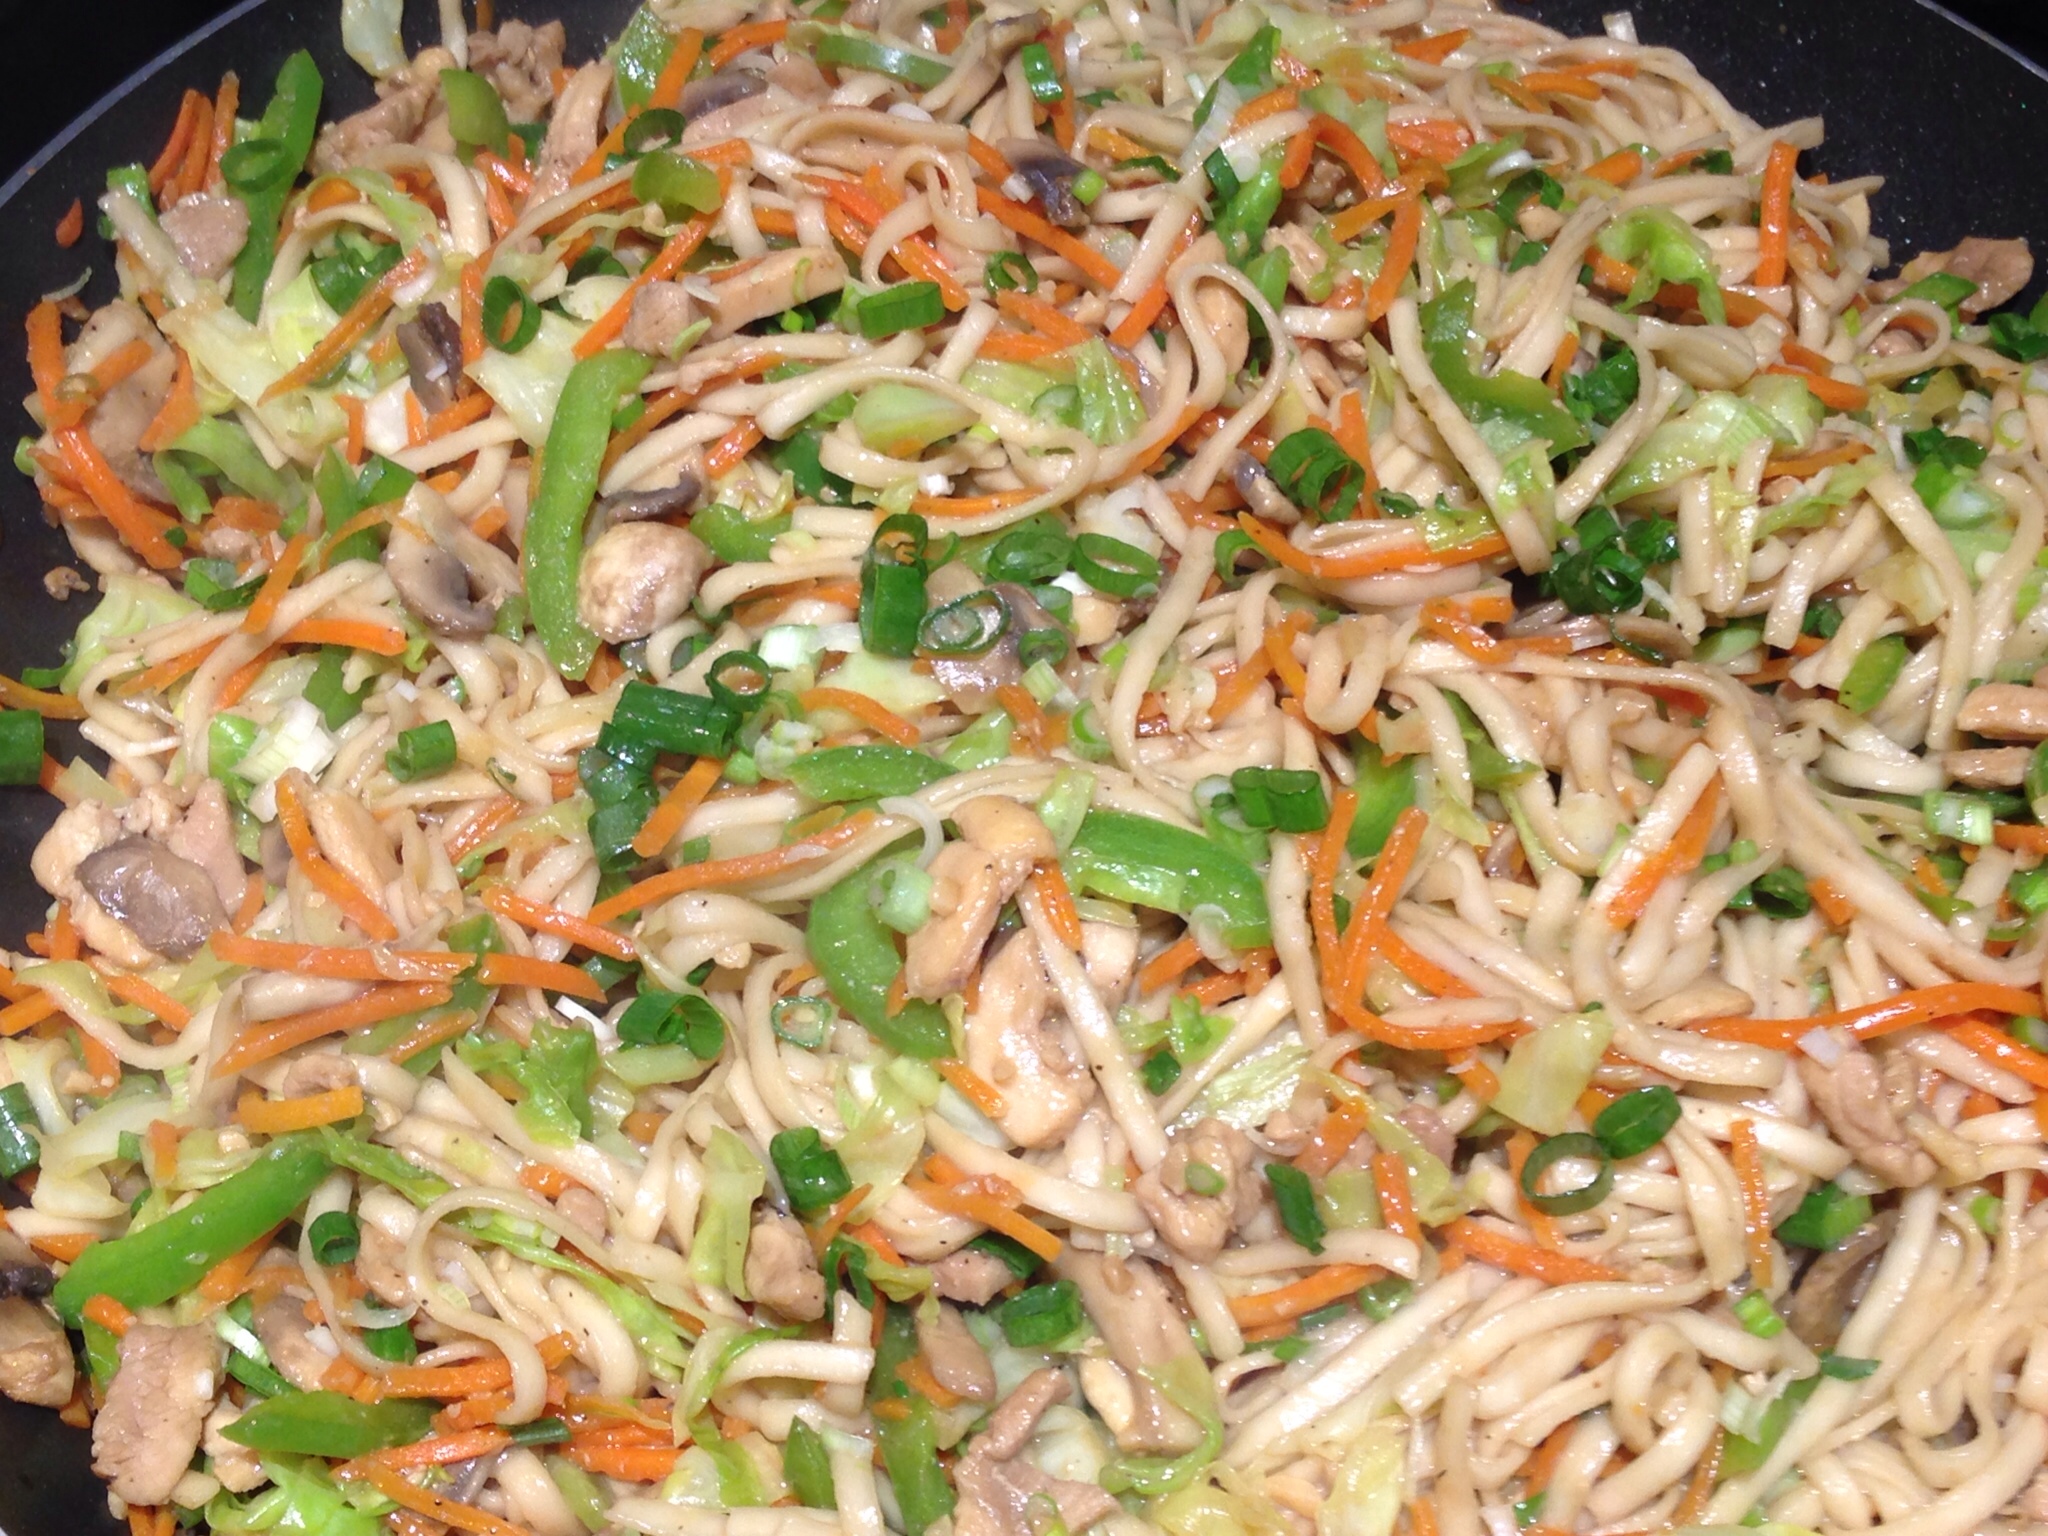
Chicken Stir Fry with Udon Noodles

According to Chinese folklore, noodles represent long life and good health. So, here’s my contribution to living a long, healthy life! 🙂

All kidding aside, you can add this recipe to you list of healthy options by changing up a few of the ingredients (read more below for my healthy substitutions).

This also is another of those versatile dishes that can be changed up according to the vegetables and meat you prefer. The vegetables I add to this recipe vary depending on what looks most fresh in the grocery store.

Chicken Stir Fry with Udon Noodles

INGREDIENTS:

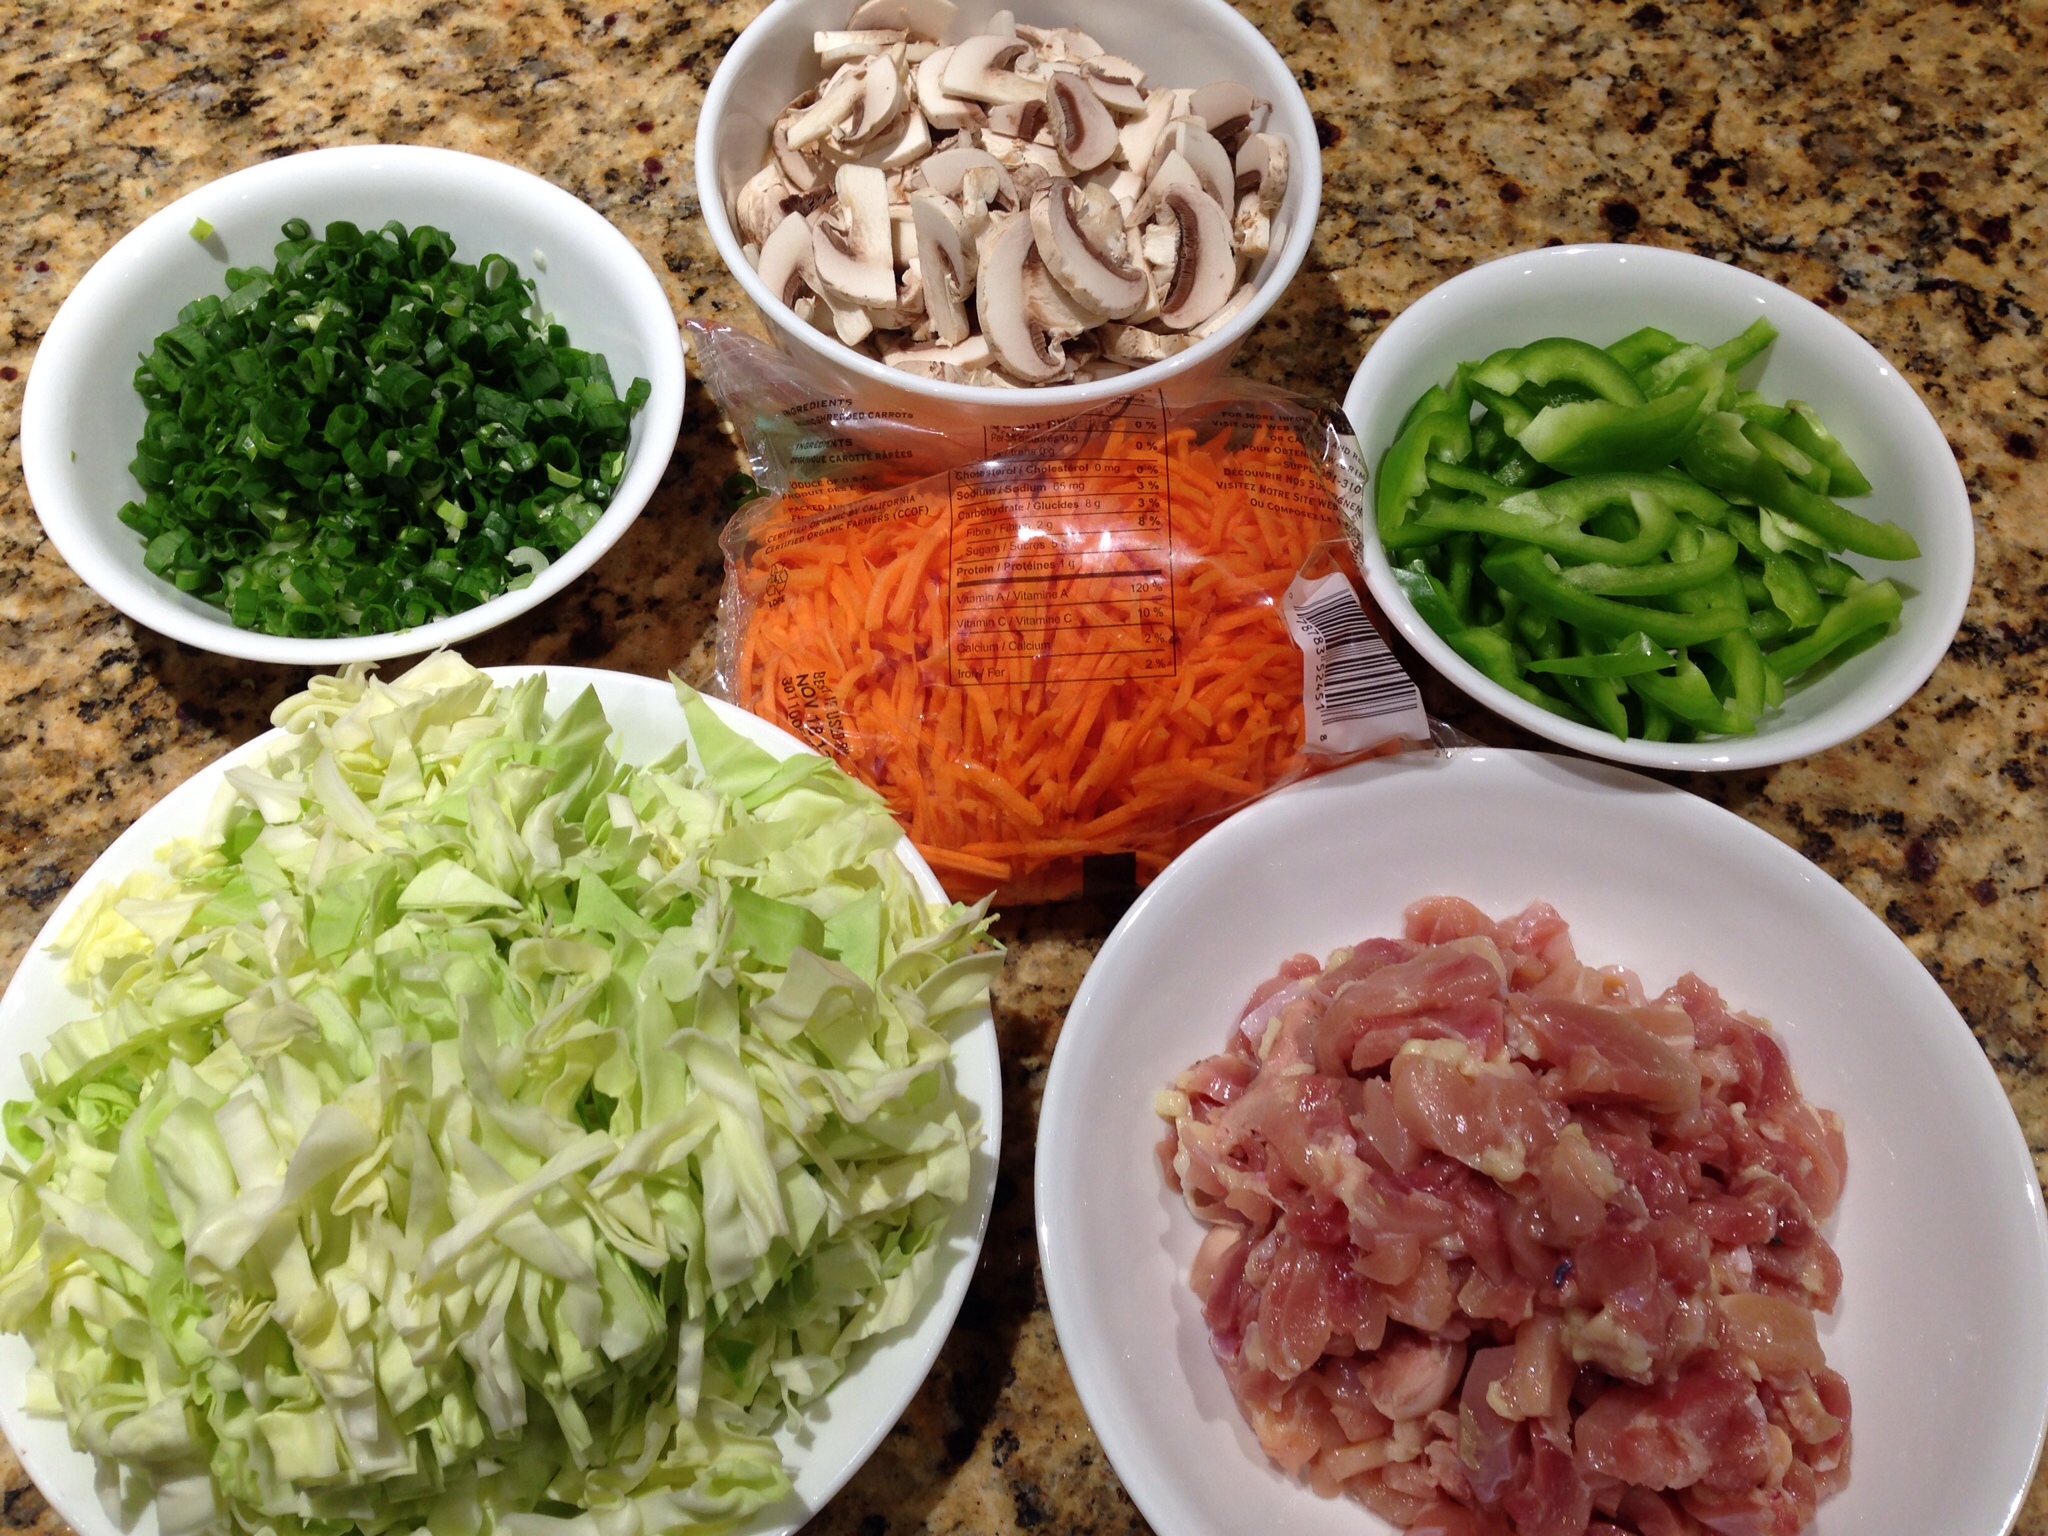
  • 6 chicken thighs (or 2 chicken breasts if you want a healthier version)
  • 1 small head of cabbage
  • 4 stalks green onions
  • 1 package mushrooms
  • 1 green bell pepper
  • 1 package pre-cut carrots
  • 1 package udon noodles
  • 1 tablespoon minced garlic
  • 1 teaspoon black pepper
  • 3 tablespoons hoisin sauce
  • 5 tablespoons soy sauce

DIRECTIONS:

Prepare the ingredients — thinly slice the chicken, cabbage, green onions, mushrooms and bell pepper.

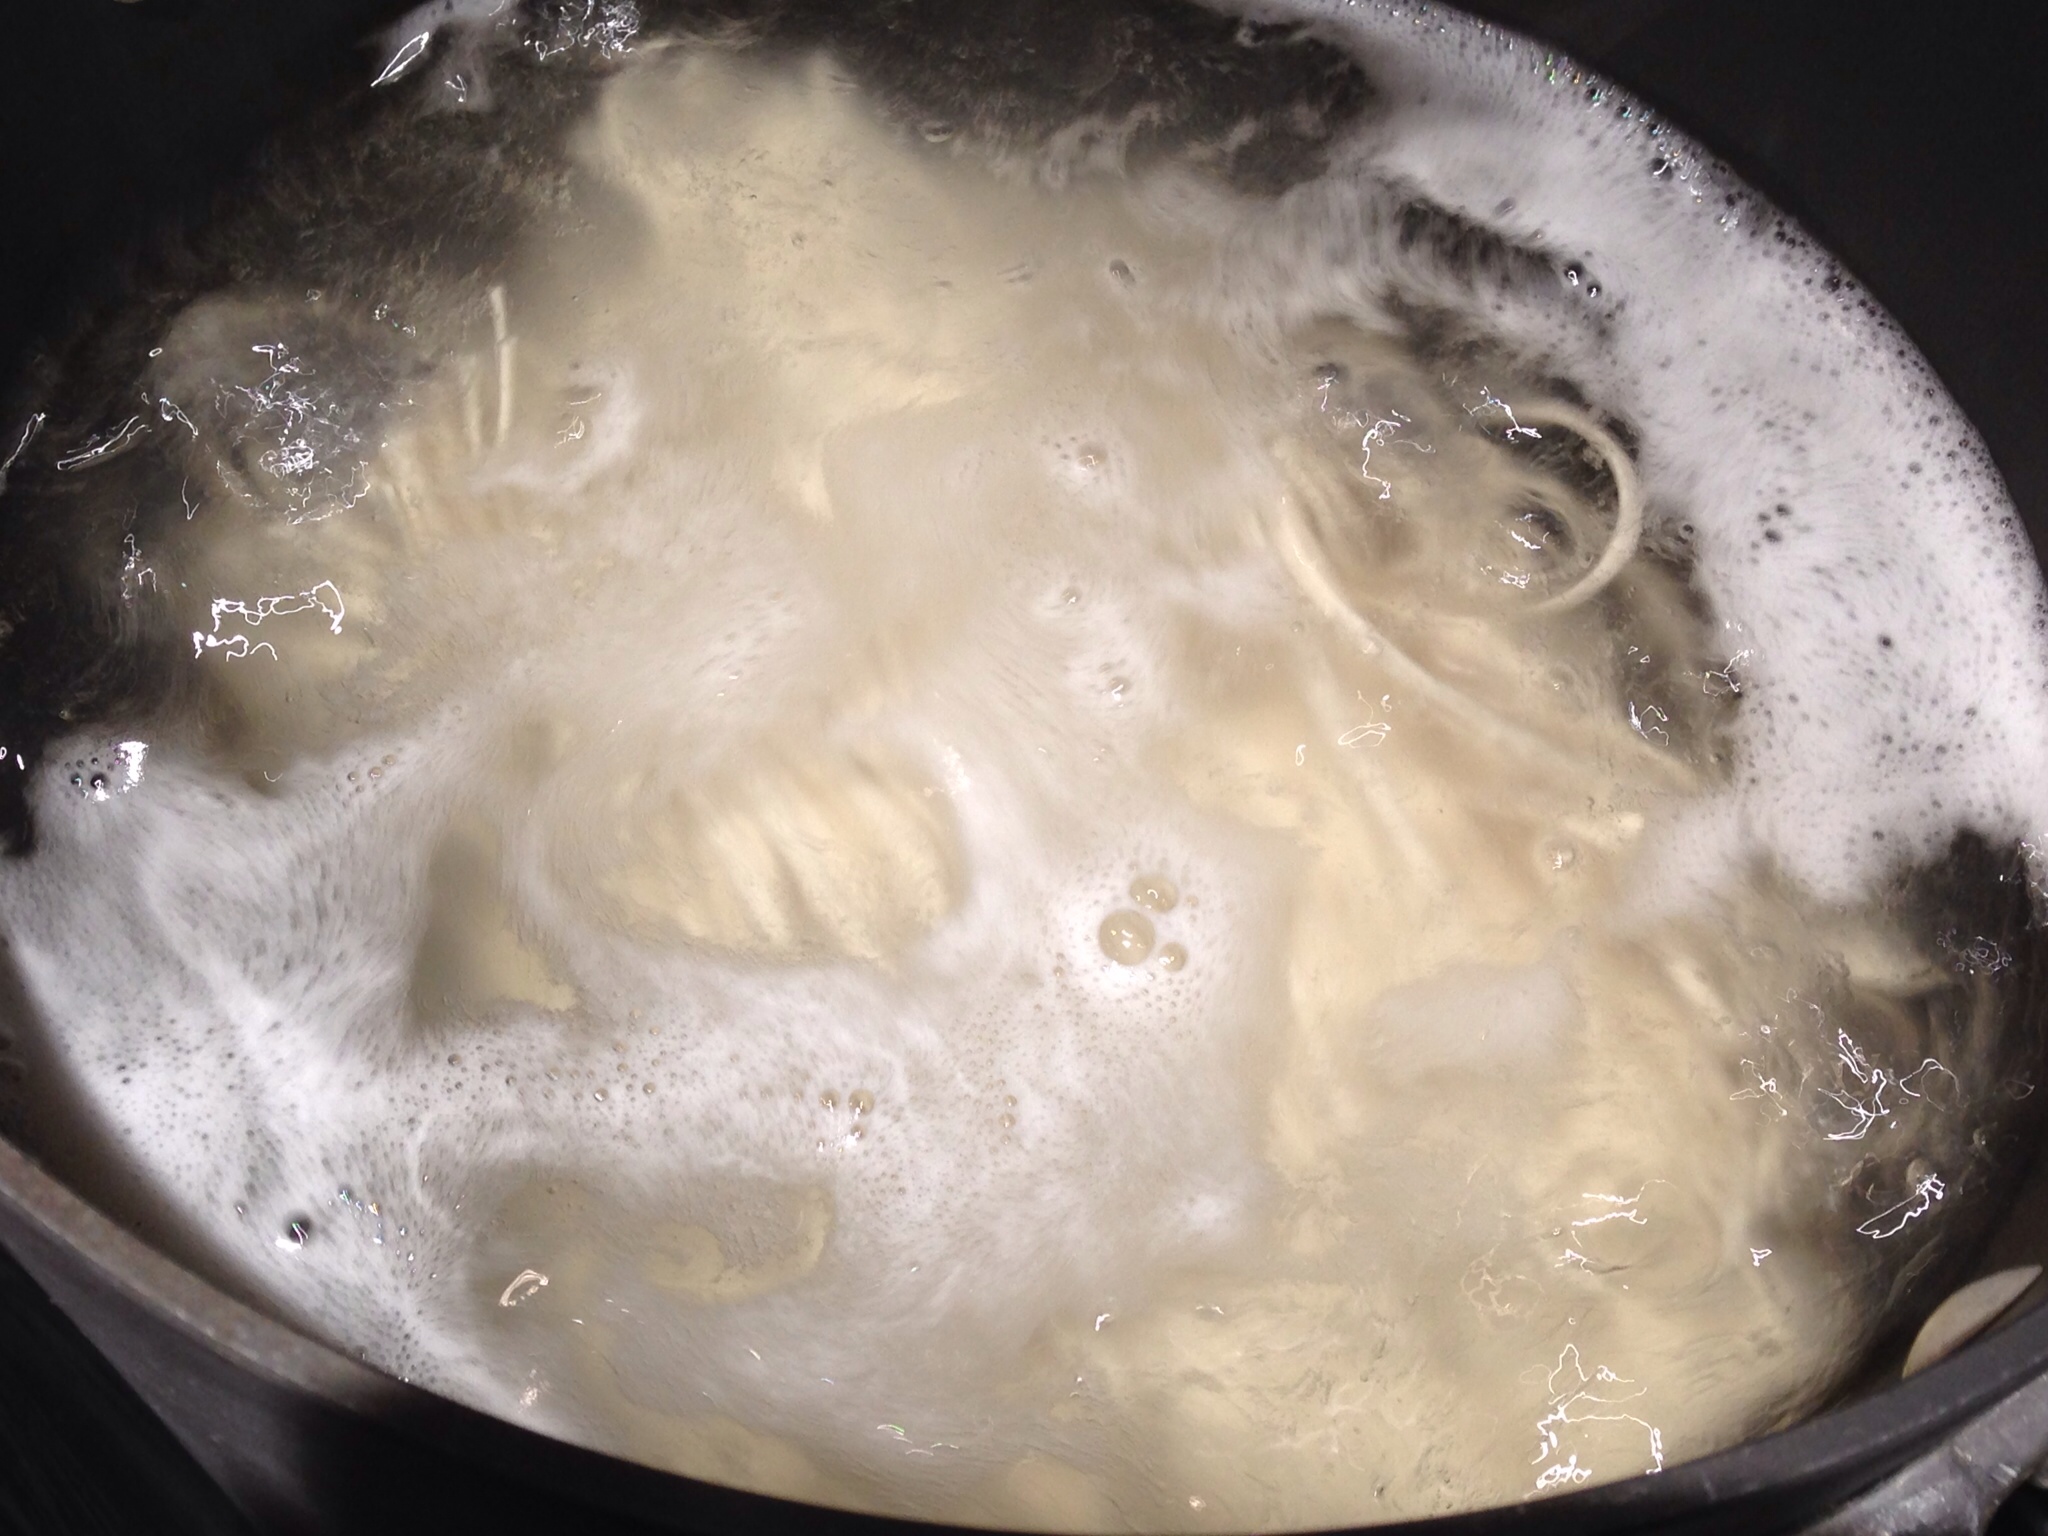
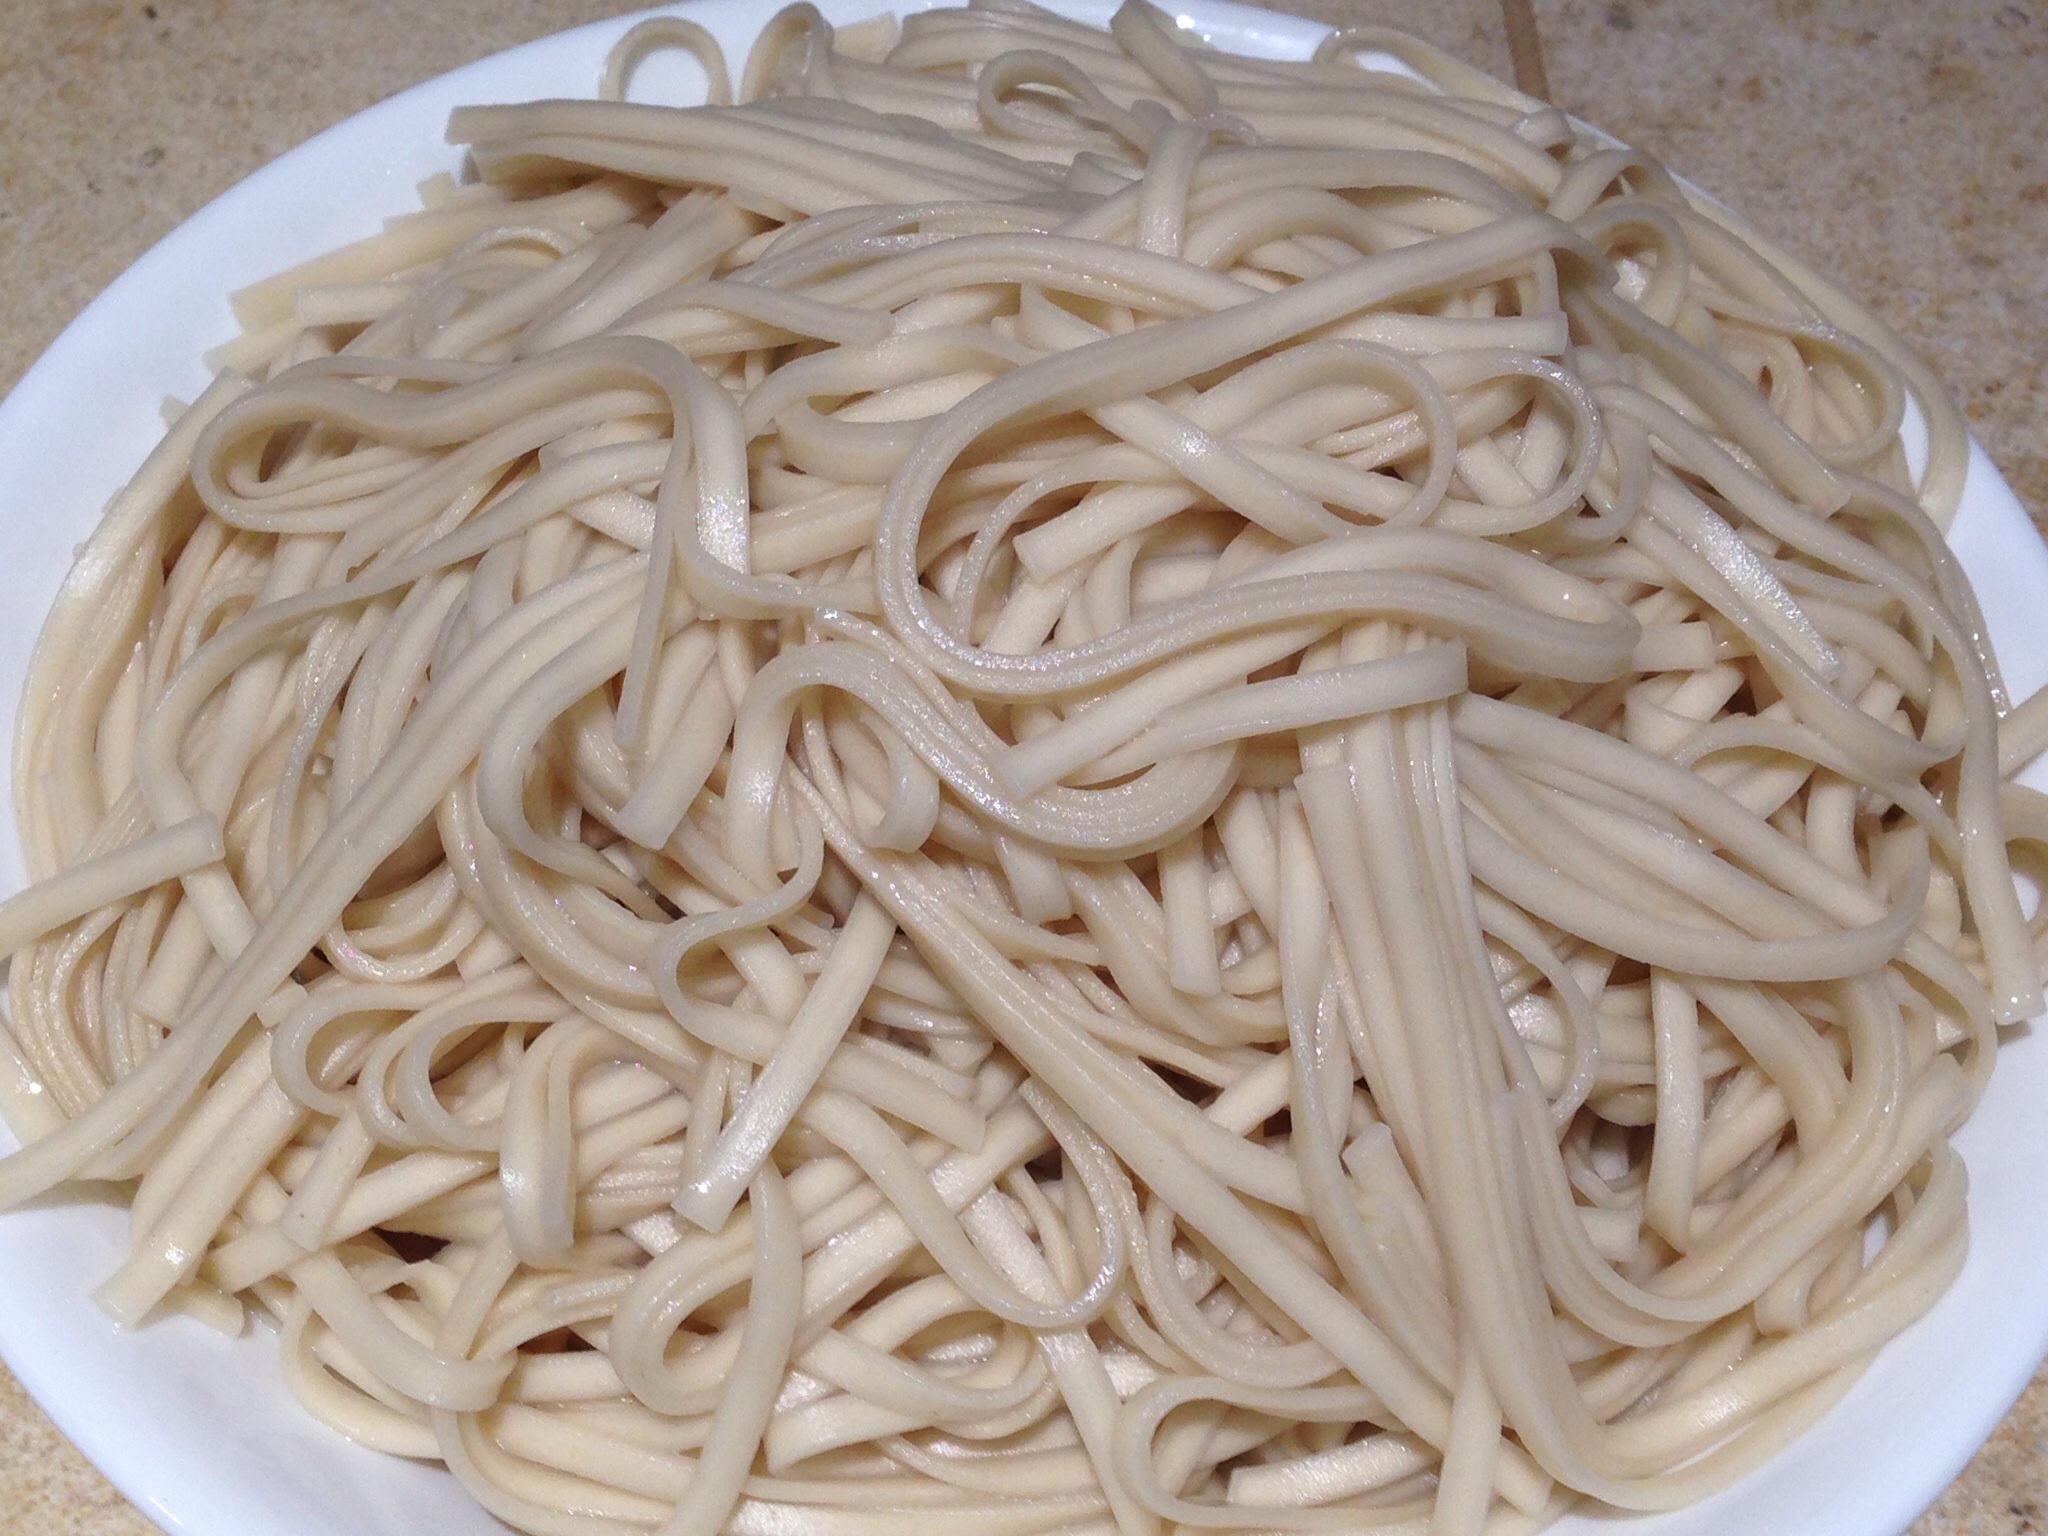
Cook the noodles according to the directions on the package. You can substitute the udon noodles for a gluten-free or whole wheat noodle of your choosing.

Set the cooked noodles aside.

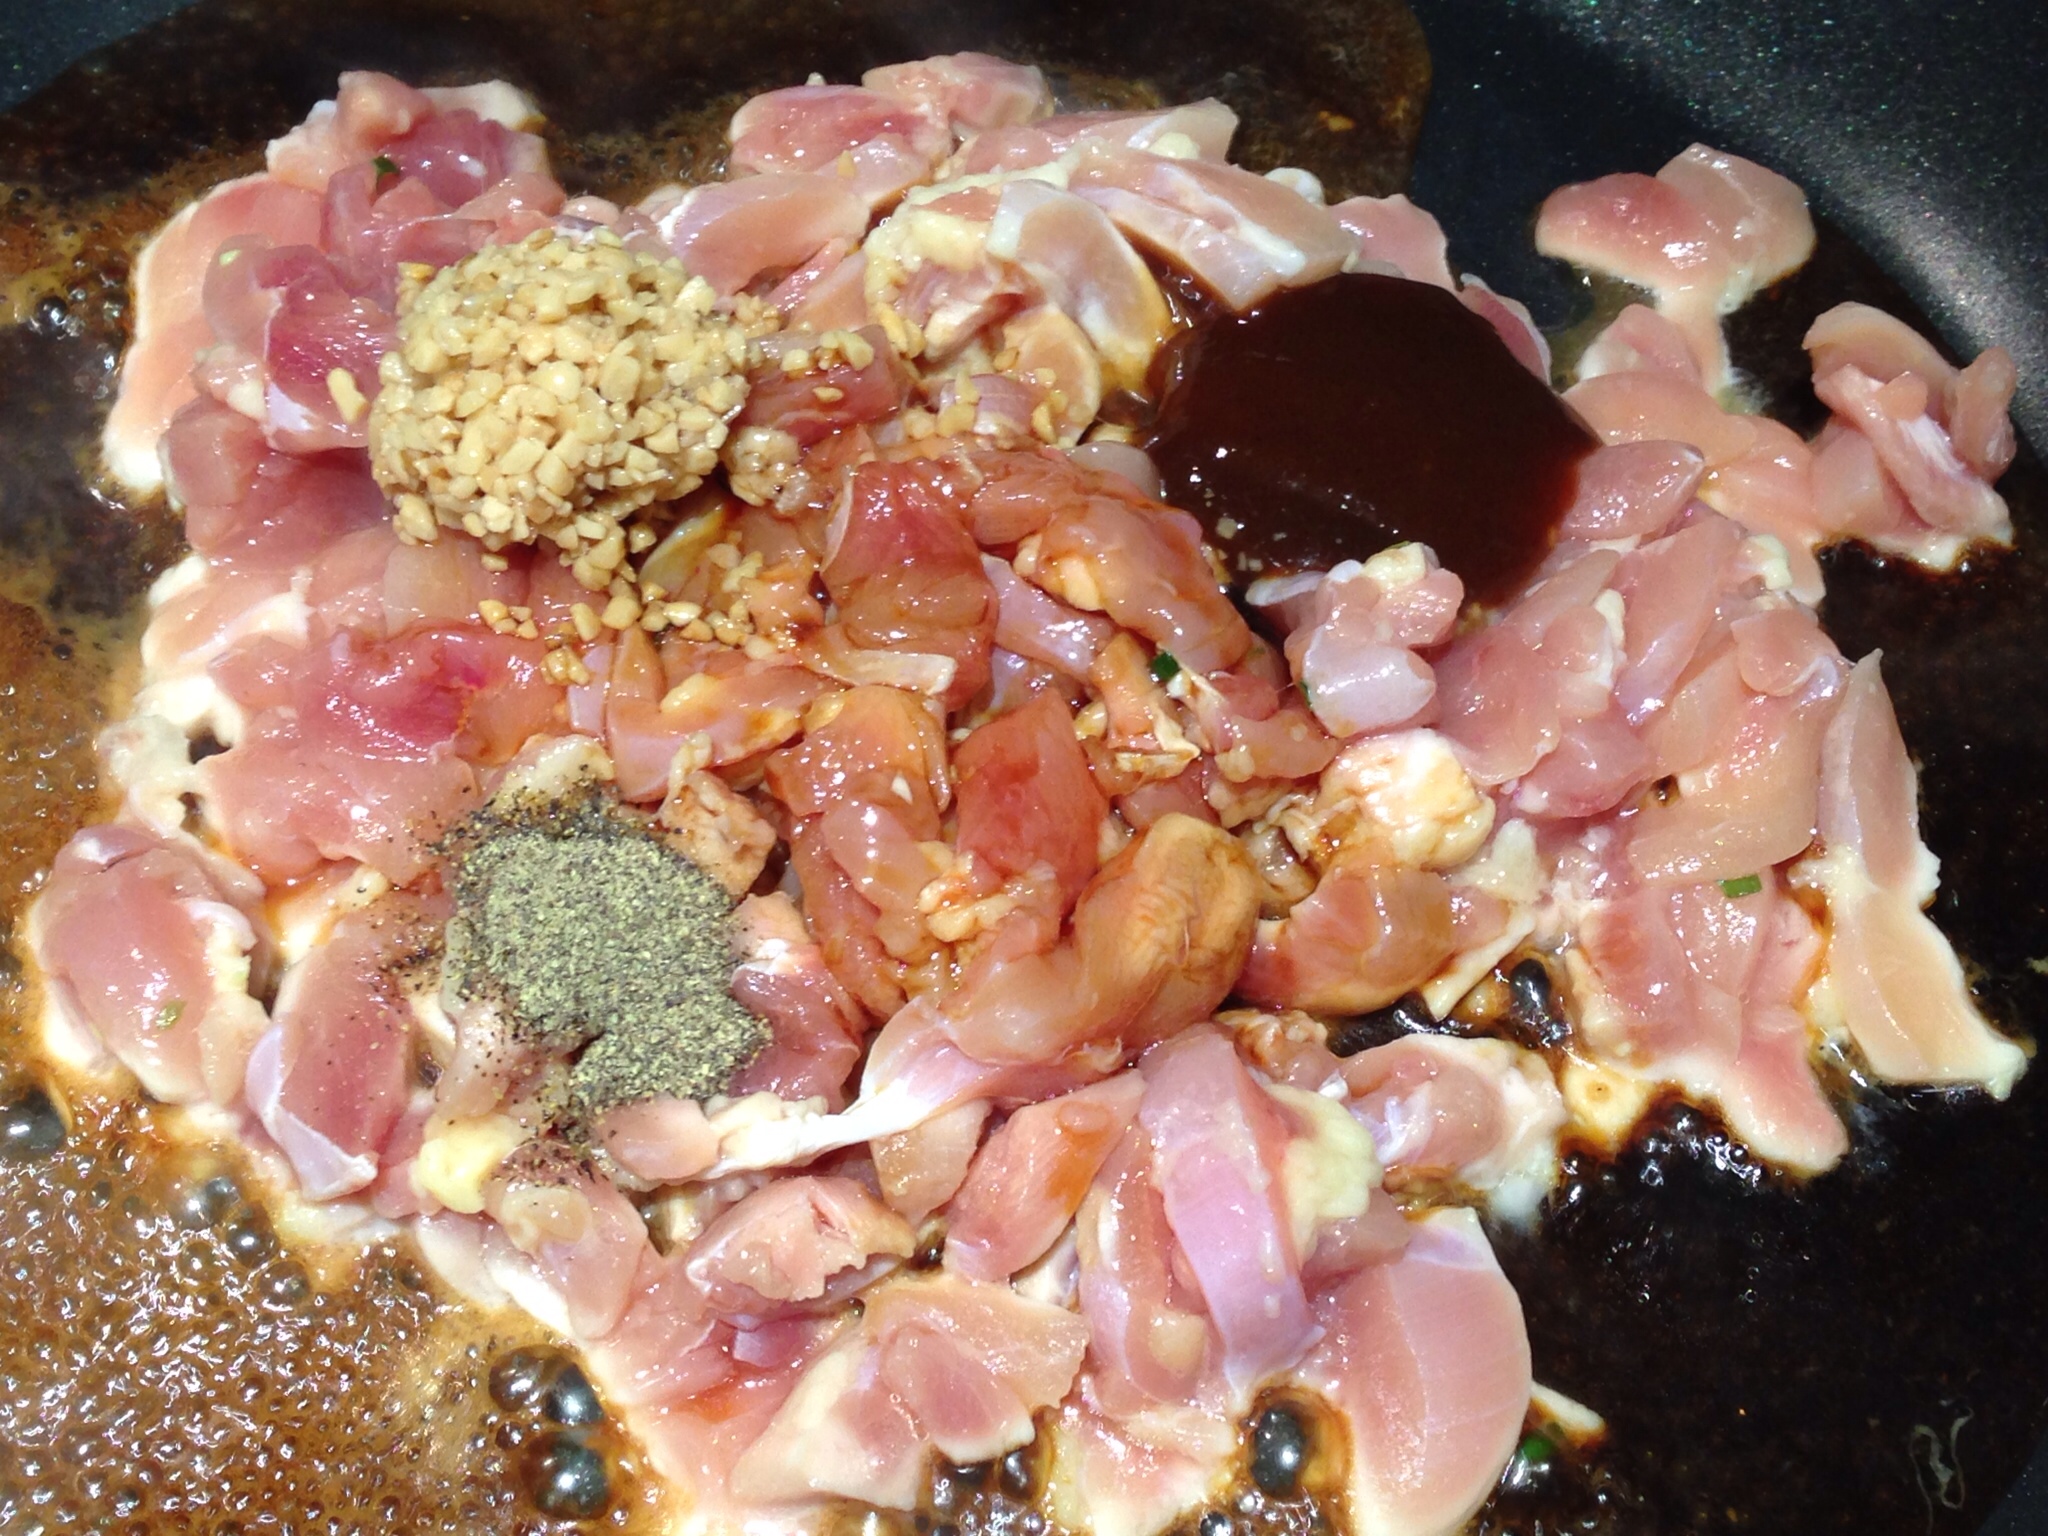
Place the chicken in a large skillet over medium high heat. If you use a non-stick skillet, you do not need to add any oil to the pan, although a bit of sesame oil will add flavor to this dish.

Add the garlic, seasonings, hoisin sauce and soy sauce. To cut back on the sodium in this dish, cut the hoisin sauce in half and use low sodium soy sauce.

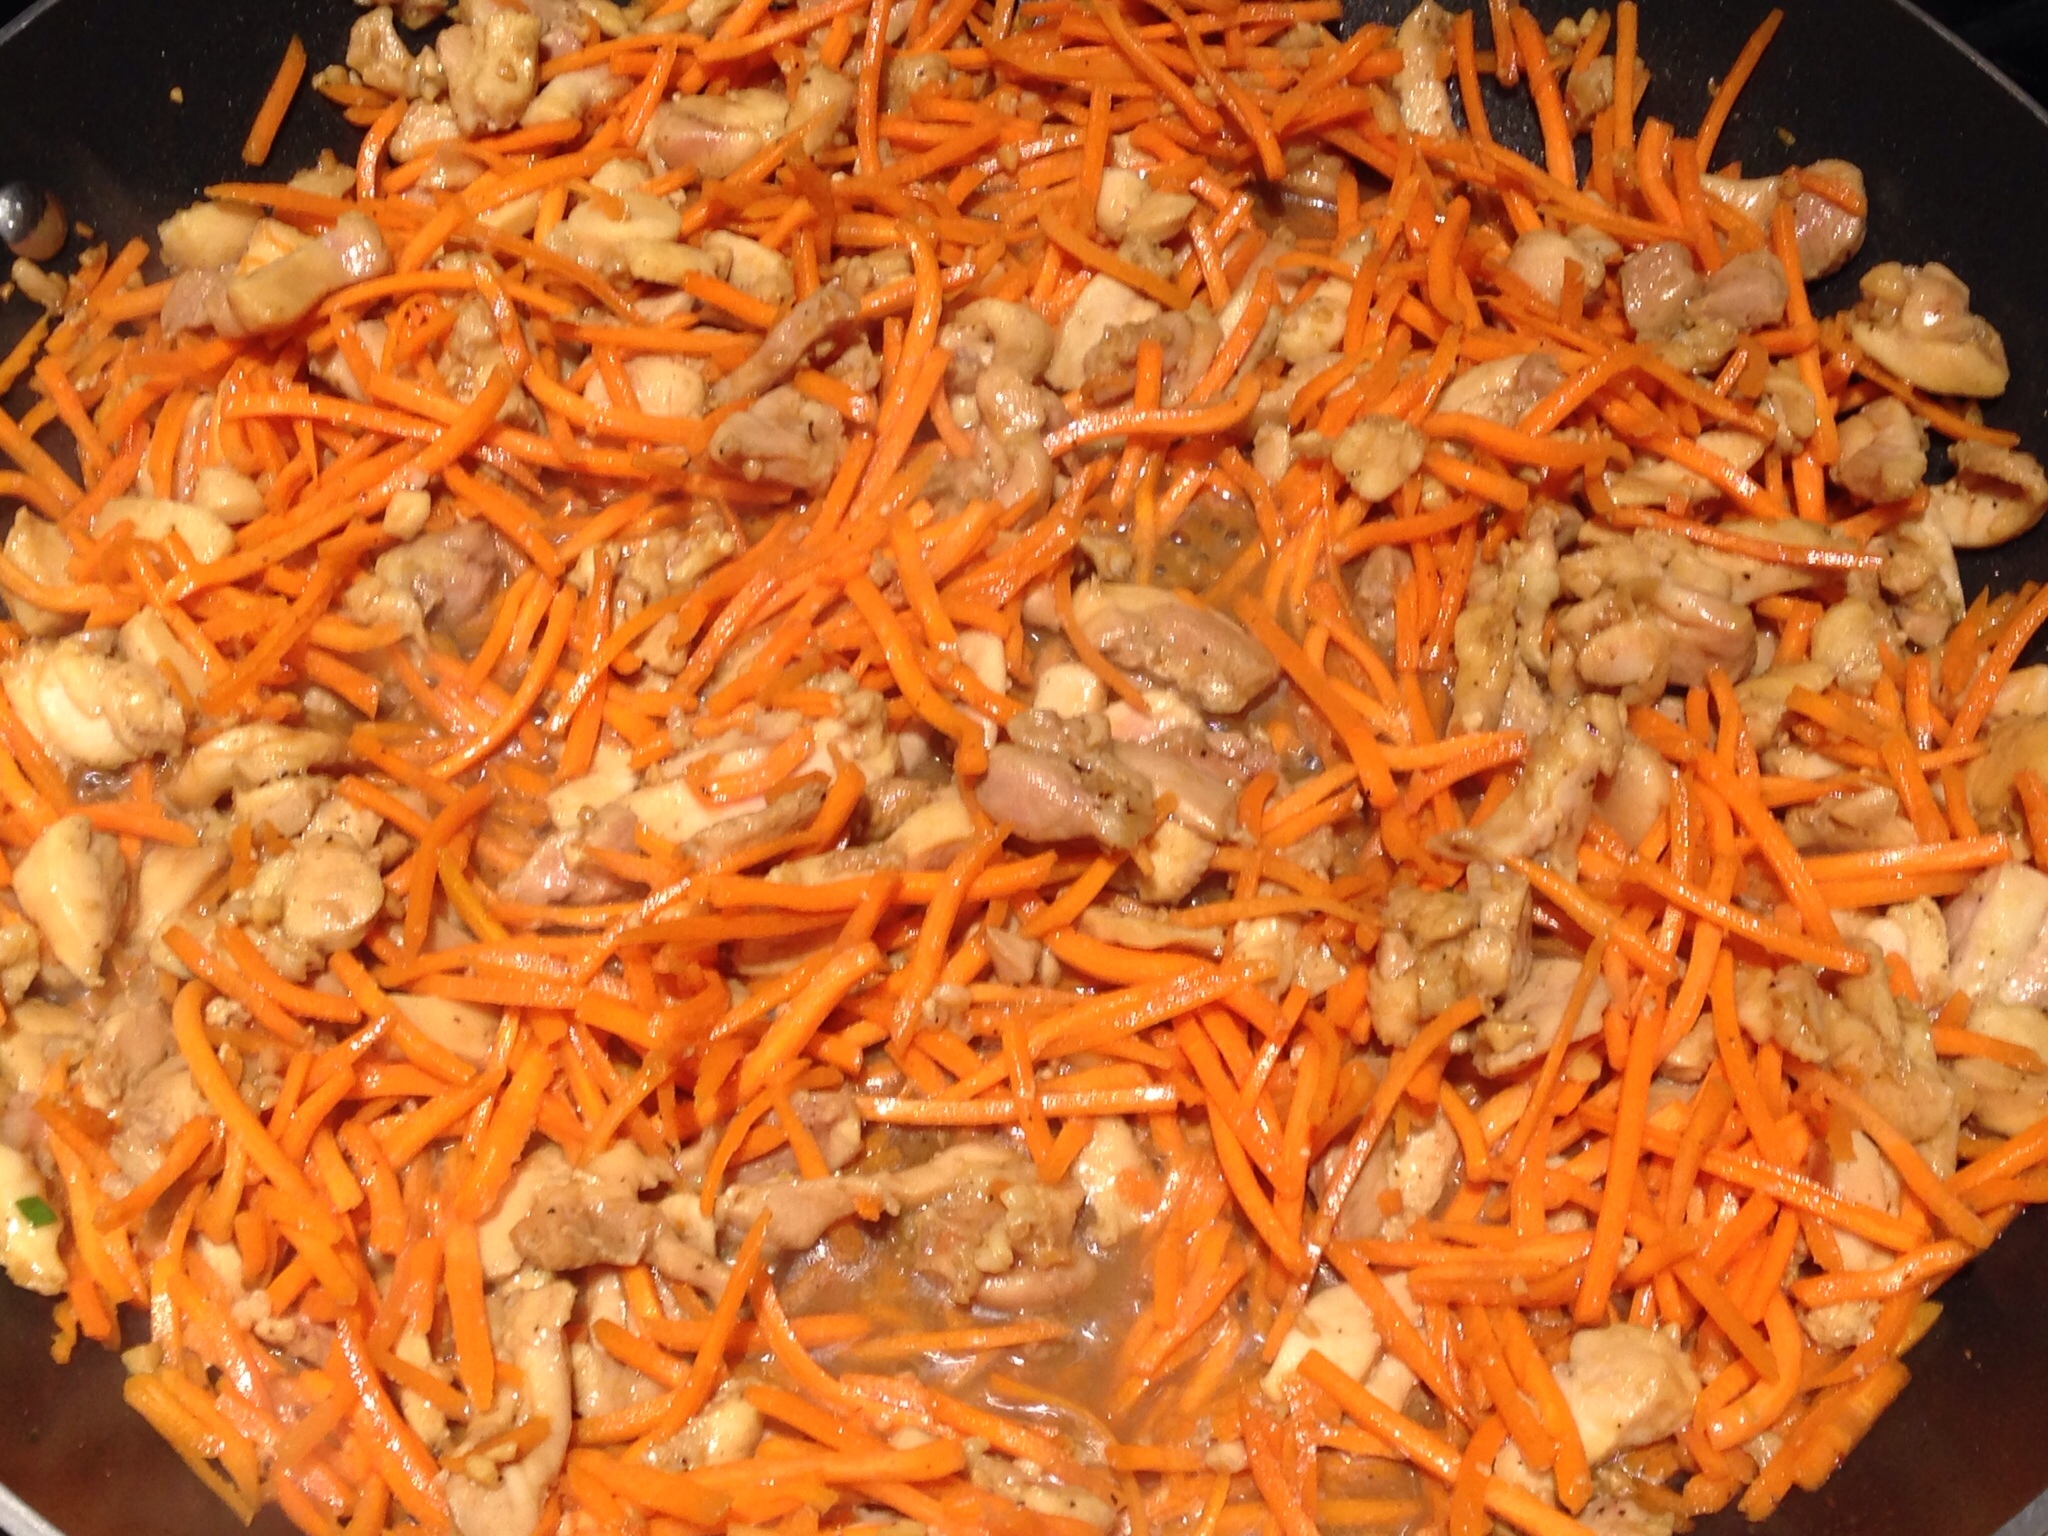
Add the carrots to the pan.

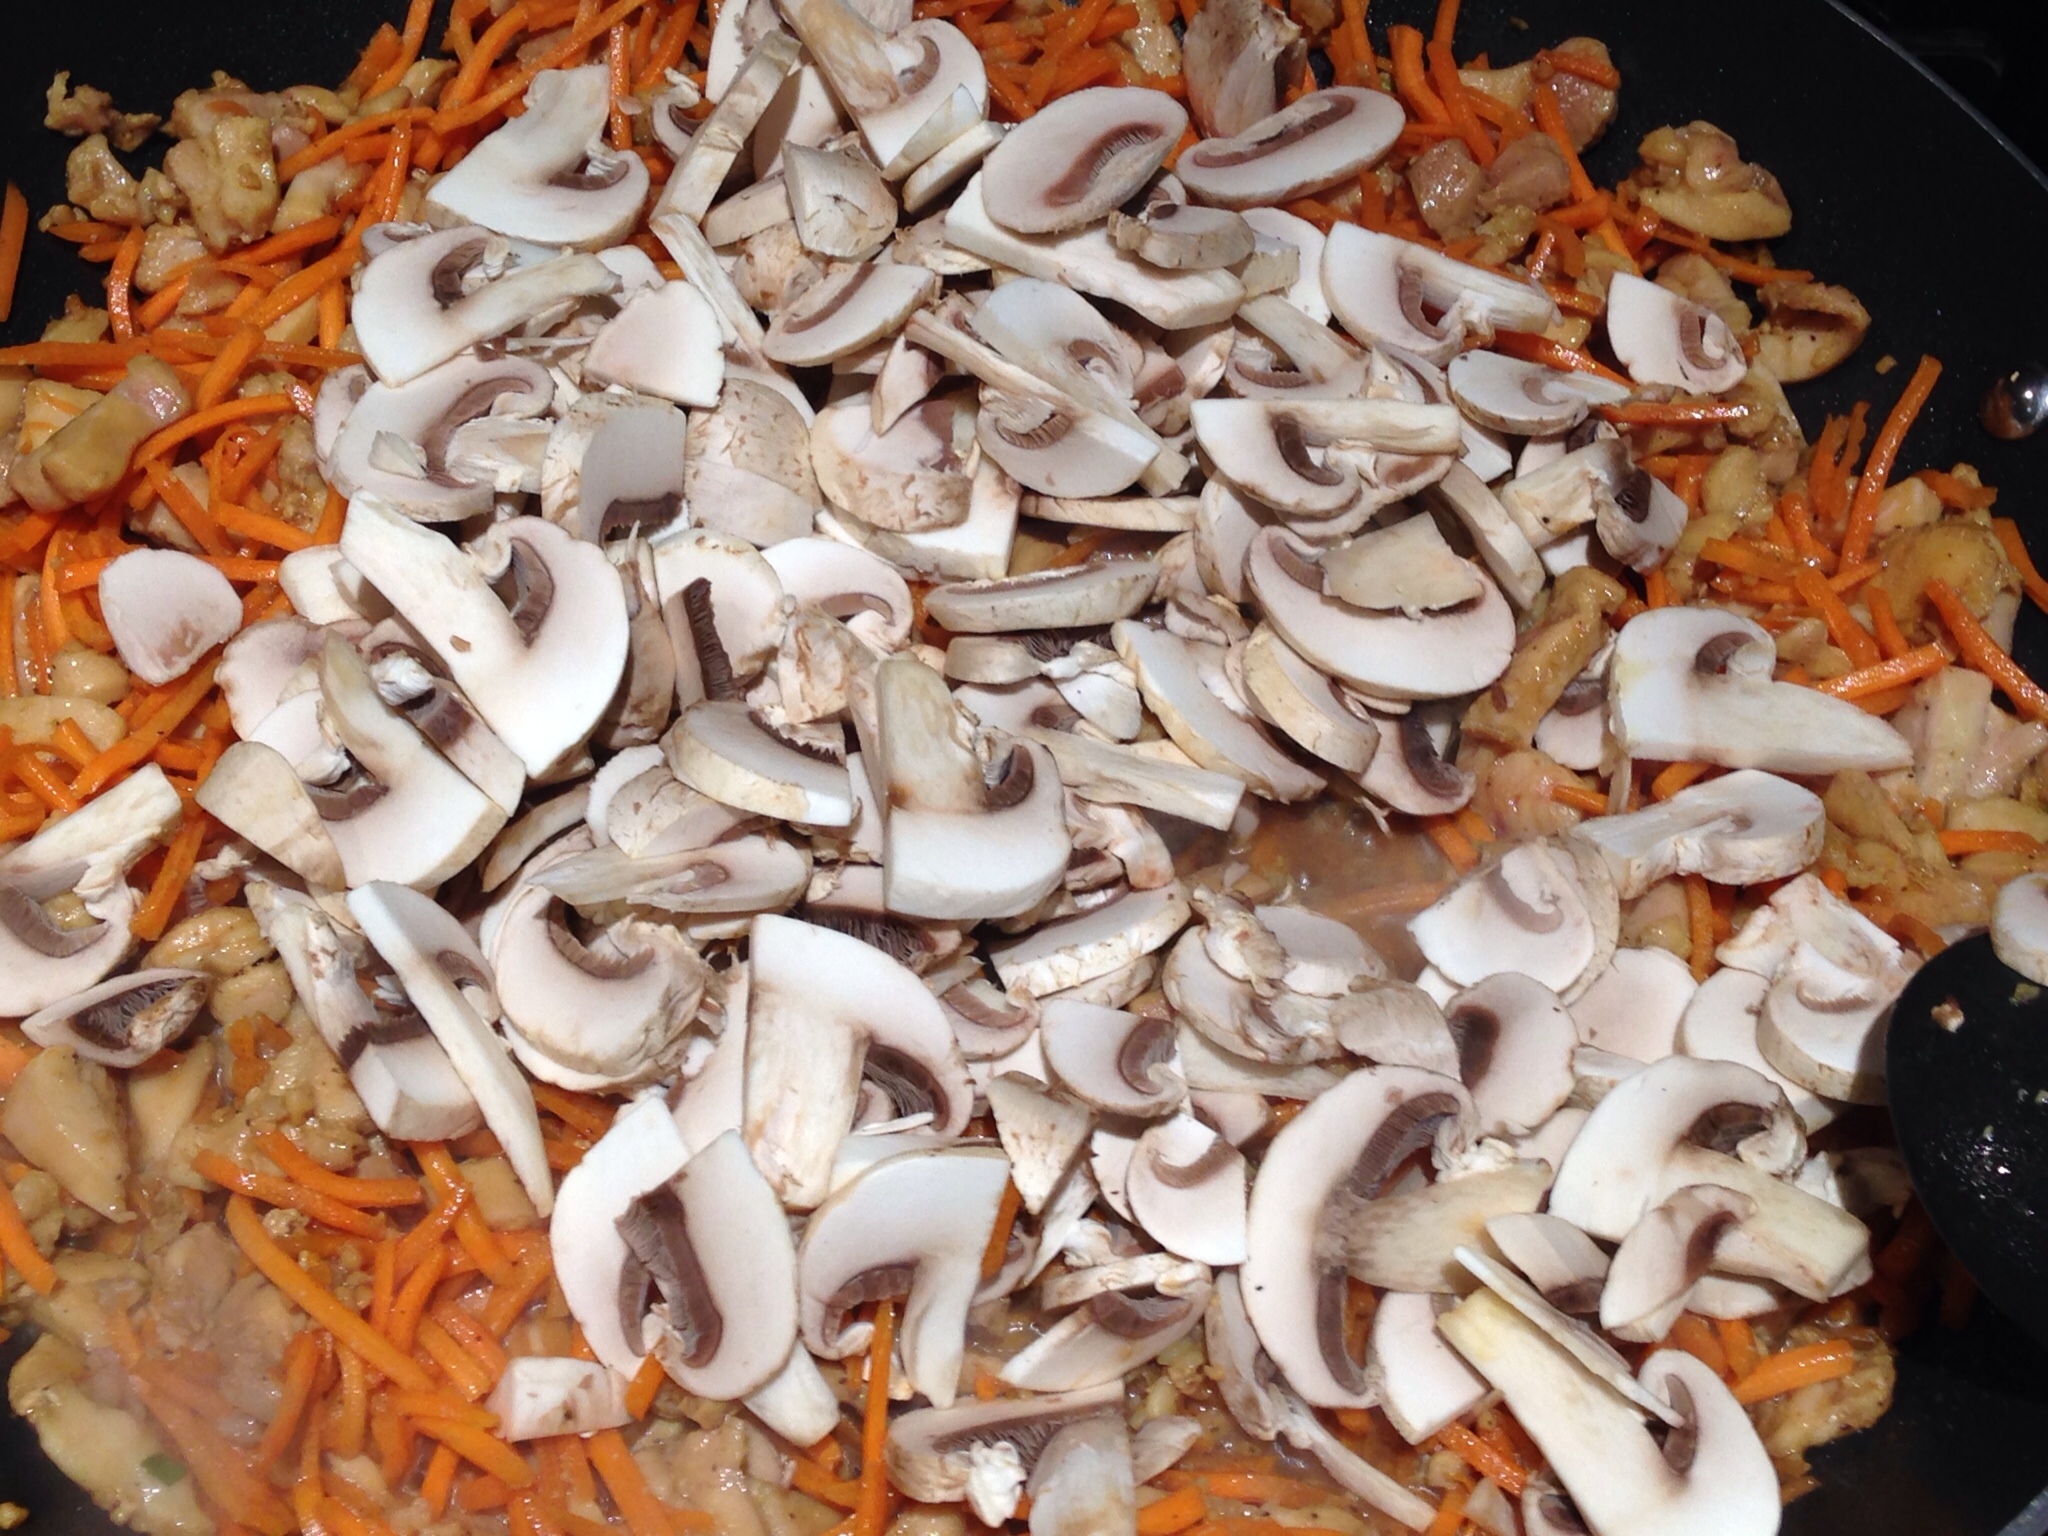
Add the sliced mushrooms to the pan.

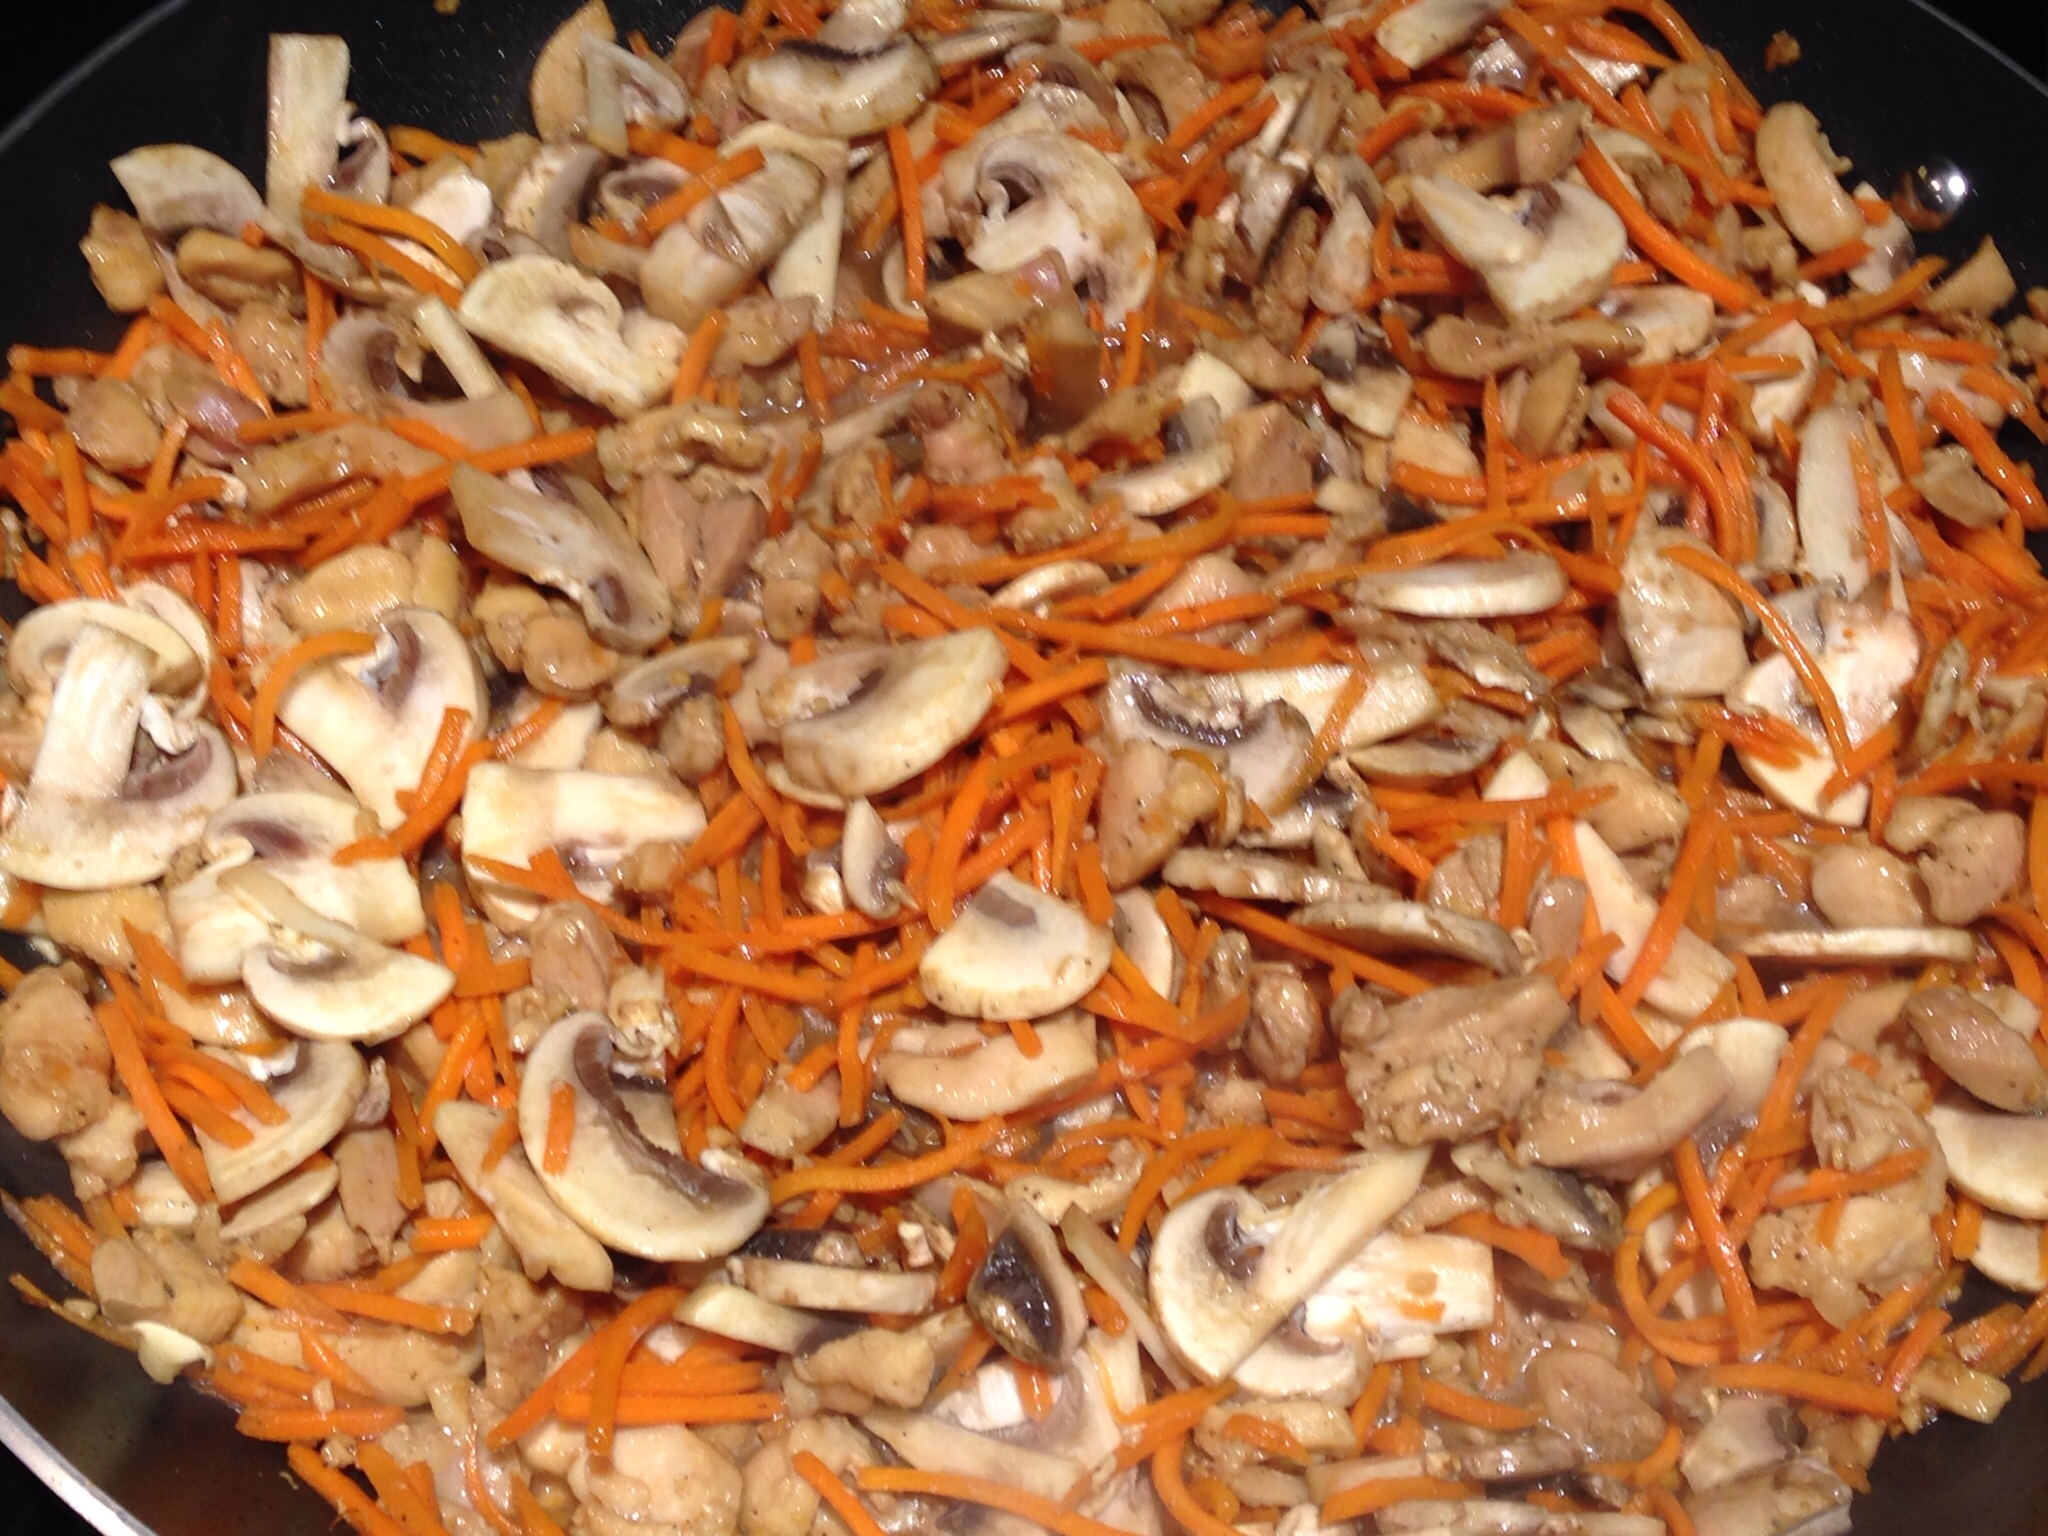
Stir to combine. Cook for a couple of minutes.

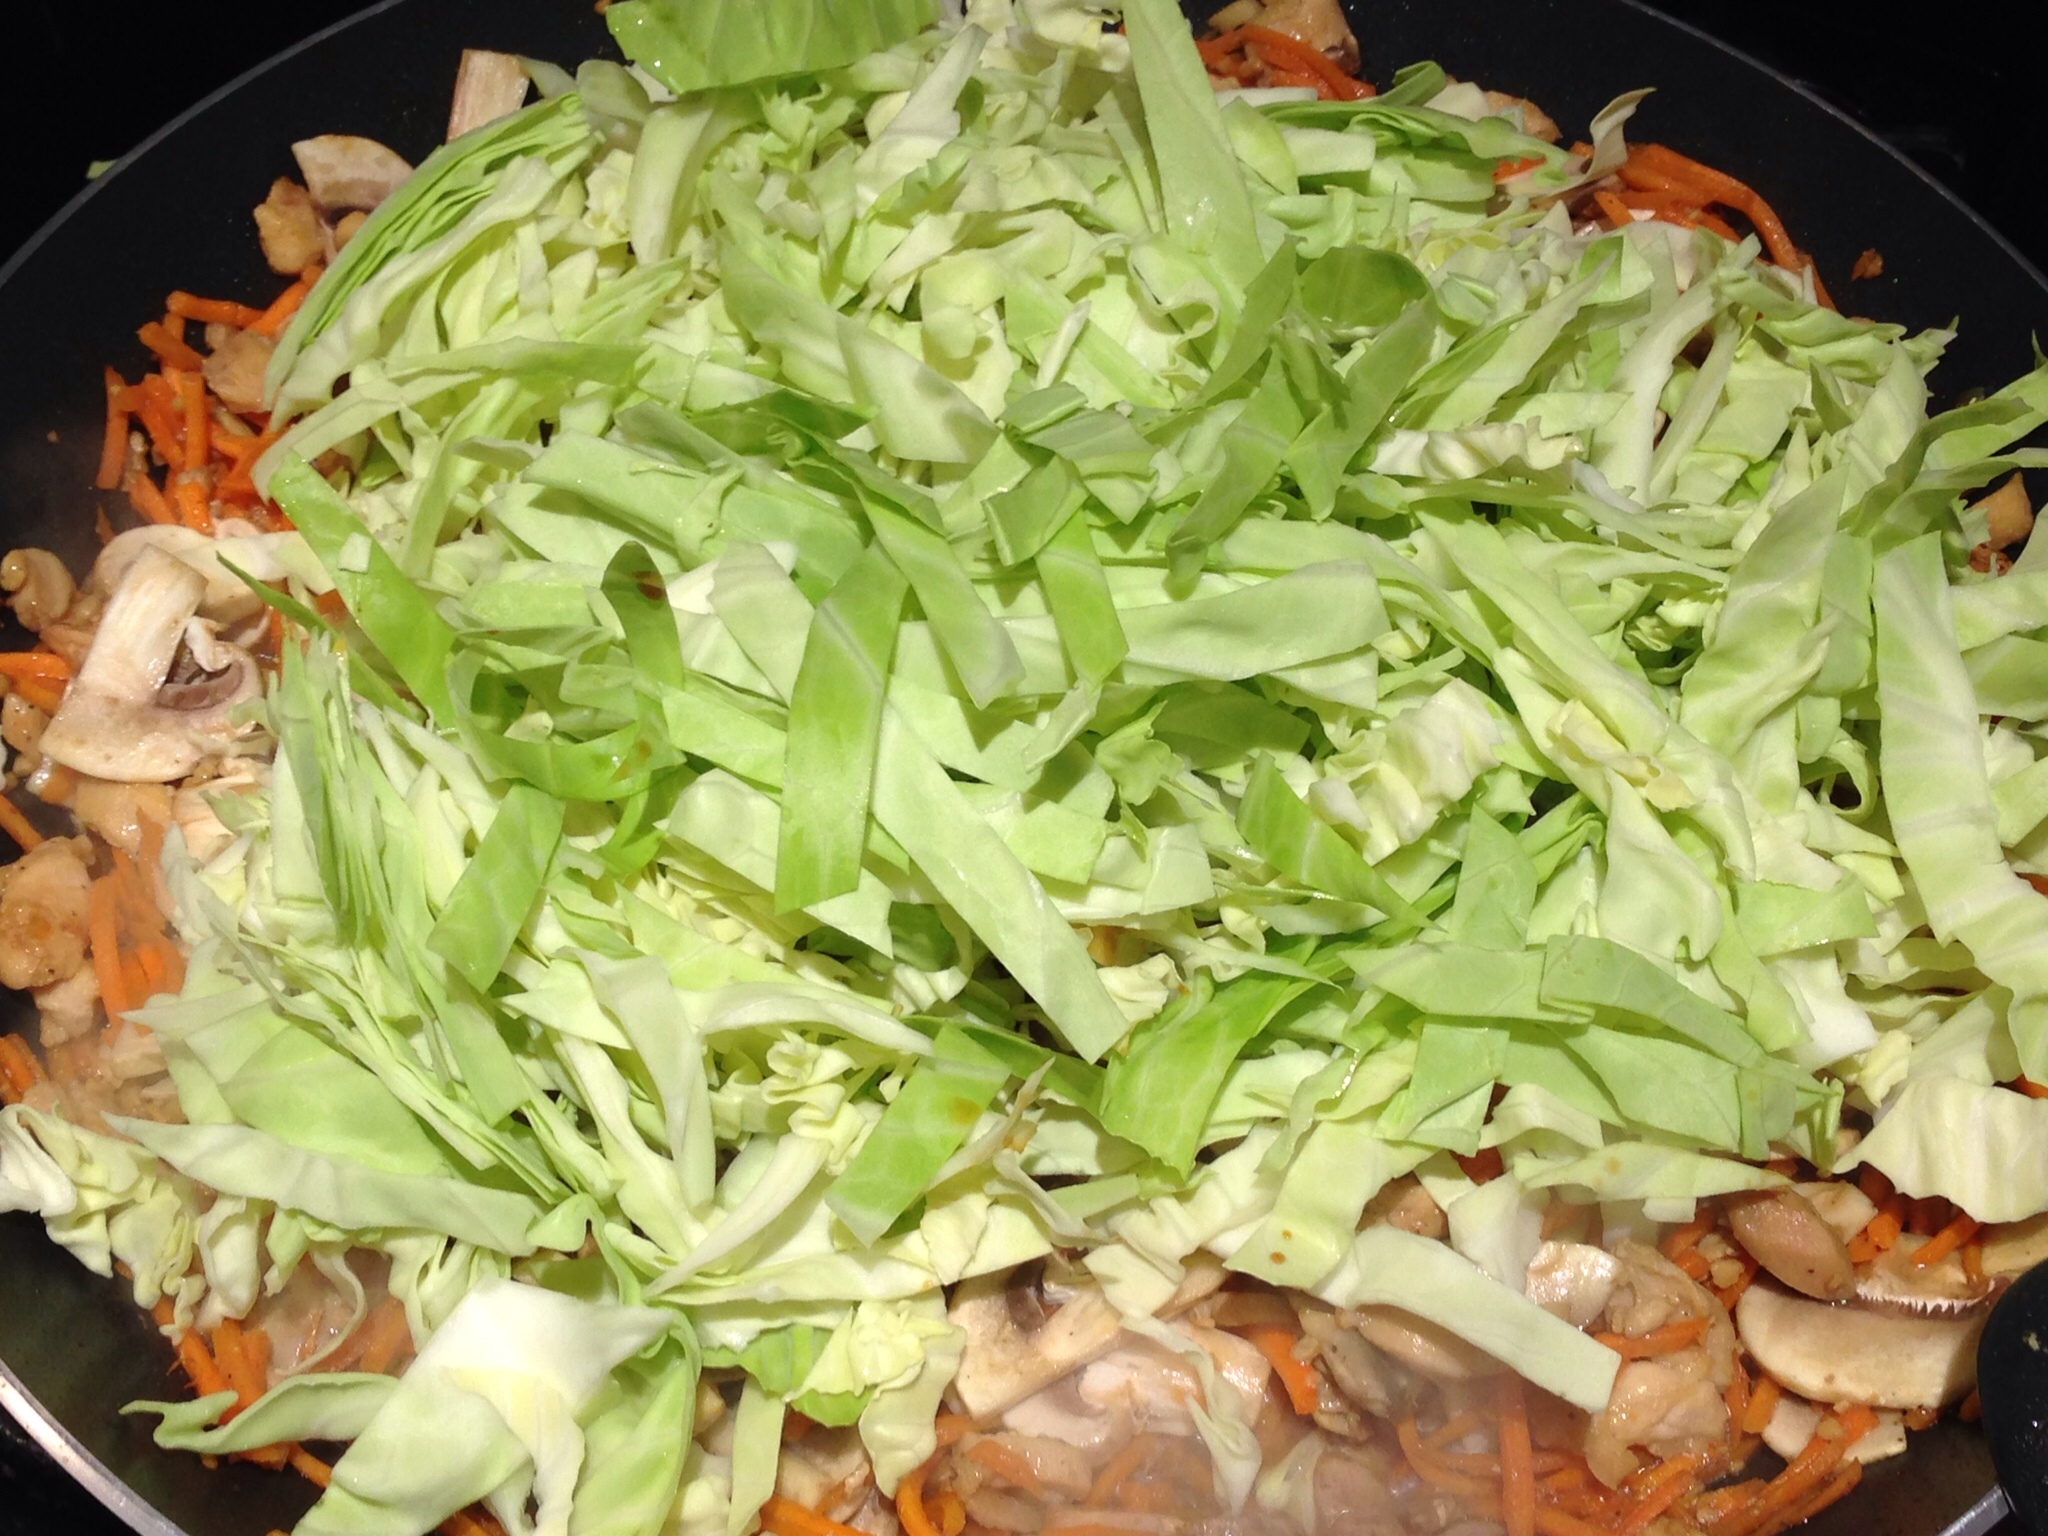
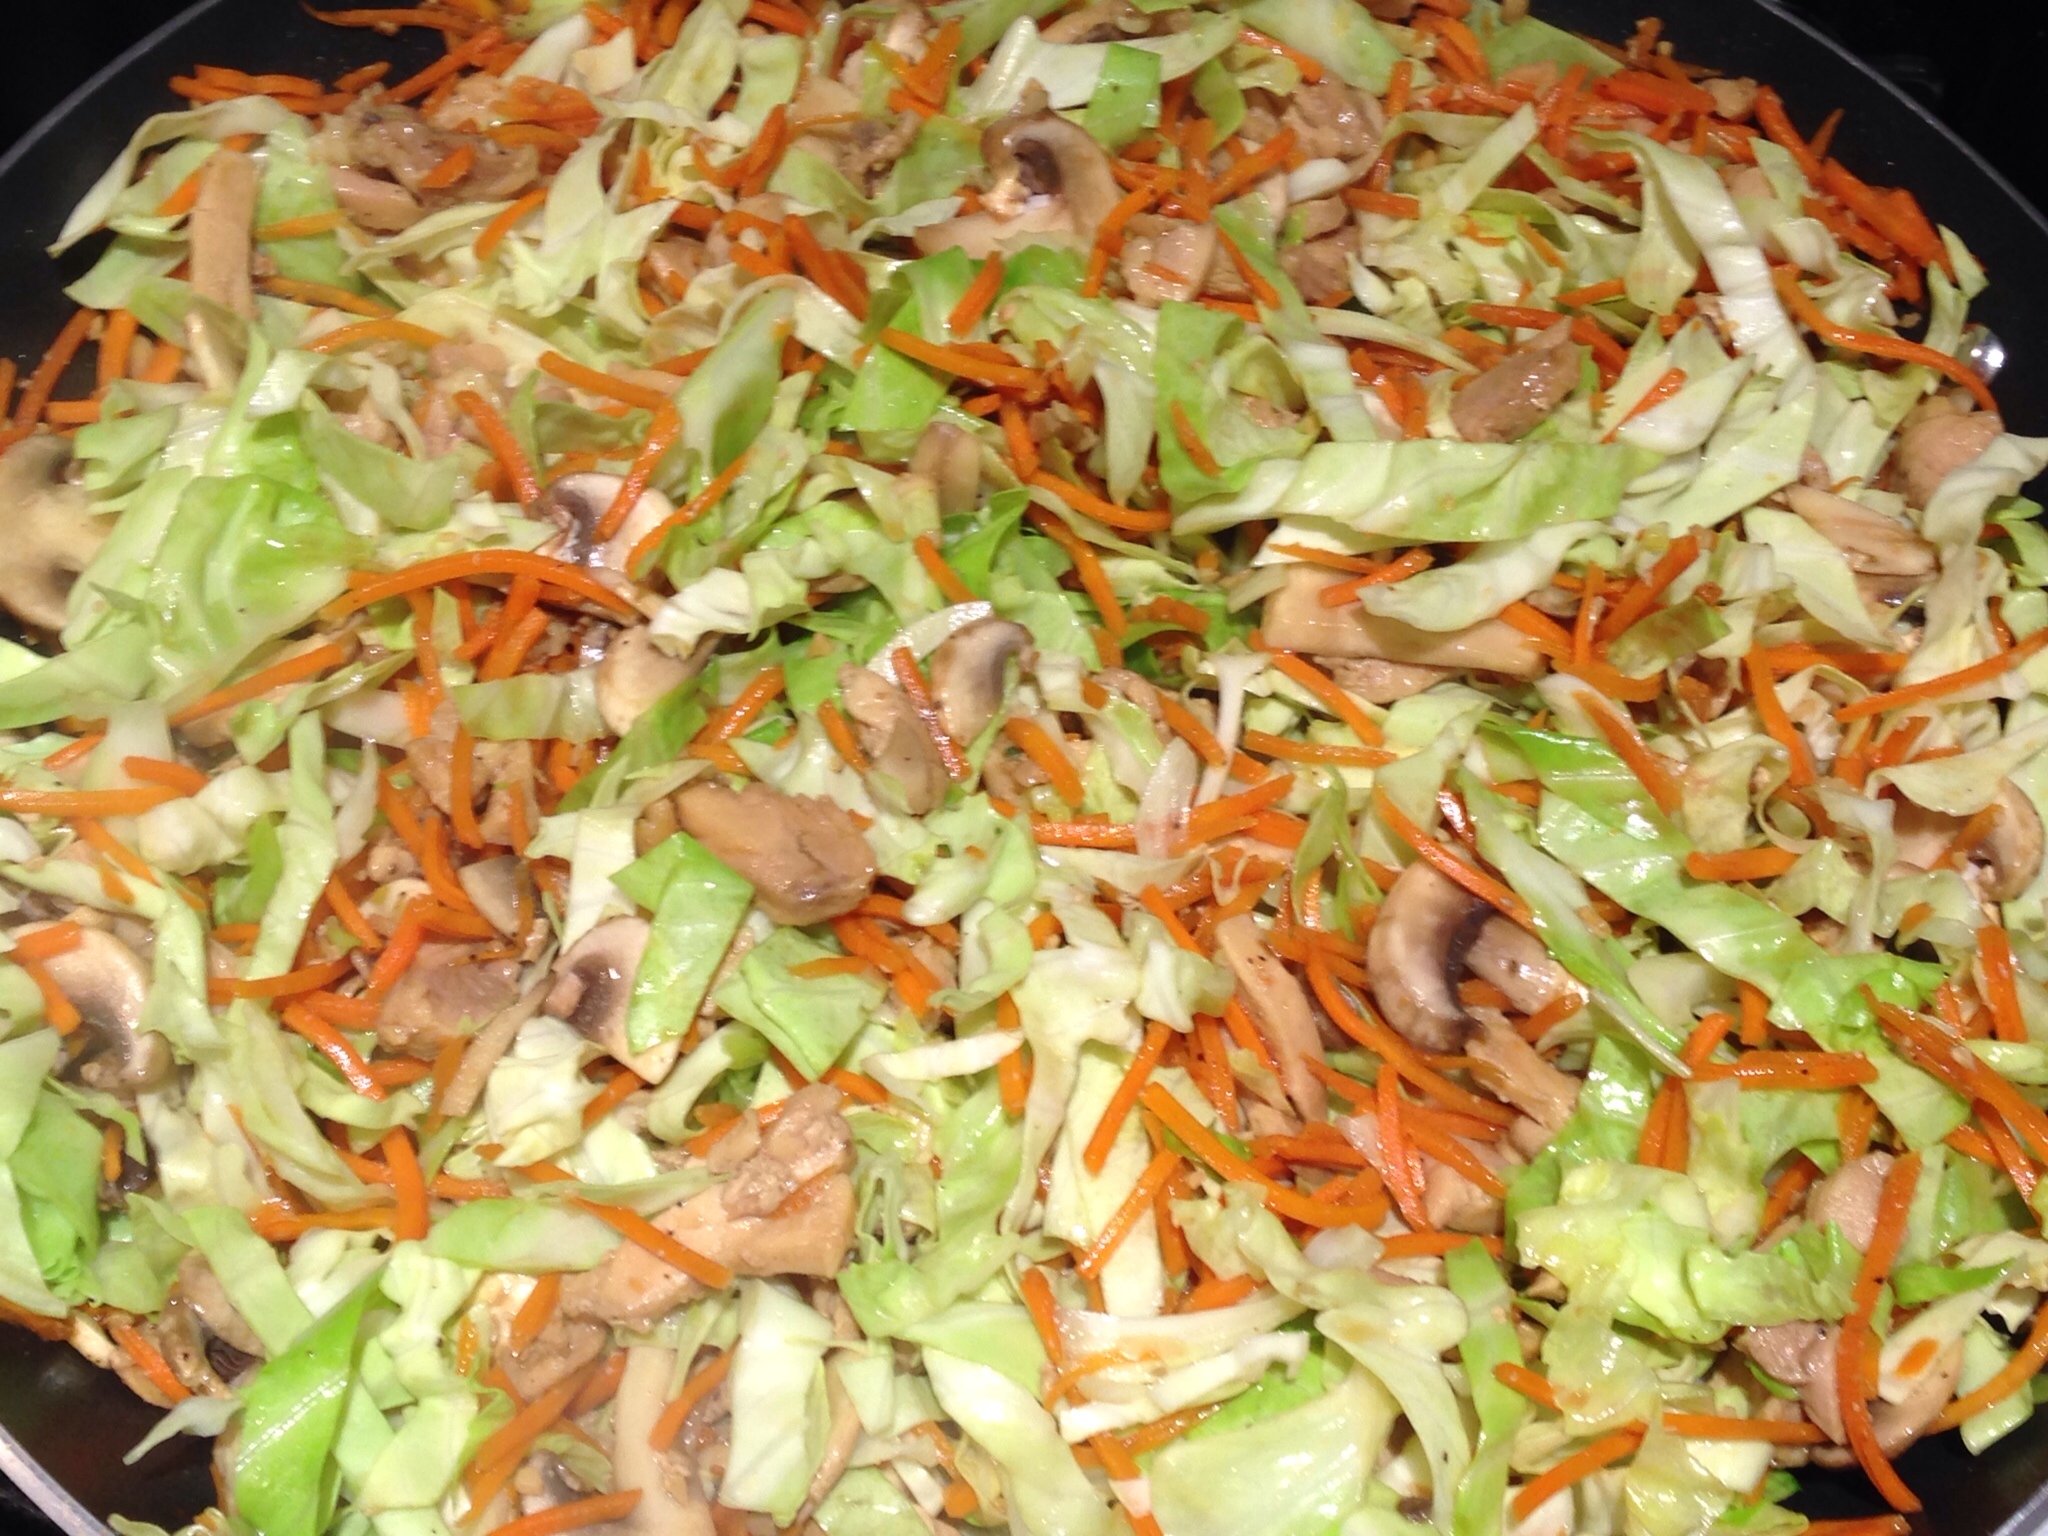
Add the sliced cabbage.

Stir and cook for another couple of minutes, just until the cabbage starts to wilt.

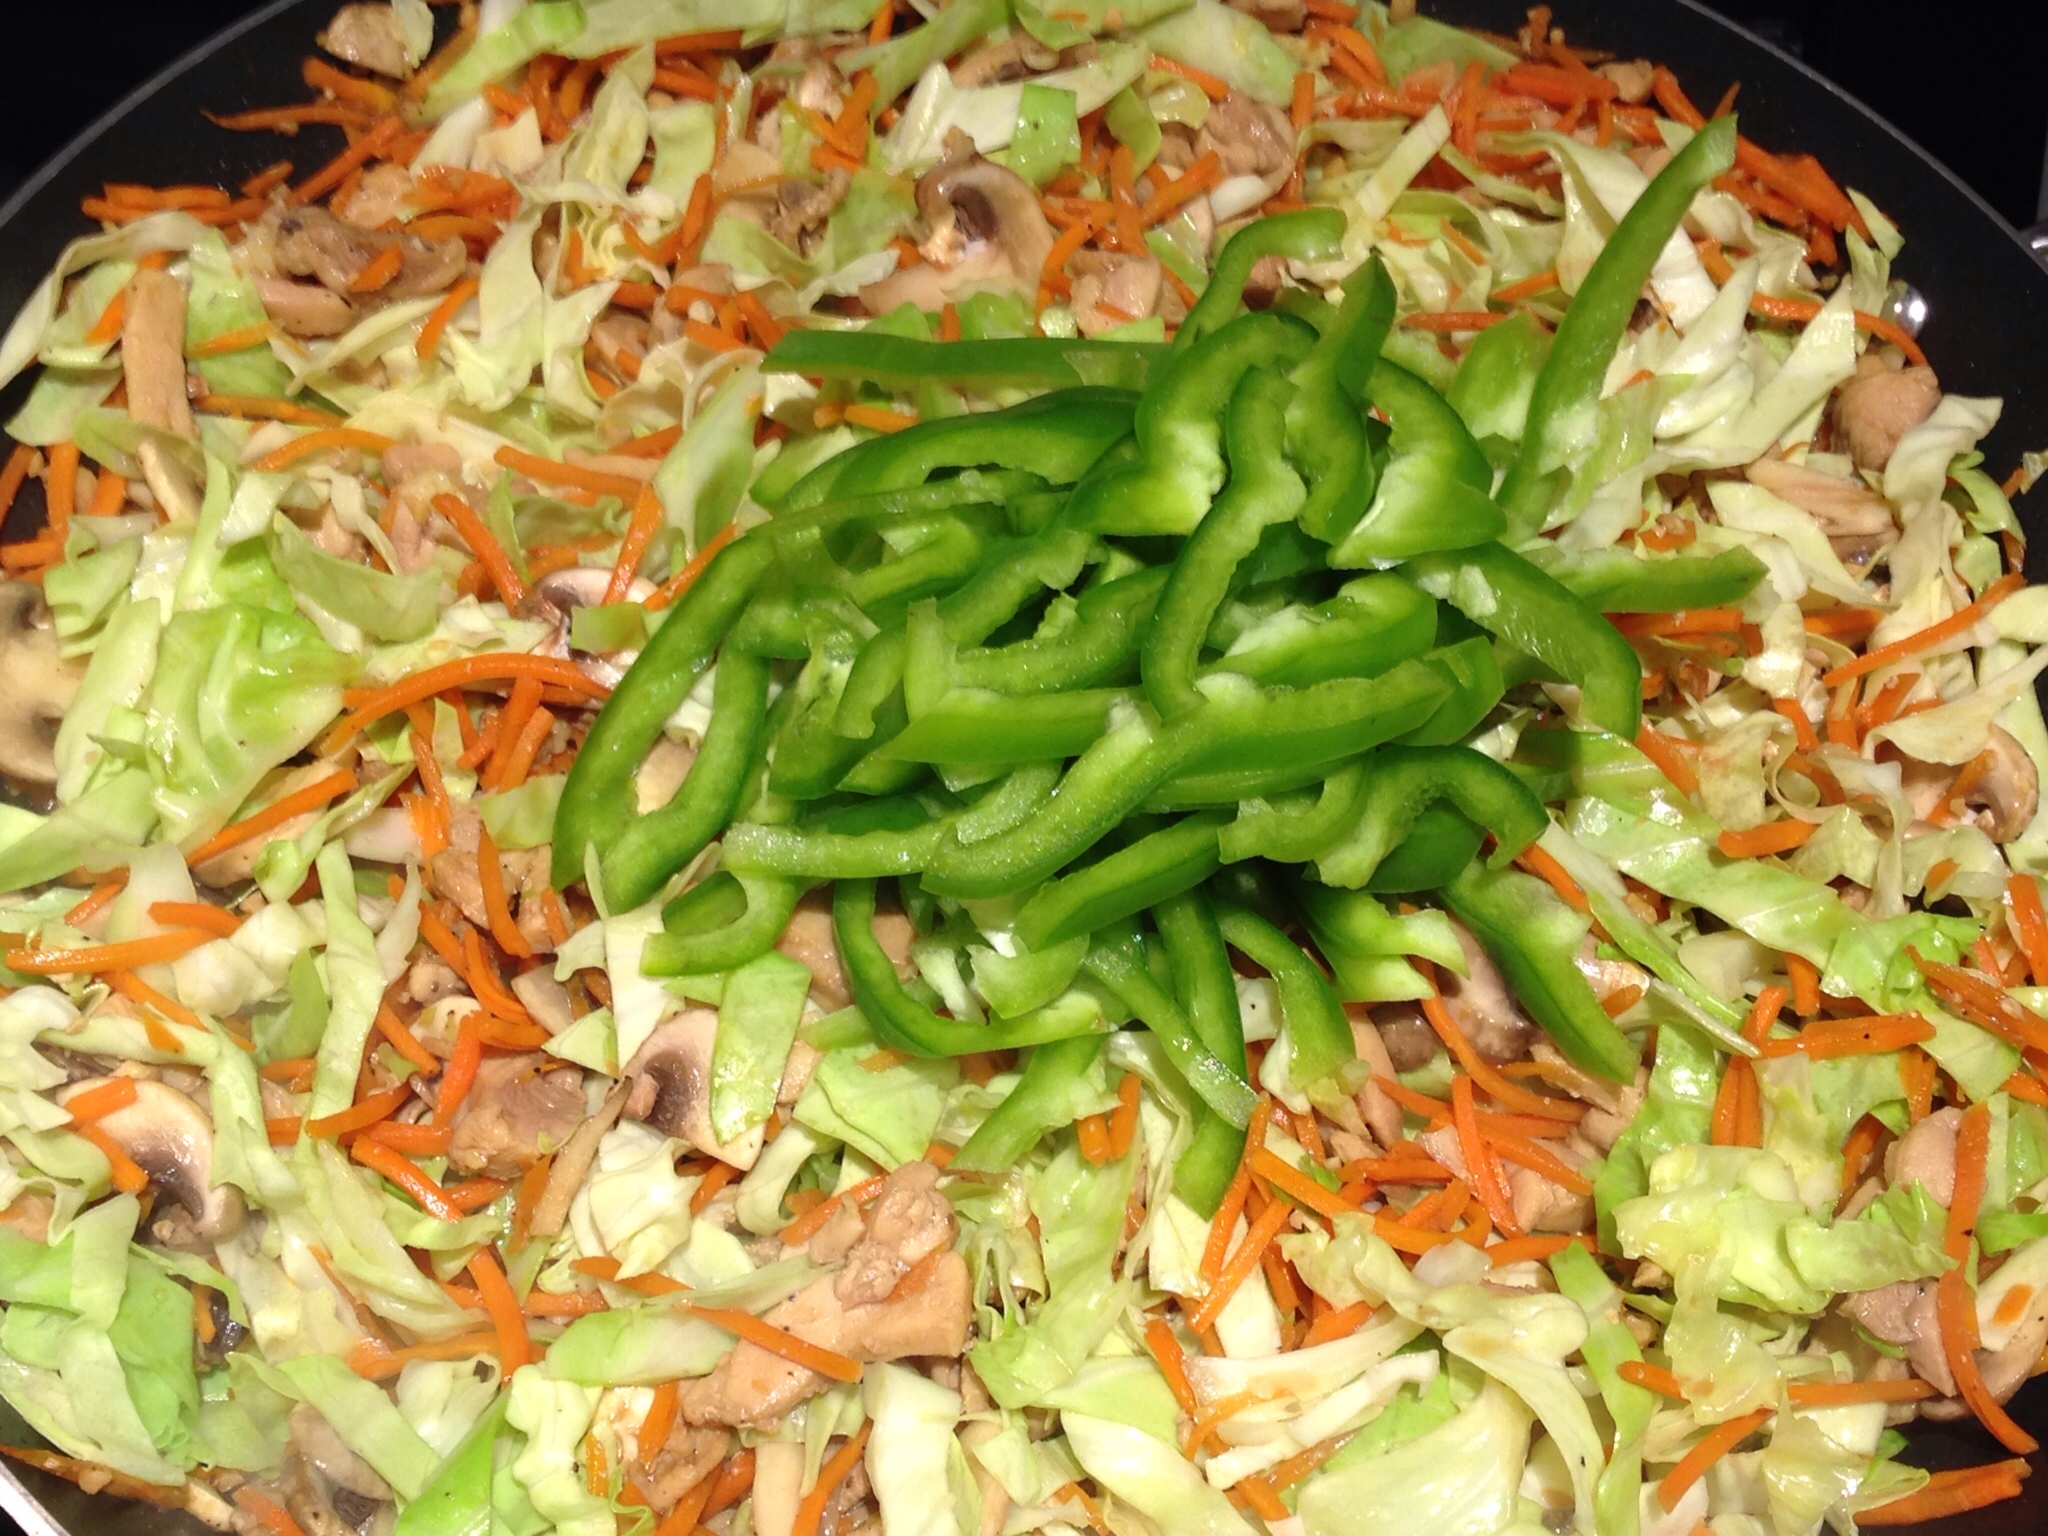
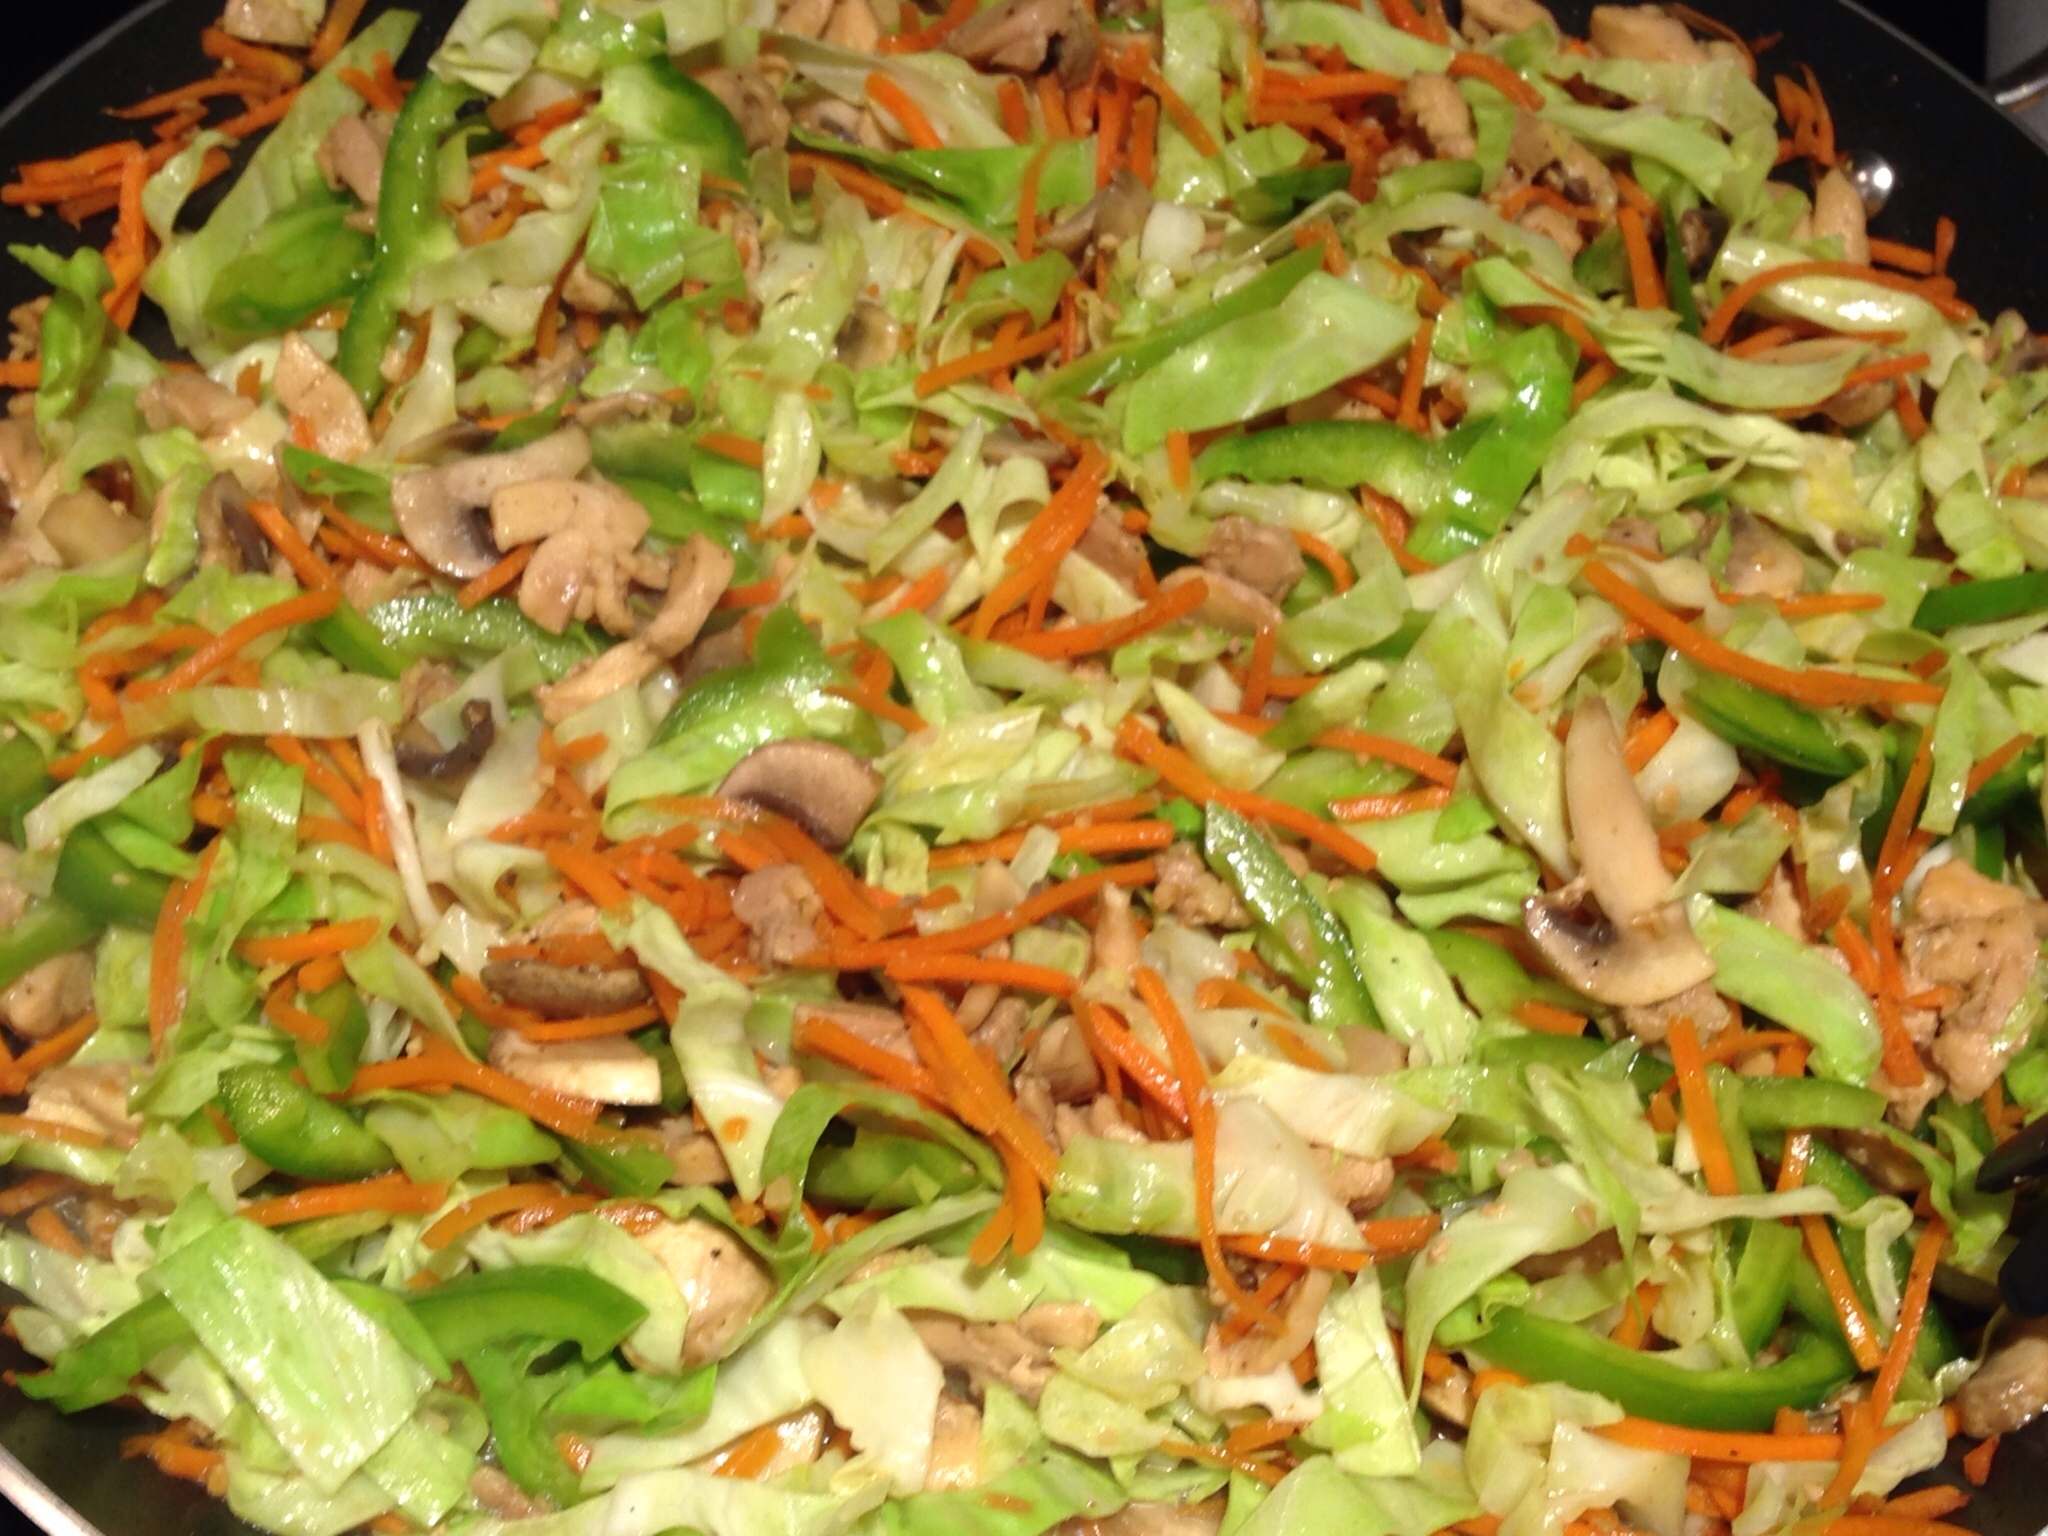
Add the bell peppers.  If you prefer the peppers to be cooked longer, add them when you add the carrots.  I like mine cooked only just a little so that they’re still crunchy, so I add them almost at the end of the cooking process.

Stir to combine.

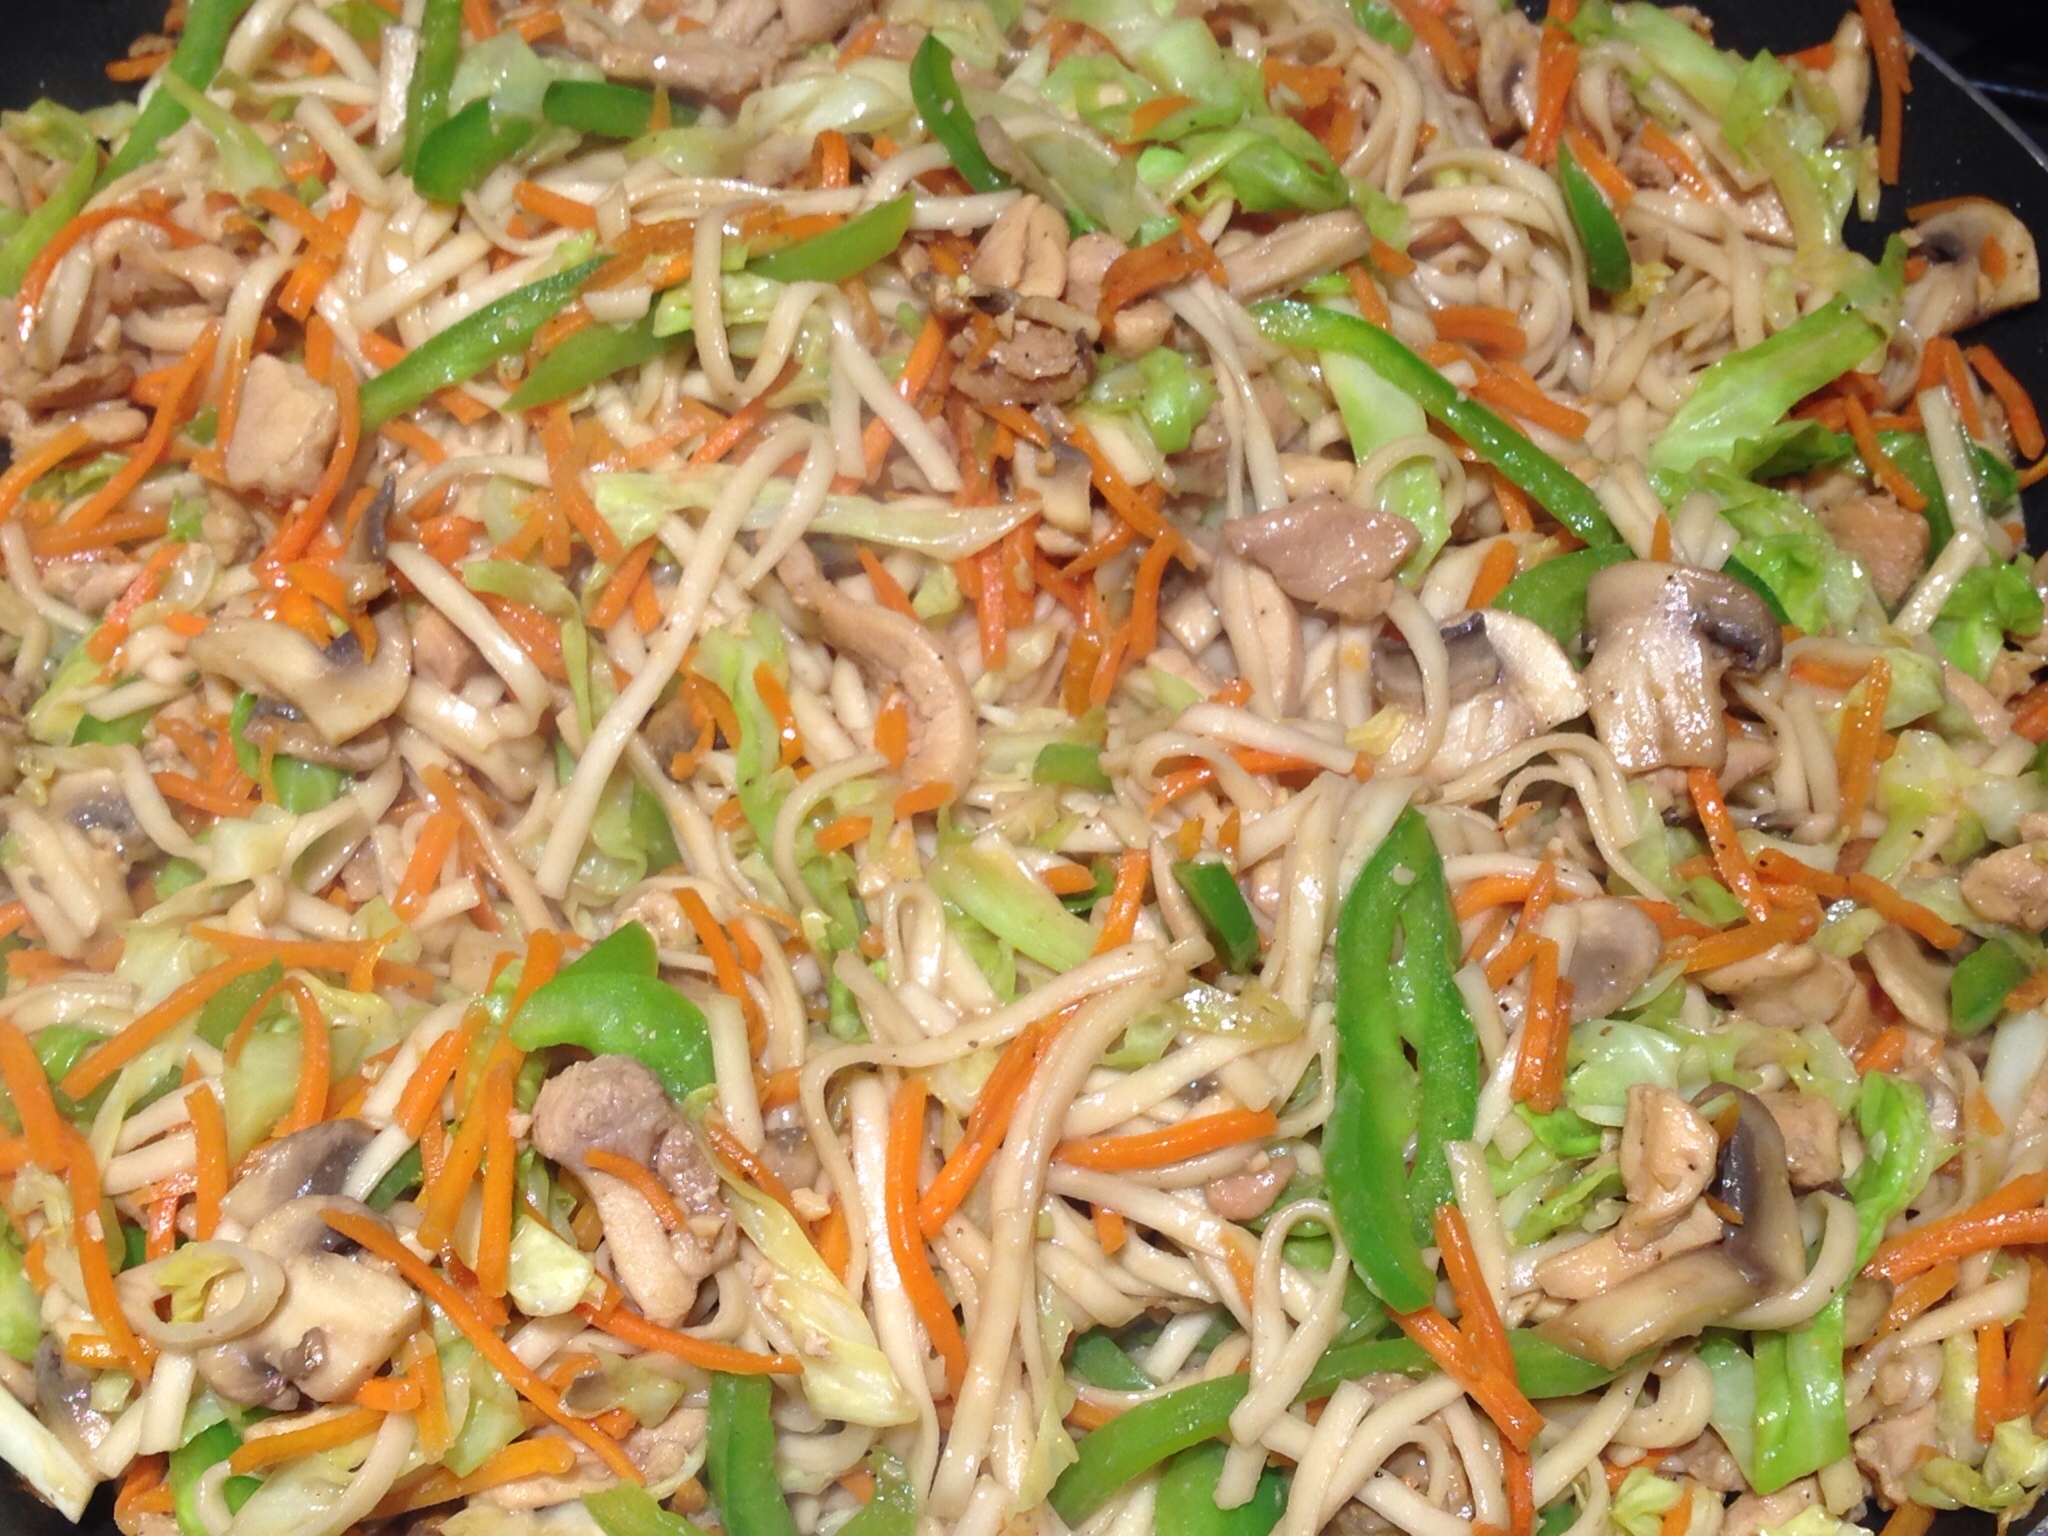
Gently stir in the noodles.

Add the green onions.

Stir gently so you don’t mash the noodles. Cook for another minute then serve and ENJOY!

« Older Entries Recent Entries »