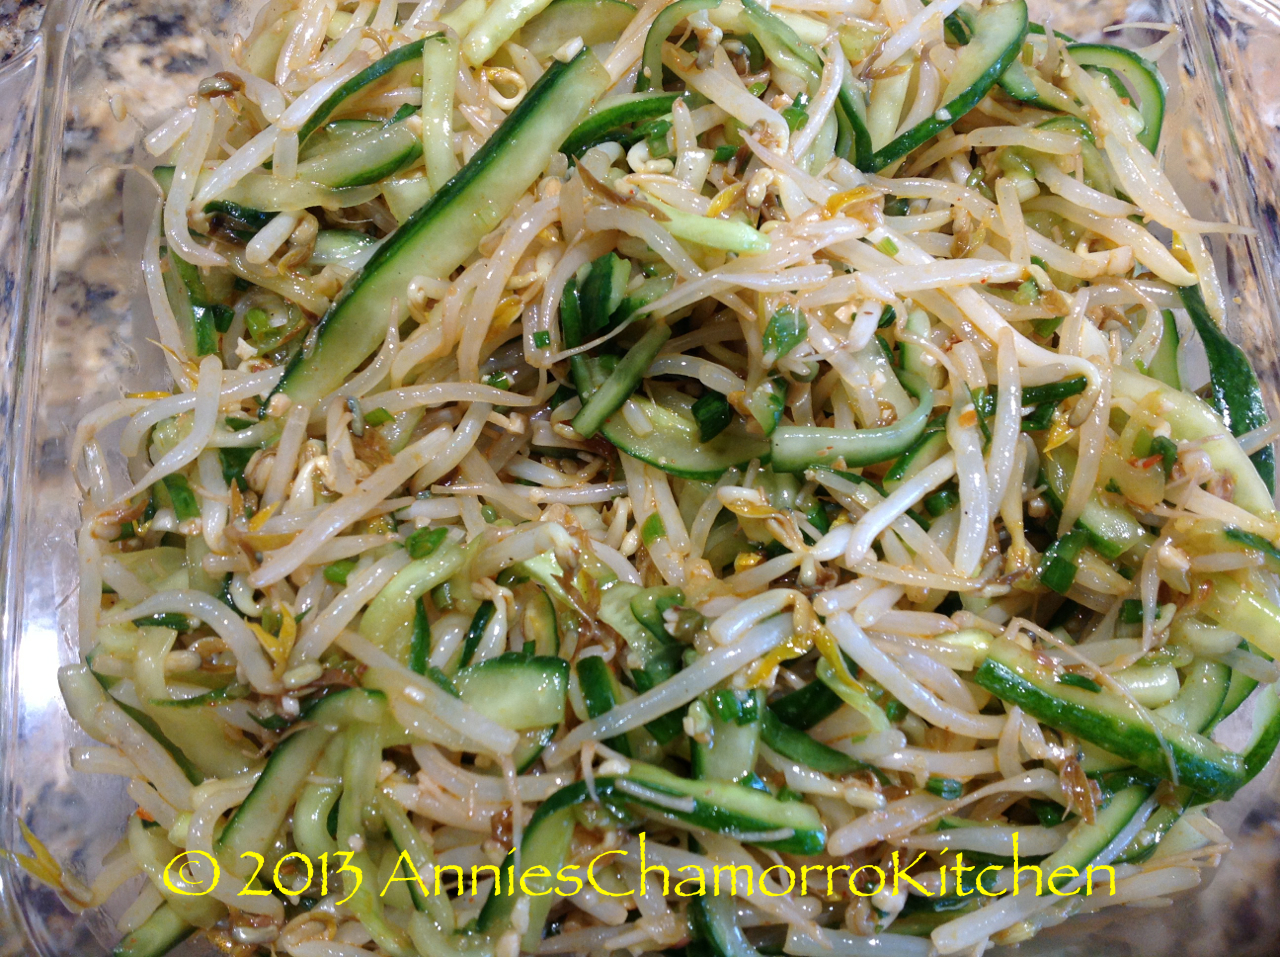
Bean Sprout & Cucumber Kimchi

This is a very light and tasty side dish that can double as your salad.  I love it served alongside my Kimchi Soup as well as with Korean Ssambap (lettuce wraps filled with rice, seasoned beef or pork and ssamjang).

Hmmmm….Ssambap….I think I’m going to make some of that for dinner, now that I’ve made myself drool thinking about it!

Give my recipe a try…I think you’ll like it.  🙂


Click on the photos below to open up a larger version of the photo.


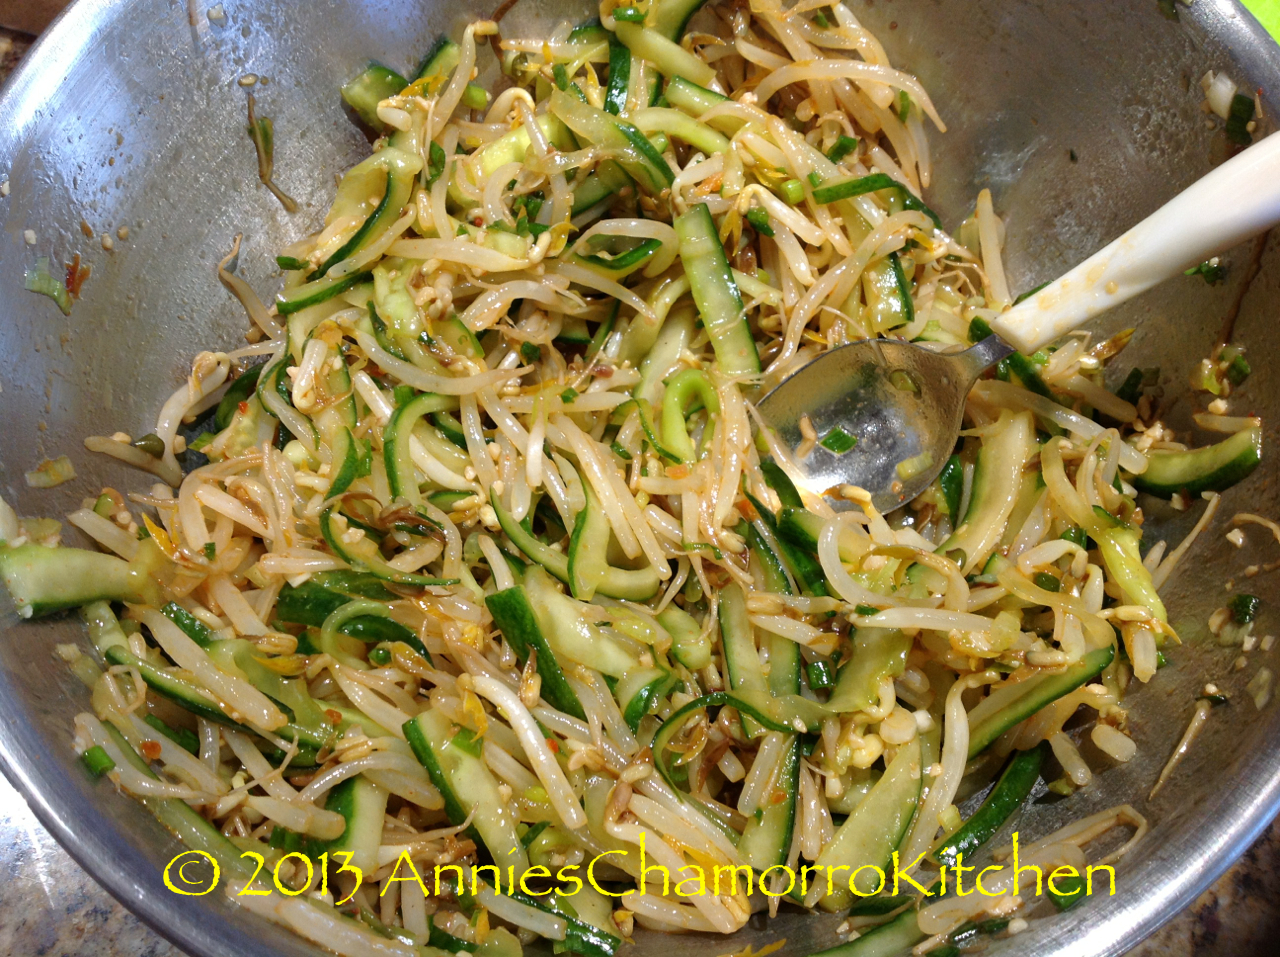
Bean Sprout & Cucumber Kimchi
 
A delicious and healthy spicy salad made with bean sprouts, cucumbers, and Korean seasonings
Ingredients
  • 16 oz mung bean sprouts
  • 2 English cucumbers
  • ½ teaspoon salt
  • ½ teaspoon salt
  • ½ cup water
  • 2 tablespoon Dashida Korean beef flavored seasoning
  • 1 teaspoon sugar
  • 2 tablespoon sesame oil
  • 5 stalk green onions
  • 1 tablespoon Korean ssamjang hot bean paste
  • 1 tablespoon pepper flakes
Instructions
PREPARE THE CUCUMBERS
  1. Cut the cucumbers in thirds or quarters, depending on how long it is. Cut each piece in half then remove any seeds.
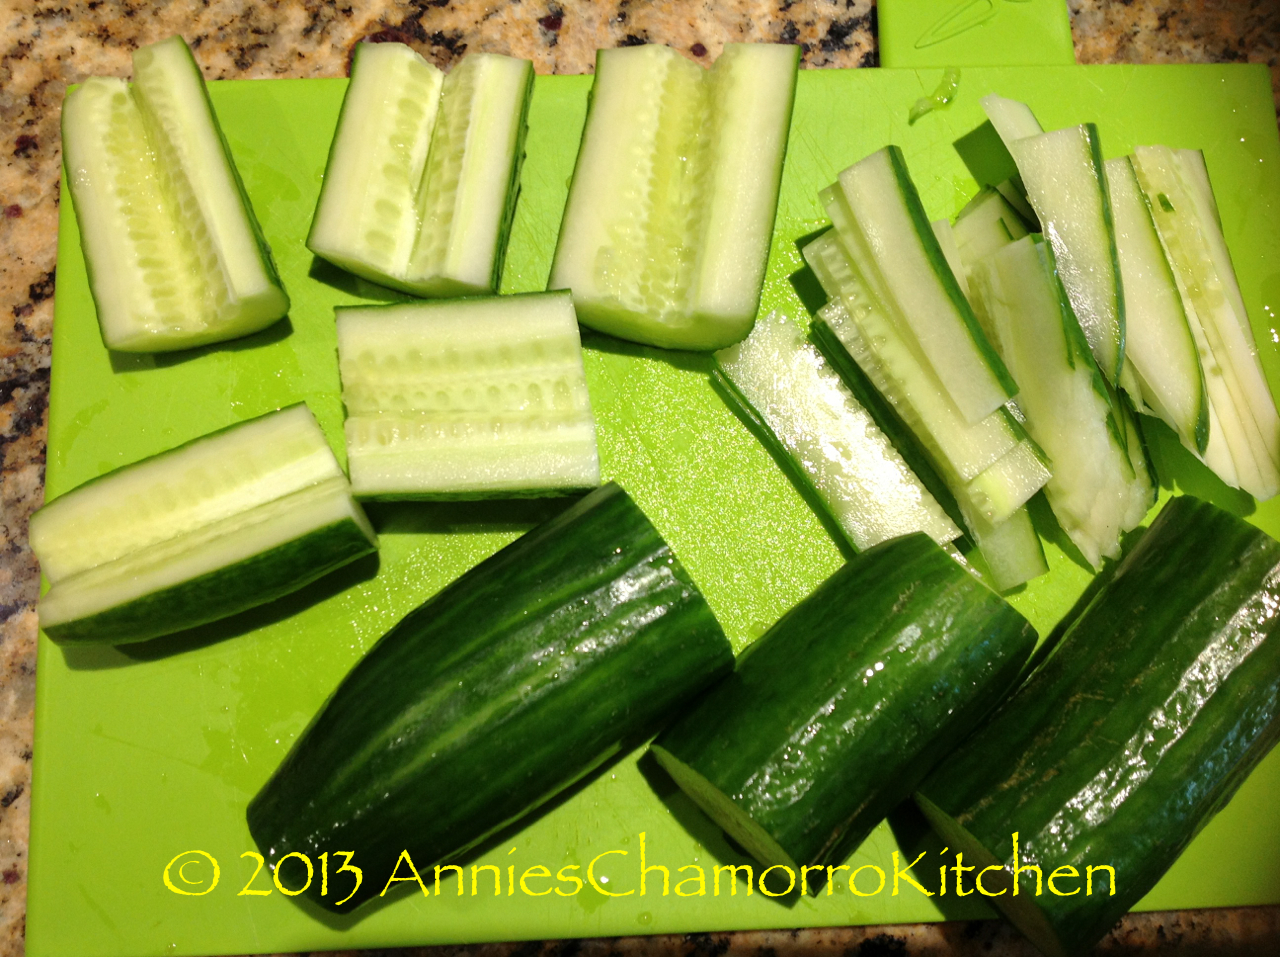
  2. Thinly slice the cucumbers then cut the slices into very thin strips.
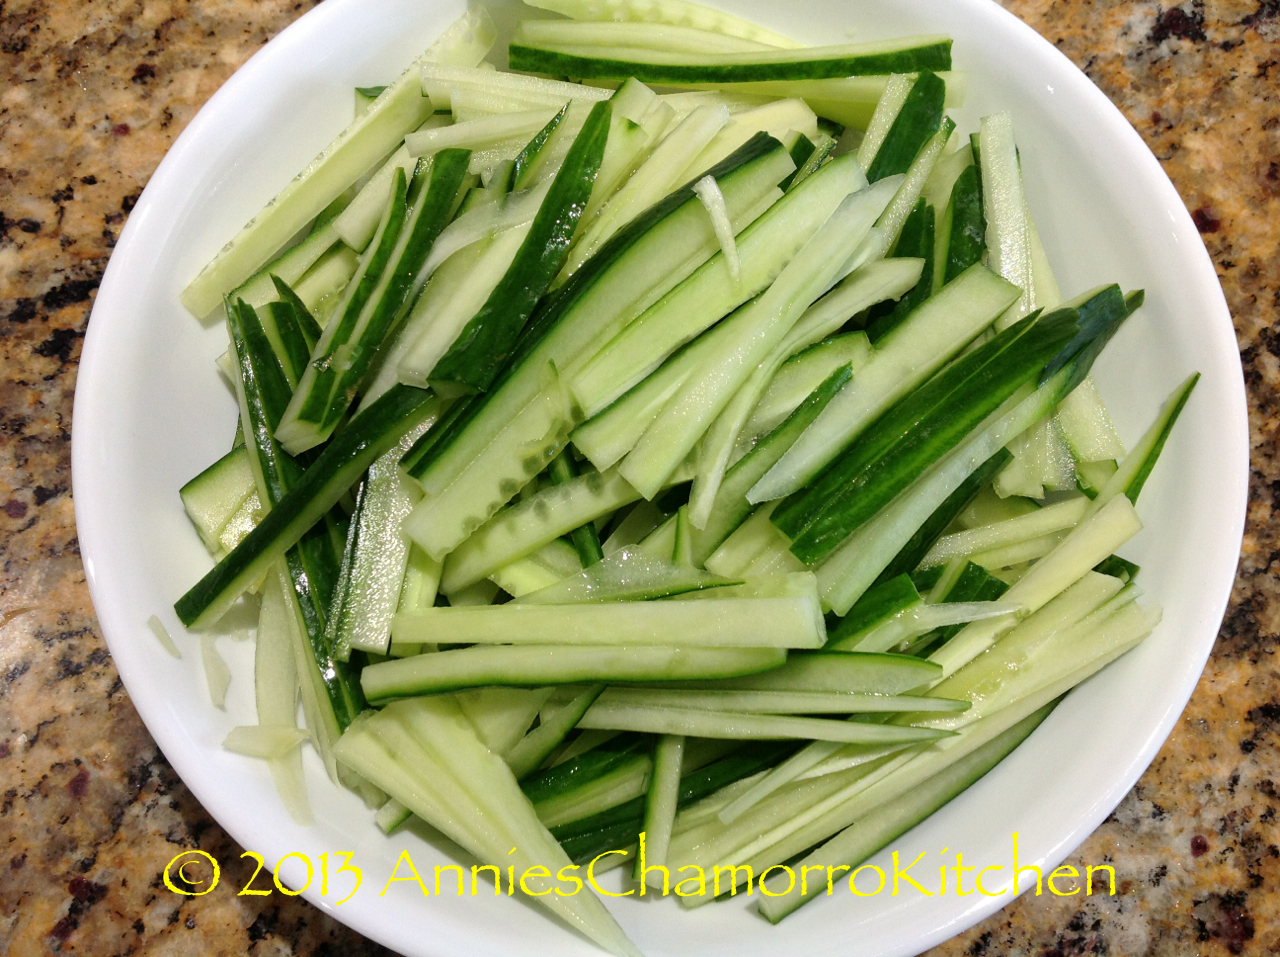
  3. Sprinkle a teaspoon of salt over the cucumber slices. Place the cucumbers in a strainer or colander, then place the colander over a bowl. Let the cucumbers sit for about 5 minutes, allowing the water in the cucumbers to drain into the bowl.
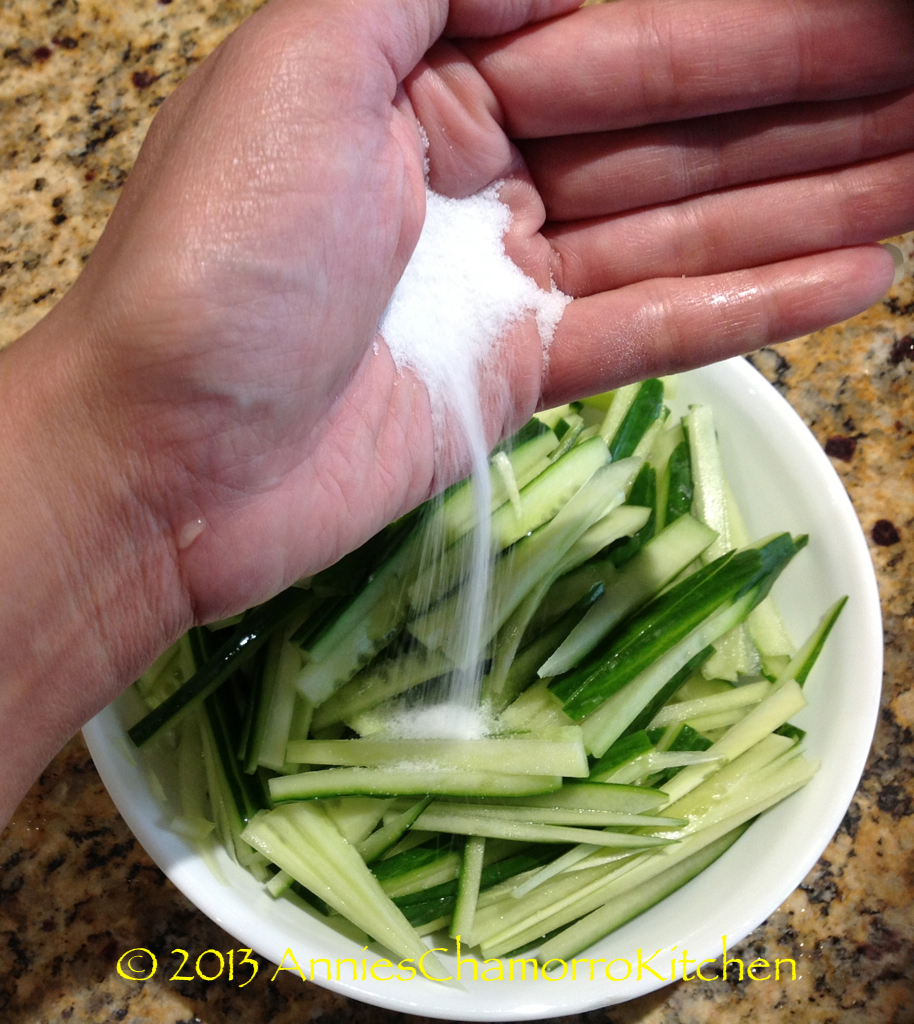
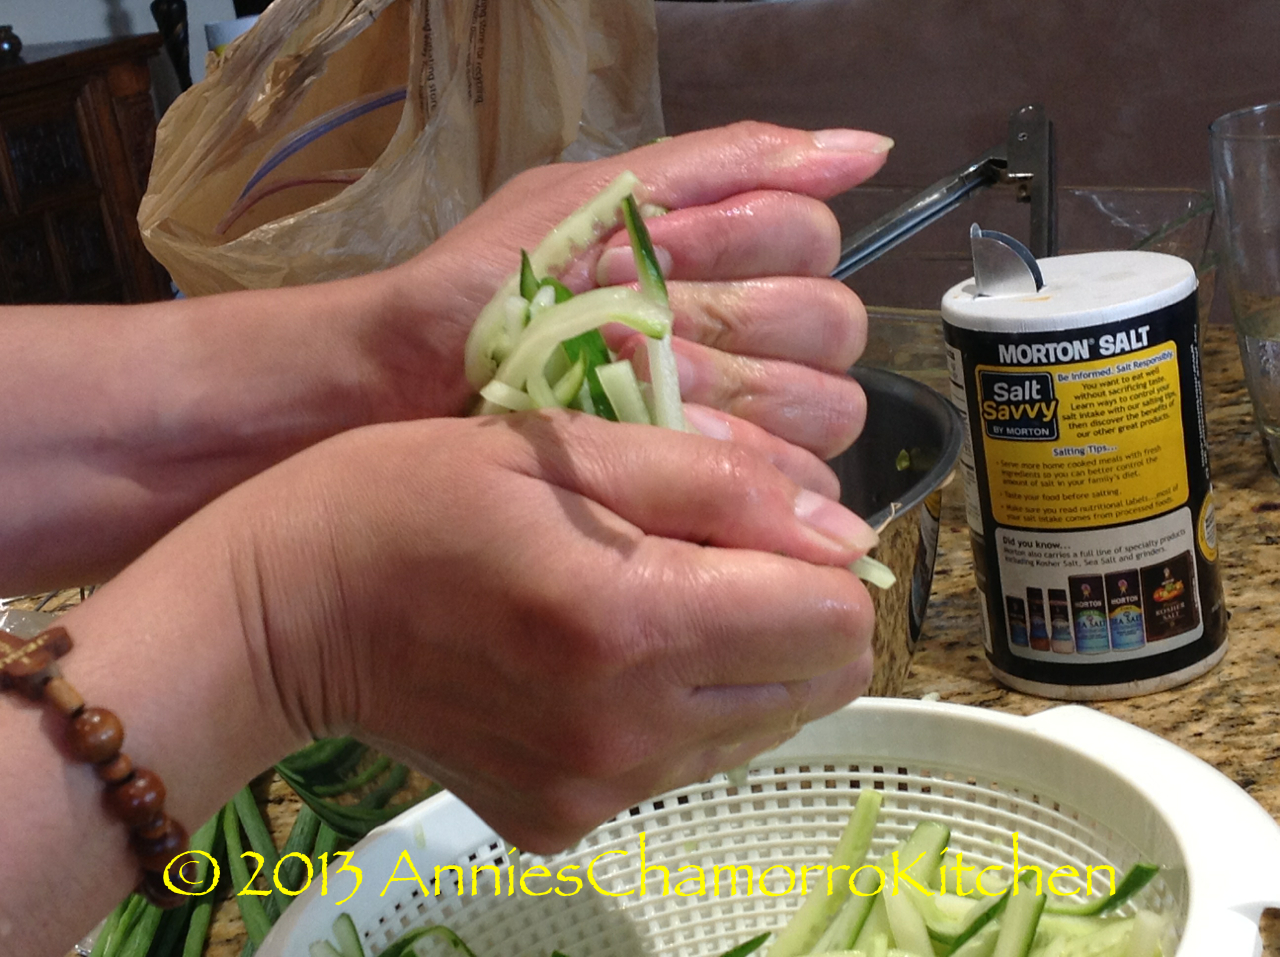
  4. After the cucumbers have drained, squeeze out any excess water then place into a large mixing bowl.
PREPARE THE BEAN SPROUTS
  1. Place the bean sprouts in a mixing bowl that is microwave-safe. Rinse the bean sprouts in cold water then drain.
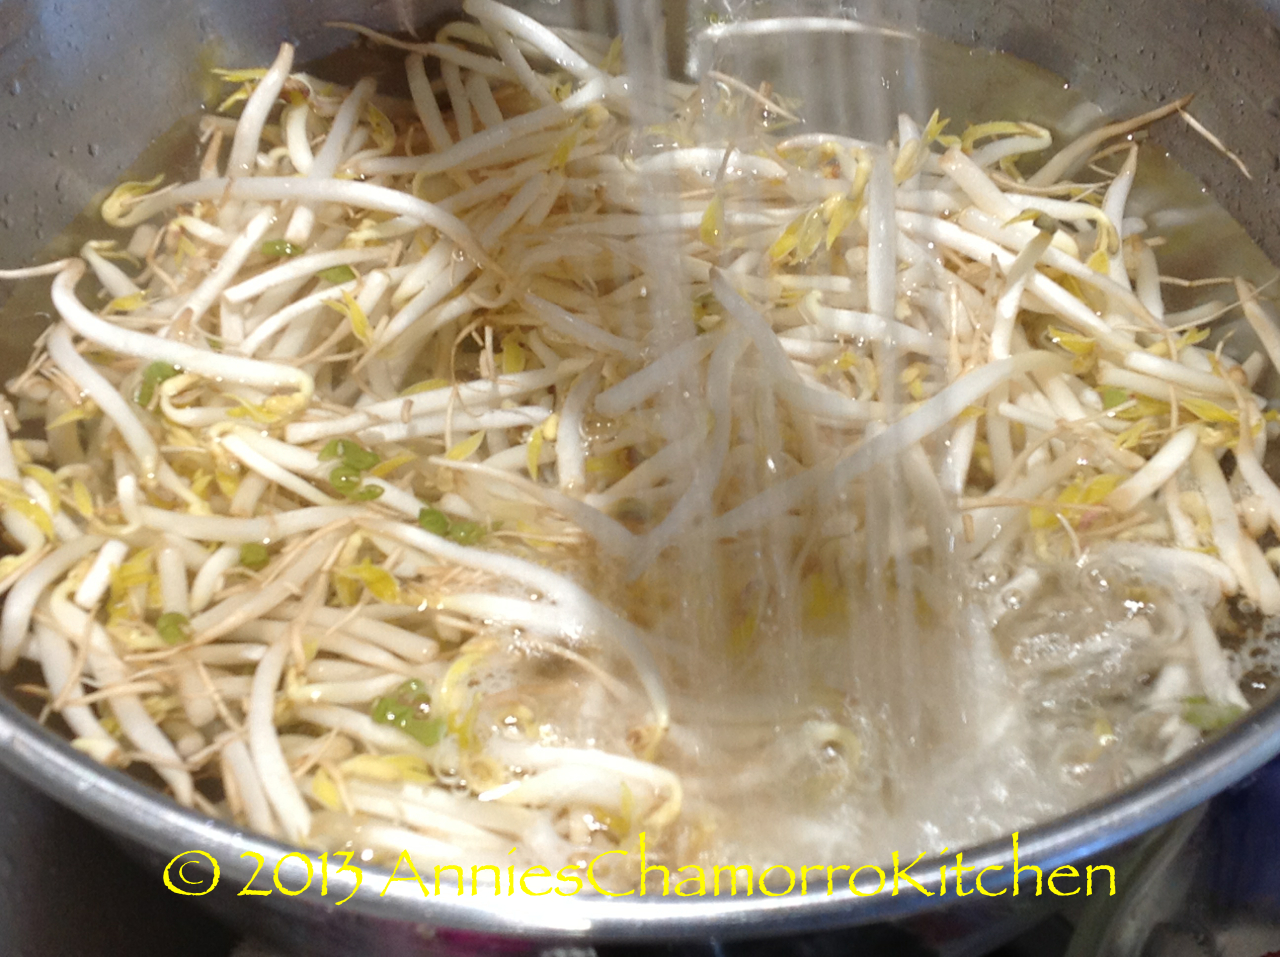
  2. Mix the remaining teaspoon of salt plus ½ cup water with the bean sprouts. Microwave for 2-3 minutes. Drain and squeeze out any excess water from the bean sprouts.
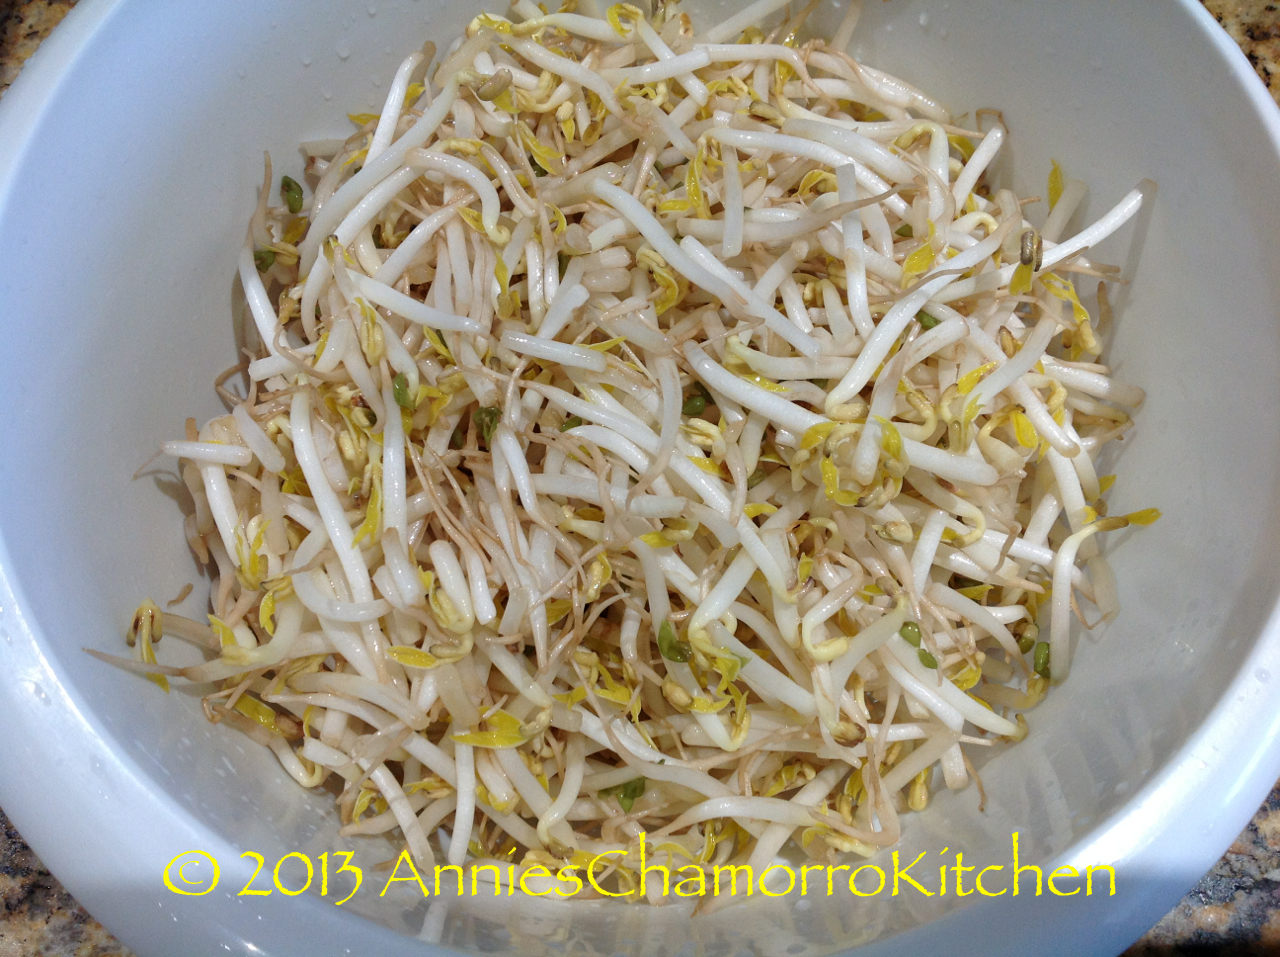
MIX IT ALL TOGETHER
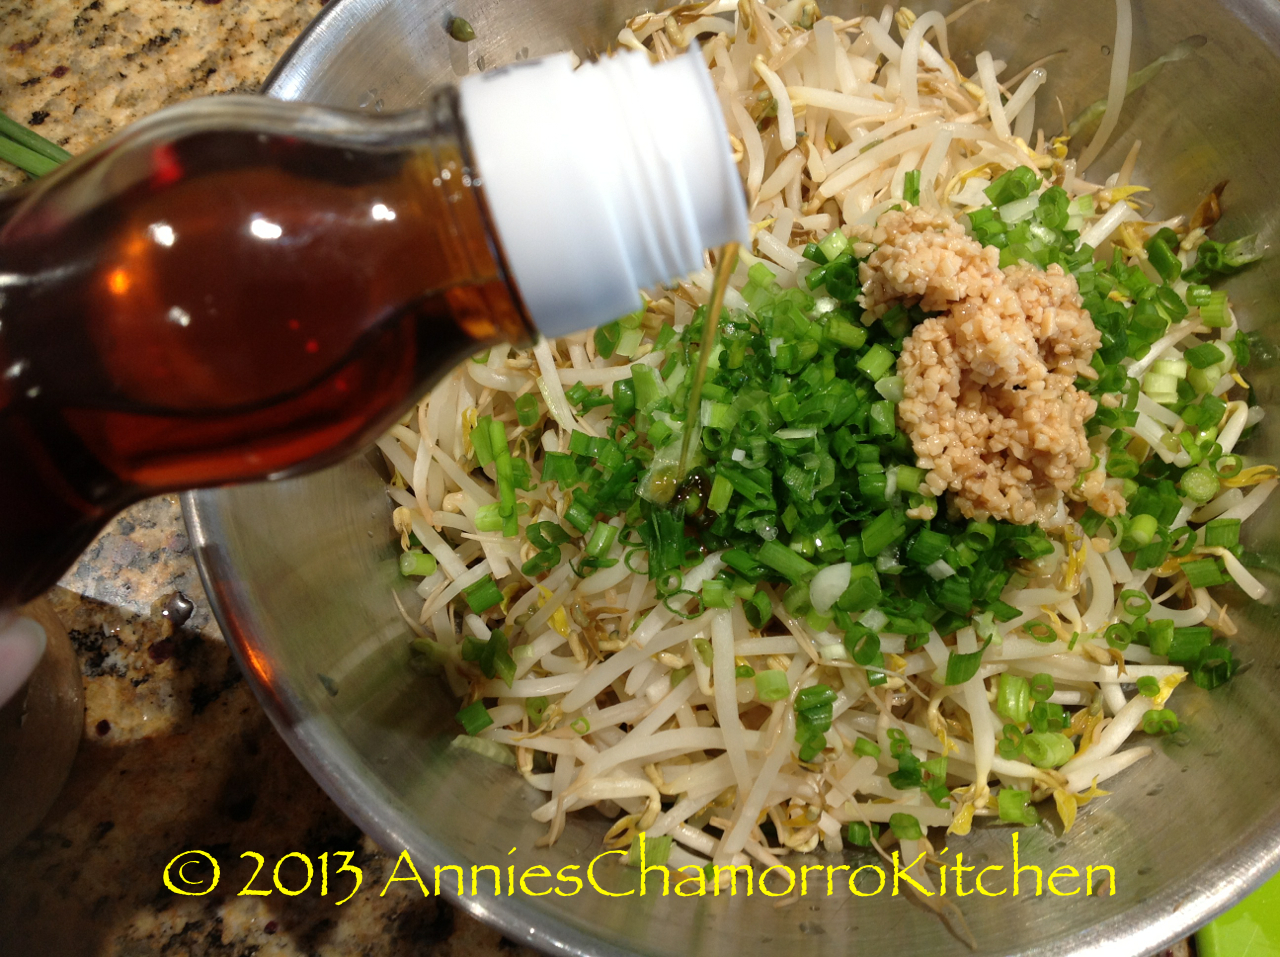
  1. Add the bean sprouts to the bowl of cucumbers. Add the green onions and garlic to the bowl.
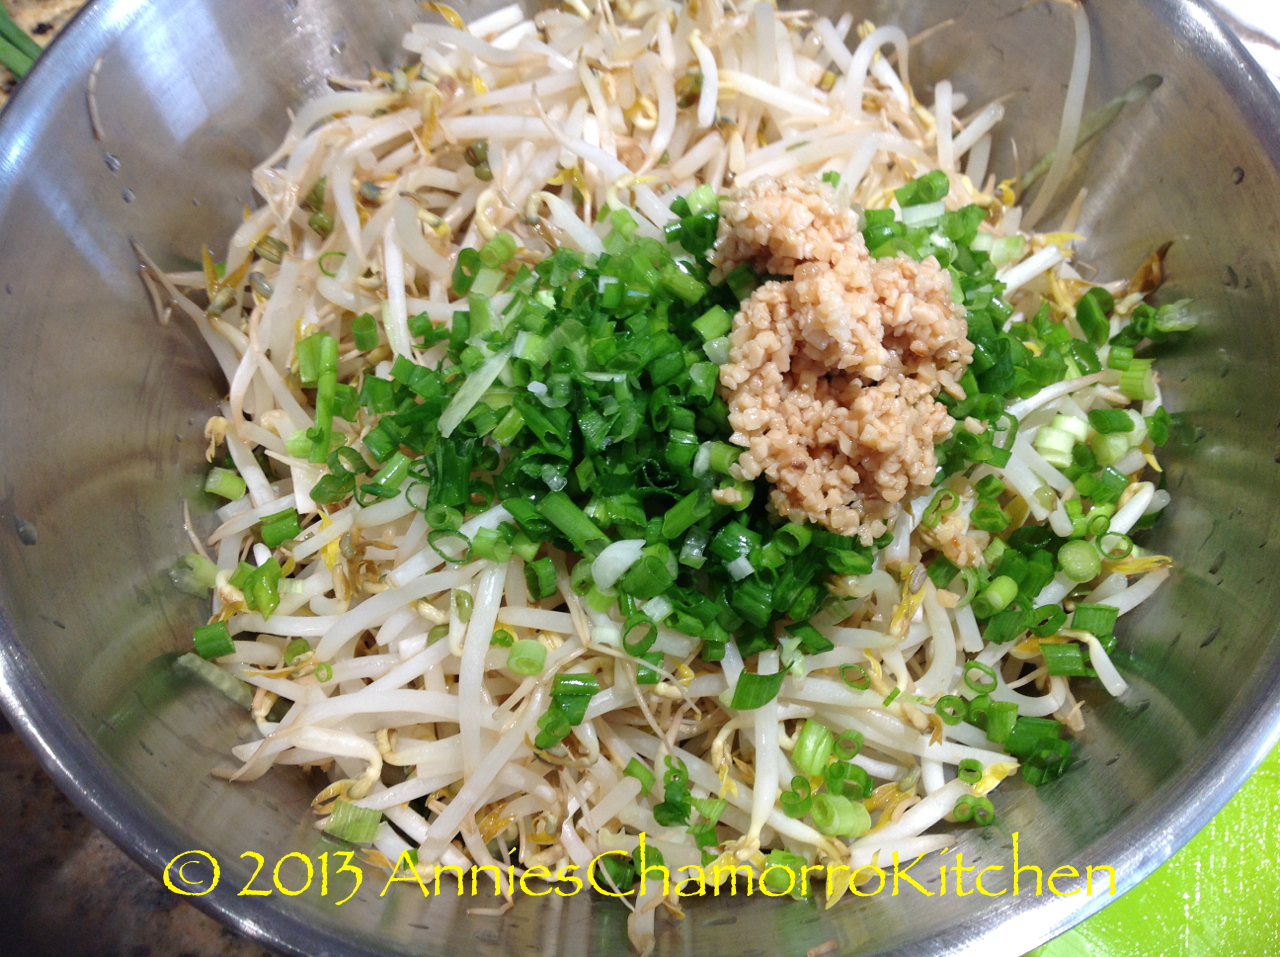
  2. Add the sesame oil.
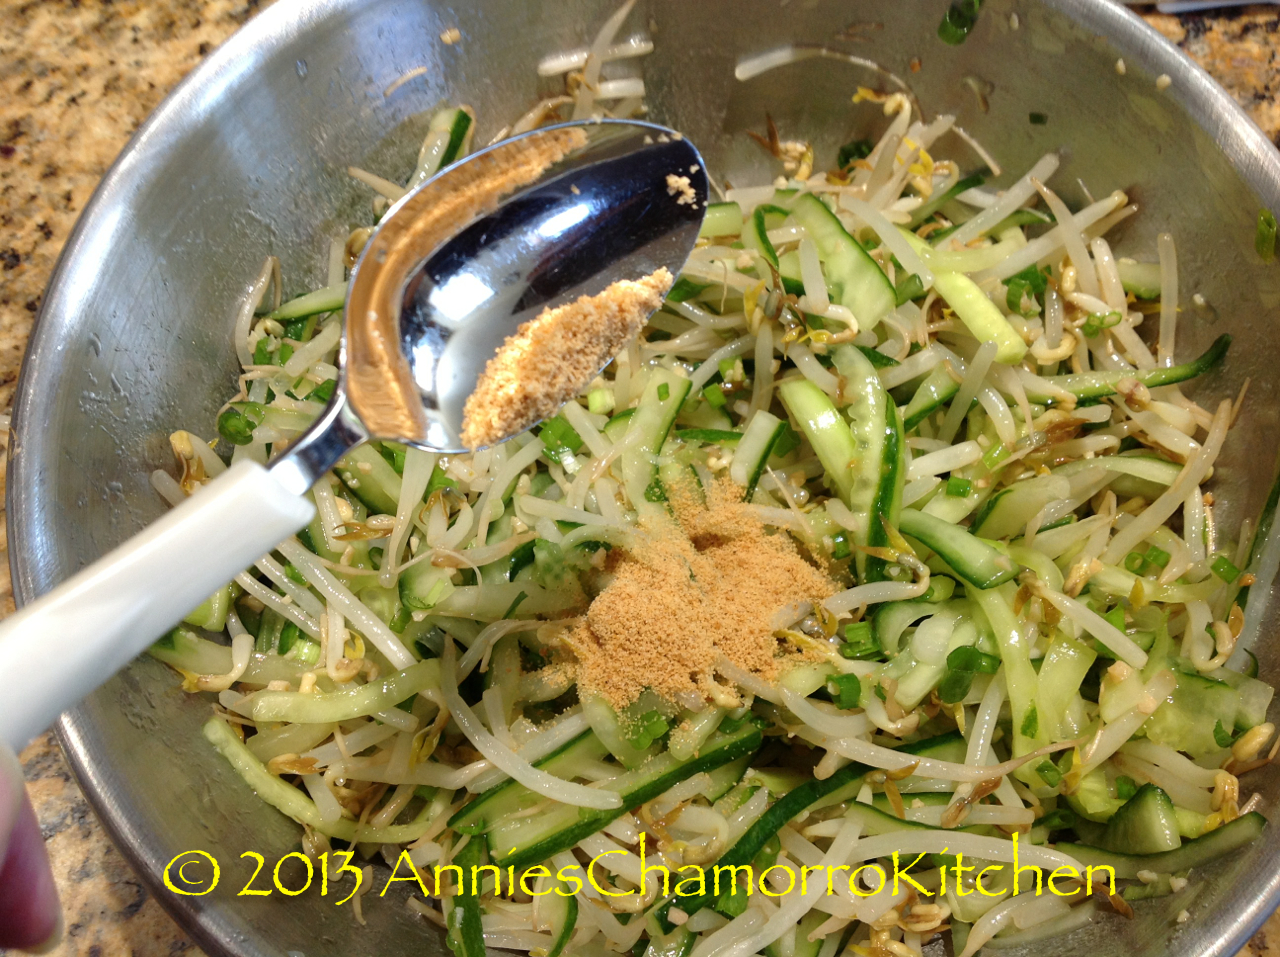
  3. Add the Dashida and sugar. Stir to combine.
  4. Mix in the Ssamjang and pepper flakes (omit this if you don't want it spicy).
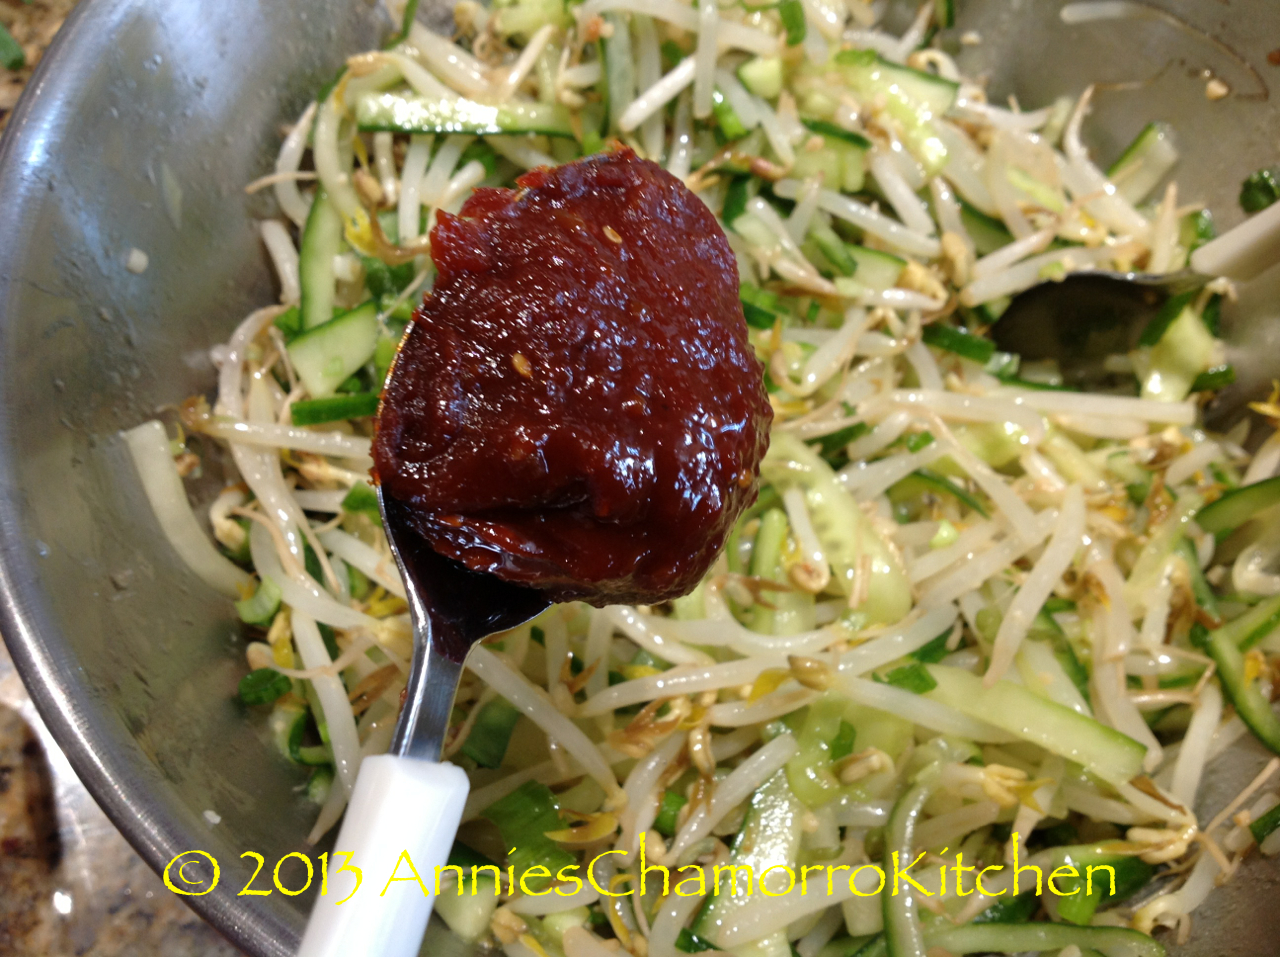
  5. Stir to combine. Cover the mixture then refrigerate about 15 minutes before serving; this will allow the flavors to combine.
SERVE & ENJOY
  1. Serve alongside your favorite dish and ENJOY!

Creamy Hot Cocoa

There is nothing better than drinking a mug of steaming, creamy hot cocoa, especially when the weather outside is dreary.

It hailed outside today, and my kids and I whipped up a quick batch of my homemade hot cocoa.  I usually have all of these ingredients stocked up in my pantry — I use the white chocolate chips for cookies and making a white chocolate ganache for dipping strawberries, and I keep non-fat dry milk for when I bake bread.  The next time you go grocery shopping, pick up these ingredients and make up a batch of homemade hot cocoa mix.  You will never buy the packaged stuff again.


Creamy Hot Cocoa
 
This is a rich, indulgent hot chocolate made so with the addition of white chocolate and topped with whipped cream, marshmallows, and a sprinkling of cocoa powder.
Ingredients
HOT CHOCOLATE MIX
  • 1½ cup white chocolate chips
  • 1 cup cocoa powder
  • 2 cup non-fat dry milk
  • 1½ cup powdered sugar
TOPPING
  • whipped cream
  • miniature marshmallows
  • cocoa powder
  • cinnamon
Instructions
HOT CHOCOLATE MIX
  1. Place the white chocolate pieces in a food processor (a coffee grinder works well too). Pulse to grind the chips into a fine, almost powder-like consistency.
  2. Place the ground white chocolate in a medium sized mixing bowl. Add the remaining ingredients. Use a whisk to mix all the ingredients together.
MIXING
  1. Heat a mug filled ¾ full with milk.
  2. Stir in ½ cup of the hot chocolate mix. Mix well.
TOPPING
  1. Add miniature marshmallows to the cup of hot chocolate.
  2. Scoop a dollop of whipped cream on top.
  3. Sprinkle cocoa powder and/or cinnamon on top of the whipped cream.

Strawberries & Cream Dream Cake

I asked my kids what to name this dessert.   Strawberry shortcake seemed too simple a name for it.  They asked, “why NOT just plain old Strawberry Shortcake?”  “No,” I answered.  “This dessert is…well…dreamy.”  And there you have the story behind the name.

It’s super simple to make, but you can tell your friends you slaved in your kitchen all day long.  😉

There are very few store-bought products I buy that I don’t say to myself, “Why did I buy this?  Homemade is so much better.”  Sara Lee Pound Cake is one of those products–I love Sara Lee pound cake, as a base for Latiya, eaten by itself, or in a heavenly, dreamy, strawberry delight.  I have an awesome recipe for homemade pound cake, but why bother when you can buy one that tastes delicious?  I take that back…my homemade version is worth the effort, but when you’re pressed for time and want to quickly prepare something this yummy, there is no need to make one from scratch.

I do indulge a bit with this recipe by using heavy whipping cream in addition to Cool Whip. You most certainly can use regular milk instead of heavy cream, but your cream filling won’t turn out as thick.  I like the addition of Cool Whip  because I can lighten this recipe by using Cool Whip’s lightened or lower calorie versions instead of using nothing but heavy whipping cream.  While an all-whipping cream version is so delicious, my waistline won’t be as dreamy.  You can also lighten this further by using a sugar-free and fat-free instant pudding mix (see, you CAN have your cake and eat it too, and not feel guilty about it either).

Here’s my recipe…don’t just dream about it.  Make it.  Enjoy it.  🙂

Strawberries & Cream Dream Cake

IMG_0440

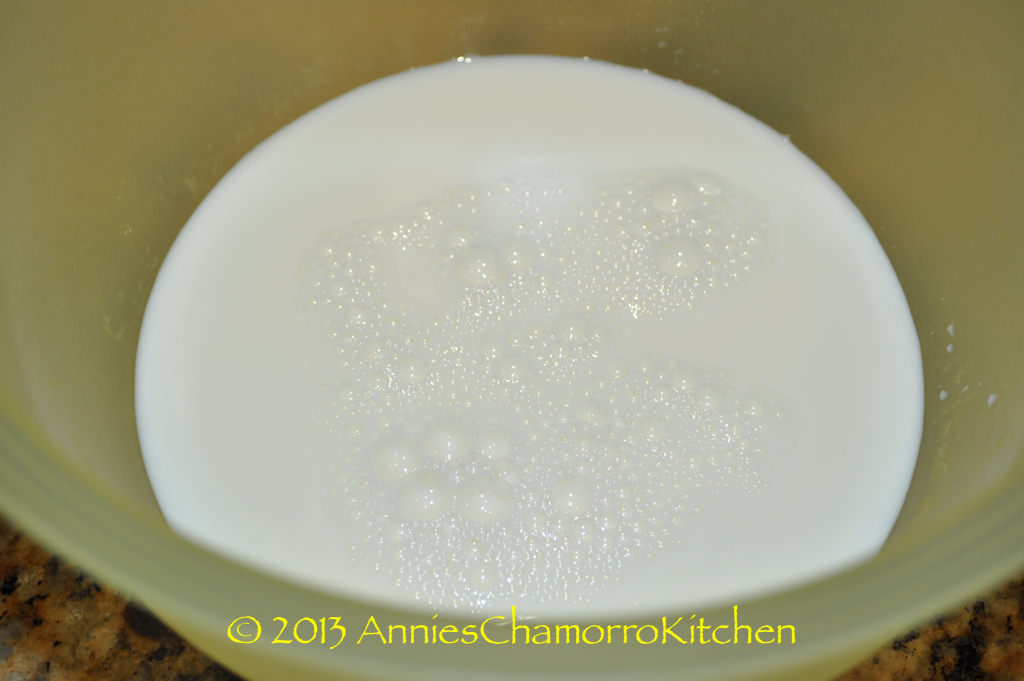
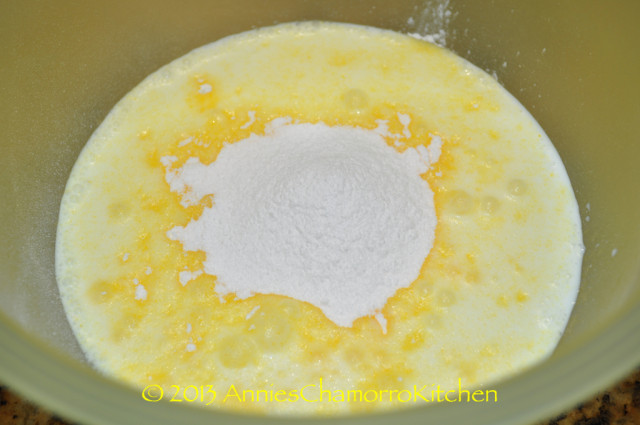
1.  Pour the whipping cream in a mixing bowl.  Add the instant pudding mix.  Using an electric mixer, mix on the highest setting (I use setting #6, the highest setting for my handheld mixer).  The mixture will thicken quickly.

DSC_0537

DSC_0538

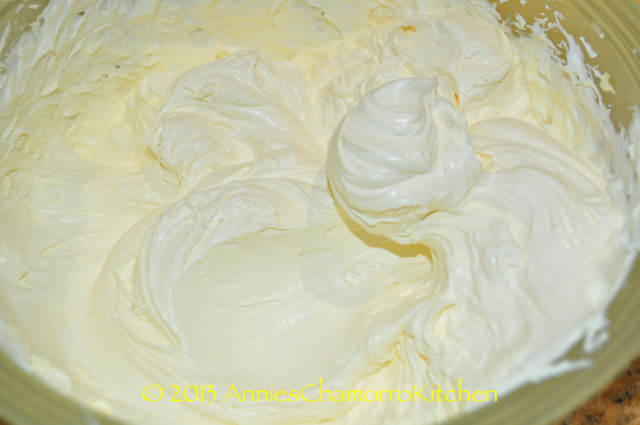
2.  Once the whipped cream mixture develops stiff peaks, add in half of the Cool Whip.  Mix on low speed until the Cool Whip is combined.  Mix in the rest of the Cool Whip.

DSC_0504

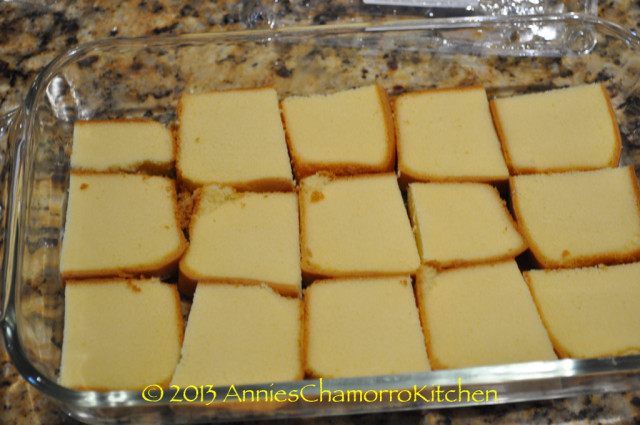
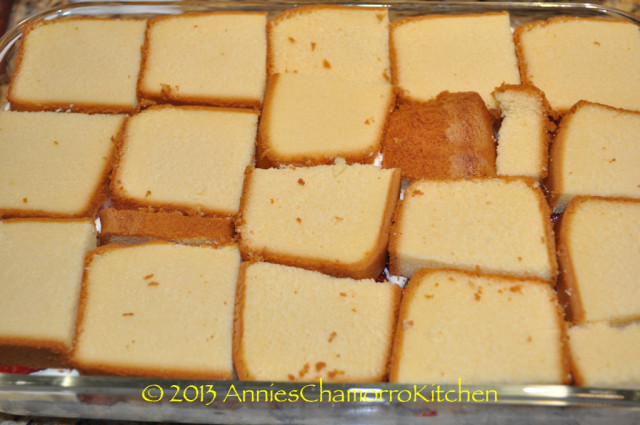
3. Slice the pound cake into 1/4-inch slices, then cut the slices in half.  The resulting pieces should look like what’s in the photo below.  Layer half of the pieces of cake on the bottom of a shallow pan (a 9×13 pan works well).

DSC_0502

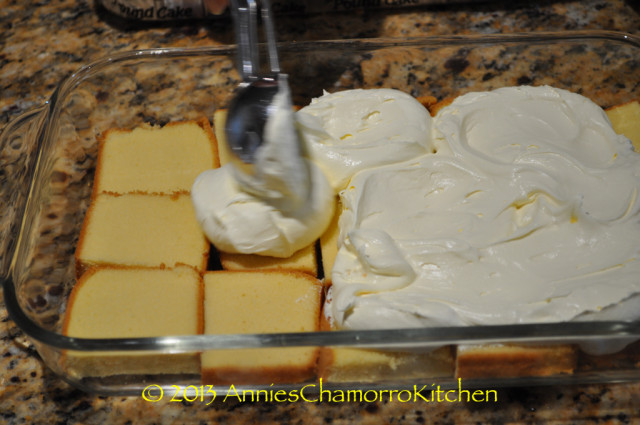
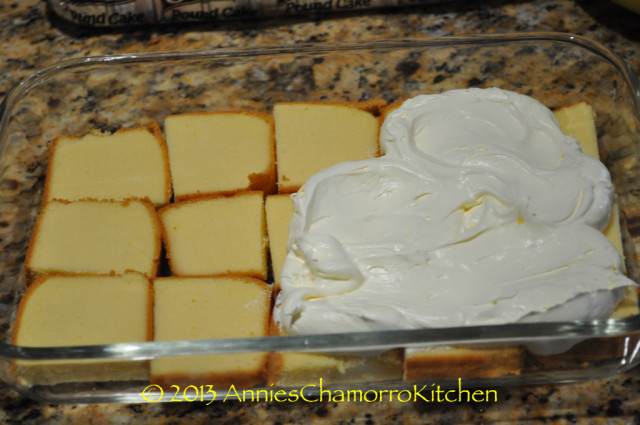
4.  Spread half of the whipped cream mixture on top of the cake pieces.

DSC_0511

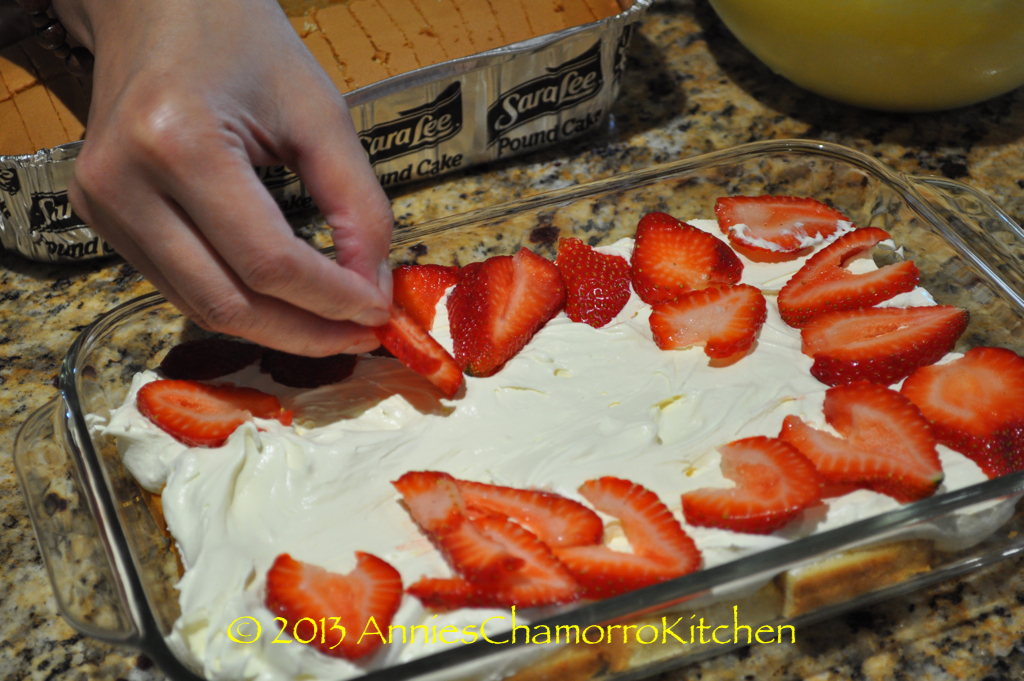
5.  Spread half of the sliced strawberries over the layer of the whipped cream mixture.

DSC_0515

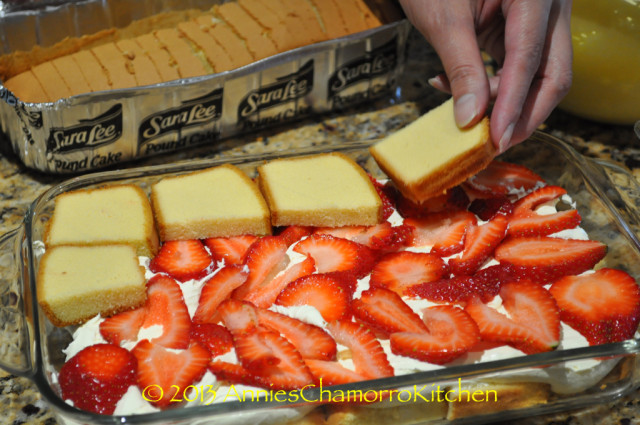
6.  Add another layer of cake on top of the strawberries, using up the remaining pieces of cake.

DSC_0516

DSC_0542

7.  Spread the remaining whipped cream mixture on top of the cake.

DSC_0506

8.  Spread the remaining strawberry slices on top of the whipped cream mixture.

DSC_0520

Ta daaaaa!!!!  Chill, or serve immediately.

DSC_0523


Strawberries & Cream Dream Cake
 
Author:
Ingredients
  • 2 cups heavy whipping cream
  • 1 small box (3.4 oz.) instant vanilla pudding mix
  • 16 ounces Extra Creamy Cool Whip whipped topping
  • 1 small tub fresh strawberries, sliced
  • 1 family size (16 oz.) Sara Lee pound cake
Instructions
  1. Pour the whipping cream in a mixing bowl.  Add the instant pudding mix.  Using an electric mixer, mix on the highest setting until the mixture thickens.
  2. Add in half of the Cool Whip.  Mix on low speed until the Cool Whip is combined.  Mix in the rest of the Cool Whip.
  3. Slice the pound cake into ¼-inch slices, then cut the slices in half. Layer half of the pieces of cake on the bottom of a 9x13 pan.
  4. Spread half of the whipped cream mixture on top of the cake pieces.
  5. Spread half of the sliced strawberries over the layer of the whipped cream mixture.
  6. Add another layer of cake on top of the strawberries, using up the remaining pieces of cake.
  7. Spread the remaining whipped cream mixture on top of the cake.
  8. Spread the remaining strawberry slices on top of the whipped cream mixture.
  9. Chill, or serve immediately.


Kimchi Soup

My name is Annie and I love kimchi.

There…I’ve admitted it, although it really wasn’t such a secret.  🙂  I’ve eaten kimchi since I was a little girl.  I do remember having to rinse it in a cup of water because I couldn’t stand how spicy it was, but I grew to love the spiciness of the fermented cabbage.

Kimchi is an acquired taste for sure, but it’s a staple in Korean homes, and lots of Chamorro homes too as a matter of fact.

Now on to kimchi soup.  I was first introduced to this soup when I was assigned to Korea about 17 years ago.  A group of us went to dinner with our Korean partnership officers and the senior officer placed a bowl of the steaming soup in front of me and insisted I eat.  “Eat, eat!” he told me, and he even placed a soup spoon with rice in it in front of me.  “Eat!  Eat!”  Of course, I didn’t want to offend him, so I ate….and ate….and ate….and ate.  It was so delicious, with pieces of pork, tofu, and lots of tasty kimchi!

Thankfully I have a Korean sister-in-law who is an excellent cook.  She, along with the Korean ajumma (or ajima) who watched my kids (during my second tour to Korea), taught me how to make the Korean dishes I’ll be sharing with you.

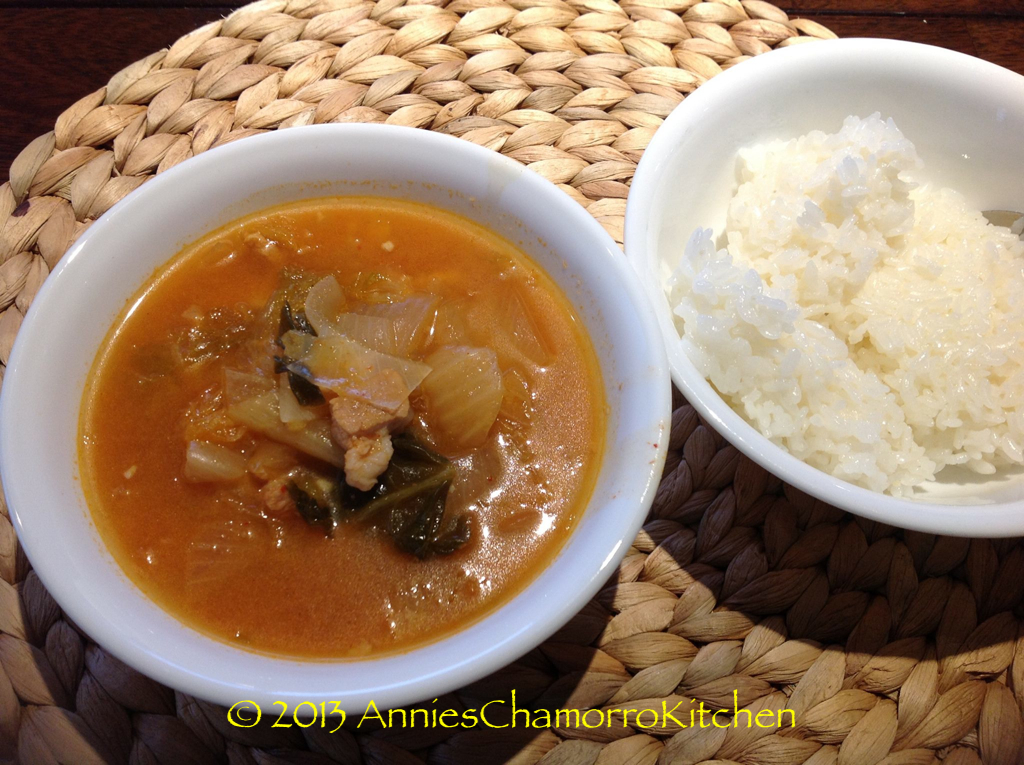
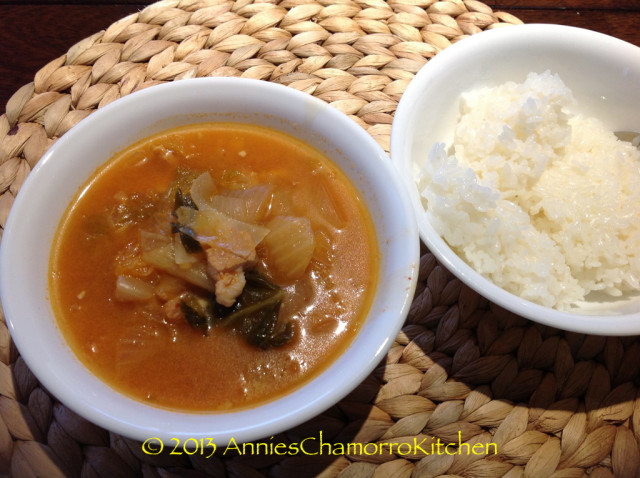
This is my version of Kimchi Jigae (or Chigae), one of my favorite Korean soups.

Kimchi Jigae (Kimchi Soup)

1167482_561057950617696_1125117961_o

Ingredients:
  • 1/2 pound pork belly
  • 1/2 pound lean pork (umm…lean pork cancels out the pork belly in my book)  😉
  • 6 cloves garlic, minced
  • 1 large onion, cut into large pieces
  • 4 cups of kimchi, cut into small pieces (save the kimchi juice!)
  • 6 stalks green onions, cut into 2-inch long pieces
  • 6 cups water
  • 1 cup kimchi juice
  • 1/4 cup Dashida beef flavored seasoning
  • 2 tablespoons Gochujang (Korean pepper paste)
  • 1 tablespoon sugar
  • Optional:  1 package firm tofu, drained and cut into small pieces

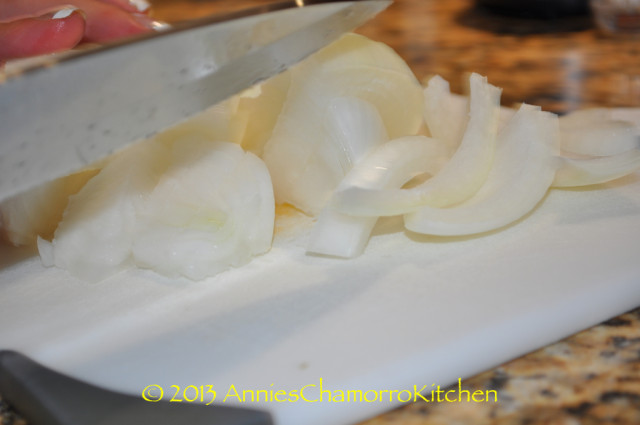
Cut the onions into large pieces


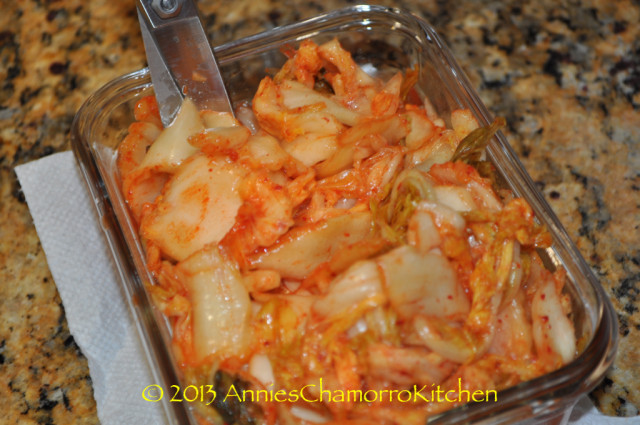
Cut the kimchi into small pieces

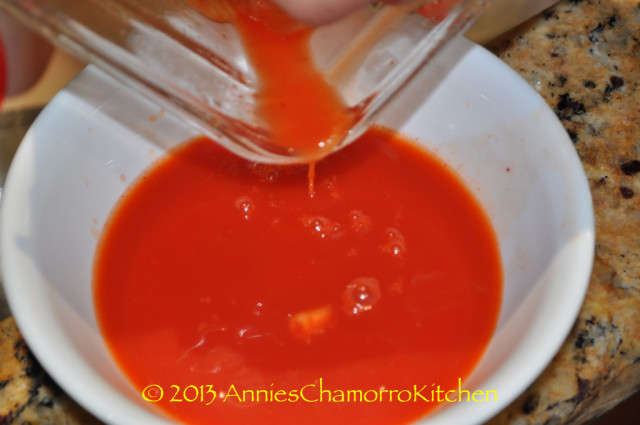
Save that kimchi juice!


Directions:

1.  In a large soup pot over medium heat, sauté the pork belly, lean pork and garlic for a couple of minutes, or long enough for the pork fat to start to melt a little bit.

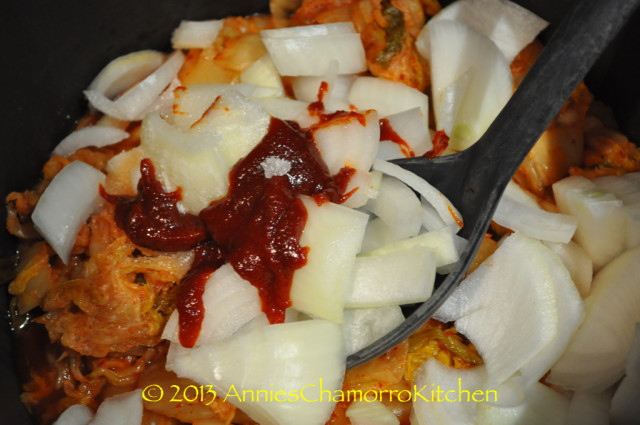
2.  Add onions to the pot, along with the kimchi, green onions, Dashida, gochujang, and sugar.  Stir to combine.

DSC_0482

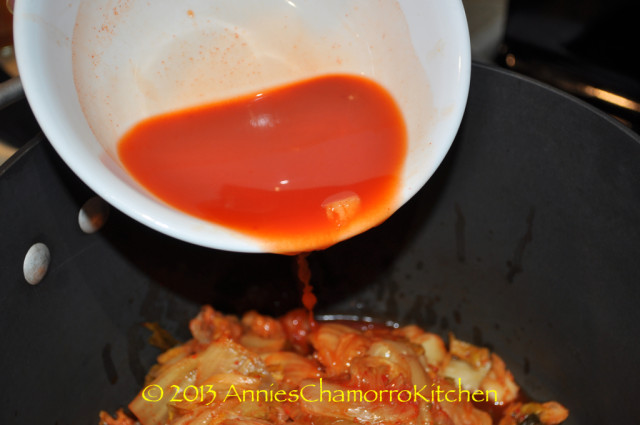
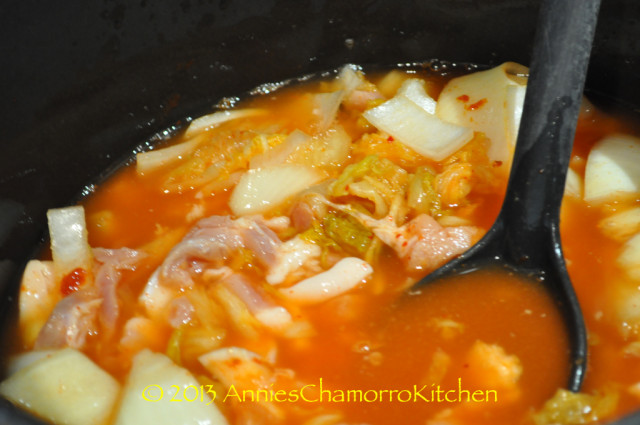
3.  Pour in the water and kimchi juice.  Stir then cover the pot and bring to a boil.  Once the soup is boiling, reduce the heat and simmer for about 20 minutes to soften the kimchi.  Add the tofu at this point; cook for another 5 minutes.

DSC_0468

DSC_0490

4.  Serve piping hot with a bowl of rice on the side.  Enjoy!

1167482_561057950617696_1125117961_o

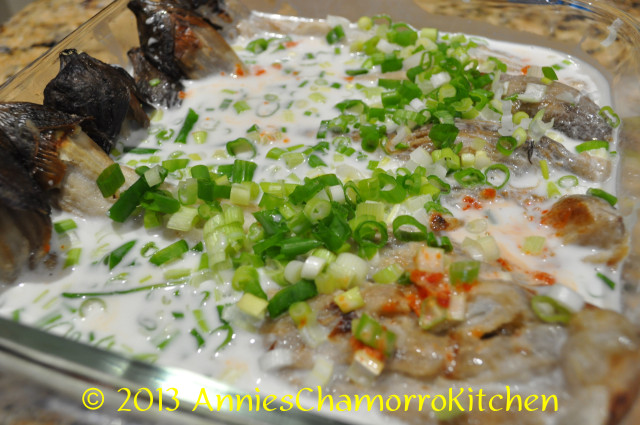
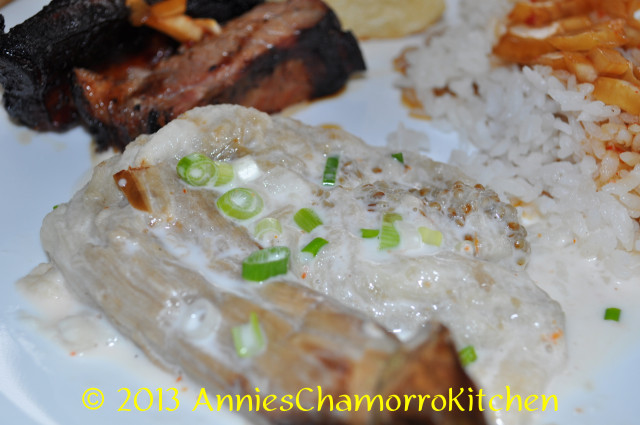
Grilled Eggplant with Coconut Milk

I just love eggplants — stir fried with beef or chicken, sautéed with onions and scrambled with eggs, eggplant parmesan, and a favorite — grilled eggplant with coconut milk, lemon juice, green onions and hot pepper.  DELICIOUS!

The Chamorro name for this dish is Padu’ Lalu’.  It’s what my dad (in his 80’s) calls it, but since I don’t hear it called by this name anymore, I’m assuming it’s an antigu name.  Nowadays, you hear this dish called Eggplant Fina’denne’, or it’s named by what it is–eggplant with coconut milk.  Whatever you call it, it’s delicious.  Add it to your fiesta table menu.   🙂

Grilled Eggplant with Coconut Milk (Padu’ Lalu’)

DSC_0359

Ingredients:
  • 6 eggplants (see note 1 below)
  • 1 can coconut milk or cream
  • 1 tablespoon lemon powder (see note 2 below)
  • 1 teaspoon salt
  • Hot pepper, to taste
  • 4 stalks green onions
Directions:

1.  Prepare the eggplants for grilling by pricking them all over with a fork.  This is so it won’t burst during the grilling process as the natural water in it heats up.

DSC_0329

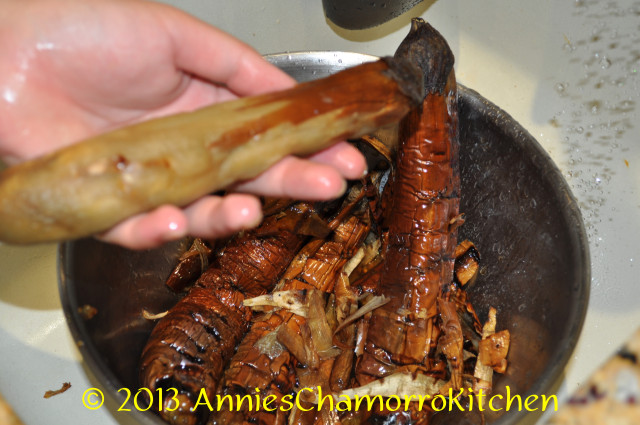
2.  Grill the eggplants, turning them over frequently to ensure even cooking.  Grill until the skins are dark brown, even black and the eggplant is soft to when you touch it.

DSC_0346

DSC_0342

3.  Soak the grilled eggplant in a bowl of water to cool it down.  Peel the skin off the eggplant.  Place the whole eggplants in a shallow dish (my mom actually cuts the eggplant into small, bite-sized pieces).

DSC_0353

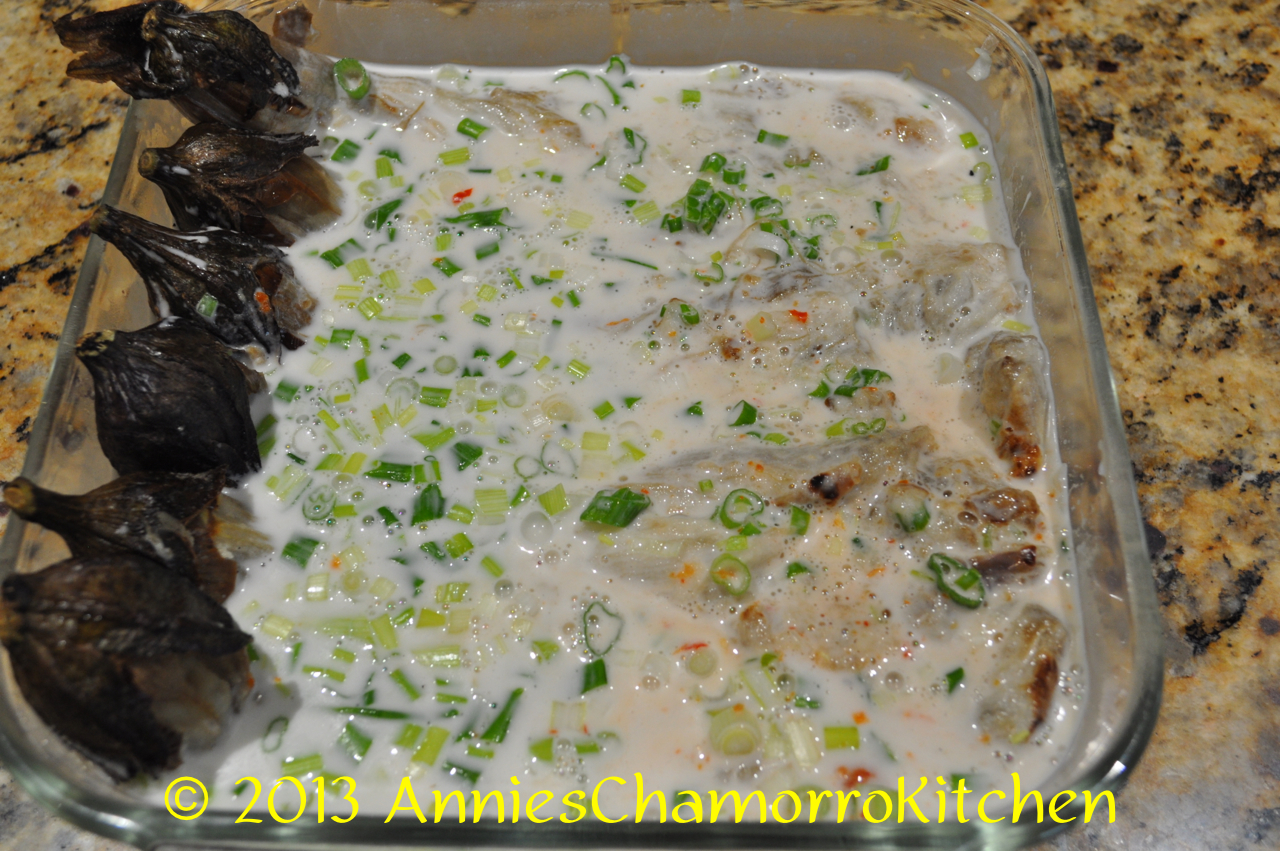
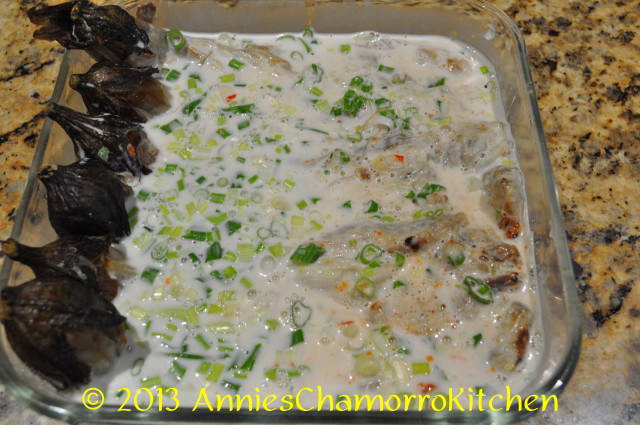
 4.  In a small mixing bowl, mix together the coconut milk or cream, lemon powder, salt and hot pepper.  Mix until the lemon powder and salt dissolve.  Taste, then adjust the amount of lemon powder, salt and hot pepper to your liking.  Pour the mixture over the eggplant.  Sprinkle the green onions over the eggplant and coconut milk.  Stir gently to combine.  Serve and ENJOY!
DSC_0358

DSC_0359


Note 1:  I like to use the long, skinny Japanese eggplants for this dish.  Buy eggplants that are still firm and not too fat, with very little to no blemishes on the skin.  You can use the large, oval eggplants common in grocery stores, only use 1 or 2 smaller ones.  You’ll need to grill or broil these longer as they are thicker and will take longer for the middle to cook through.

DSC_0325


Note 2:  If you don’t have lemon powder (on Guam, a favorite is Yours Brand lemon powder), you can use unsweetened Kool-Aid lemonade mix.

lemon powder


Grilled Eggplant with Coconut Milk, served with BBQ ribs, White Rice and Fina’denne’


« Older Entries Recent Entries »