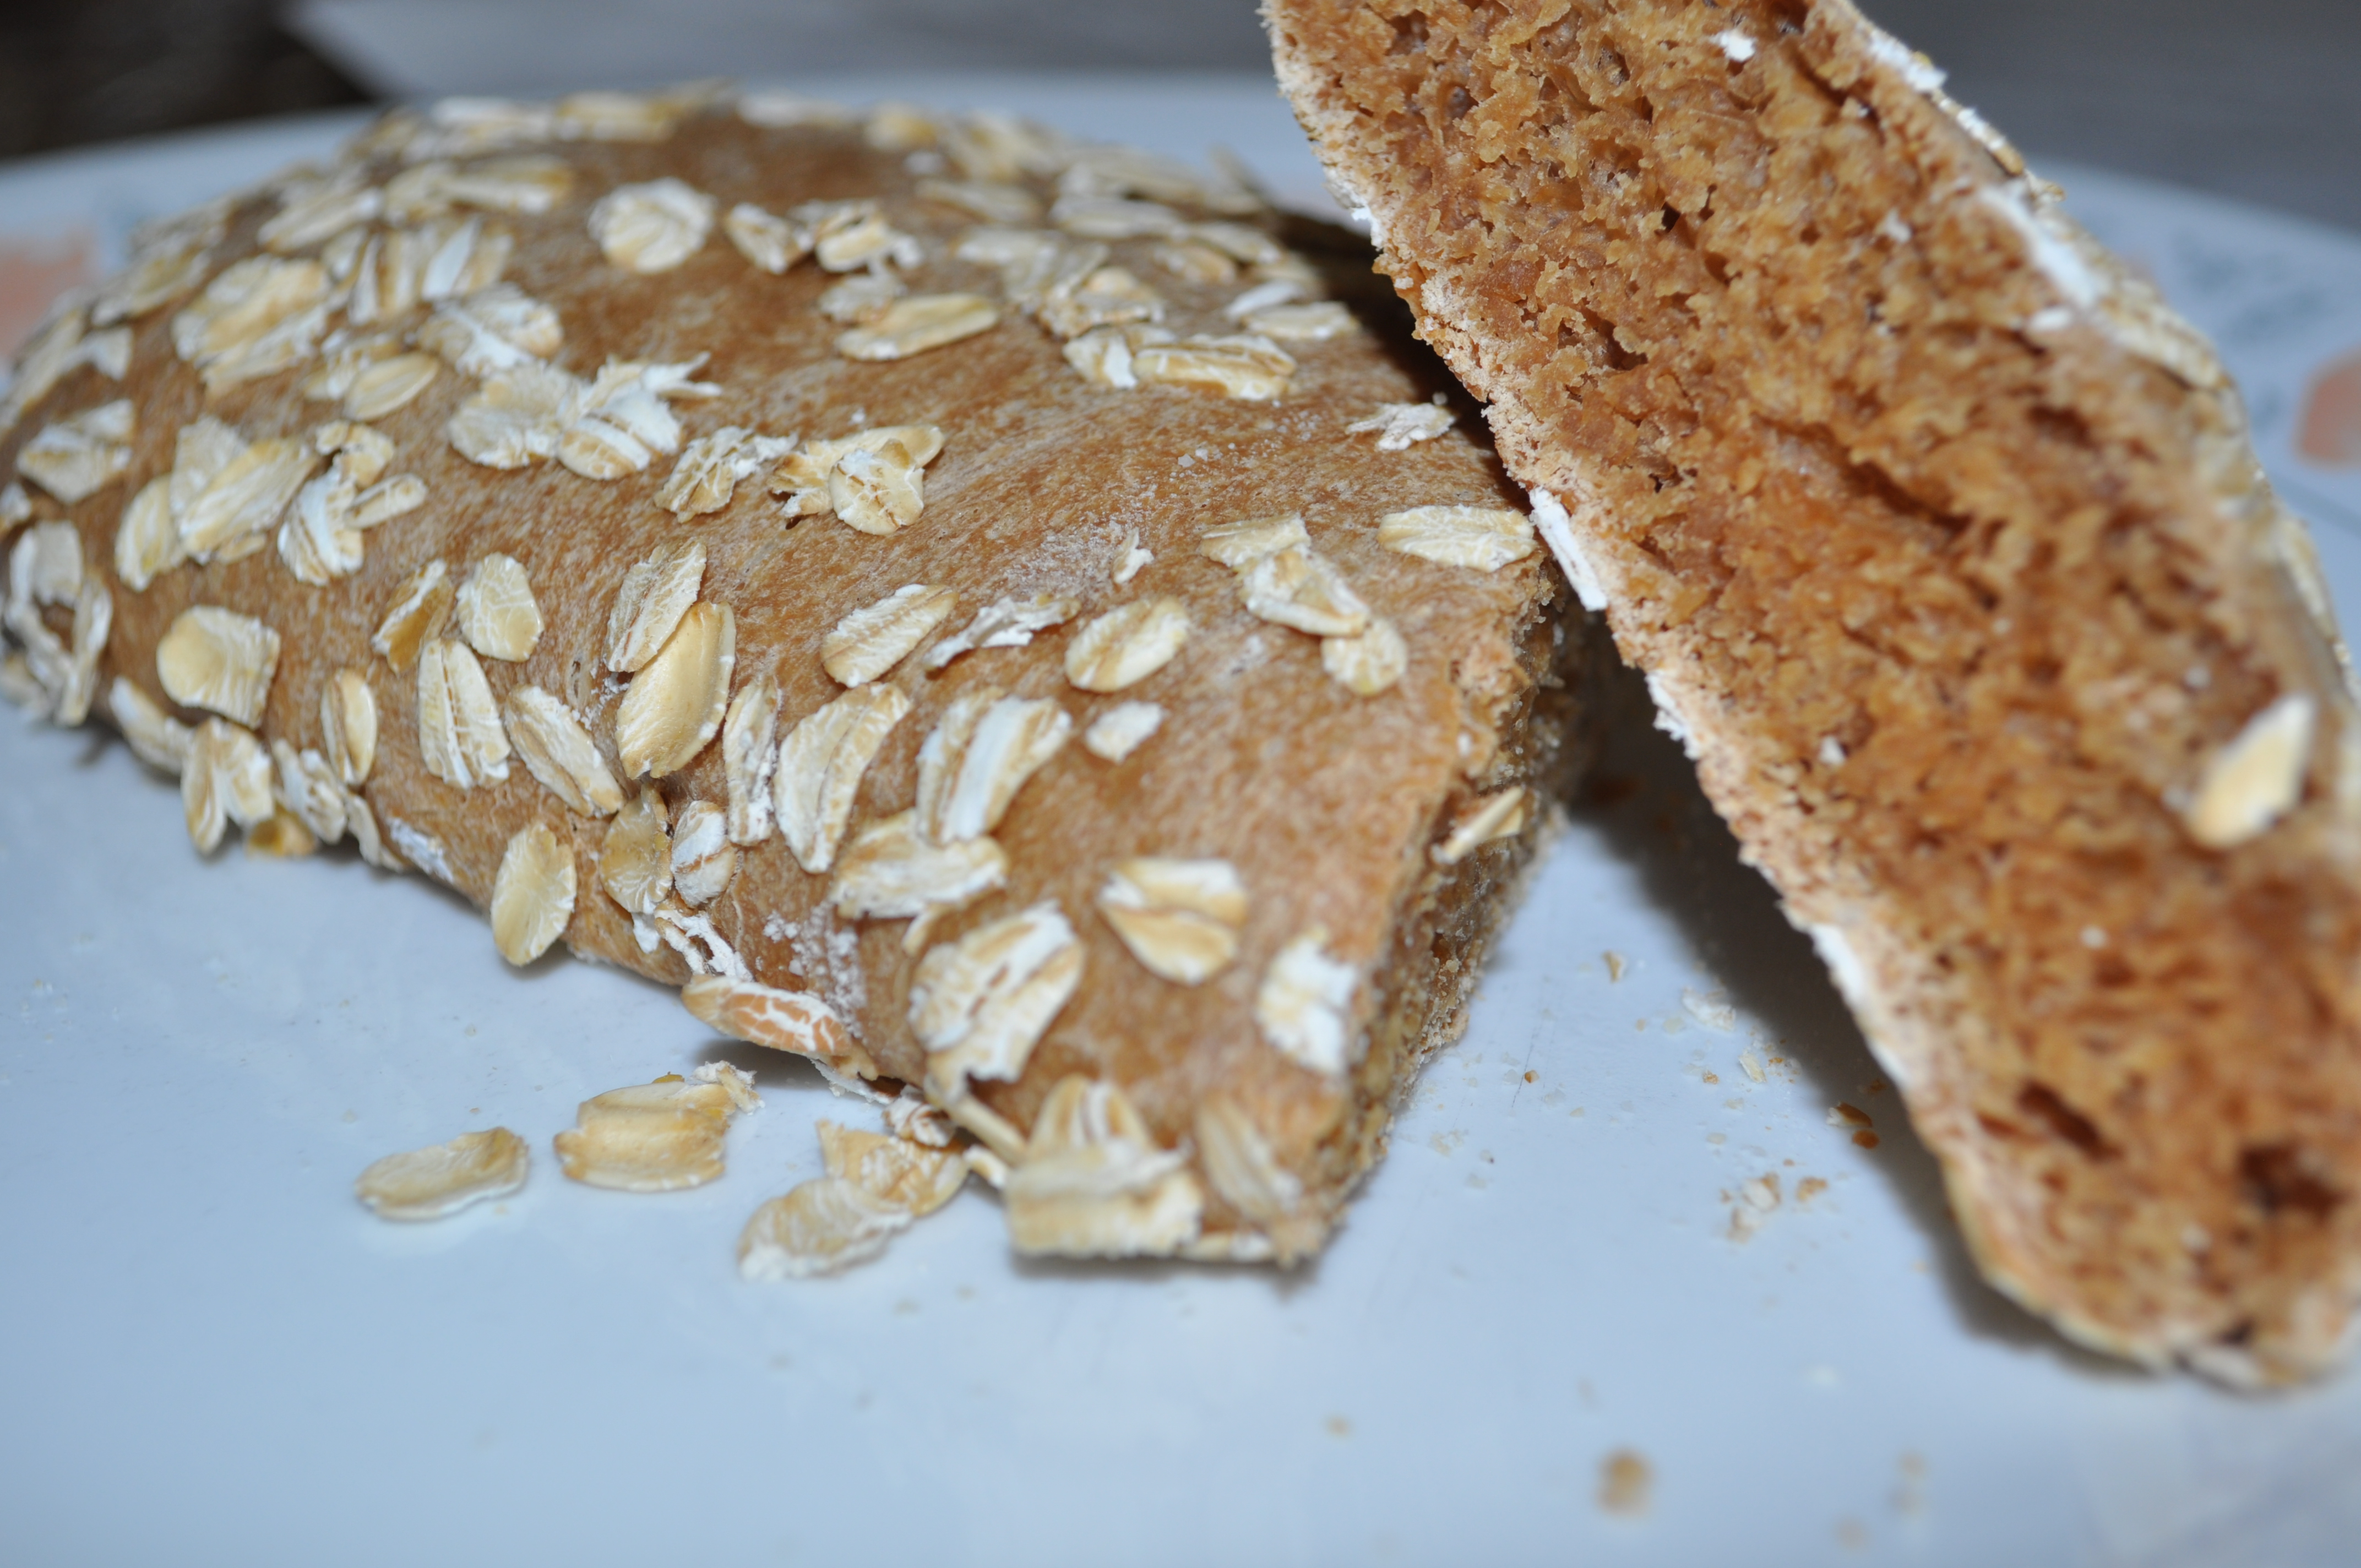
What is Pan de Leche, you ask? Why, it’s only one of the most delicious types of bread around, that’s what! 🙂
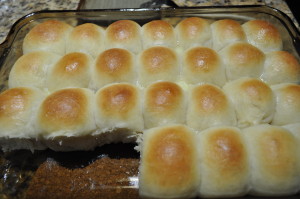
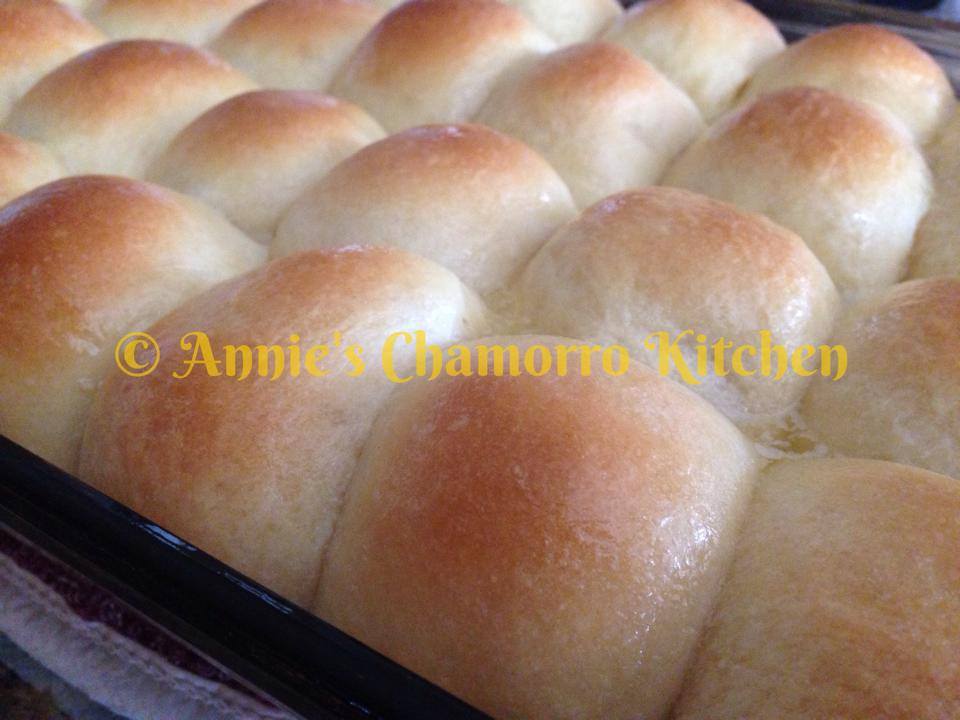
Pan de Leche © 2013 AnniesChamorroKitchen
Seriously, though, Pan de Leche is a sweet milk bread that is delicious with just about anything. Eat it by itself, slathered with butter (honey butter is even better), or stuff it with your favorite luncheon meat. Just eat it. You’ll be in 7th Heaven if you do. Trust me.
I made up a batch of Pan de Leche to take to a party today. The photo below shows some ham, cheese and baby spinach sliders made with these rockin’ rolls.

What was that…you’ve never baked yeast bread before? Don’t worry. I’ll created a whole new post on tips (click here) that will get you over your fear of yeast.
Anyhow, on to more important things–my Pan de Leche recipe.
This recipe yields about 1 9×13 pan, or roughly 2 dozen rolls.
Pan de Leche
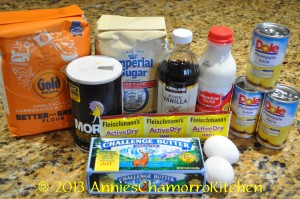
Ingredients:
- 1/2 cup pineapple juice
- 1 tablespoon white, granulated sugar
- 1 packet (or envelope) active dry yeast (or 2 1/4 teaspoons)
- 1/2 cup milk (whole, low-fat or skim, it’s your choice)
- 1/4 cup unsalted butter (or half a stick)
- 1/3 cup white, granulated sugar
- 1/2 teaspoon vanilla extract
- 1 large egg
- 3 to 3 1/2 cups all-purpose flour (start out with 3 cups; you might not use it all)
- 1 teaspoon salt
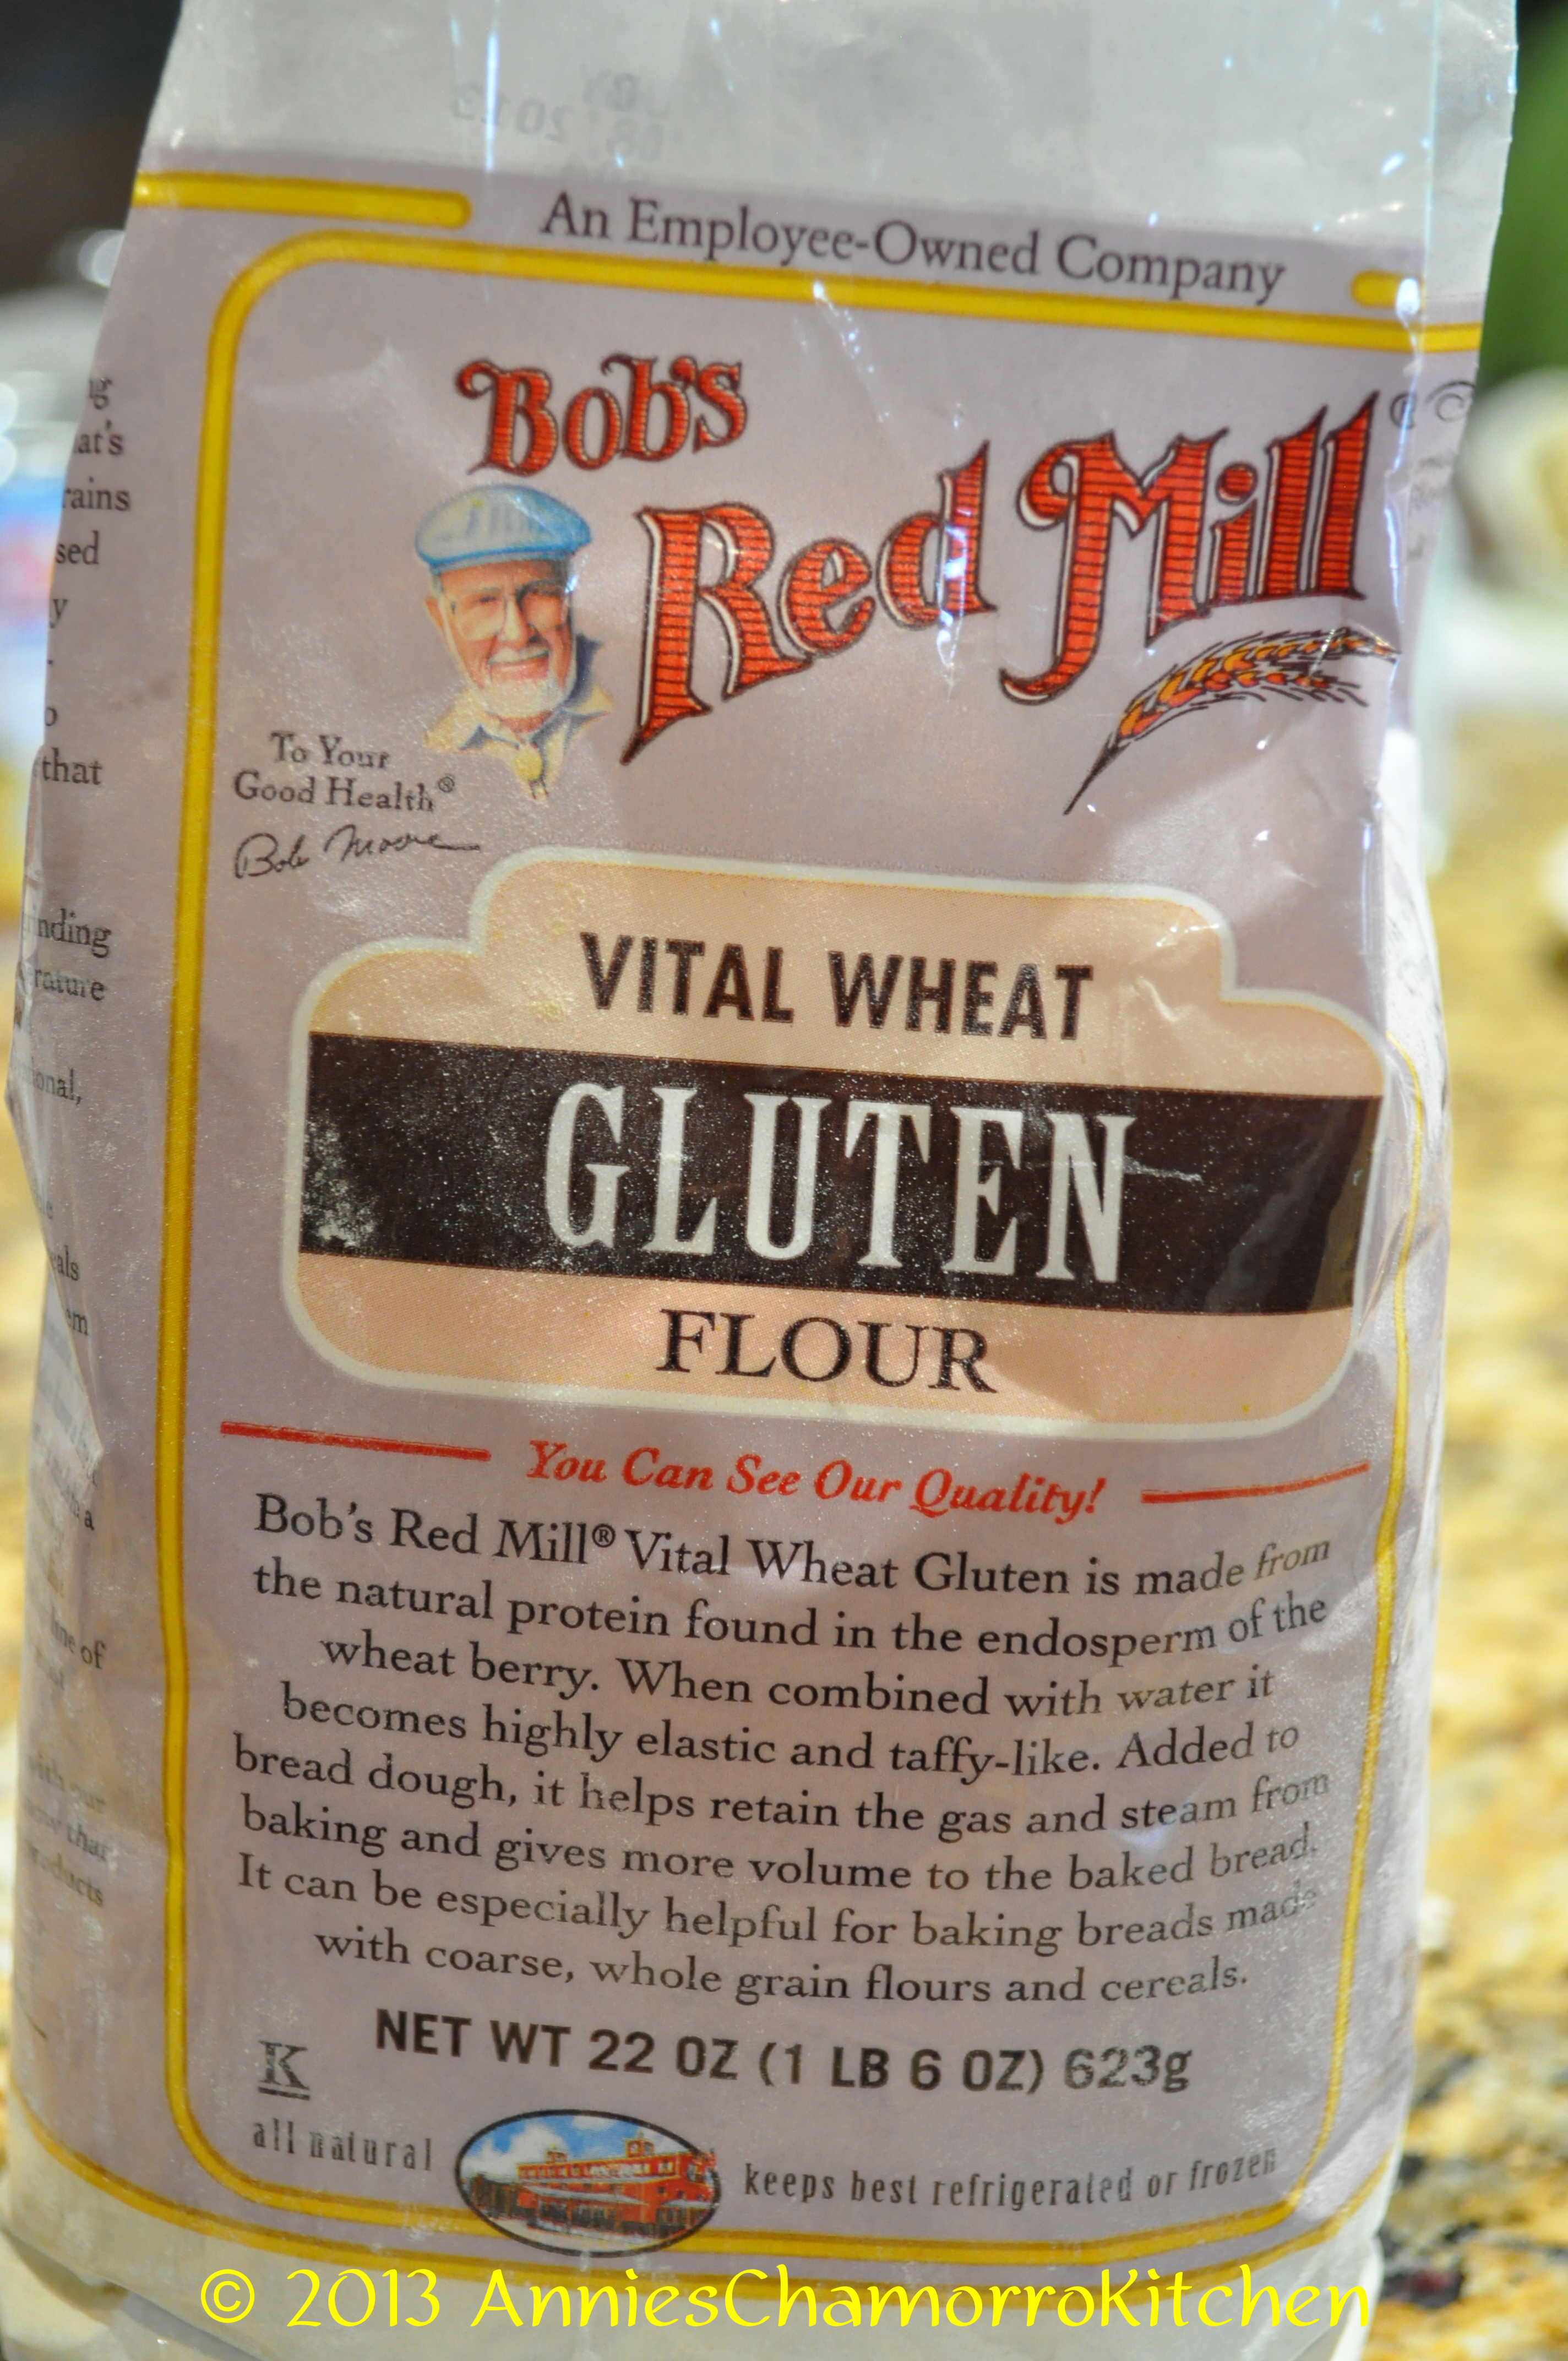
- 1 tablespoon vital wheat gluten
- 1/2 stick melted butter (for brushing the rolls before and after baking)
Directions:
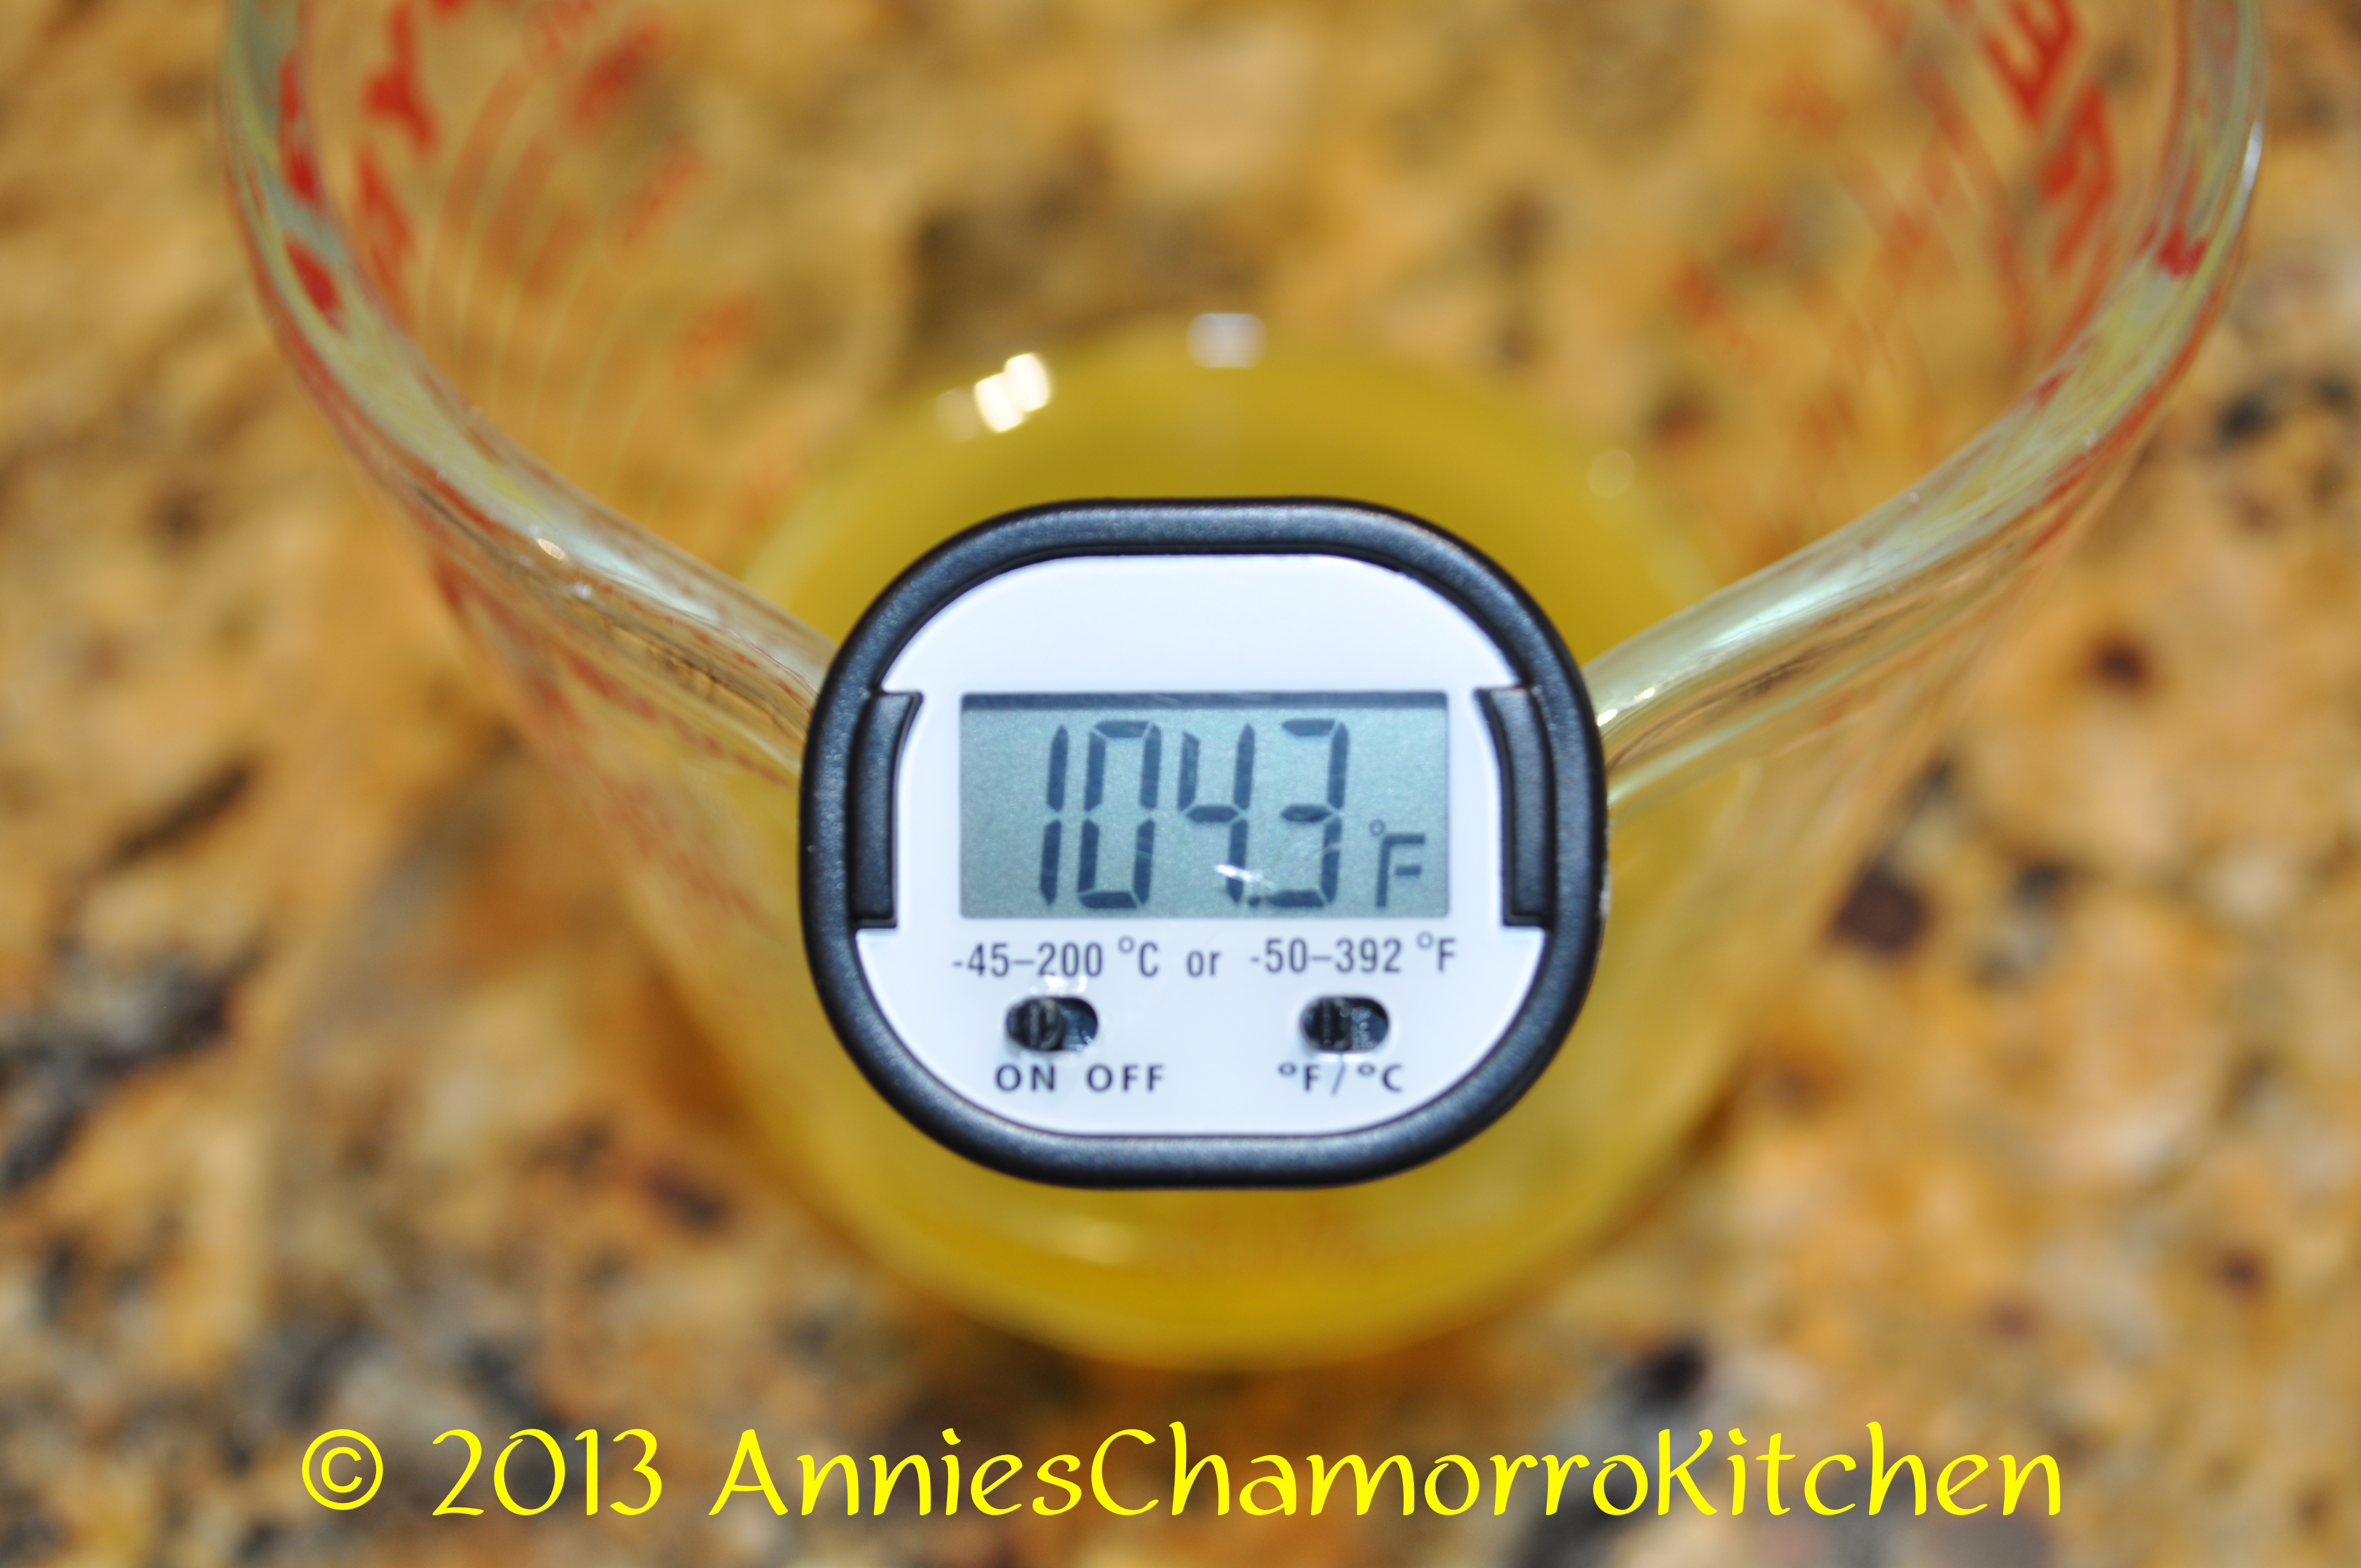
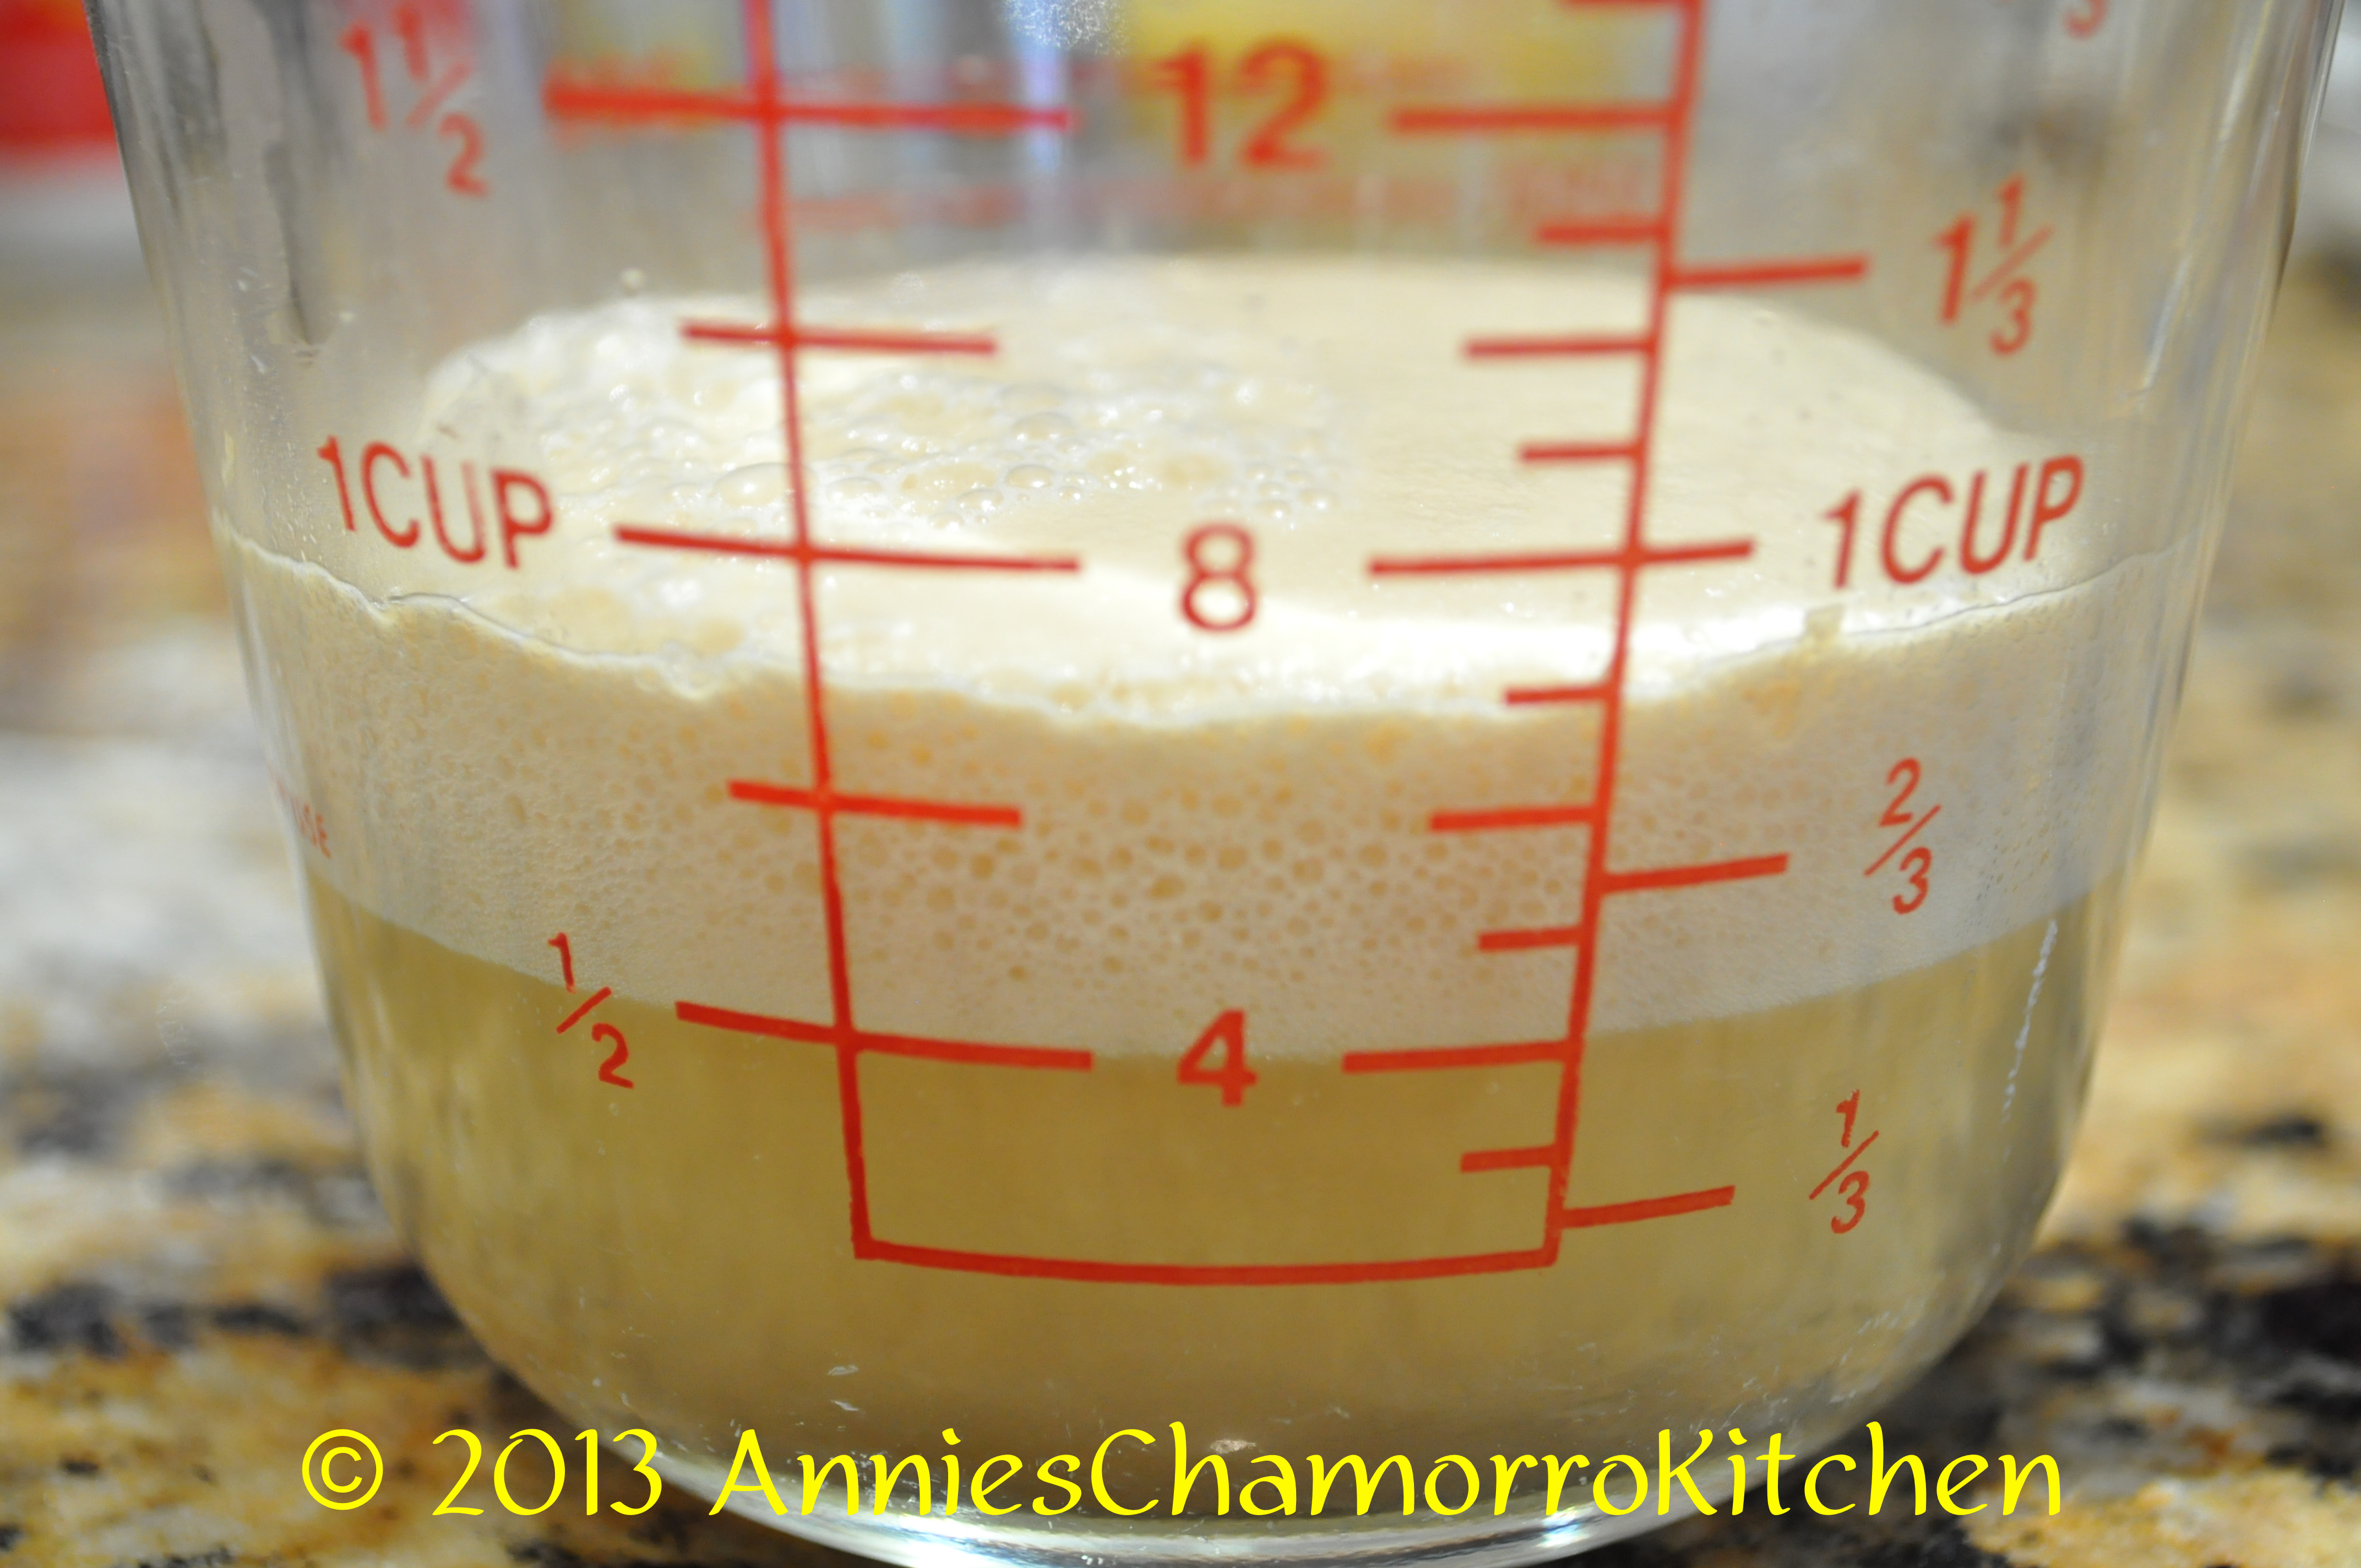
1. In a microwave-safe cup or bowl, heat the pineapple juice for 30 seconds on high. Using an instant-read thermometer, let it cool until the temperature reaches 105 degrees. Stir in the 1 tablespoon sugar and packet of yeast. Set aside for about 10 minutes to proof (it will get all bubbly).
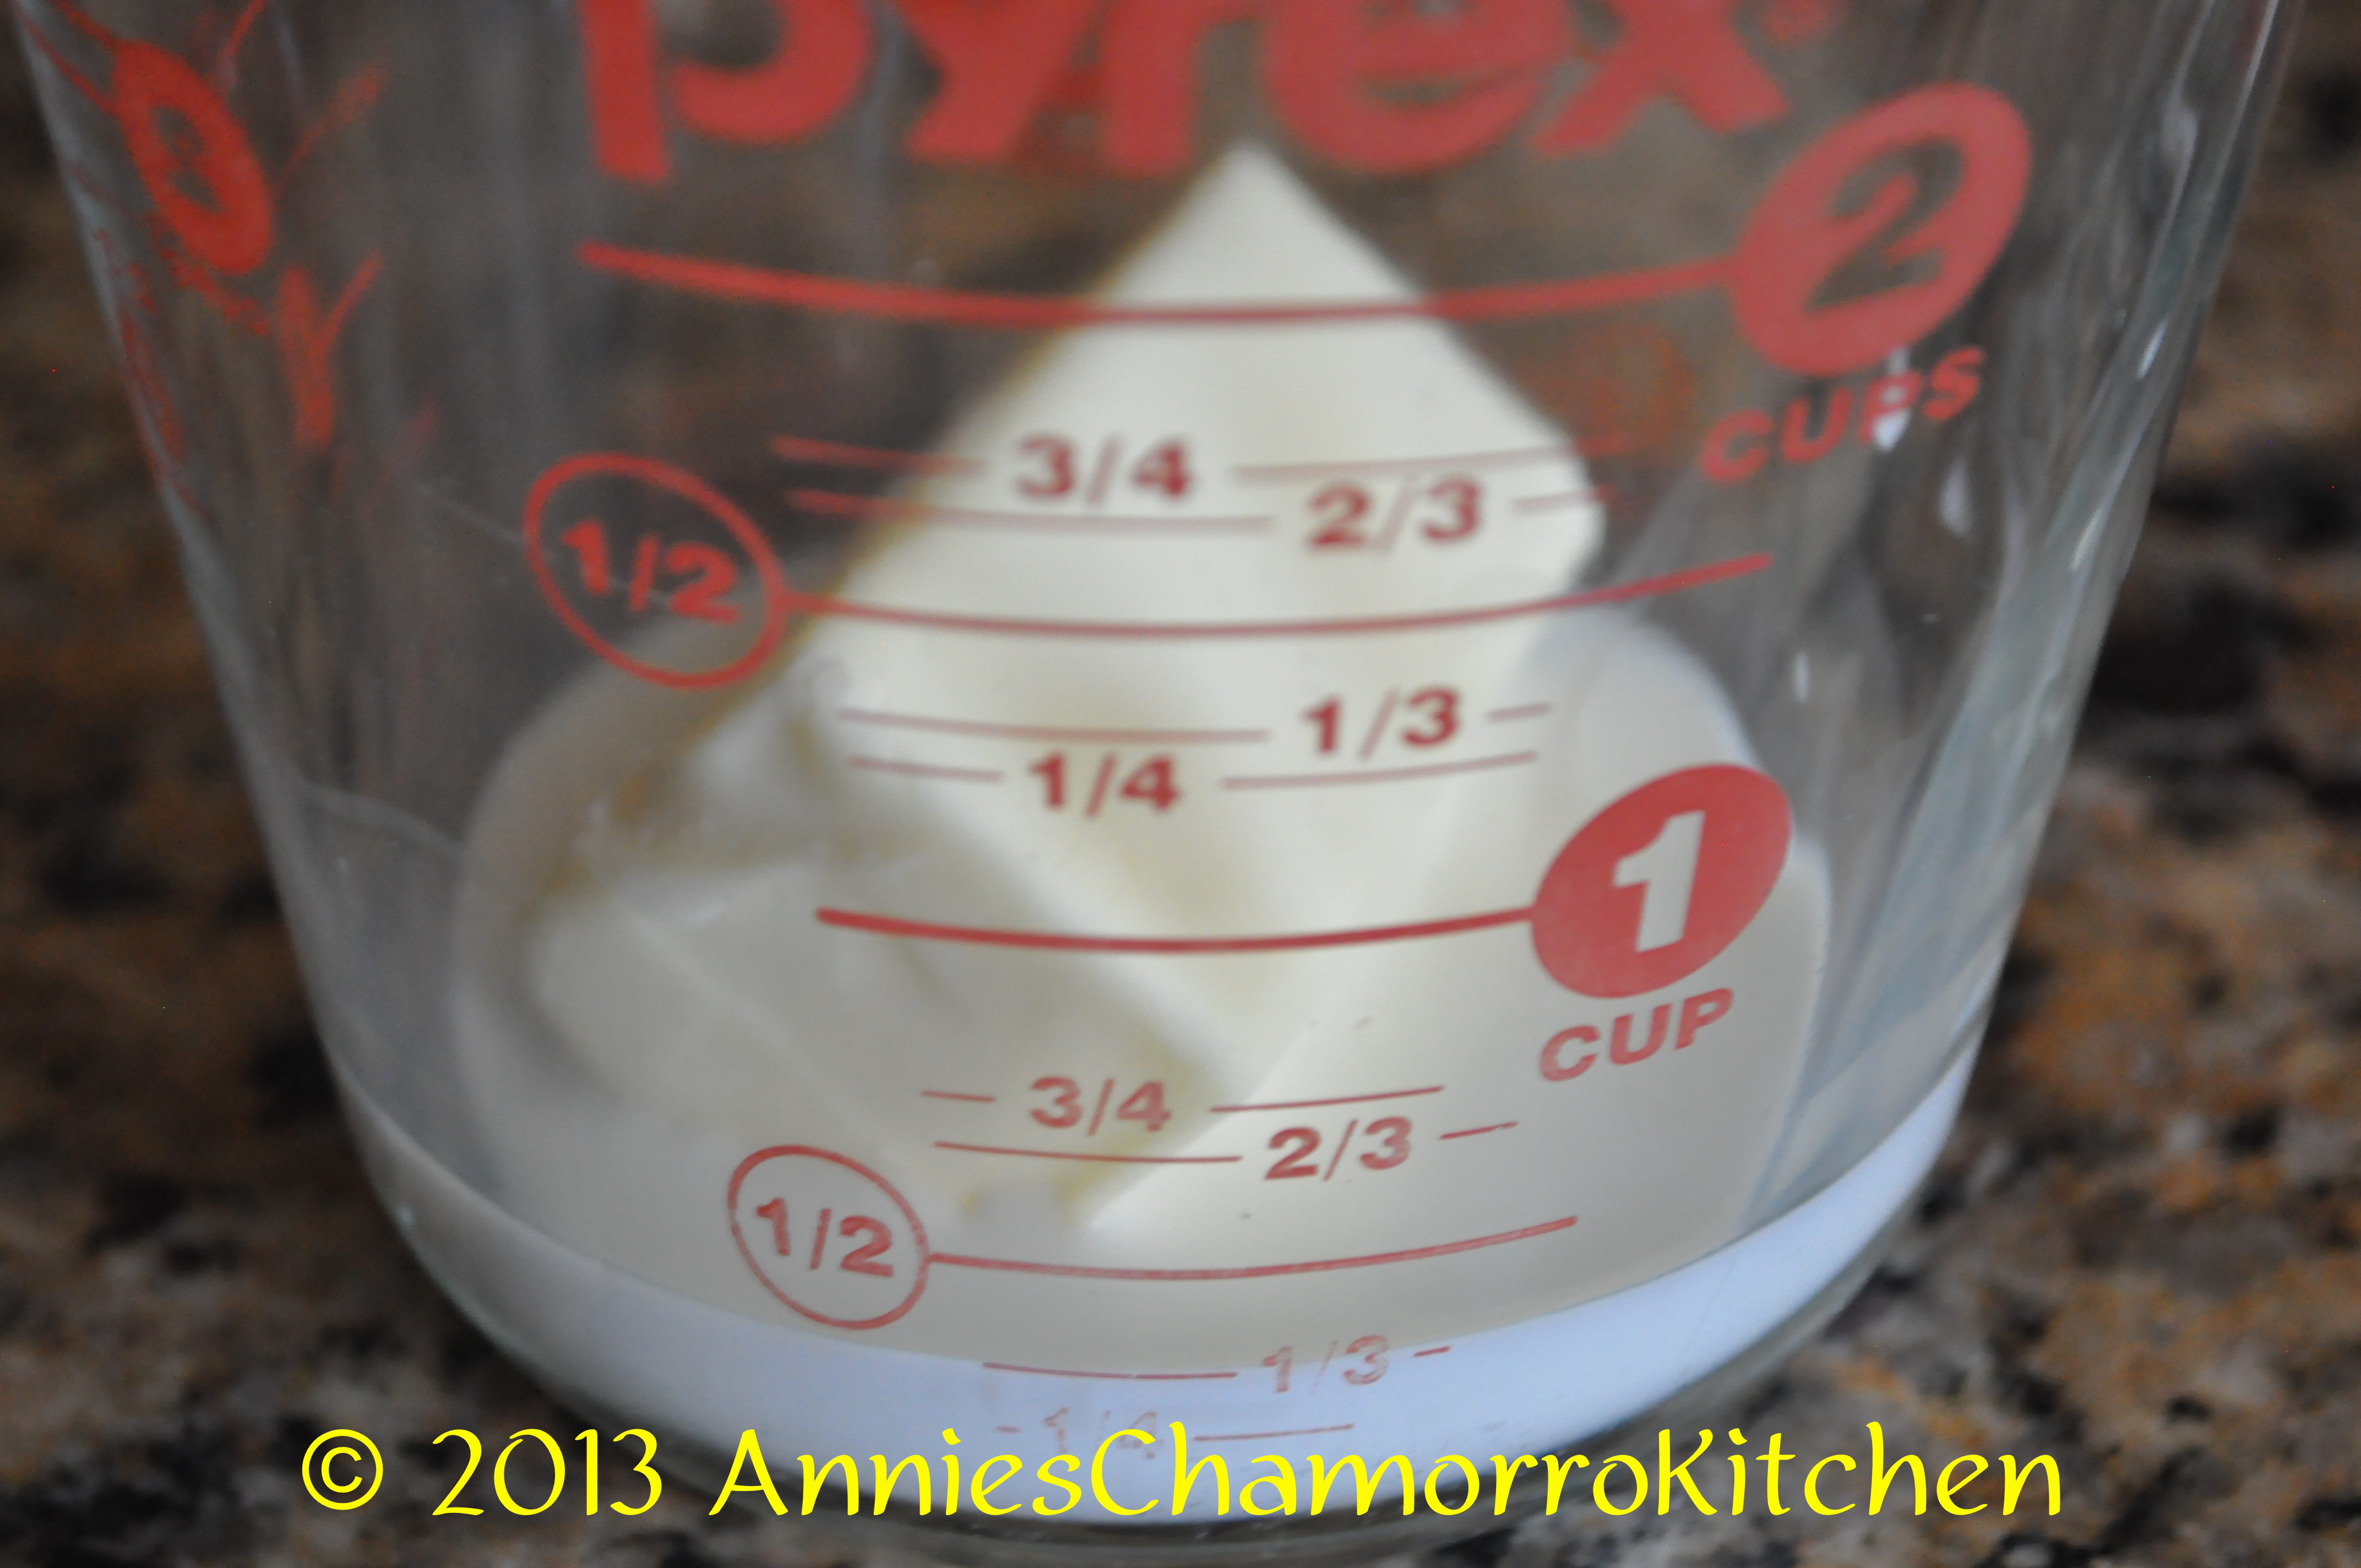
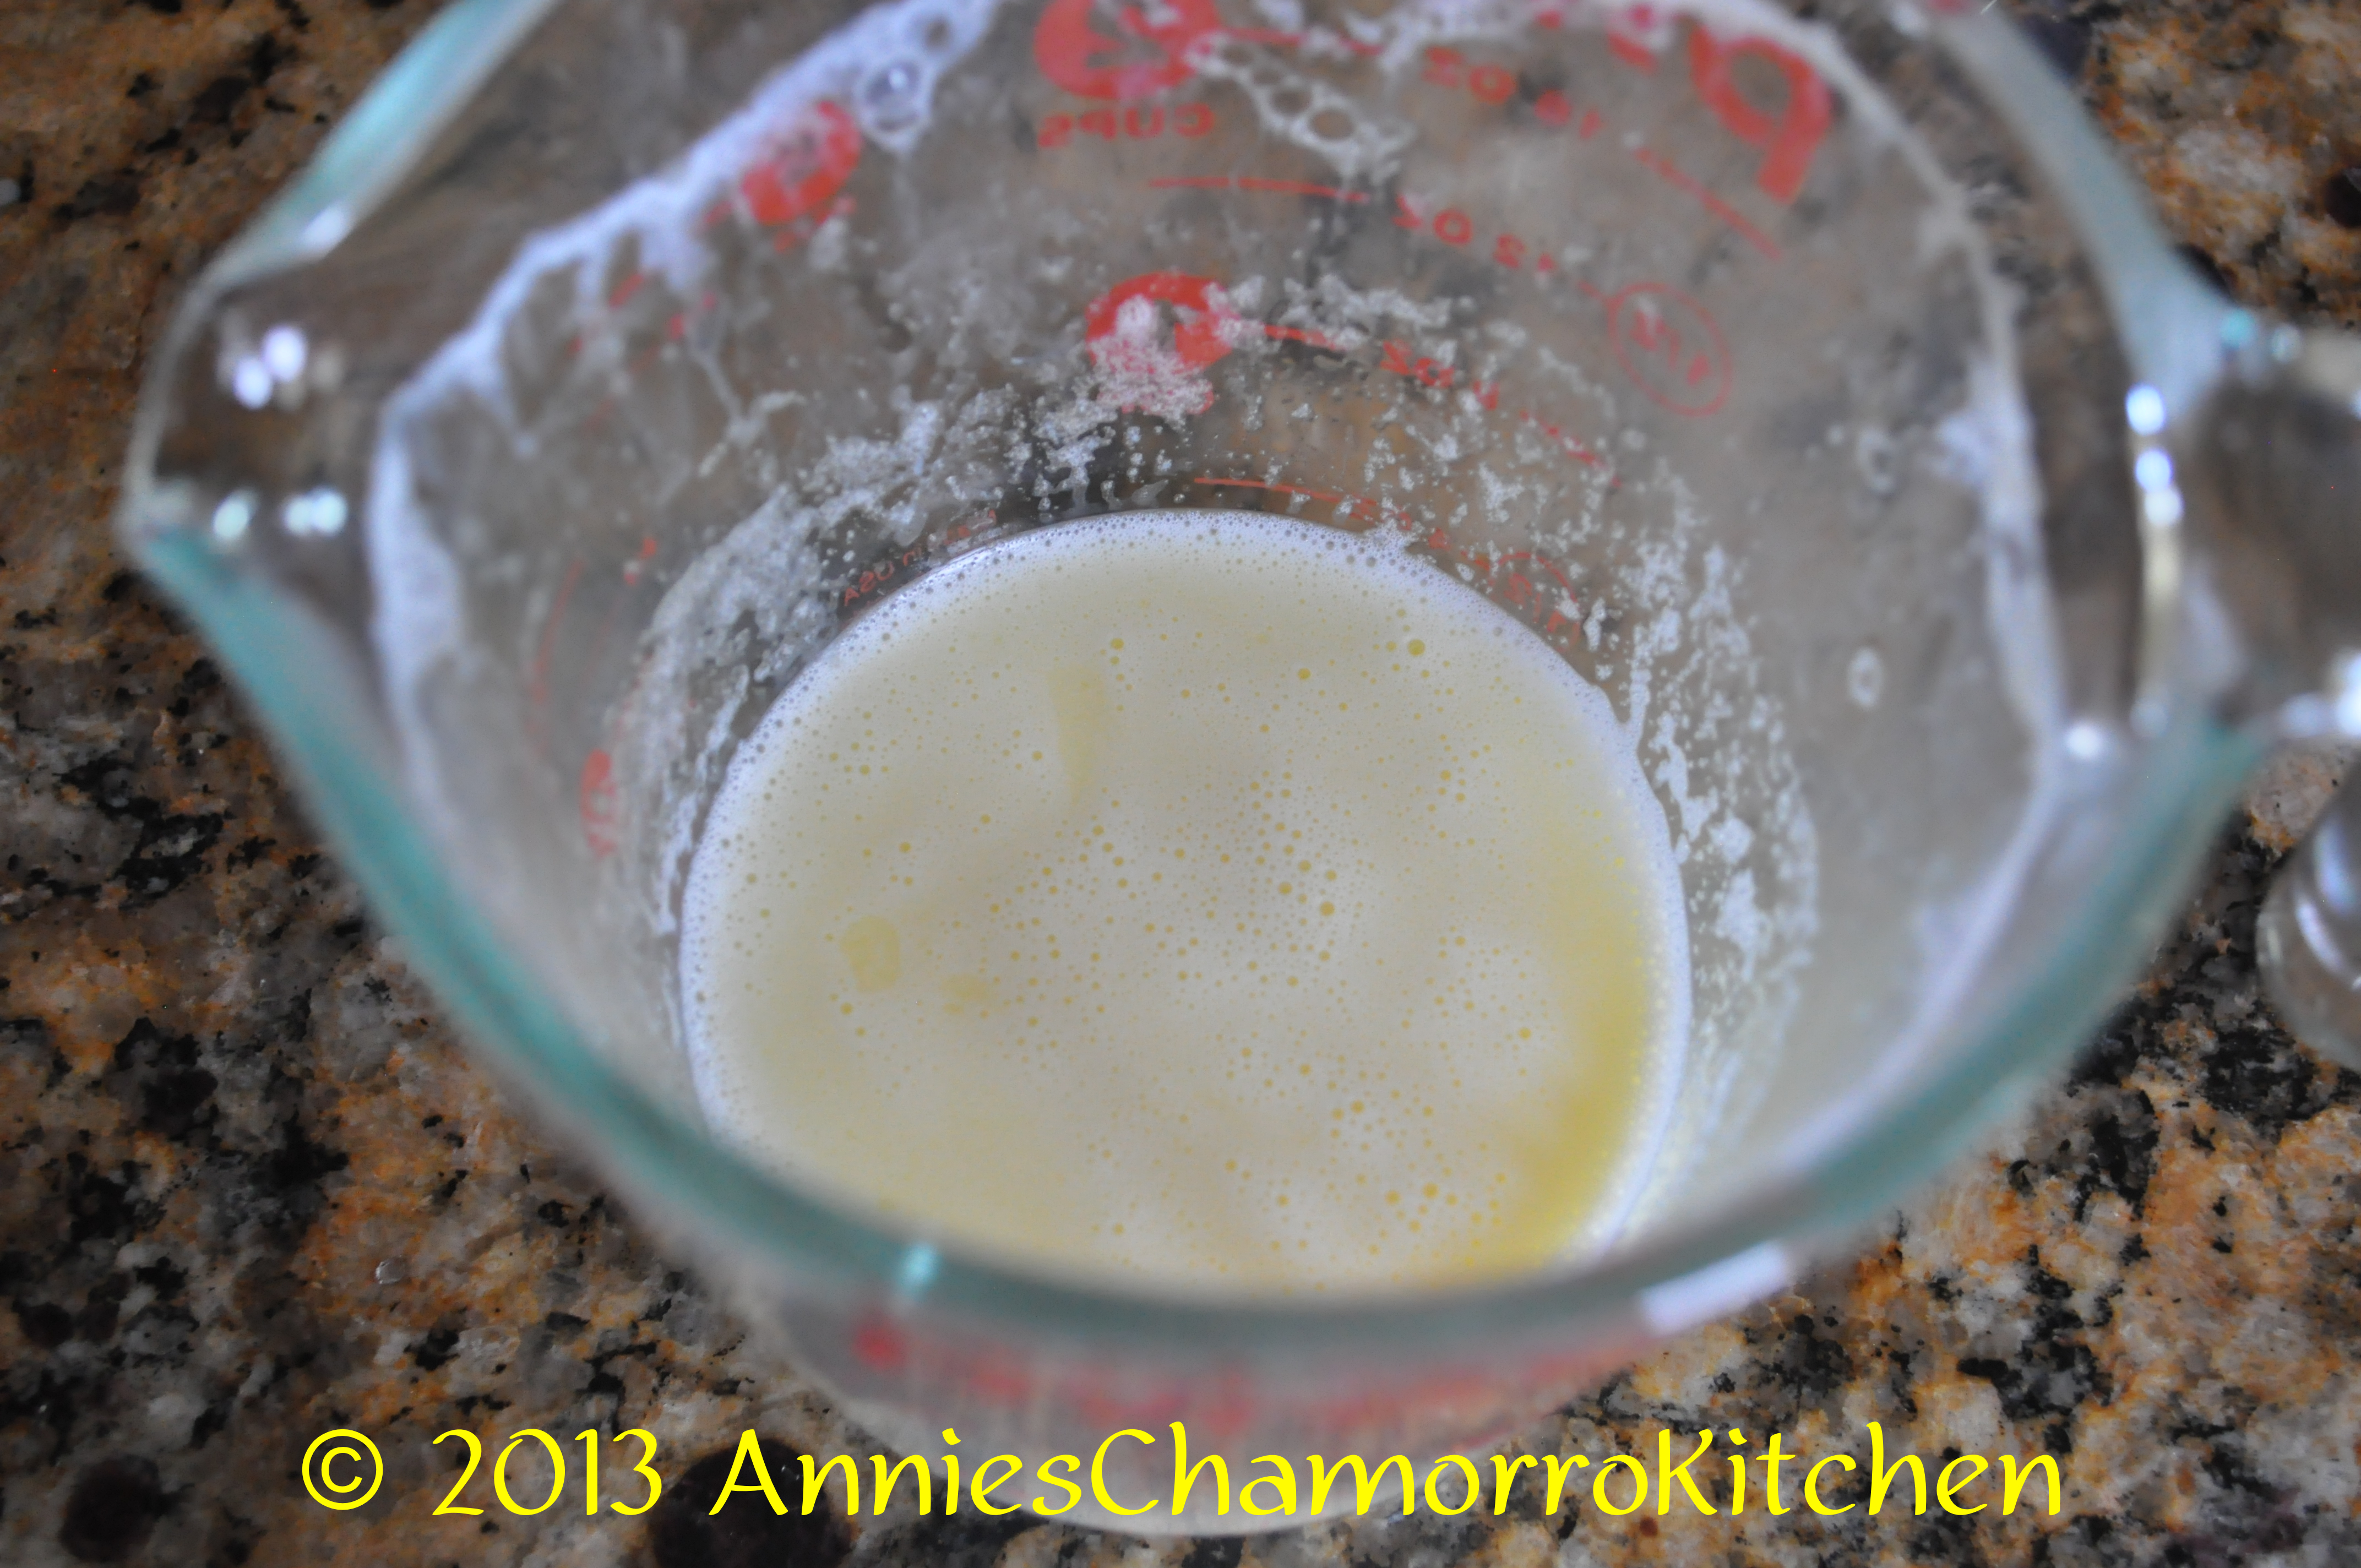
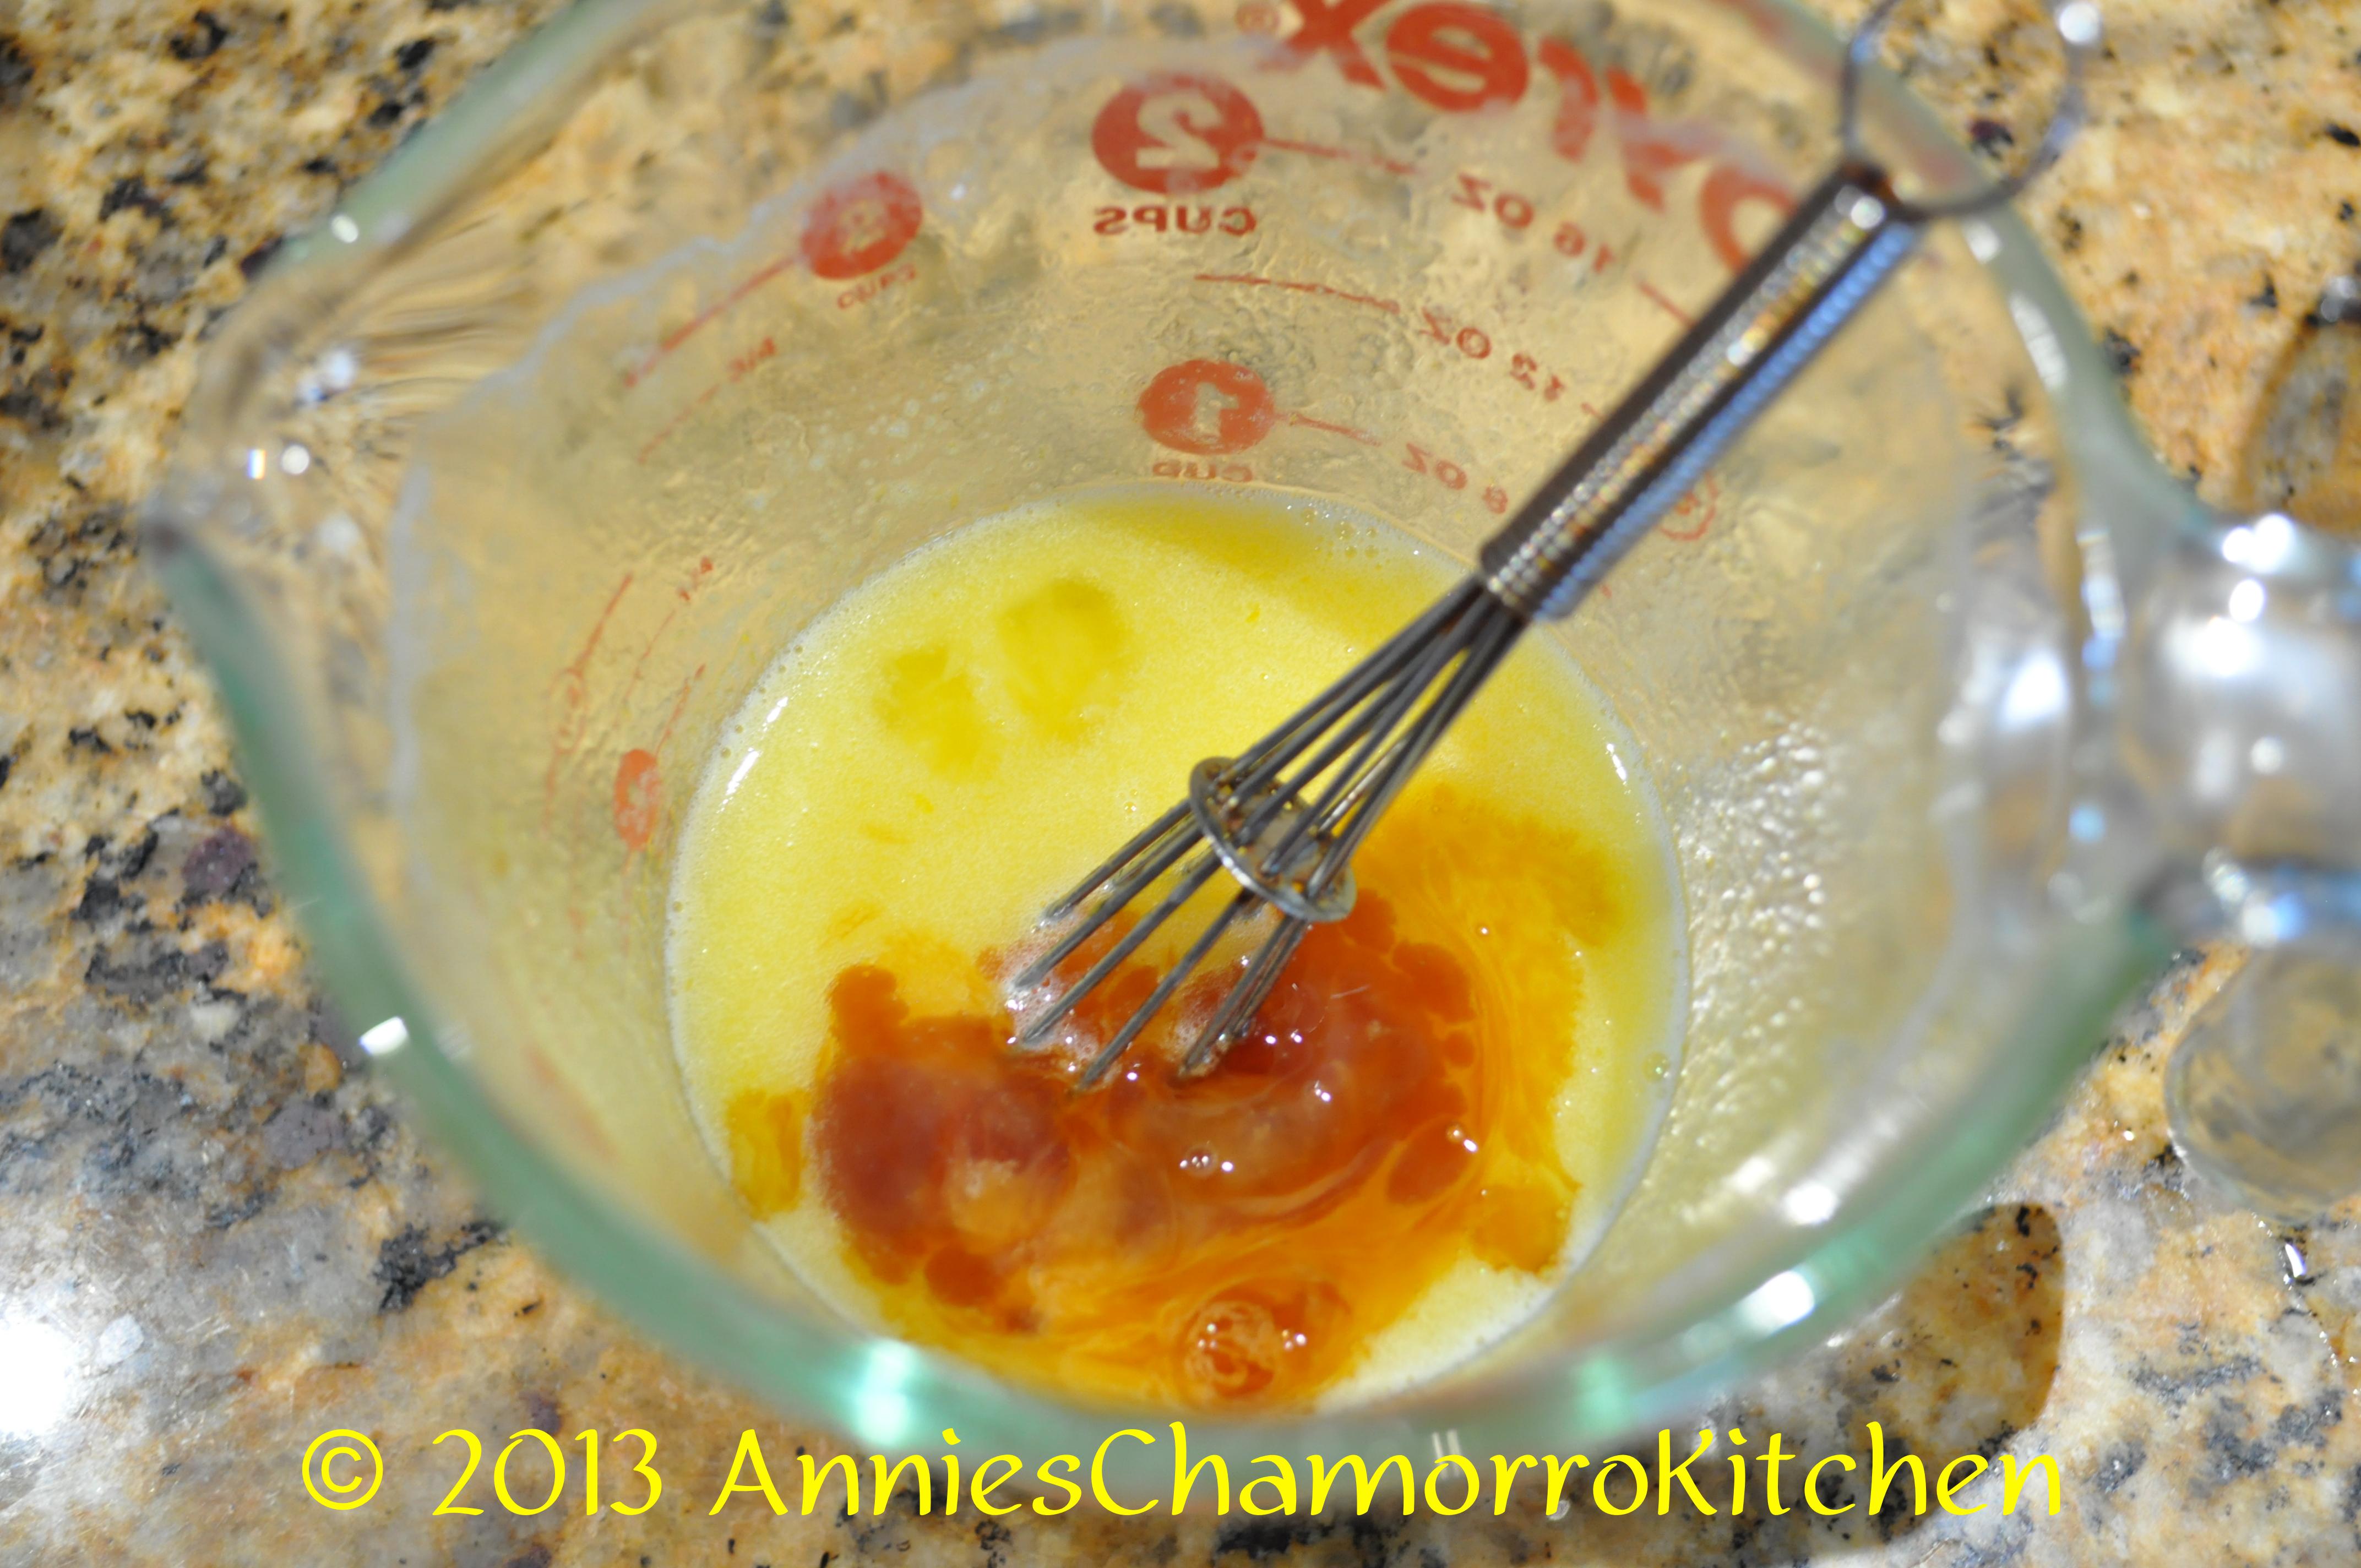
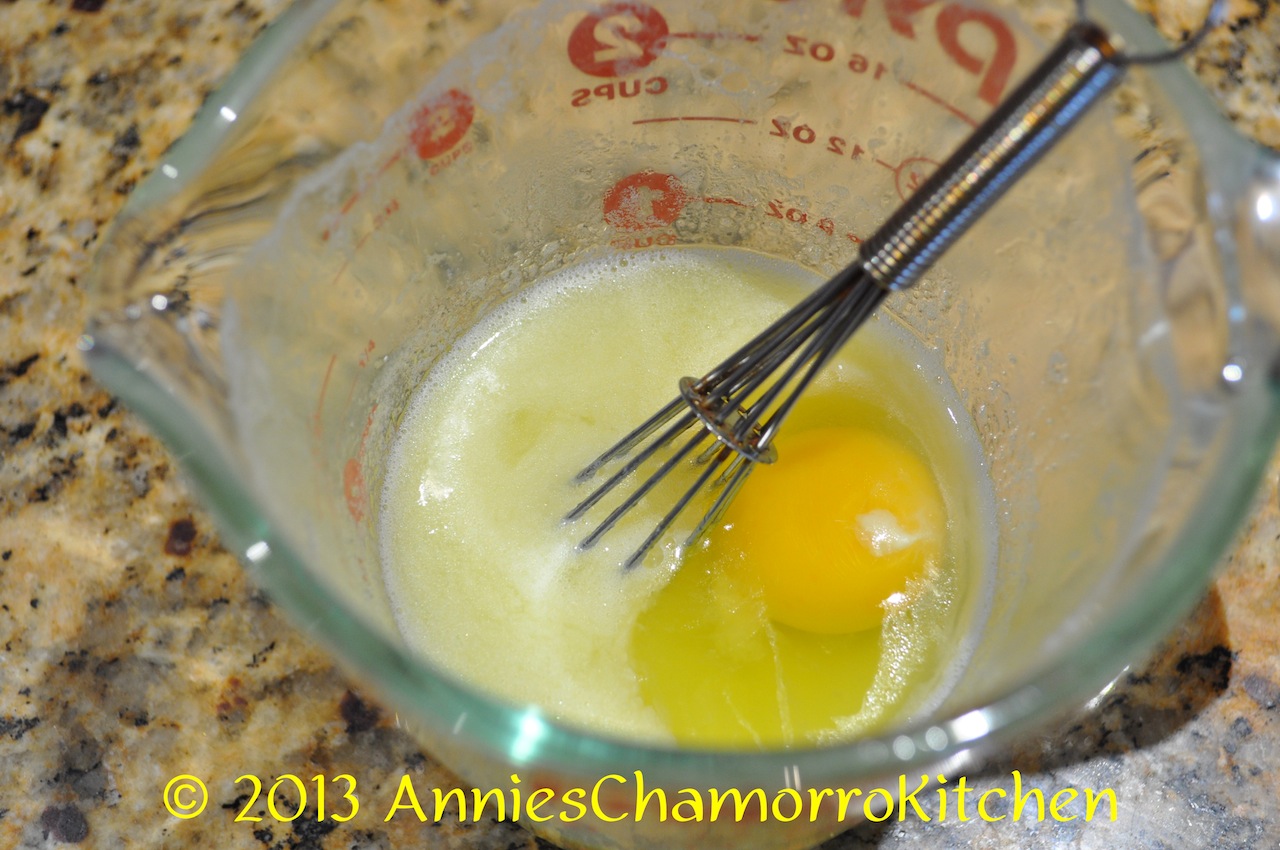
2. In a microwave-safe cup or bowl, heat the milk and 1/4 cup butter (about one minute on 100% power). Stir in the 1/3 cup sugar and vanilla extract. Allow the mixture to cool then mix in the egg.
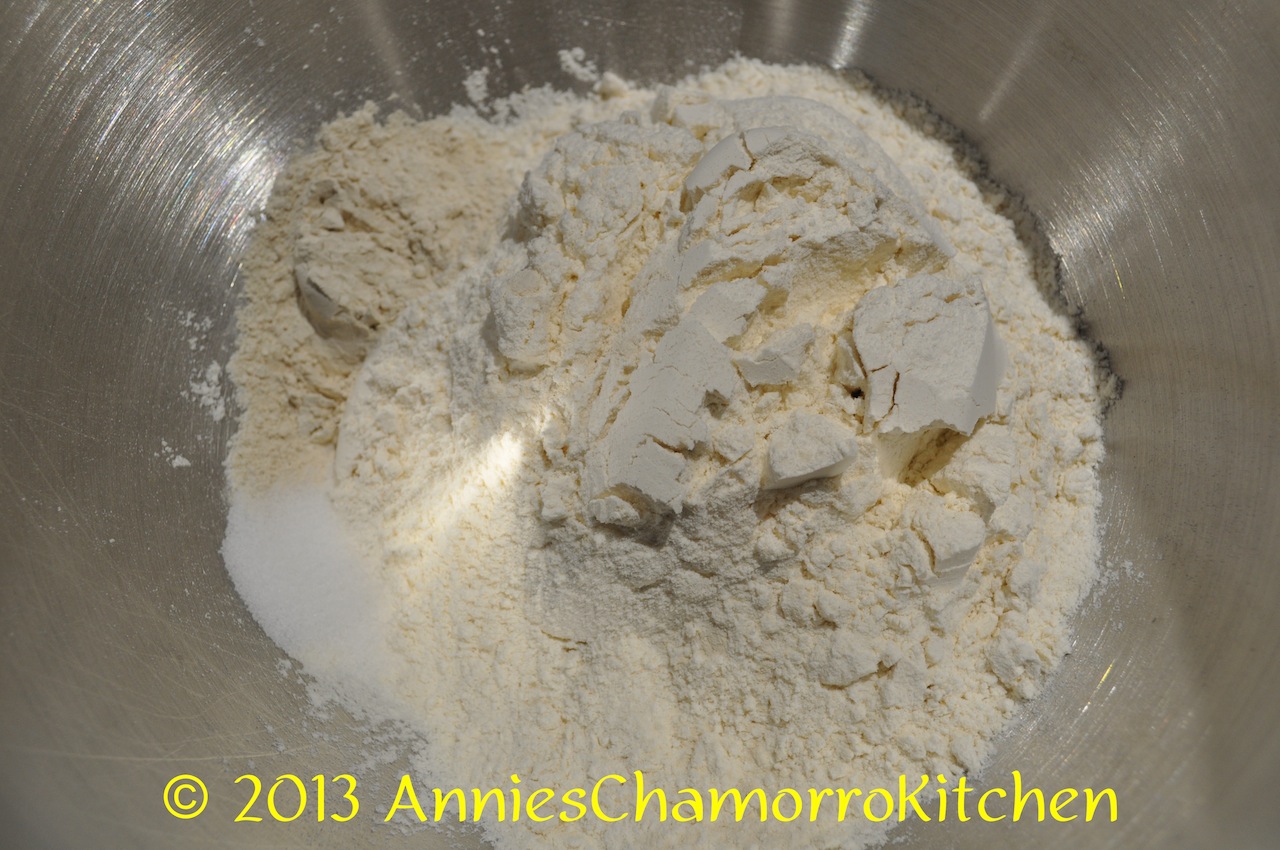
3. In the bowl of your stand mixer, place the flour, salt, and wheat gluten.
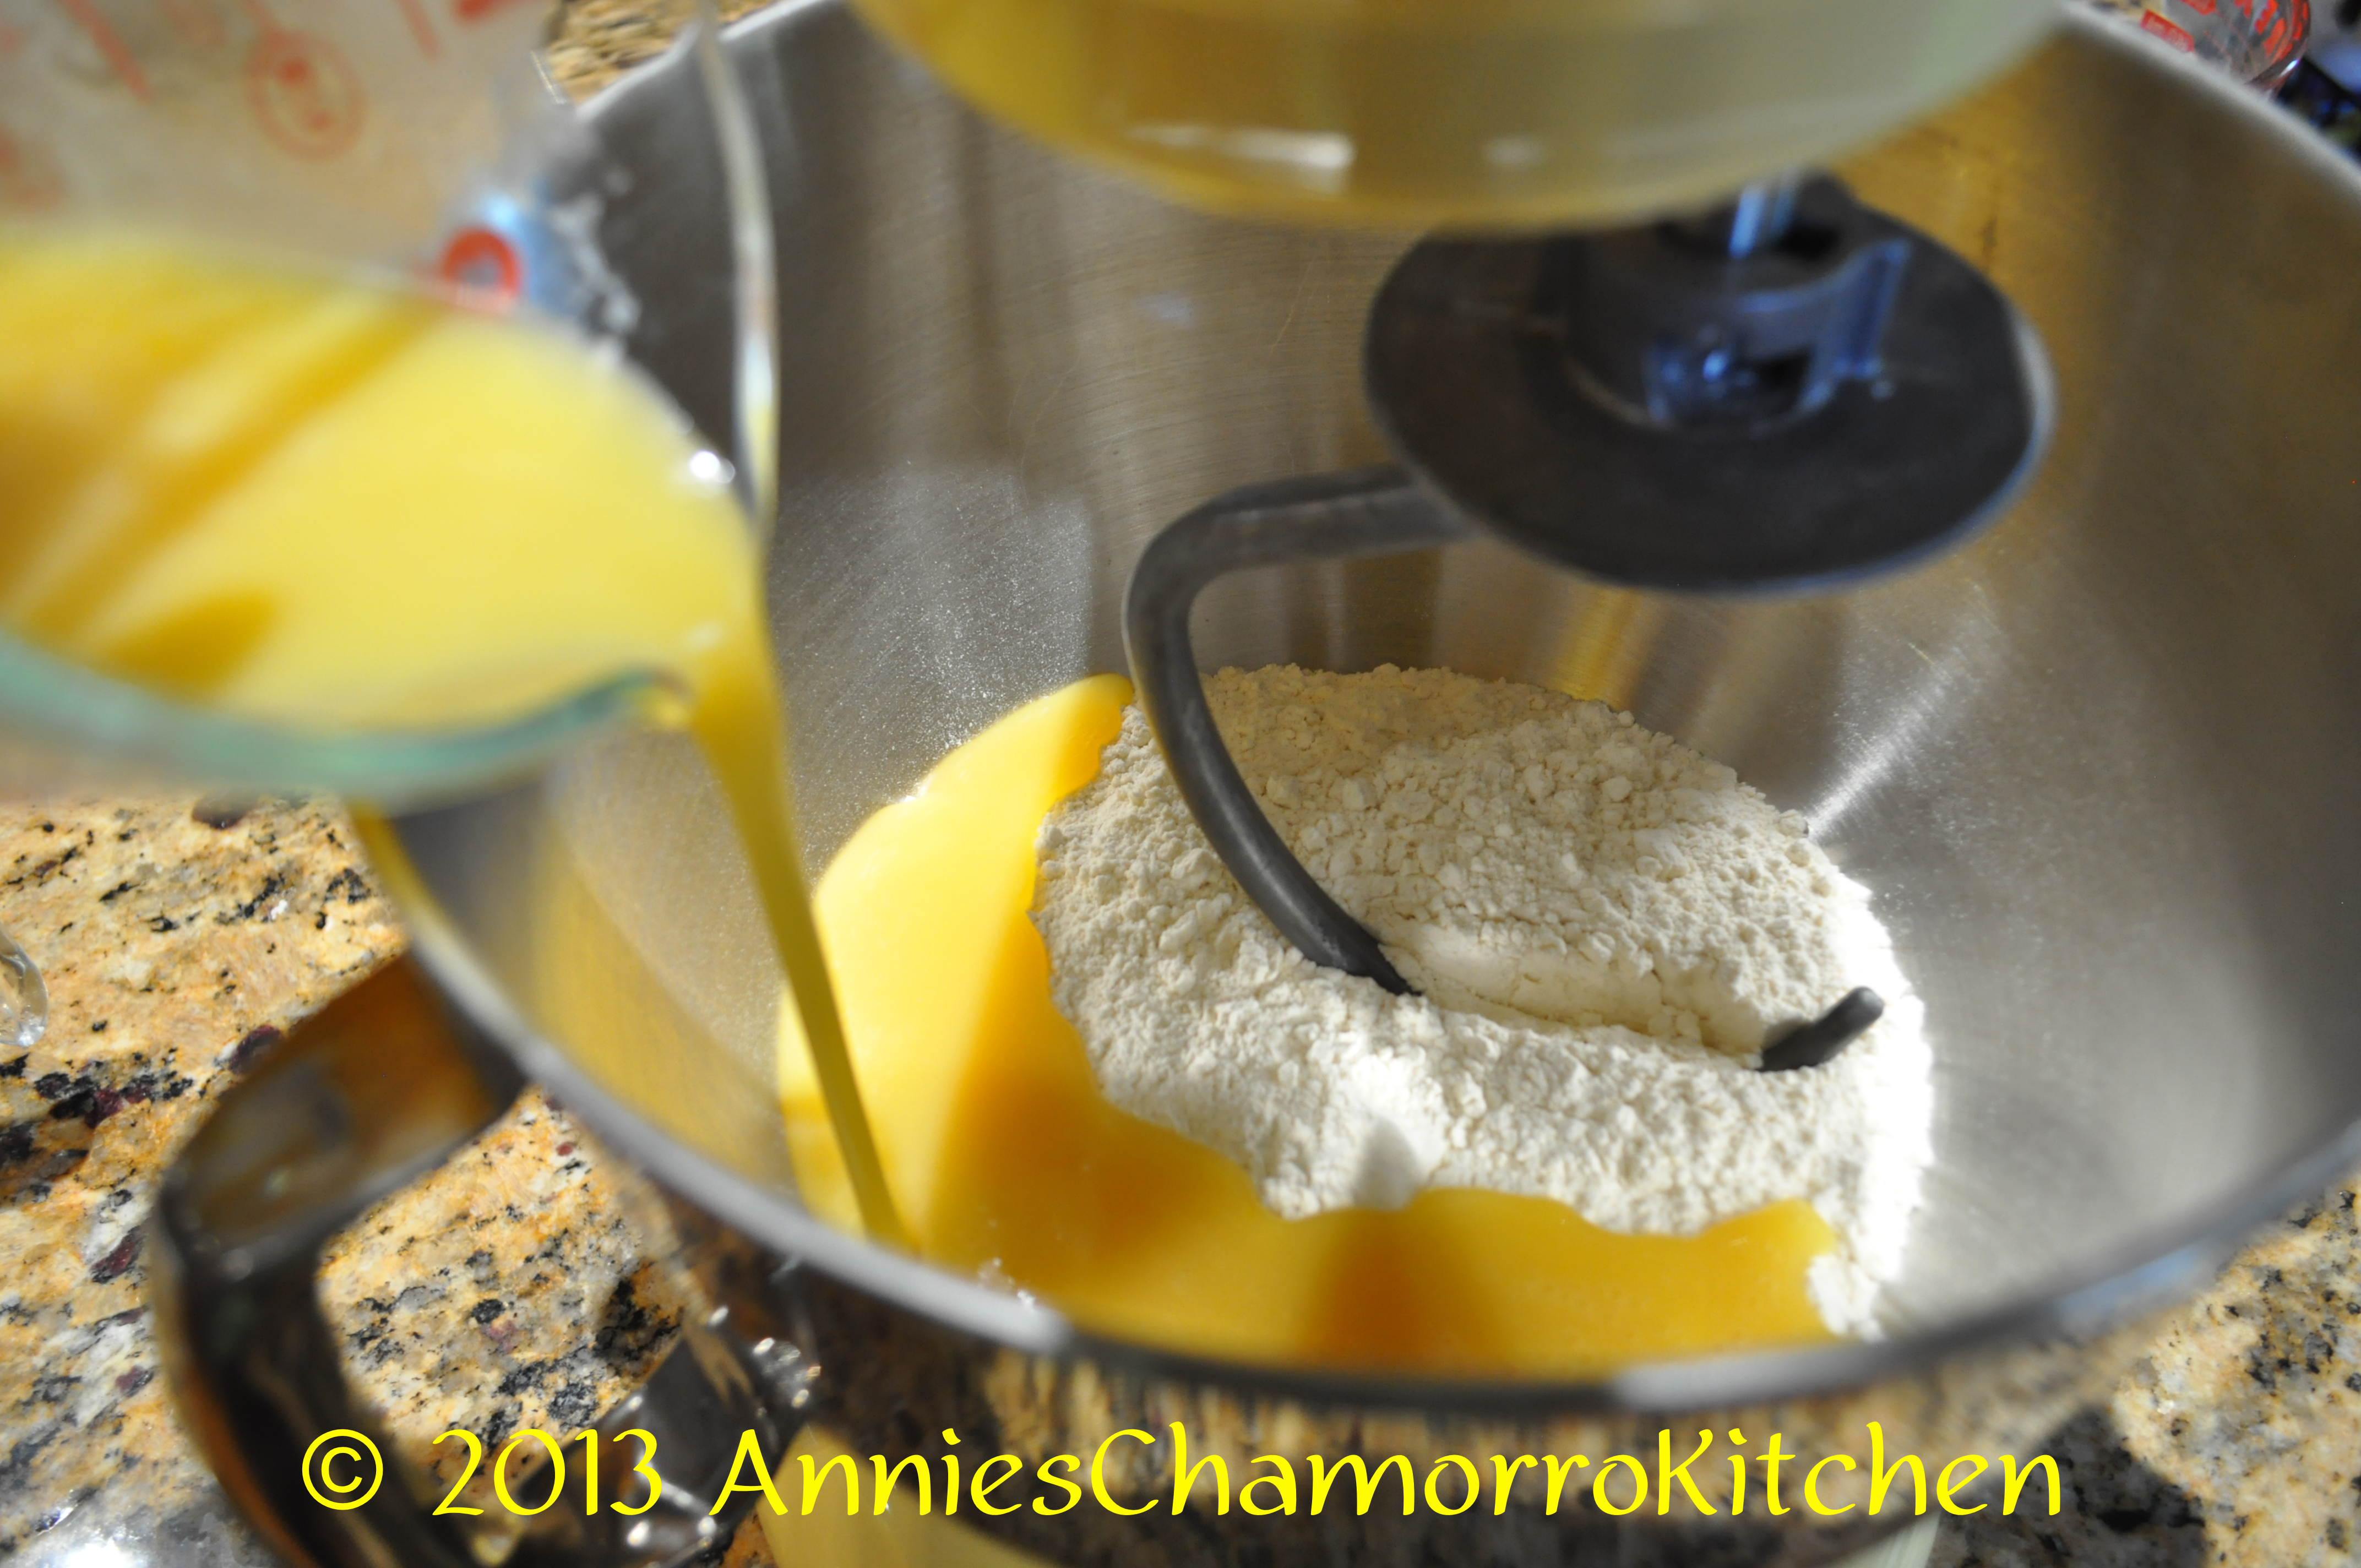
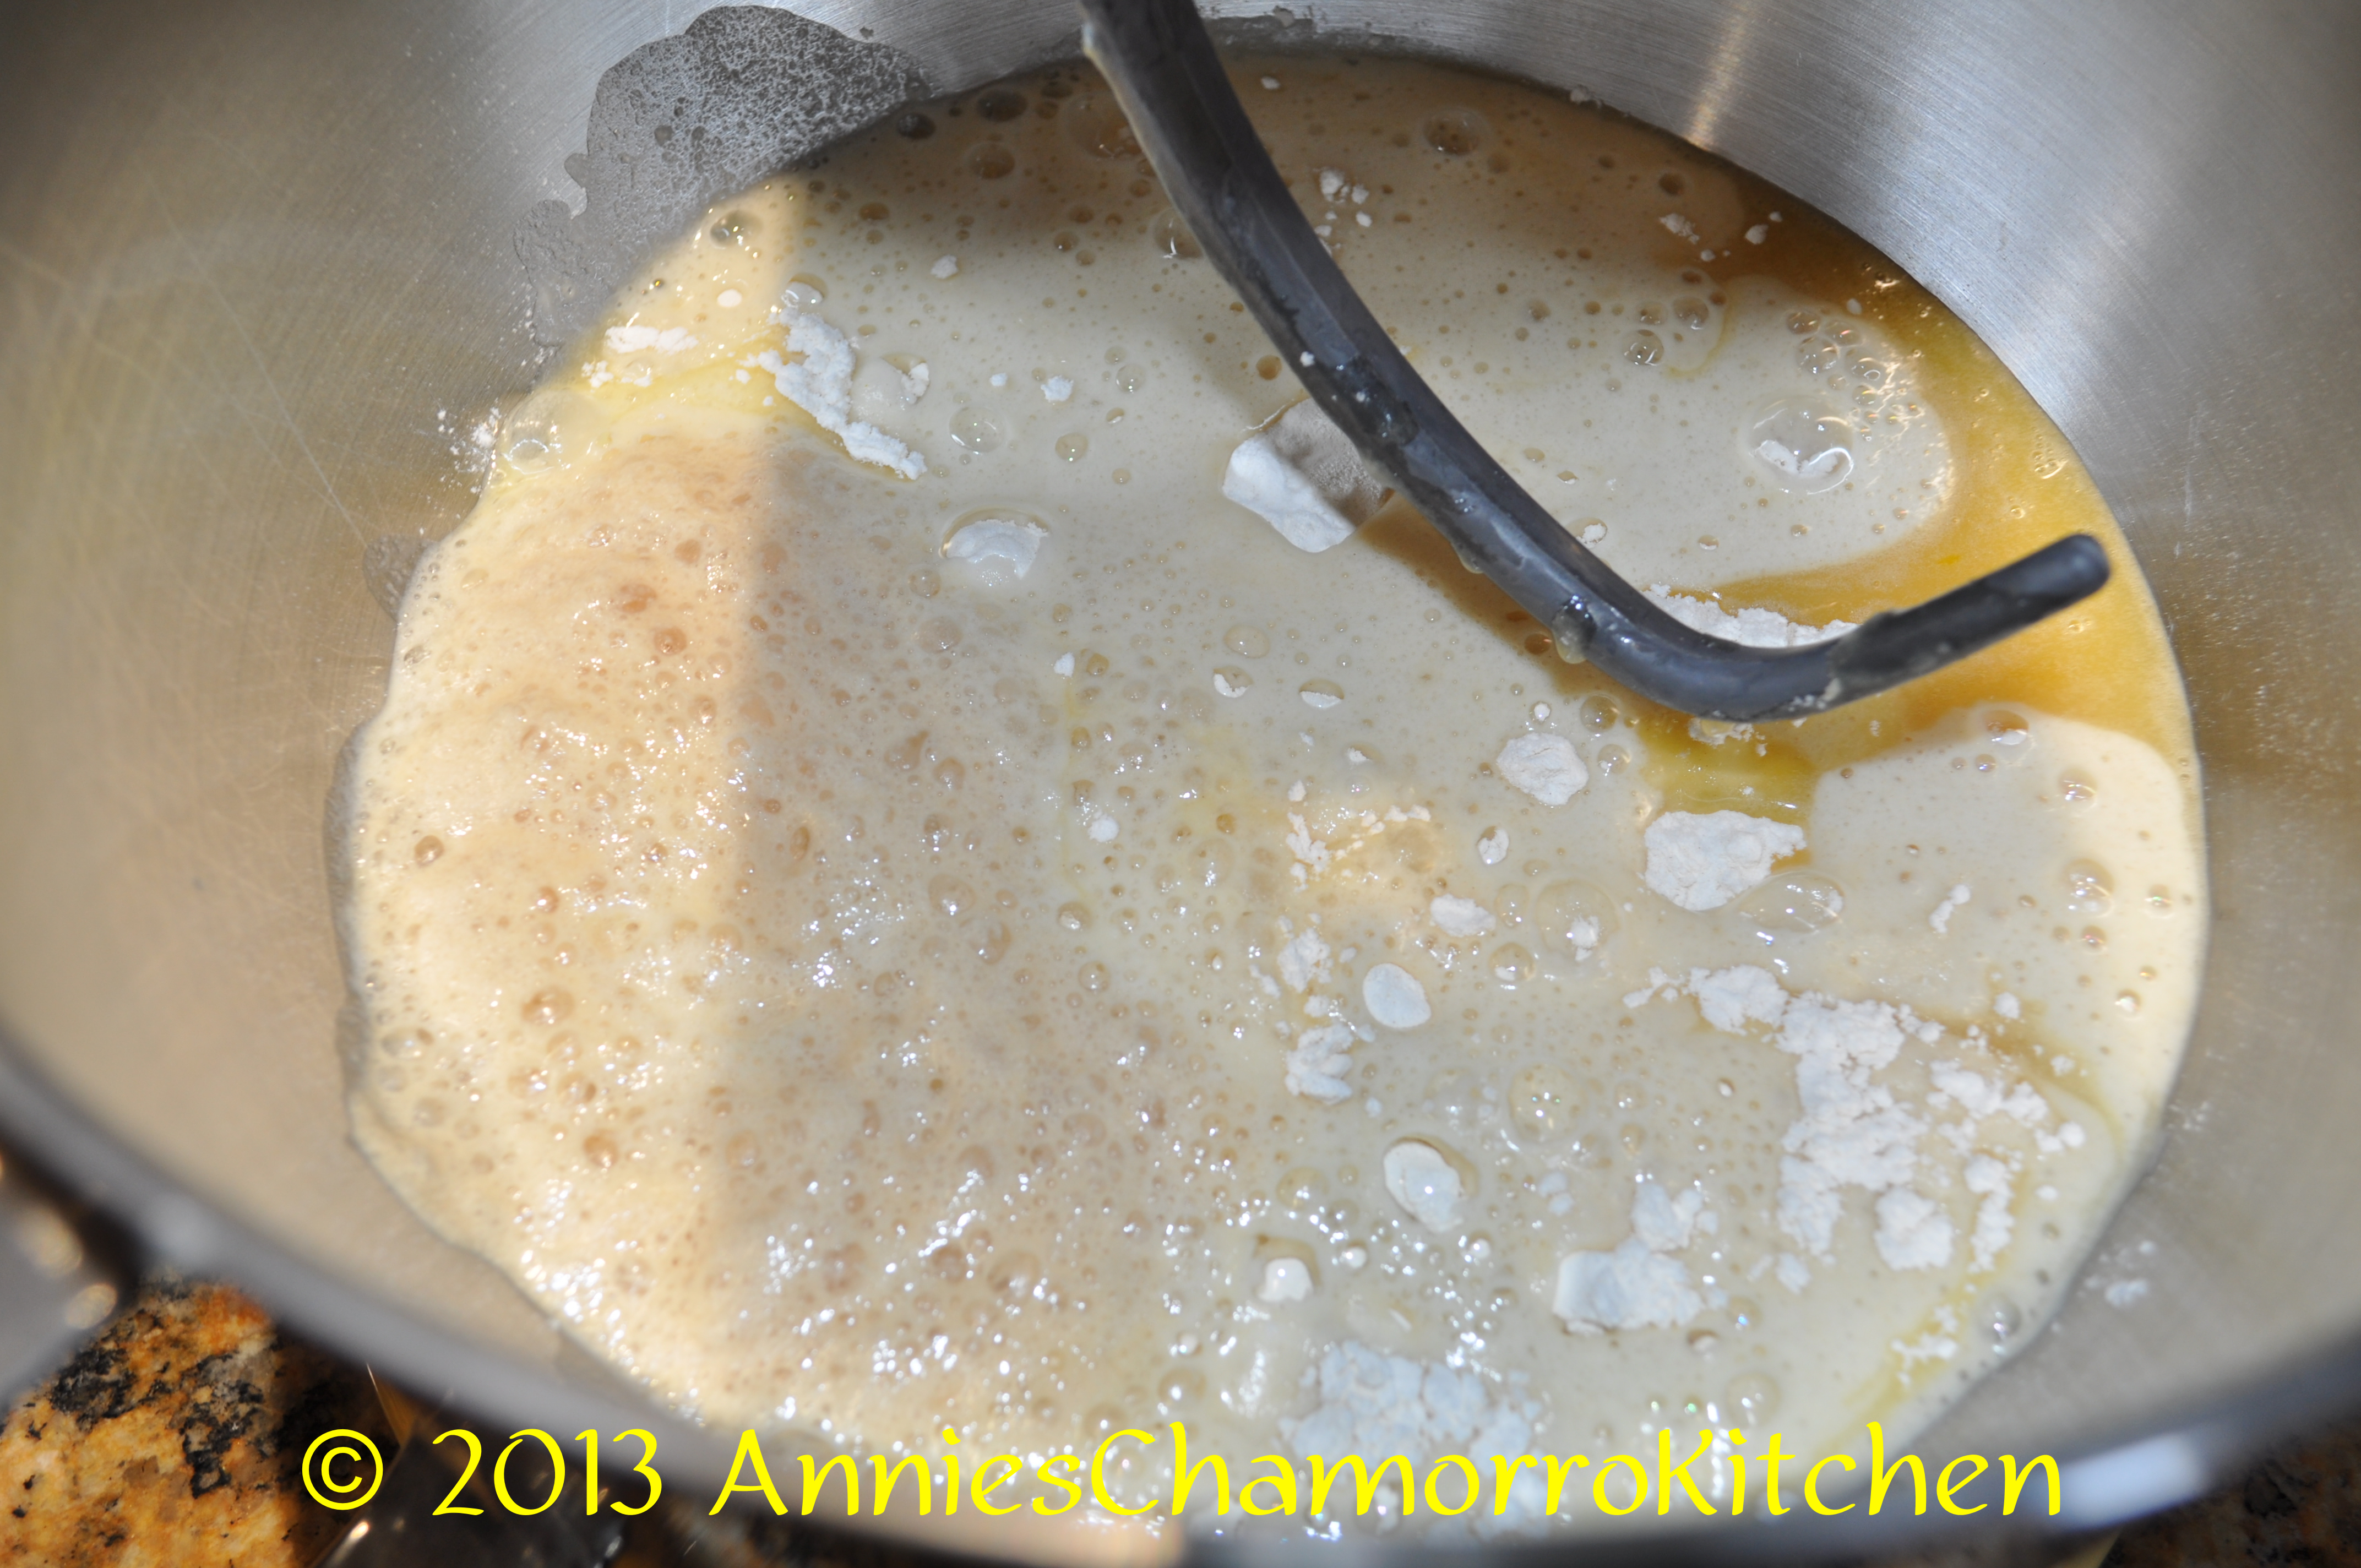
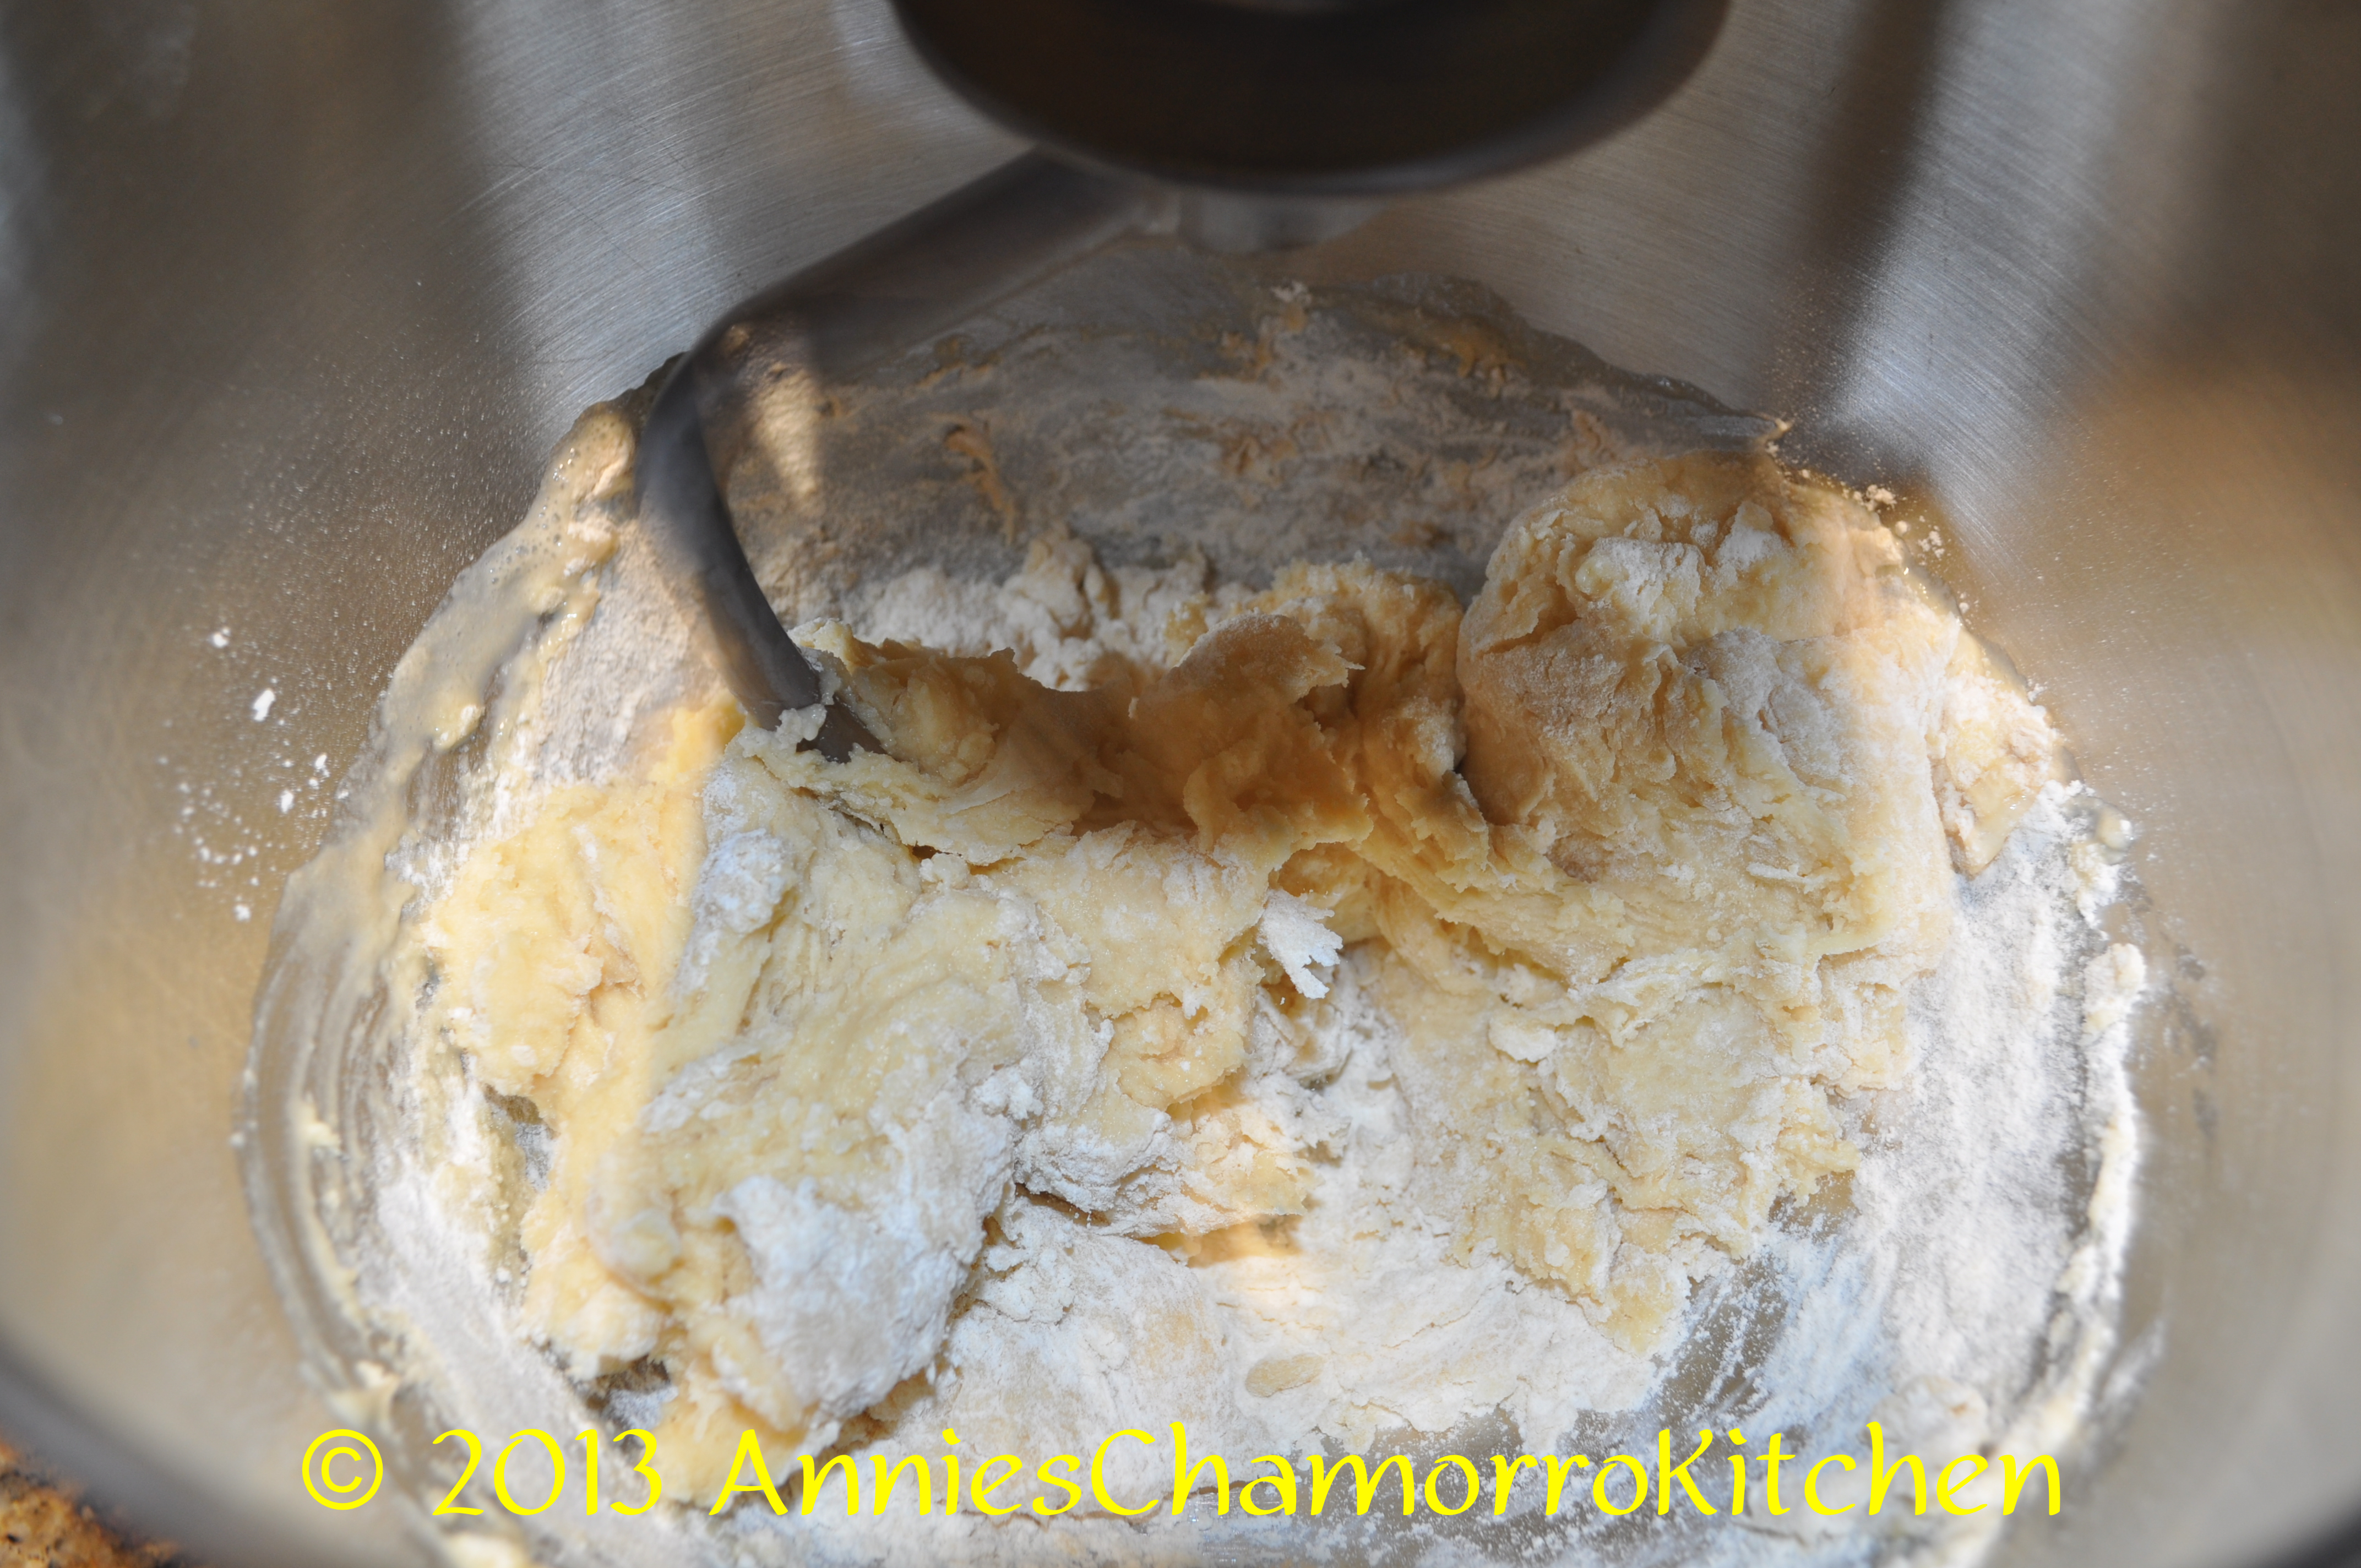
4. Pour the milk mixture and the bubbly yeast mixture into the mixing bowl. Using the dough hook on your stand mixer (I use a KitchenAid mixer) mix on low speed (setting #3 on a KitchenAid) until a dough forms. The dough may still be sticky — this is perfectly okay; you want the dough to be a little sticky. Keep mixing (kneading) for about 8 minutes.
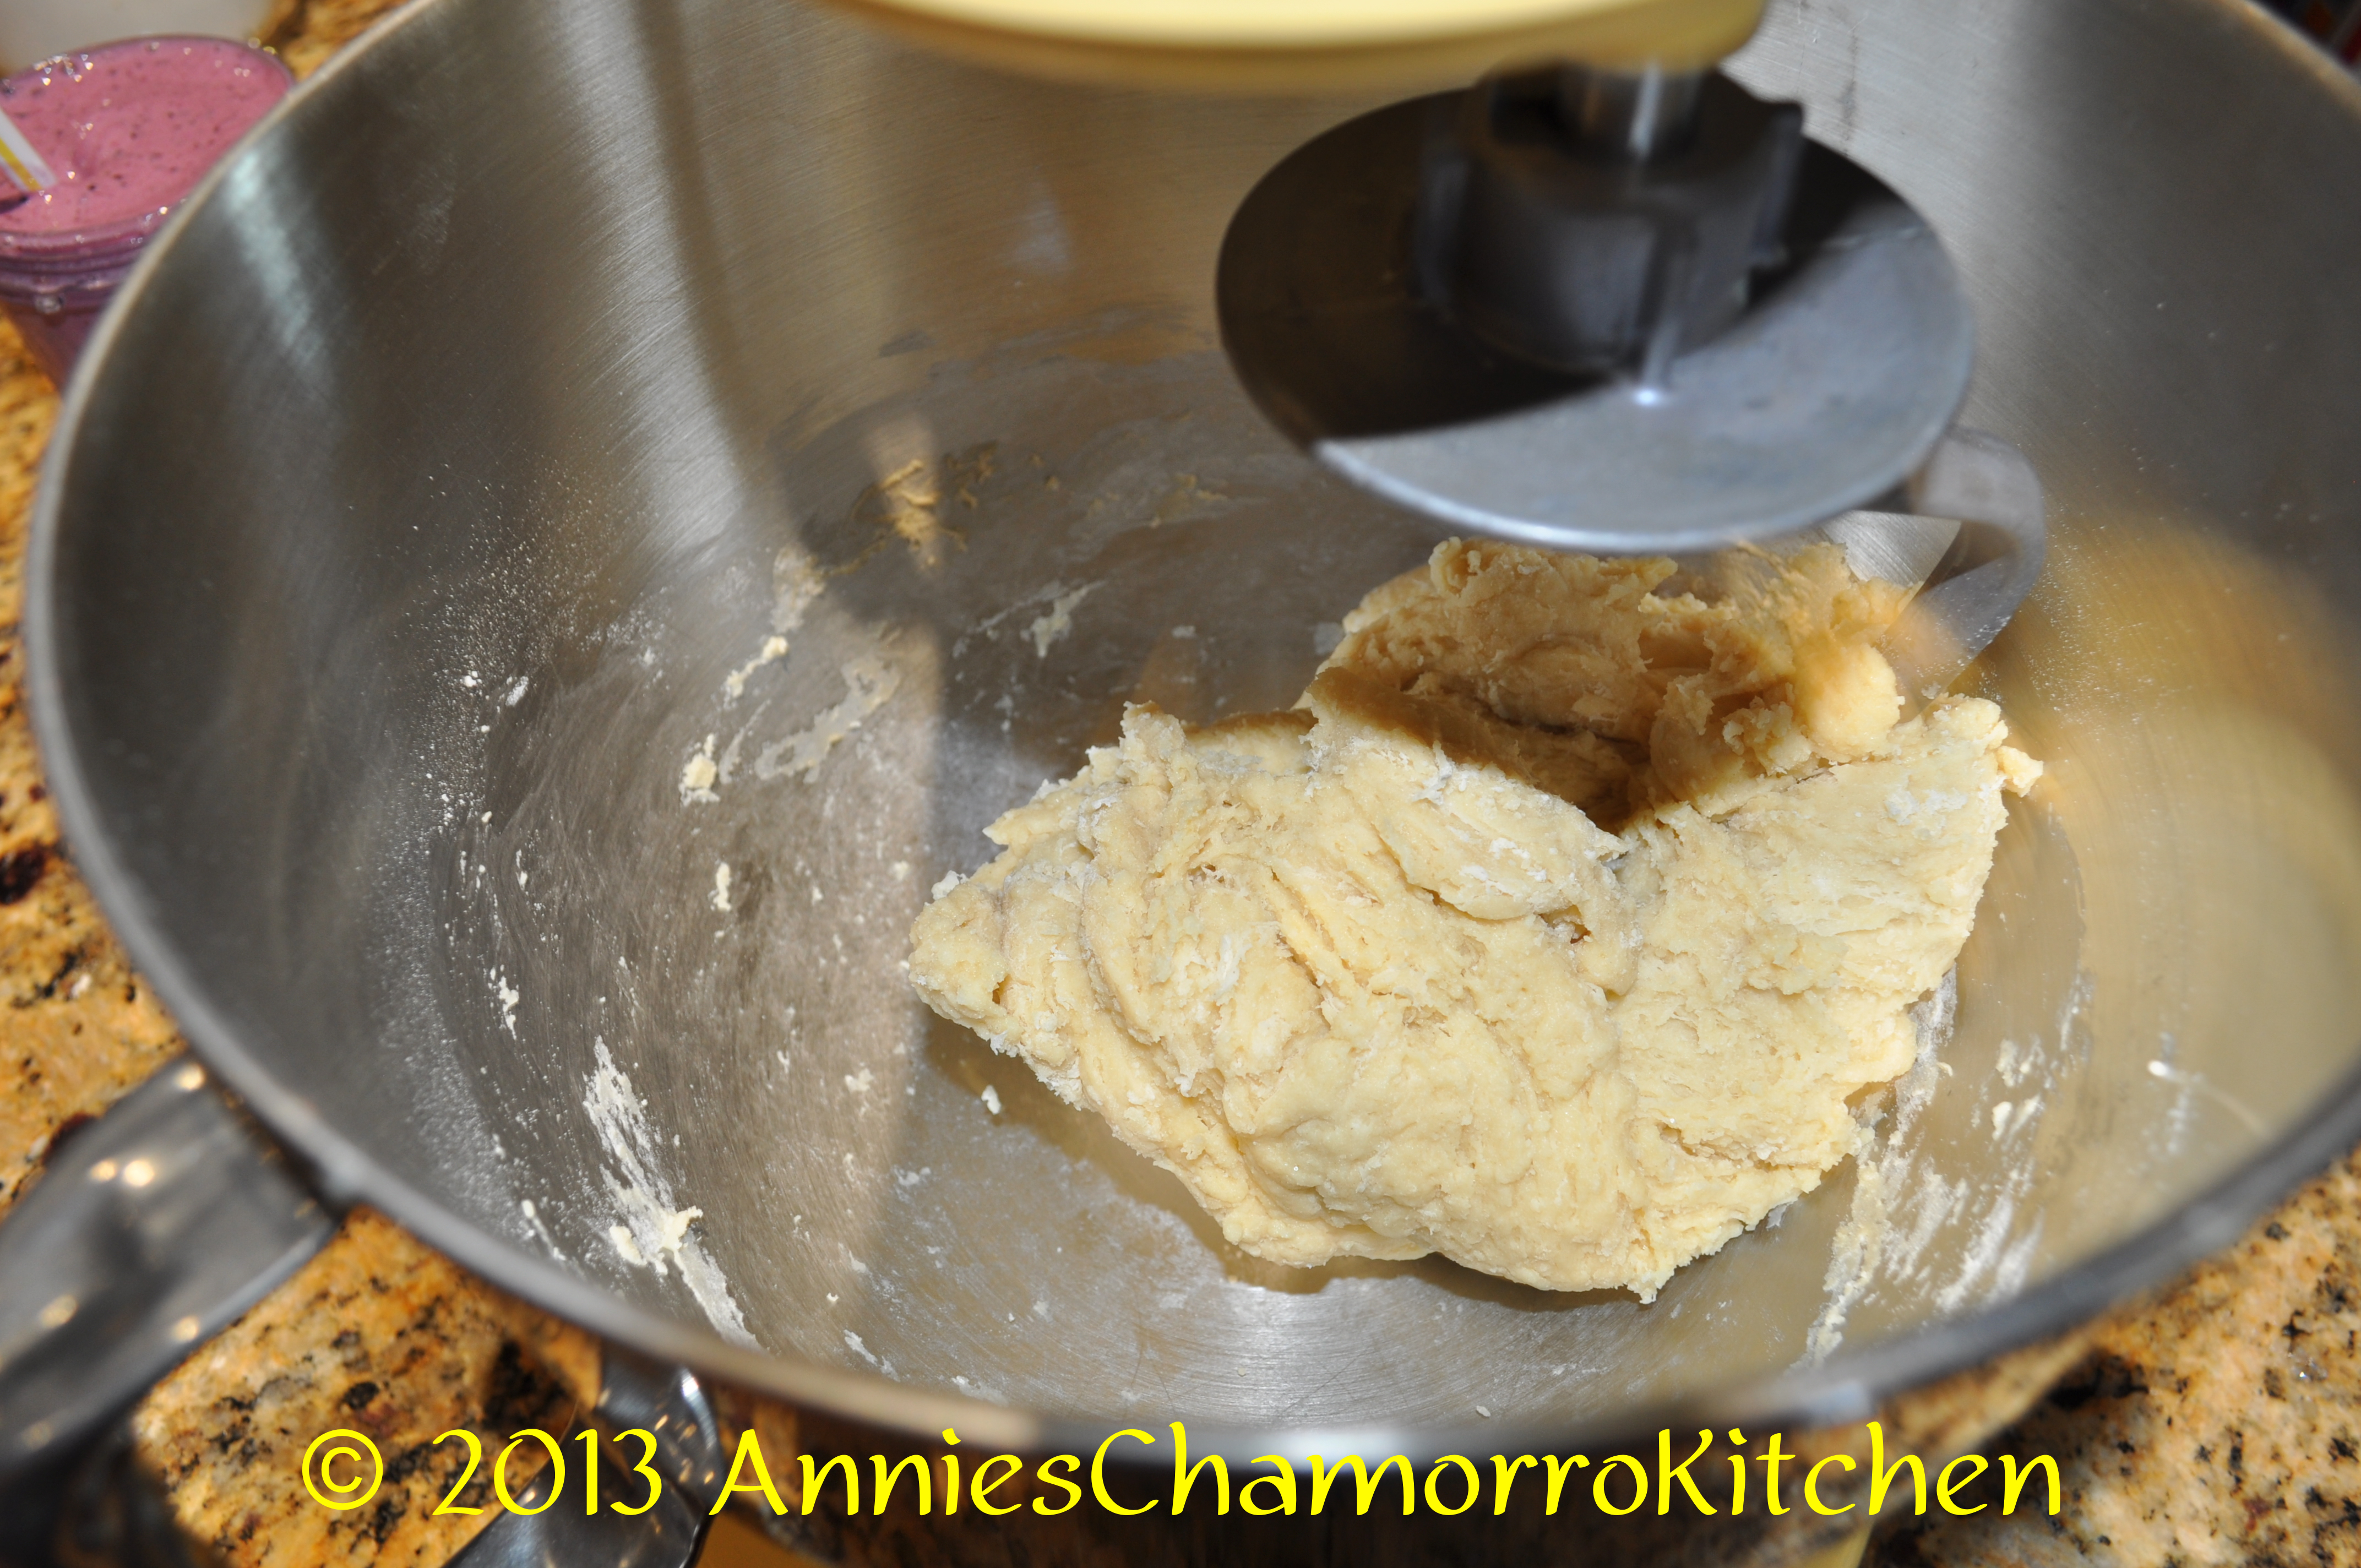
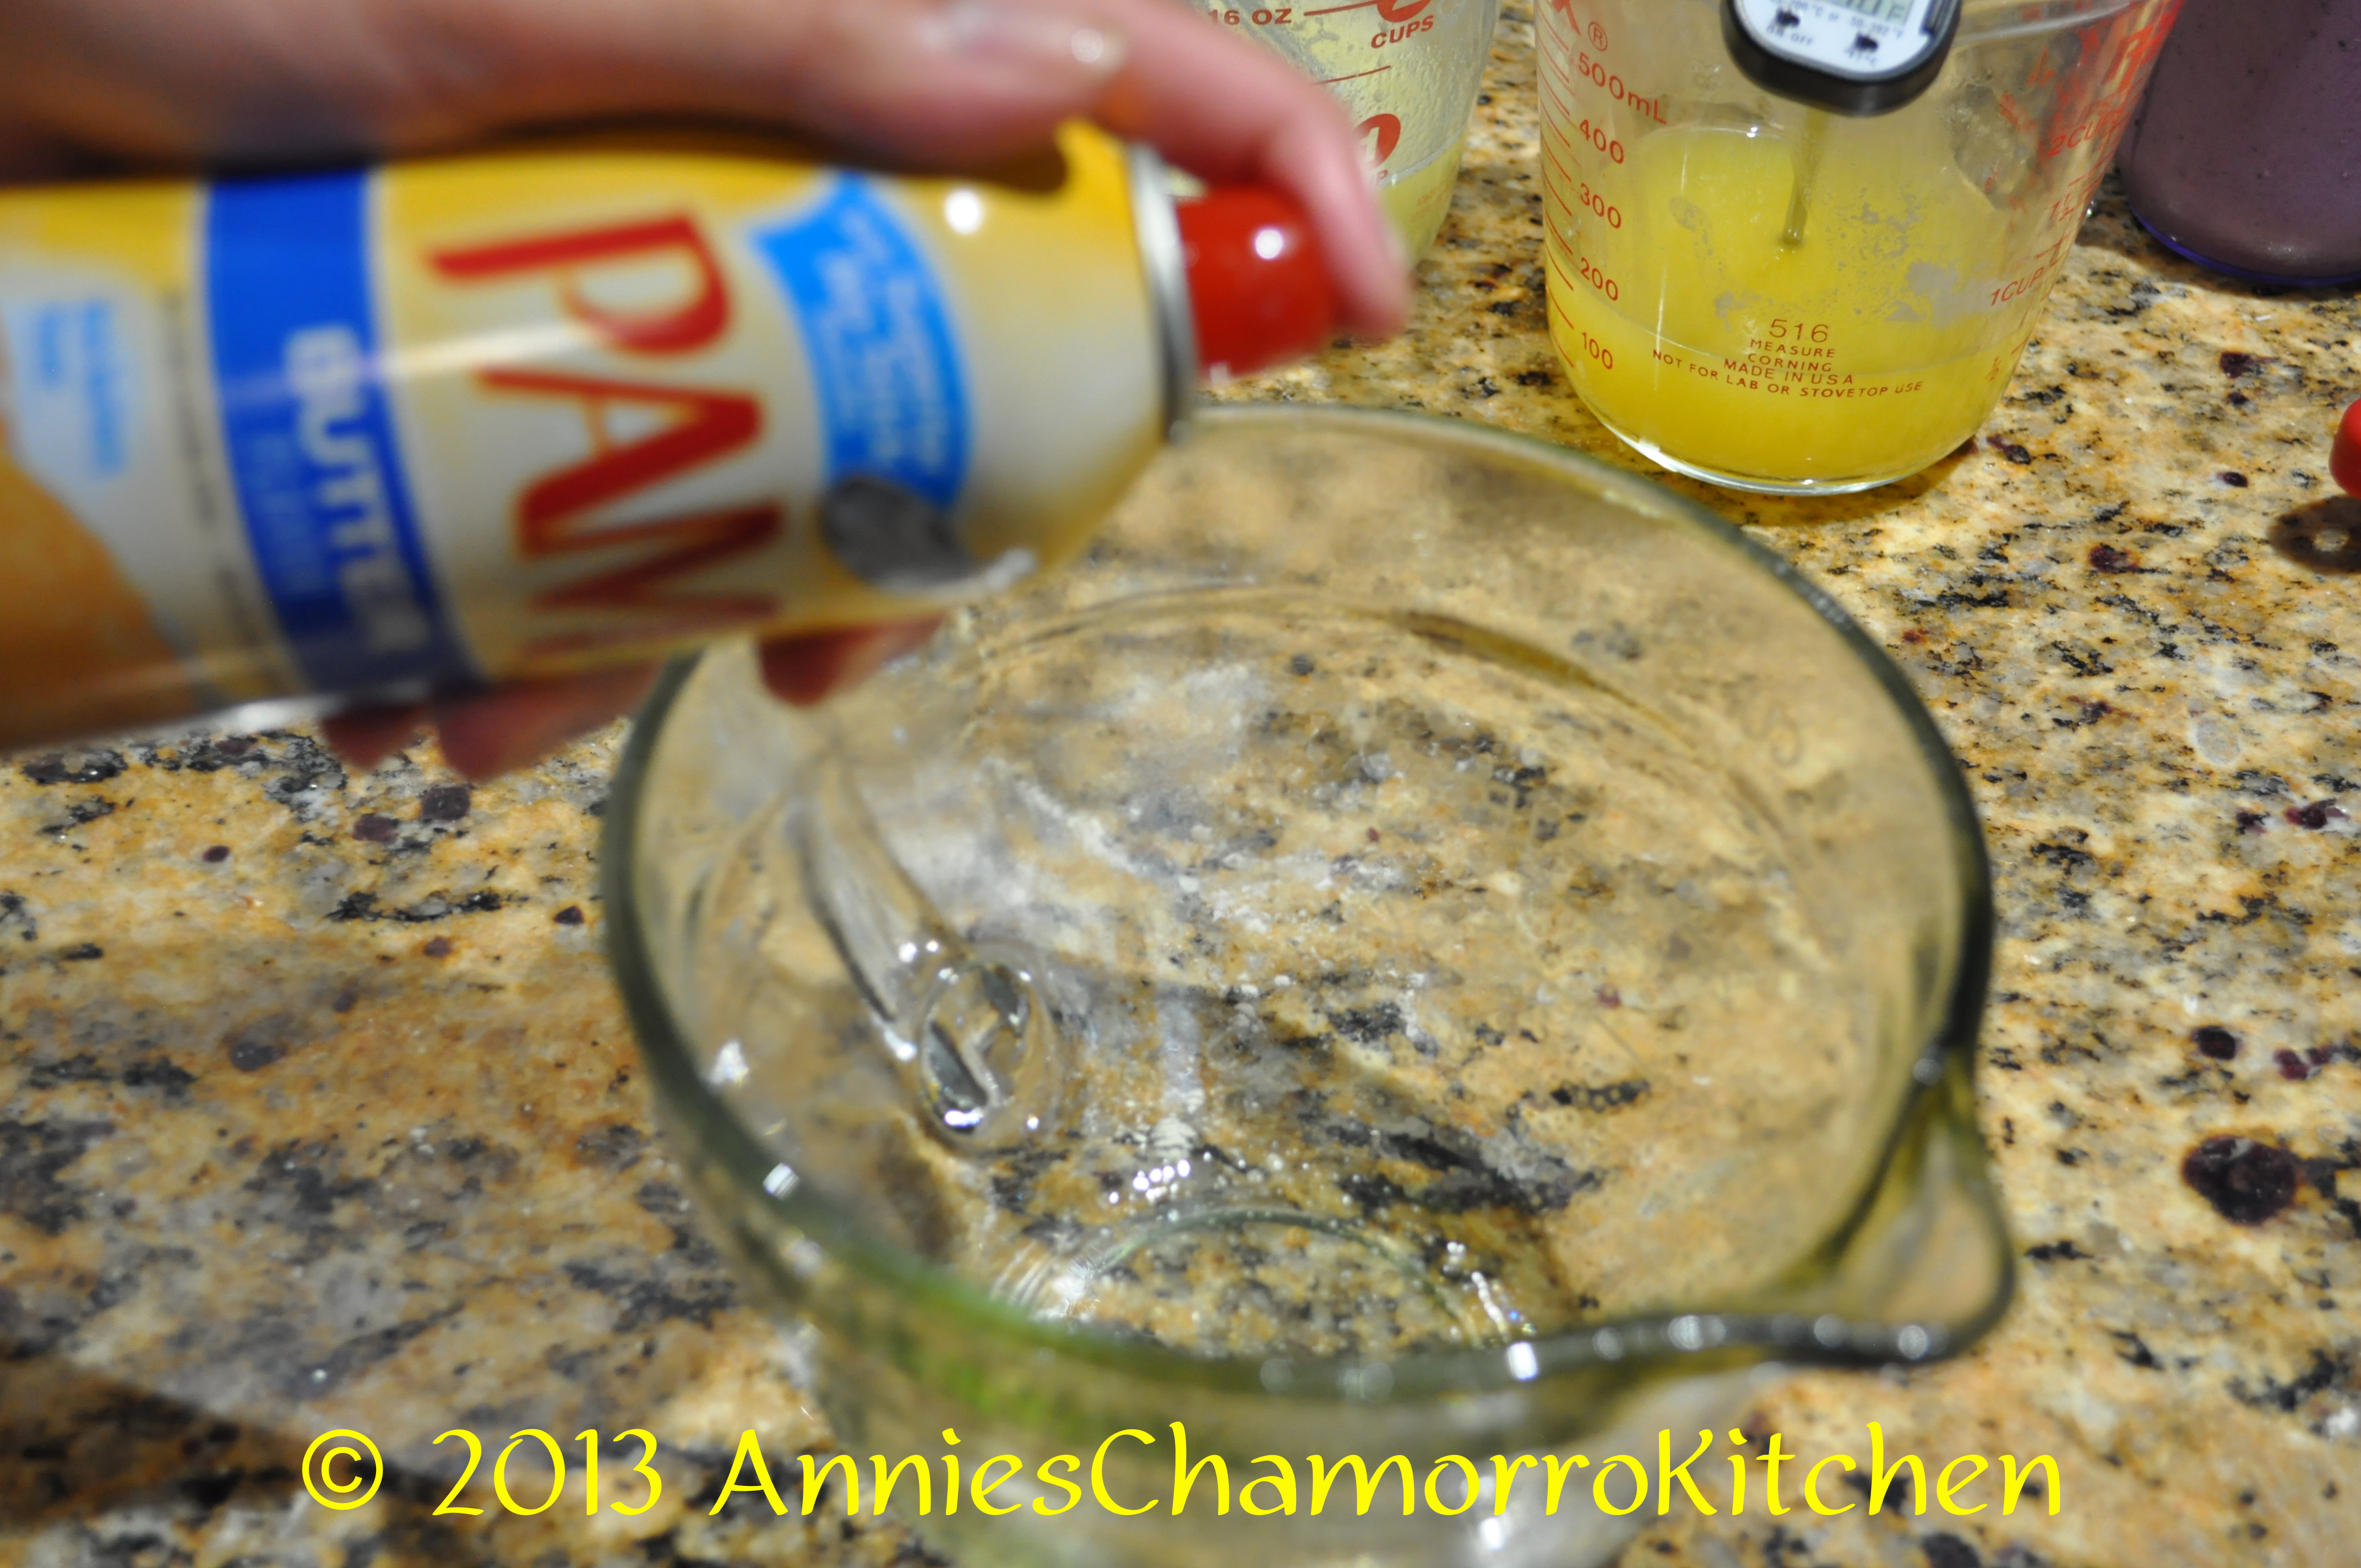
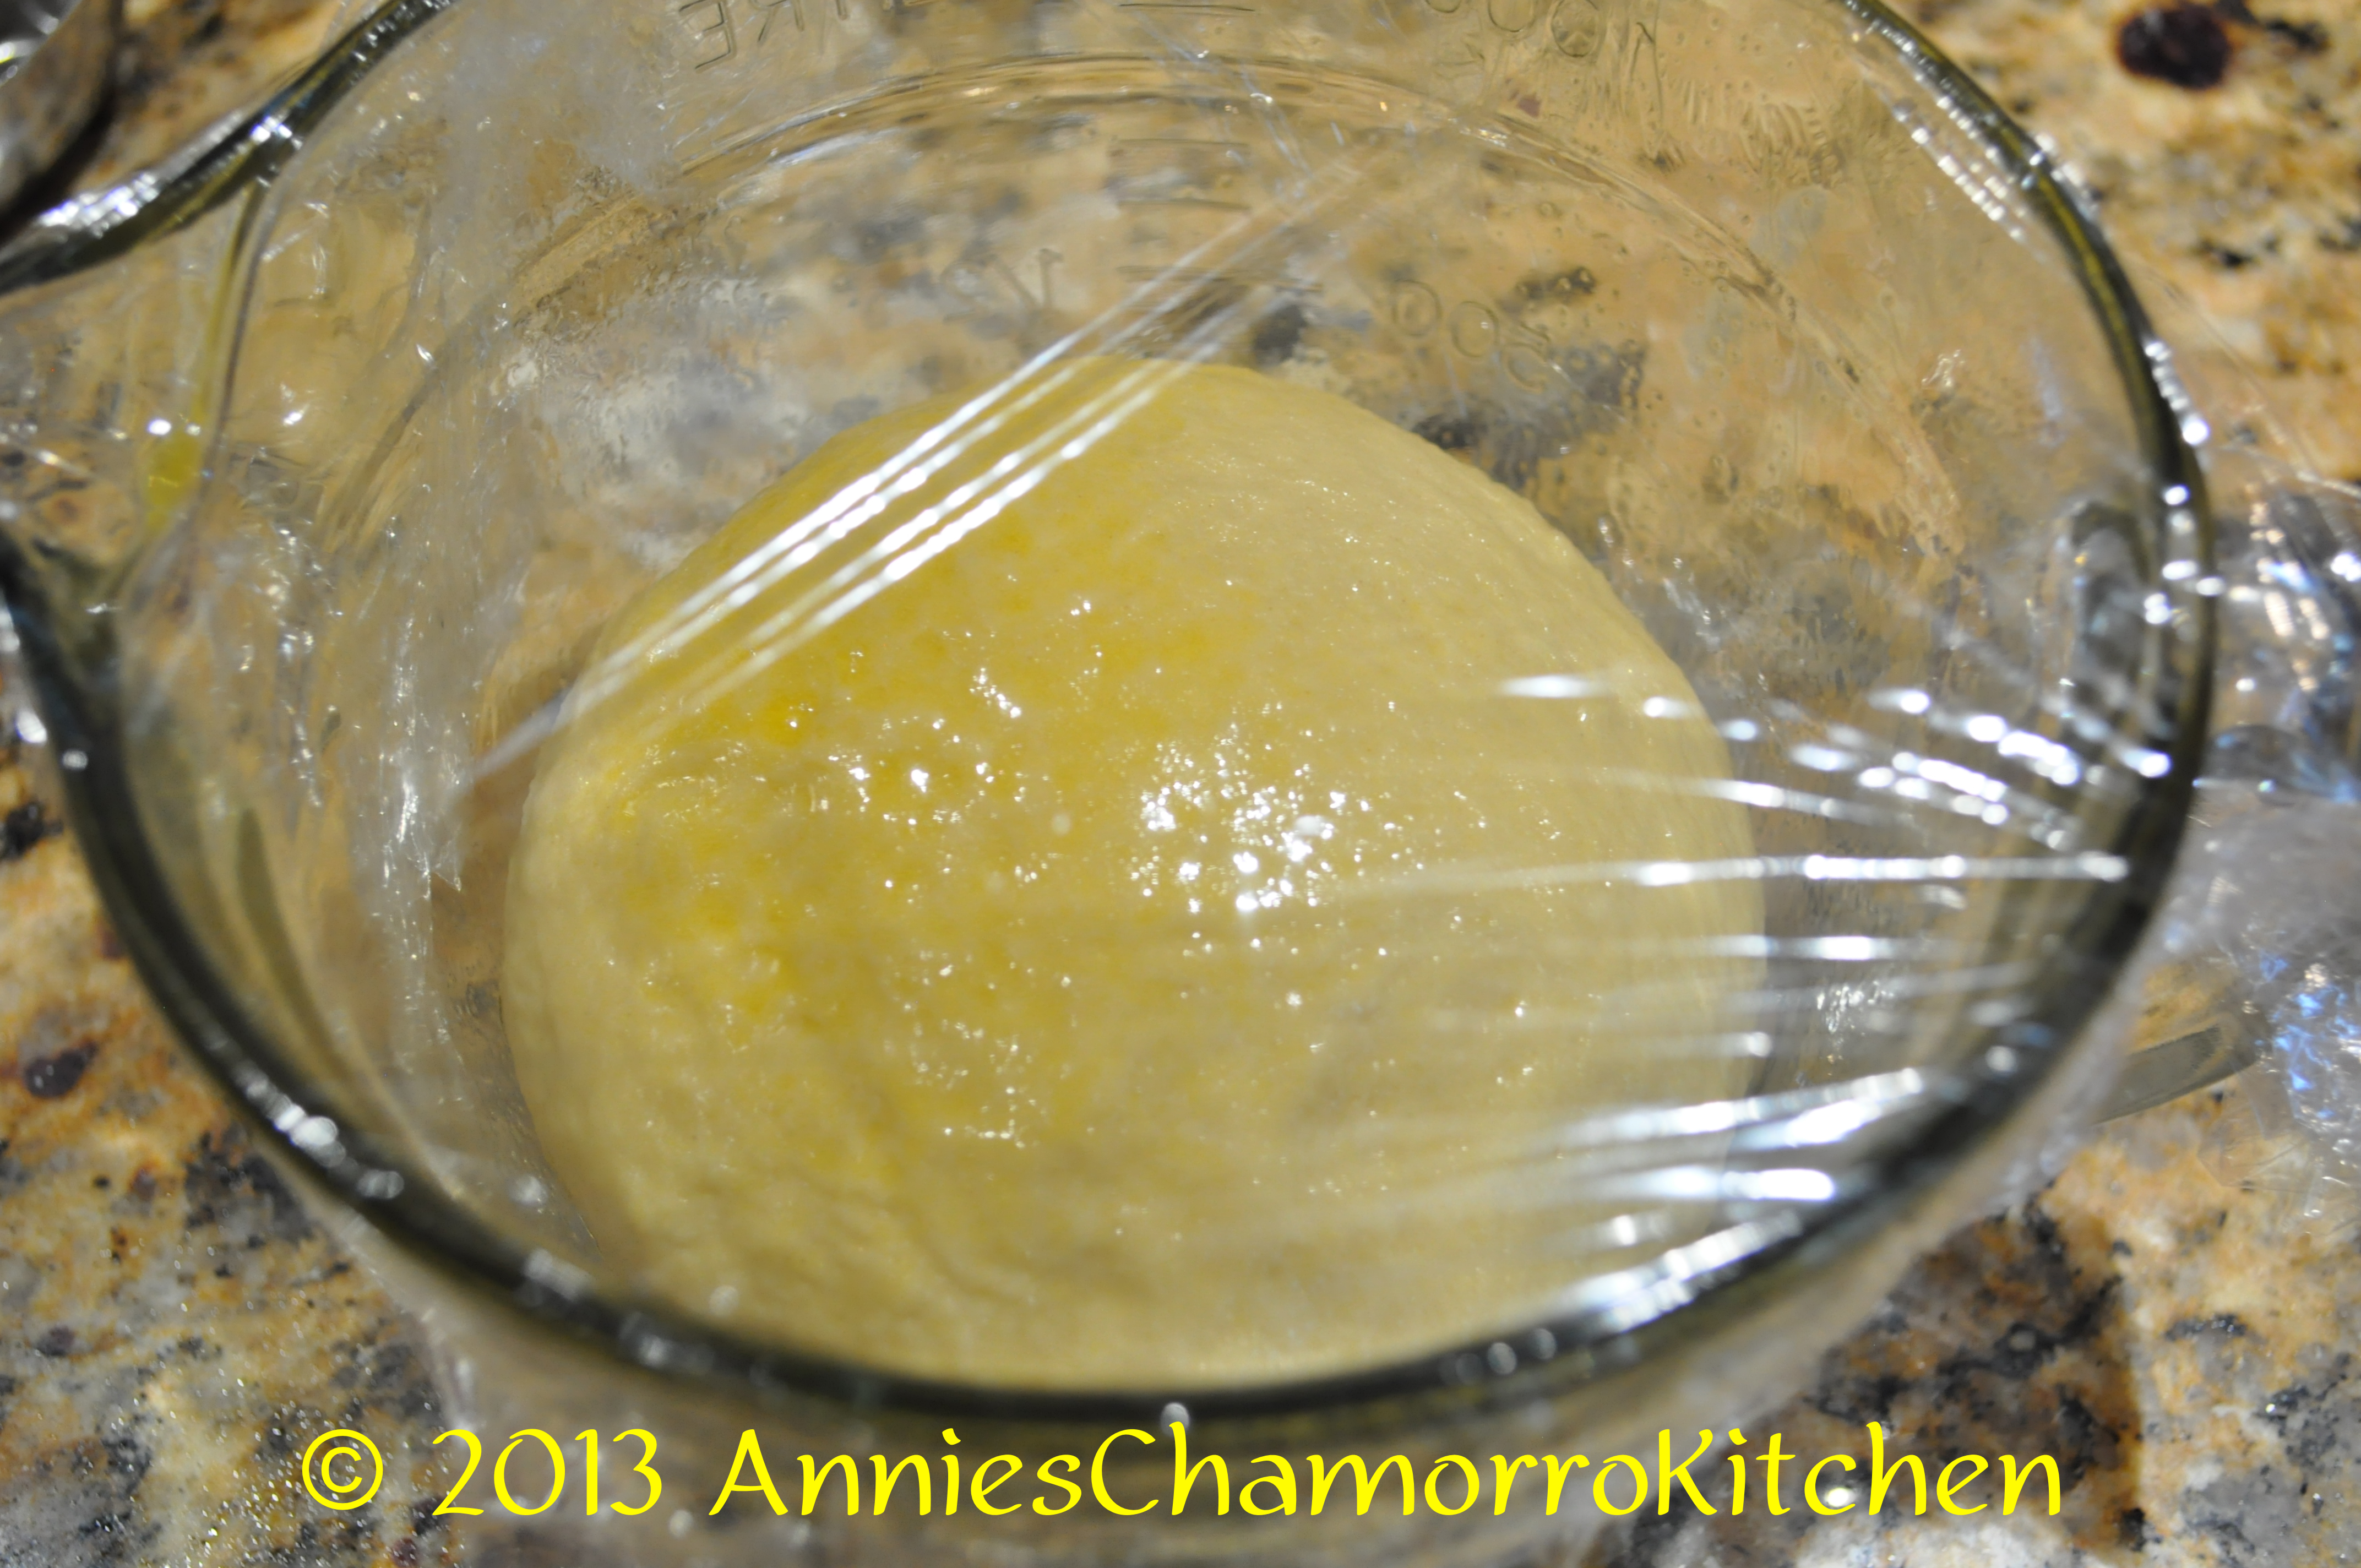
5. After 8 minutes of kneading, place the dough into a greased or buttered bowl (you can spray the bowl with butter cooking spray). Cover with plastic wrap then place in a warm place to rise until double in size. The amount of time it takes to rise will depend on how warm it is where you’ve place the bowl of dough. I usually turn my oven on to warm during the kneading process then turn it off just before placing the dough in it to rise.
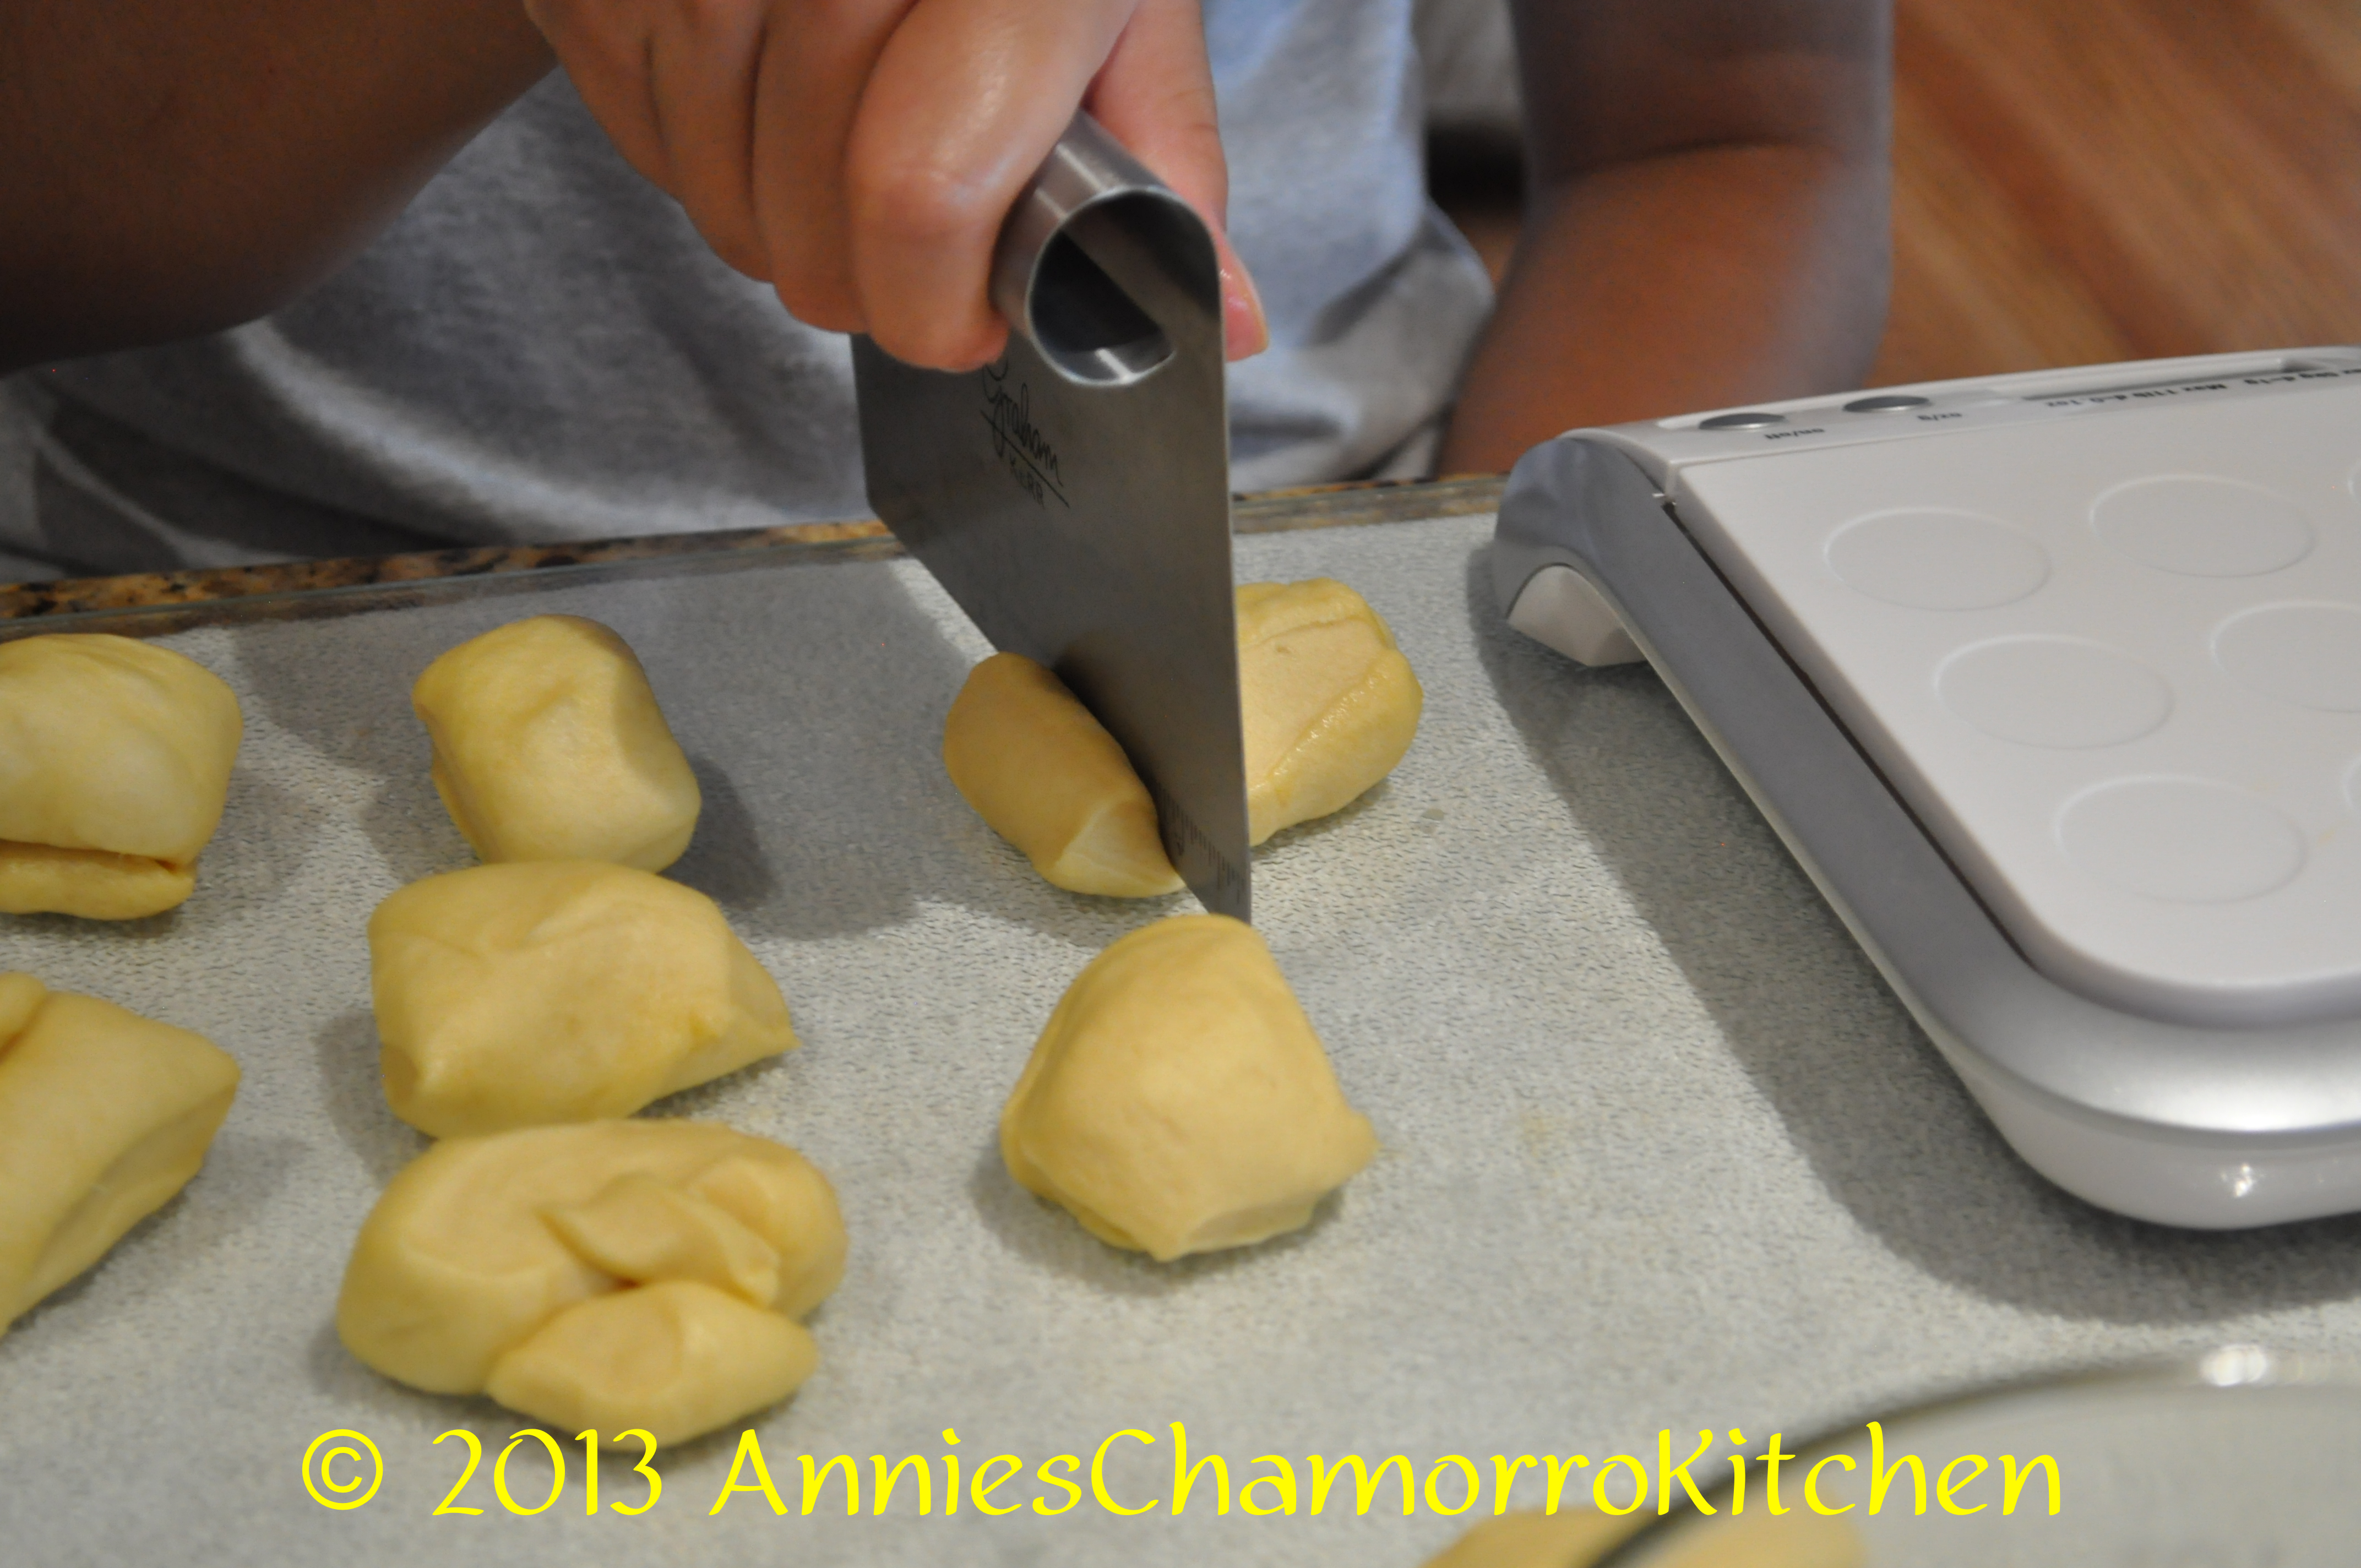
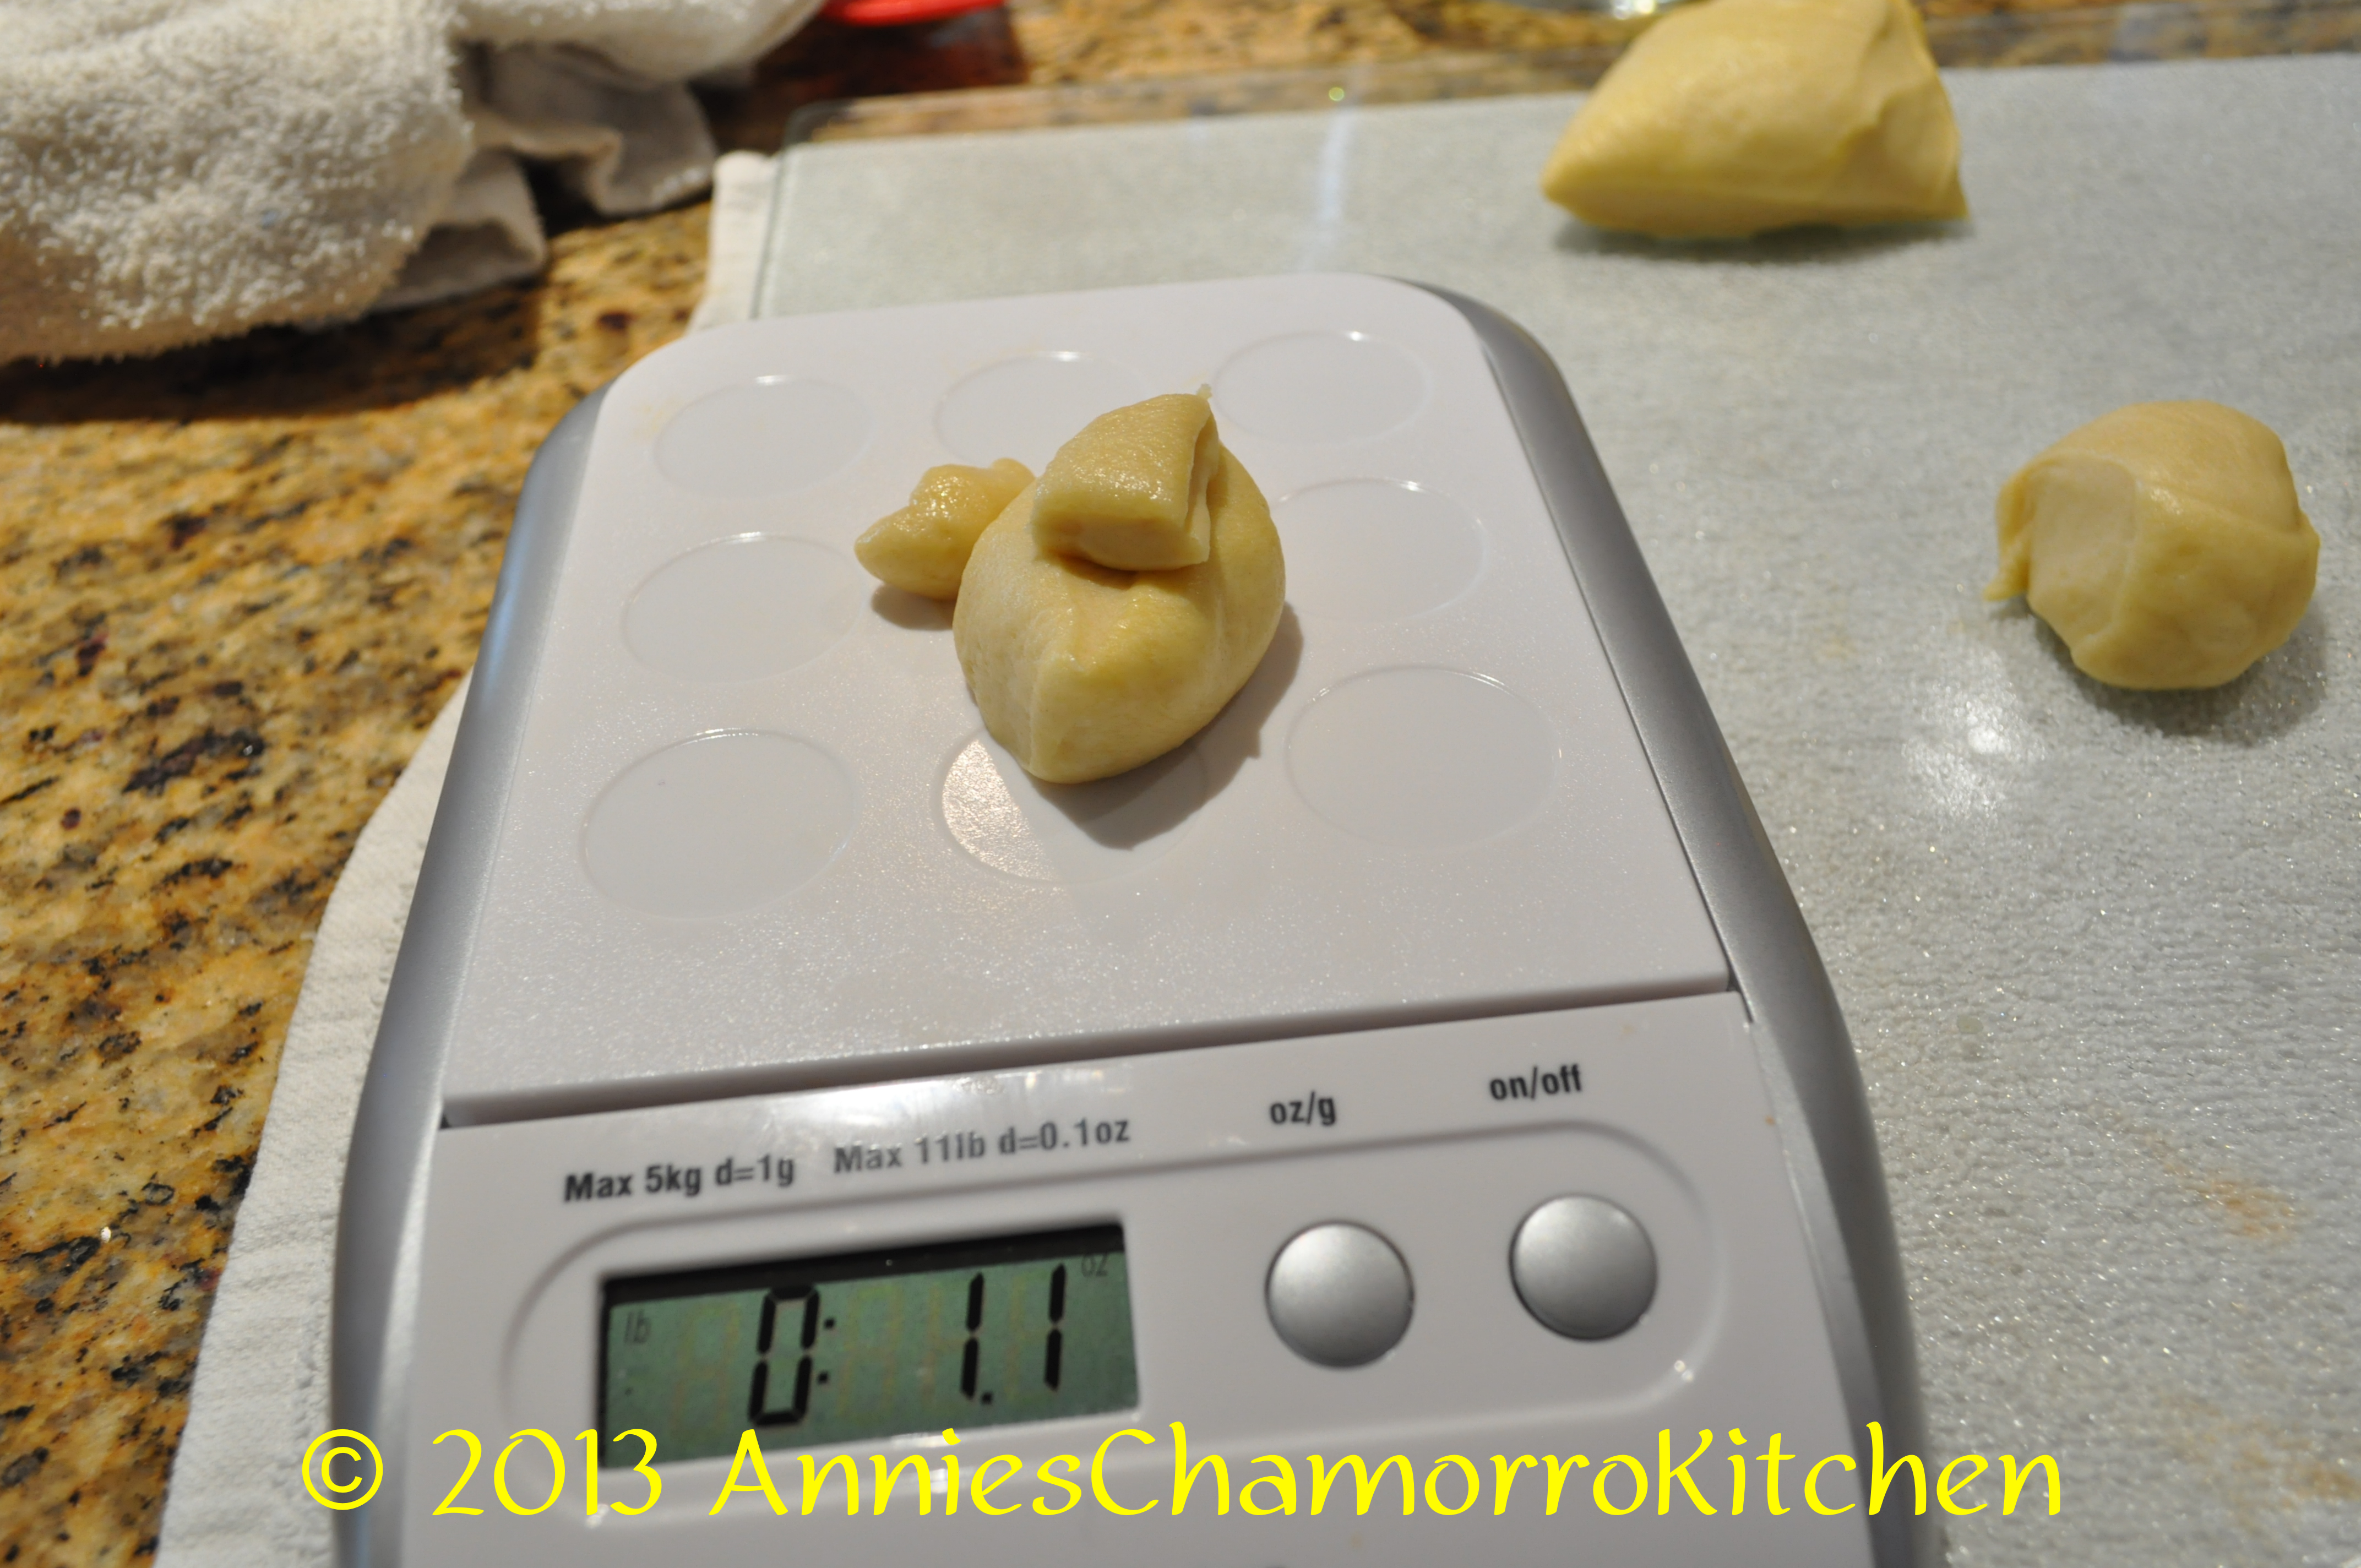
6. After the dough has doubled, turn it out onto a clean surface and lightly punch it down. Roll out 28 balls; place them in a buttered 9×13 pan, with 4 rows of 7 balls. I find it best to use a kitchen scale to weigh exact proportions. This way, each piece of dough is exactly the same size. I first cut out 28 pieces of dough using a pastry/bench scraper; then I weighed each piece to 1.1 ounces (a few balls weighed 1.2 ounces).
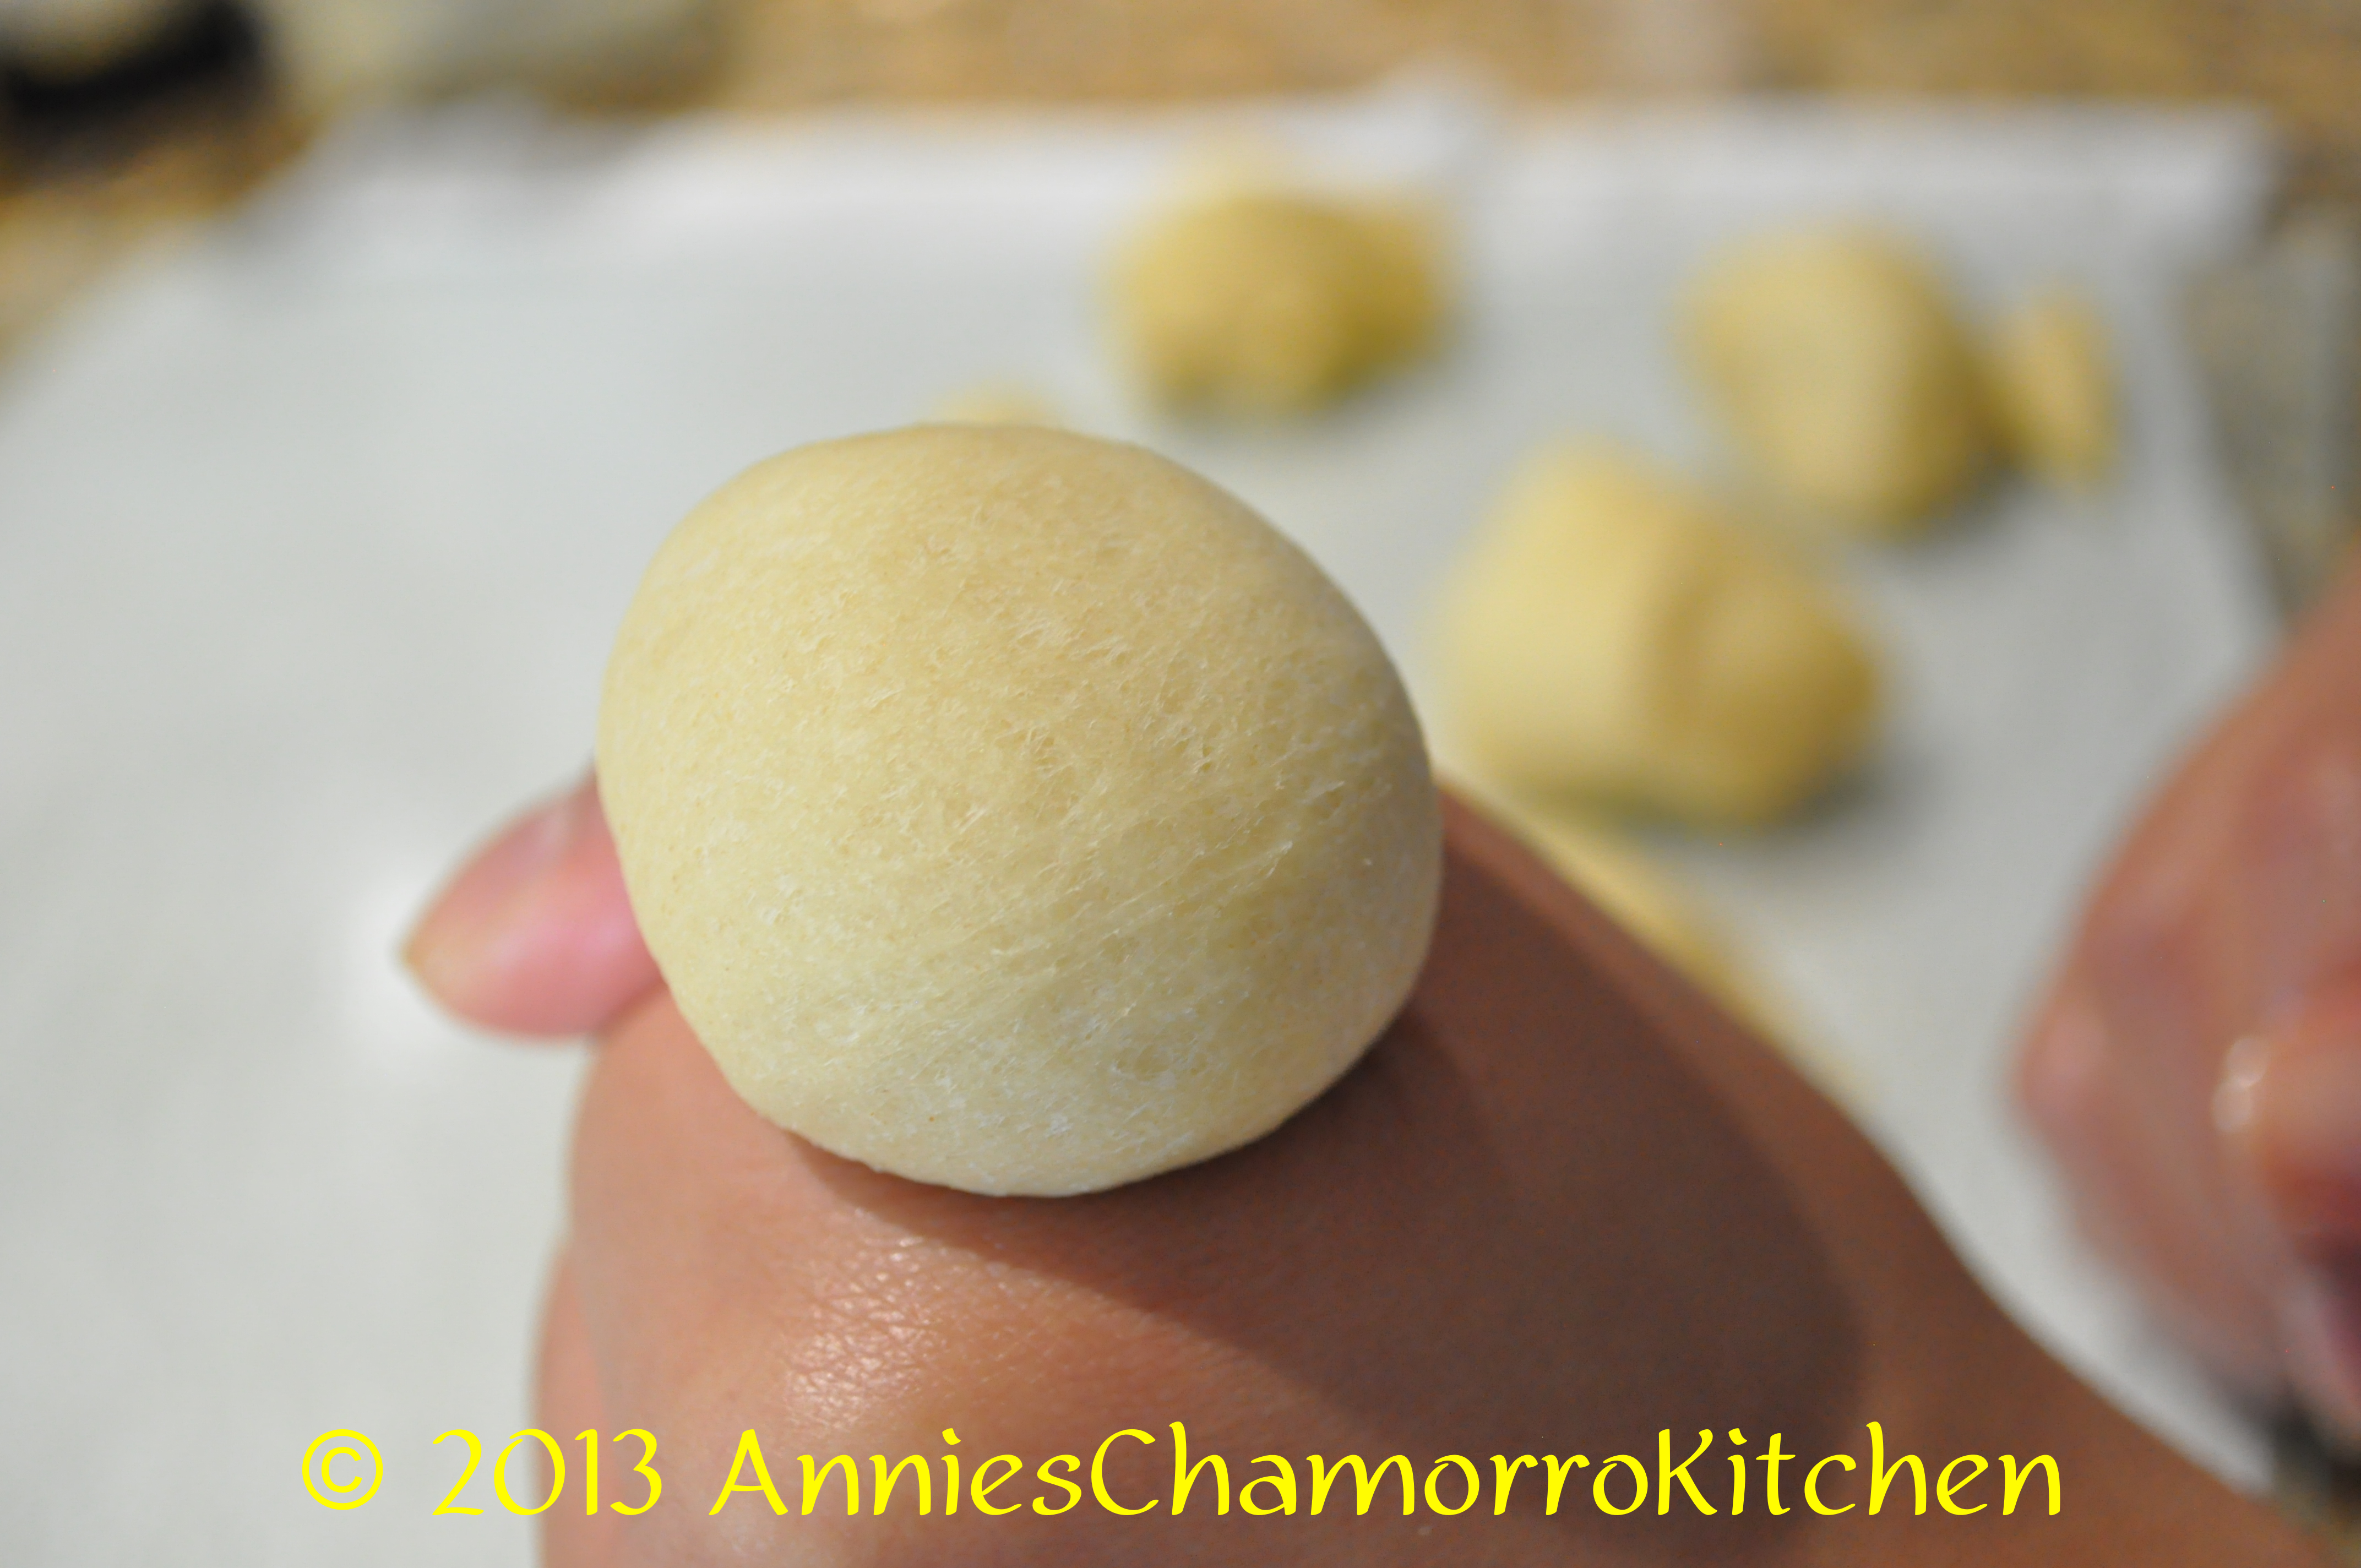
It’s easy to get nicely rounded balls of dough using my foolproof method. First, slightly flatten out a piece of dough. Next, form a small circle with your pointer and thumb (like you’re making the “ok” sign). Place the piece of dough underneath the circle and push it through, all the while making your circle smaller and smaller. The dough you push through will form a nicely rounded ball. Pinch the bottom of the ball closed.
*I have a video clip showing how this is done, which I’ll upload soon.
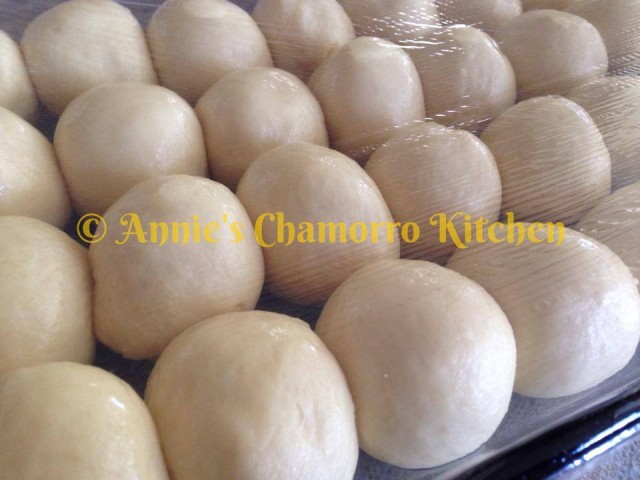
7. Spray the tops of the rolls with butter cooking spray then cover with plastic wrap. Place the pan in a warm place to rise again, until almost doubled. When the rolls have almost doubled, remove from the oven (if that’s where your dough is rising).
8. Preheat the oven to 350 degrees. Gently brush the tops of the rolls with melted butter. Bake for 15 minutes or until golden brown on top. Brush with more melted butter after the rolls are done.

Enjoy!
